
Making a Langsner-Style Froe for Green Woodworking
Earlier this year my in-laws had a black walnut tree cut down on their property, and unfortunately they had it cut up into logs before I could tell them that I'd like to get it sawn up into lumber. So, instead of letting that all go to waste, I decided I'm going to try and make some chairs out of it.
If you've never made chairs before (which I really haven't either) one of the nice tools to have is what's called a froe. This tool makes splitting the wood down into spindle sized pieces, and other sized pieces for chair making, a lot easier and a lot more controlled than trying to do it with an axe or a splitting wedge.
I'd made one of these a few years back in a blacksmithing class. I took a piece of old leaf spring and folded it over and then forged welded it, but for one, I don't remember where I put it, and two, it wasn't the best quality anyway, so I decided I'm going to a make a new one for myself.
The style is what's called a Langsner-style froe, developed by Drew Langsner. Lie-Nielsen has them on sale, but seeing as I have welder and the means to do it, I thought I'd just make one myself instead of paying for it.
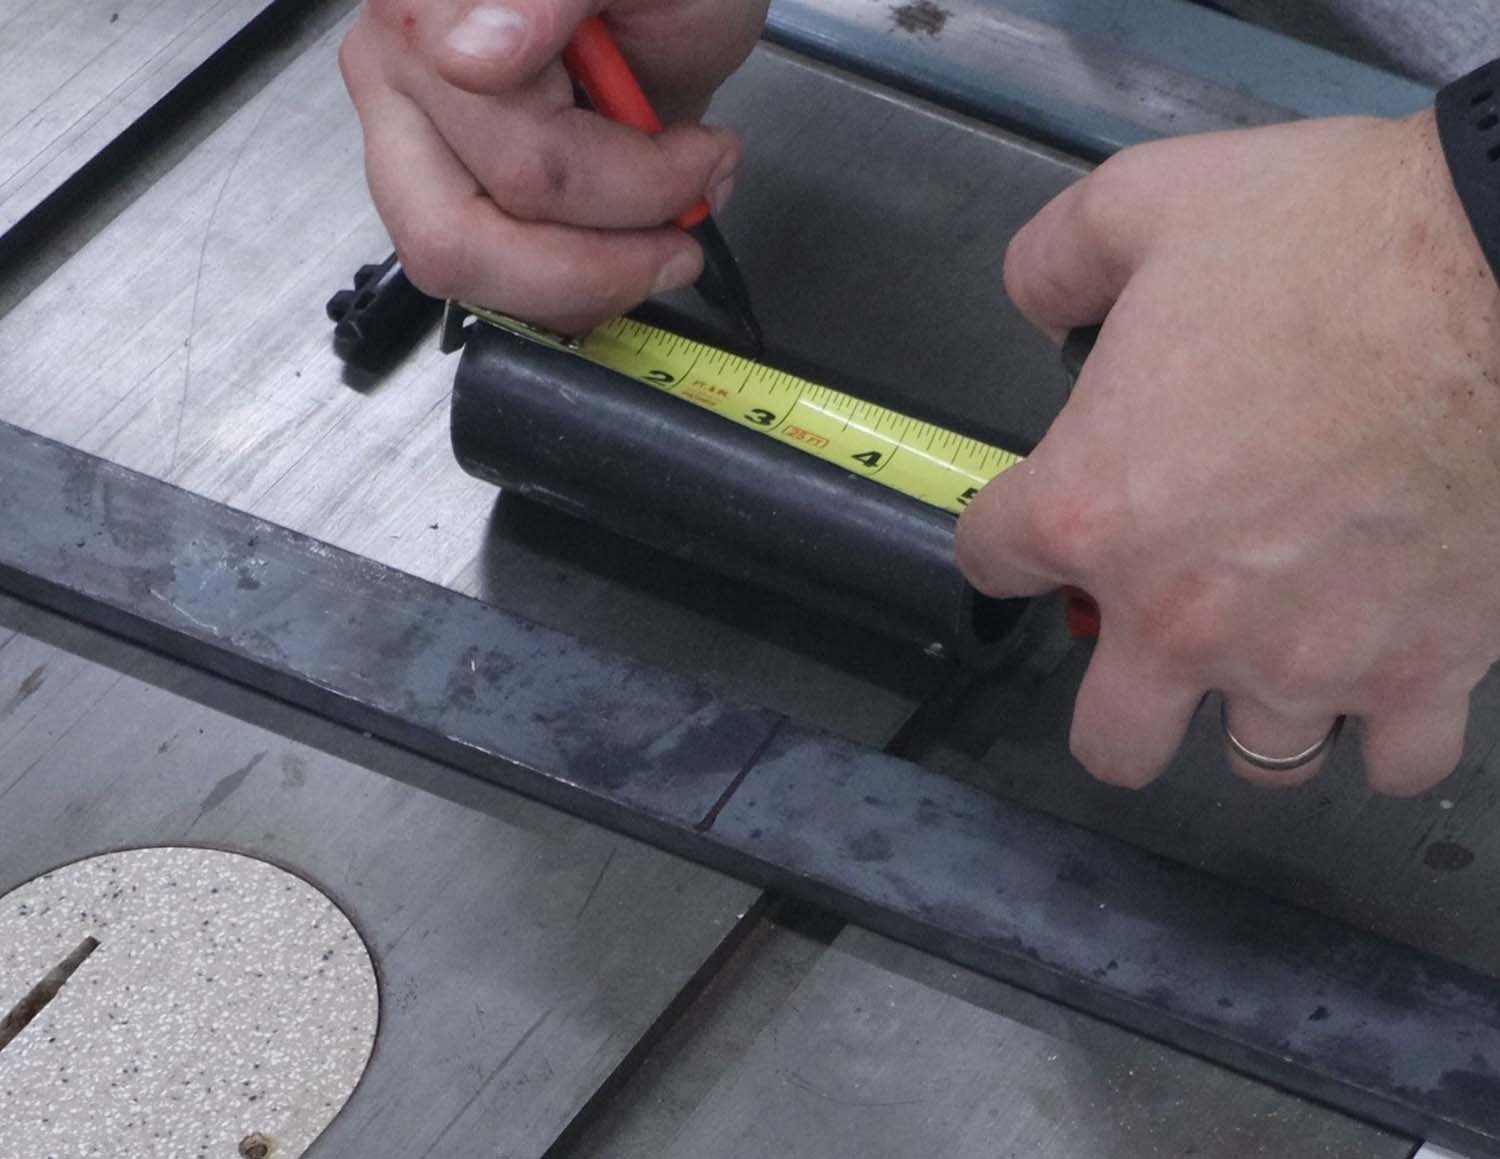
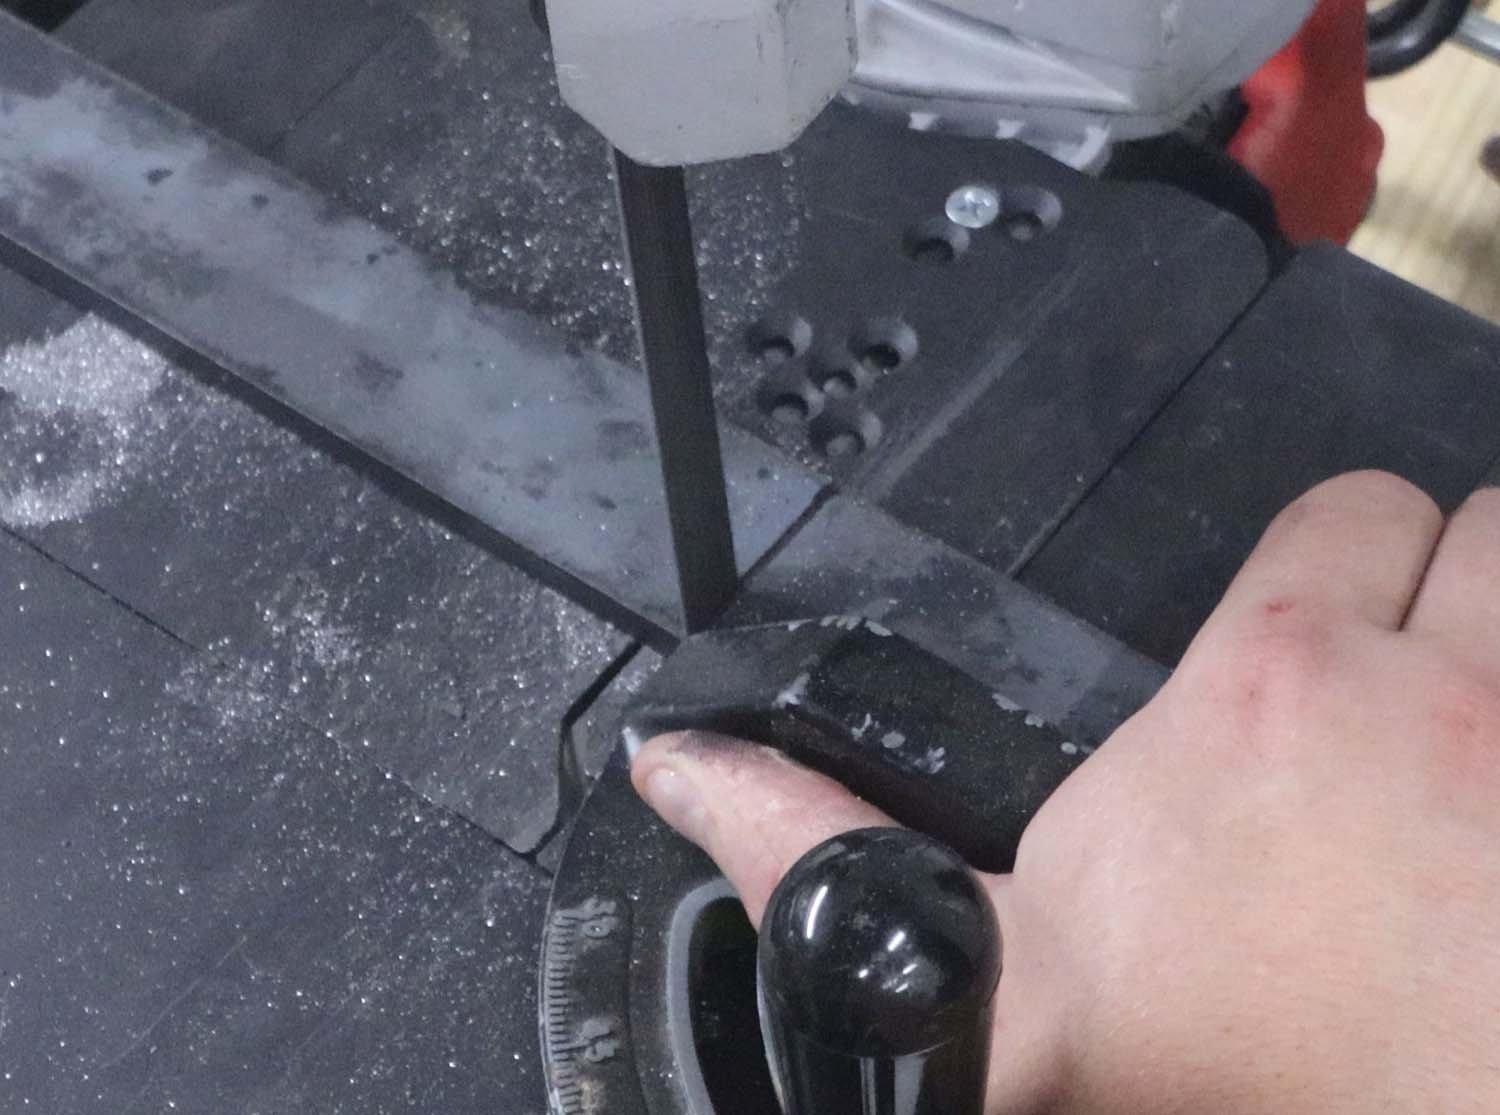
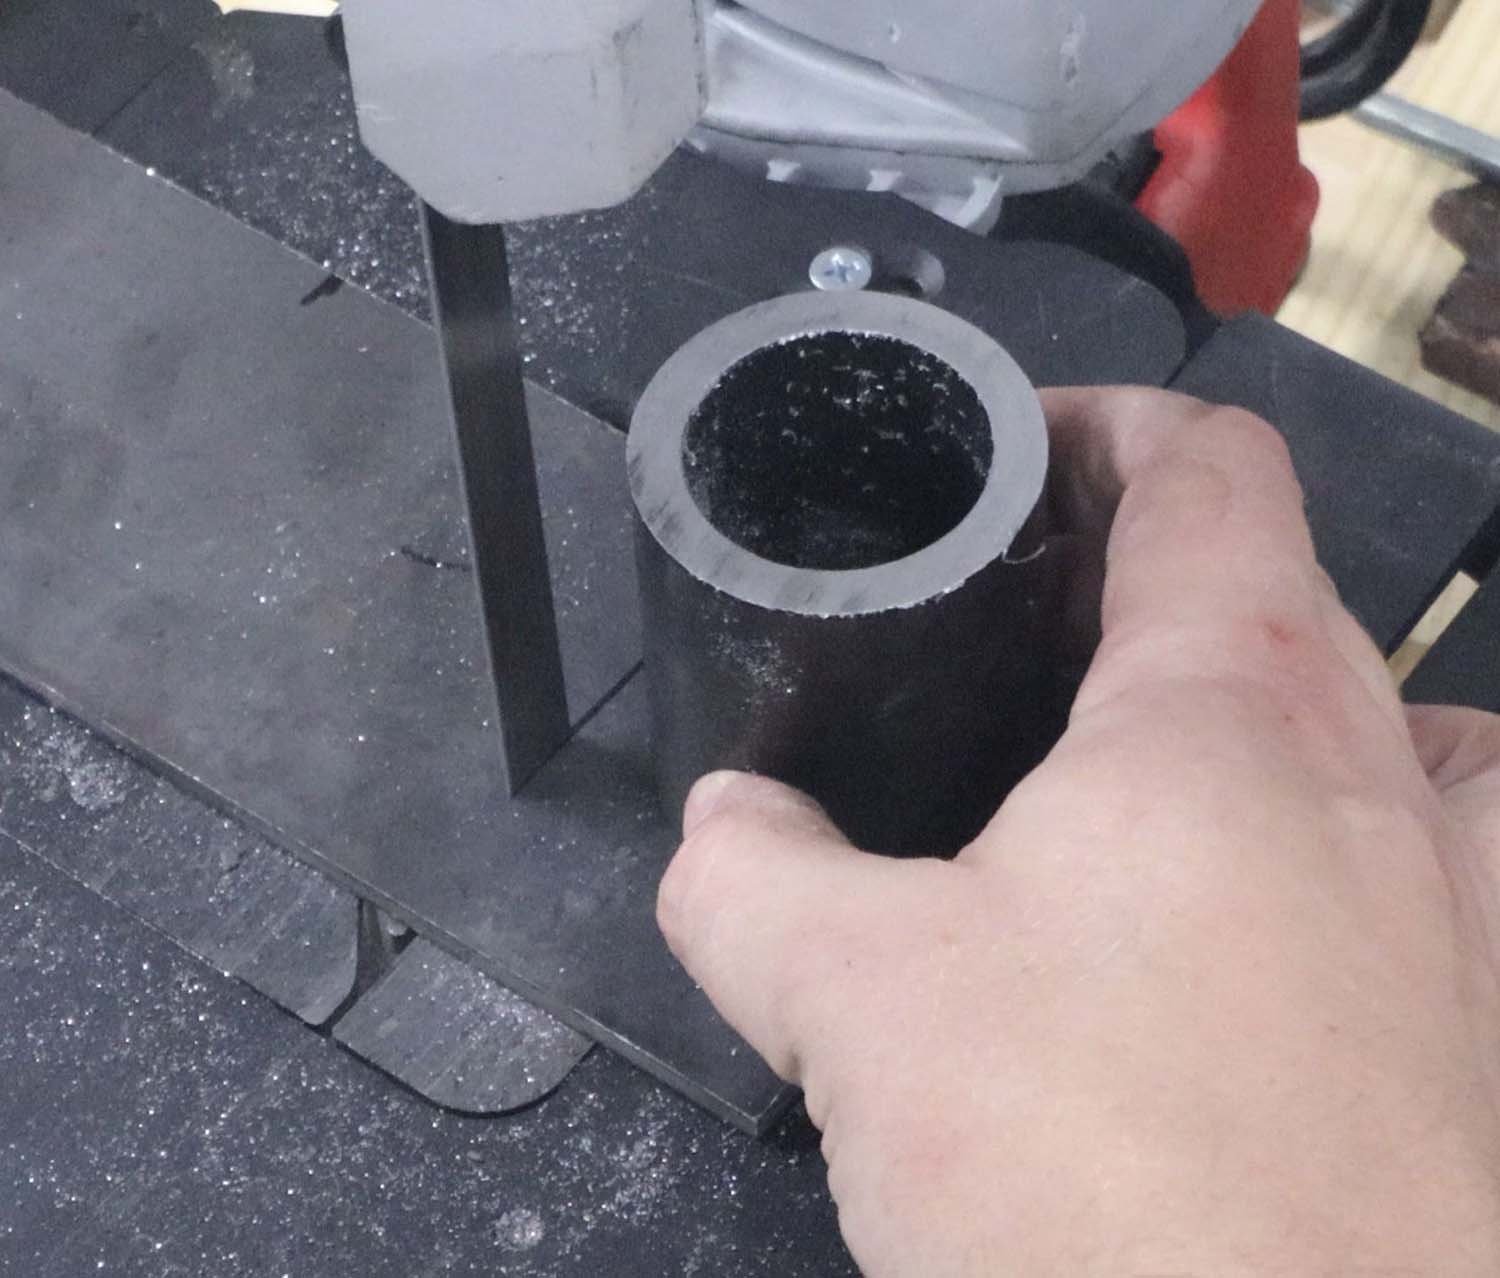
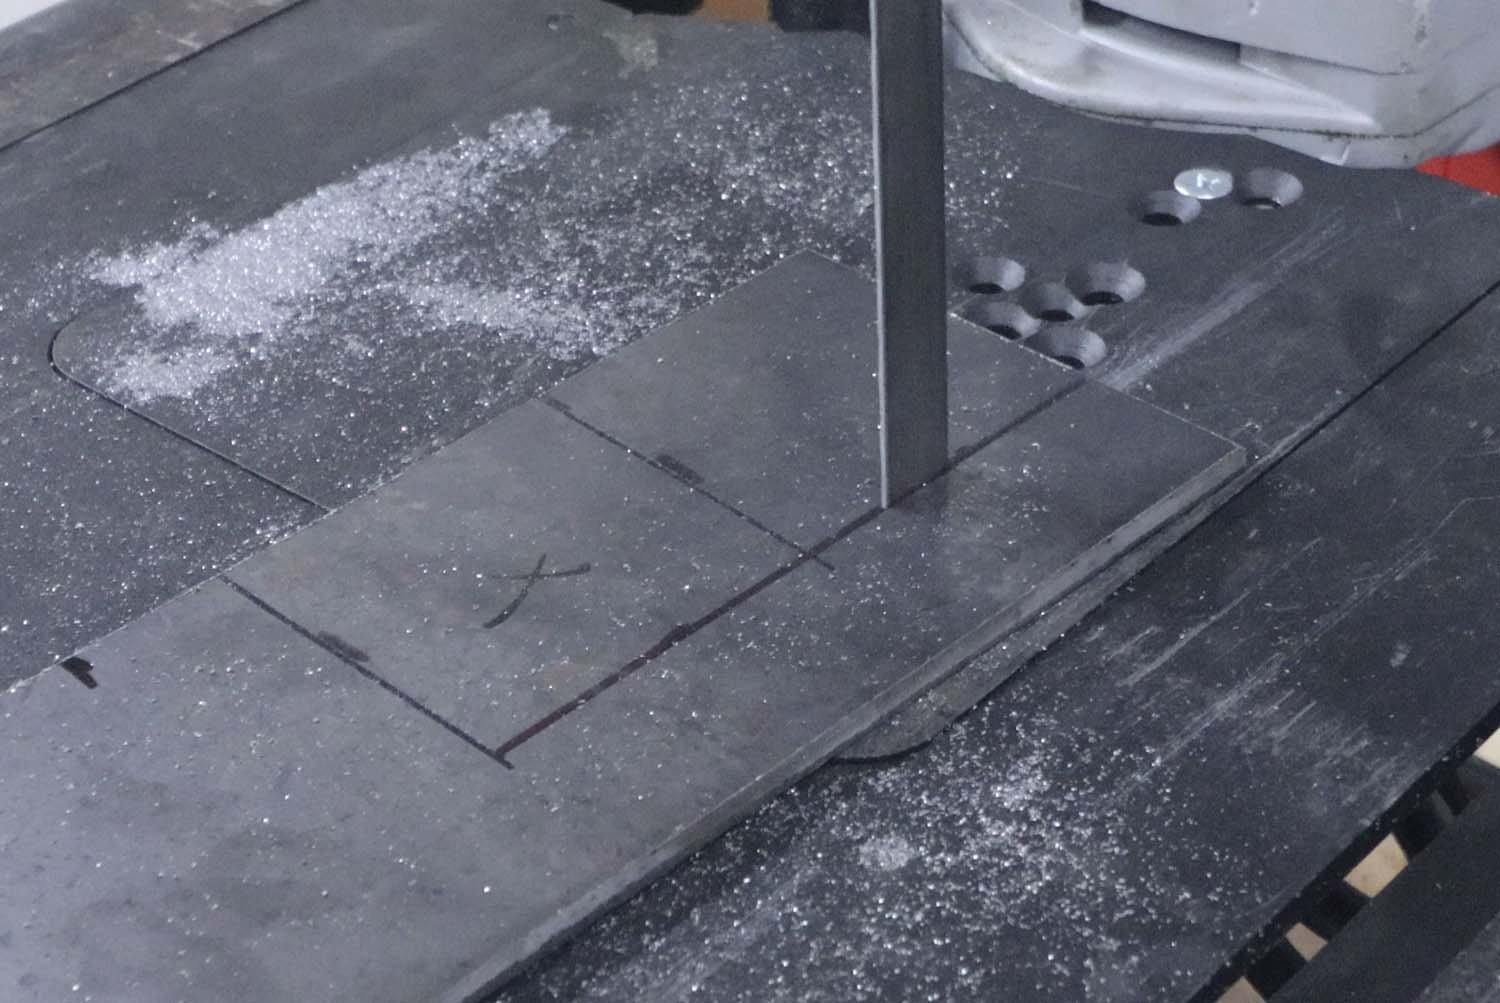
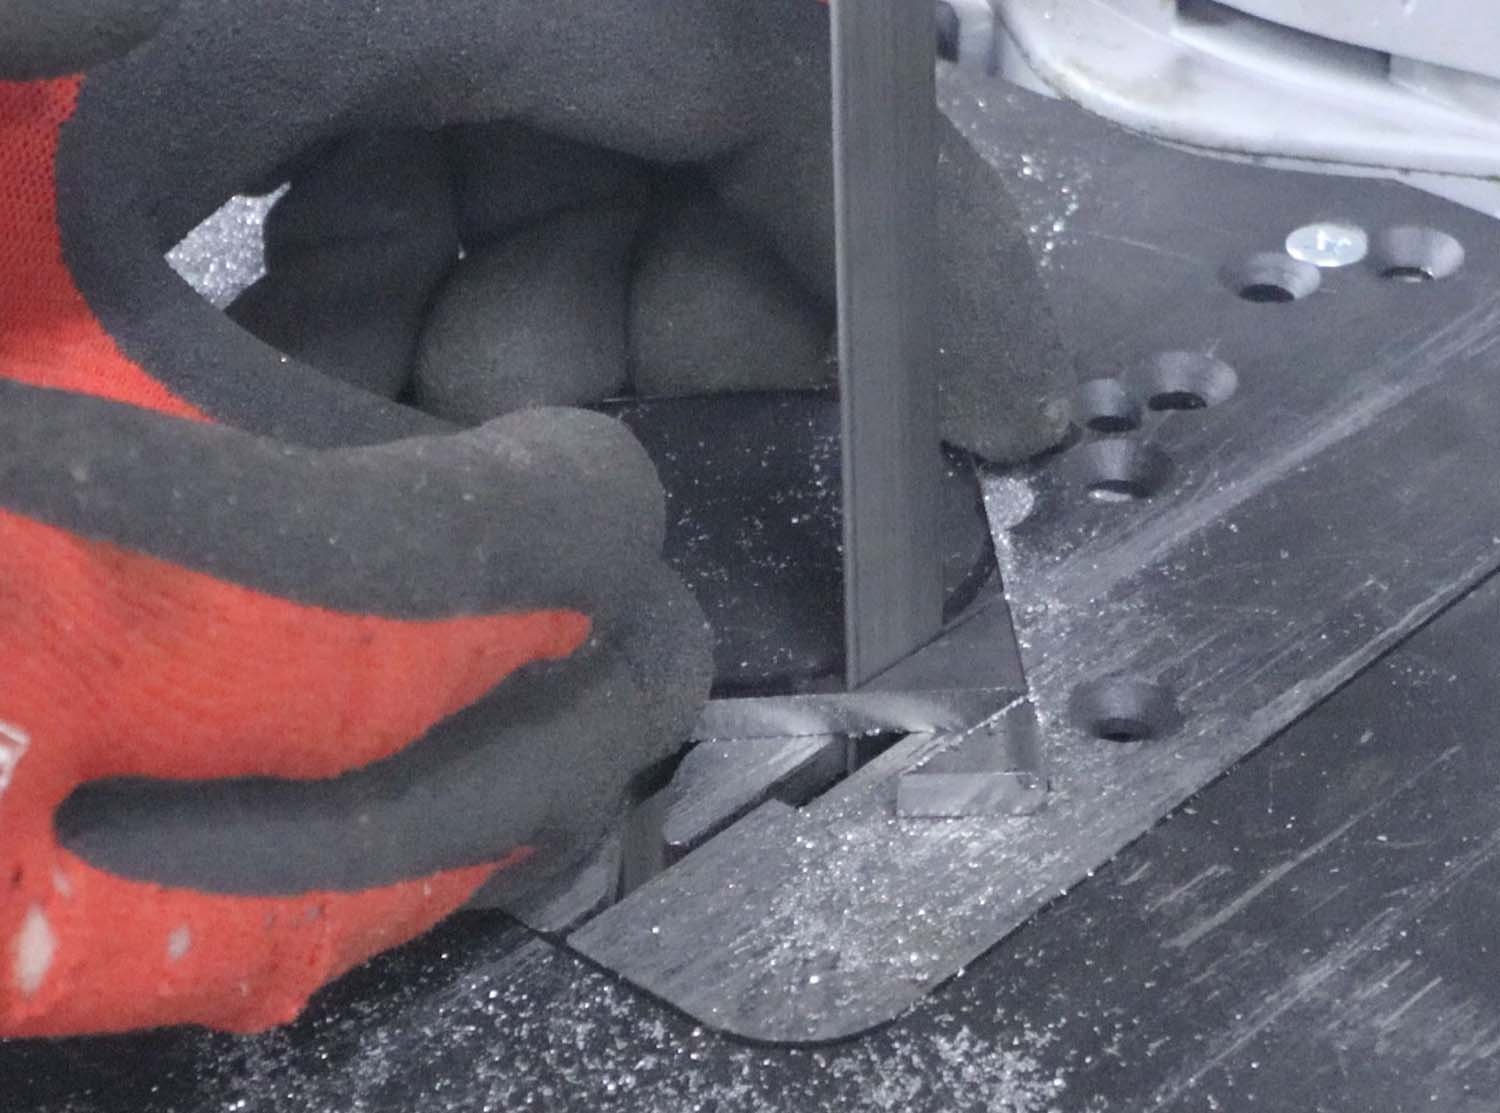
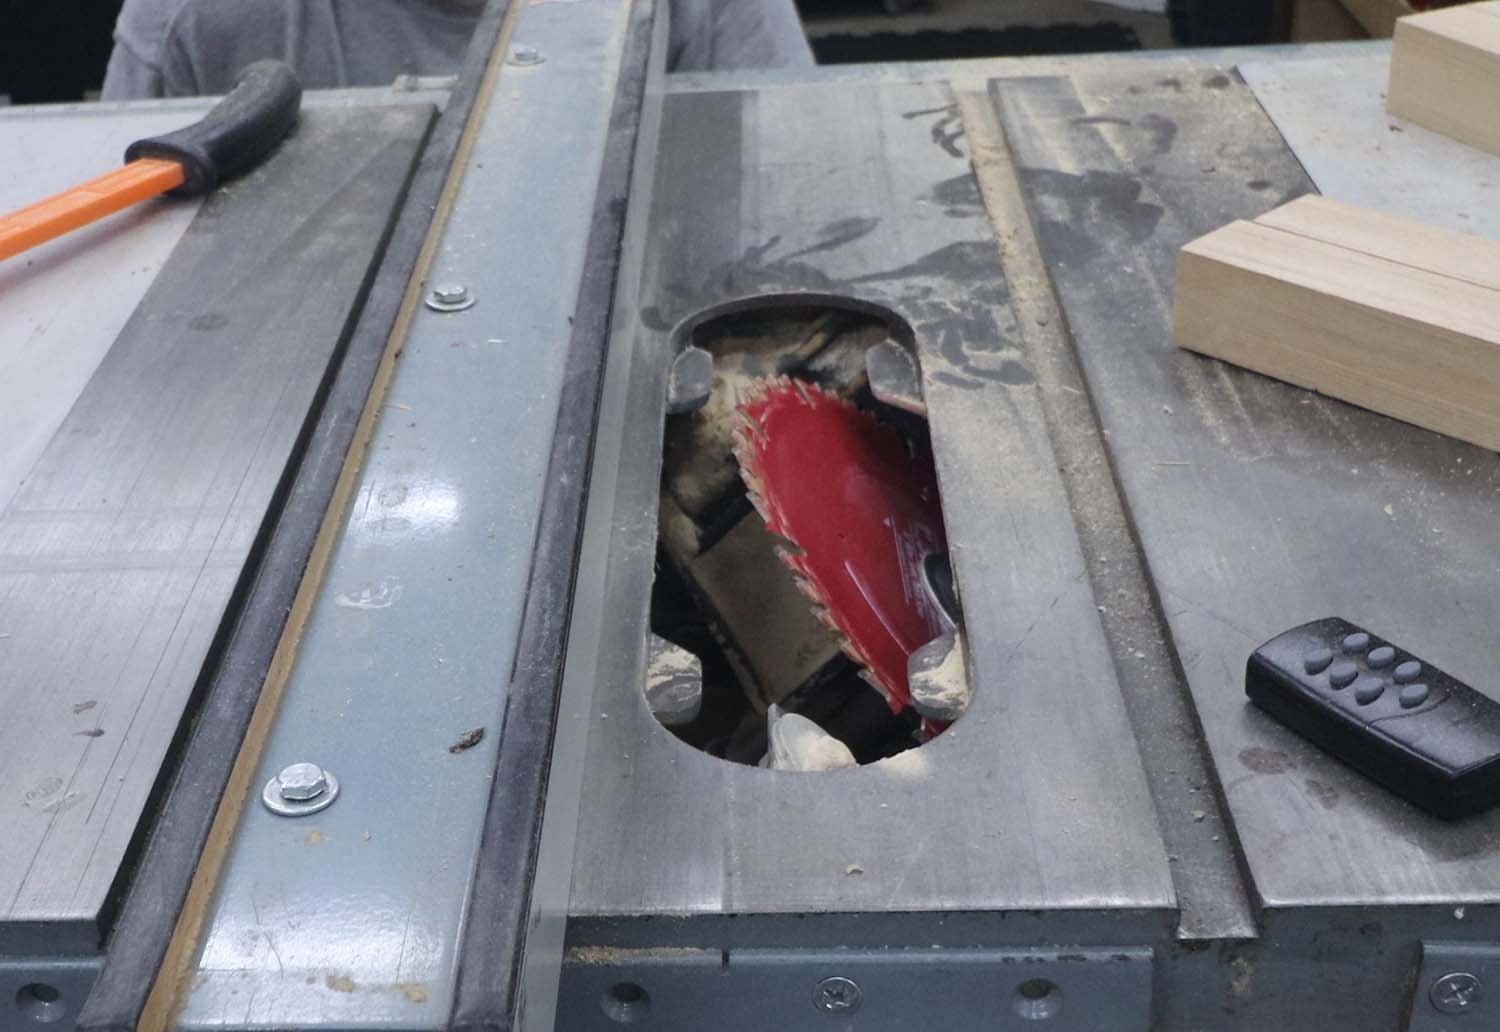
I bought twice as much material as I needed for one tool as I planned on making two (one for my dad as well), so first I have to cut the bar stock and the tube section in half.
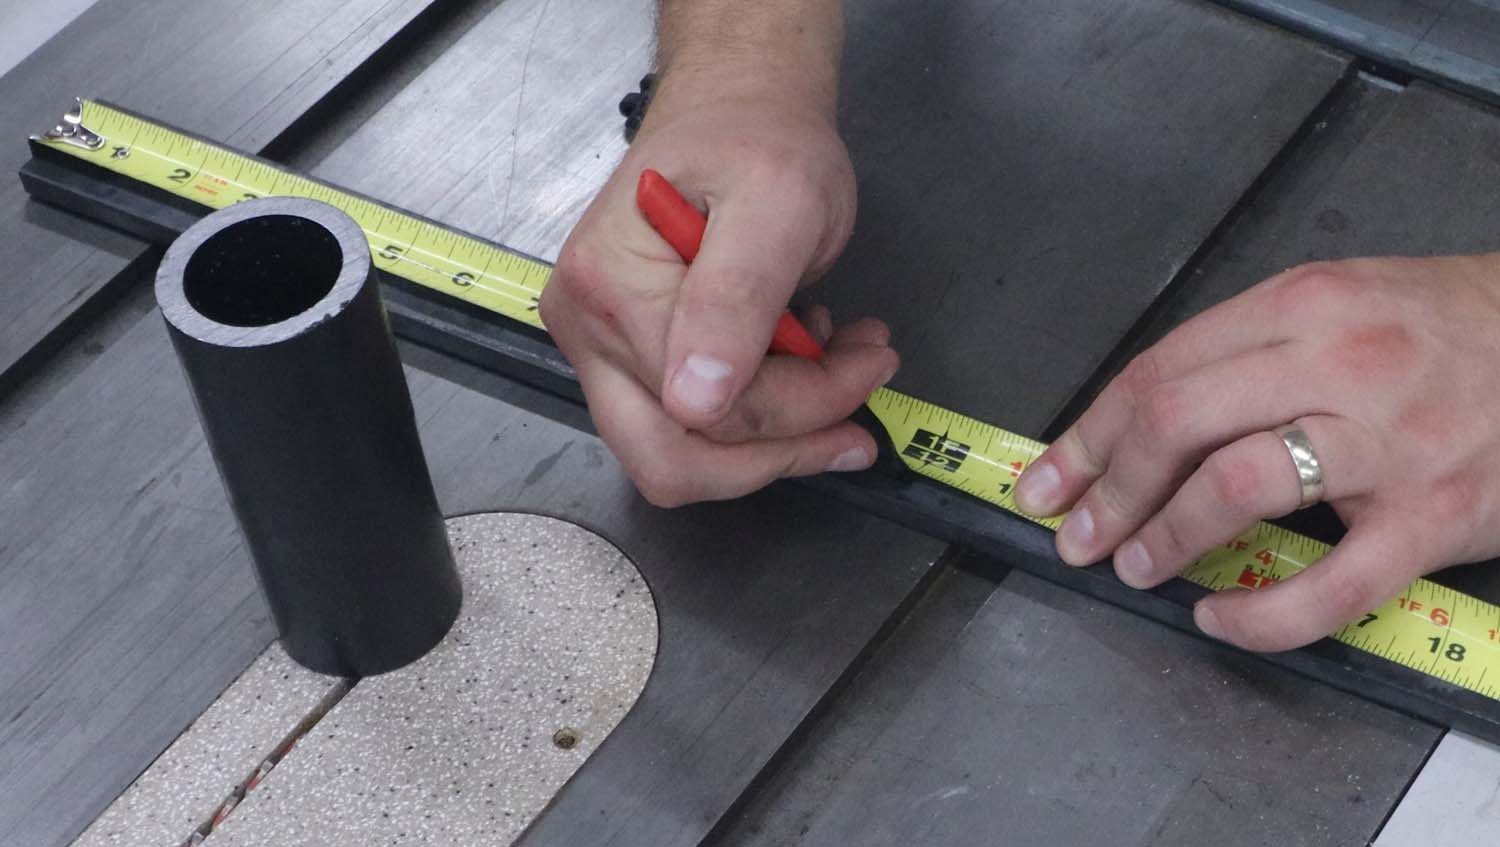

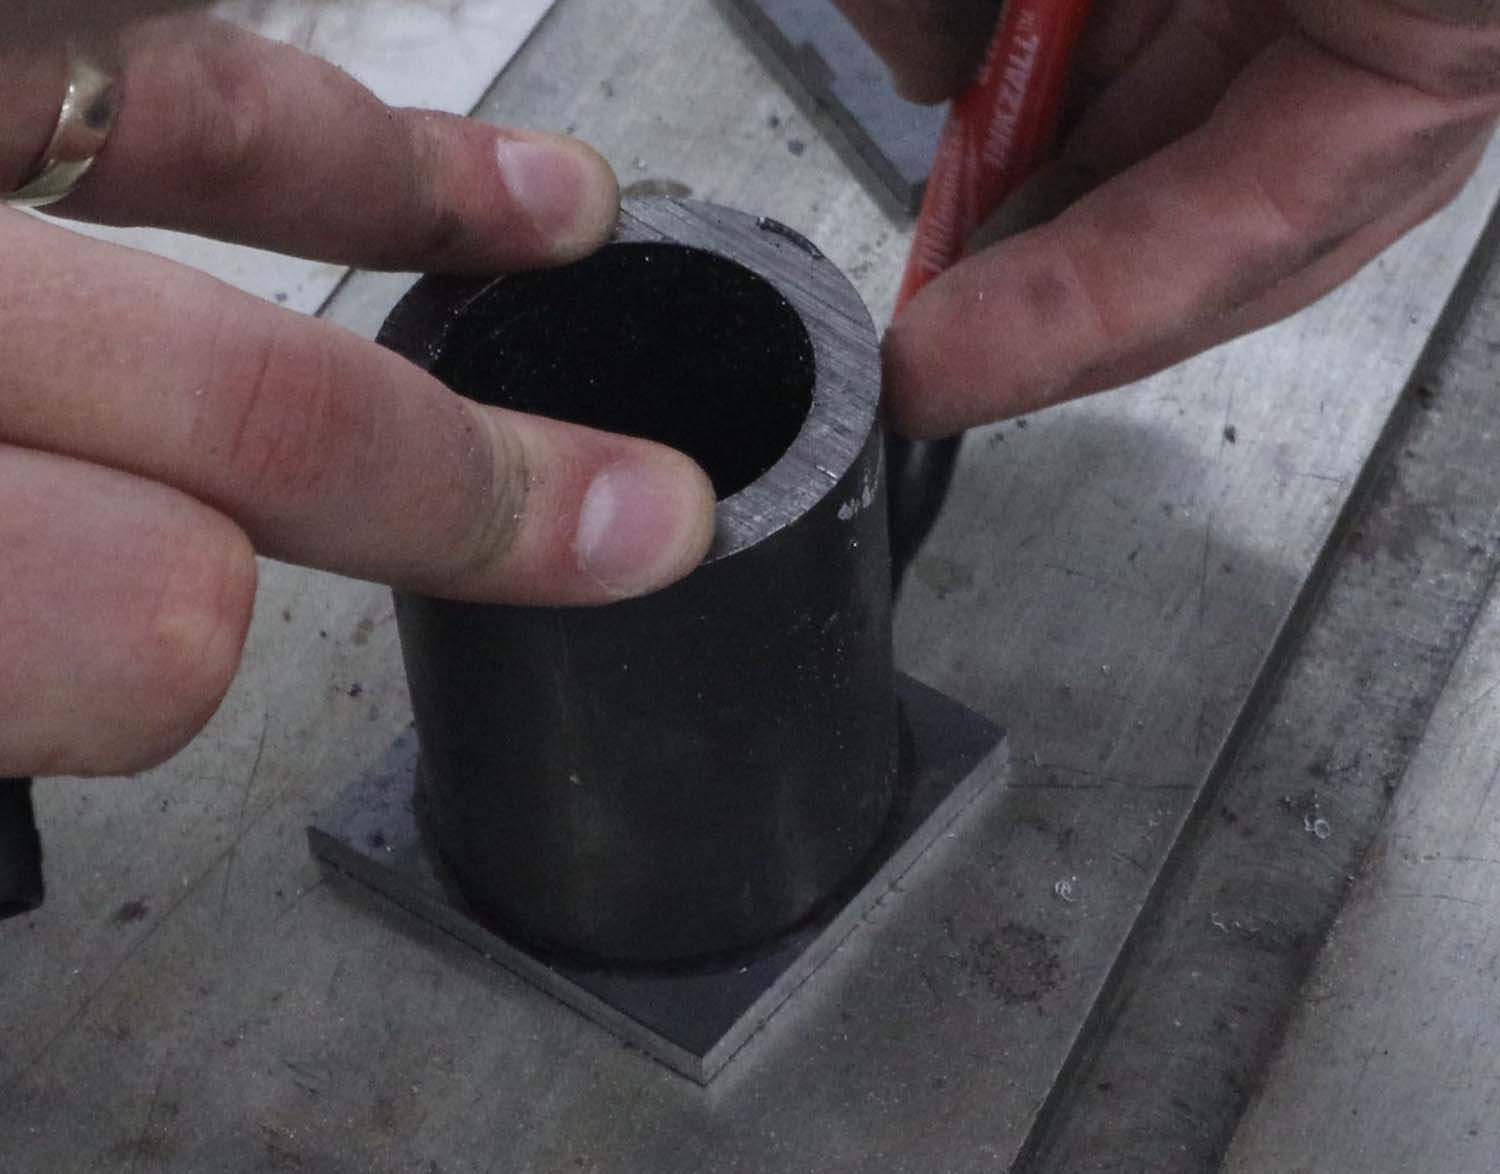
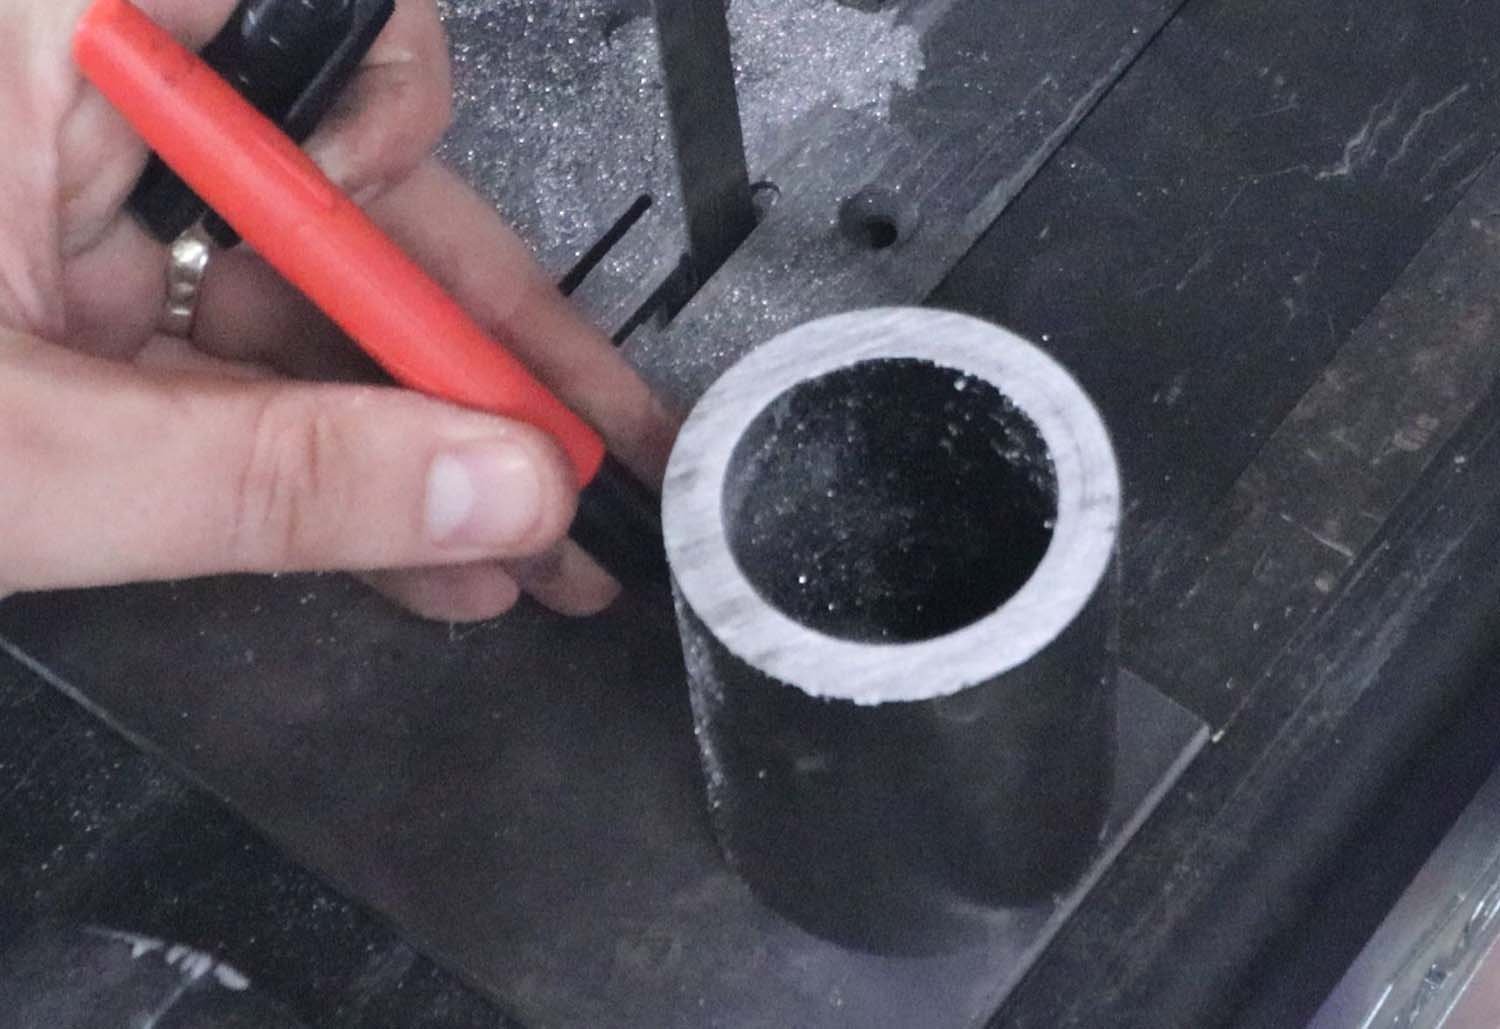
For the end caps, I'm using some leftover 3/16" (4.5mm) plate from another project. These are getting cut to the approximate size of the tube.
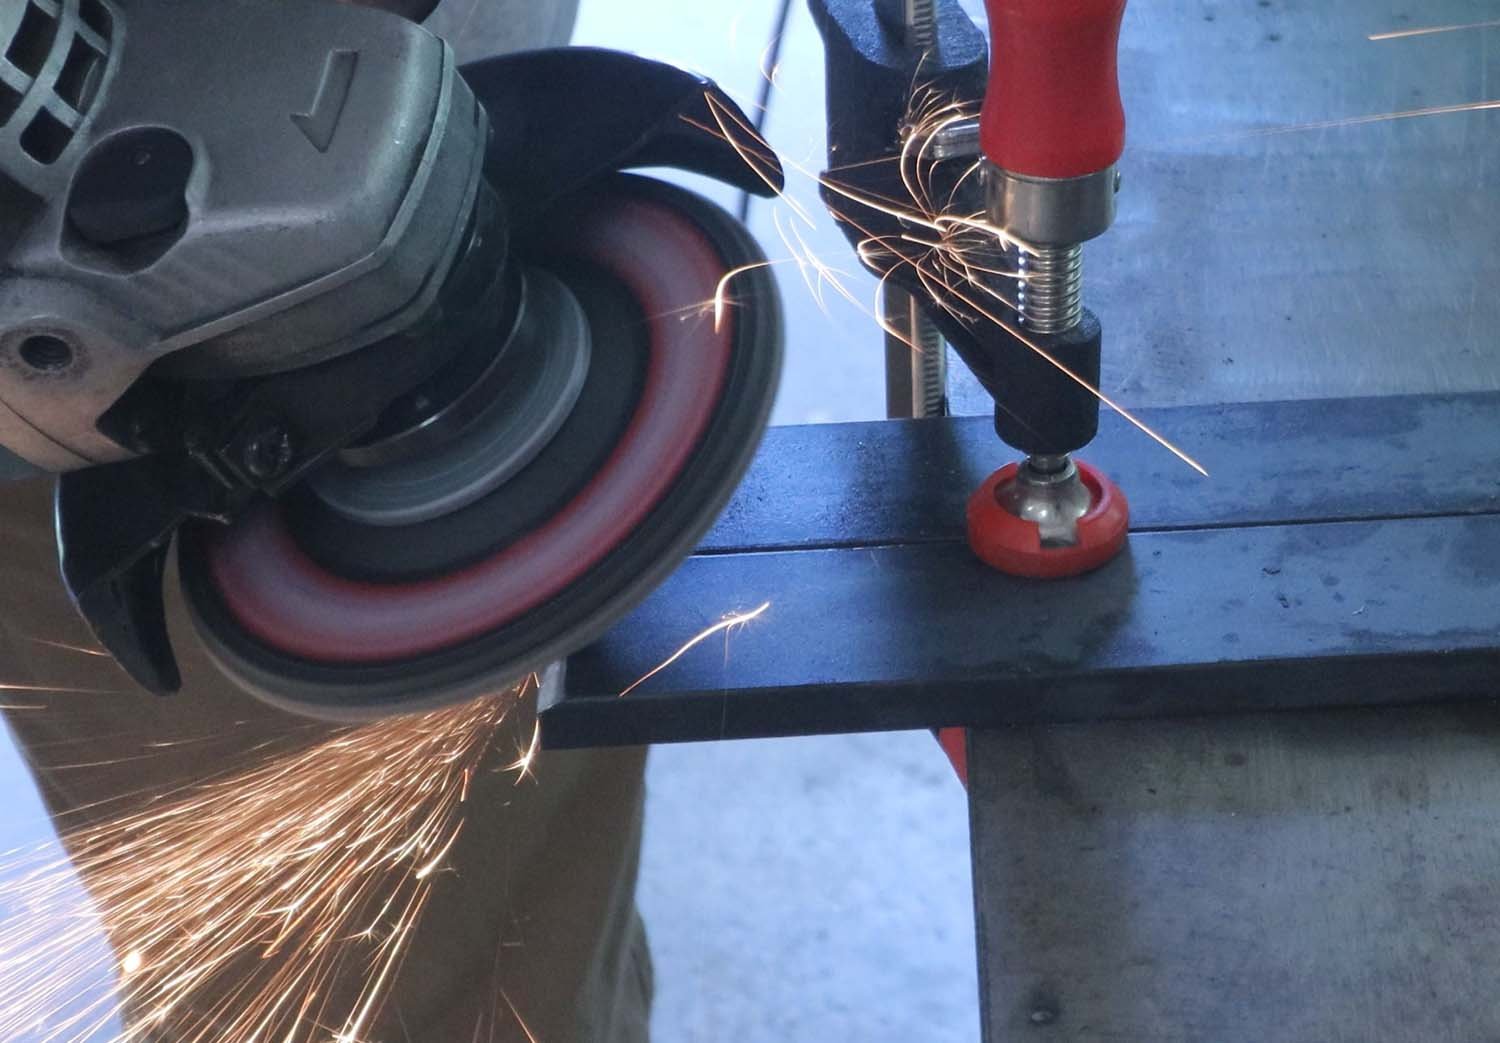
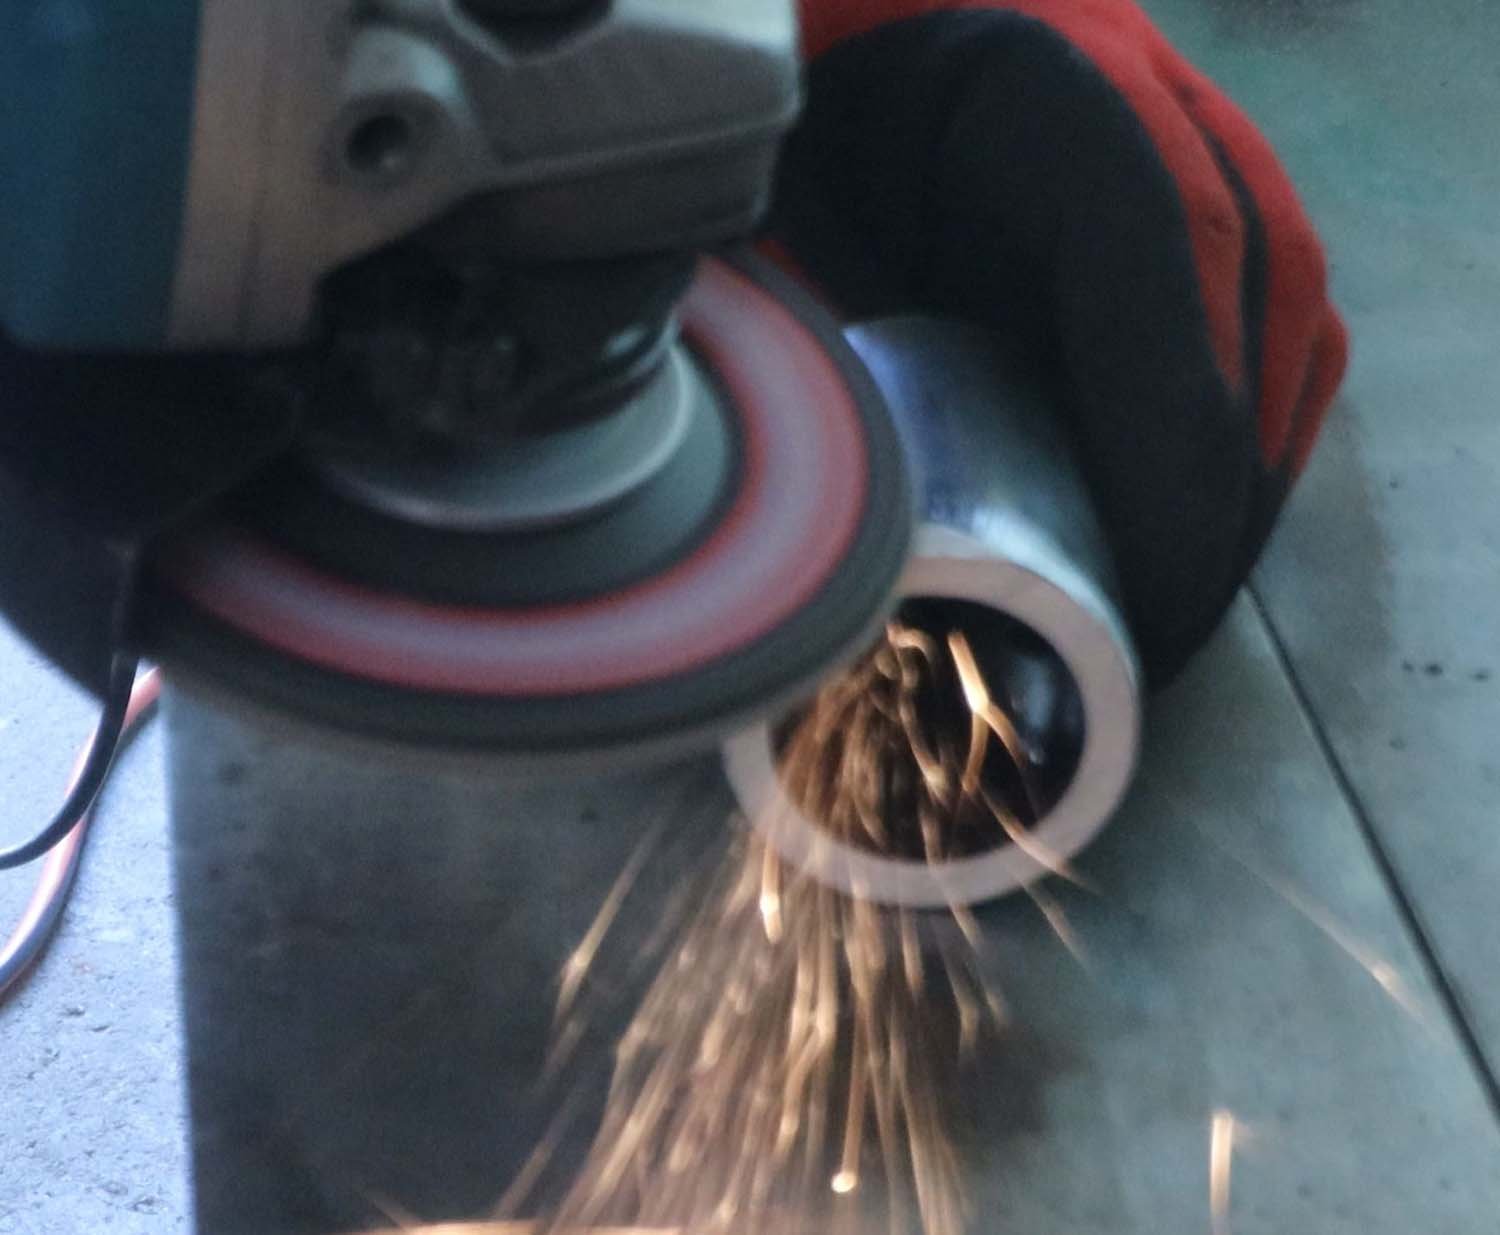
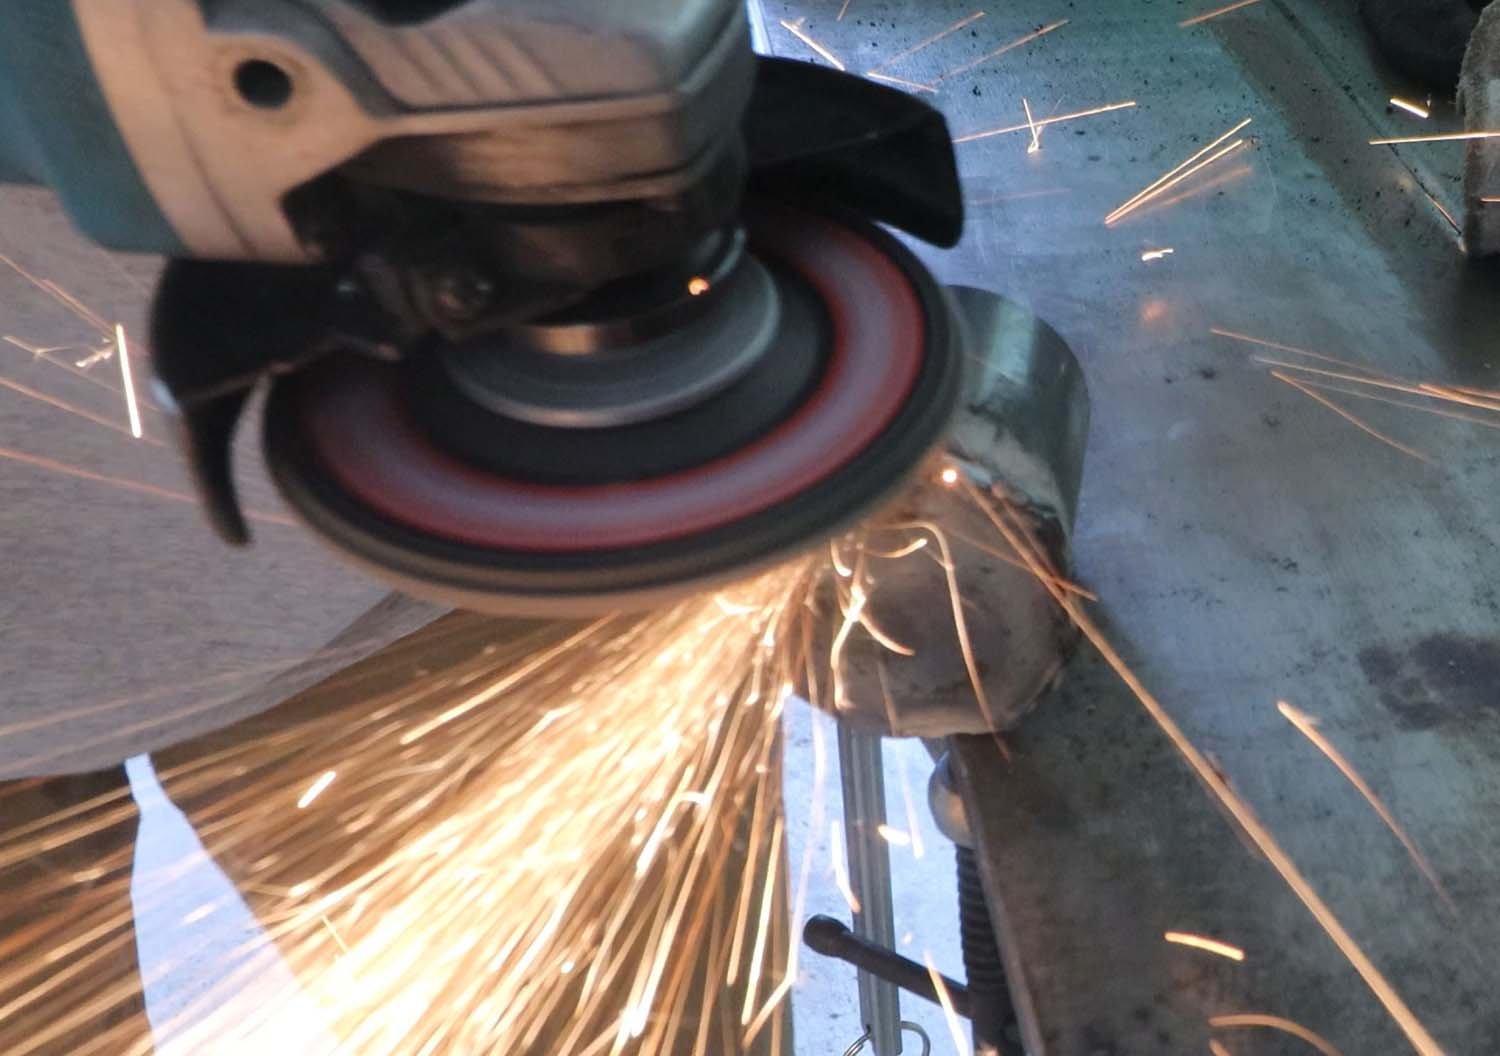
Before welding, I first cleaned the areas to be welded with a flap disc.
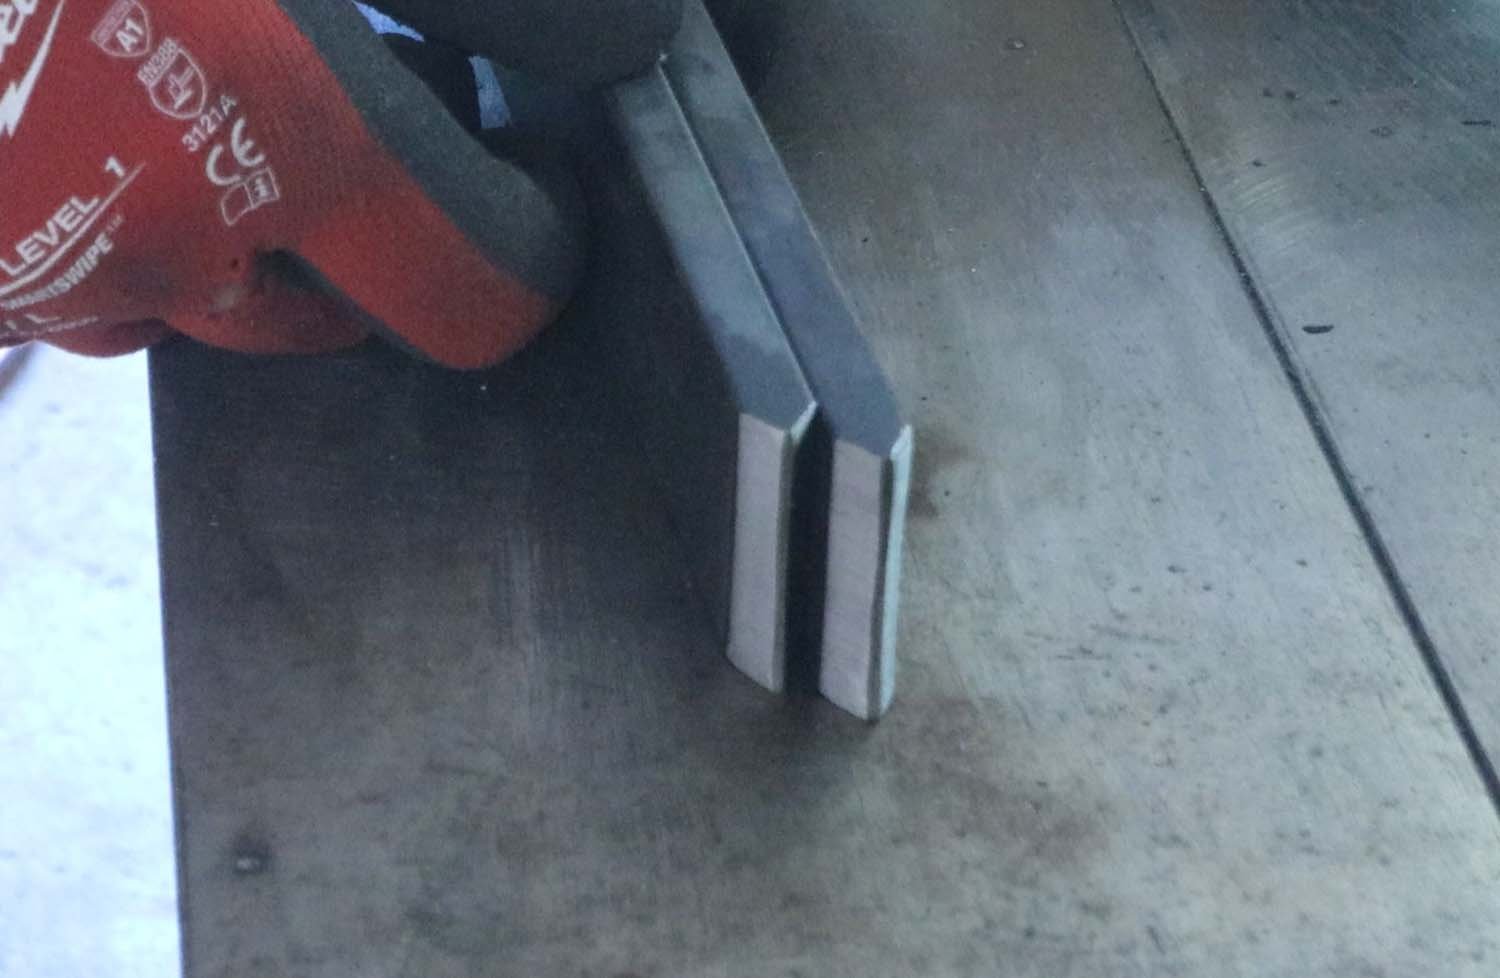
For the weld between the blade and the collar, I'm grinding a double V-groove. This allows for a much stronger weld joint than your standard fillet weld.
On the tubes, I ground a spot where the blade attaches, and then around the perimeter of the top.
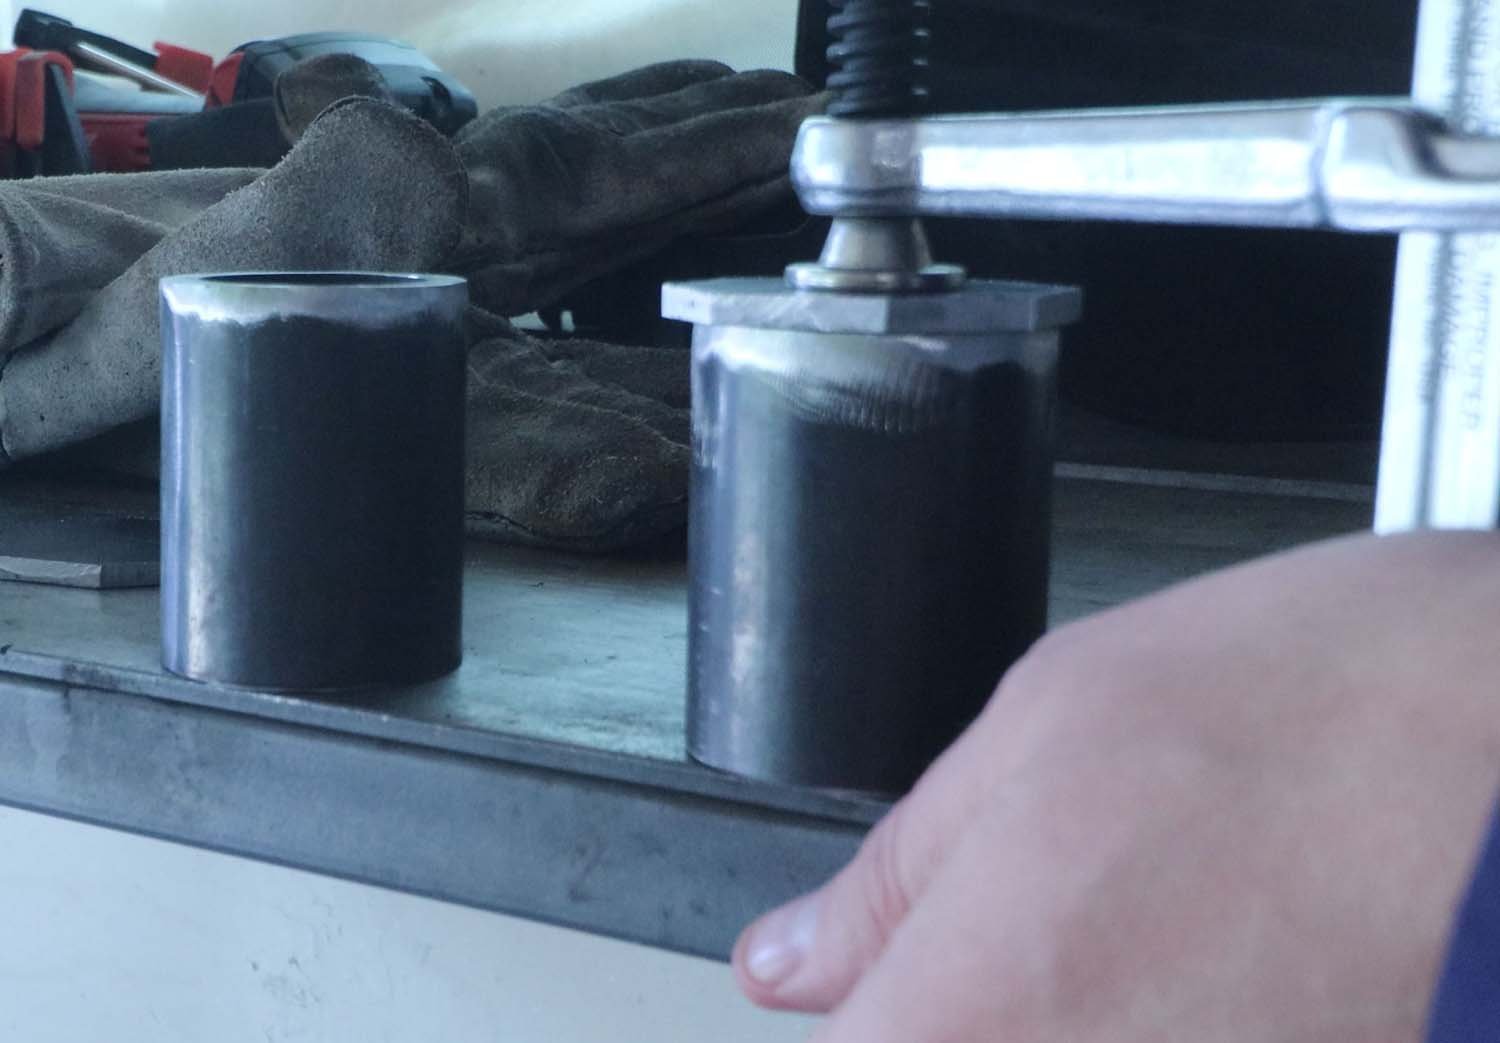
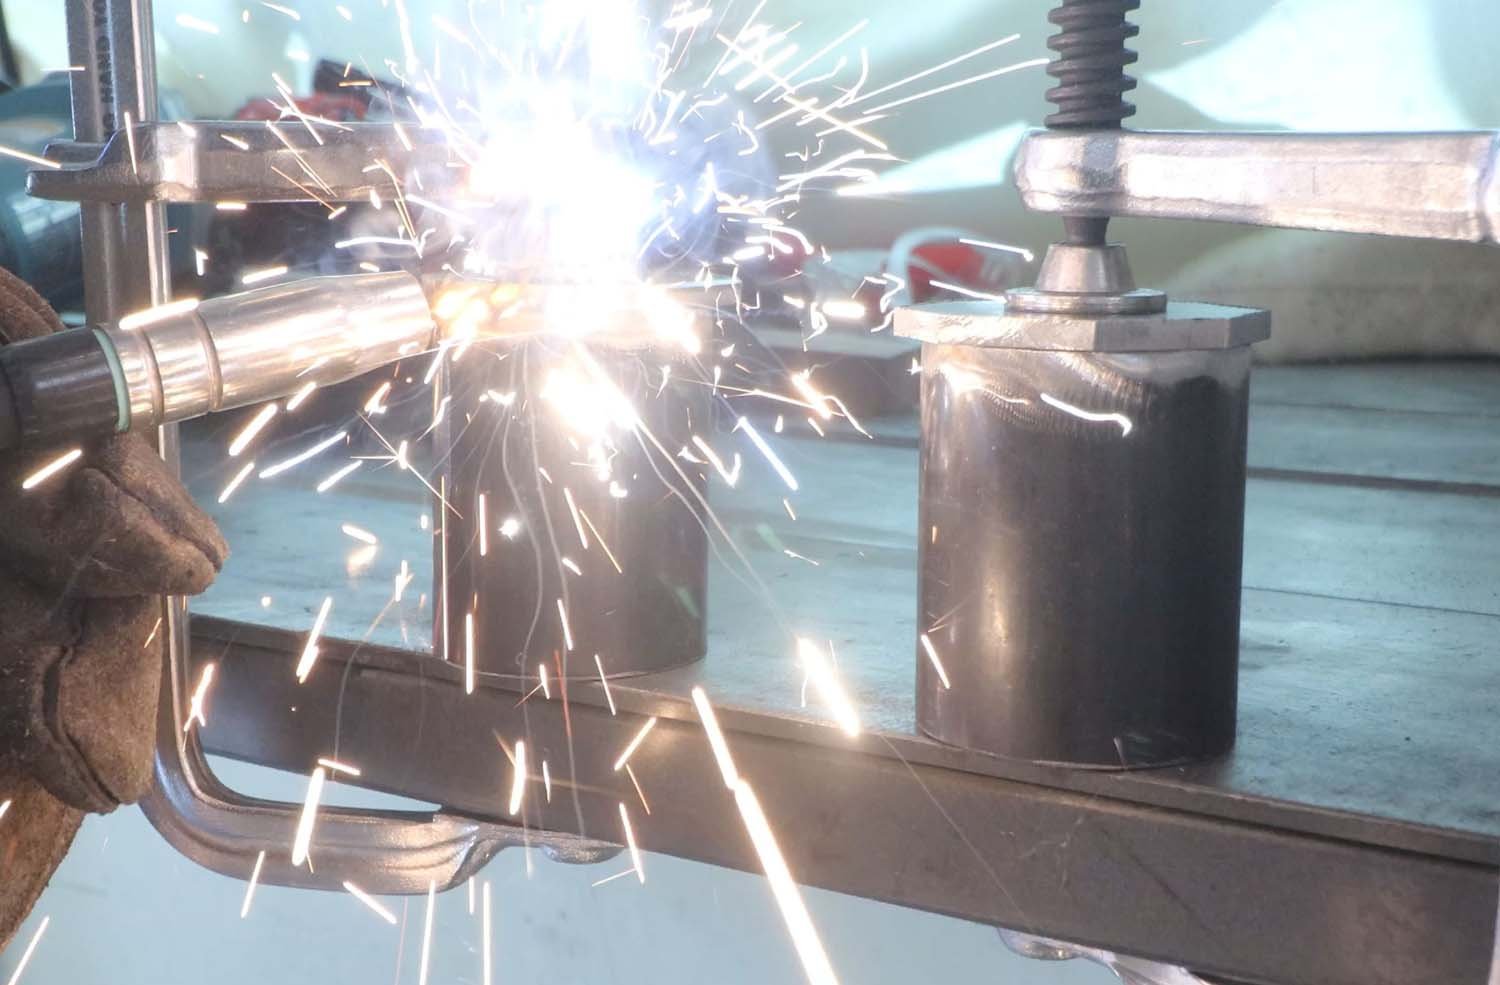
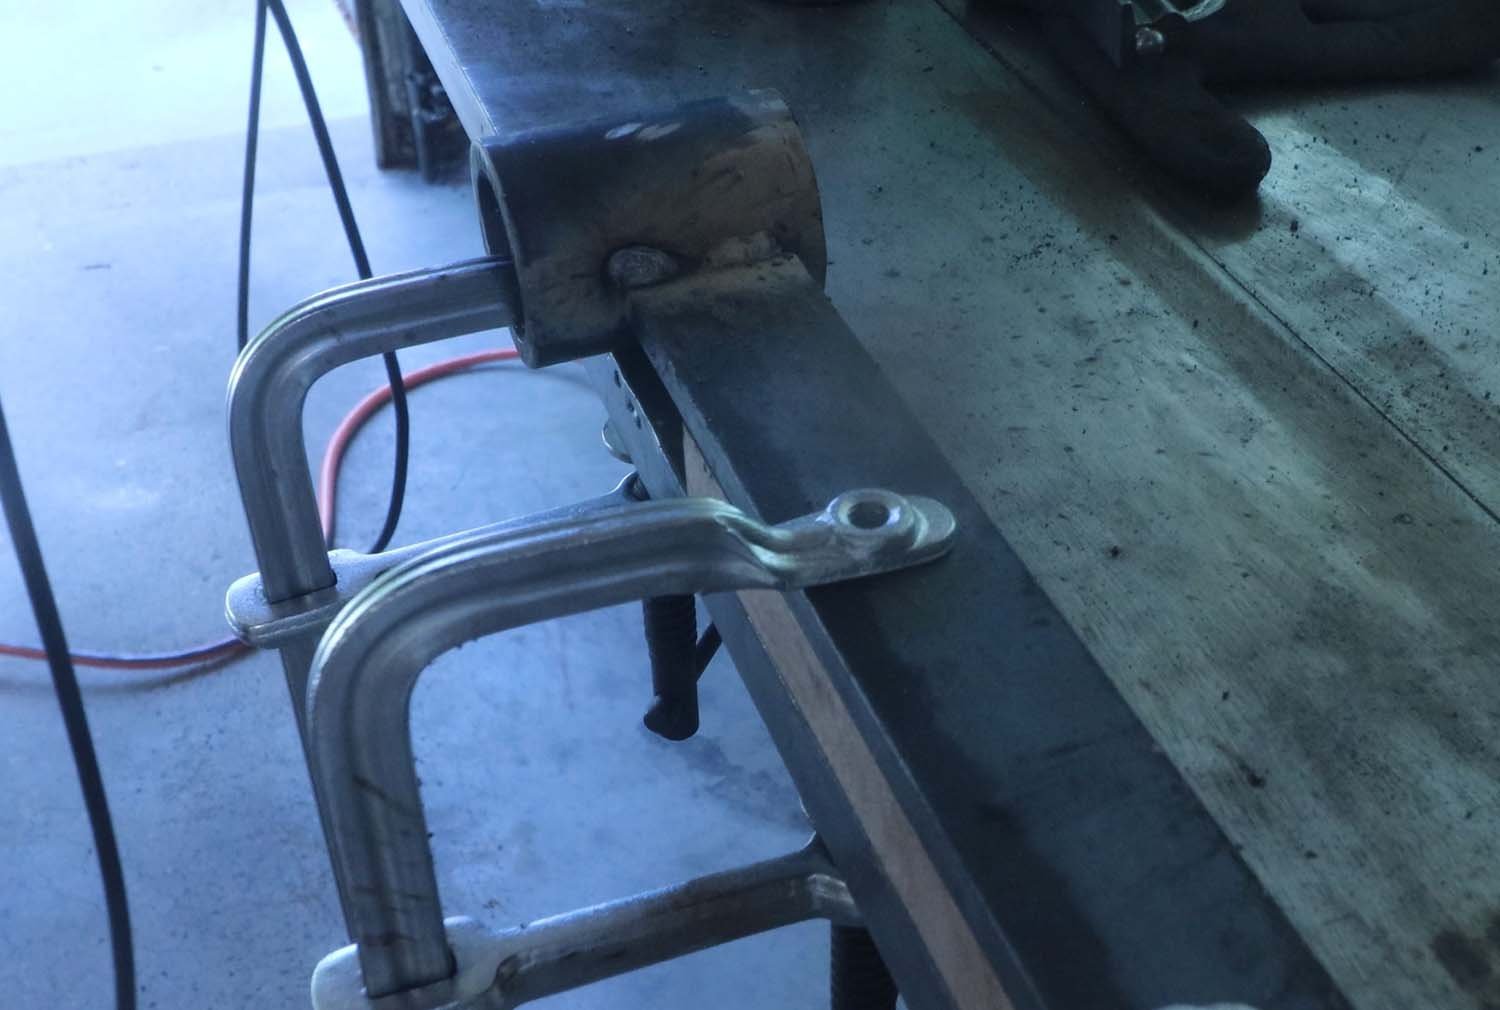
I first welded the end caps to the top of the tube. I clamped these down to my welding table and tack welded the caps on. Then I removed the clamps and finished the weld all around the cap.
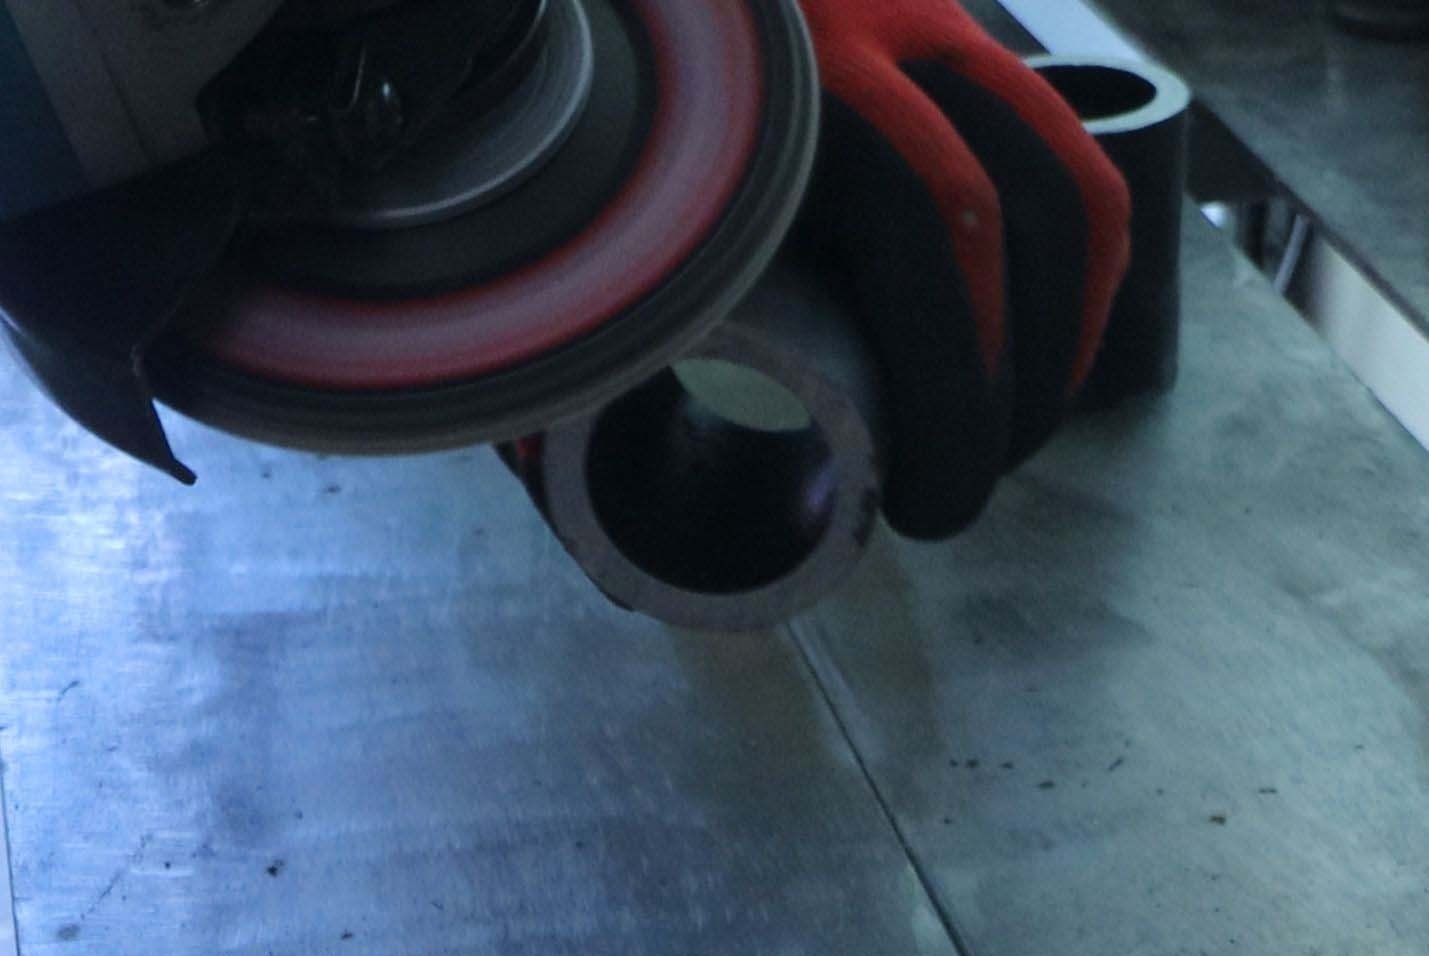
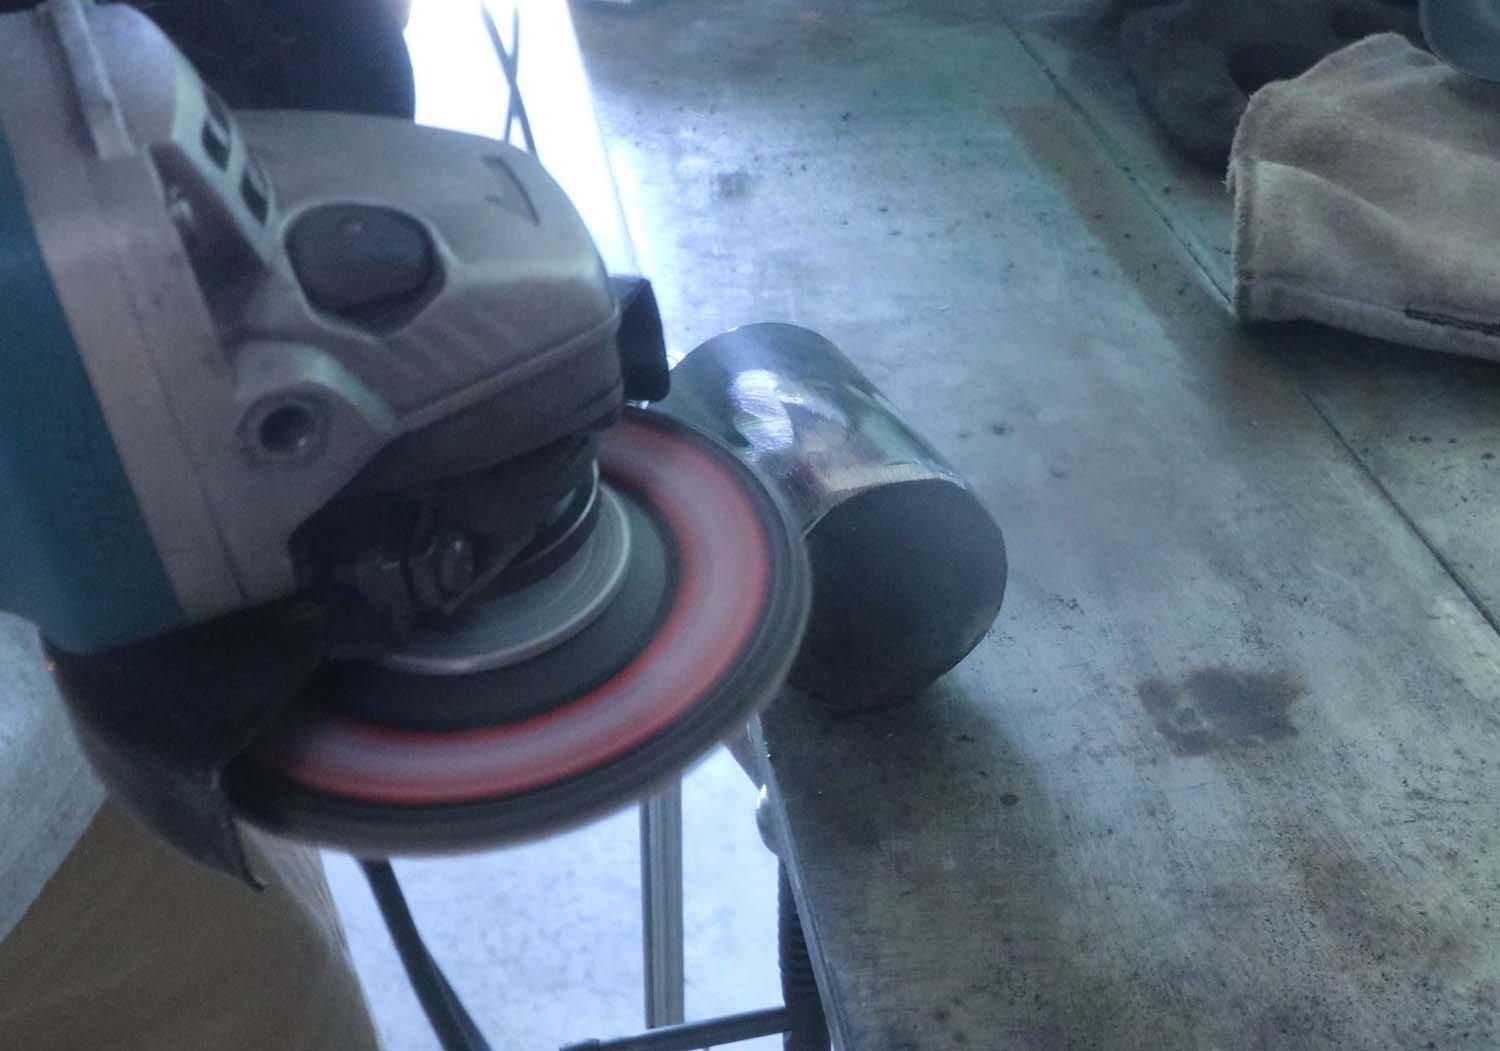
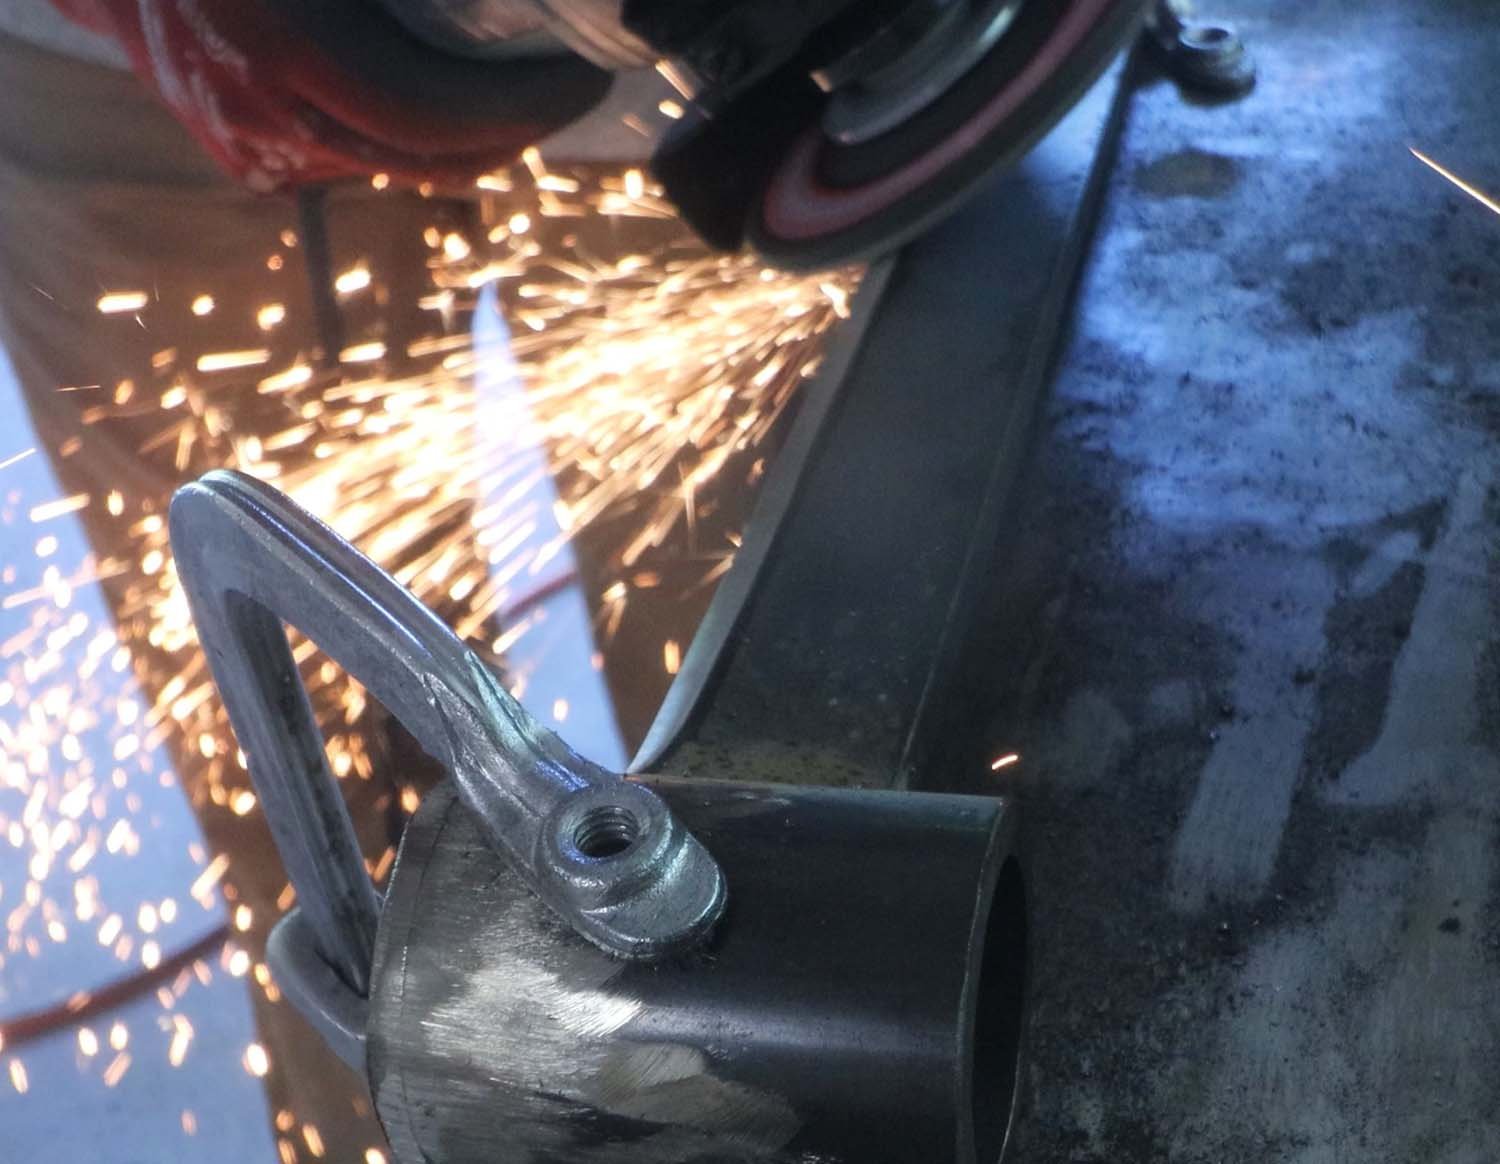
After finishing the welds, I ground the excess material off so that the end caps were nice and round, matching the tube.

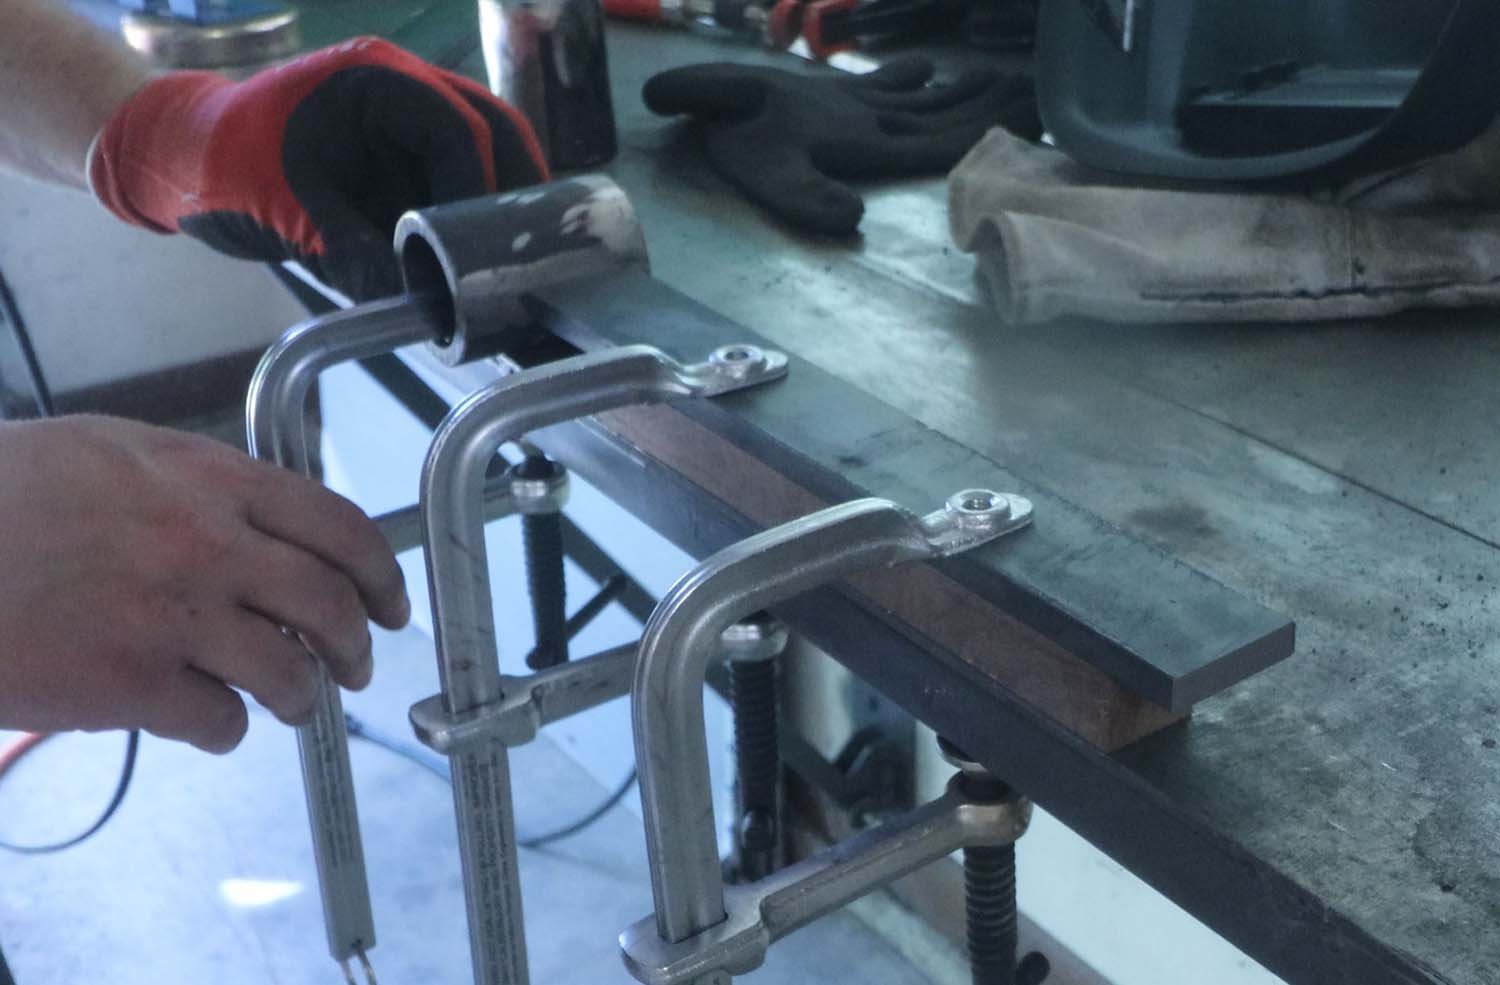
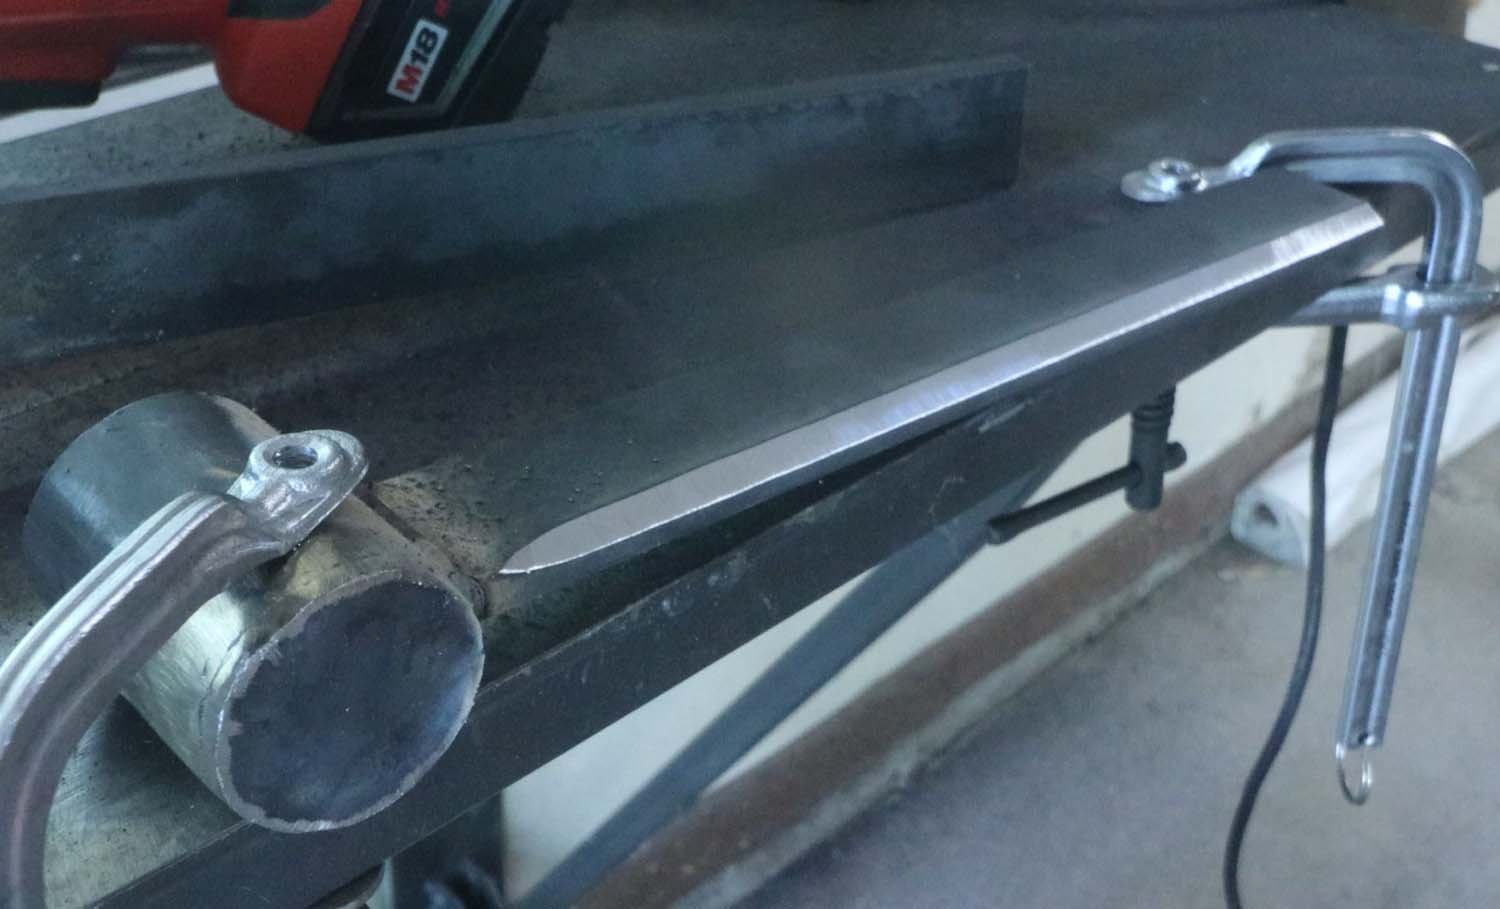
I made a wooden spacer to position the blade at the center of the collar. For this particular combination of 2" (51 mm) outside diameter tube and 3/8" (9.5 mm) bar stock for the blade, the spacer was 13/16" (20.75 mm) thick.
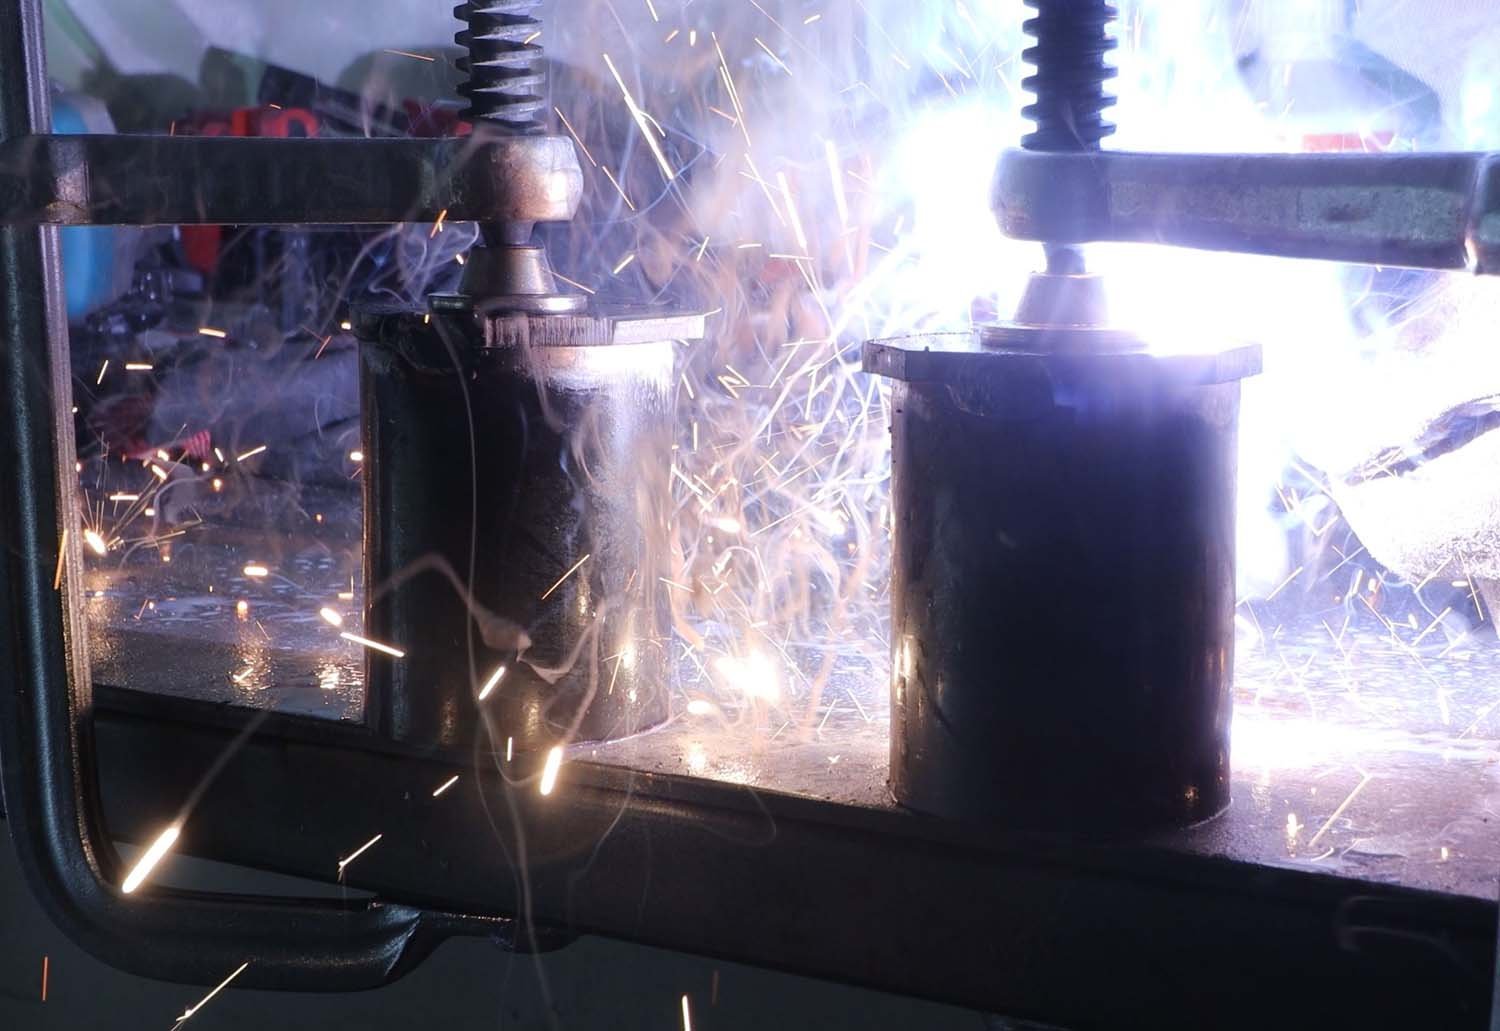
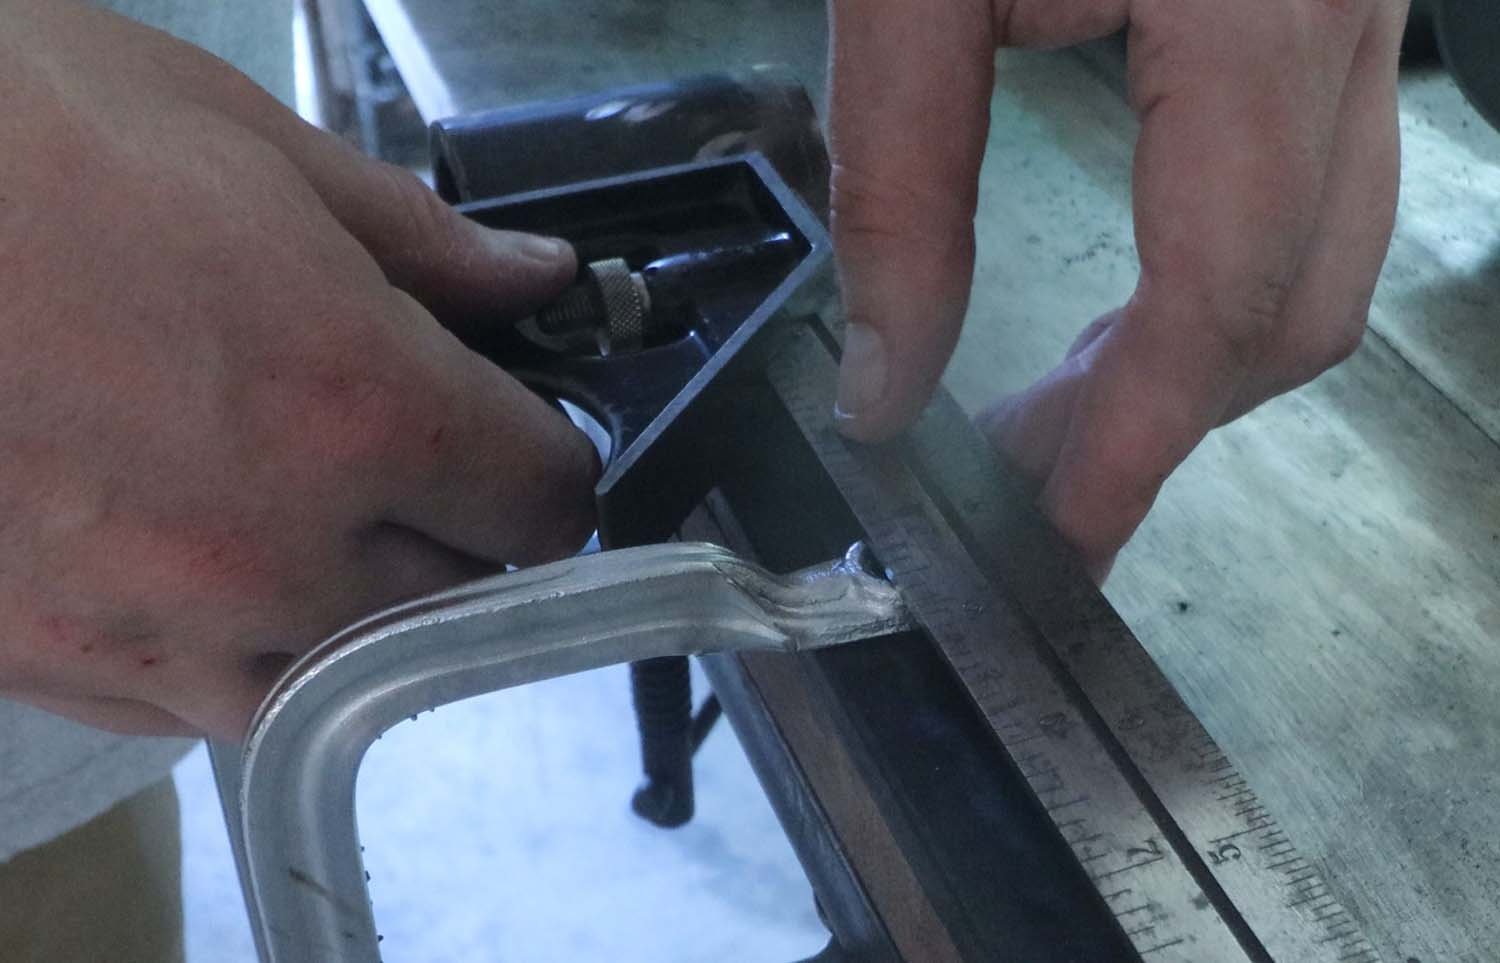
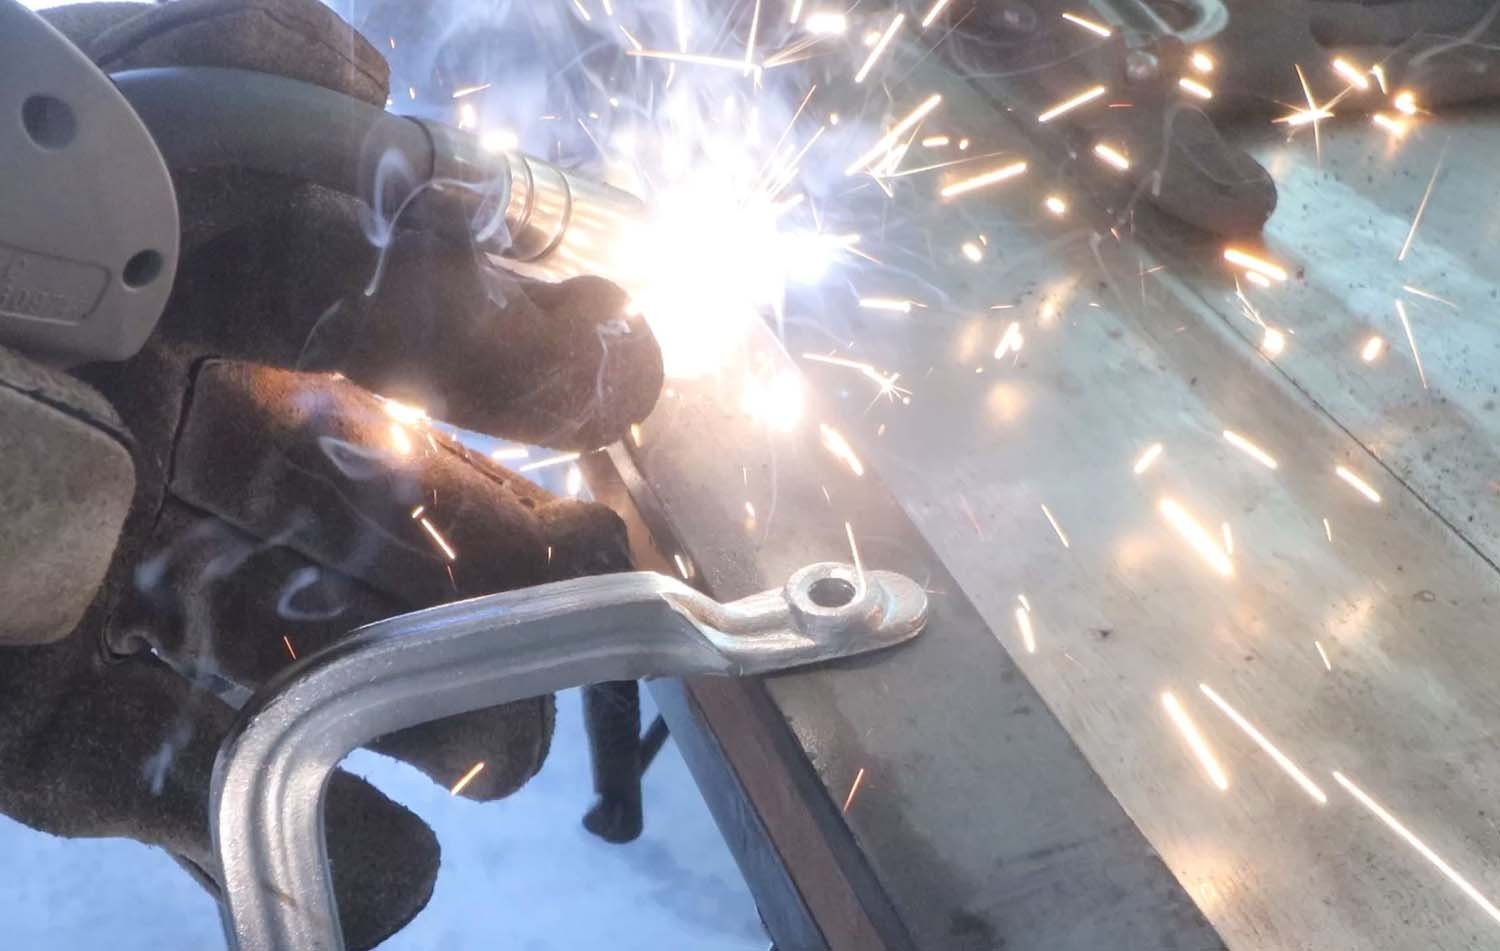
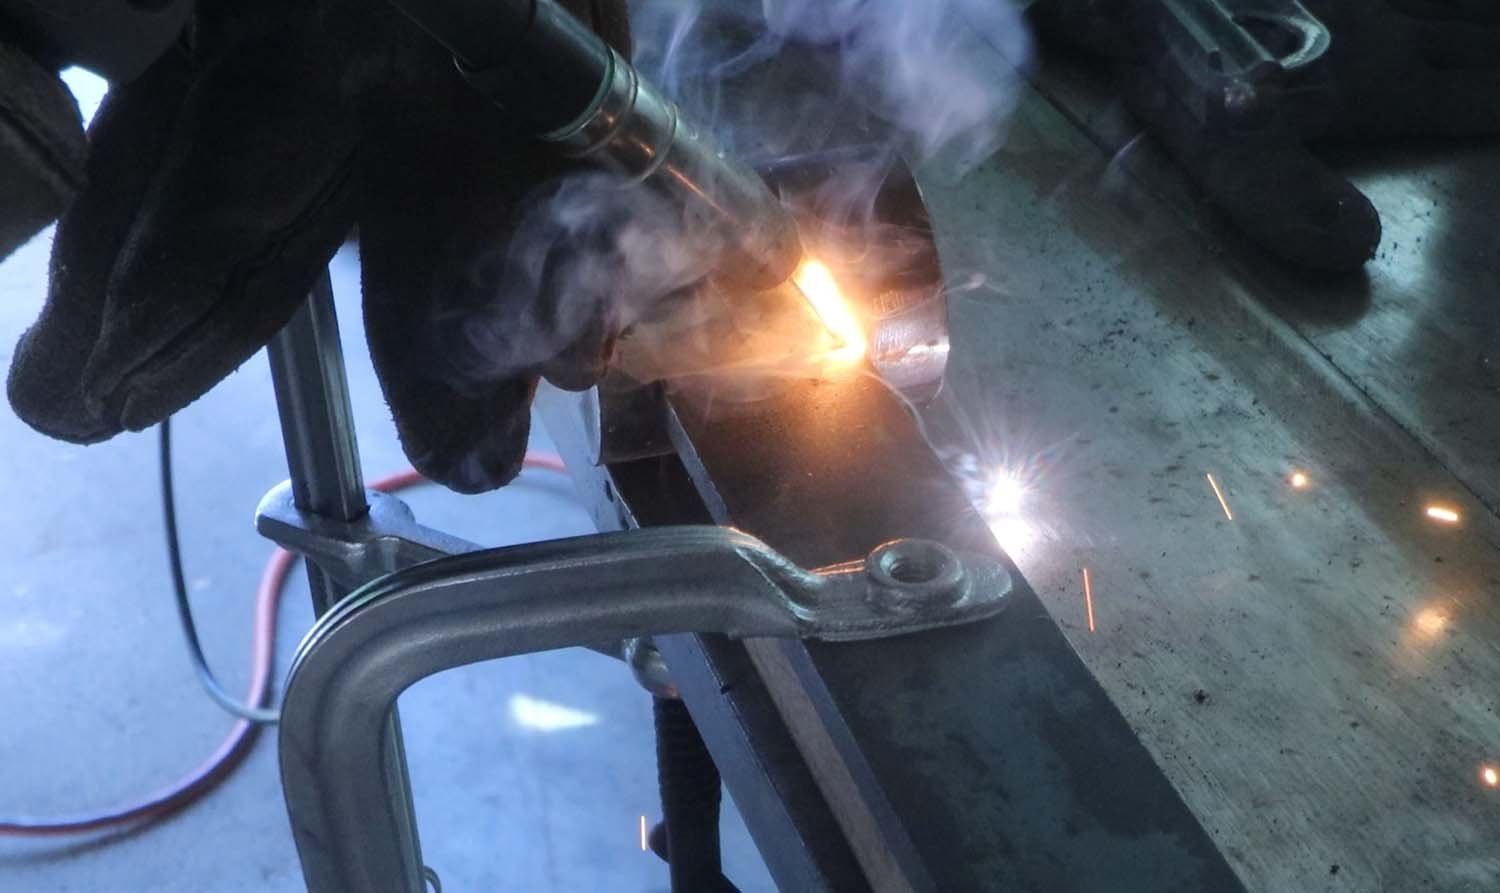
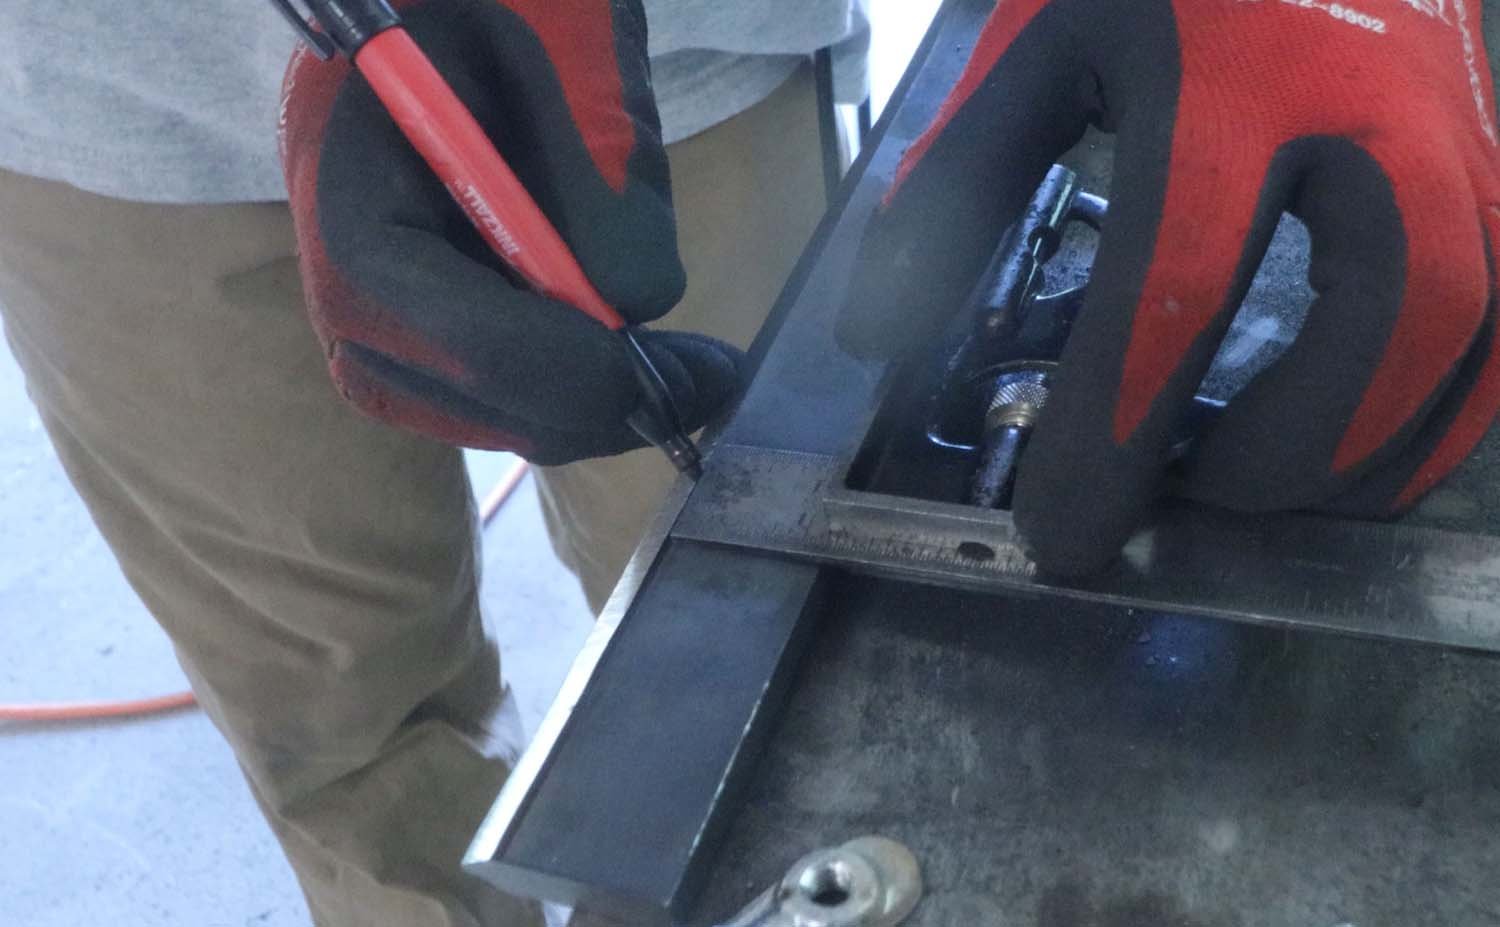
After clamping everything I checked for square. Then I ran a bead of weld in the V-groove to connect the blade to the tube. Once done with that, I undid the clamps, flipped it over, clamped again, and welded the other side.
At this point, you may decide that the weld is sufficient. I ran another bead on each side to be sure.
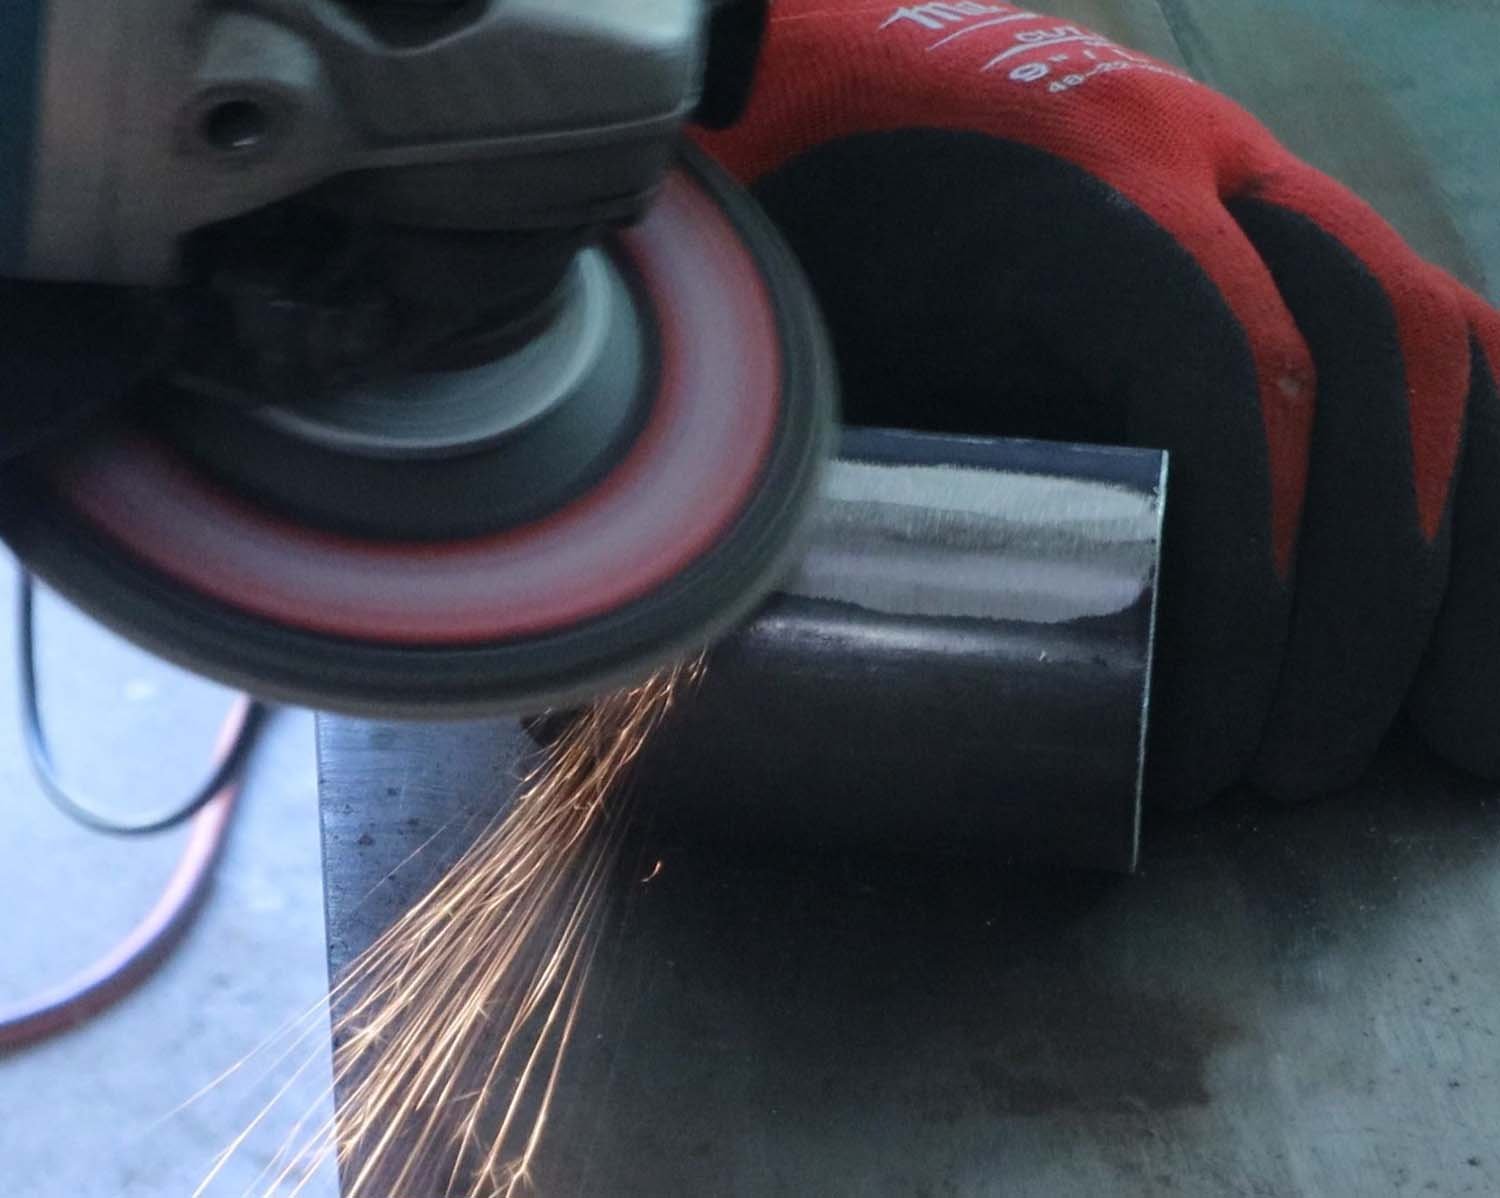
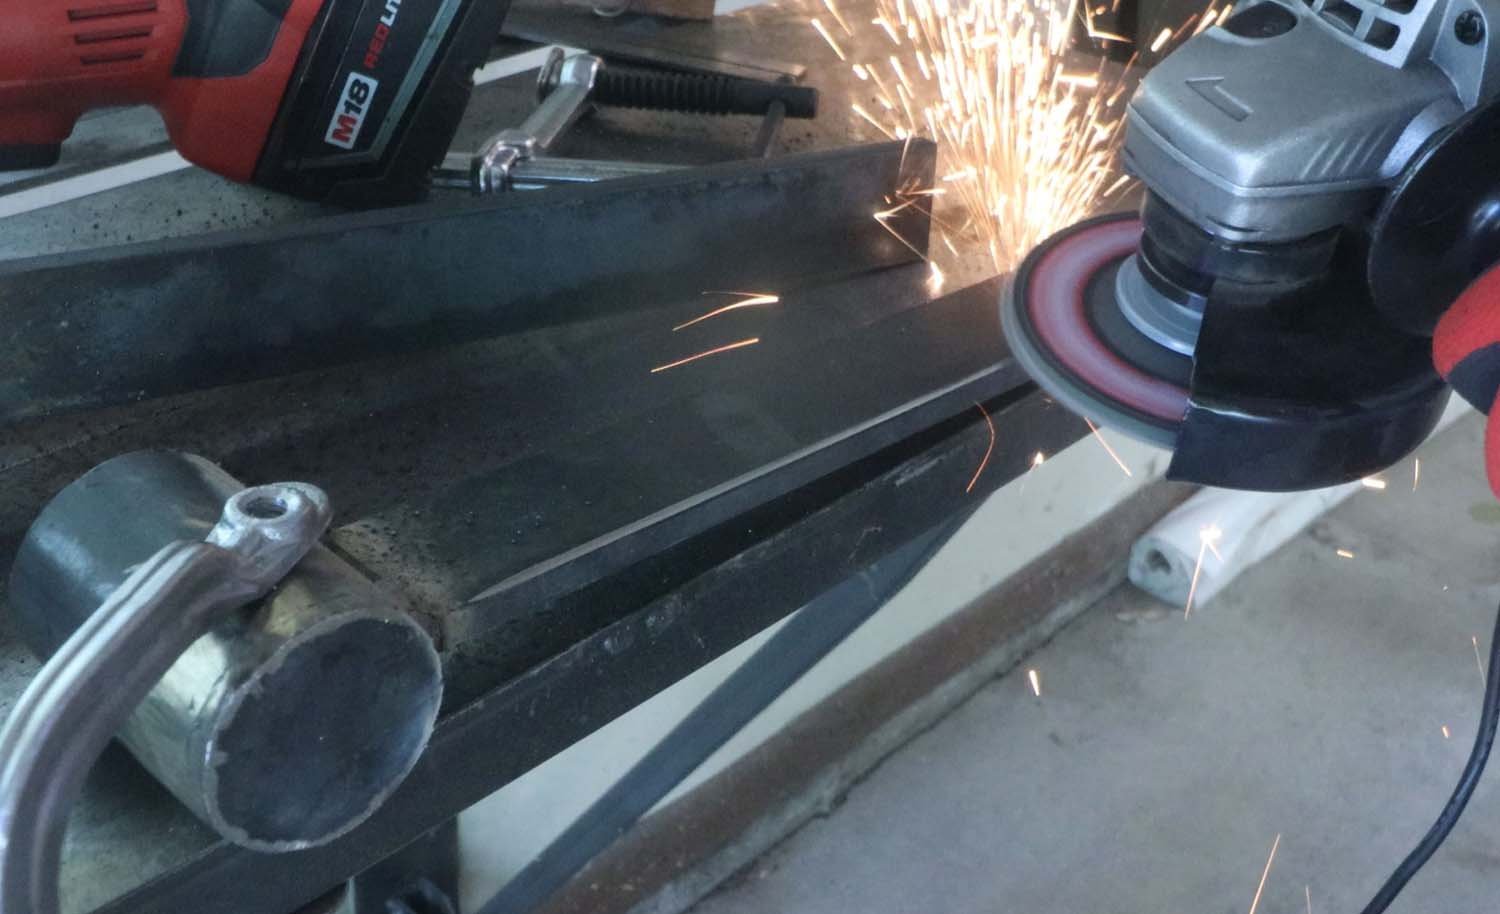
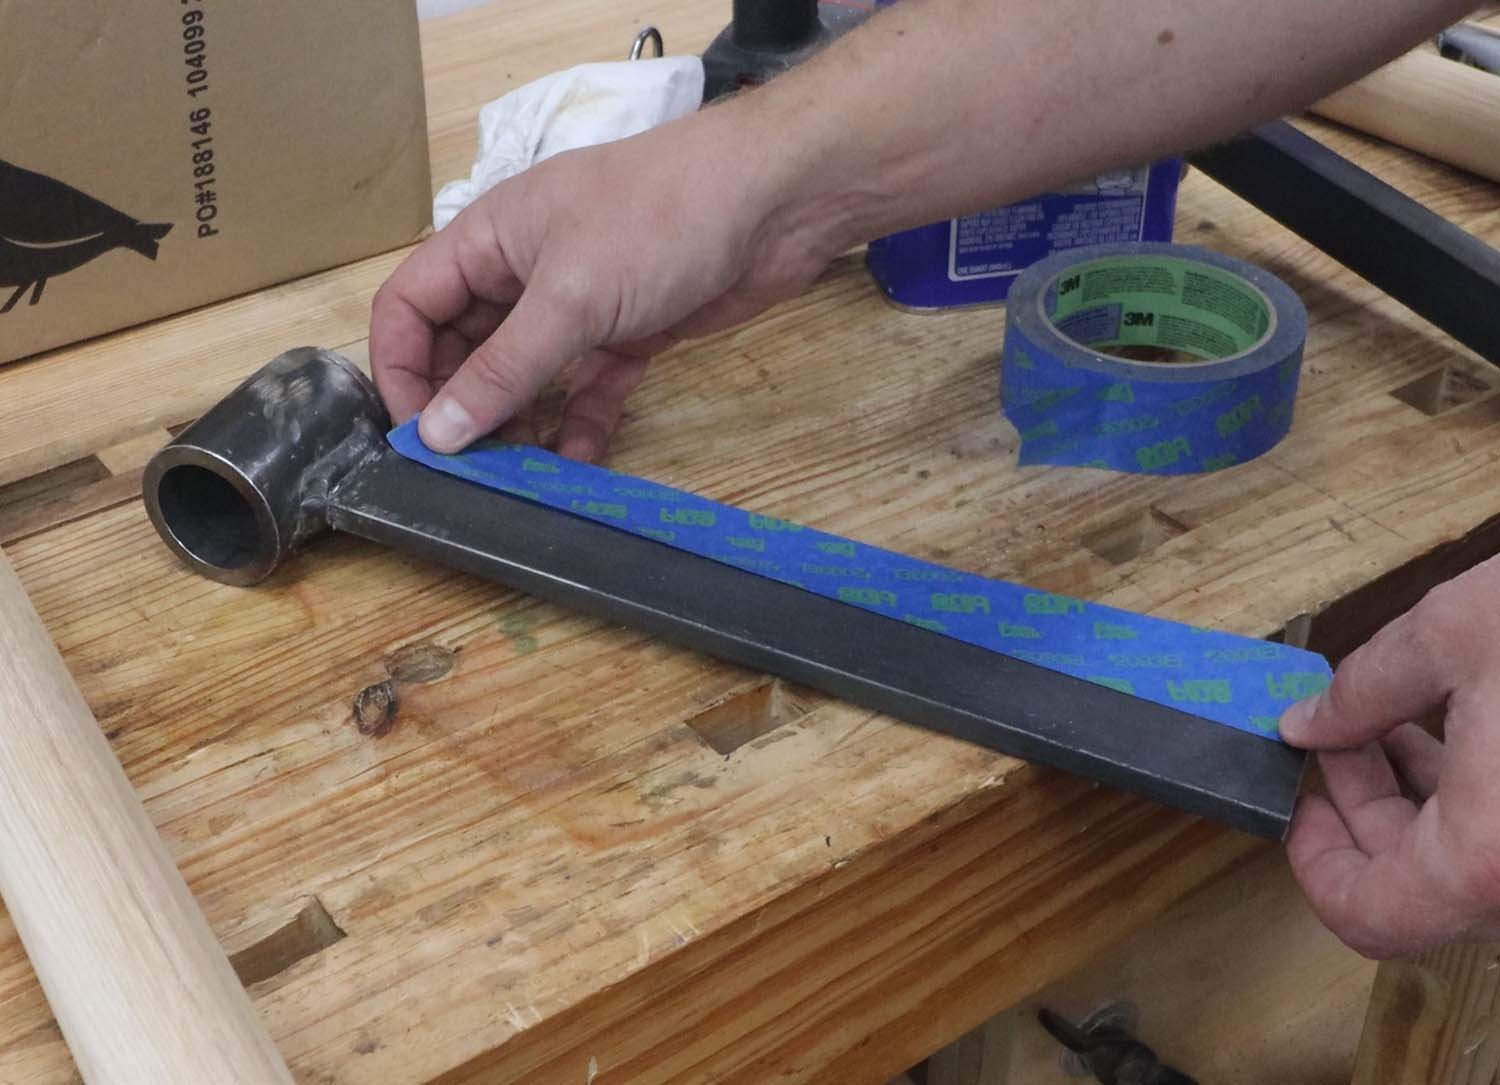
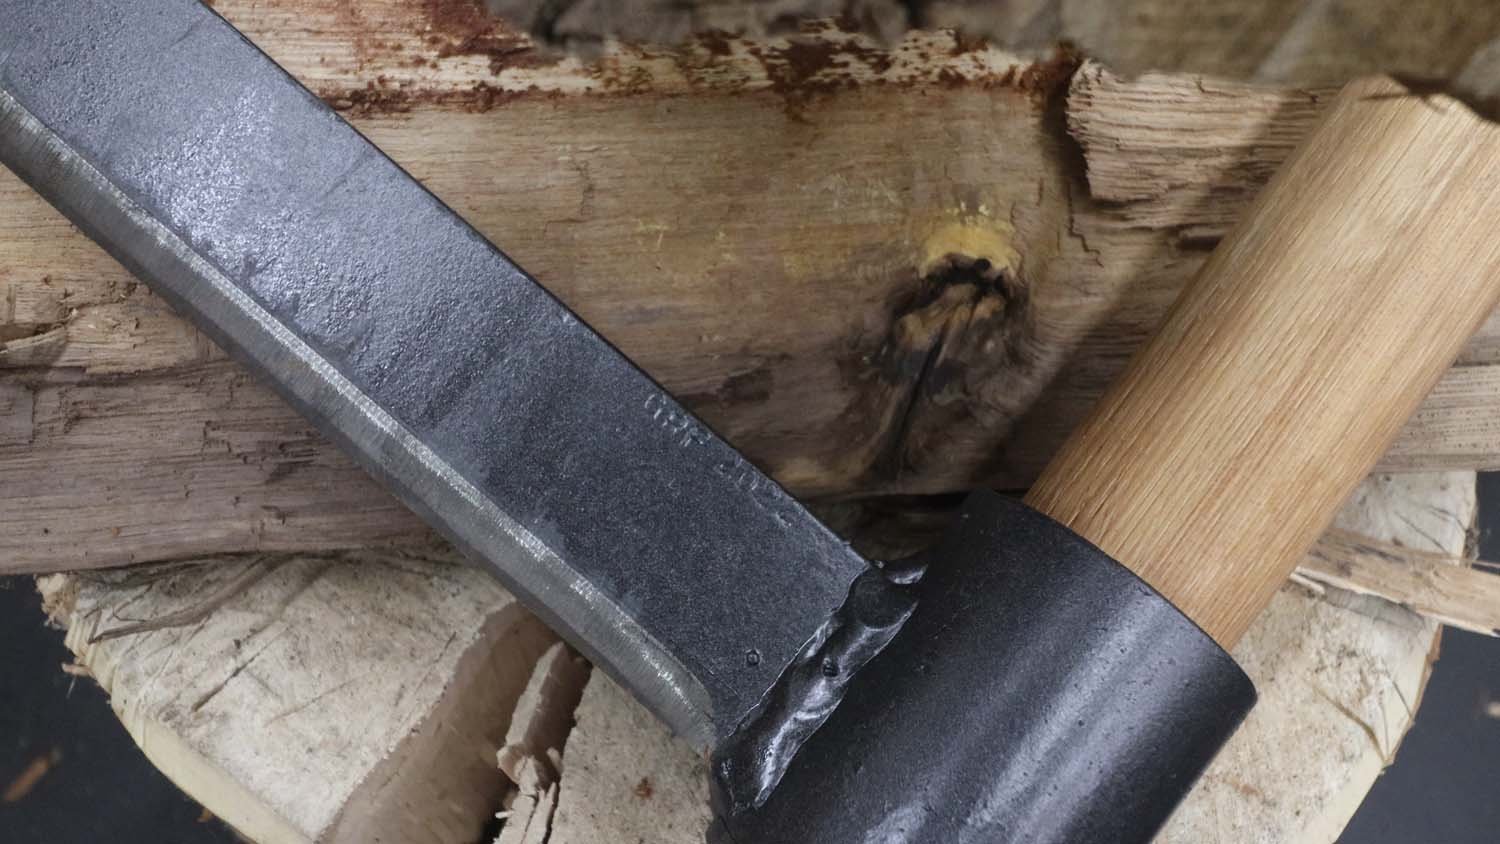
The froe sold by Lie-Nielsen comes with a 30-degree bevel, which I ground in with a flap disc. This doesn't need to be super precise, as it's a fairly rough tool.
For those wondering, with a 3/8" (9.5mm) thick blade, the bevel should extend about 0.7" (18mm) from the bottom.

With everything welded up, the next step is the handle.
I made mine out of a piece of straight-grained hickory, about 22" (560mm) long. As the inner diameter of the collar is 1-1/2" (38mm), I cut the handle blanks down to a hair larger than that.
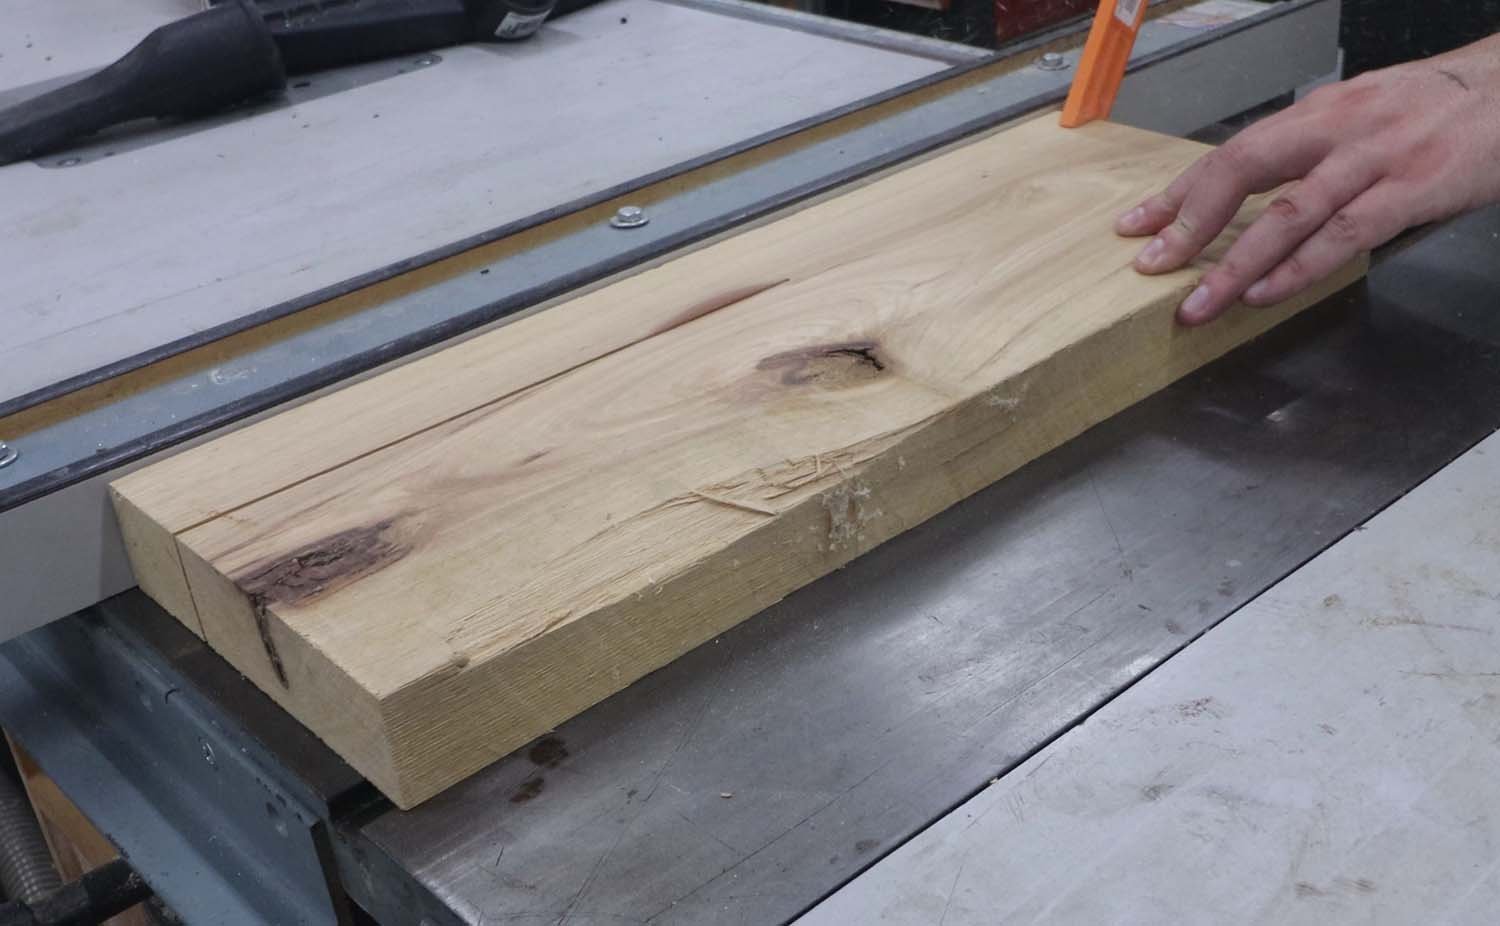
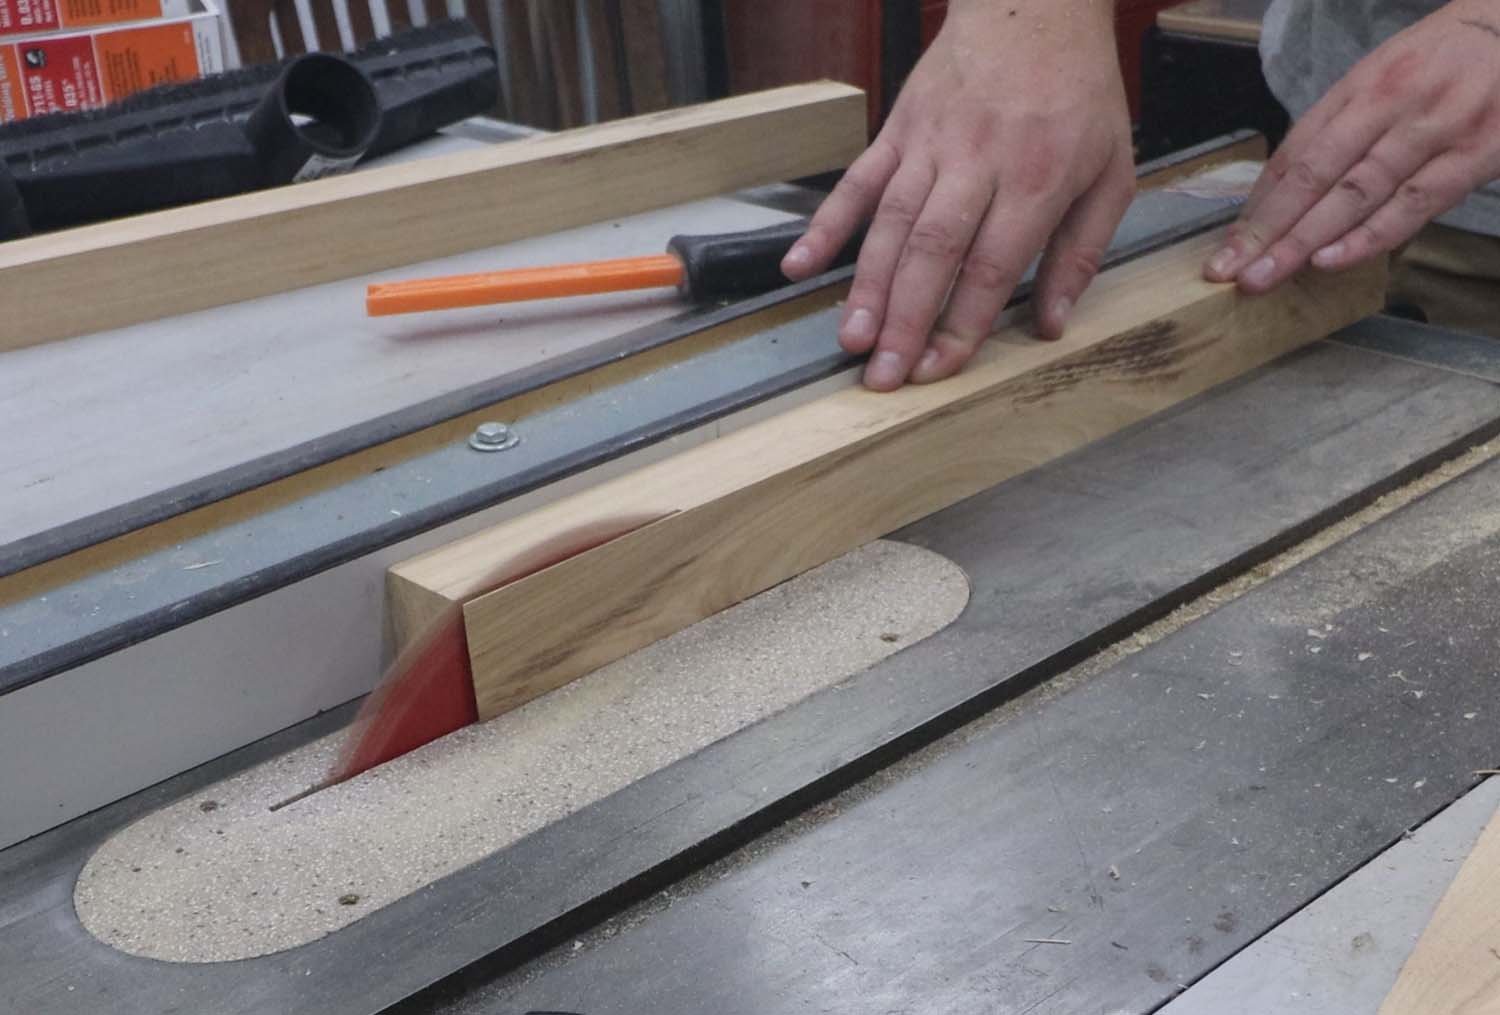
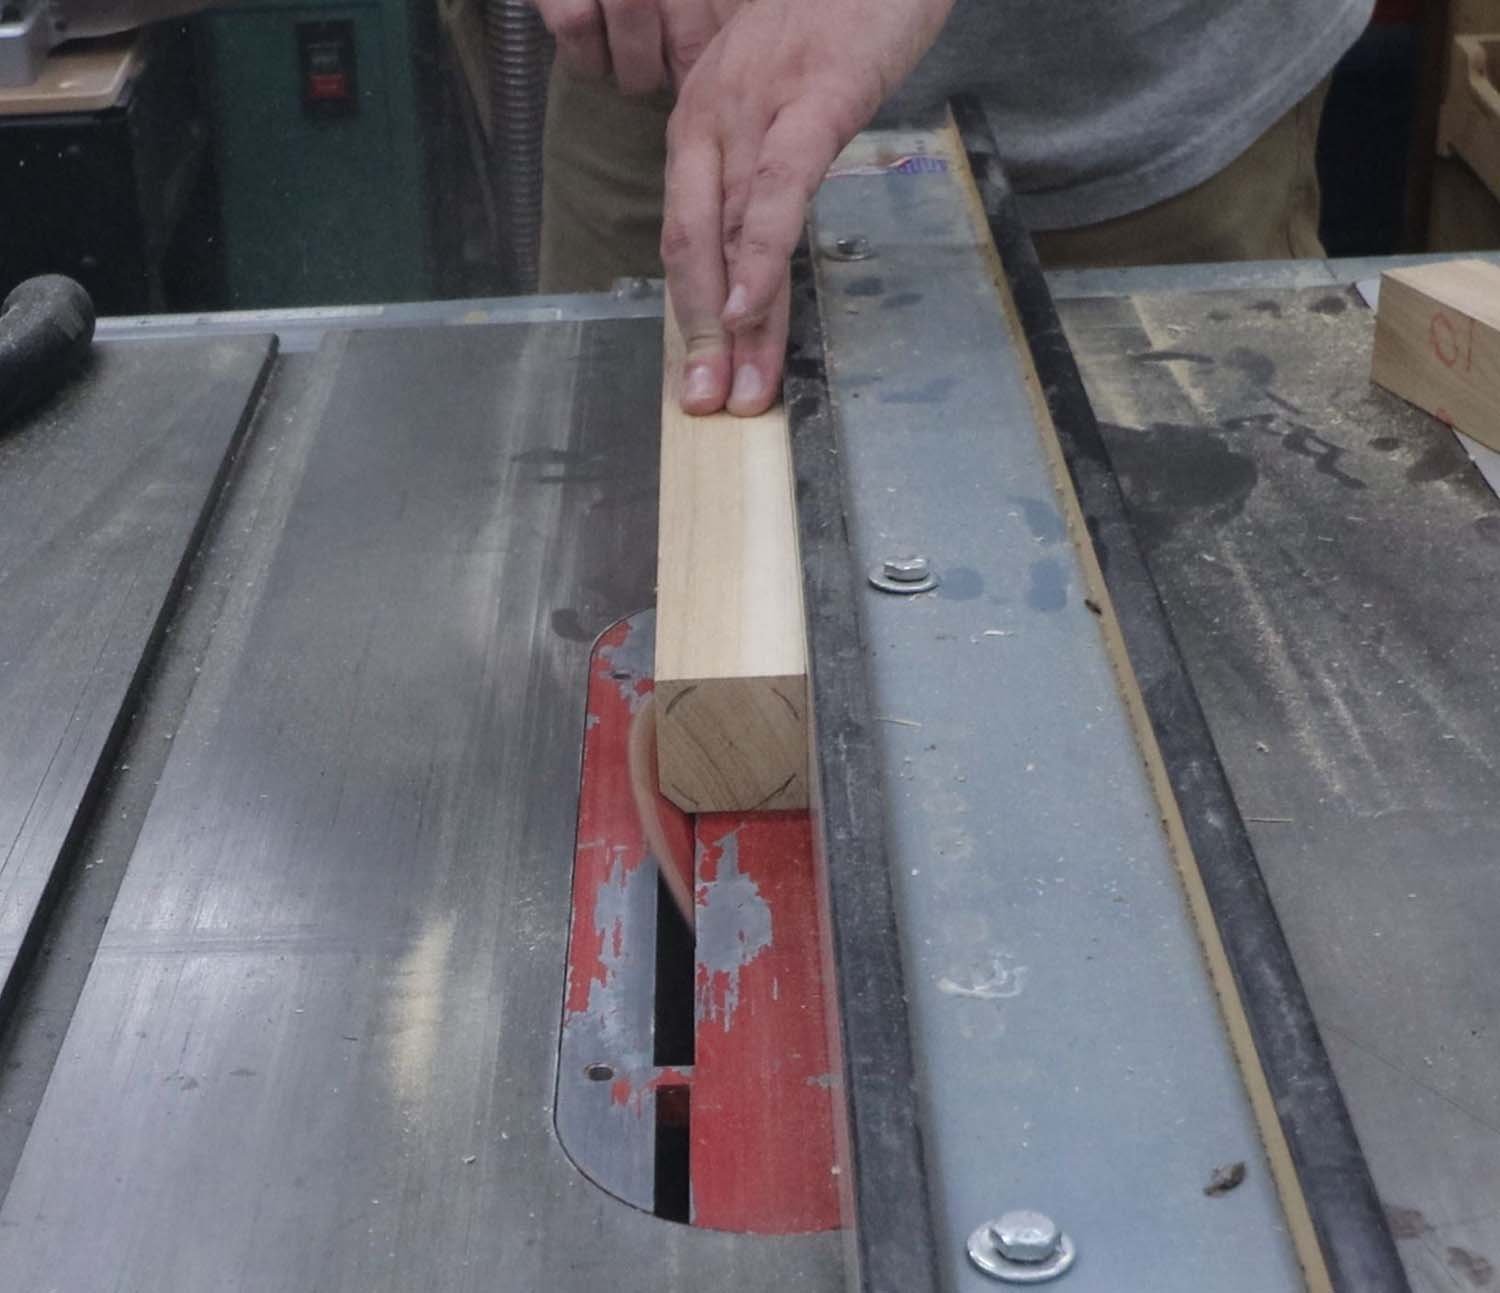
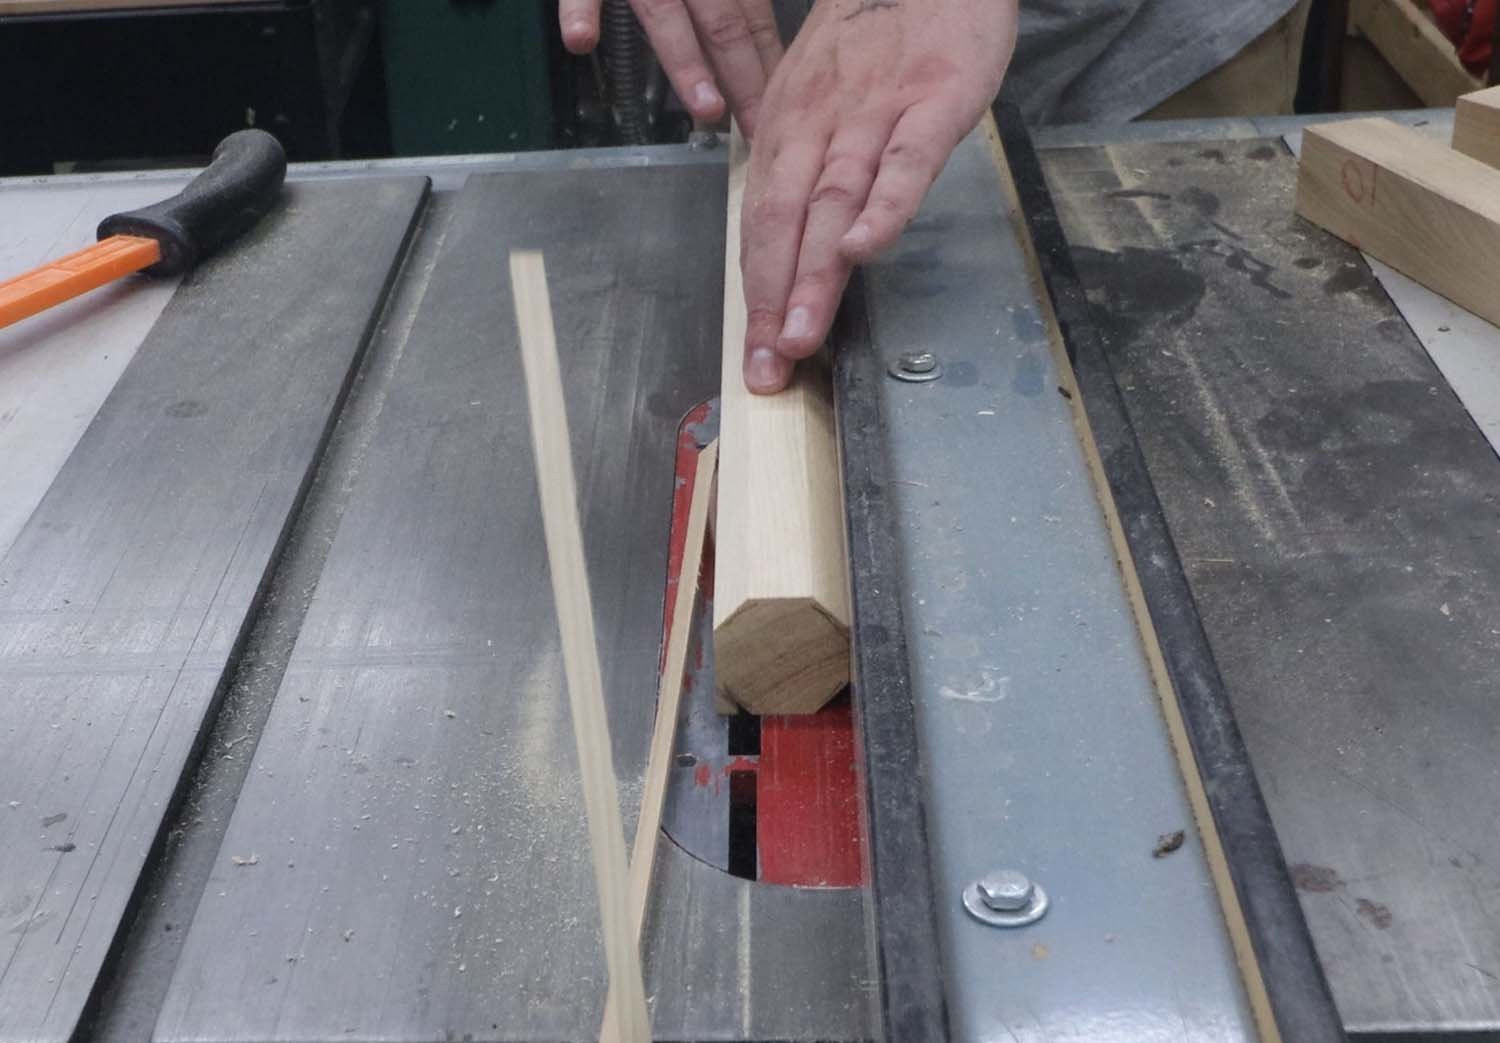
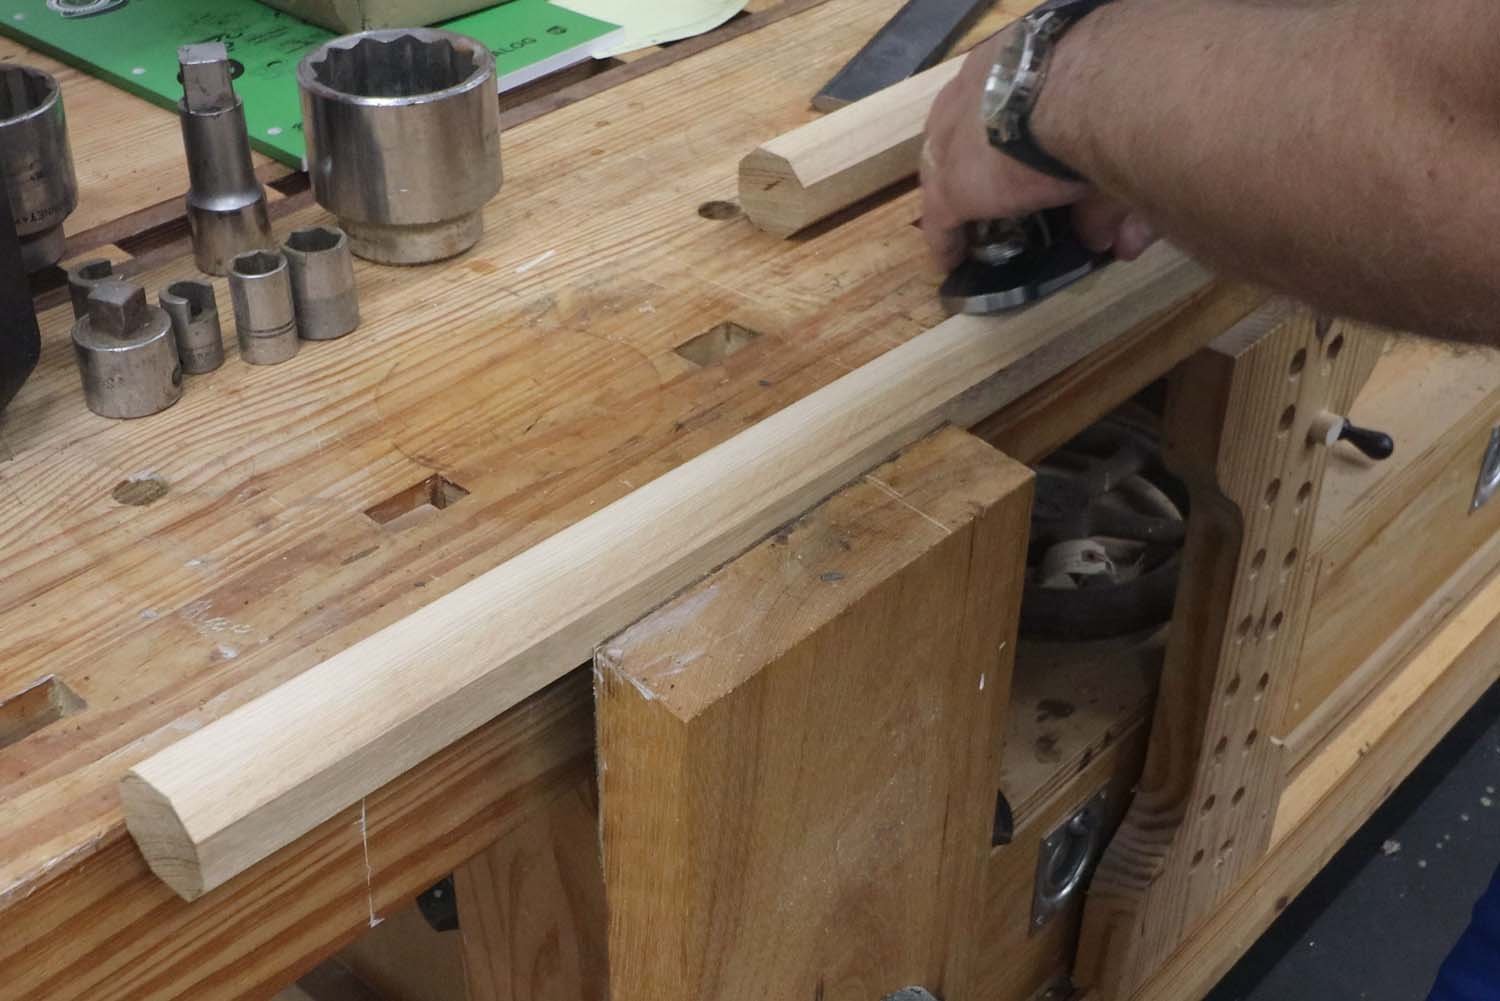
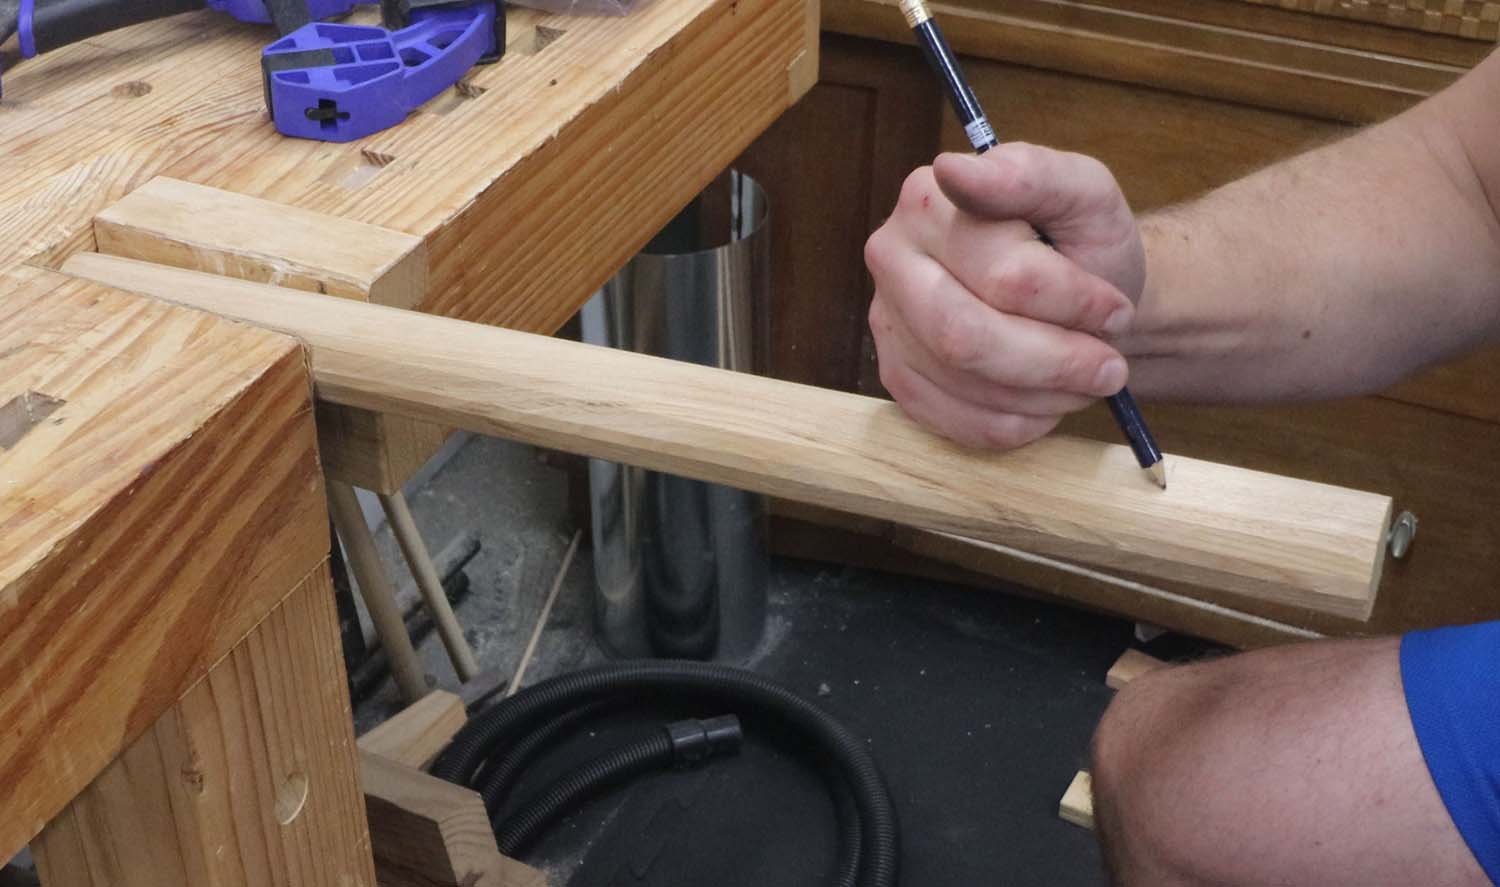
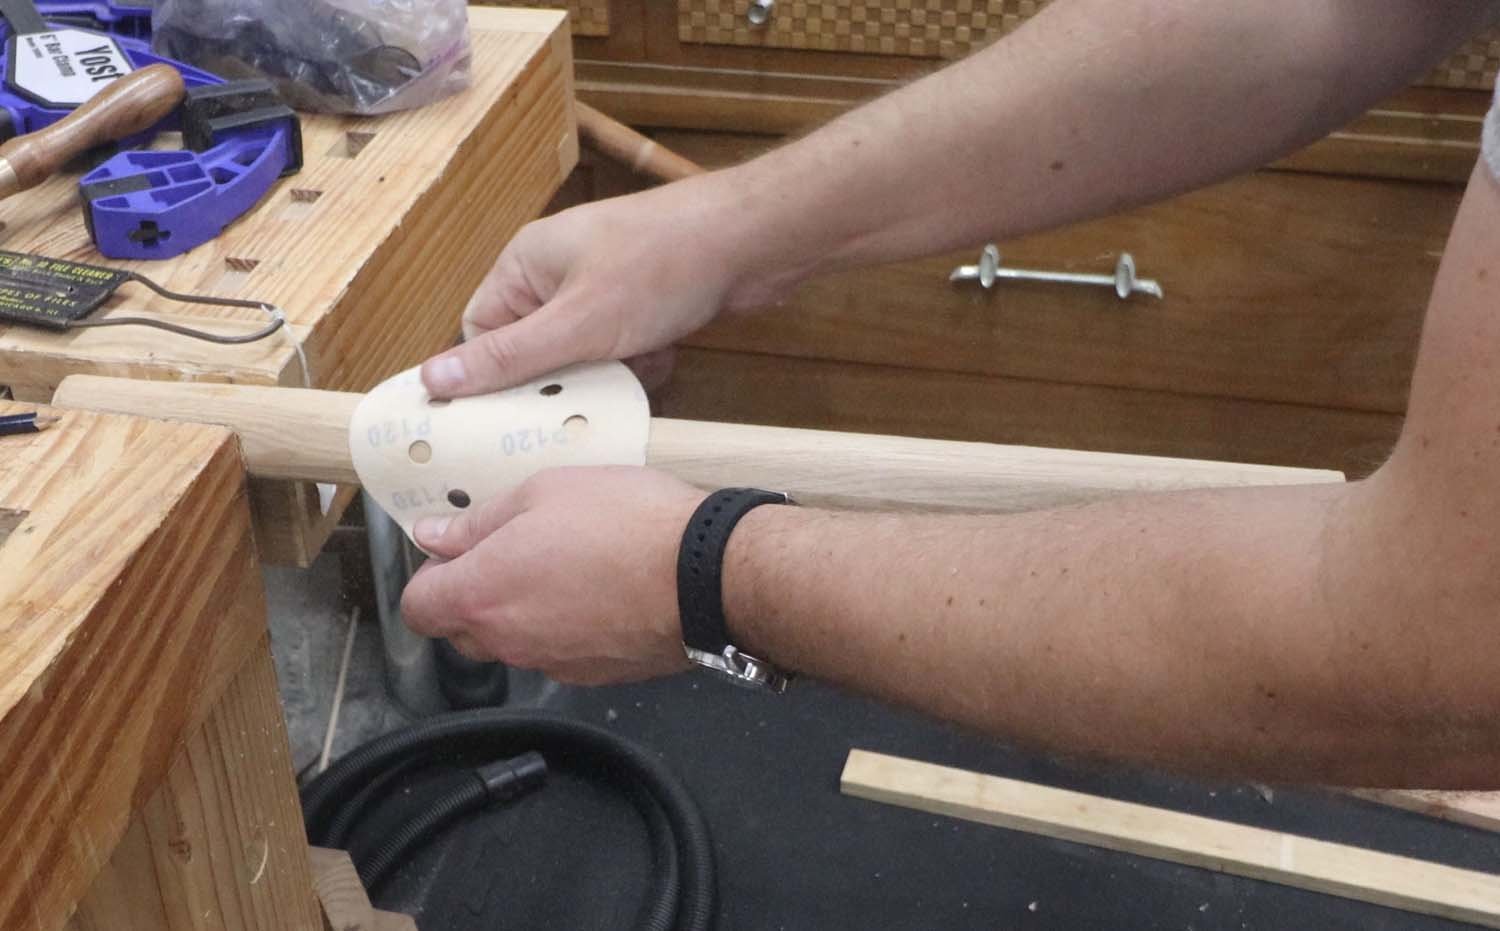
Since I don't have a lathe, I cut these into octagons, and then round them with a combination of hand planes, a rasp, and sandpaper. To do that, I found center, and then traced out the circle to determine where to cut the corners off.
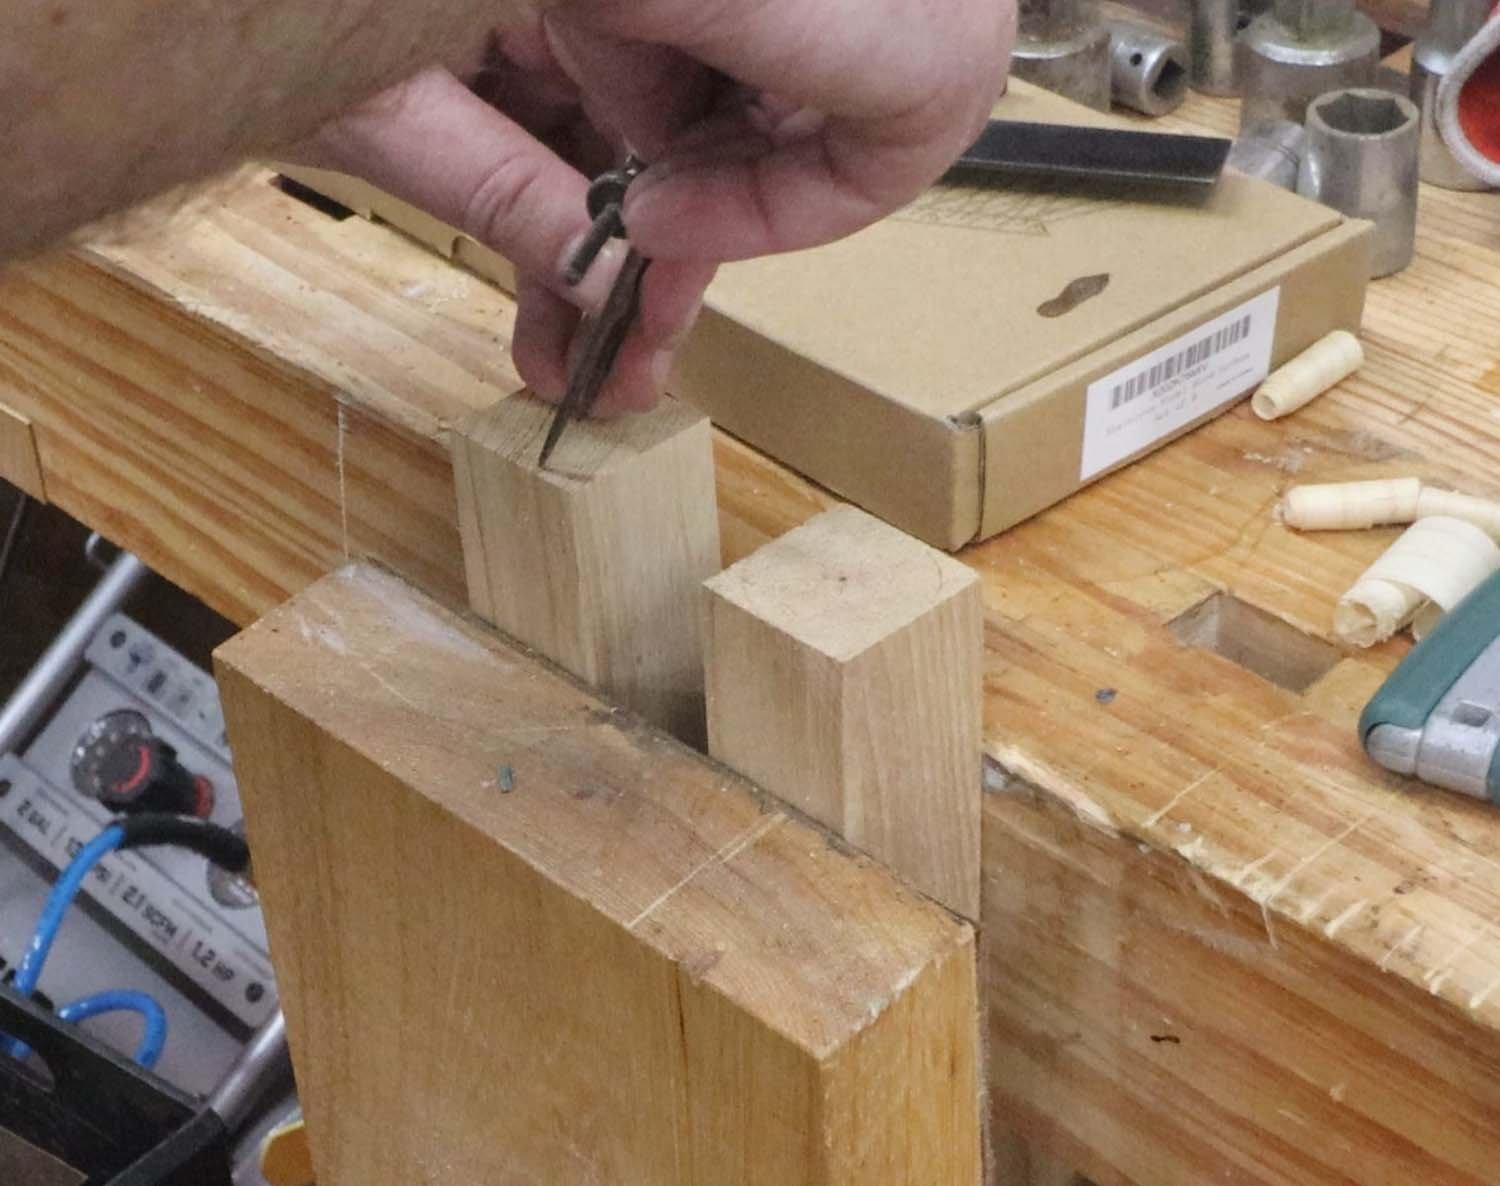

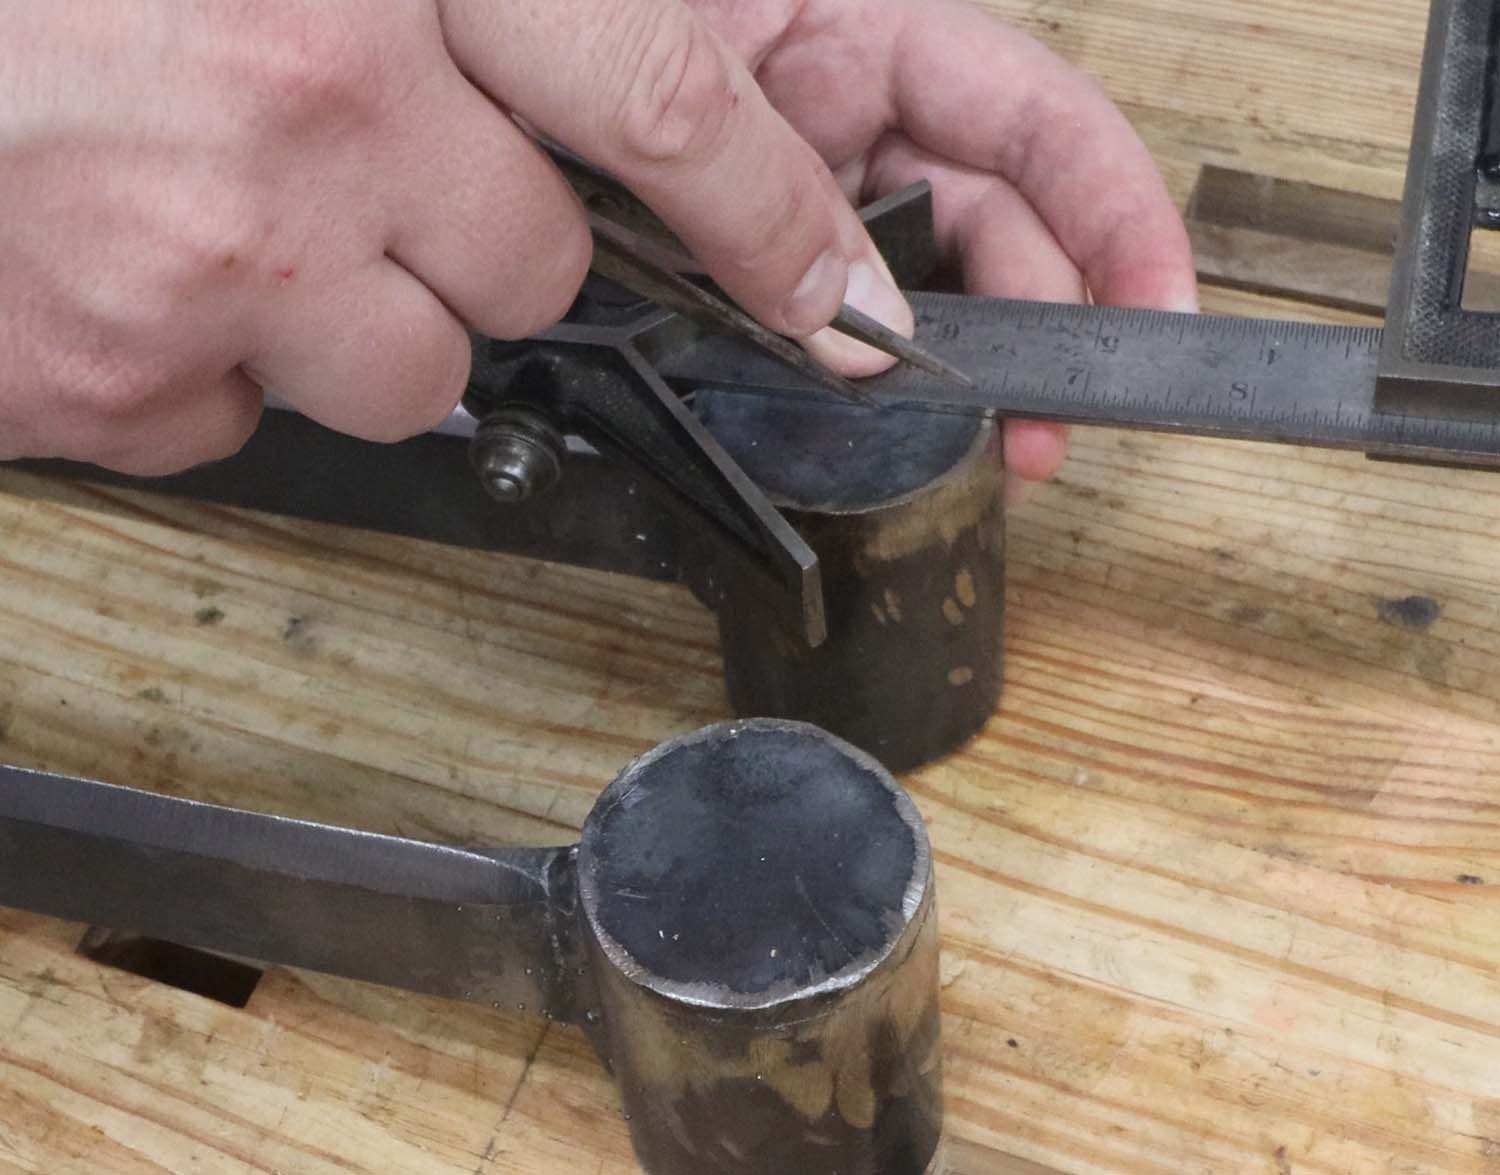
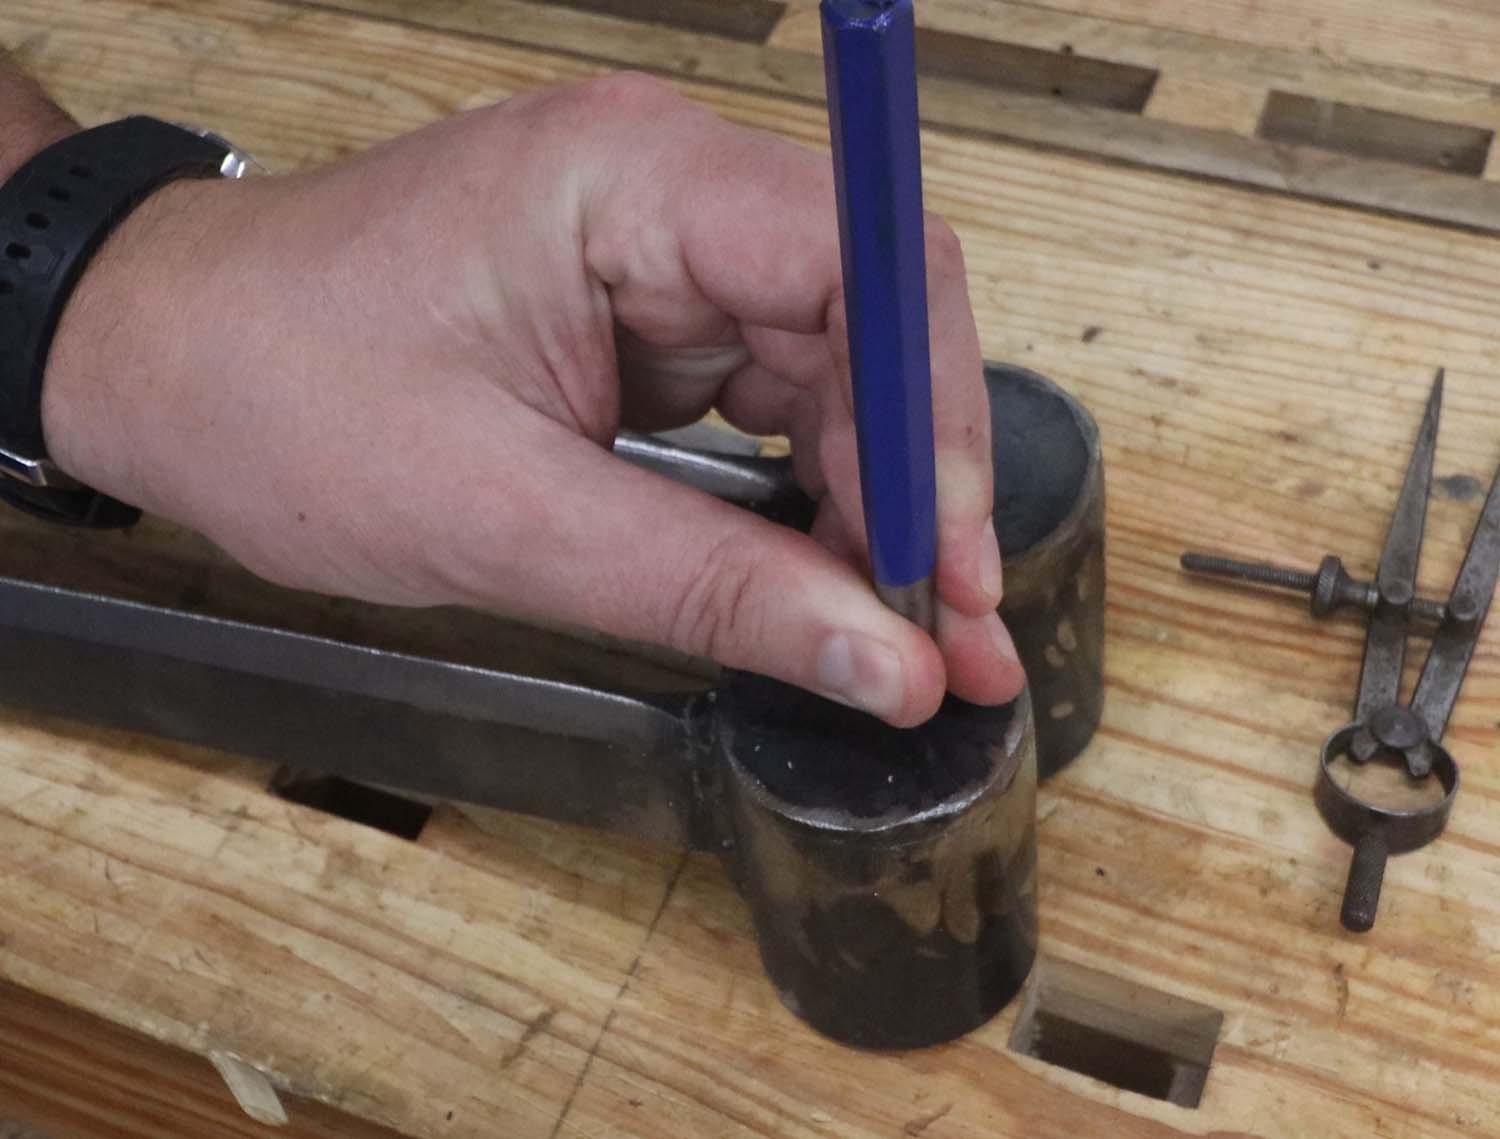
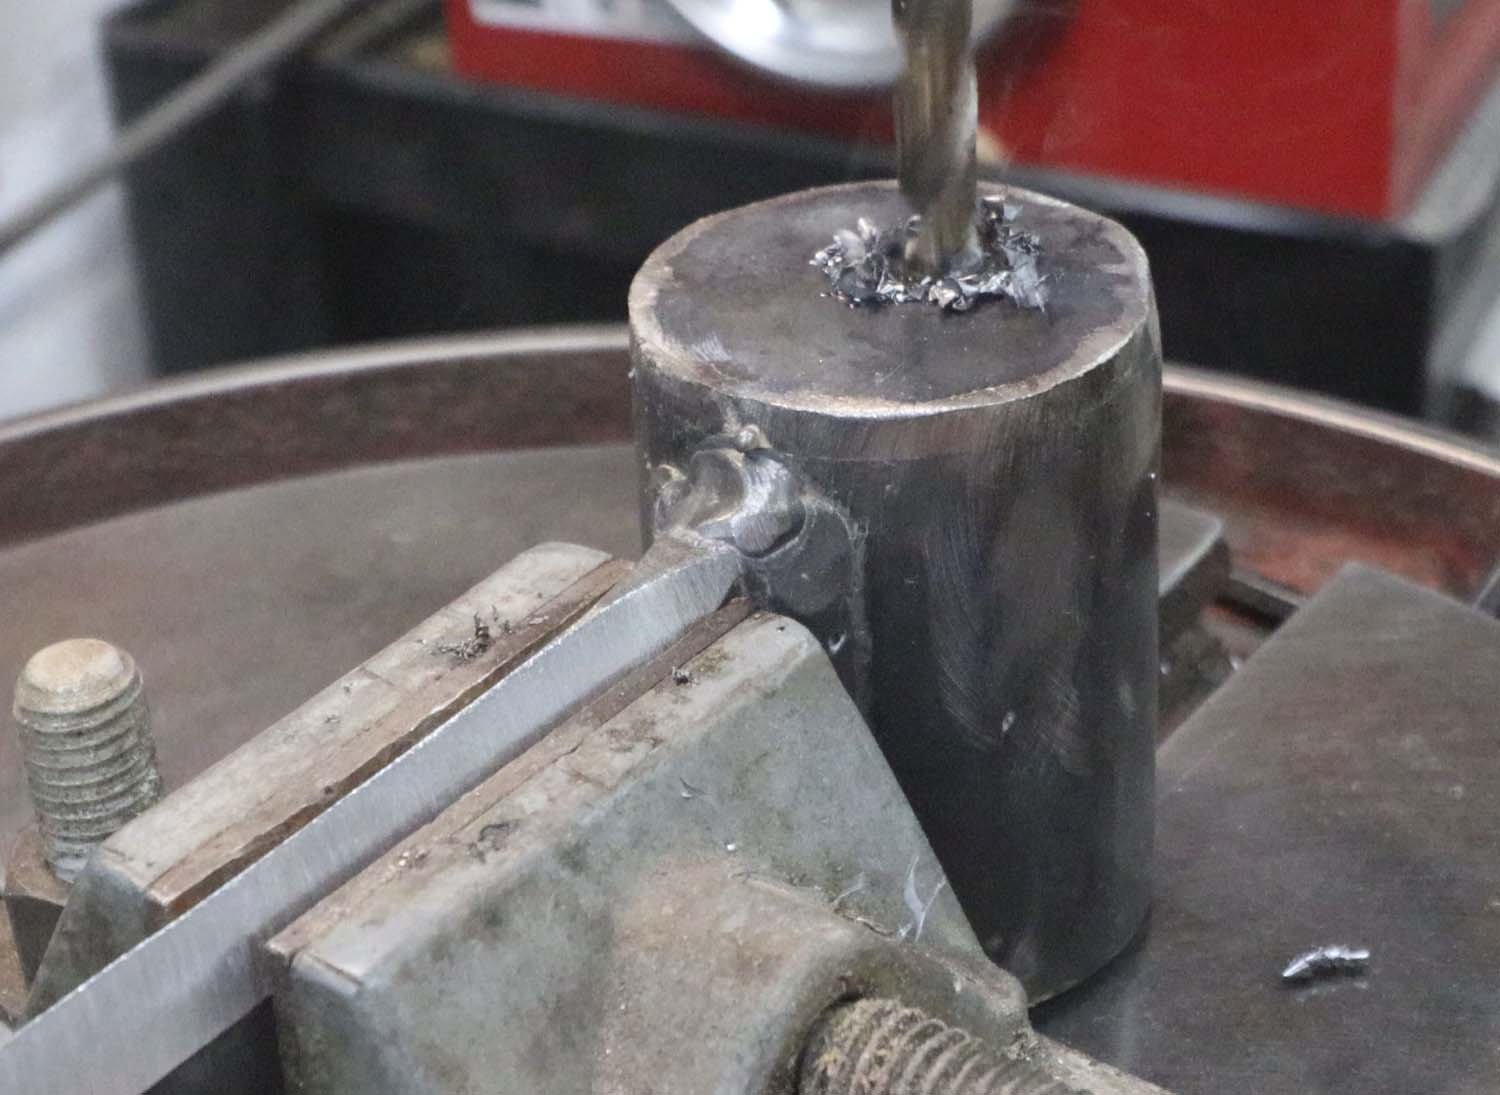
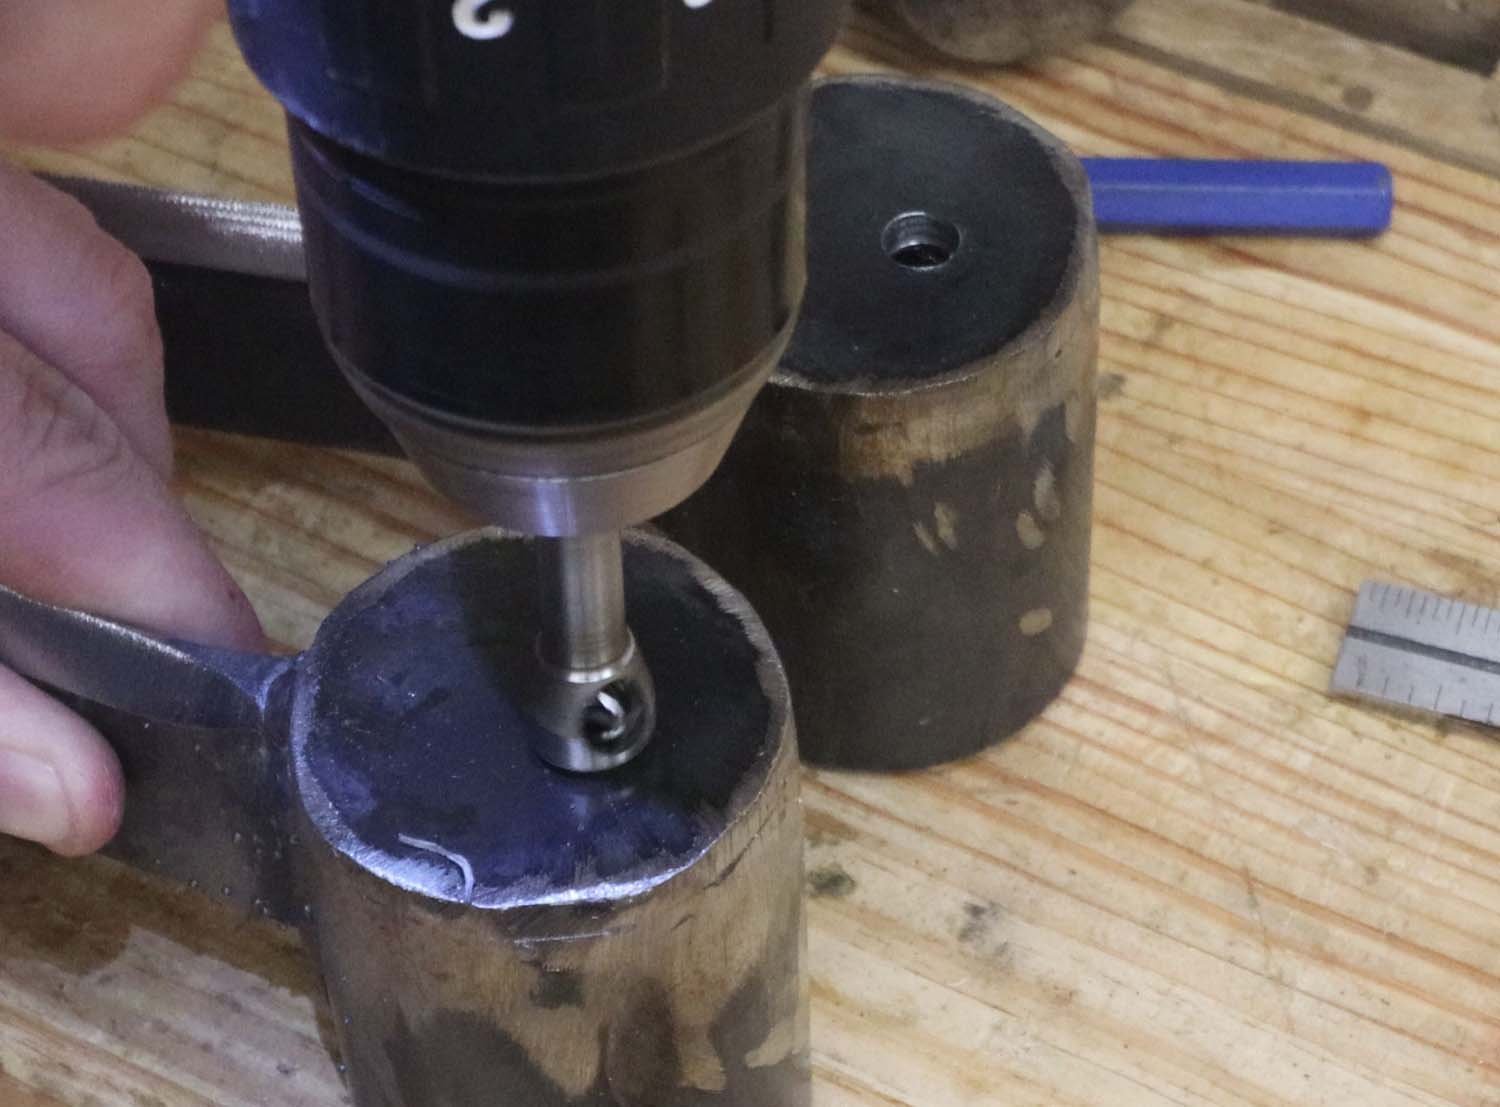
To keep the handles in the head, they need a lag screw. I'm marking an off-centered hole in the head for this. By keeping it off center, the handle can't twist out.
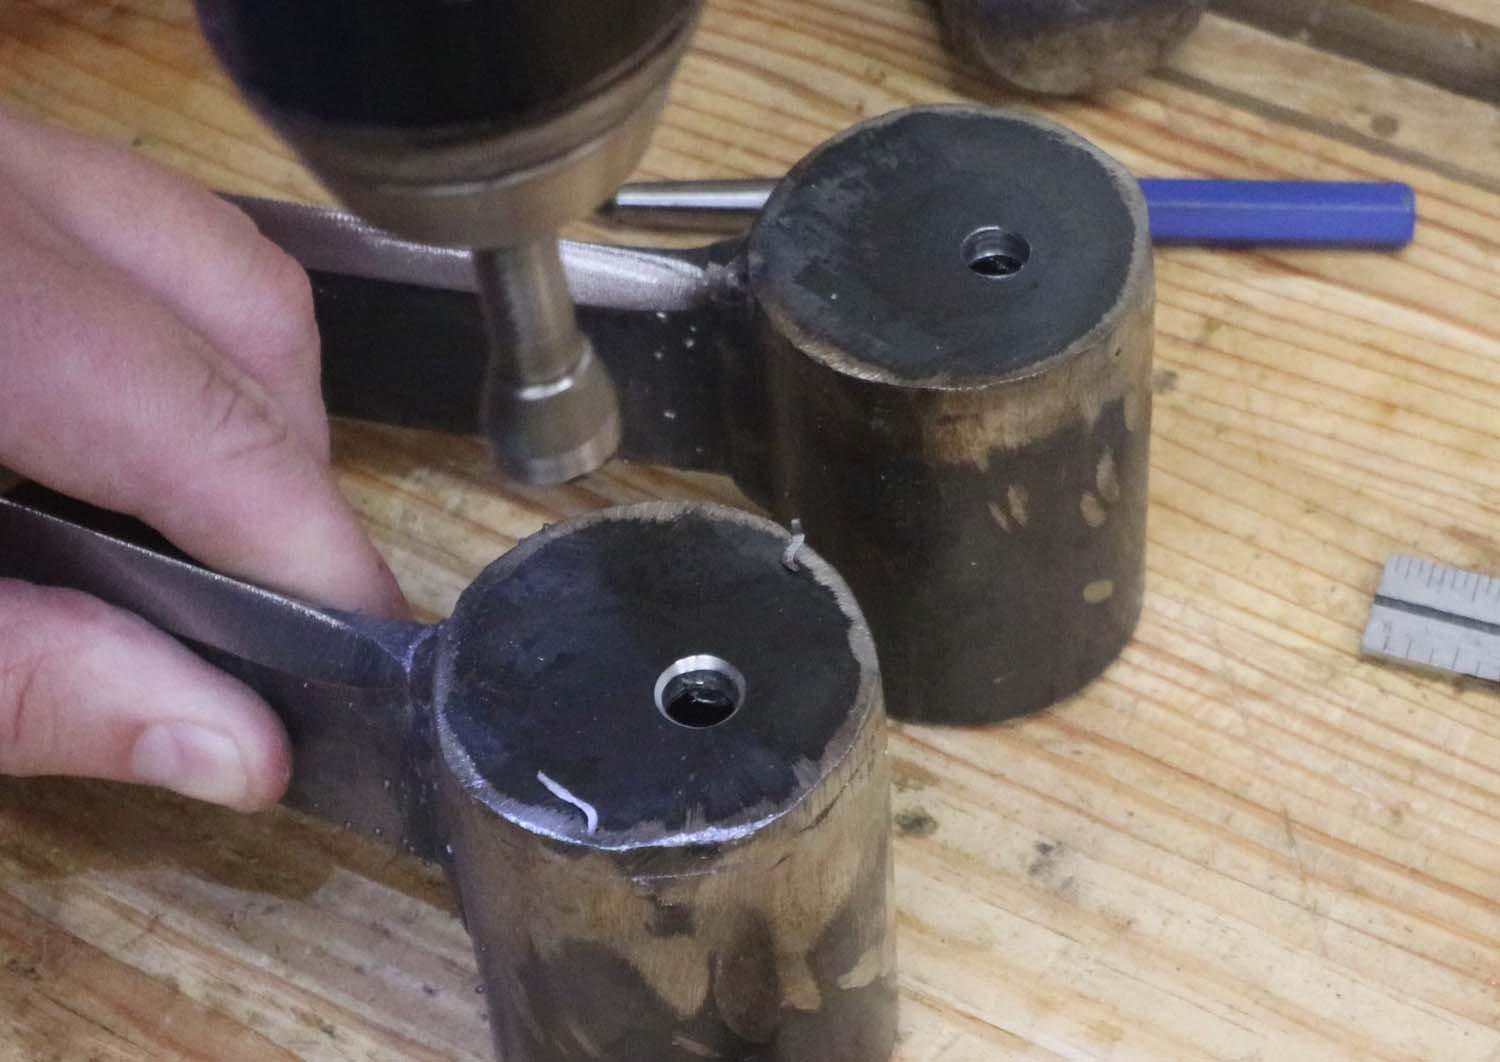
I deburred the holes with a chamfer bit on the outside and a deburring tool on the inside.
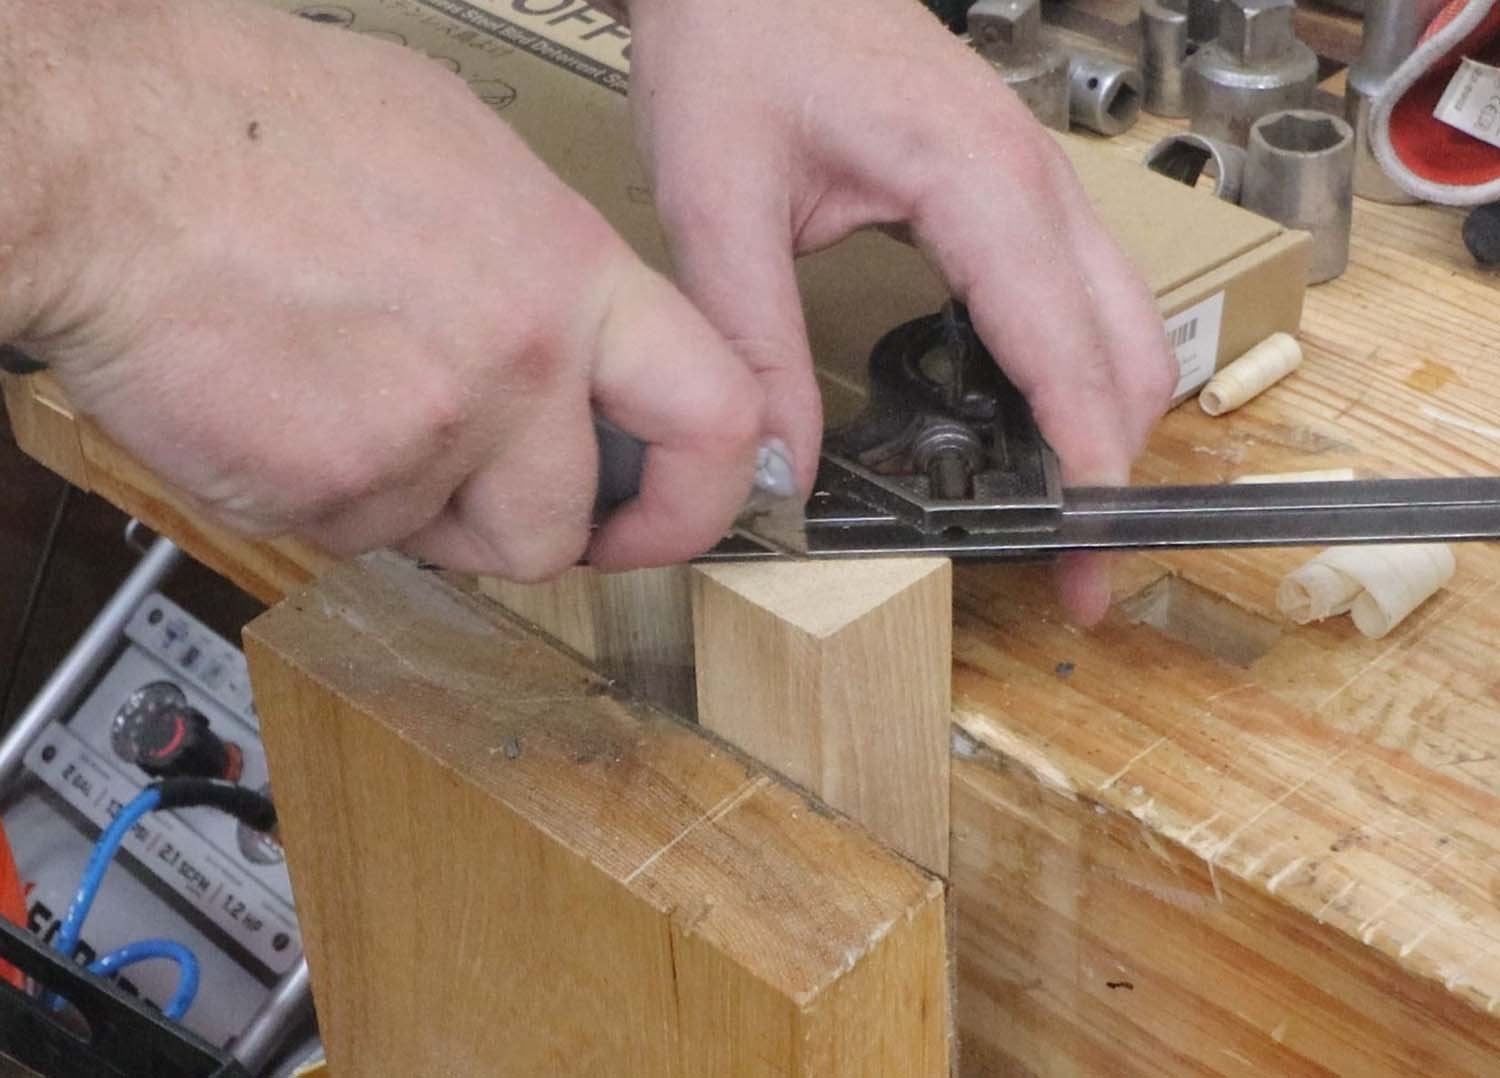
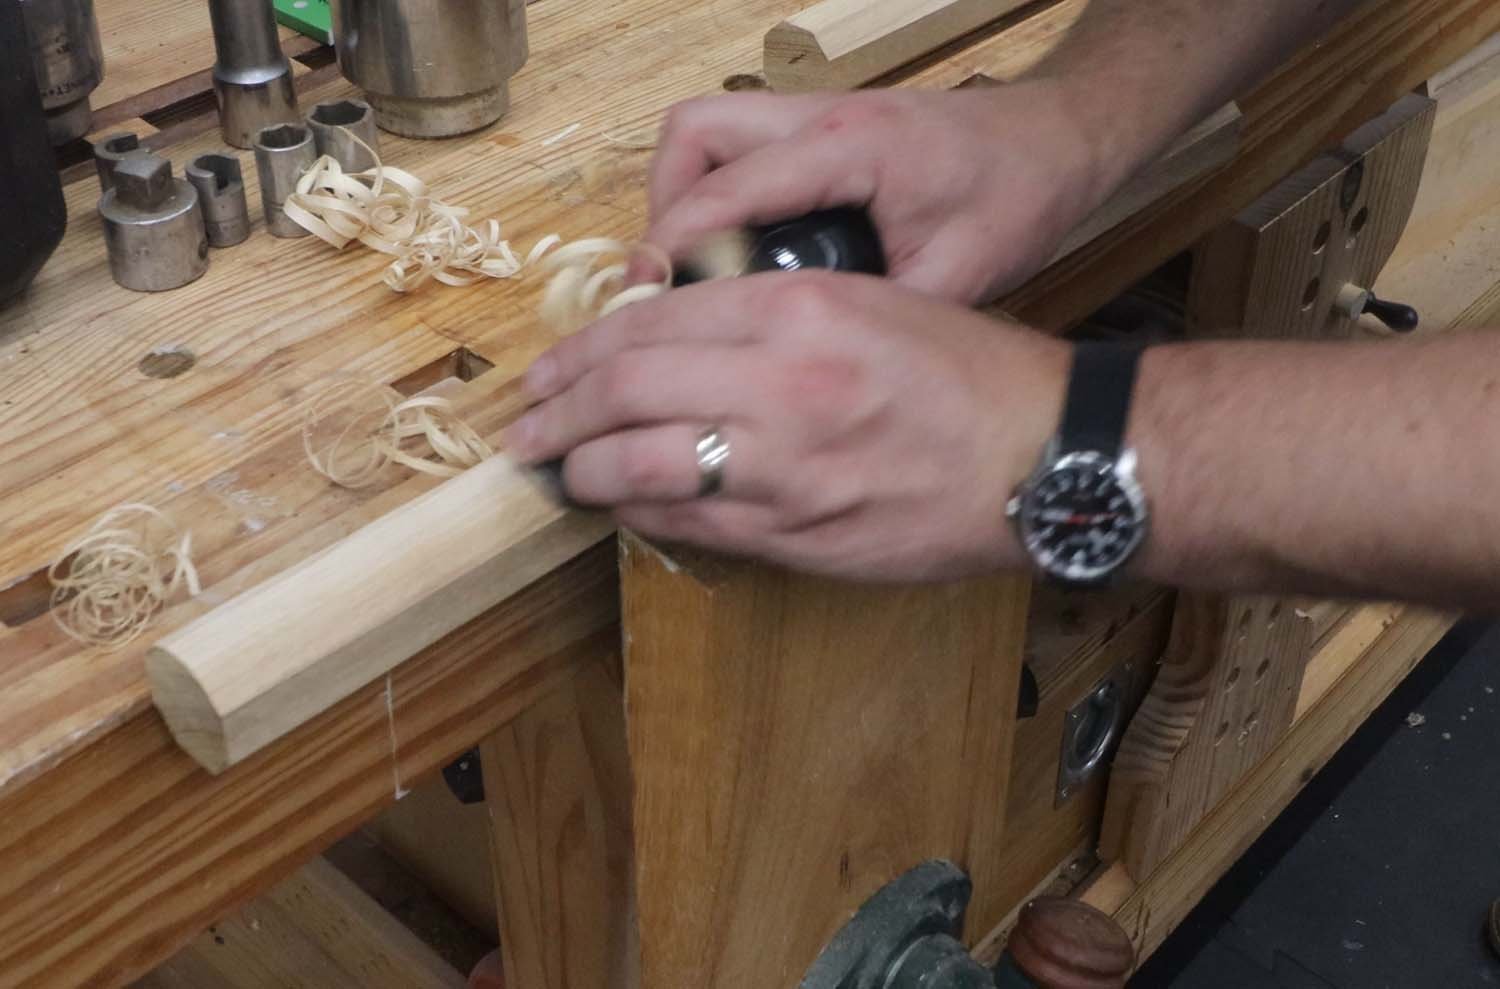
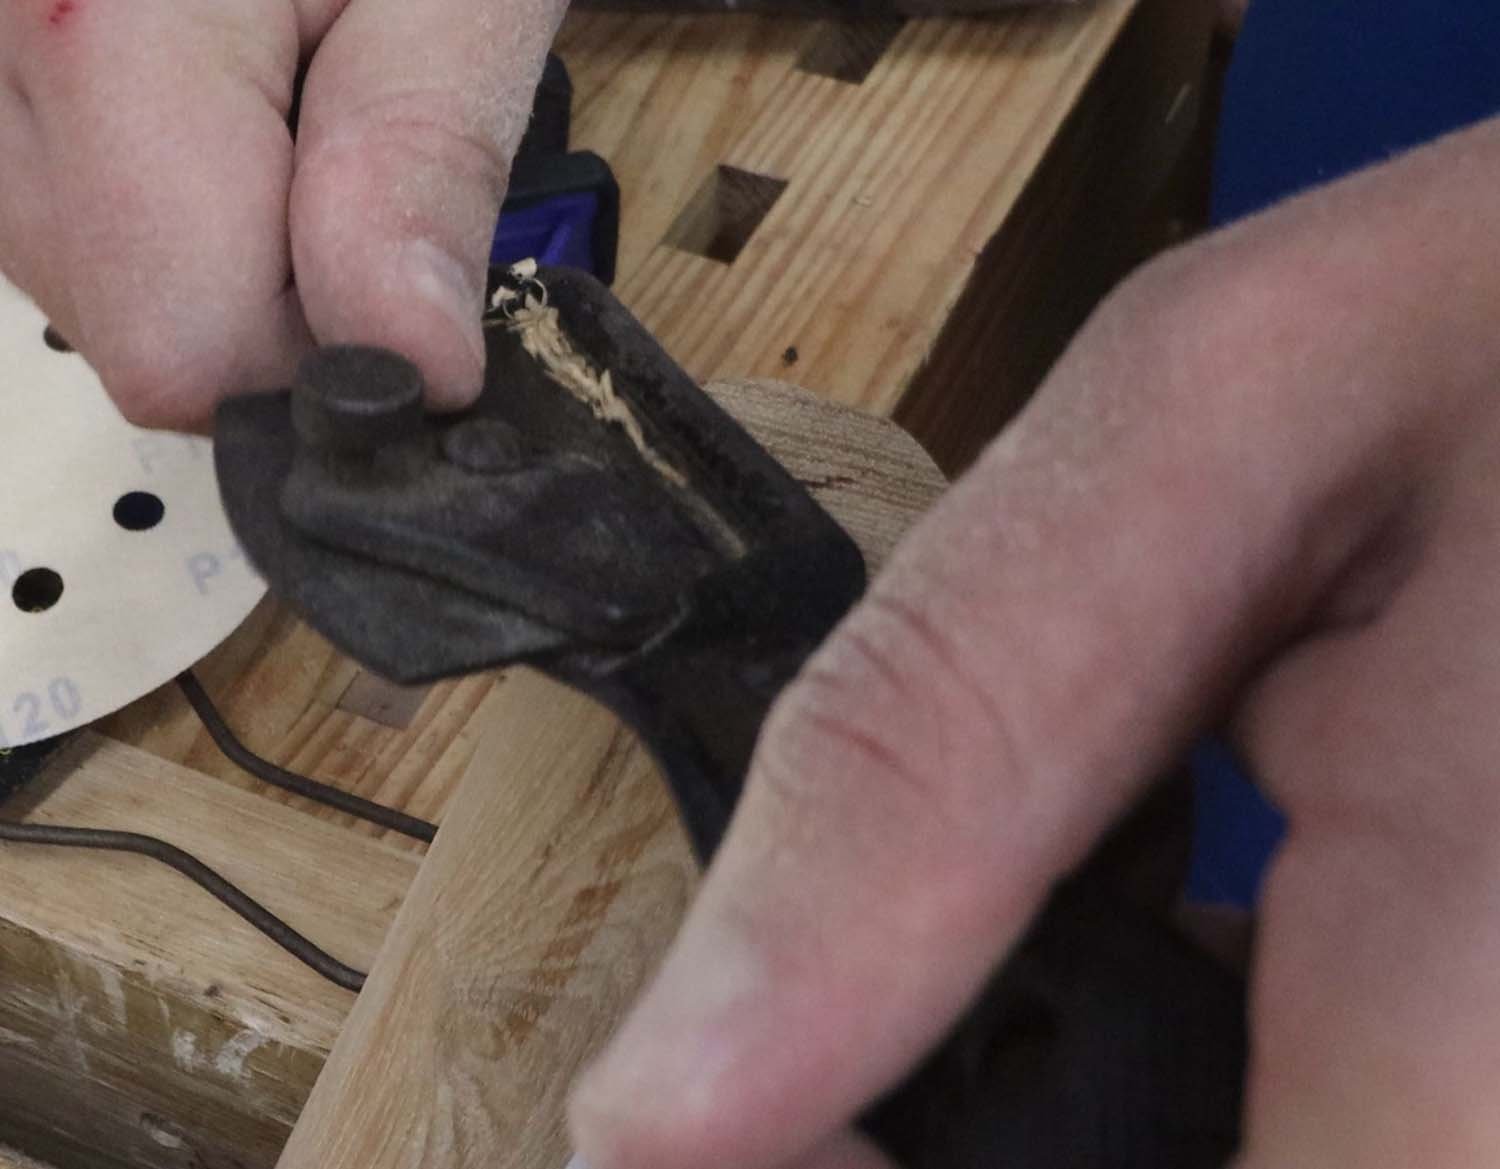
If you don't have a lathe, this is a fairly quick way to get round-ish handles without too much work. With the handle in the vise, I used a block plane to take the corners down to a....whatever a 32-sided shape is.
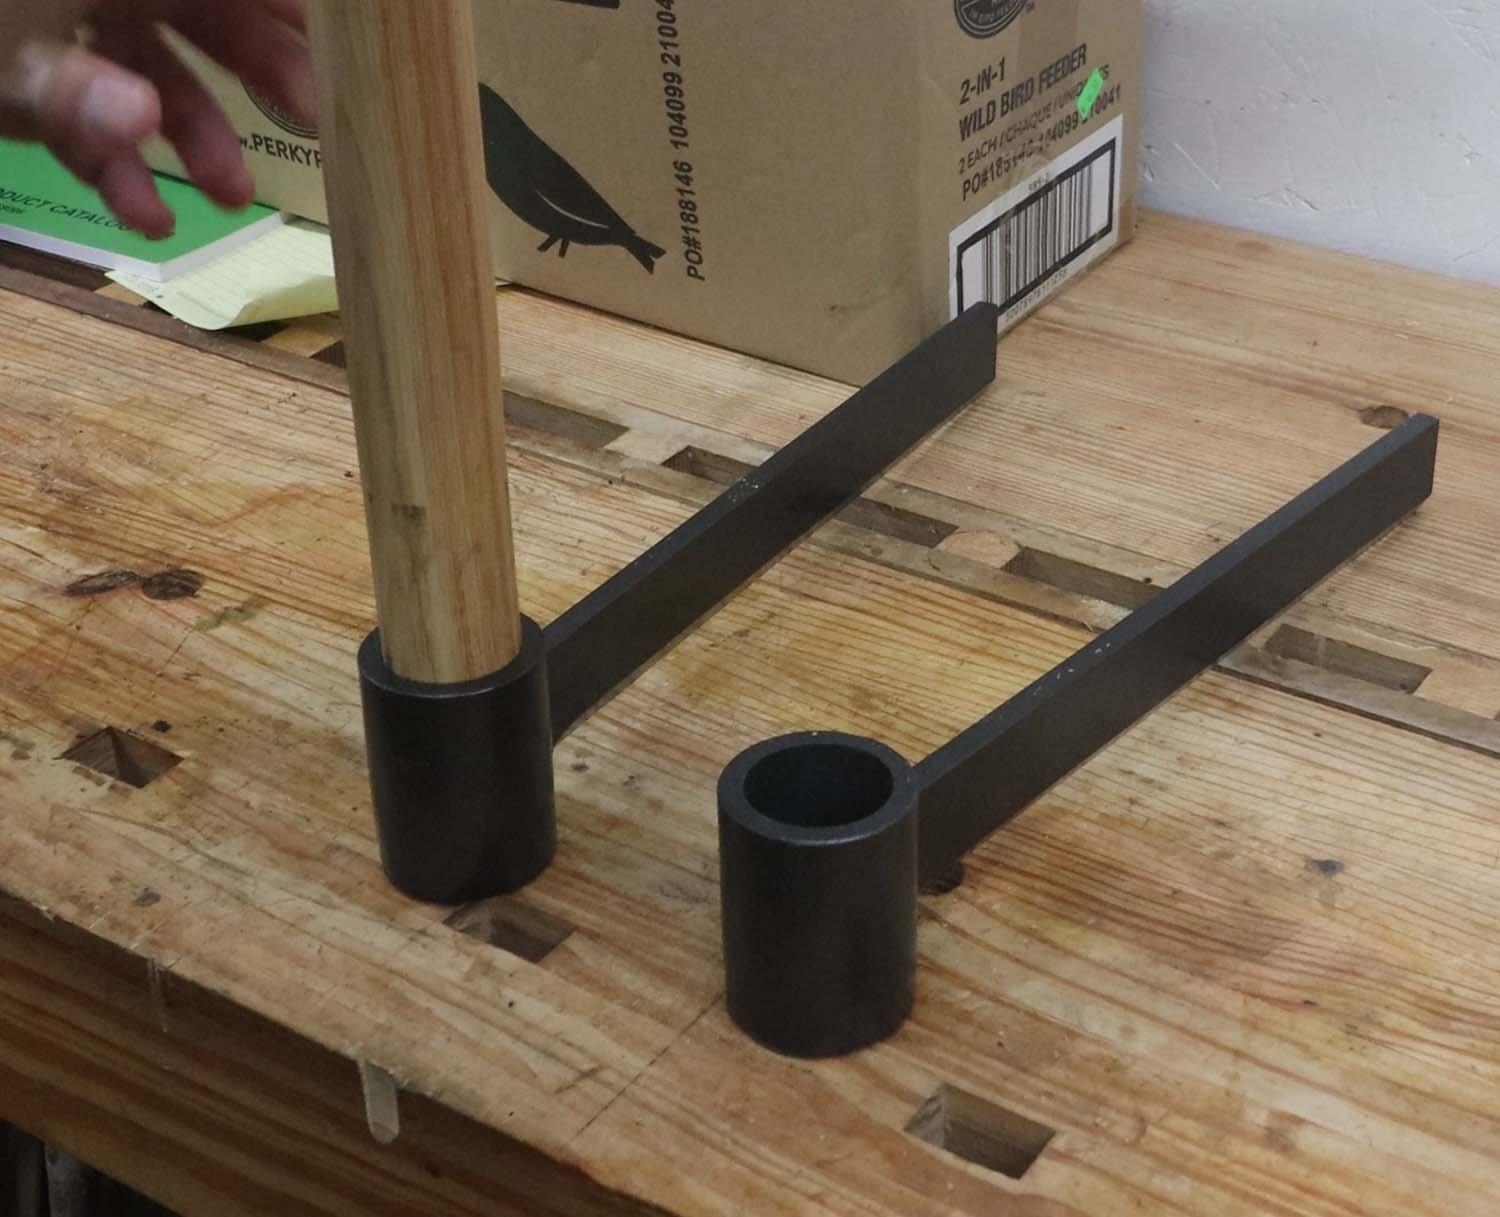
Then, I used a rasp to shave down the socket end of the handle to fit in the tube. This was a iterative process, shaving and checking for fit, until the handle fit snugly in the socket.
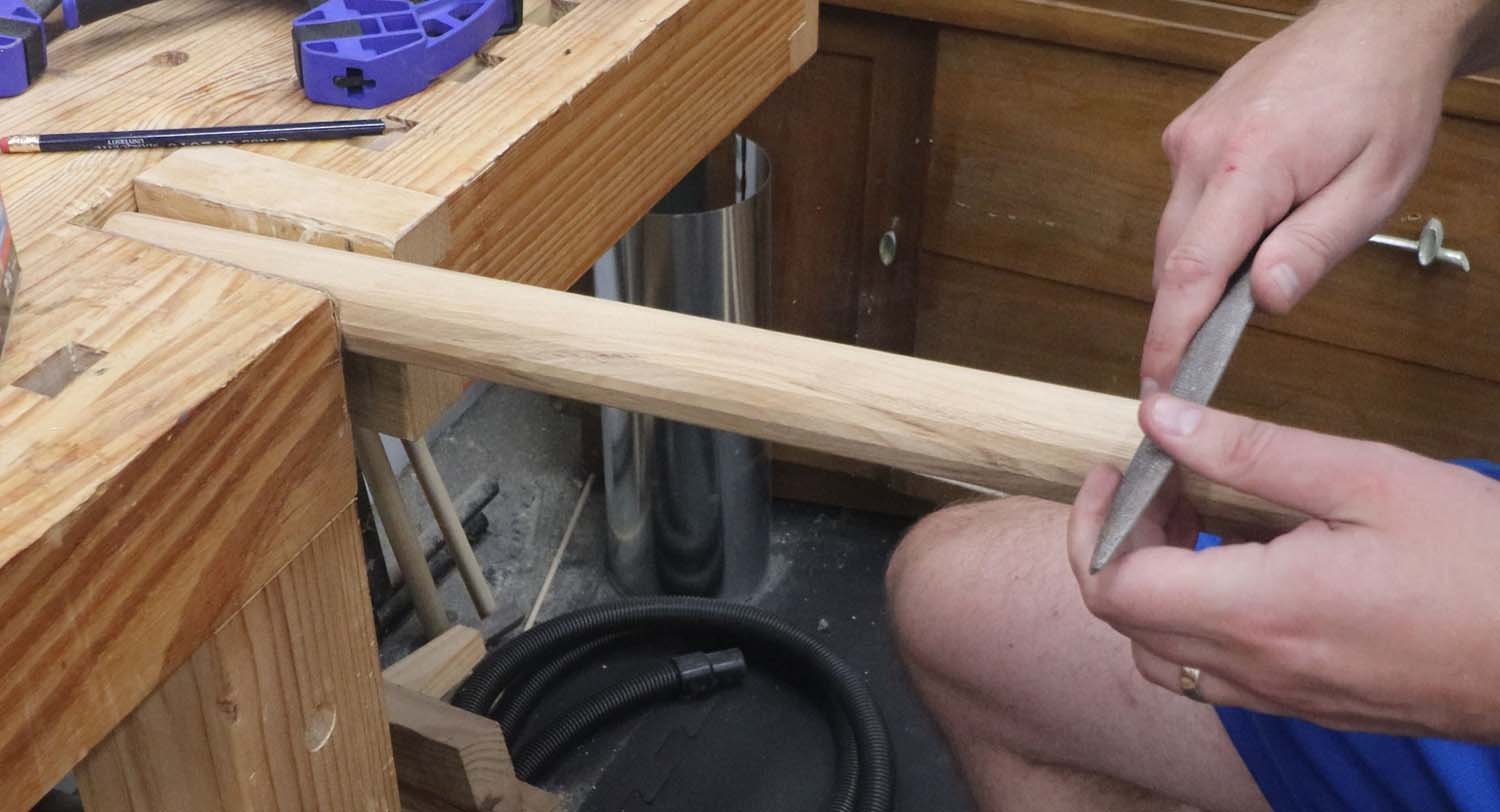
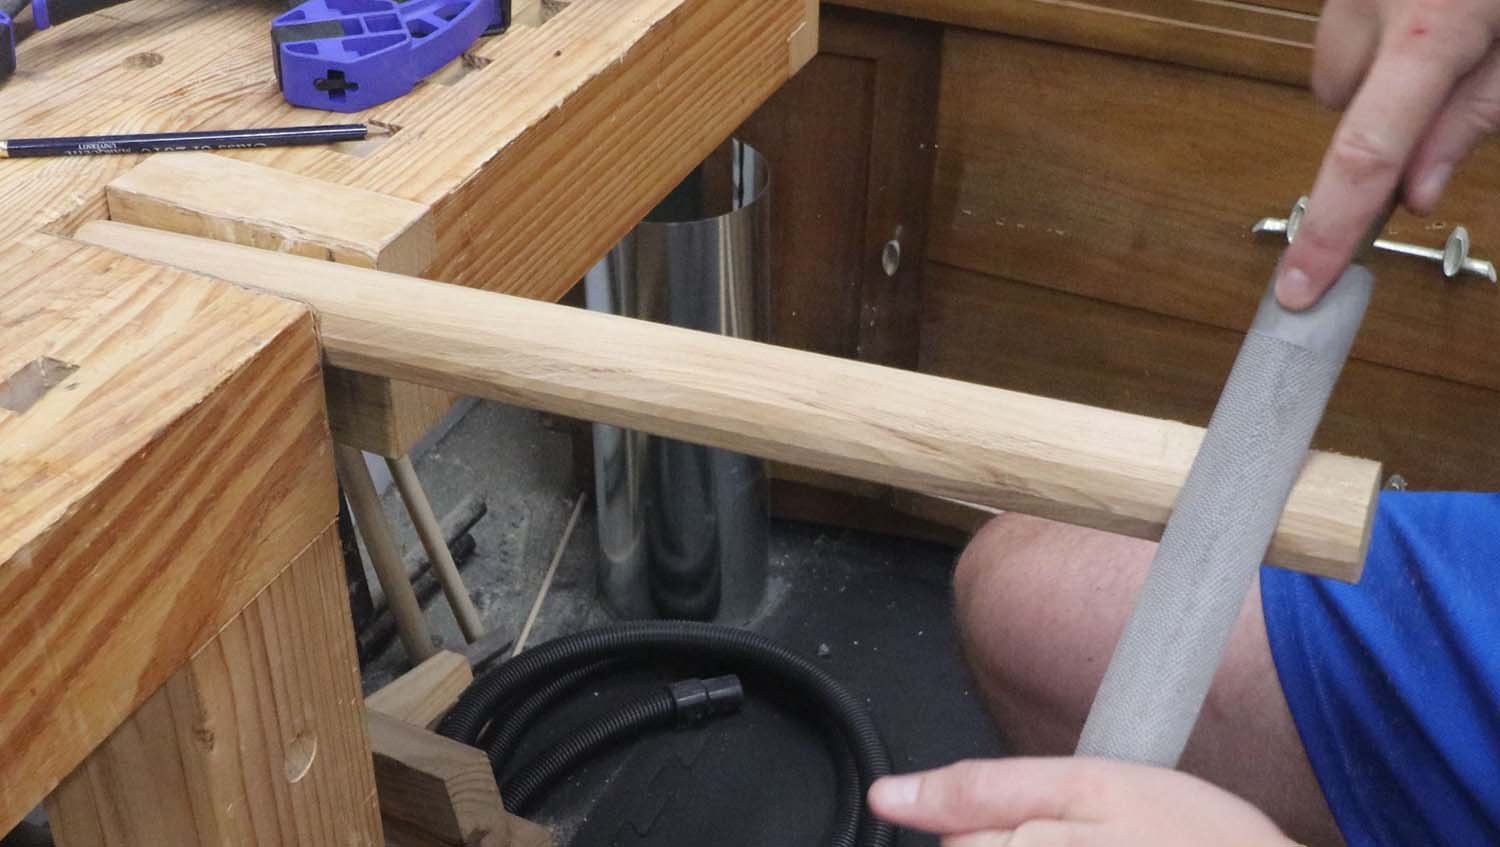
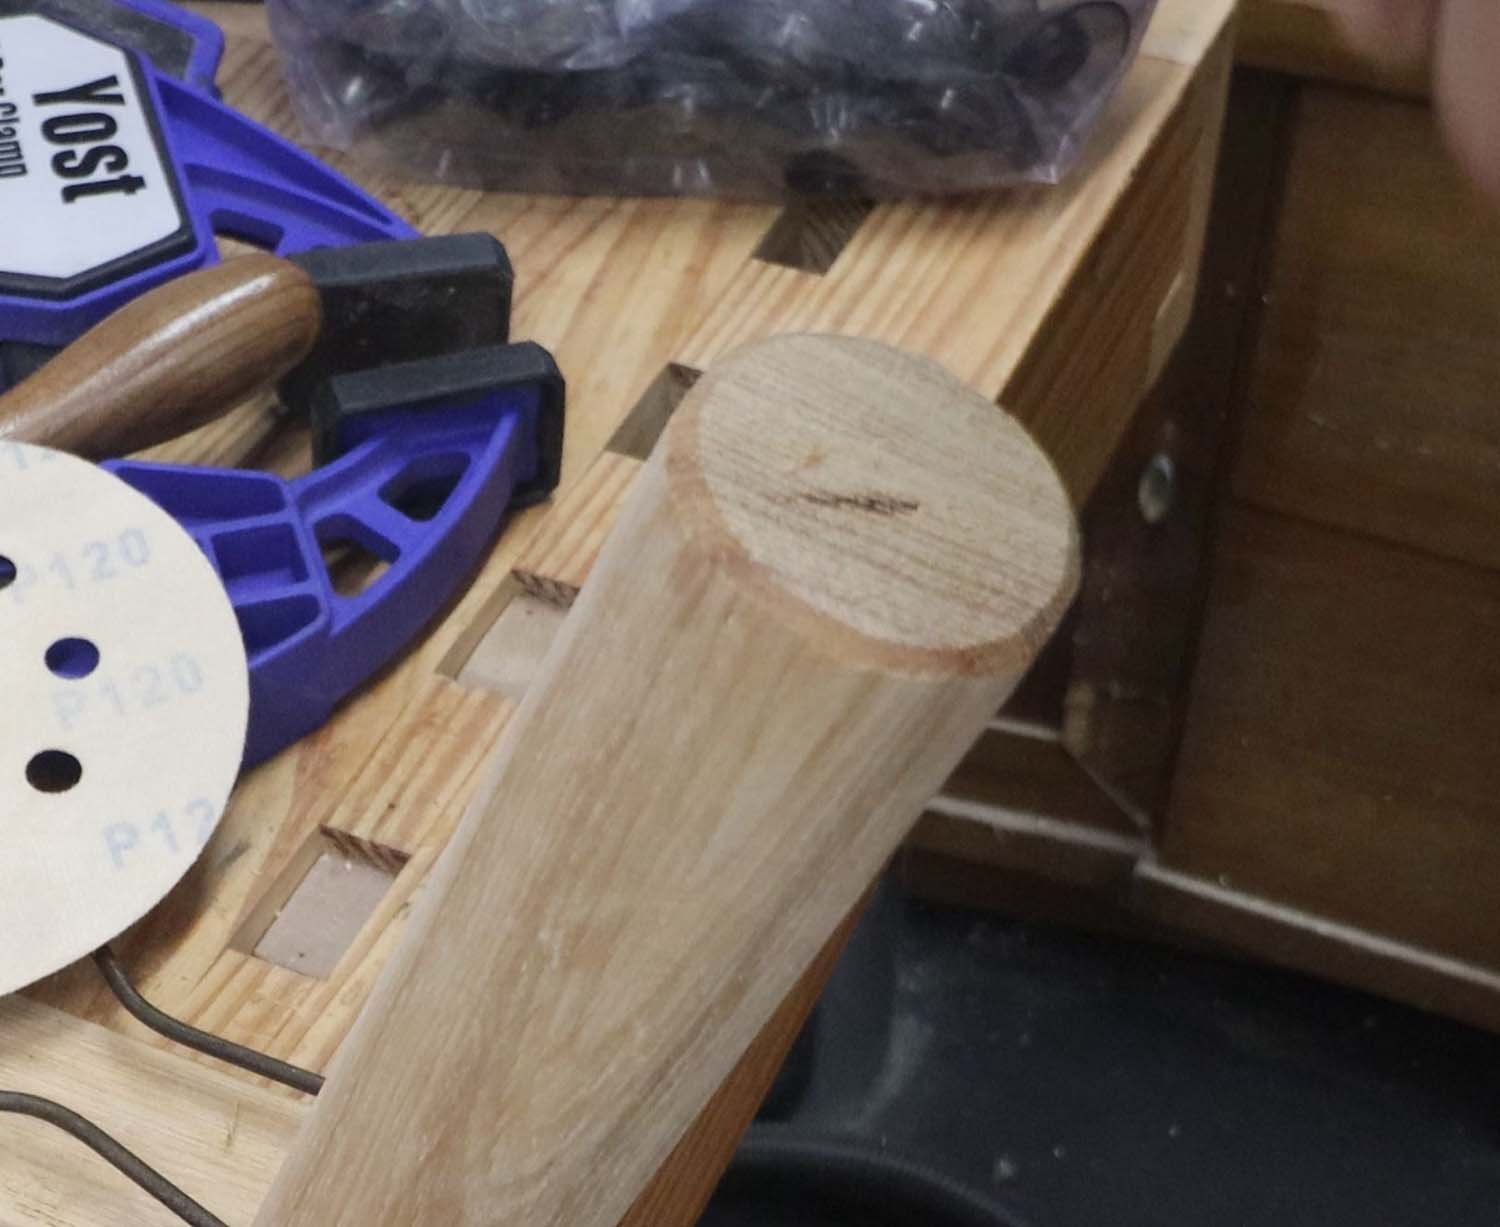
With the handle fitting the head, I rounded the rest of it with a rasp, spokeshave, and sandpaper until it felt nice in the hand.
Finally, a little chamfer on the end with a spokeshave to keep it from splintering.
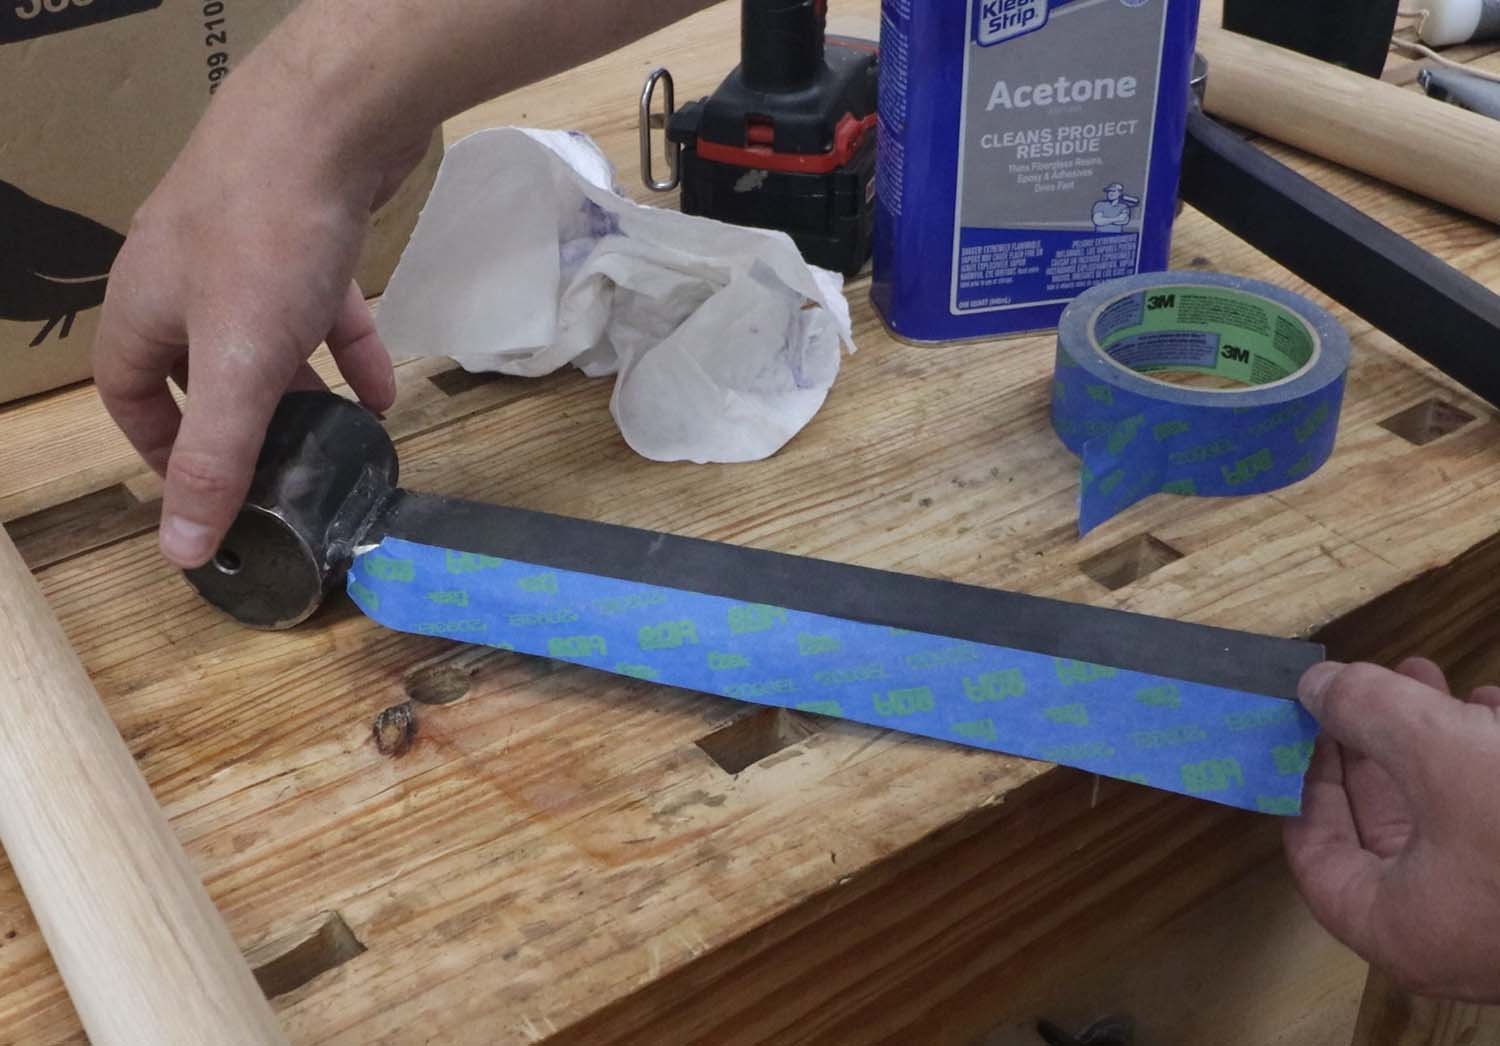
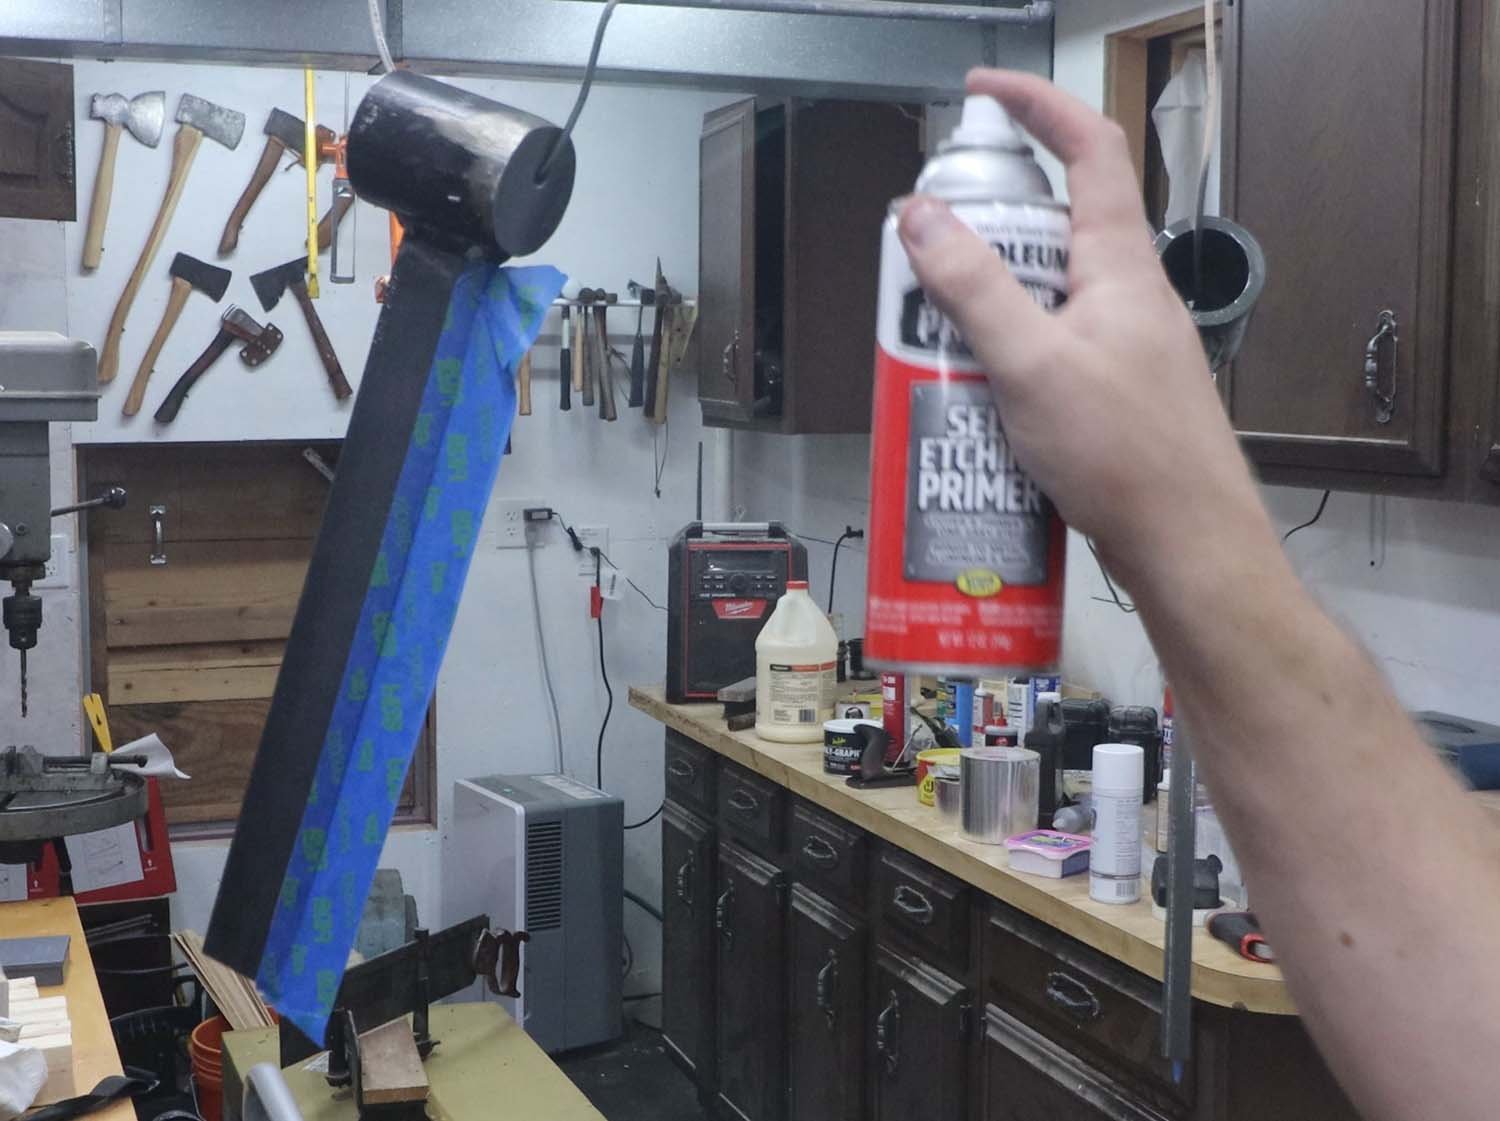
Before painting, I degreased everything with acetone. I then masked off the bevel, since this will get beaten up anyway and any paint won't last long. These tools get whacked a lot, so the paint will have a hard task at any rate, but it'll help keep from getting rust so quick.
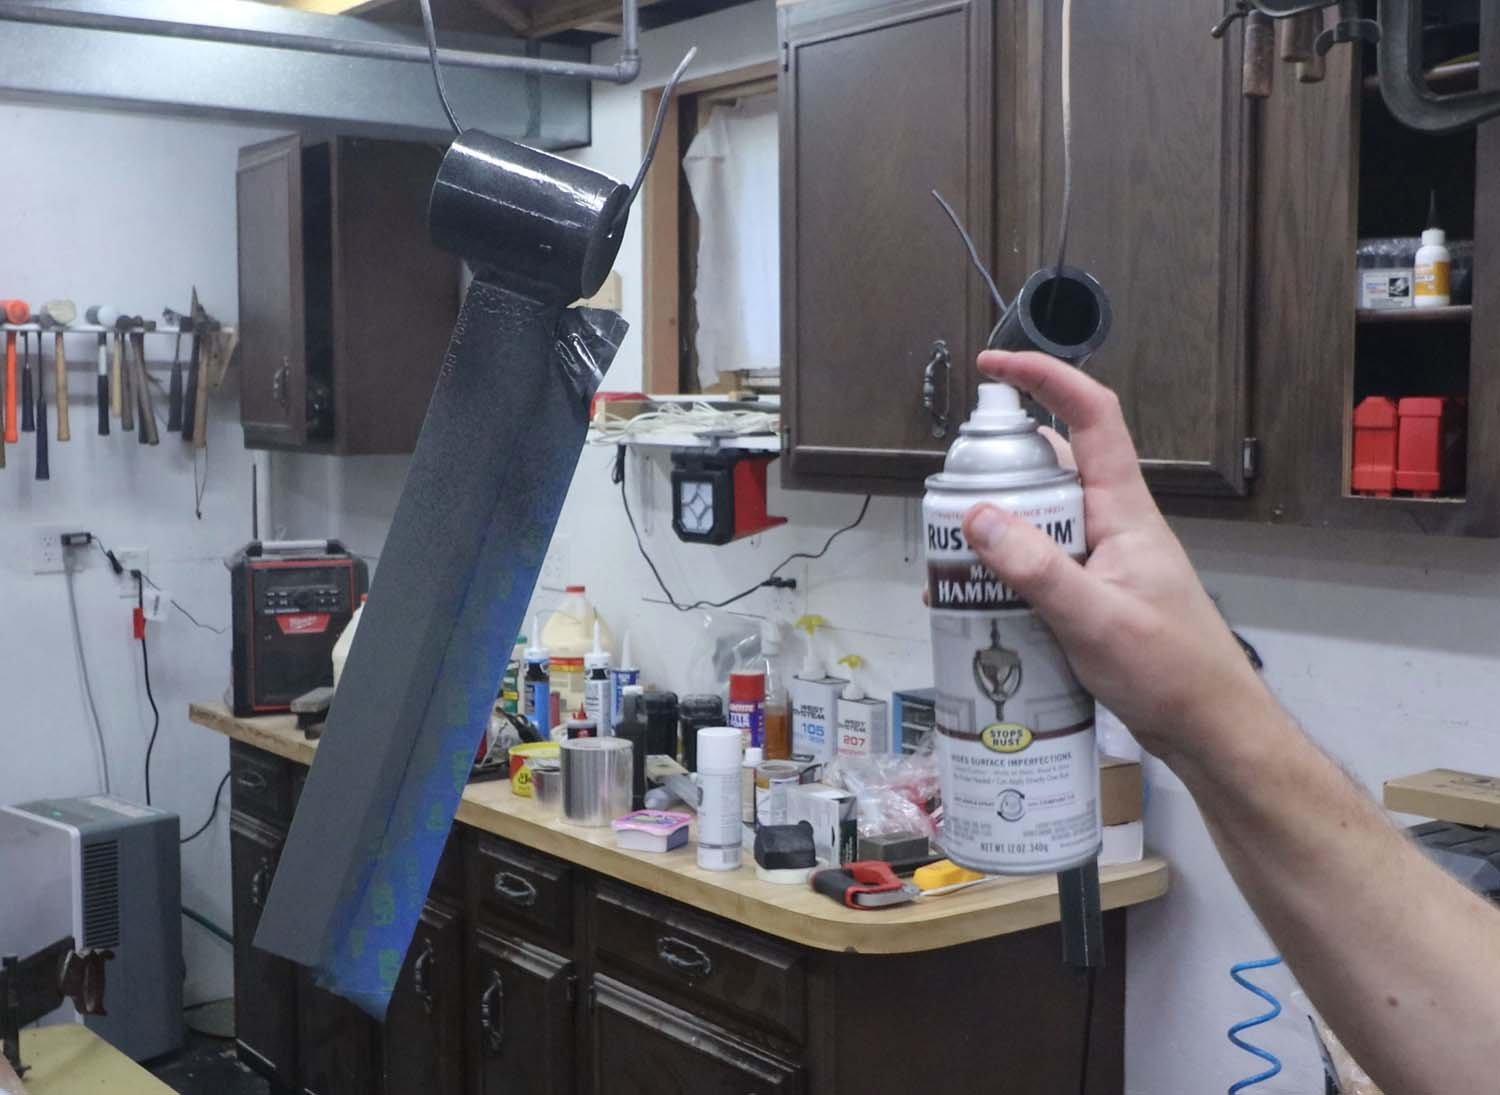
I sprayed a couple coats of a self-etching primer, and followed up with matte black hammertone.
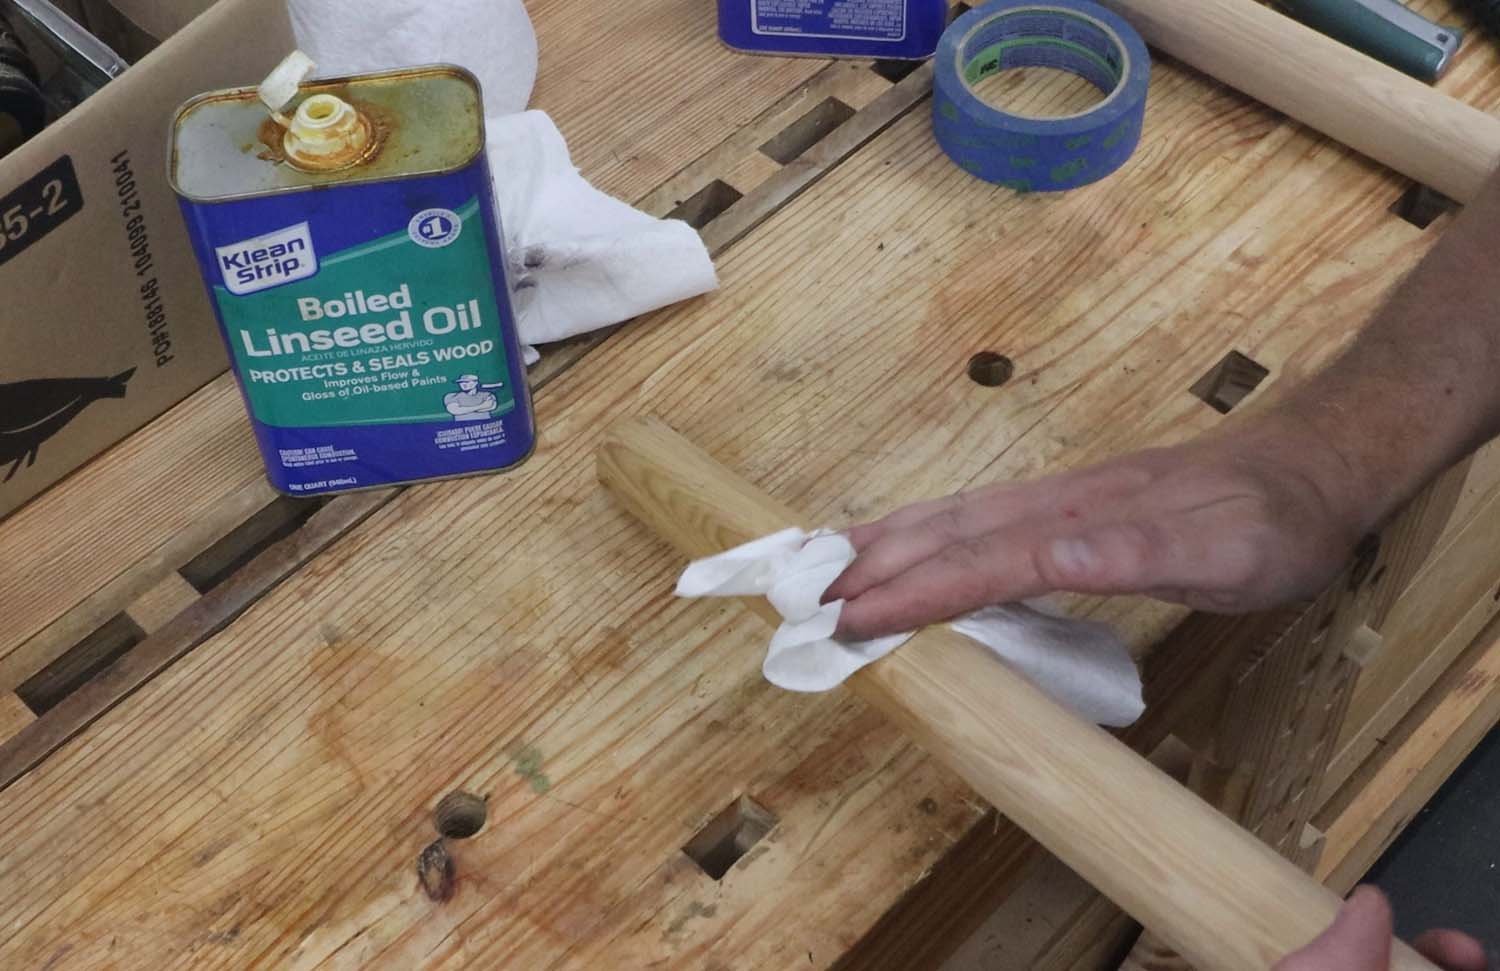
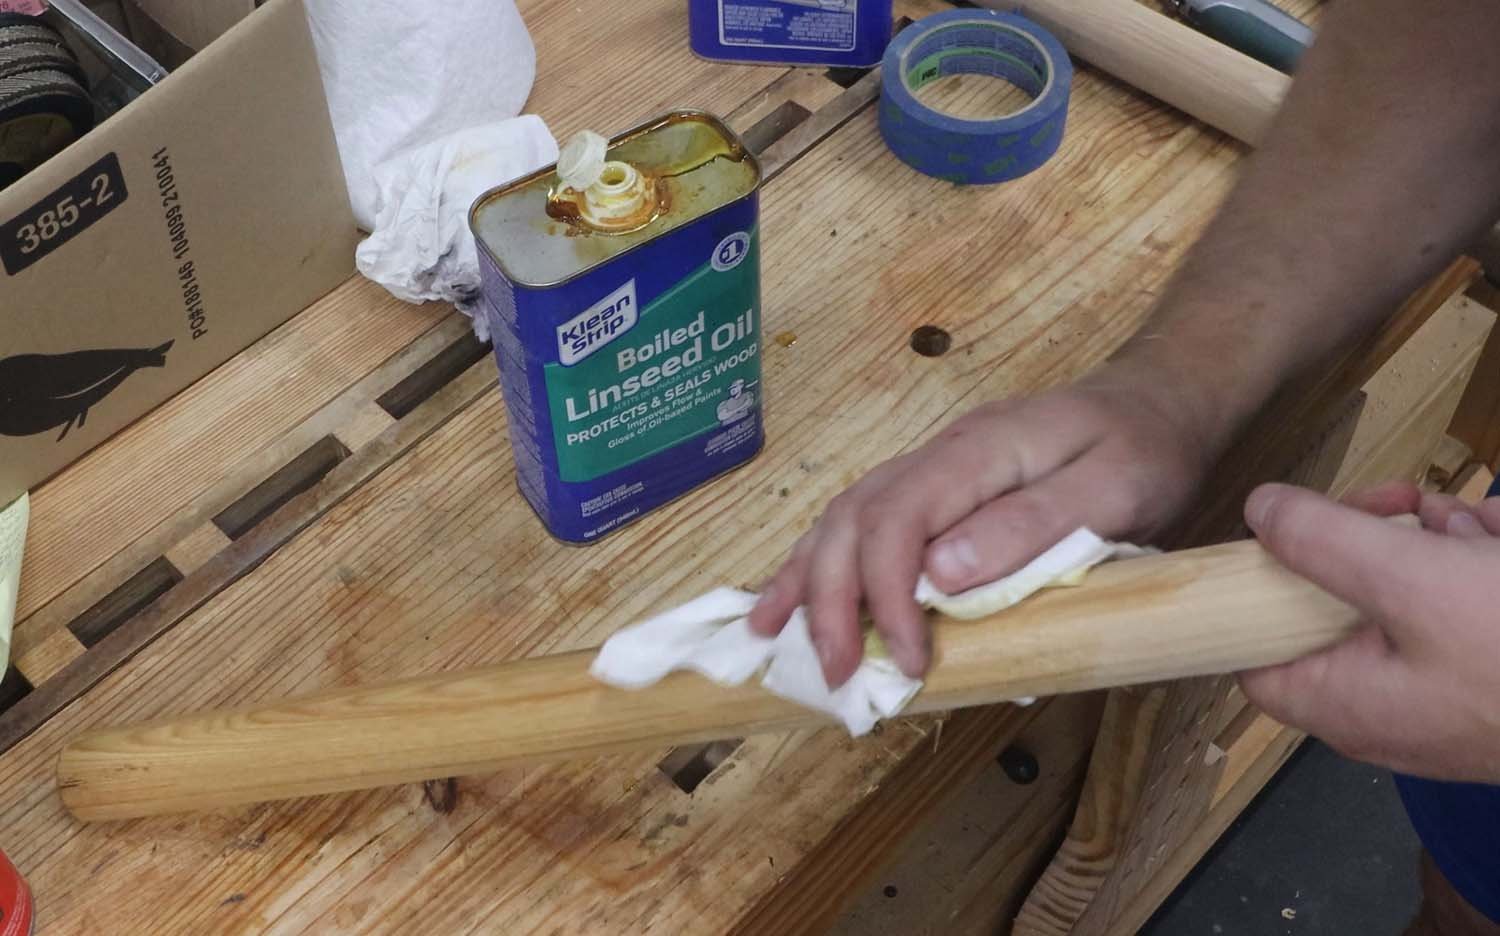
Boiled linseed oil is my choice for finishing tool handles. It's easy to apply and touch up, and it doesn't produce noxious fumes.
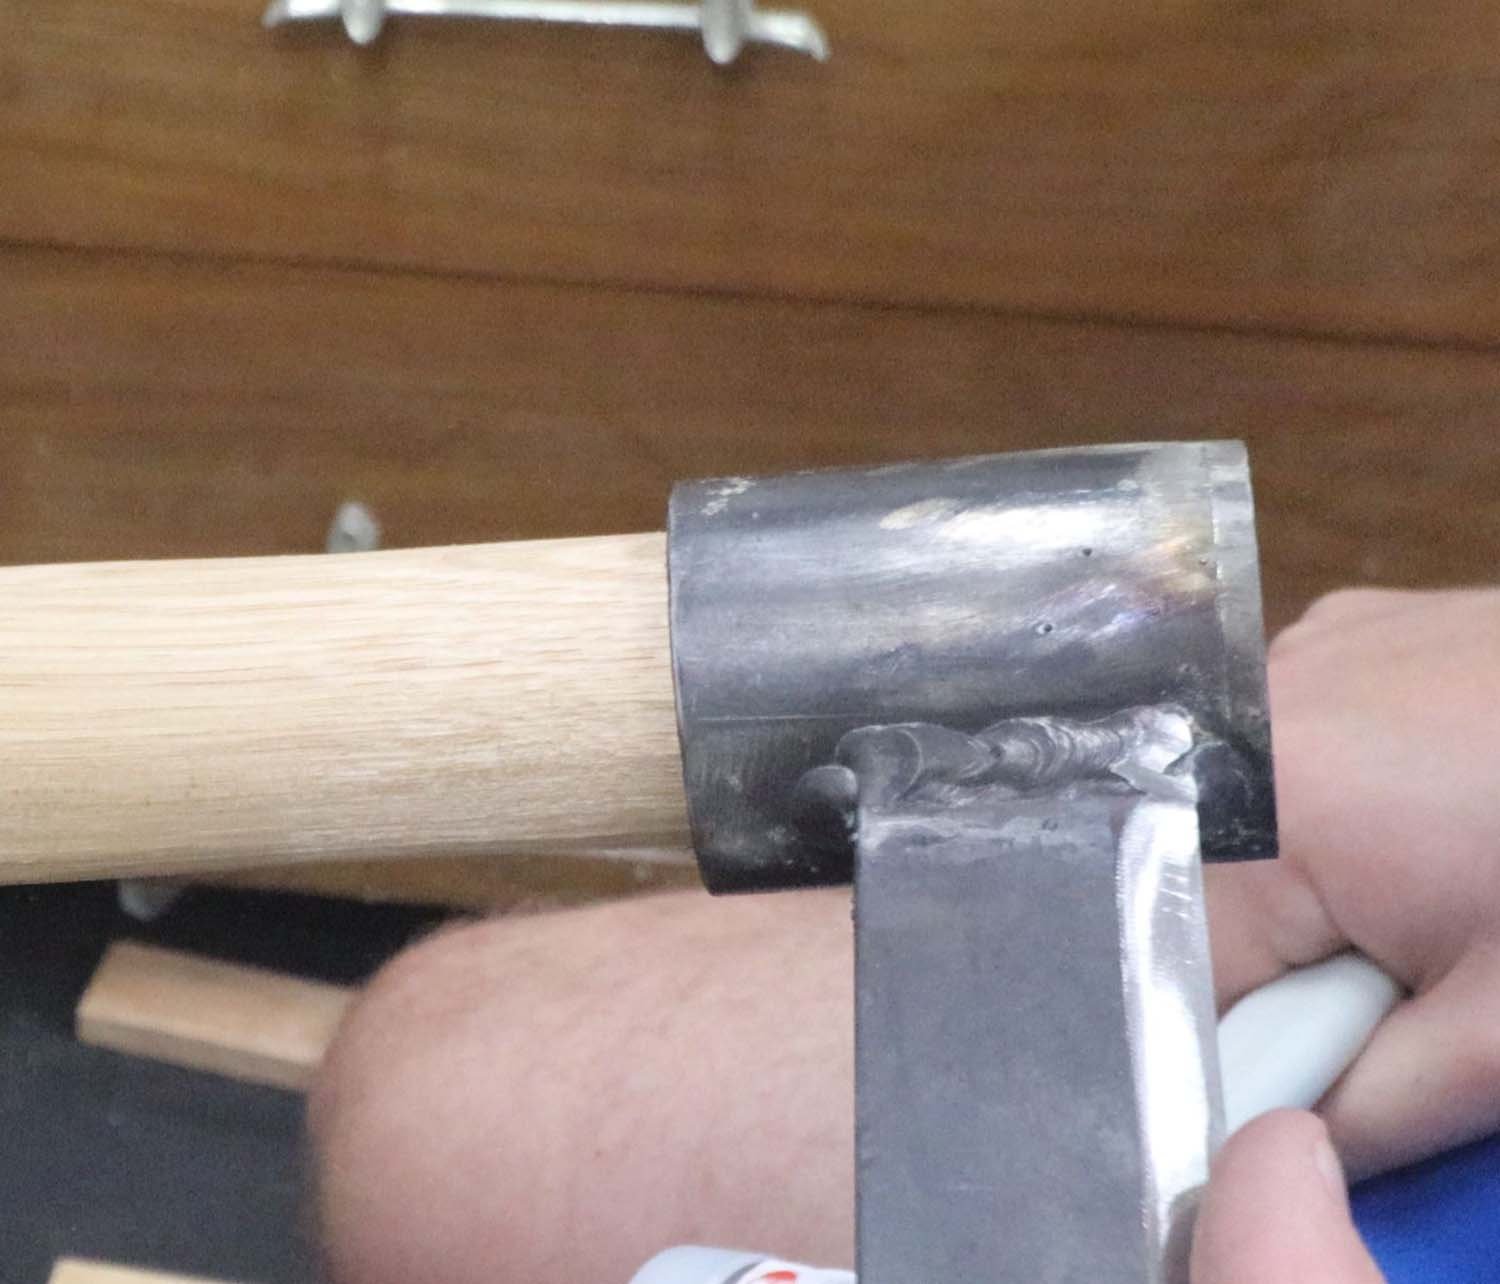
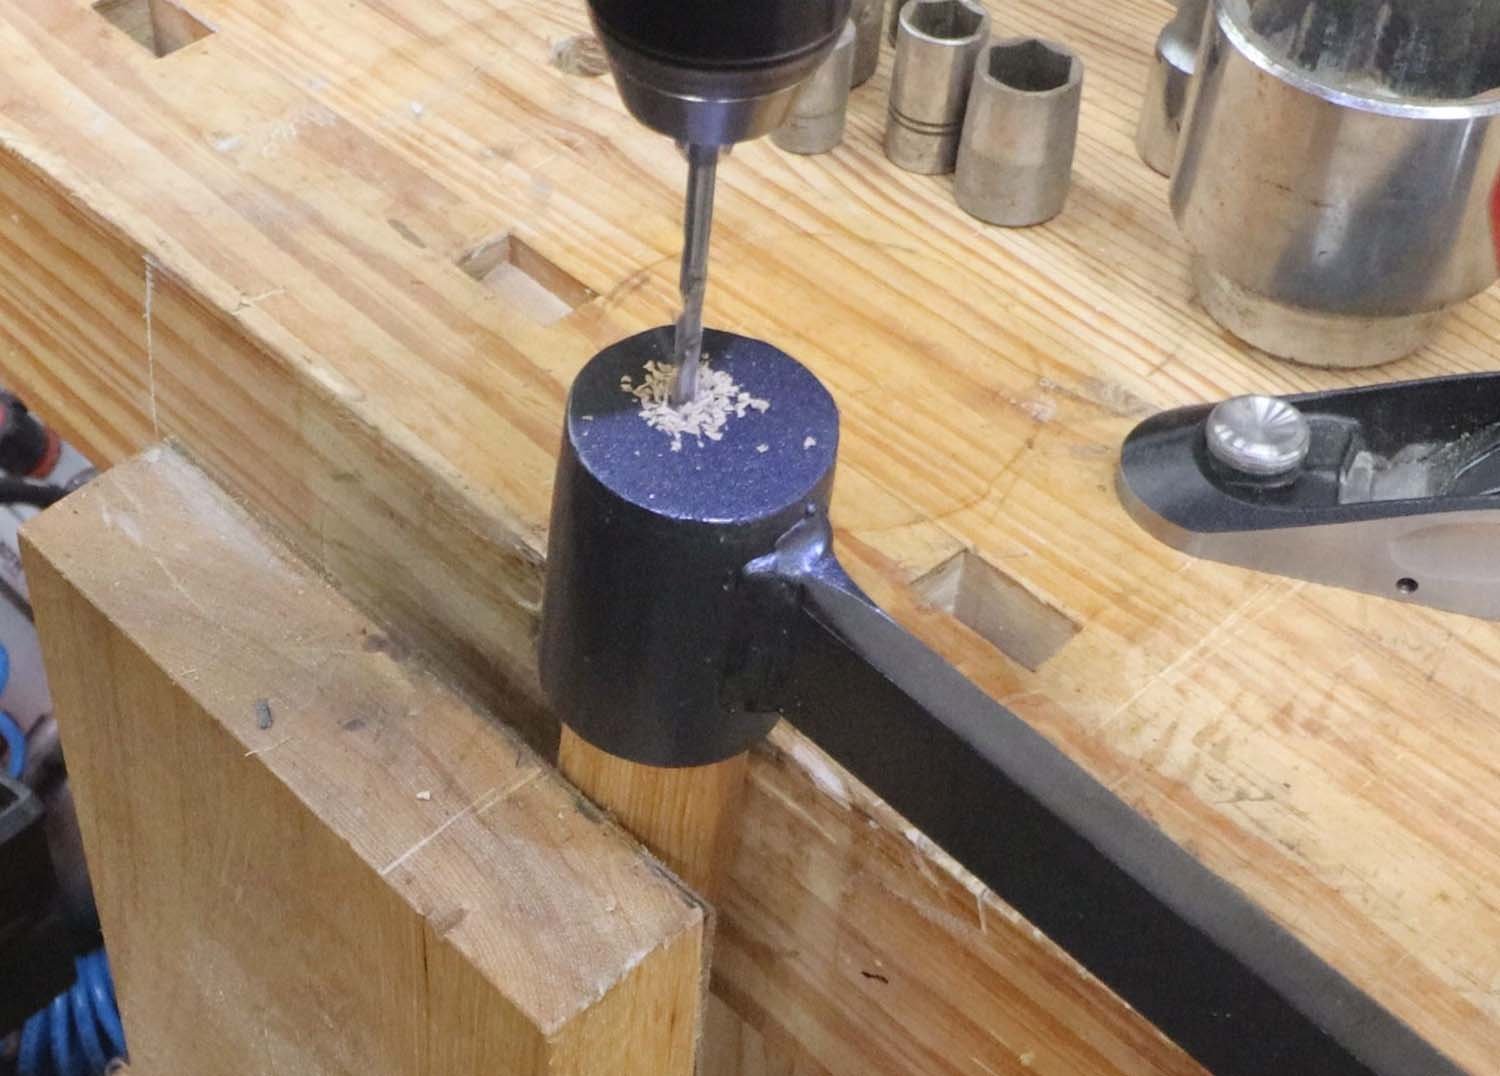
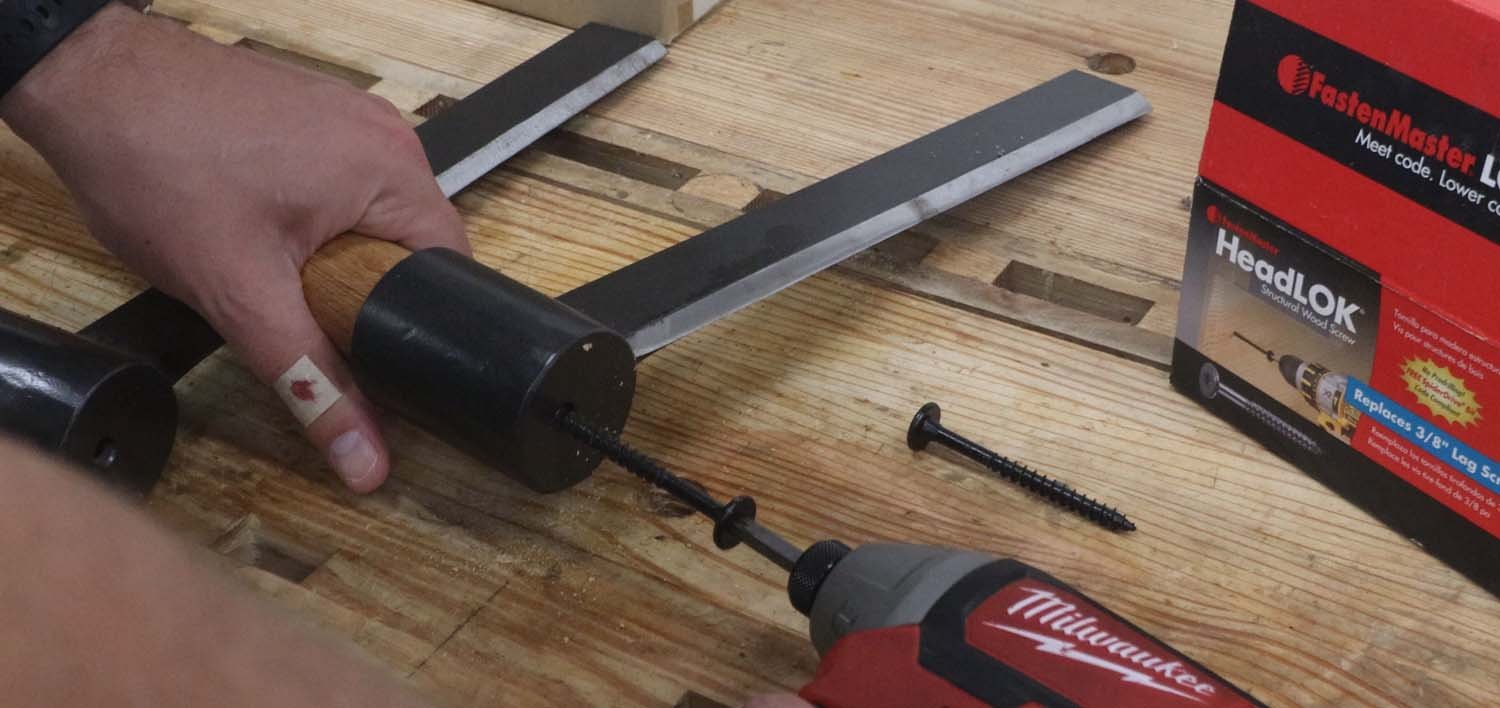
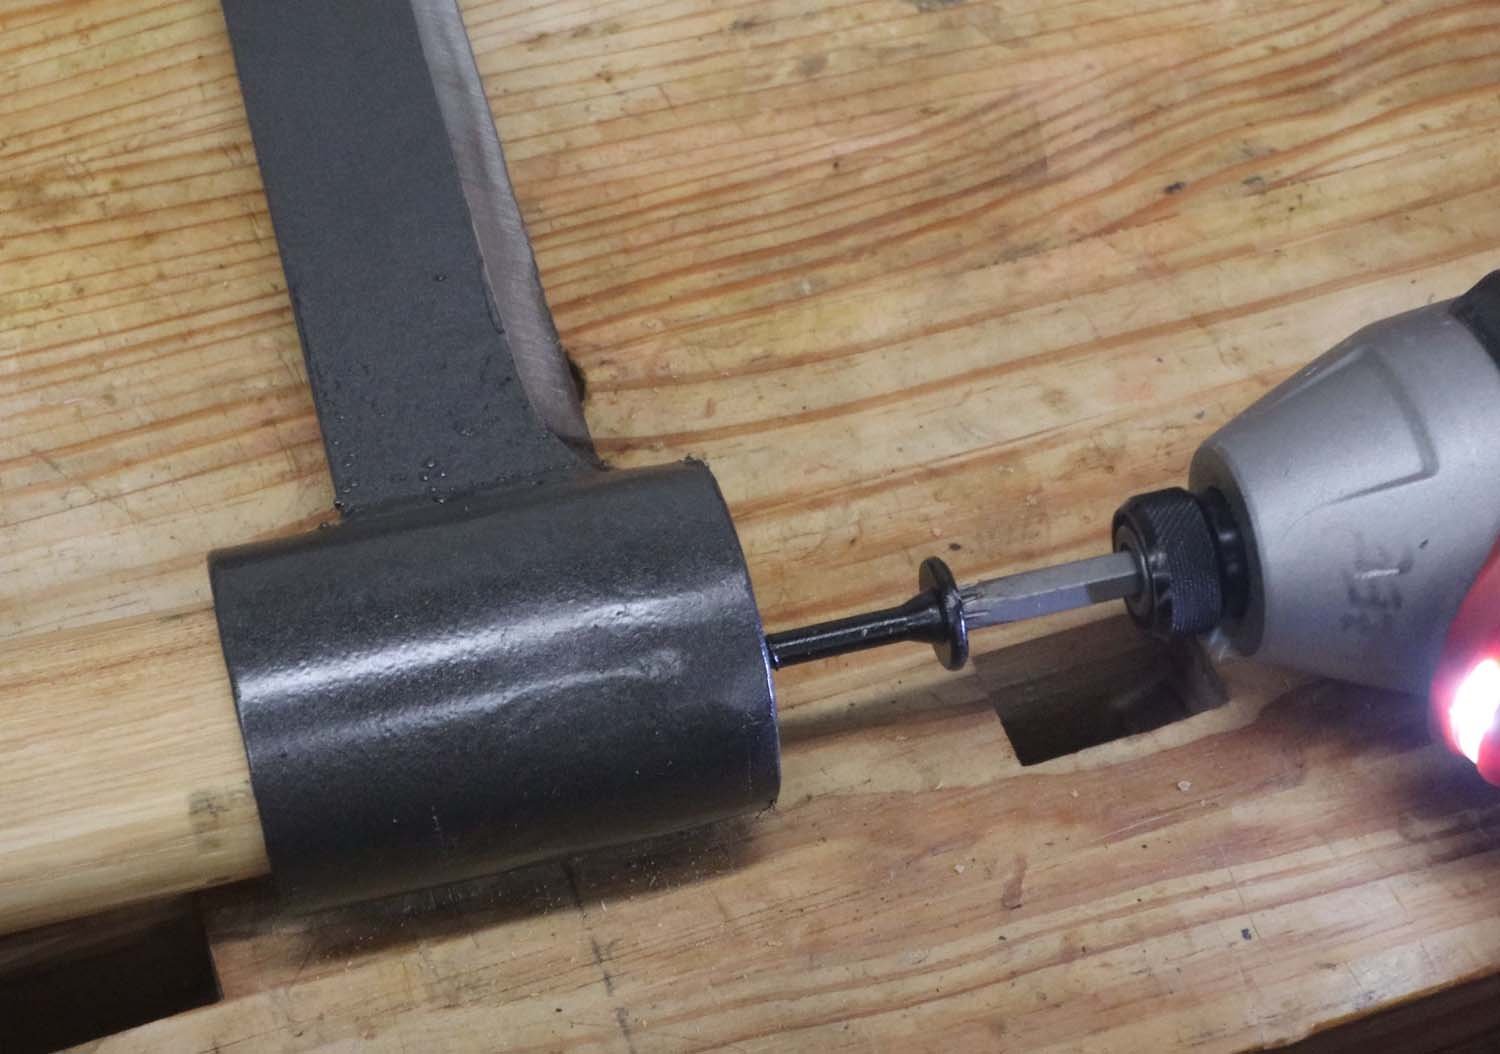
When orienting the handles, they're strongest when the grain is perpendicular to the blade. With the handle oriented correctly, I predrilled for the lag screw, and then drove it home with an impact driver.
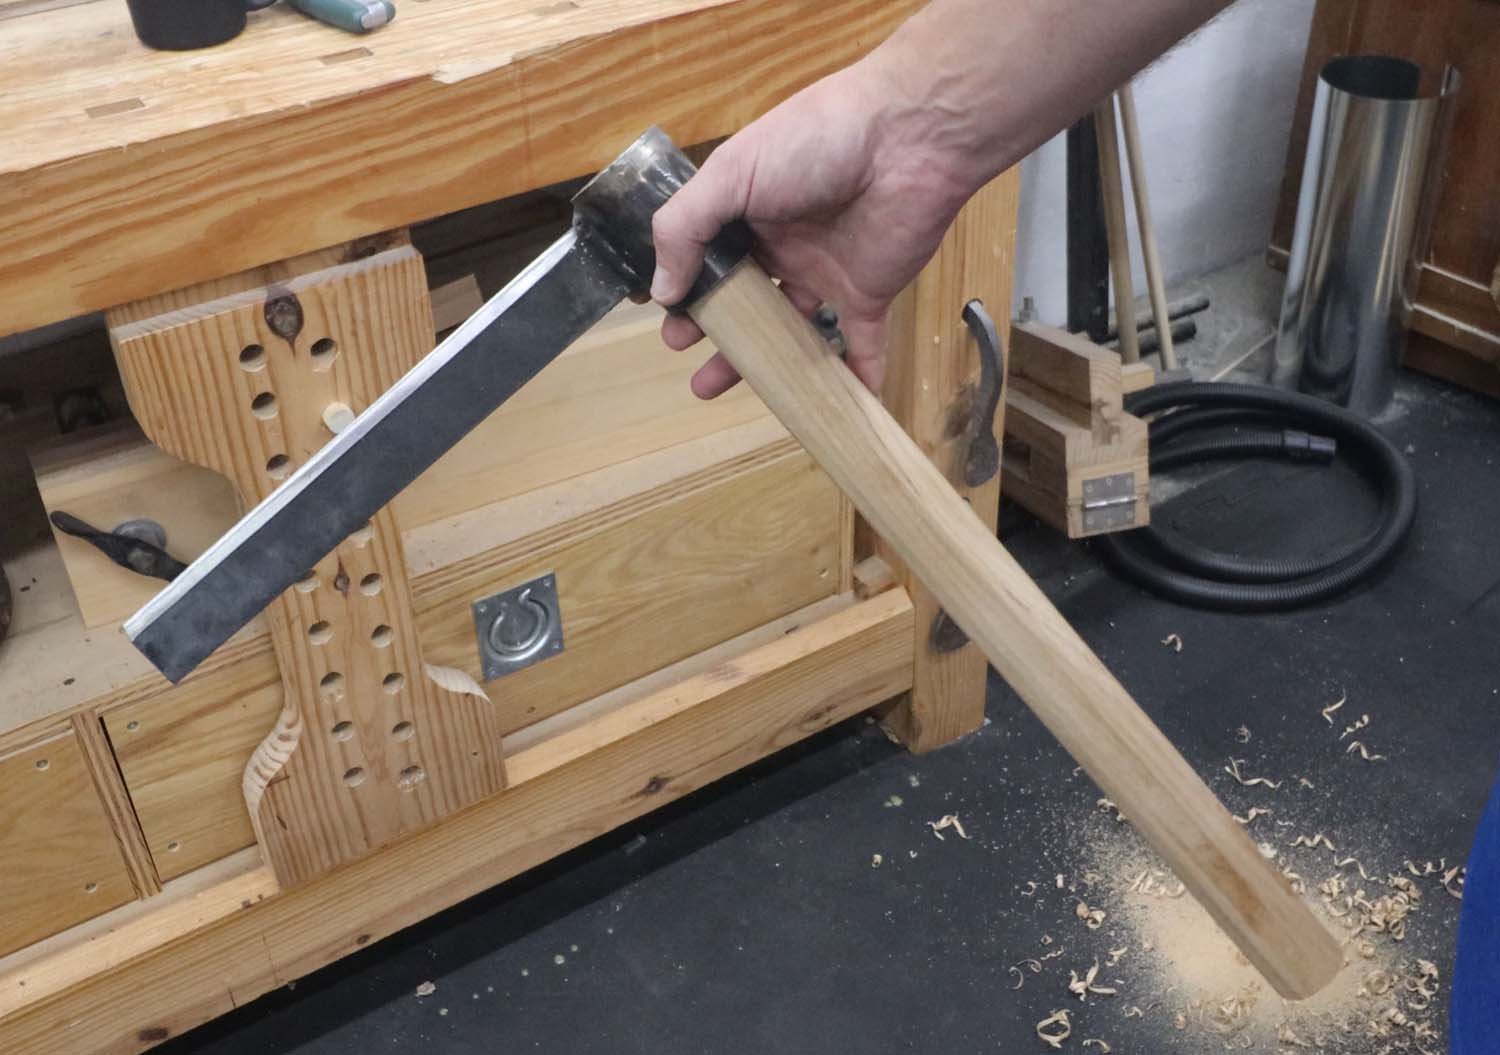
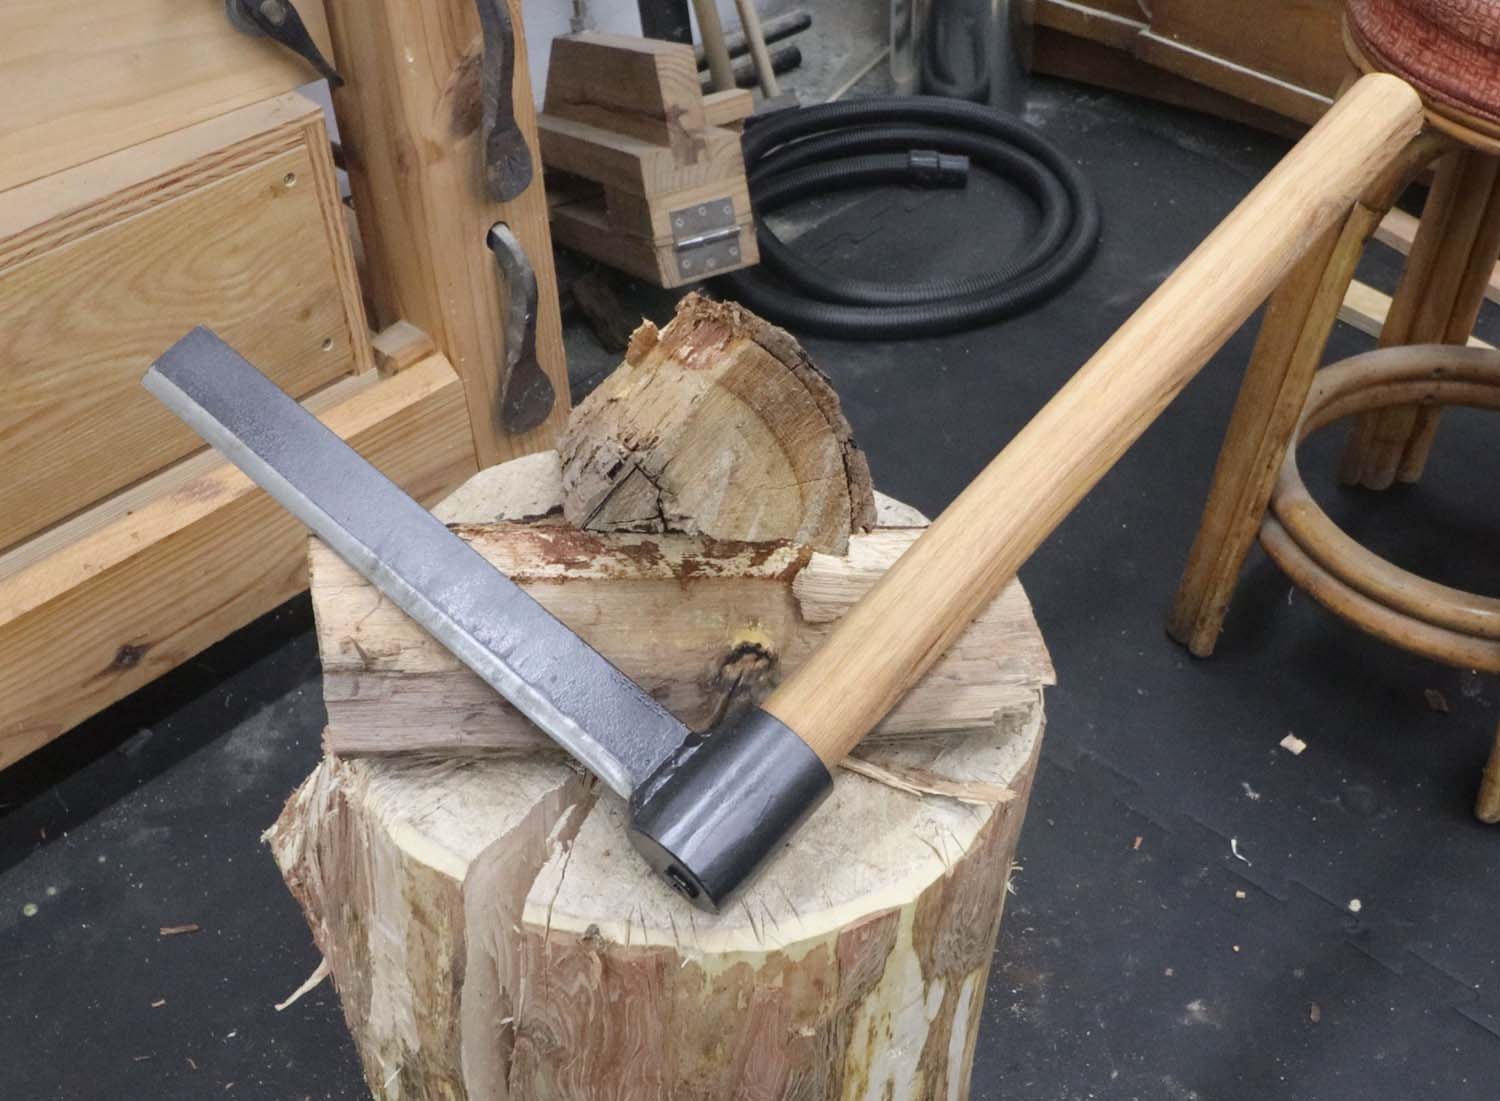
Now that the tool's complete, time to try it out!
I grabbed a couple pieces of oak from the firewood pile as a test. Traditionally, a root maul would be used instead of a mallet, but I haven't made one of those yet.
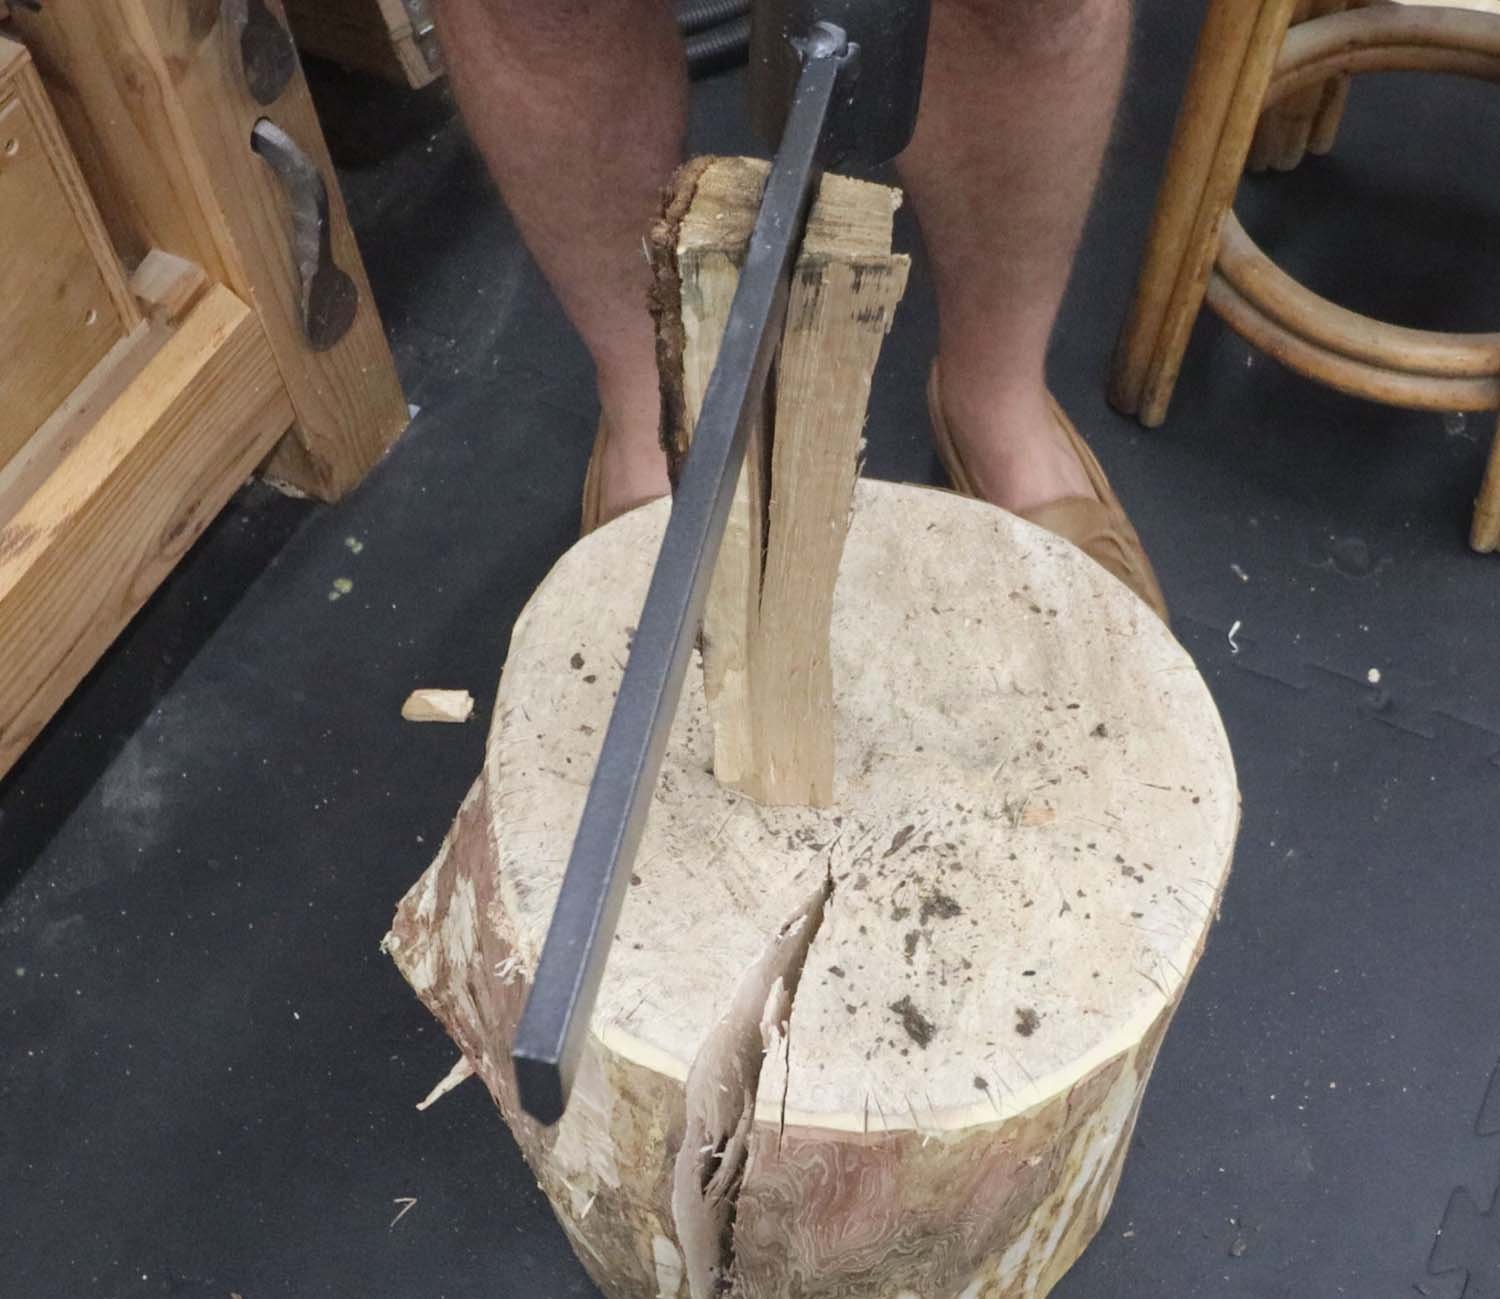
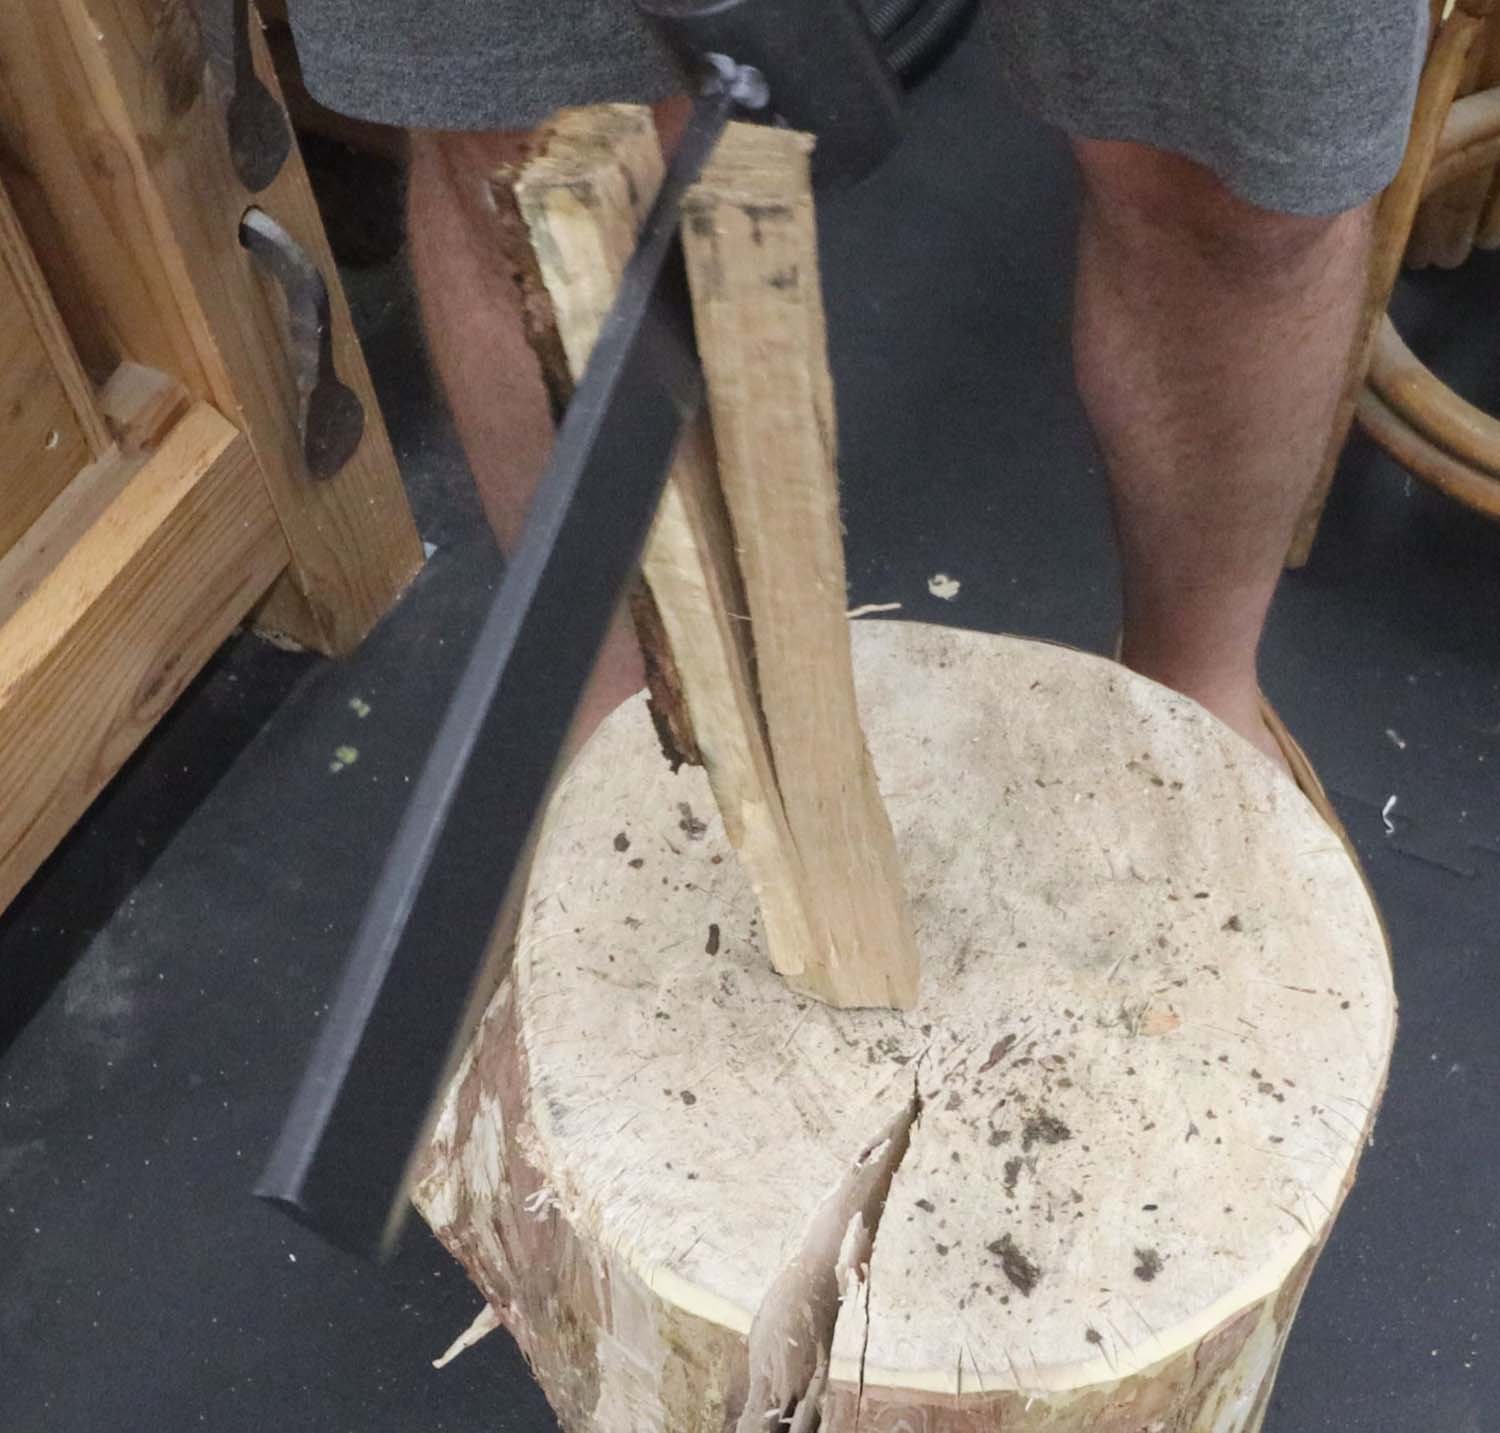
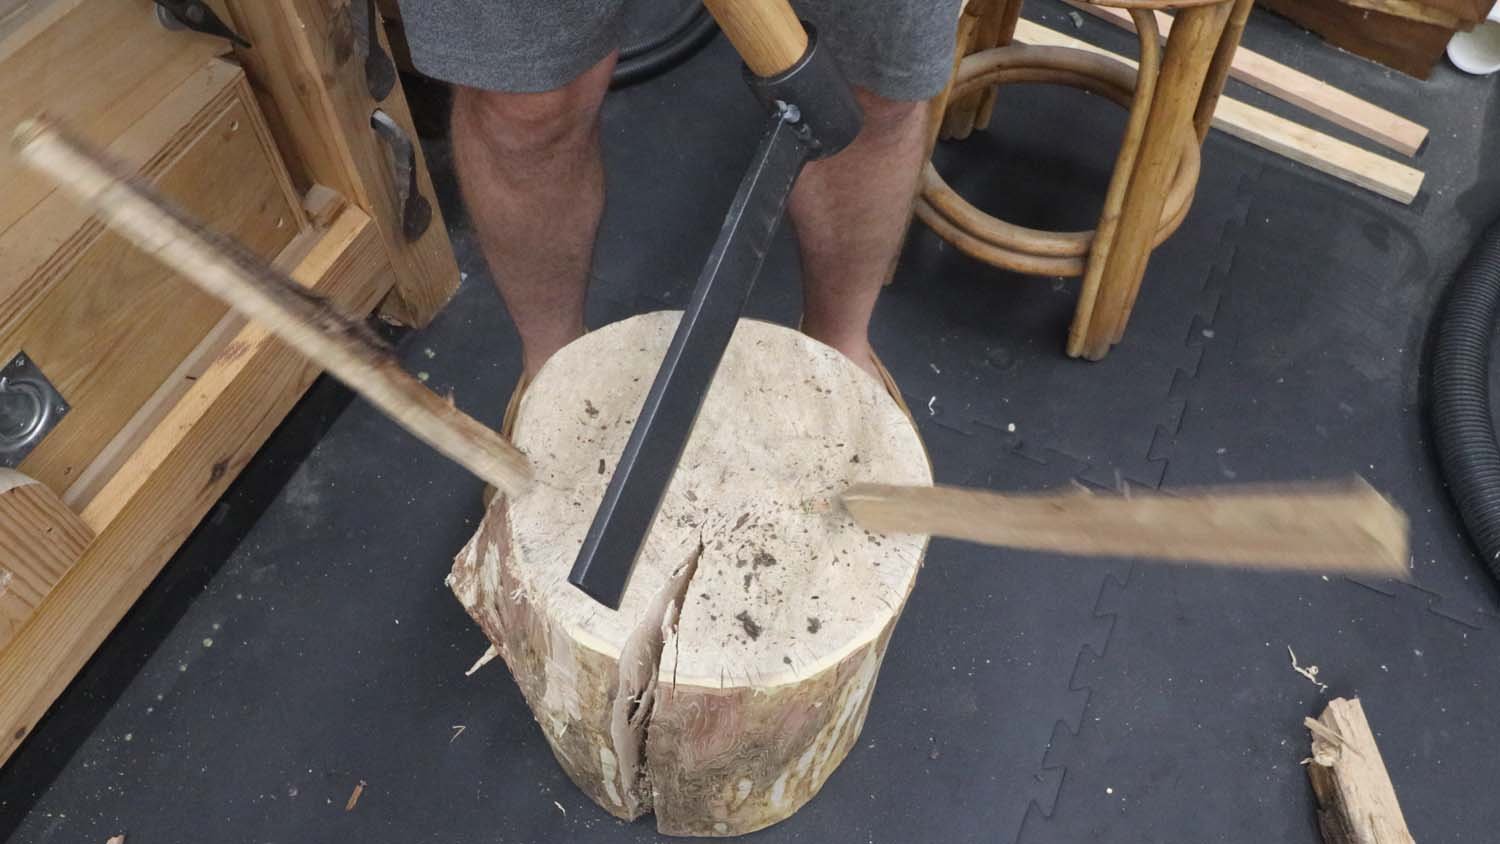
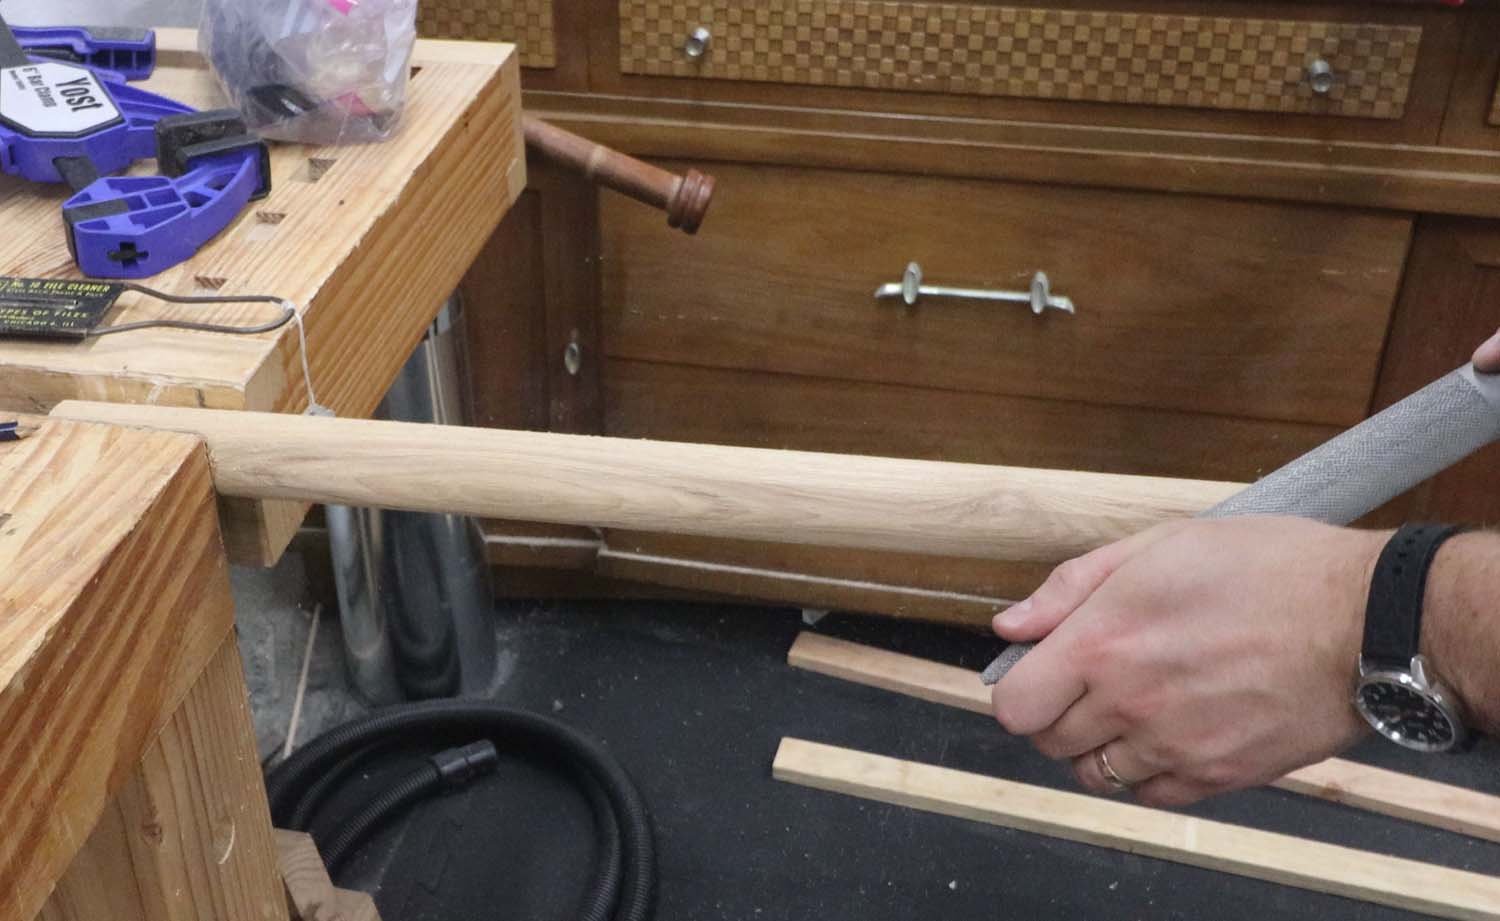
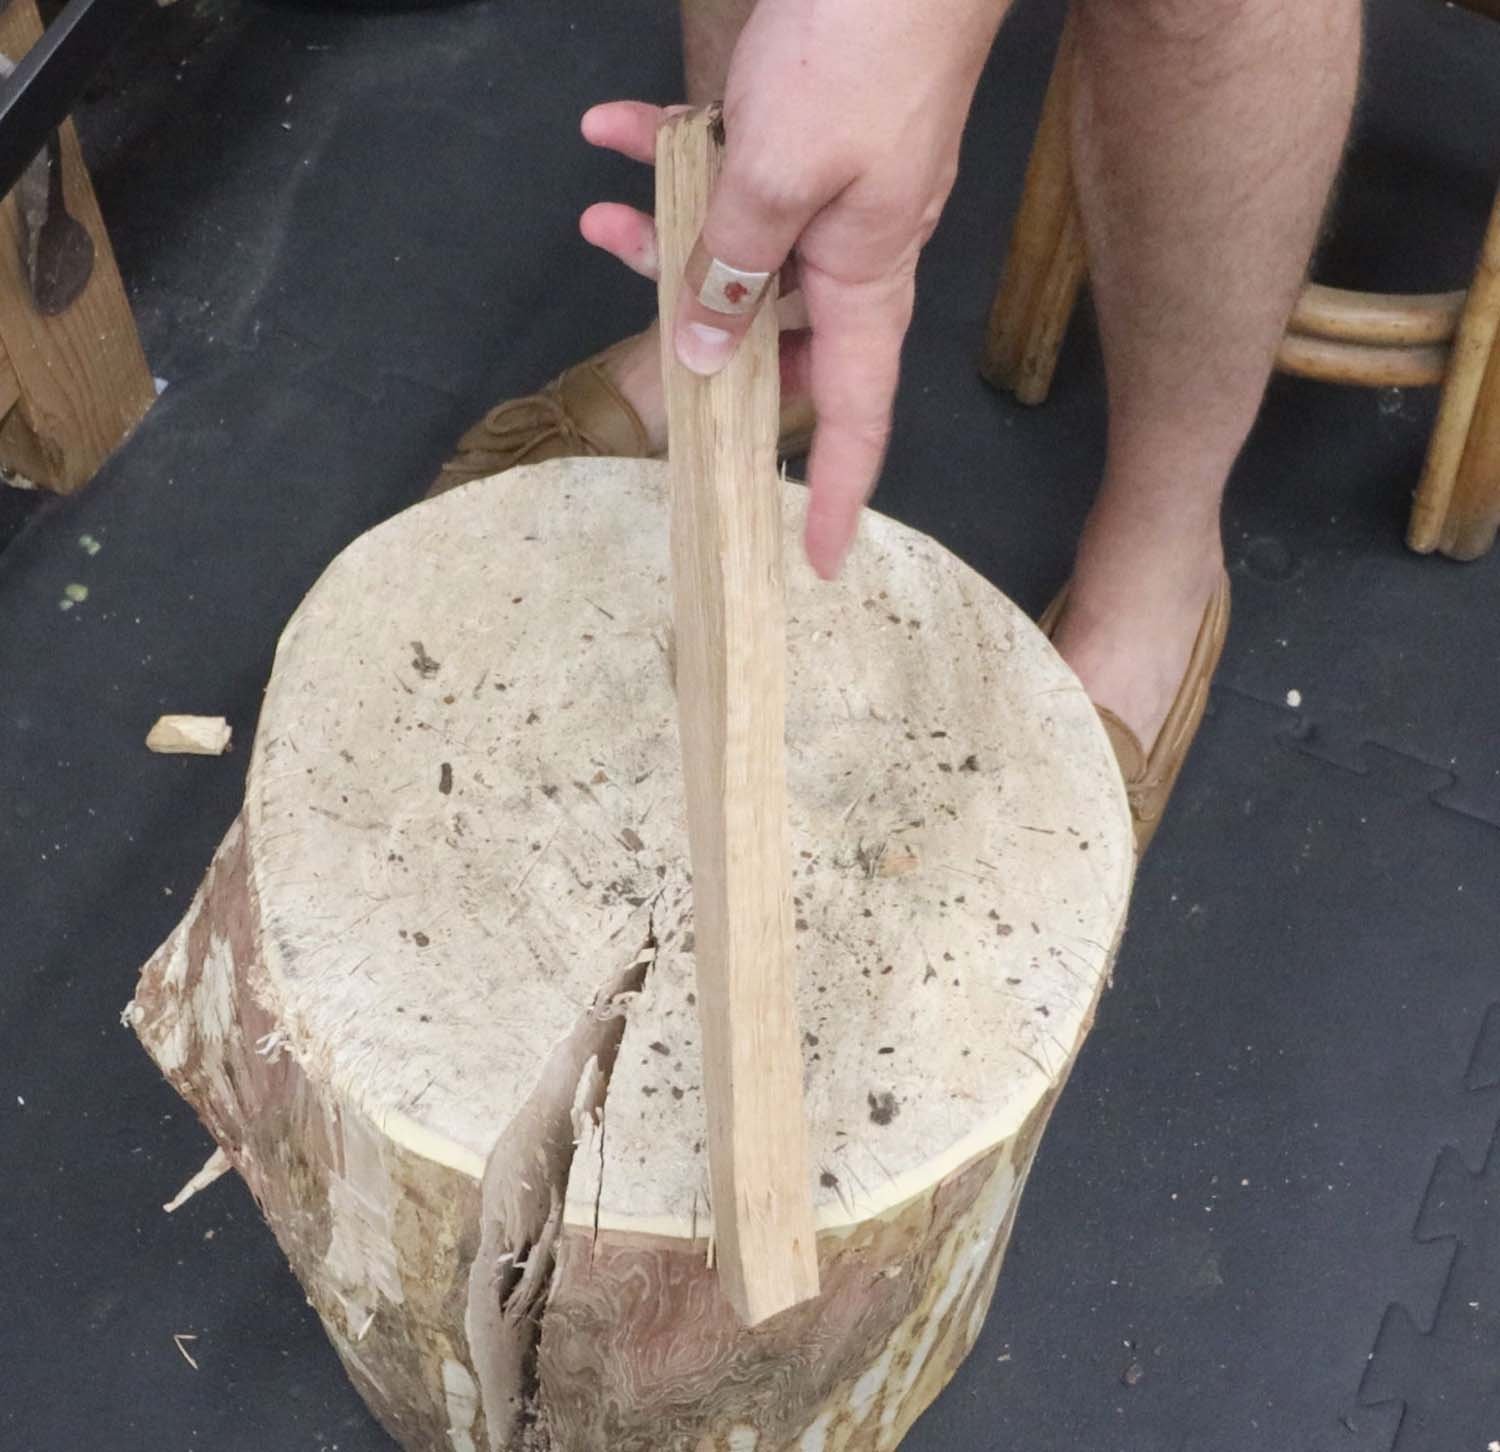
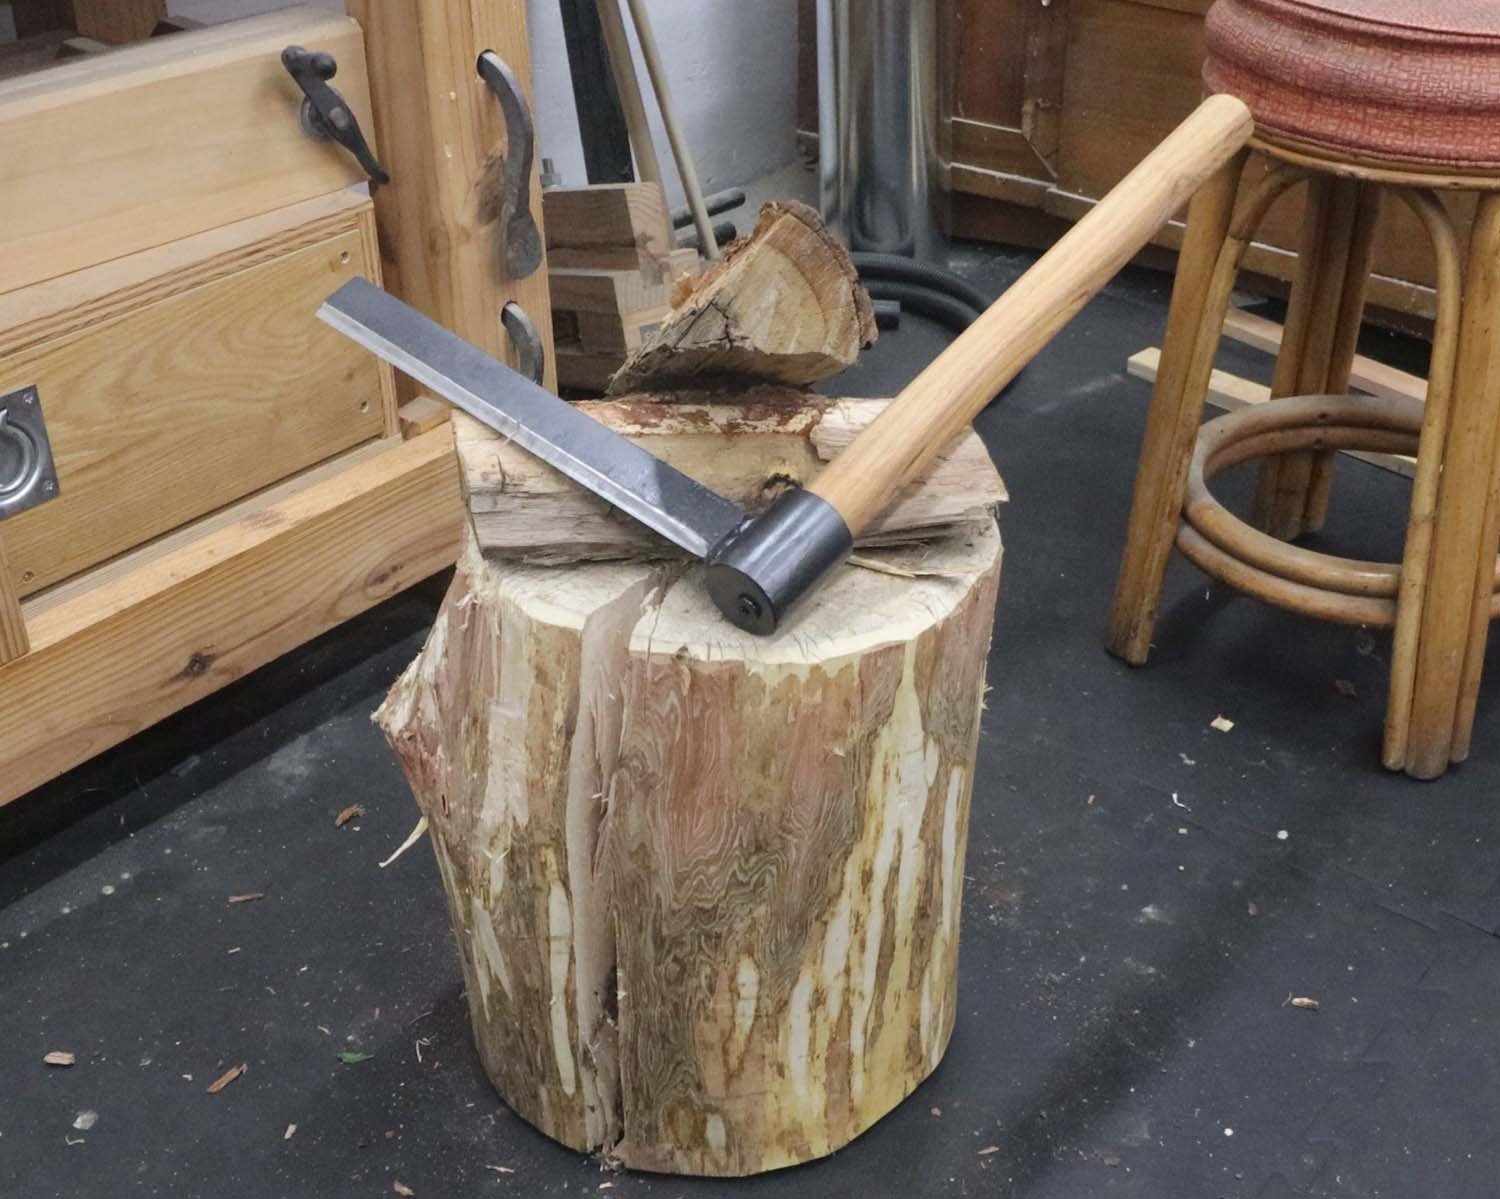
You can see that the froe is great at getting a split started, and then twisting the tool completes the split. It's very easy to control where the split happens with the long blade. Shown is a perfect spindle-sized piece, just waiting to be trimmed down.
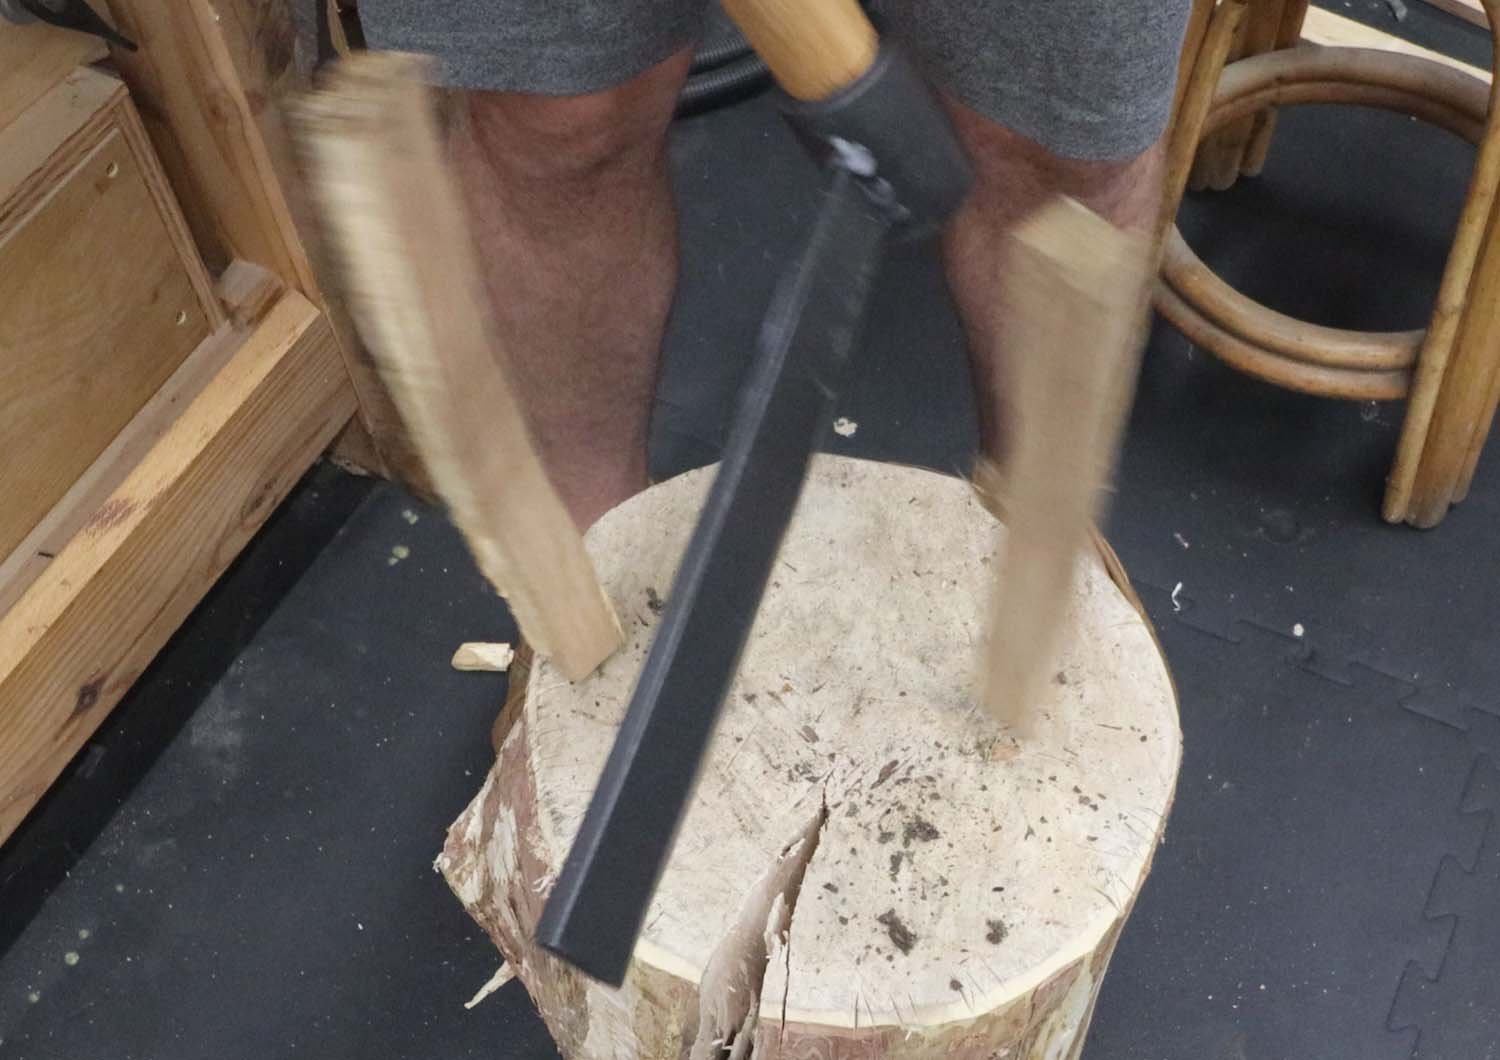
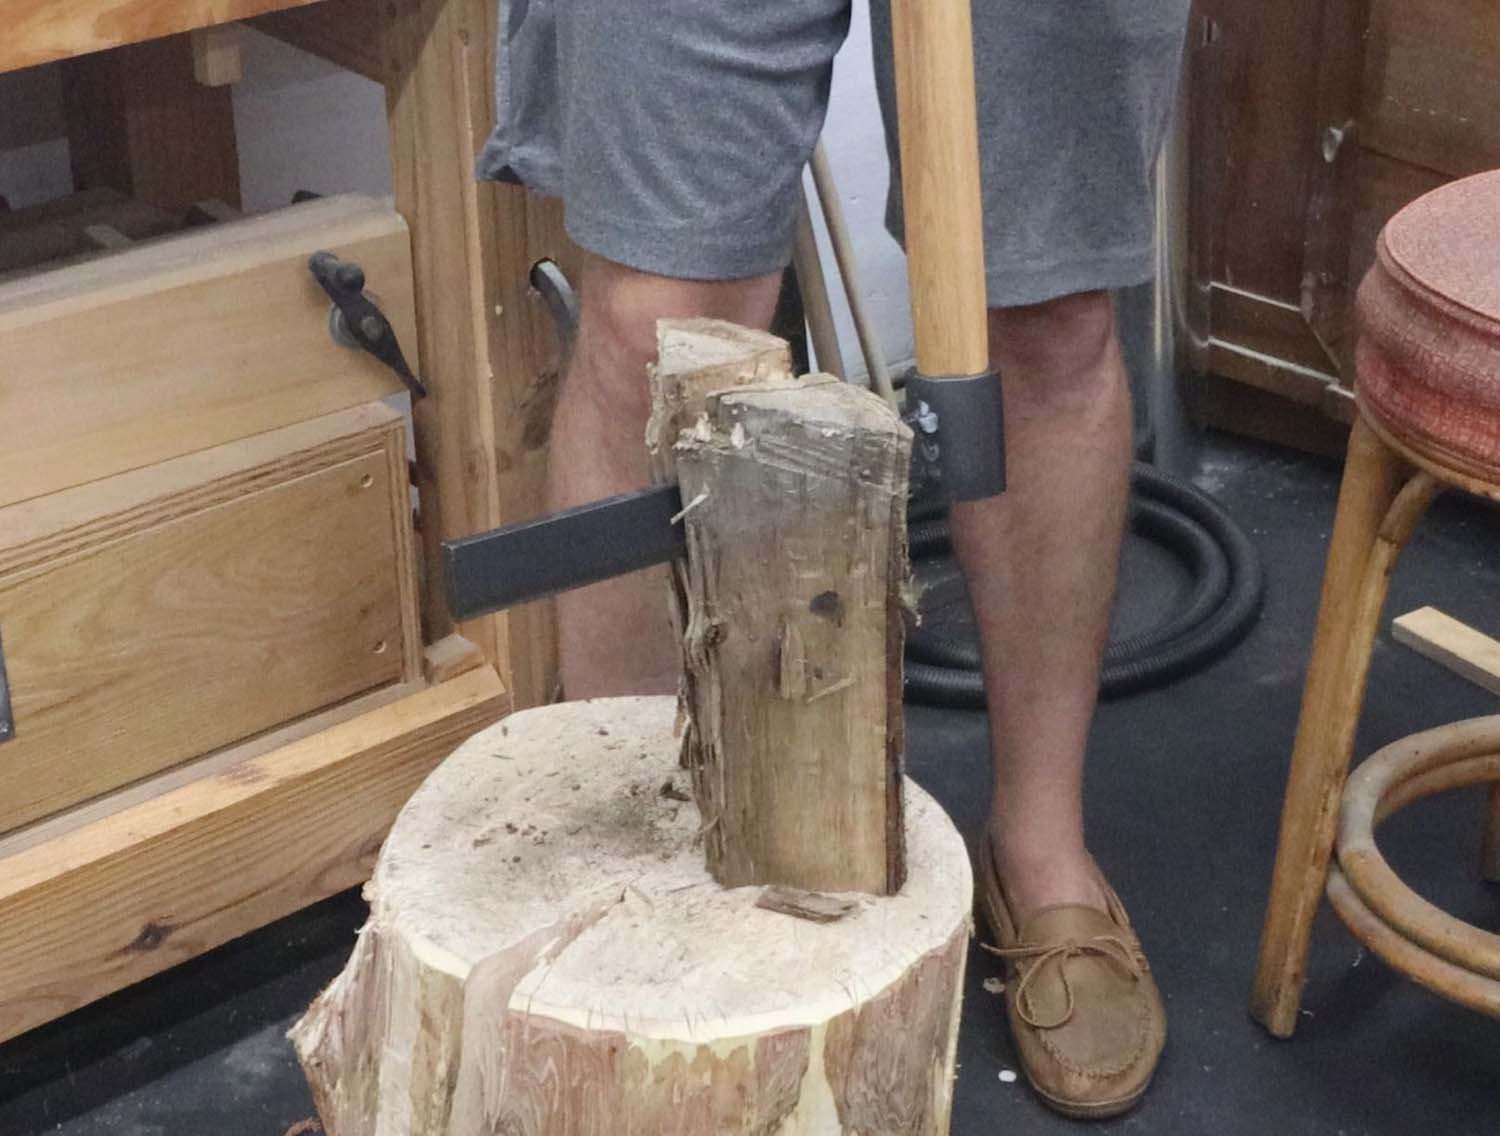
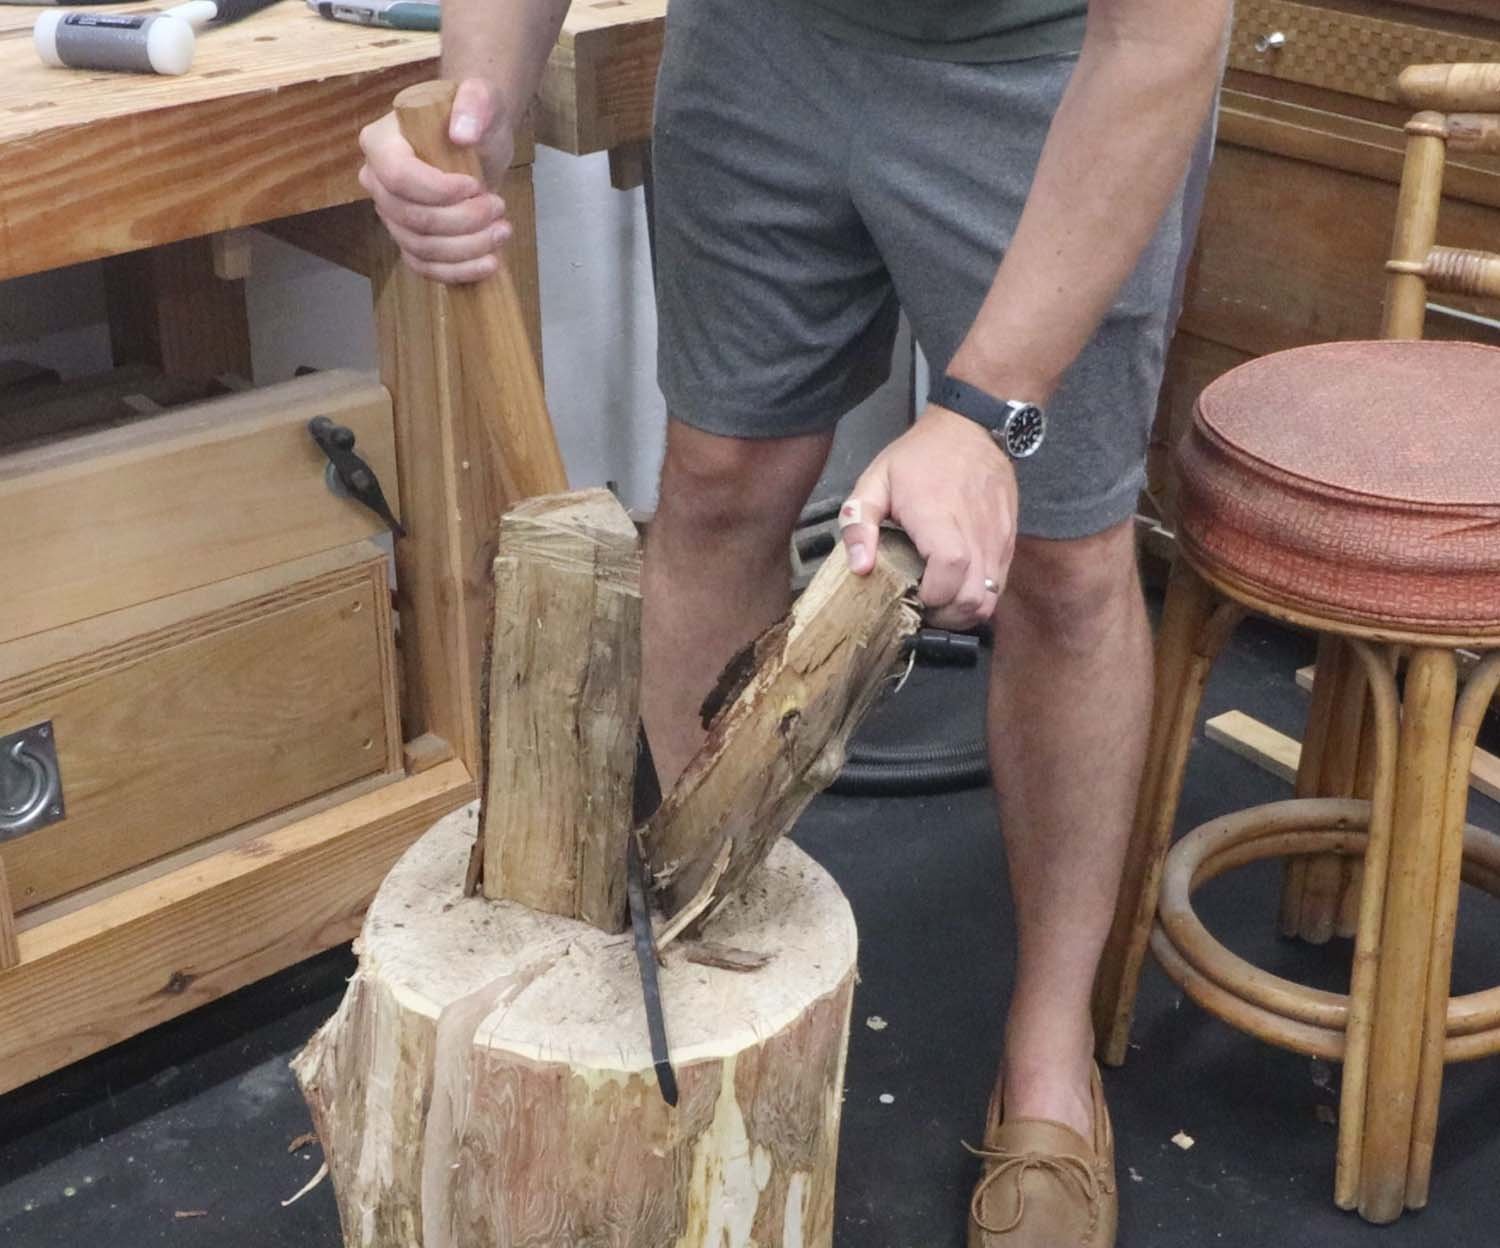
Bigger pieces is where the leverage of the handle really comes into play.
I'm glad I found the time to make myself one of these, and I'm really looking forward to using it in future green woodworking projects.
Thanks for following along with this one.
If you enjoyed this article, subscribe to my YouTube channel for more!
—————————————————————————————
Below is a listing of the supplies you will need. I have supplied Amazon Affiliate links to the products I used. As an Amazon Associate I earn from qualifying purchases.
Supplies:
3/8″ x 1-1/2″ bar, 12″ long
2″ dia DOM tube, 1/4″ wall, 2″ long (2″ Sch. 80 pipe will also work)
3/16″ plate, 2″ x 2″
hickory/ash handle, about 1-1/2″ dia x 22″ long
1/4″ x 2″ lag screw (with washer) or similar