
Three-Quarter Face Cord Welded Steel Firewood Rack
Last year I built a wooden firewood rack that holds half a face cord of wood, and we ended up using the entire thing by the end of January. So that we have a supply of firewood near the back patio door, I decided to upgrade our firewood rack, making better use of the space available. And, because it's my latest obsession/hobby, I decided to make it out of 3"x3" (75mm x 75mm) tube steel since, hey, why not go a bit overkill.
The general idea here is that it will be very similar to the previous version I built out of wood, but this one will hold about 3/4 of a face cord, and it will be designed to have a shingle roof to provide protection from rain. If you're interested, I do have plans for this firewood rack.
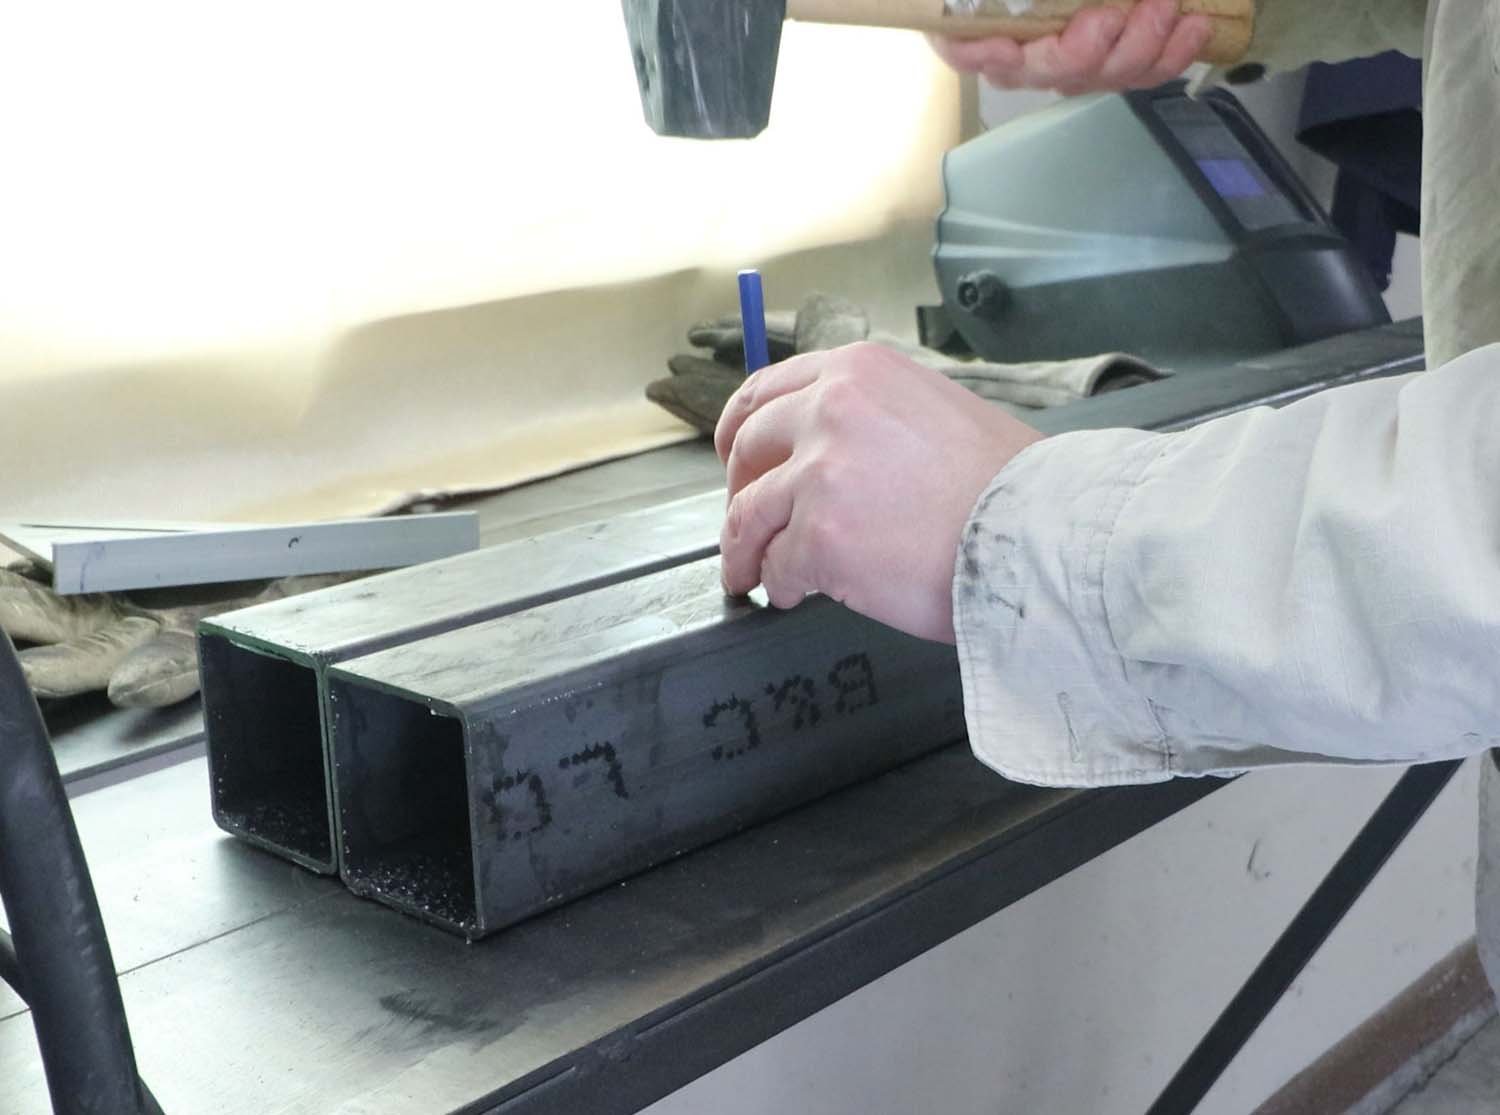
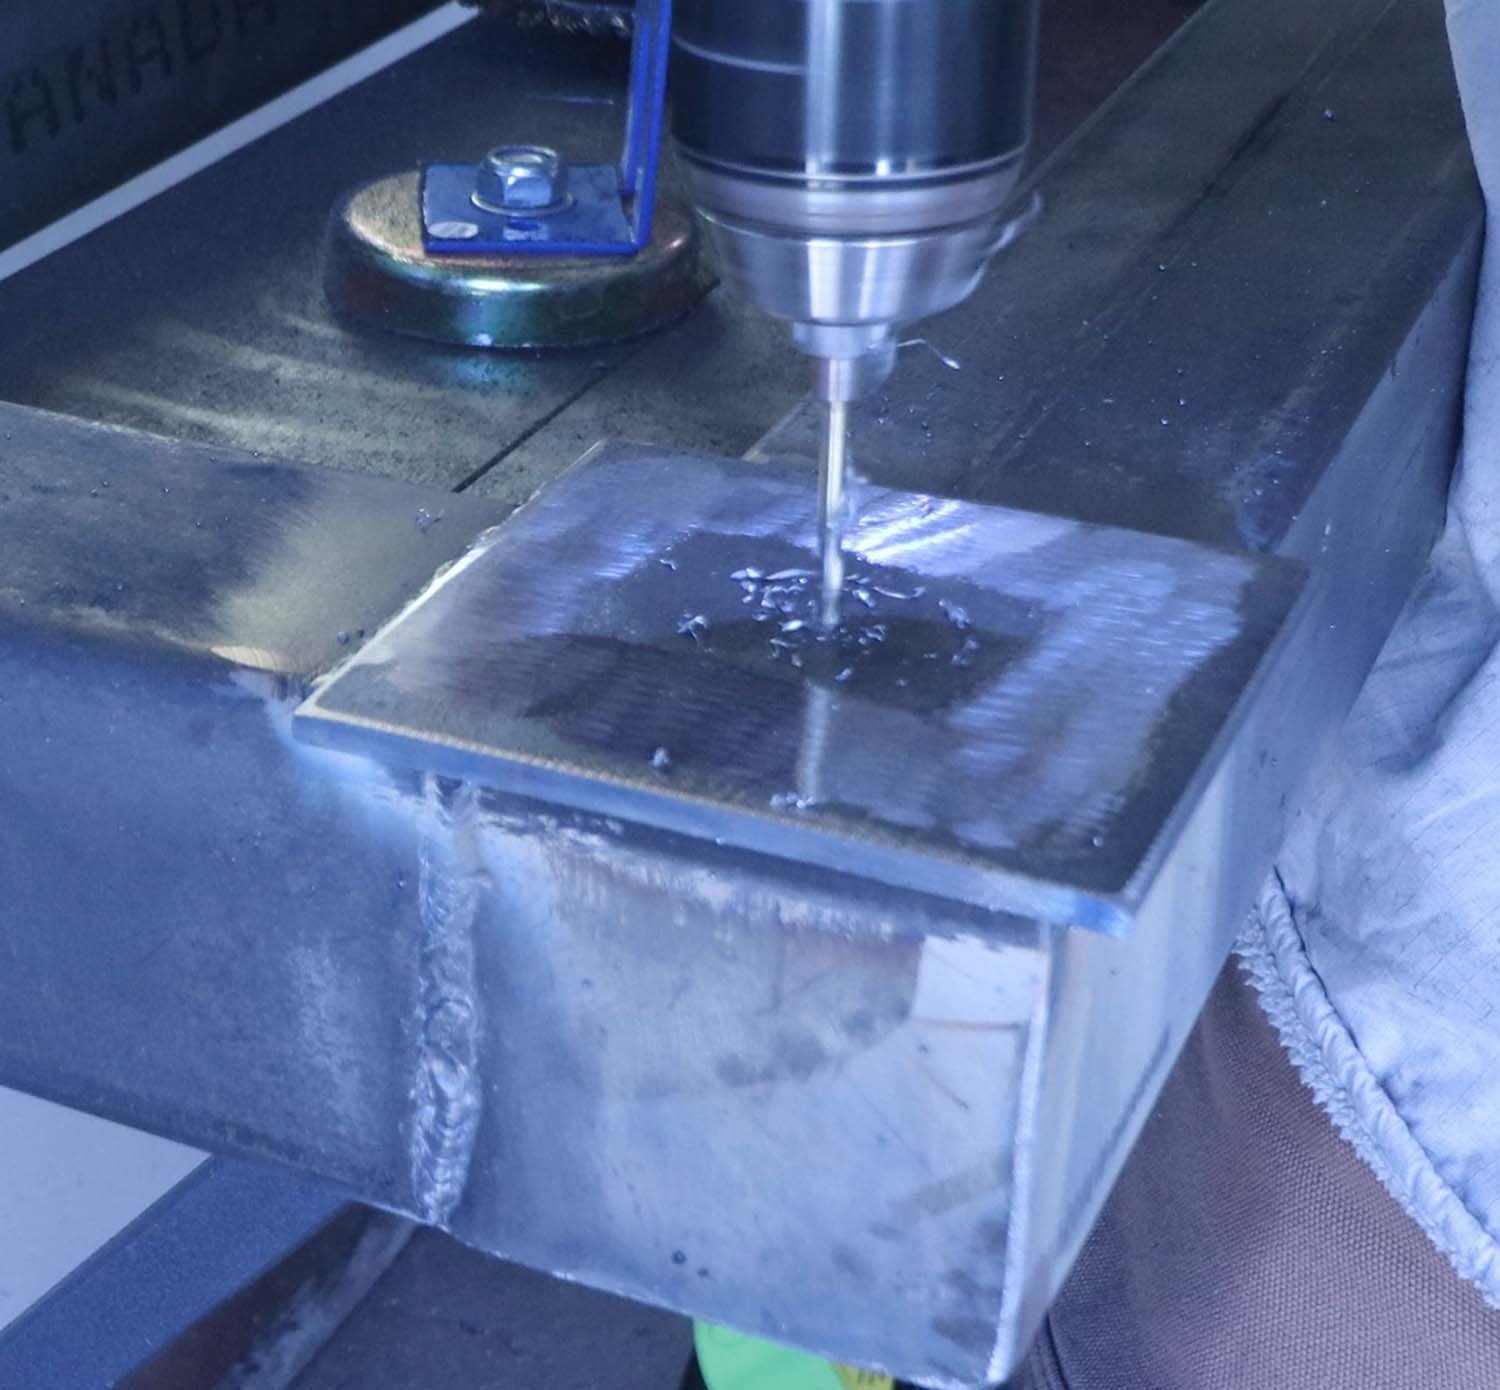
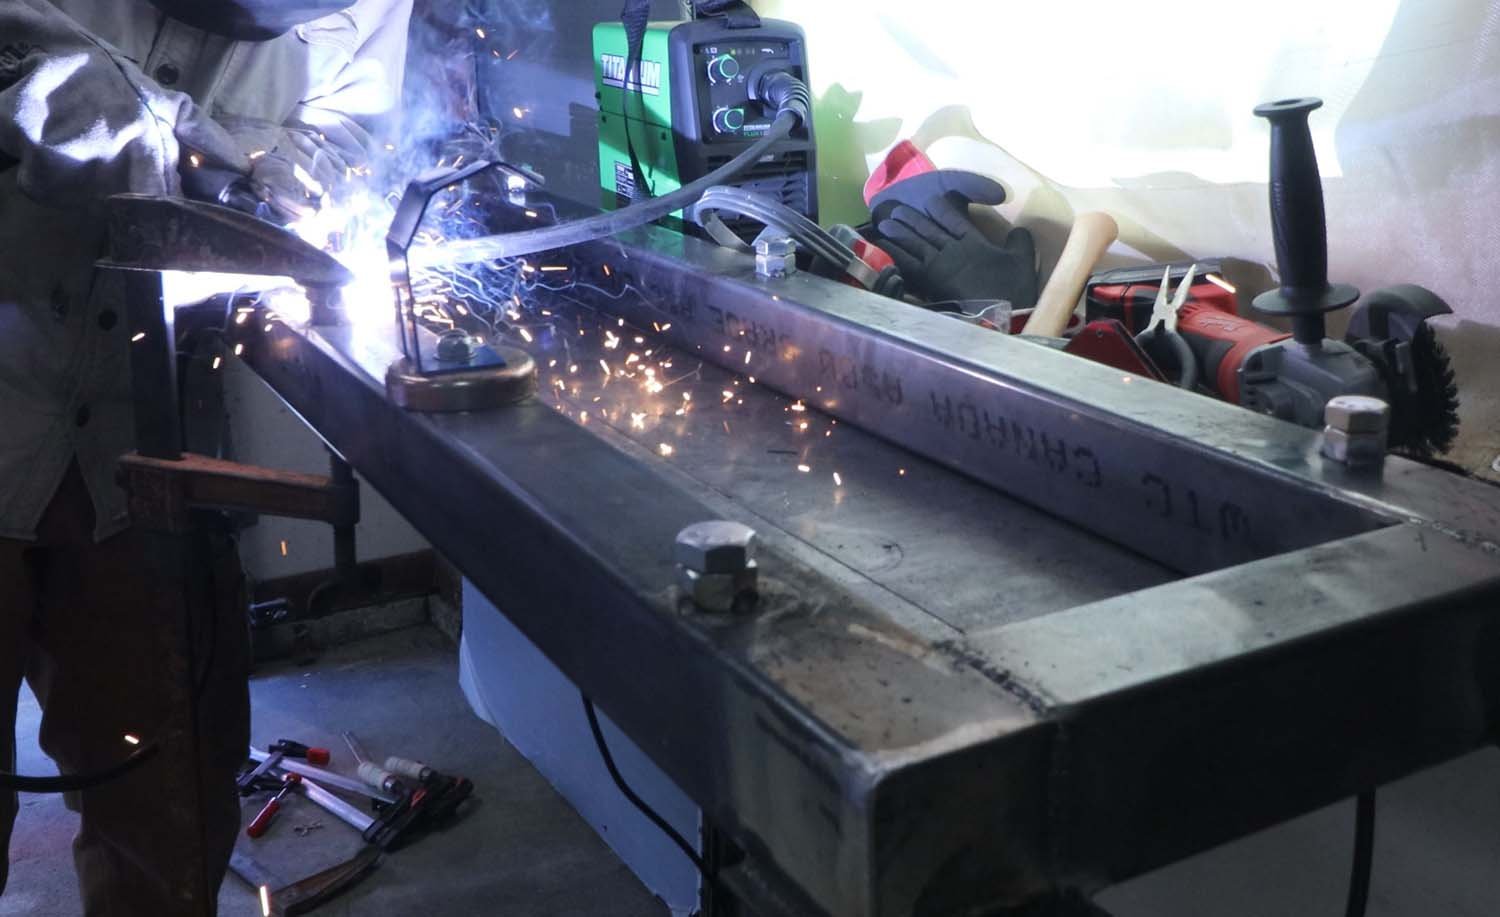
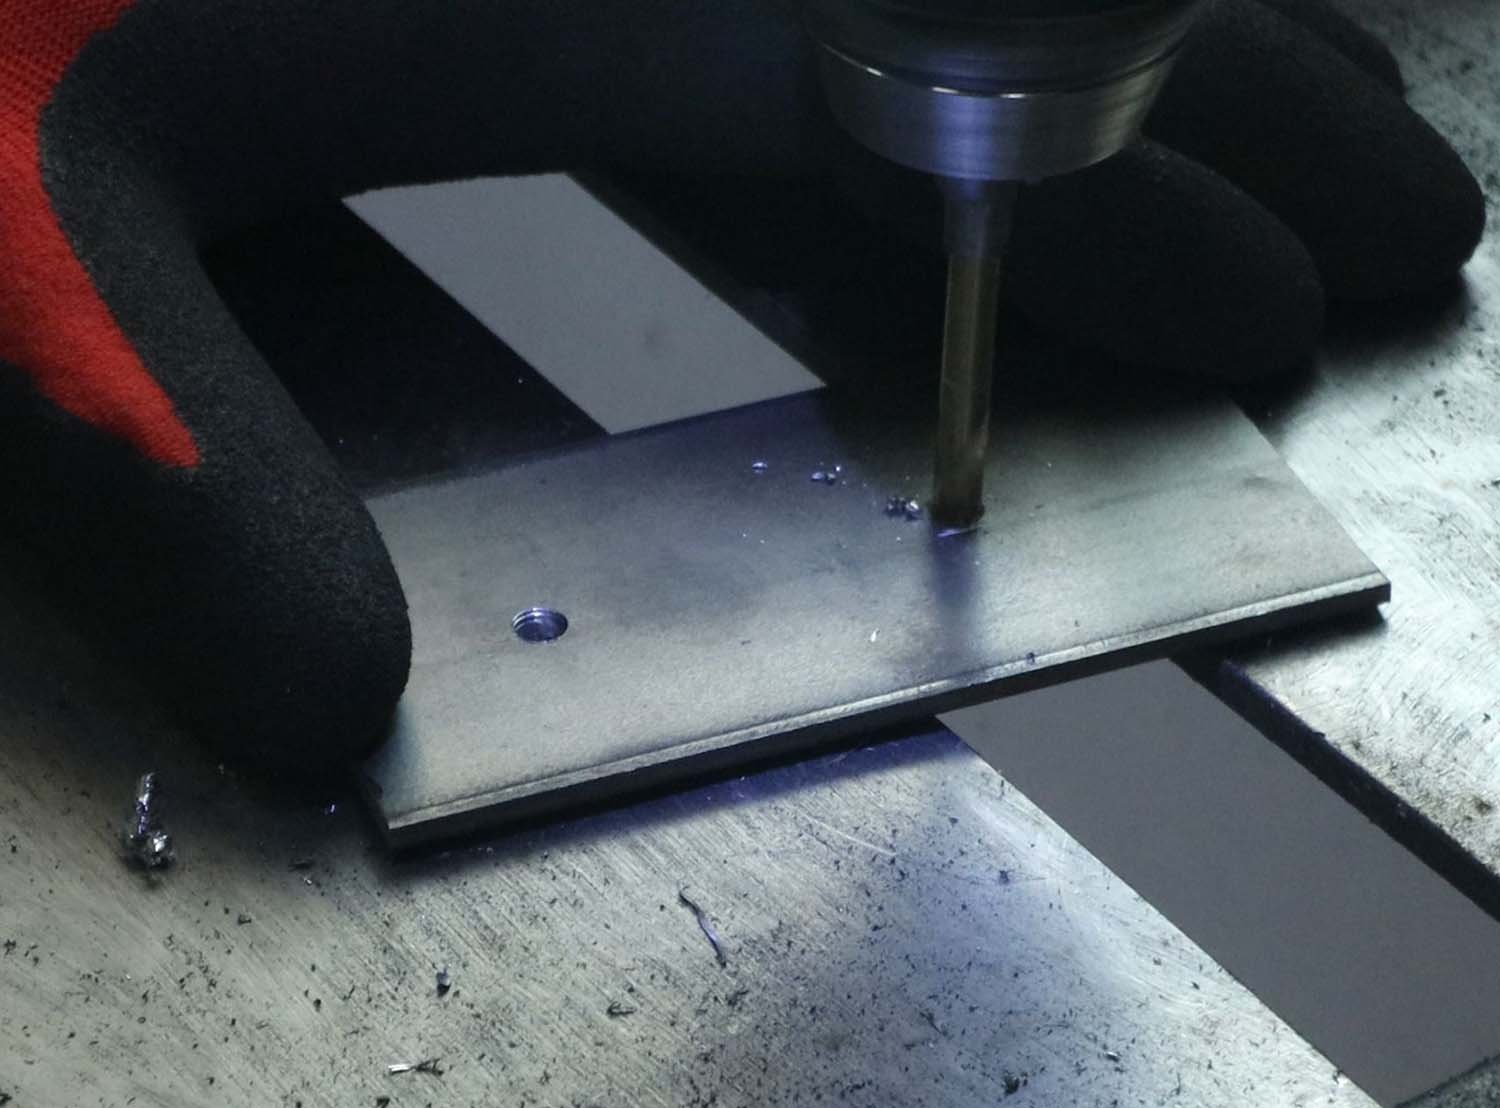
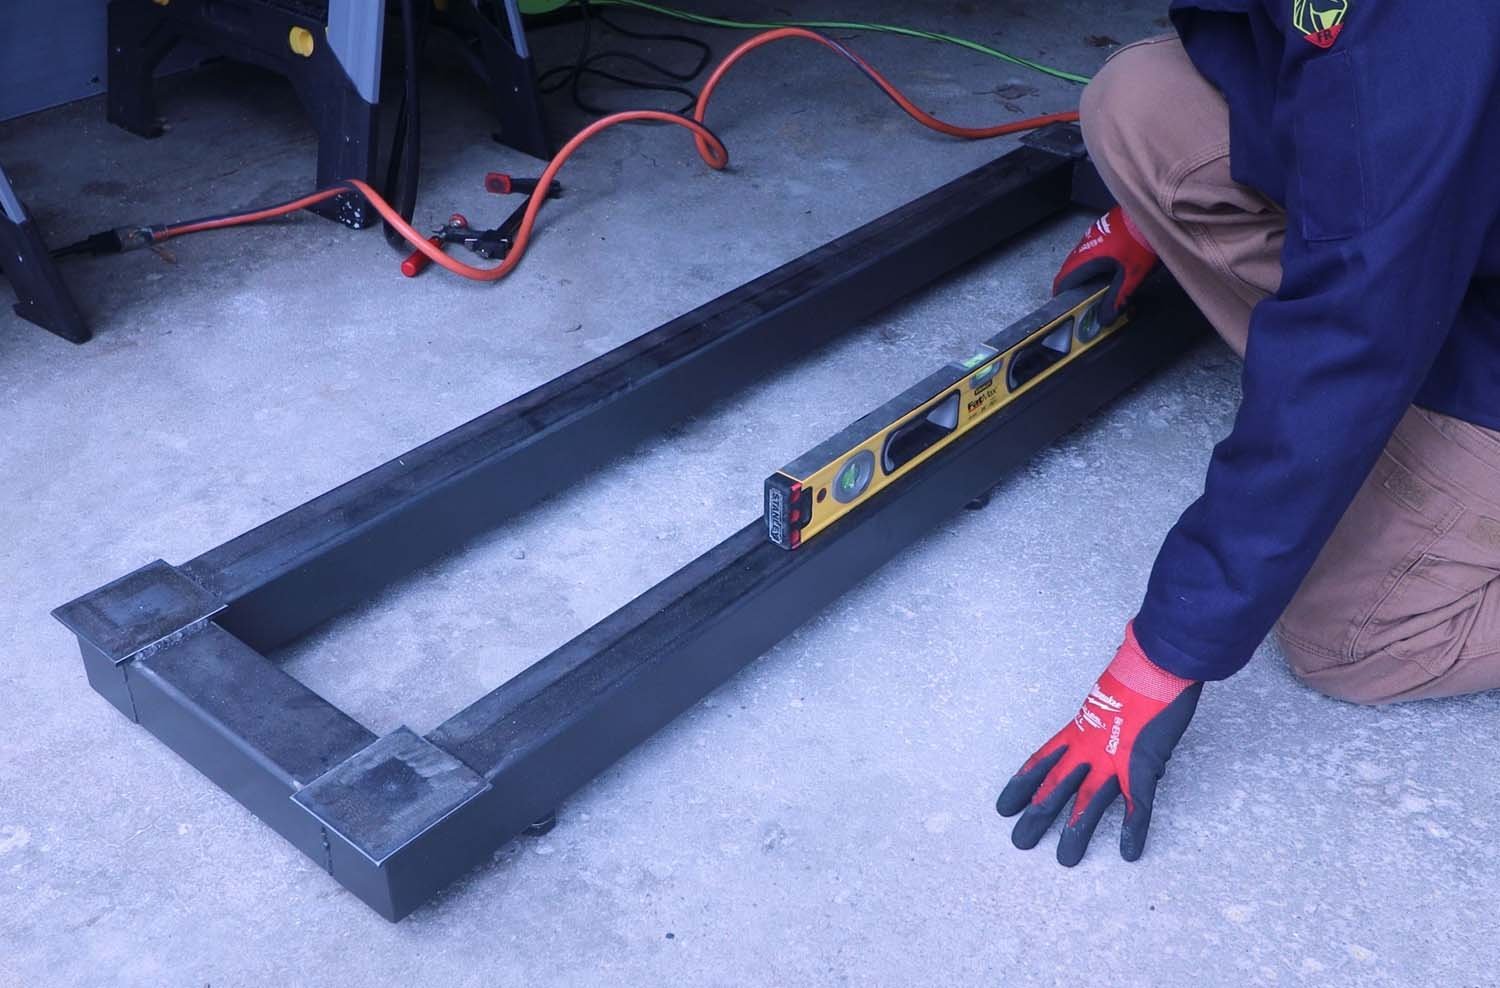
The first step of this project is to drill a series of holes for levelling feet. These are basically 3/4" (19mm) dia. bolts with matching nuts that are welded to the bottom, and that can be adjusted to account for vagaries in the surface where the rack will be installed.
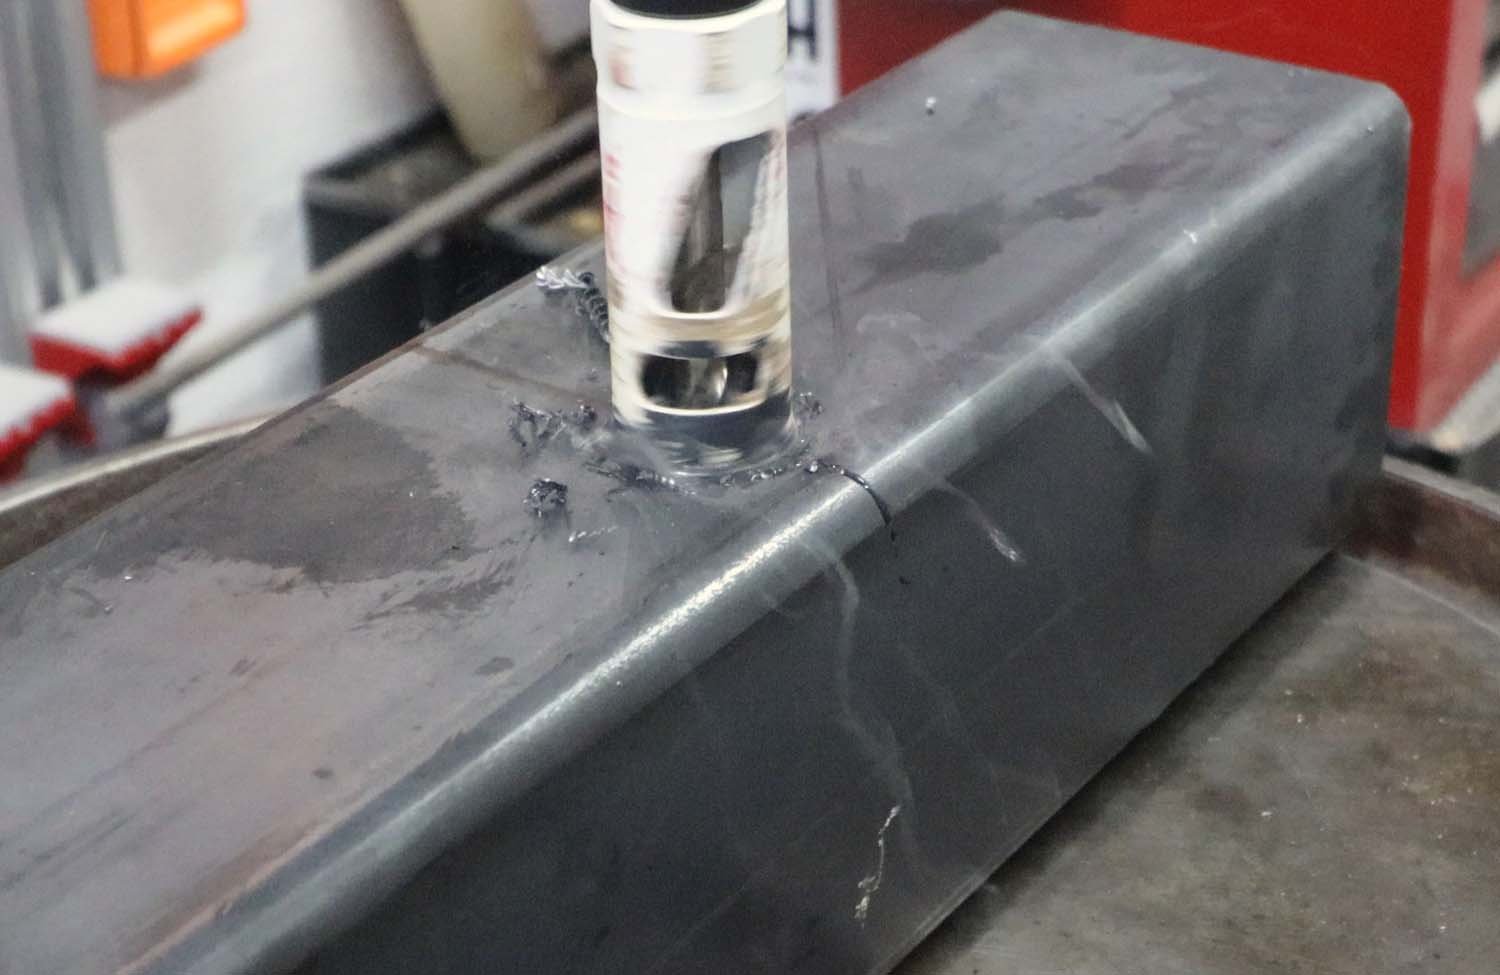
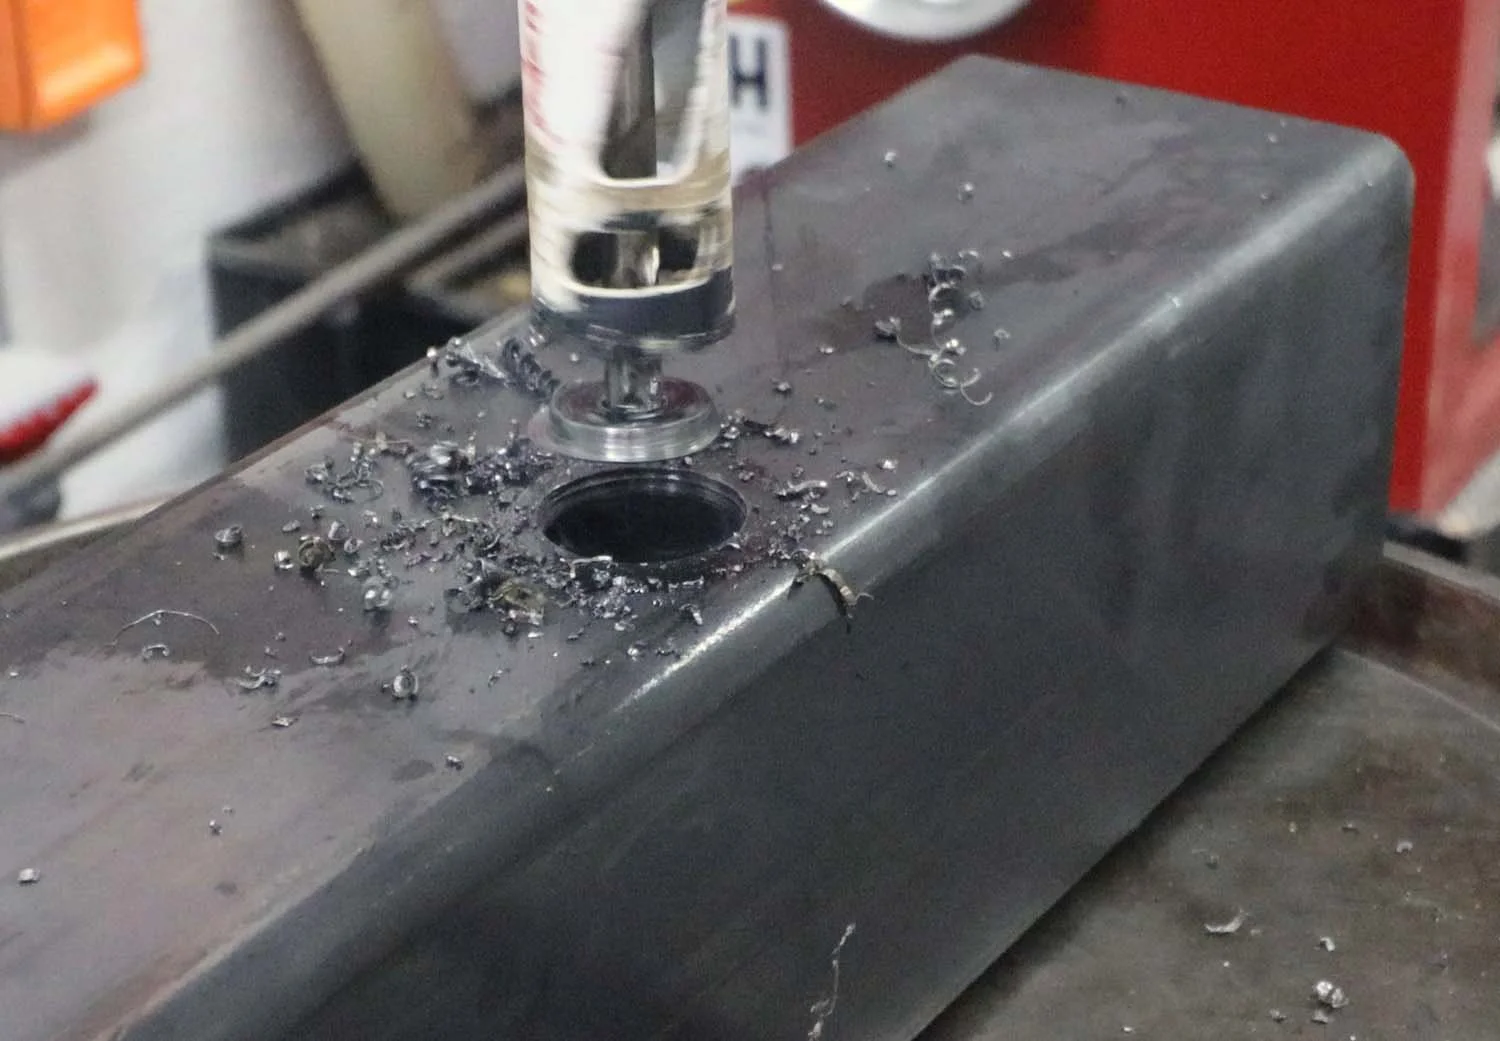
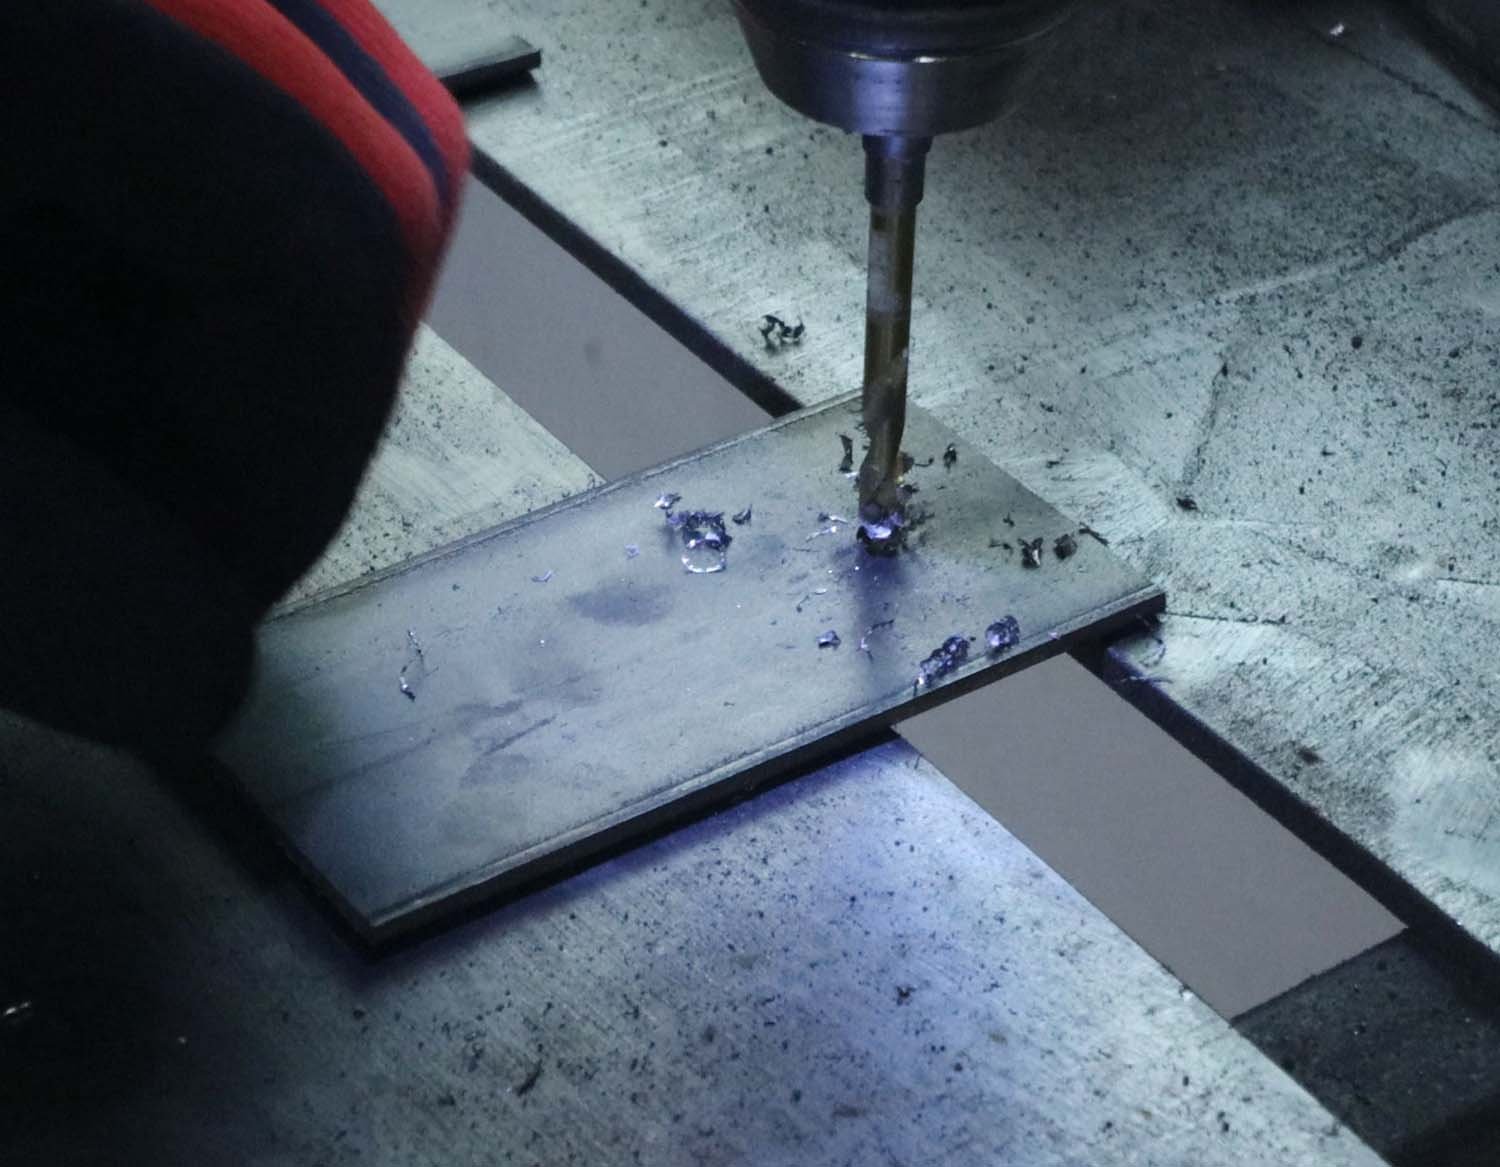
When welding closed sections where there's no path for air to escape, it's a good idea to drill 1/8" (3mm) dia. weep holes. These allow for hot air to escape the inside of the section during welding so that you don't blow out a weld. The also allow condensation to escape the inside of the tube so rust is less of a problem. Obviously, you want to drill these on the bottom part of the piece. The plans for this rack identify locations where weep holes are recommended.
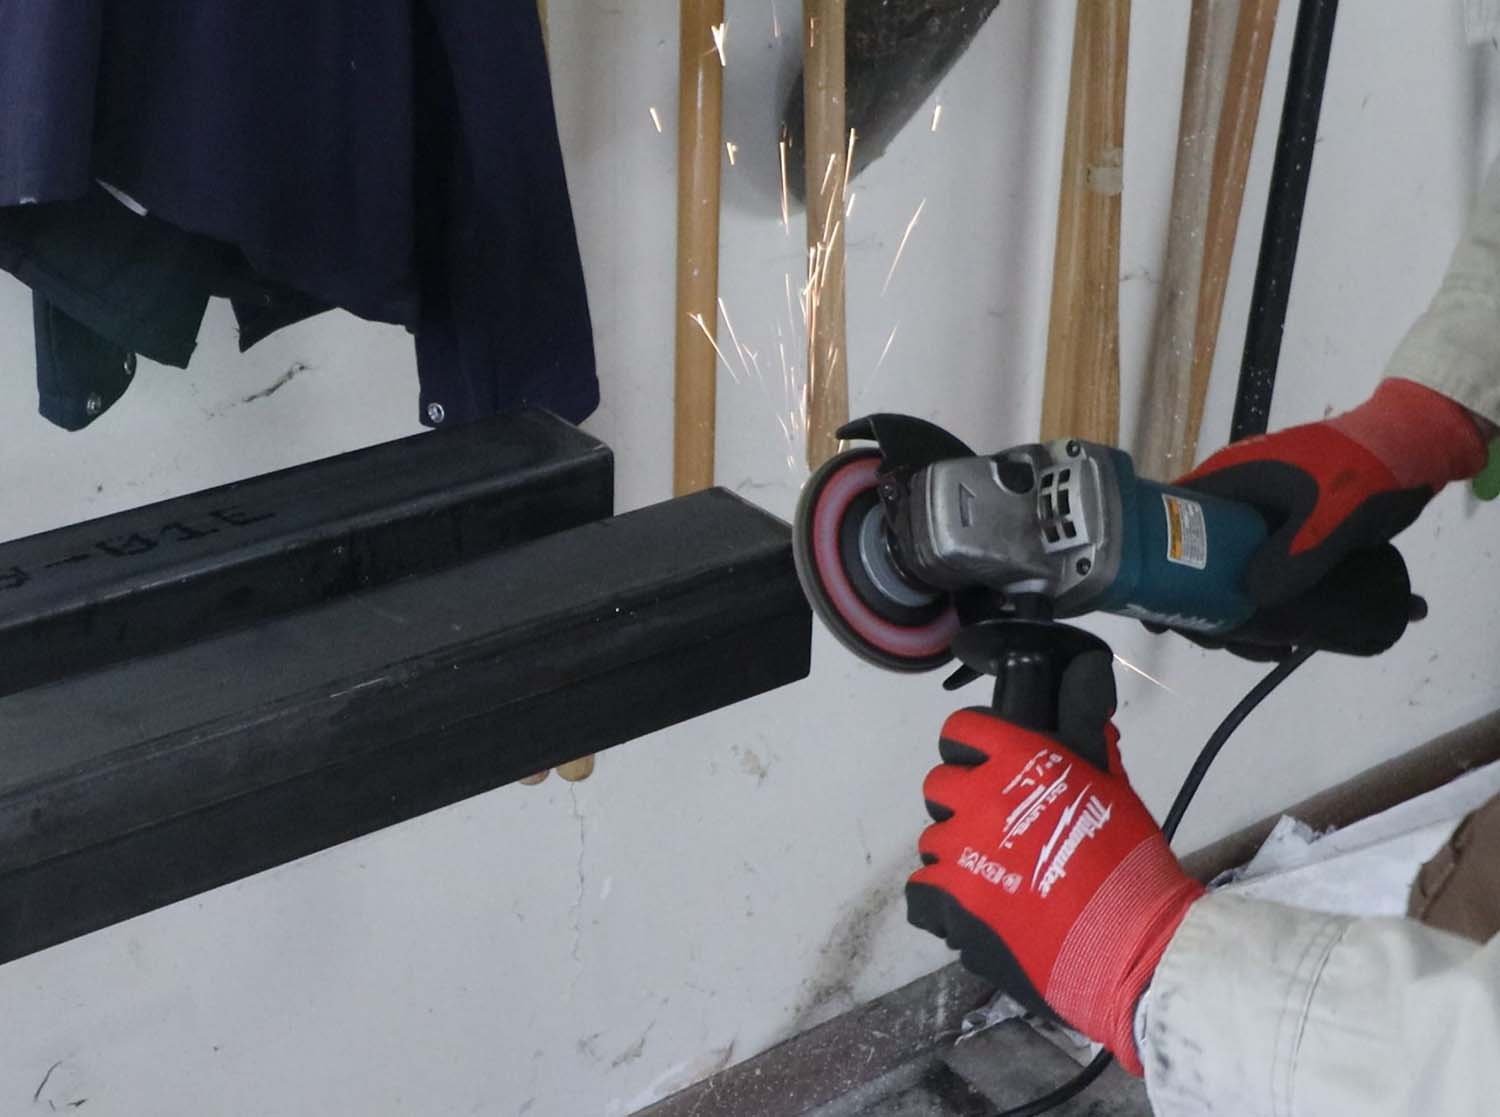
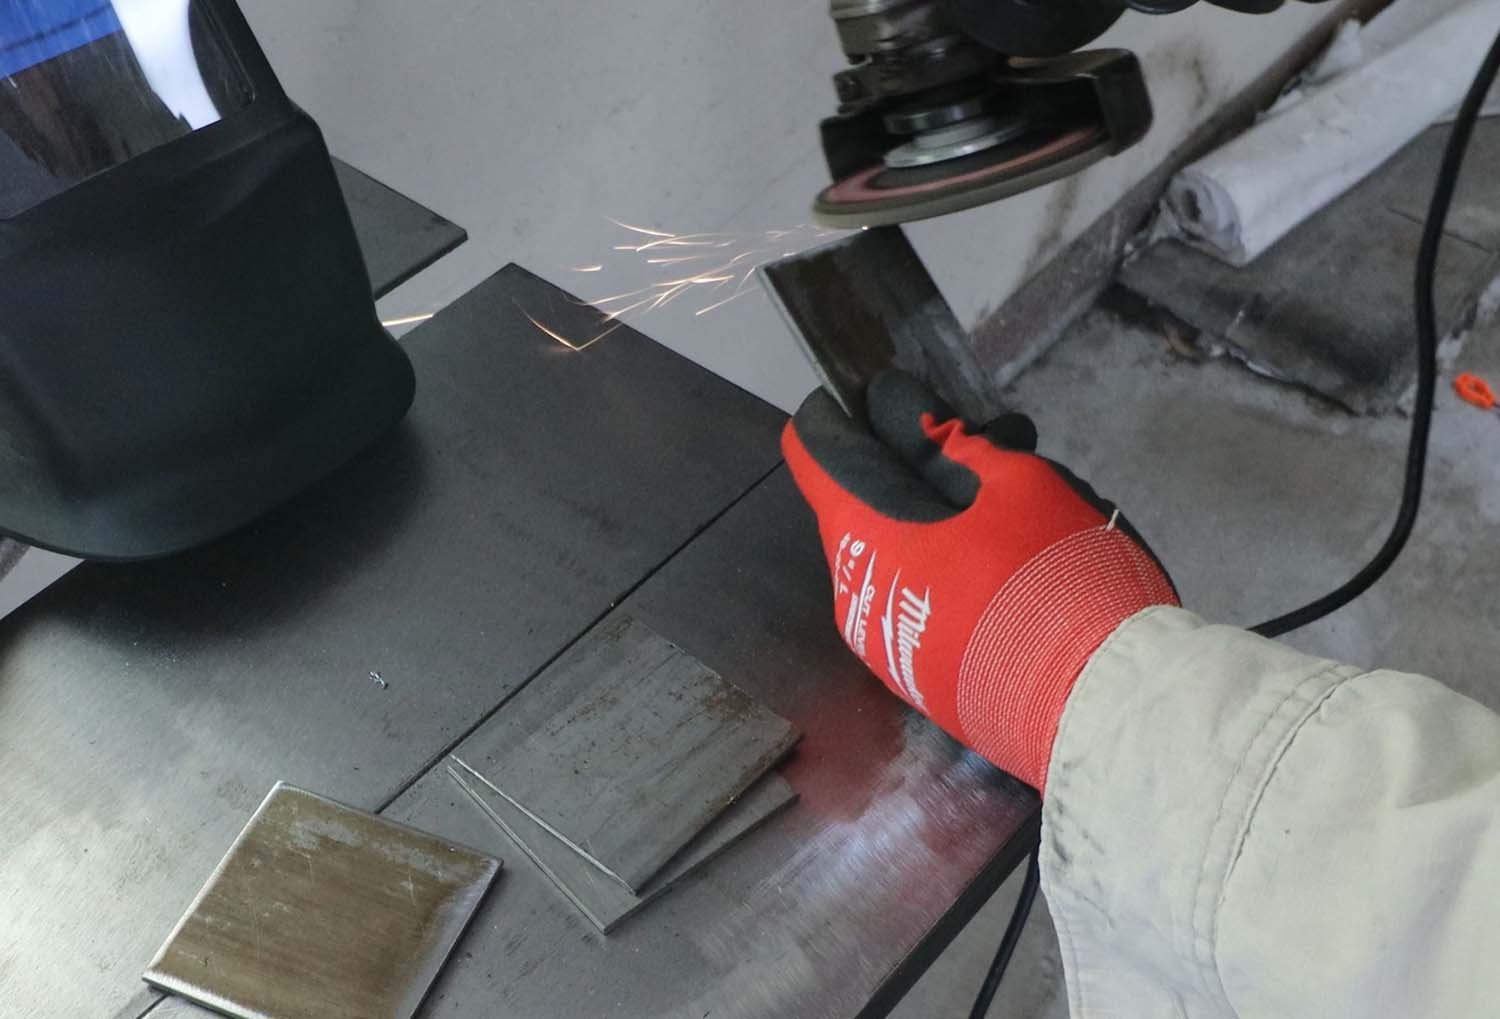
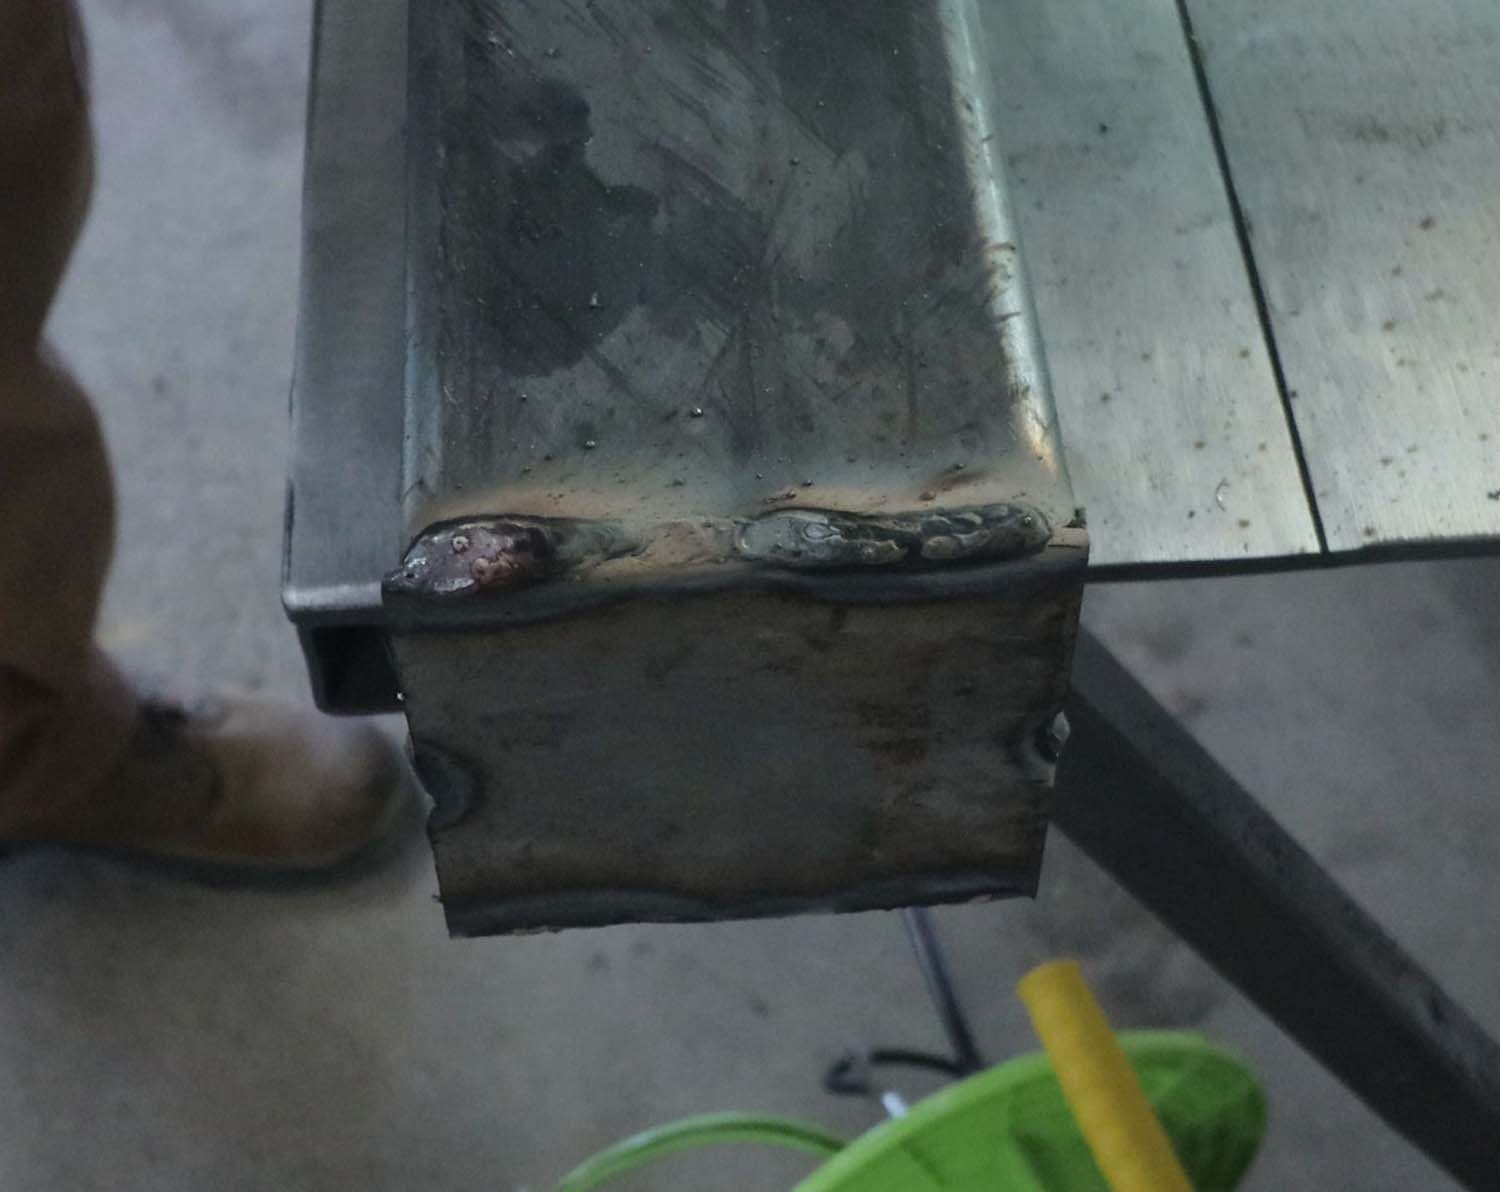
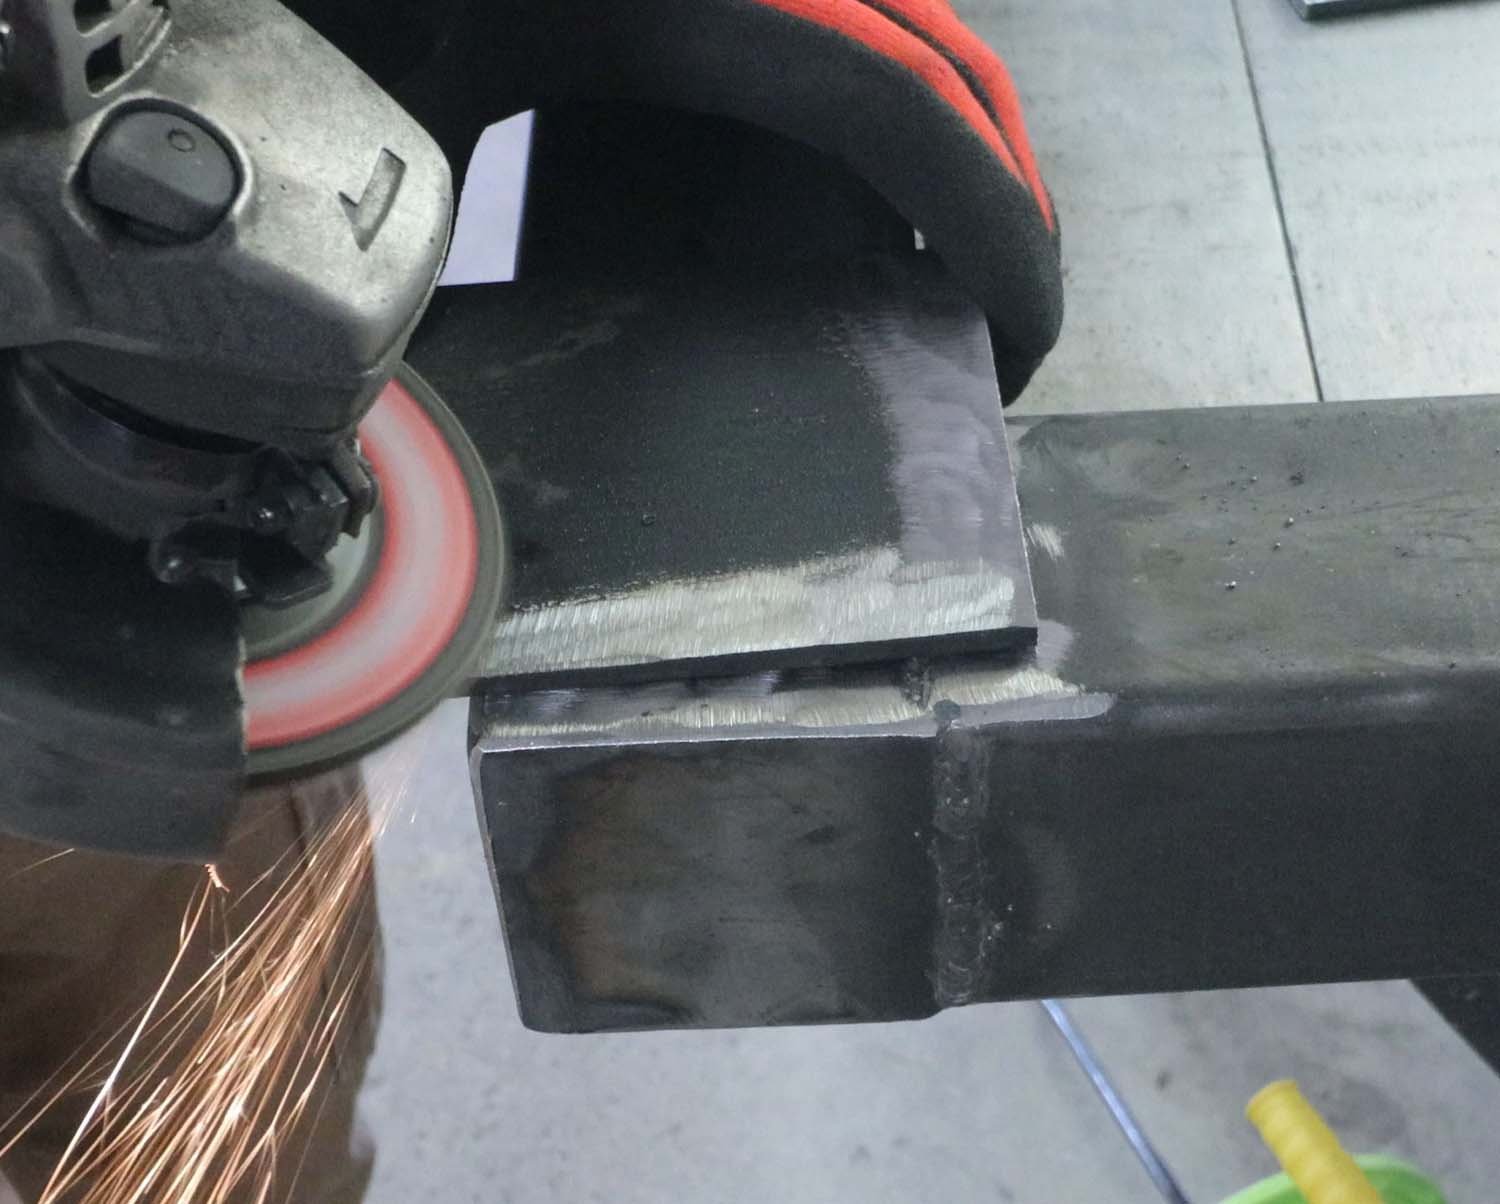
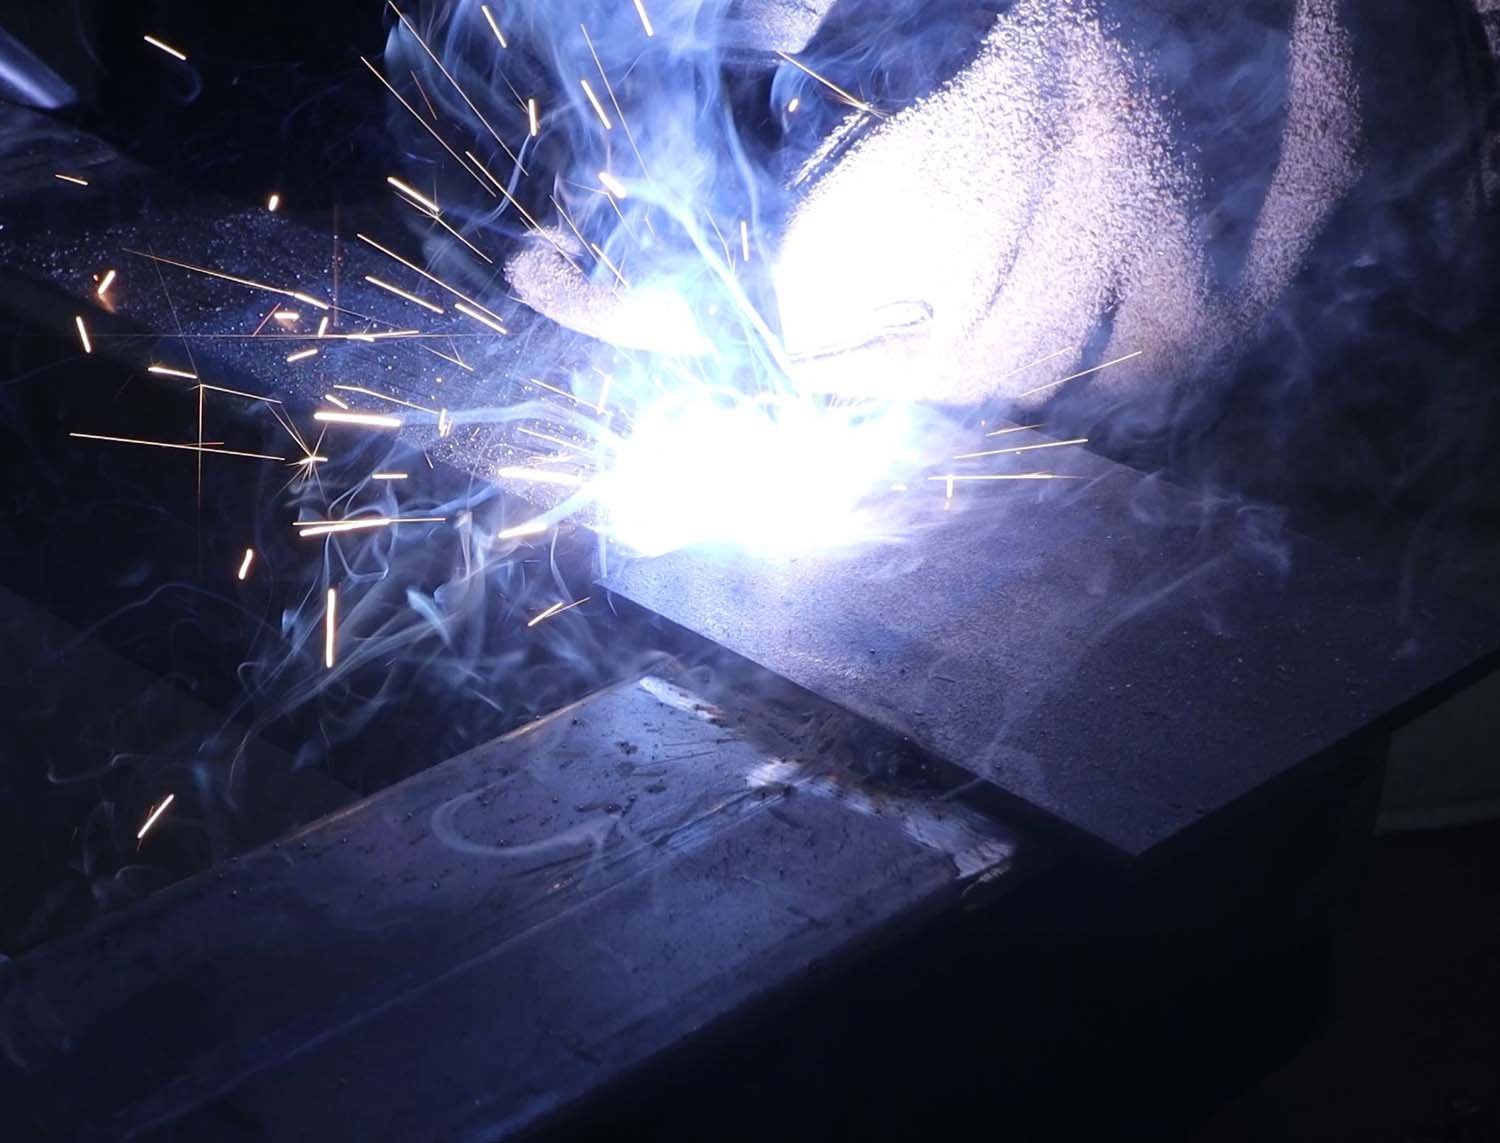
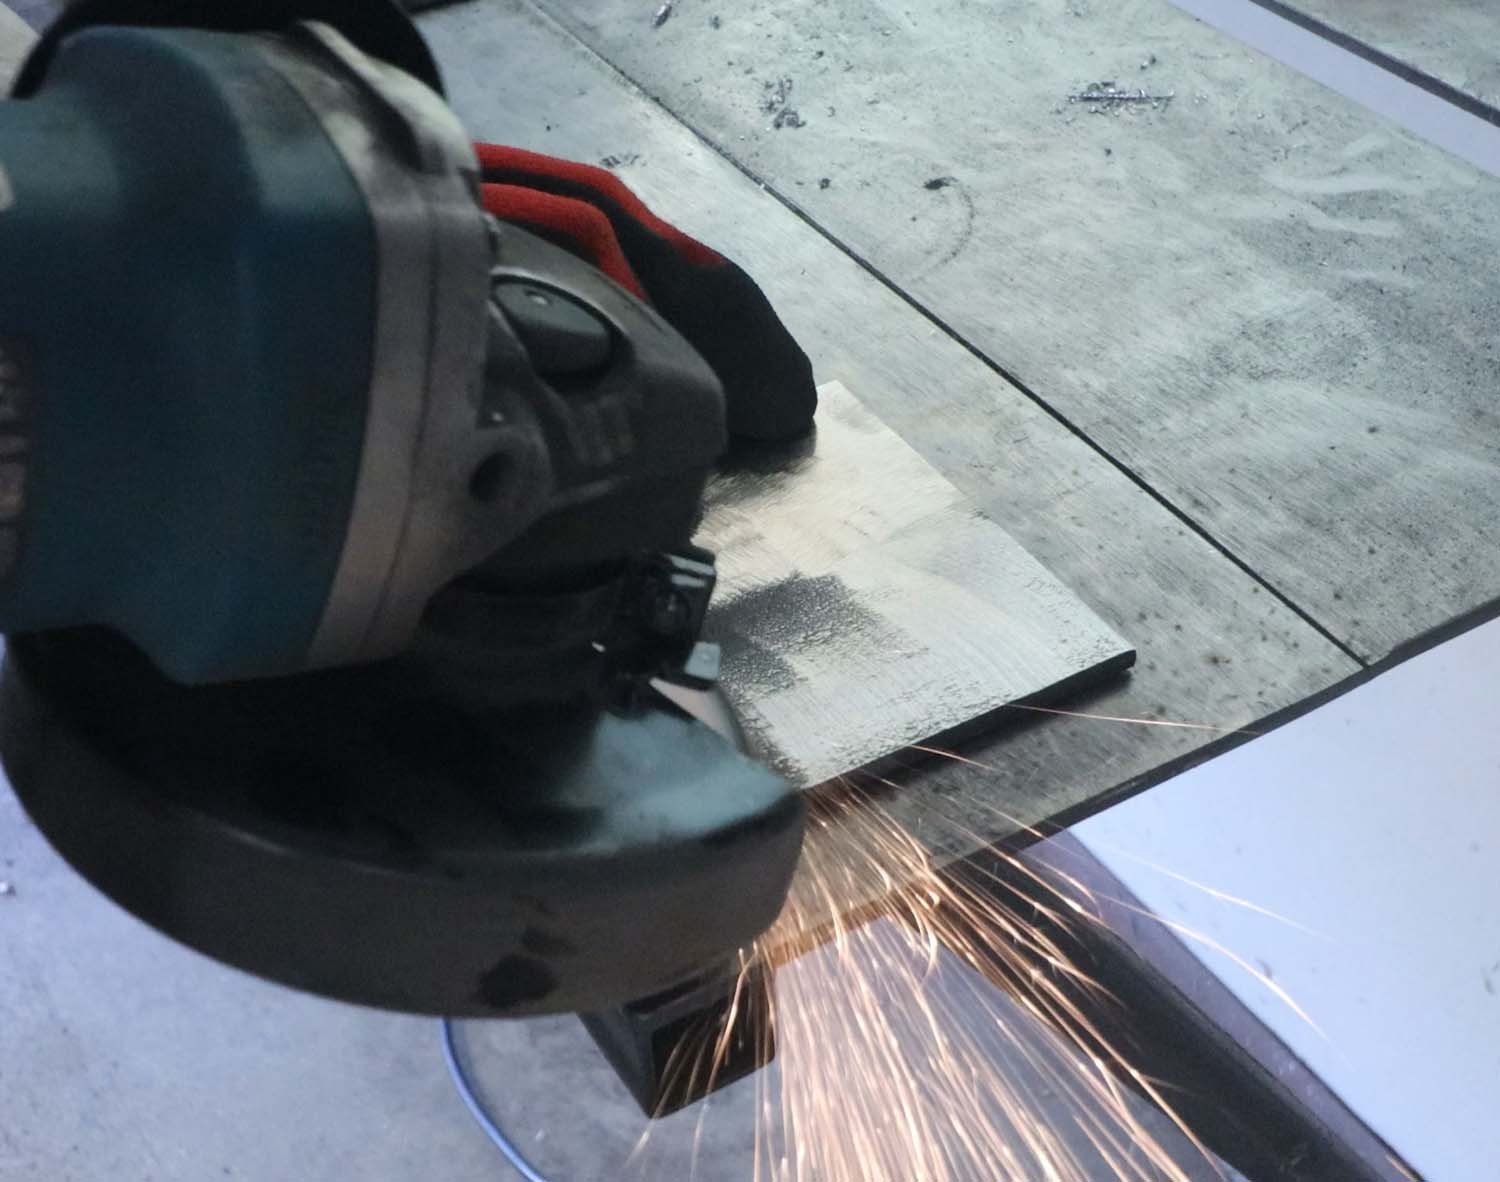
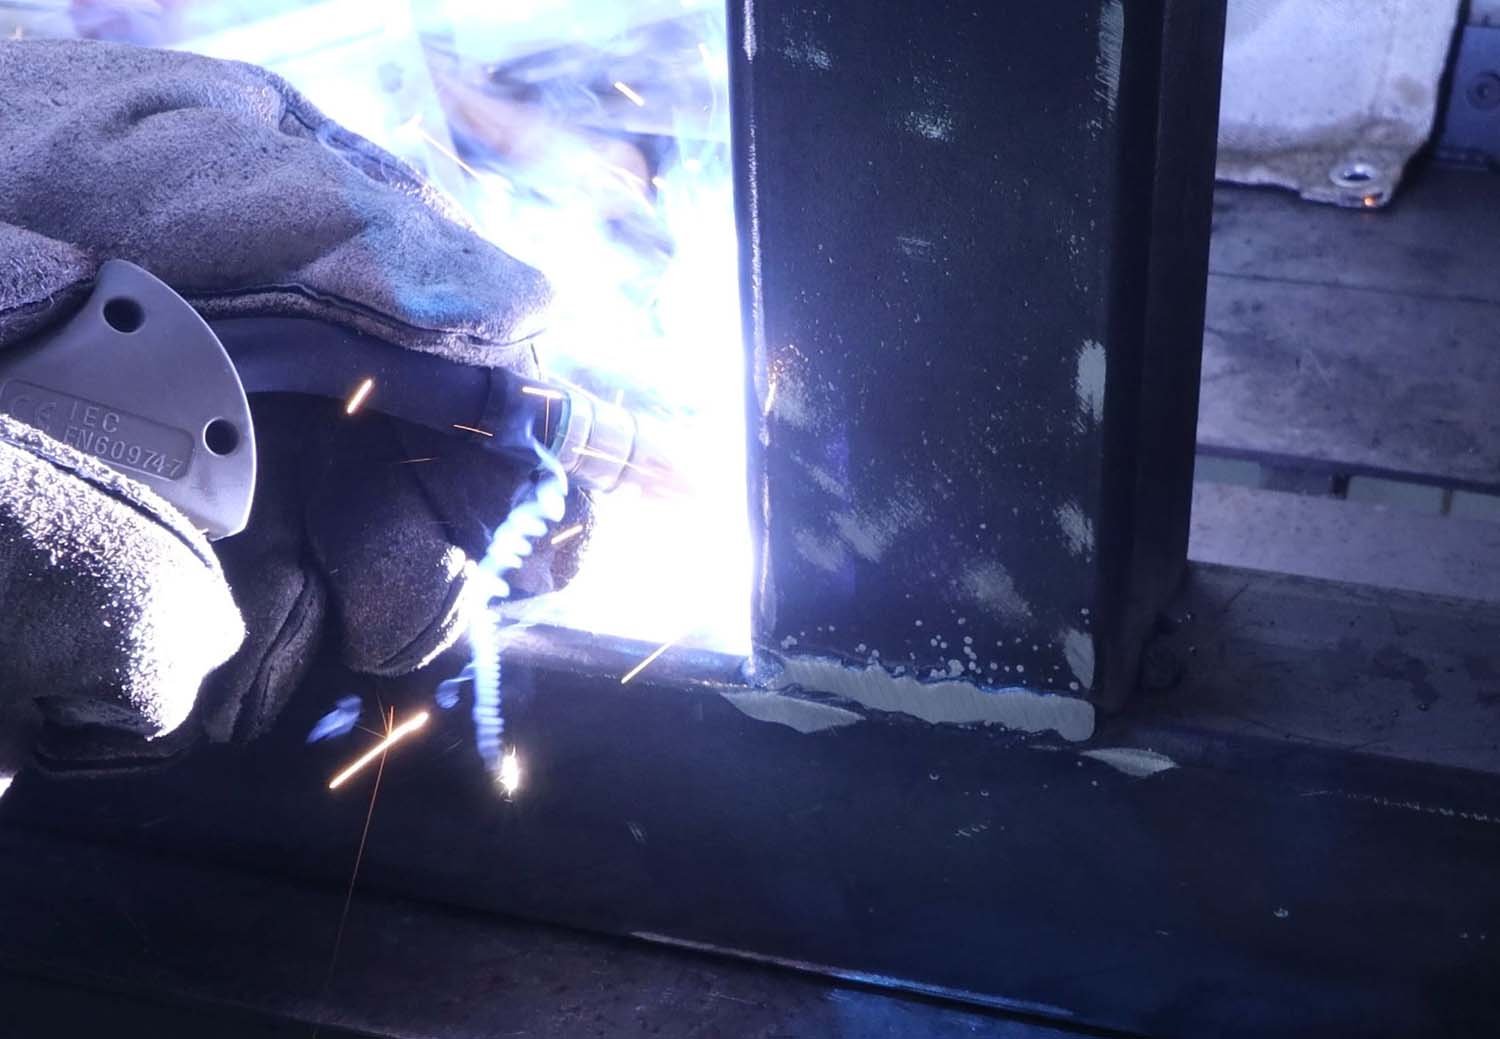
Next is to install end caps on the sleeper members at the bottom of the rack. These will slightly strengthen the tubes and keep critters from making a home in there. The end caps are butt welded all around the open end of the tube, and then excess weld is ground off with a flap disk.
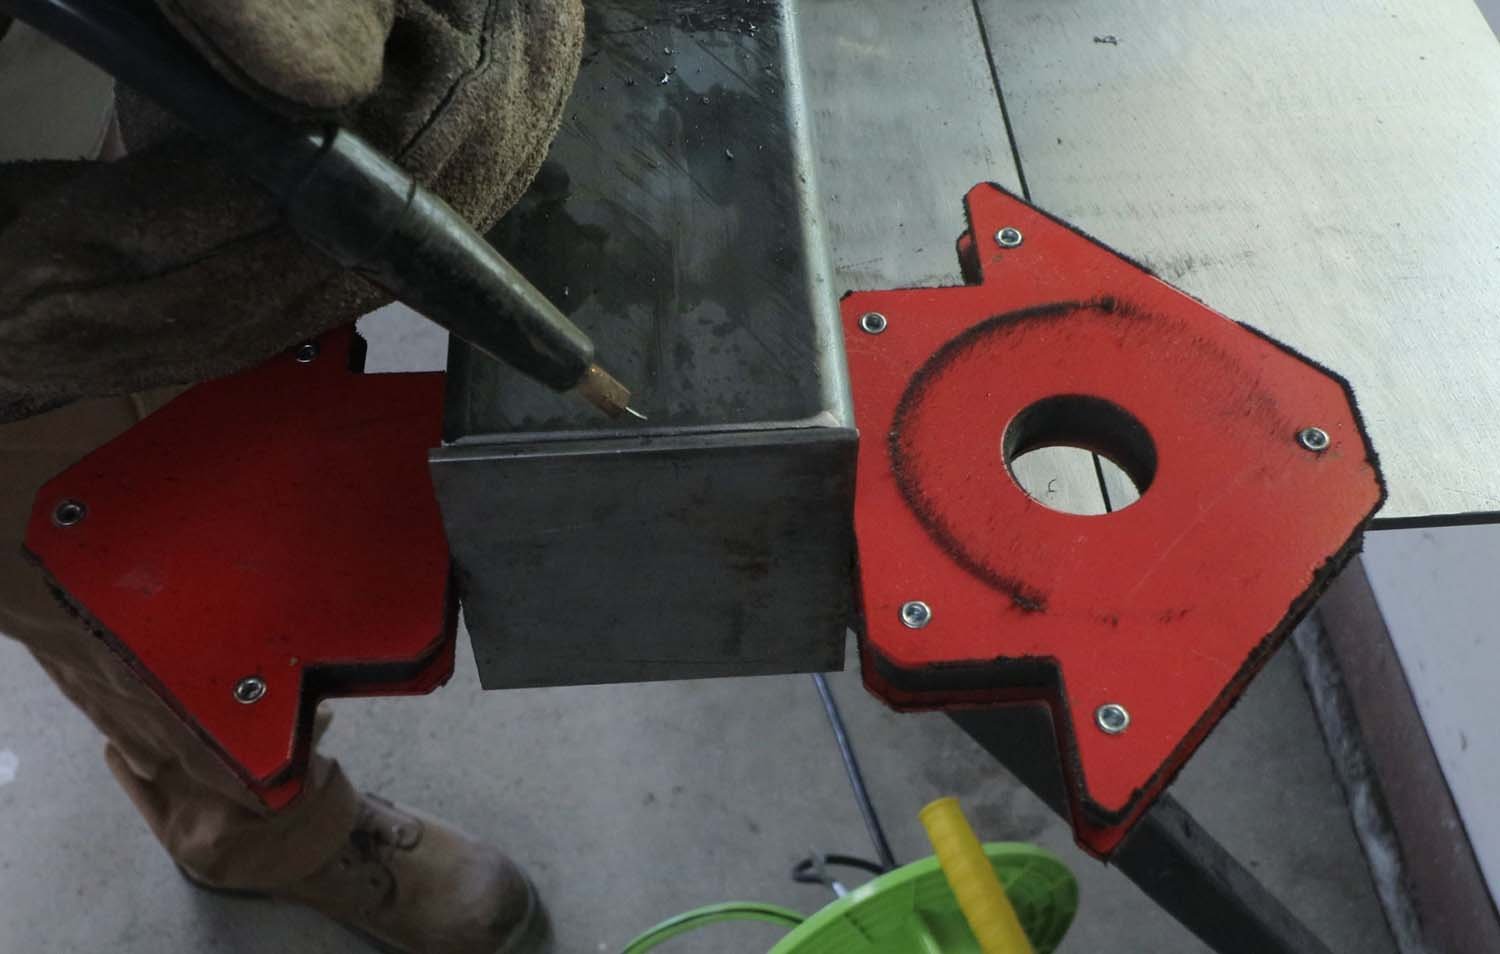

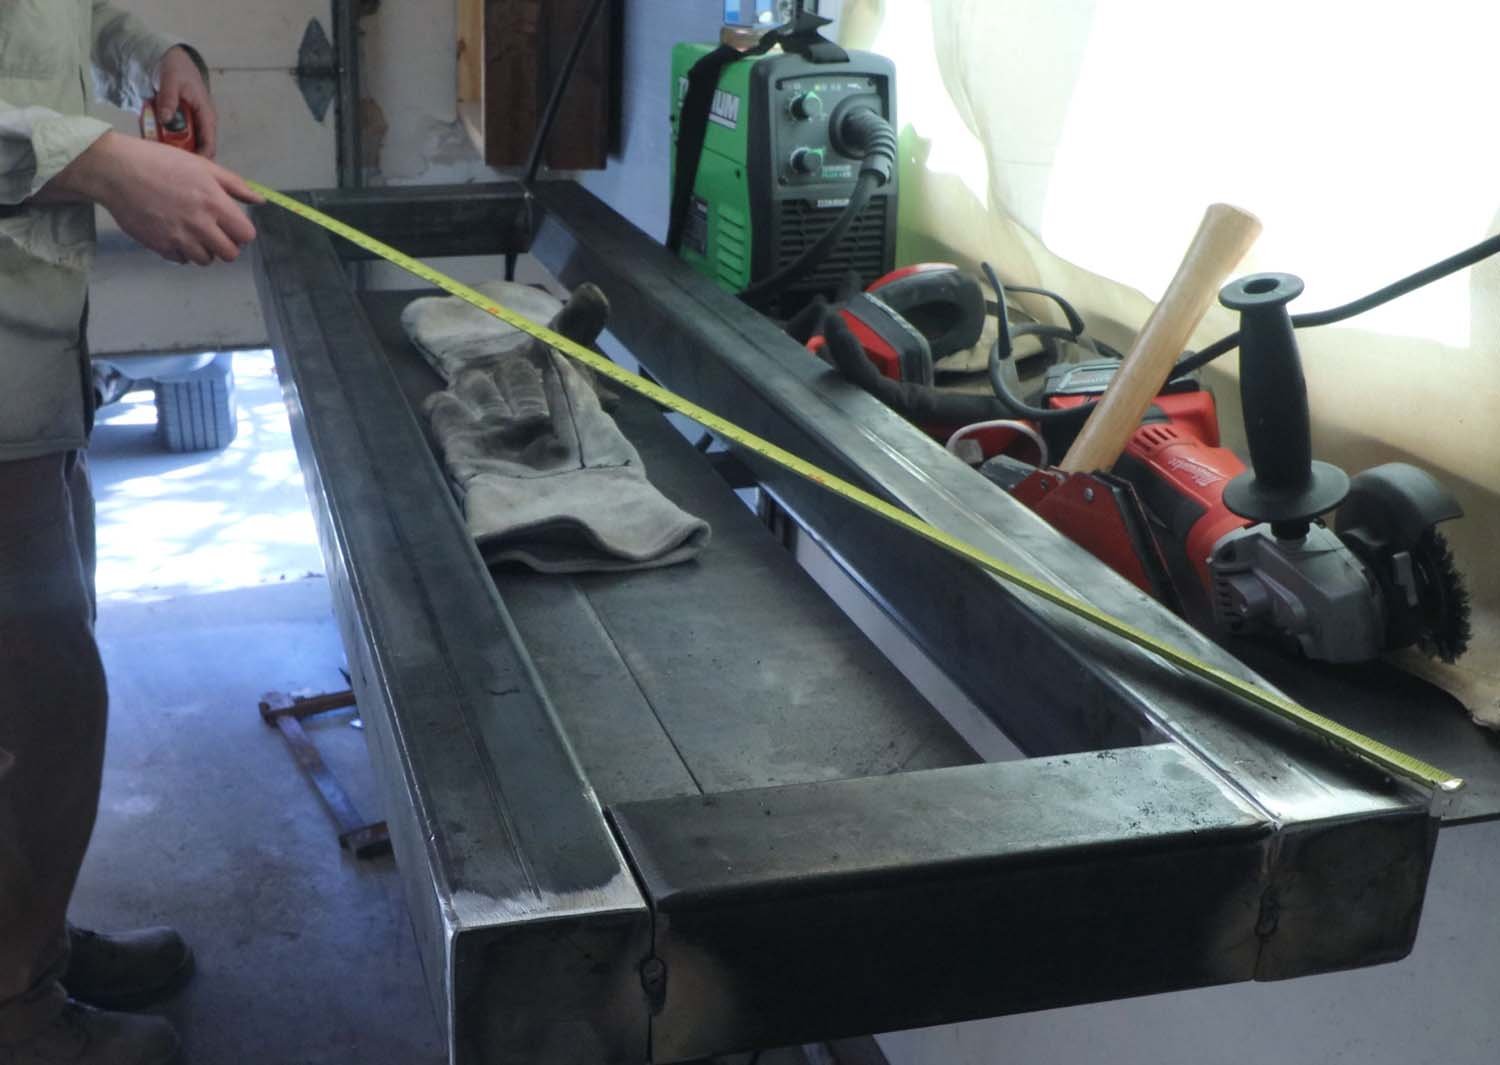
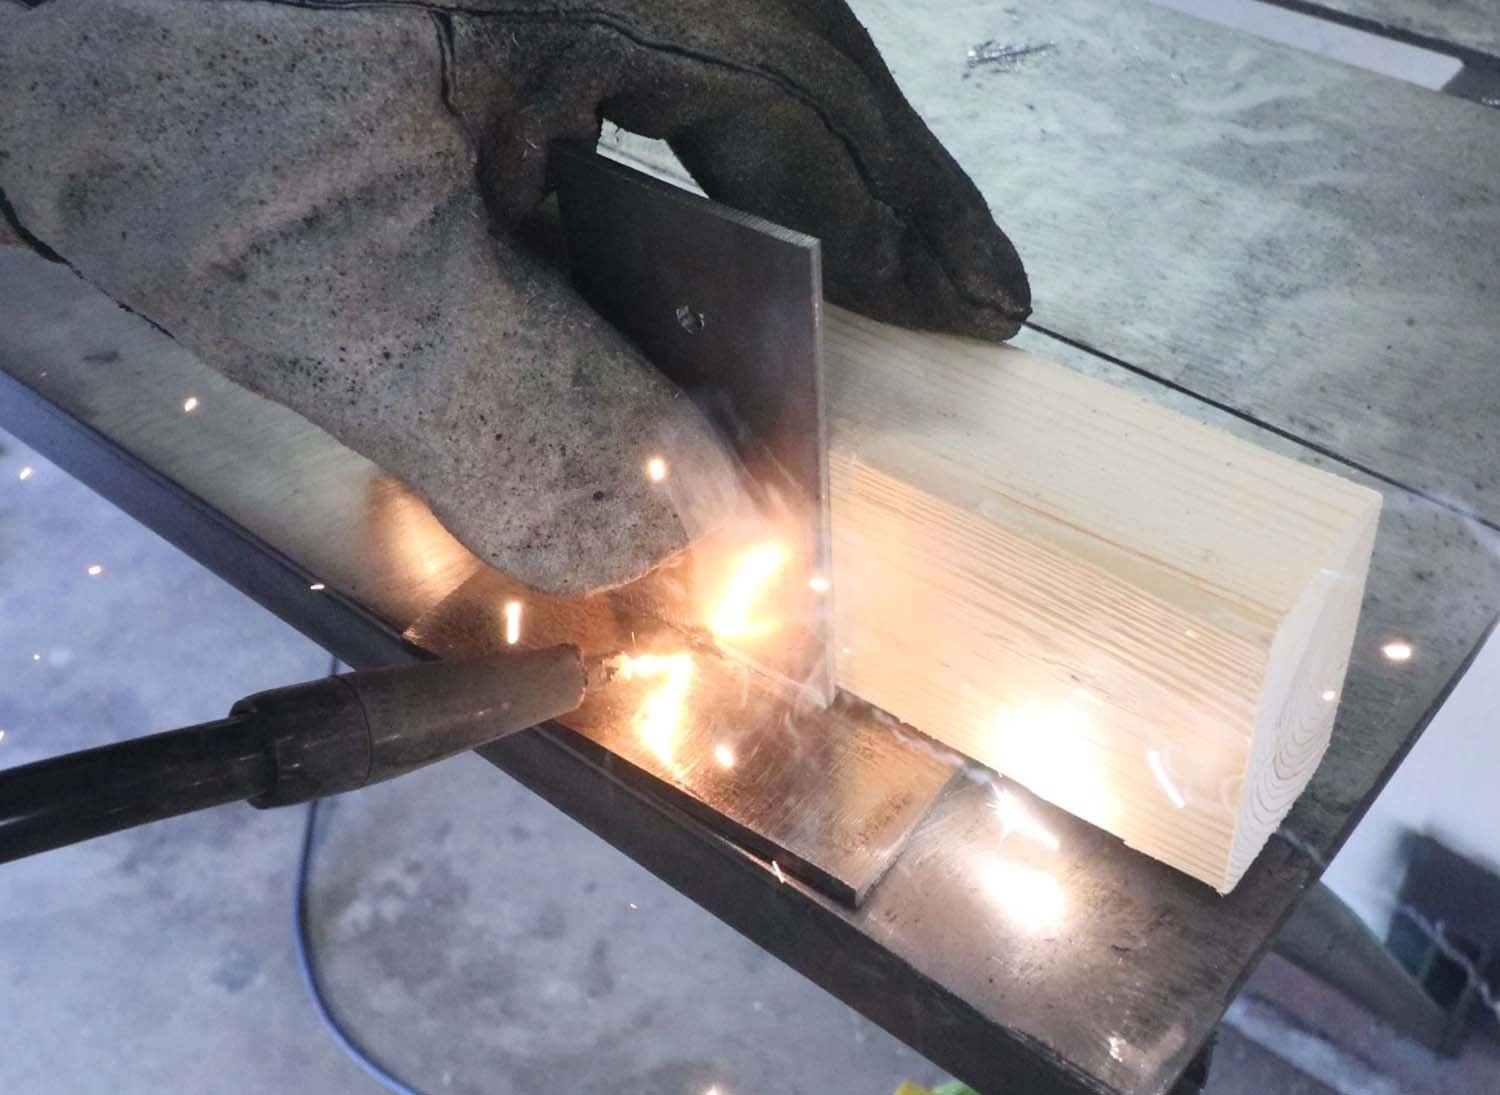
Firewood is normally cut at 16" (400mm) long in the US, so spacers are needed such that the outsides of the sleepers are 16" apart. These get welded all around at the ends of the sleepers.

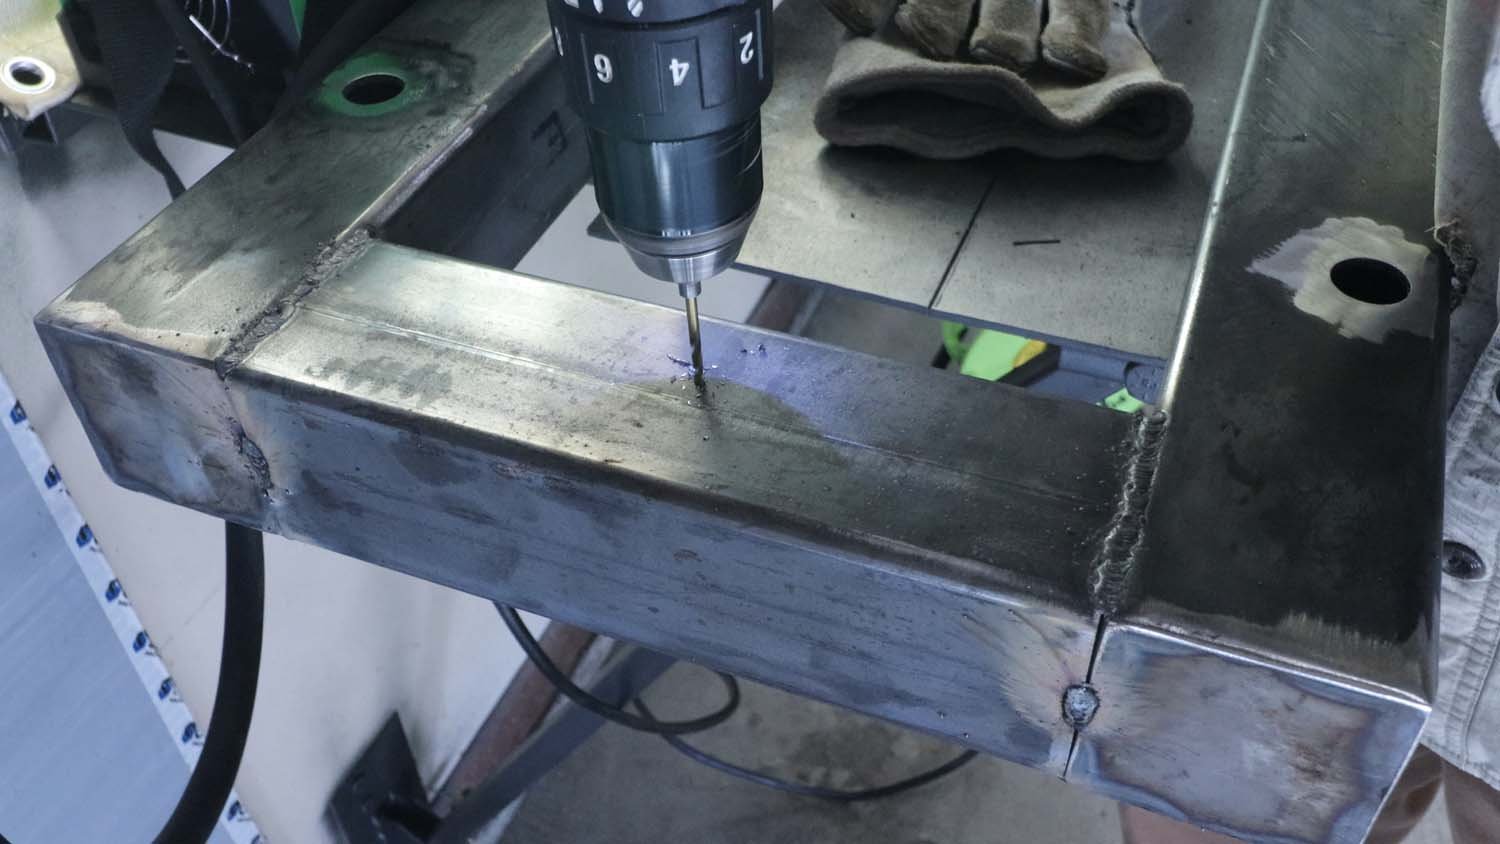
Before welding, drill a weep hole in the bottom of the spacer. Tack weld the spacers in place, and then check the assembly for square by meauring the lengths of the corners. Then weld all around the spacer for its connection to the sleeper.

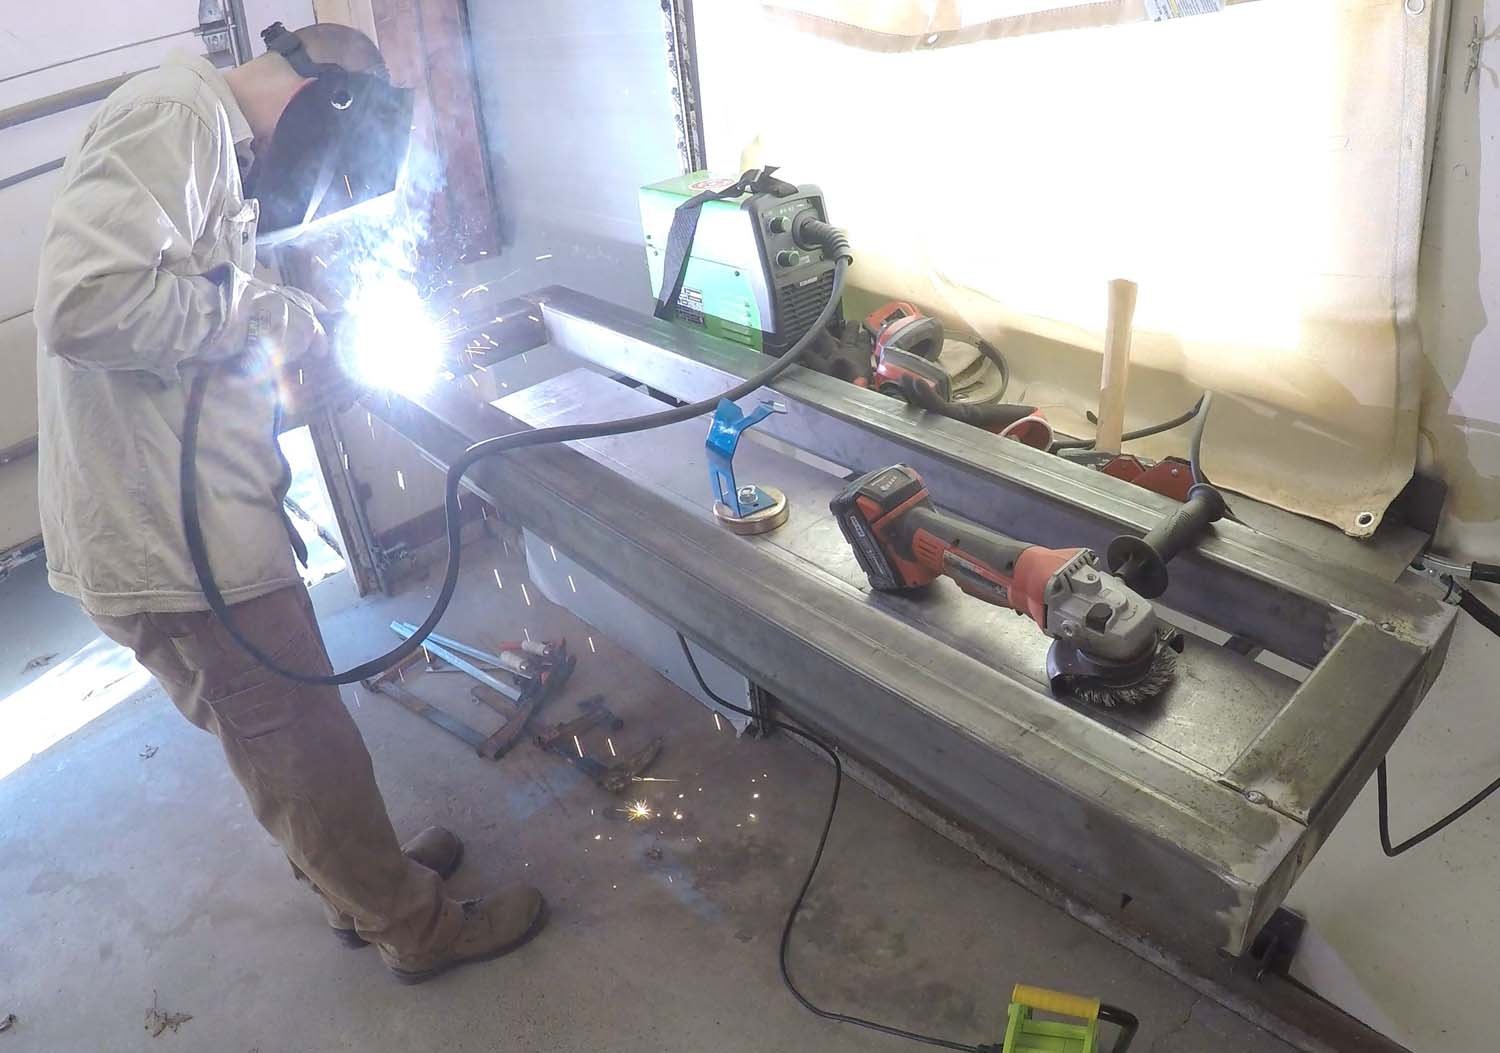
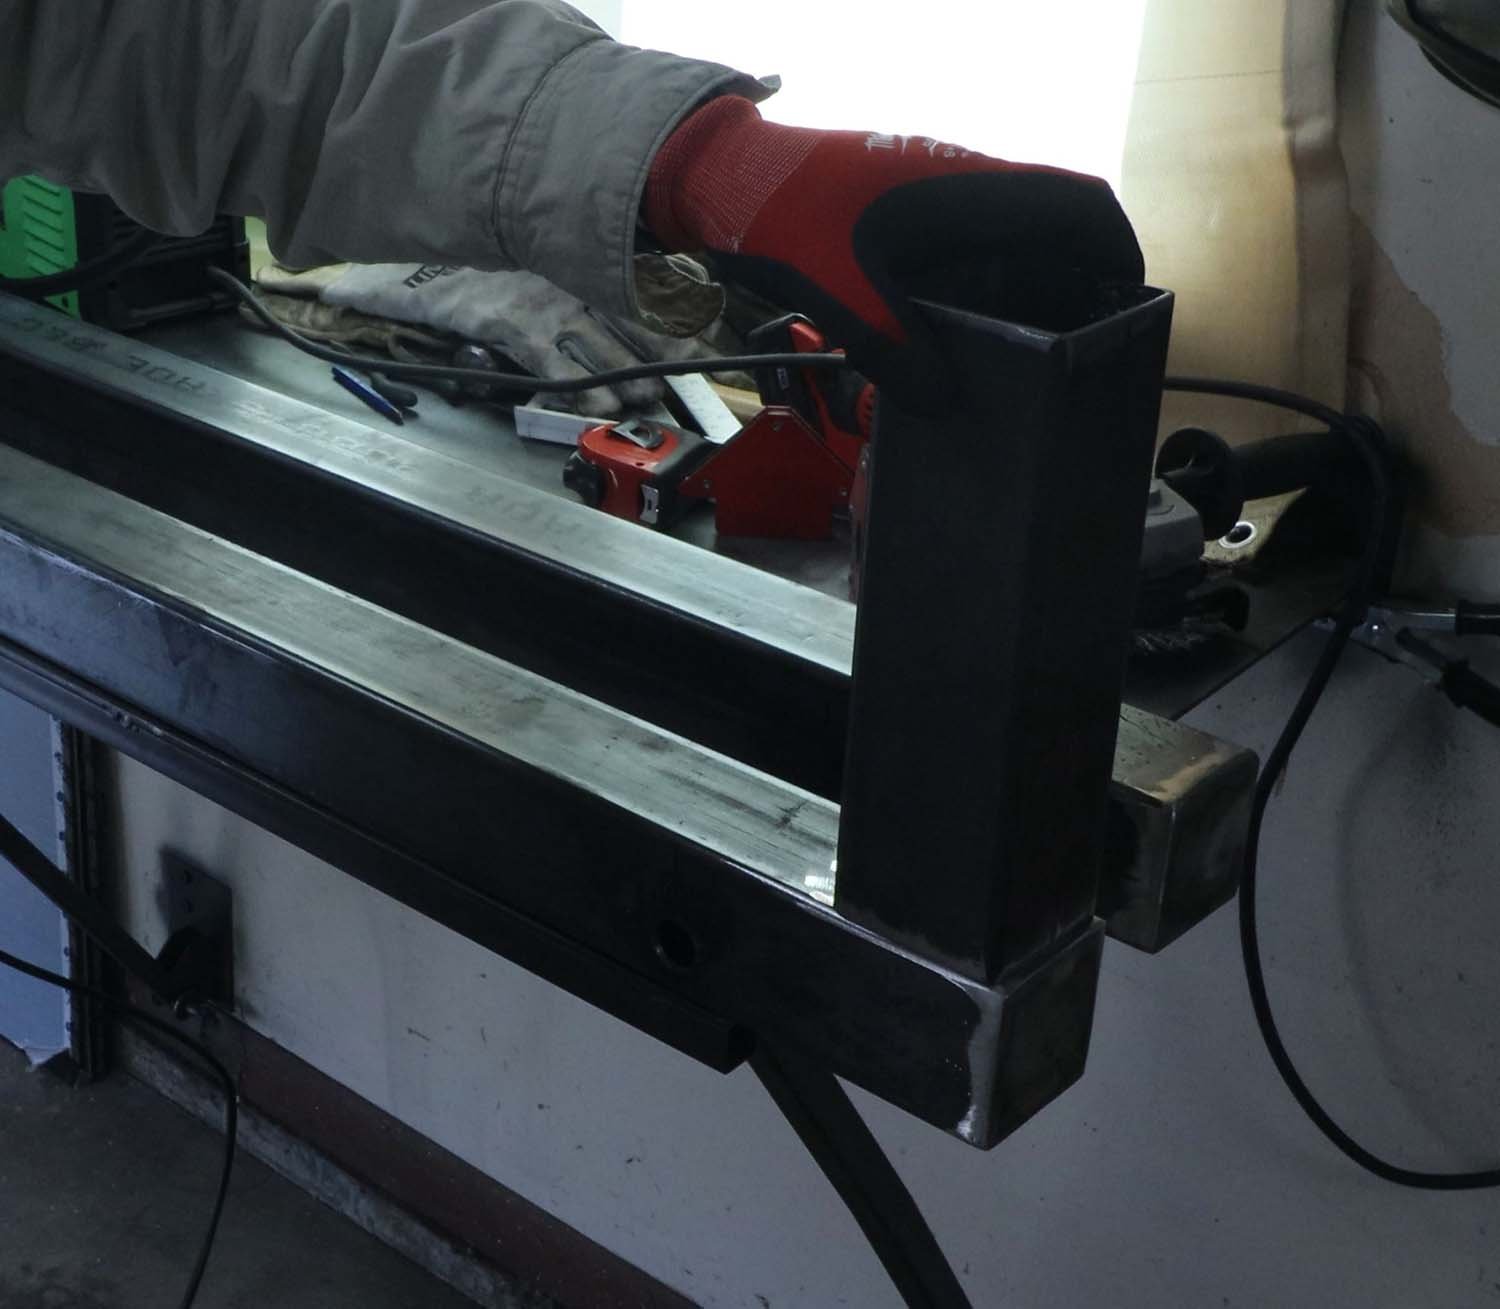
The welds on the top face need to be ground flat with the top of the tubes as there will be a piece of plate added here later.
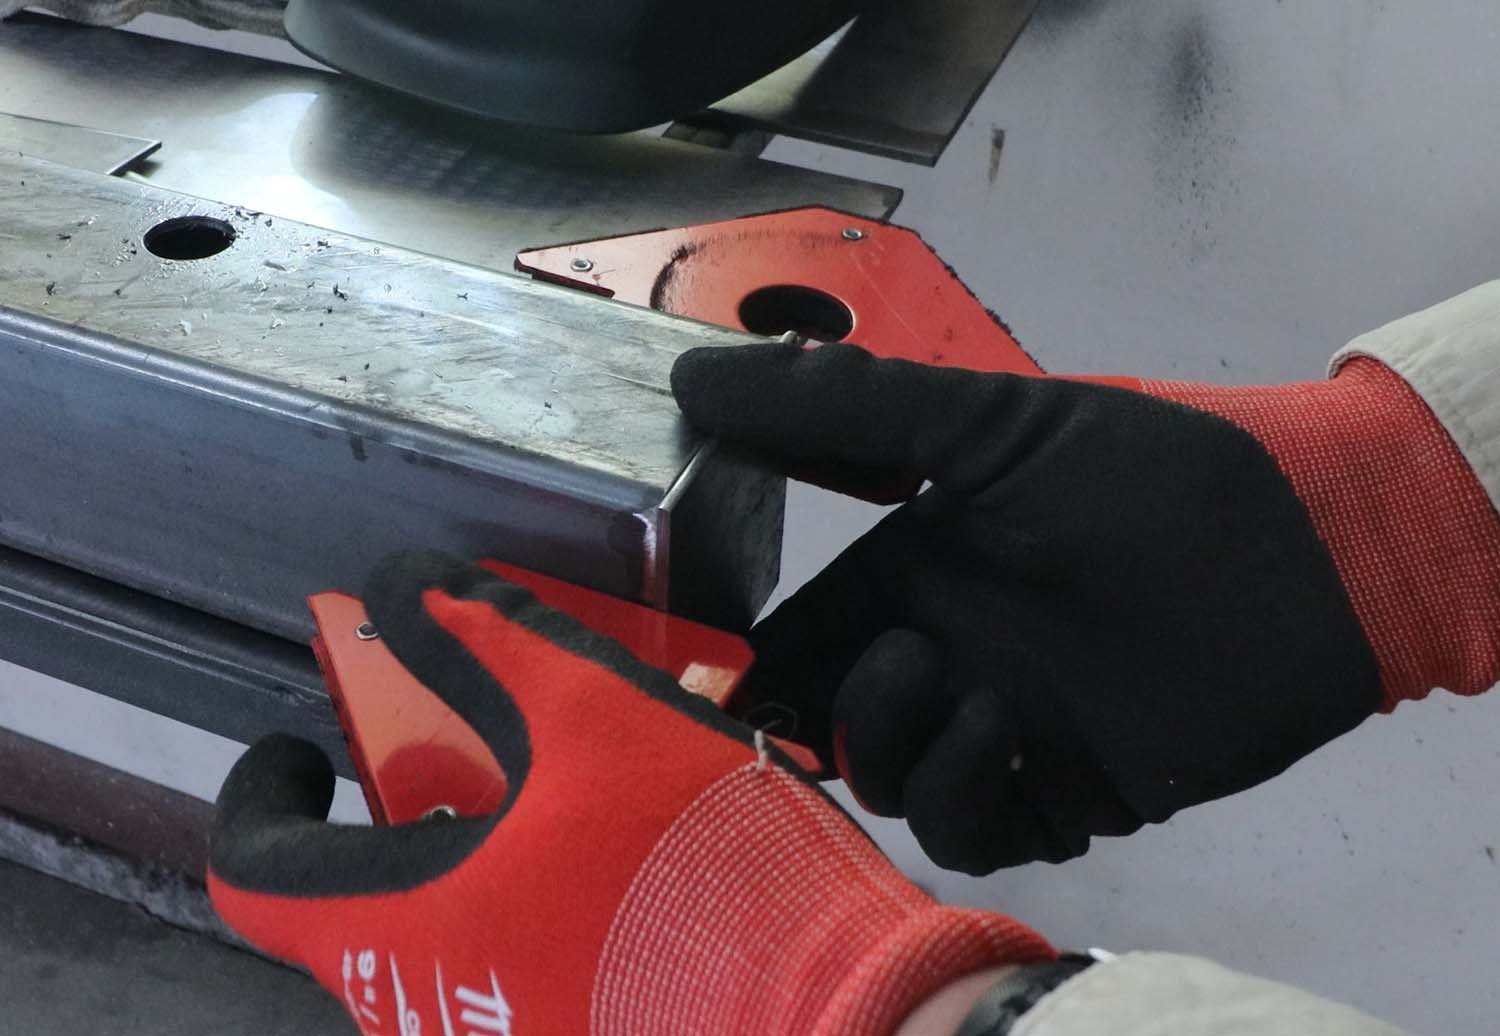
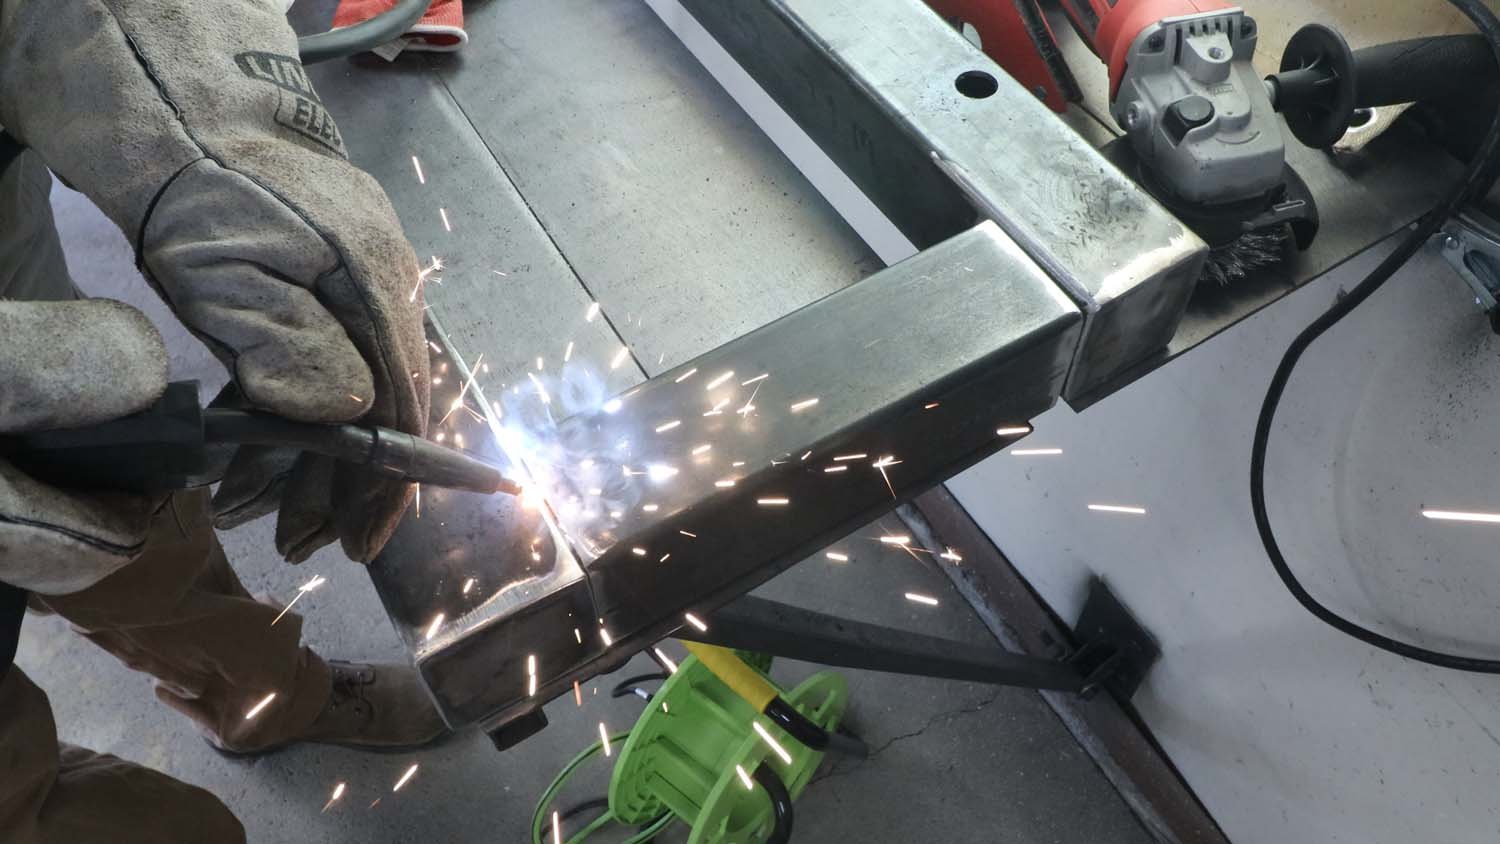
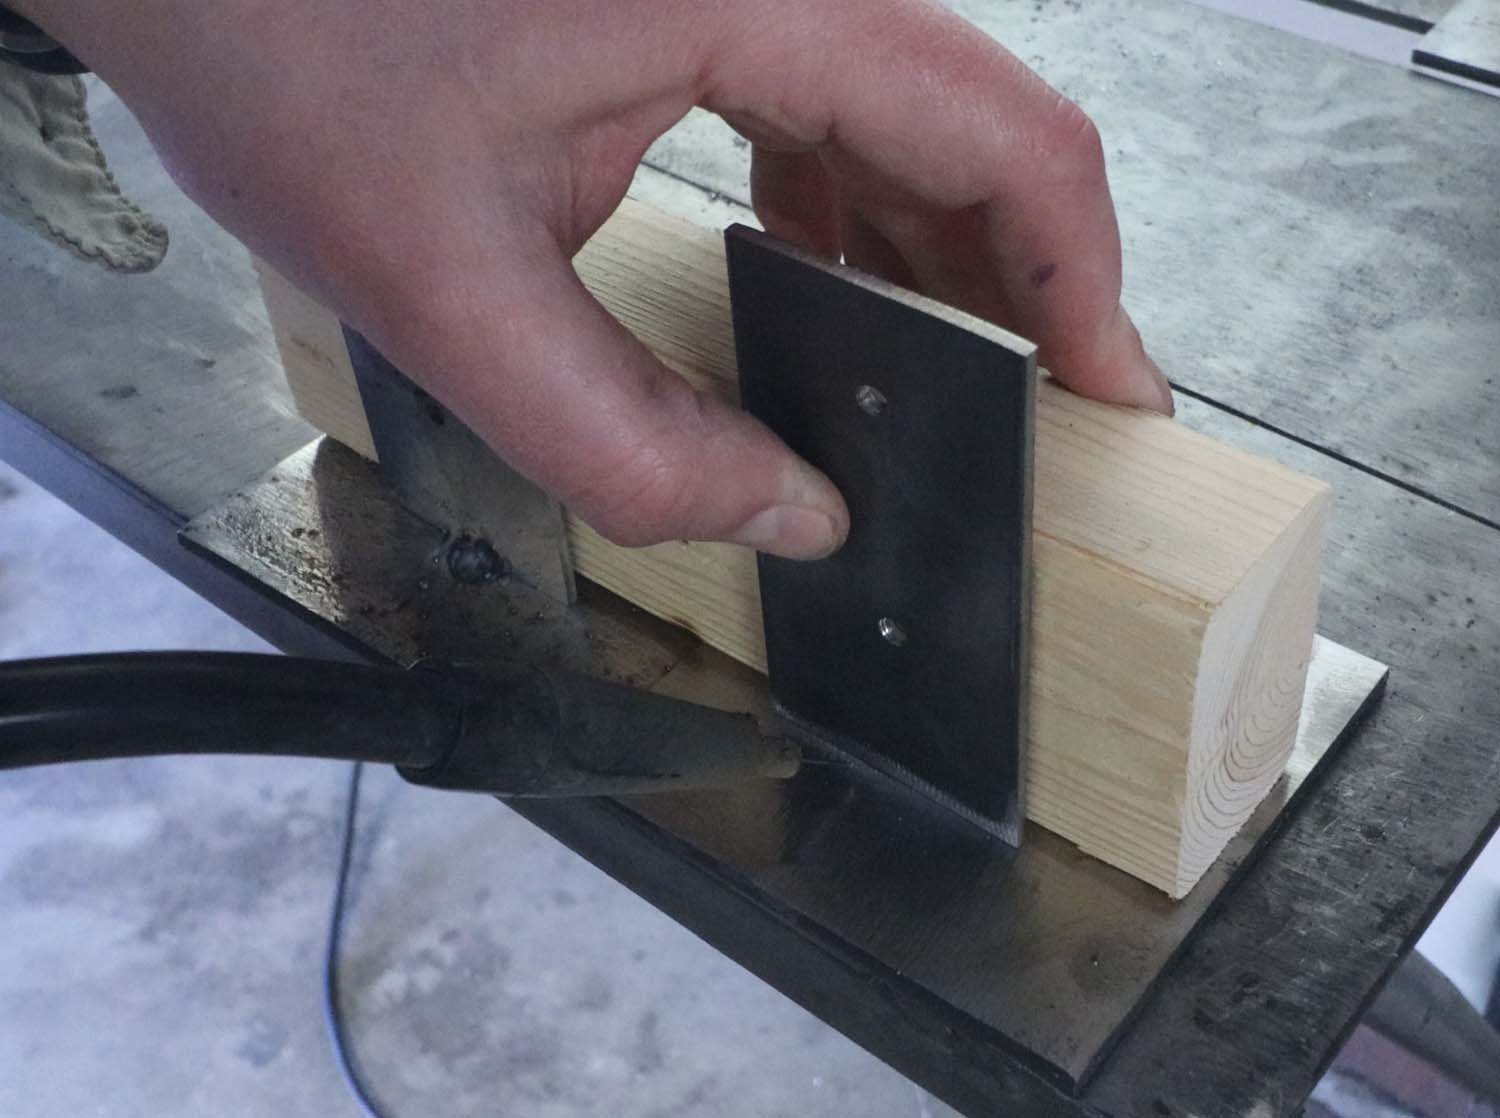
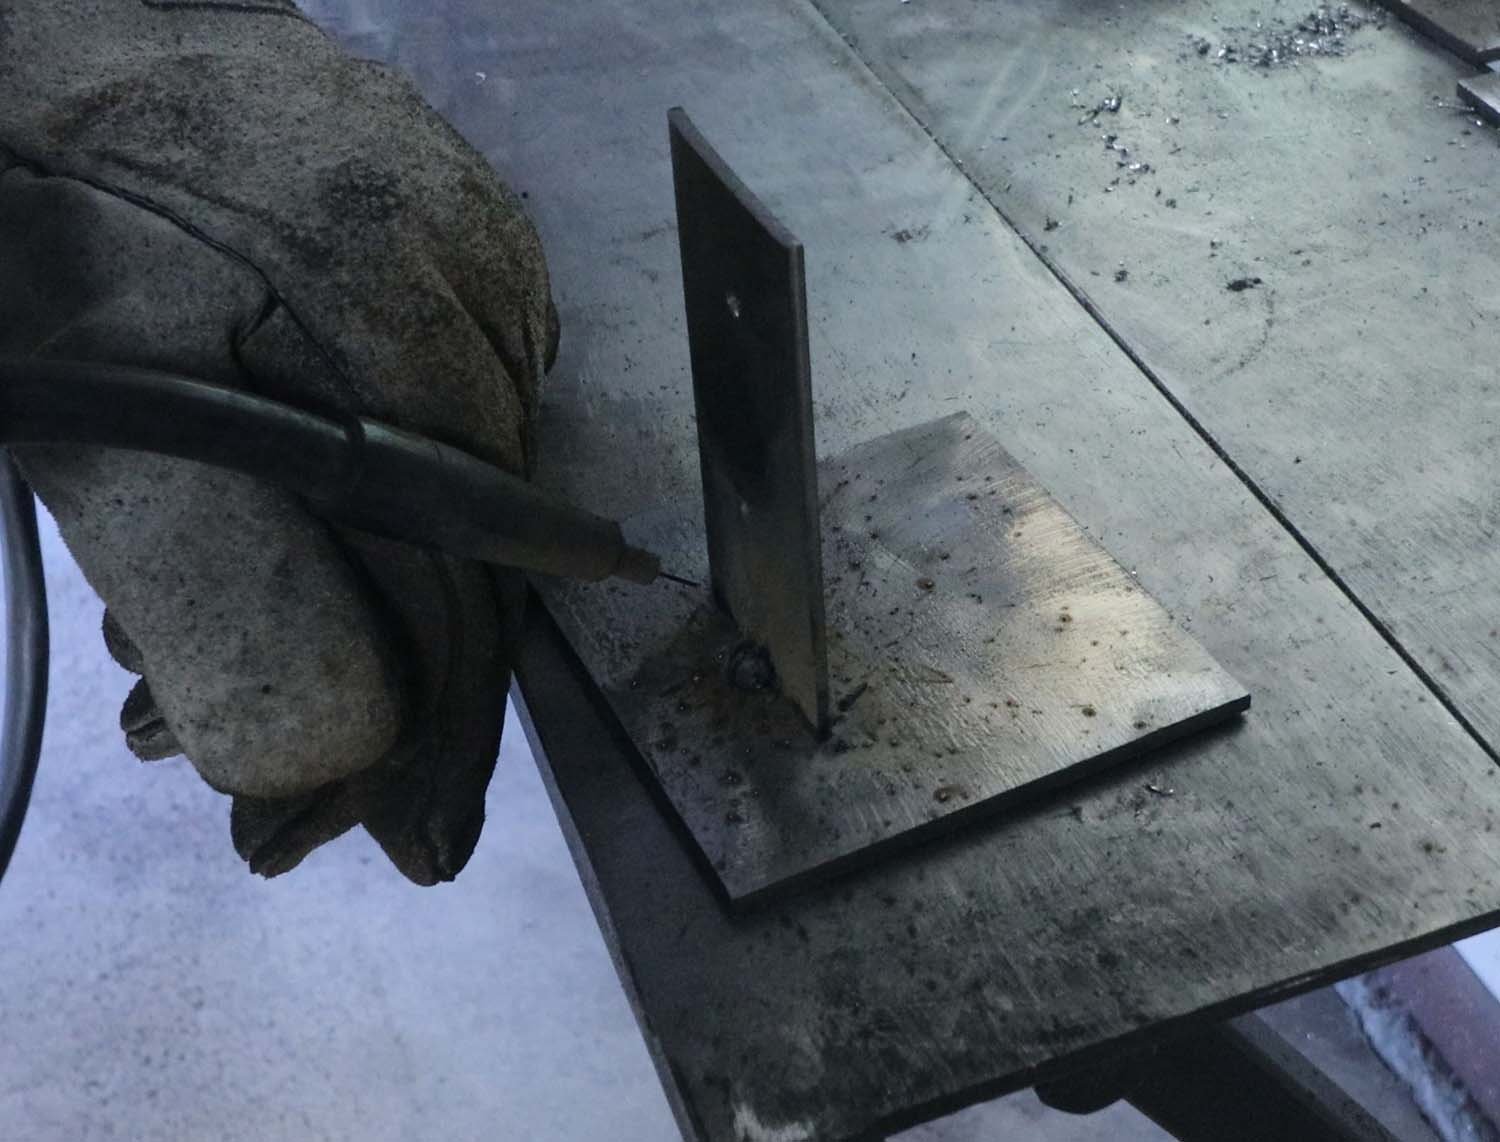
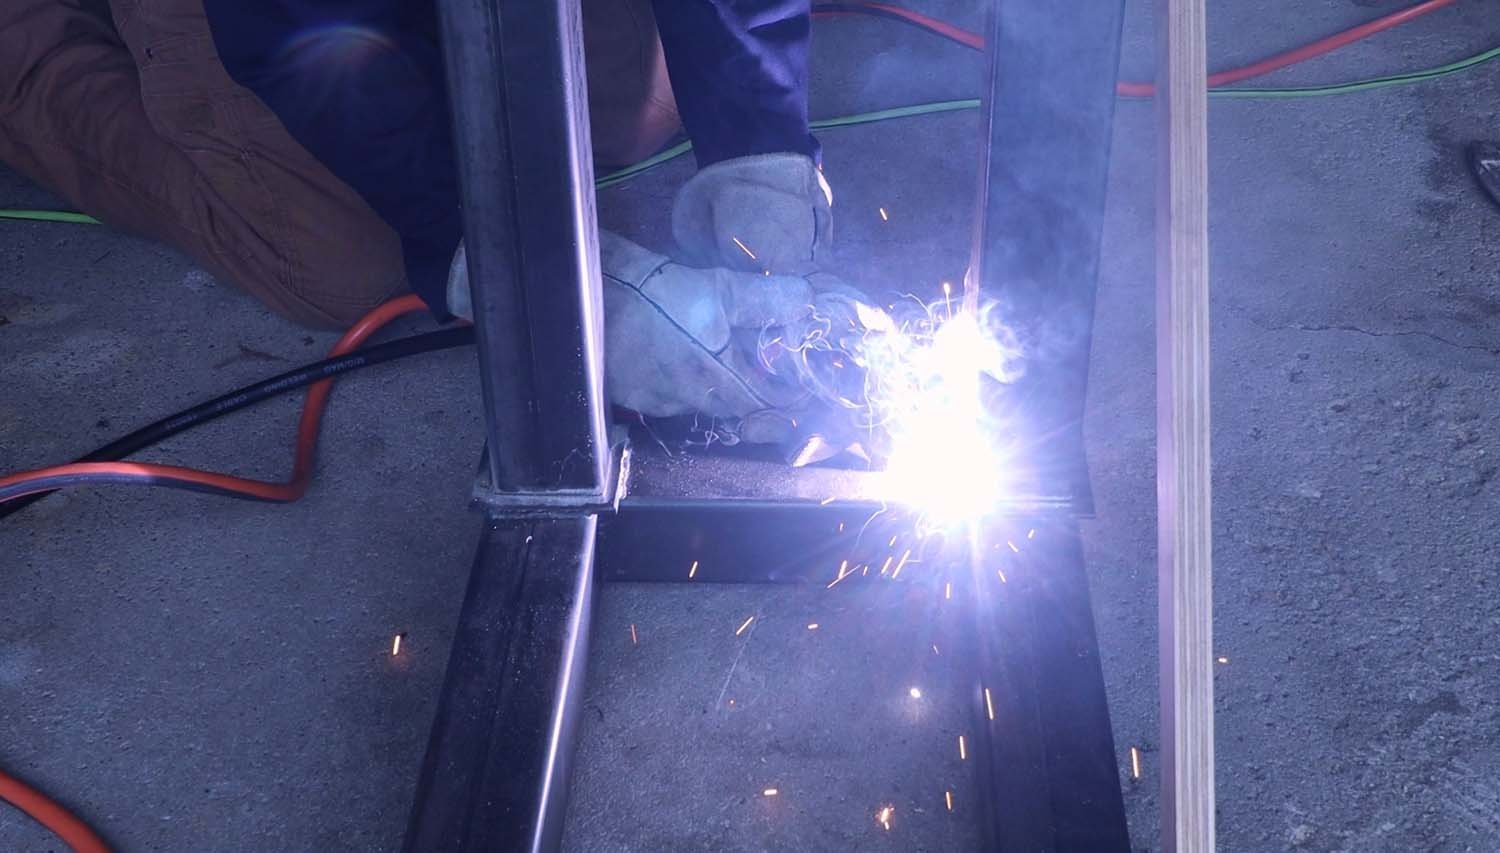
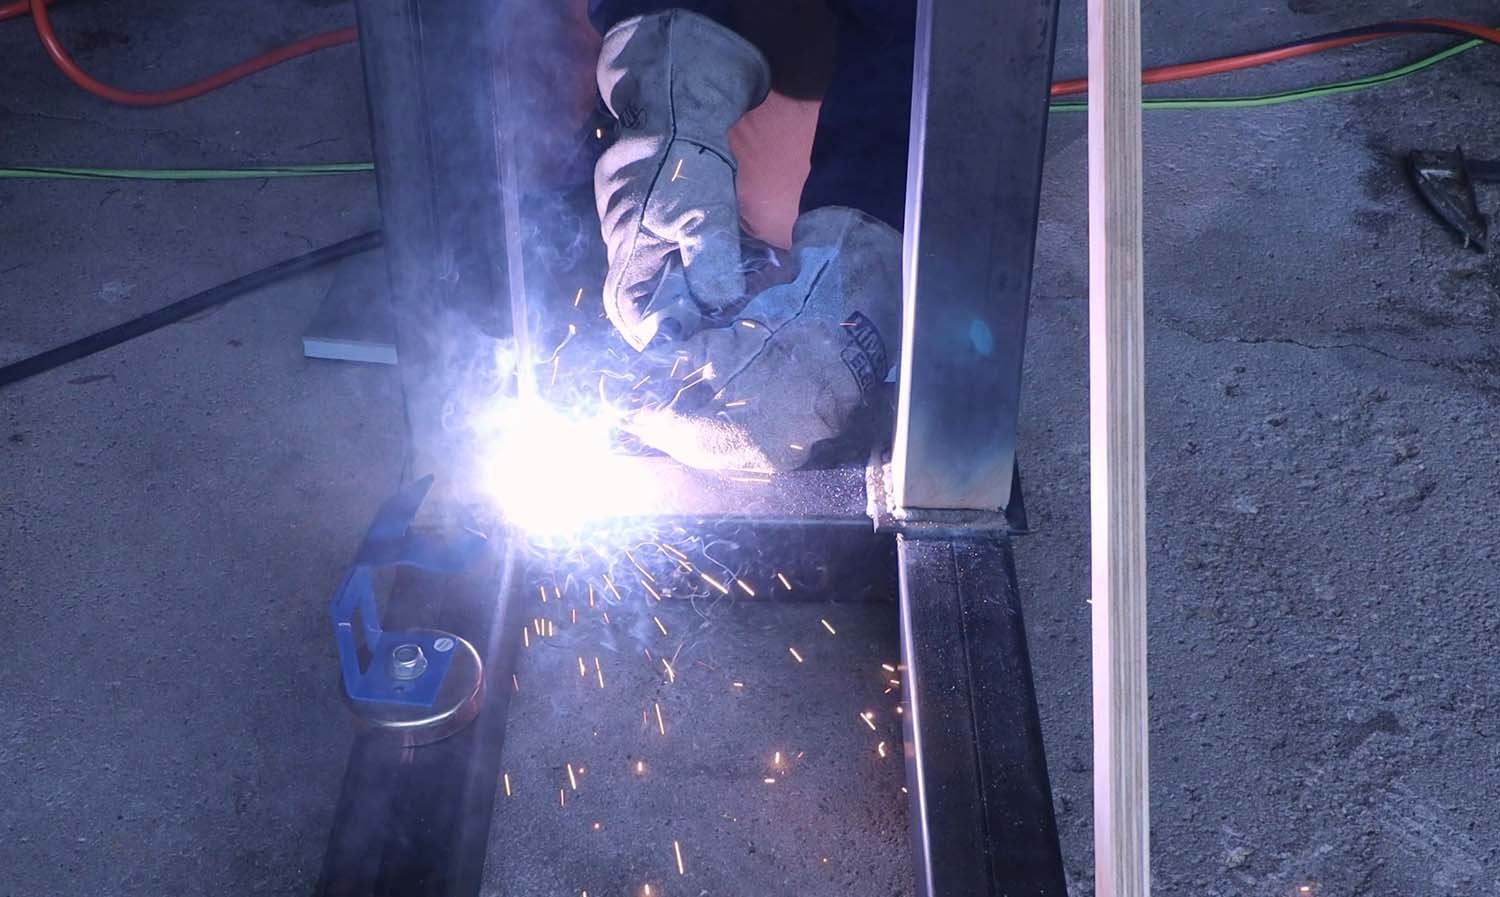
At the corners where the uprights connect, a piece of 3/16" (5mm) thick plate is added to connect things. This makes welding a bit easier since the welds can be fillet welds all around instead of butt welds where the tubes connect.
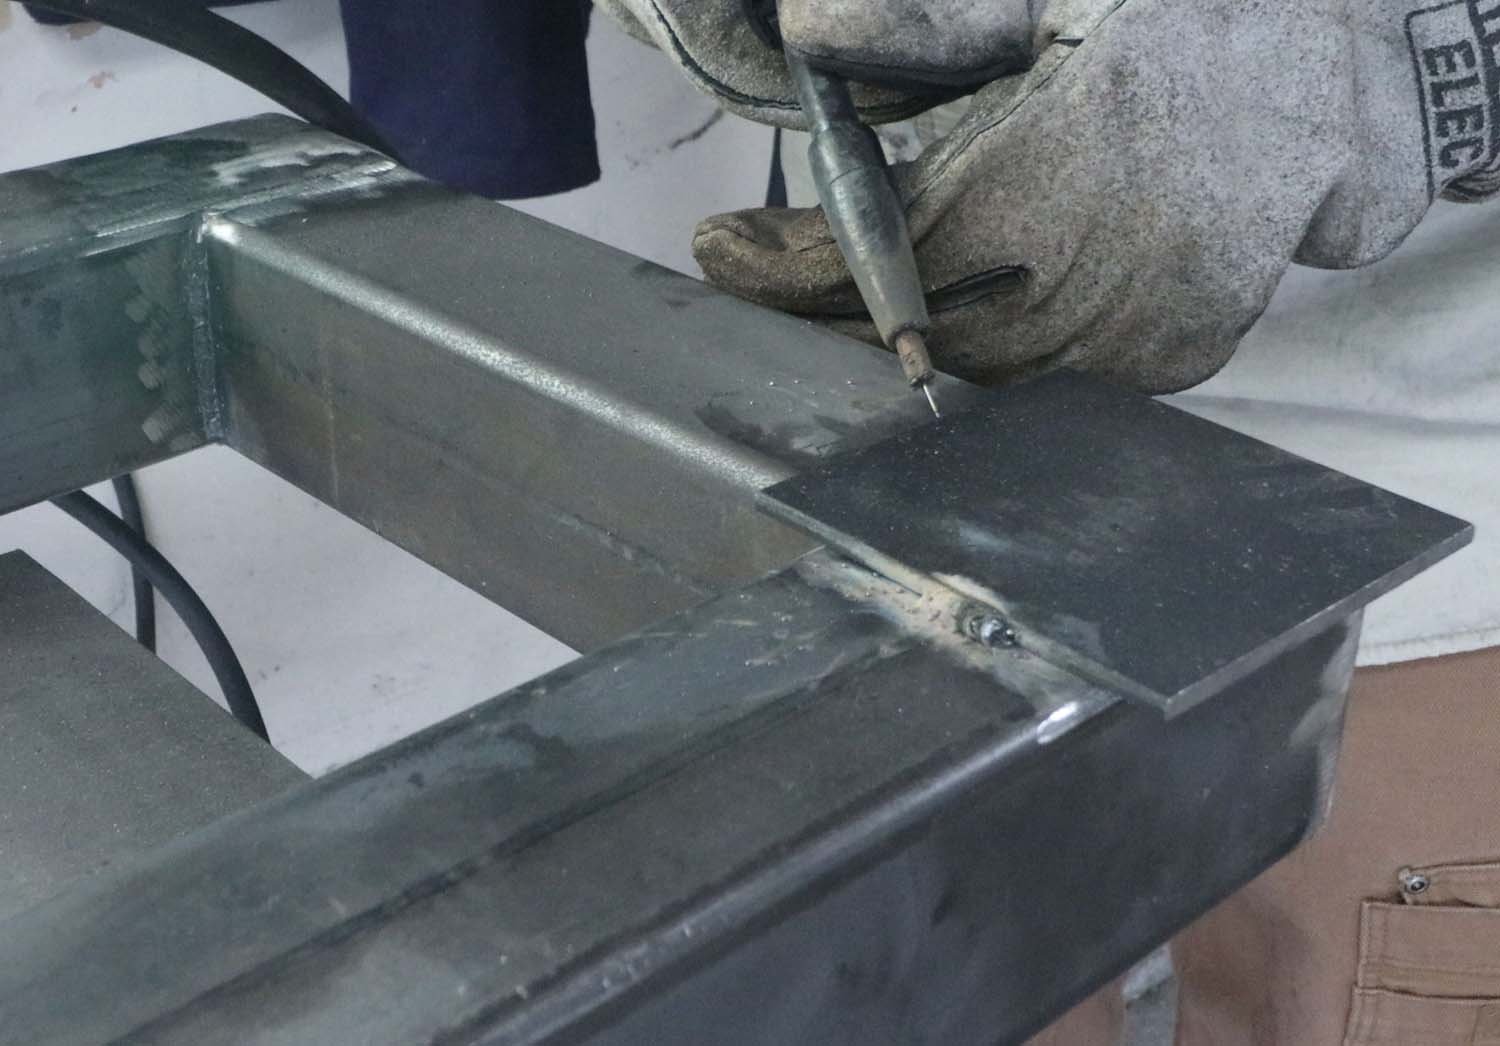
After welding on the base plates, drill a weep hole in the middle of the plate.
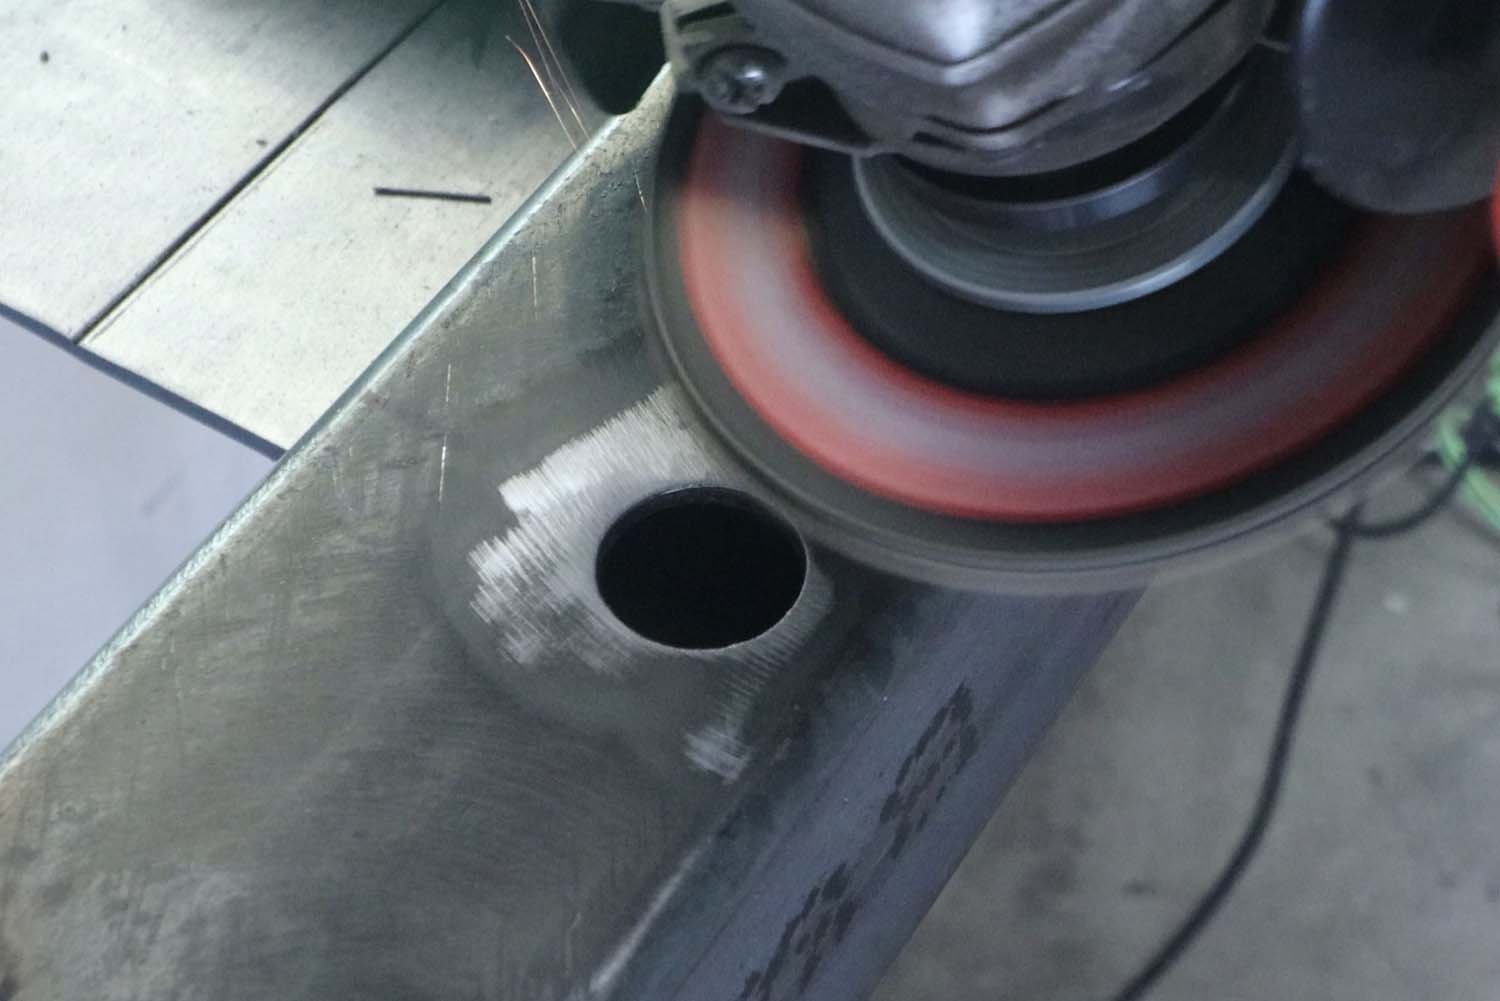
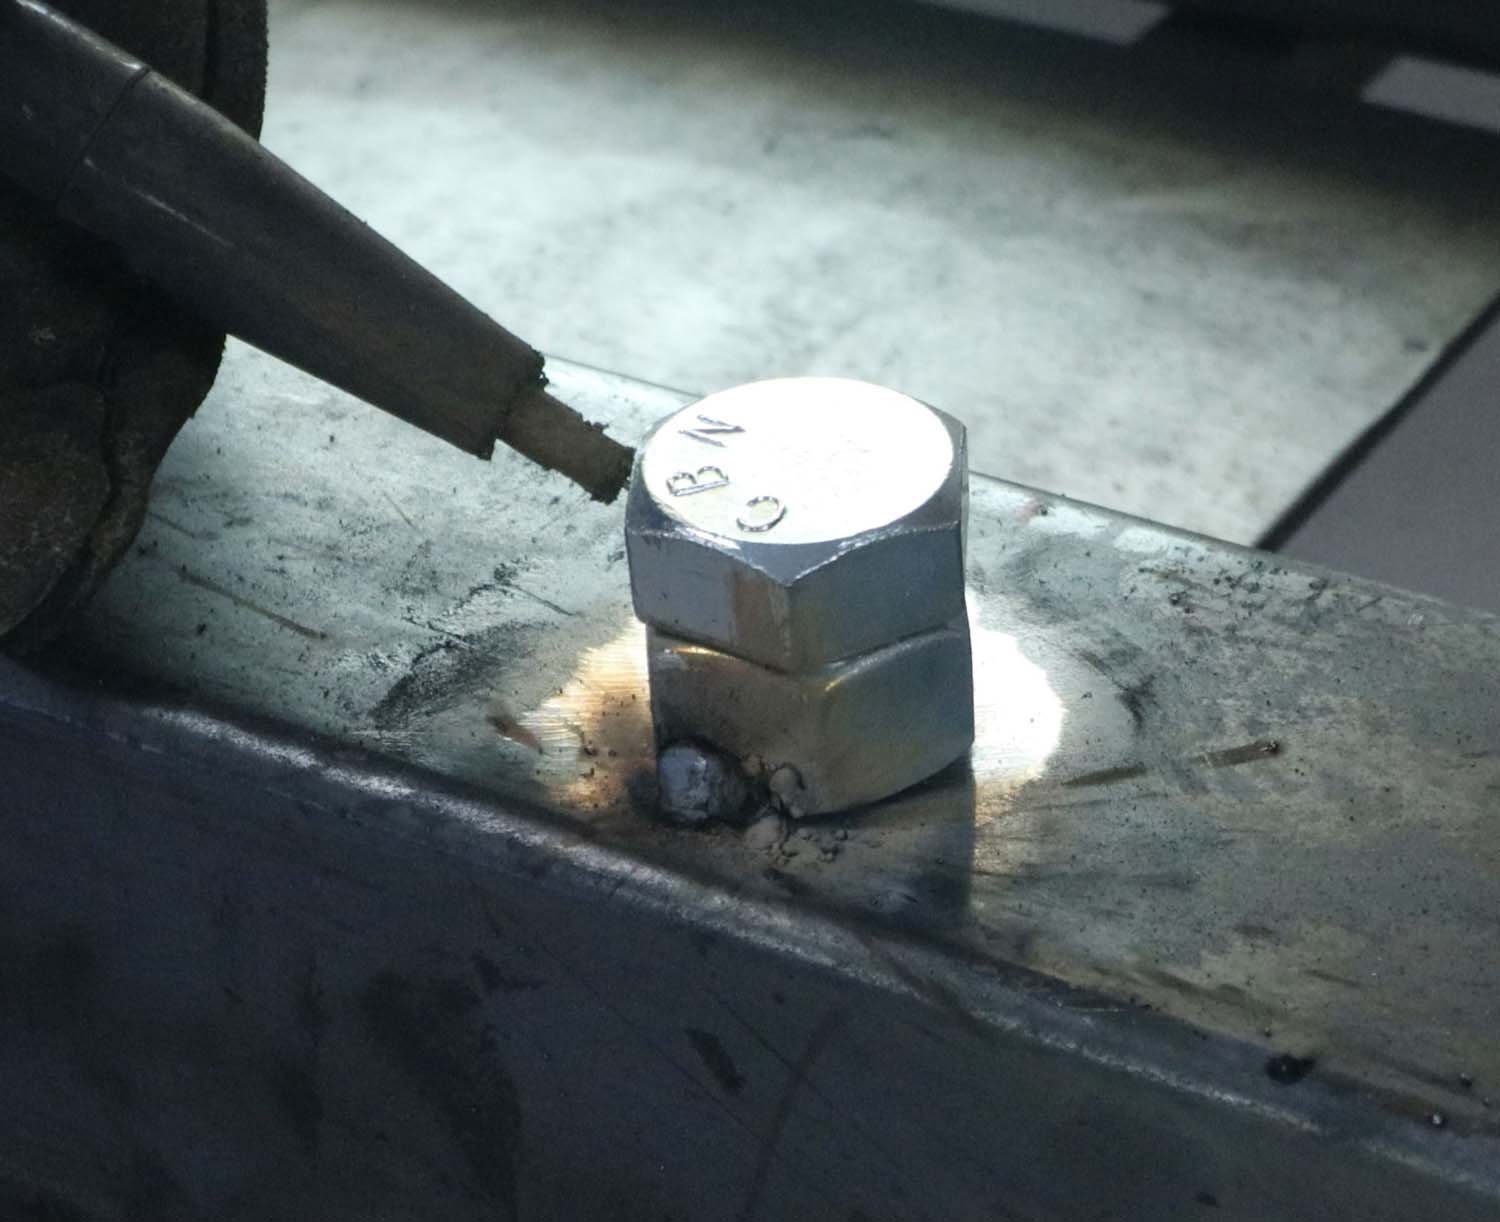
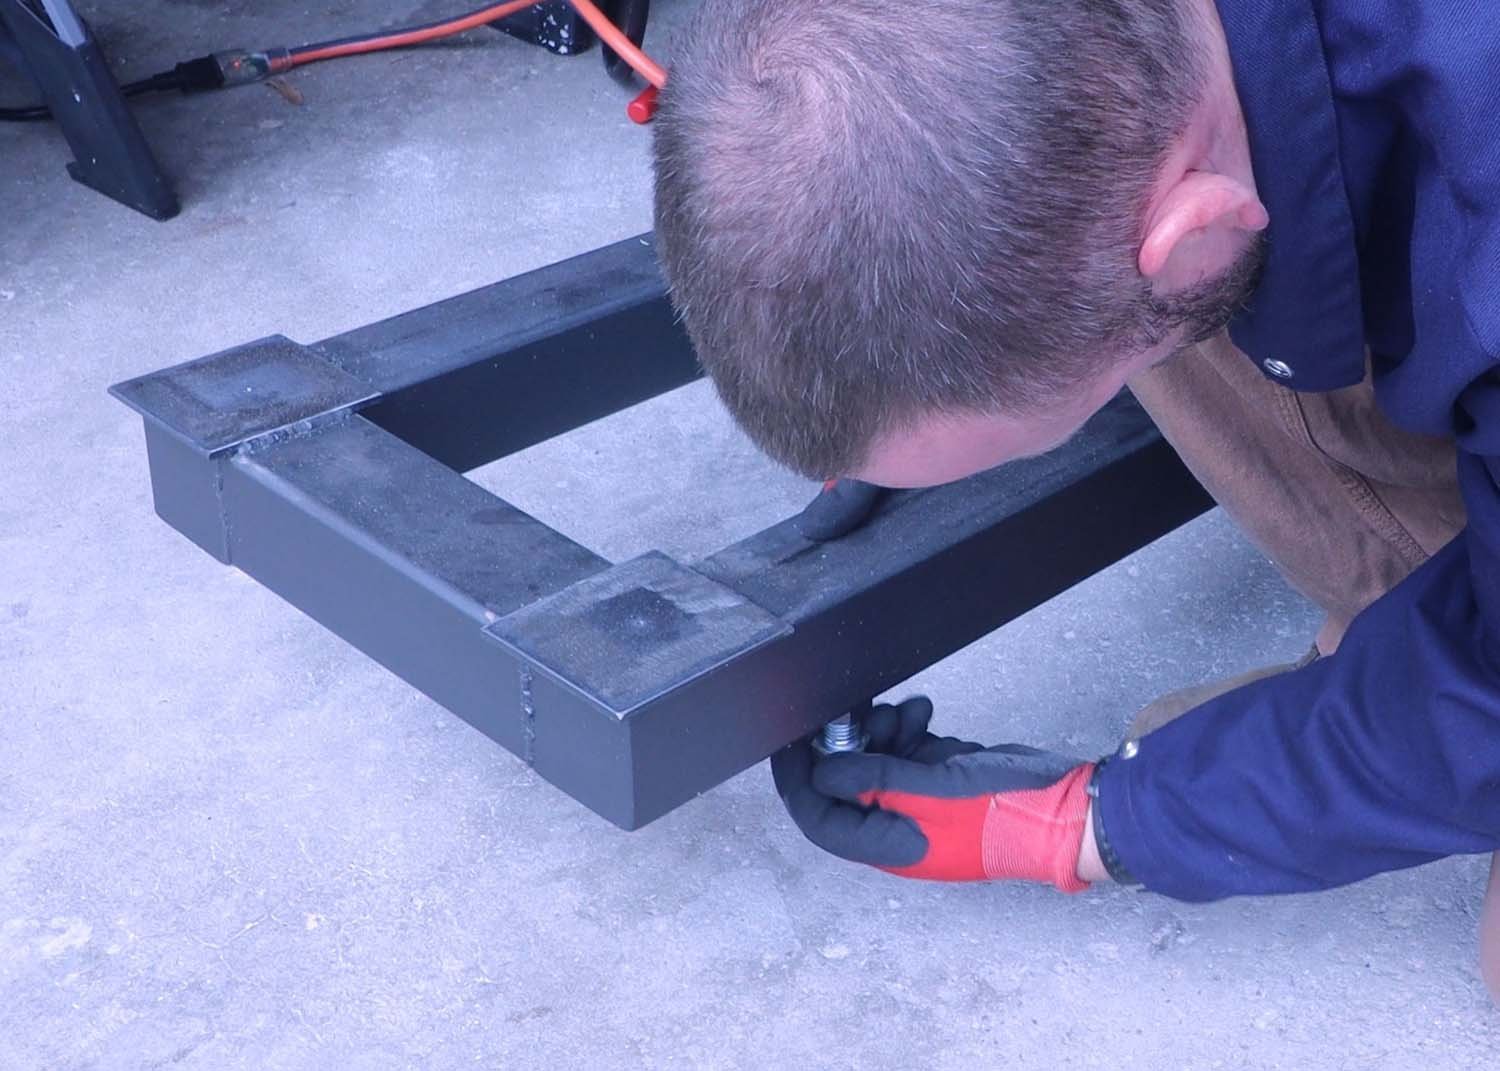
Before attaching the levelling feet, grind off the mill scale around the drilled holes. Also grind off the zinc coating on the nut where it gets welded to the sleeper.
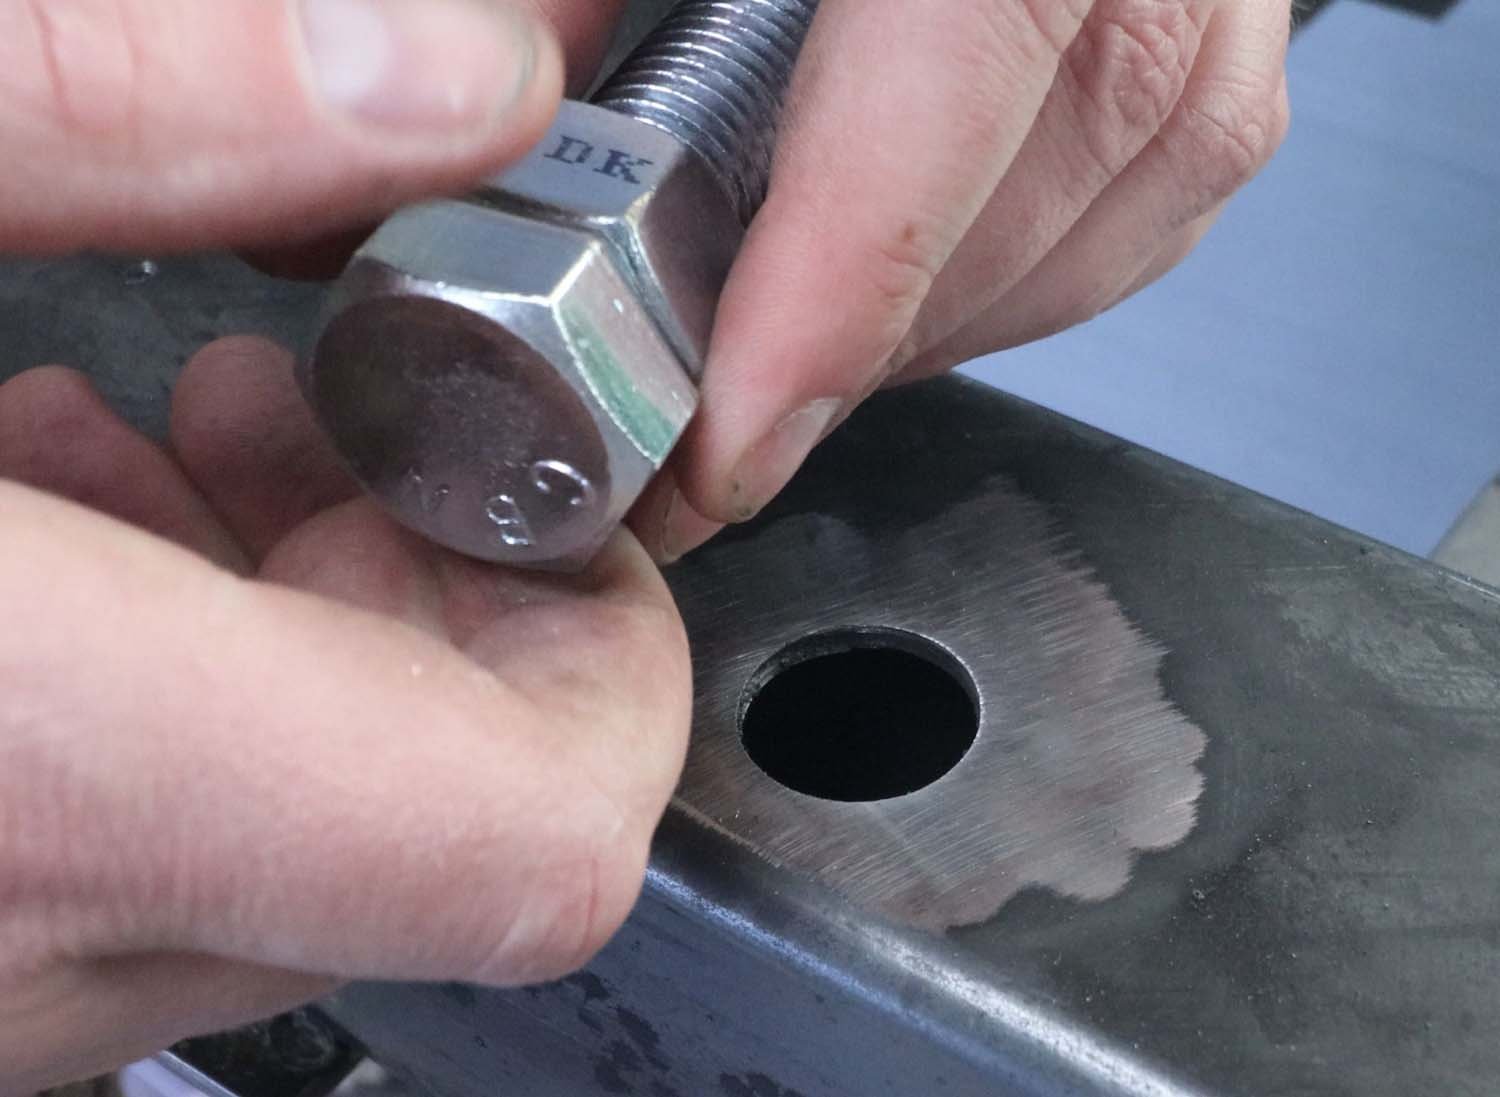
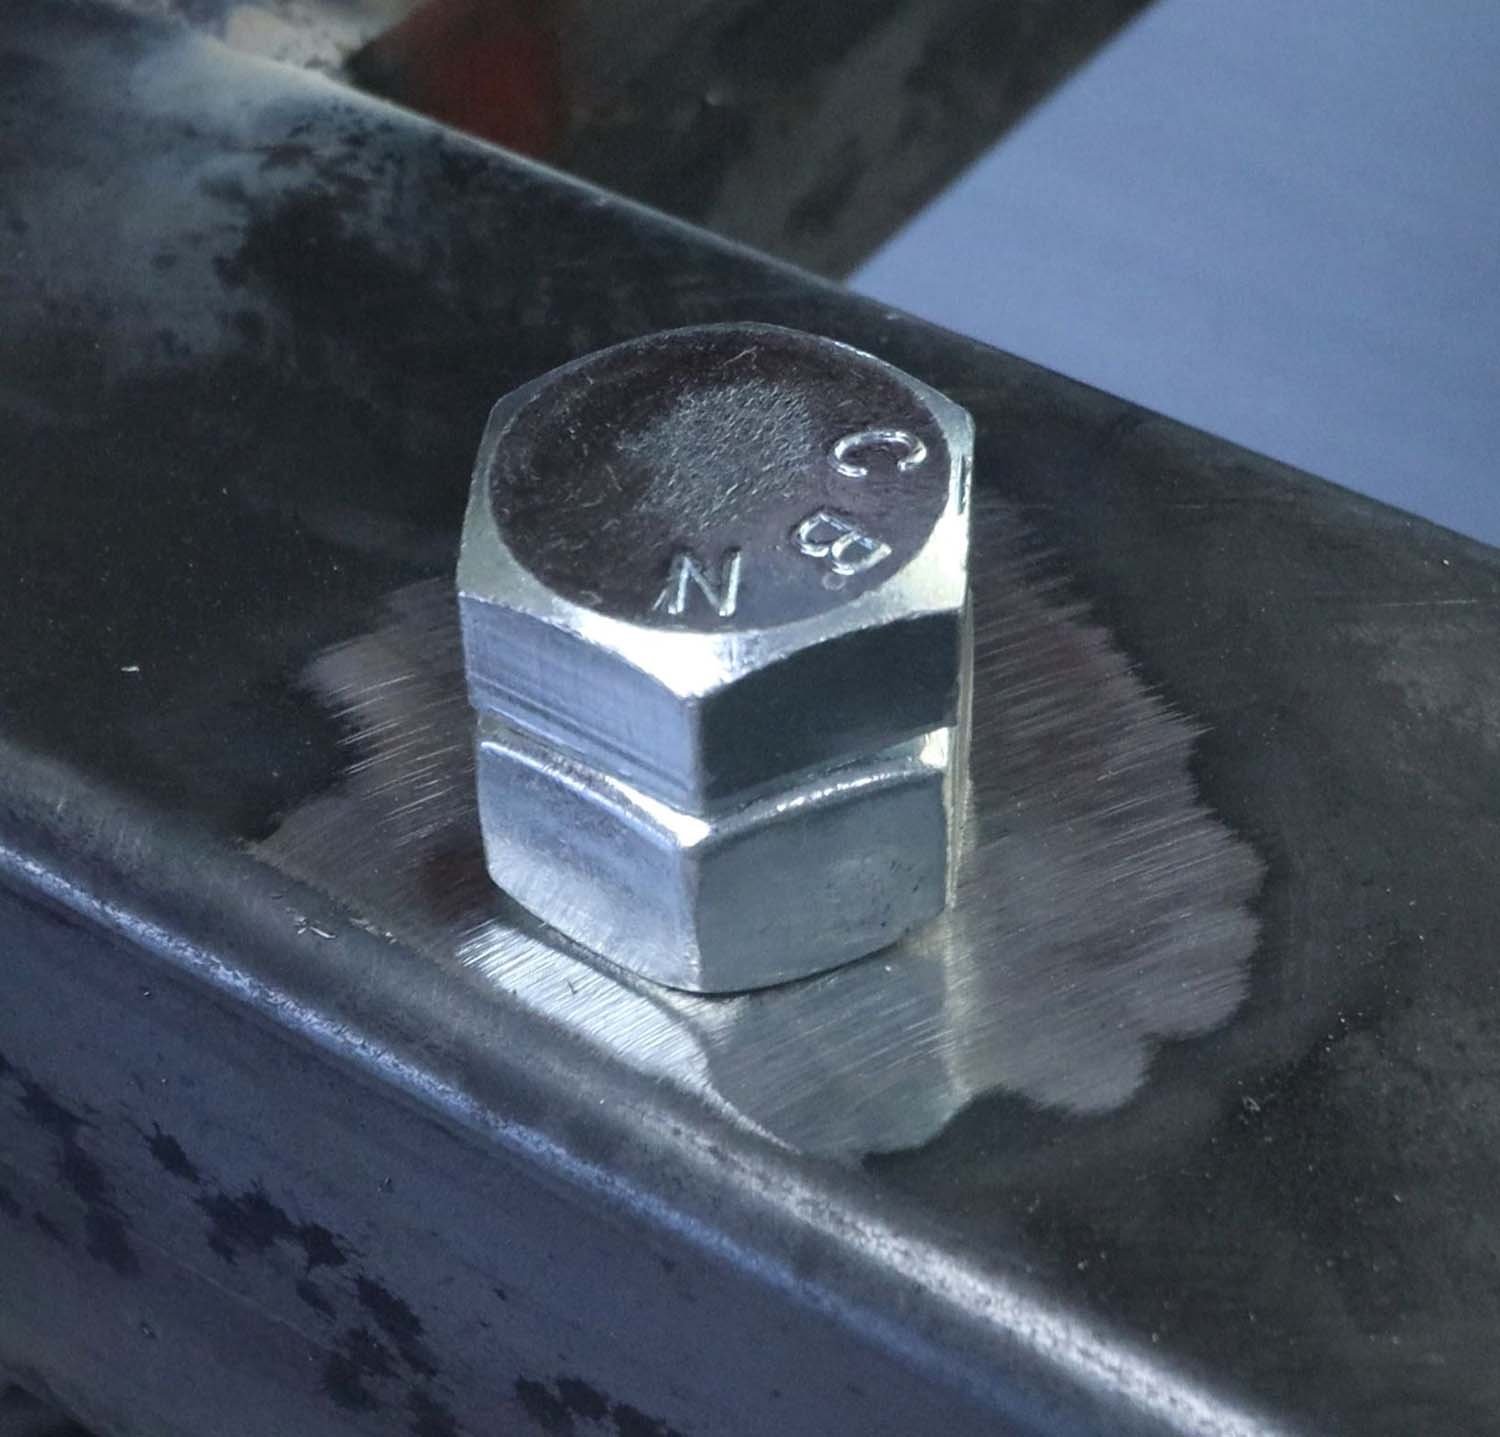
Tack the nut on three sides, and check that the bolt spins freely afterwards. It's possible to heat the nut too much during welding a warp it, so add as little weld as possible to keep it in place.

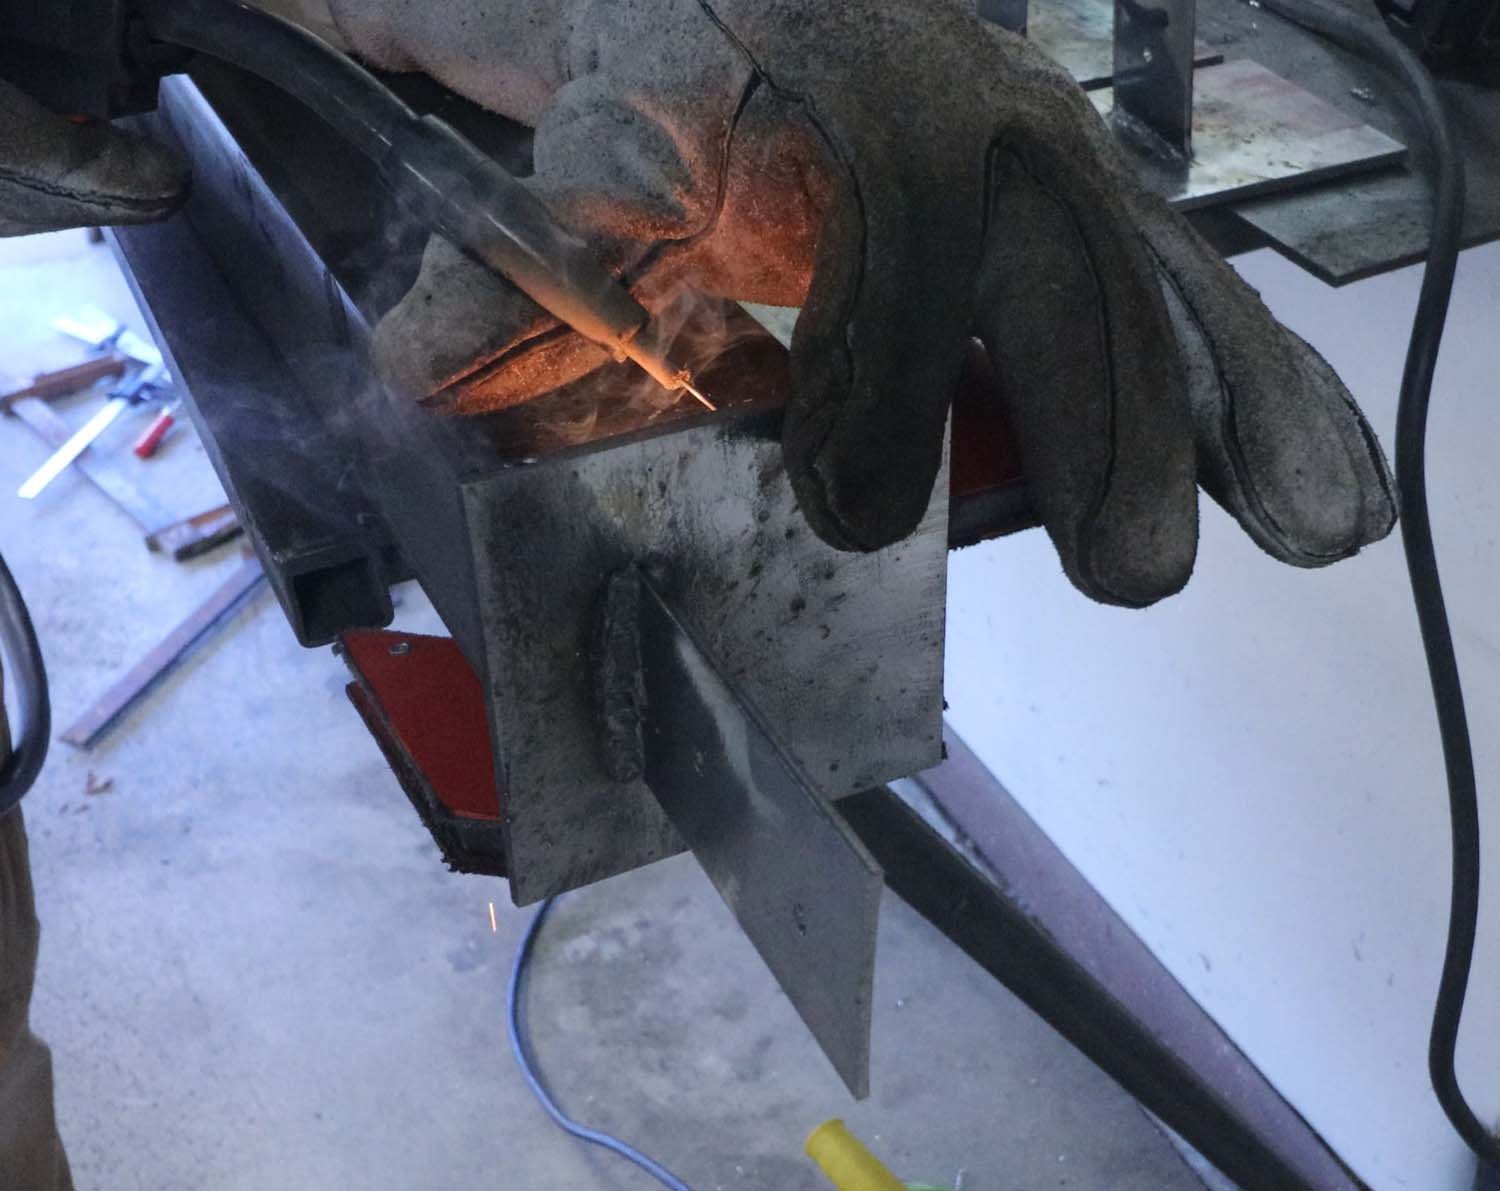
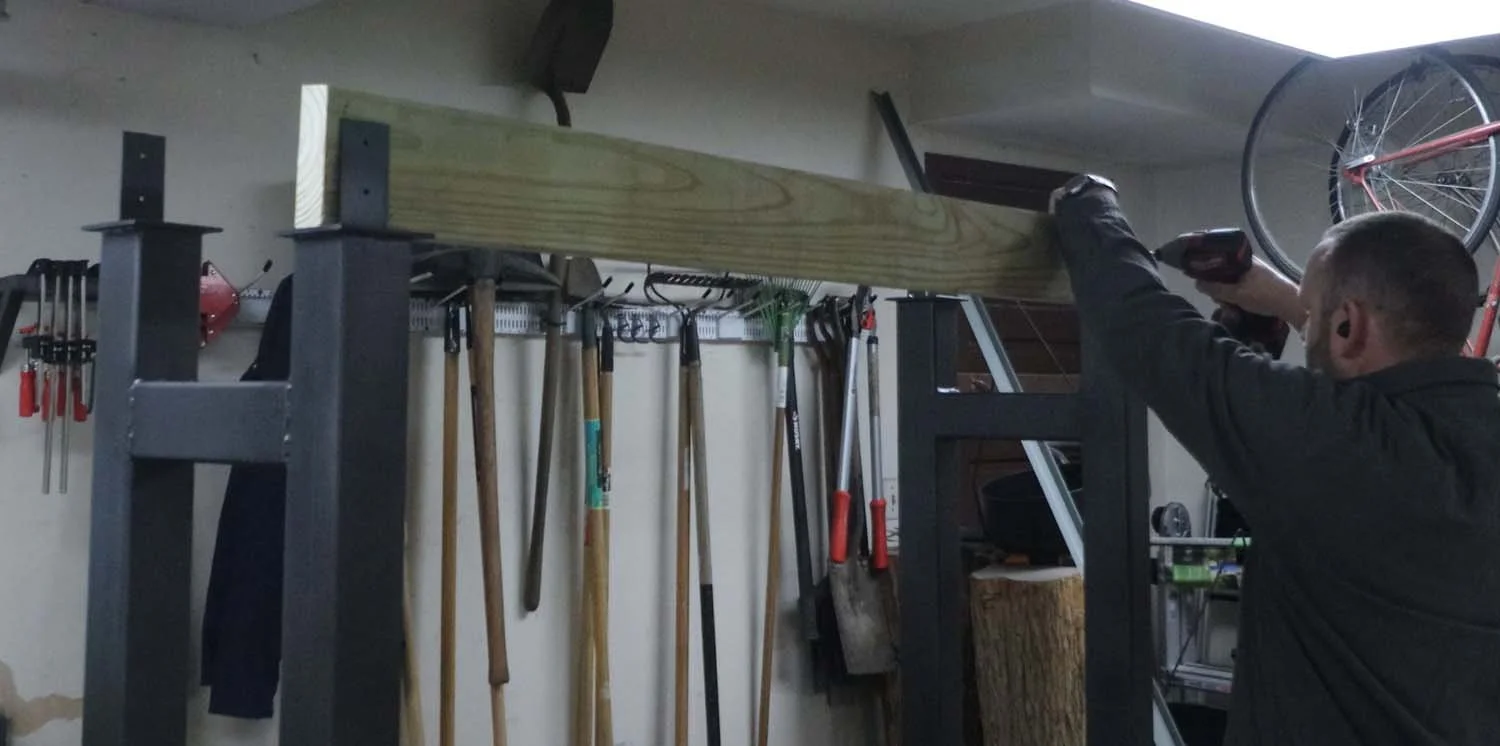
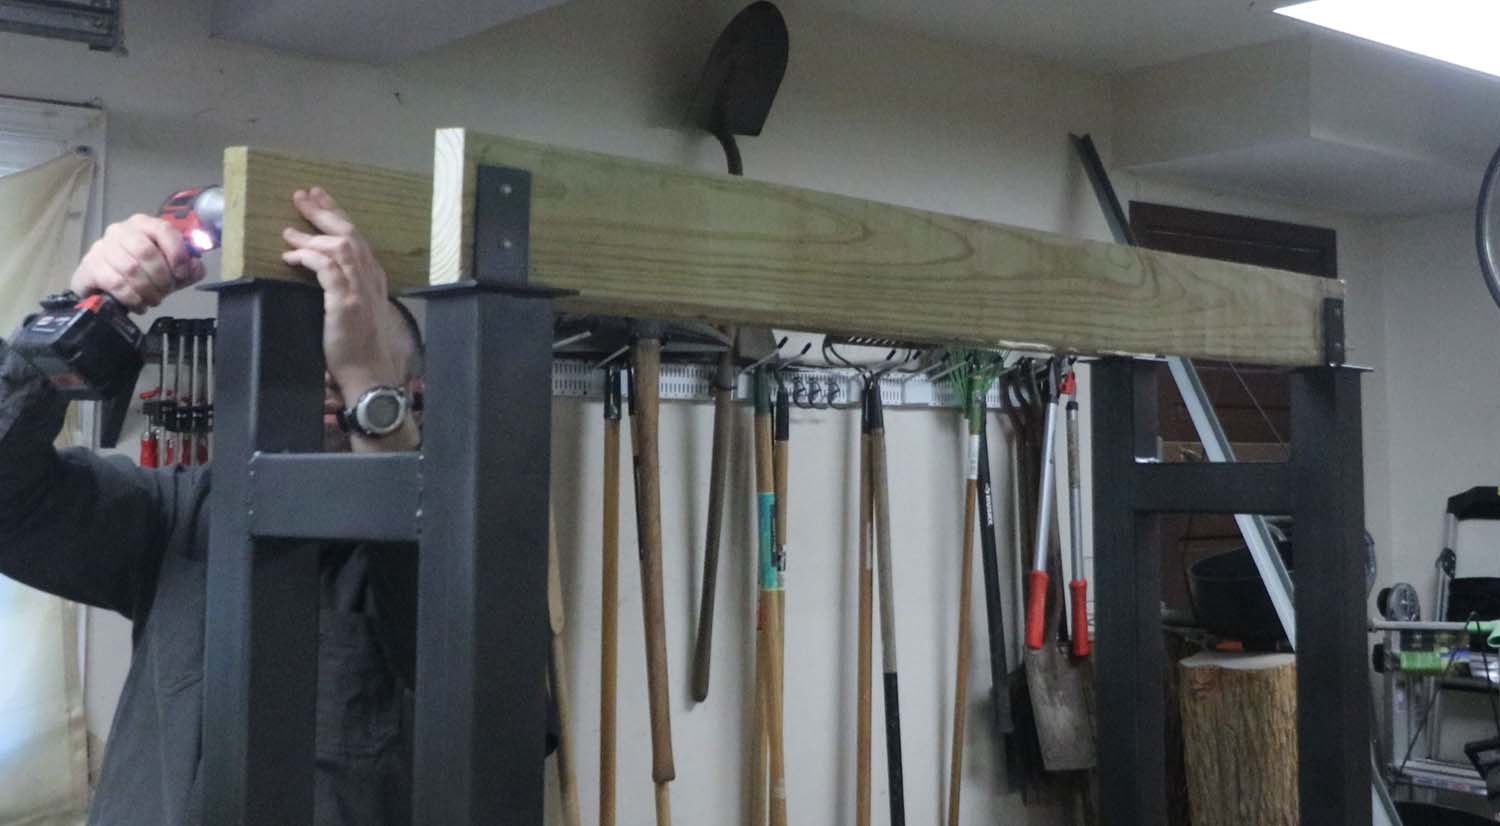
To attach the wood roof purlins to the uprights, fabricate a couple tabs that stick up from the top of the uprights. These are simple pieces of bar stock with a couple holes drilled in them for fastening the purlins down.
The tabs get welded to a piece of 3/16" plate. Offset the tabs to one side of the plate such that the purlins are centered on the plate. Then weld these to the tops of the uprights.
The uprights are two different heights from front to back to provide a slope for the roof, so orientation is important. Similar to the sleepers, the uprights need a spacer piece. Again, drill a weep hole in the spacer before welding.
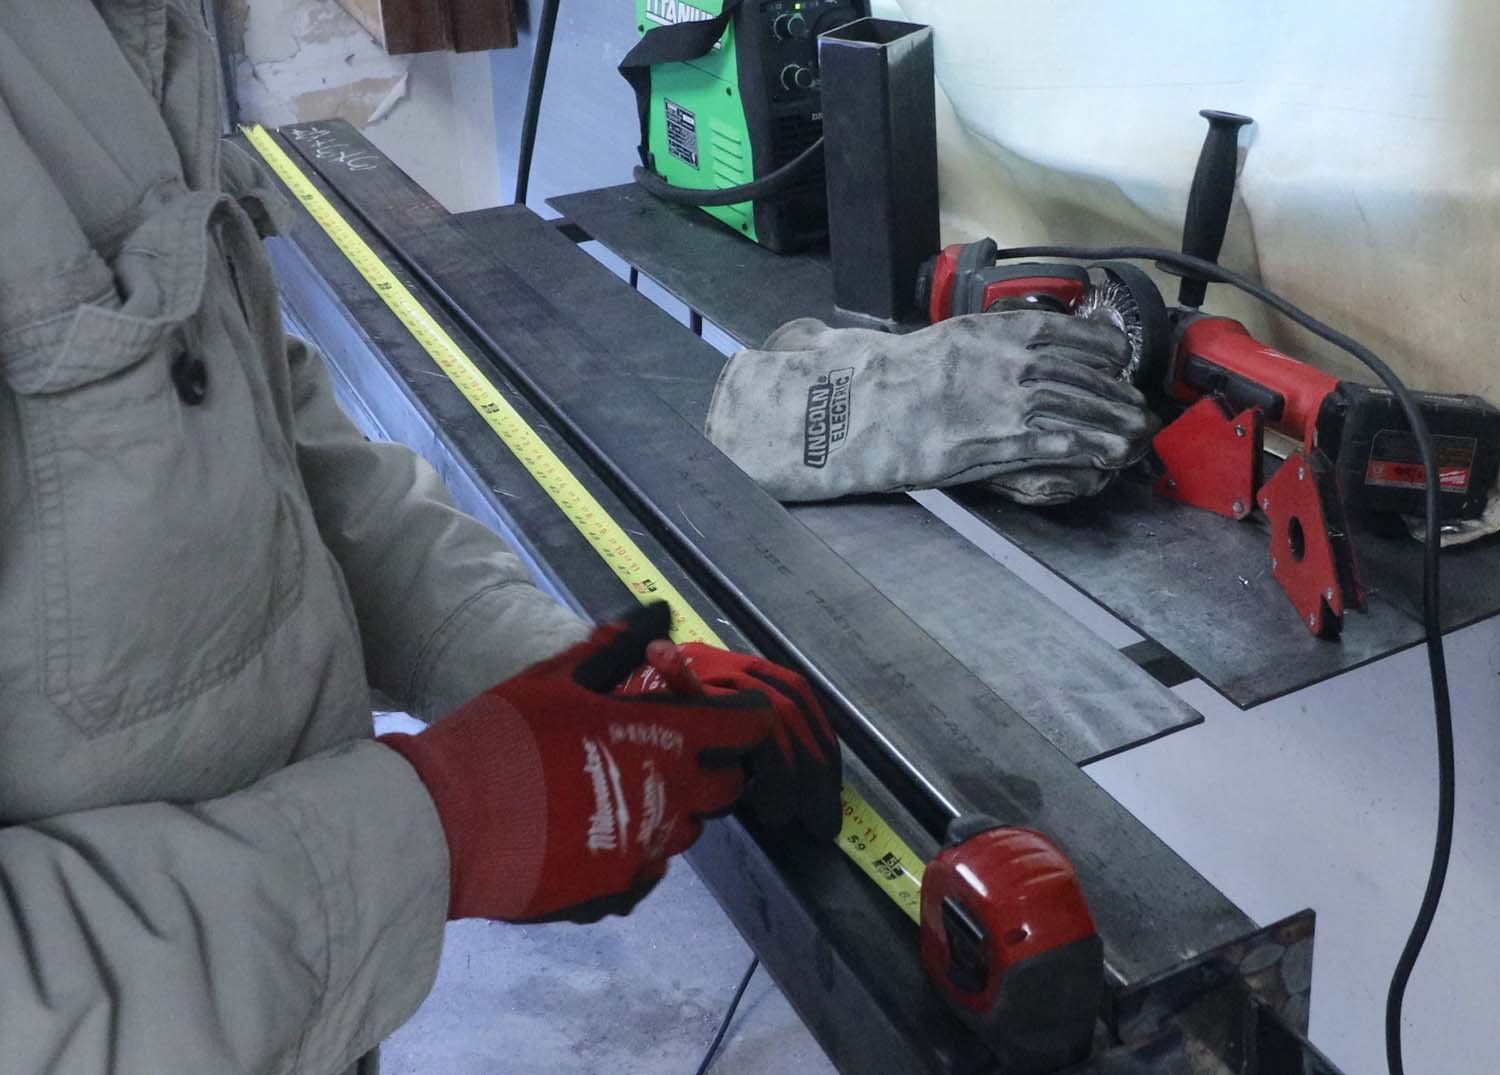
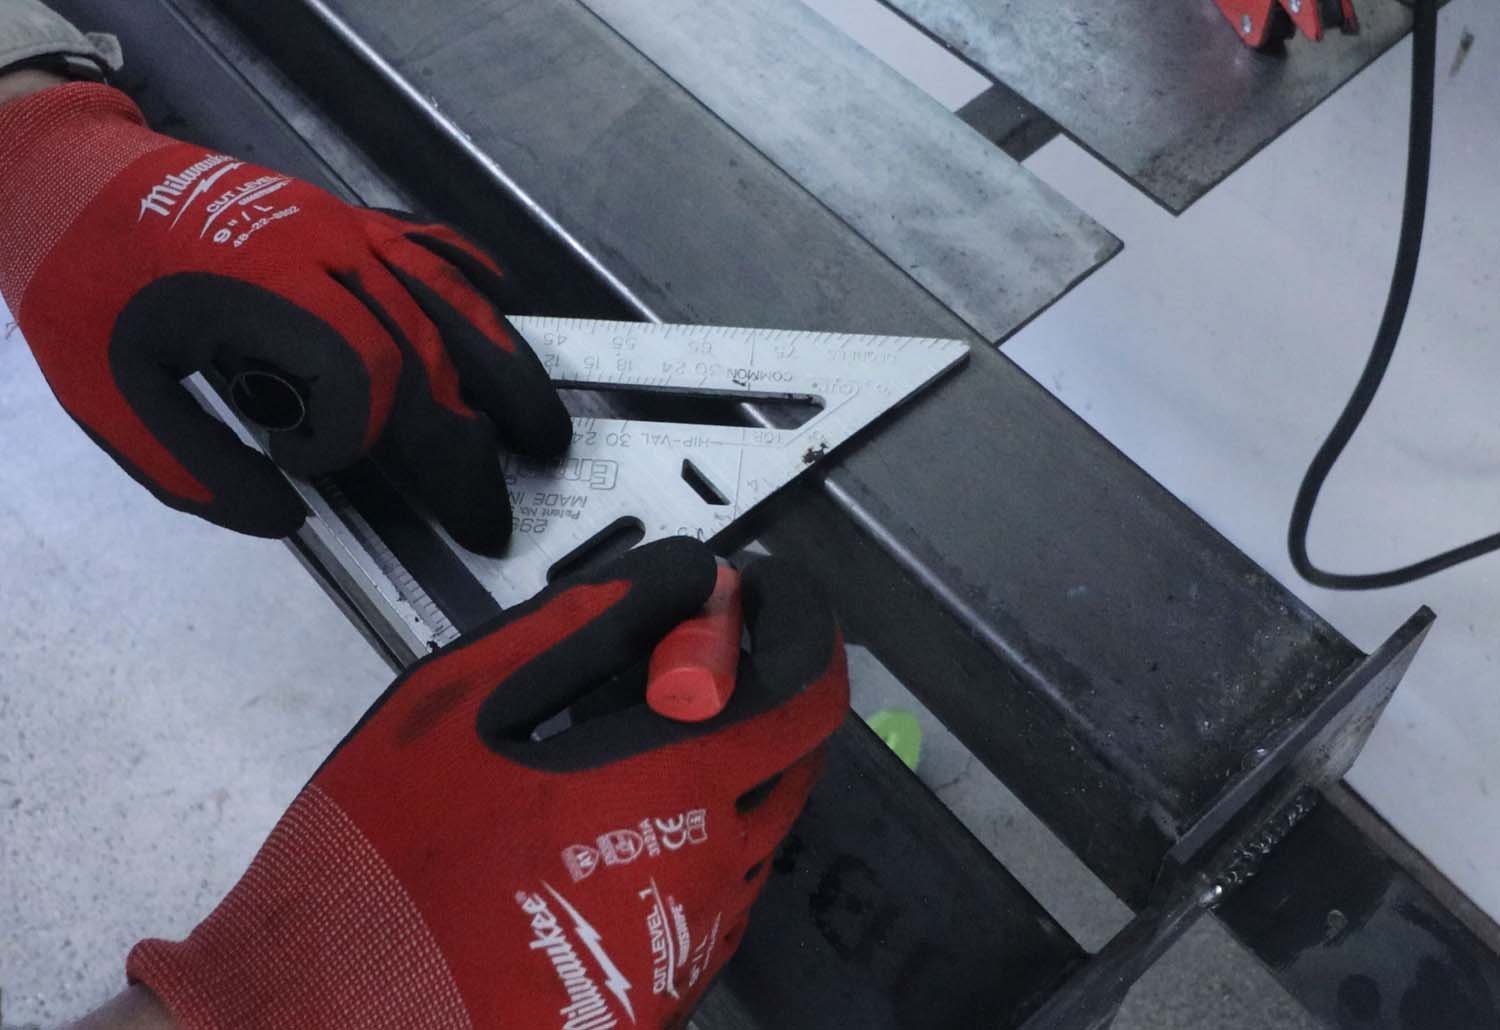

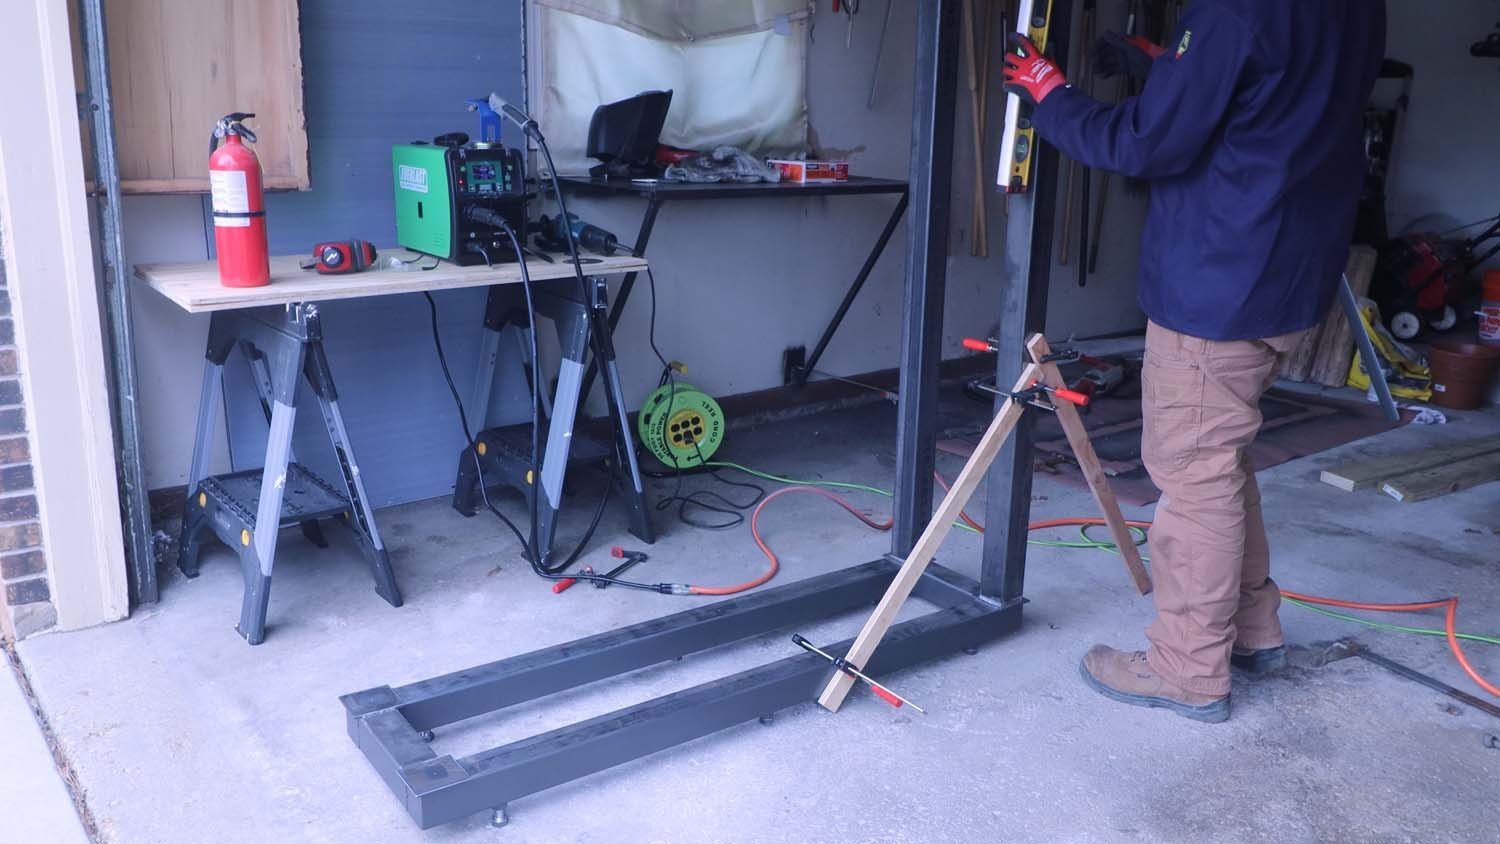
I used a set of clamping squares for layout this time, which made it easy to keep everything perpendicular to eachother.
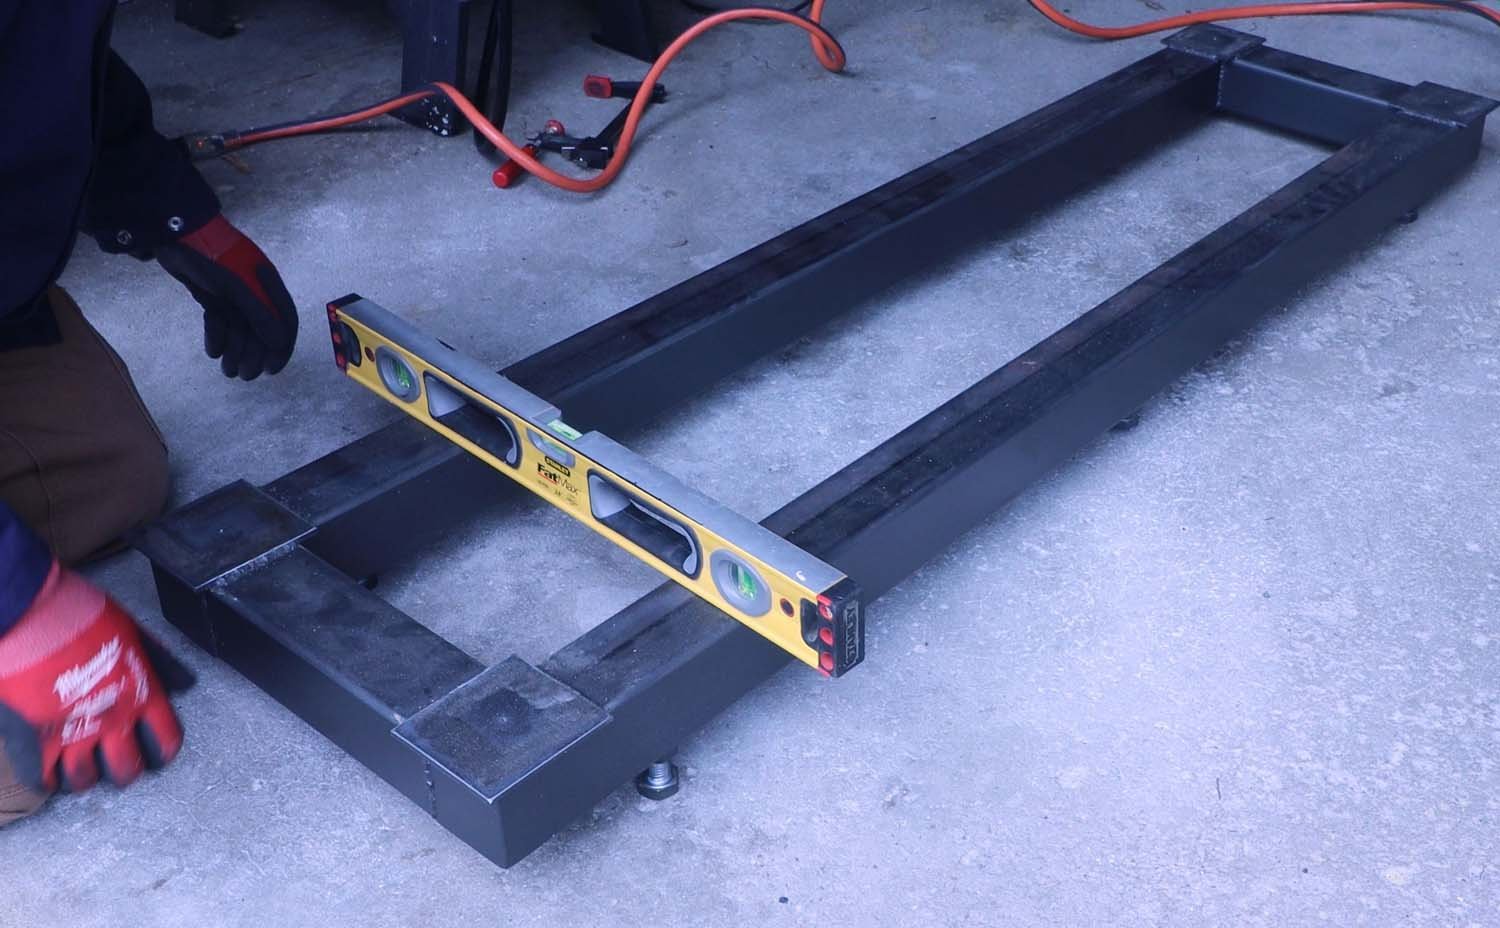
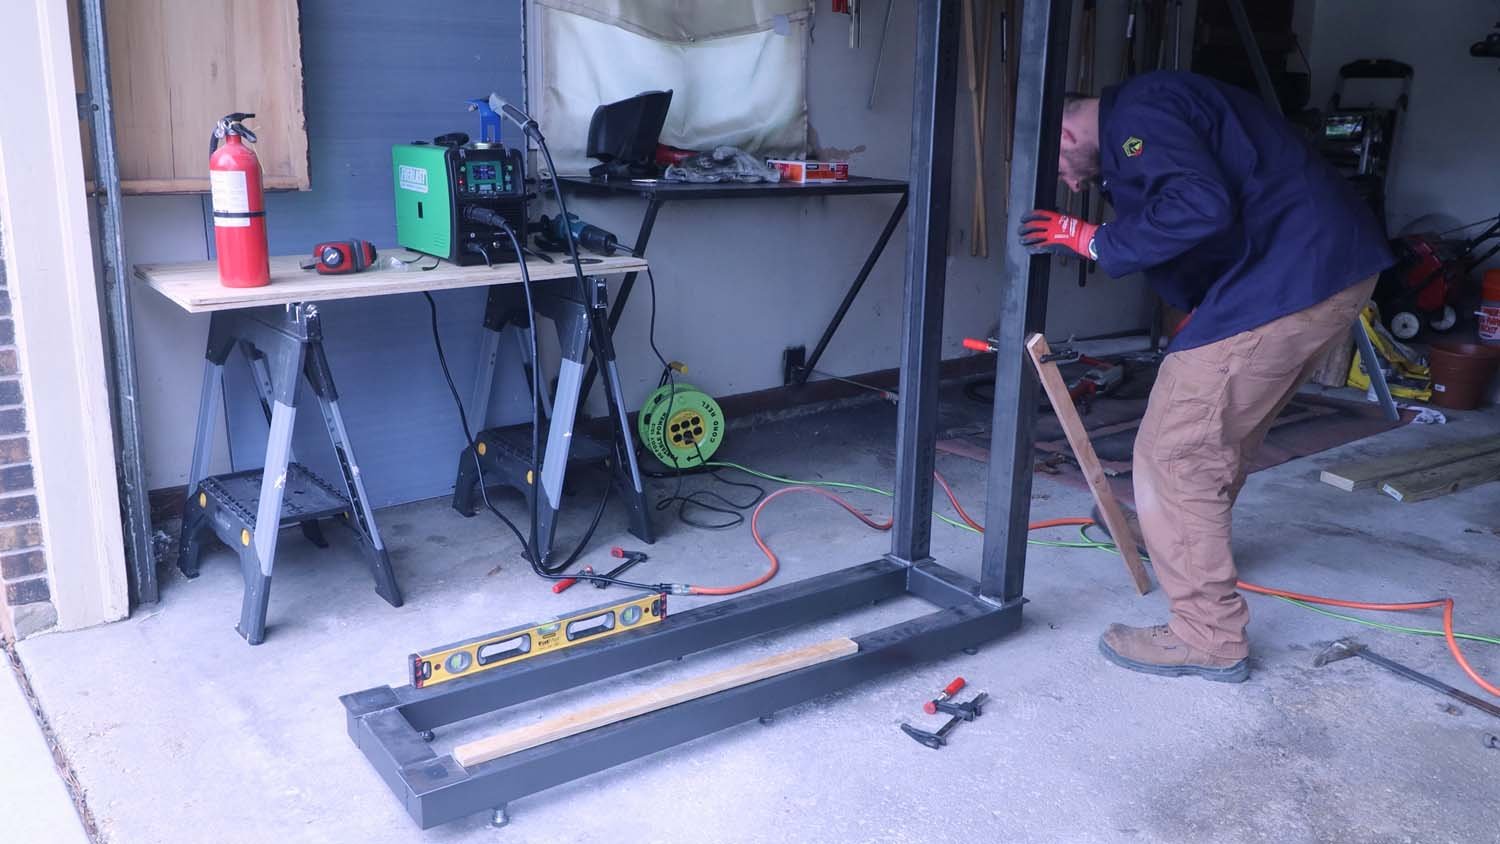
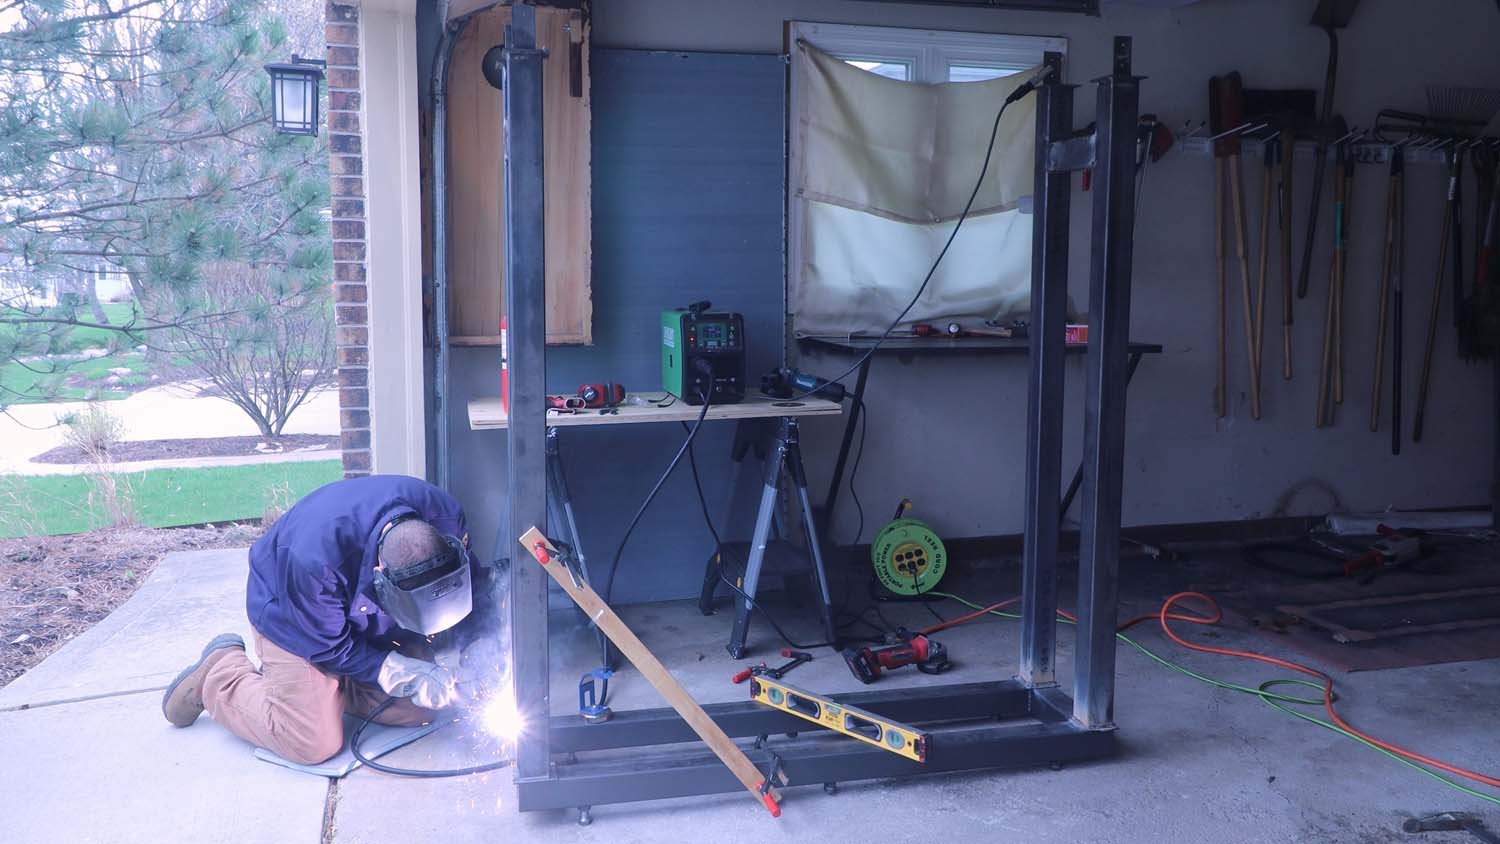
To build the rack up, first level the base so that the uprights will be square to it when they are plumb. Do this by checking with a level and adjusting the levelling feet as necessary so that the base of the rack is level in both directions.
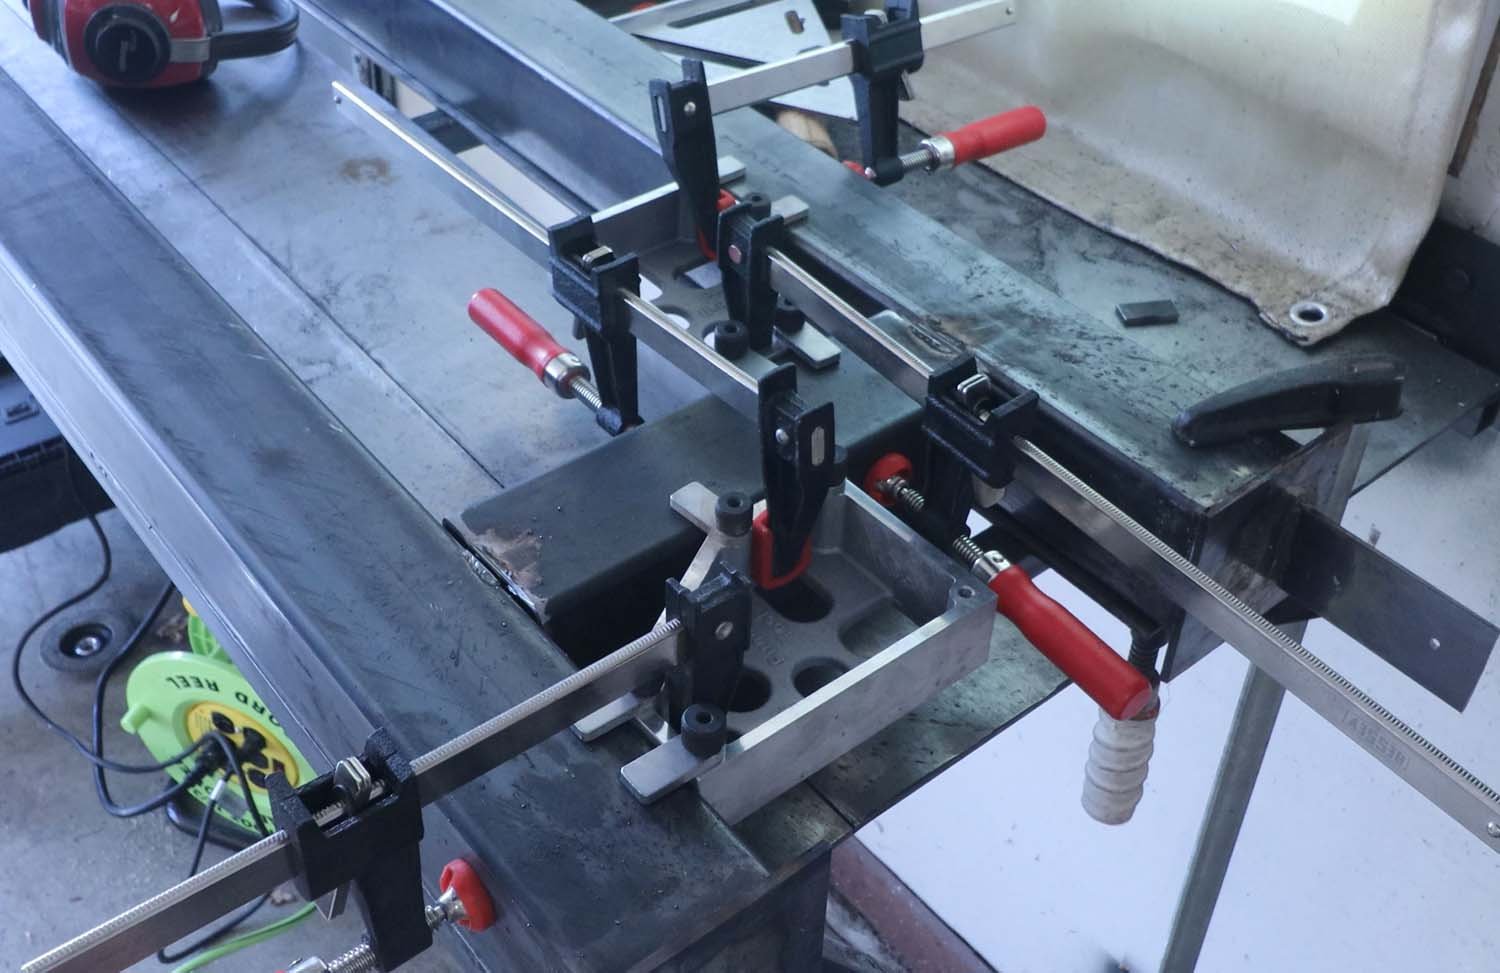
Stand one of the uprights on the base, and use a couple scraps of wood and some clamps to keep the upright from falling over and to keep it in the correct position.
I clamped one of the braces to the base somewhat loosely (tight enough to stay in place, but not so tight that it couldn't move). Then, checking the upright for plumb with the level, when I moved the upright over, the clamp slipped a bit to allow the upright to pivot, but still kept it in place. After I was satisfied with plumb, I tightened the clamps down.
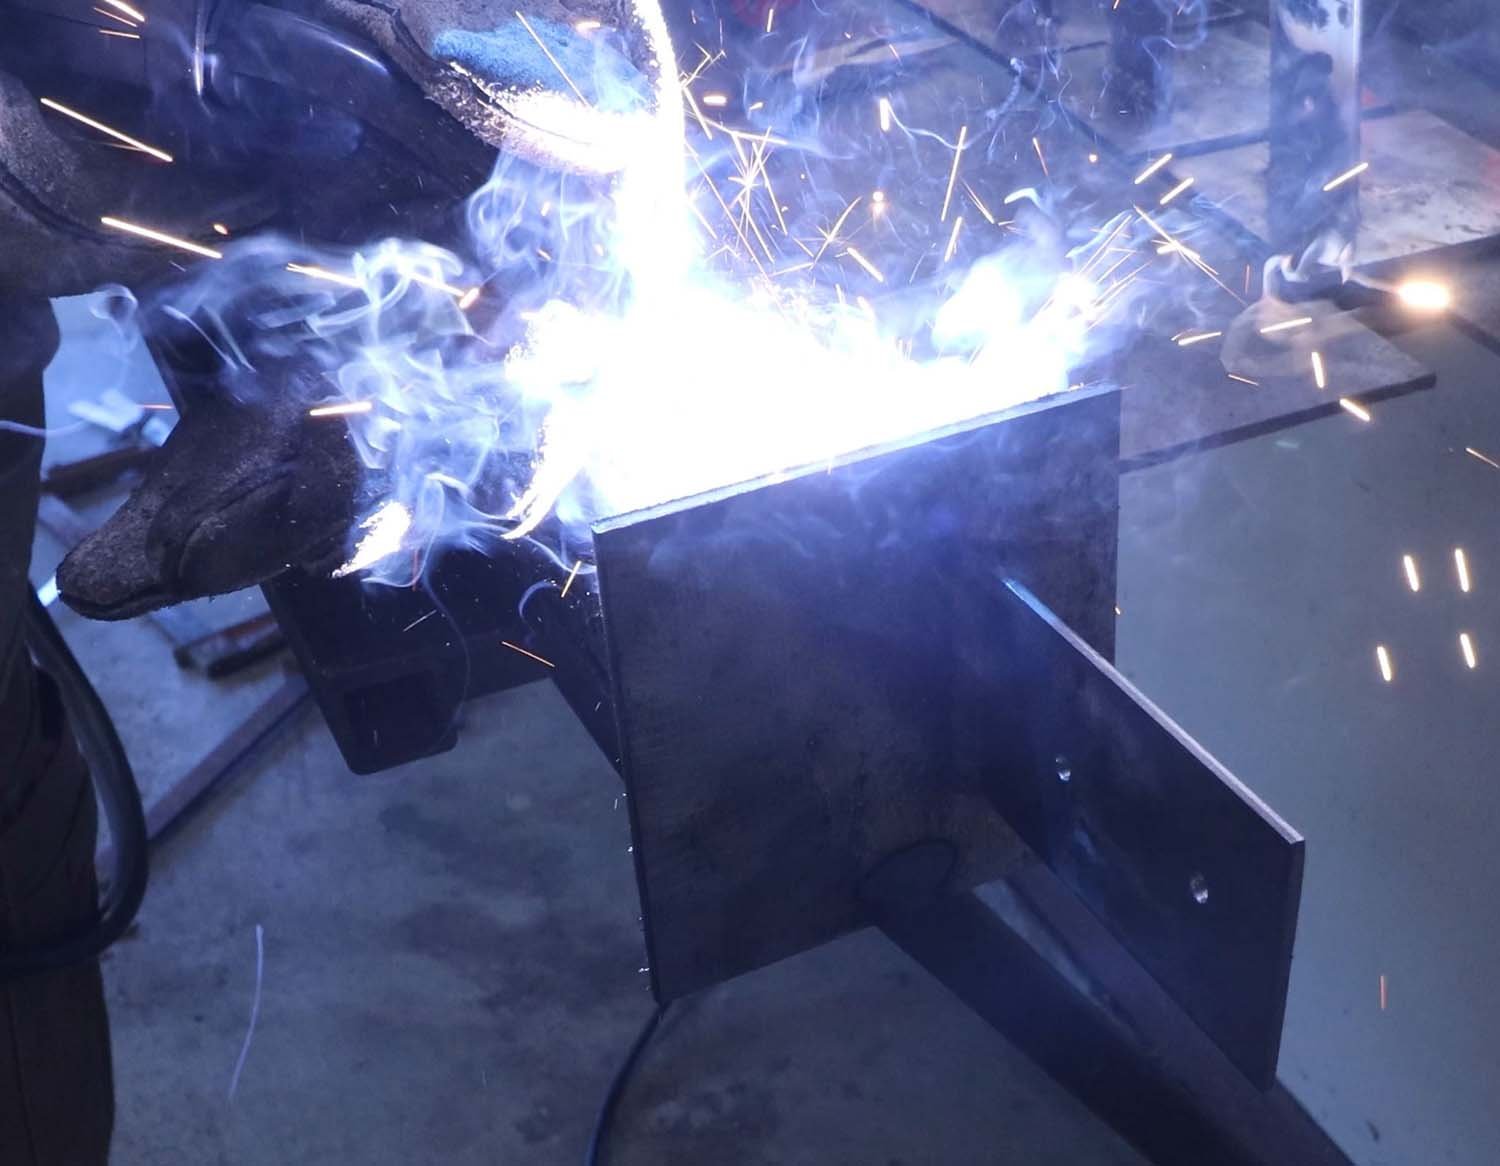
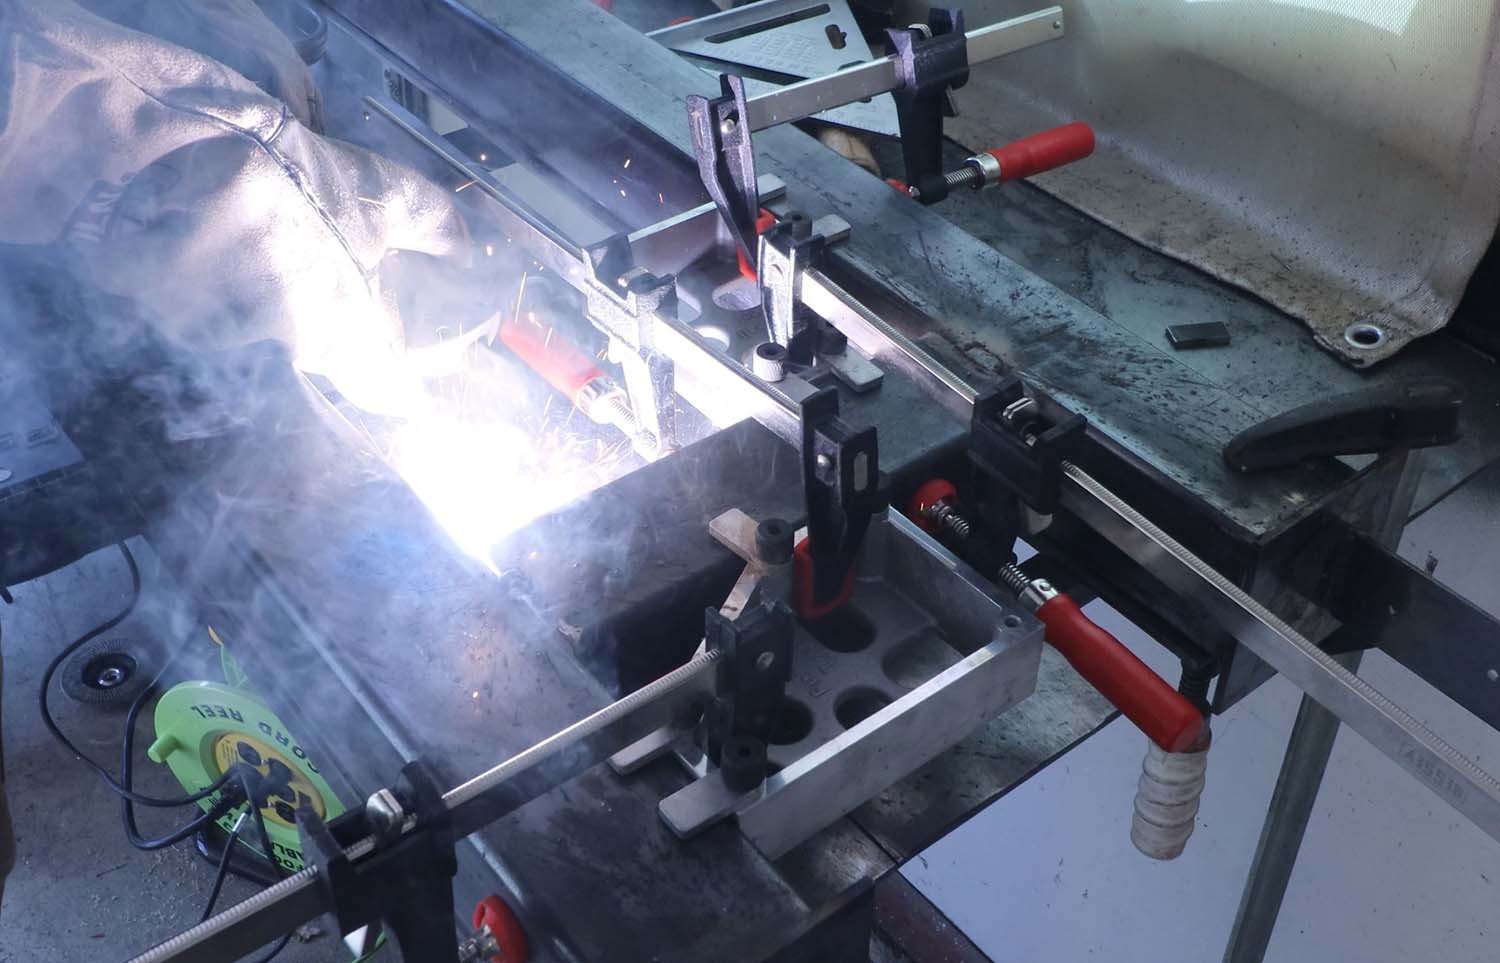
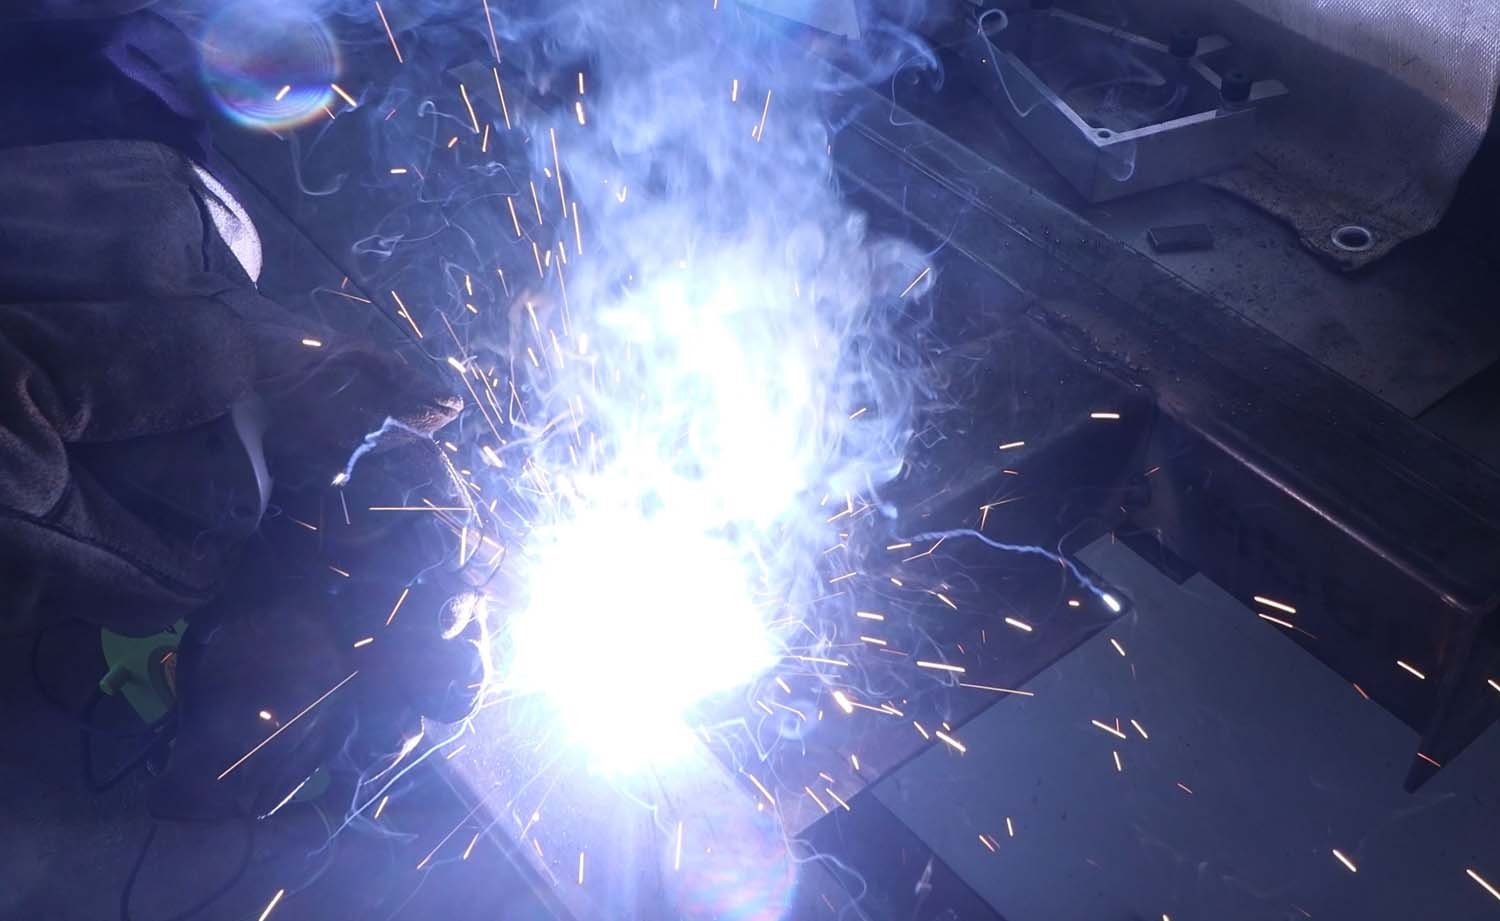
Weld the bottoms of the uprights all around to the base plates.
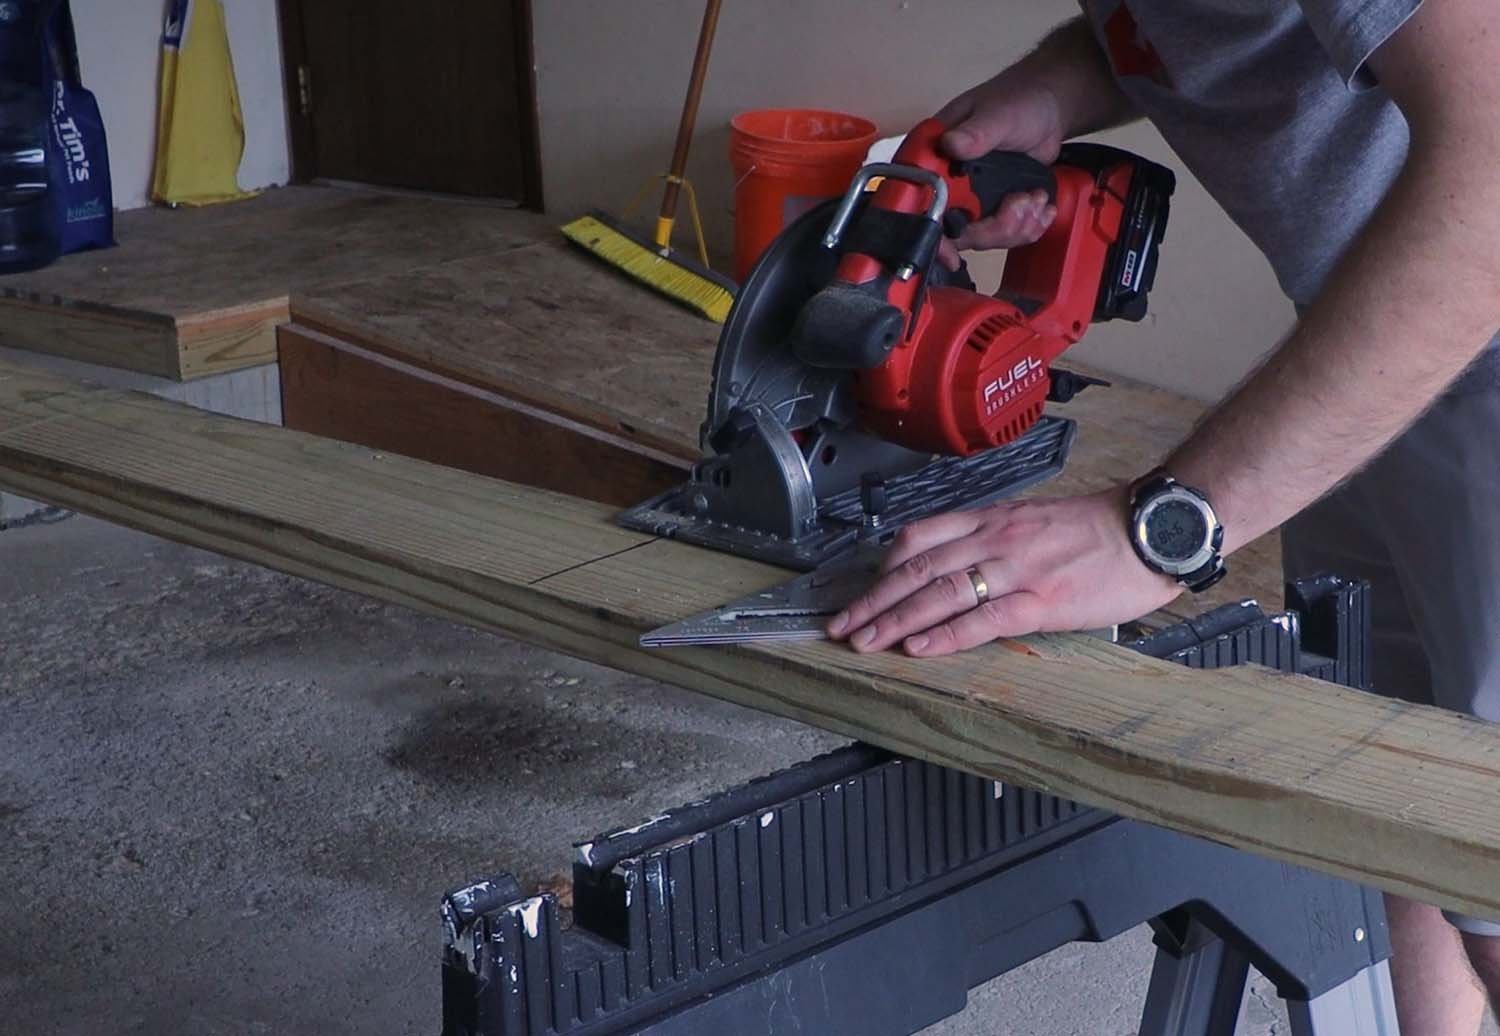
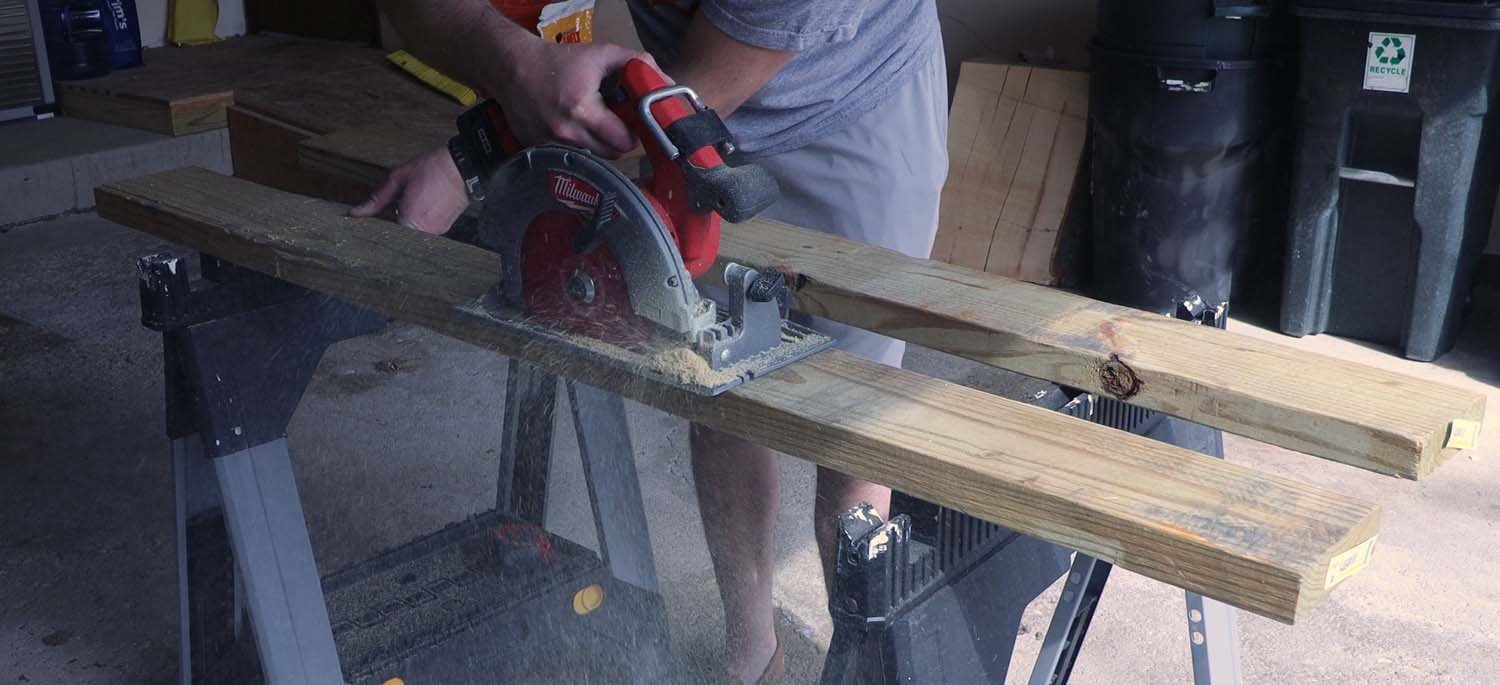
As the rack is 5ft (1.5m) wide, cut the 10-ft 2x6 in half lengthwise.
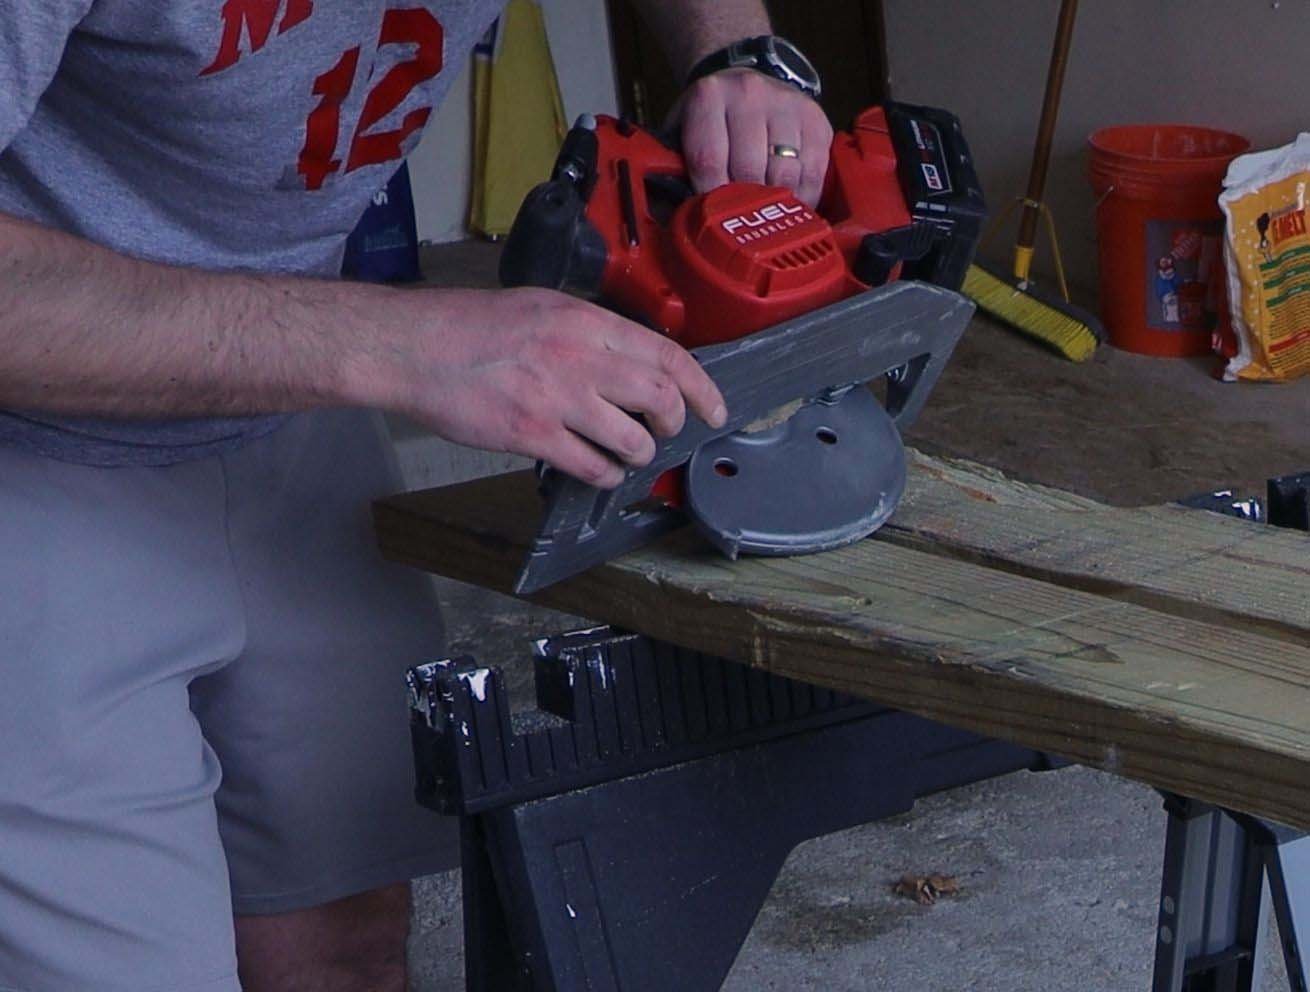
To account for the 1:12 roof slope, which is about 5 degrees, set the bevel on your circular saw to that angle. I used the edge of the shoe as a guide on the edge of the board, but you may want to draw a line to follow to cut the length of the purlin. Otherwise, if you have a table saw, cutting the bevel on that will be pretty easy.
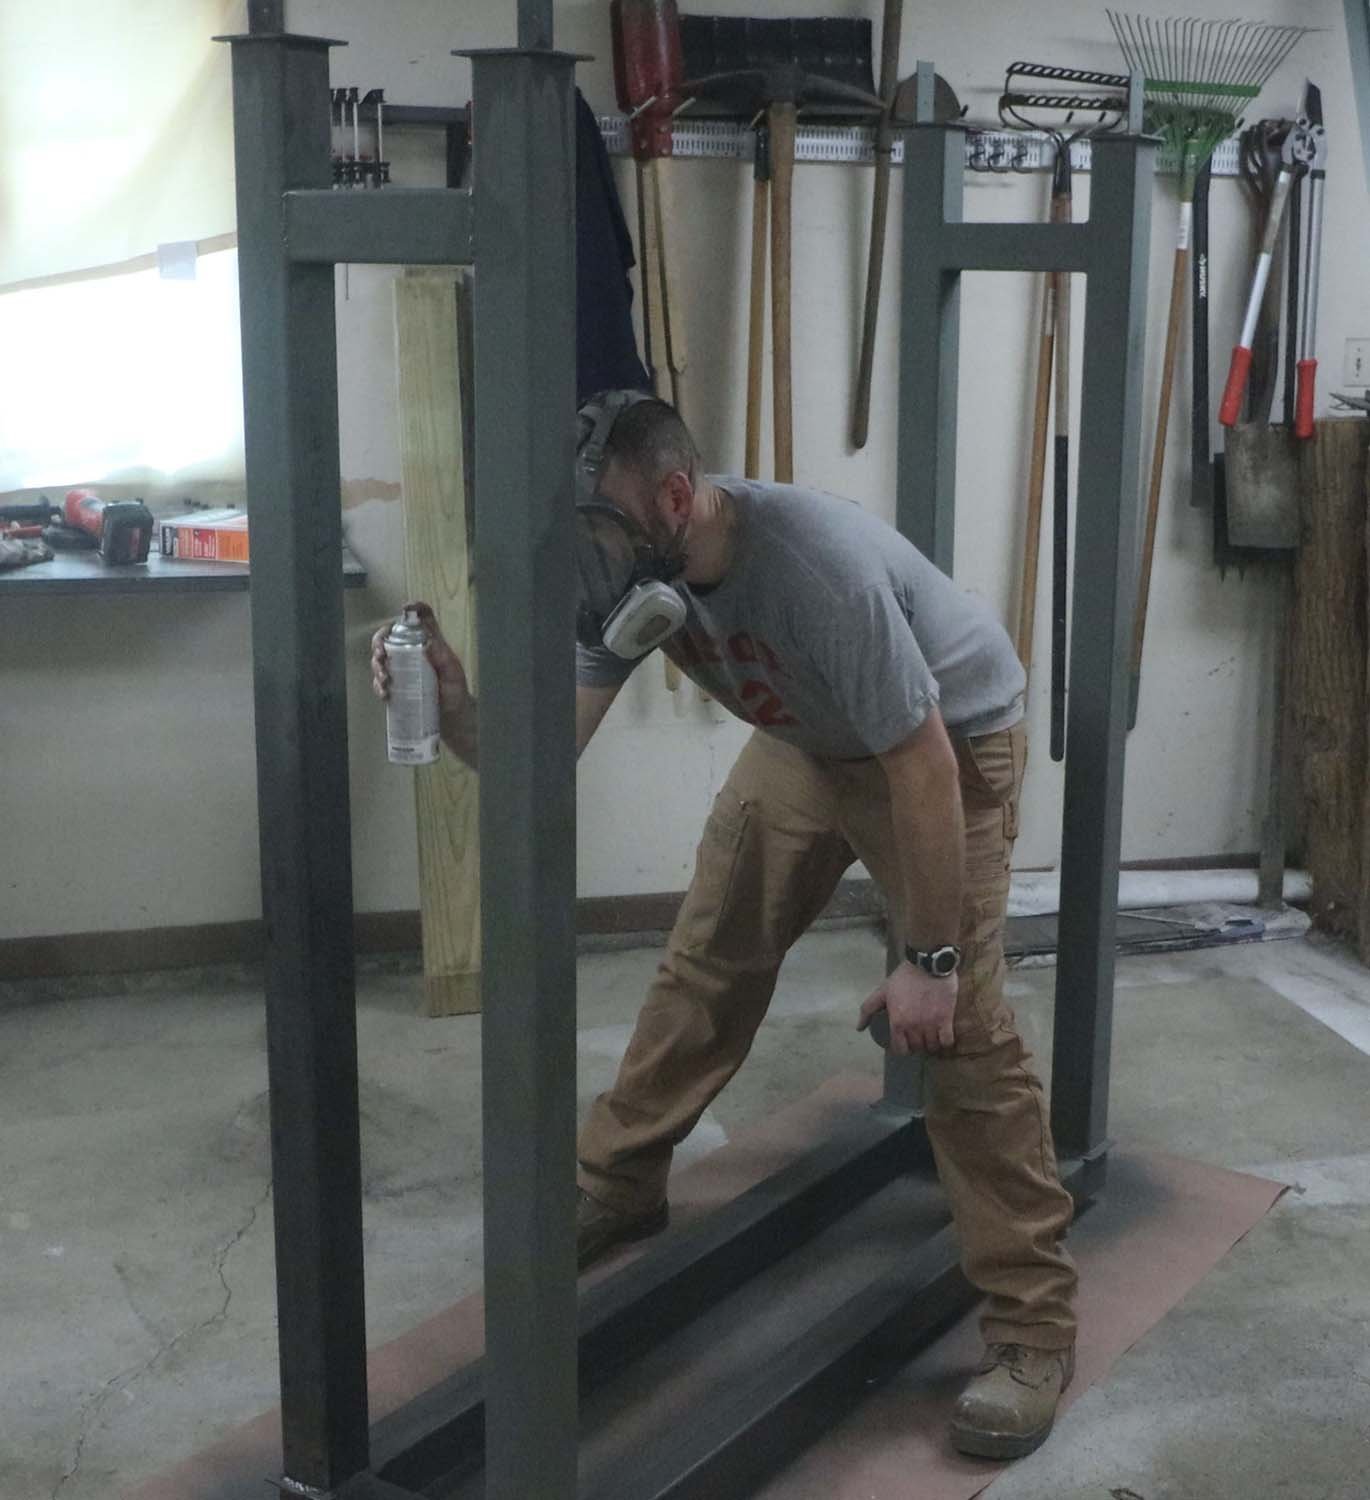
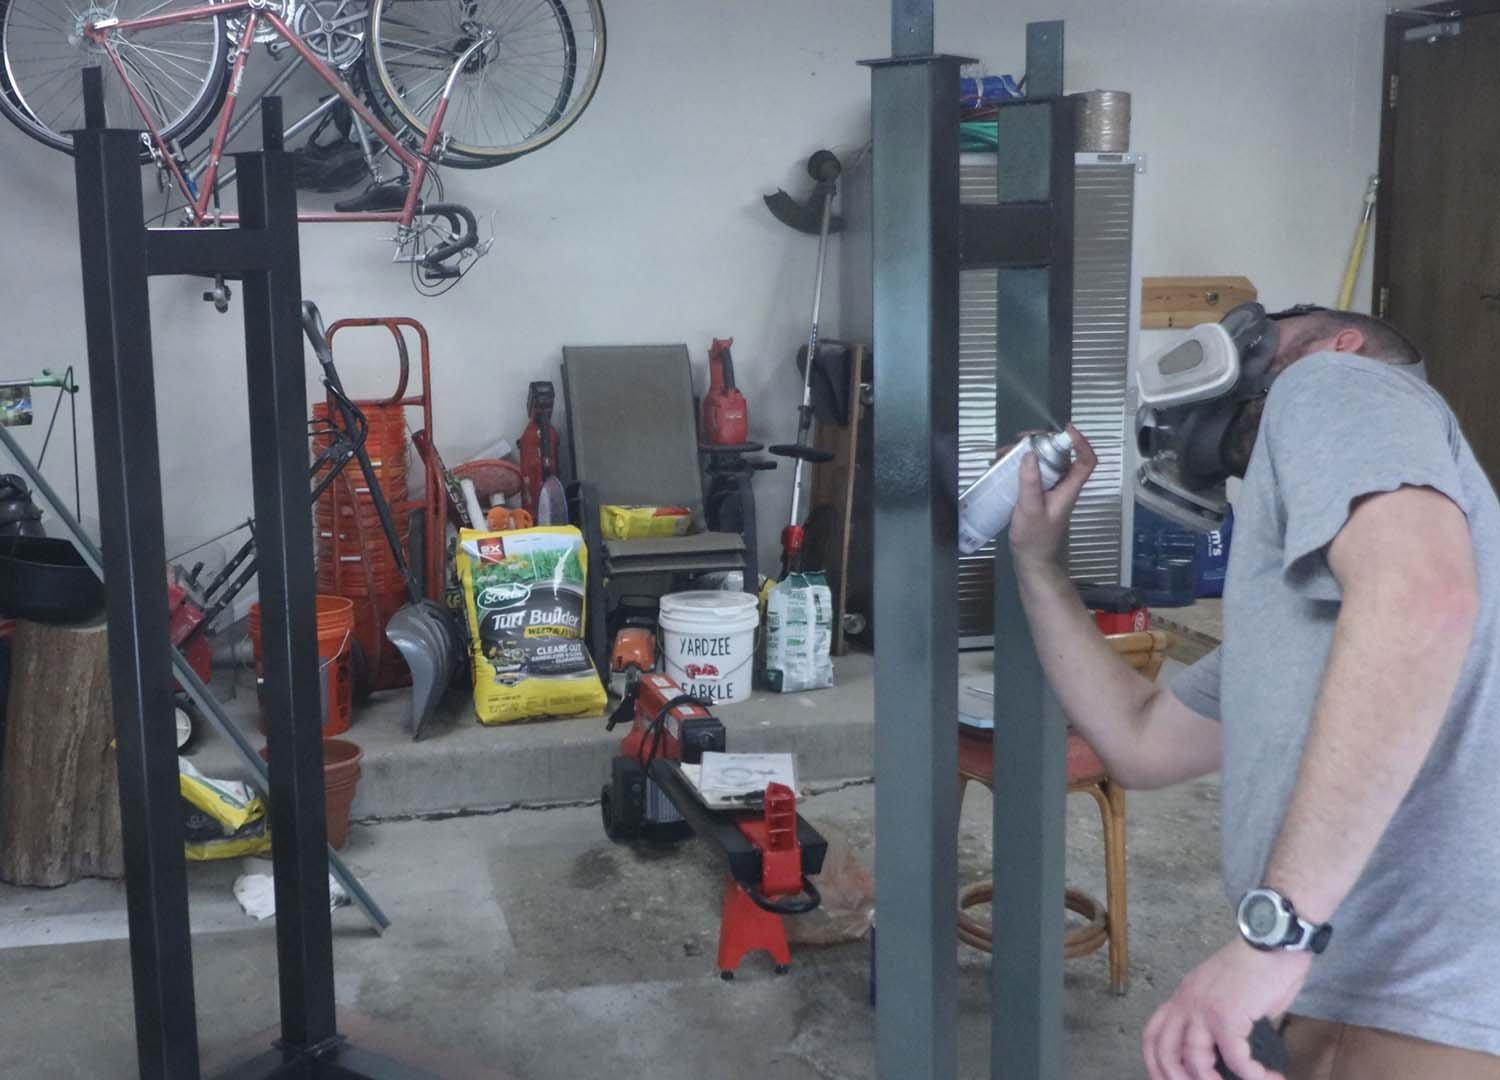
With all the welding done, degrease everything with acetone or similar, and then gave it all a couple coats of self-etching primer. Then follow up with a couple coats of paint. Since this will be outdoors, pick a paint that will withstand the elements.
Screw the purlins down to the tabs at the tops of the uprights. Be sure that you have the bevels facing the correct way.
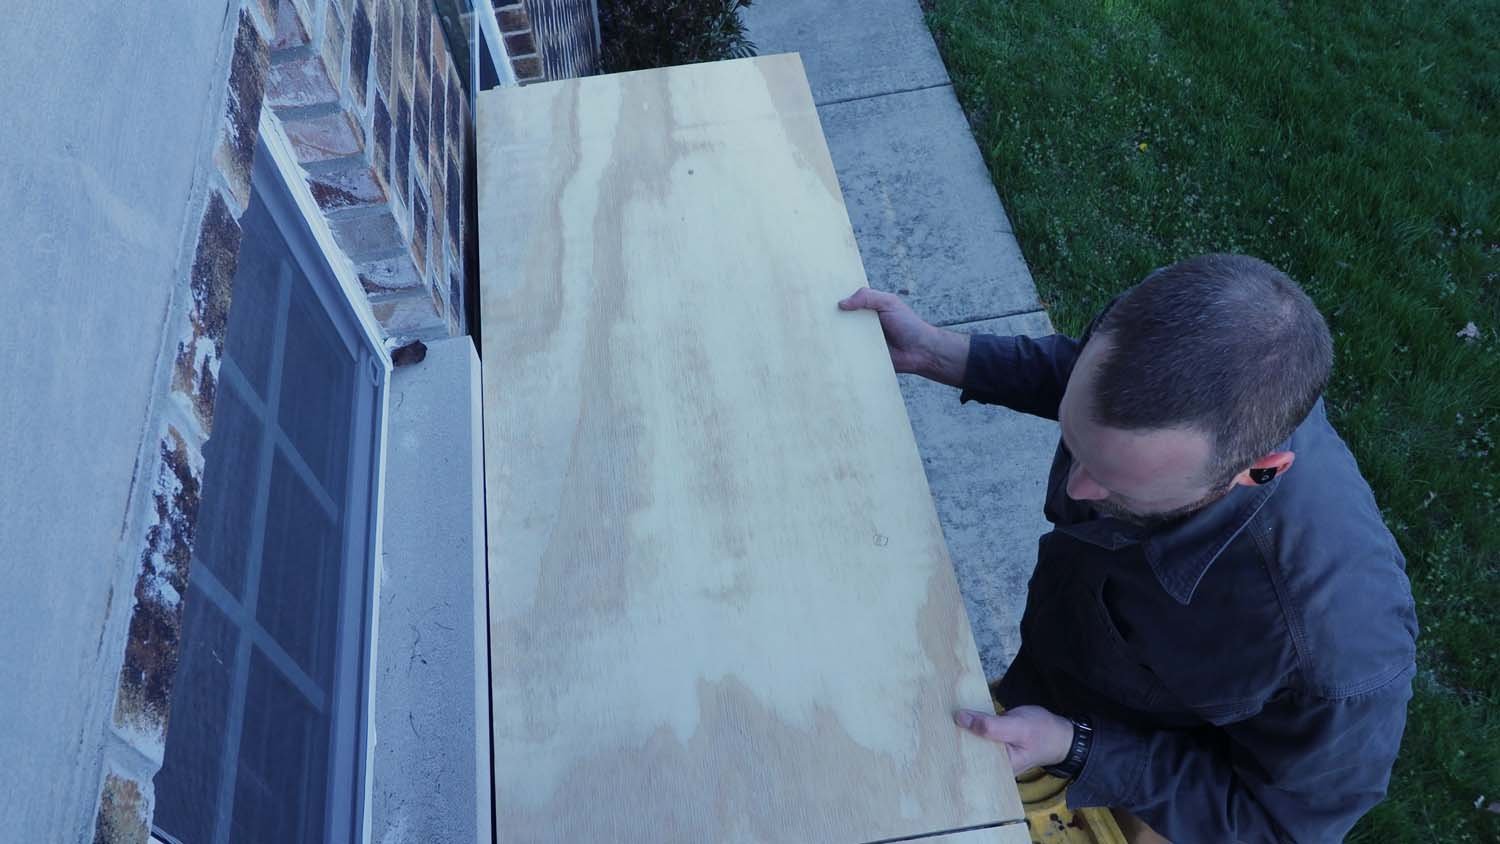
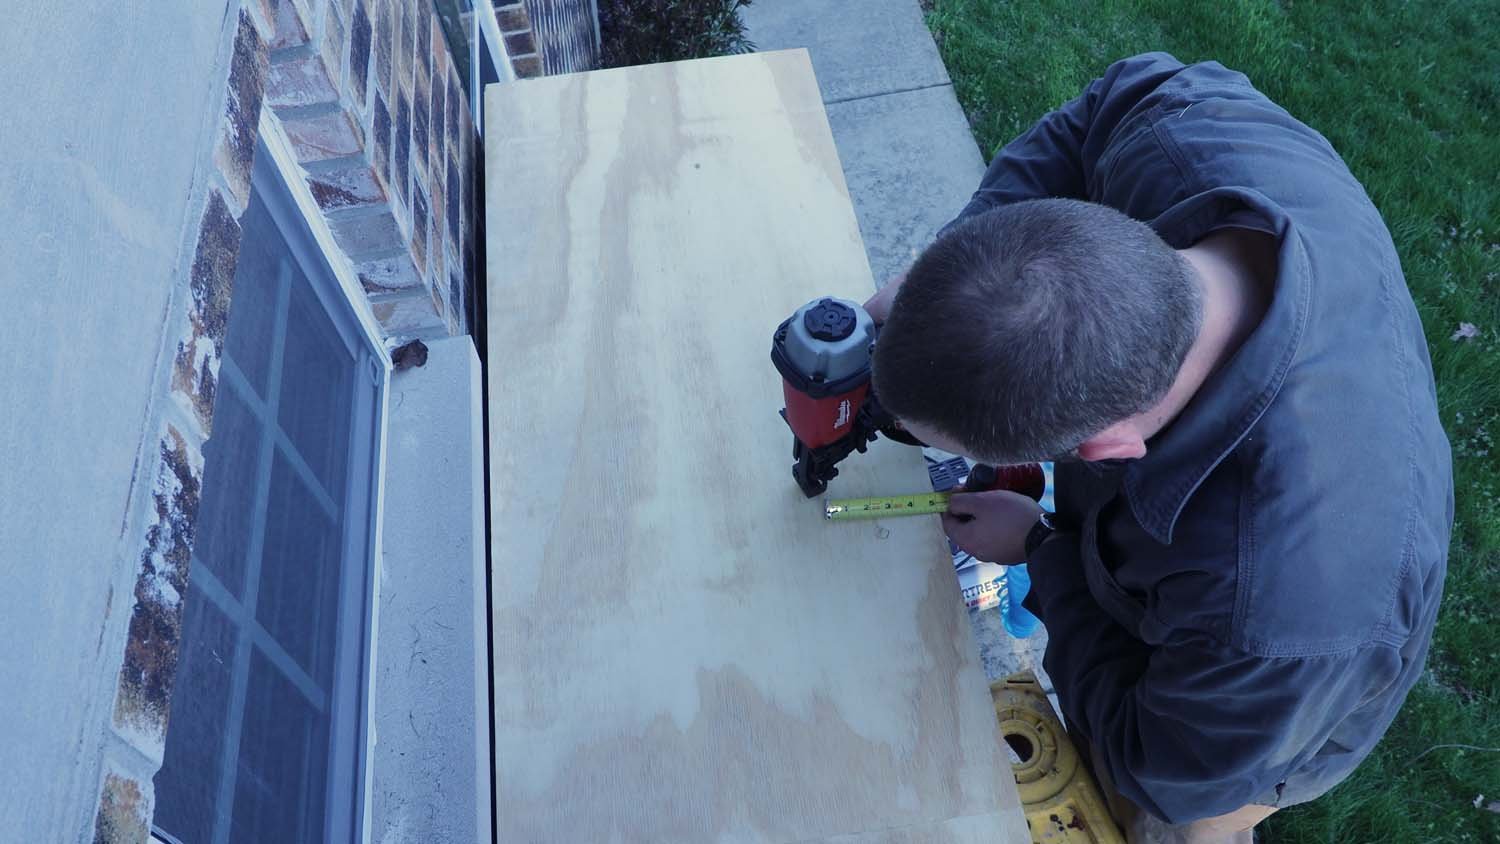
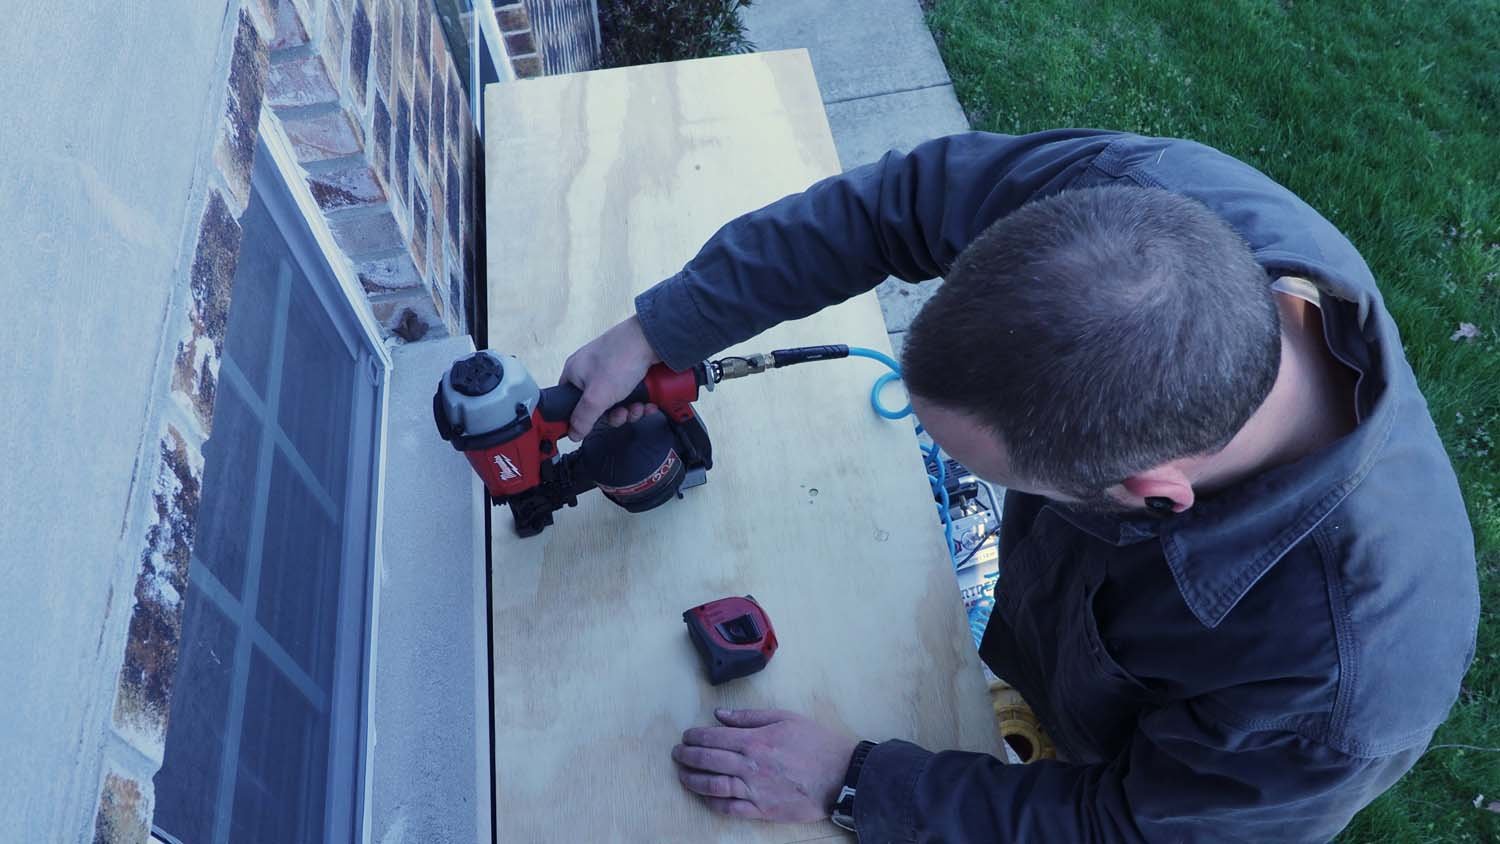
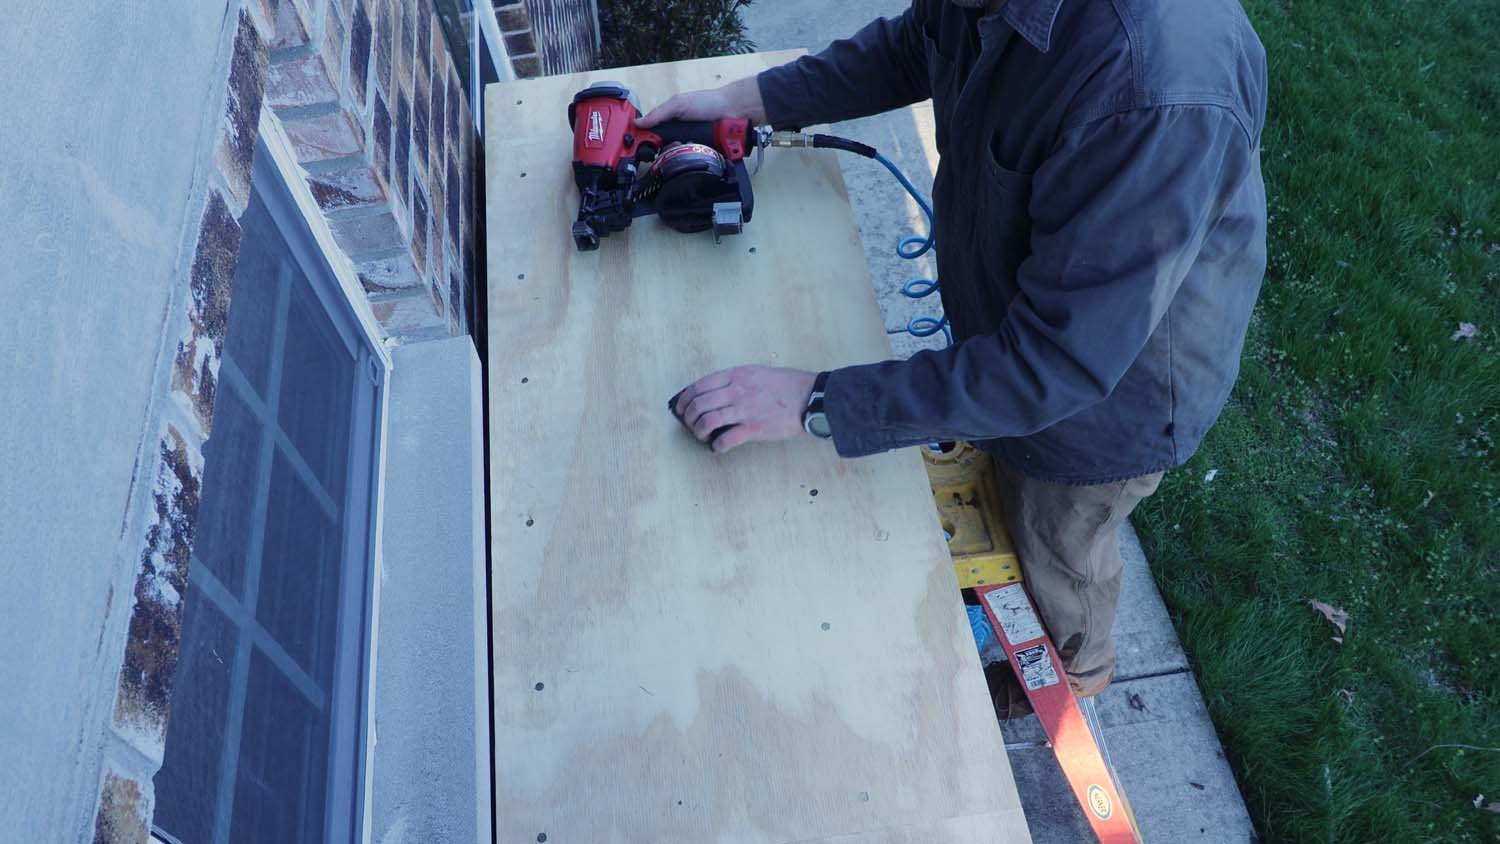
Add the plywood to the tops of the purlins and nail/screw them down.
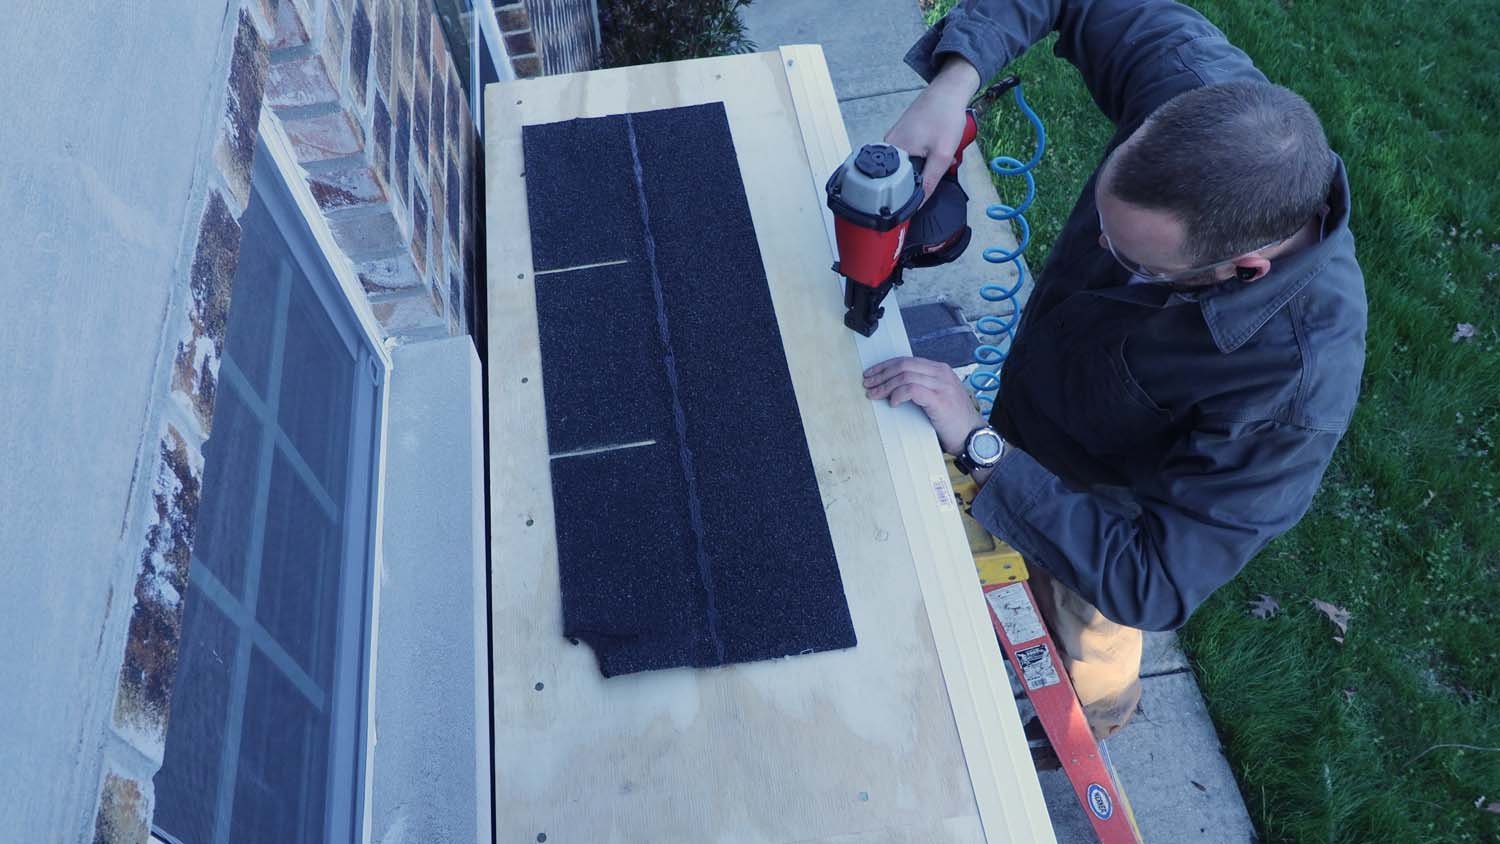
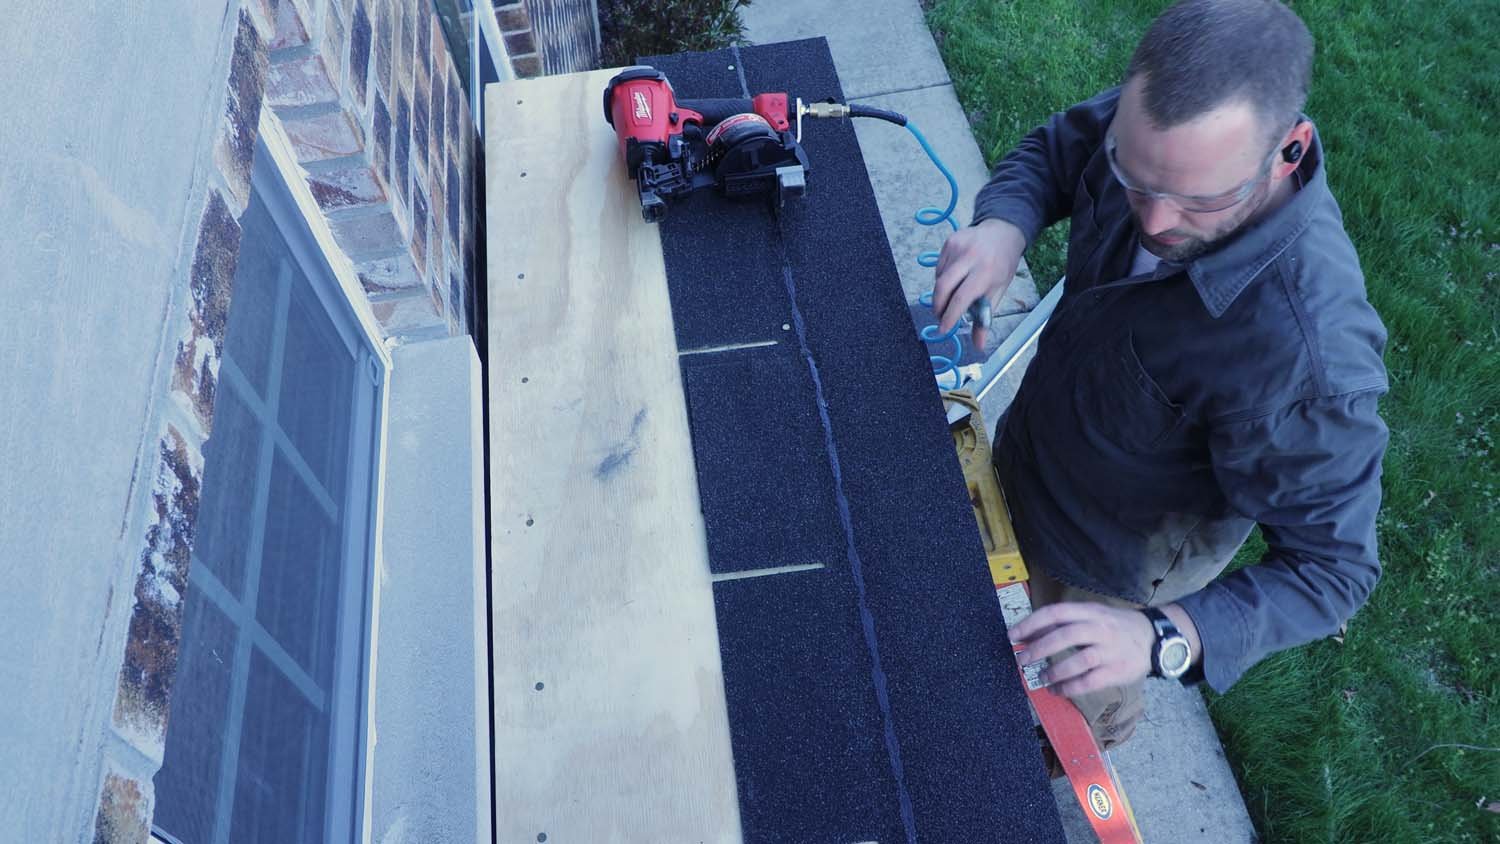
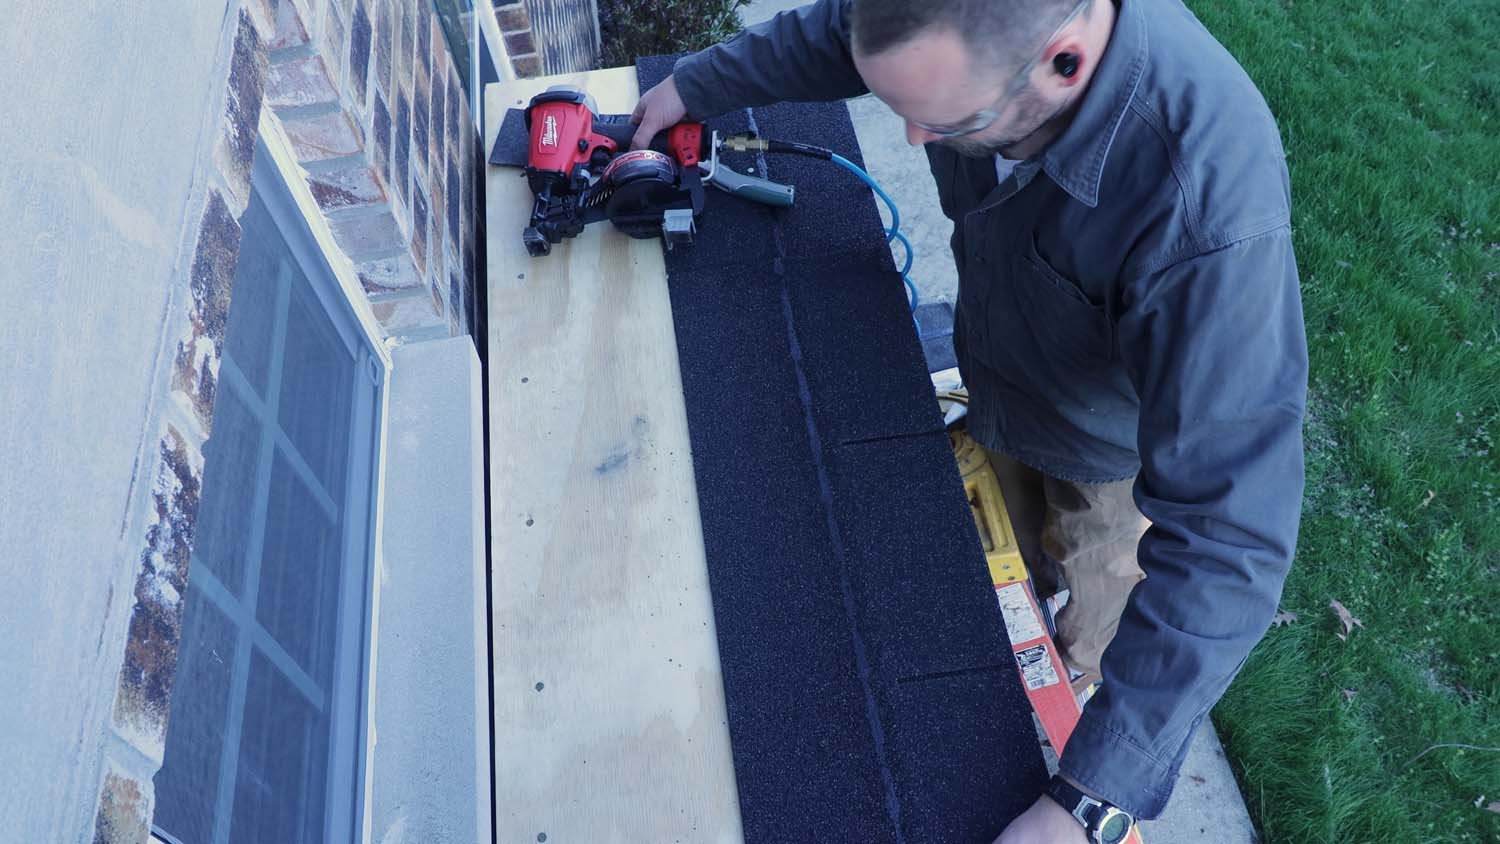
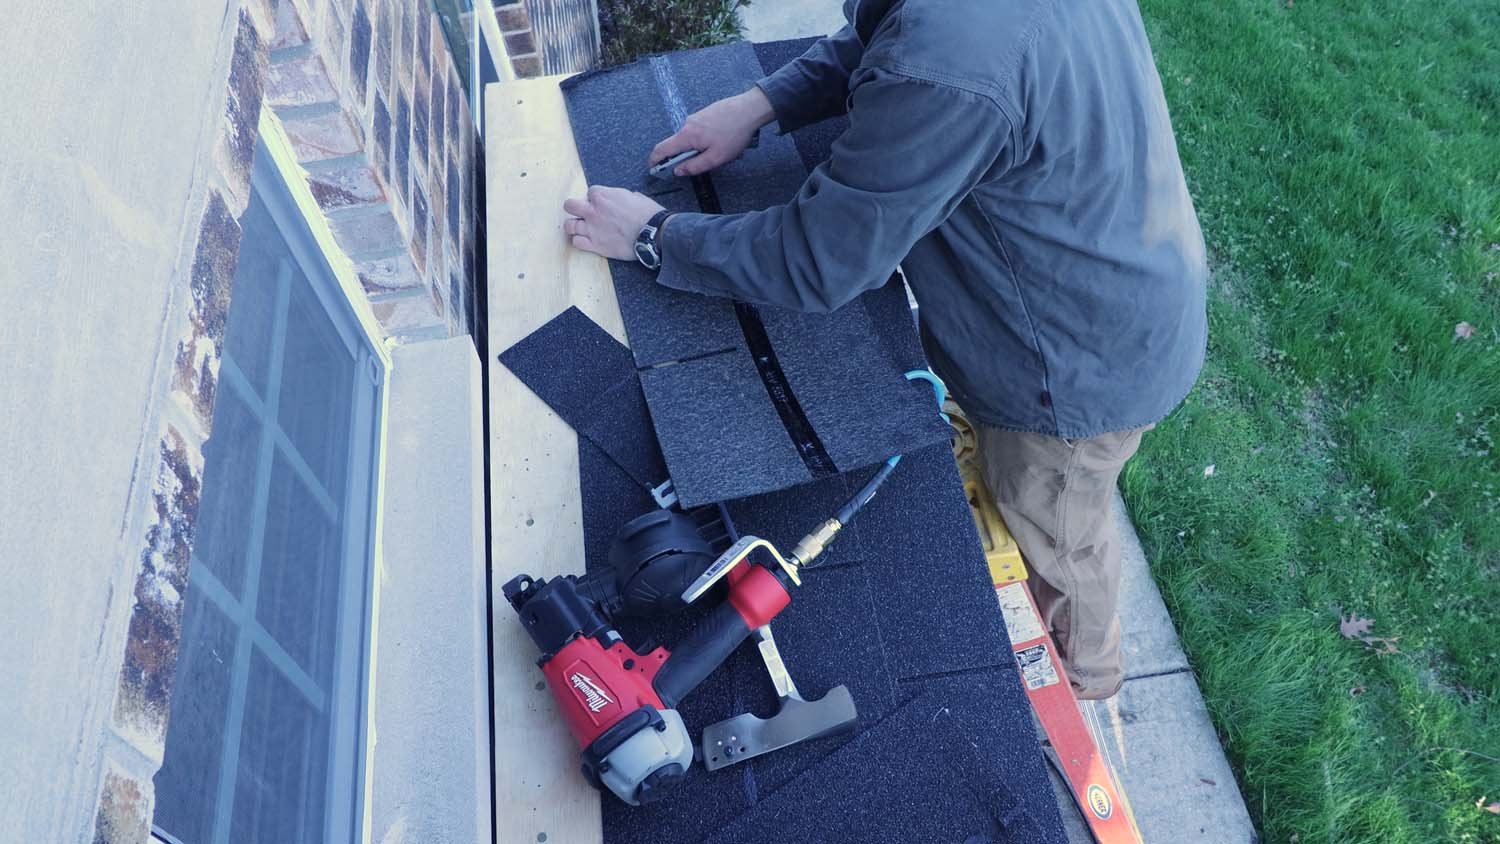
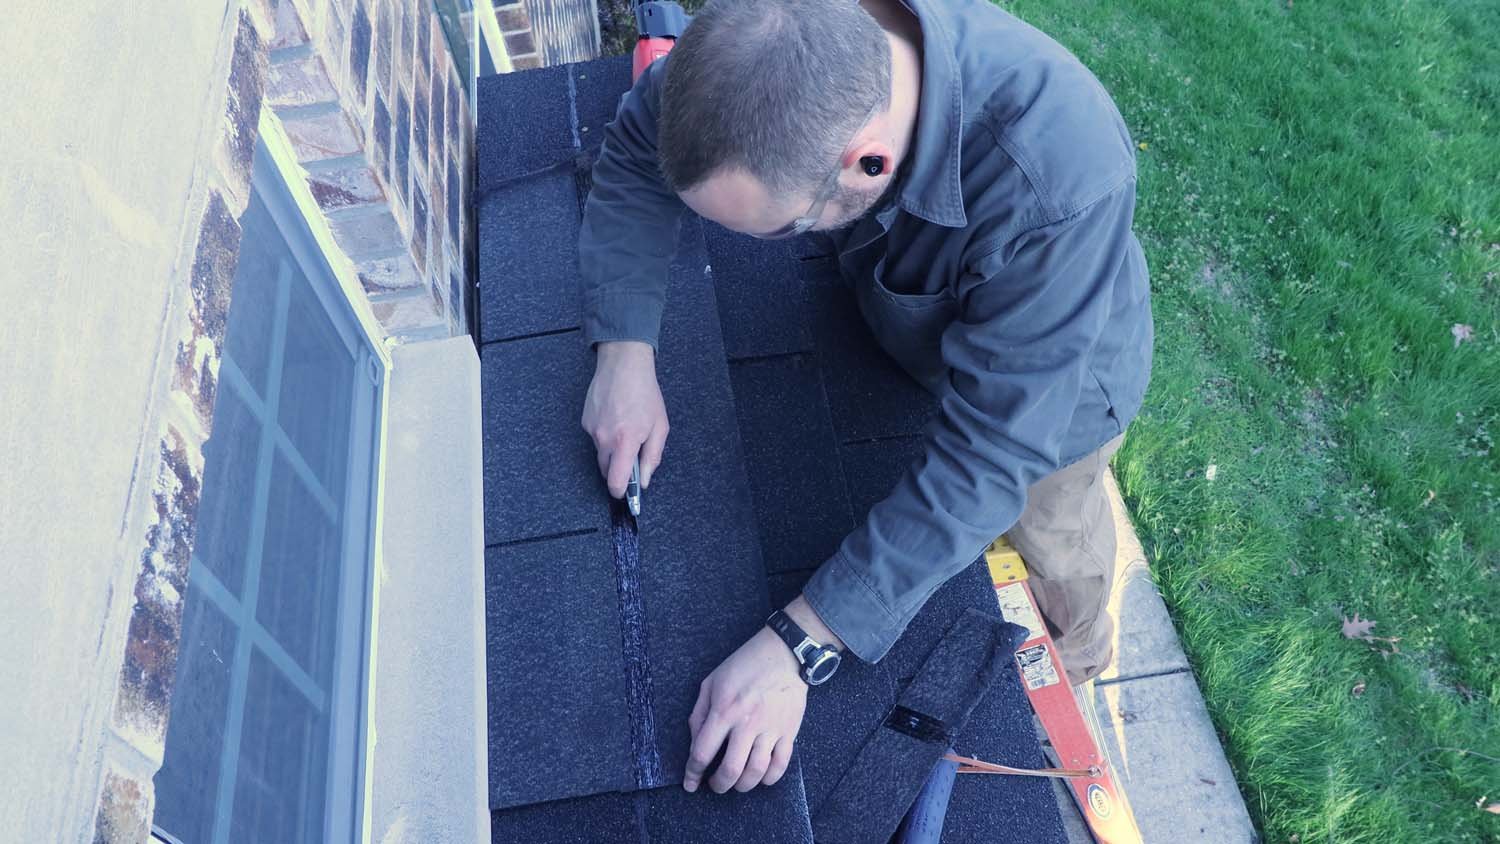
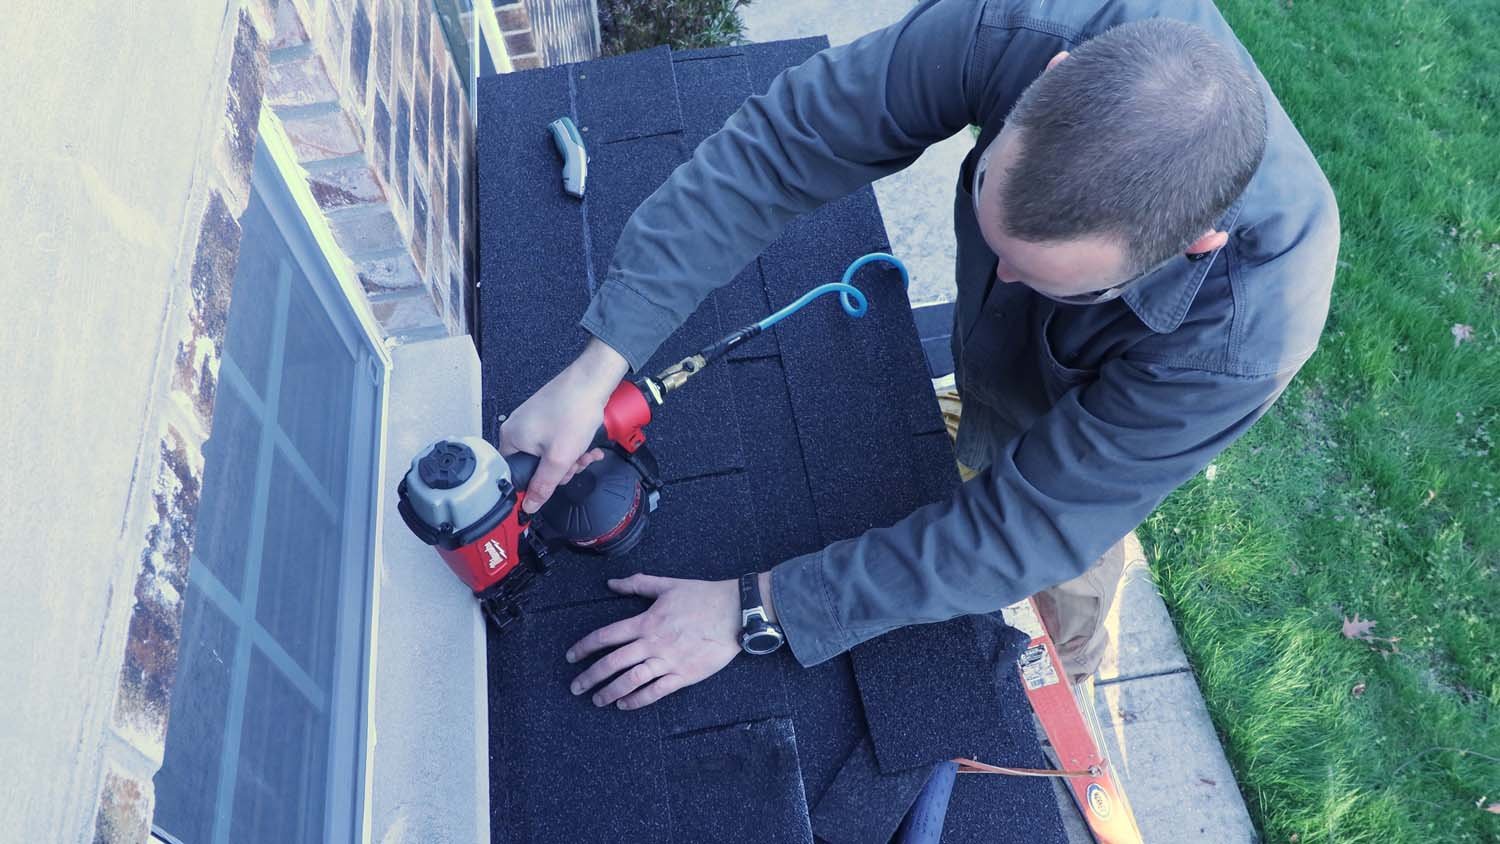
I went with a simple asphalt shingle roof for mine as I had an open package of three-tab shingles in my garage. This started by adding a piece of drip edge on the roof. Next was a starter course of shingles installed upside down. After that, the shingles were laid normally. Once I got to the top of the roof, I cut a row of shingles halfwise and nailed them down. It would be a good idea to cover these exposed nails with a roofing sealant to keep them from leaking.
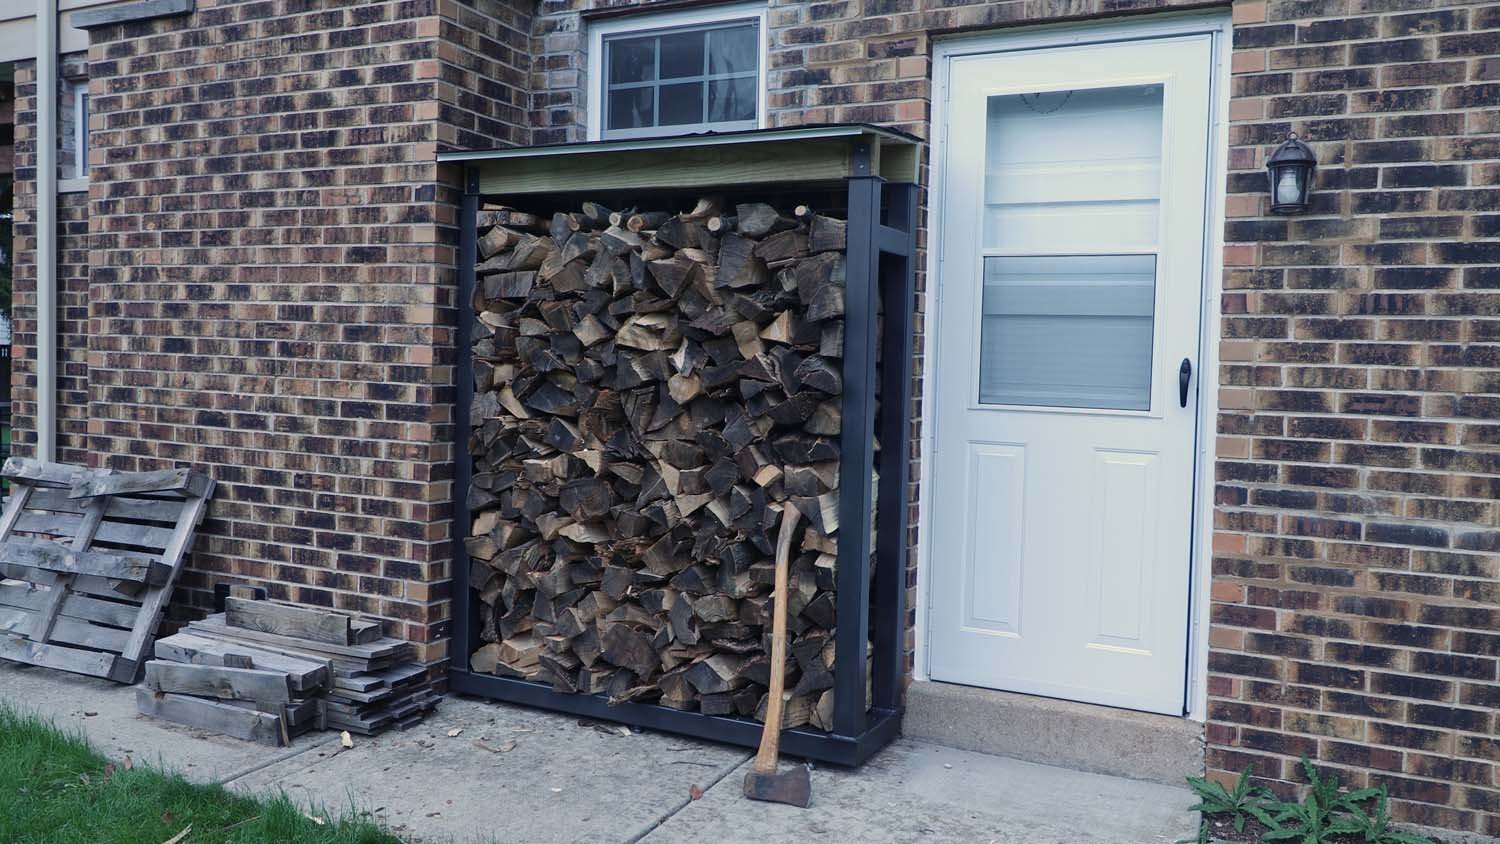
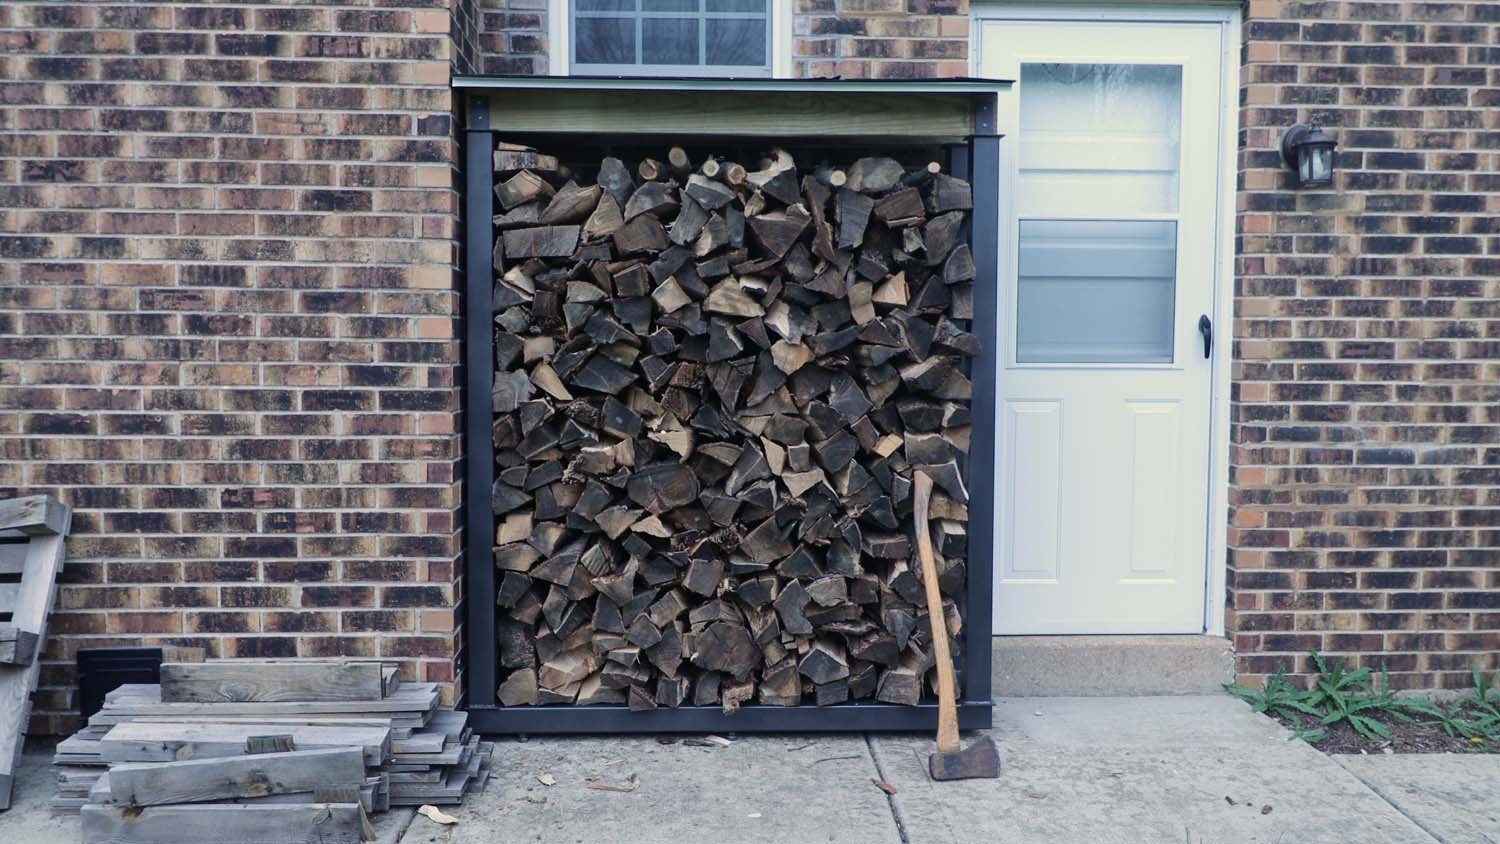
With the rack done, all that's left to do is fill it up!.
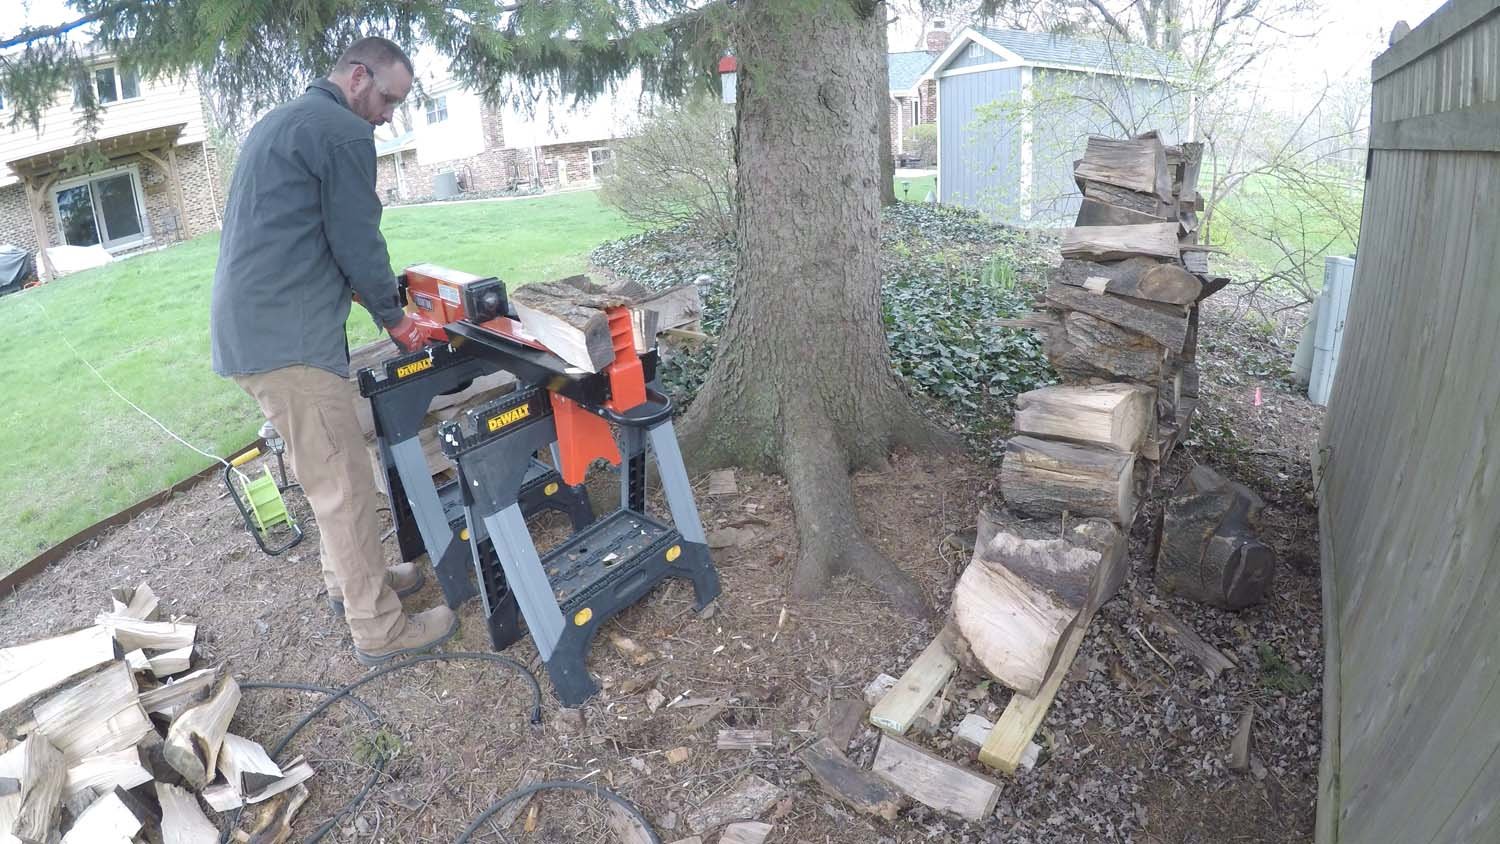
I had stacked up about a face cord of wood in the back yard last spring, most of it partially split. I bought a small electric splitter this year so I don't kill myself with a splitting maul, so I spent an hour or so processing the stack of wood.
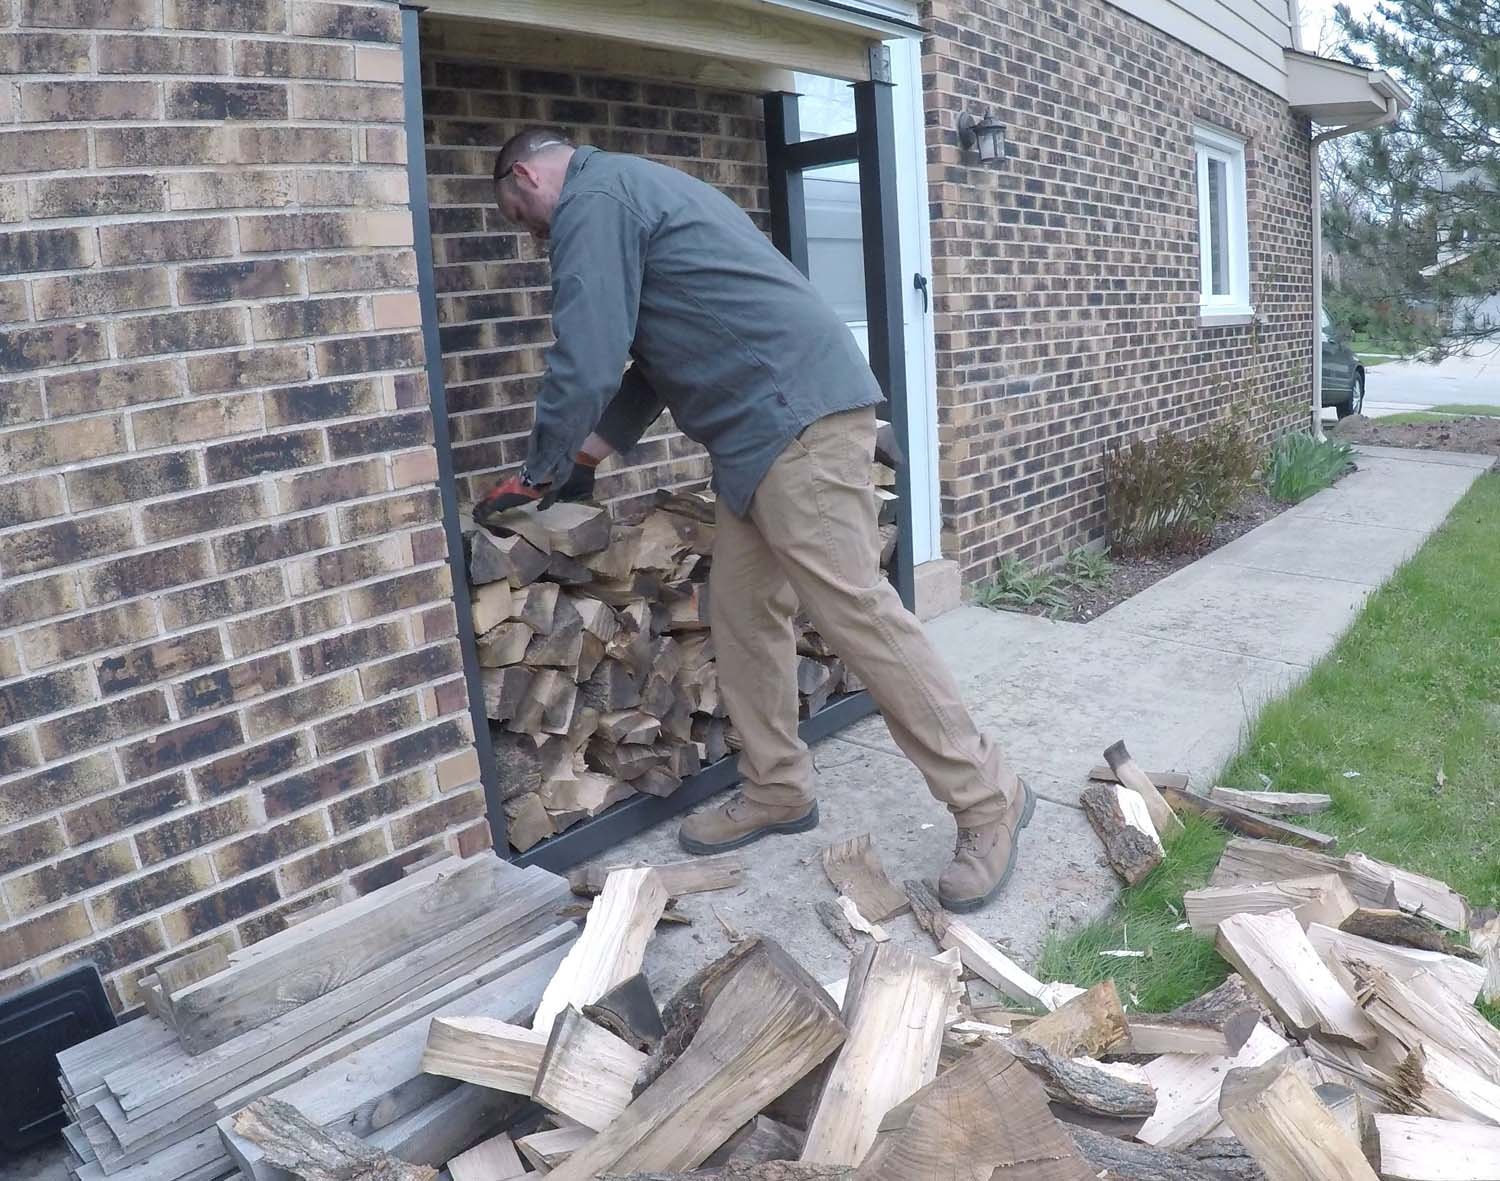
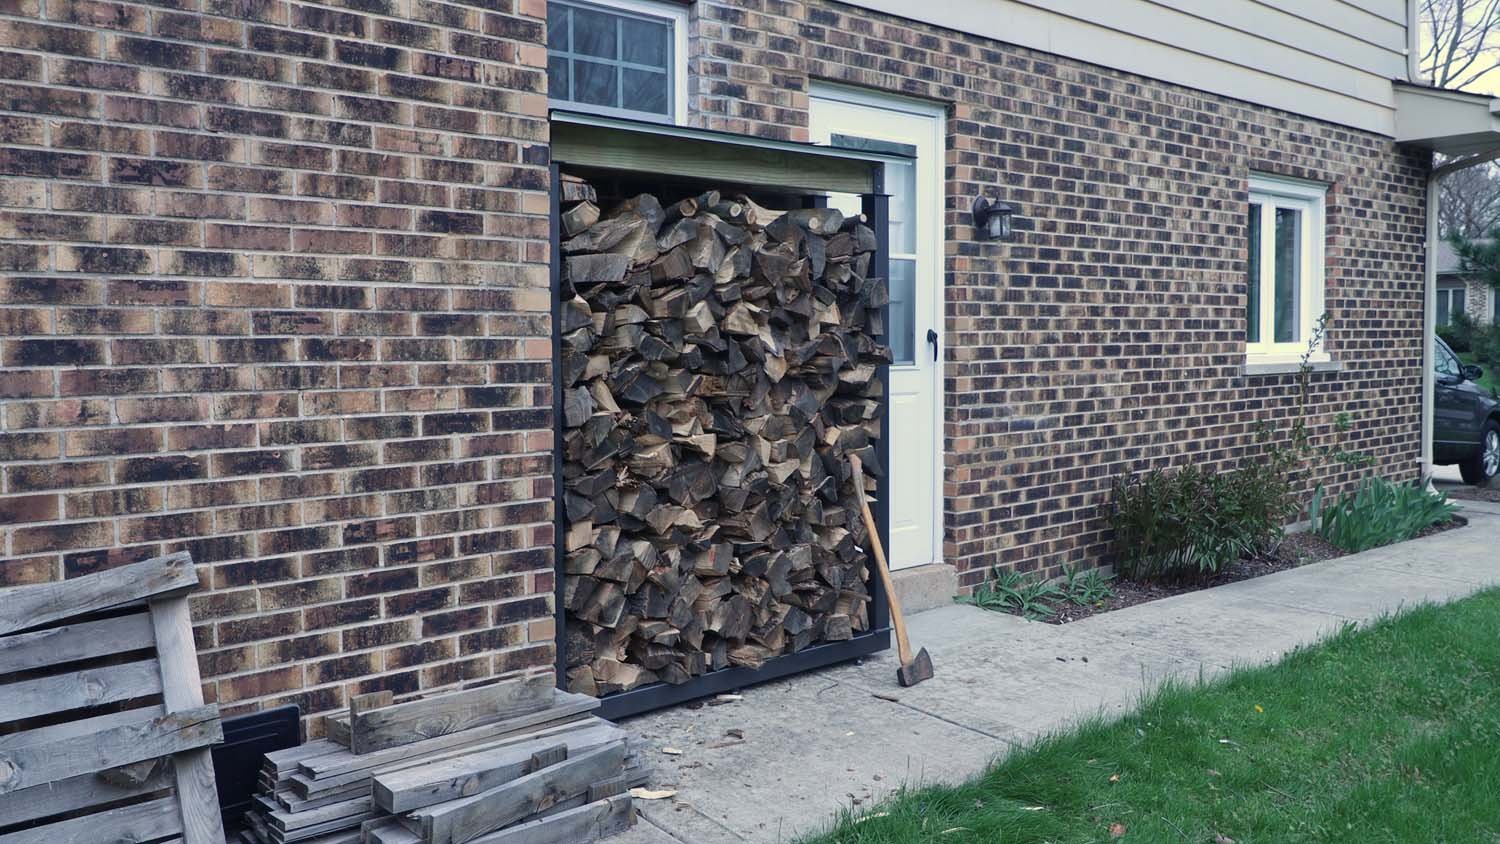
Now I've got 3/4 of a face cord of wood just steps from the back patio door, which will be nice and dry when winter comes. The firewood rack perfectly fits in this space beside my chimney and below the window, so I really couldn't have made it any bigger.
If you enjoyed this article, subscribe to my YouTube channel for more!