
Ergonomic Handle for Shop Vac Hose
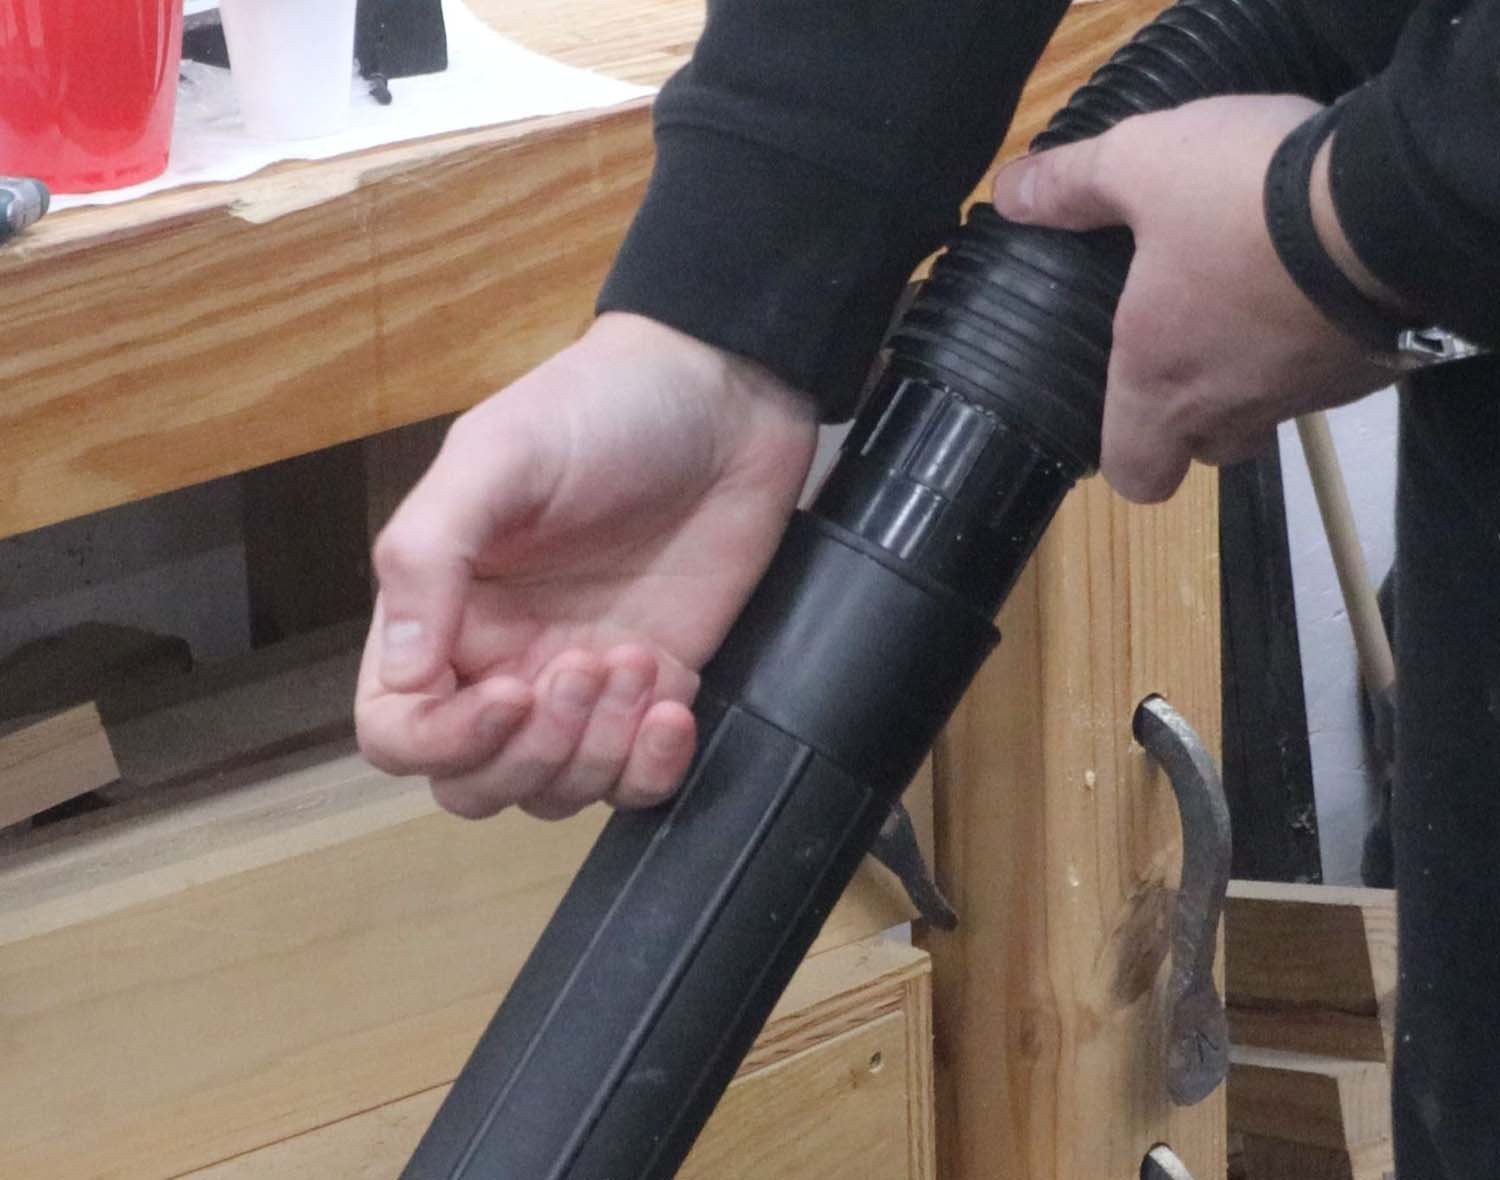
Since my workshop is in the basement of my house, I like to keep the sawdust to a minimum to avoid tracking it everywhere. One of the ways I do this is by regularly vacuuming the floor with my shop vac. This works pretty well, but I've been having wrist issues lately, and holding the vacuum hose really aggravates my wrist. To solve this problem, I'm going to make a more ergonomic handle that clamps on to the vacuum hose. I know there are commercial solutions for this that aren't that expensive, but if you've been following me for any length of time, you know that sometimes I just like to make the thing instead of buying it.
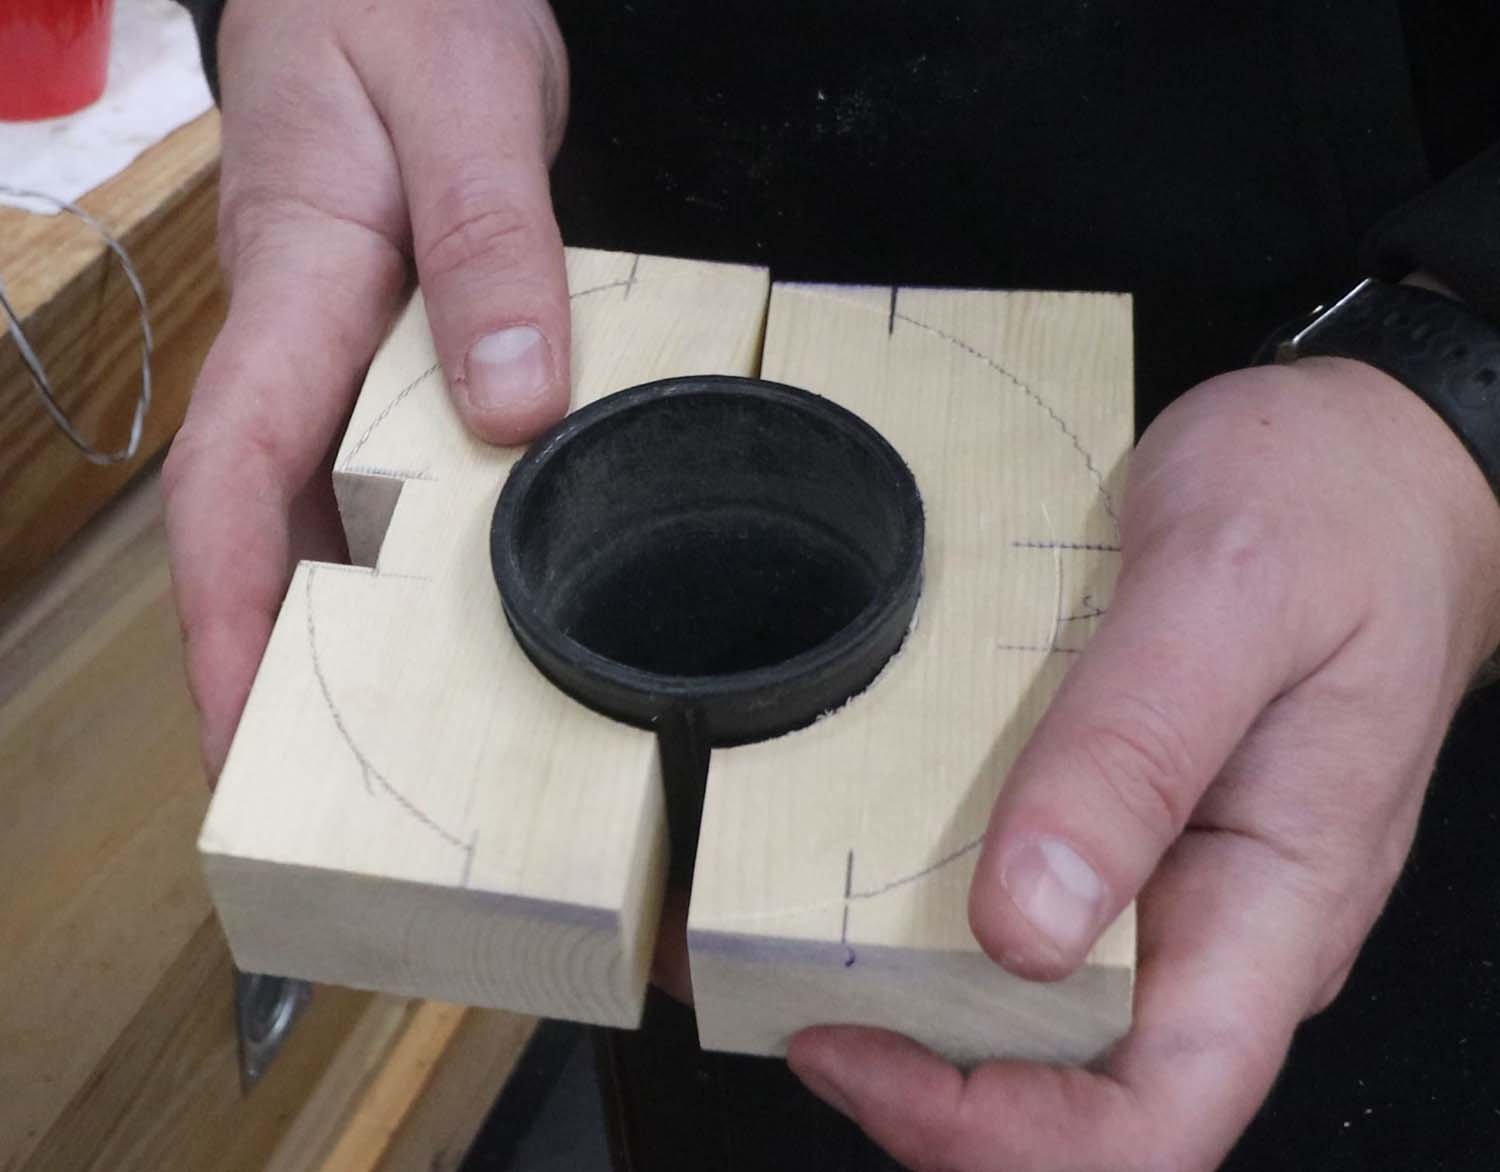
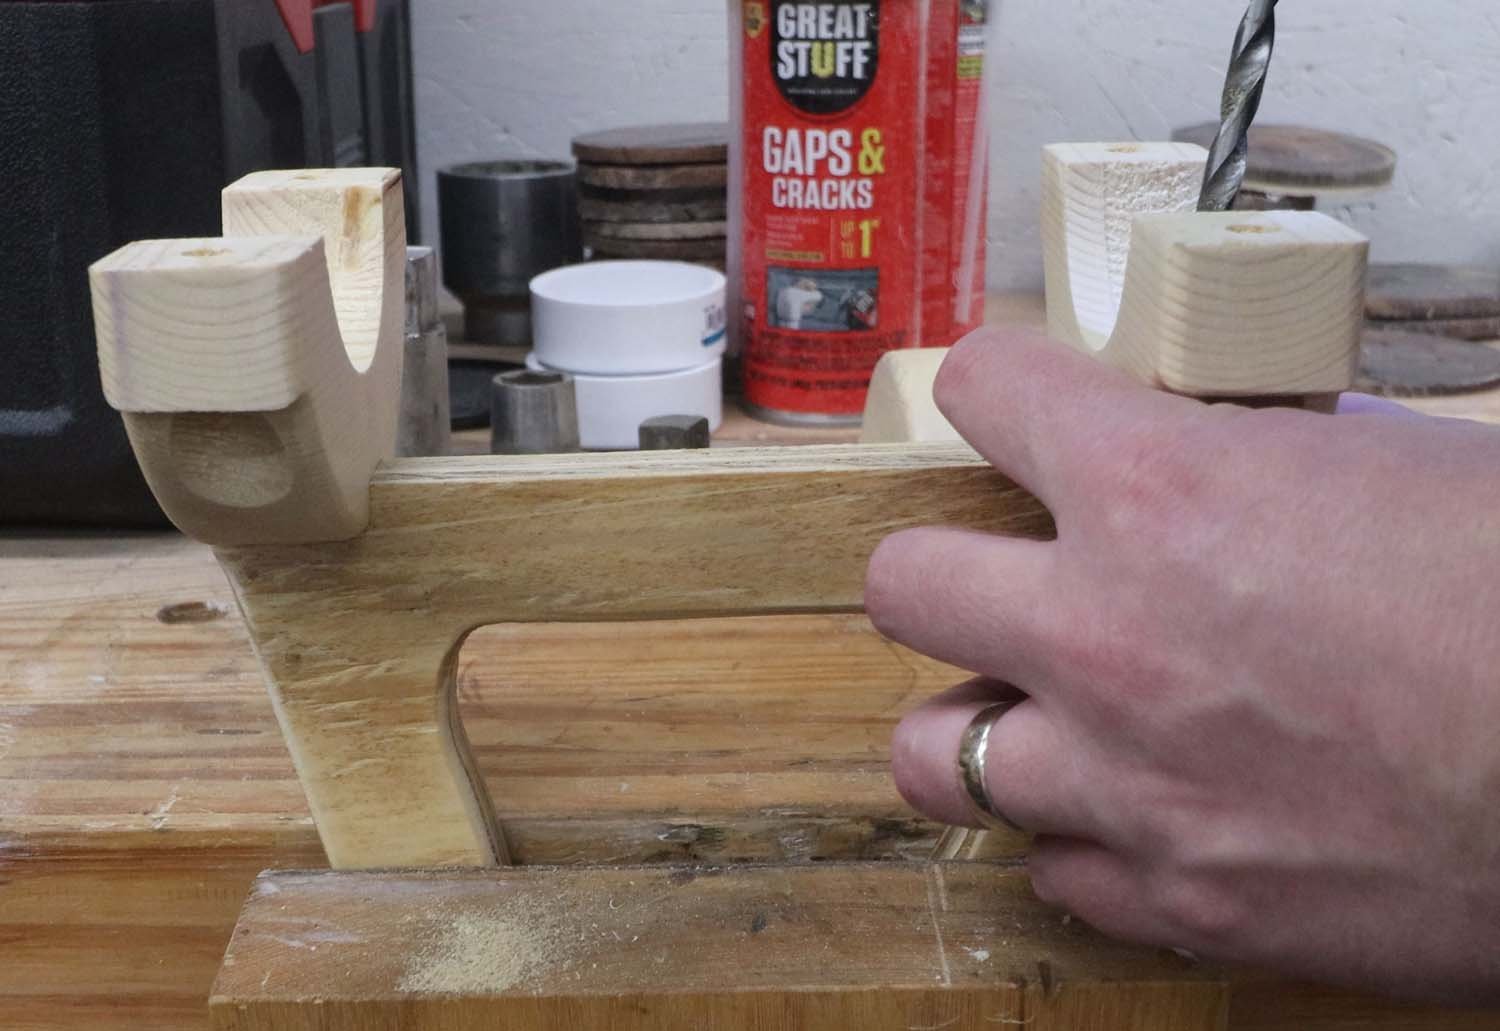
I started by gluing up some leftover 2x4 material that I had previously planed smooth for another project. This will form the collars of the handle, which I'll expand on later.
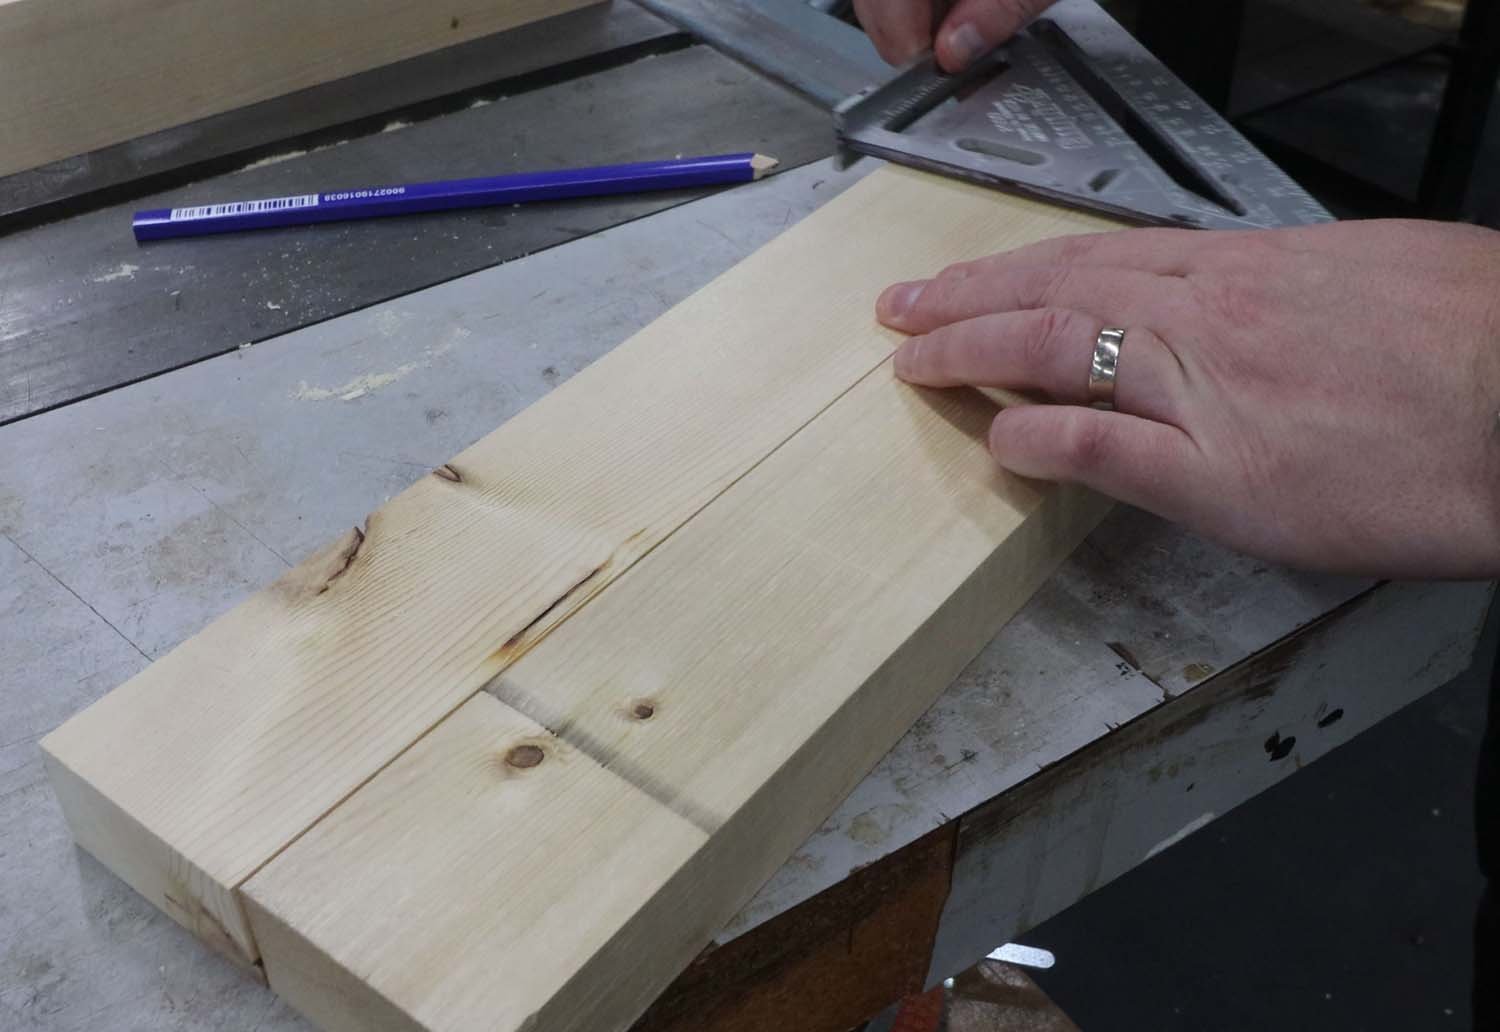
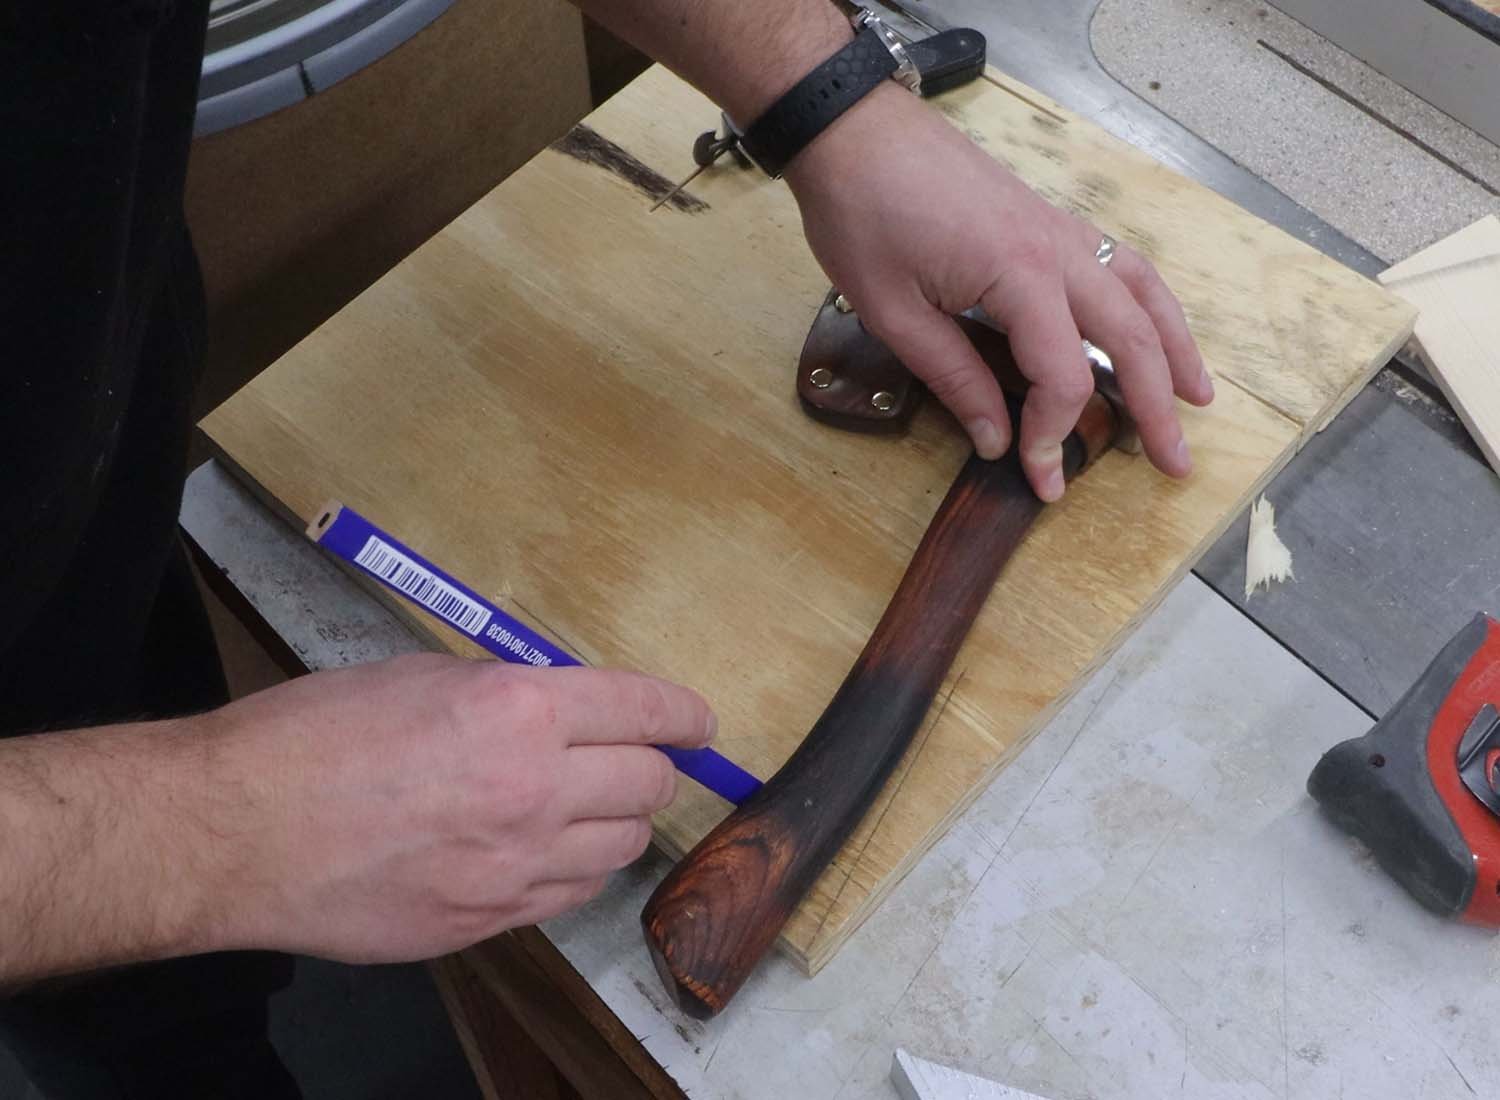
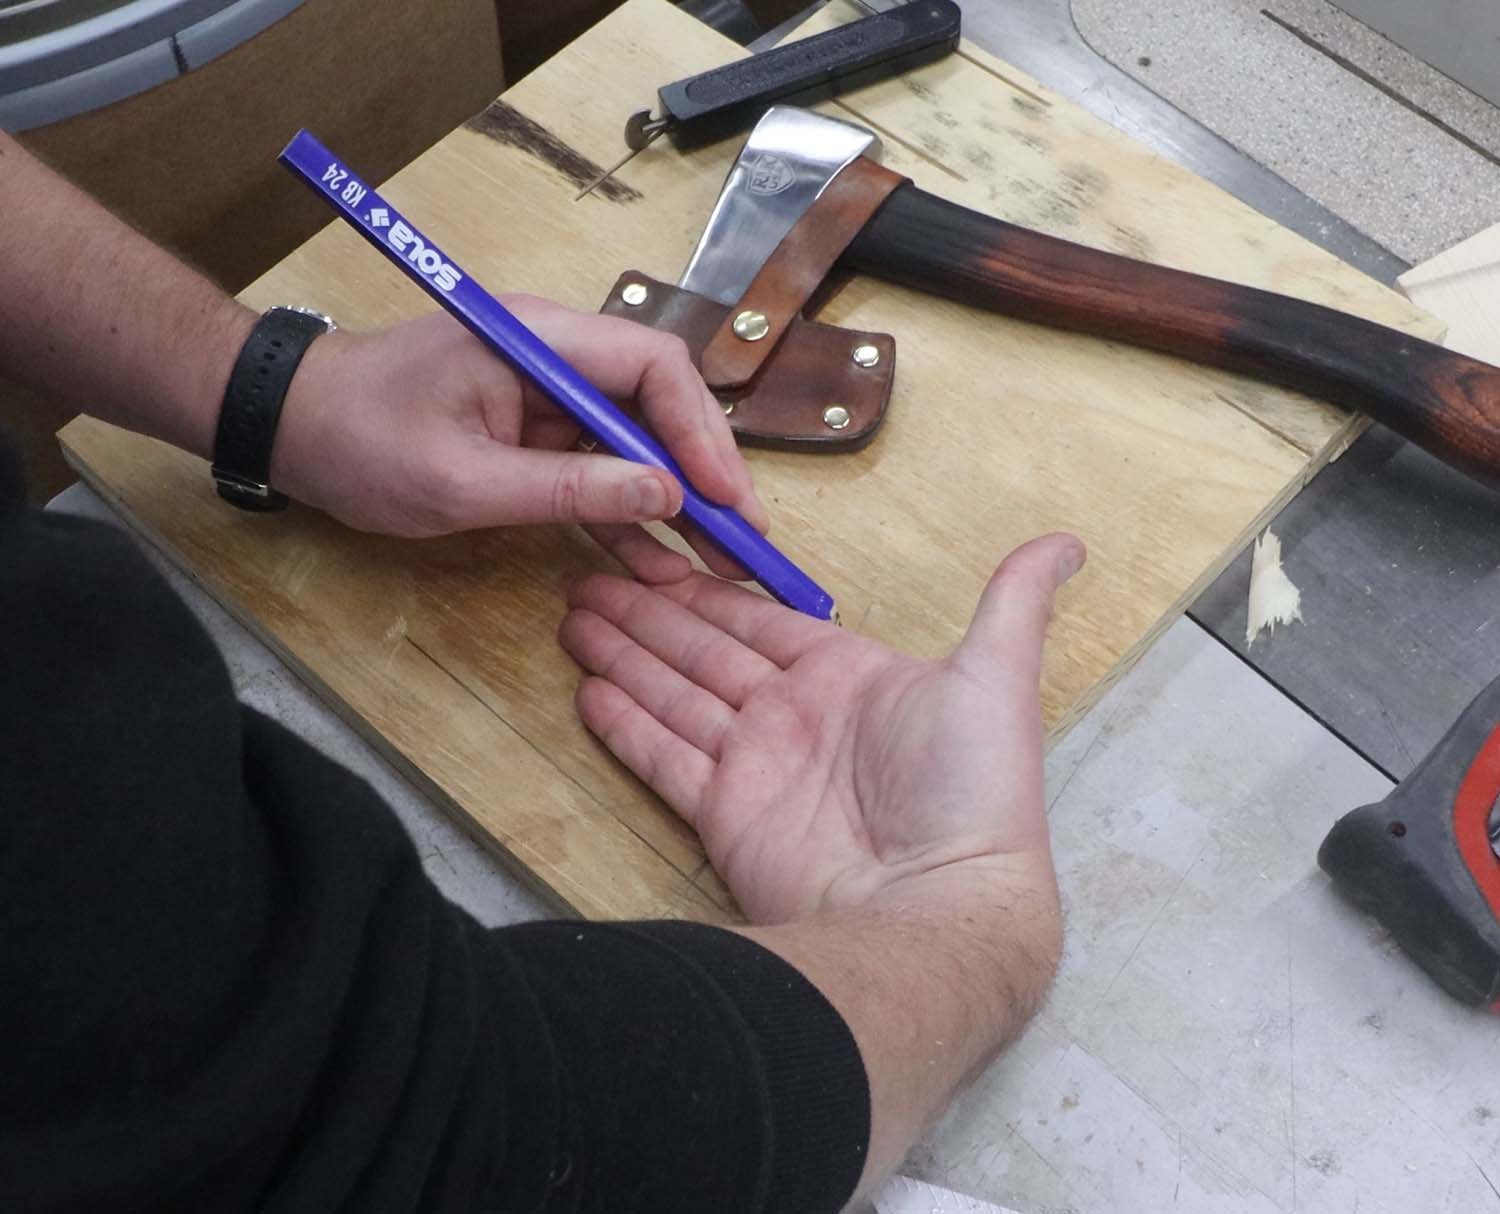
Next, I figured out a more neutral wrist angle for the handle and measure that angle using a sliding bevel. The angle was about 15 degrees.
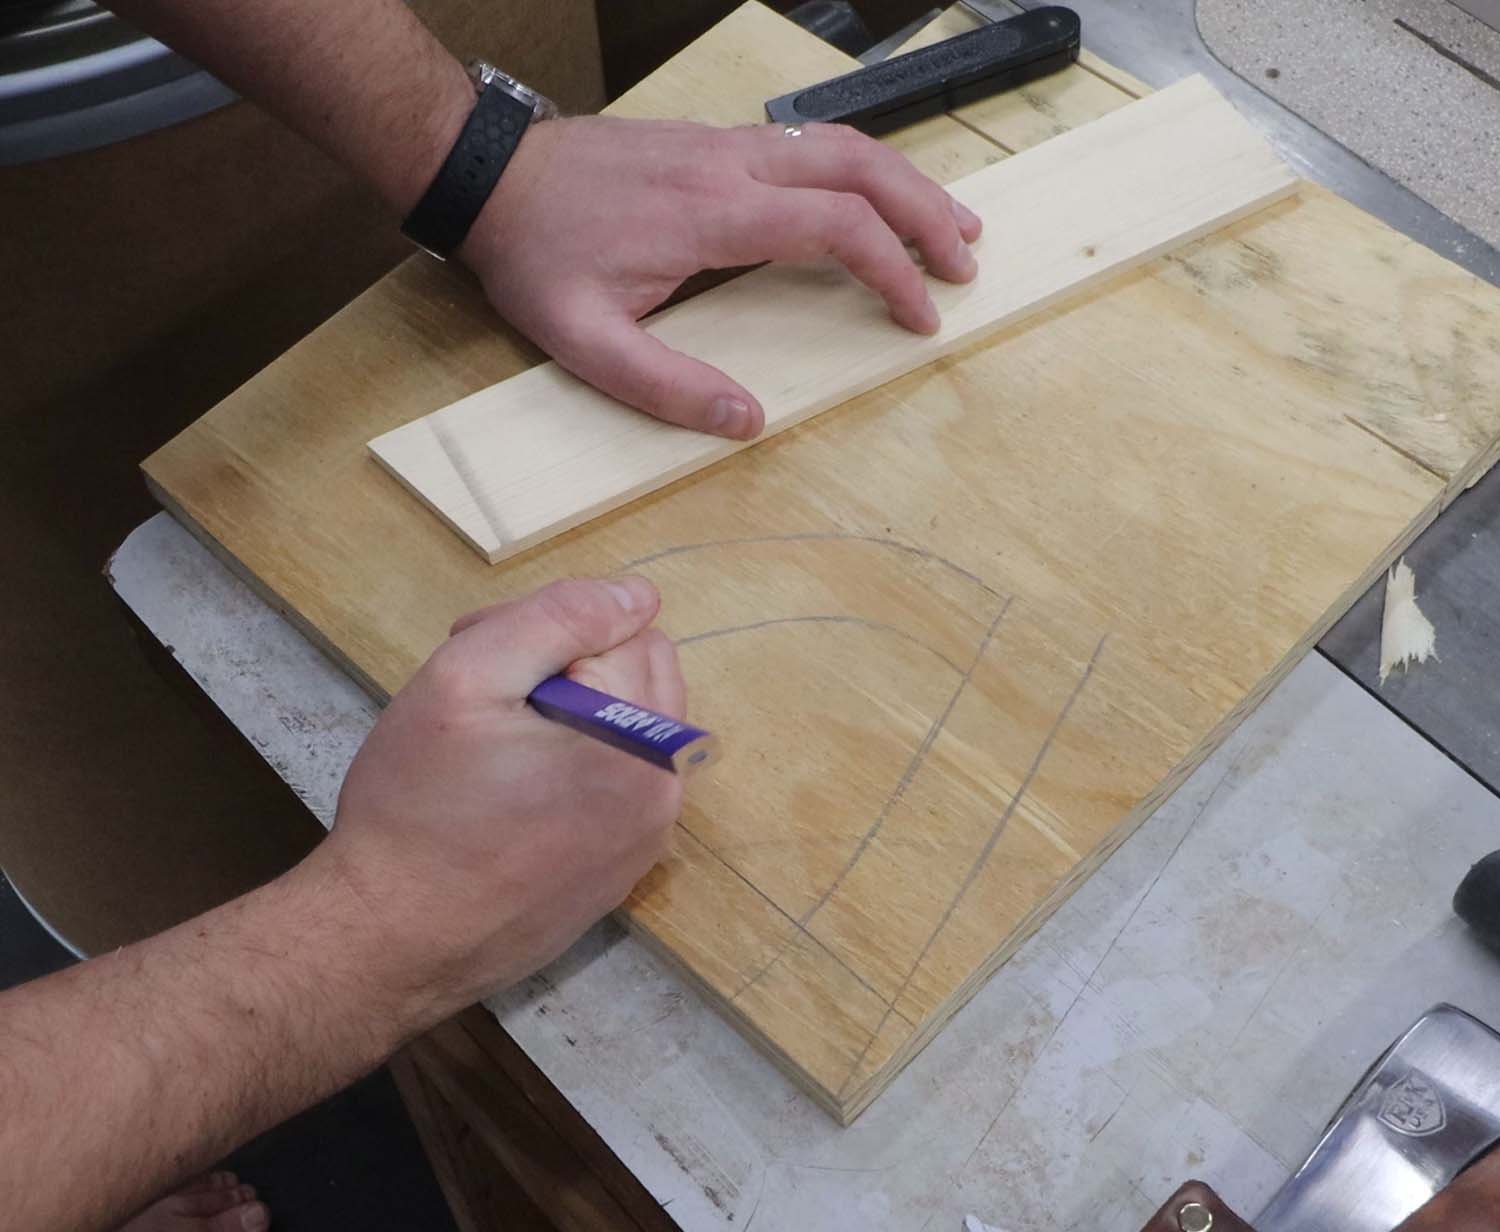
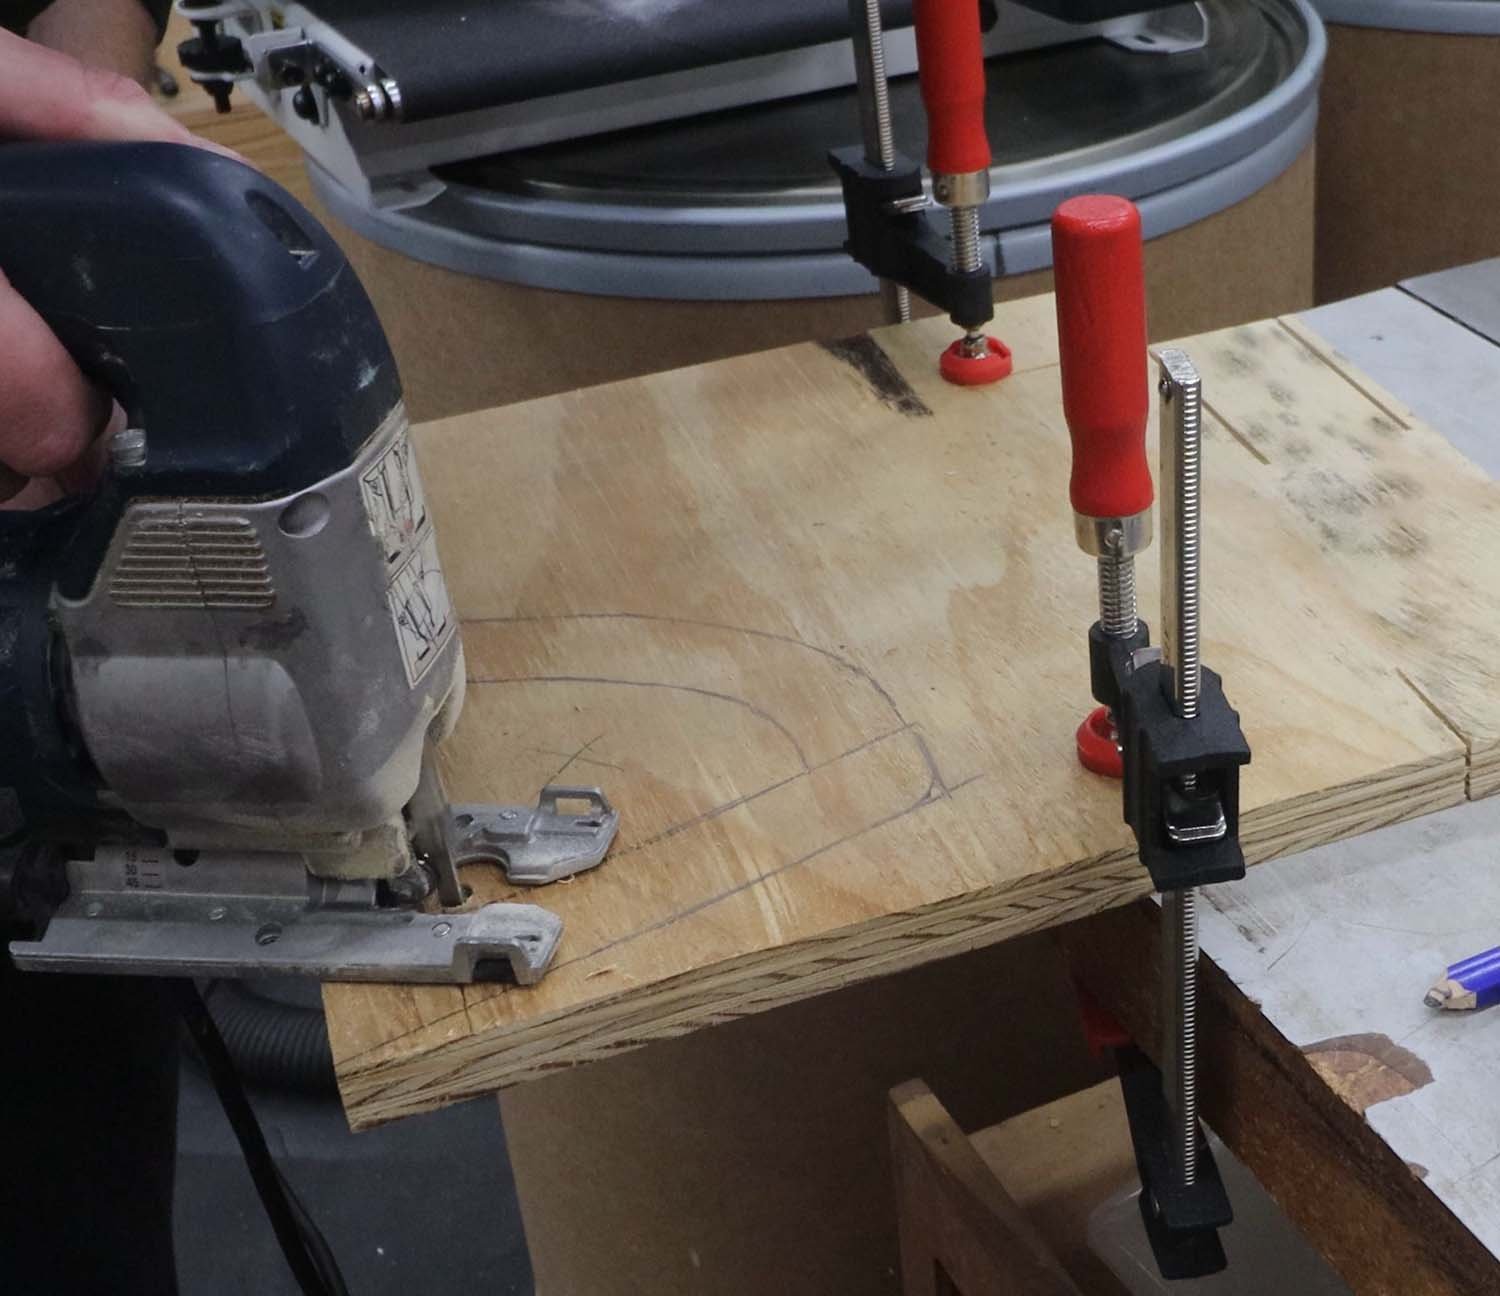
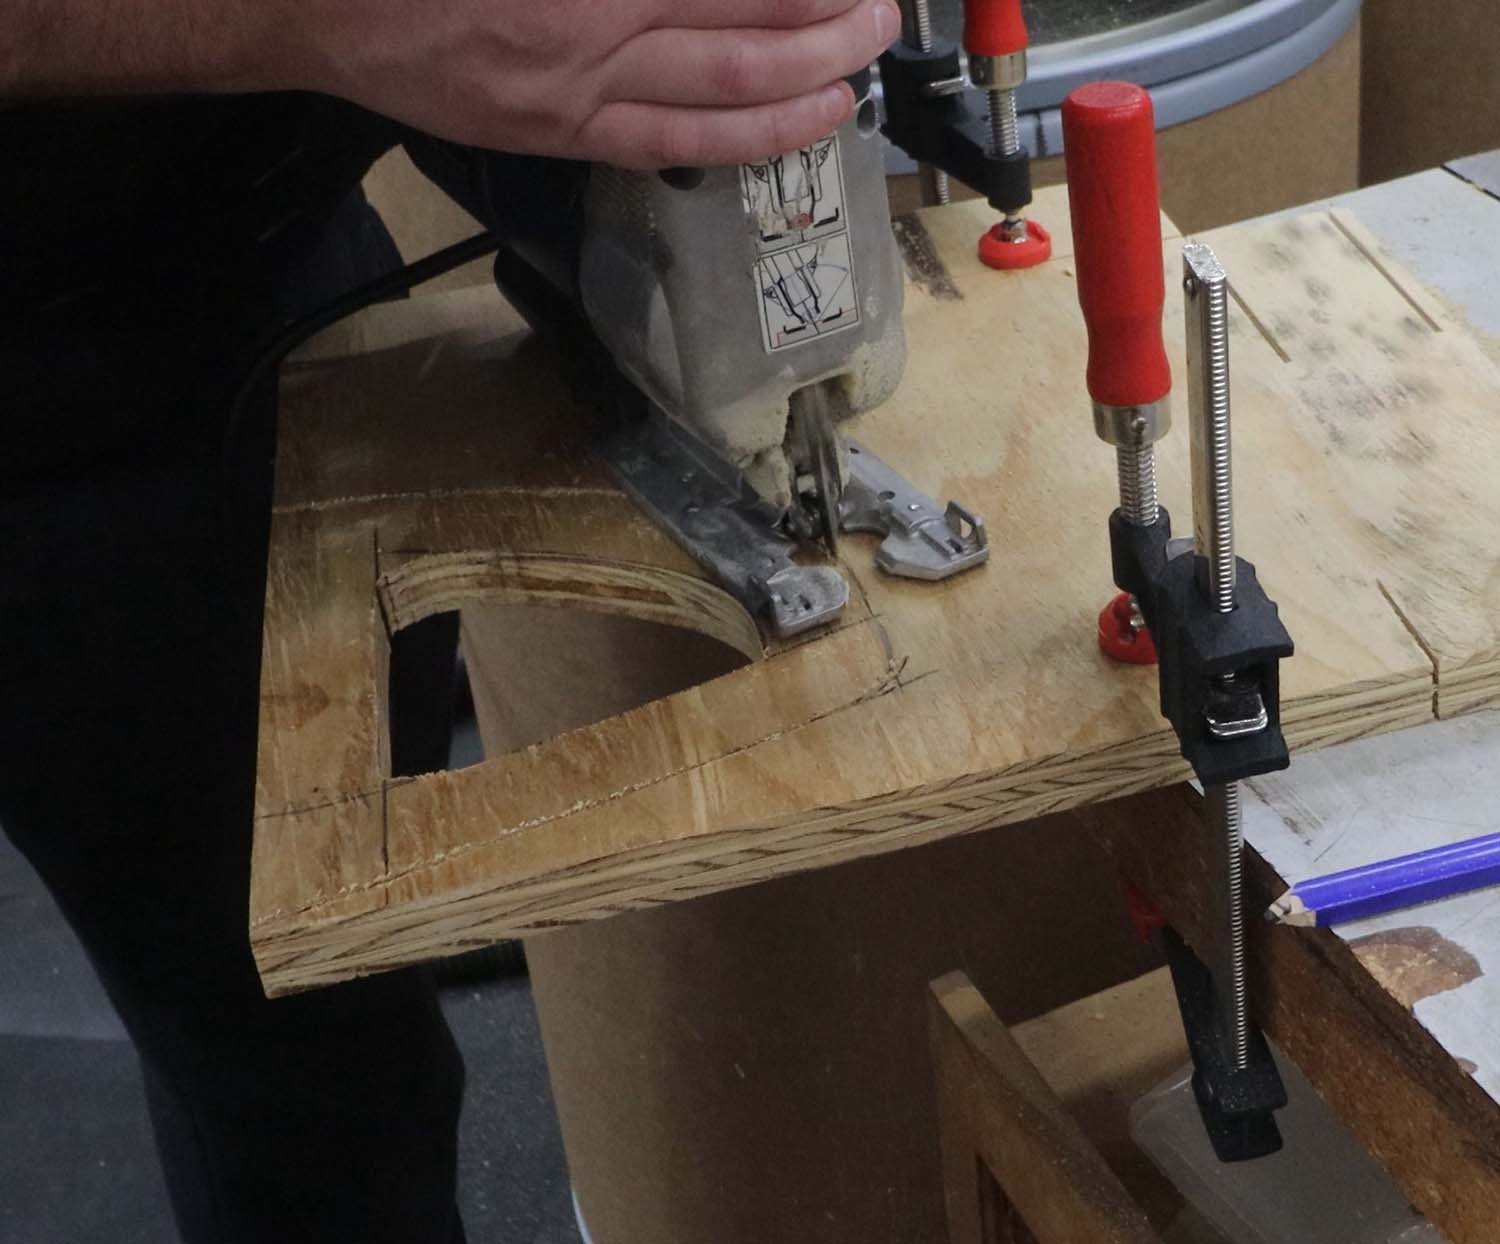
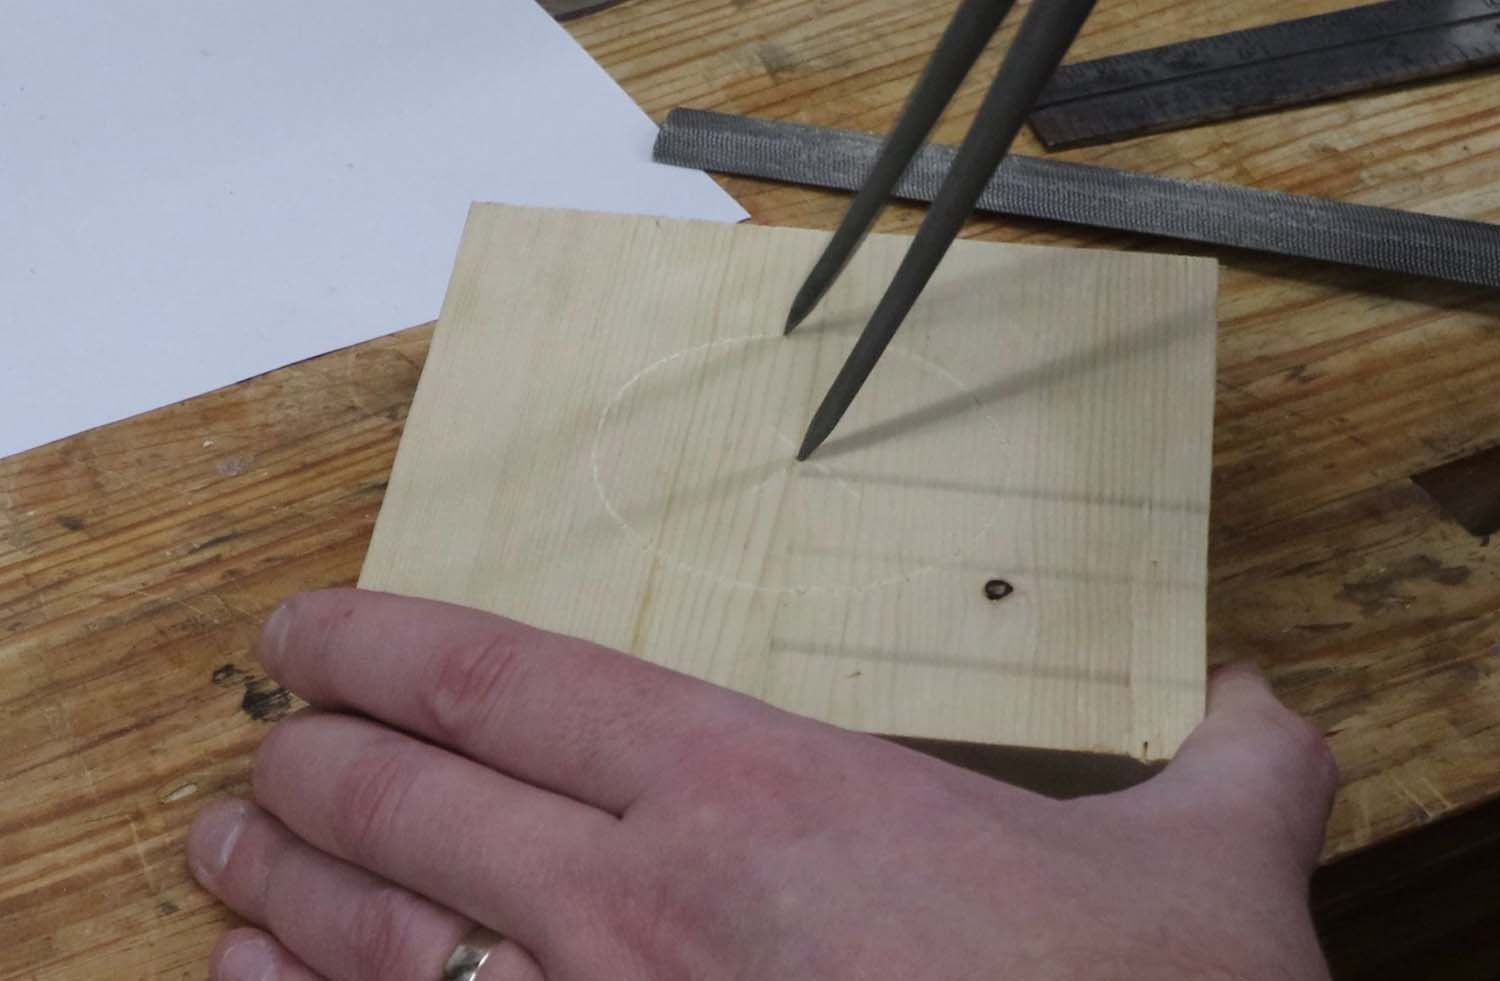
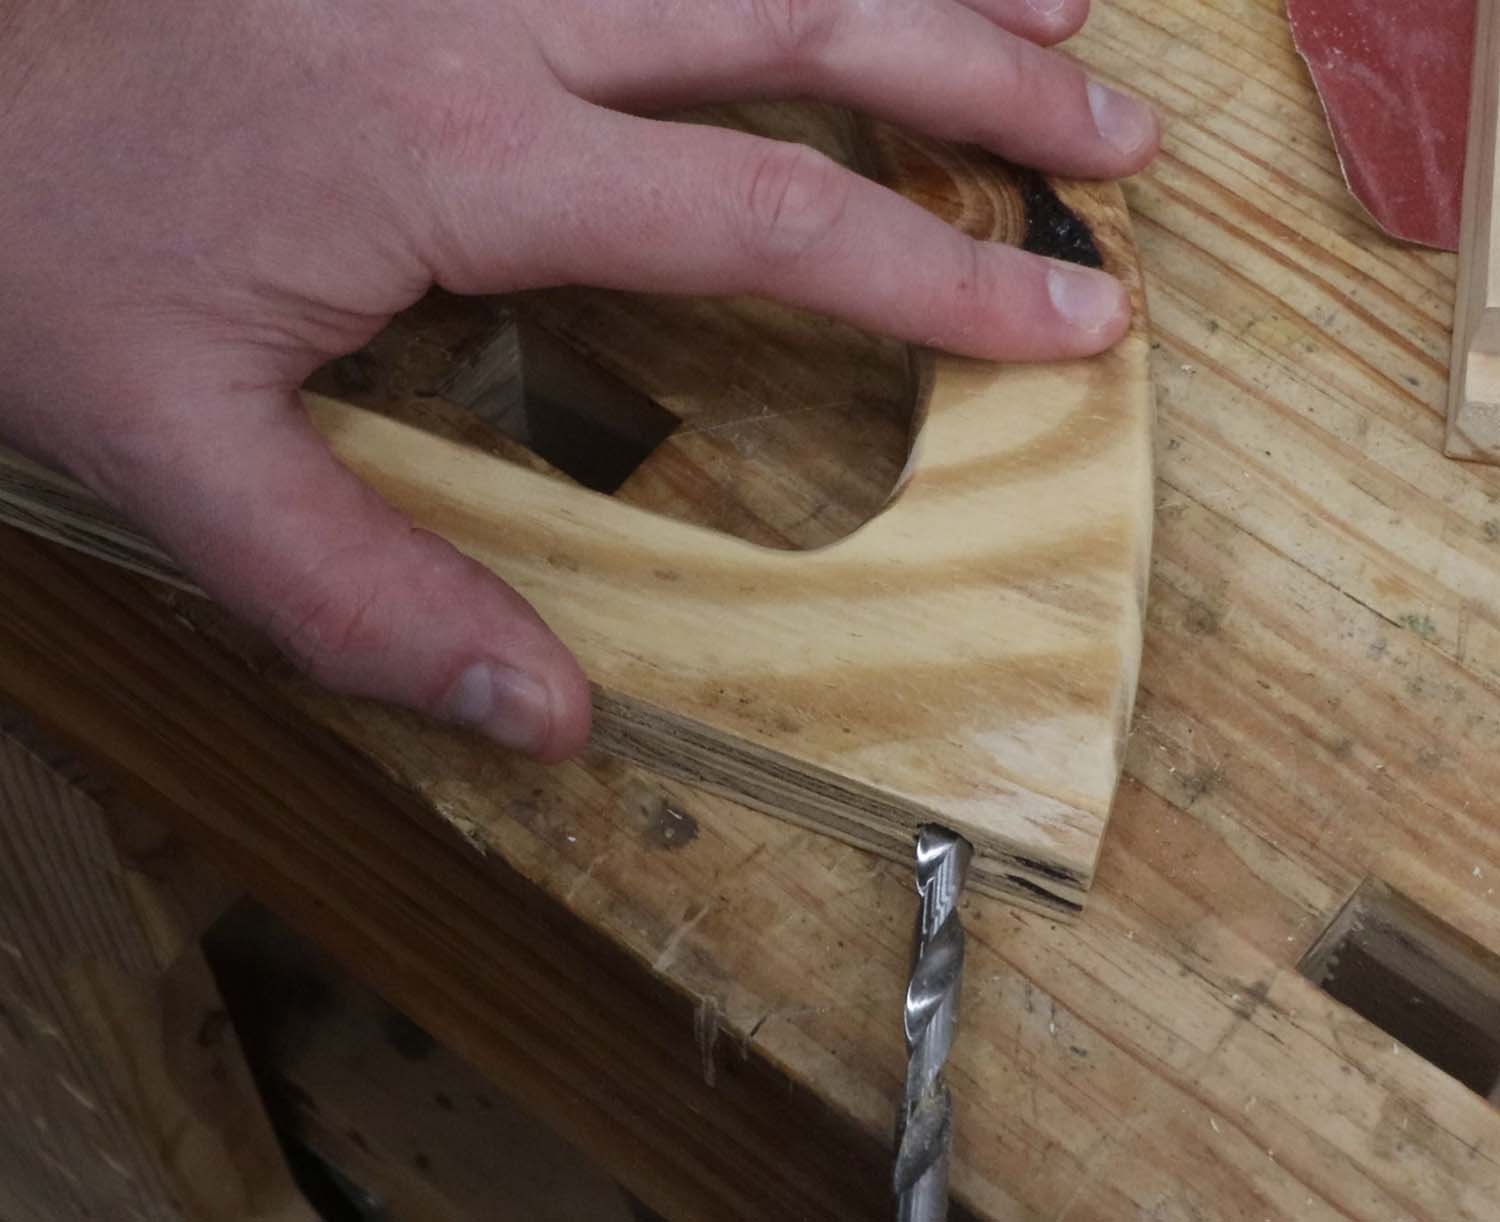
I made the handle out of a piece of scrap 3/4" (19mm) plywood. I sort of freehanded the shape, using an axe handle as a template for the grip. The width of the handle was about 1” (25mm) all around.

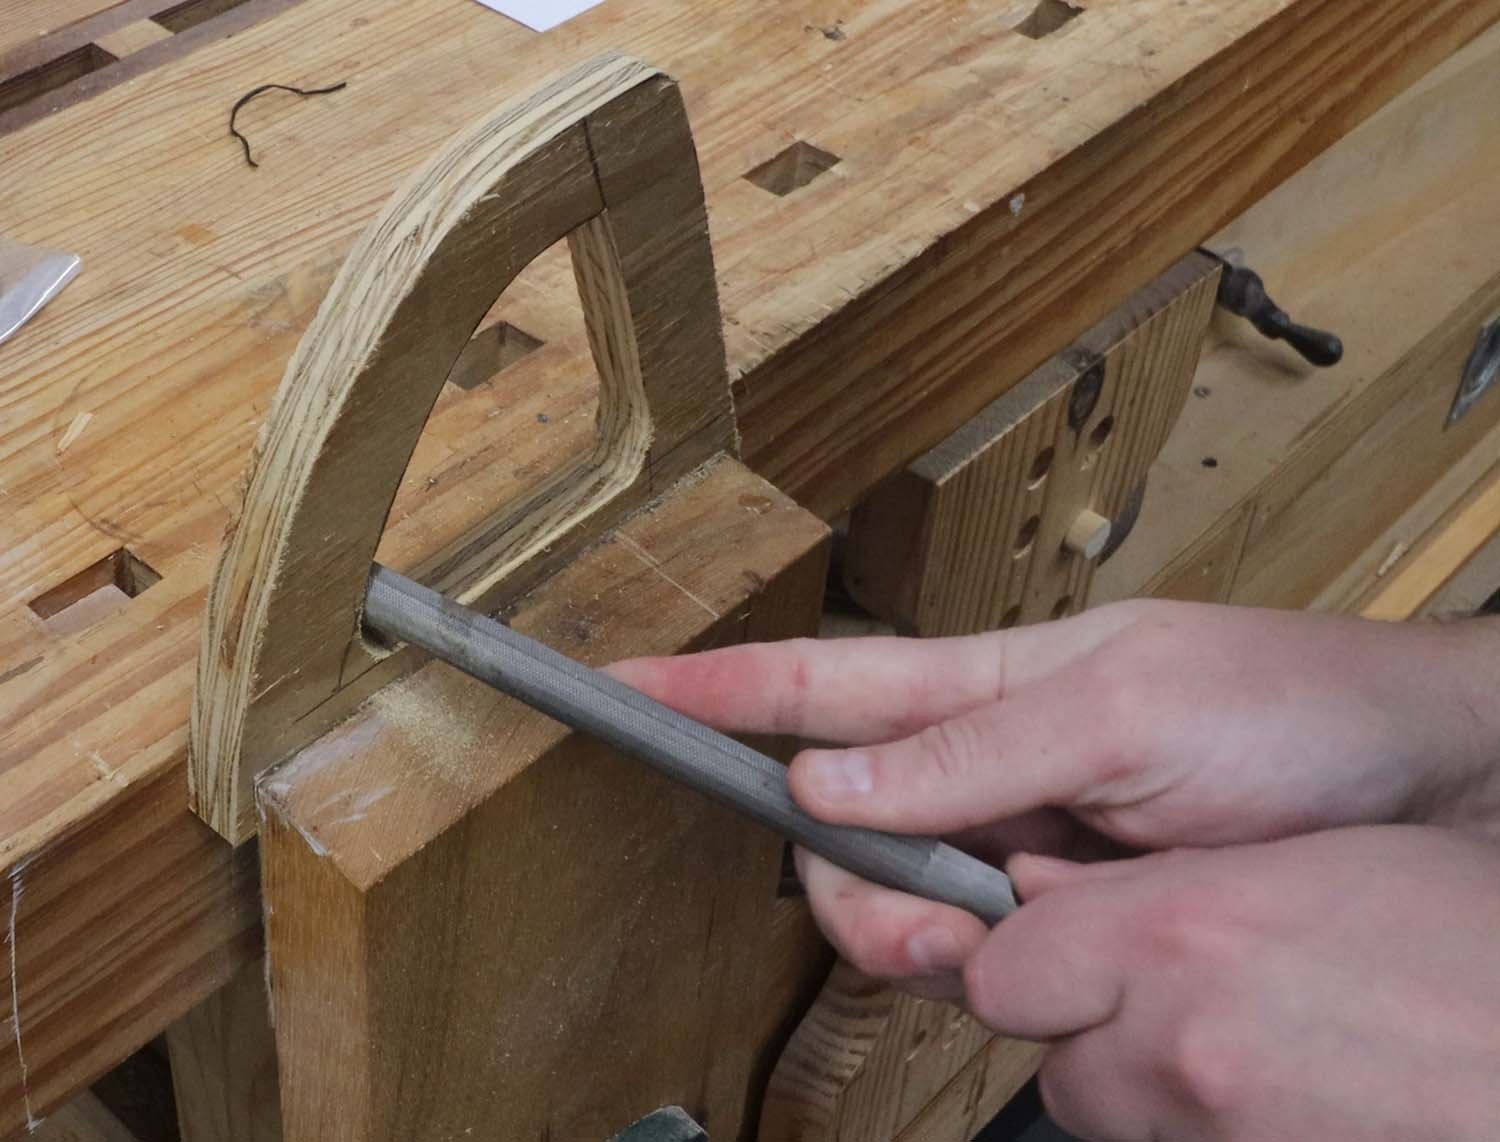
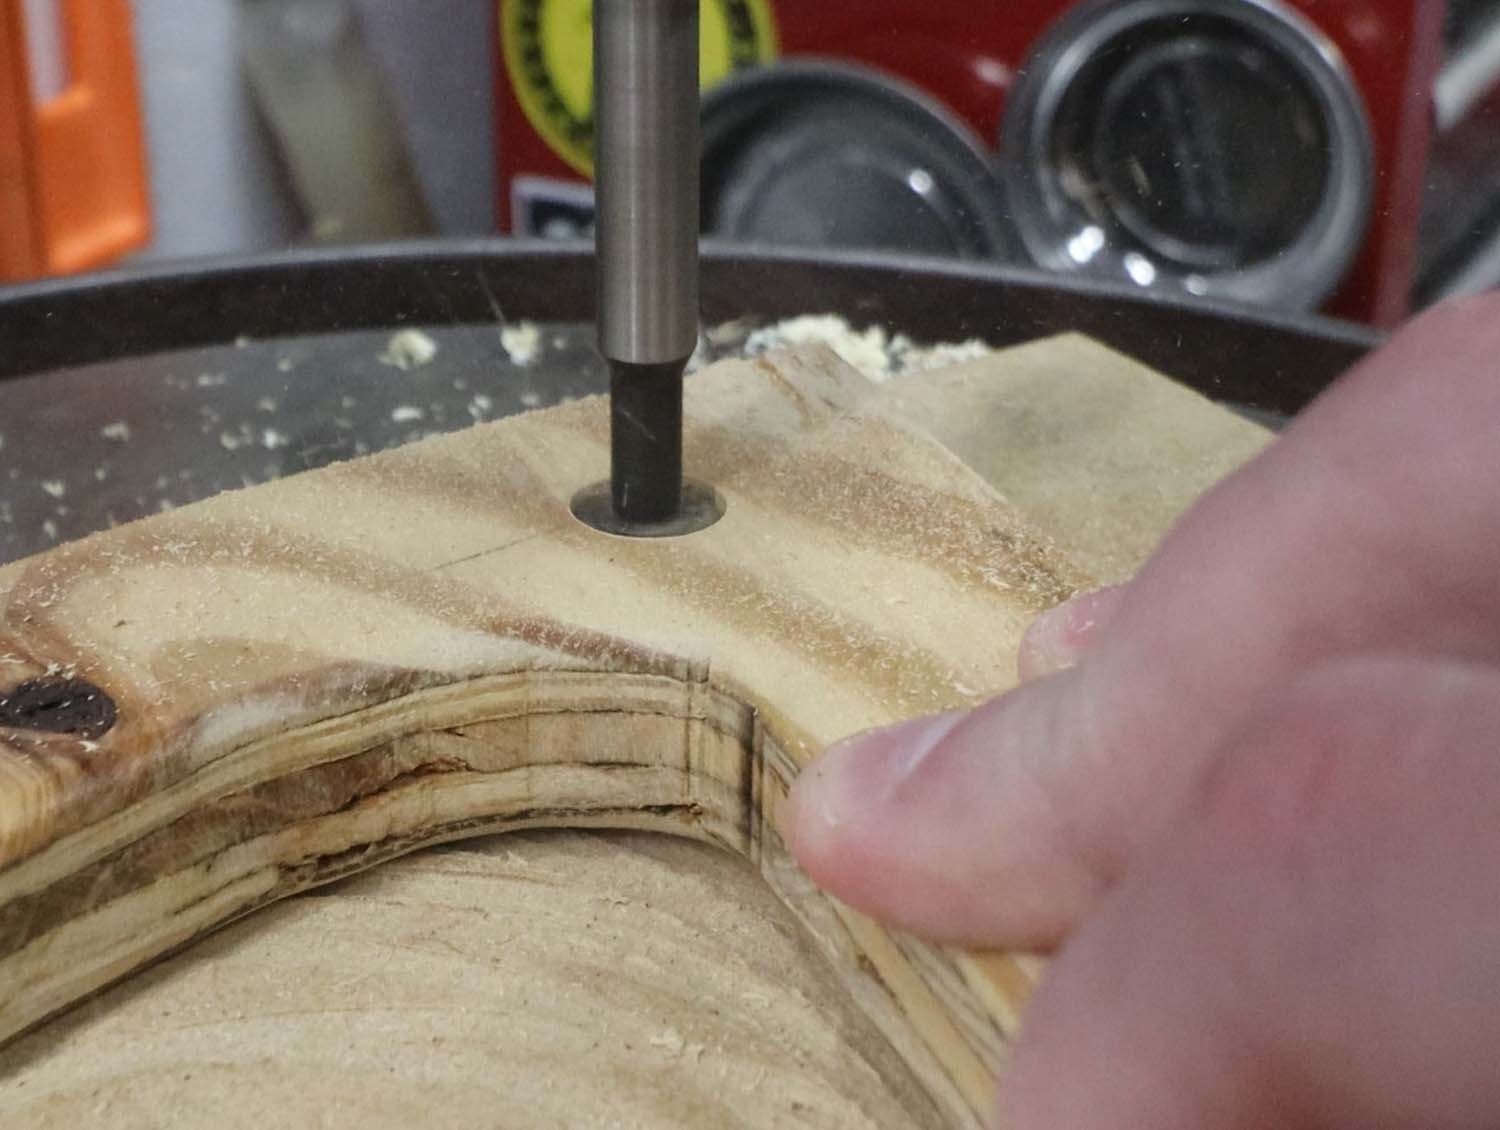
I cut this shape out with a jigsaw and then cleaned up the curves with a file.
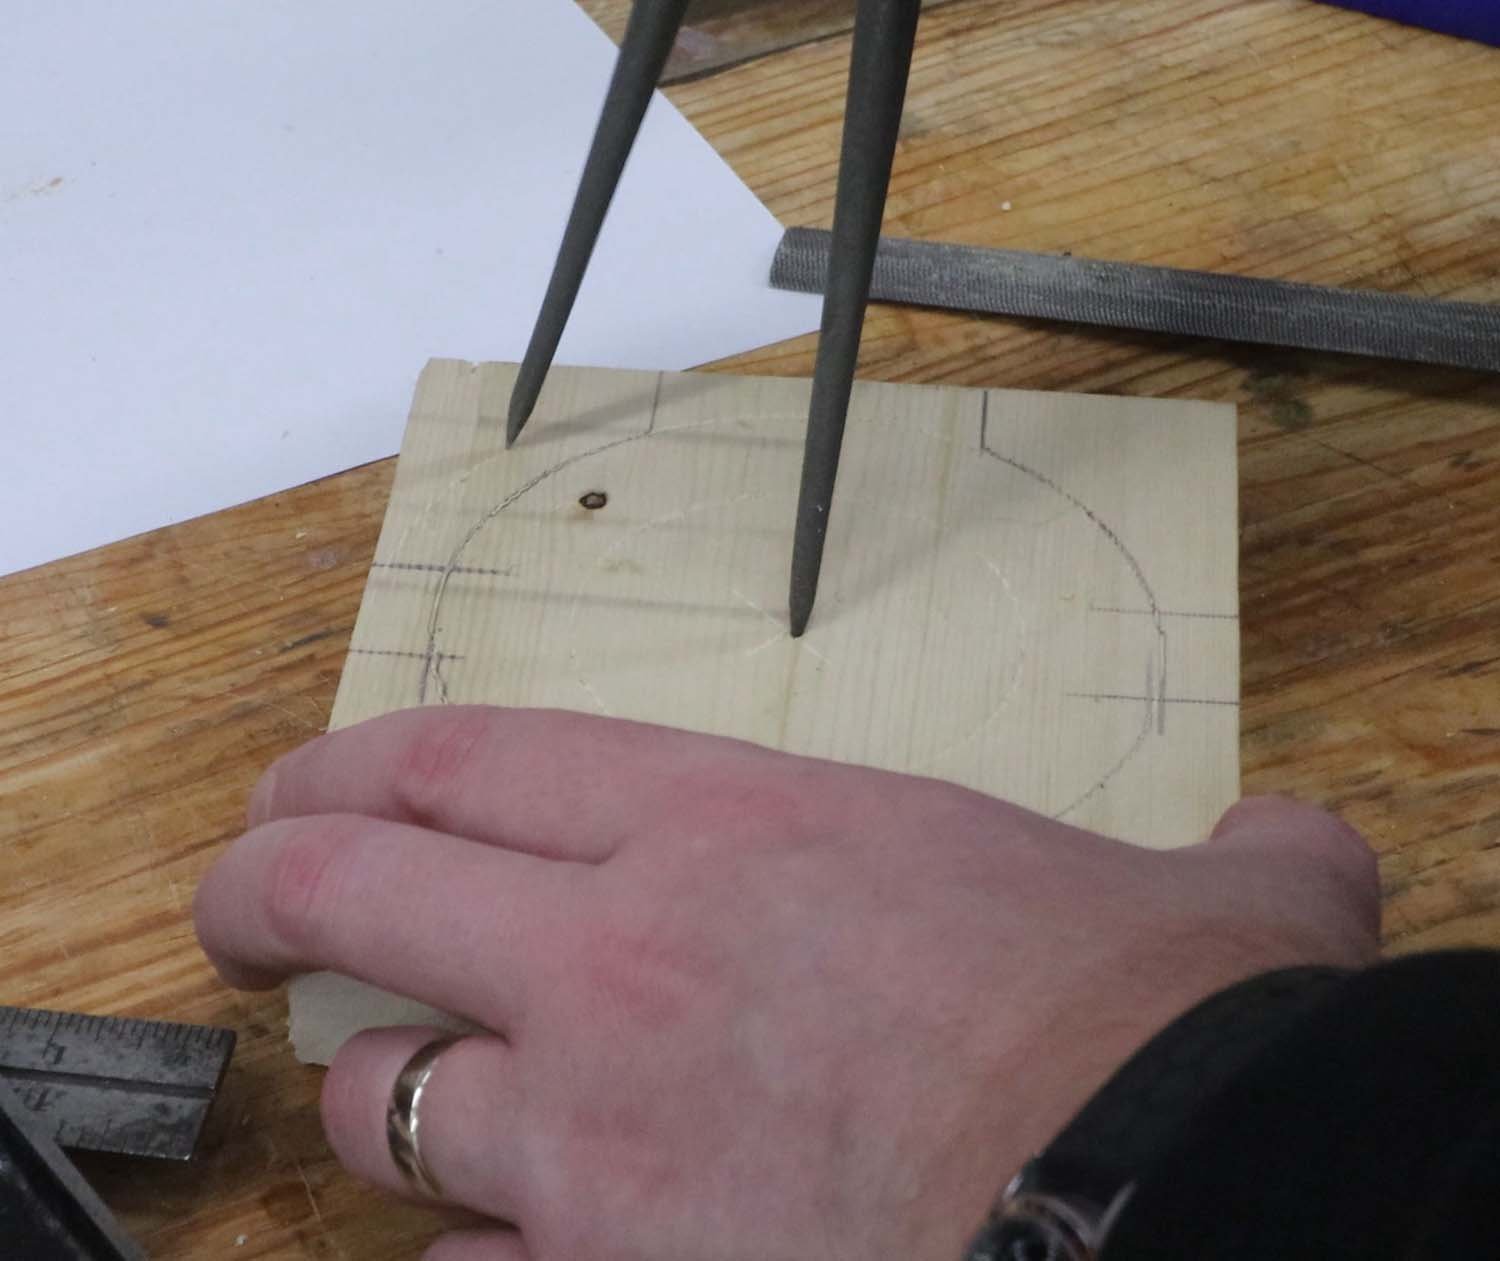
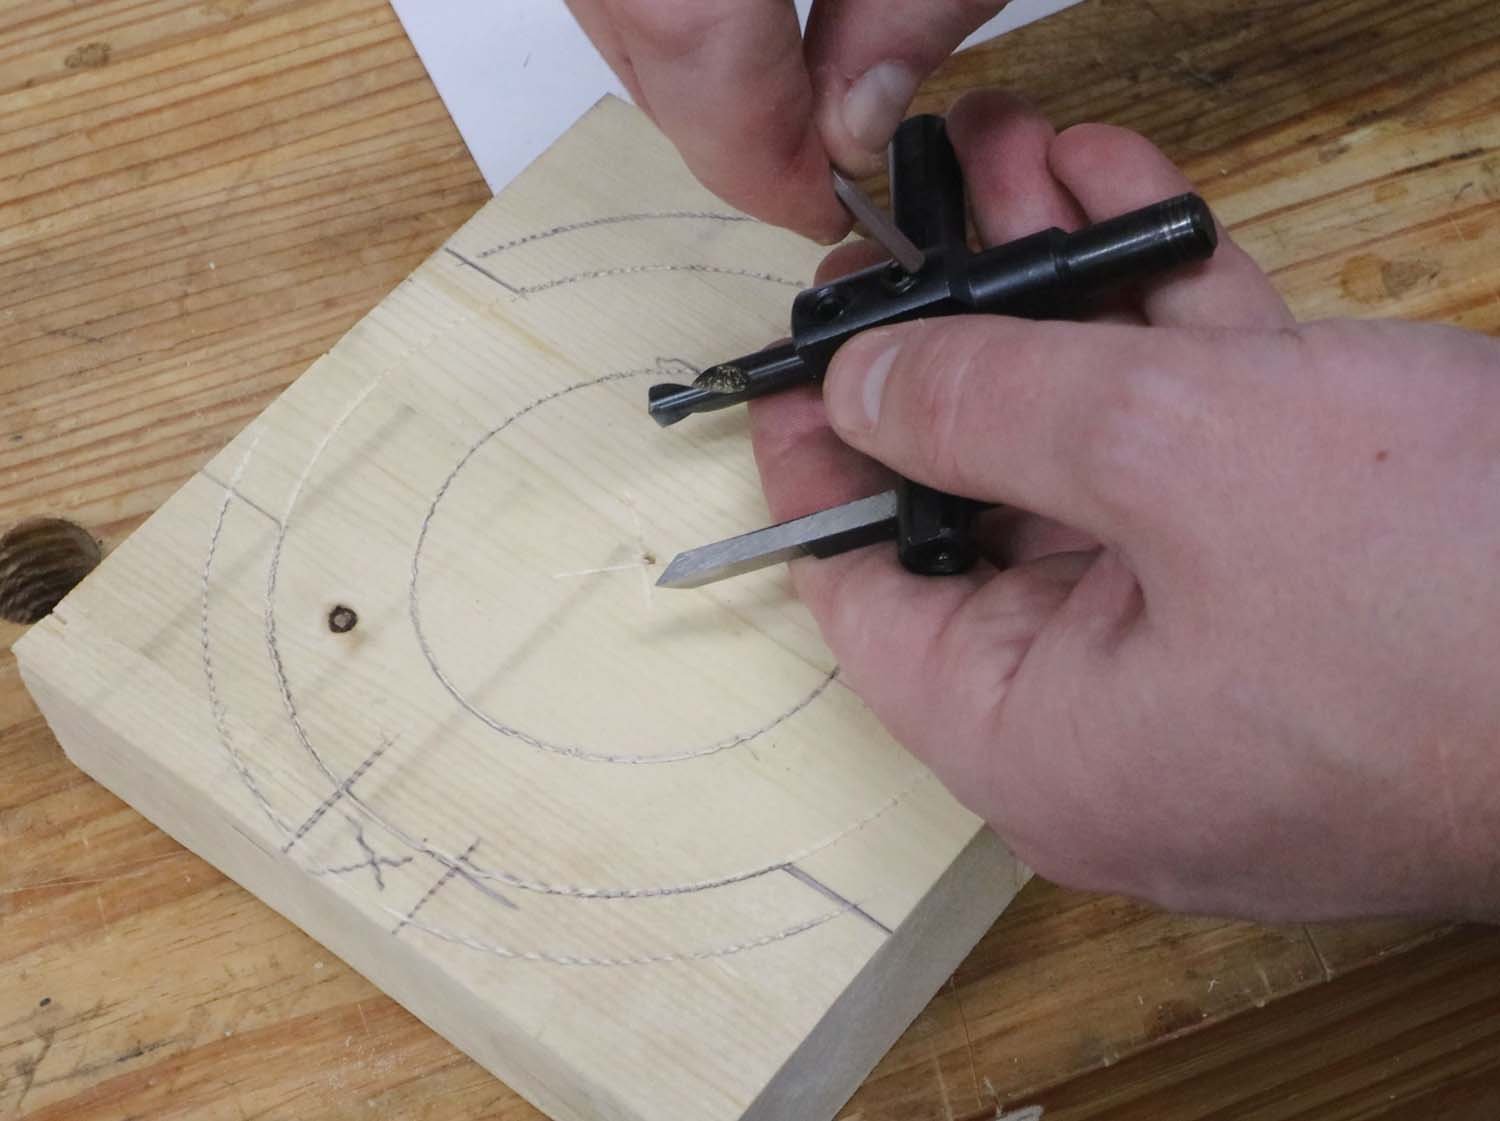
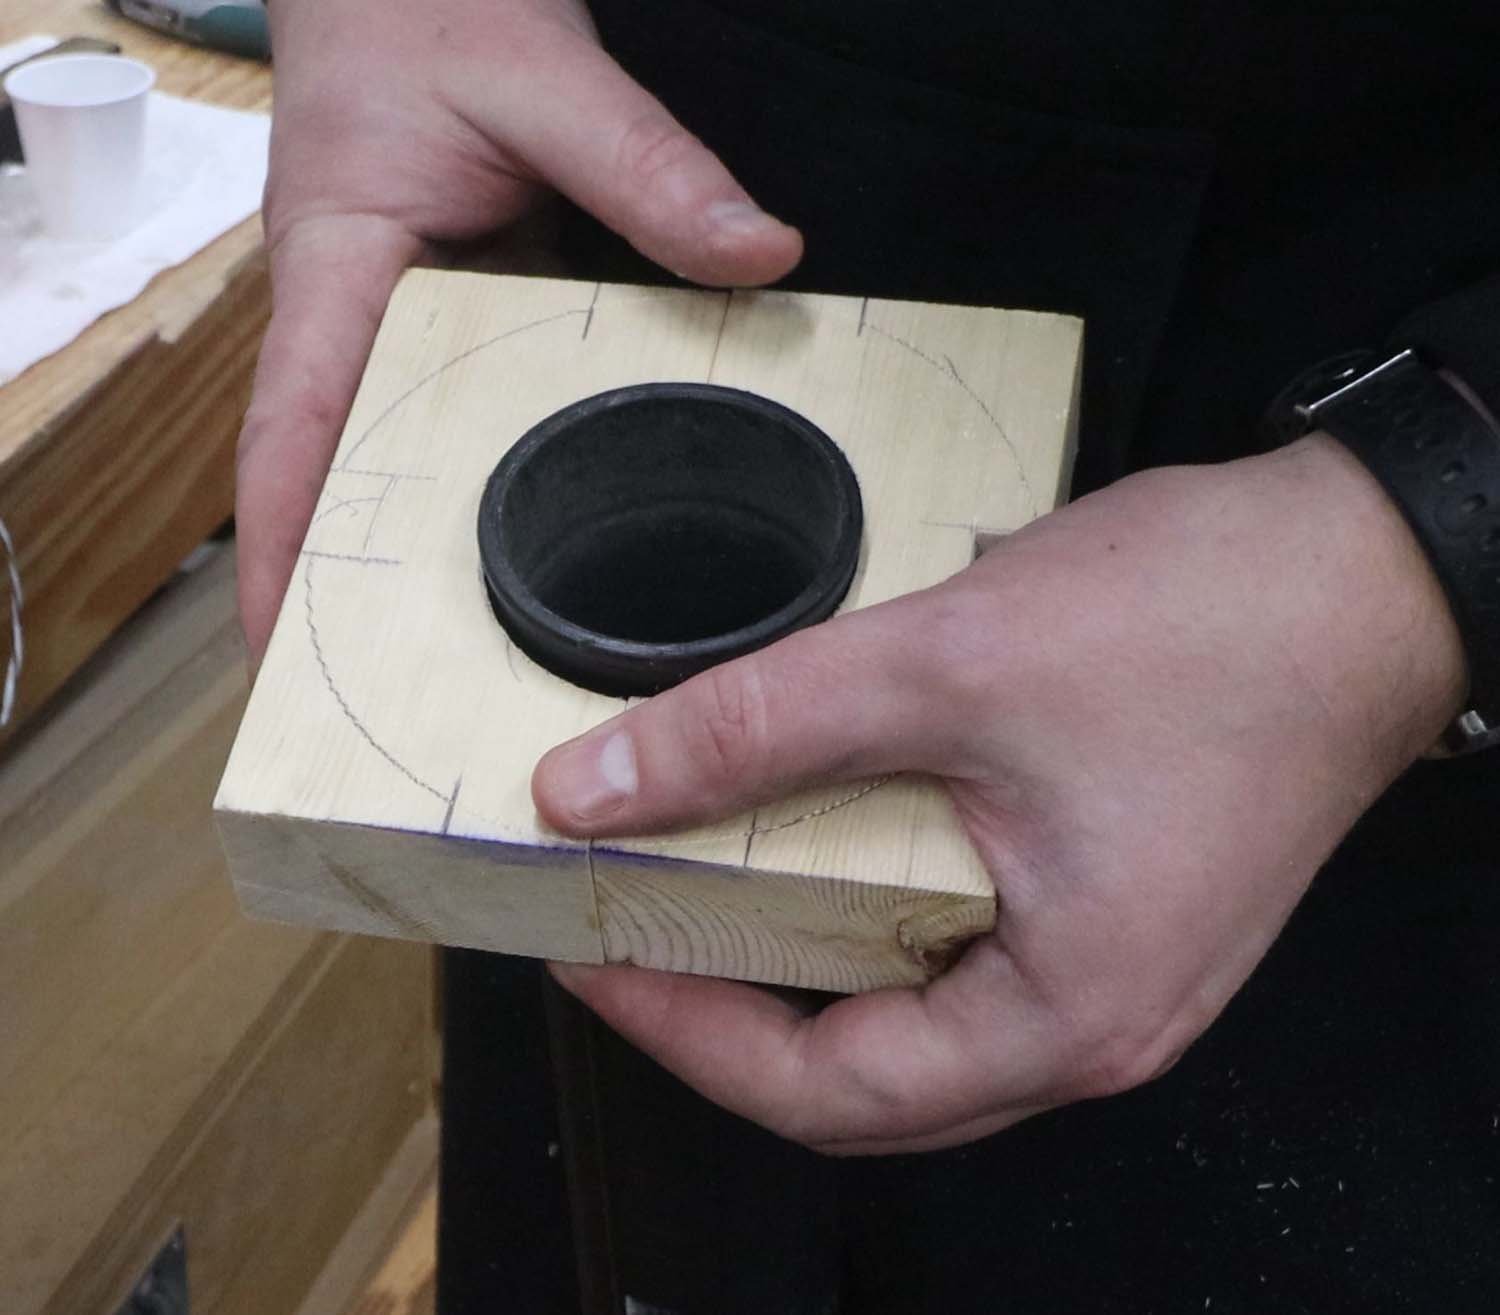
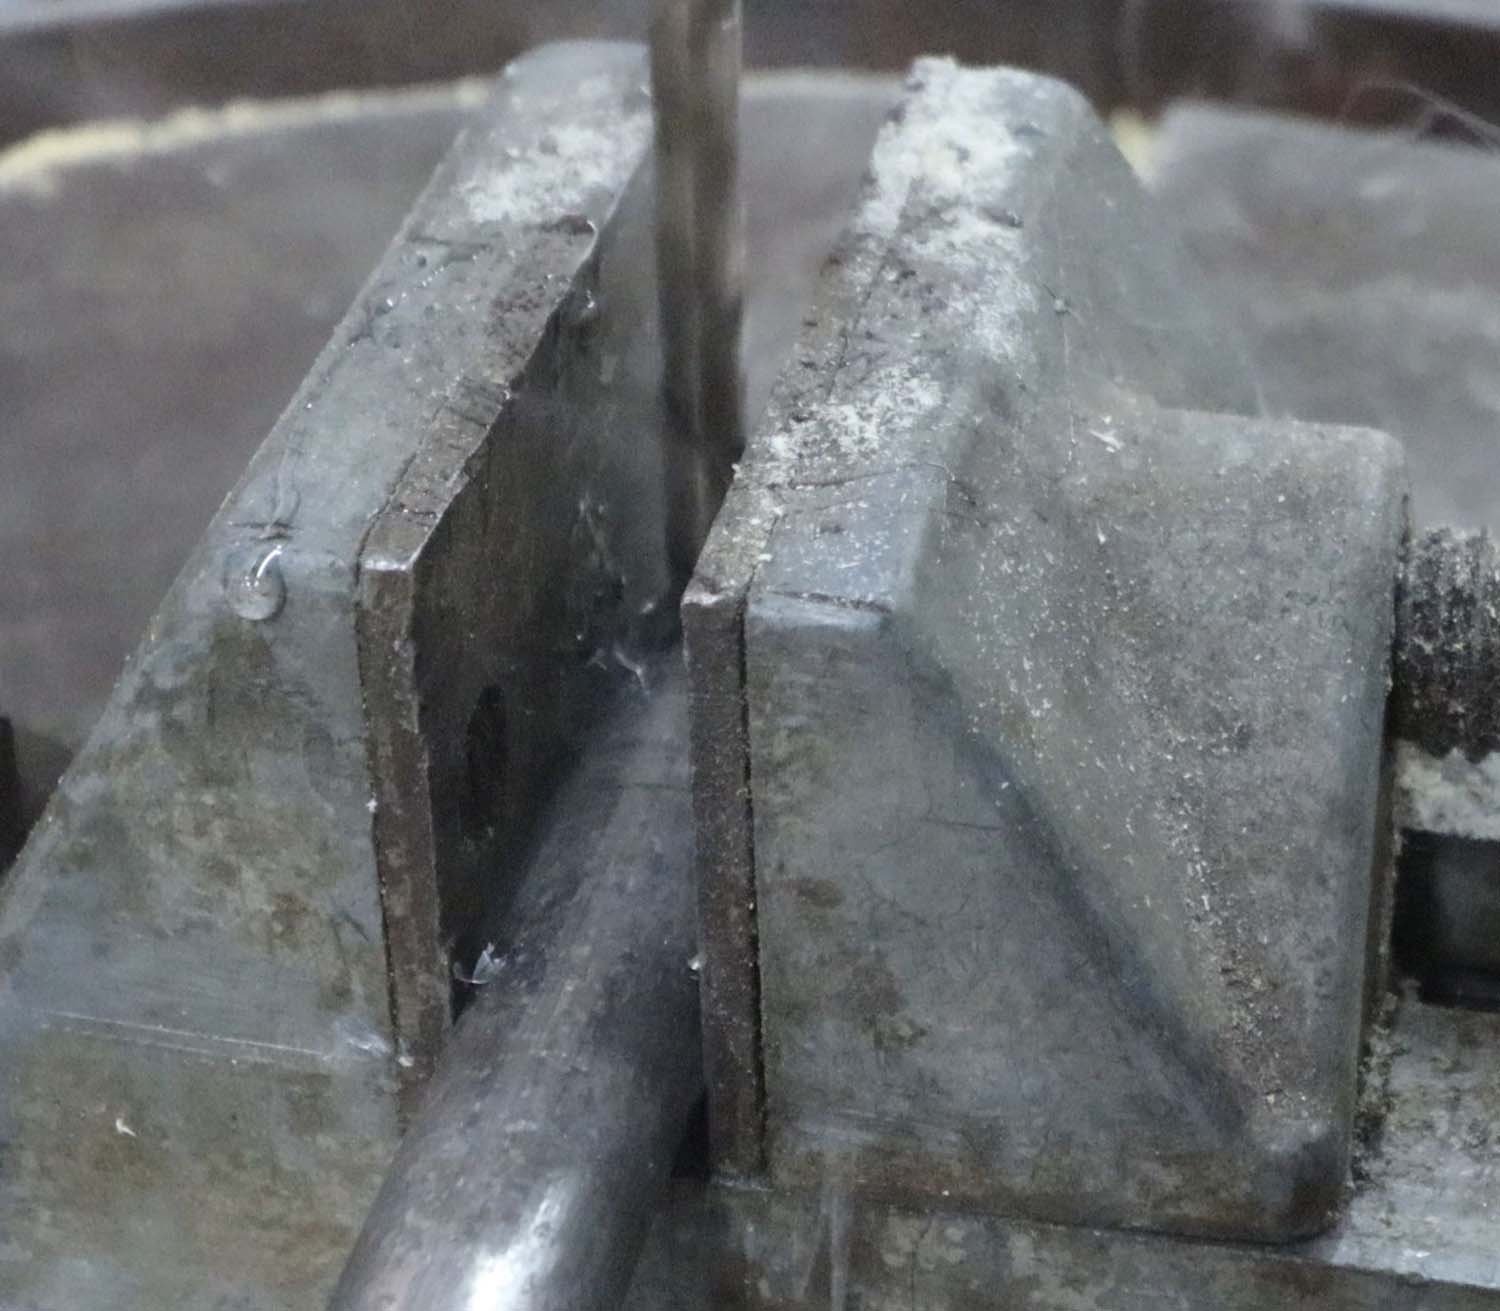
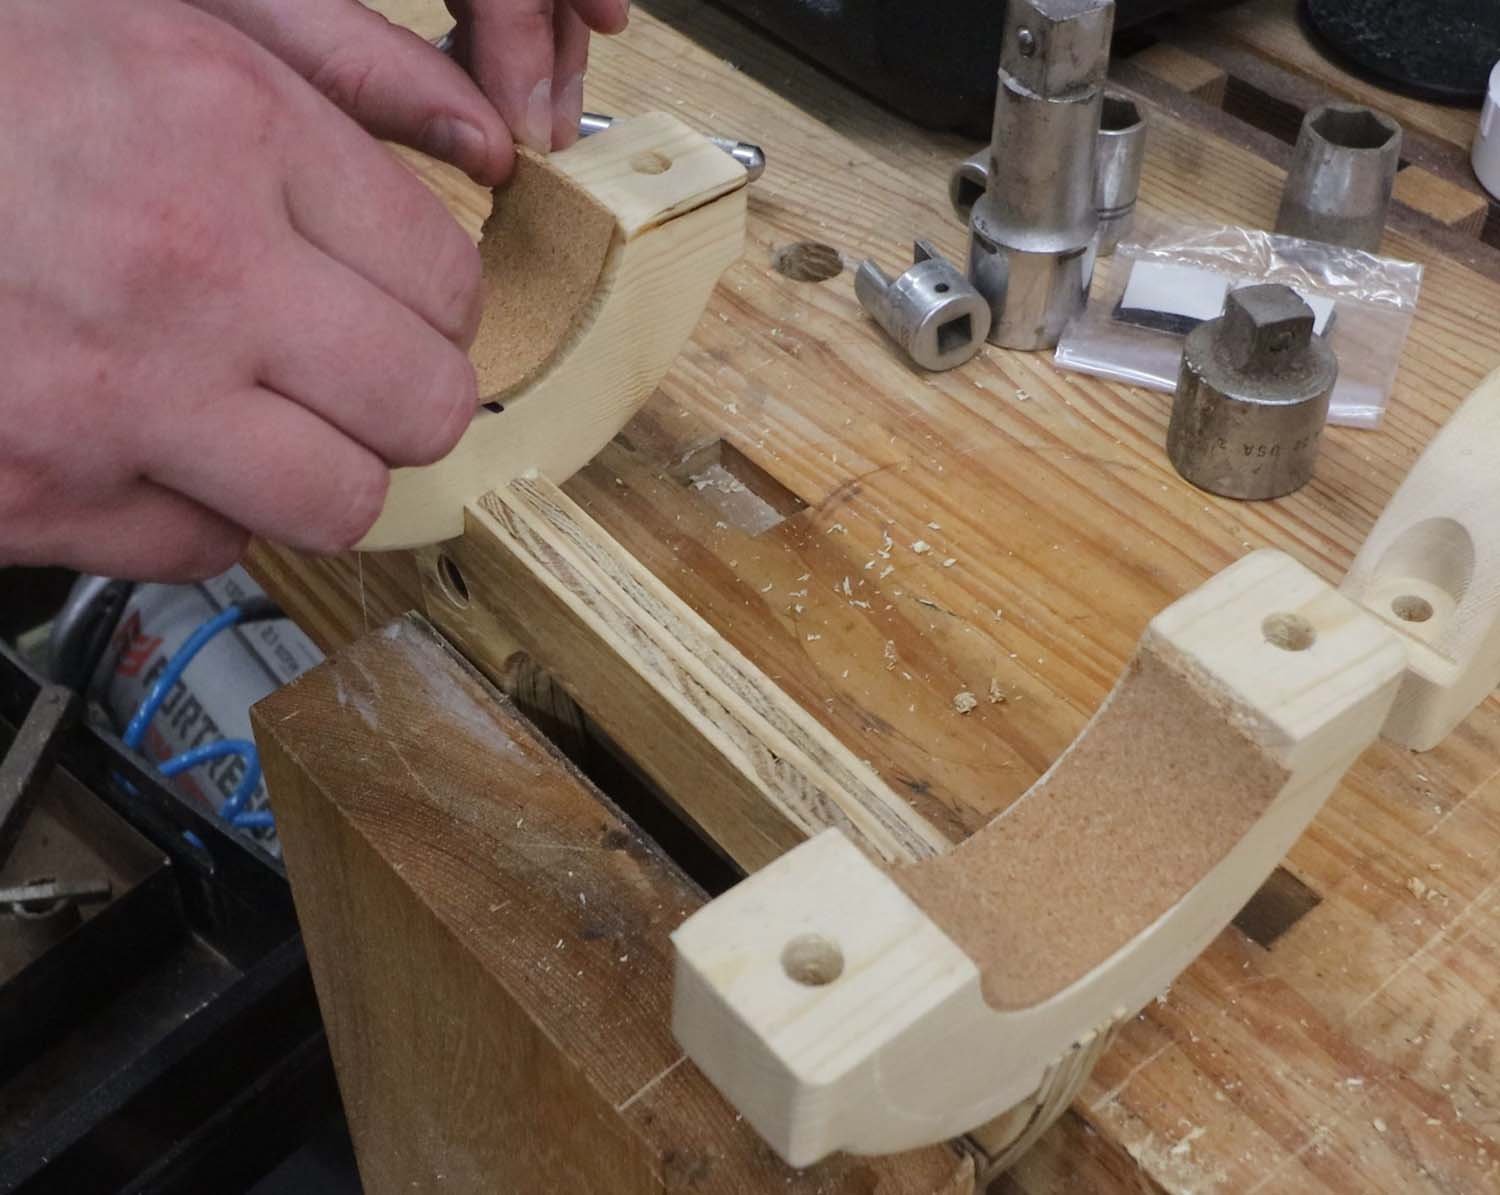
After the glue for collar blanks dried, it was time to figure out their shape. These will have a hole in the center to clamp around the hose, and then have flanges on the sides to accept thru-bolts.
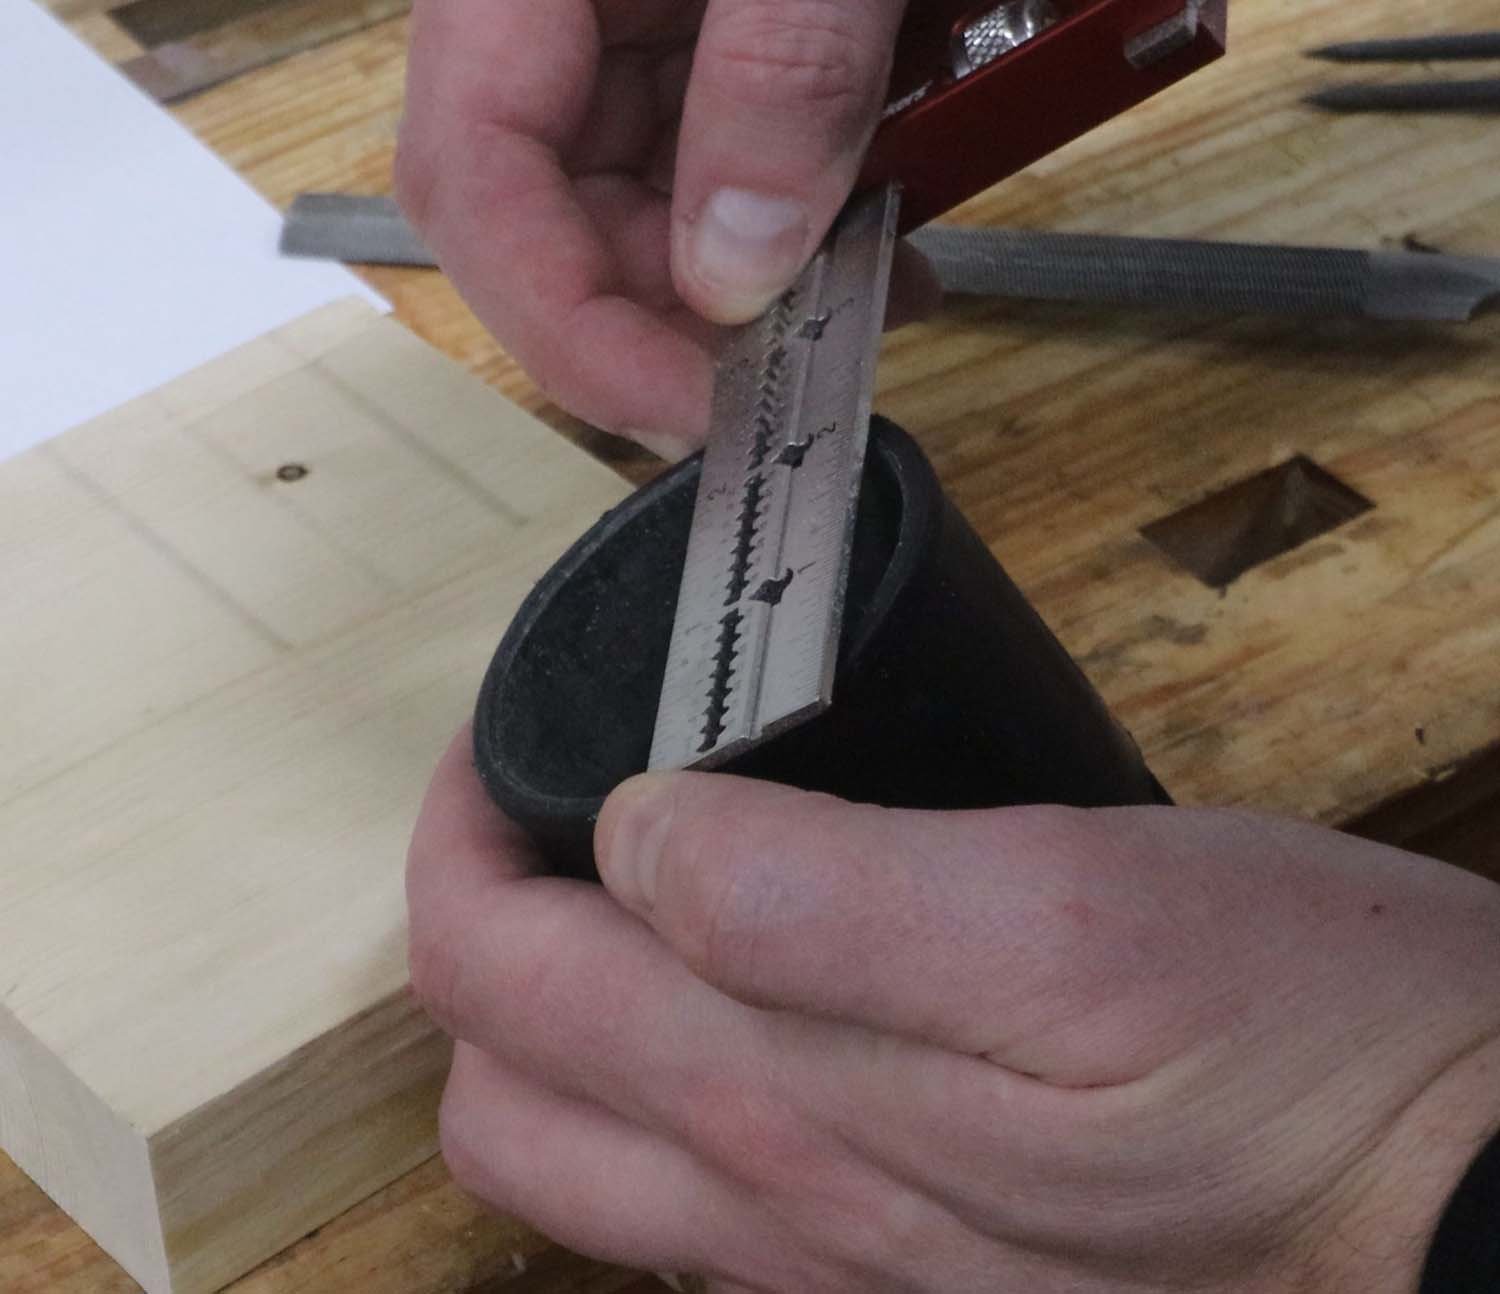
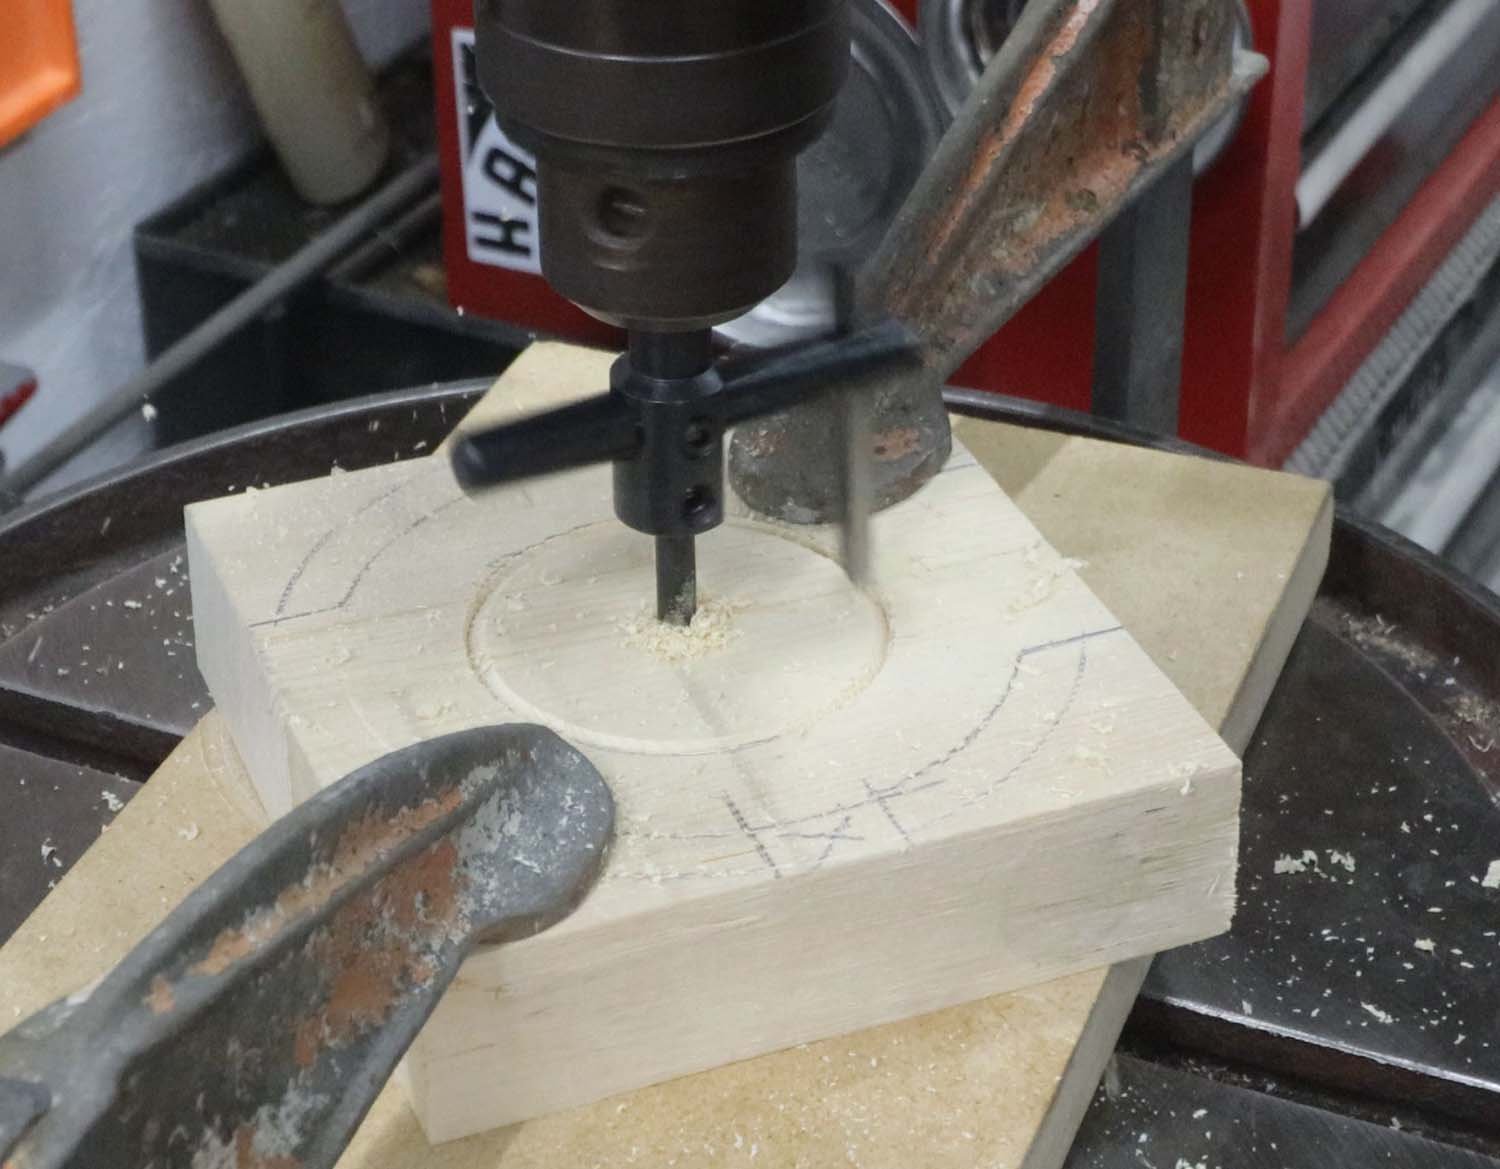
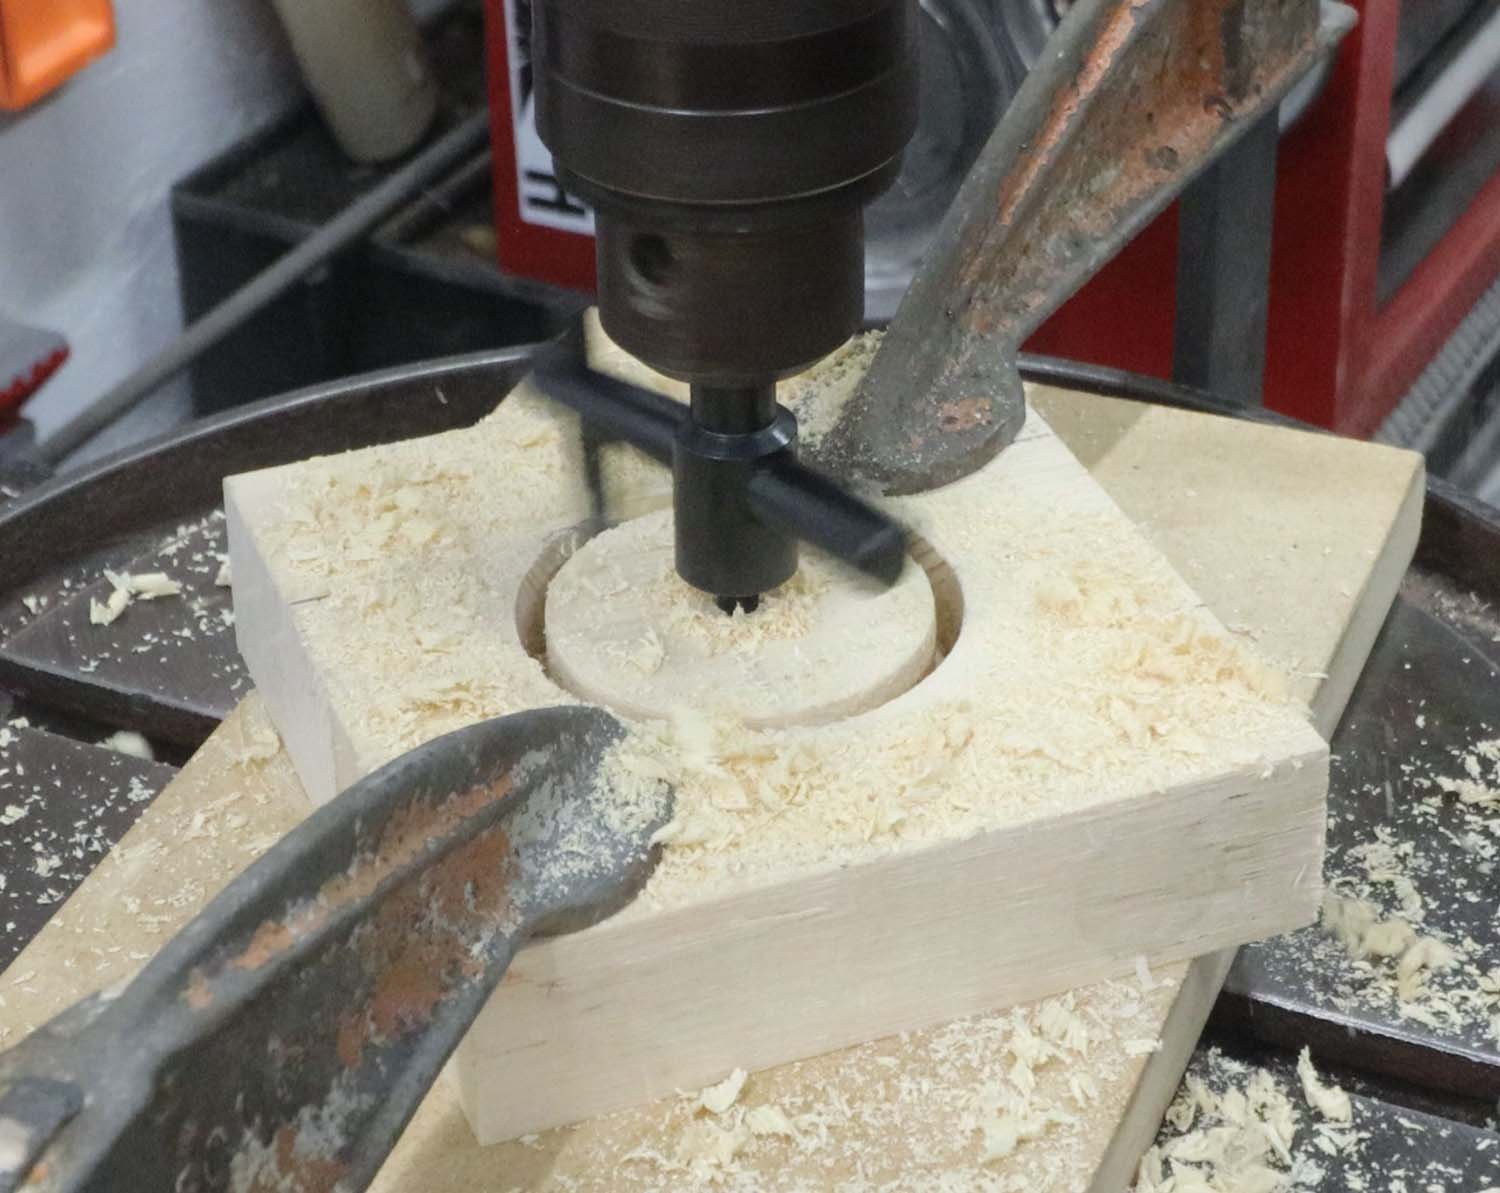
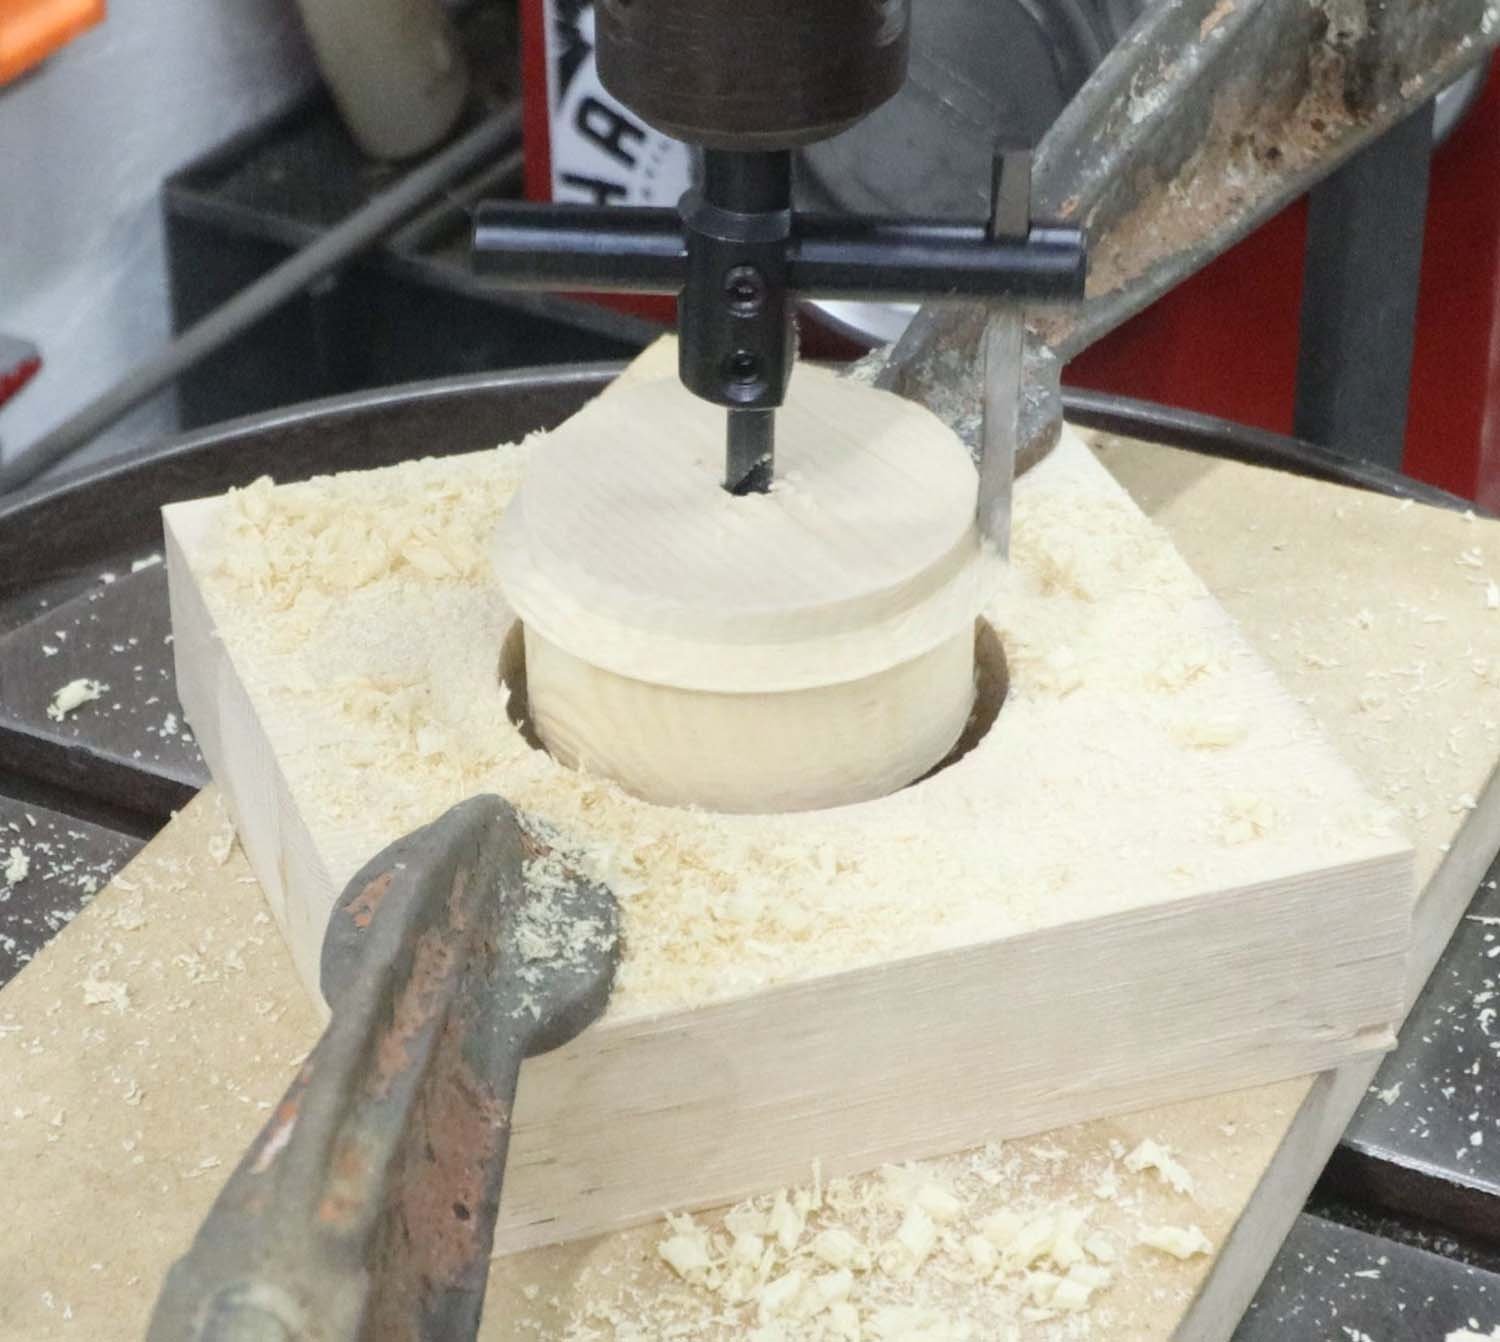
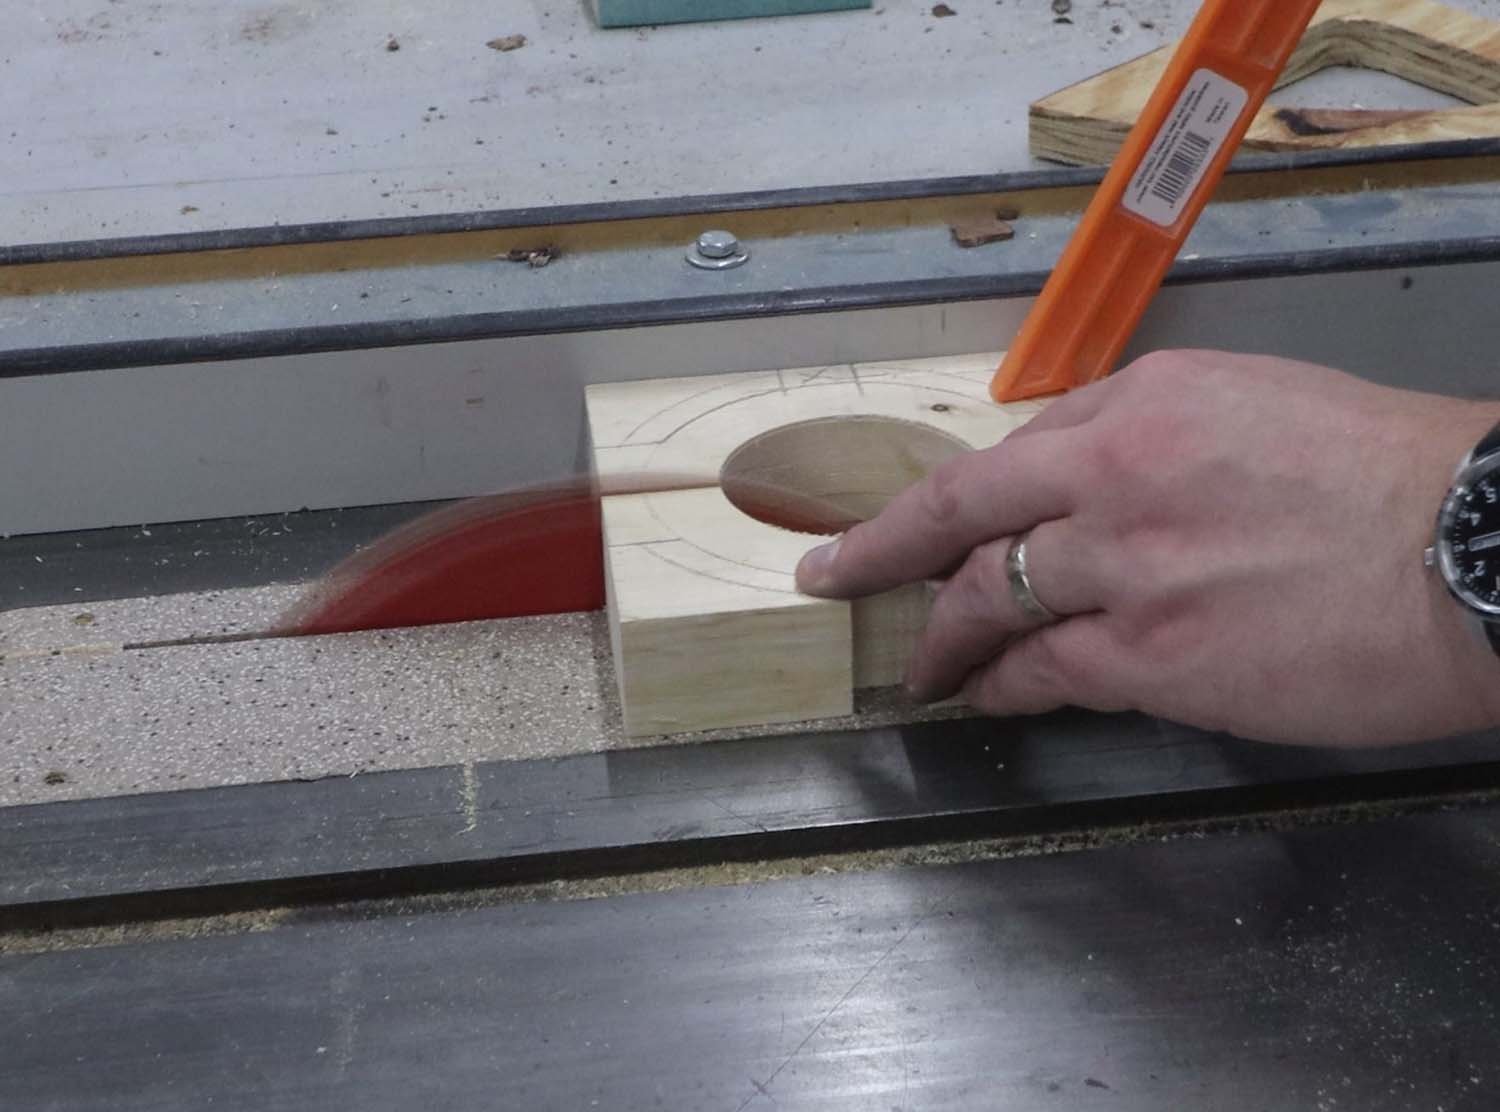
Since I don't have a hole saw the correct diameter, I used a fly cutter to get the perfect size hole. The pilot bit for the hole saw didn’t go all the way through, so after drilling from one side, I poked the hole through with another drill bit of the same size, and then completed the hole from the opposite side.
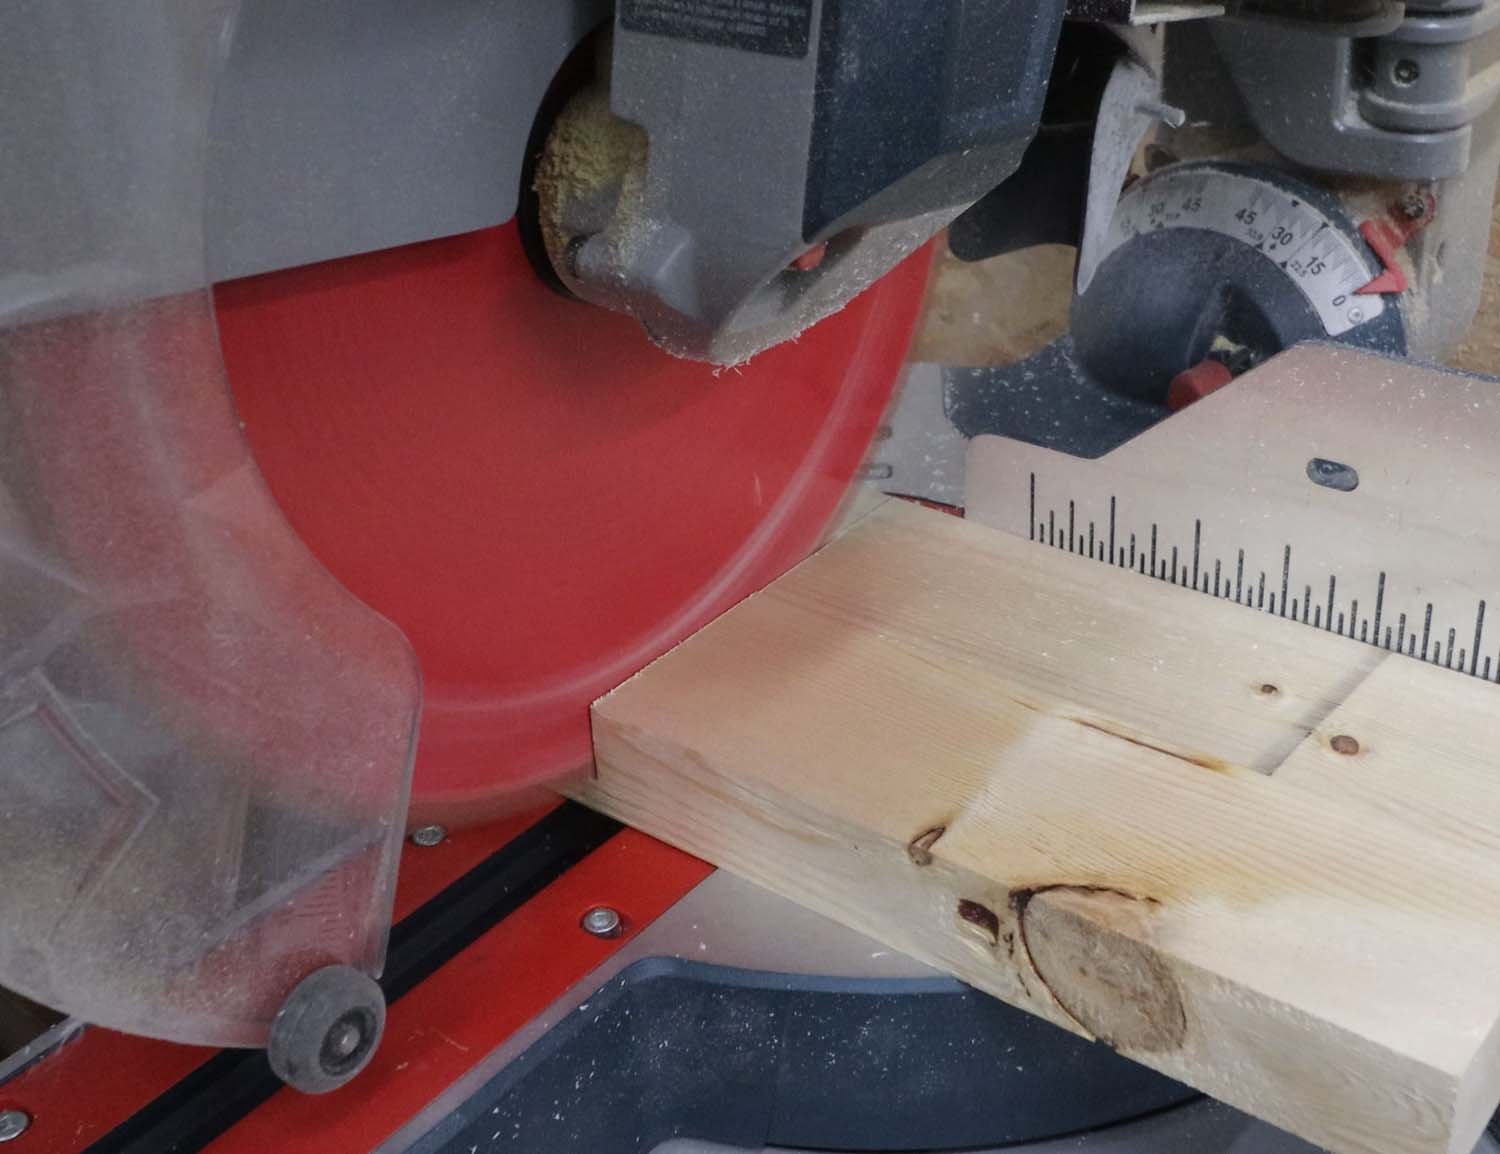
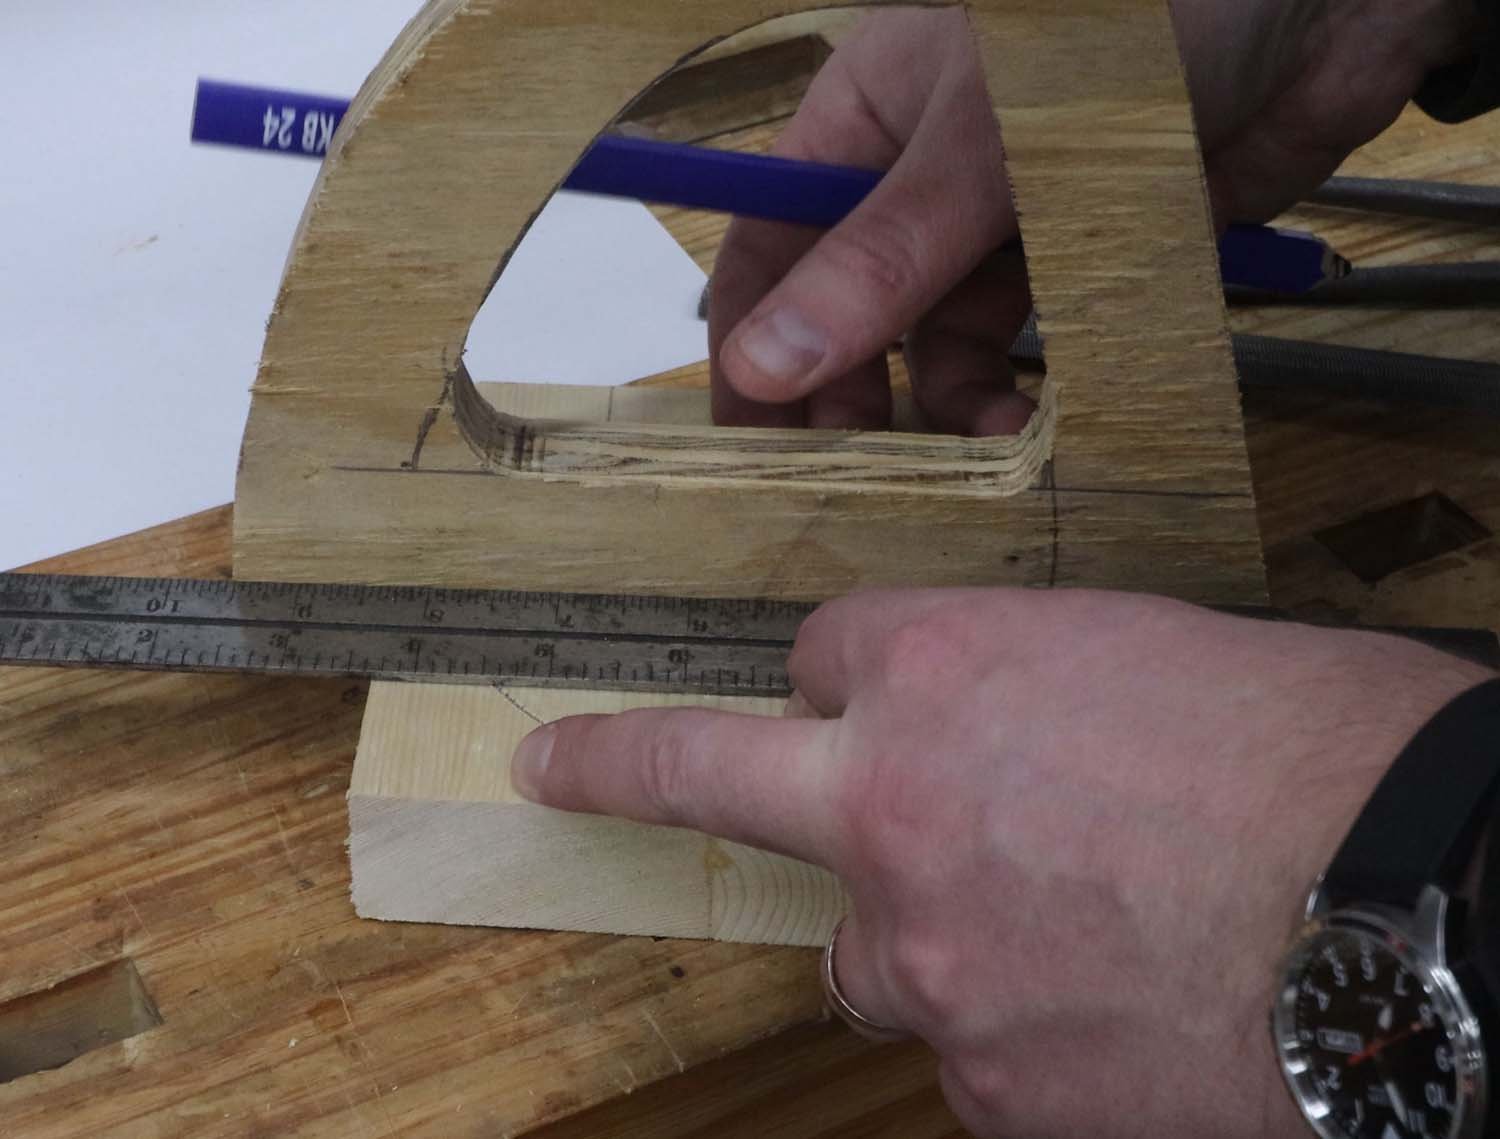
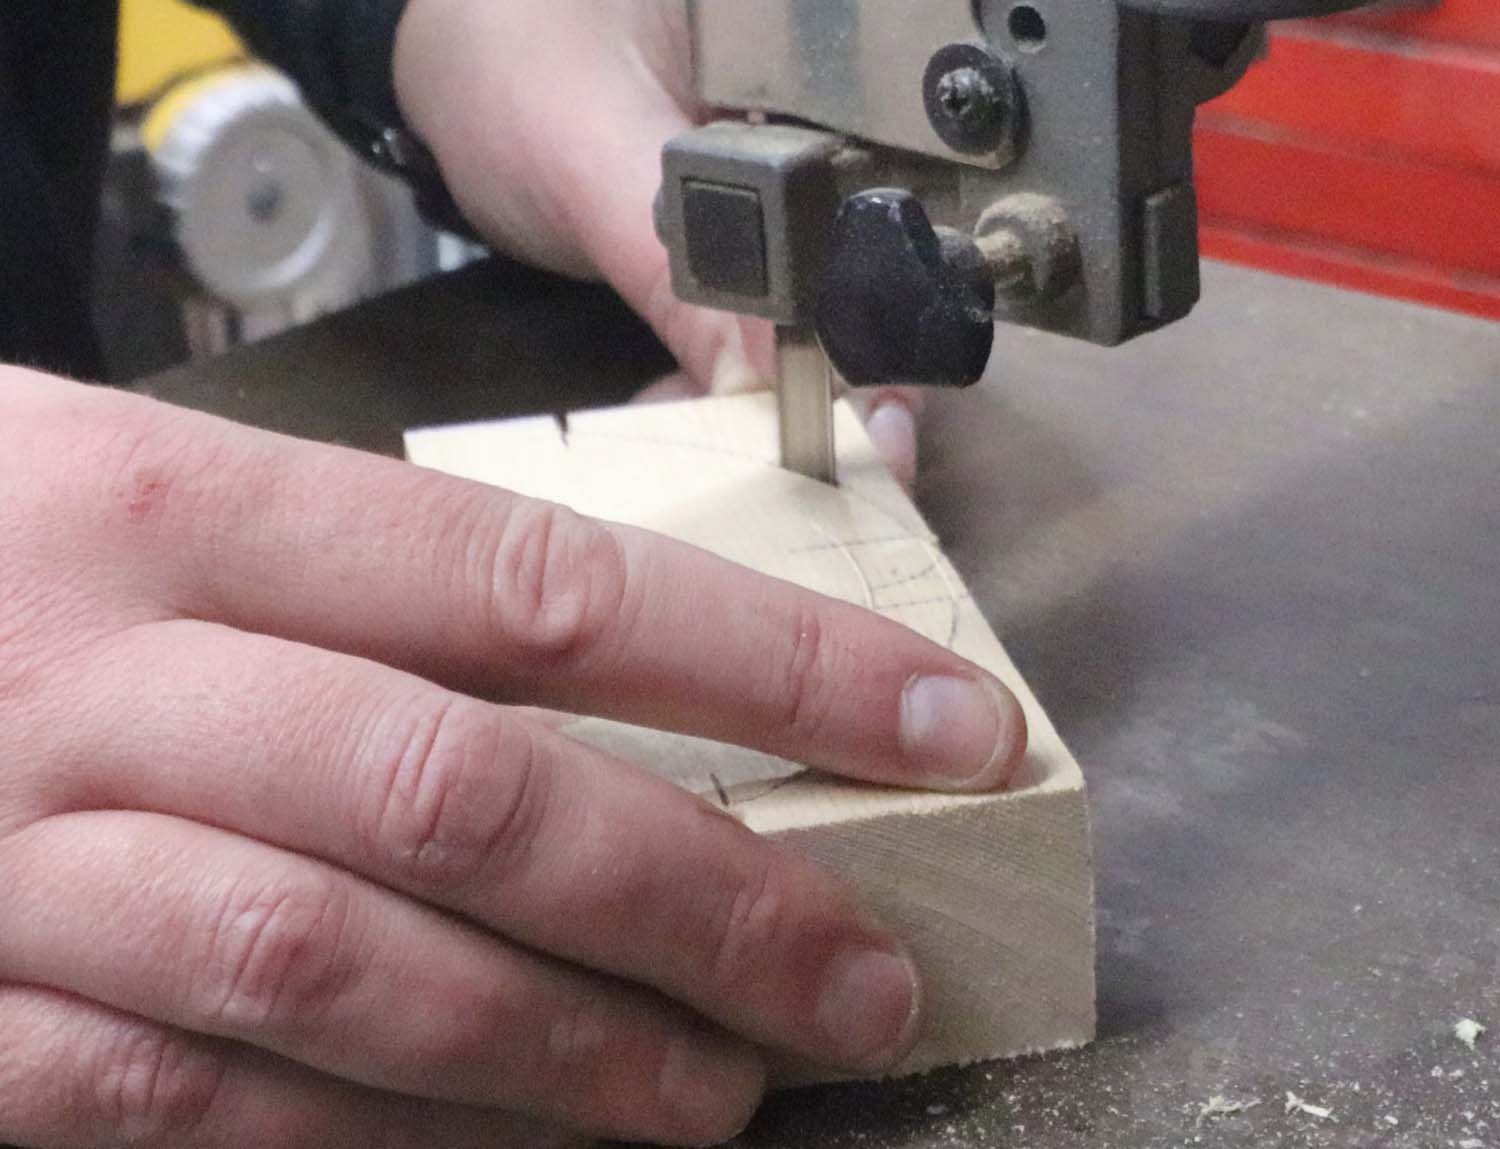
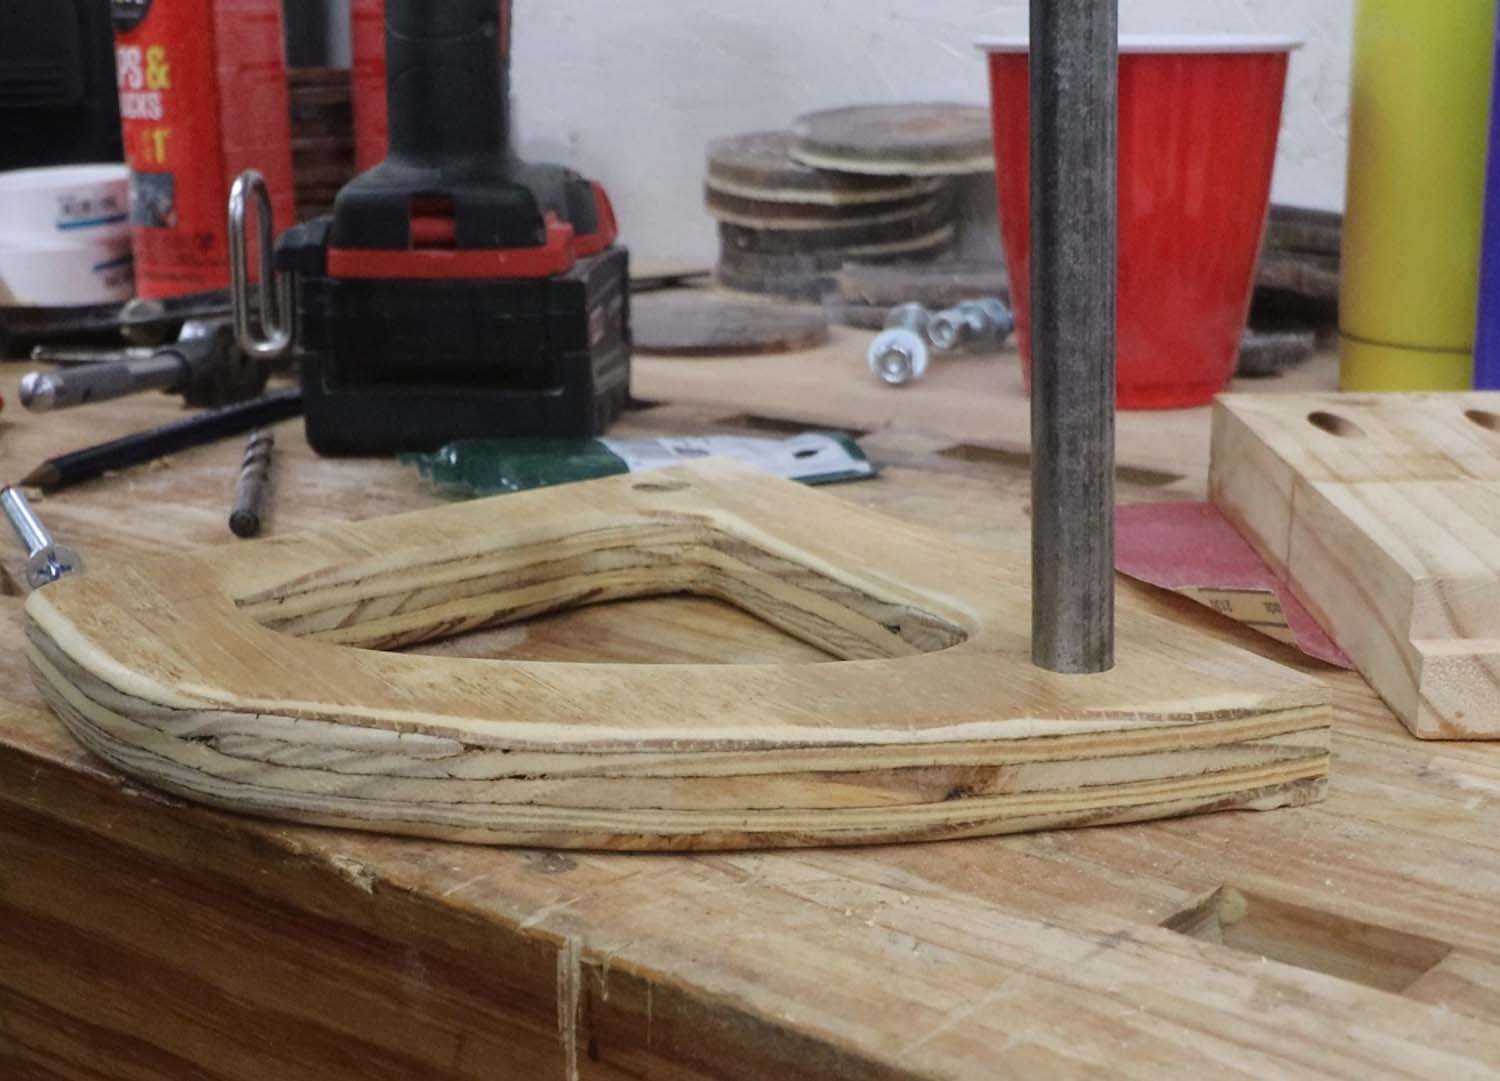
Next, I cut a dado on the top for the handle to sit in using a crosscut sled on my table saw.
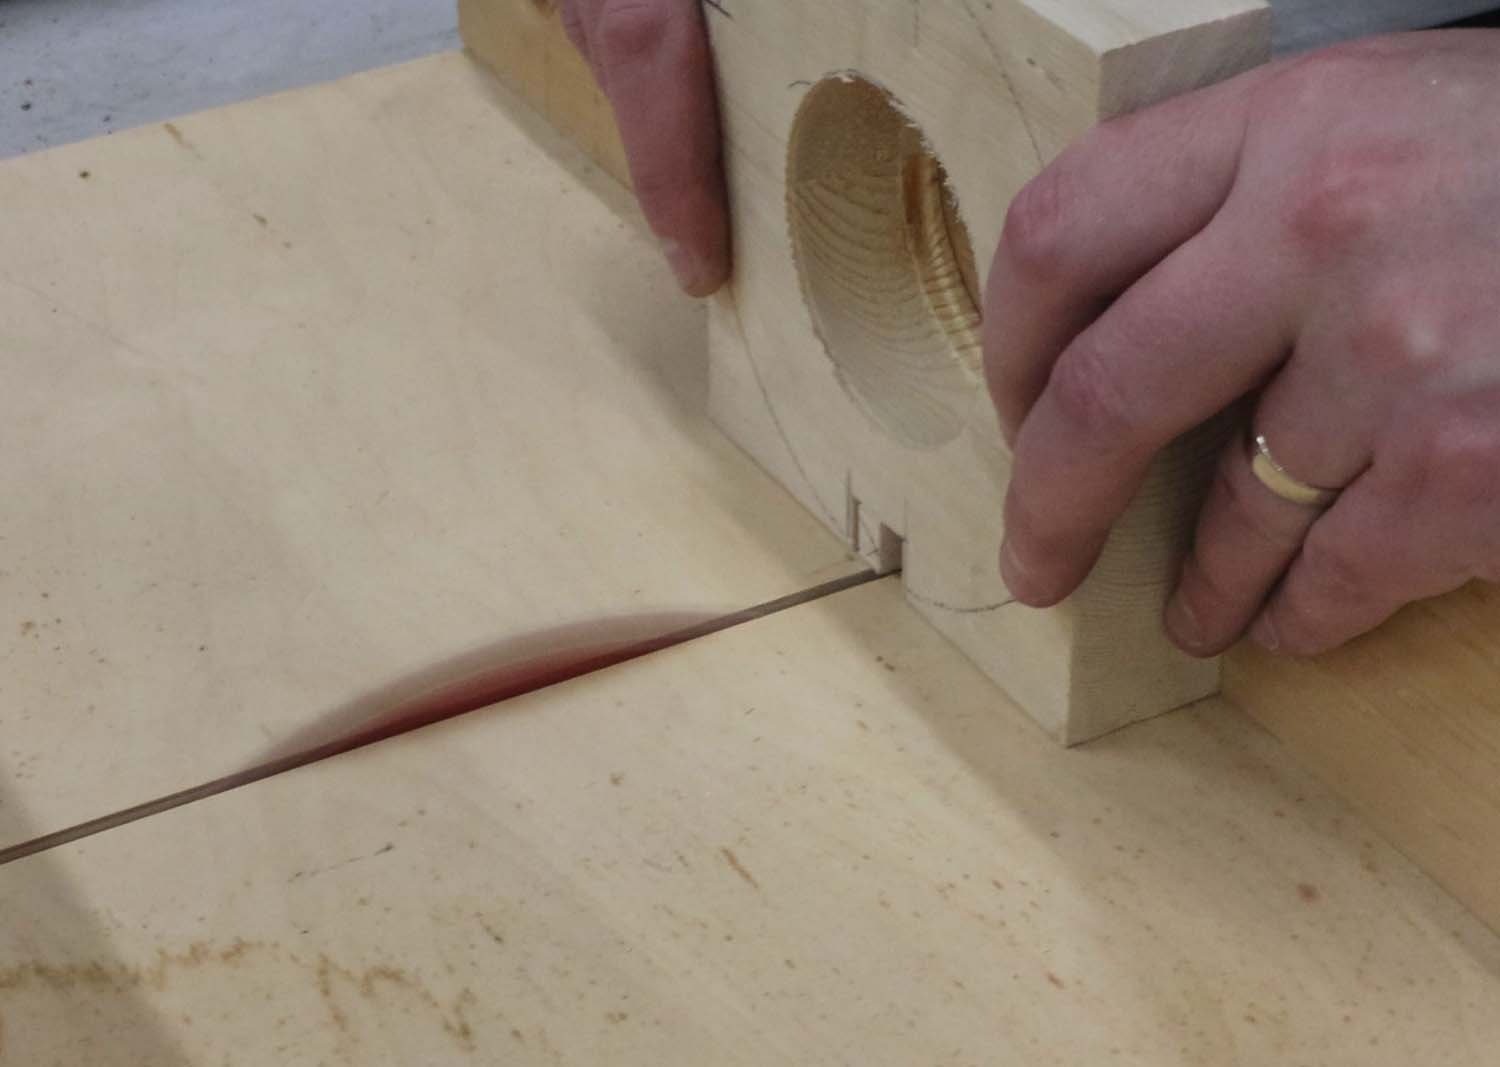
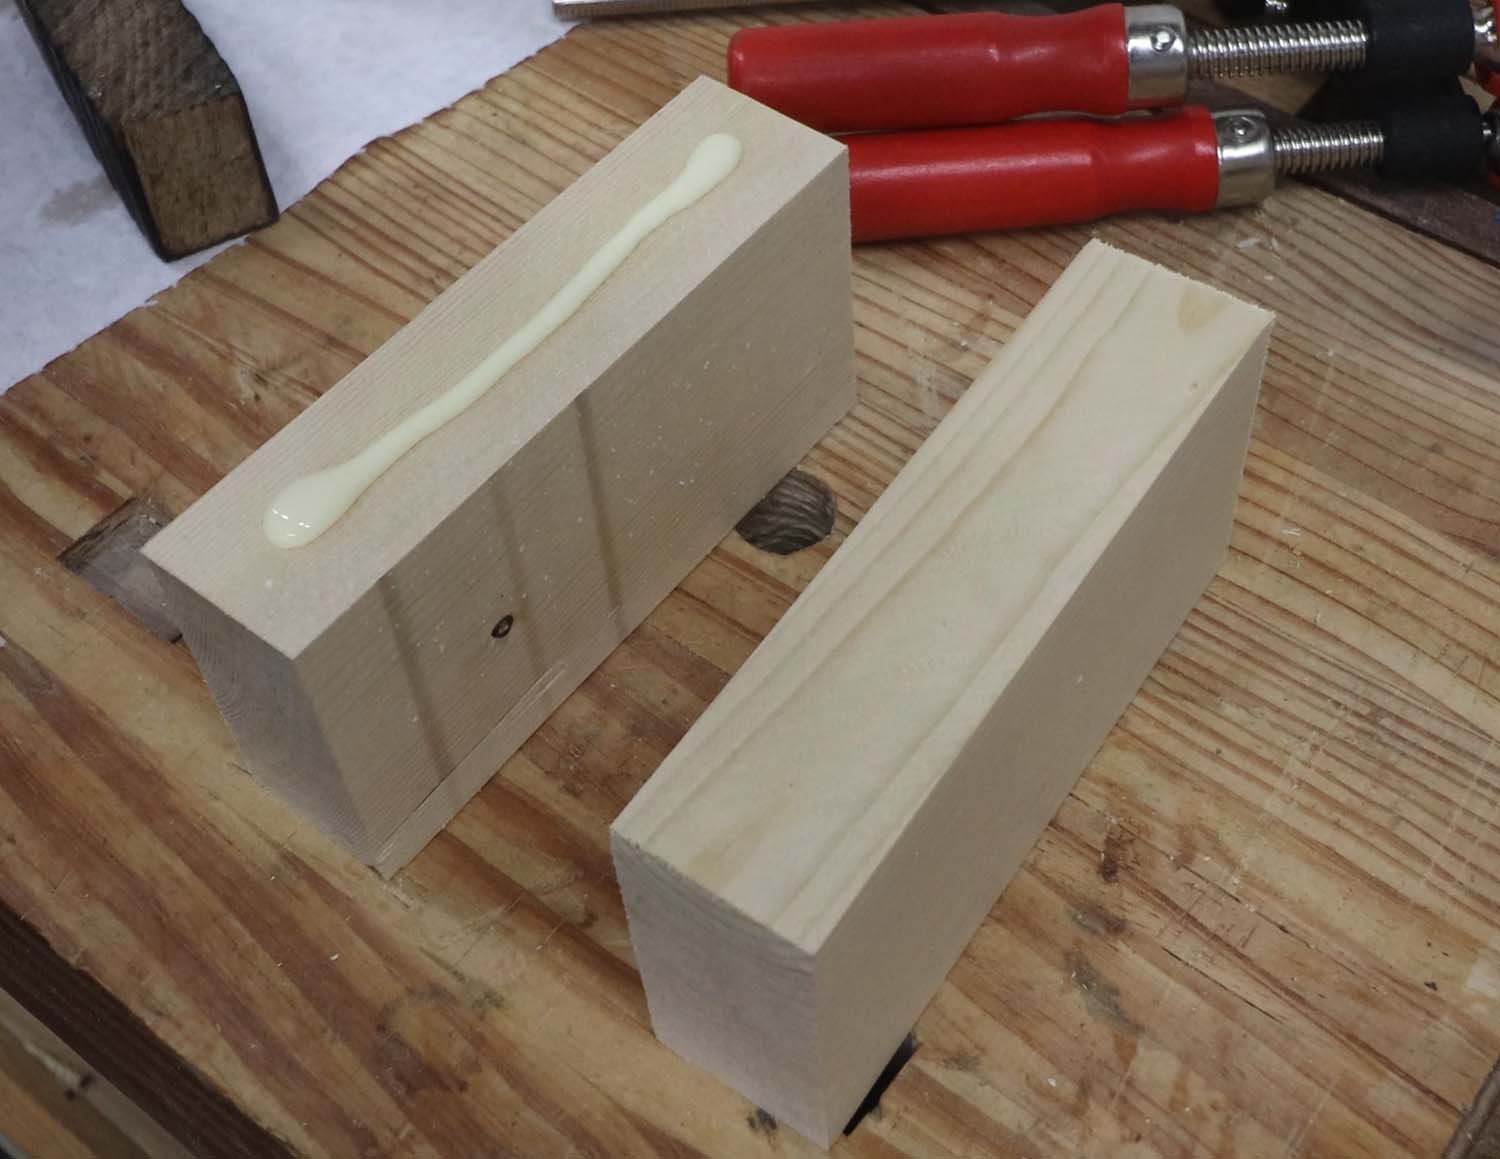
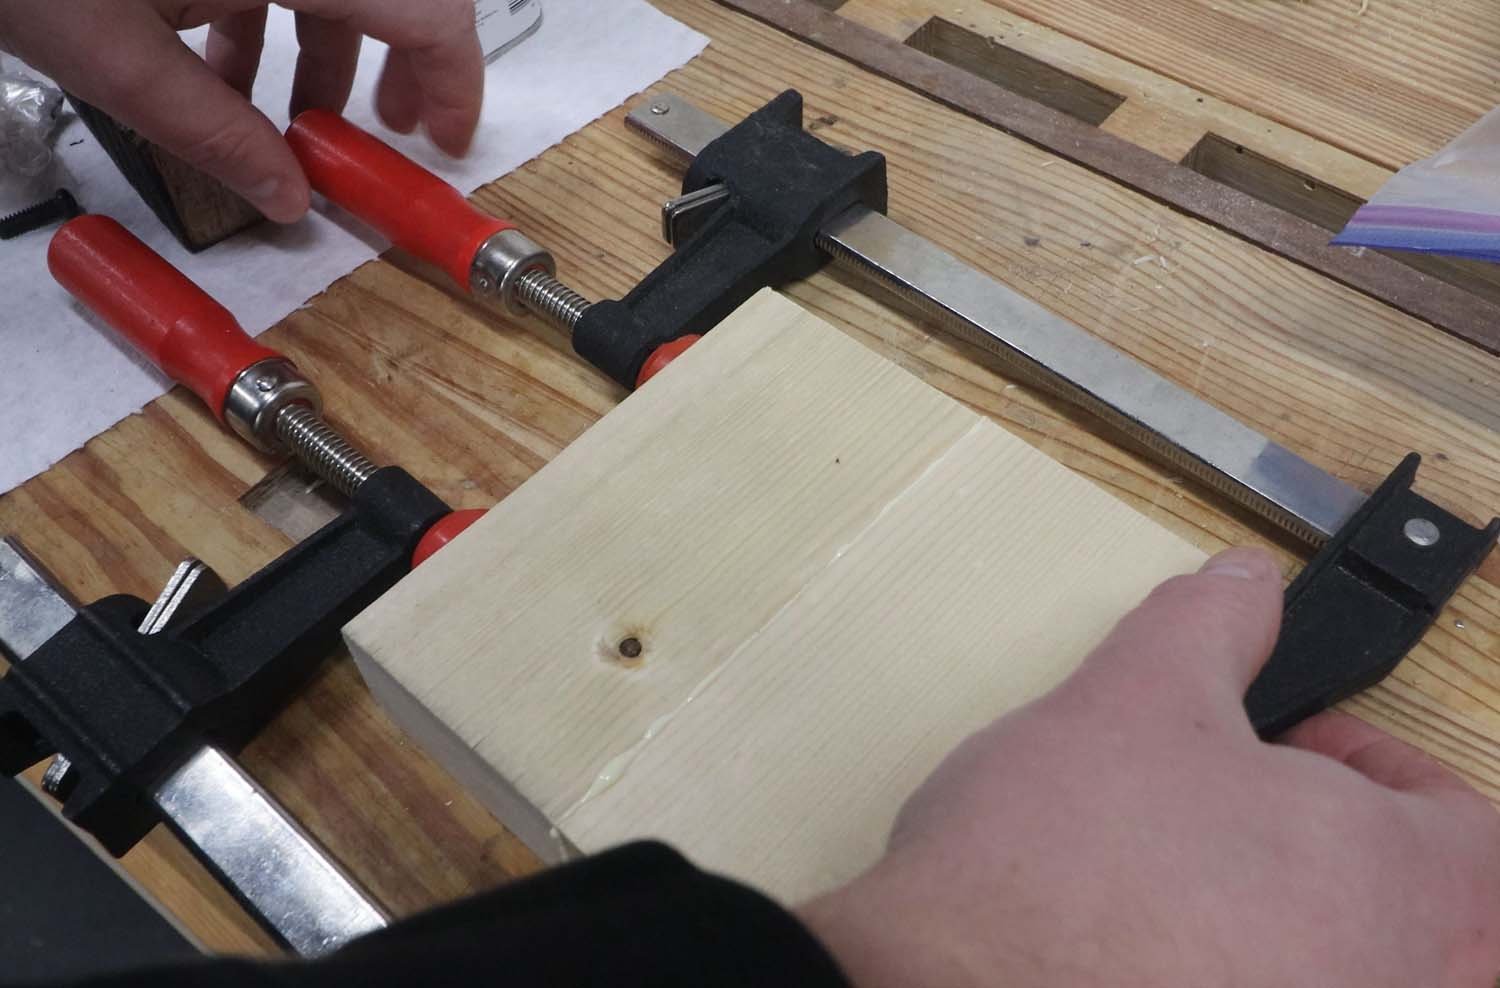
Once the handle fit nicely in the dado, I ripped the collar in half down the glue line. The fit needed to be loosened out so that the bolts could actually clamp the collar to the hose, so I took a bit more off the collar with the table saw.
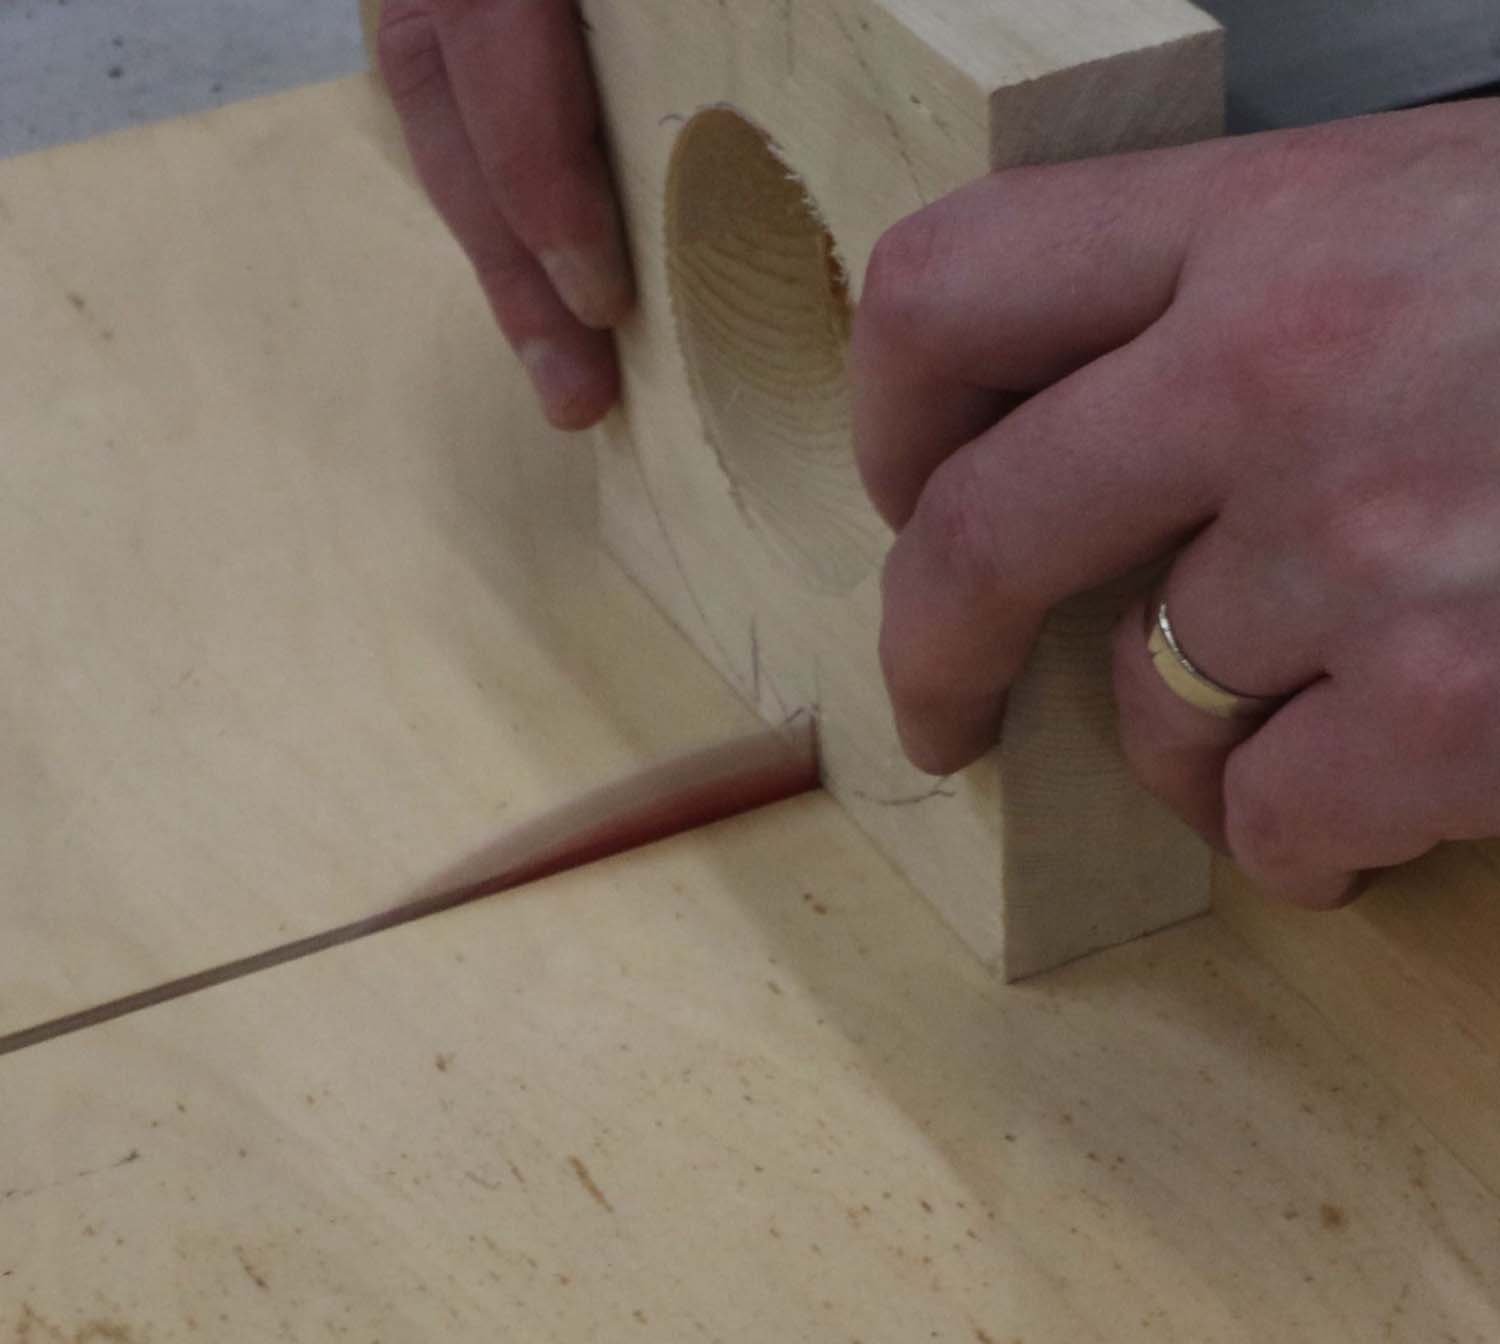
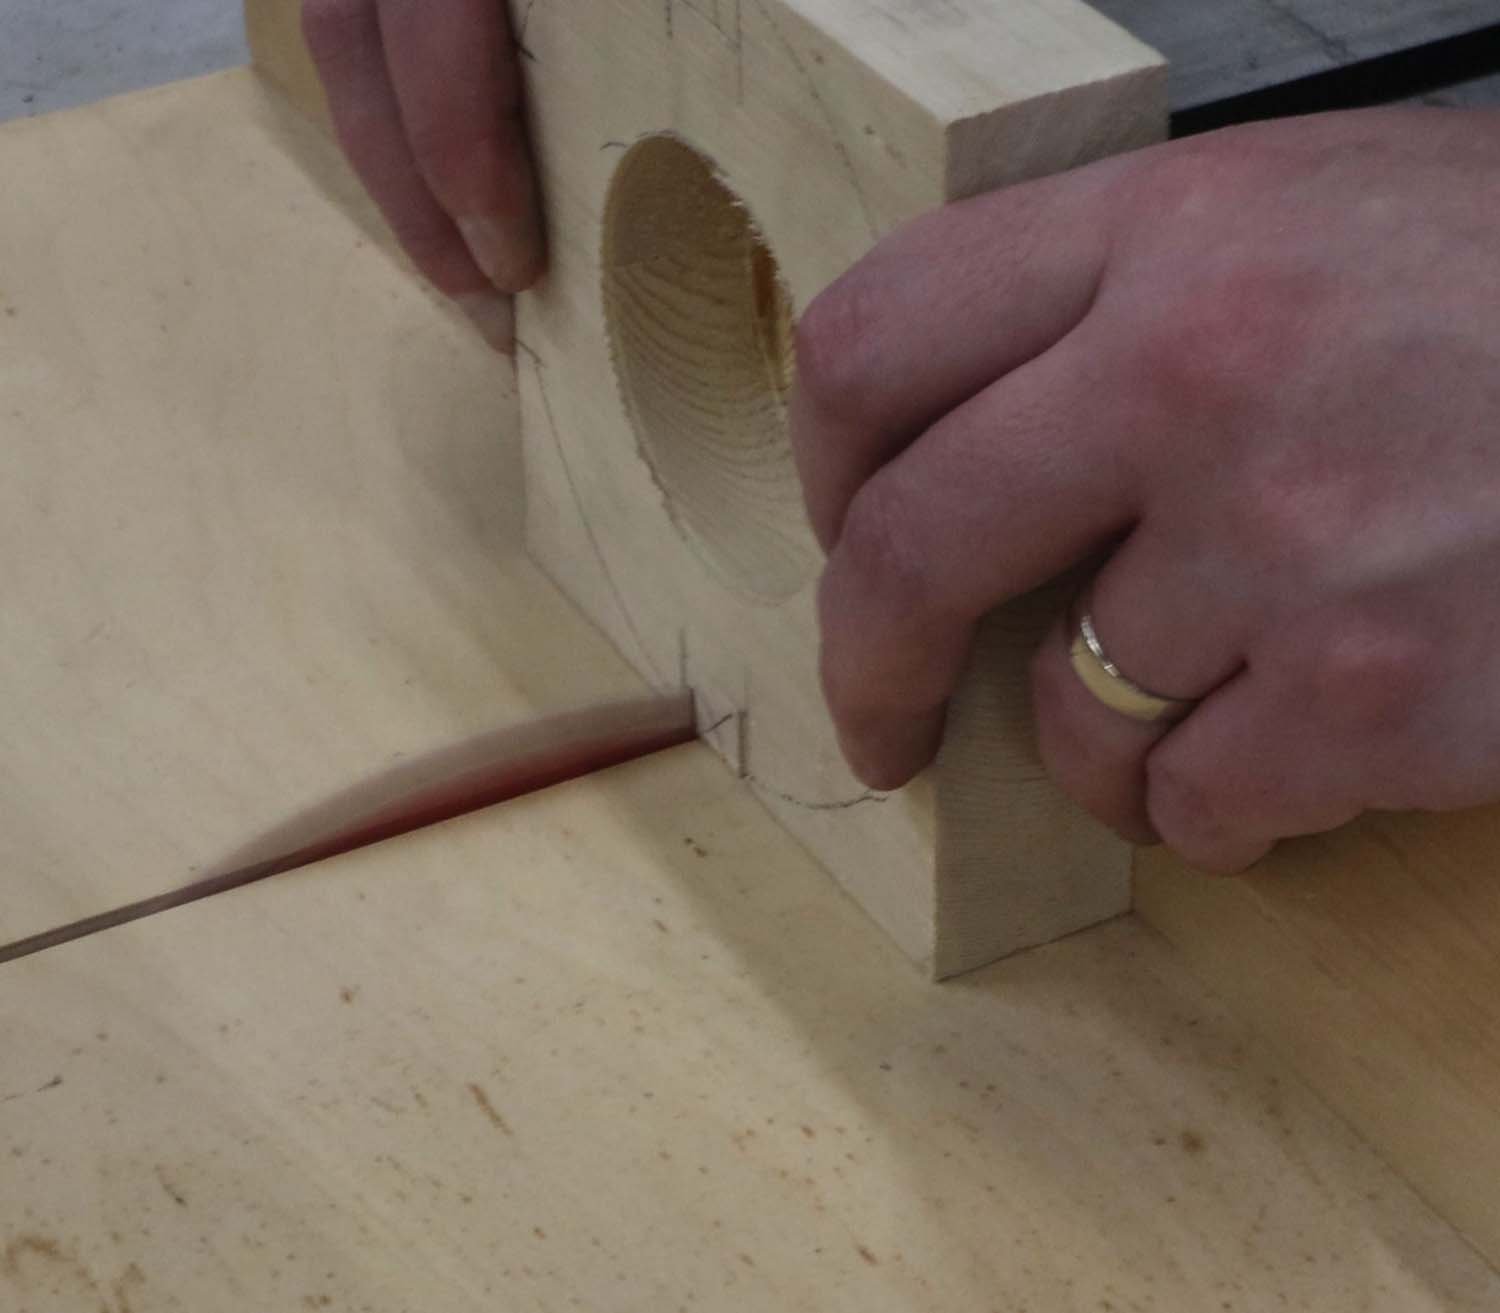
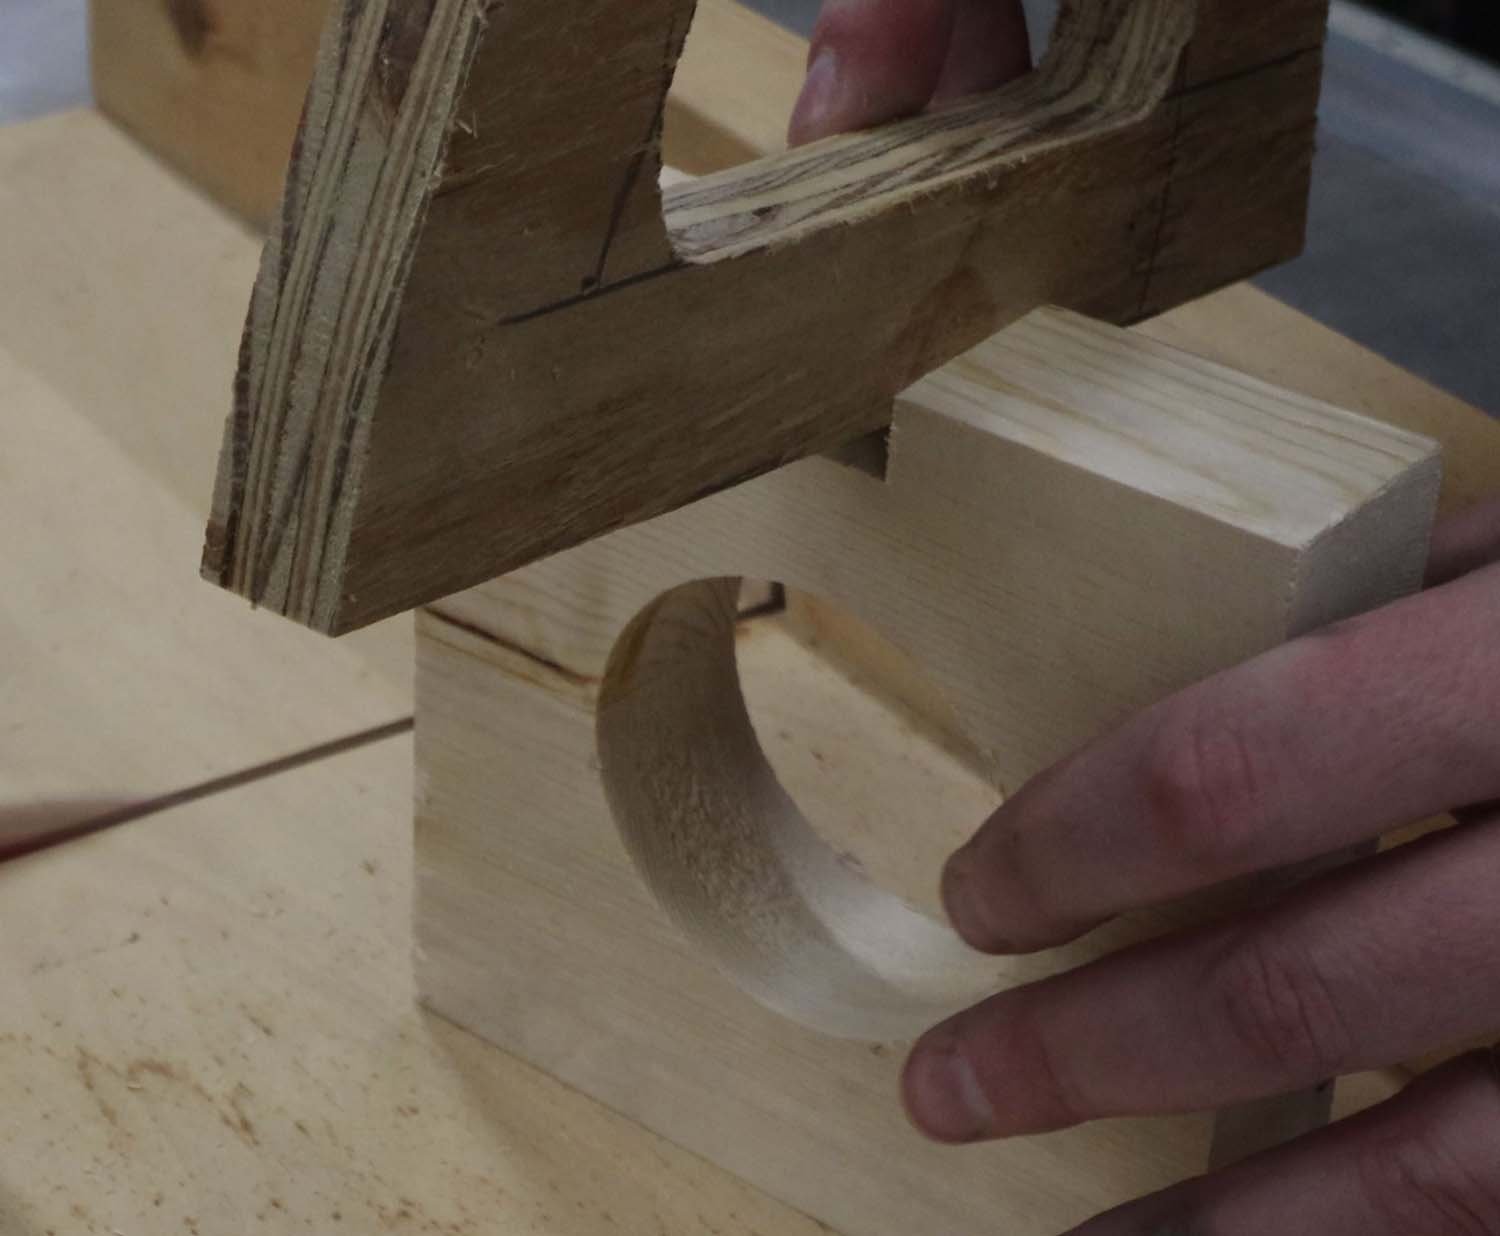
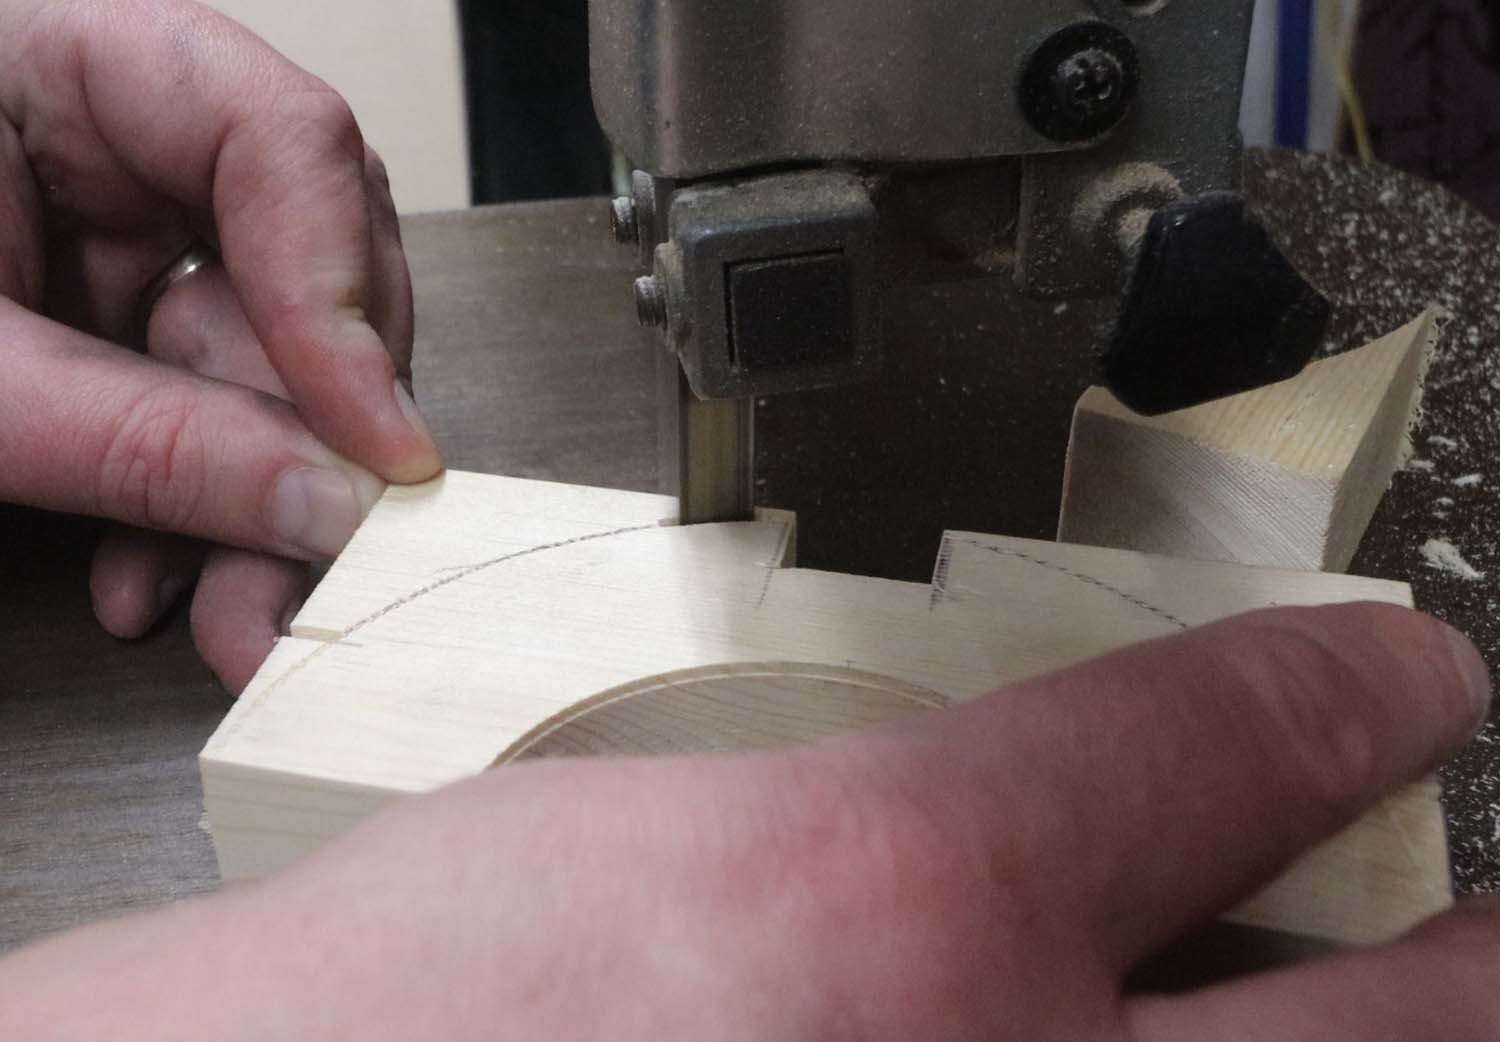
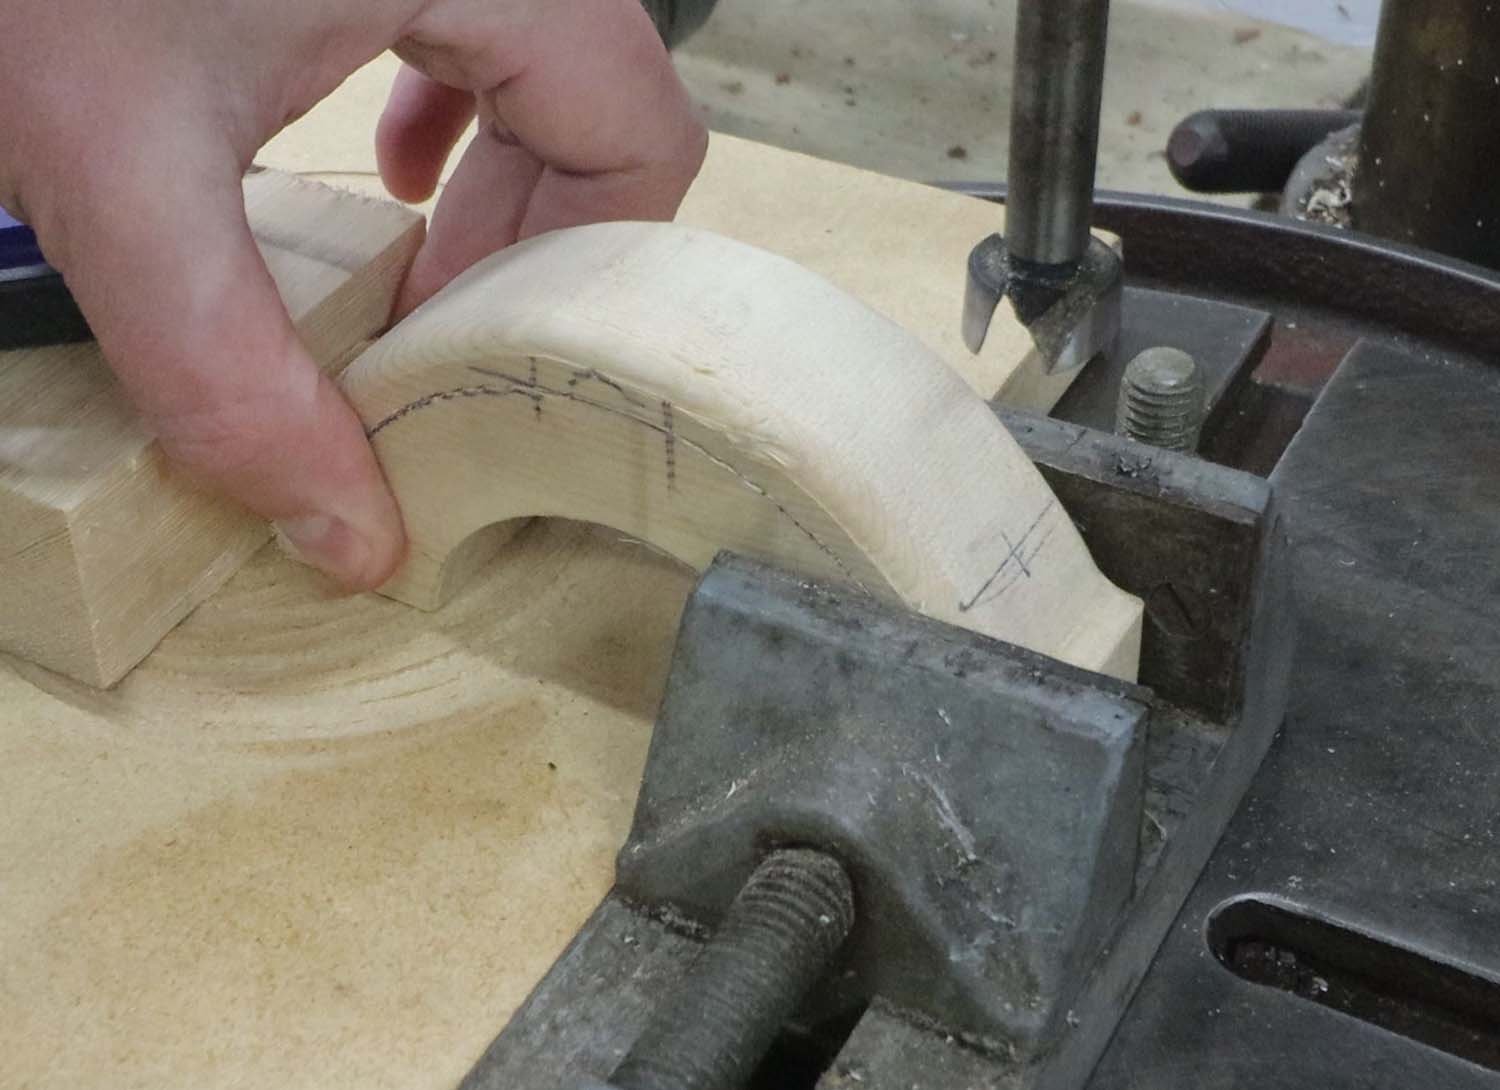
After that, I cut out the shape of the collars on the bandsaw.
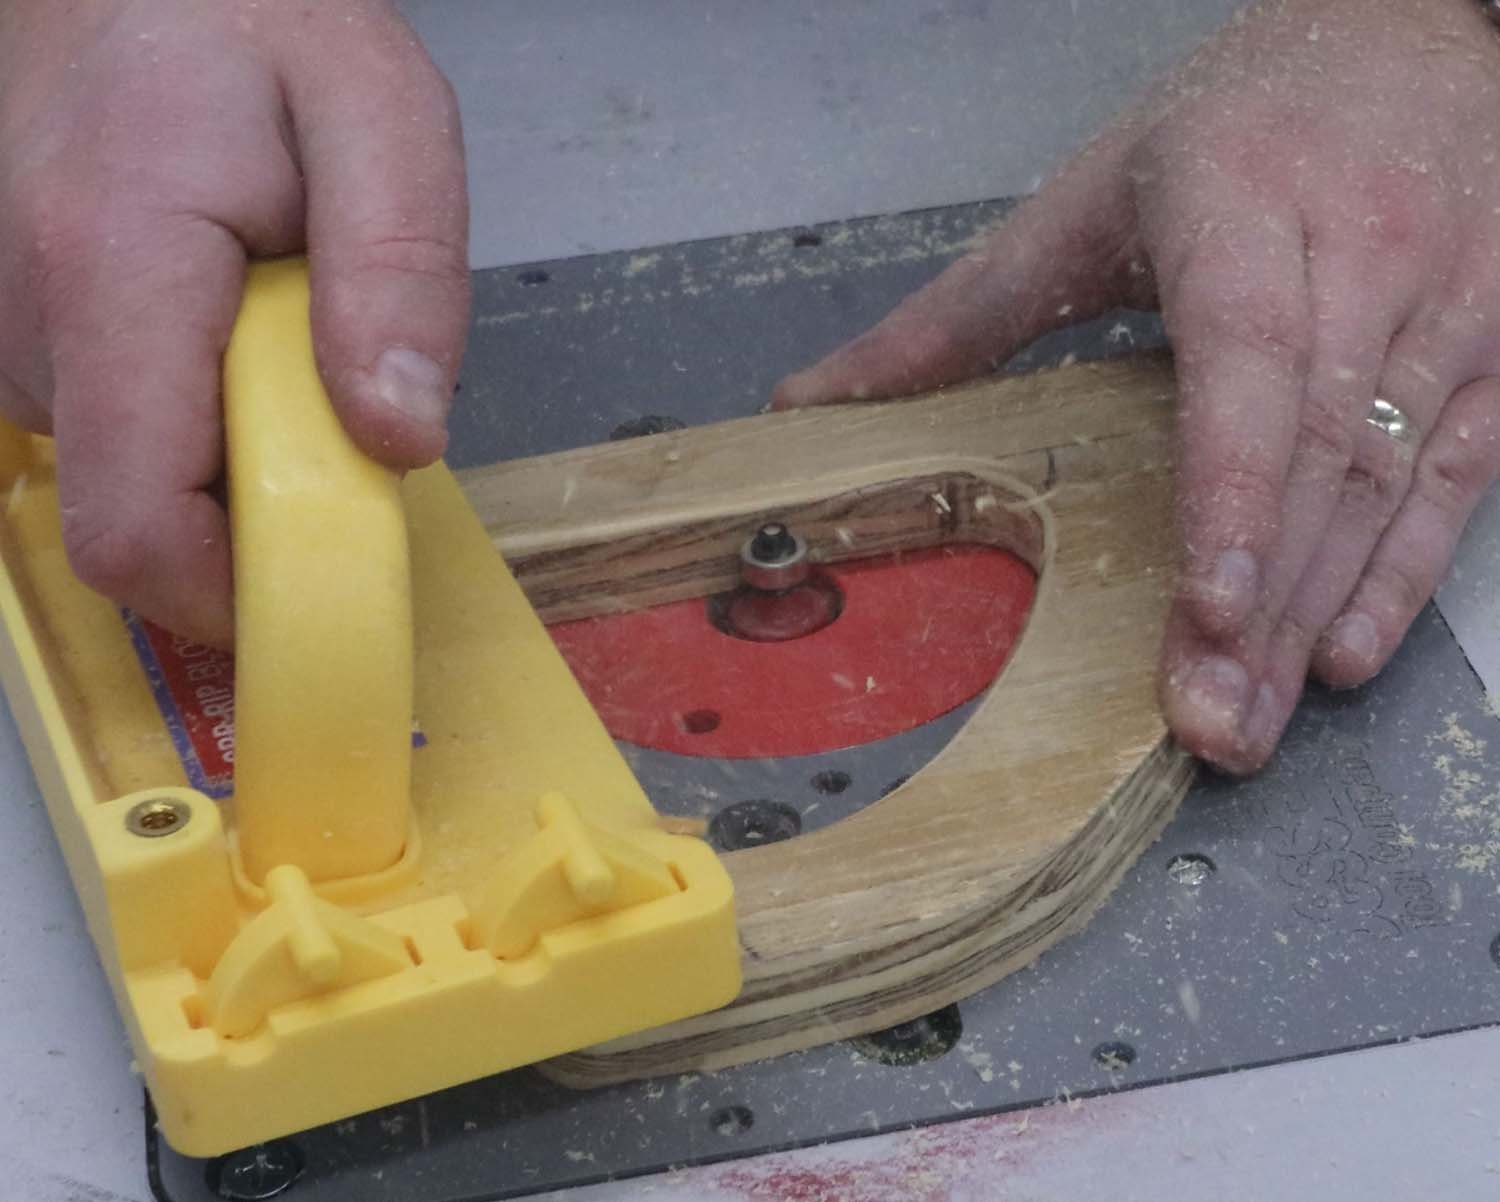
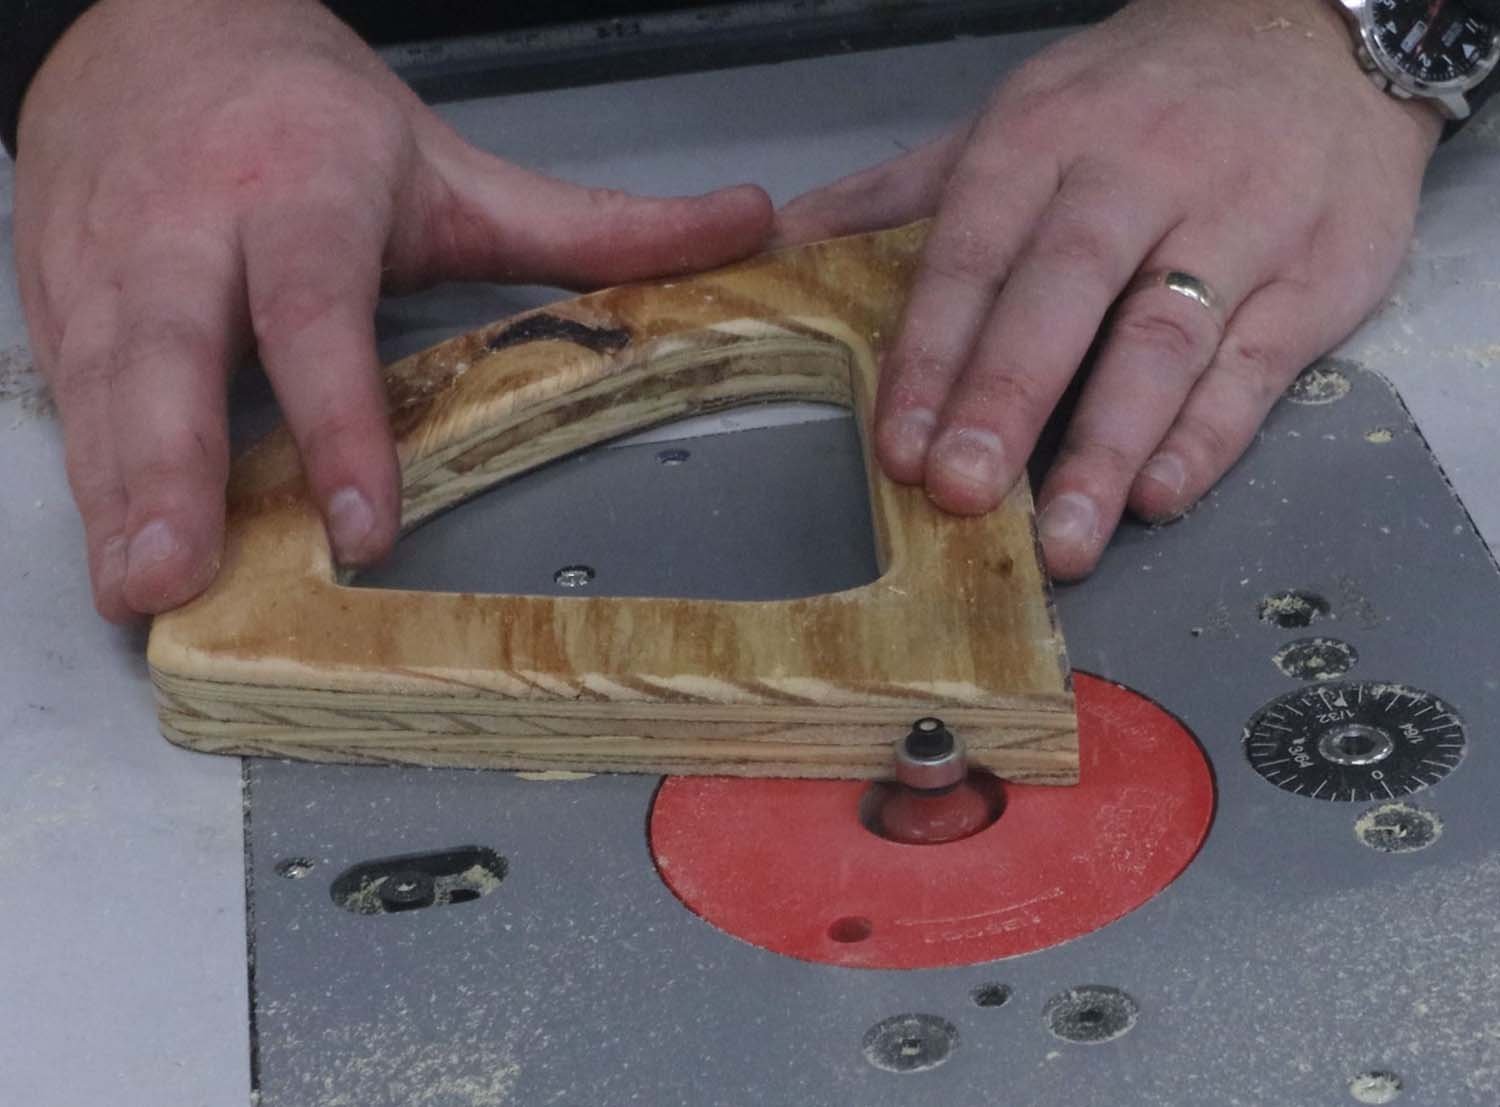
To make it more comfortable to hold, I rounded over the corners of the handle and the collars with the router.
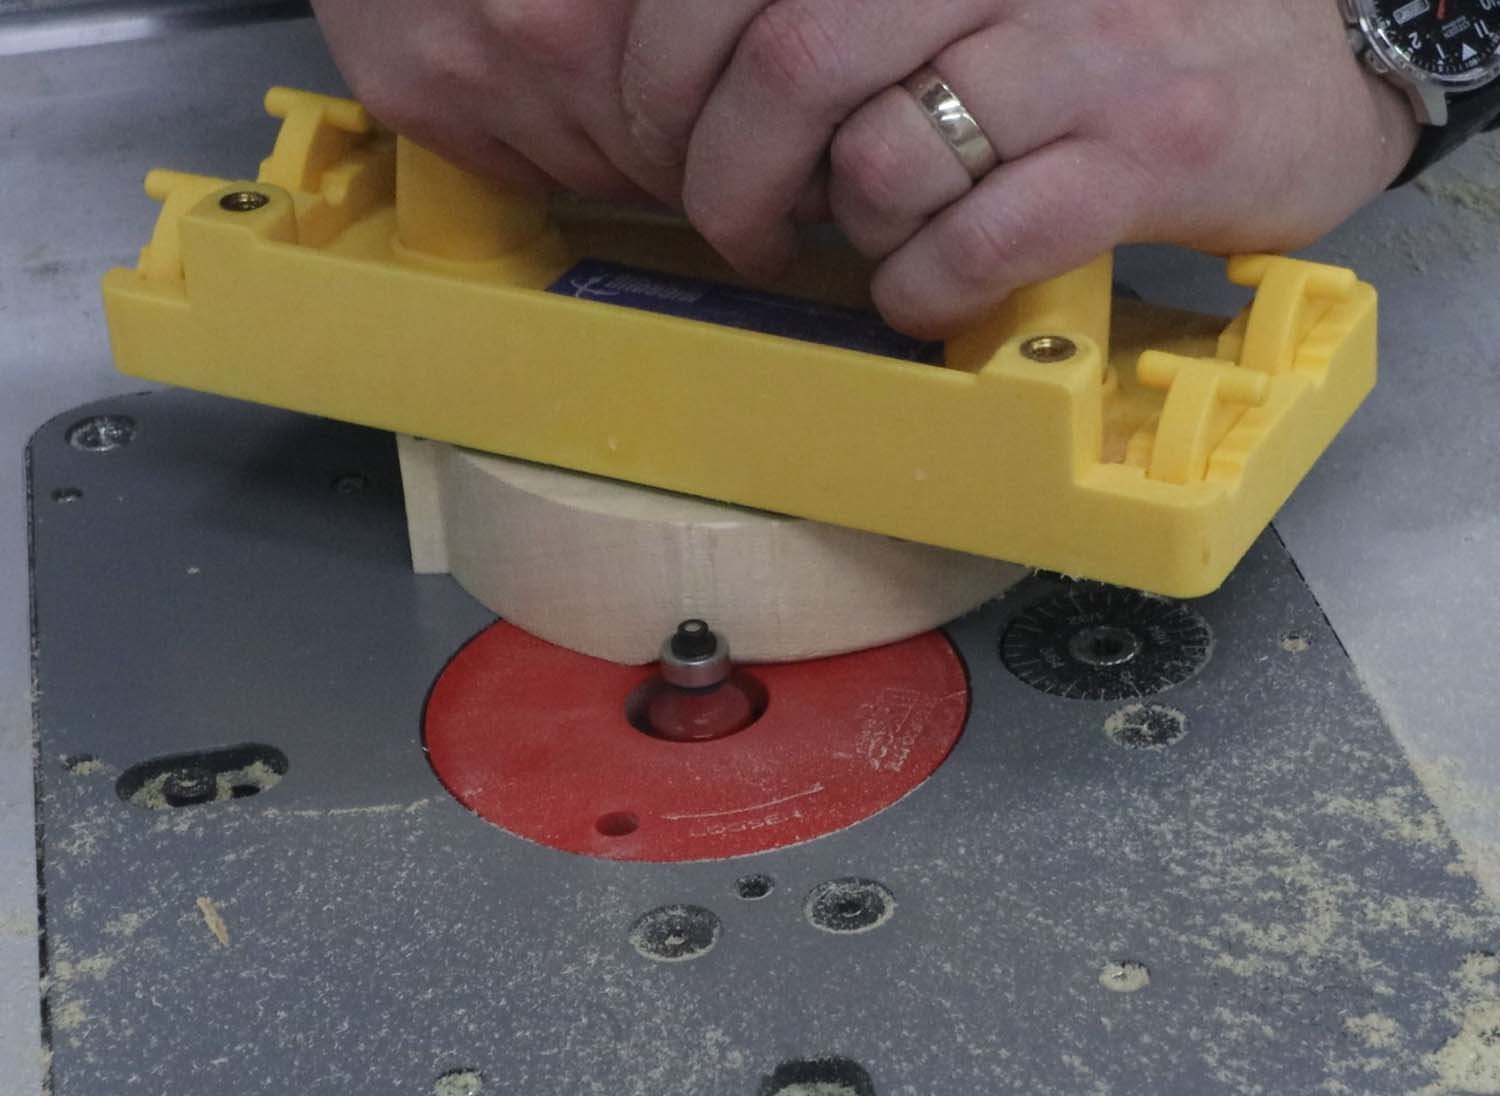
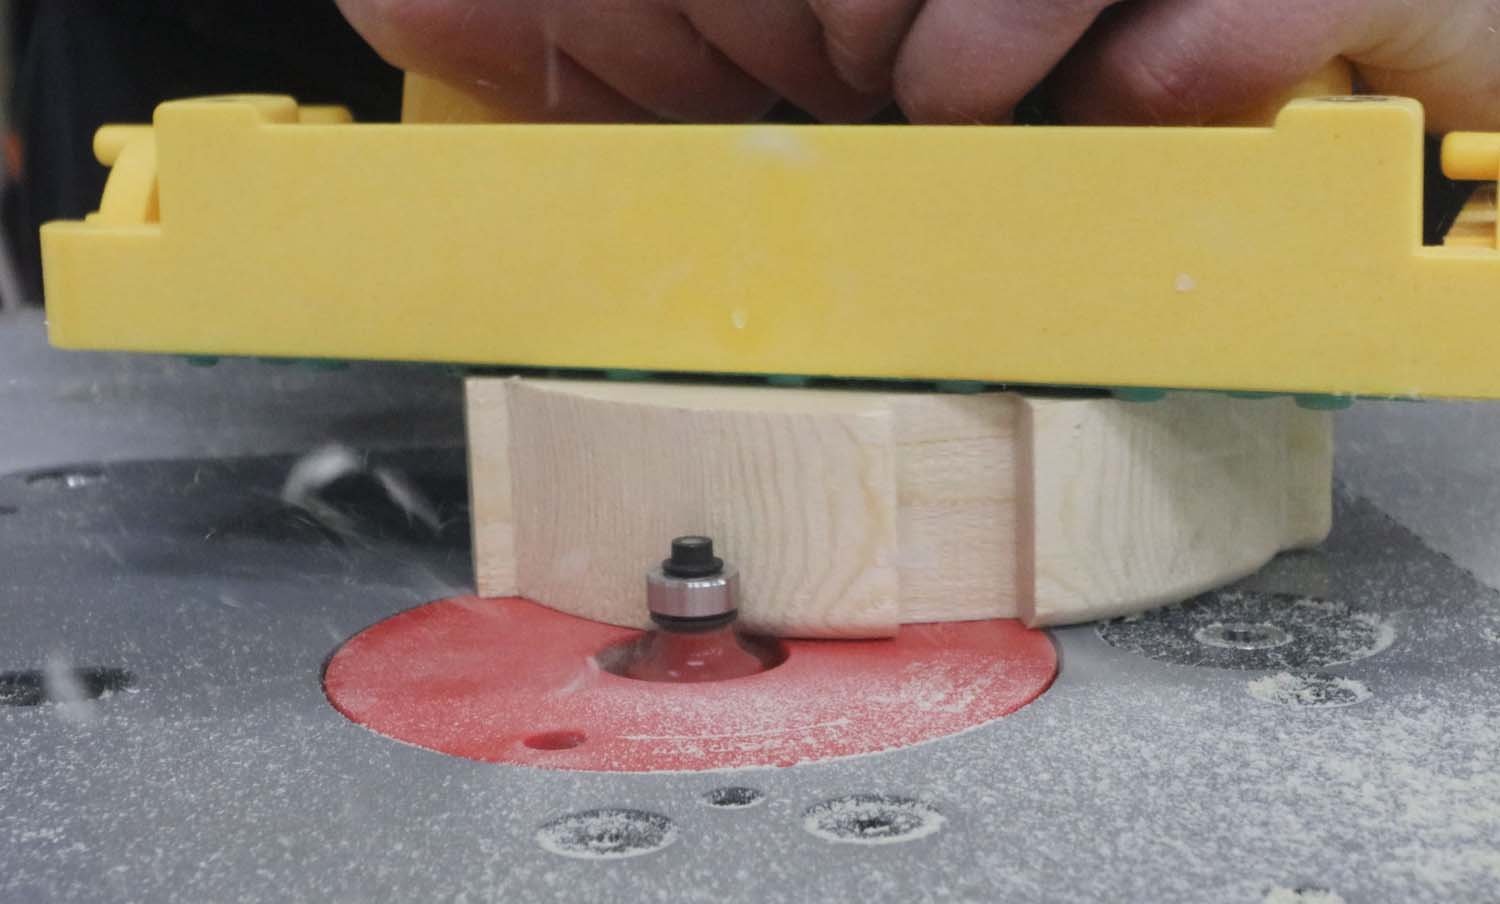
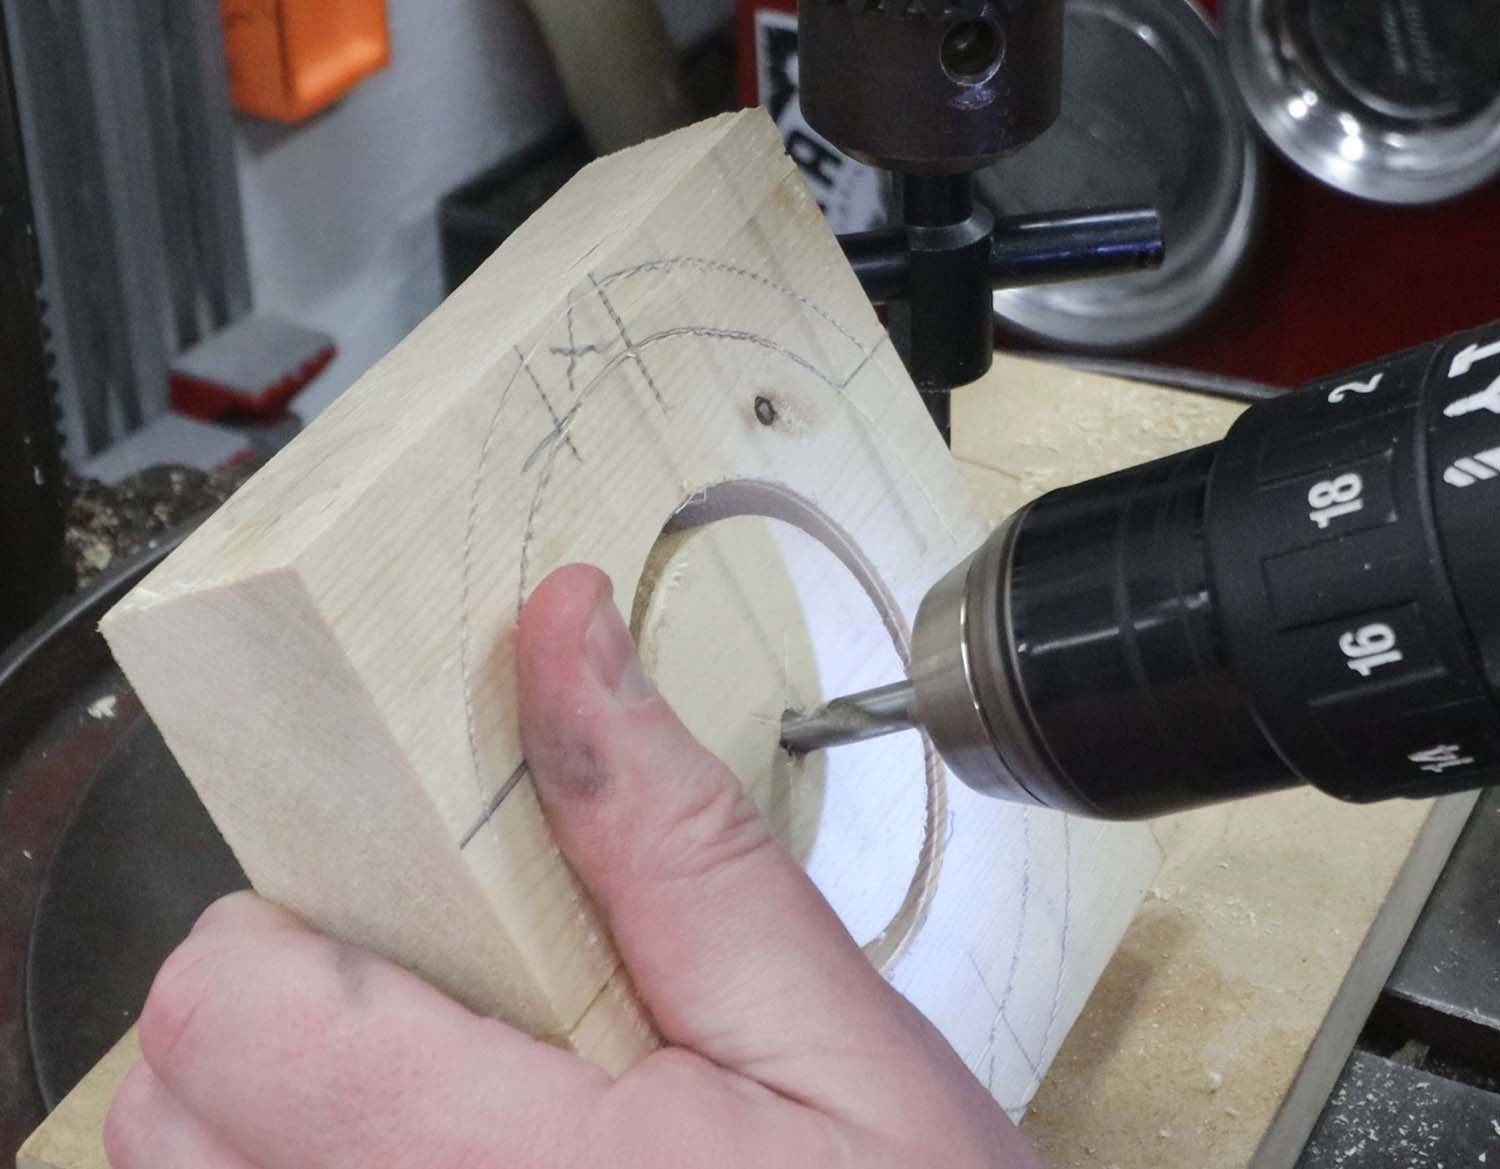
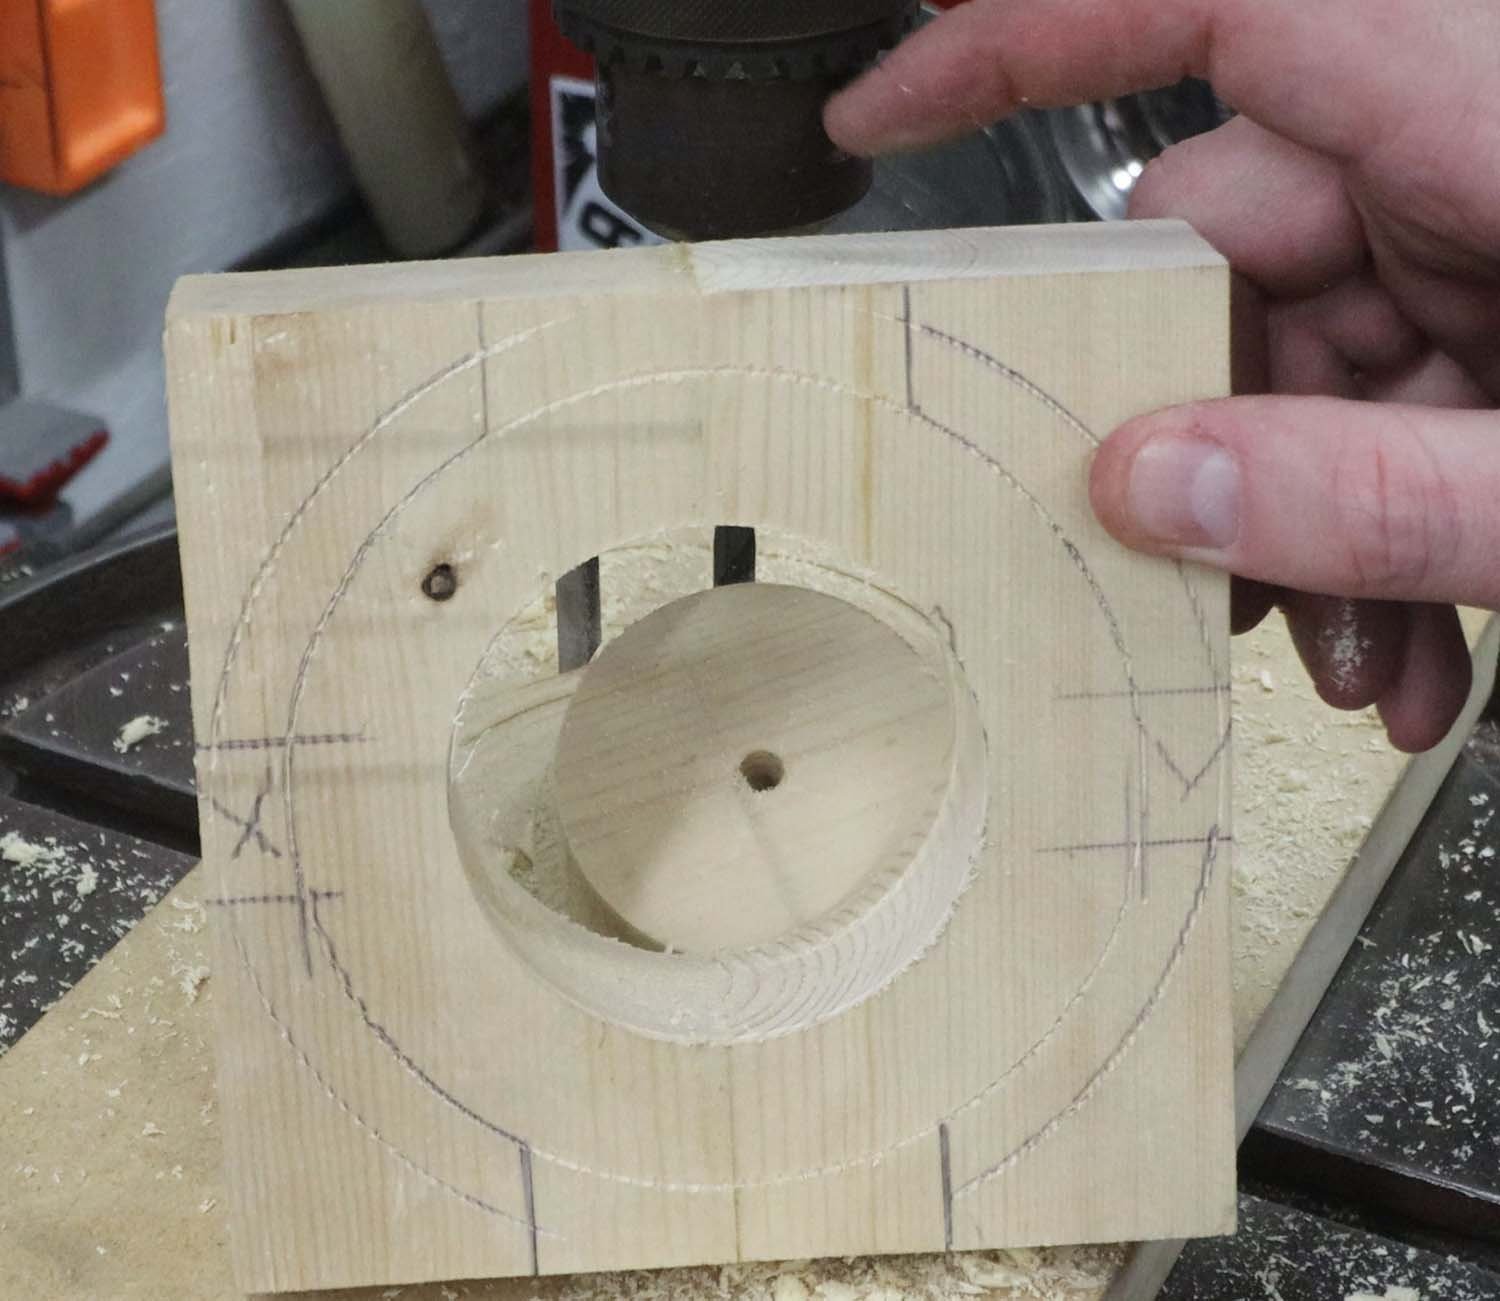
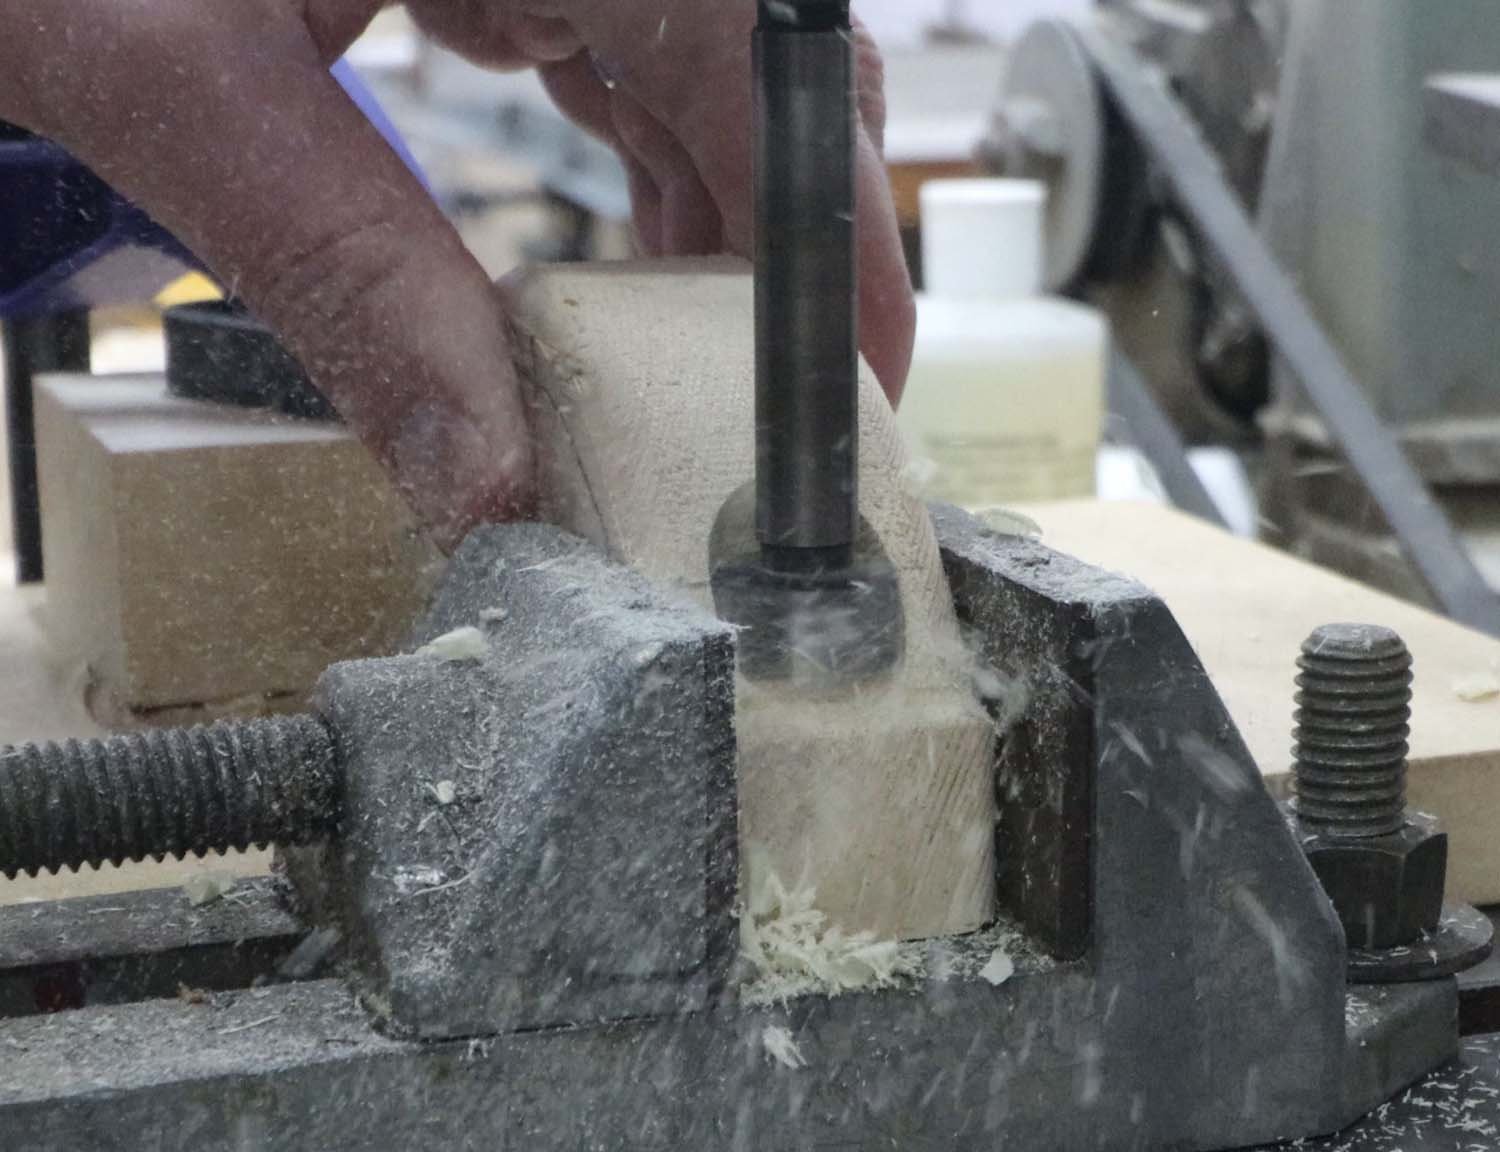
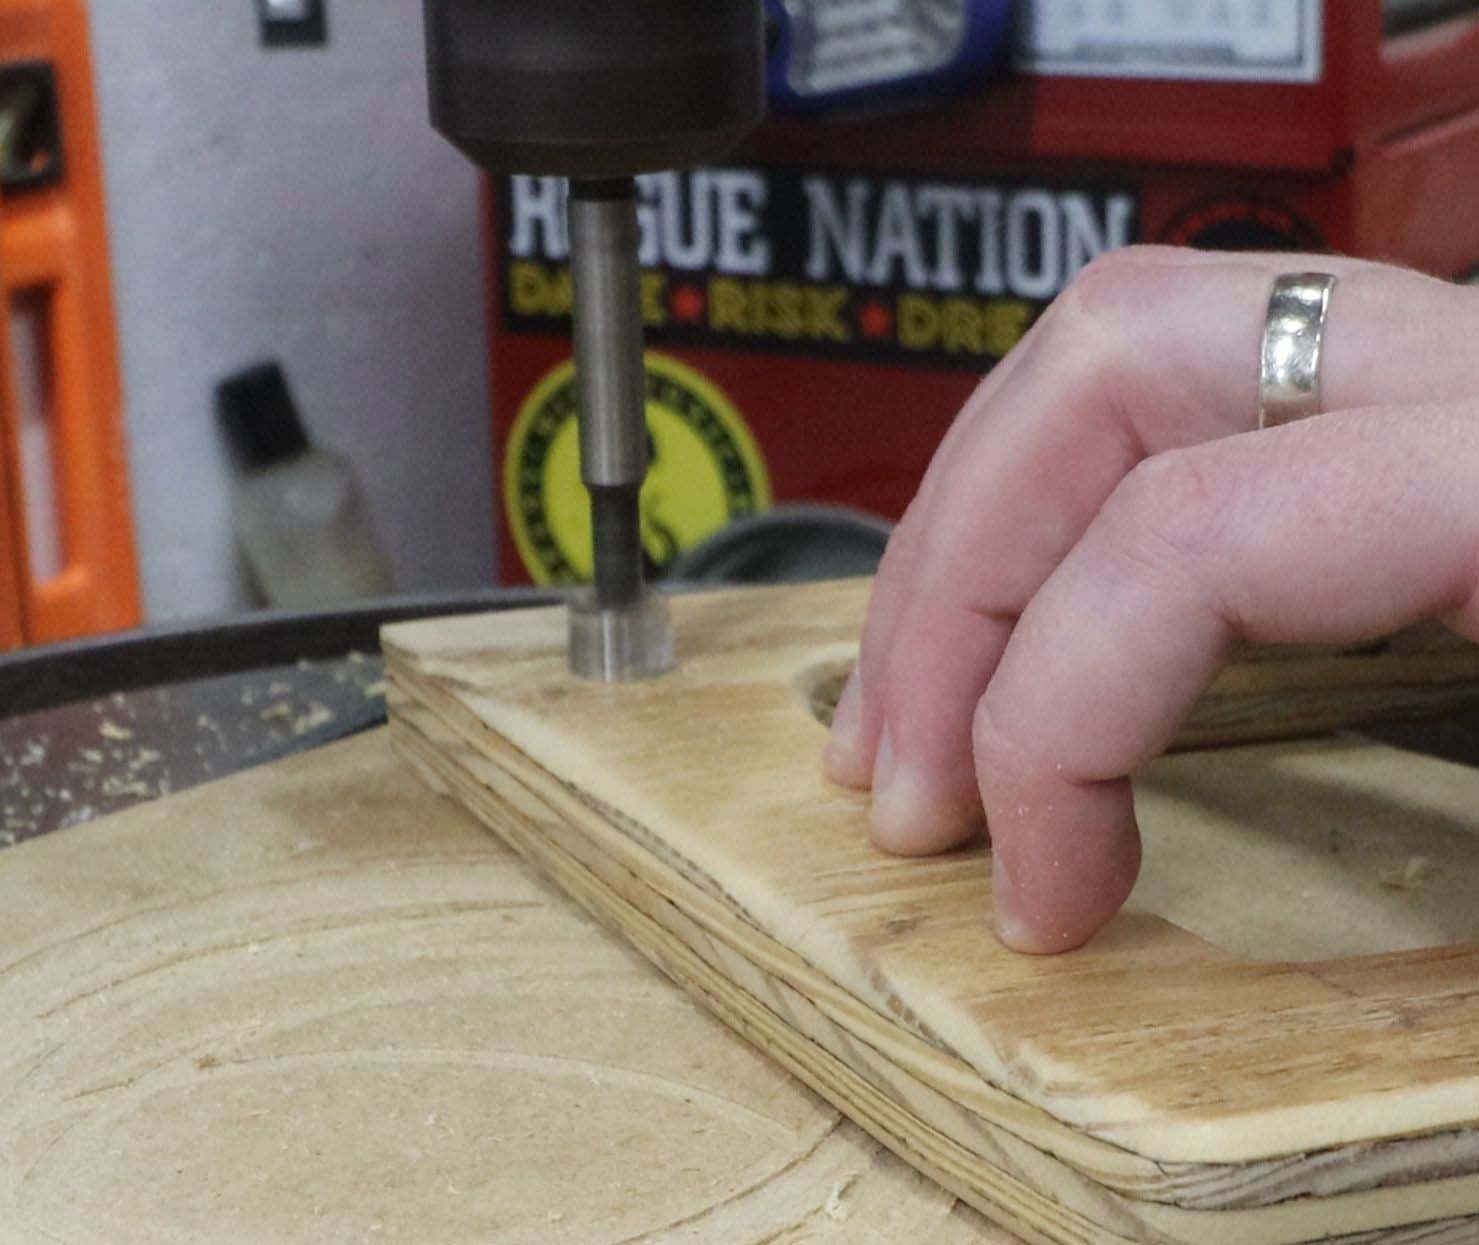
The flanges on the collar need a counterbore for the washers, which I made easier with this setup. Trying to do this freehand would be practically impossible and very inaccurate. I used a Forstner bit here since they can drill flat-bottomed holes and don’t mind starting at an angle when used in a drill press.
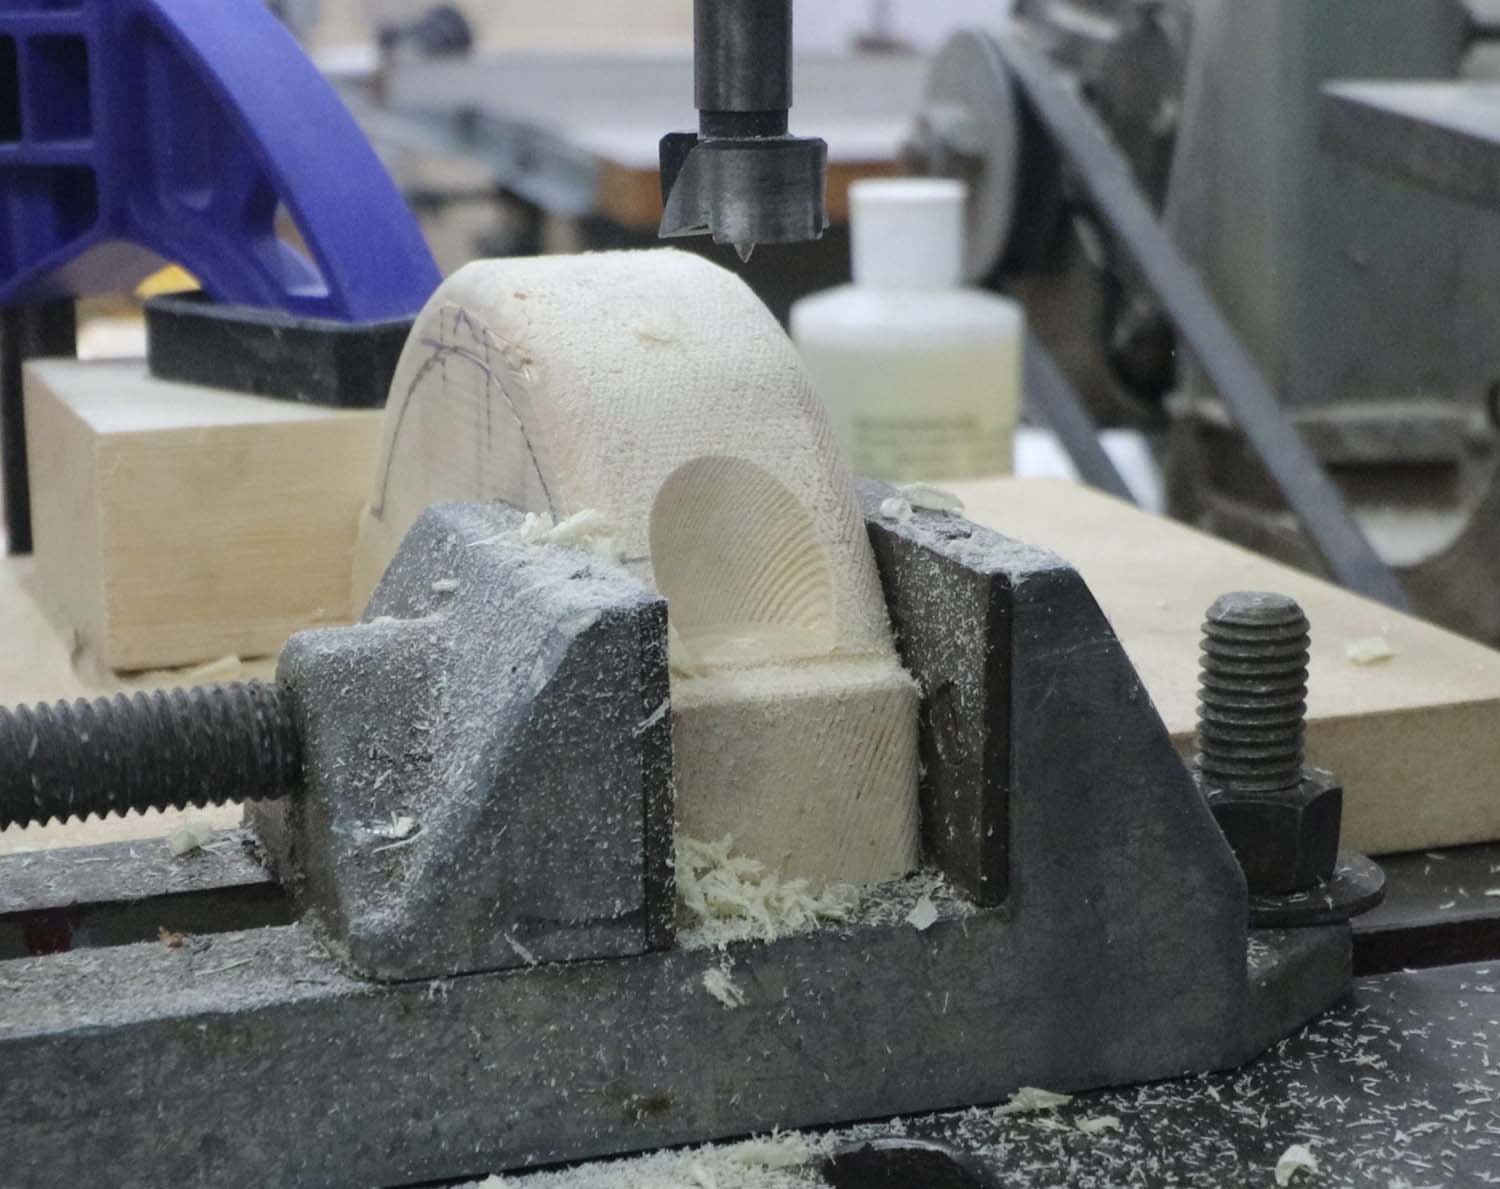
Then, with the setup kept the same as it was, I used a smaller bit to drill through for the shank of the bolt.
With all the processing done, I sanded everything smooth and gave it a couple coats of water-based polyurethane.
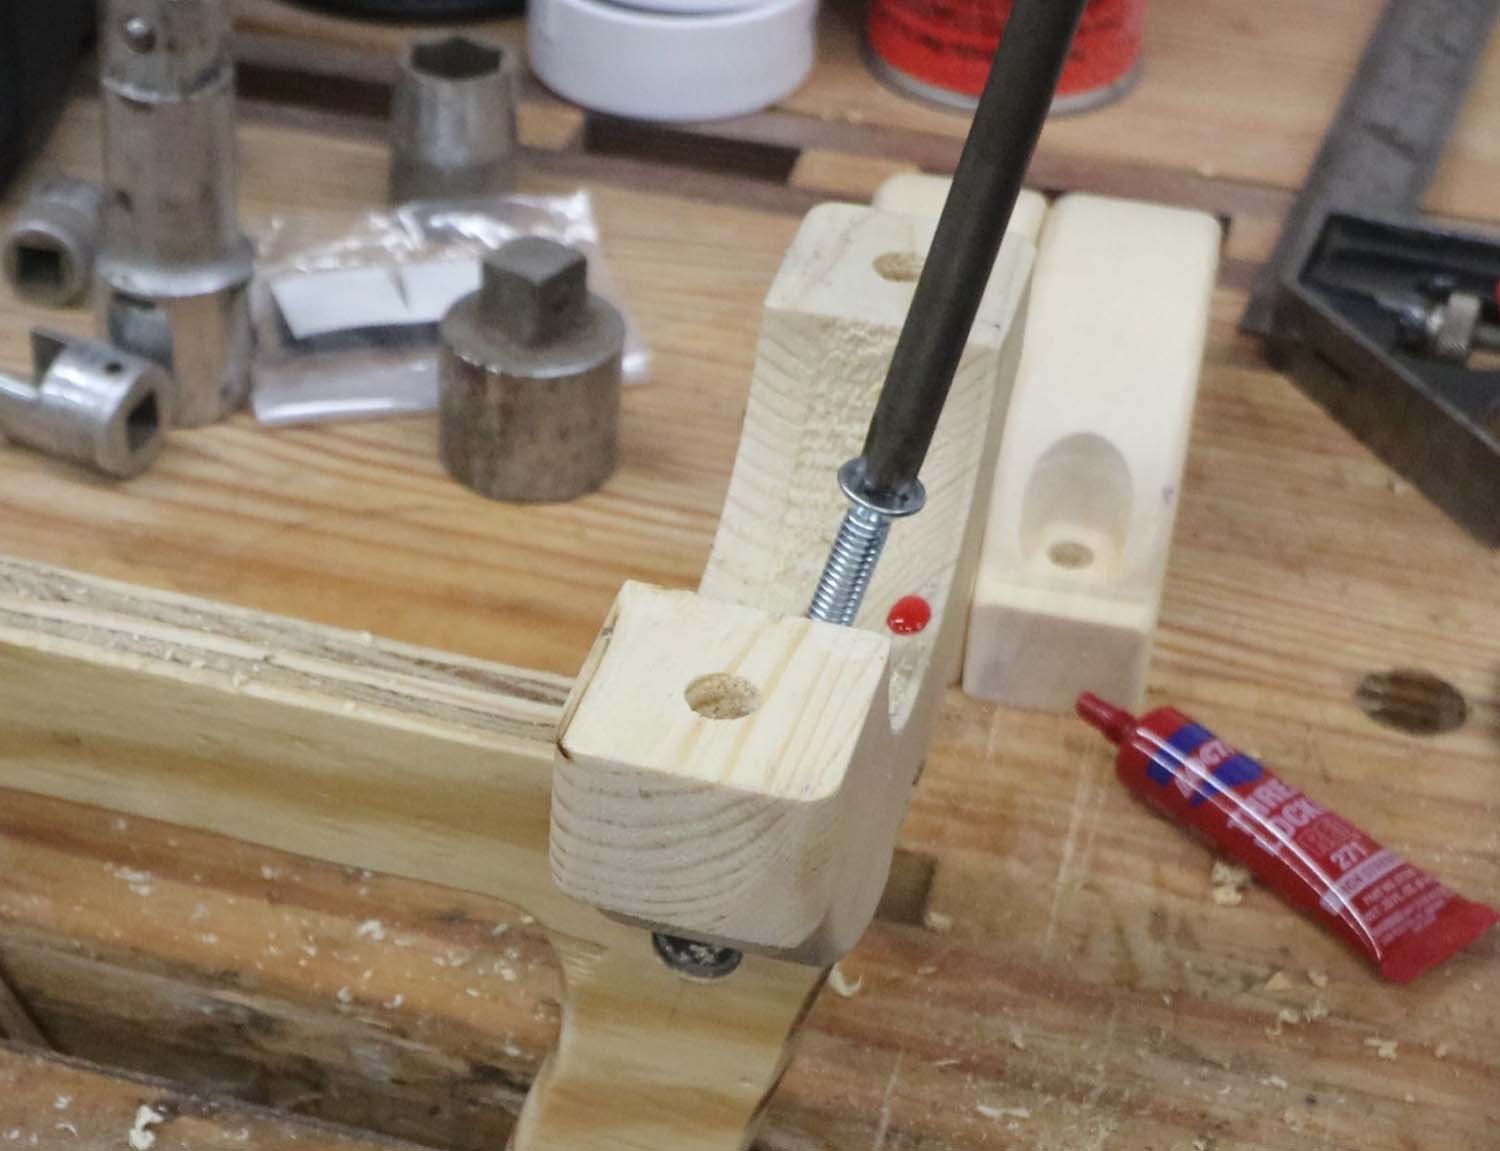
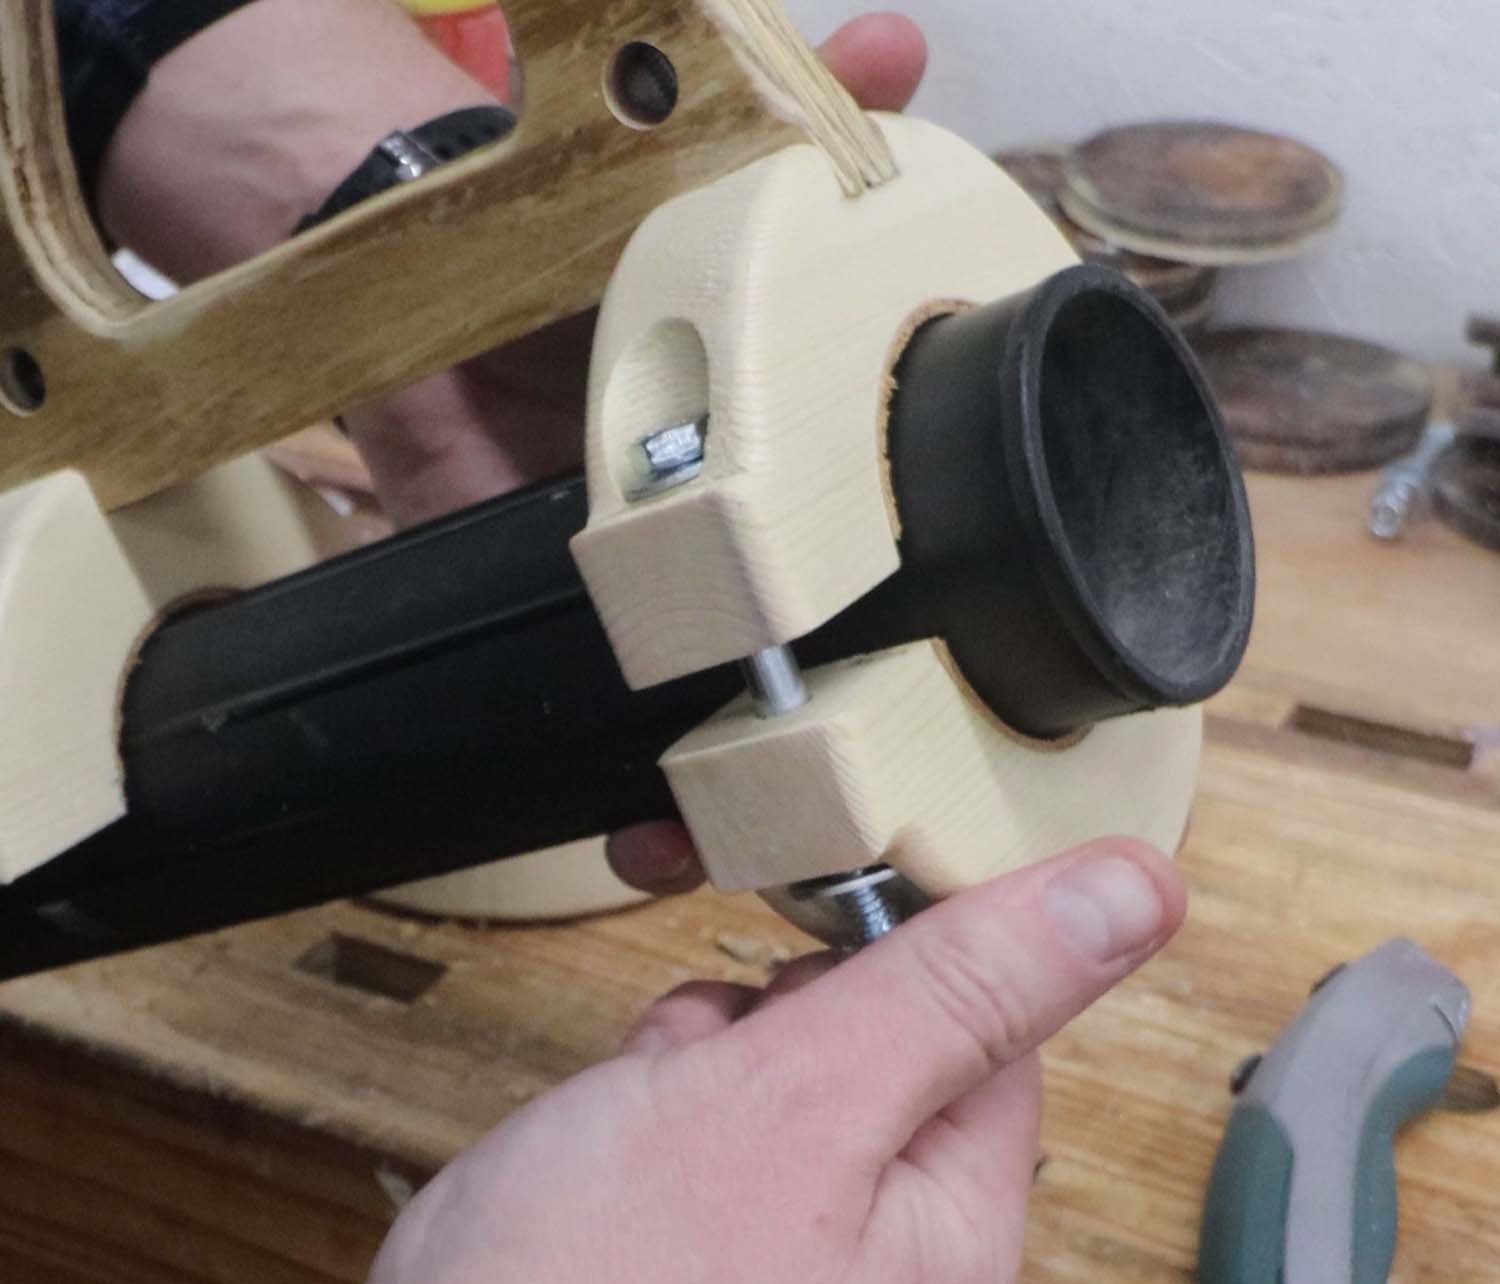
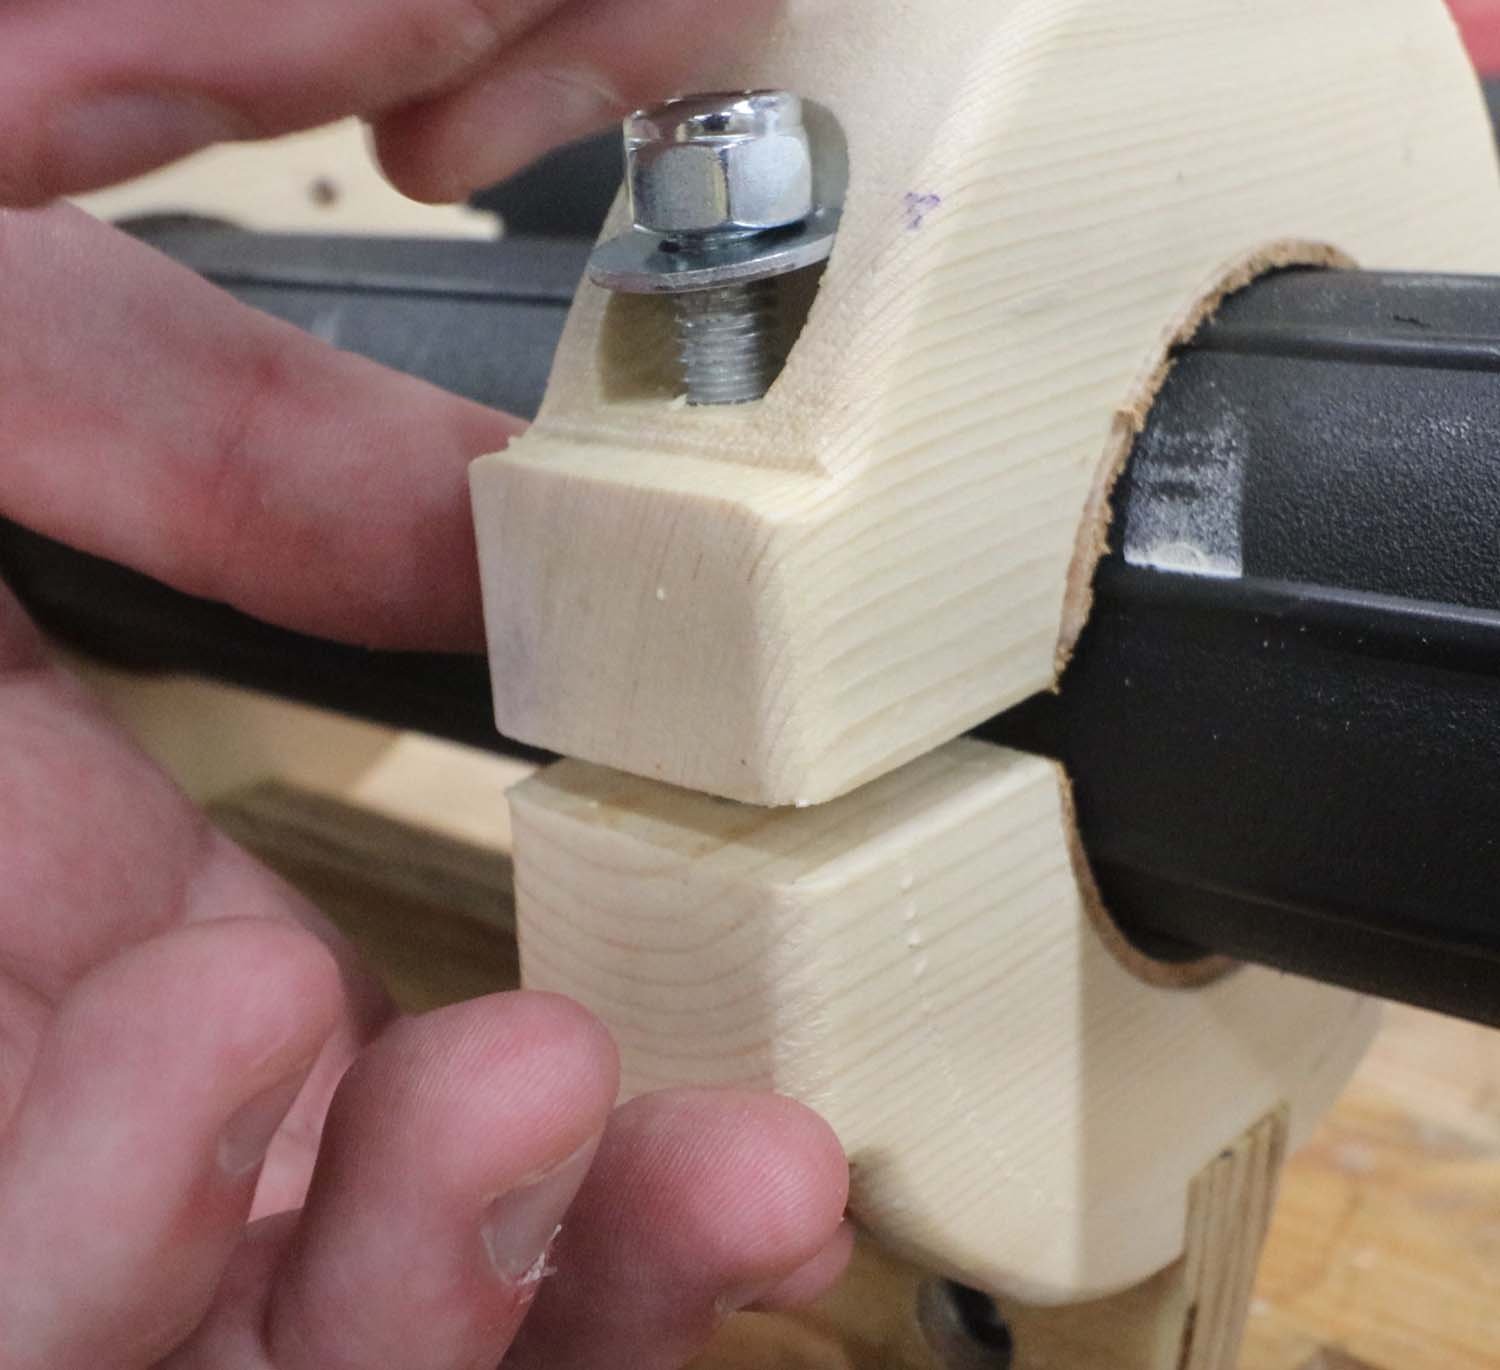
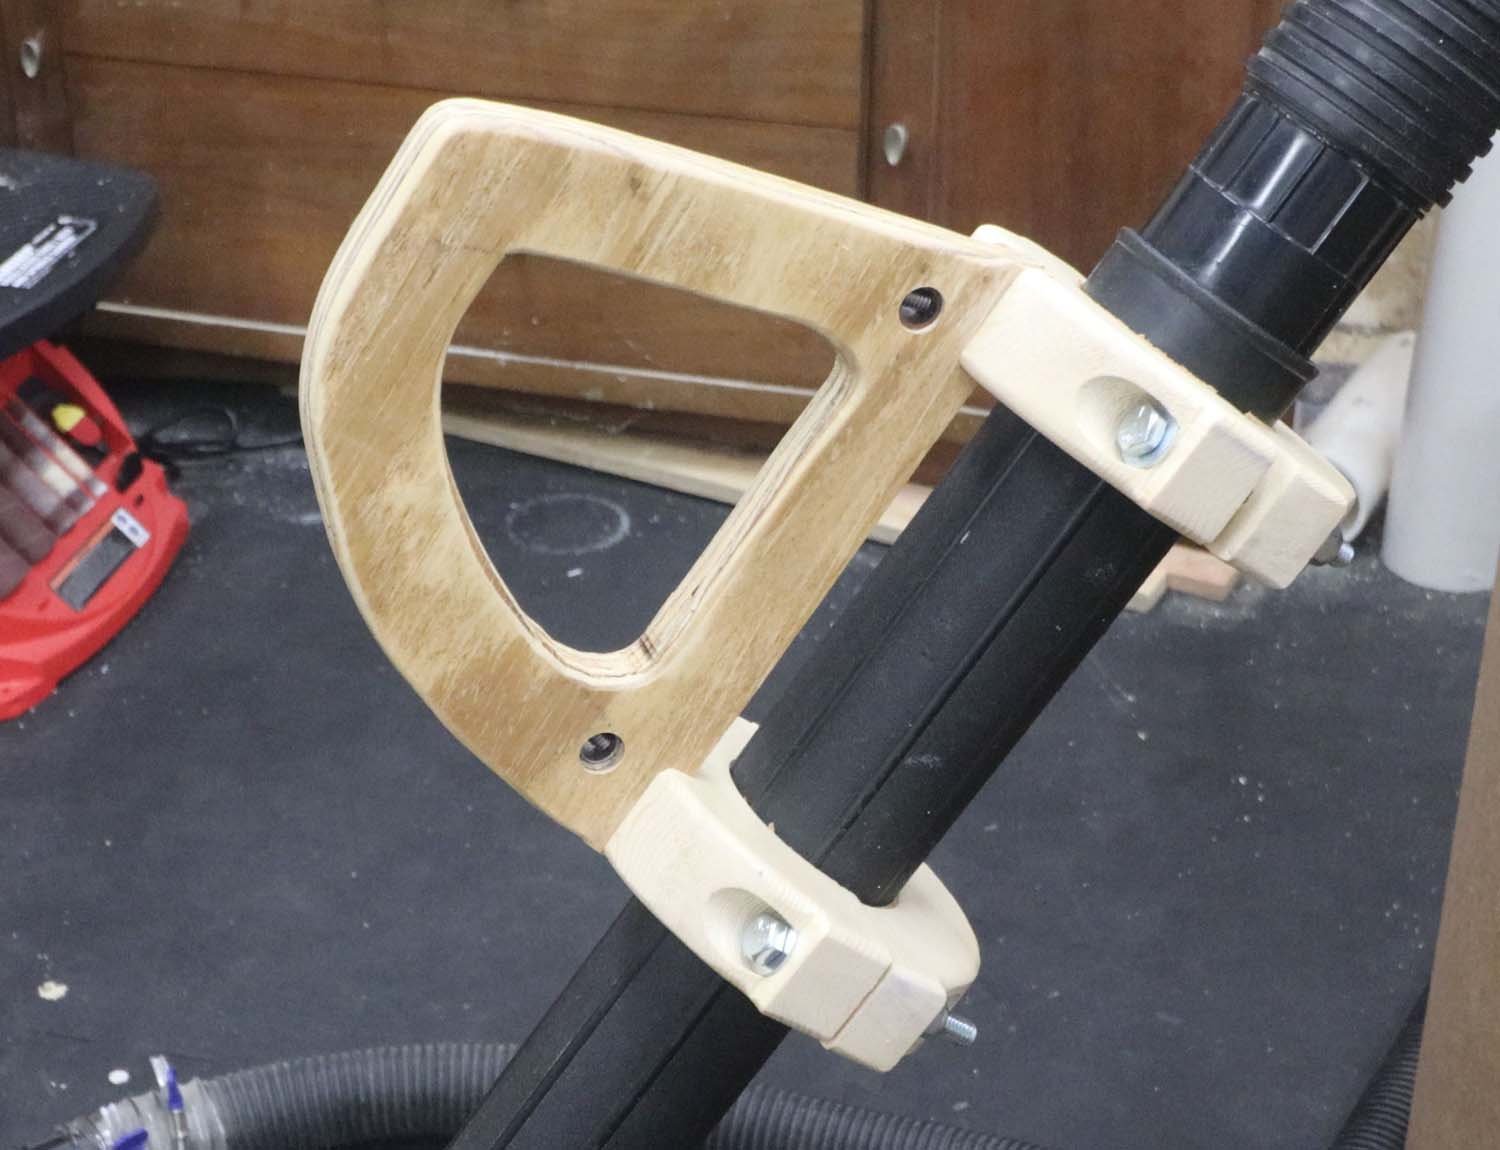
Since glue alone won't be secure enough, I'm using some machine screws with barrel nuts to clamp the handle to the collar. This is similar to the fasteneing system IKEA uses on their furniture. Threading into plywood, especially between the plies, will just cause the plywood to split. This way is much more secure, and I can always tighten it down later if it gets a bit loose.
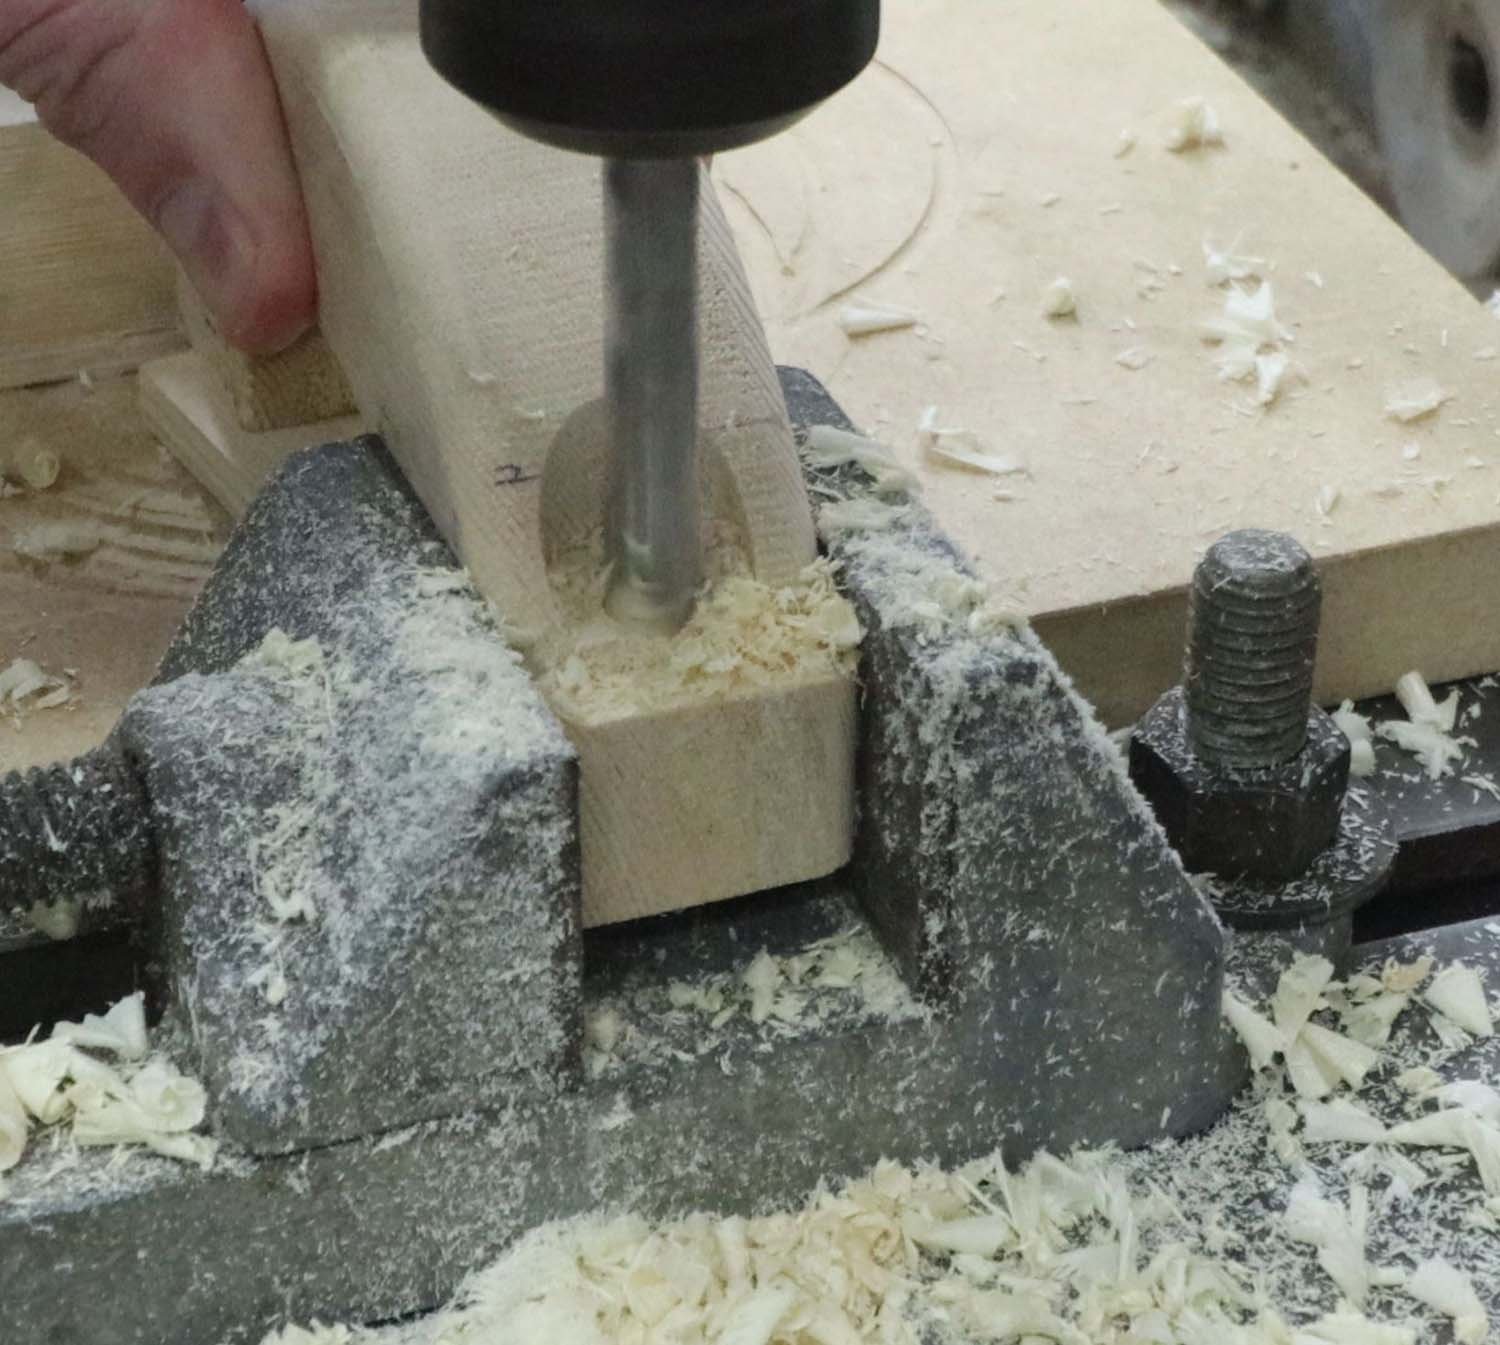
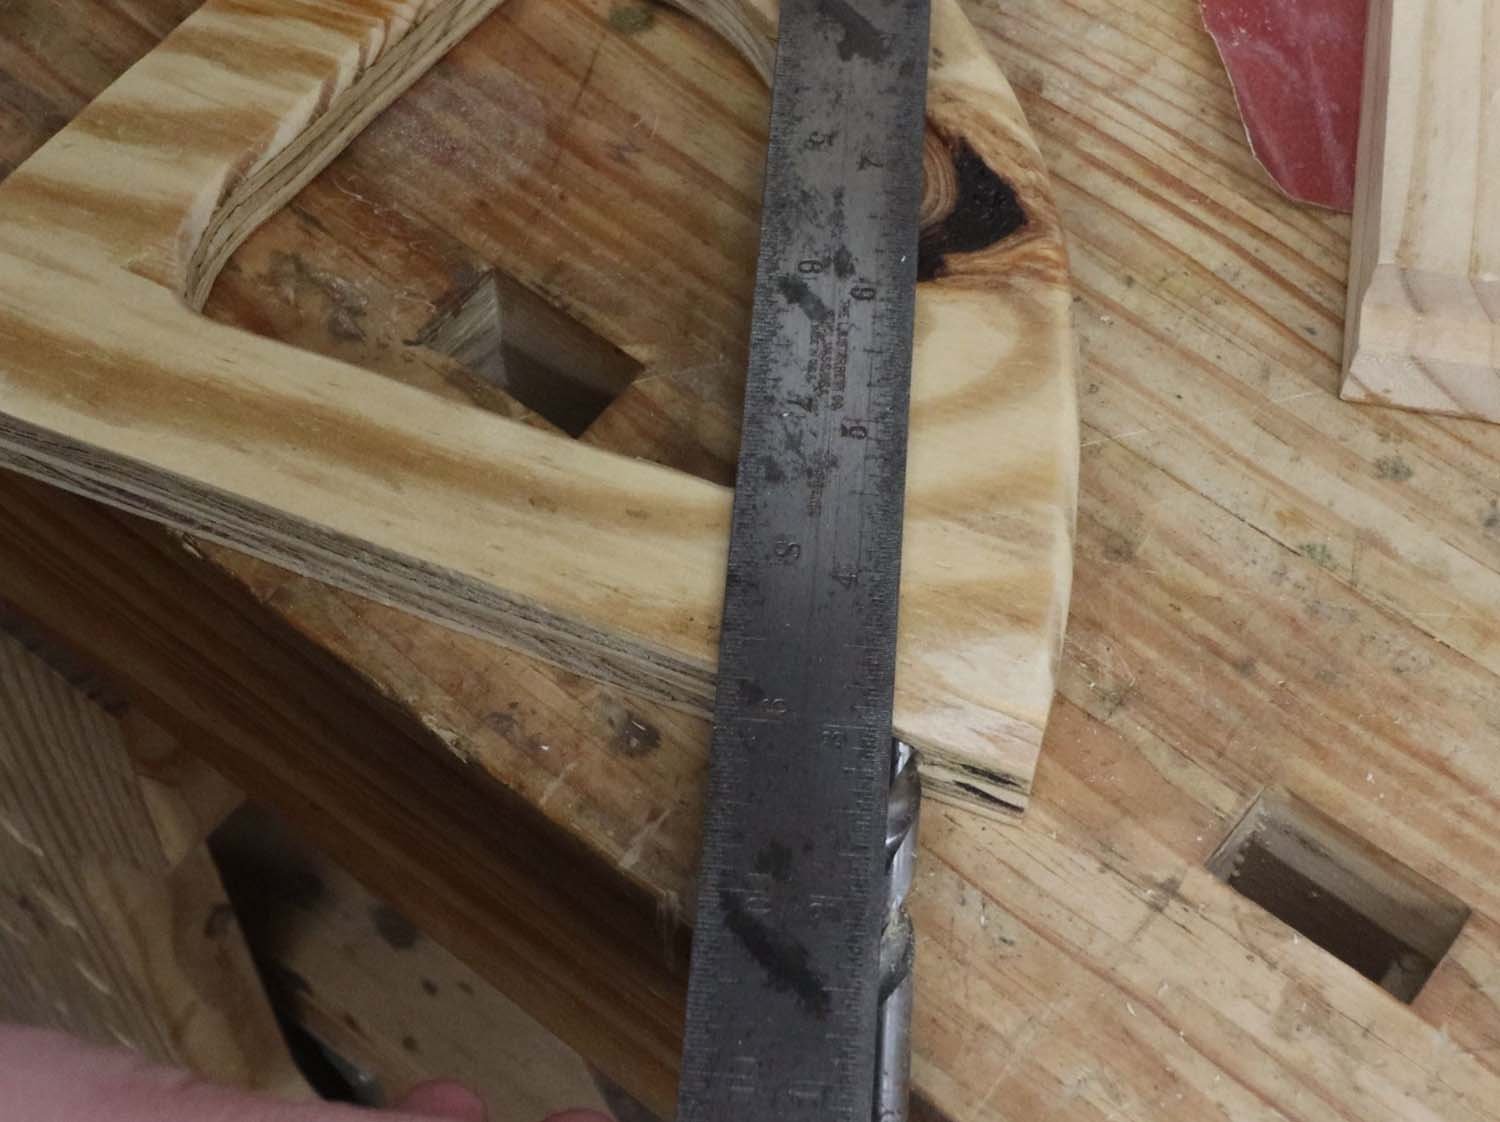
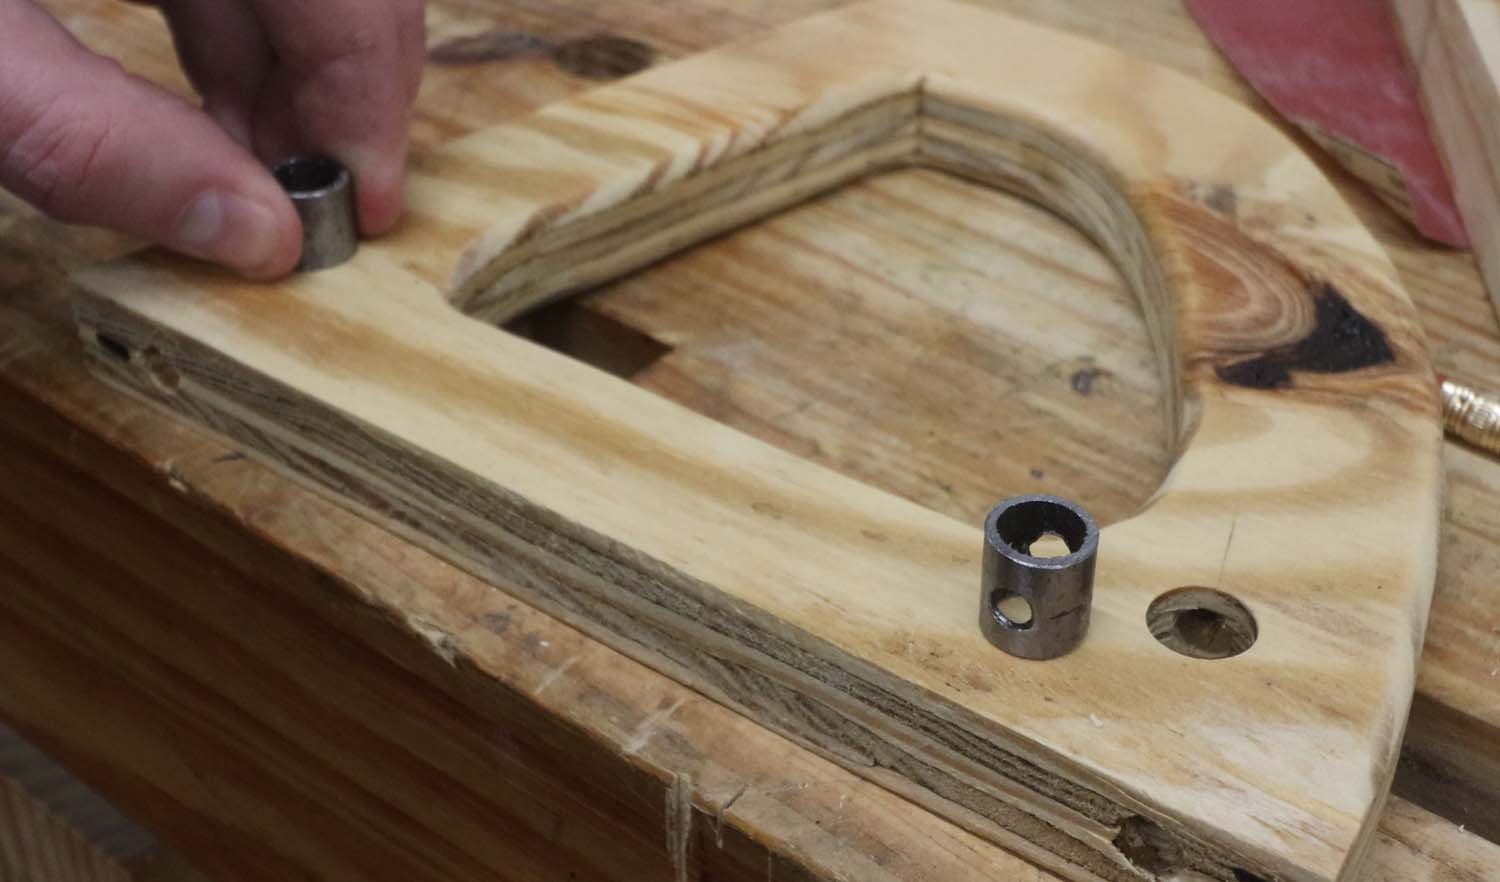
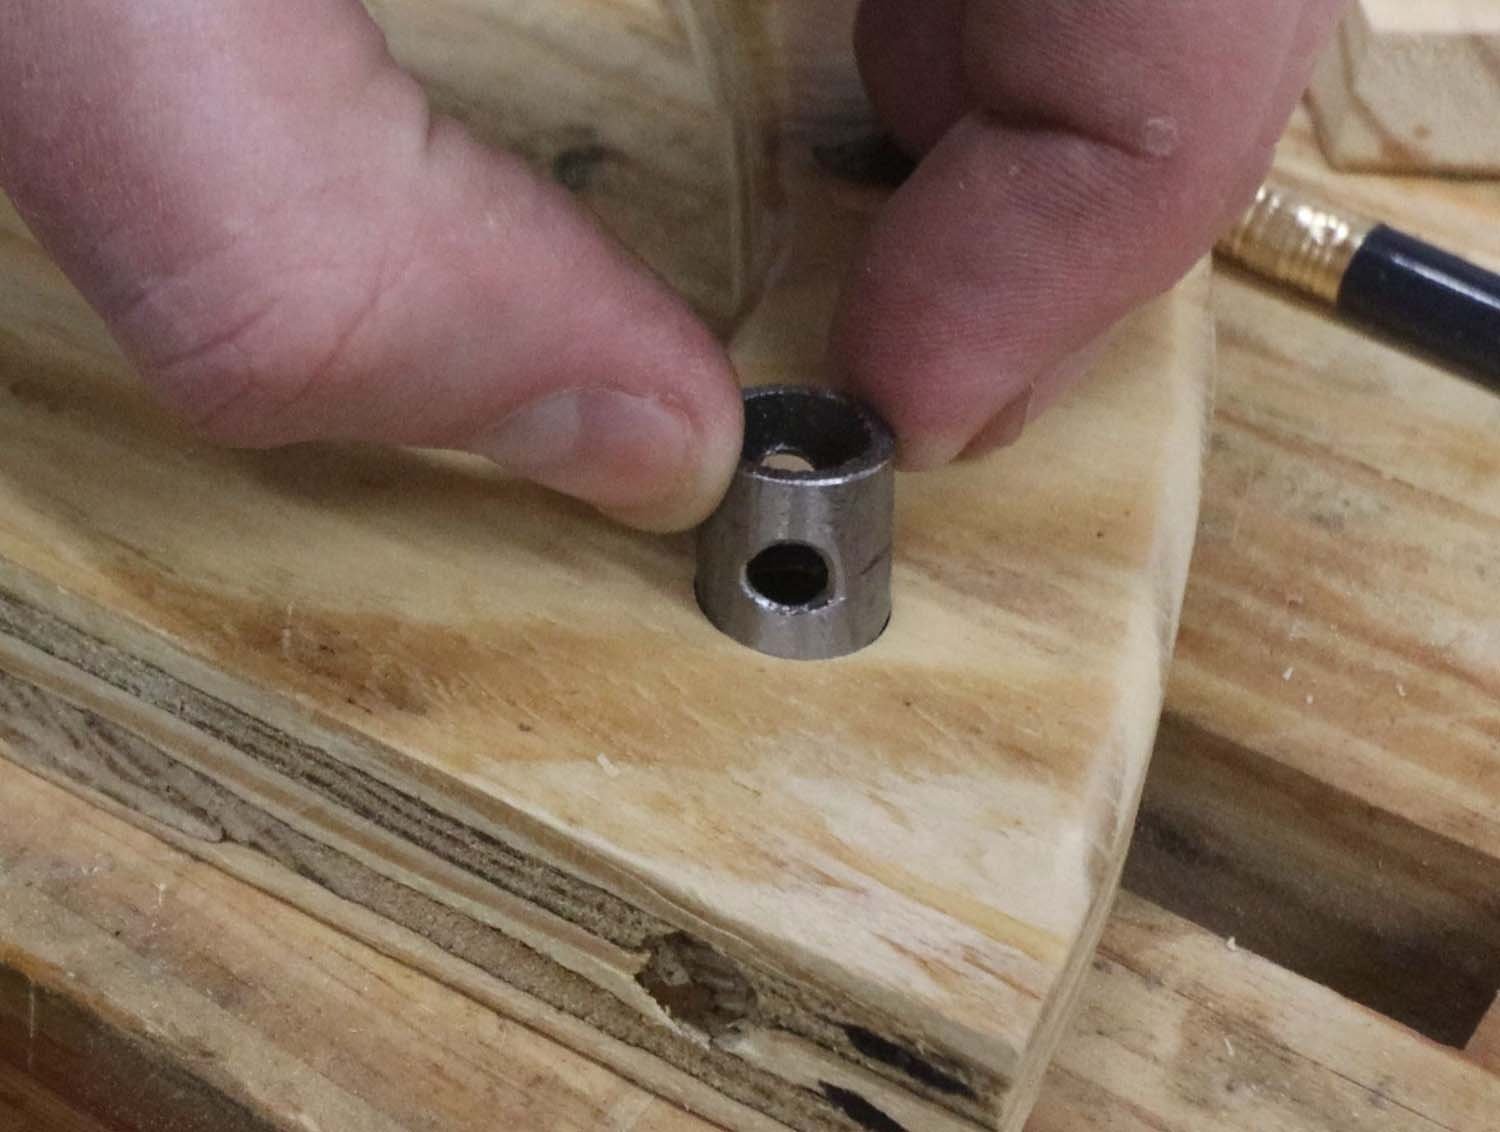
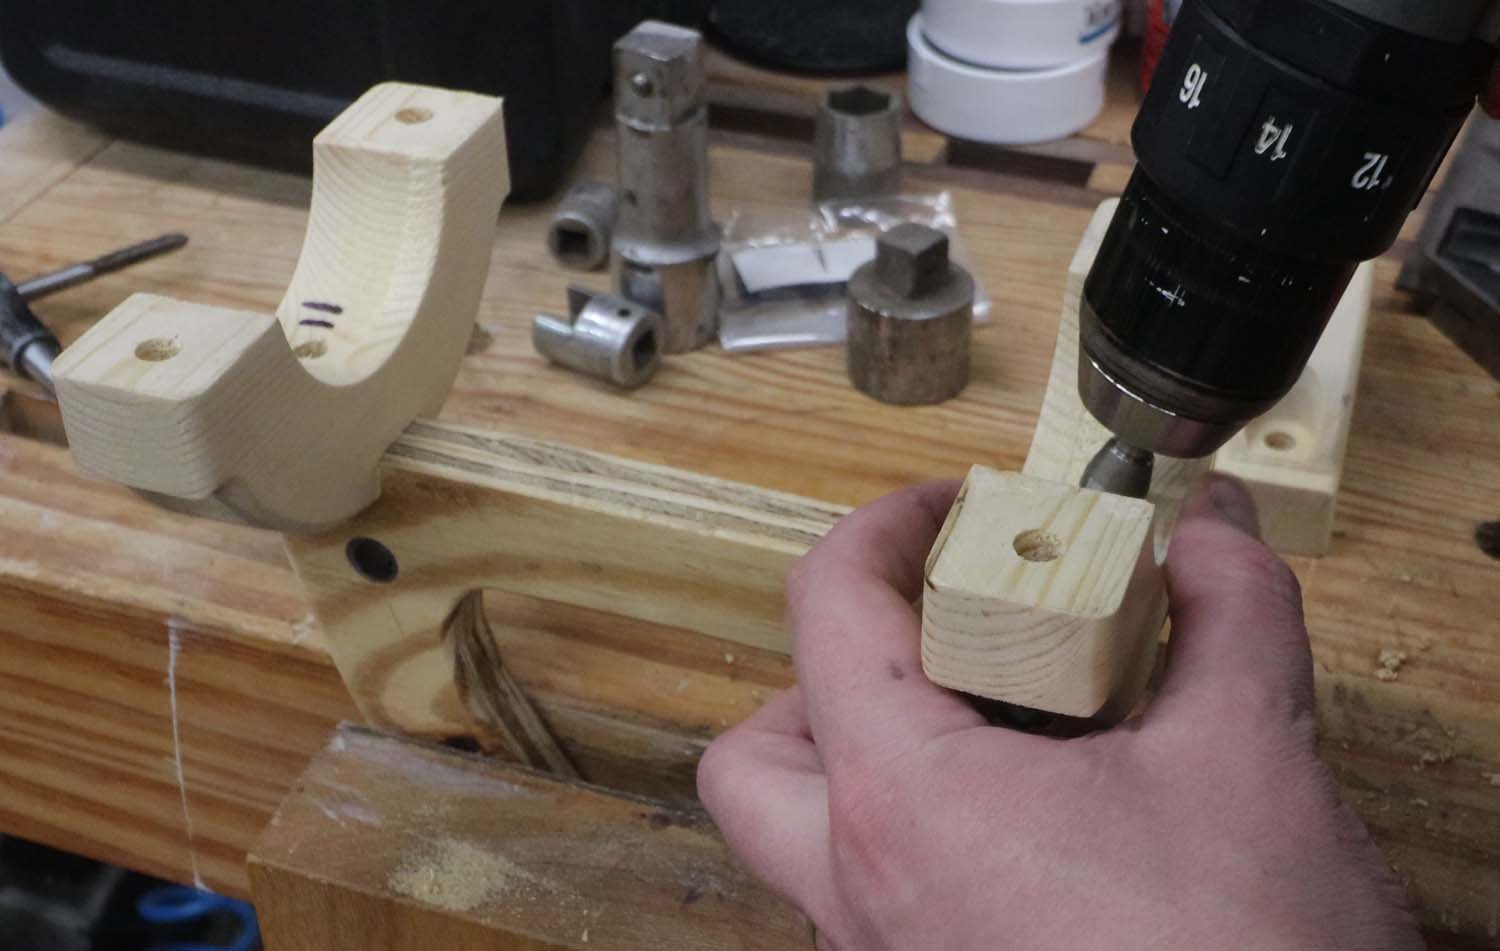
I started by drilling angled holes through the collars into the handle. Then using the drill bit as a guide, I laid a ruler down at the center of the bit and traced the path of the hole. I then marked an intersection for the location of the barrel nut.
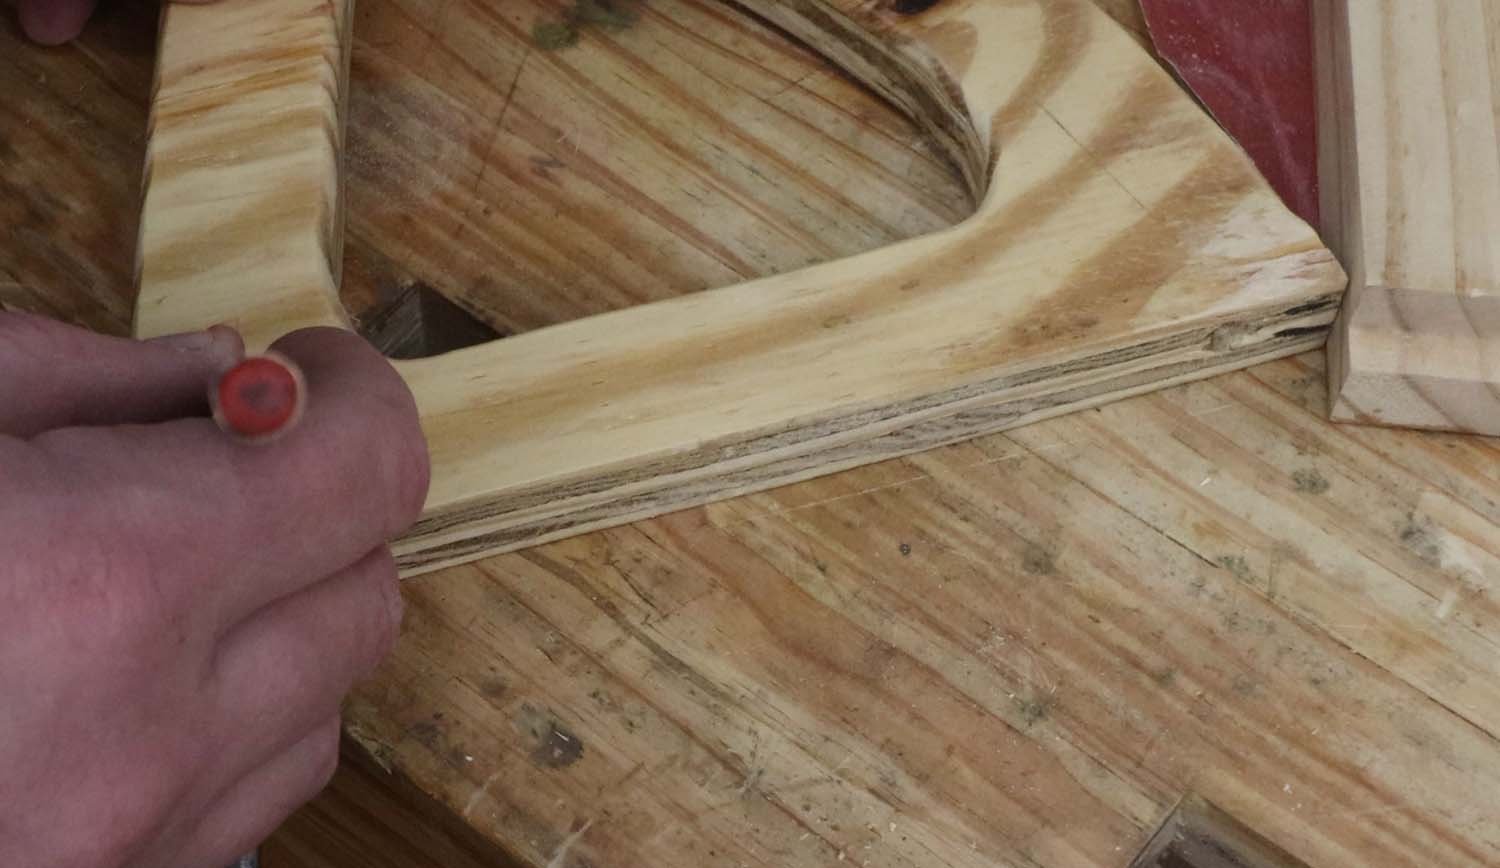
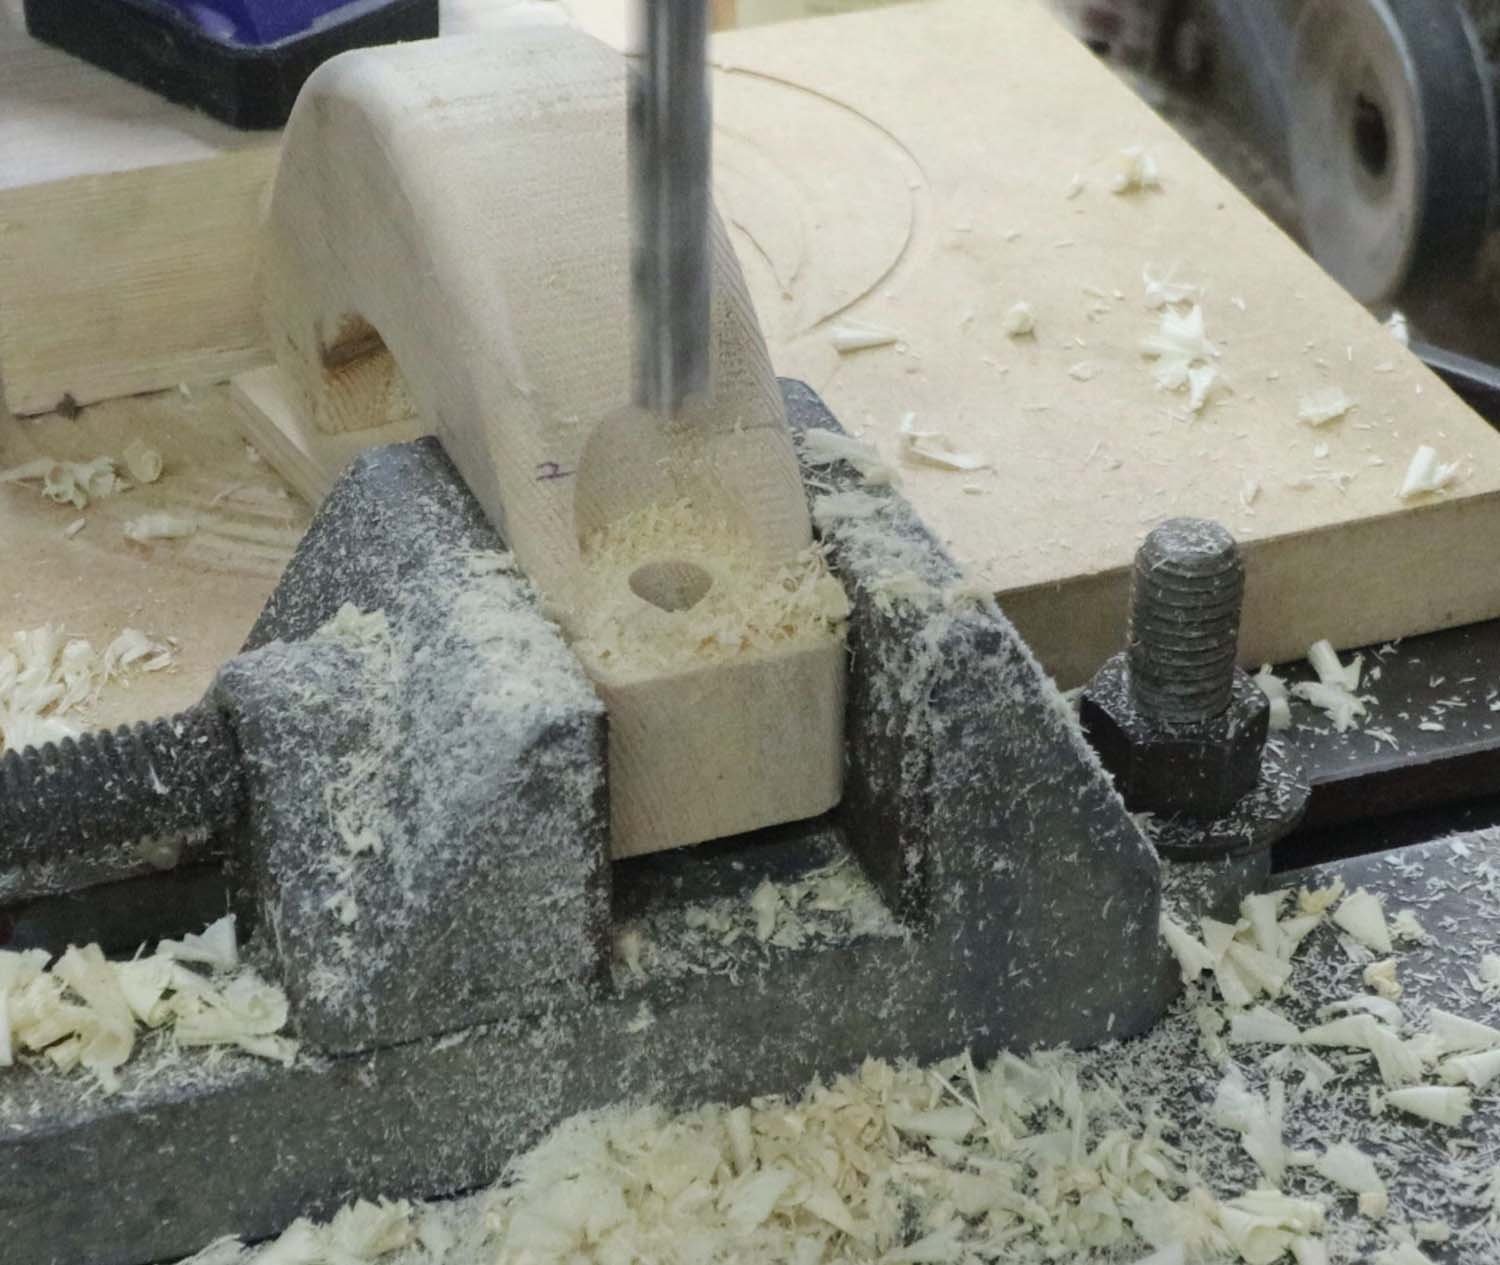
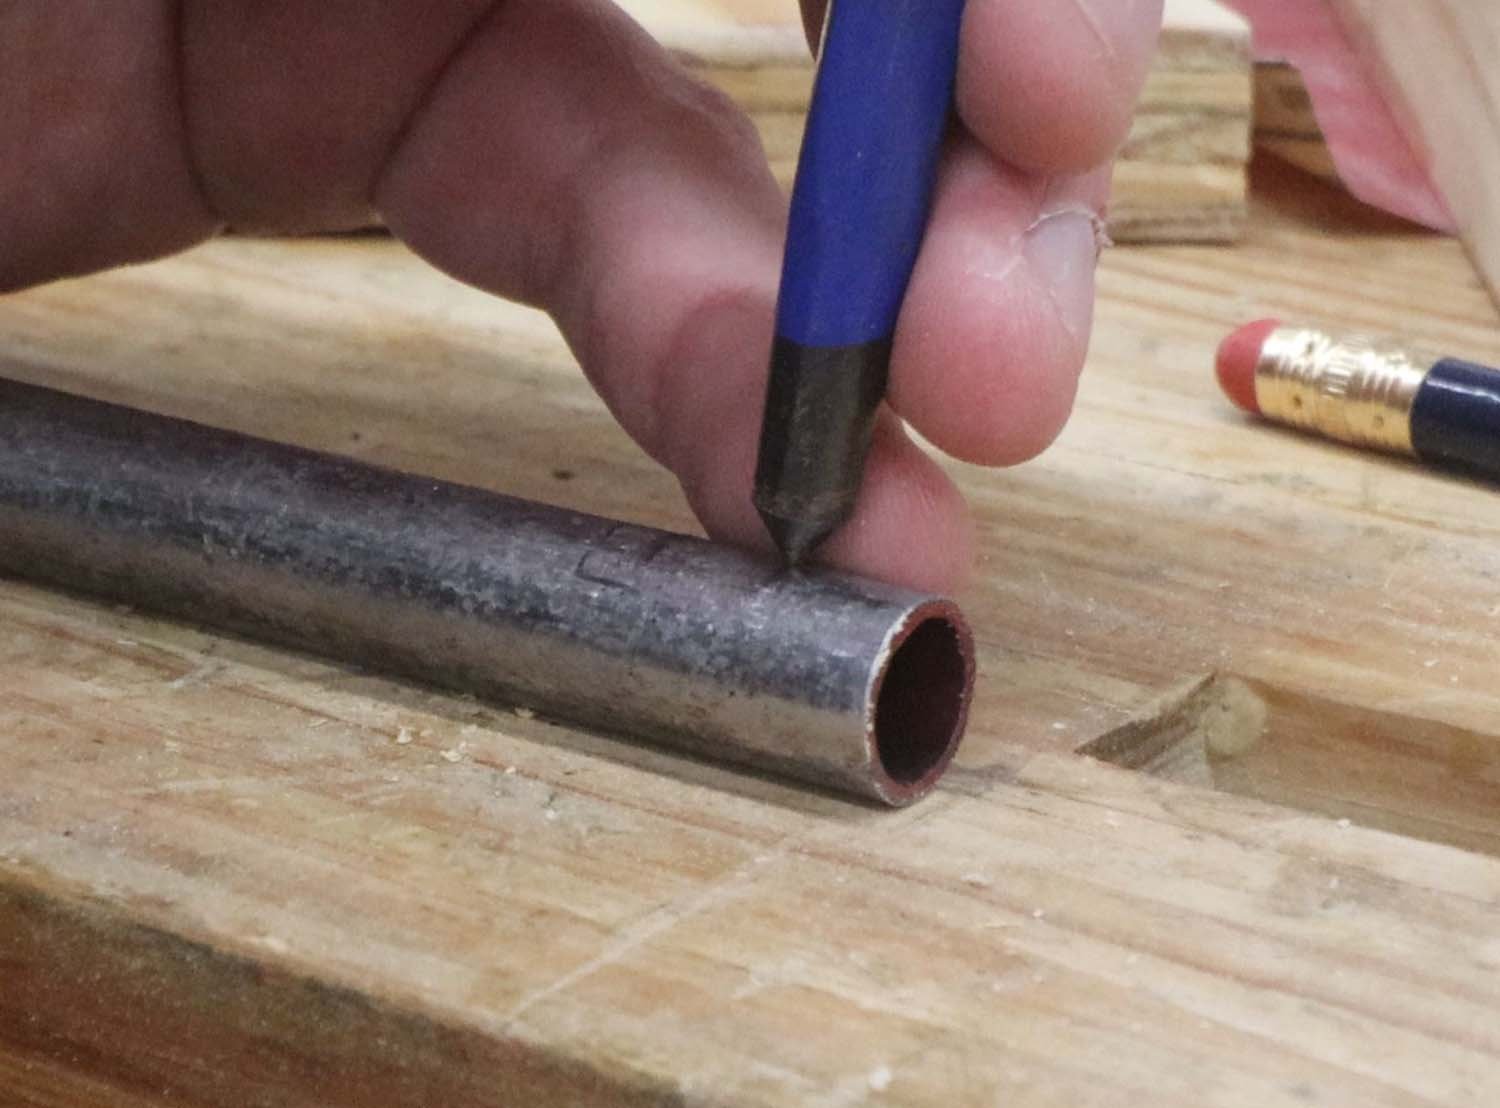
These barrel nuts are made from 1/2” (12mm) tube, so I drilled holes in the handles for them with a Forstner bit.
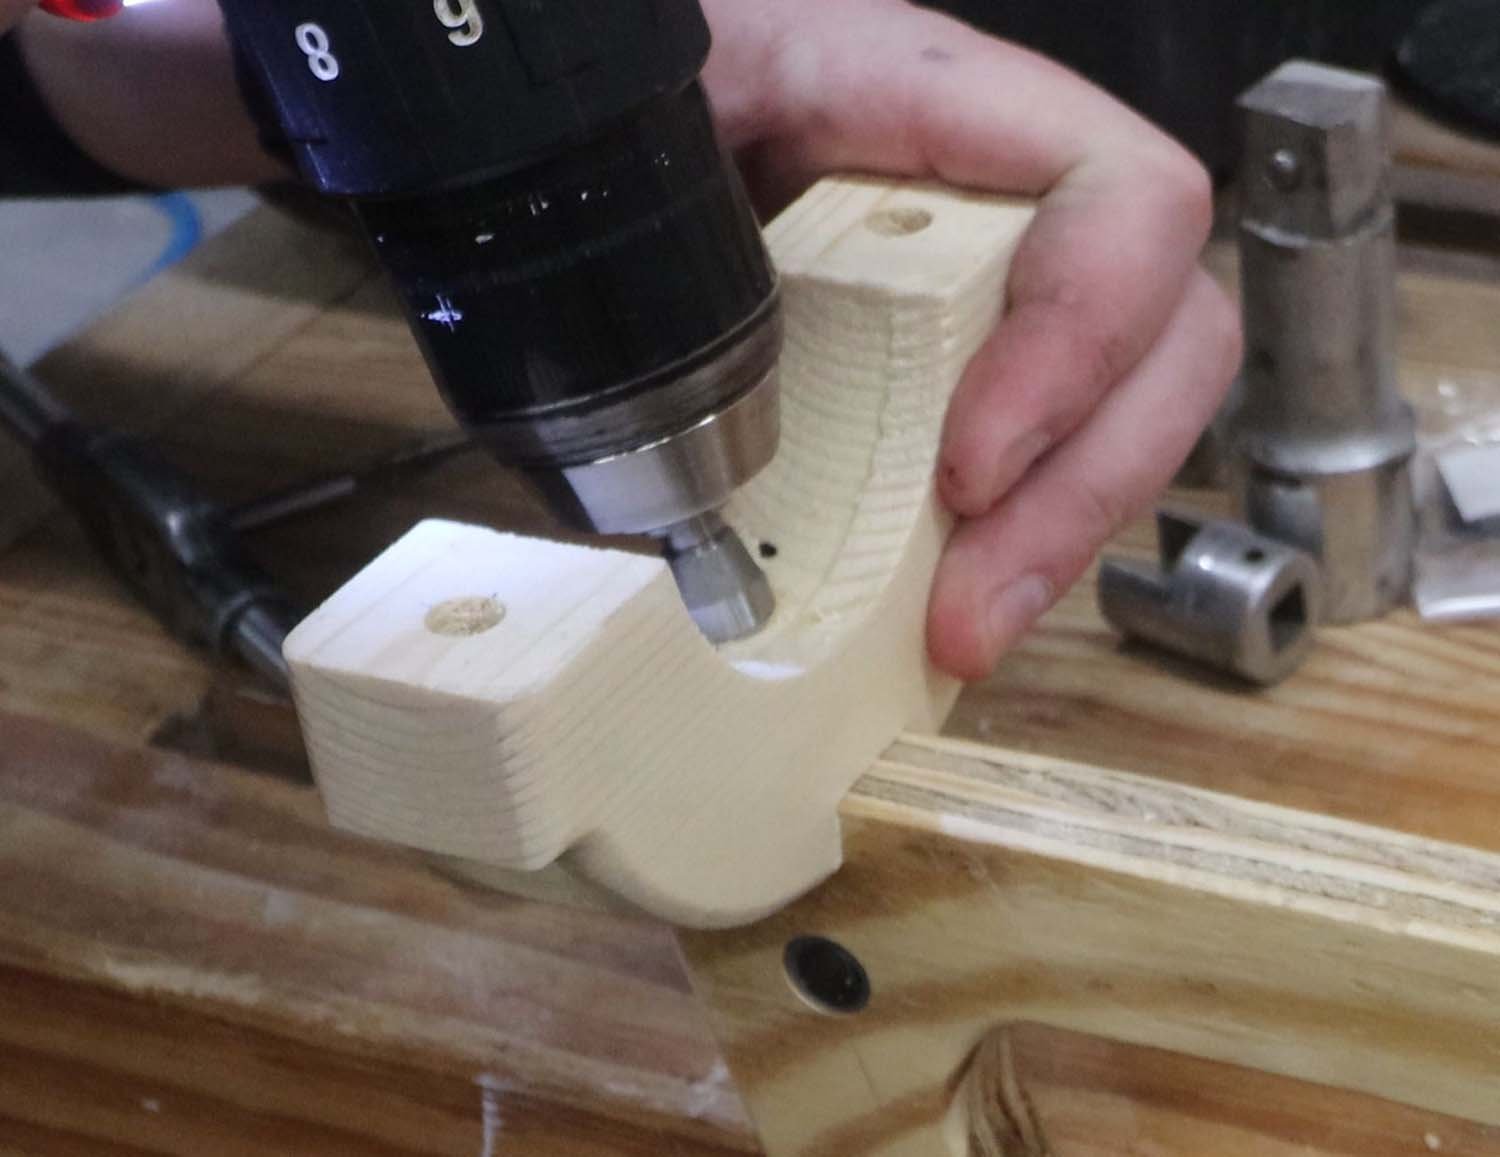
I then drilled and tapped a 1/4”-20 hole for the machine screws. I then cut the barrel nuts to length and deburred the ends.
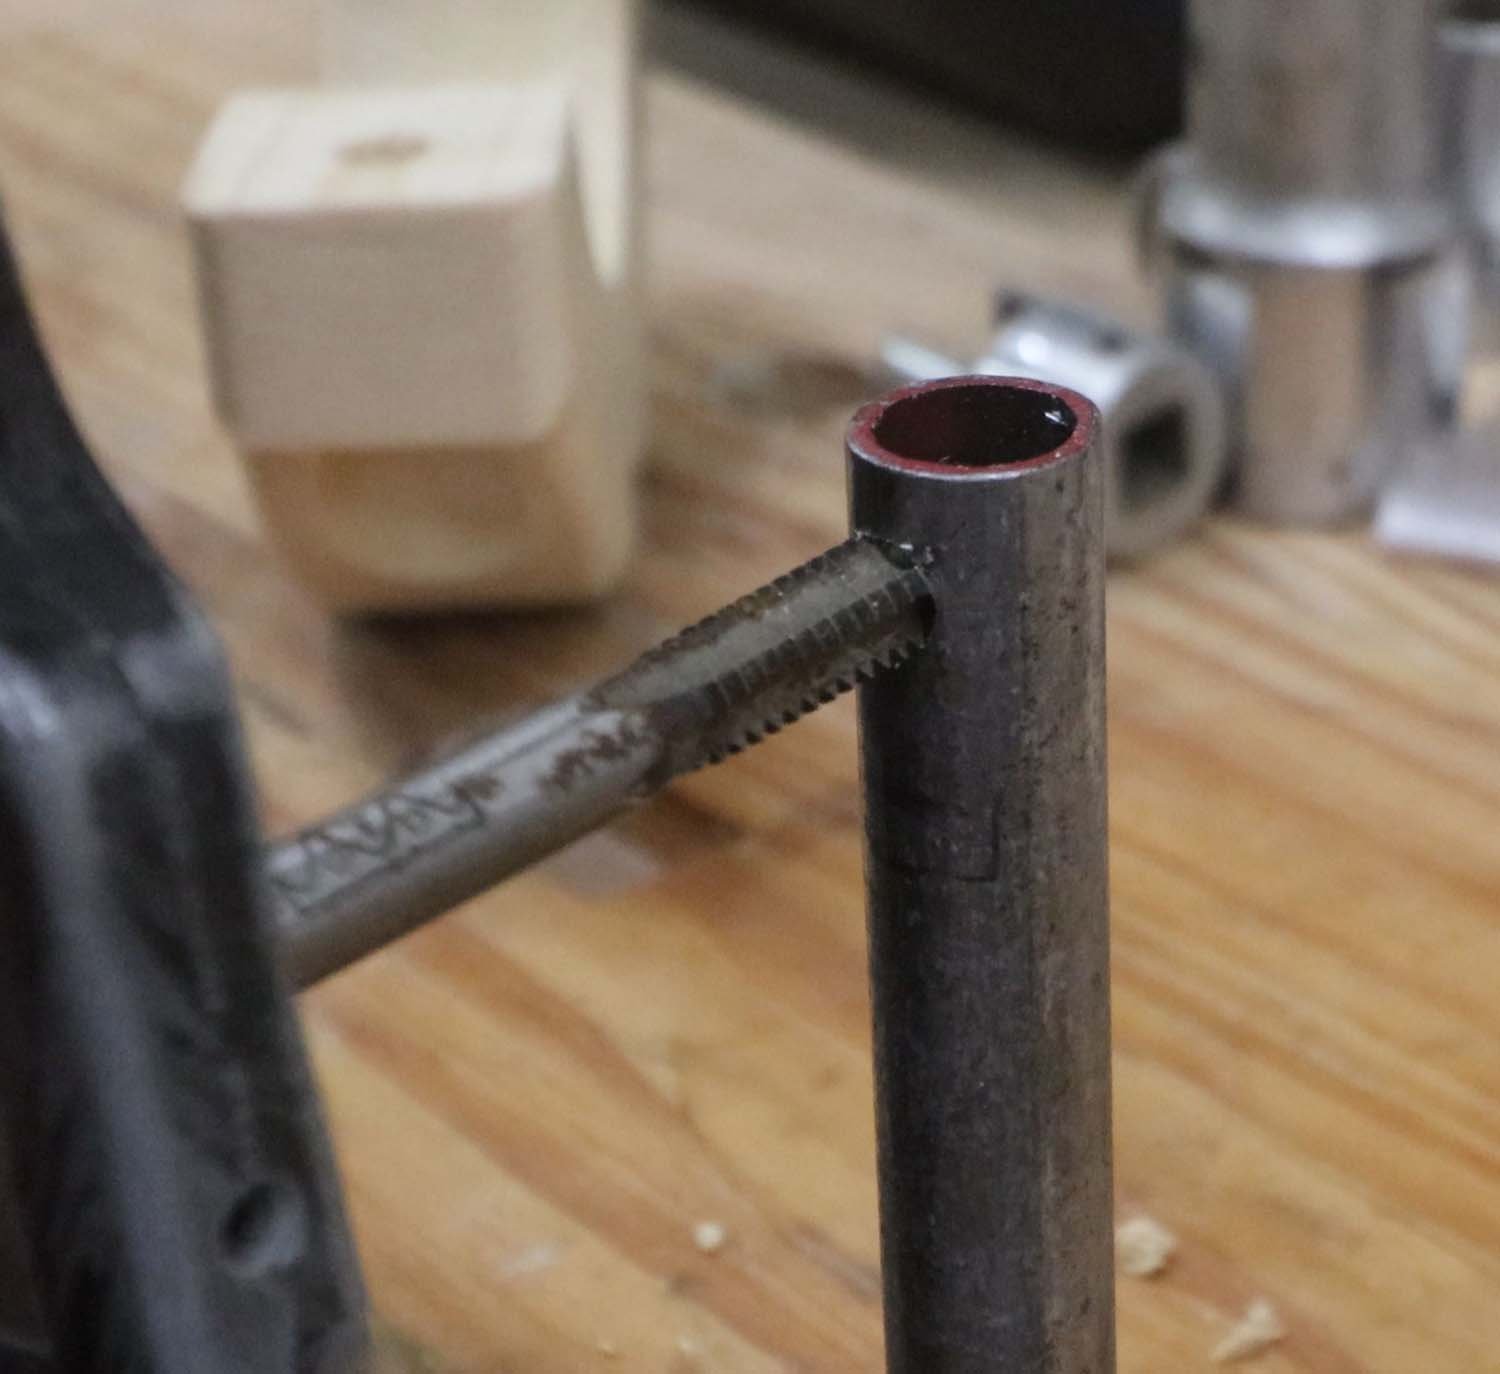
The barrel nuts then got driven into the handle, being sure to align the holes in the nuts with the holes I previously drilled in the handle.

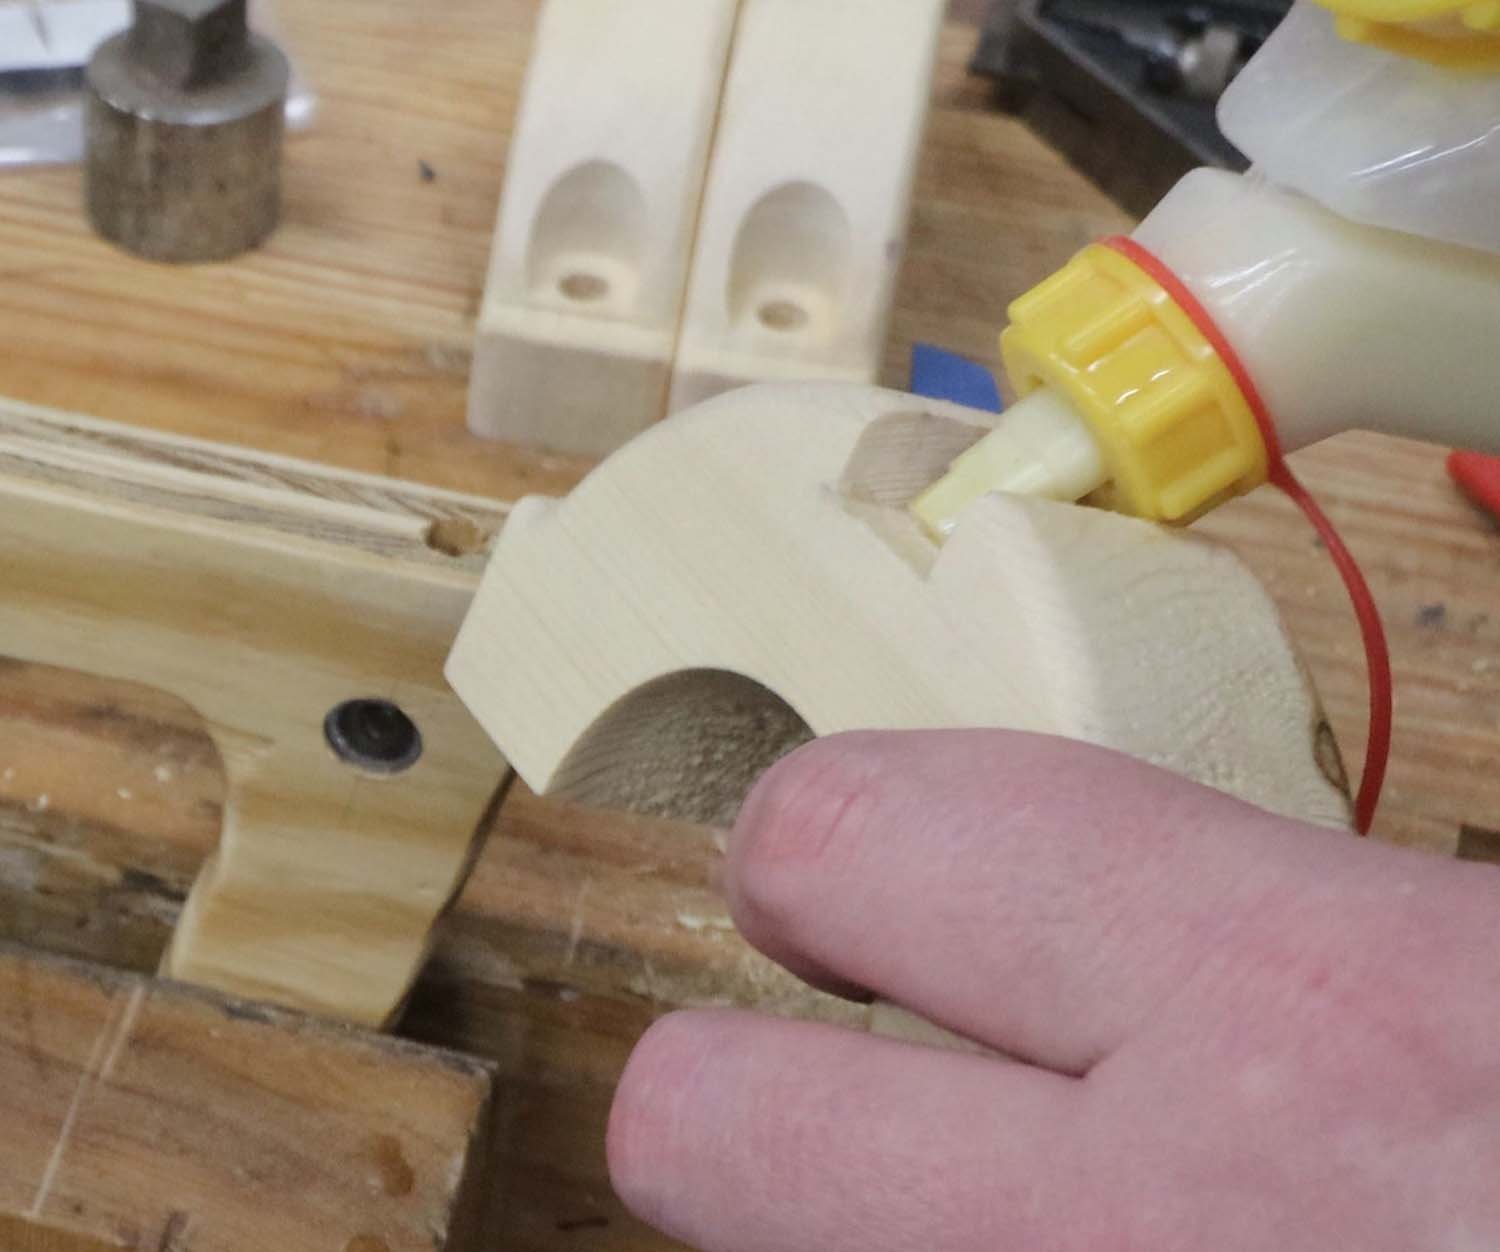
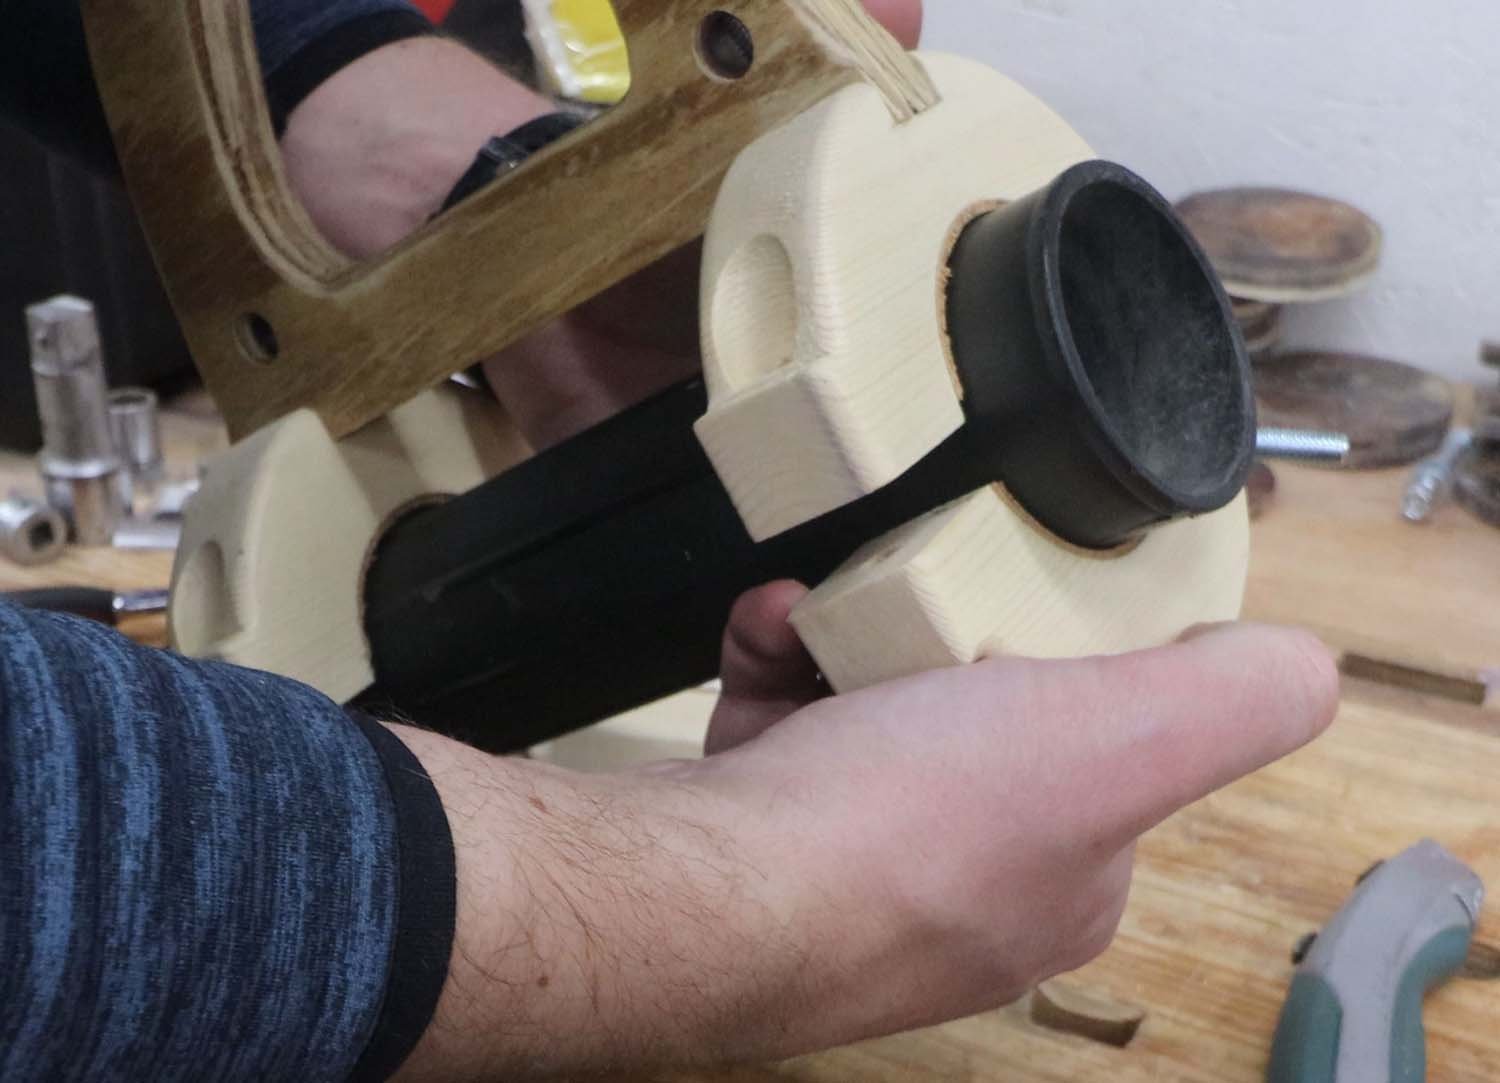
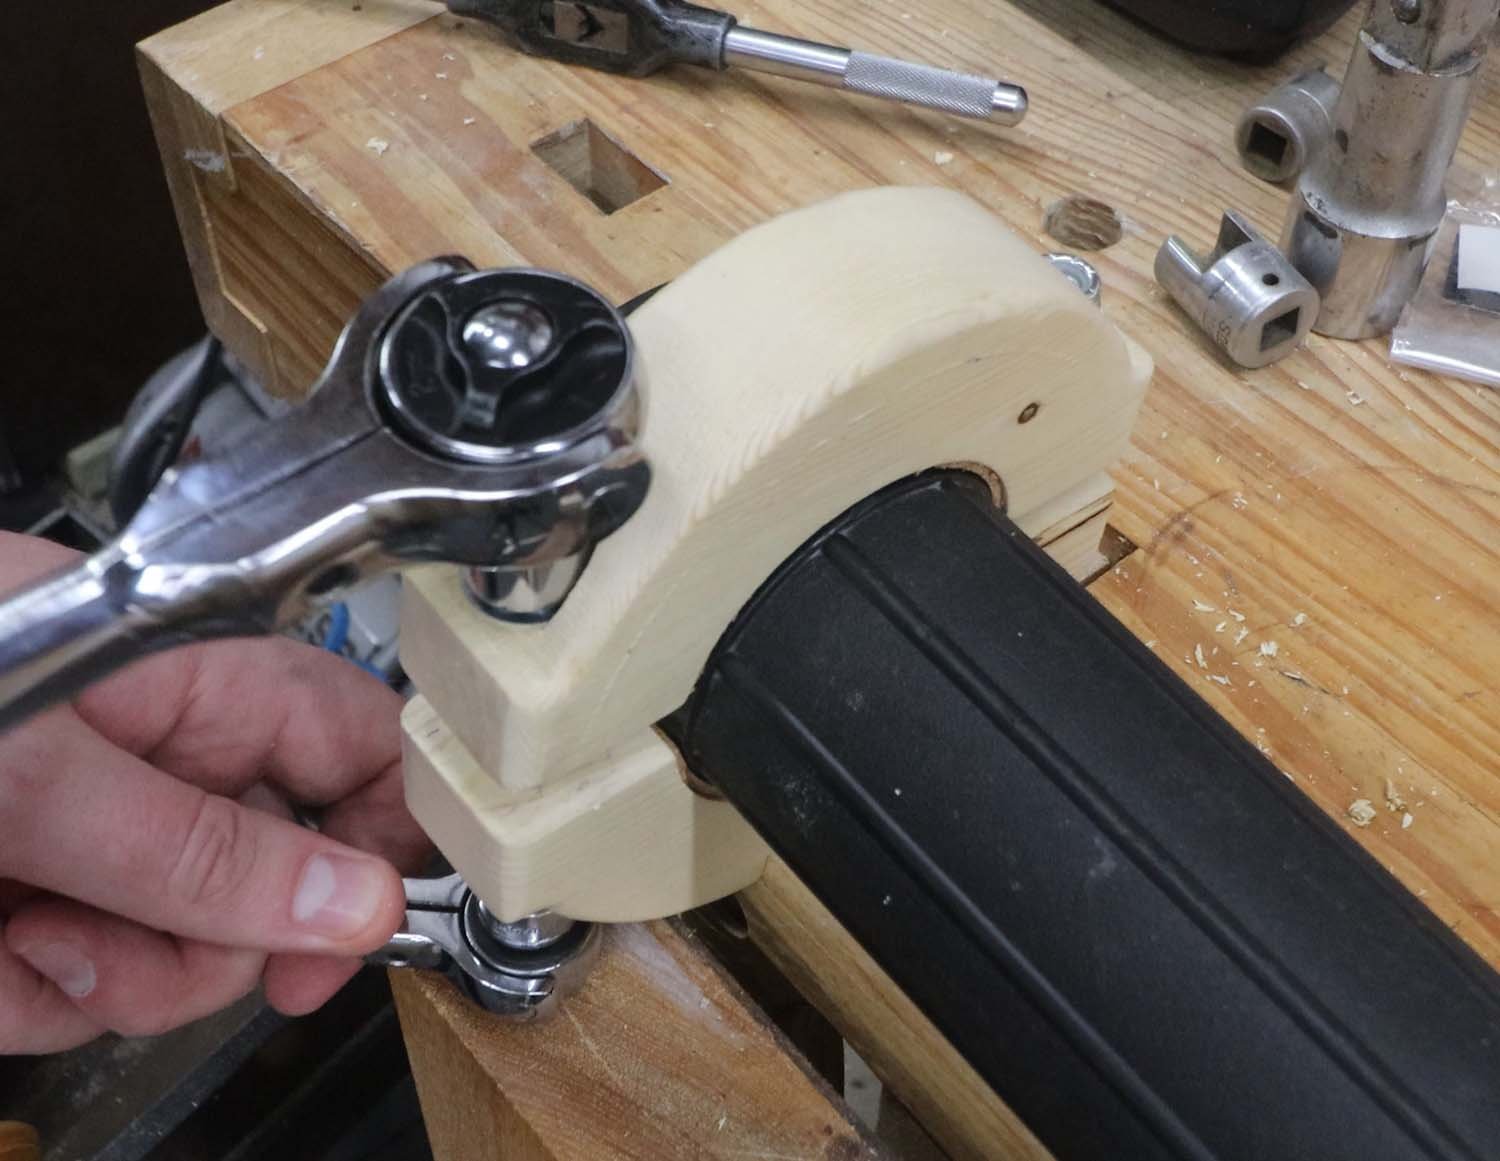
The collars got glued on the handle next. I also countersunk the collars for the head of the screws.

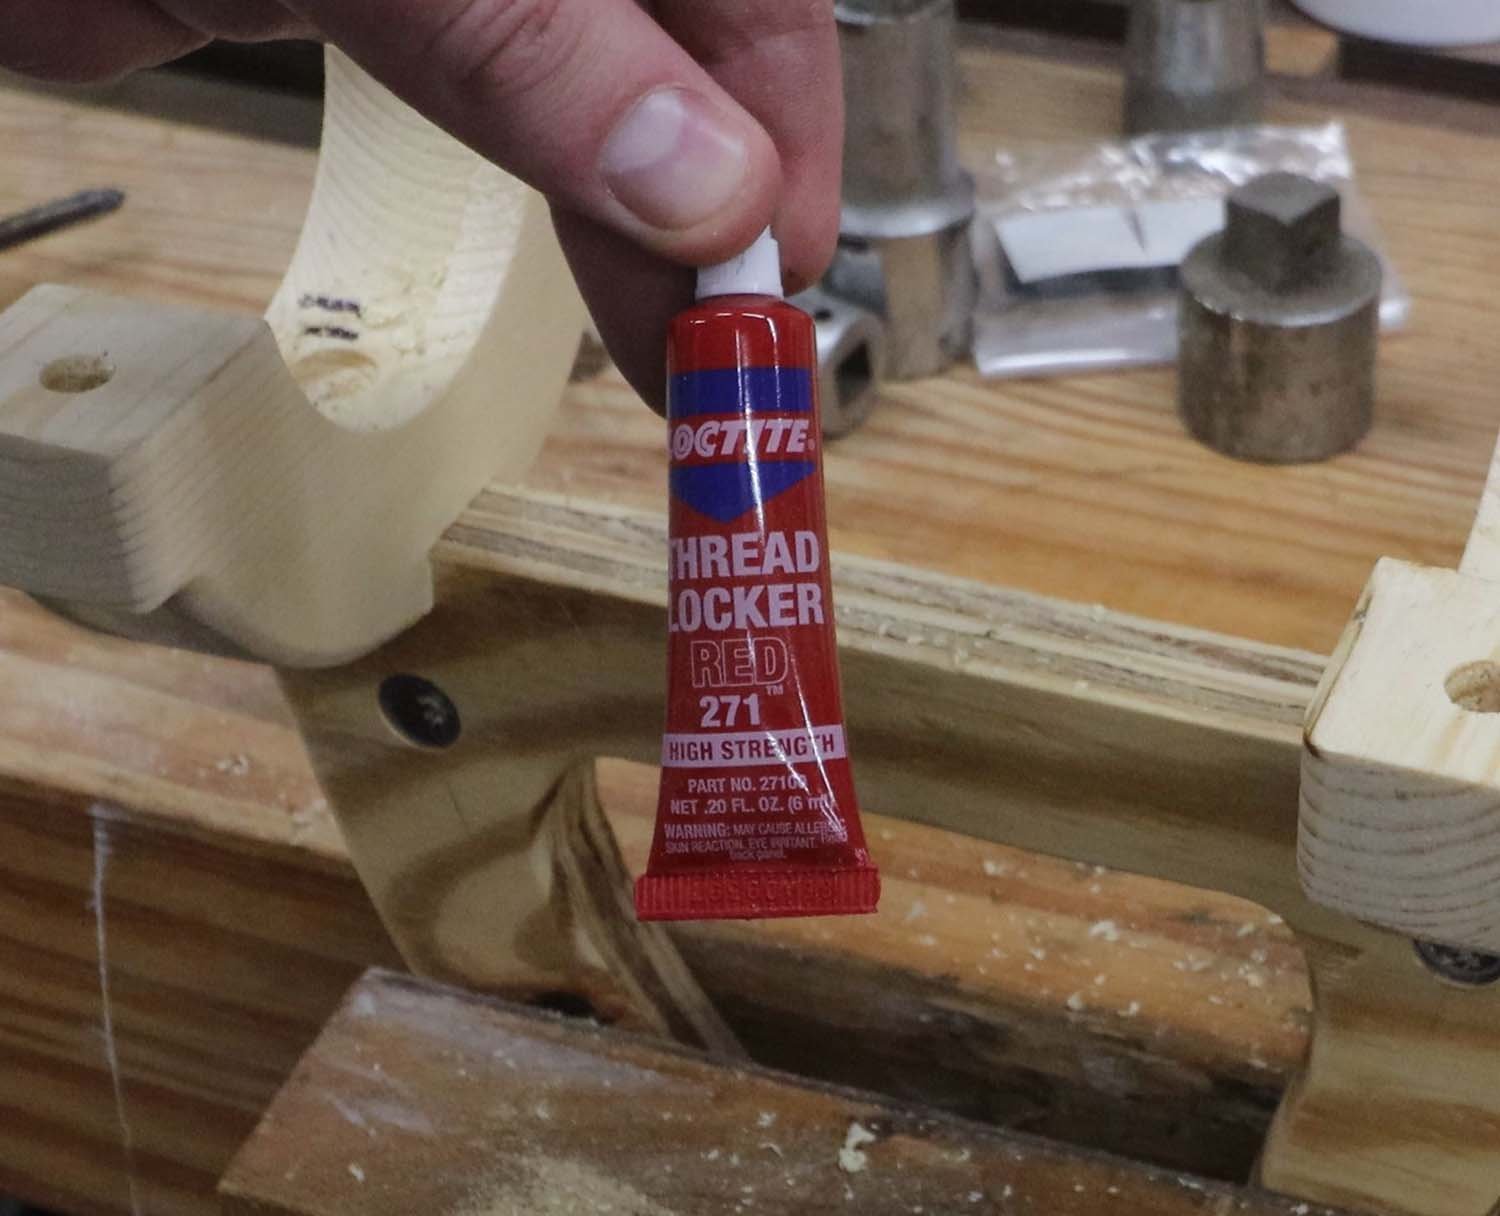
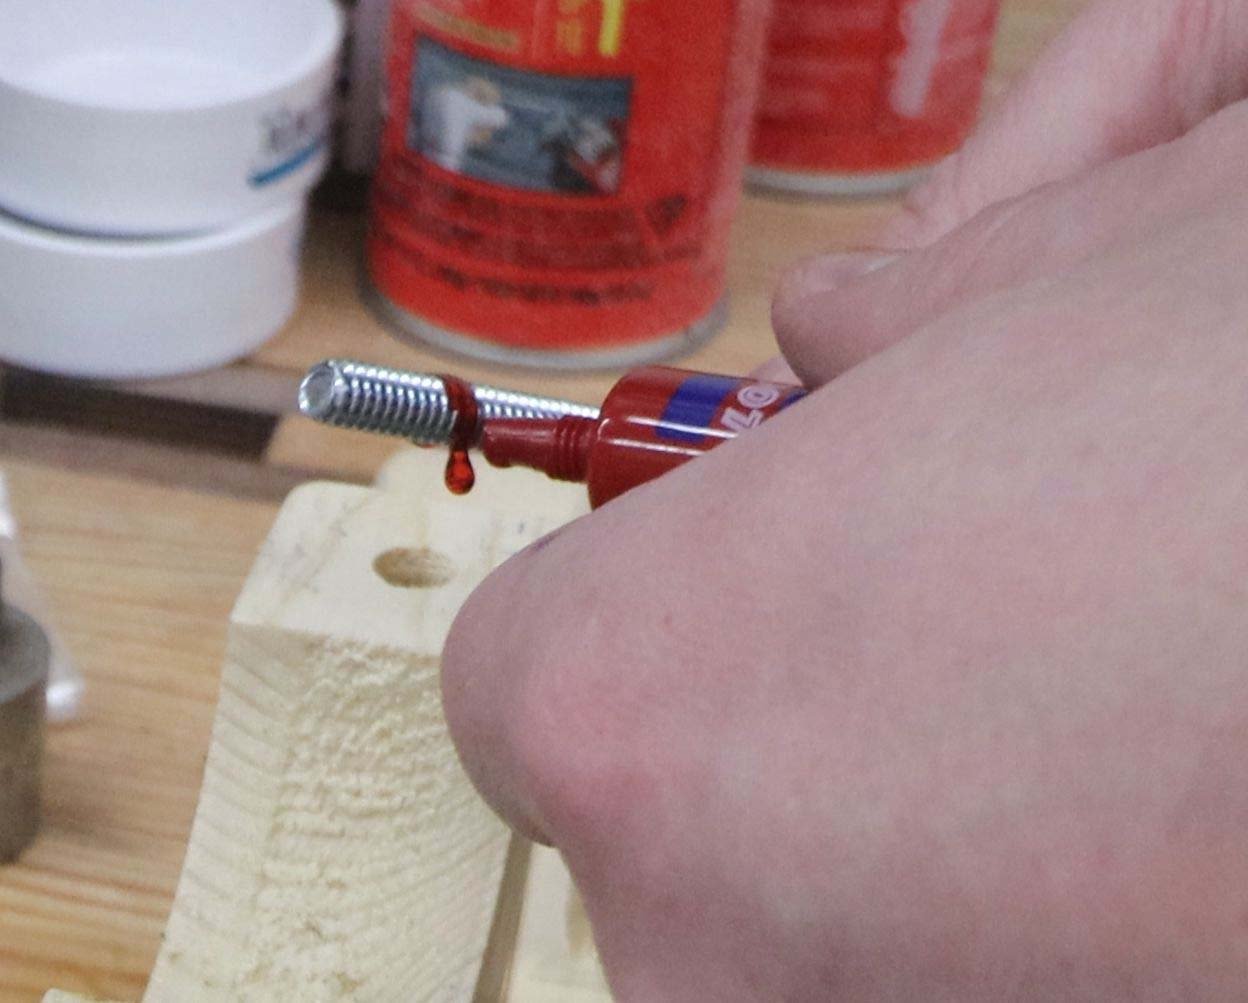
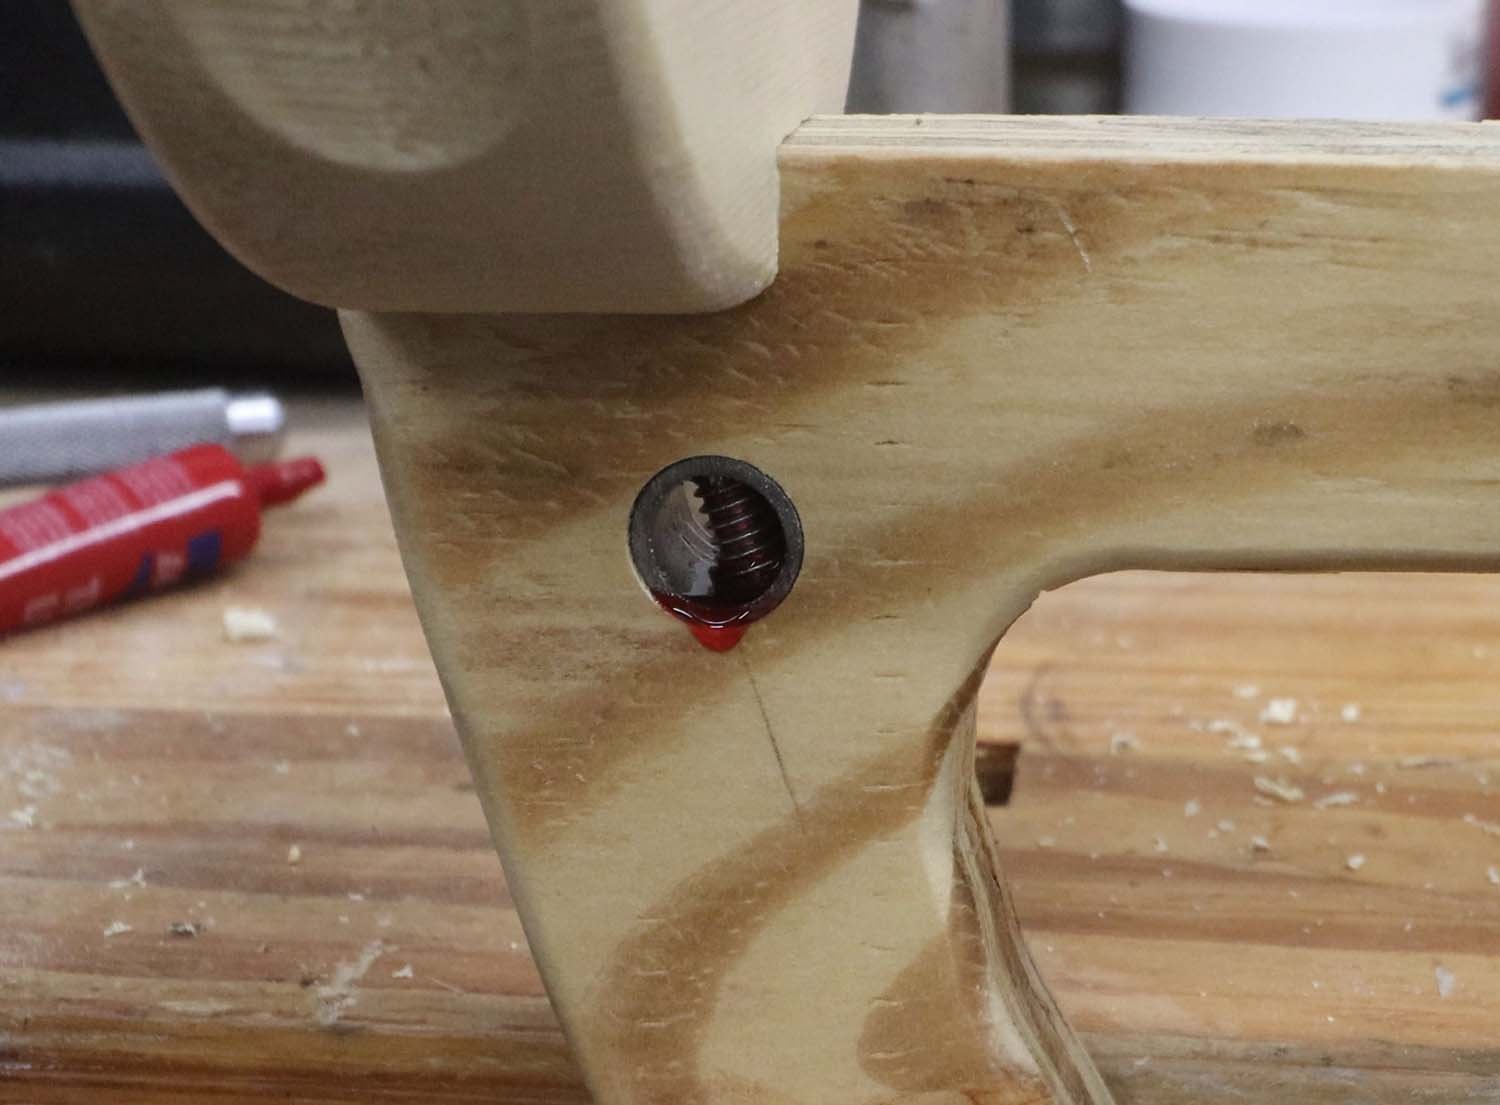
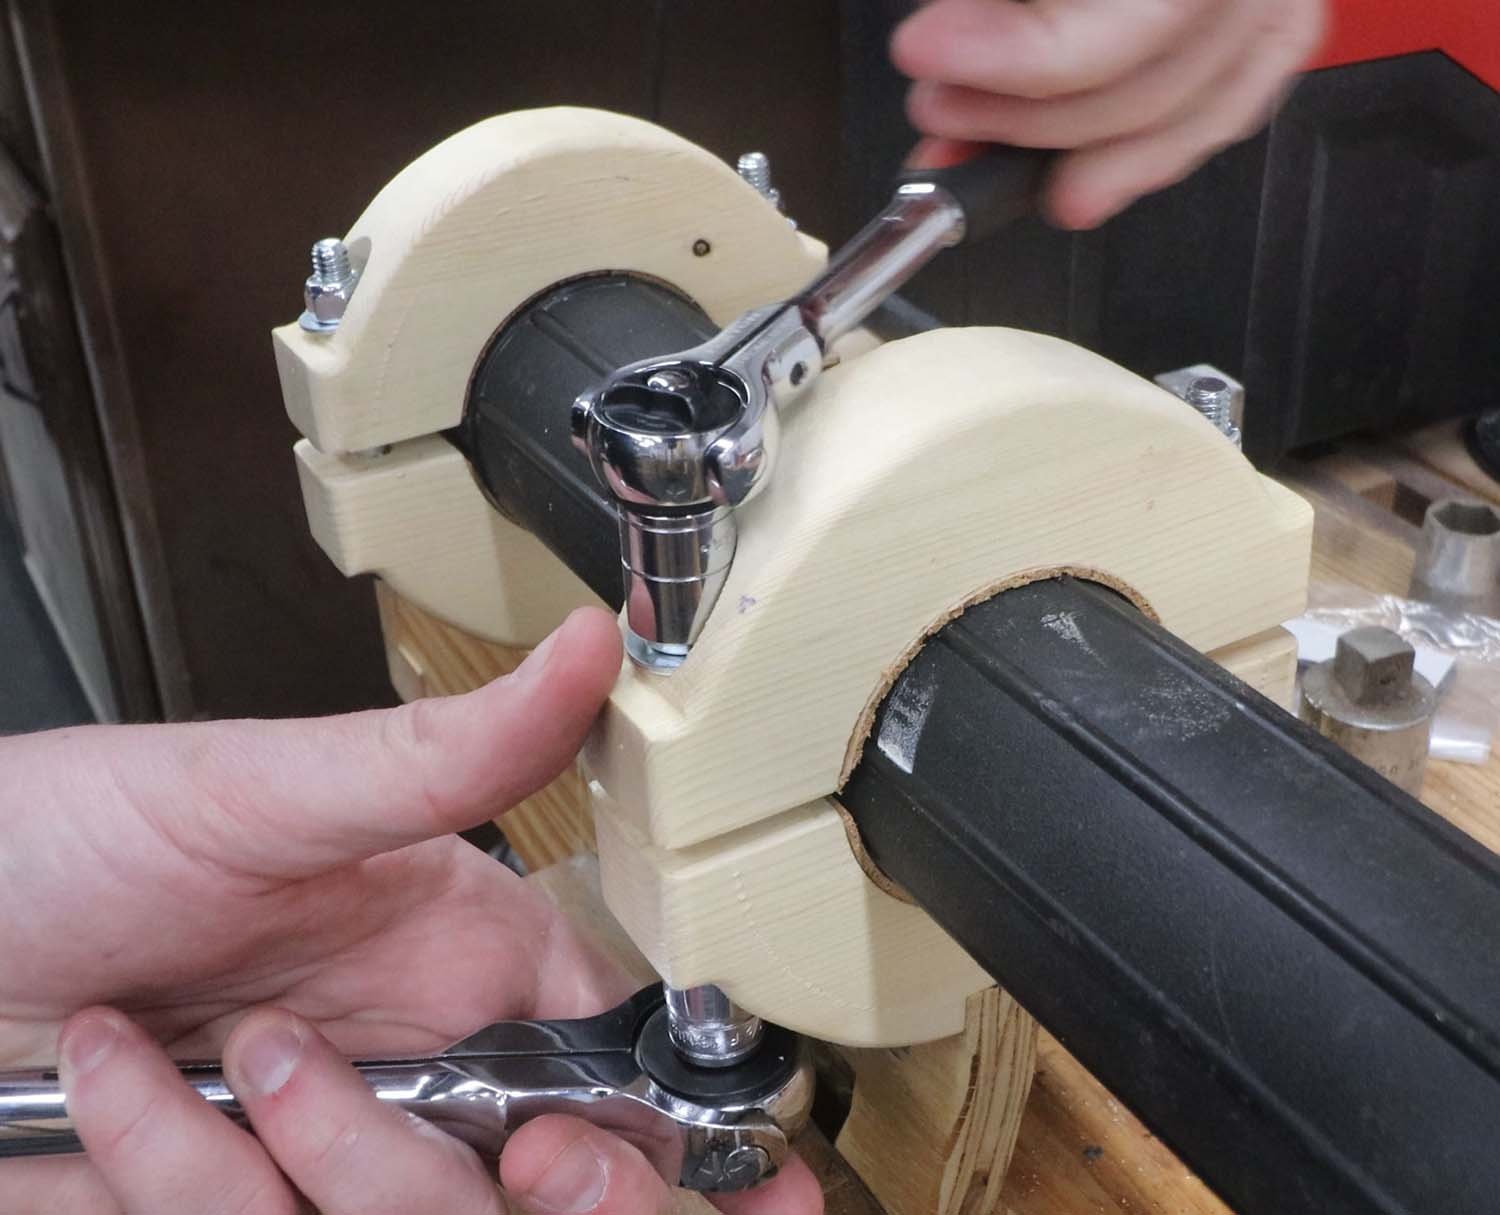
This might be a bit of overkill, but I also used some red Threadlocker to hopefully keep the machine screw from loosening.
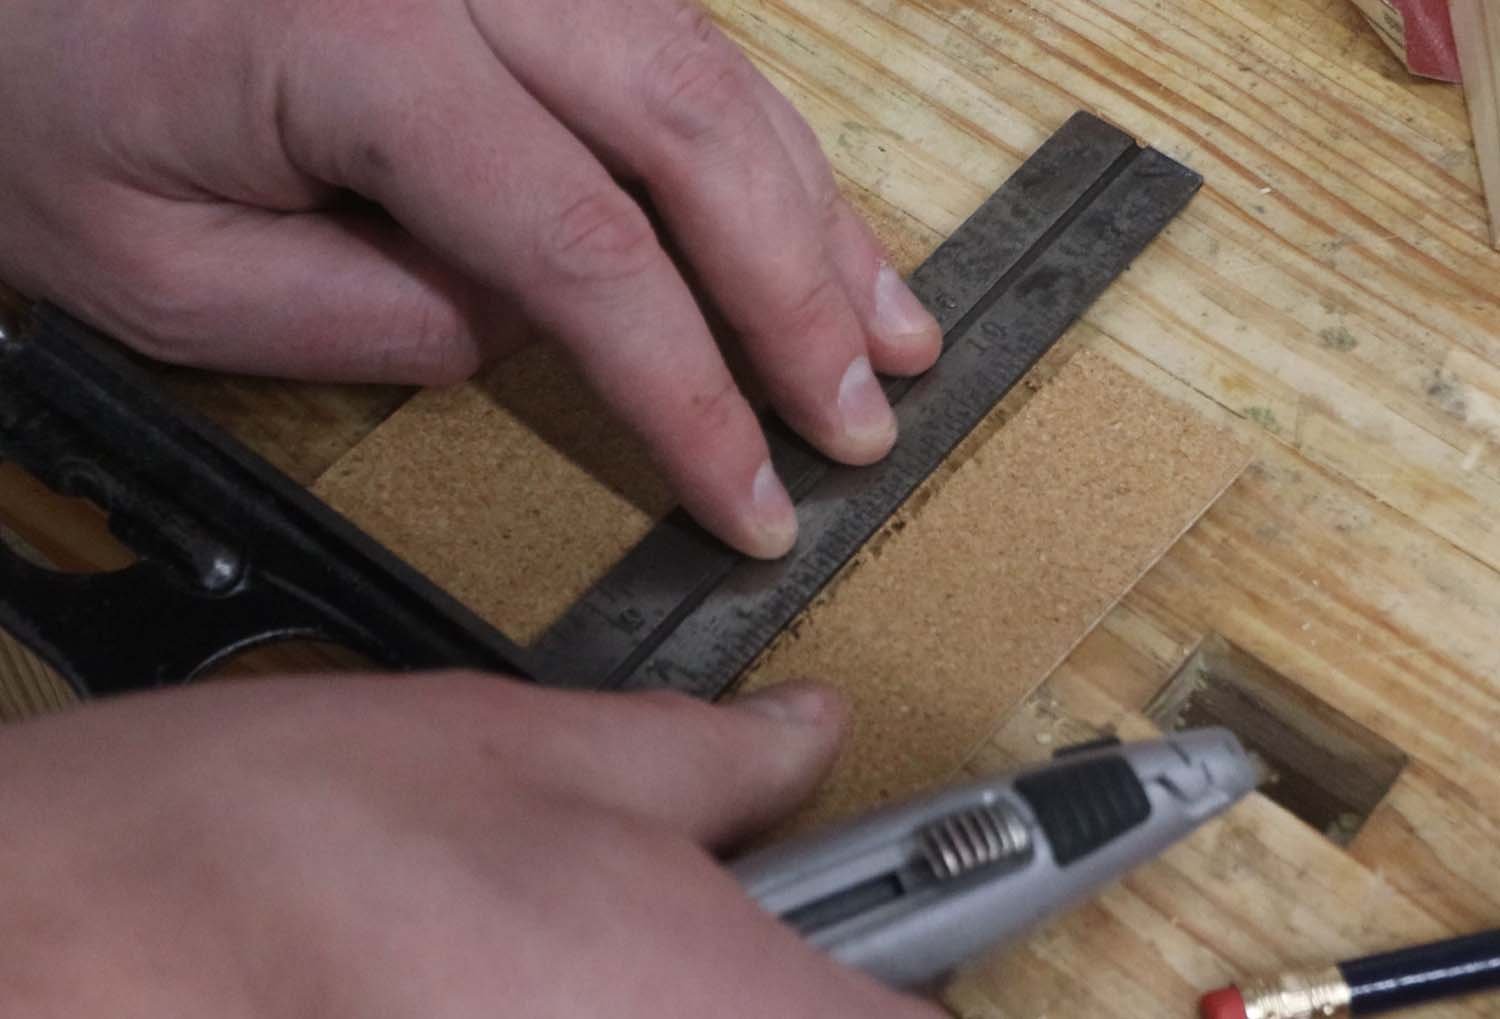
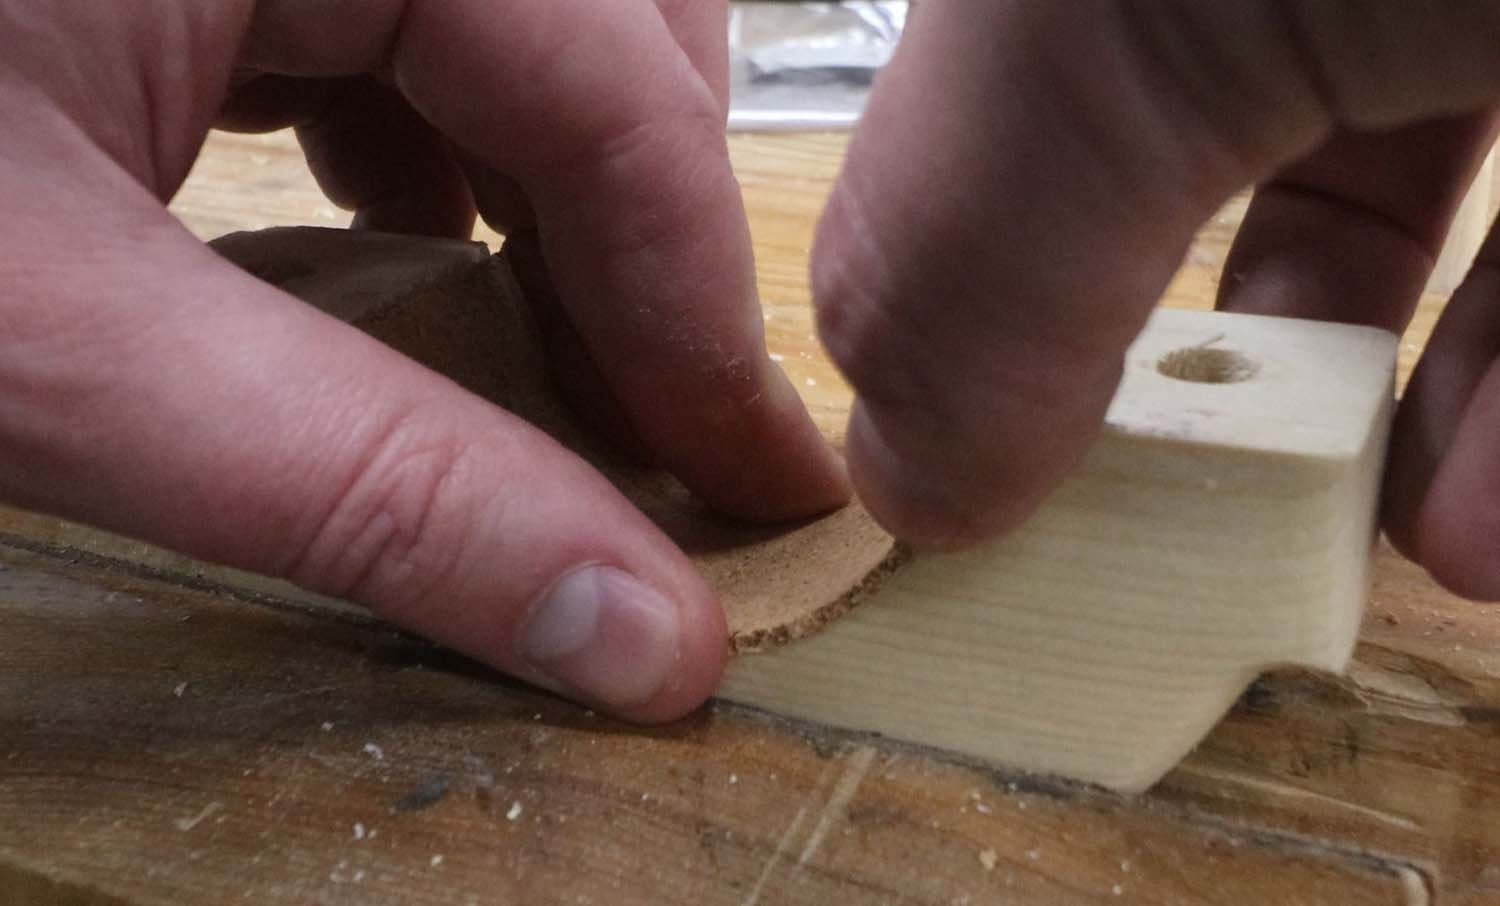
To help the grip of the collars, I added some self-adhesive cork sheet to the inside diameter of the holes.

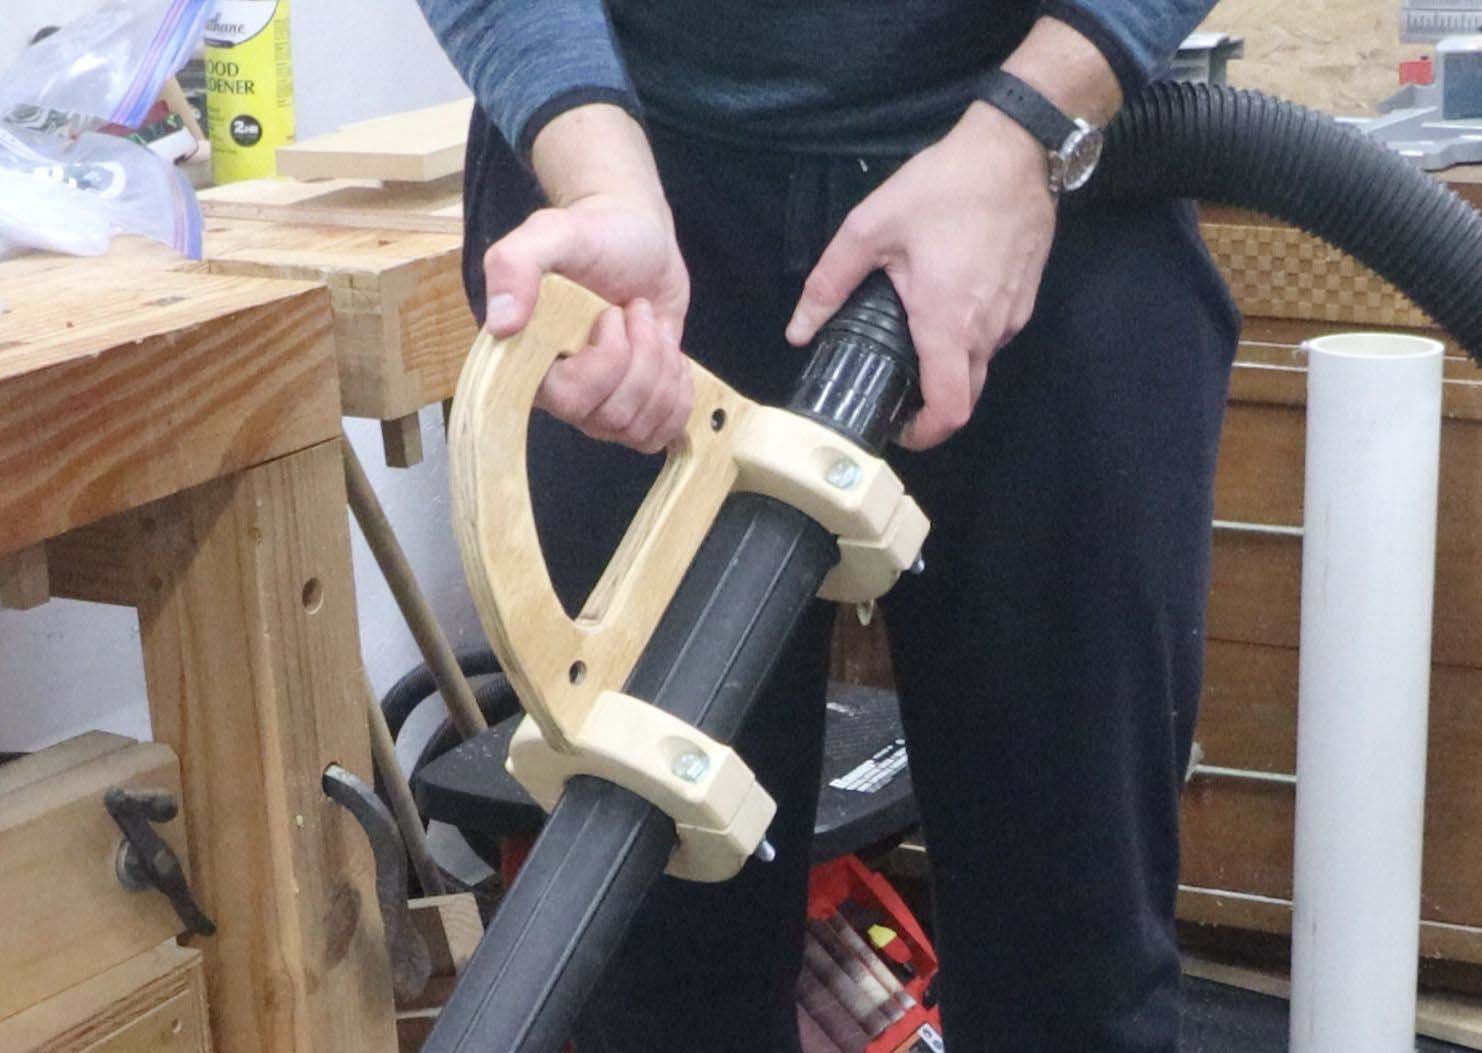
Now it's time to attach the handle to the hose. I used nylock nuts here to keep them from loosening.
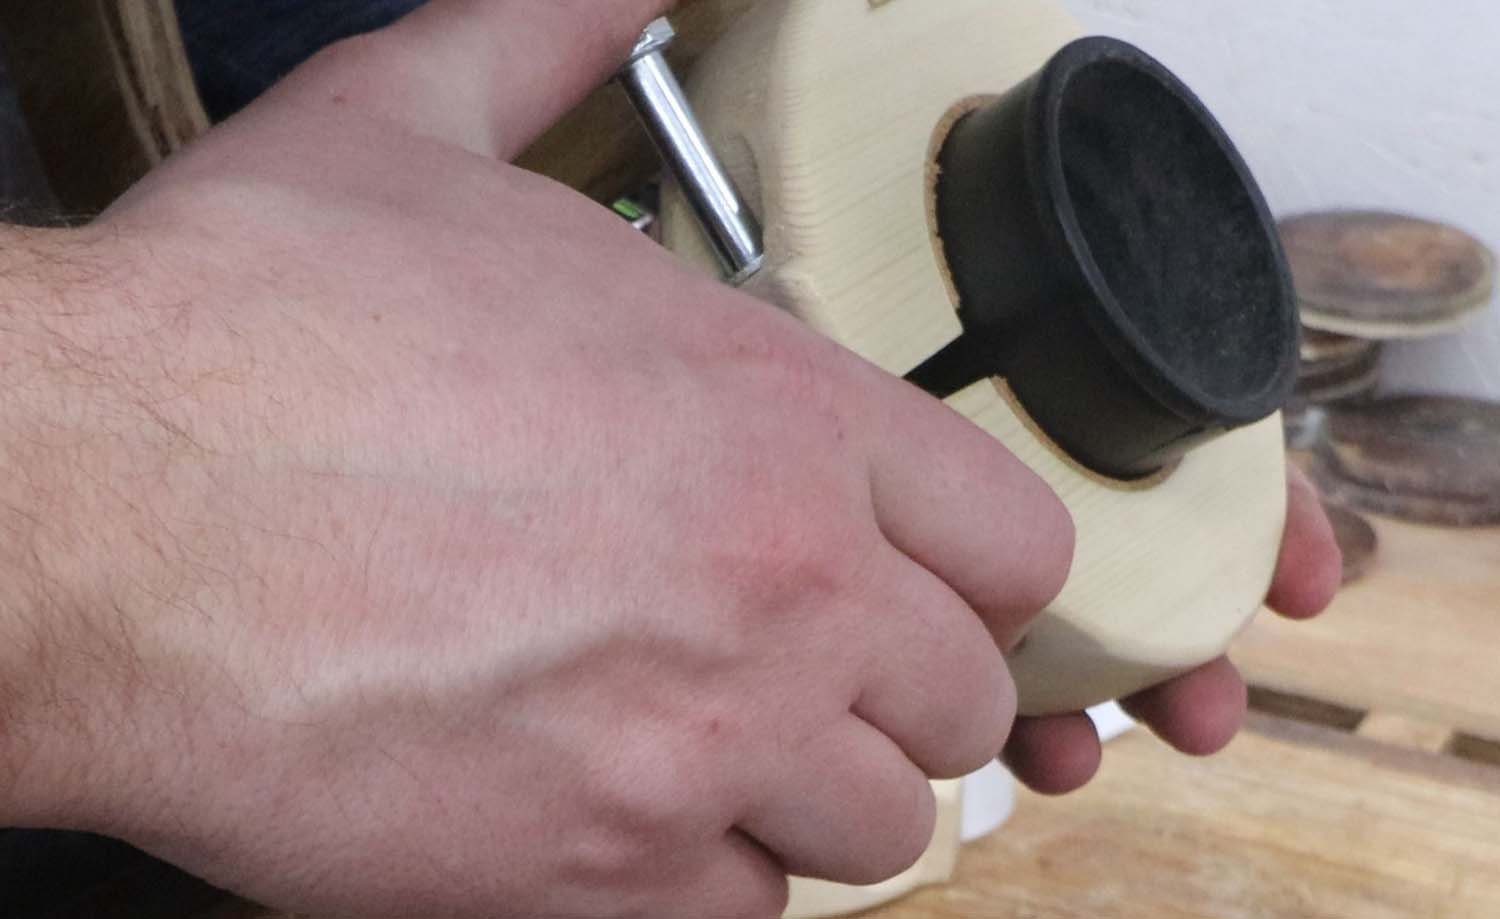
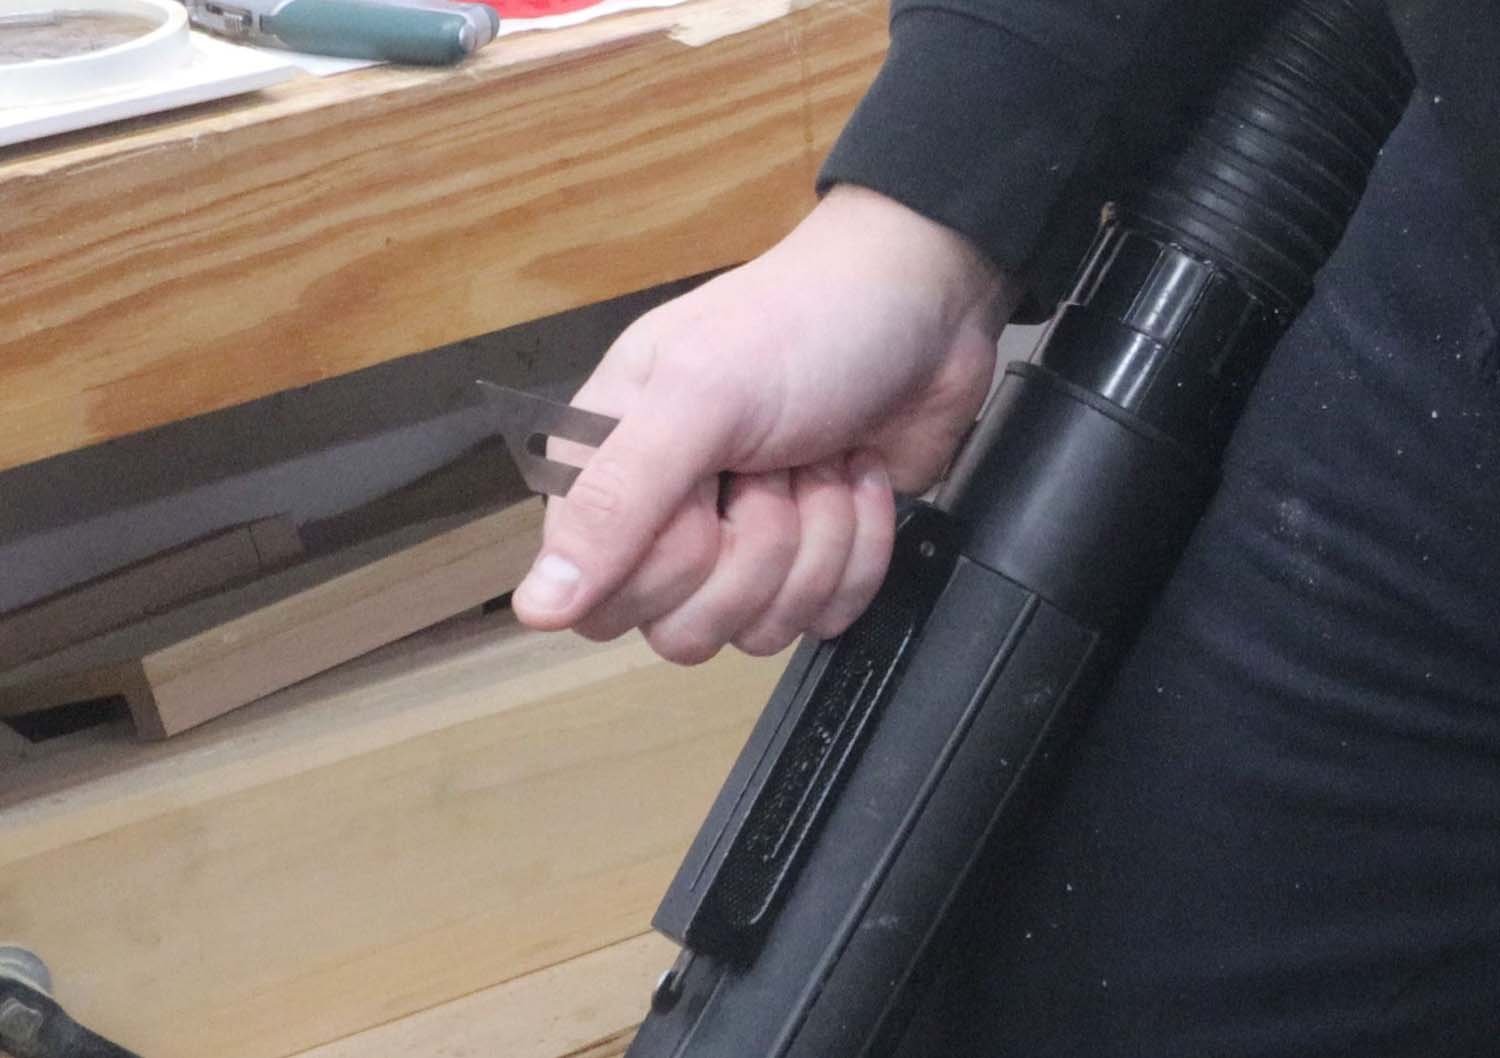
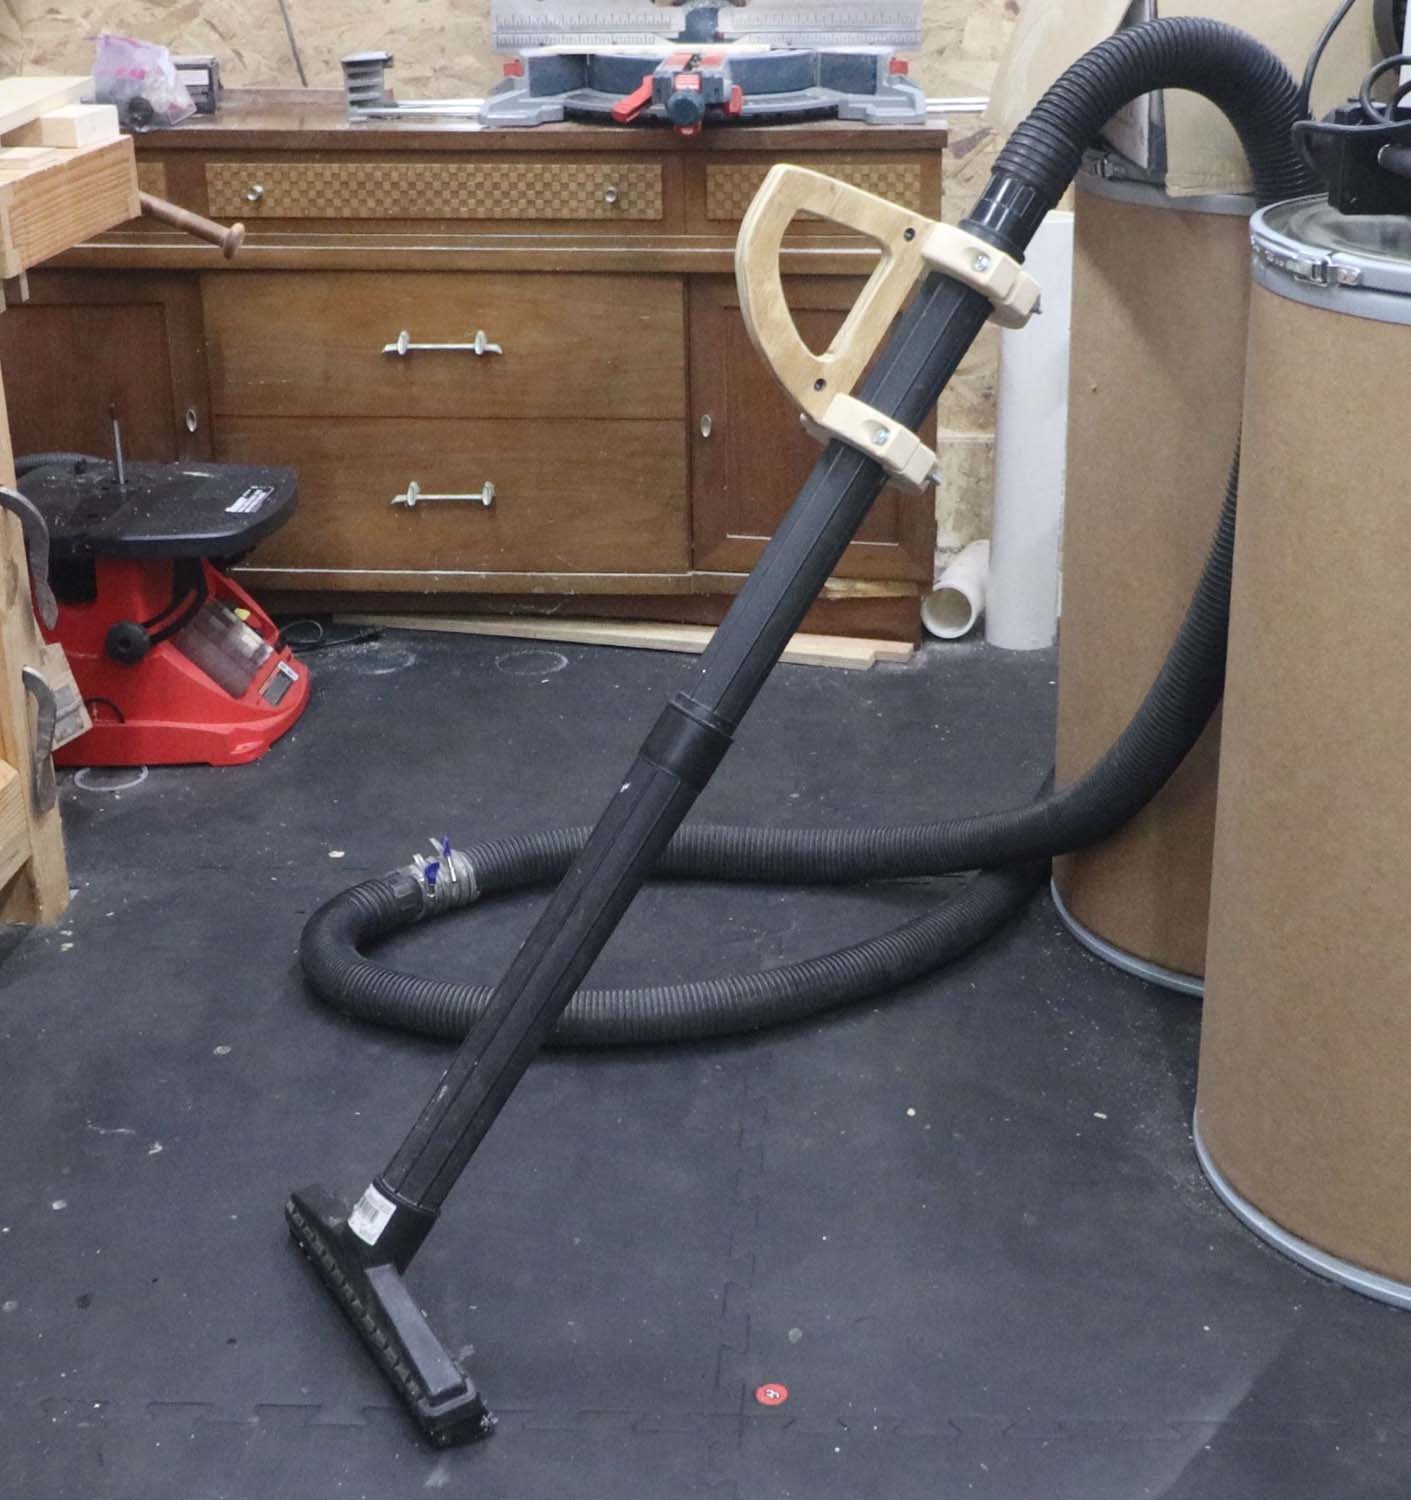
With that done, time to test it out! I have to say, this is a lot better than holding it the way I used to, and will hopefully save me some wear on my wrist. I'll use this for a while and see how I like it, and may end up changing the handle profile if I don't think it's comfortable enough. But for now, this will do nicely.
If you enjoyed this article, subscribe to my YouTube channel for more!