
DIY Code-Compliant Rectangular Handrails
Today I wanted to share my experience replacing the handrails in my house with you. When my wife and I bought our house, we knew that we needed to update the handrails as they were just basic pine handles that were installed when the house was built back in 1976. They are not up to current handrail standards, so we decided that it was time to replace them.
Determining the size of the handrail required a bit of research. I found that copying a handrail design from one of the big box stores was not the right course of action. Instead, I referred to the 2021 International Residential Code (IRC) Section R311, which outlines the requirements for different styles of handrails. I chose a Type I design for our handrails, for which I've copied the requirements from the 2021 IRC below. Note that the 2021 IRC is referenced throughout, which may not be the current edition at the time when you are reading this article. Looking at previous editions, the handrail size requirements appear to be consistent from the 2006 edition to at least the 2021 edition.
R311.7.8.5 Grip size. Required handrails shall be of one of the following types or provide equivalent graspability.
1. Type I. Handrails with a circular cross section shall have an outside diameter of not less than 1-1/4" (32 mm) and not greater than 2" (51 mm). If the handrail is not circular, it shall have a perimeter of not less than 4" (102 mm) and not greater than 6-1/4" (160 mm) and a cross section of not more than 2-1/4" (57 mm). Edges shall have a radius of not less than 0.01 inch (0.25mm).
The requirements for circular rails are pretty straightforward, so I don't see a need to go through those. However, the requirements for non-circular rails can be a bit confusing at first read, so let's go through the requirements in a bit more detail. Let's assume a rectangular cross-section, as that's the easiest to make.

it shall have a perimeter of not less than 4" (102 mm) and not greater than 6-1/4" (160 mm)
The perimeter is the distance if you wrapped a string around the rail and measured the length of that string. Consider the case of a 1" (25 mm) square with no radiuses at the corners. The perimeter would be exactly 4" (102 mm) (four times 1" = 4").

[it shall have] a cross section of not more than 2-1/4" (57 mm).
This requirement means that no two points in the handrail cross-section can be farther than 2-1/4" (57 mm) apart, which is the same thing as saying that it needs to fit within a 2-1/4" (57 mm) diameter circle.
Edges shall have a radius of not less than 0.01 inch (0.25mm).
This one is pretty straightforward. Basically, the code wants you to at least soften the corners of the rails so that you don't have a hard 90-degree corner cutting your hand as you slide it along the rail.
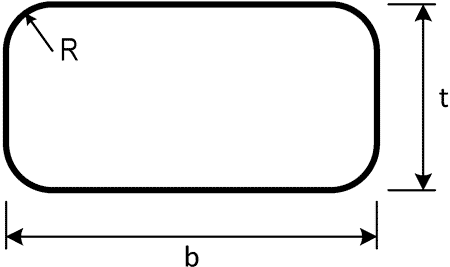
Looking at the requirements above, it turns out that there are a large number of combinations of rectangular handrail thickness (t), width (b), and corner radius (R) that will conform to the code requirements. To save you the hassle of figuring it out yourself, I've created a handy table of acceptable rectangular handrail cross-sections based on the IRC requirements. This table will let you pick a handrail size to suit your available material and personal style.
Note that the IRC has other requirements for handrails, such as minimum and maximum height above stair treads, projection from the wall, etc. Check Section R311 of the IRC for more details. You can access the IRC online for free; otherwise, your state may have its own building code based on the IRC.
For my handrails, I'm going with a cross-section that's 1-1/4" x 2" (32 mm x 51 mm) with 1/4" (6mm) radiused corners.
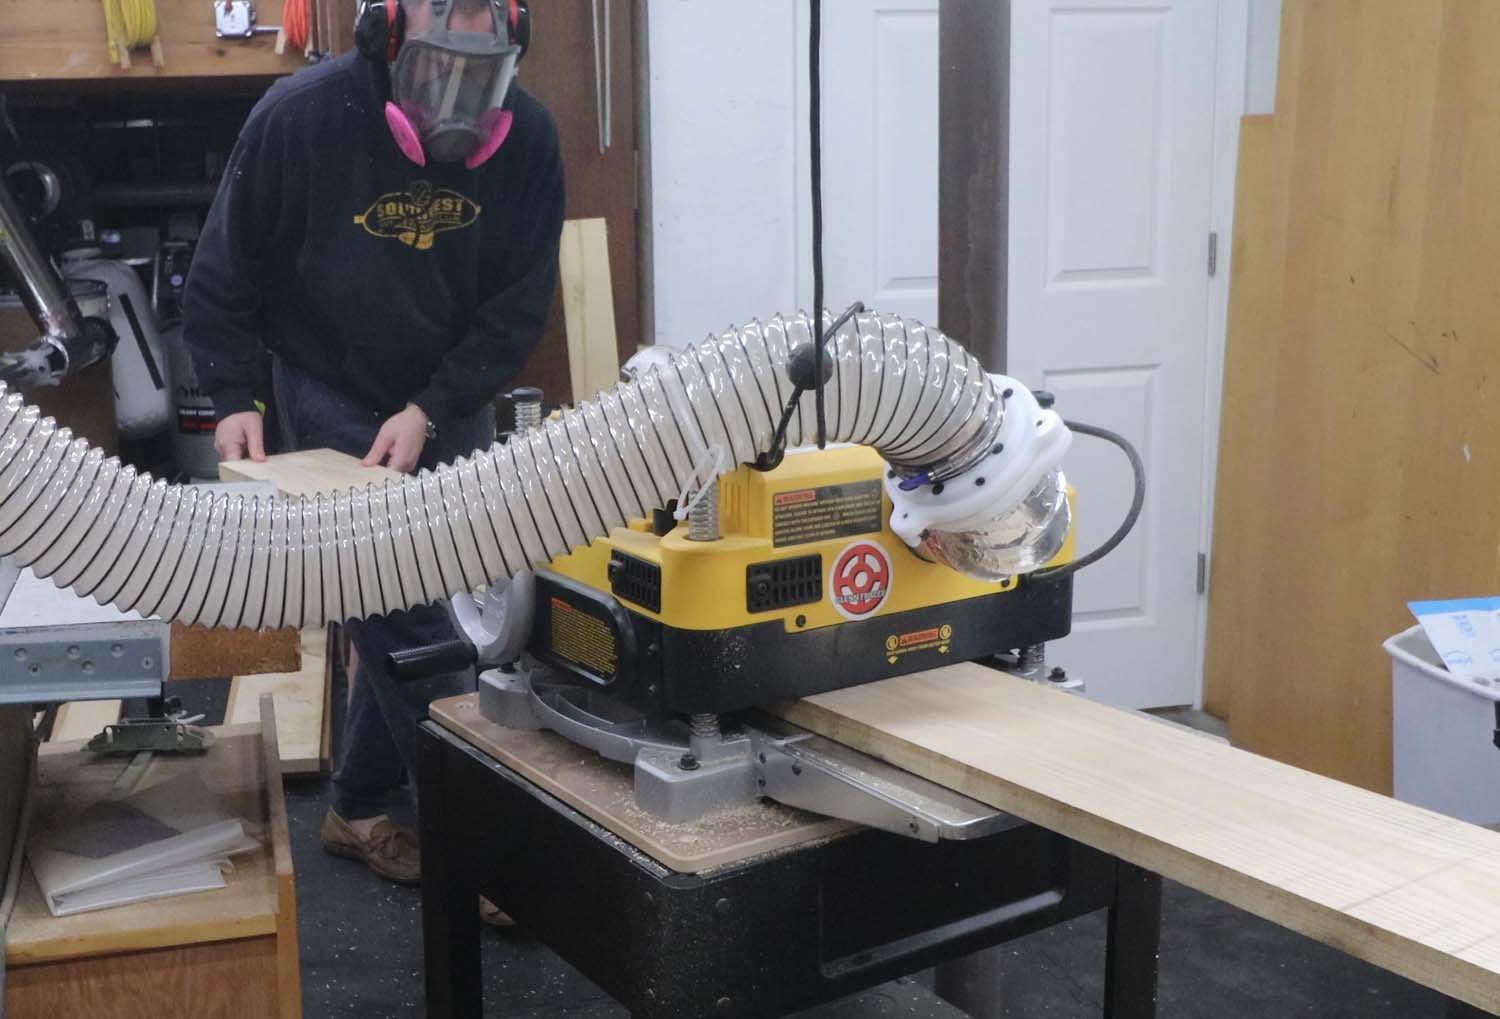
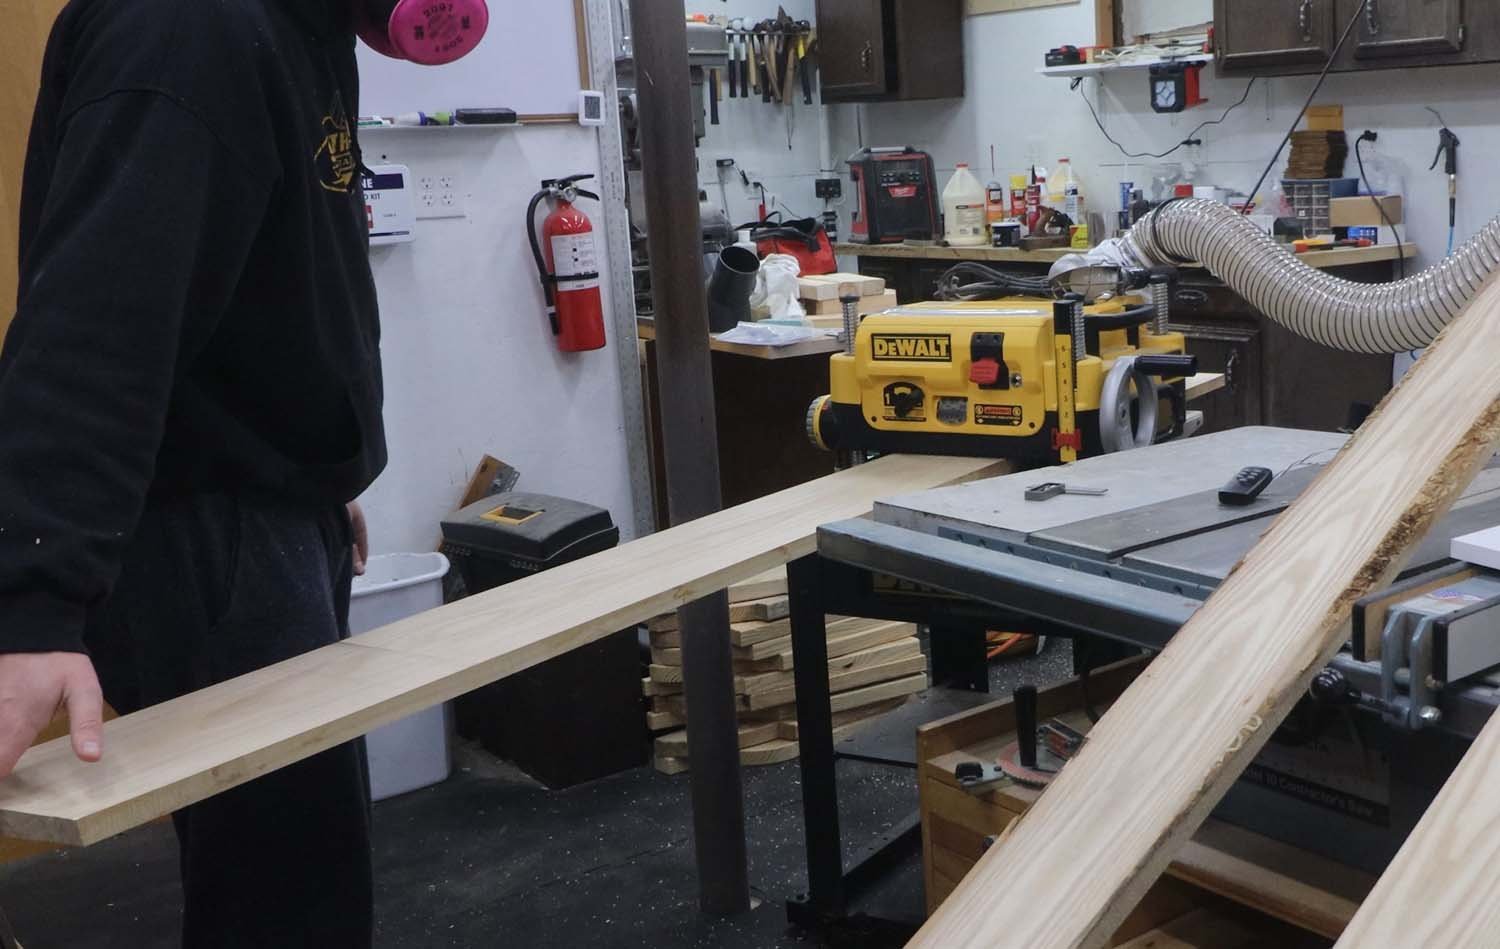
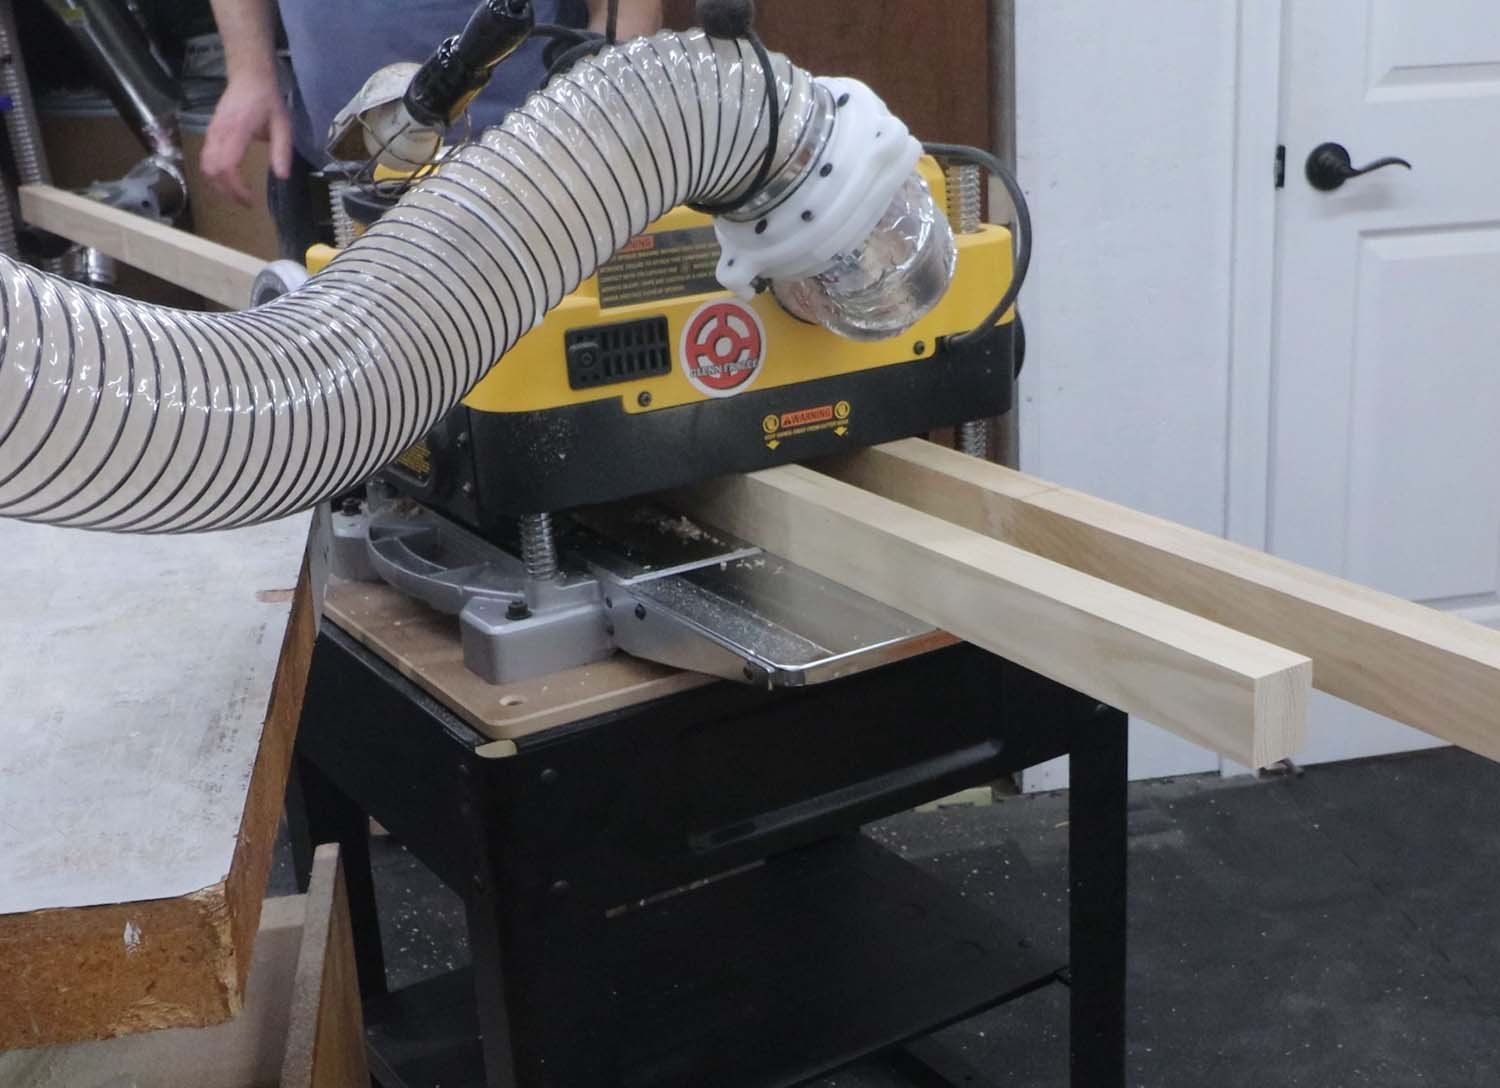
My plan was to build the new handrails using some ash hardwood that we harvested from our cabin, which has been air-drying for a couple of years. The lumber was rough cut, so I needed to machine it before it was usable. To get the handrail to the right thickness, I had to laminate two layers together. To start, I milled the boards to be about 1/2” (12mm) oversized in all dimensions.
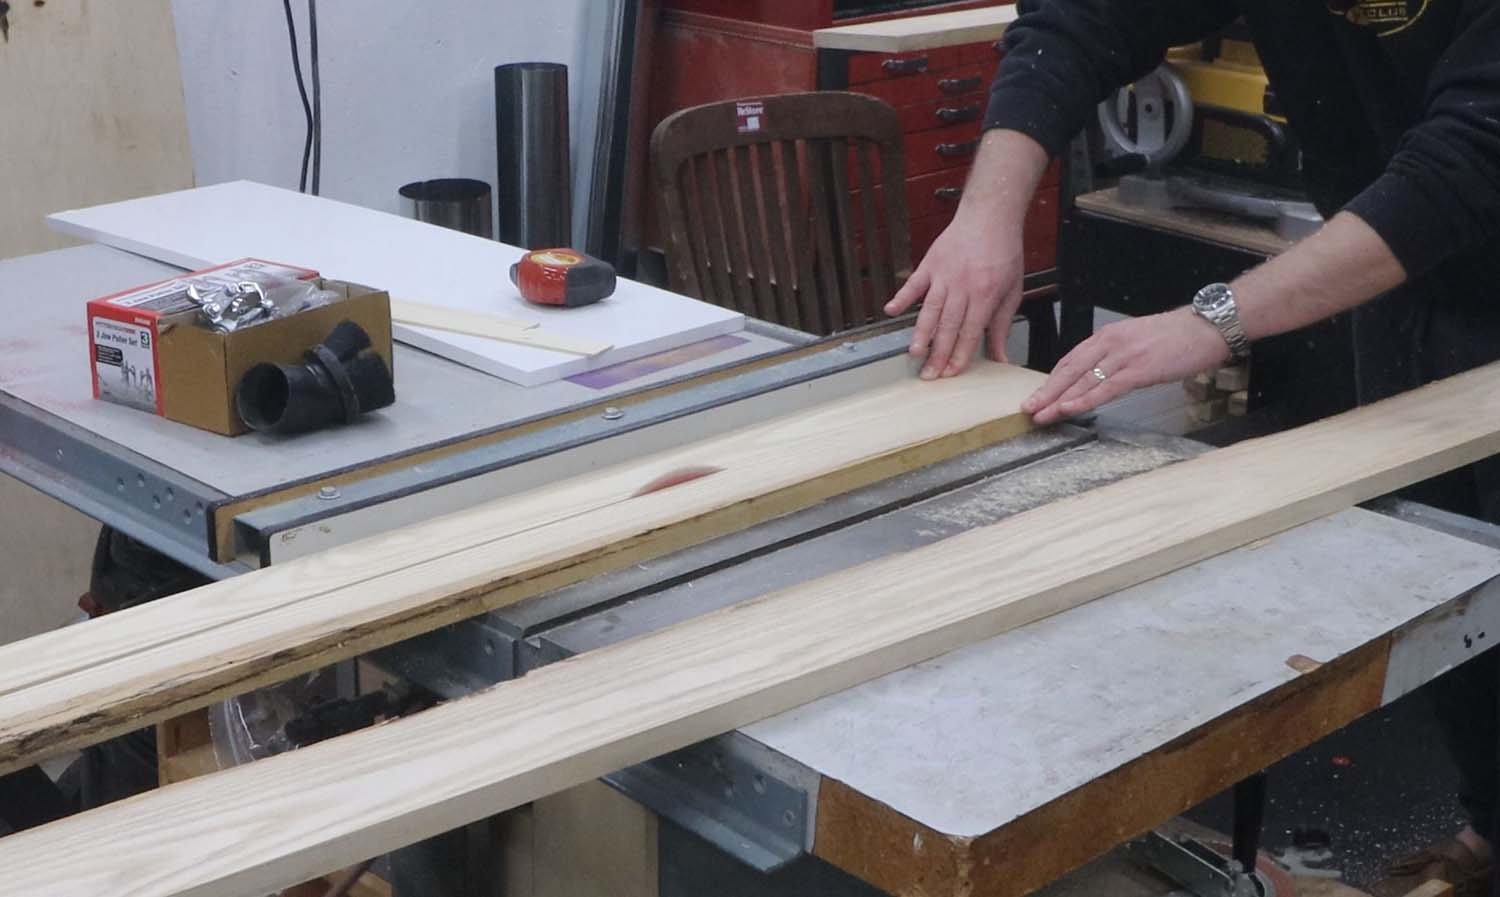
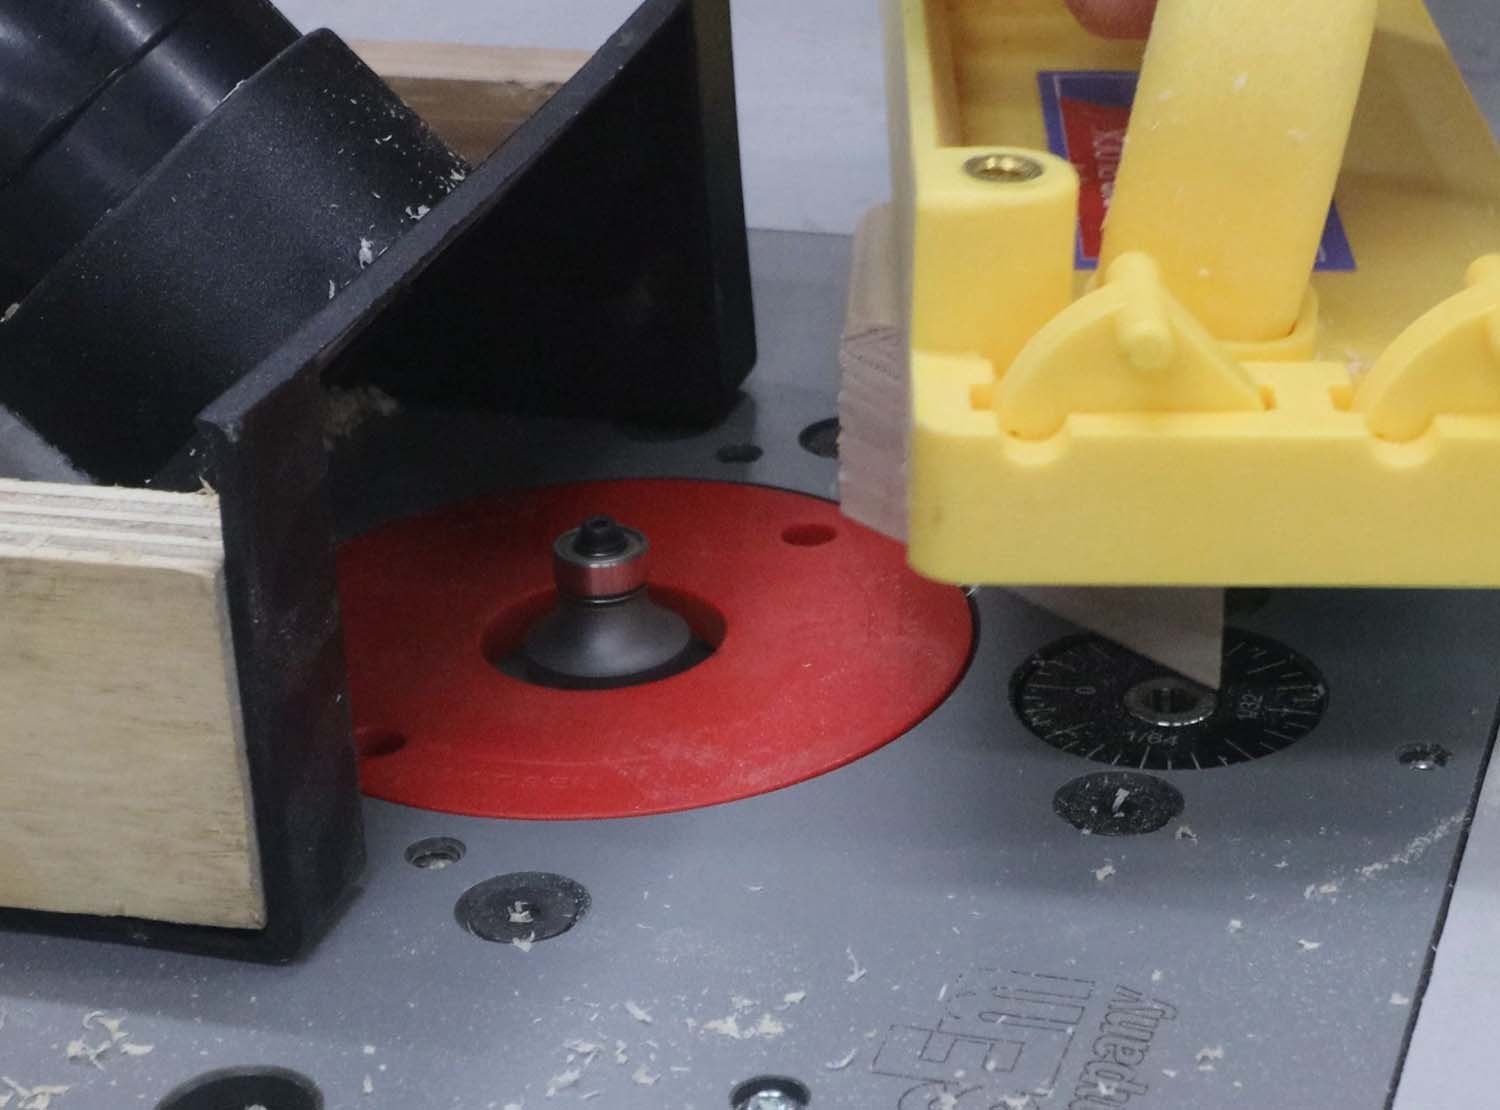
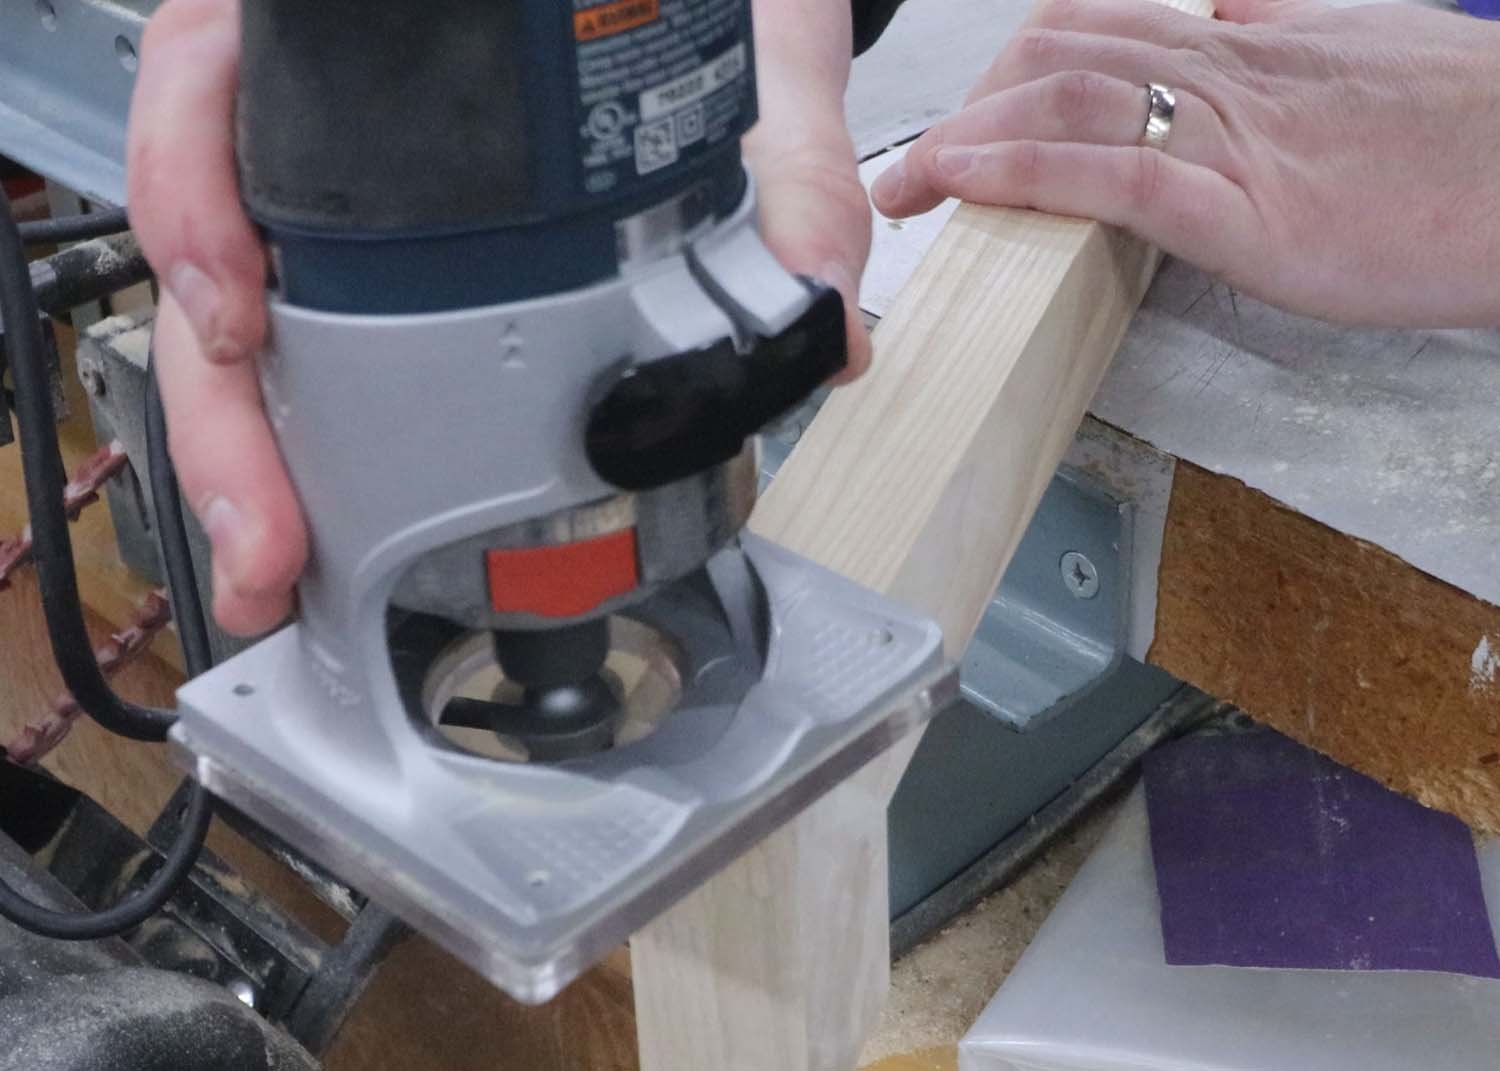
Since two of the rails needed to be longer than the length of the lumber I had, I decided to join them with a finger joint. I began by gluing a scrap piece of wood on the backside, which would prevent the router bit from tearing out this edge of the piece. Then, I used another scrap piece as the fence for the guide bearing of the bit.
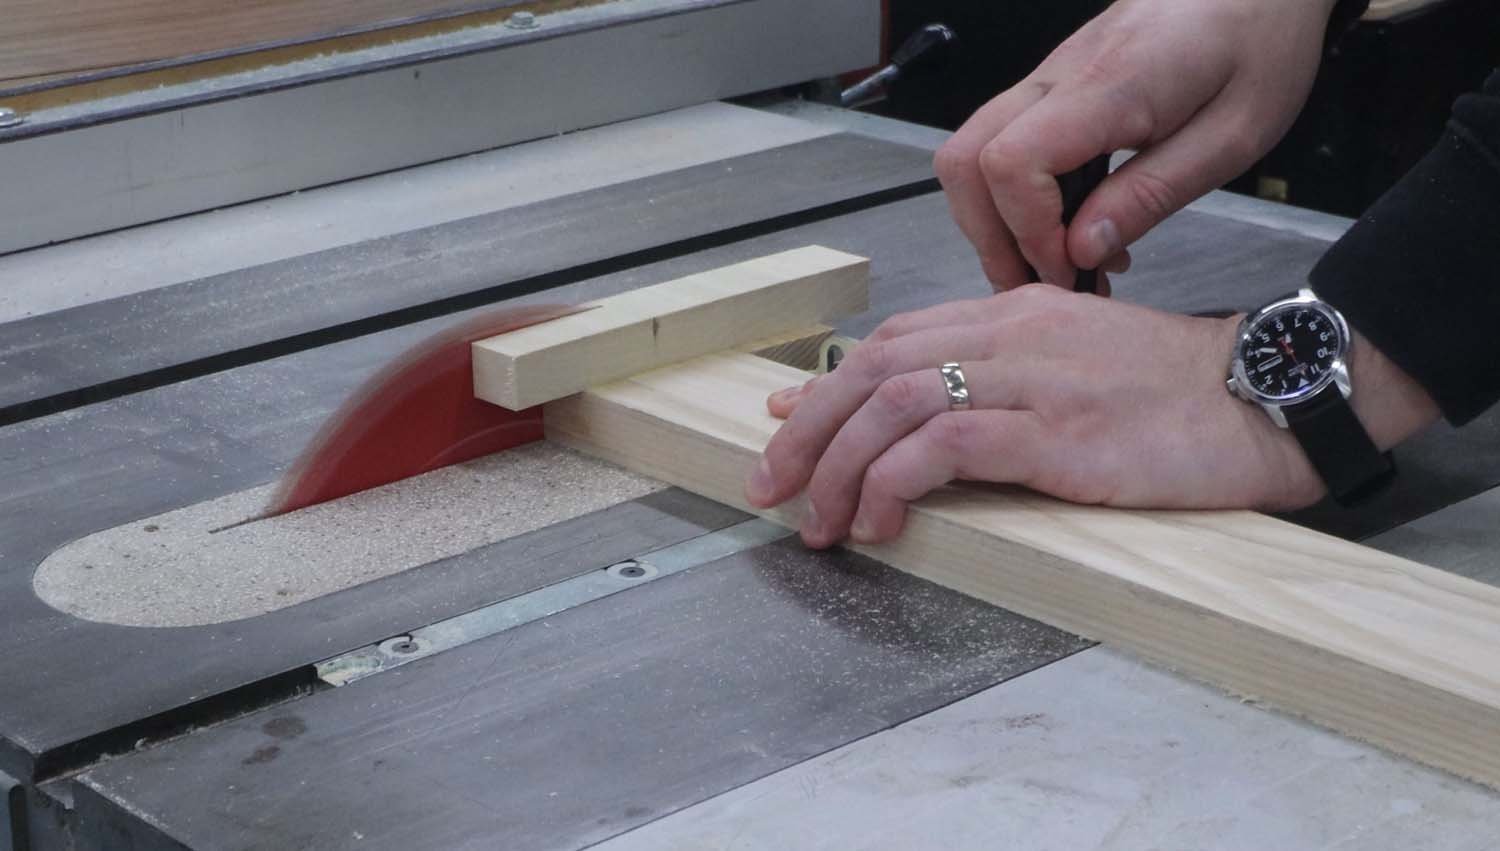
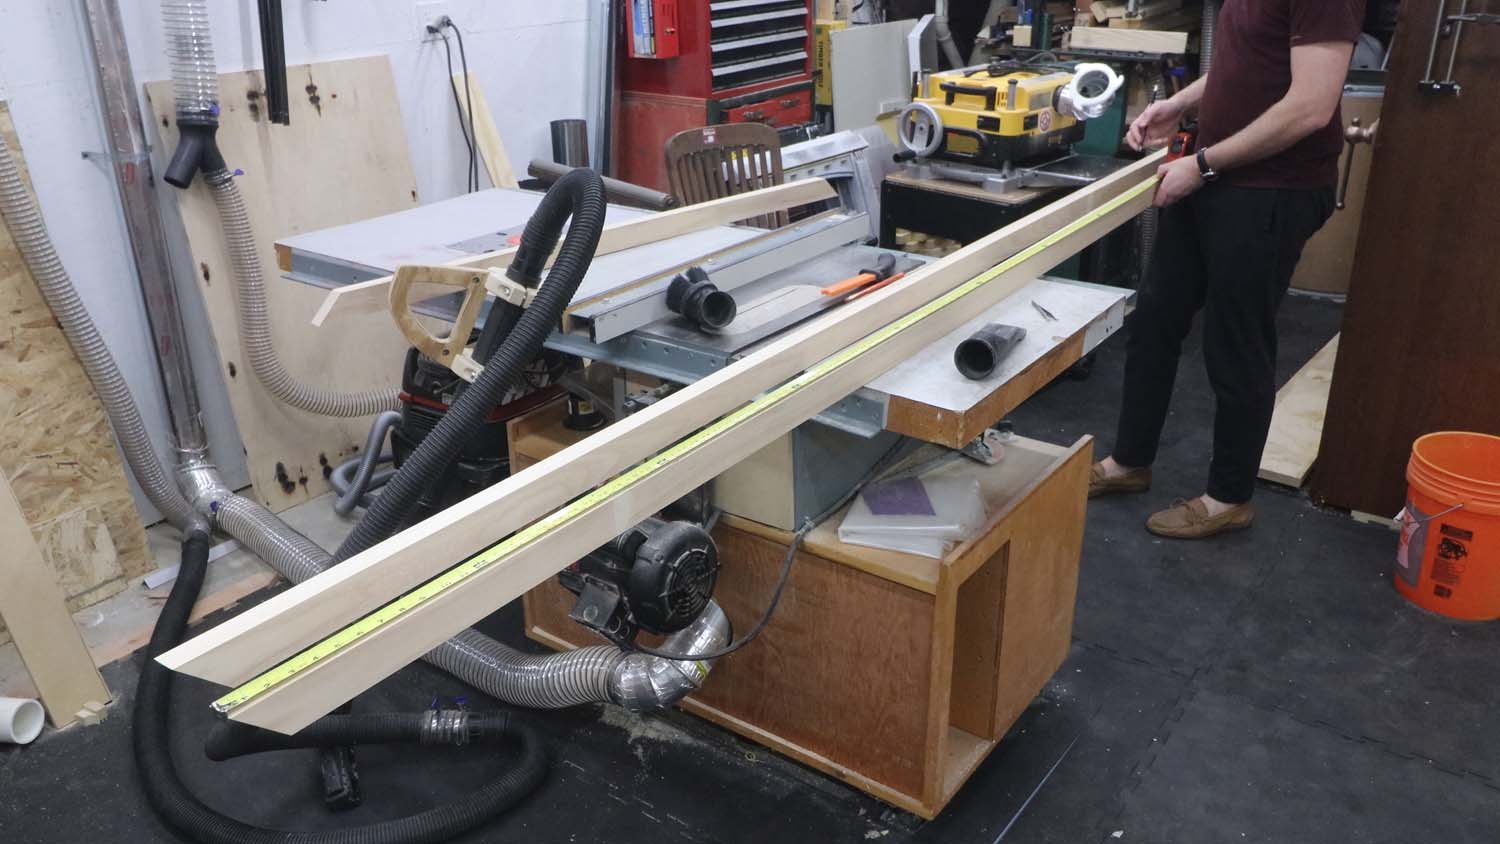
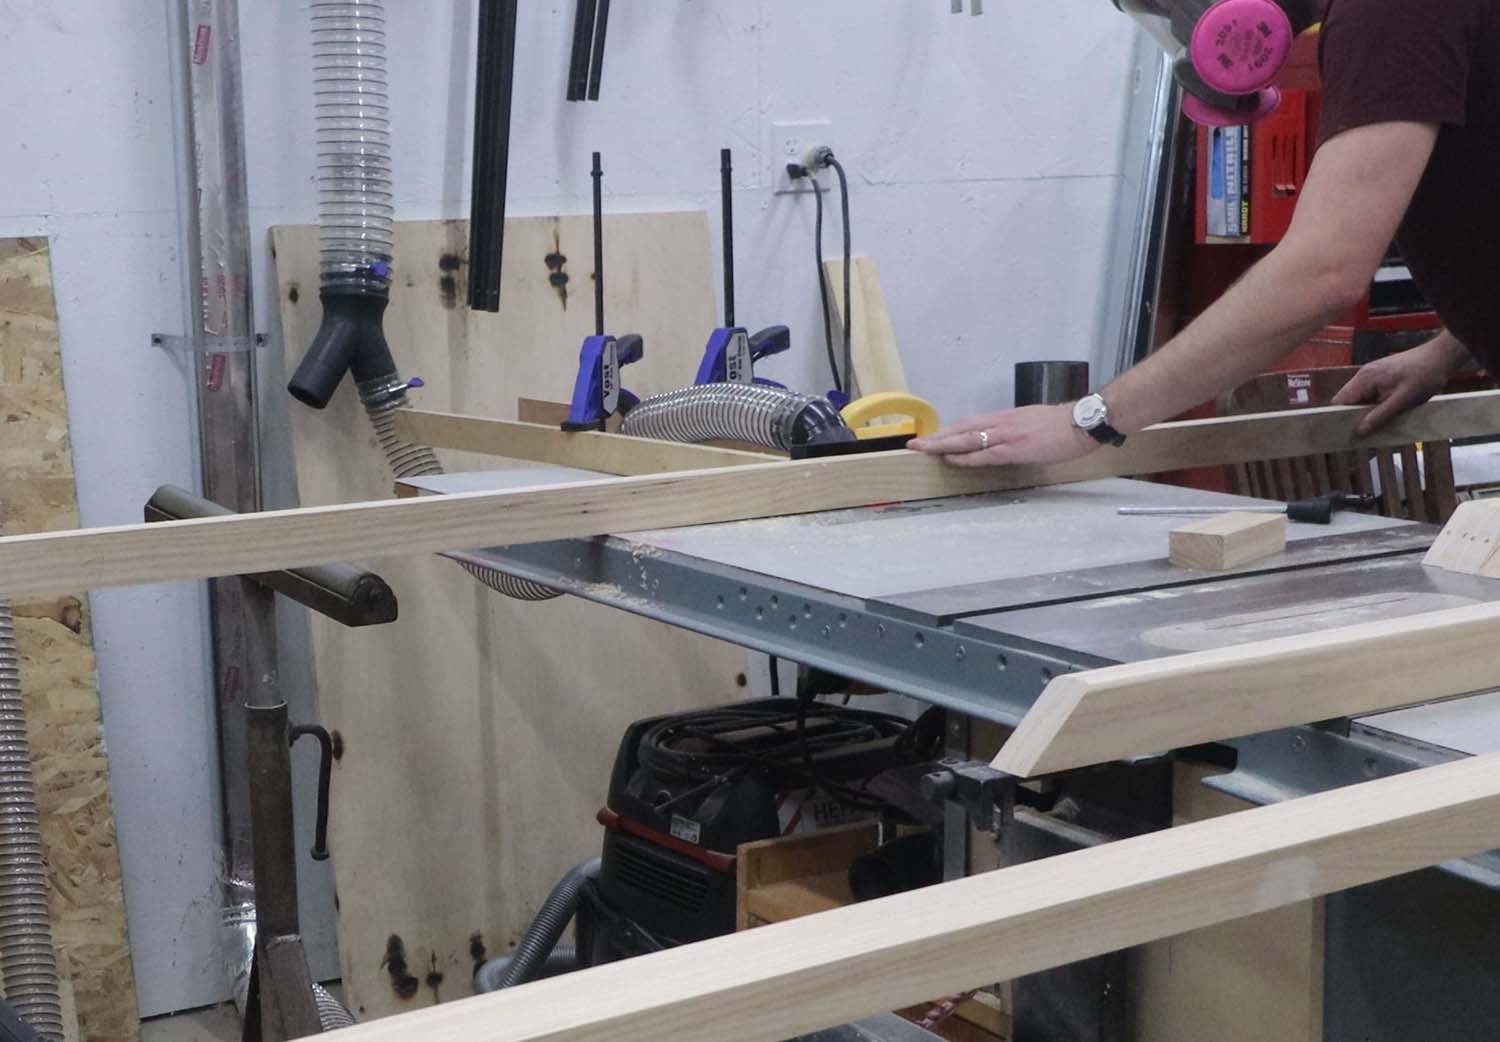
After allowing the glue to dry, I cut the end square with my table saw and a miter sled. This was a bit tricky, as the end was hanging way off the table. But, it was the only way to make the cut accurately given the tooling I had.
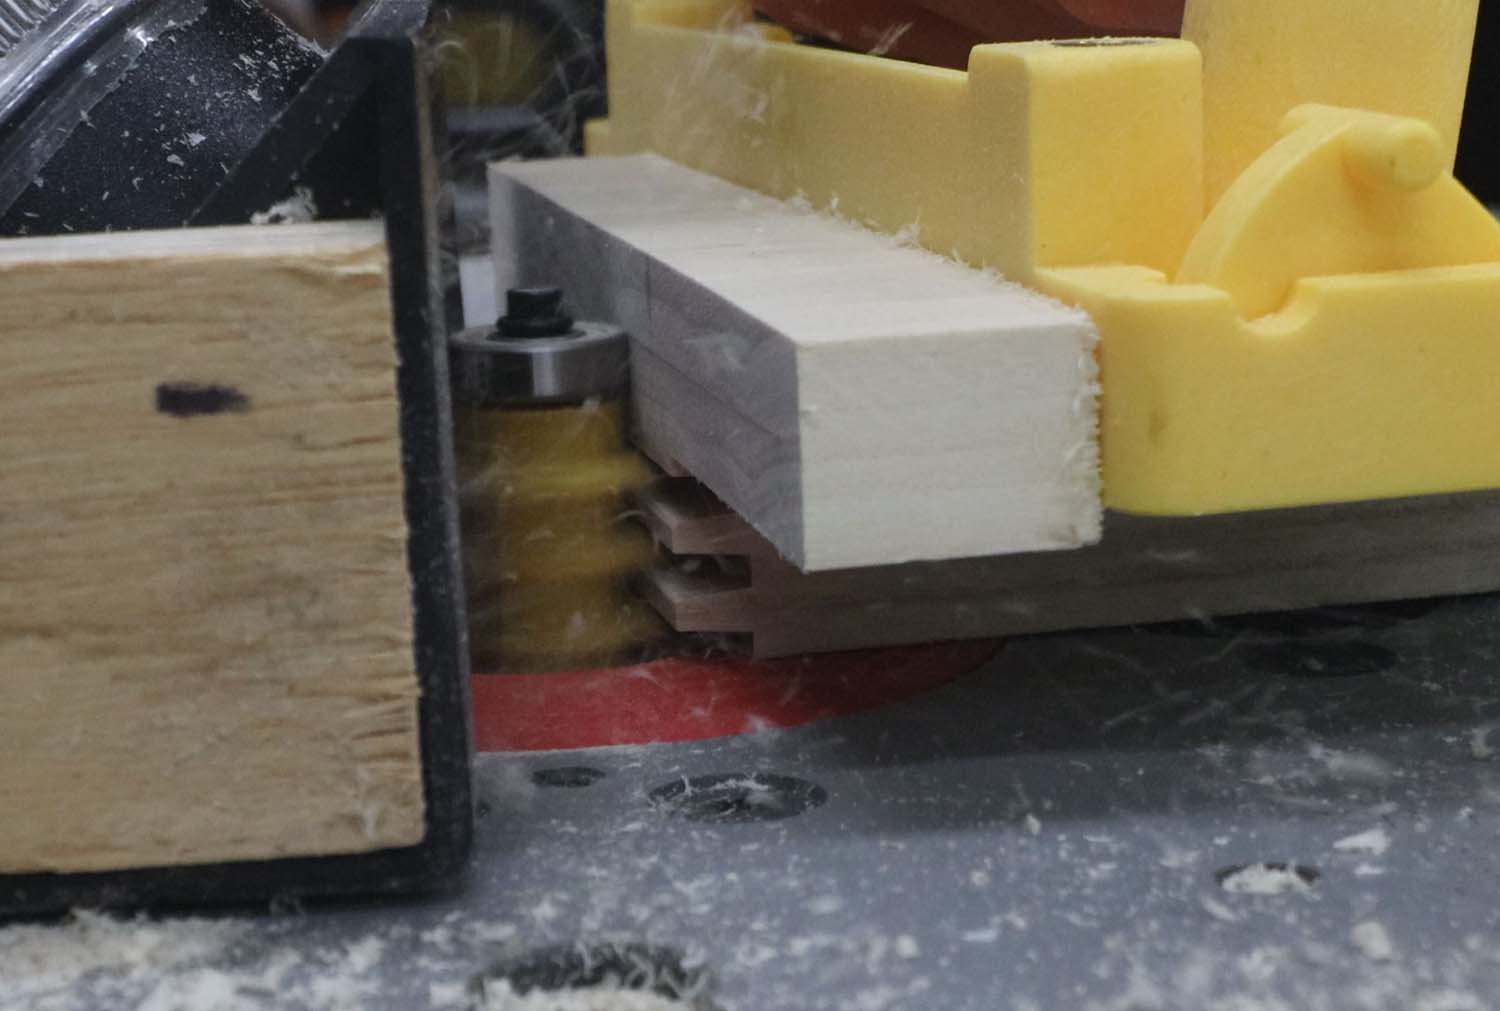
Next, it was time to route the finger joint on one end of the pieces.

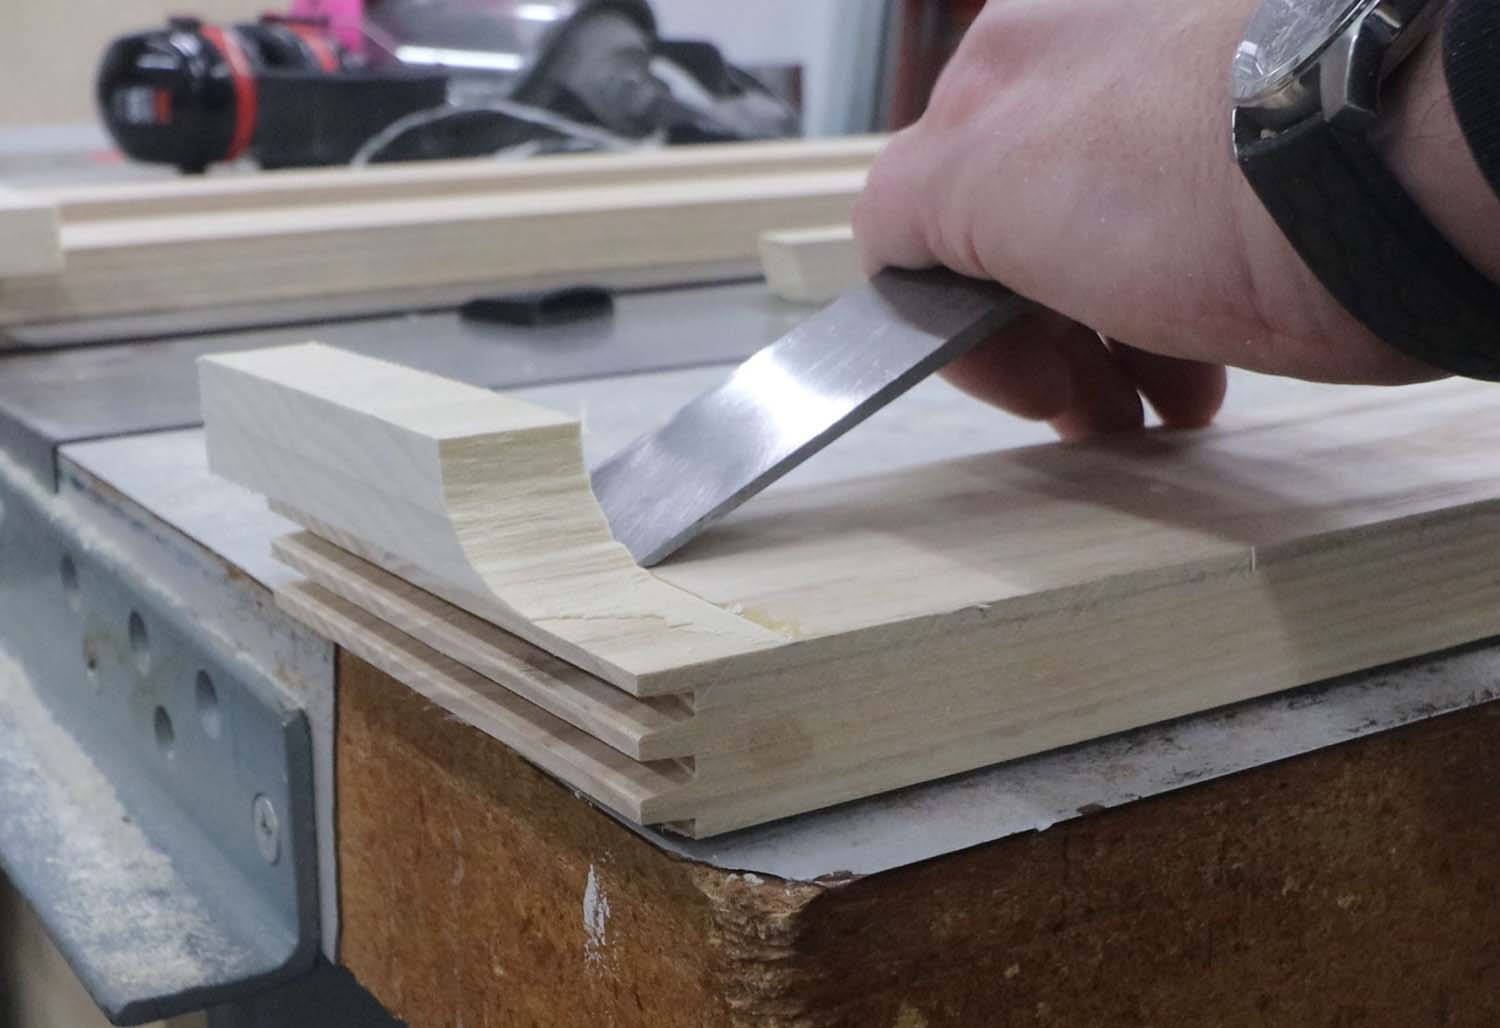
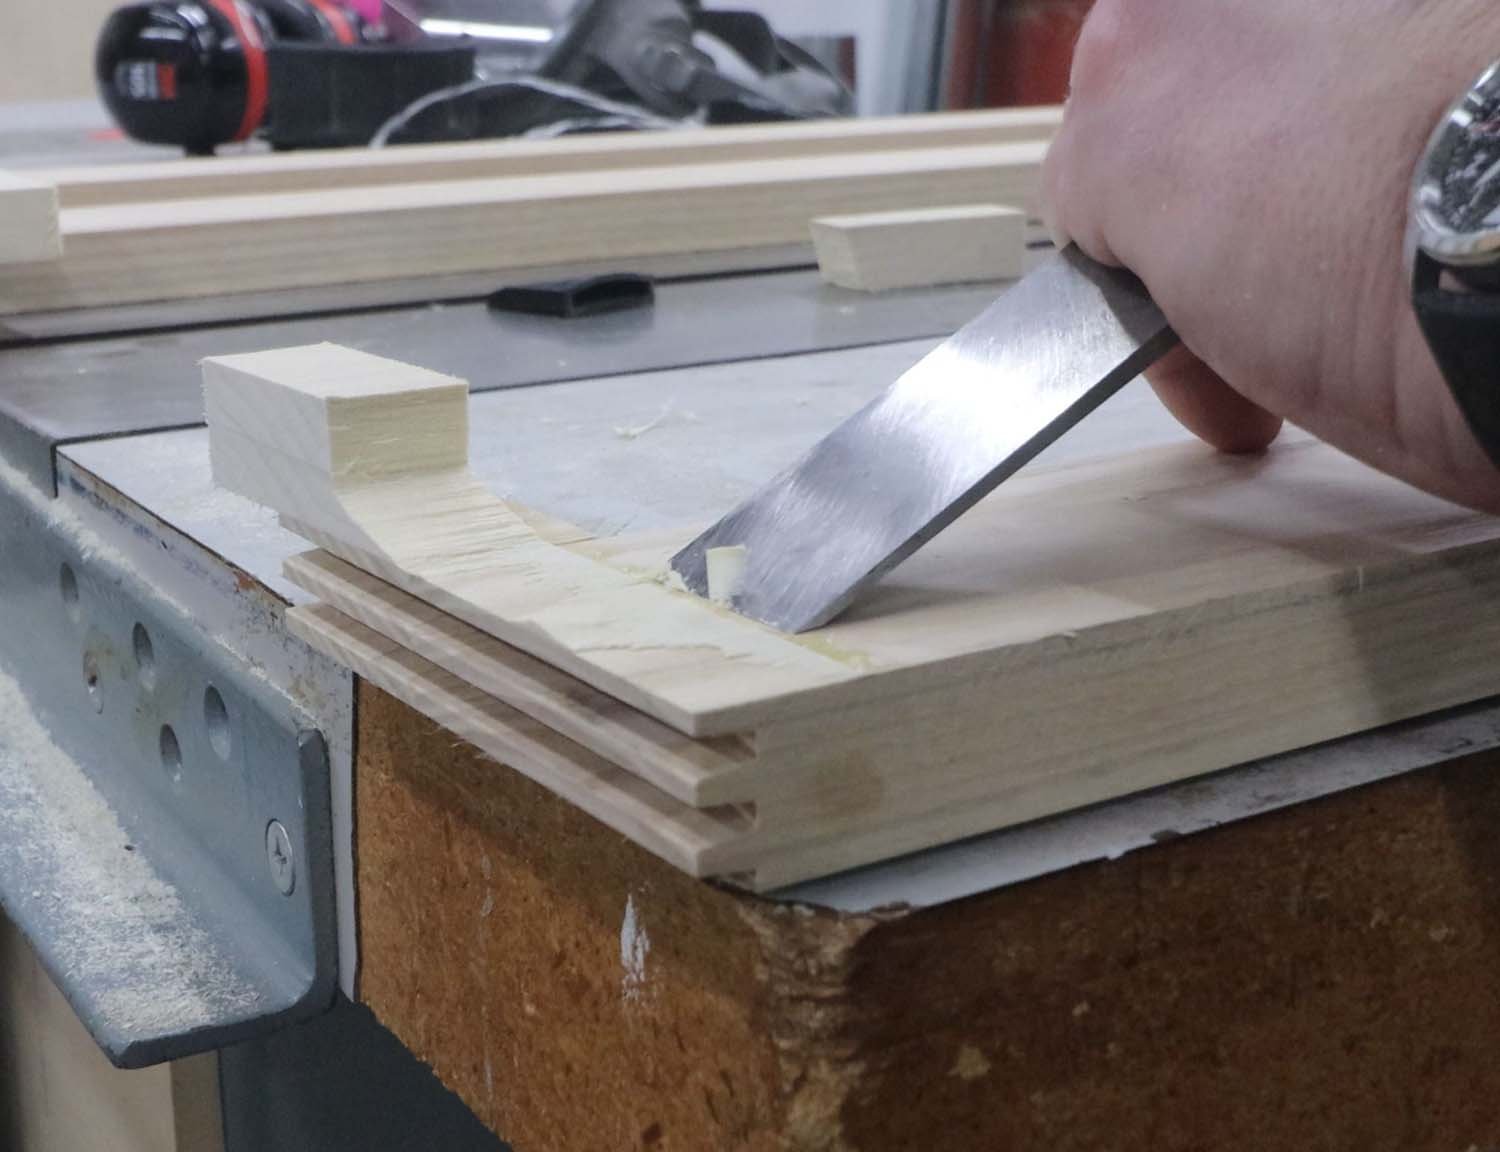
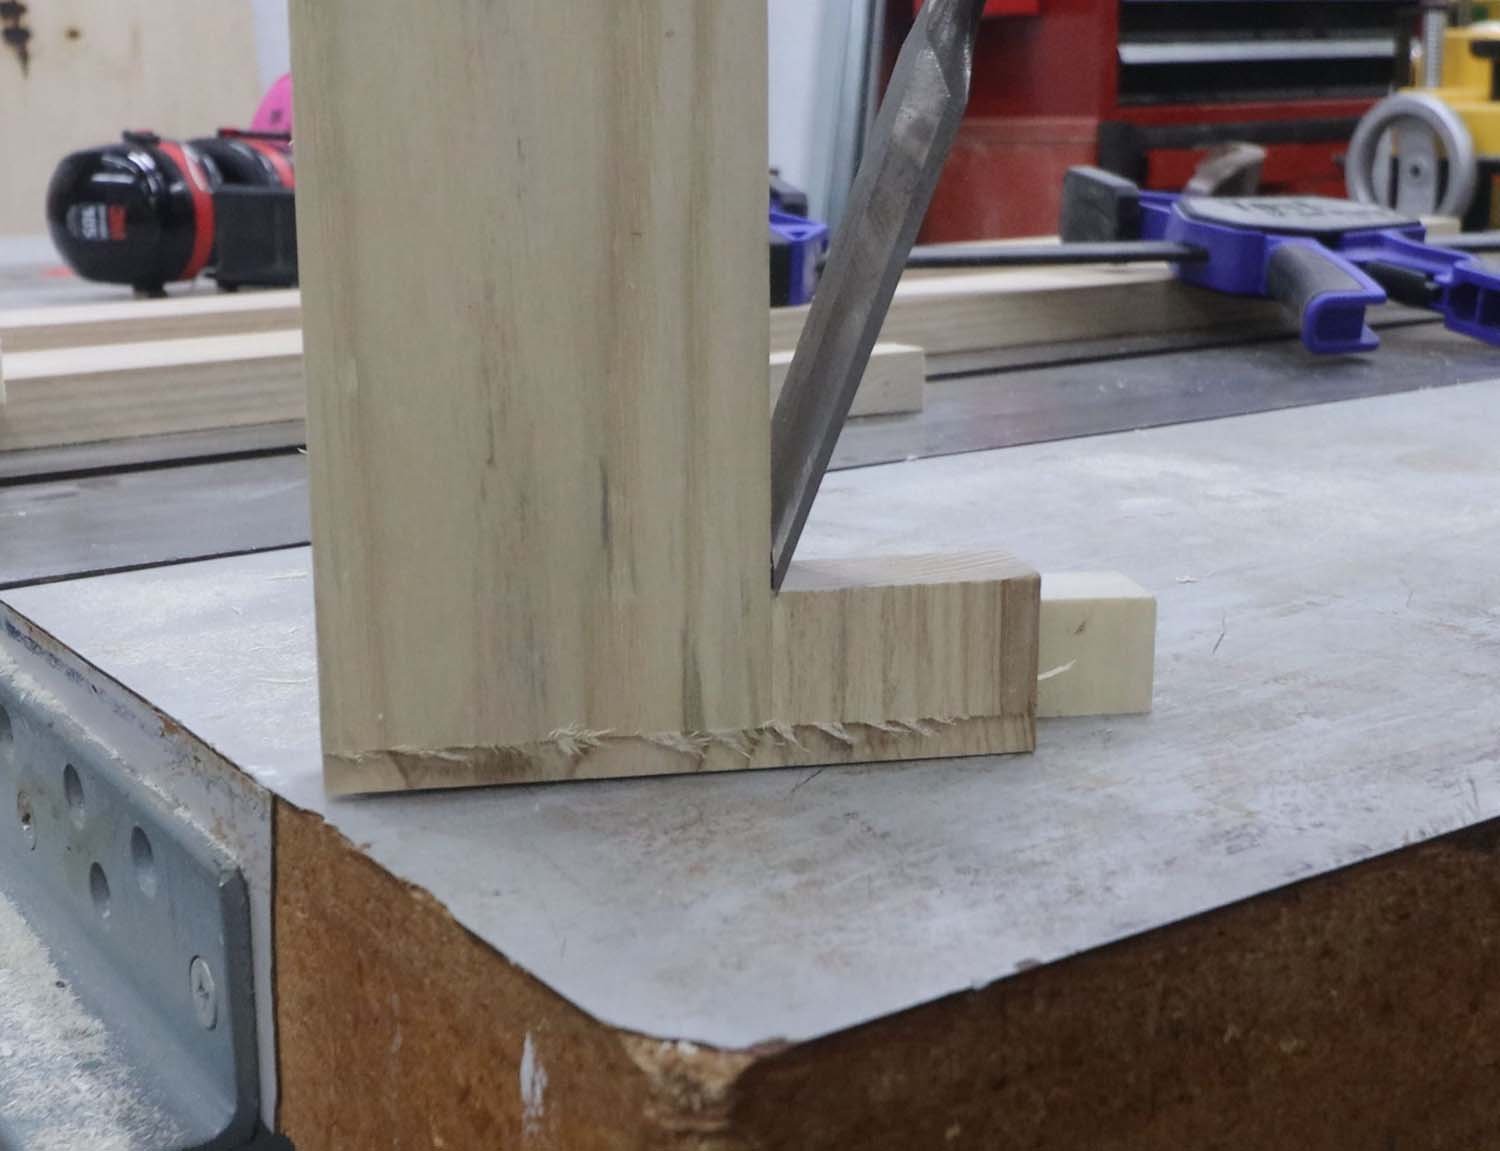
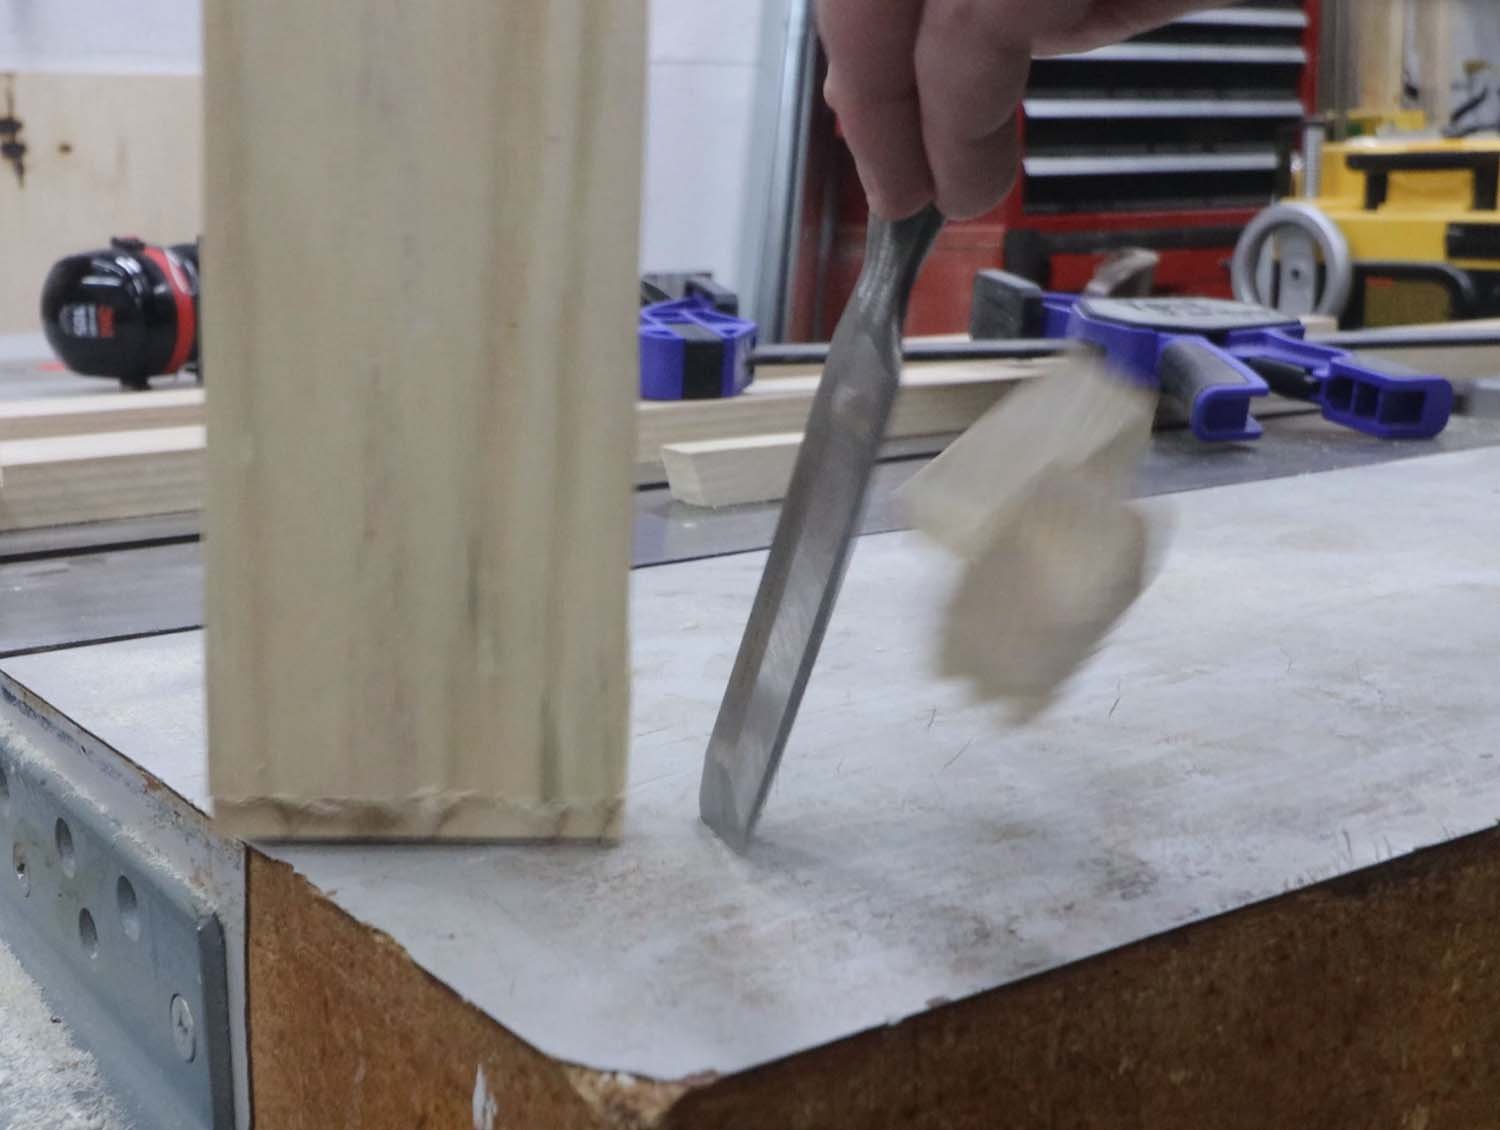
Once that was done, I knocked off the scrap pieces with a chisel and pared them back to the original board.
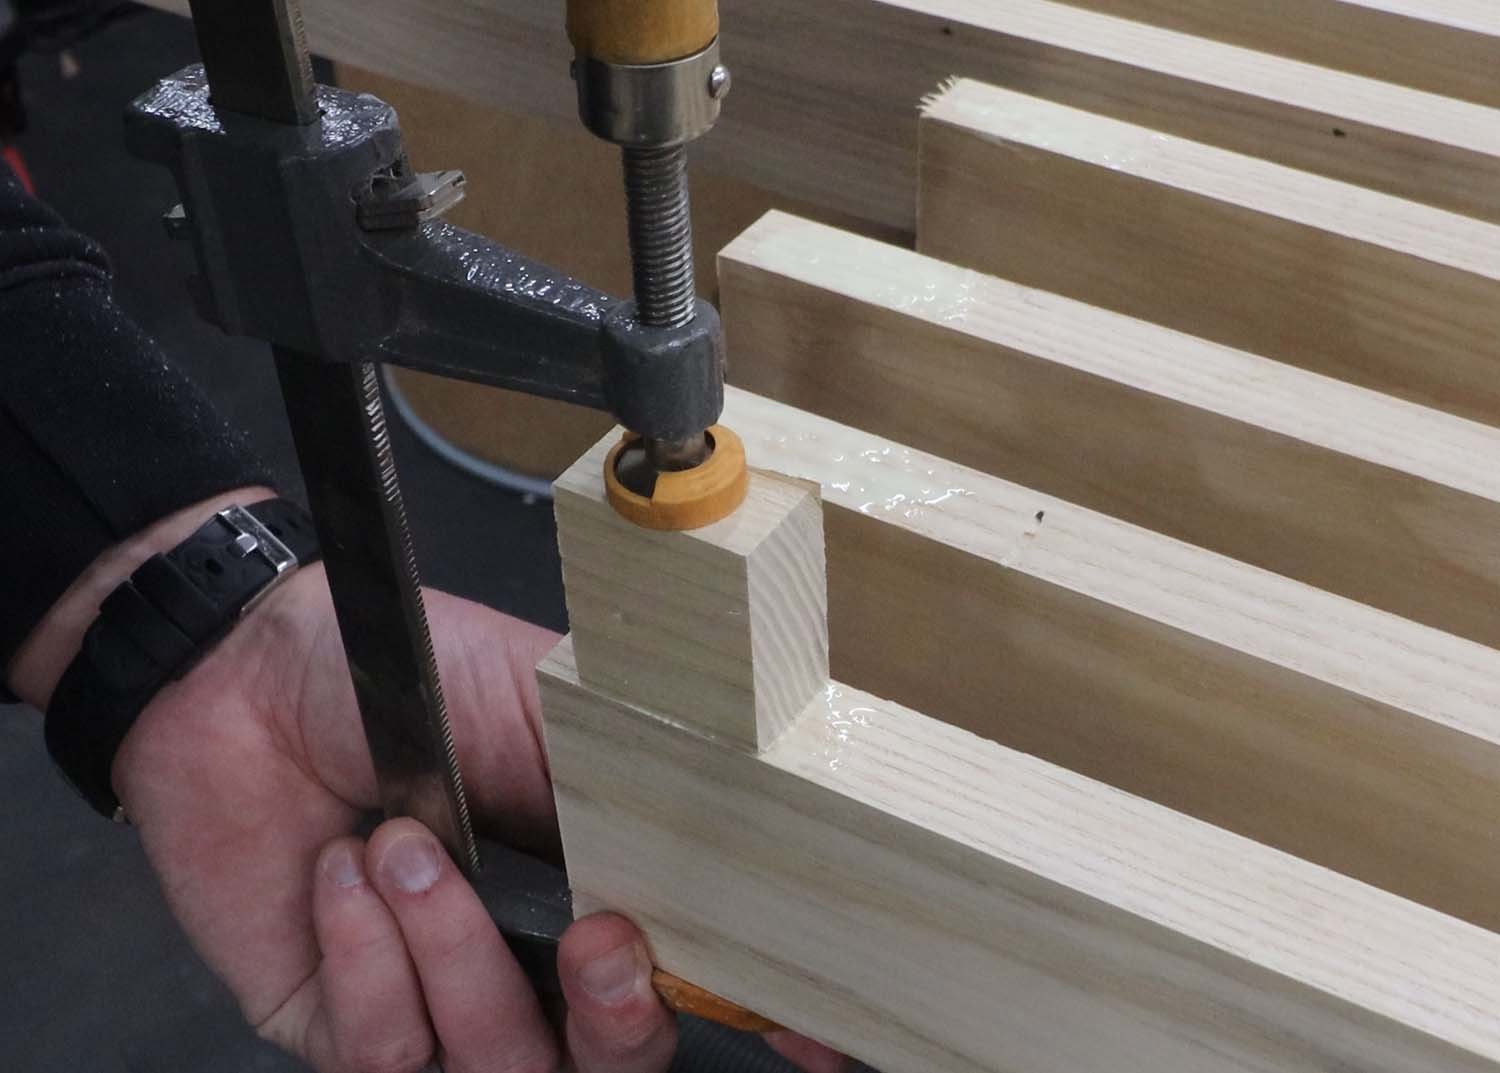
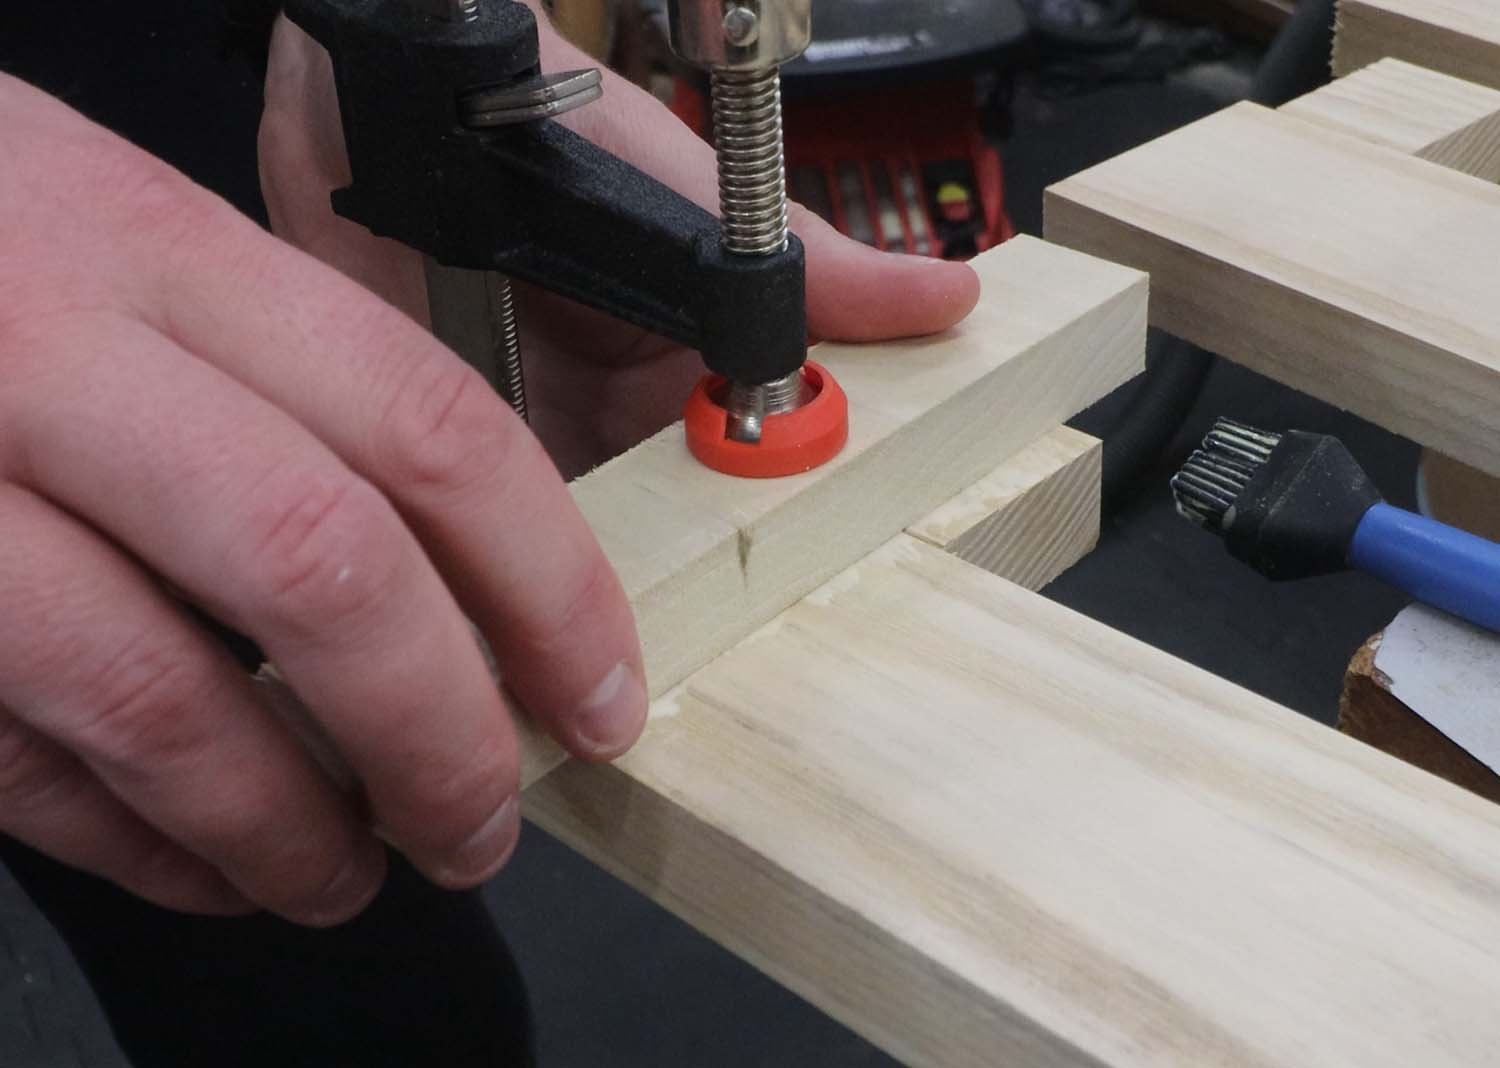
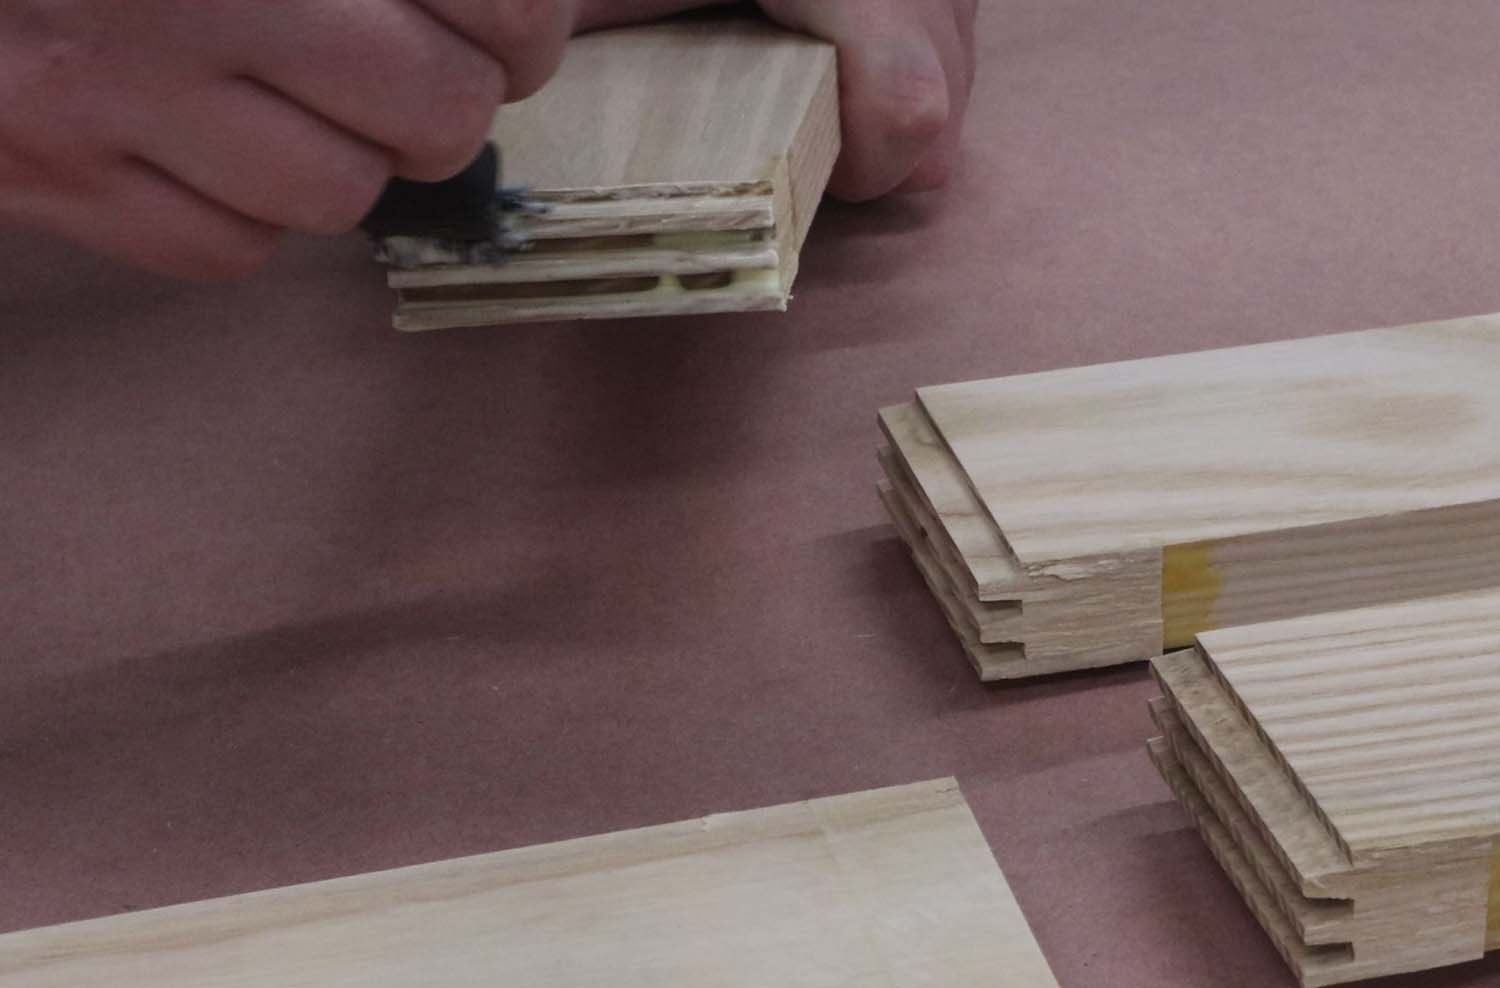
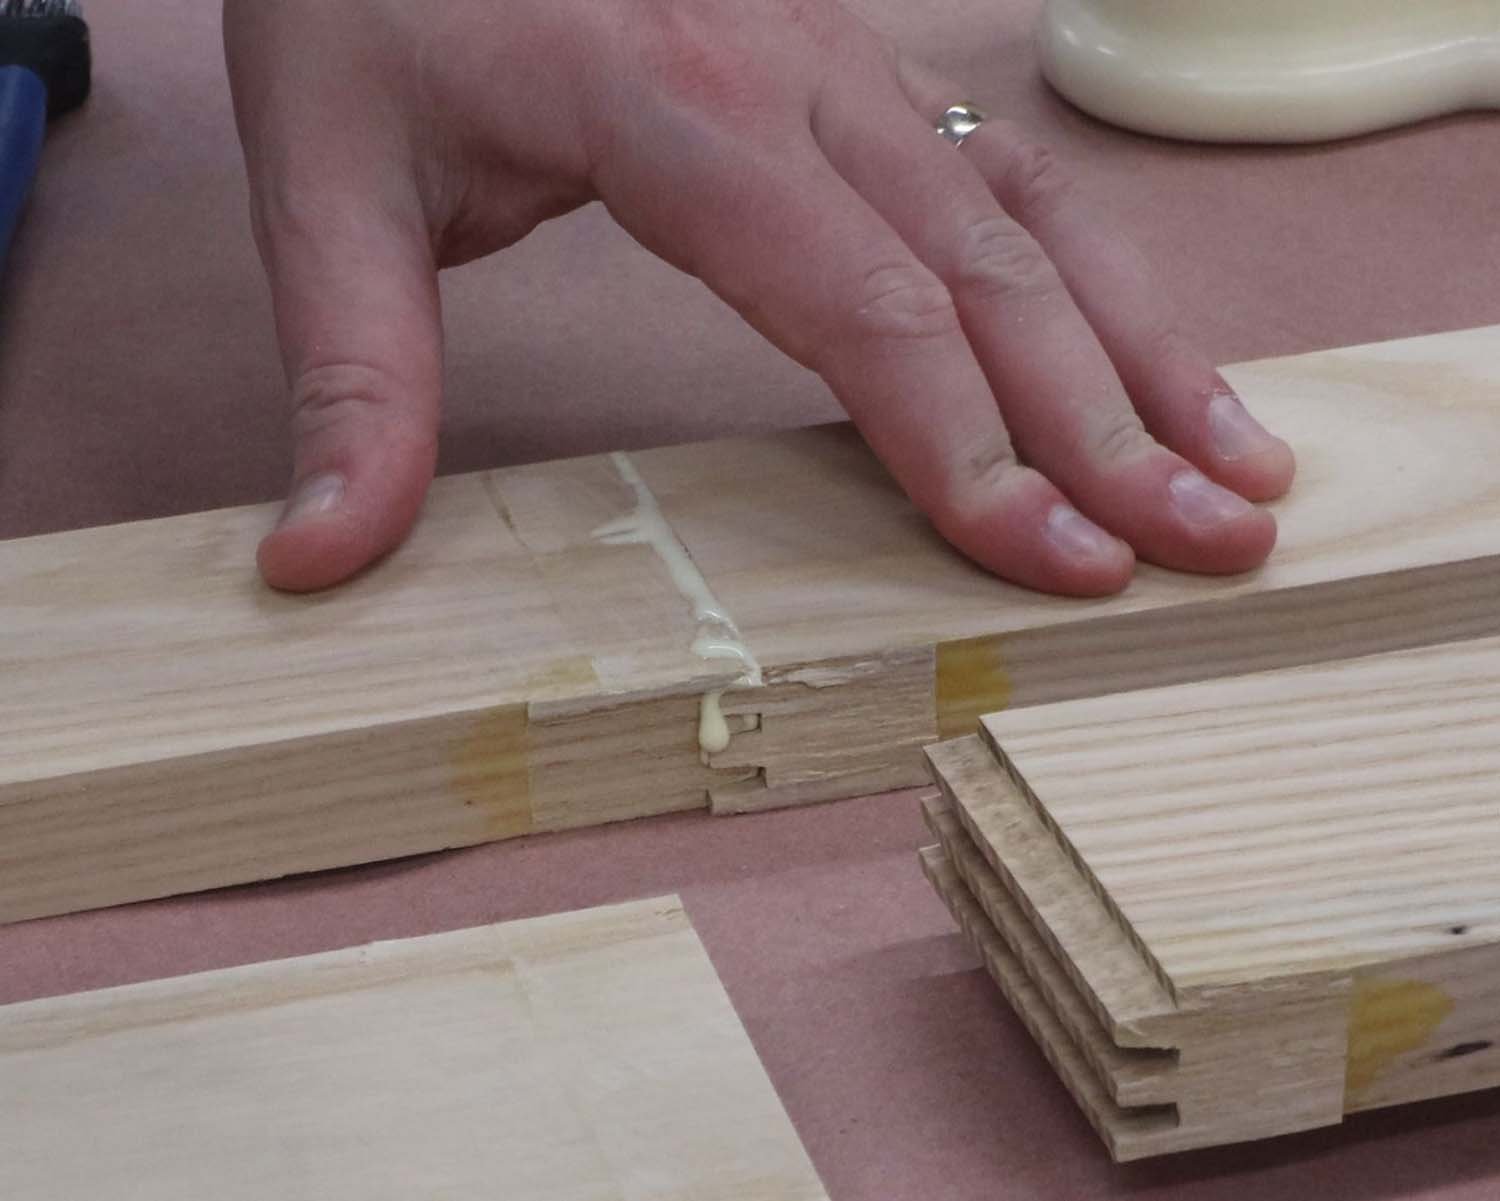
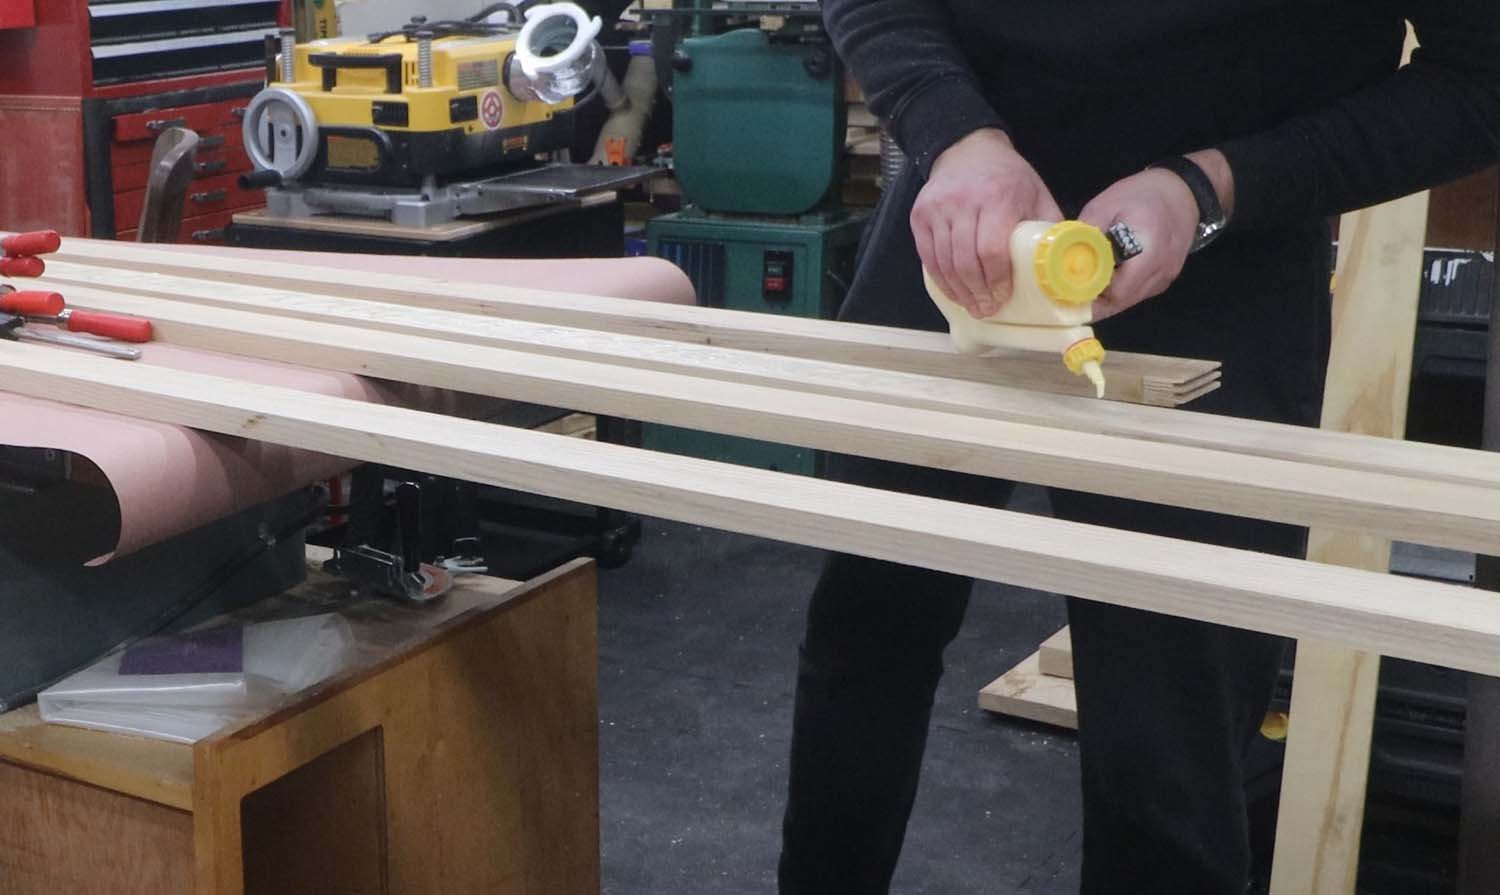
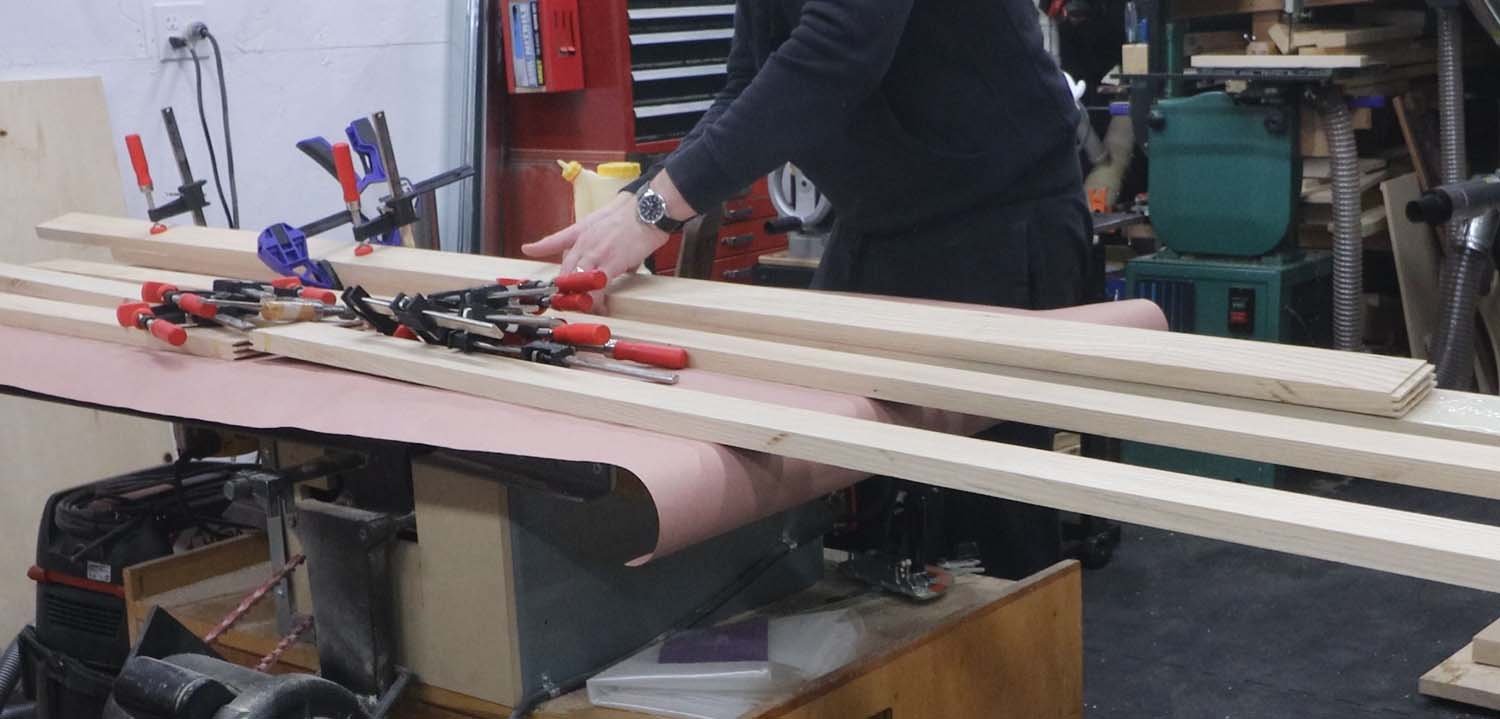
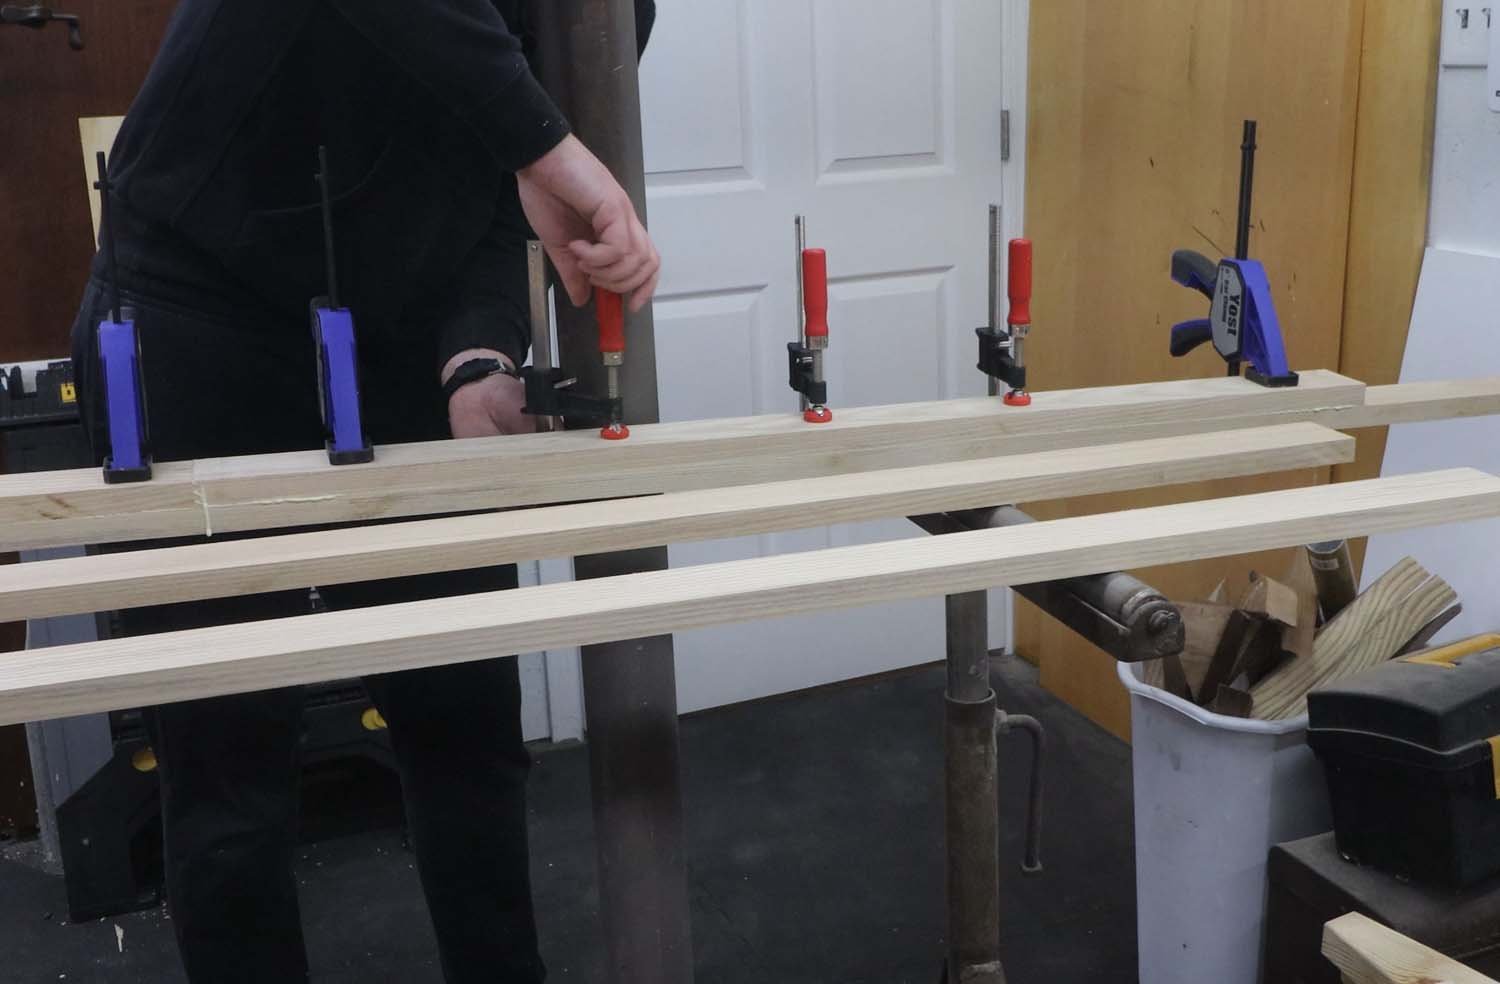
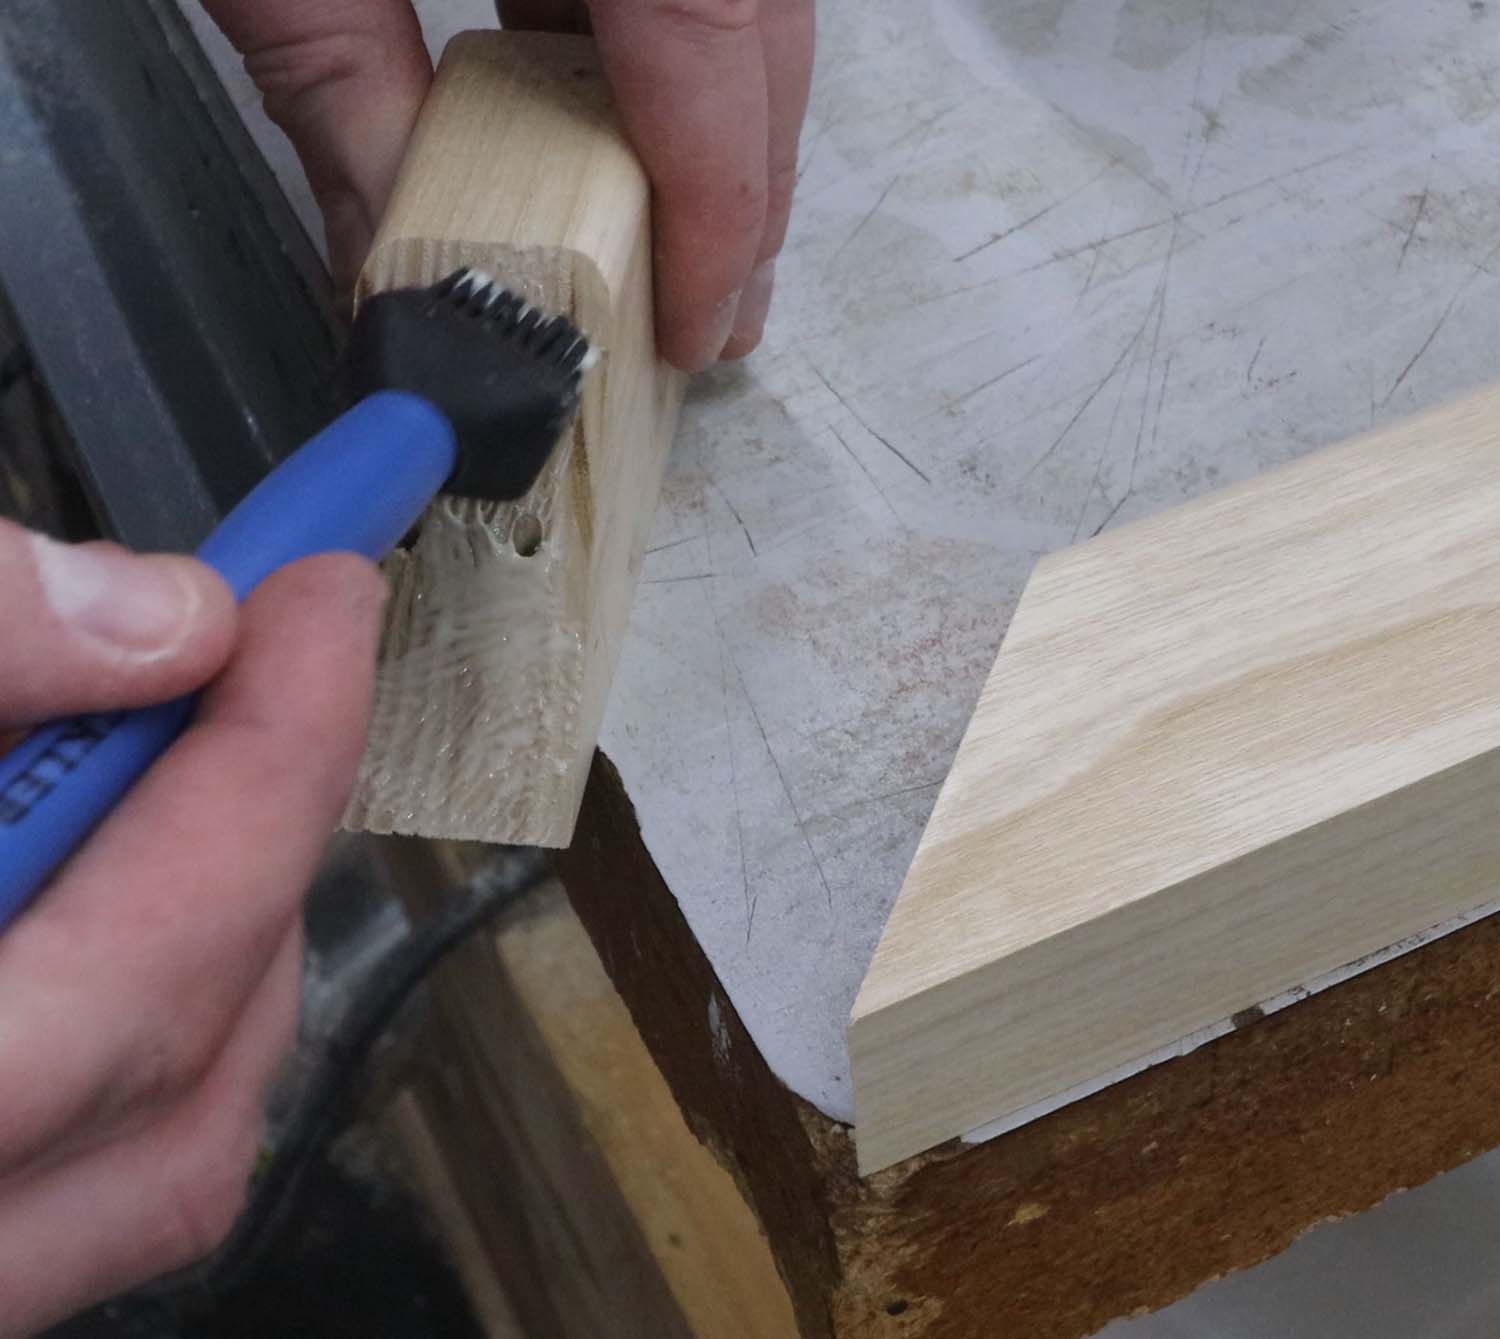
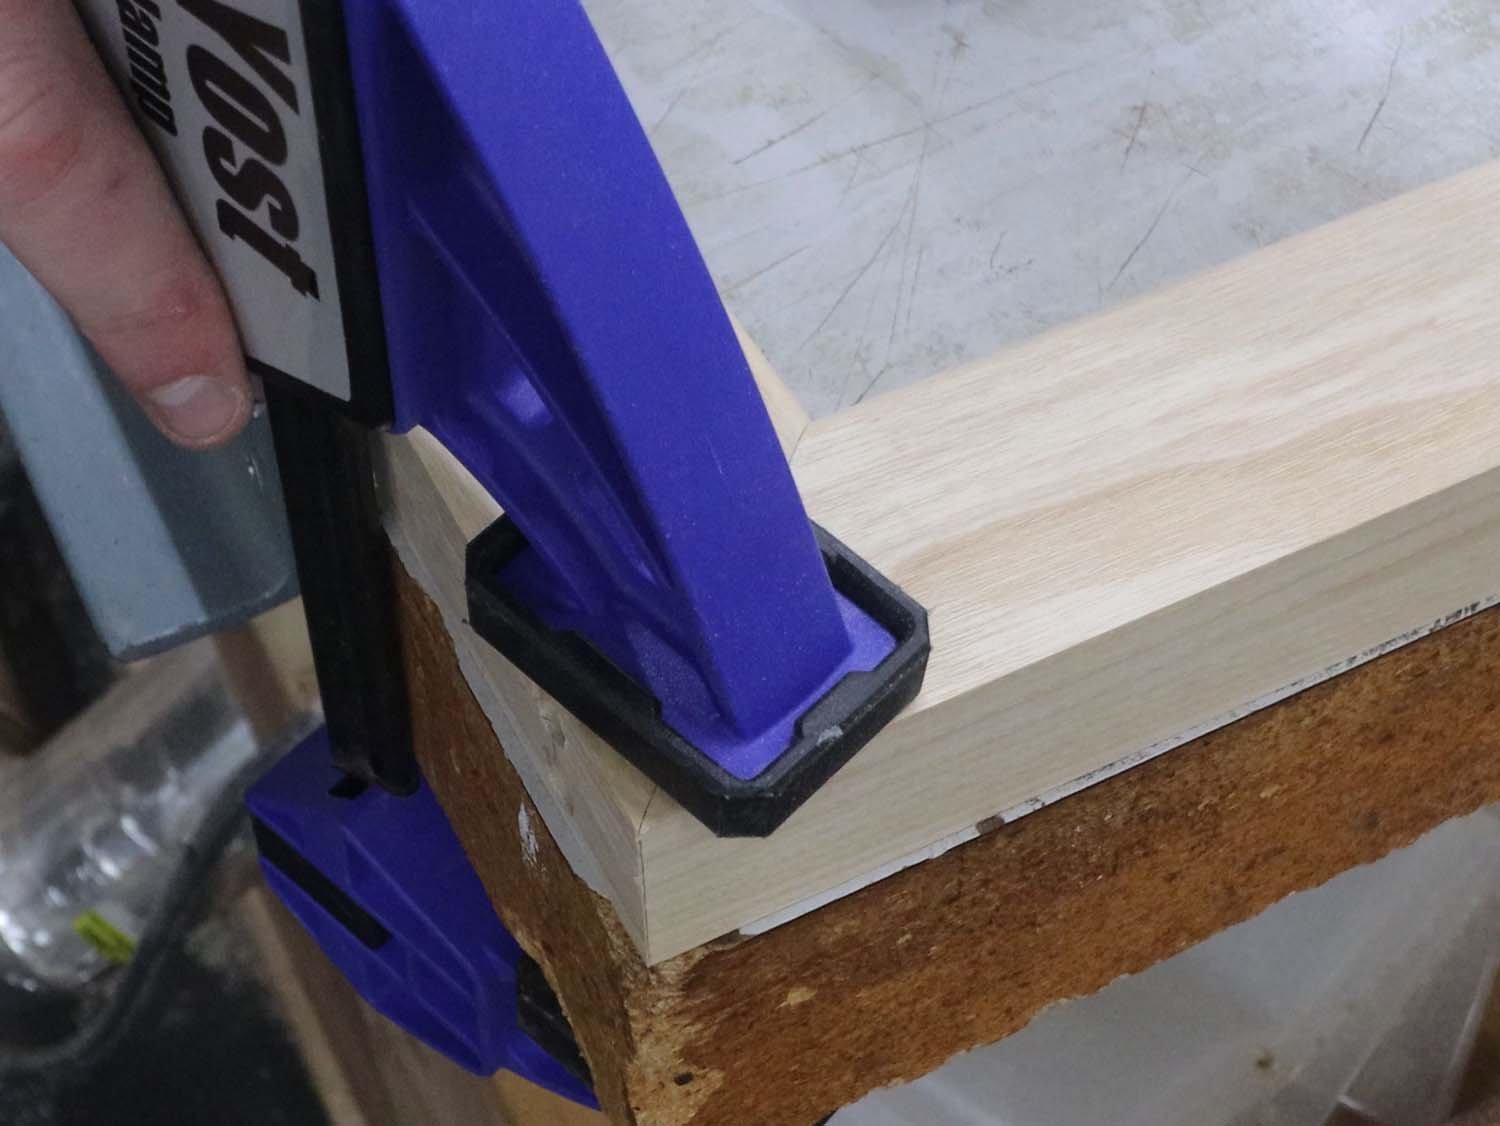
I started gluing these up by spreading a liberal amount of glue in the finger joints. Then, I glued the face of the other board and set about clamping everything together. If you have long enough clamps (unlike me), you may want to squeeze the ends of the boards together so that the finger joints are nice and tight.
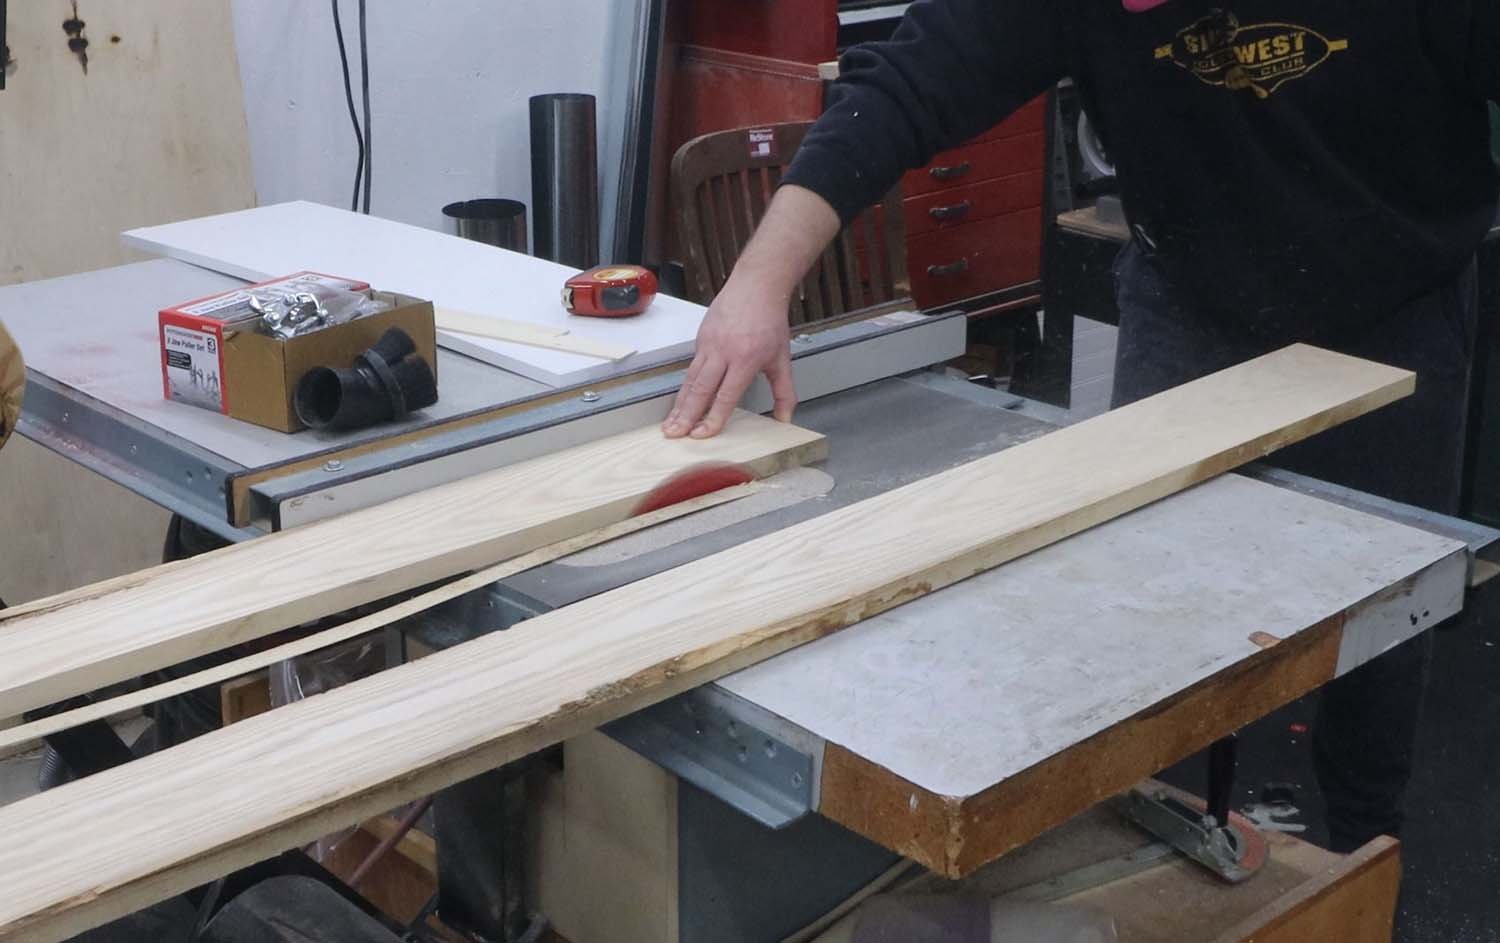
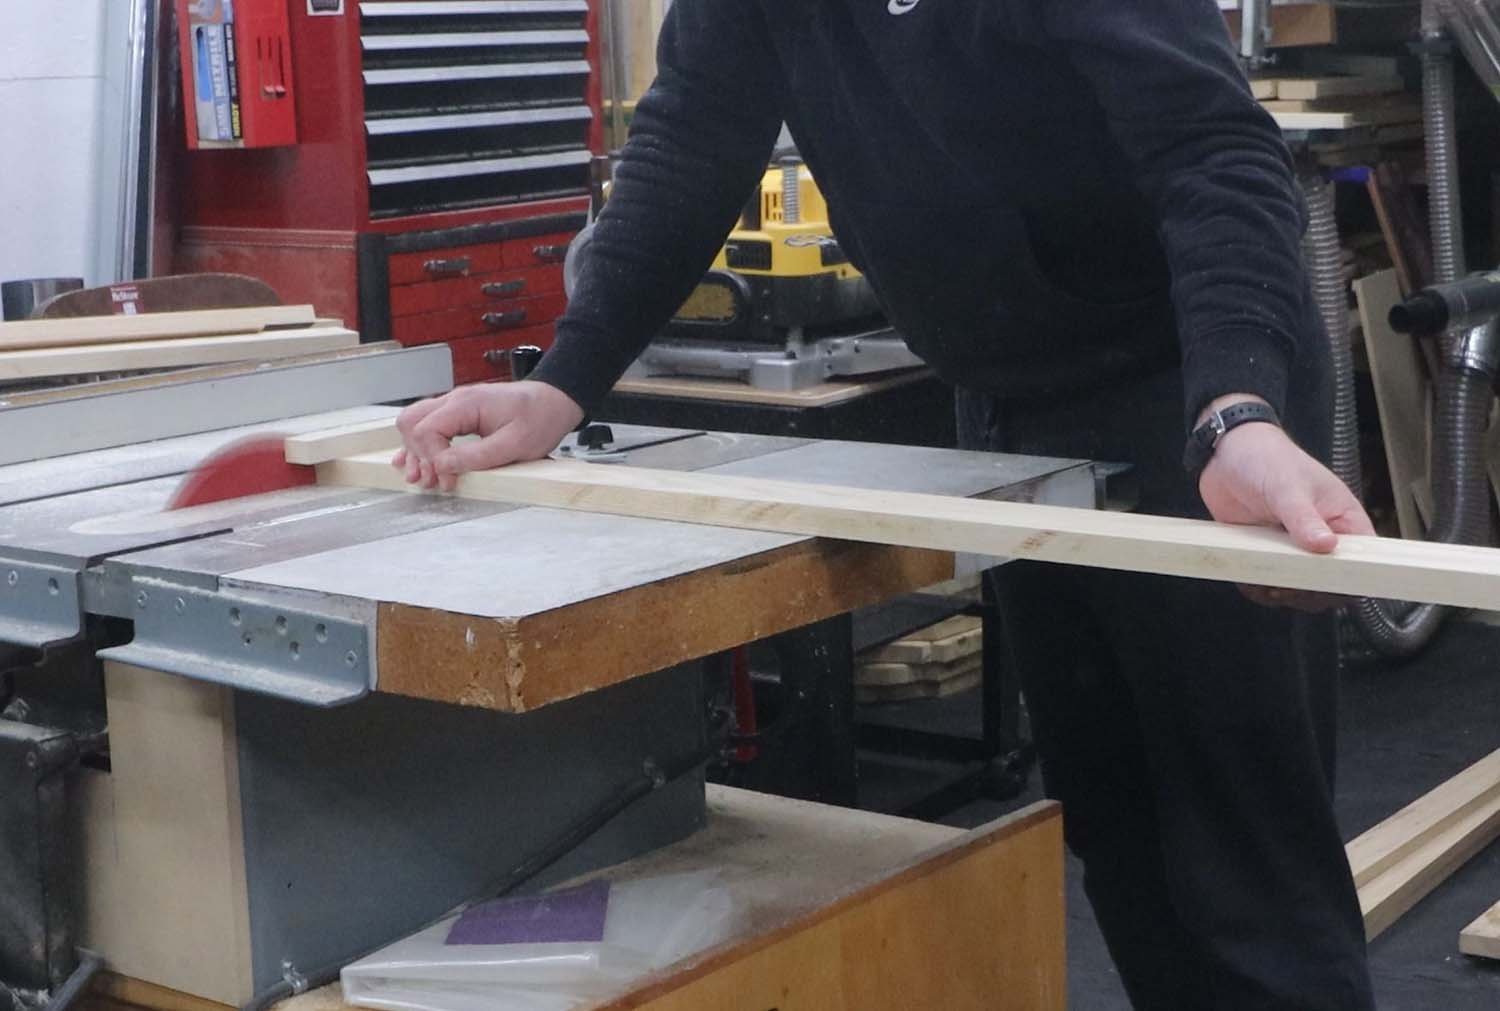
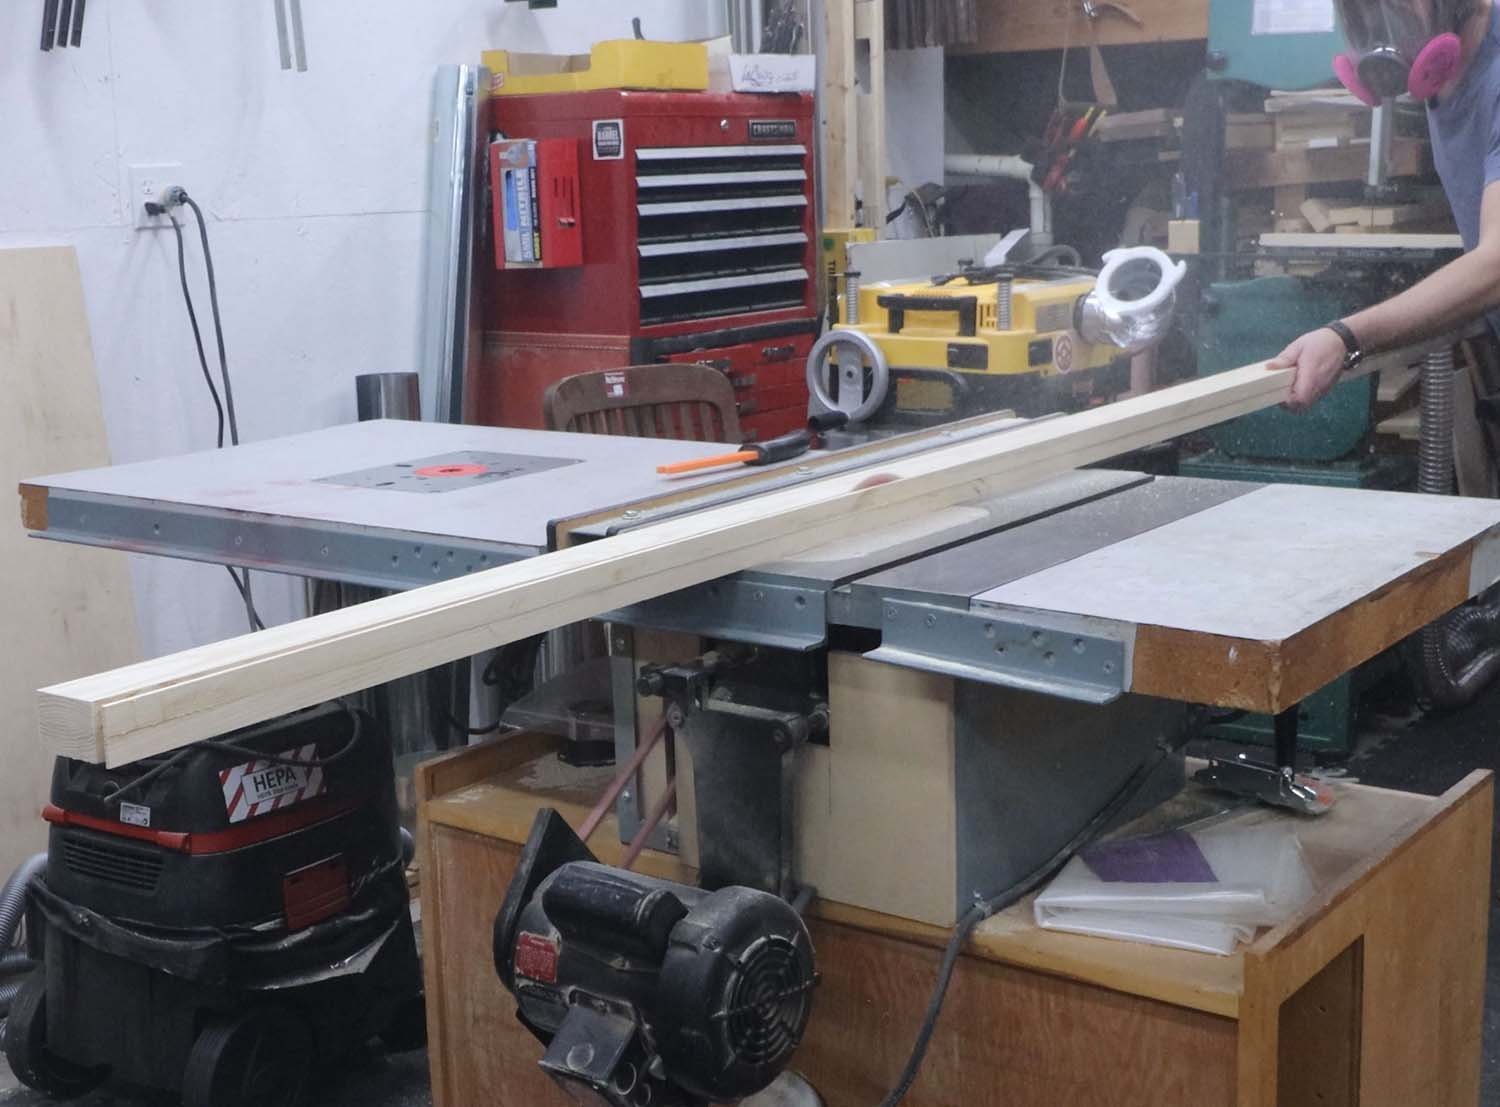
After letting the glue dry, I used the table saw to square off one edge of the blank. As I don't have a jointer, this was the quickest way to do it in my shop and was accurate enough for this type of work. After that, I planed all the sides of the blanks until the outer dimensions were at the 1-1/4" x 2" (32 mm x 51 mm) target I set earlier.
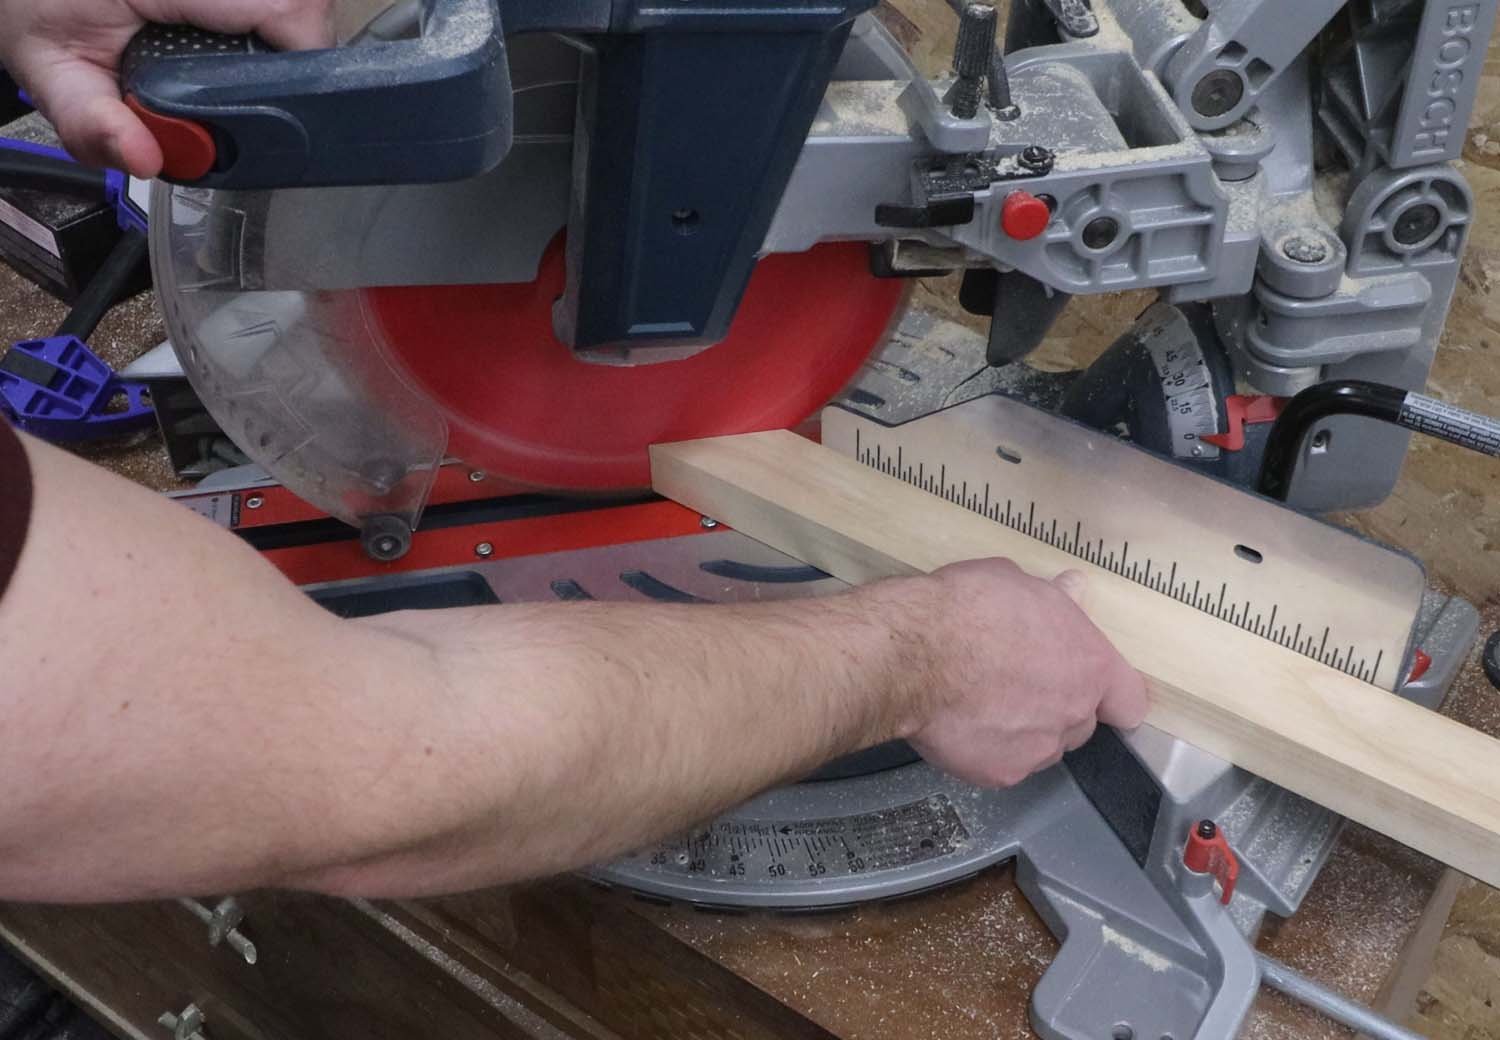
With that done, it was time to cut the end returns in the rails. To start, I squared one end of the blank and then set the saw to 45 degrees.
The IRC requires a 1-1/2" (38 mm) gap when installing the rail on the wall (Section R311.7.8.2), so I set the miter cut at 1-5/8" (41 mm) to give it a bit more room. I also set up a stop so that this cut was easily repeatable on the other rails.
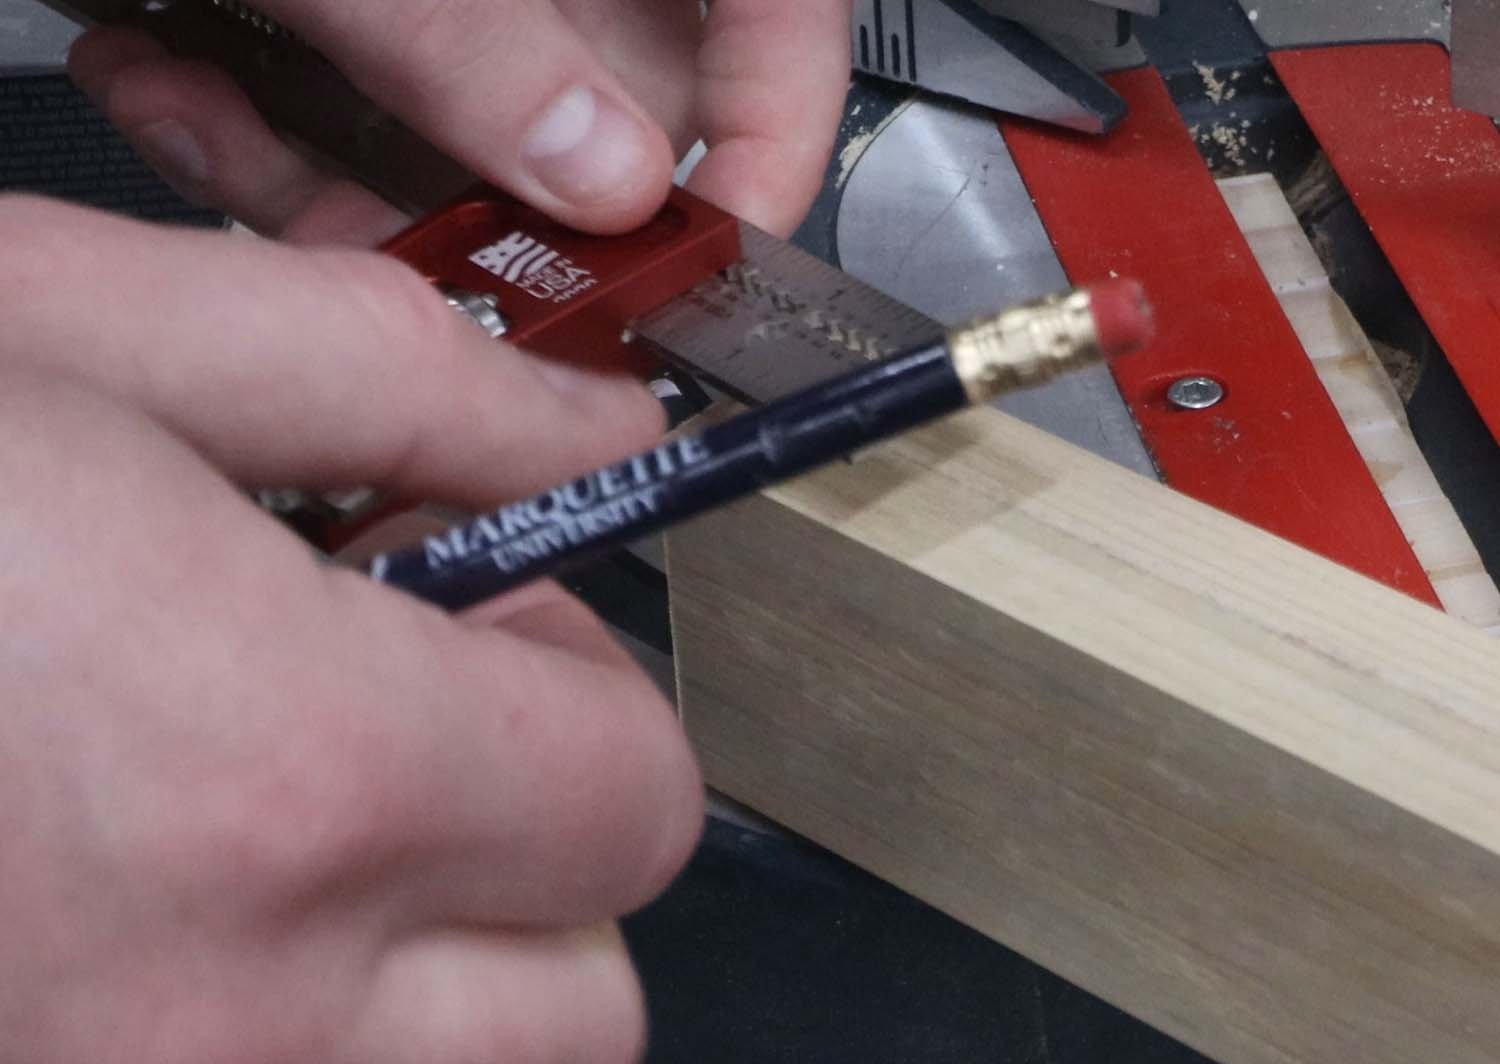


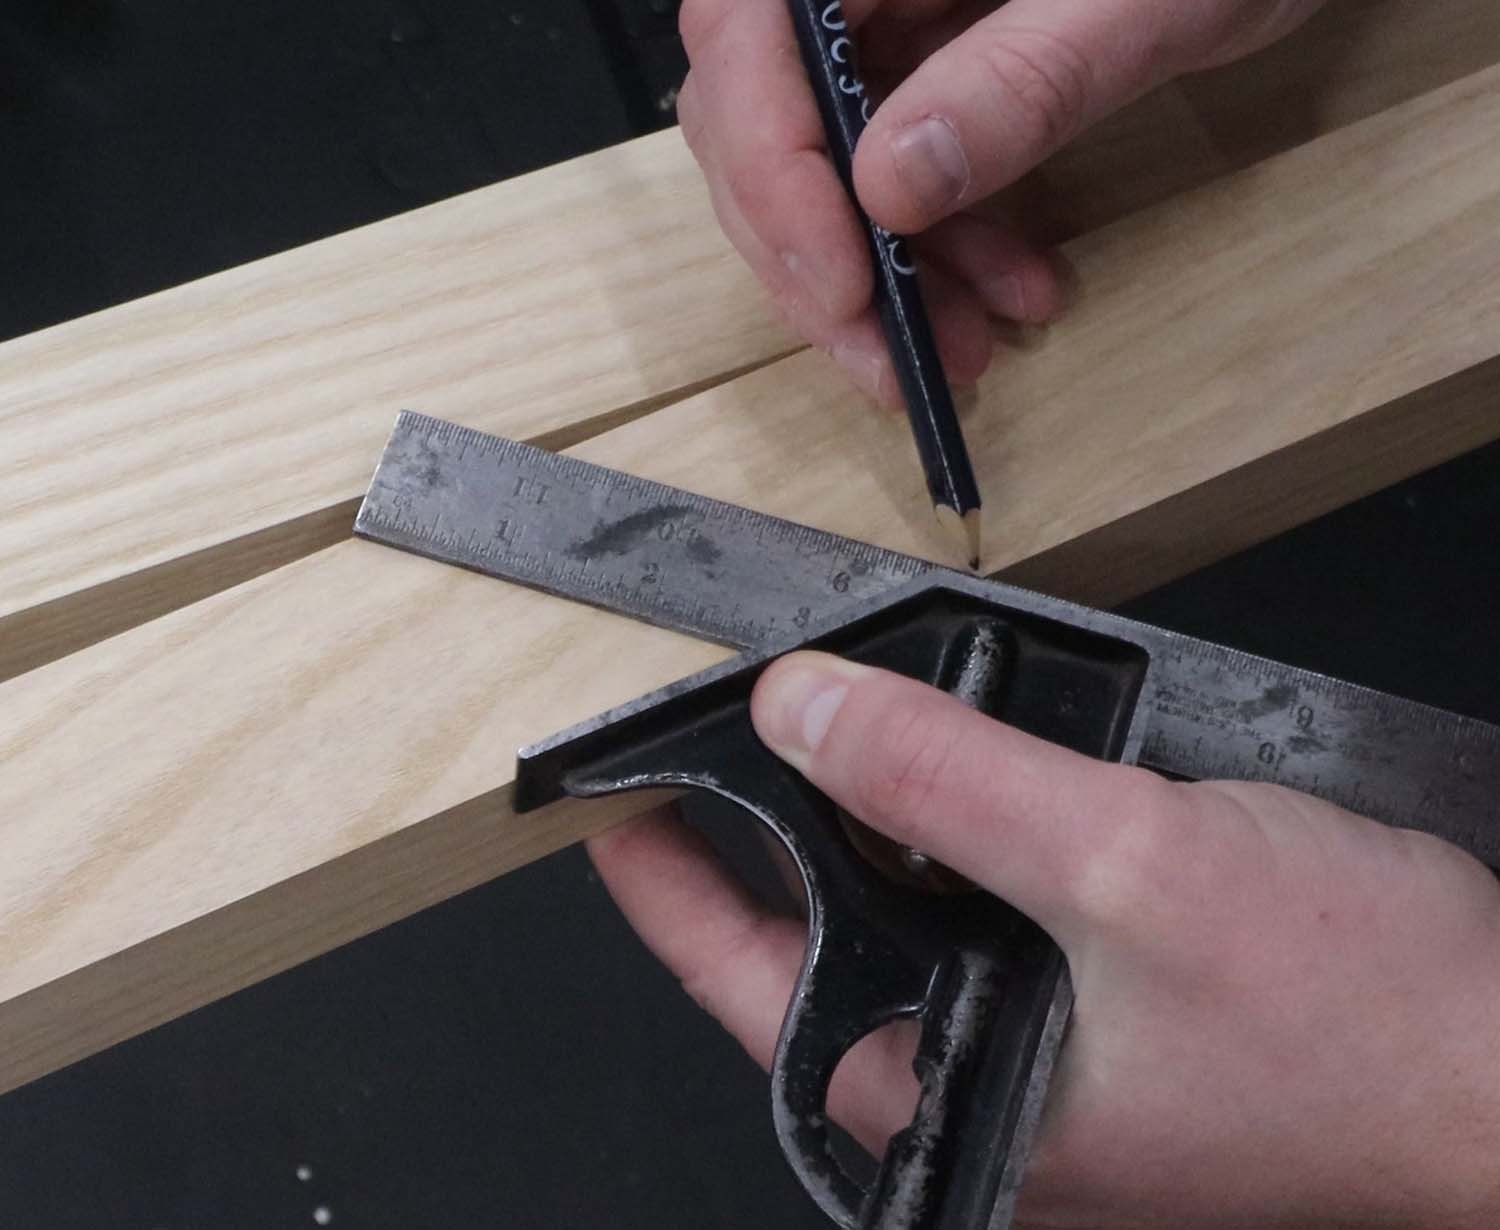
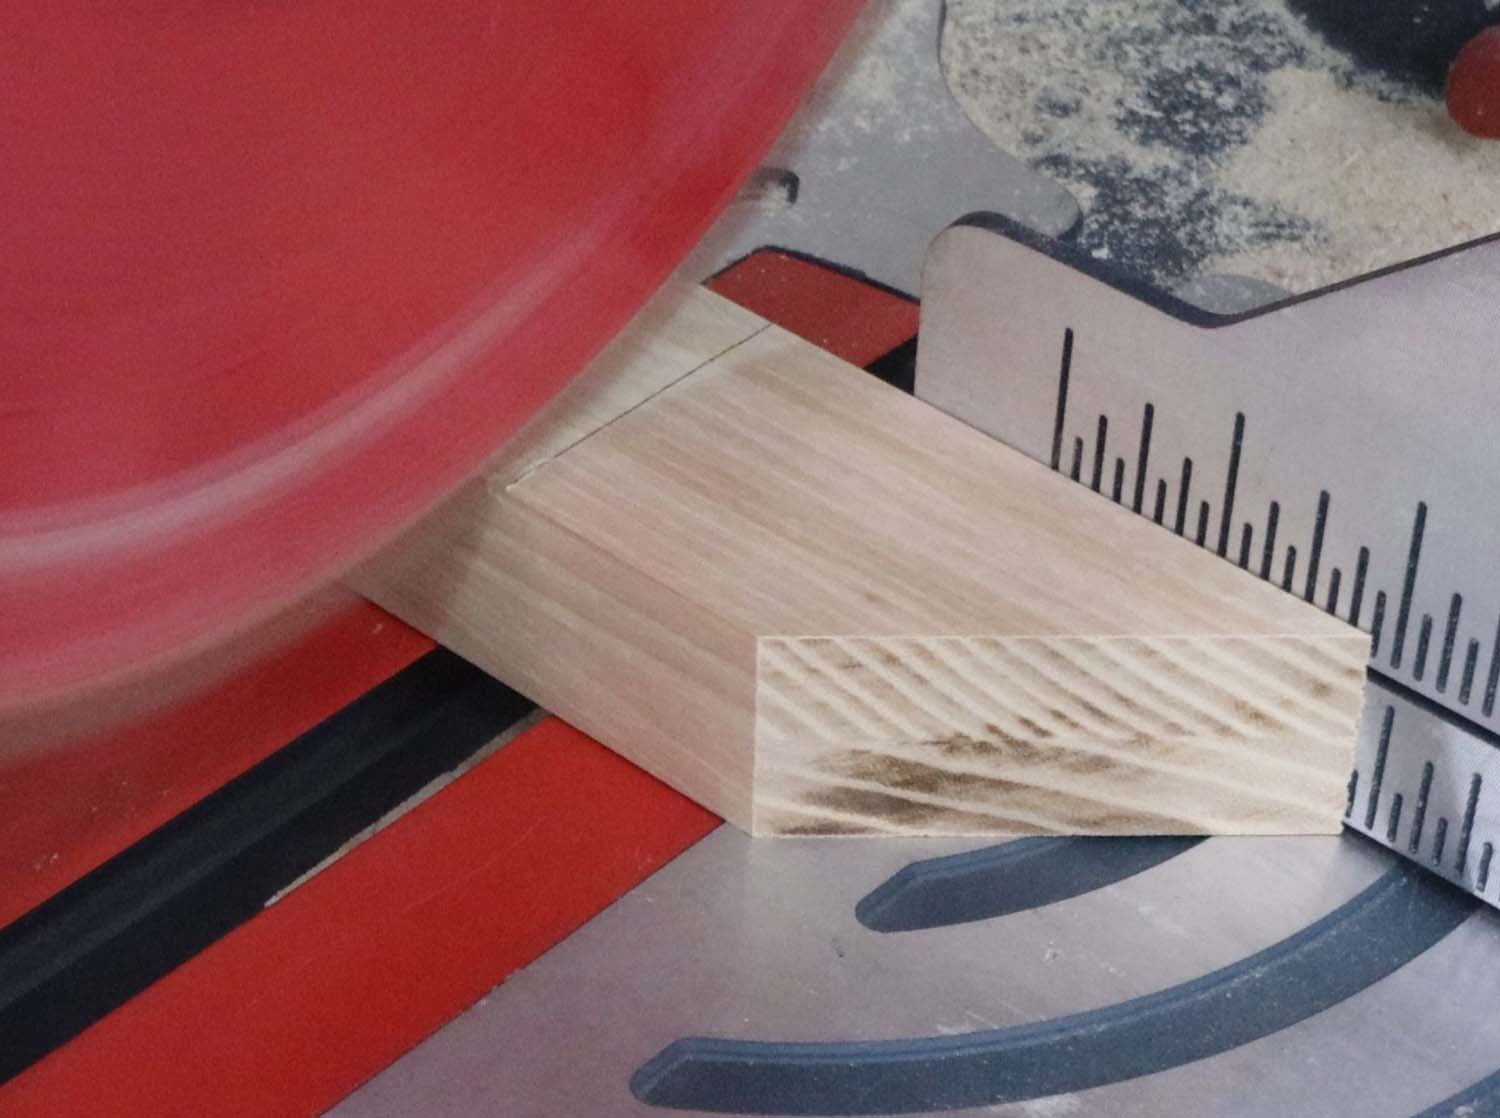
After cutting the miter on one end of the rail, I measured the overall length and marked it. I then set my miter saw for the opposite end miter and cut it. I then trimmed the offcut to the same dimension as the other return piece cut from the other end.
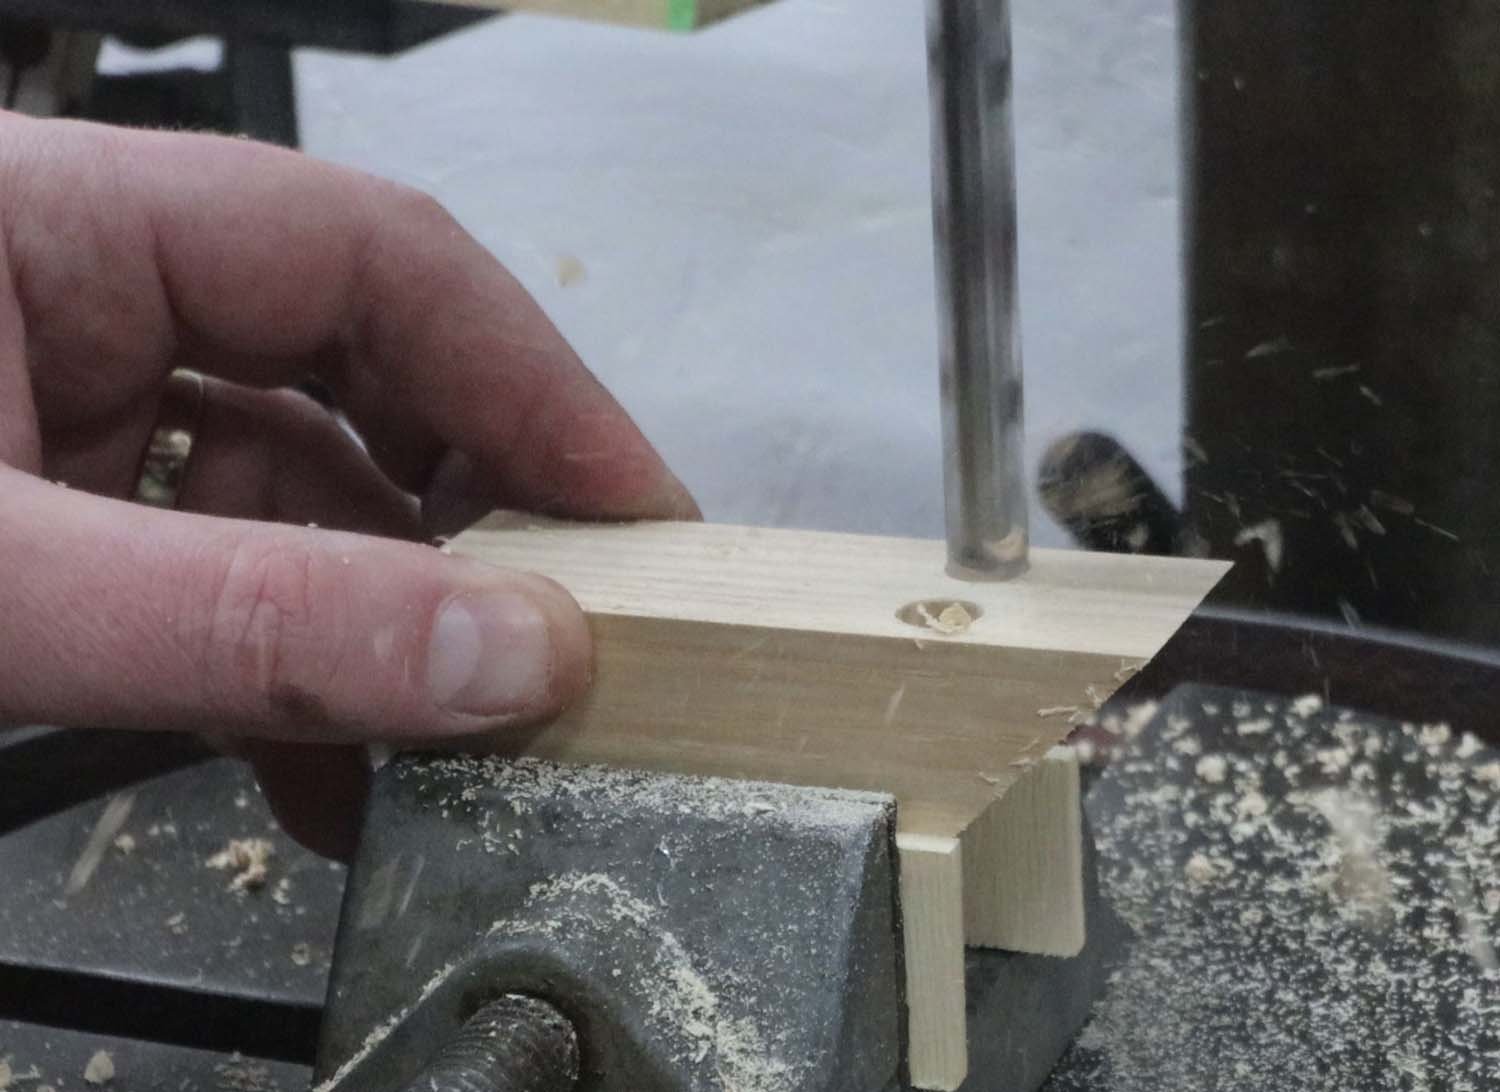
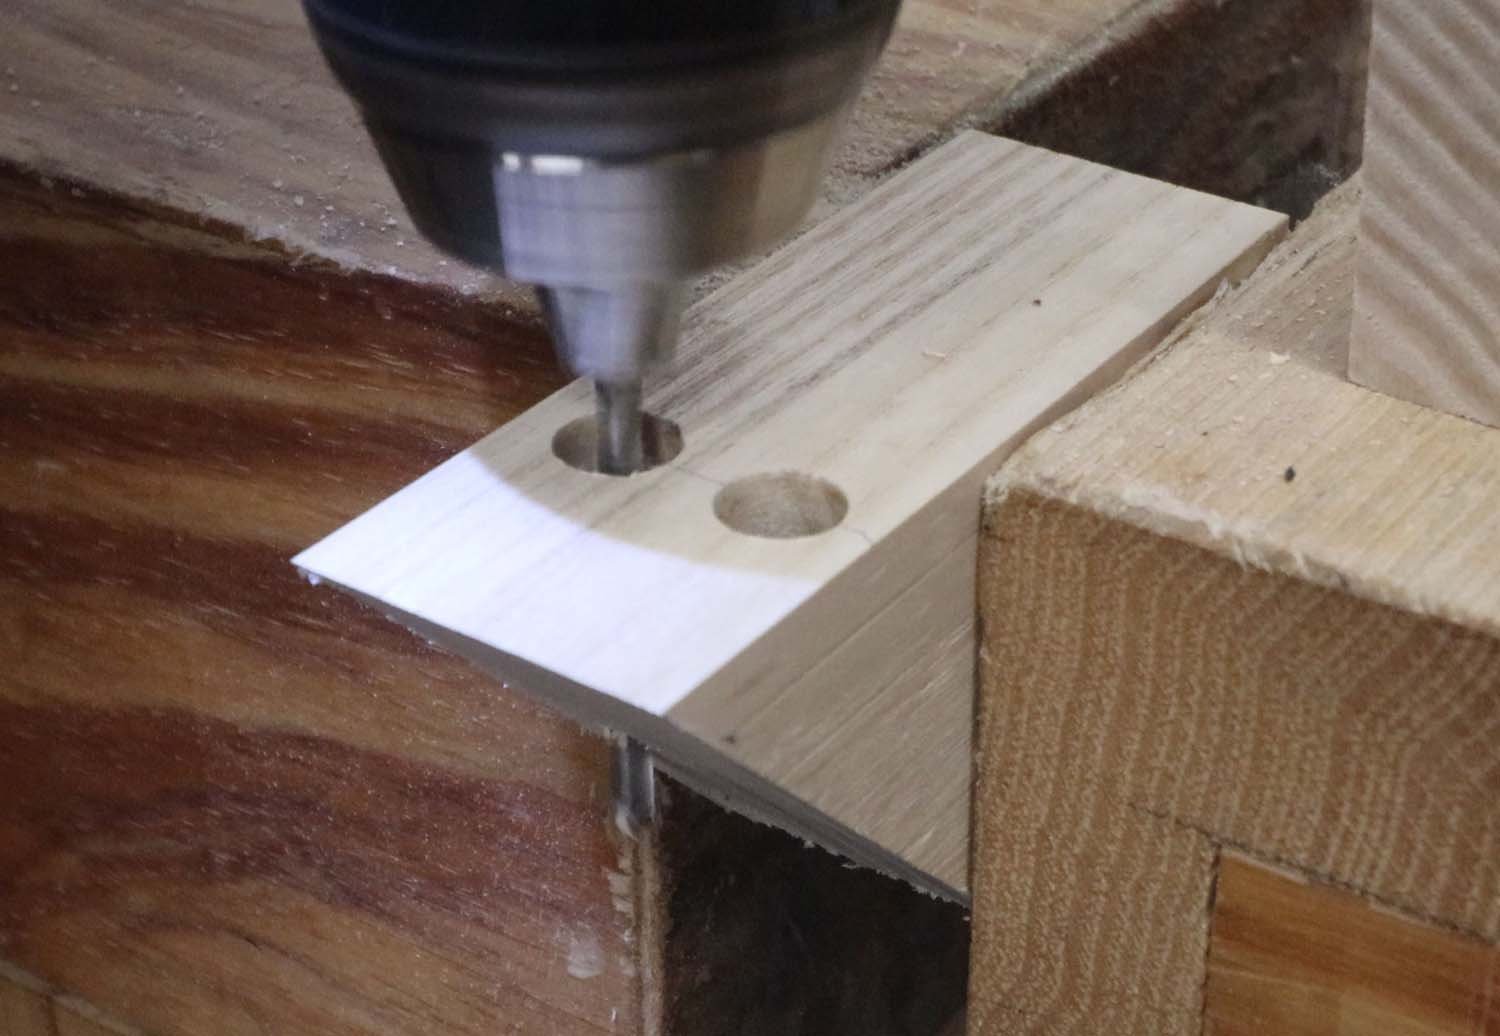
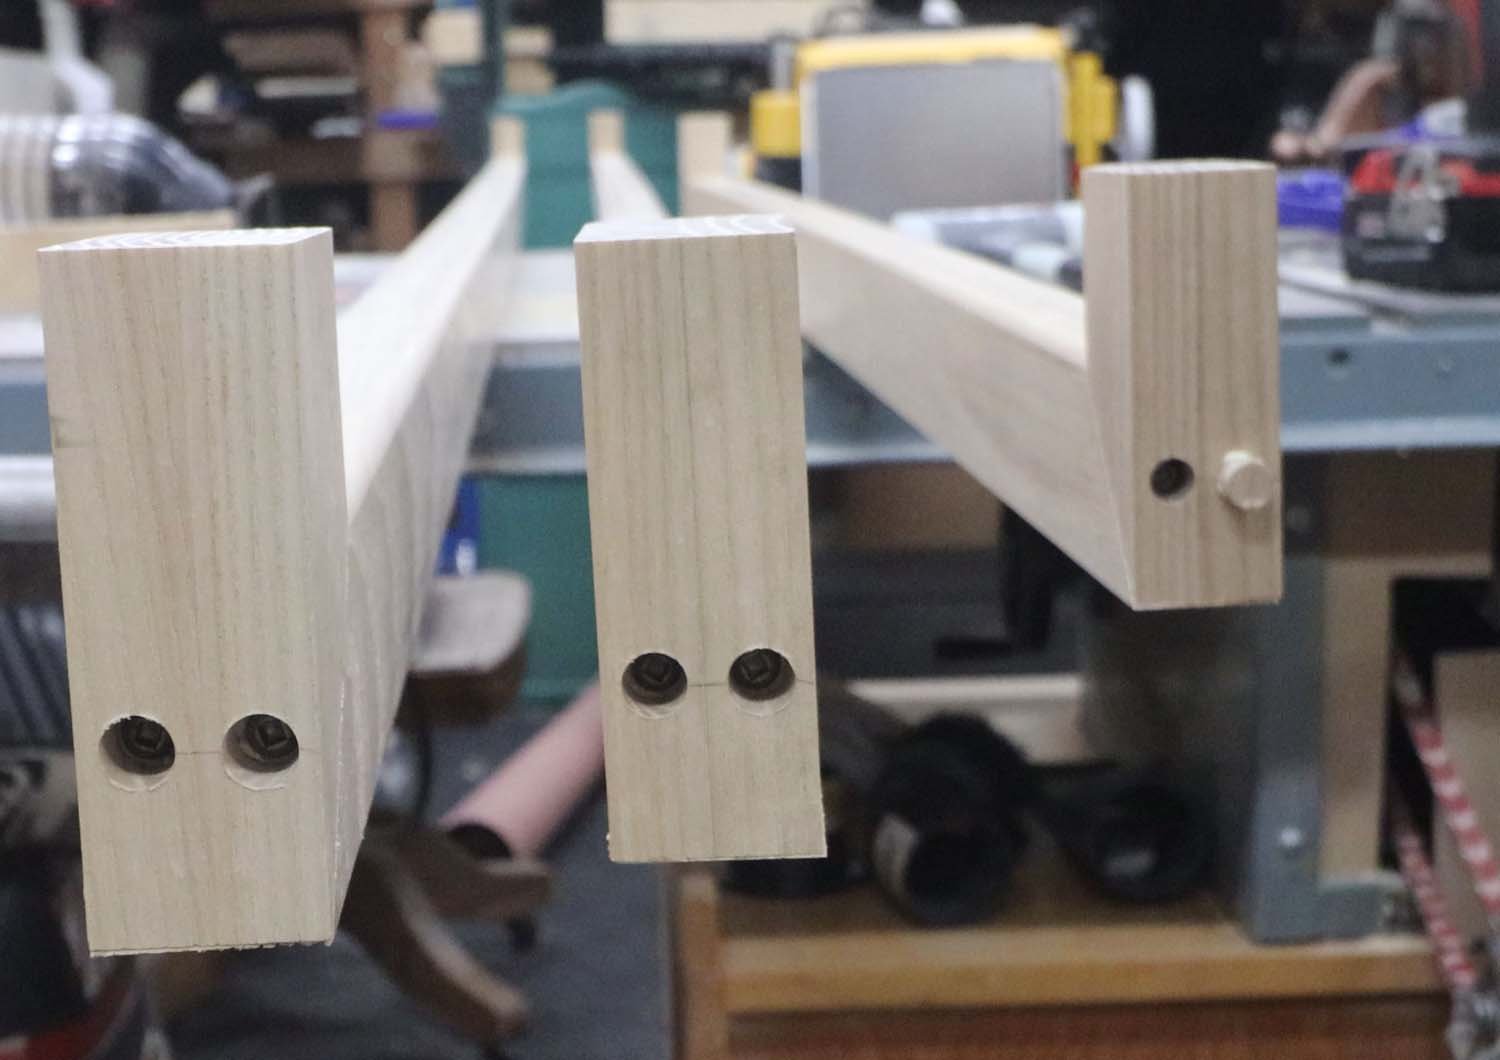
Next, I drilled two 1/2" (12 mm) diameter counterbores in the returns. The returns will be screwed to the longer rail sections, and the holes plugged with grain-matched plugs.
Before attaching the returns to the rest of the rail, I added a 1/4" (6 mm) roundover to the interior corners. It's important to do this before assembly because it won't be possible to get the roundover into the corner afterwards.
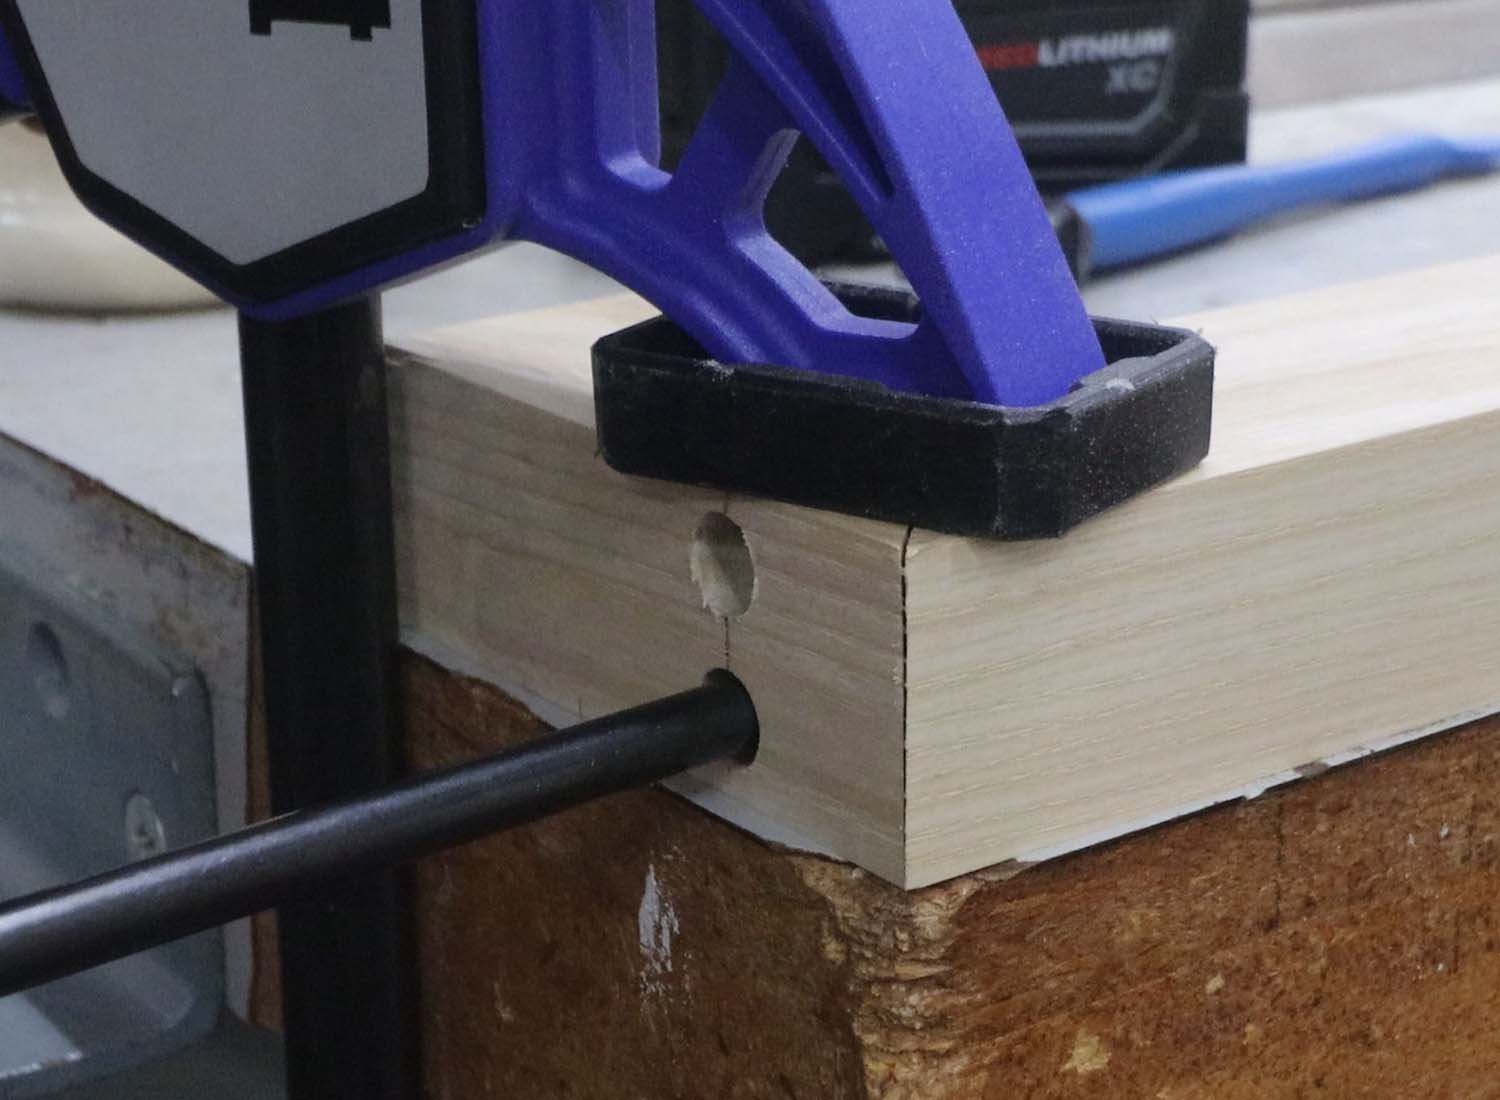
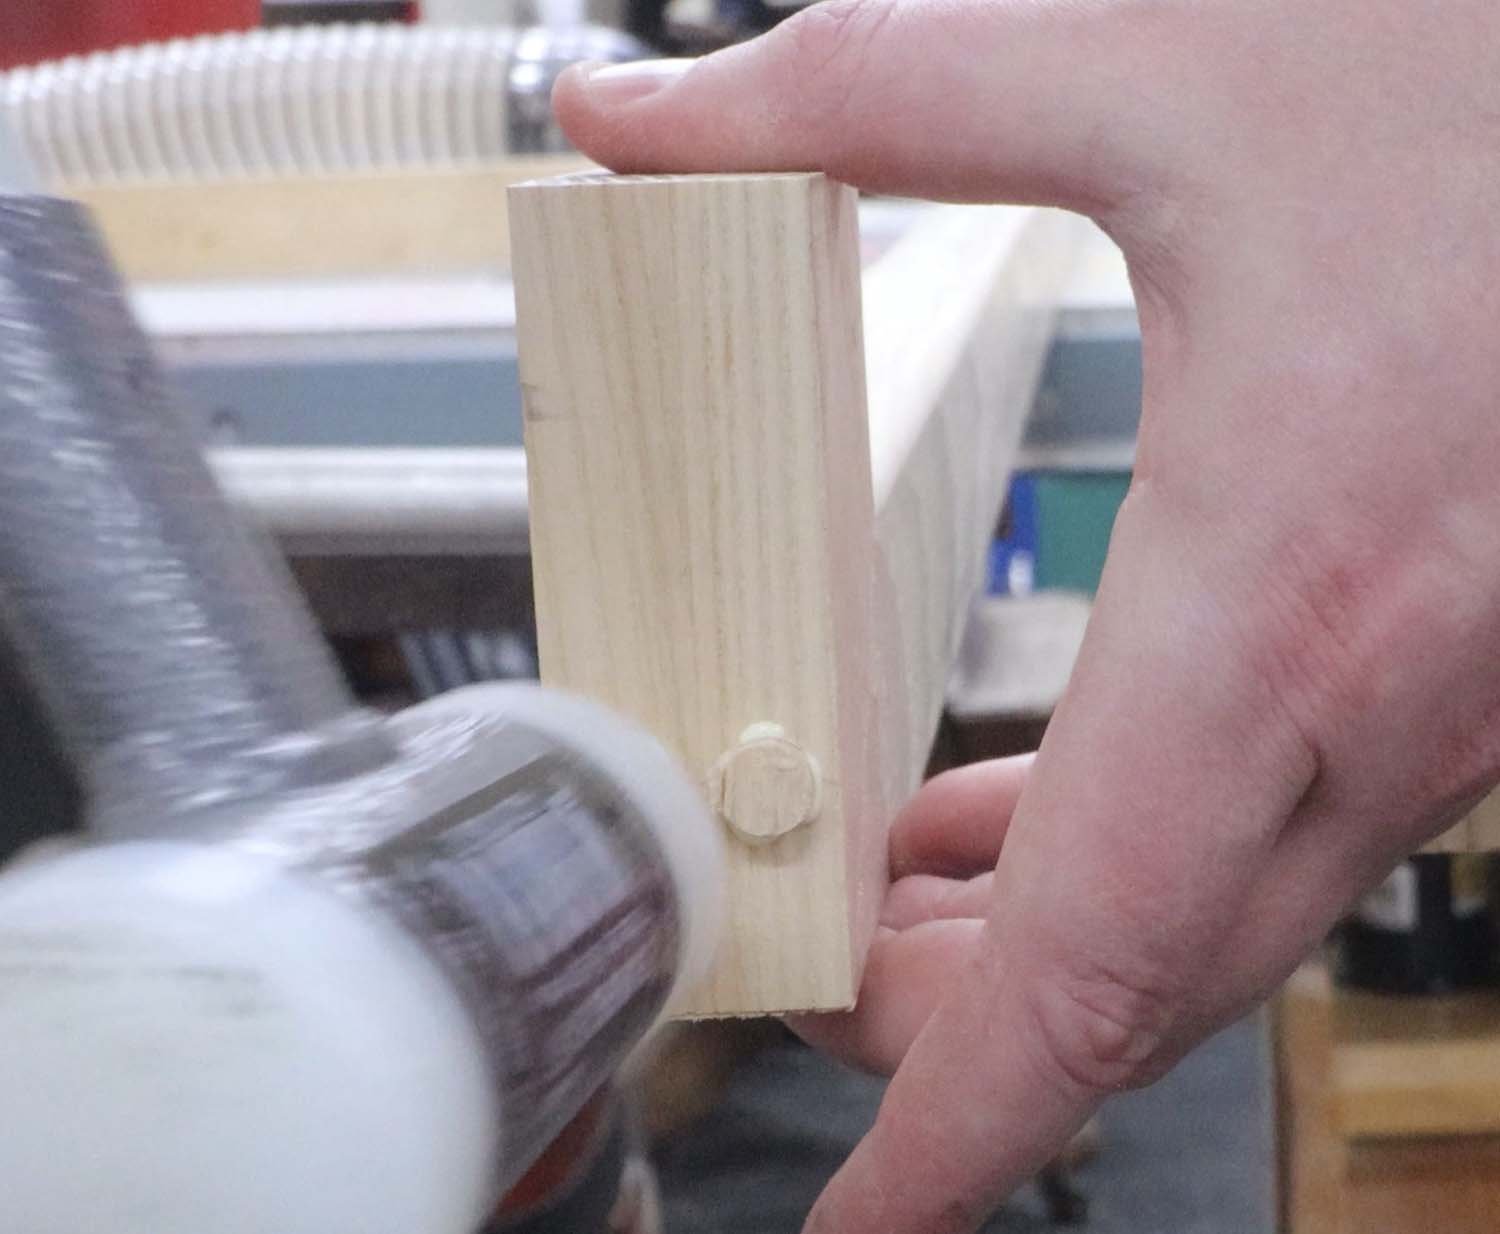
When assembling the corners, I found that regular wood glue worked better than super glue to hold them in place, probably because I don't have any super glue accelerator. When driving the screws, I find it better to go most of the way with a driver, and then finish with a hand screwdriver since you can better feel how the screw bites into the wood, and also feel when it bottoms out on the counterbore.
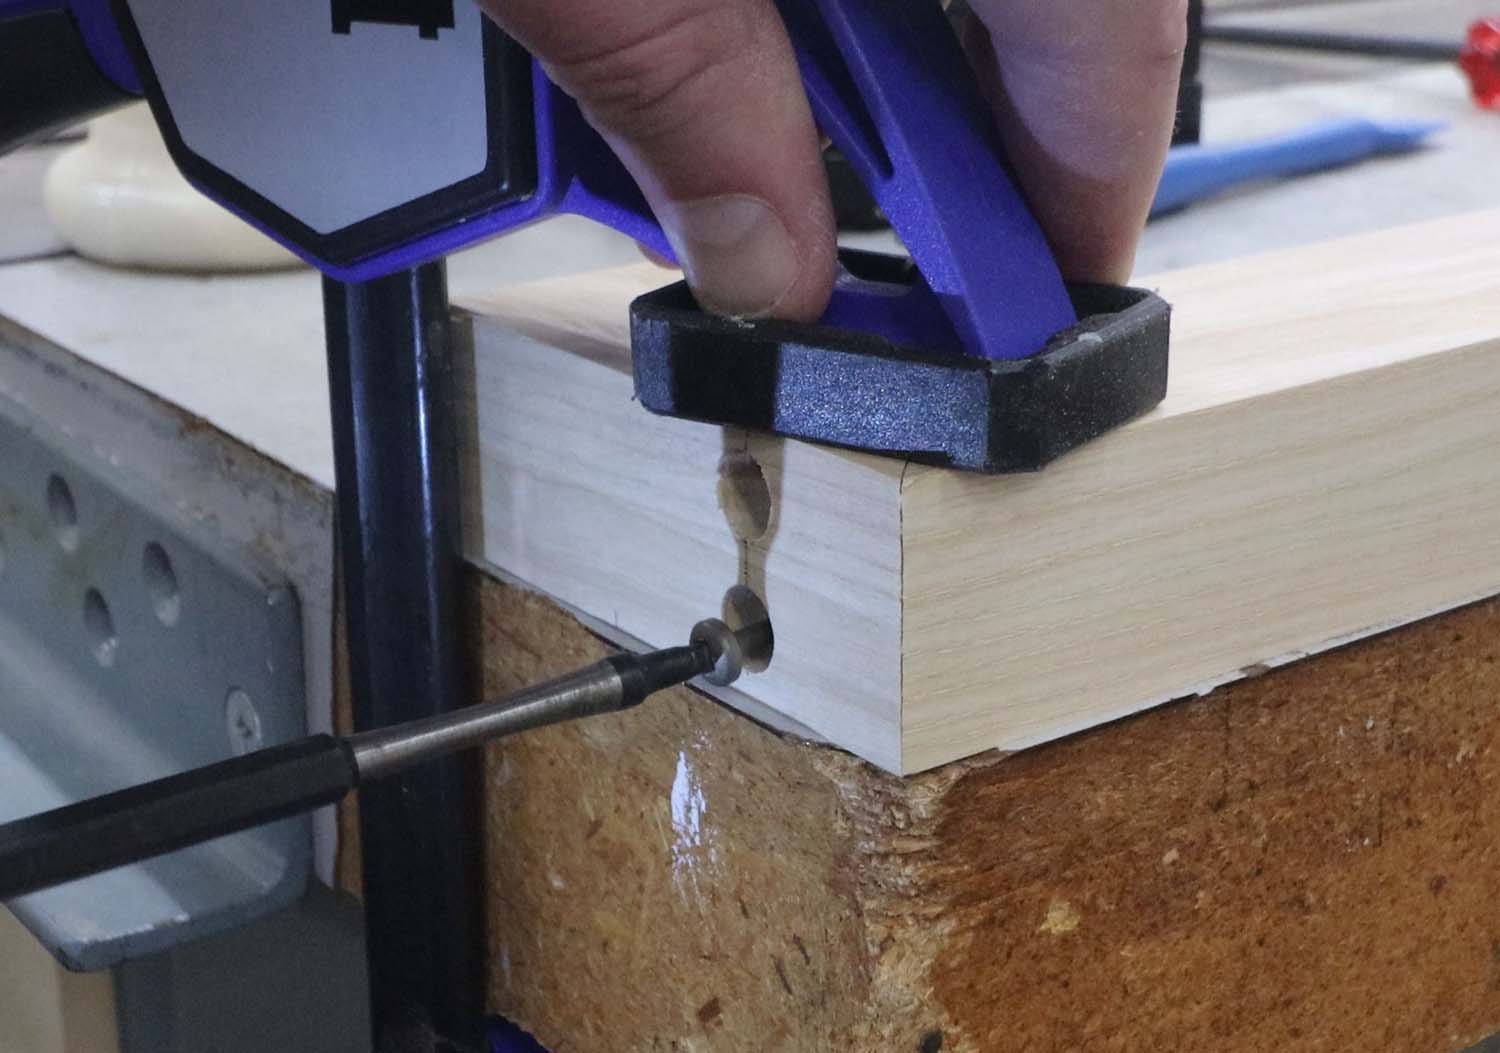
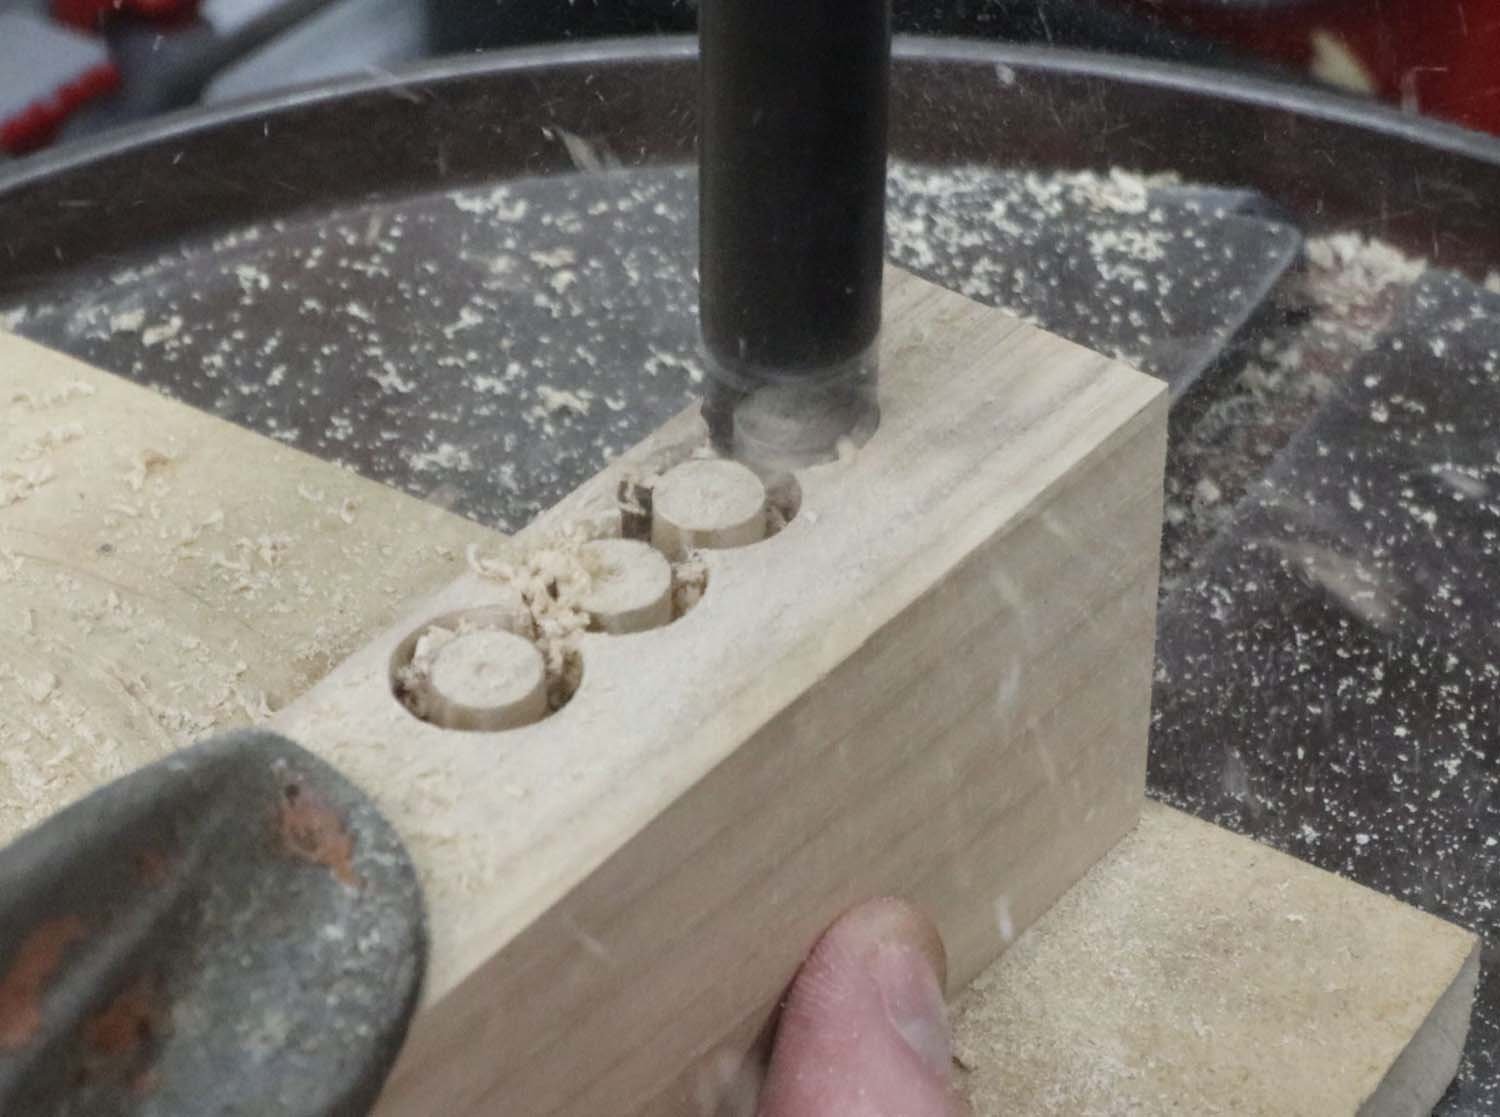
After screwing the returns to the rails, I plugged the screw holes with grain-matched plugs.

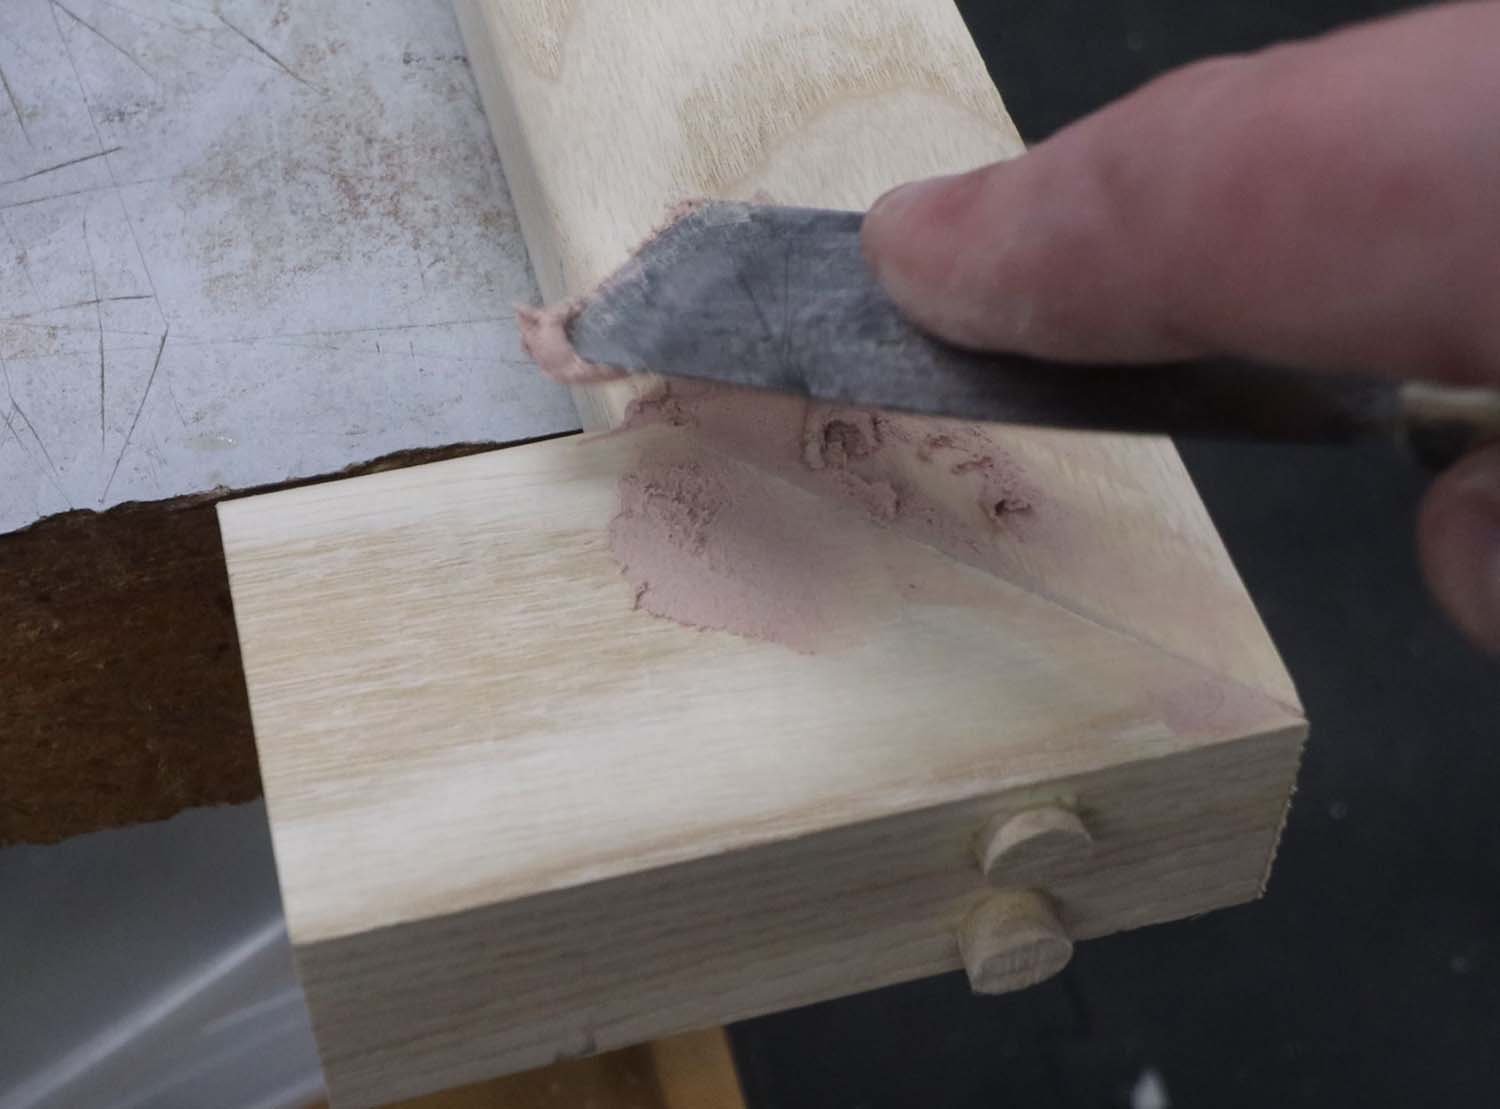
Since my miter setup wasn't perfect, I had some gaps at the miters that needed filling. I used some wood putty for this, which will take stain later on, so the fix will virtually disappear.
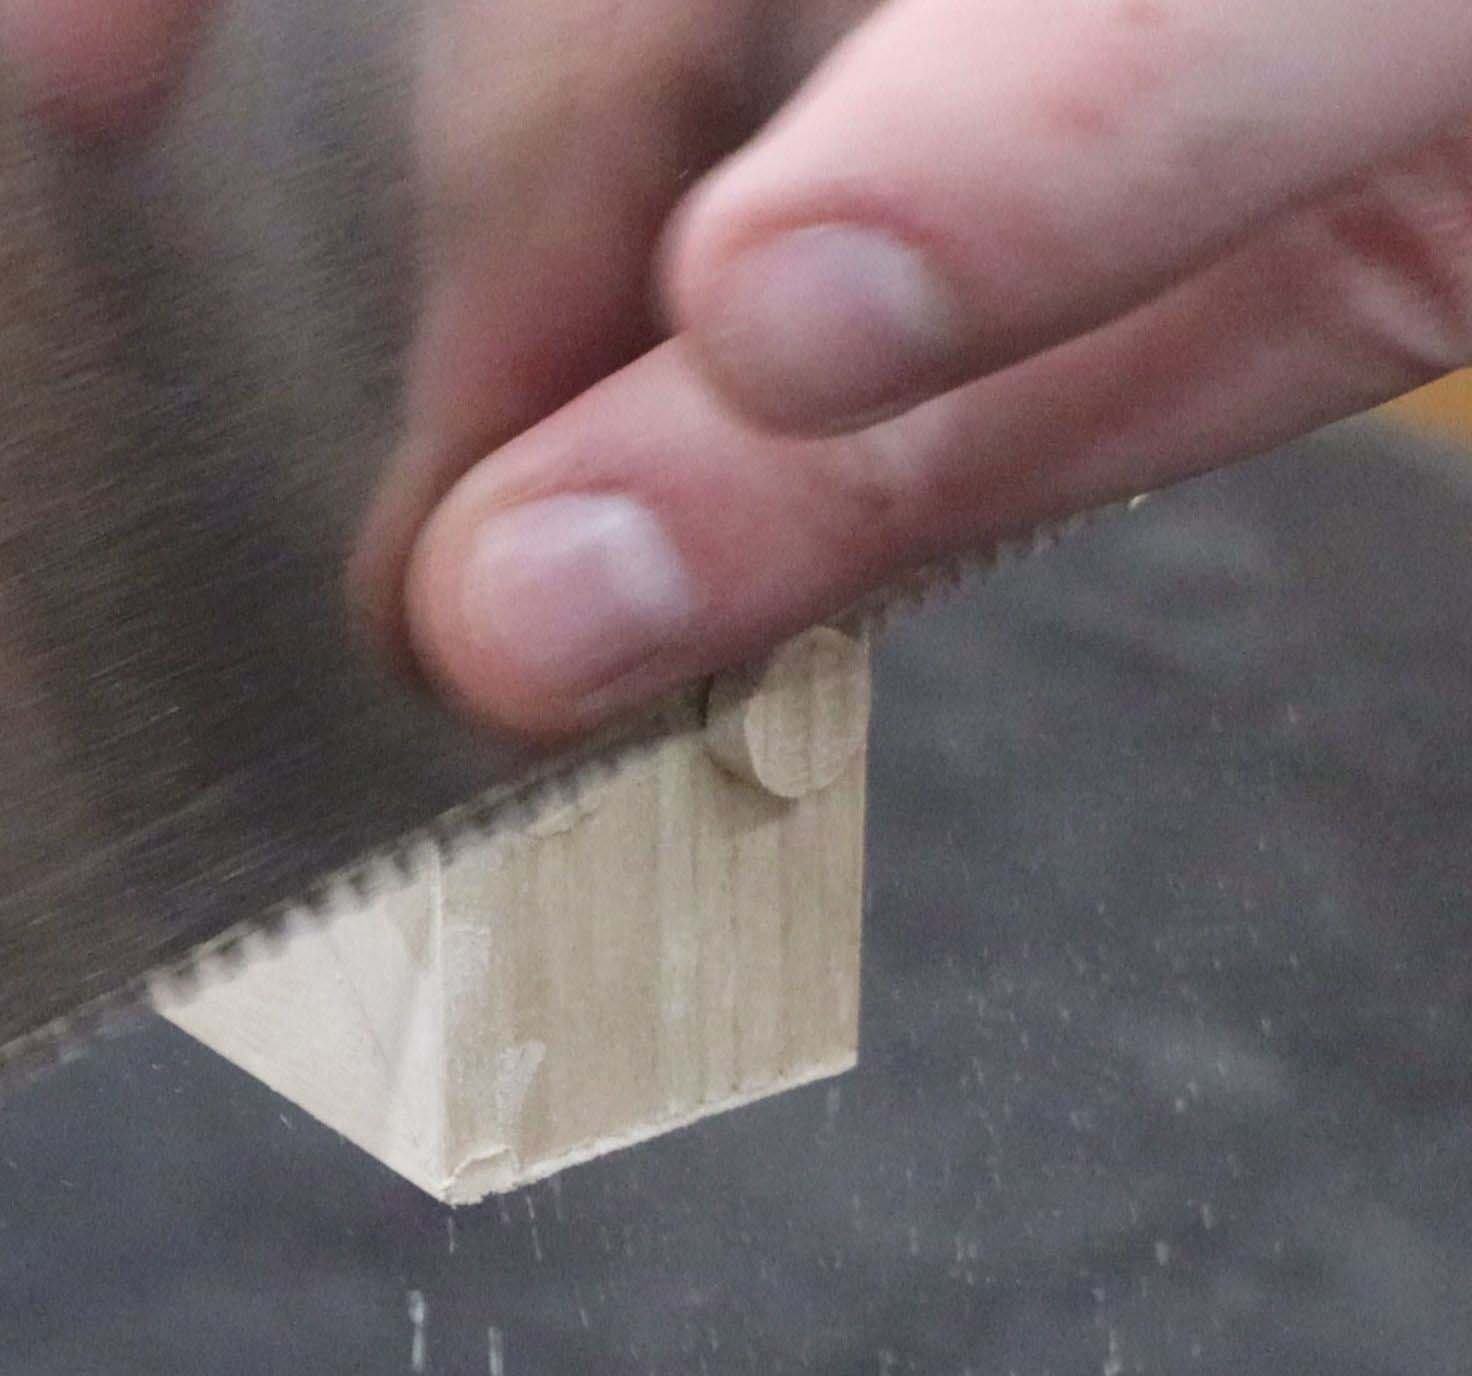
After the putty dried, I trimmed off the protruding plugs and sanded those and the filler smooth.
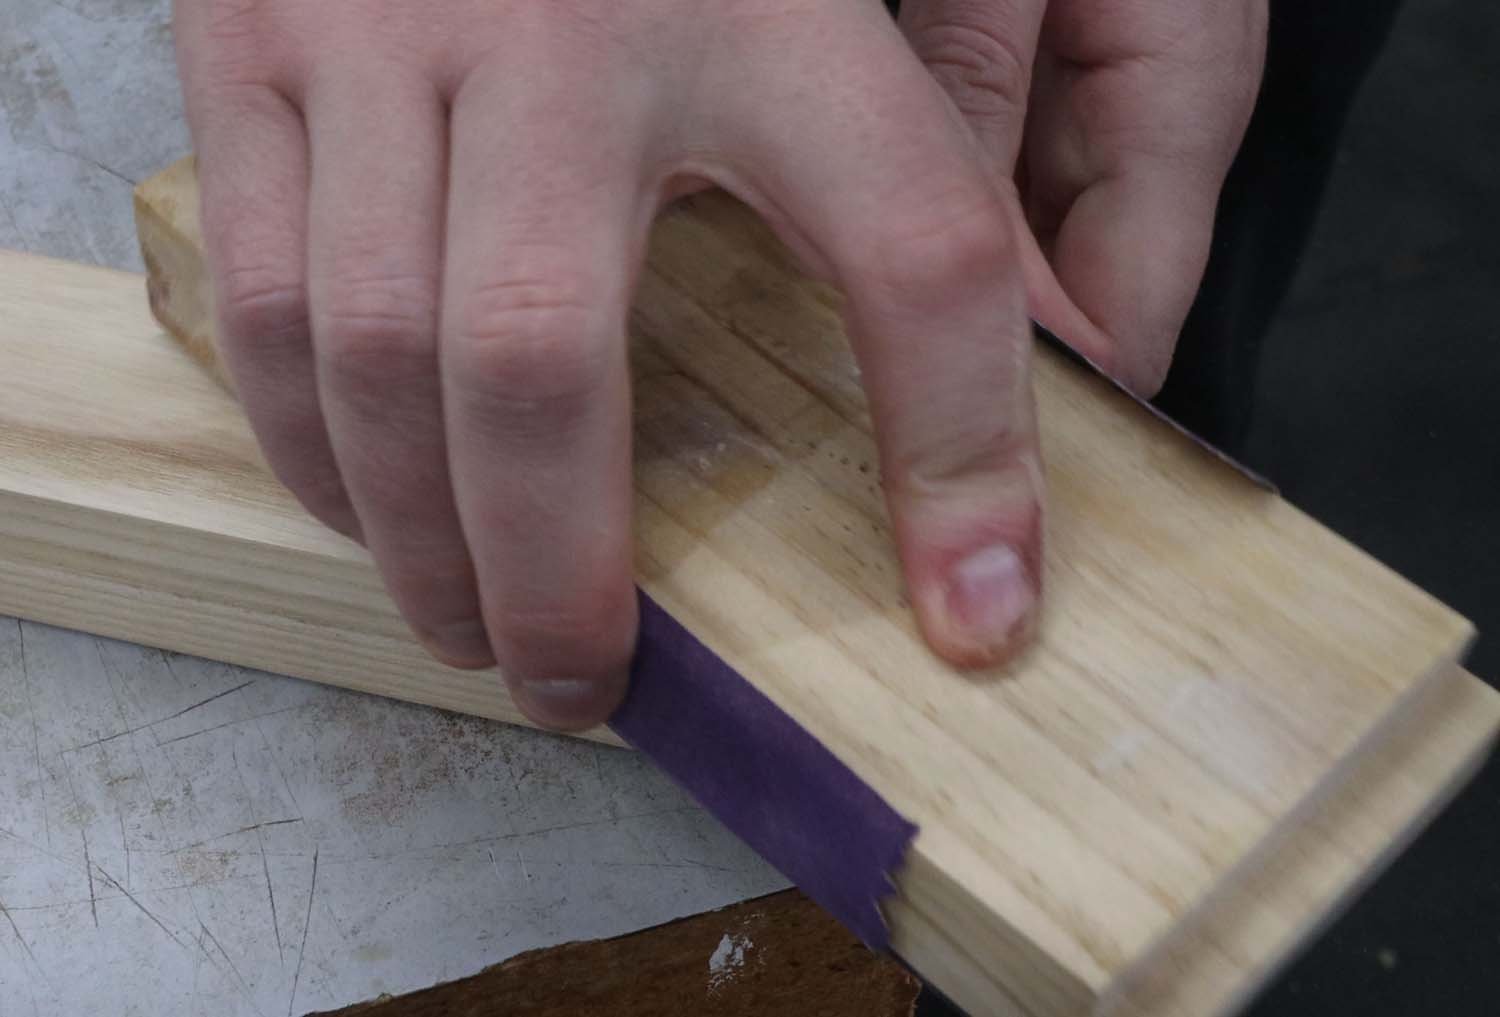
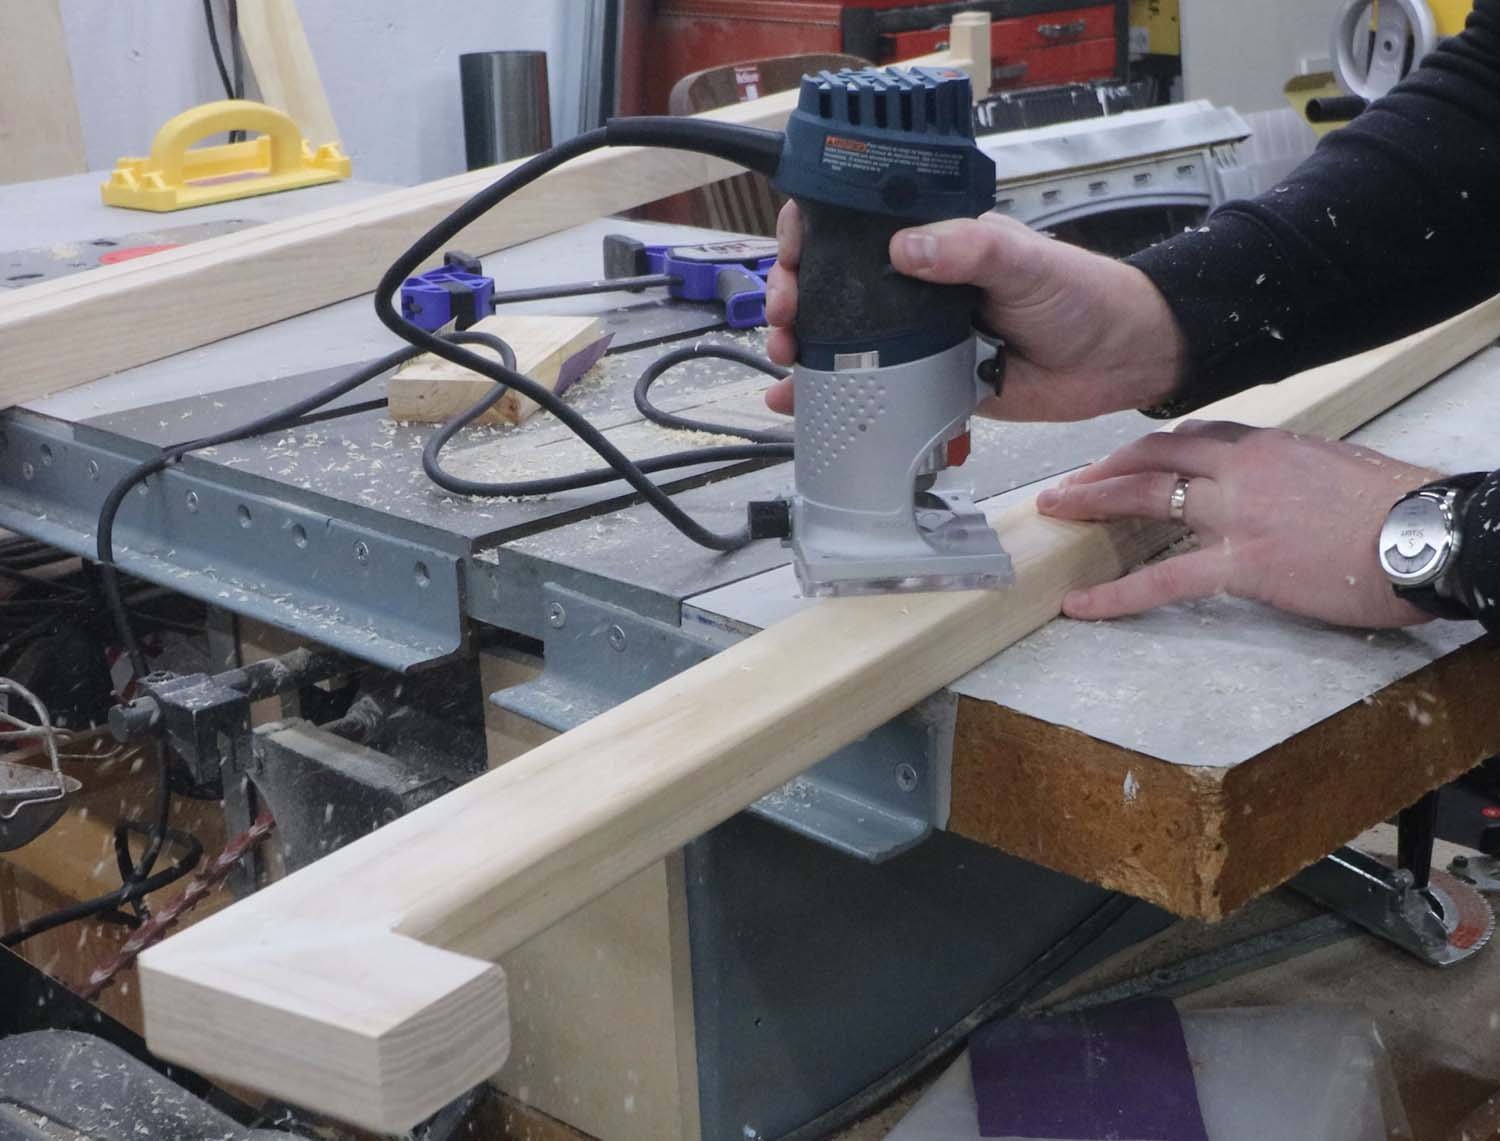
With everything assembled, I used a 1/4" (6 mm) roundover bit to round over all the edges, except for the ends that face the wall.
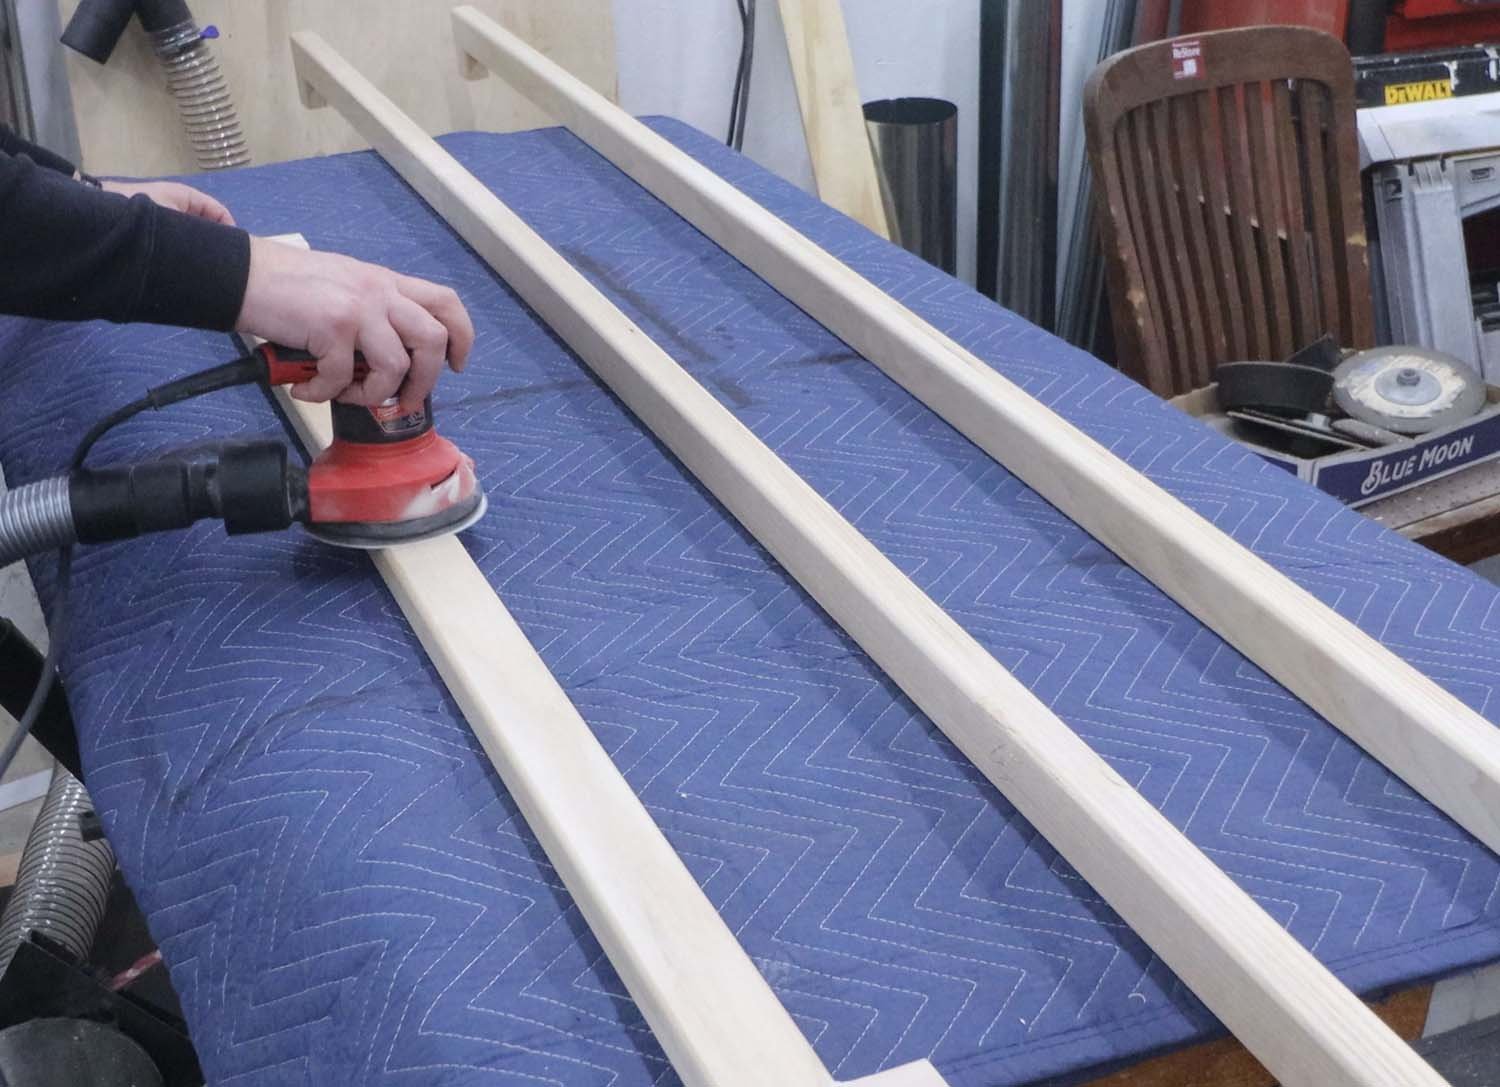
At this point, all that's left to do is sand and finish the rails. I sanded these through 220 grit, with my final sanding pass going with the grain by hand to minimize the appearance of scratch marks.

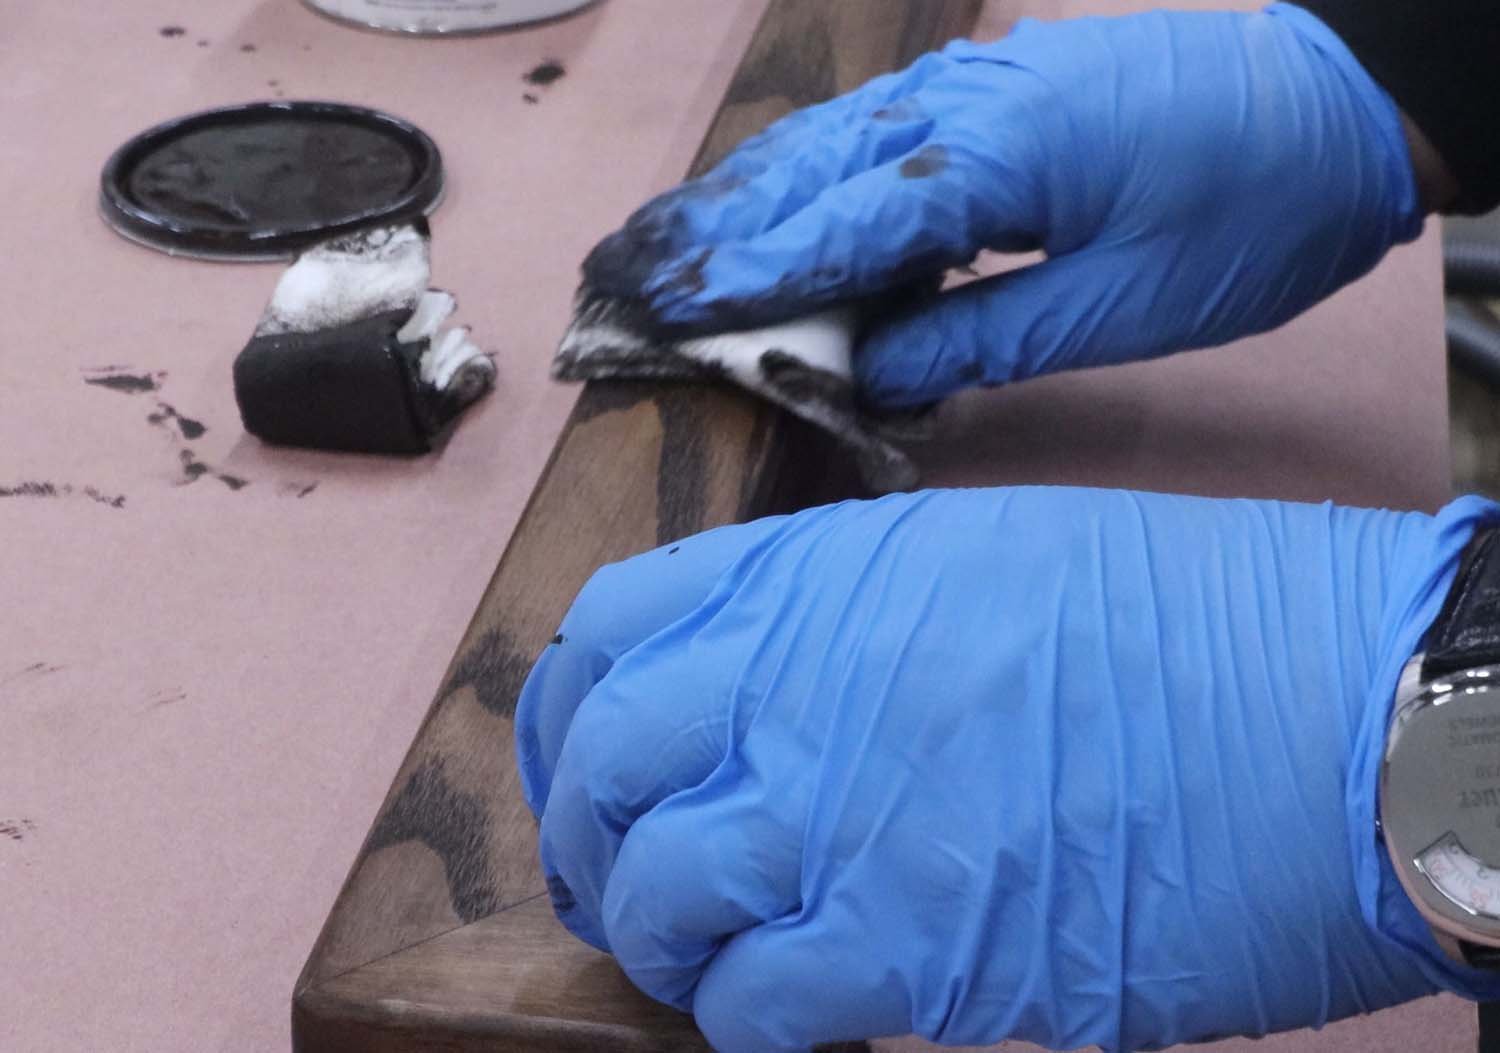
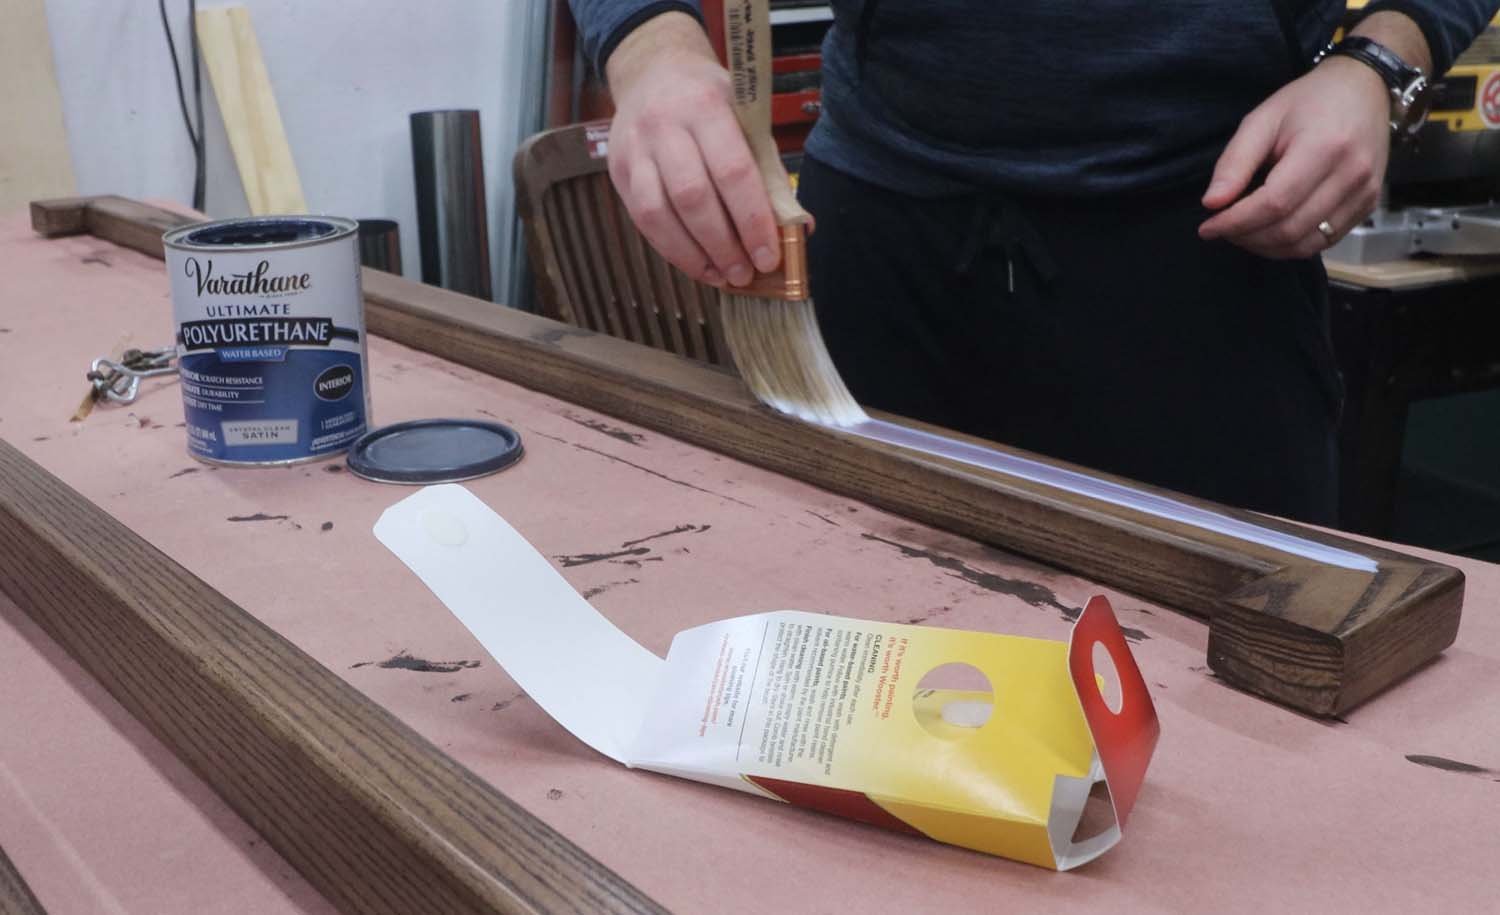
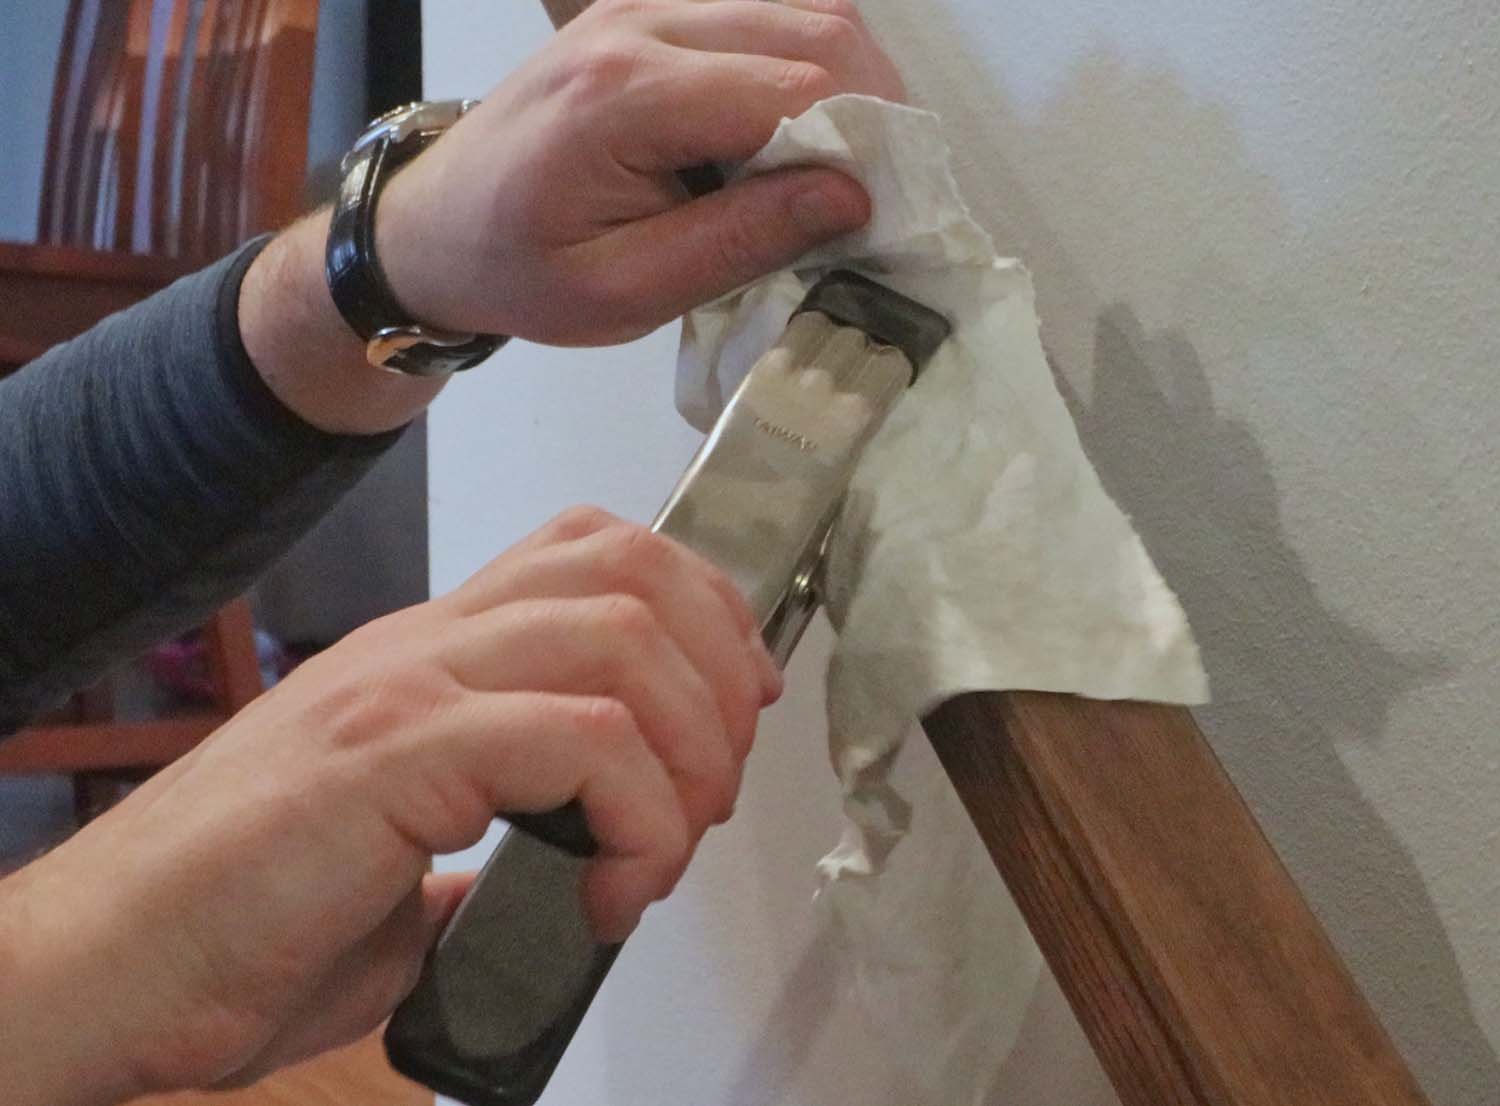
For the stain, I decided to use a dark brown to match the finish on another couple pieces I've made for my house. After staining, I finished the rails with three coats of water-based satin polyurethane, lightly sanding after the first coat to raise the grain slightly.
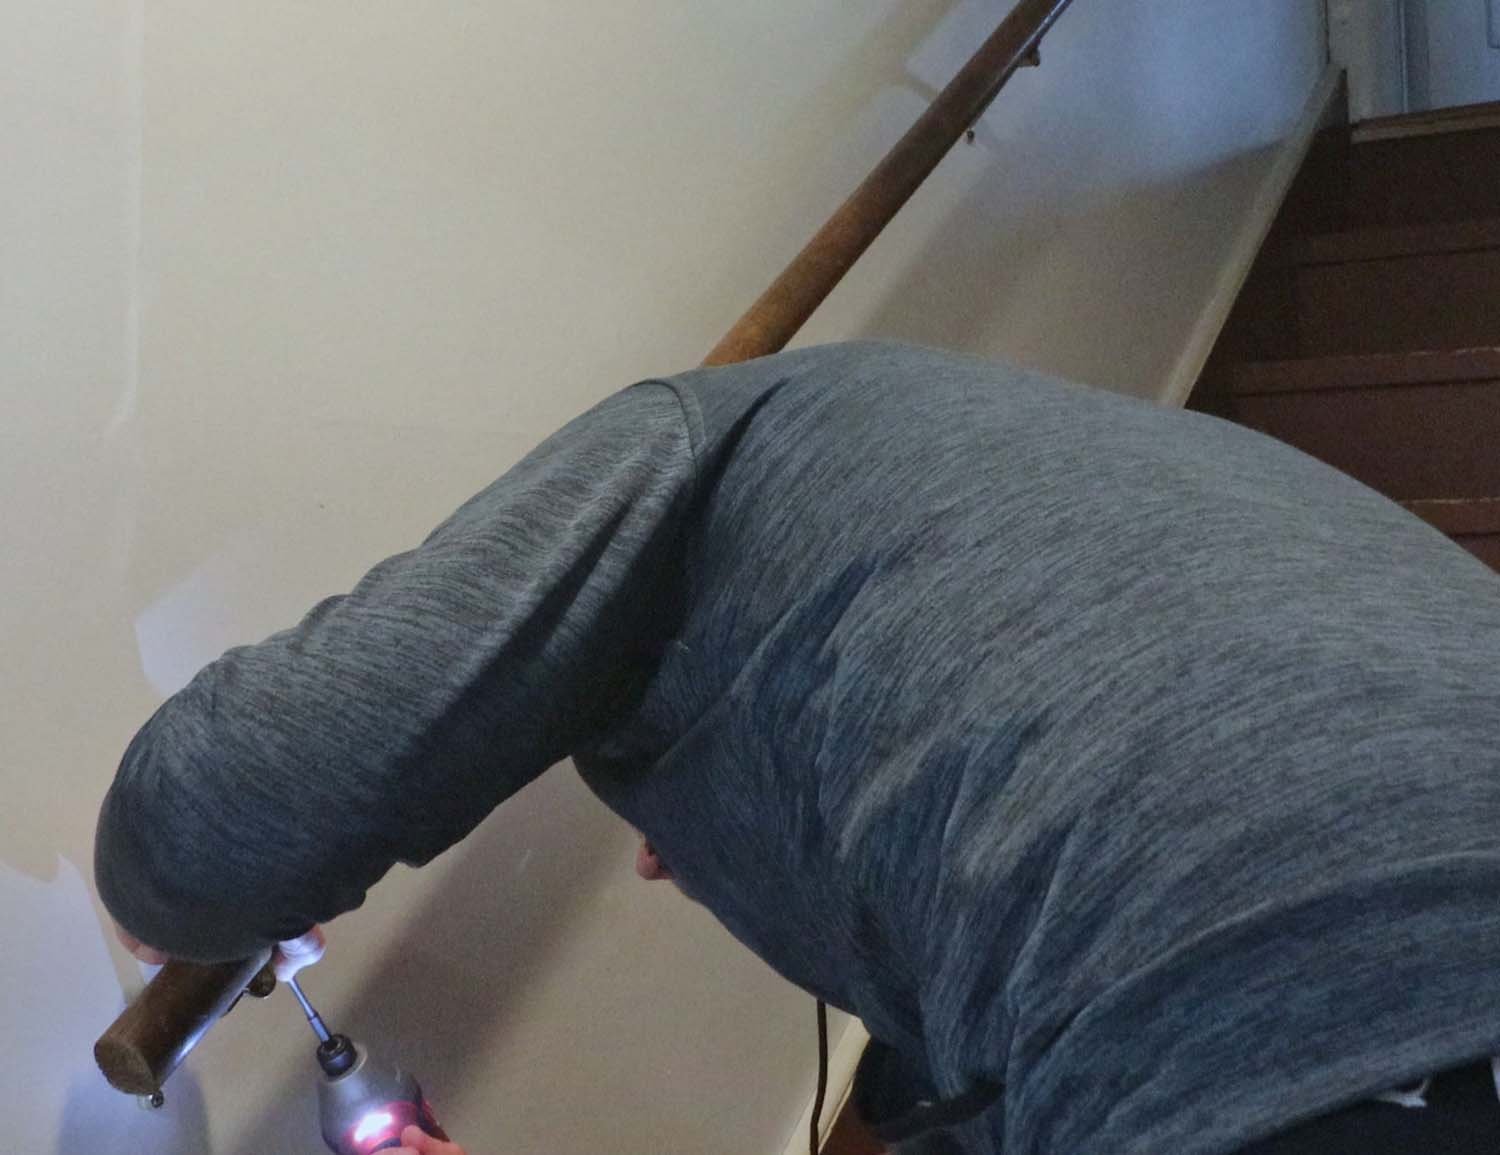
After giving the rails a couple of days to dry, it was time to install them. First, the old rails had to come out.
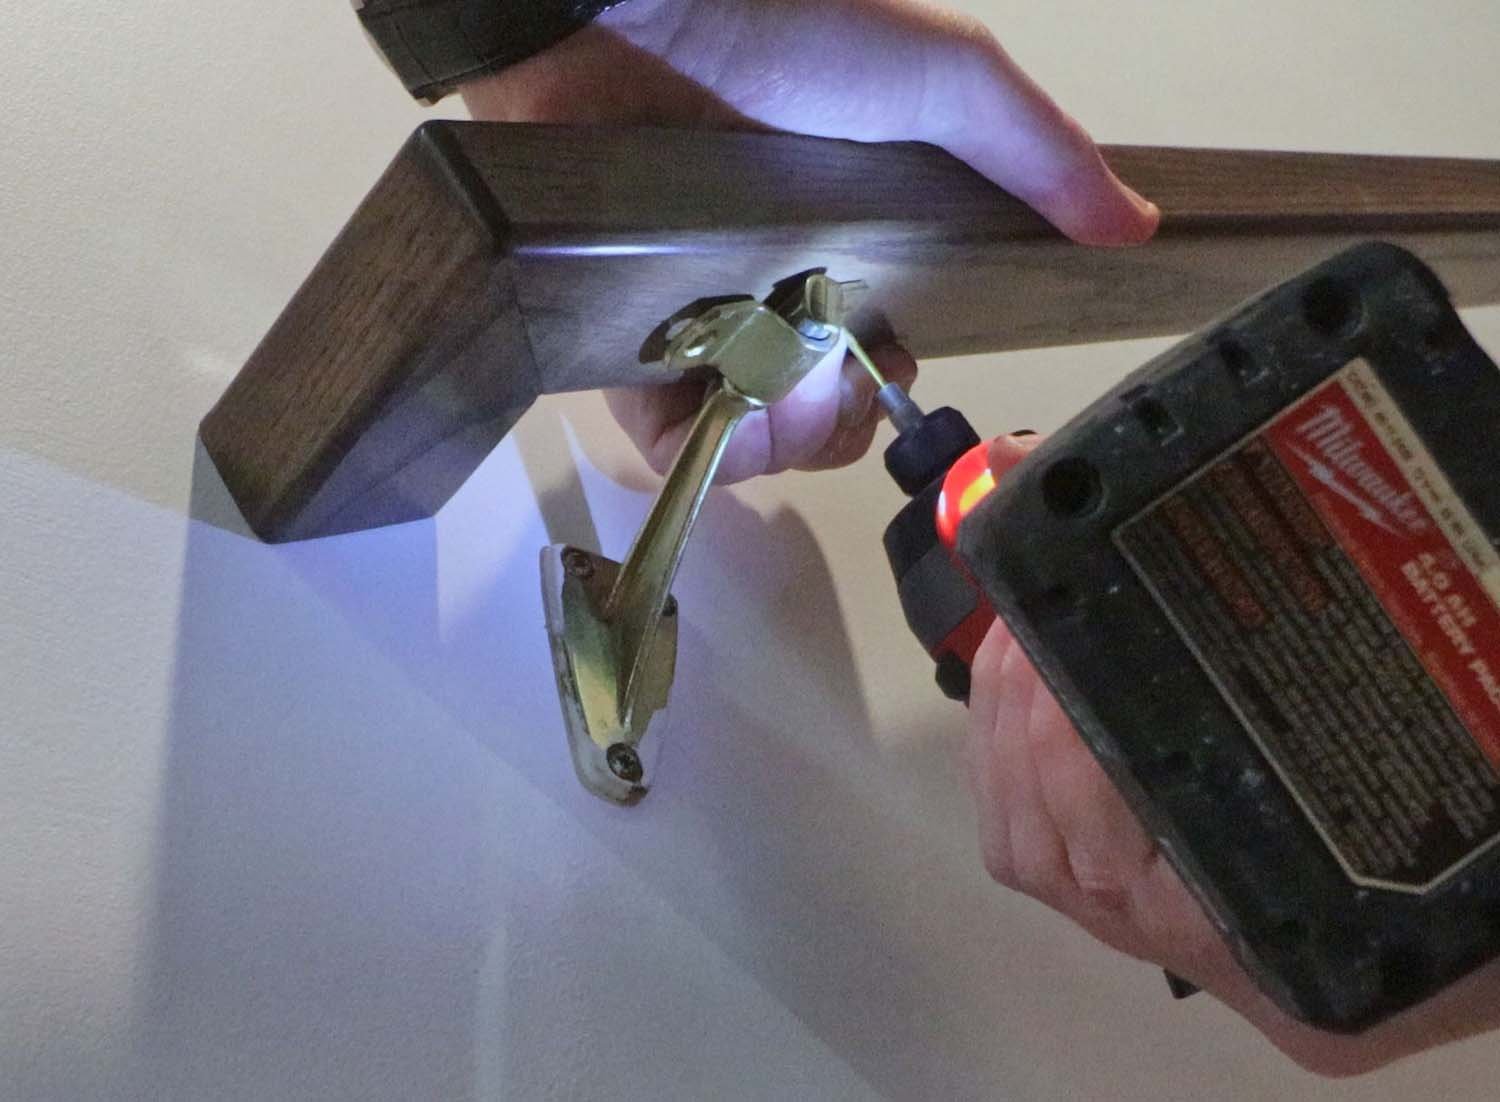
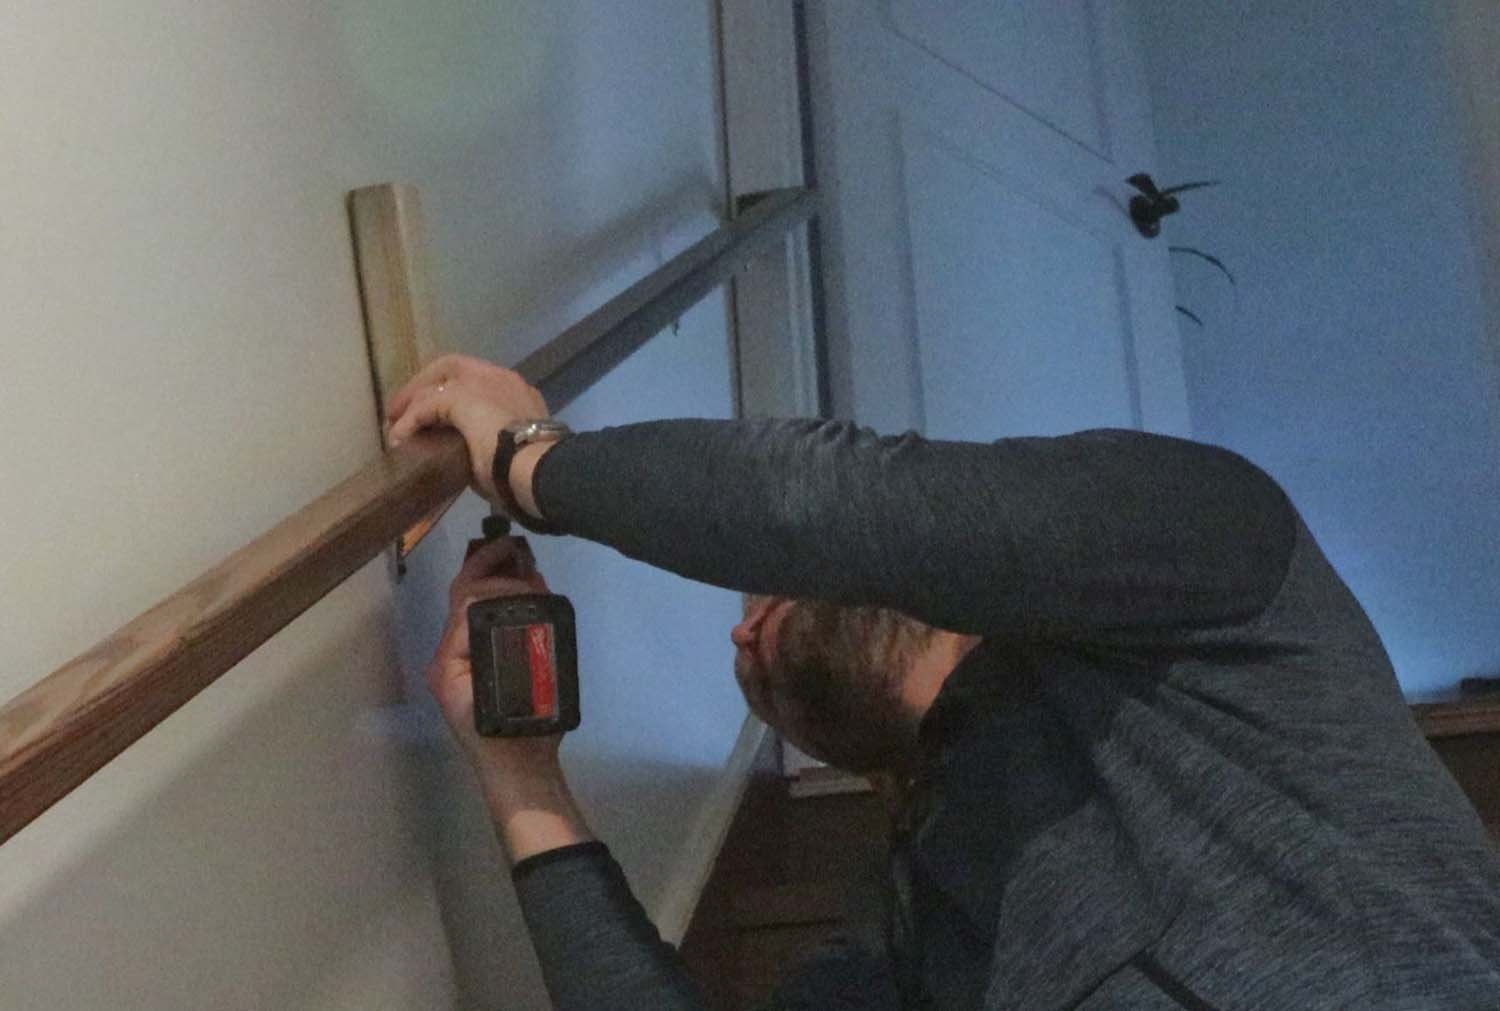
To install the rails, I pre-drilled for the bracket screws and then fastened them to the rails.
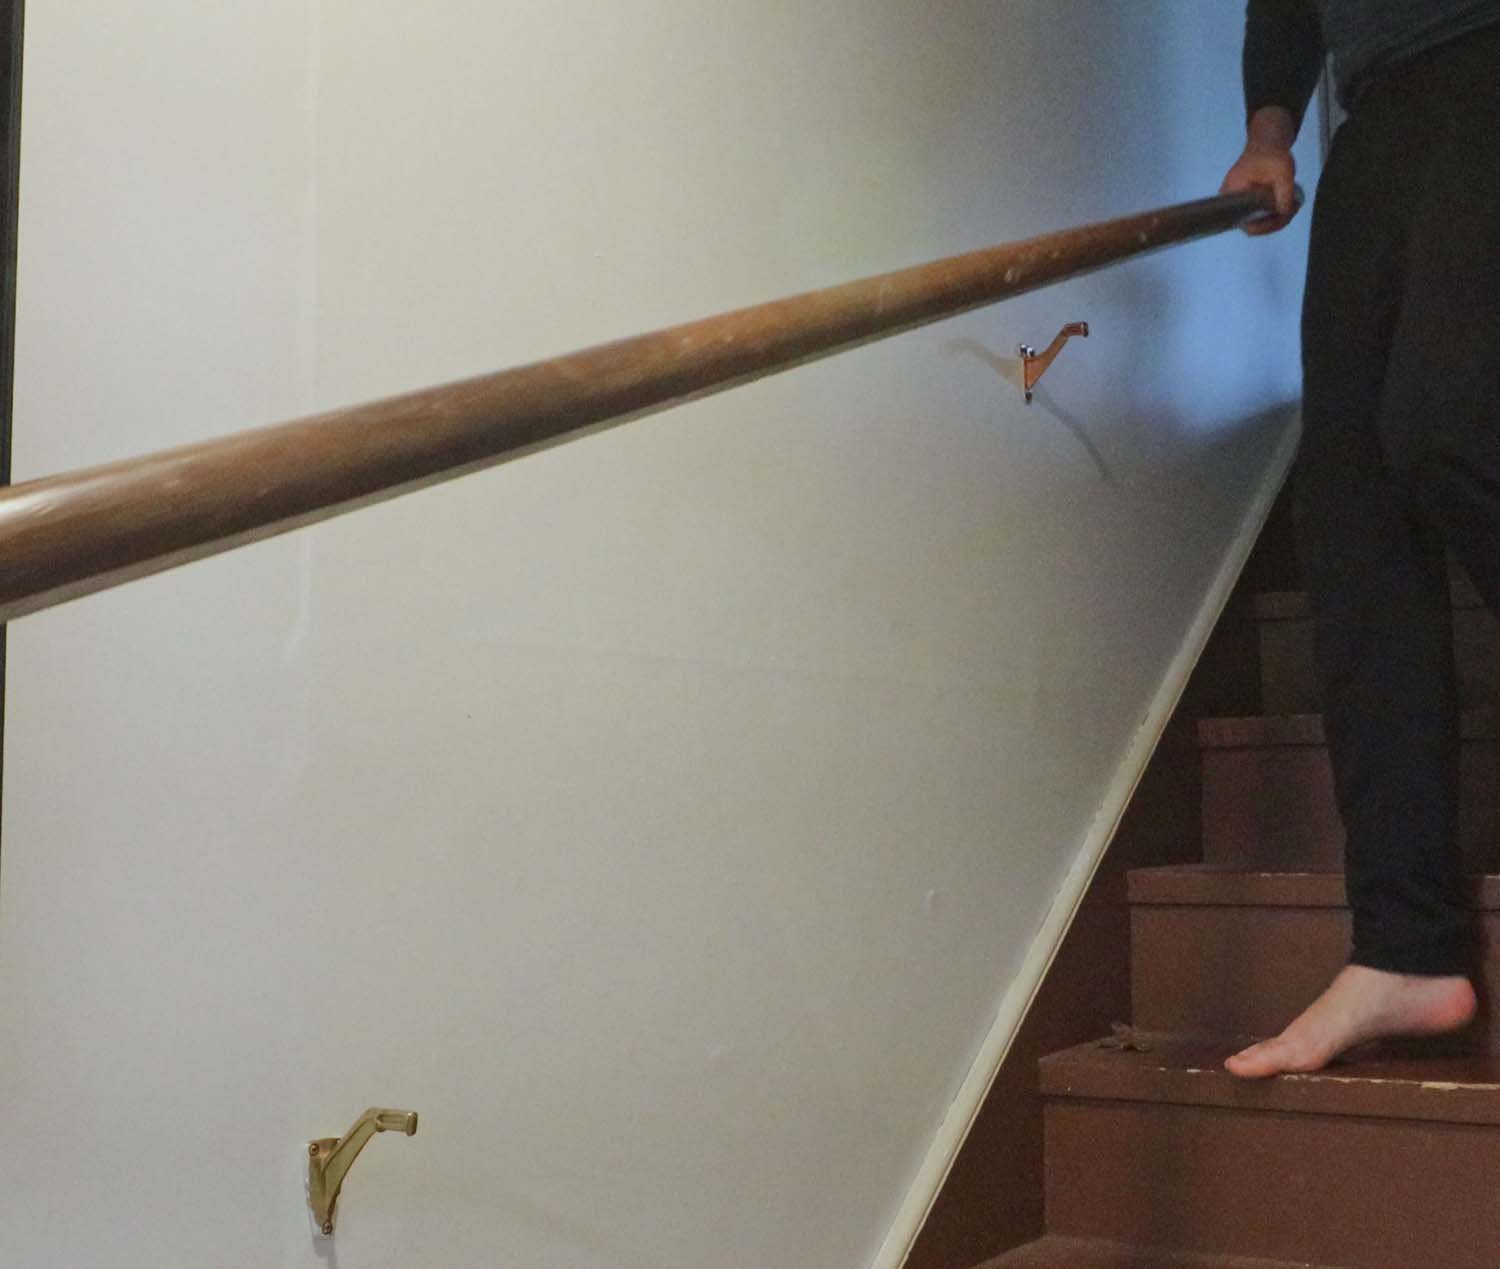
For the middle bracket, I used a piece of 2x material as a spacer to keep the 1-1/2" (38 mm) gap from the wall. If you need a third hand, wrap a rag around the rail and use a spring clamp to hold it in place while you work.

And there you have it, a beautiful and functional handrail for your stairs!
If you enjoyed this article, subscribe to my YouTube channel for more!