
Half-Face-Cord Firewood Rack
A tree trimmer recently dropped off a load of maple logs that I'll be splitting into firewood. Before I get to work on that though, I need a firewood rack to store it in, so that's what I'm making here.
I designed this rack to hold half of a face cord of firewood (4ft x 4ft x 16” deep) and to be made using commonly available 4x4 lumber and fasteners from the home center. If you're interested in building one of these for yourself, I have a set of plans available.
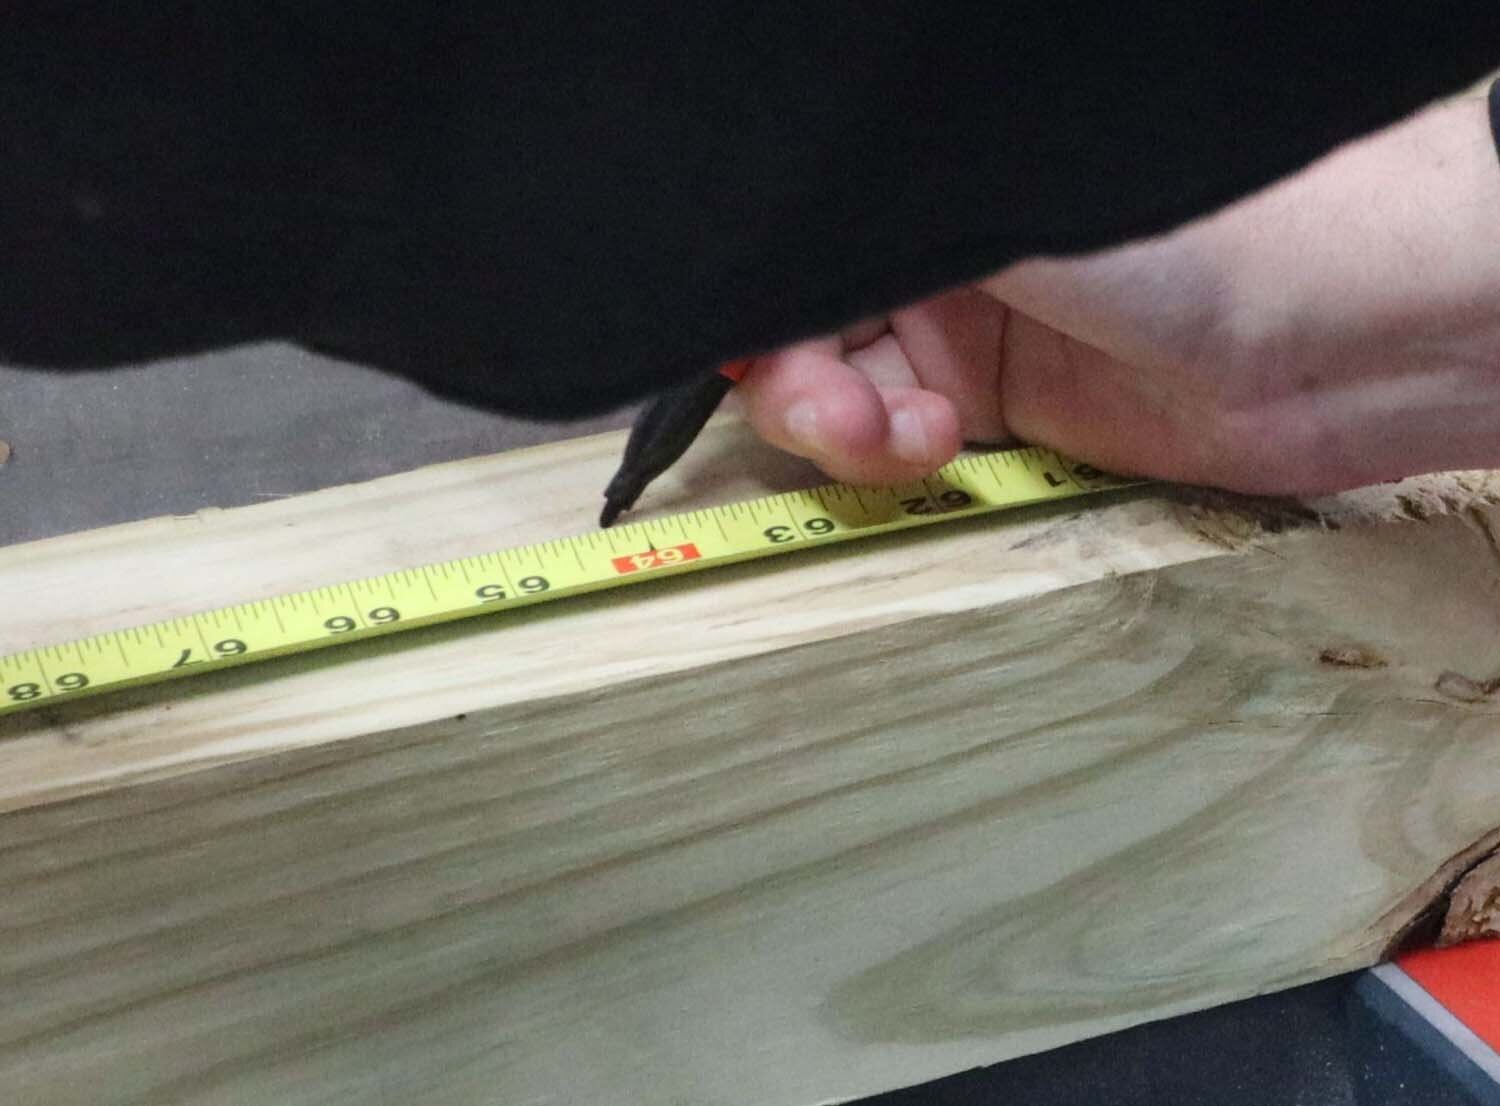
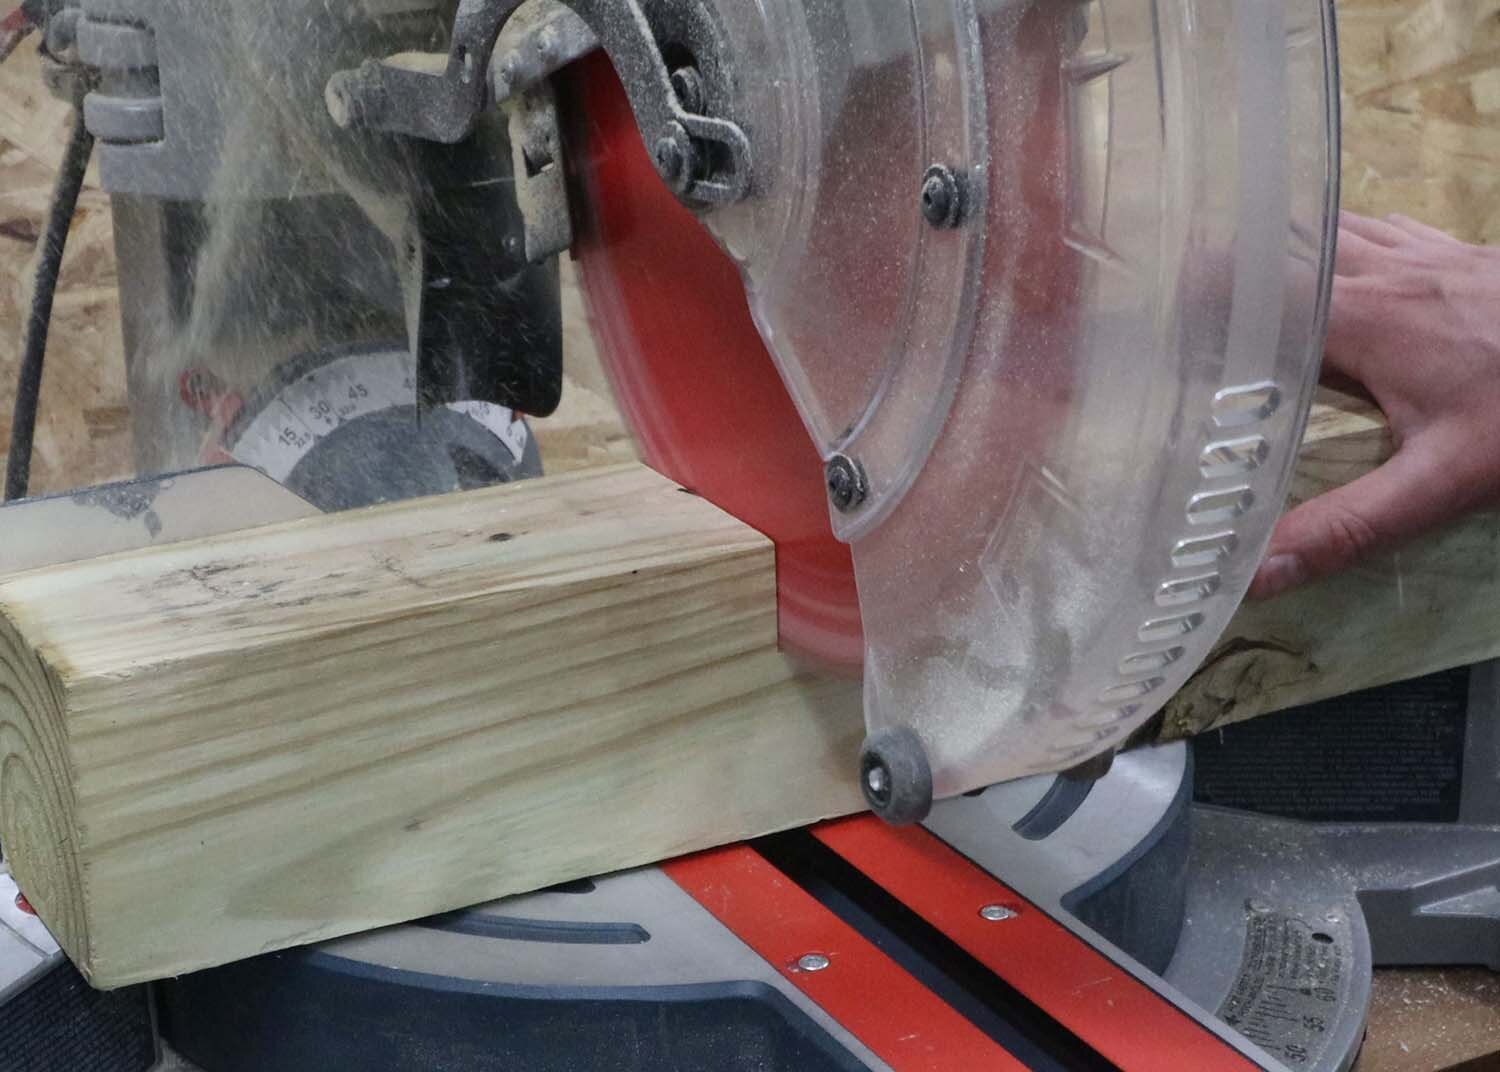
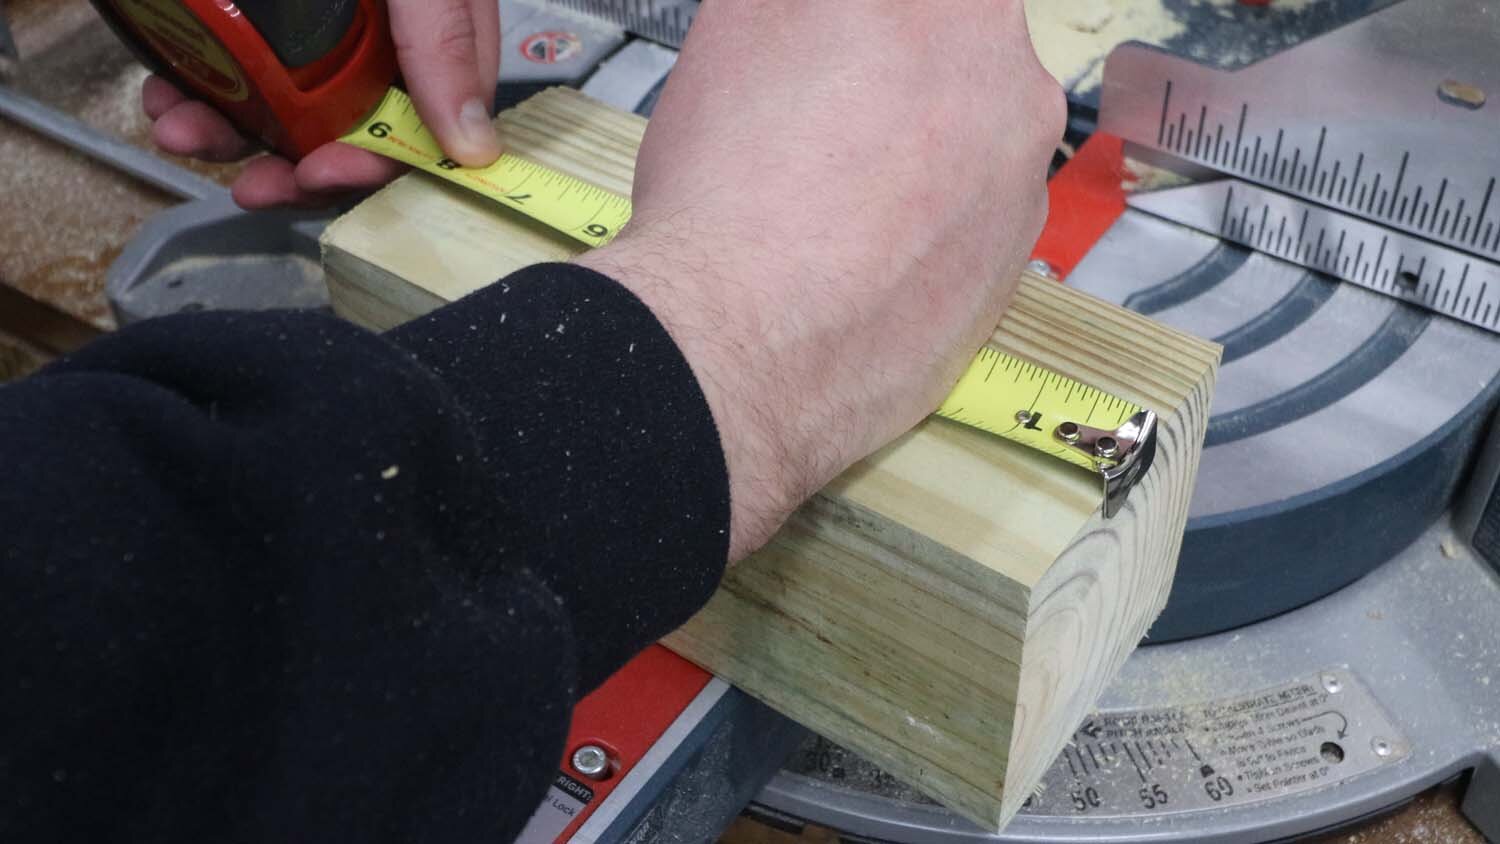
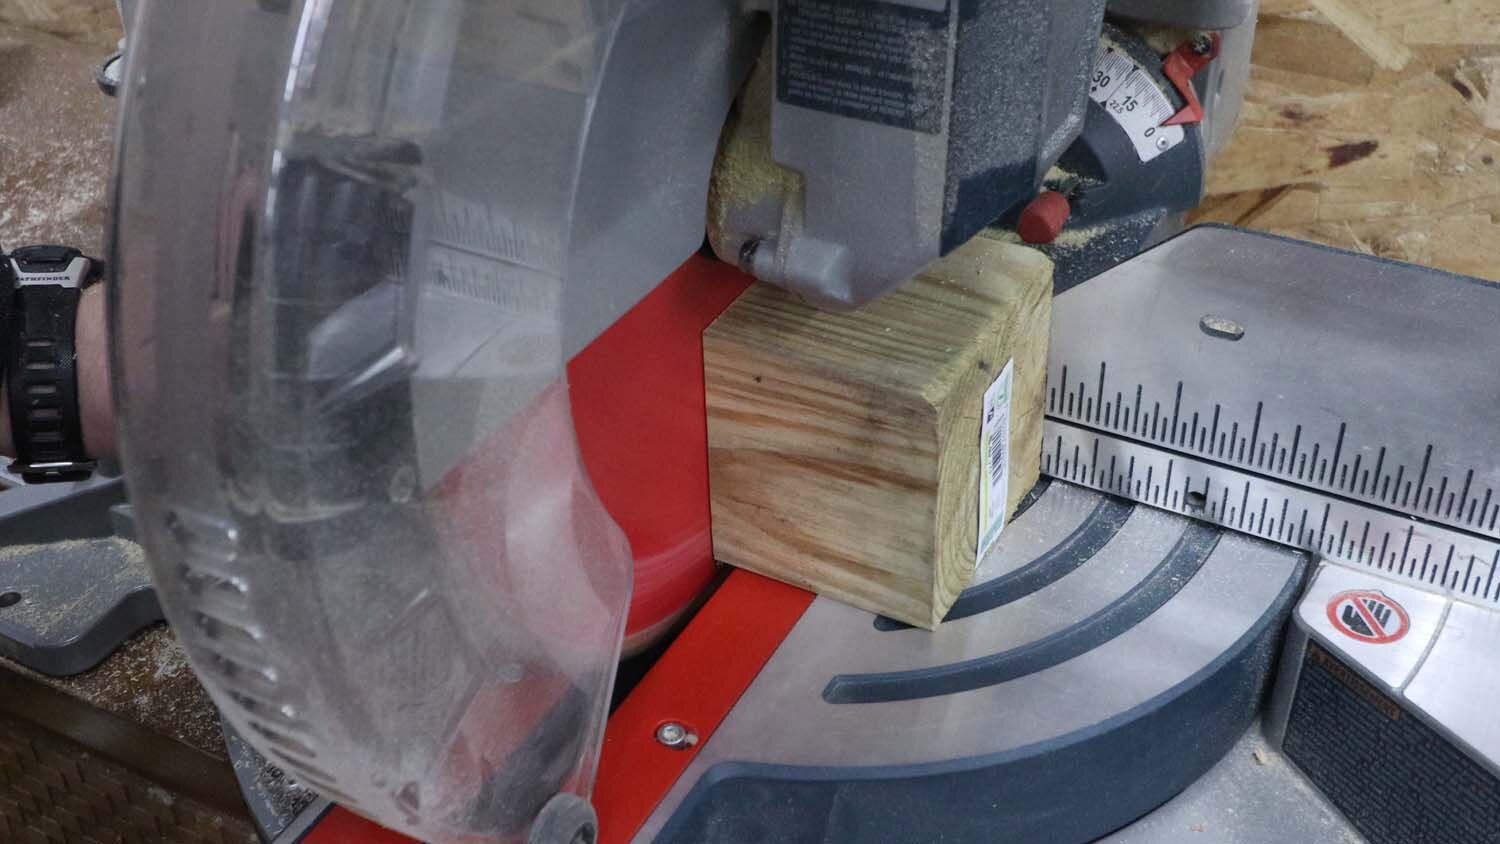
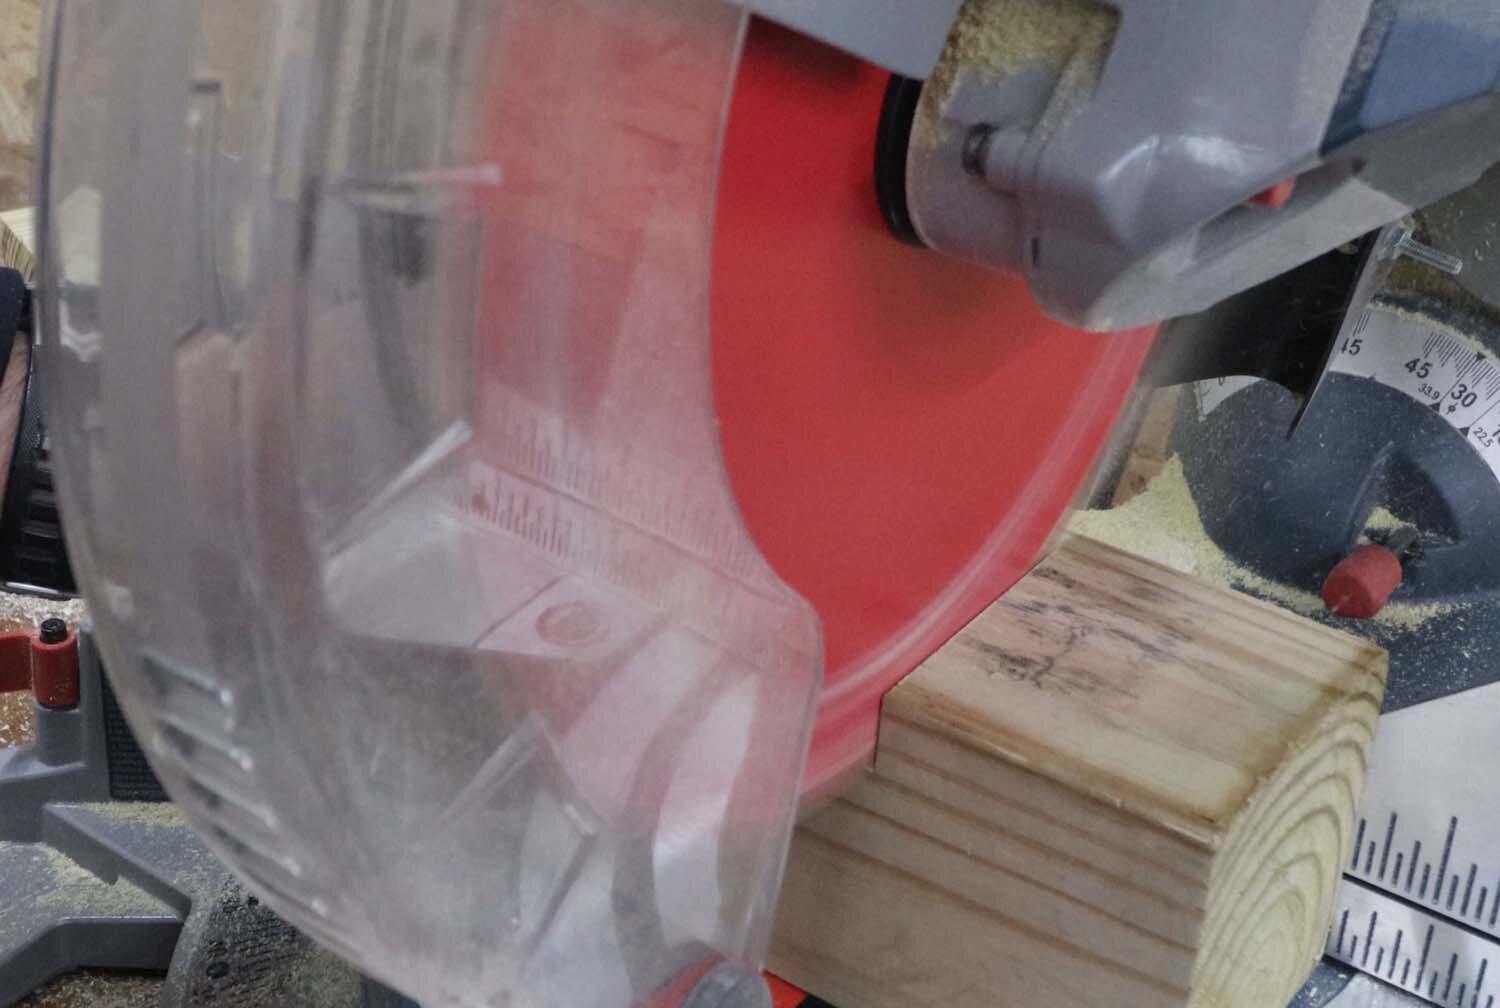
I start off by cutting to length what I'm calling the "sleepers" of the rack, which are the pieces that are at the bottom.
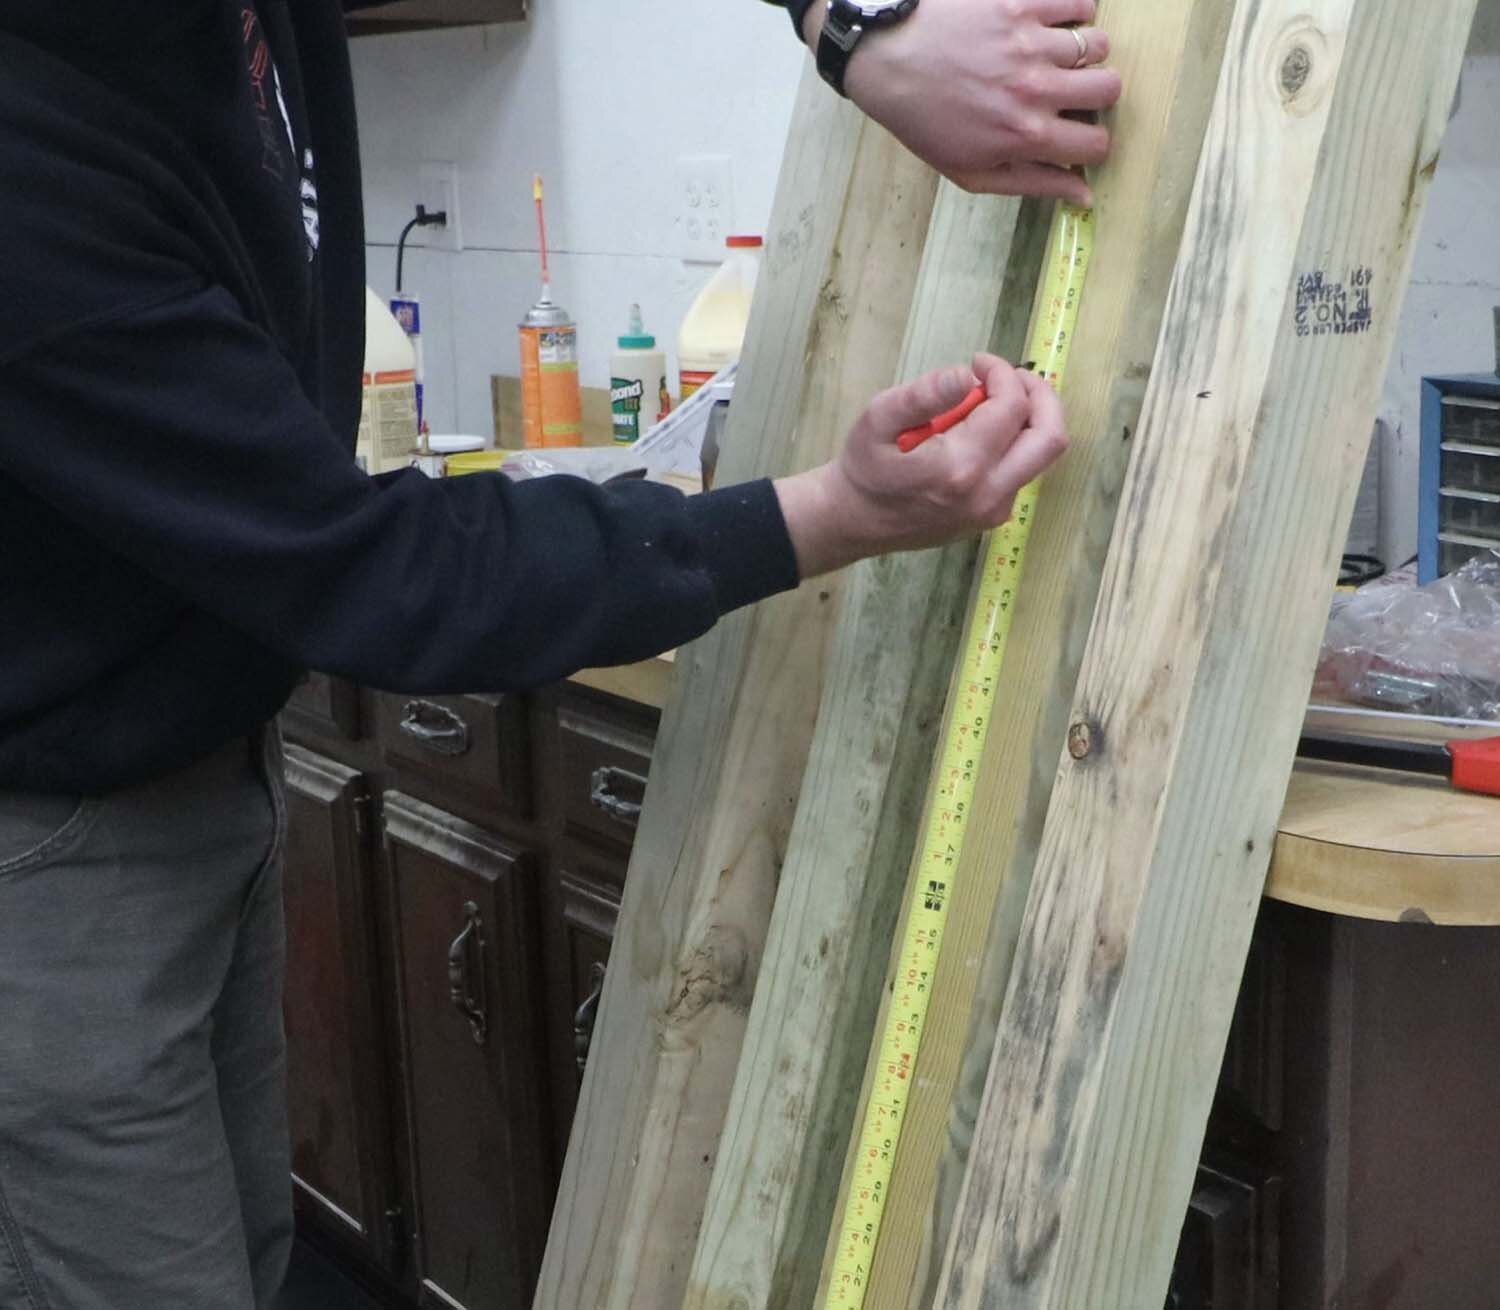
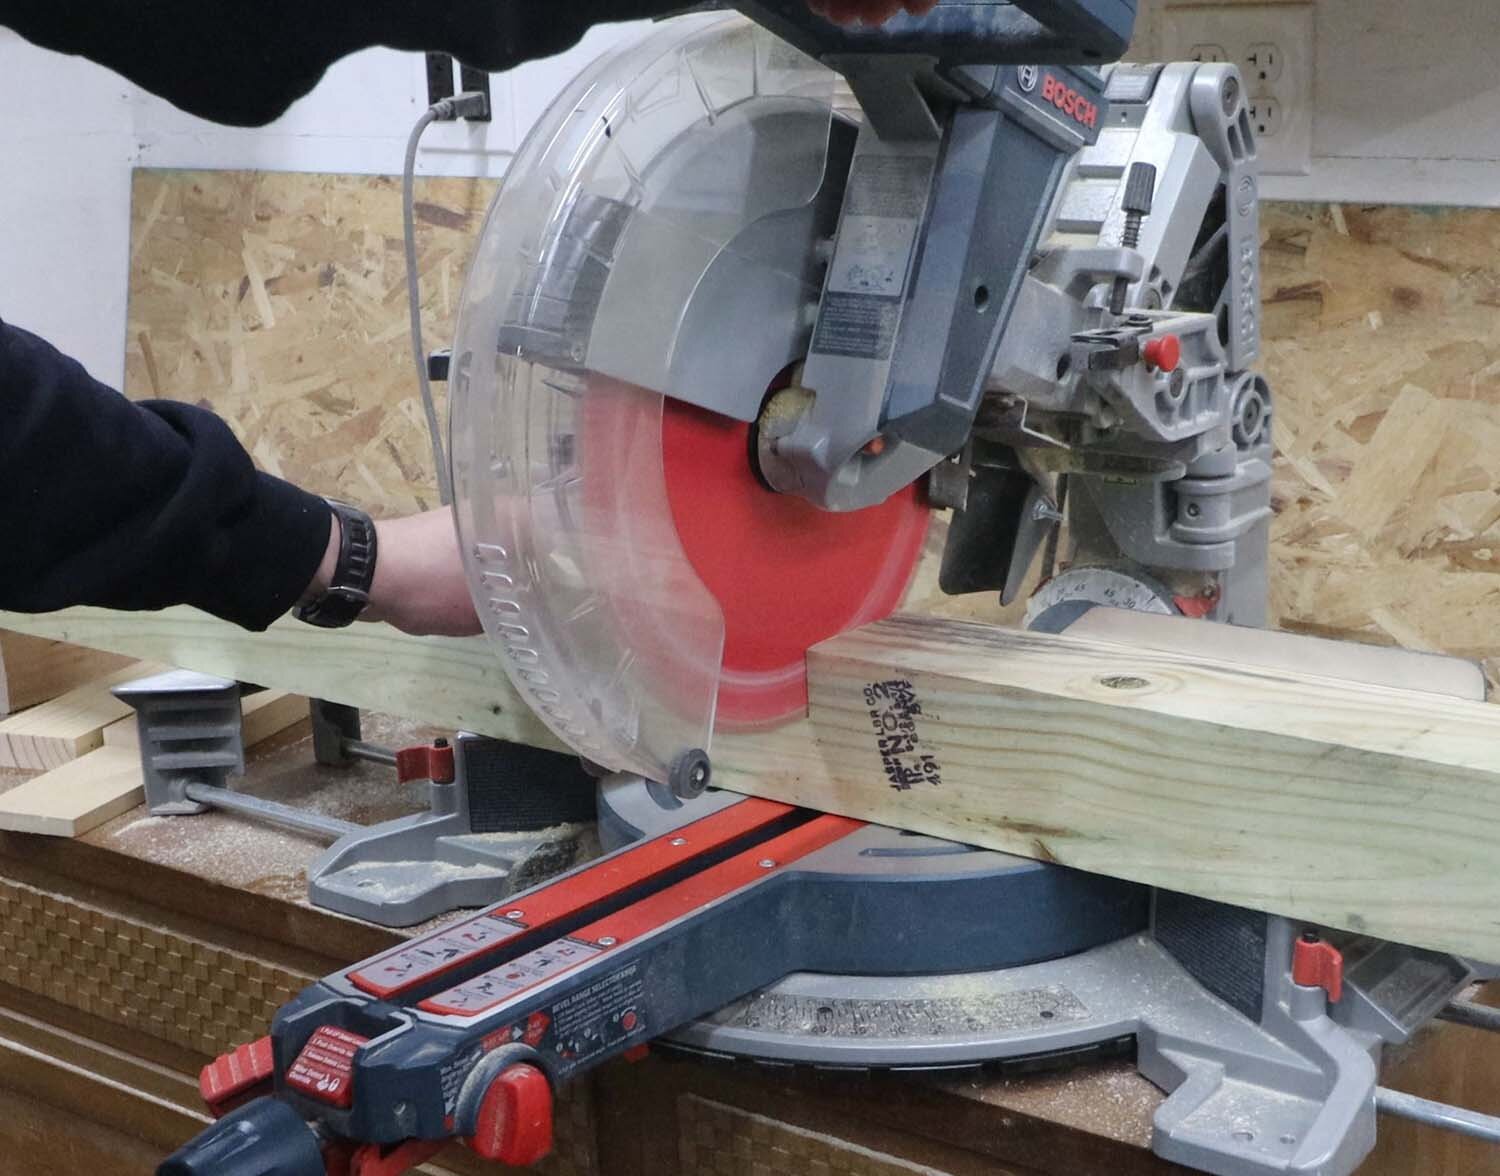
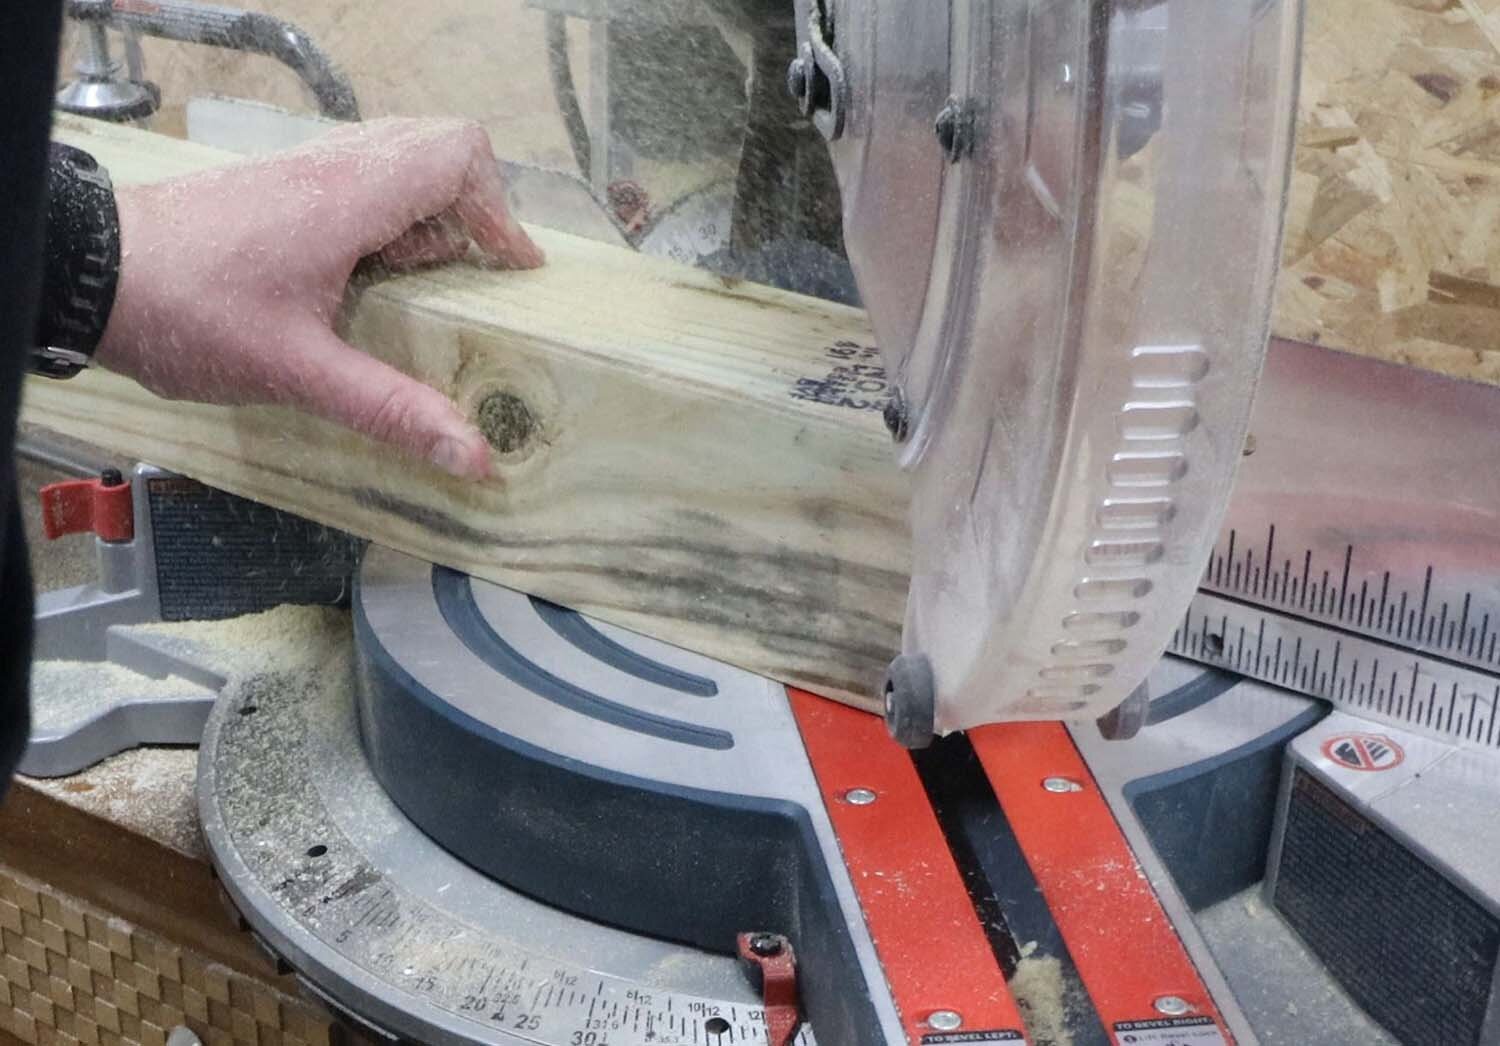
Next I measure for and cut the uprights, which will keep the stack of firewood contained in the rack.
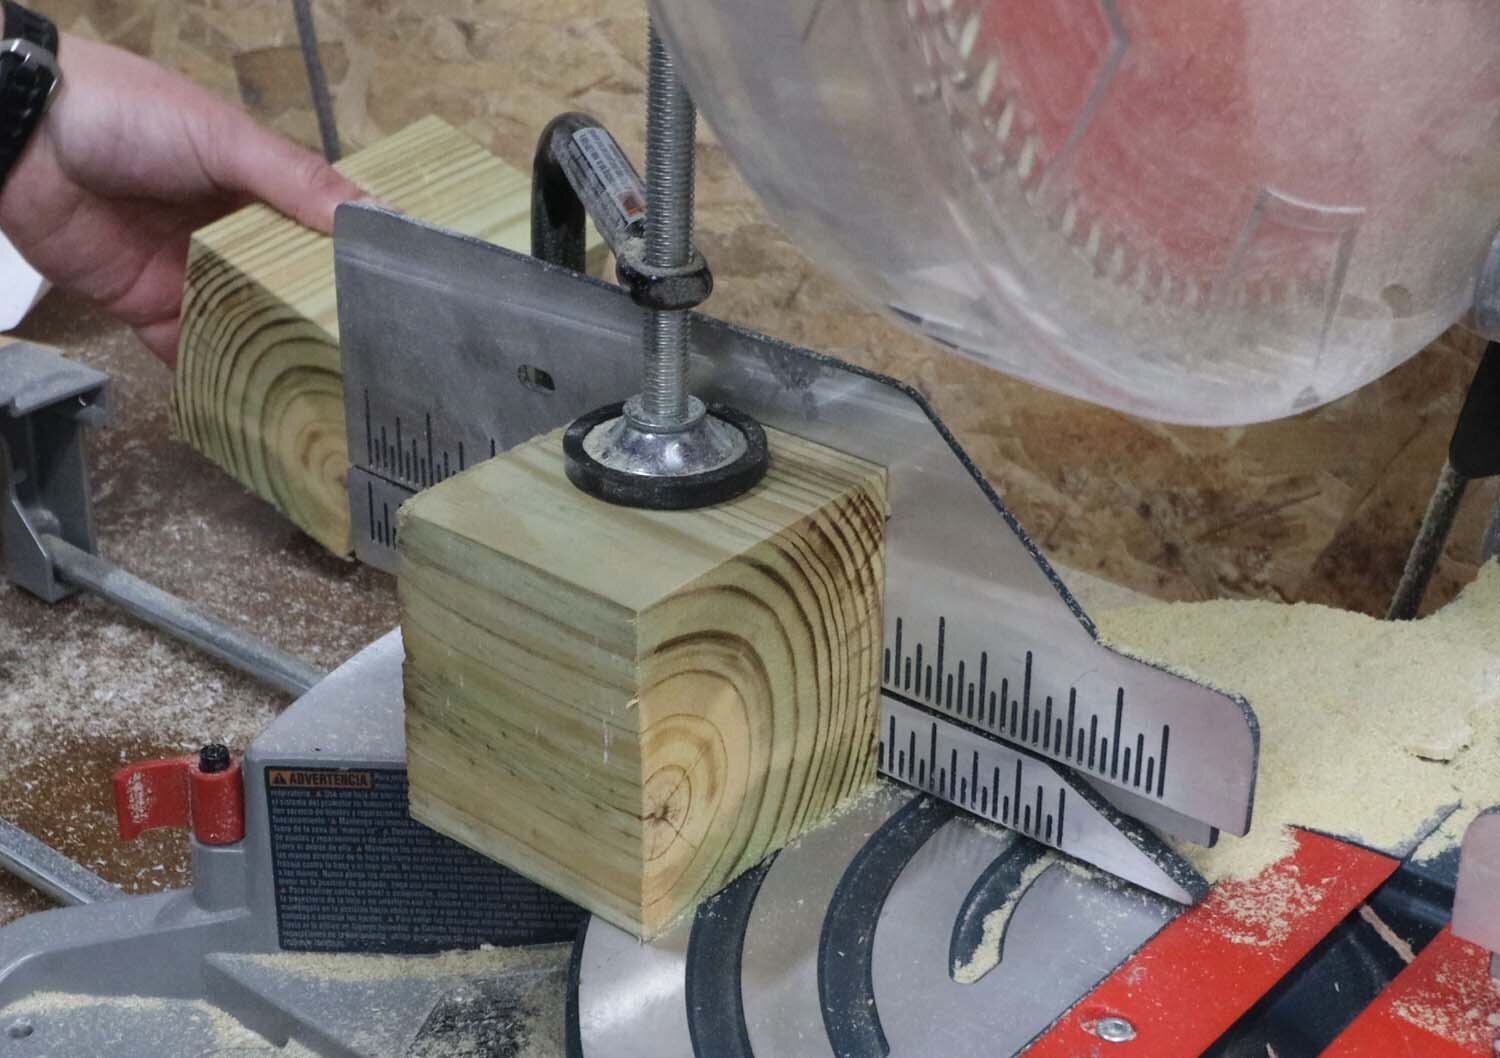
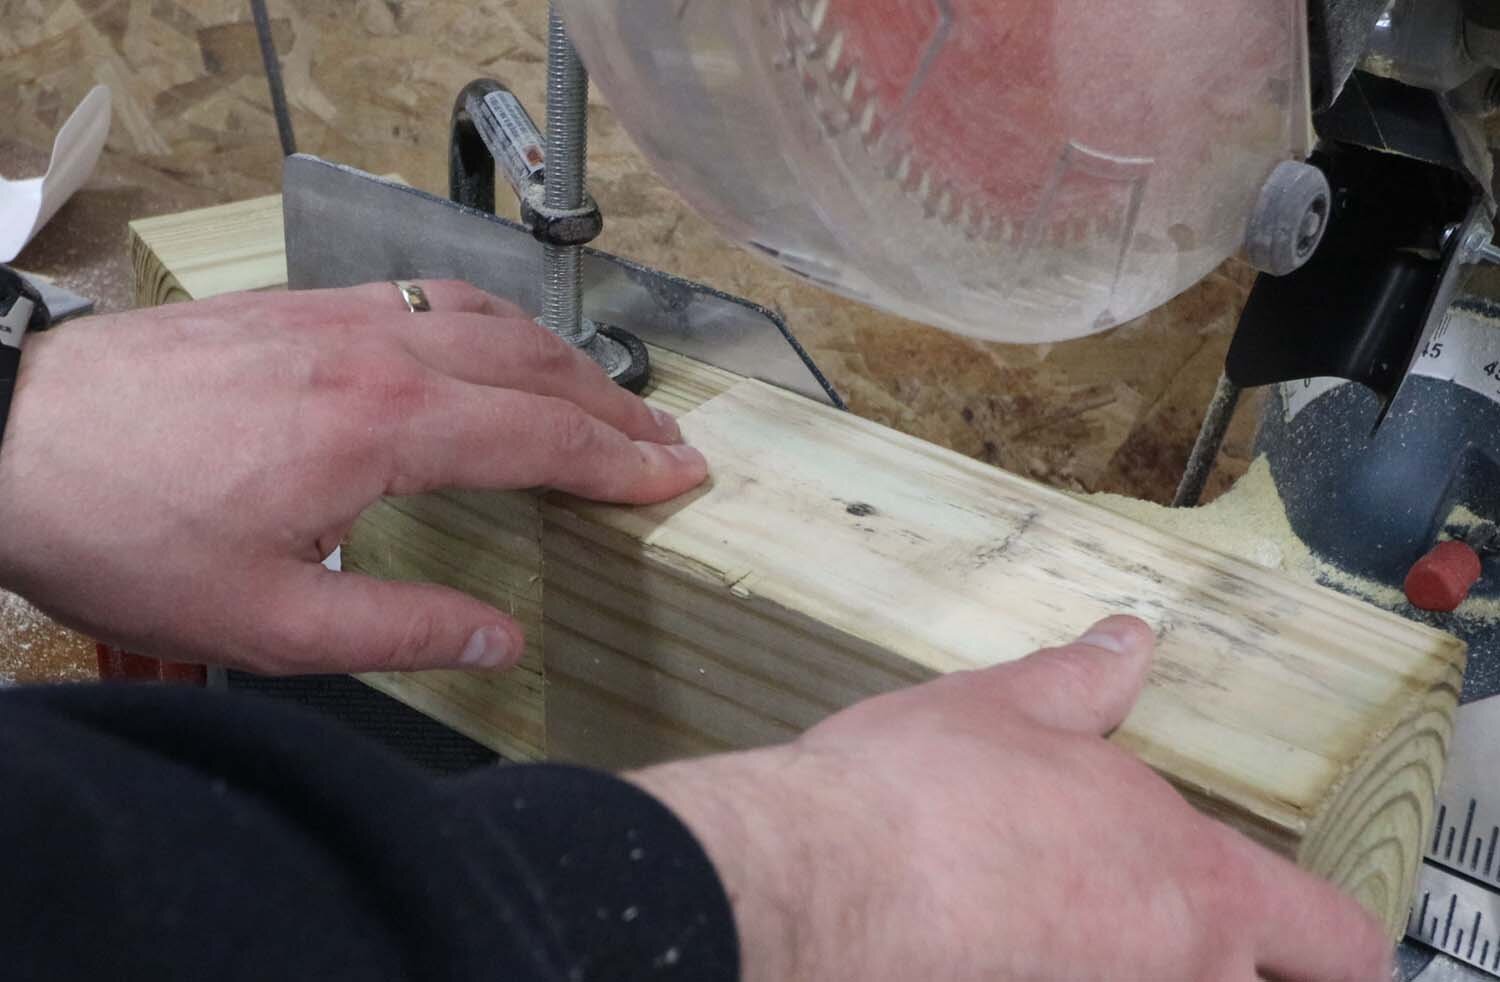
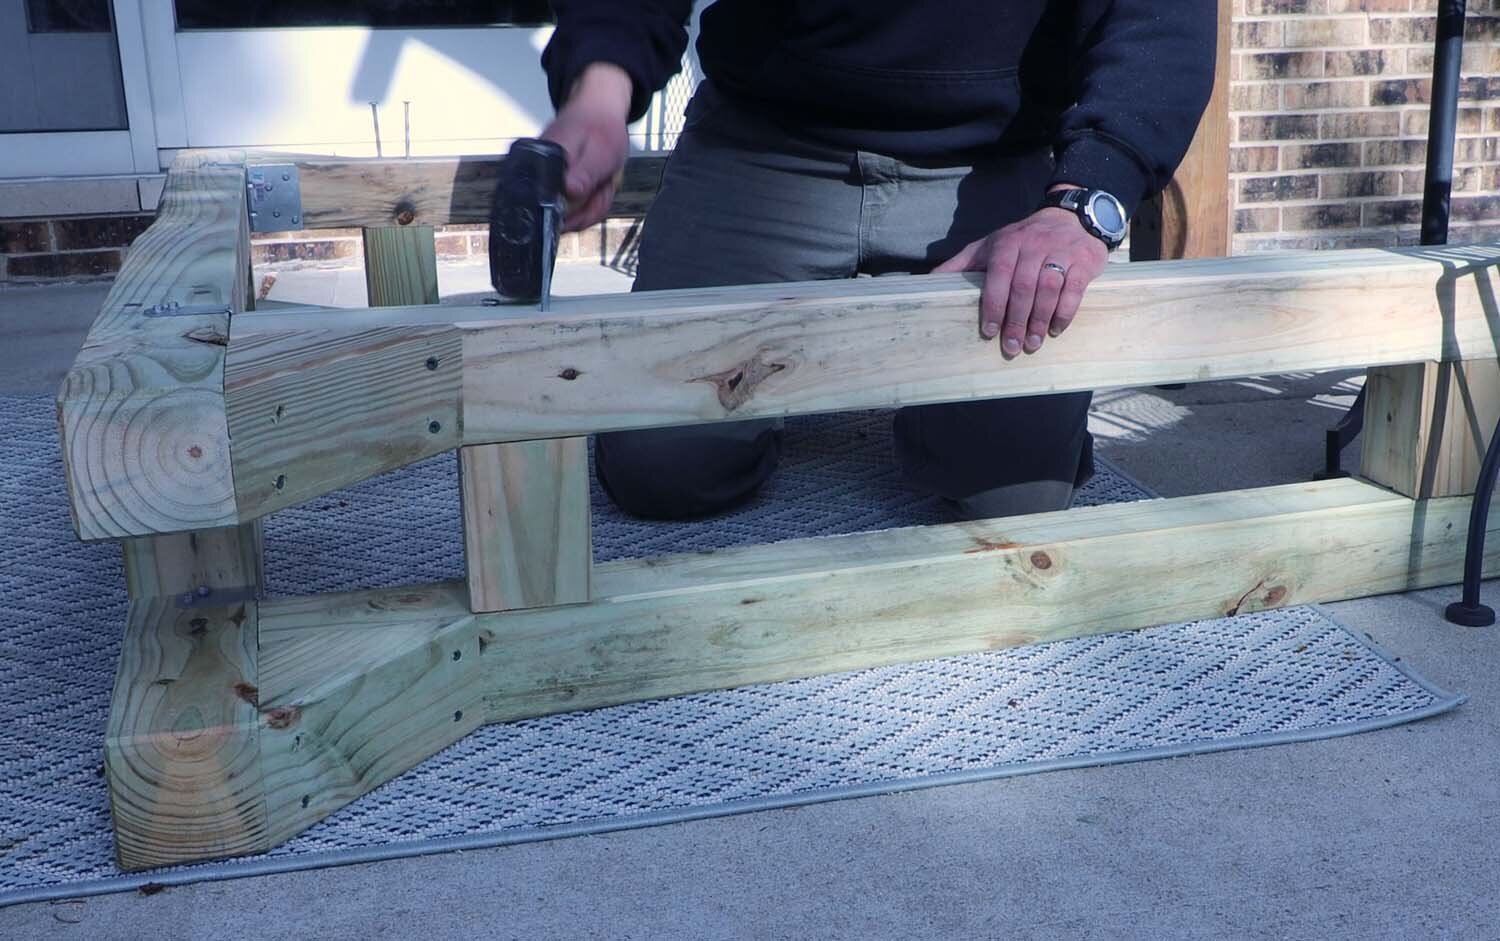
The rack will have two U-shaped frames, which are separated by some spacer blocks. Here I cut the spacer blocks to length. Note that I changed the length of these spacers to 9" in the plans so that the rack would be more stable. I use a stop block so that I can make easily repeatable cuts.
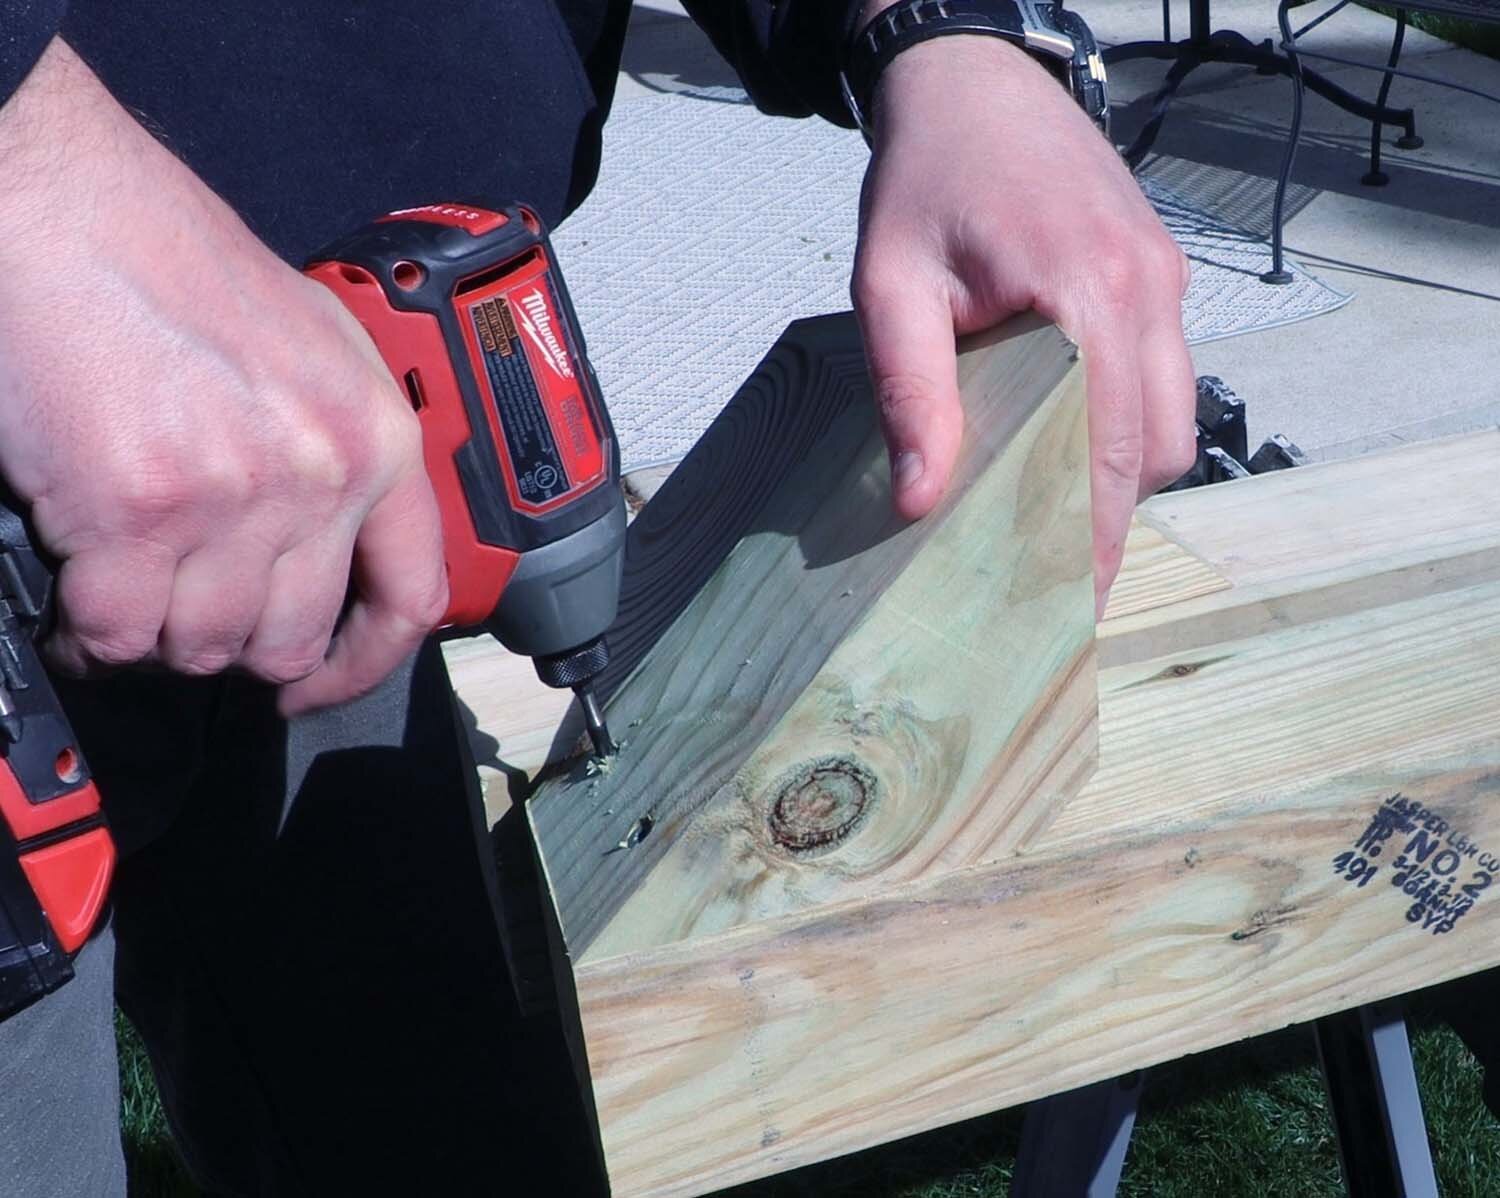
Next I'll be making the 45-degree braces for the bottom of the uprights. These keep the uprights from bending outwards when the rack is loaded with firewood.
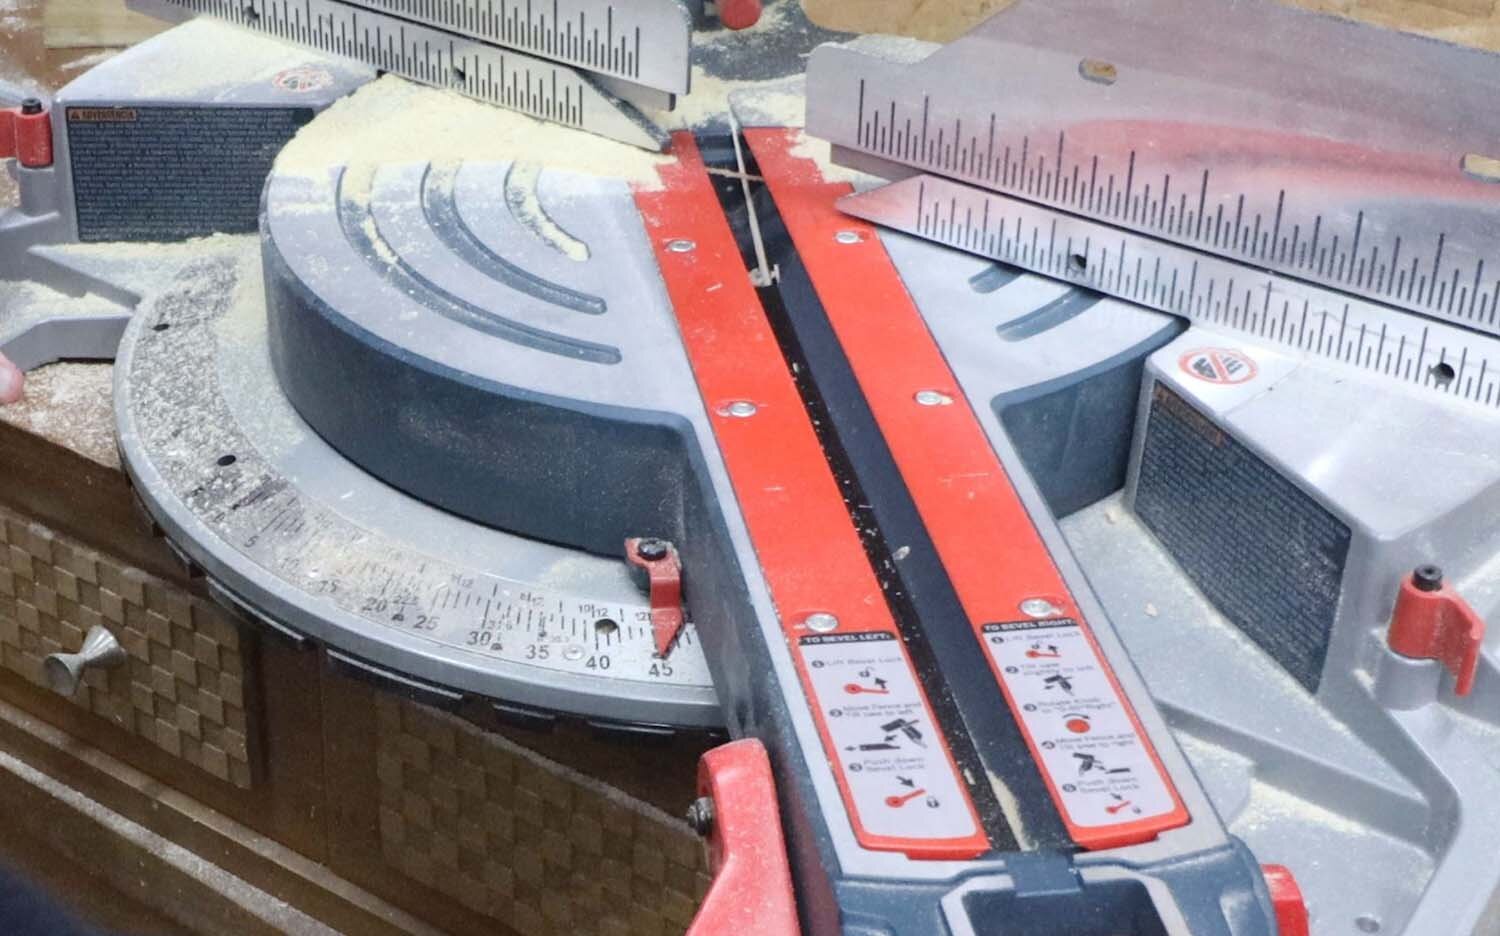
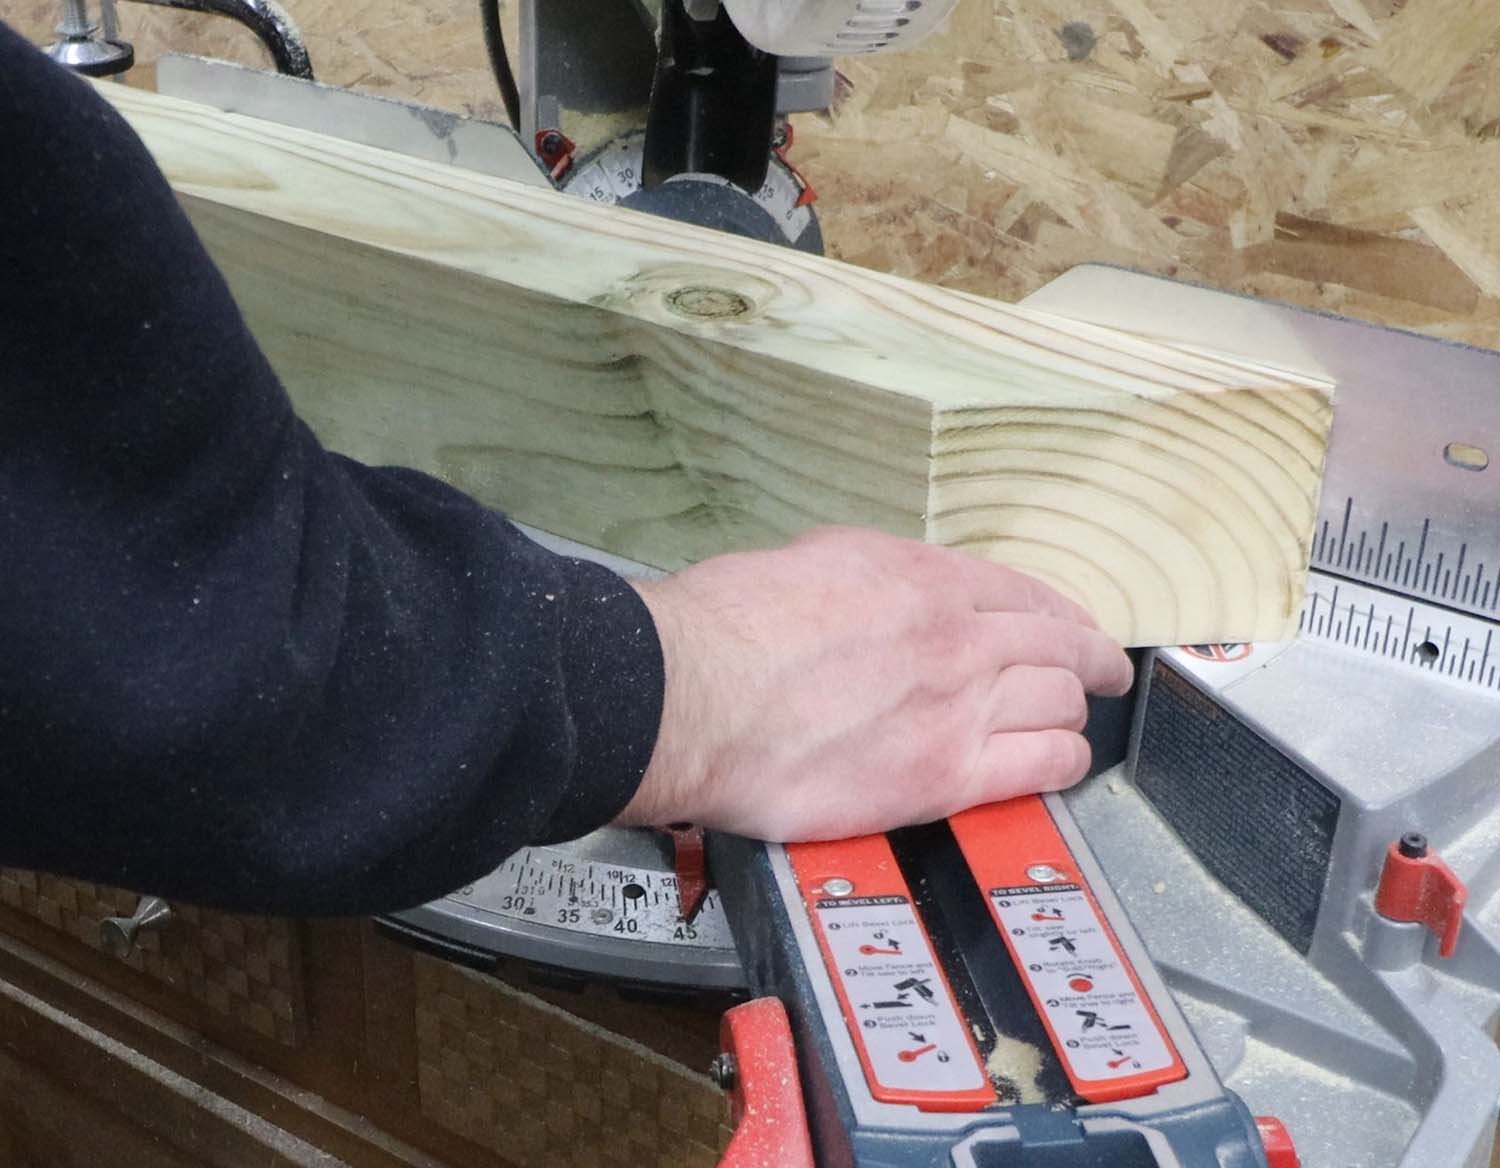
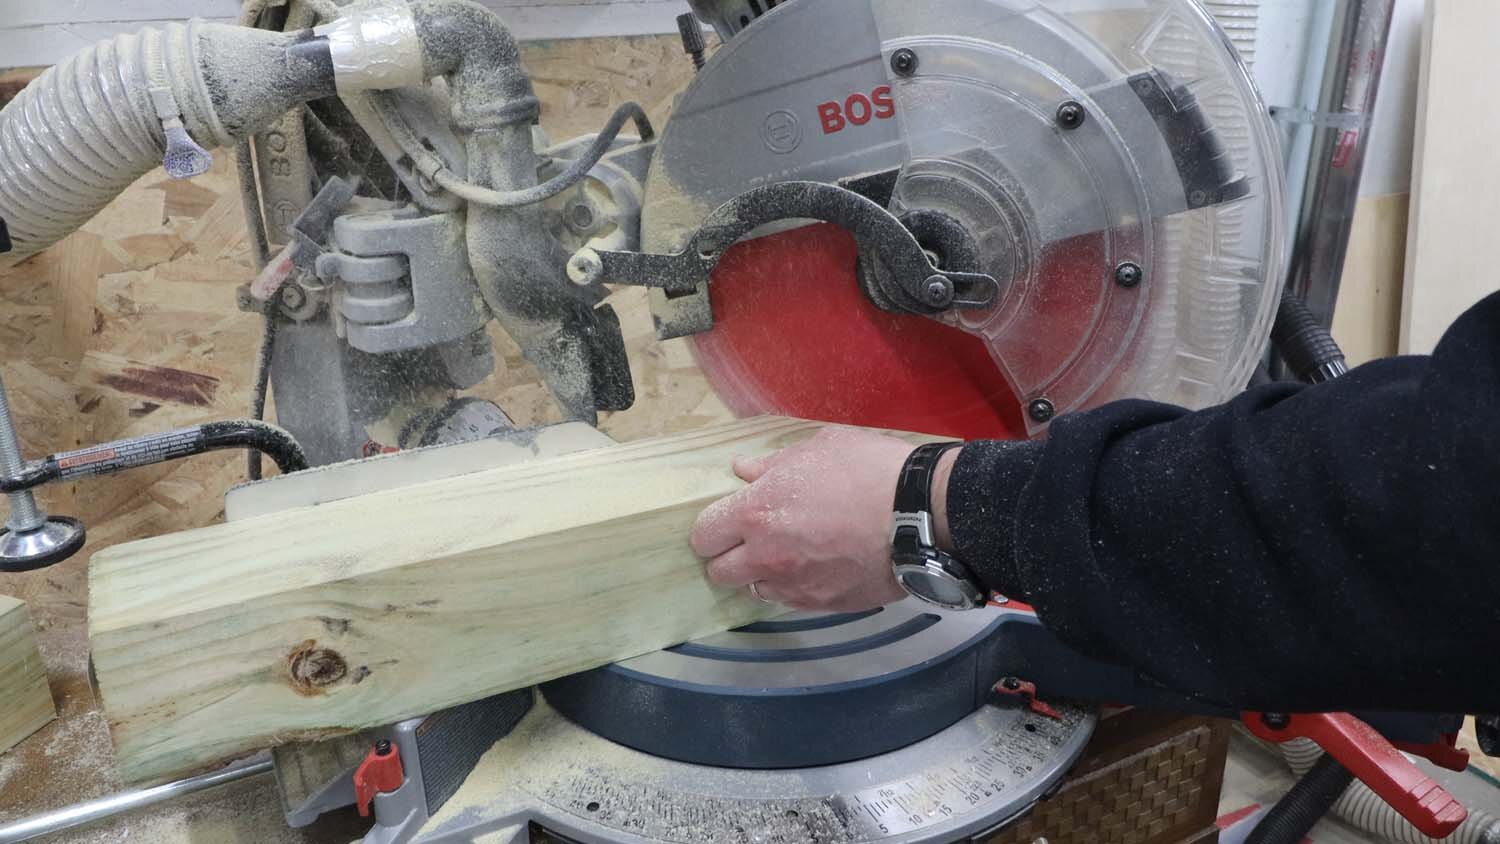
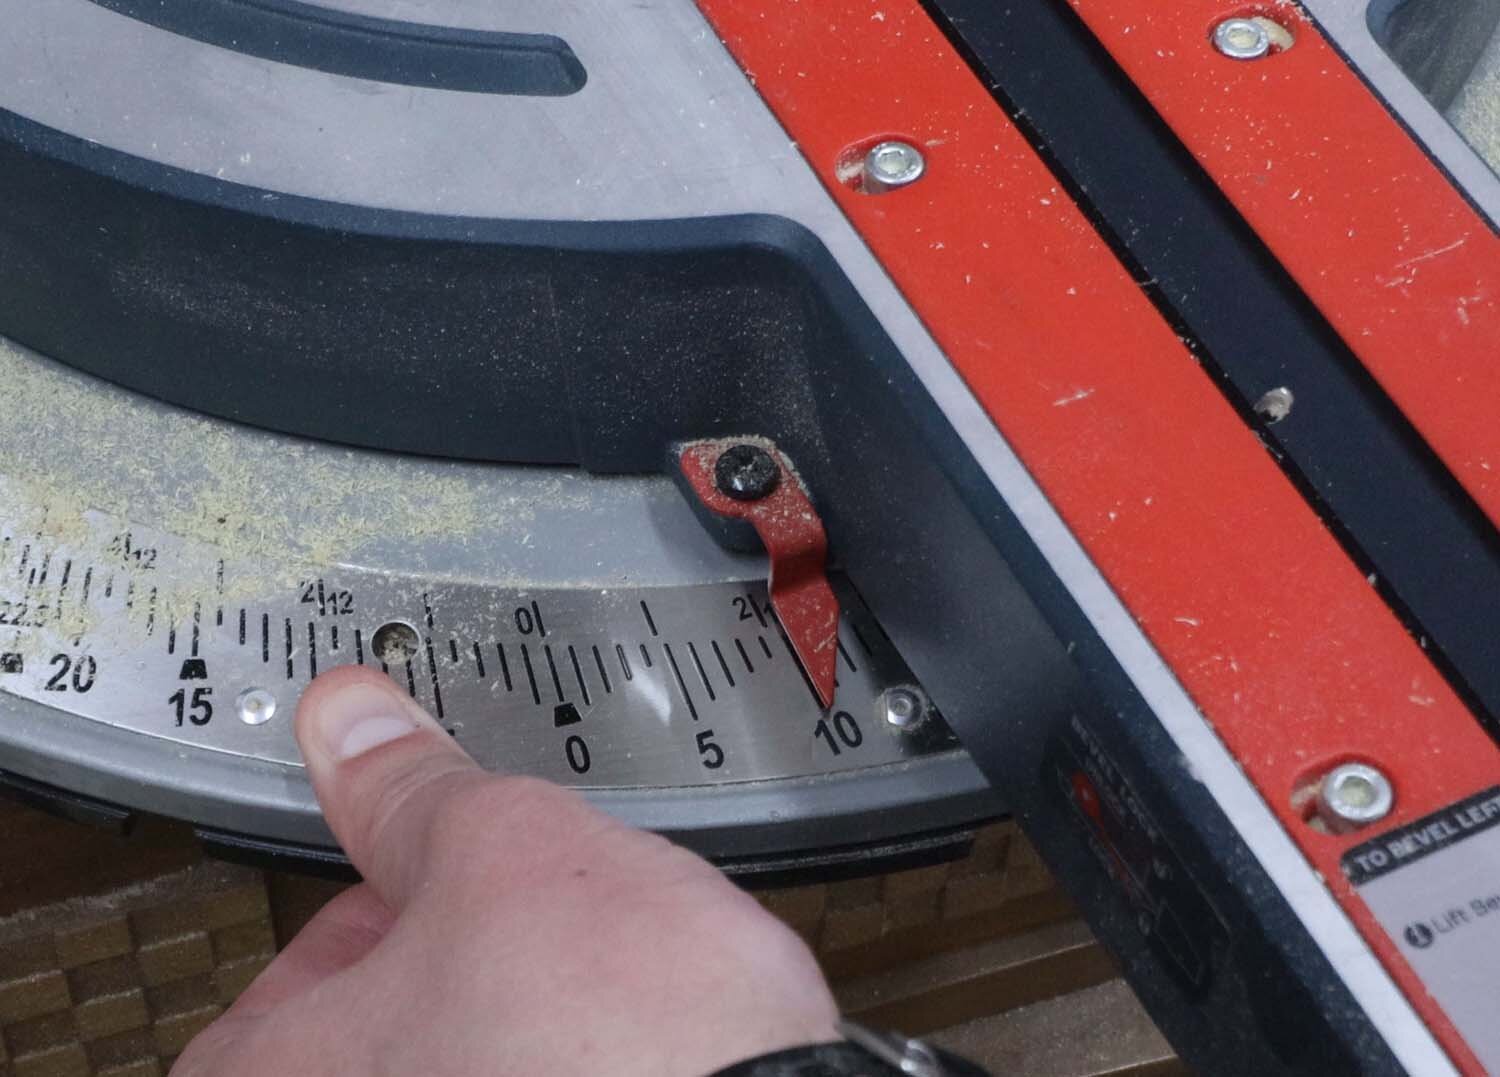
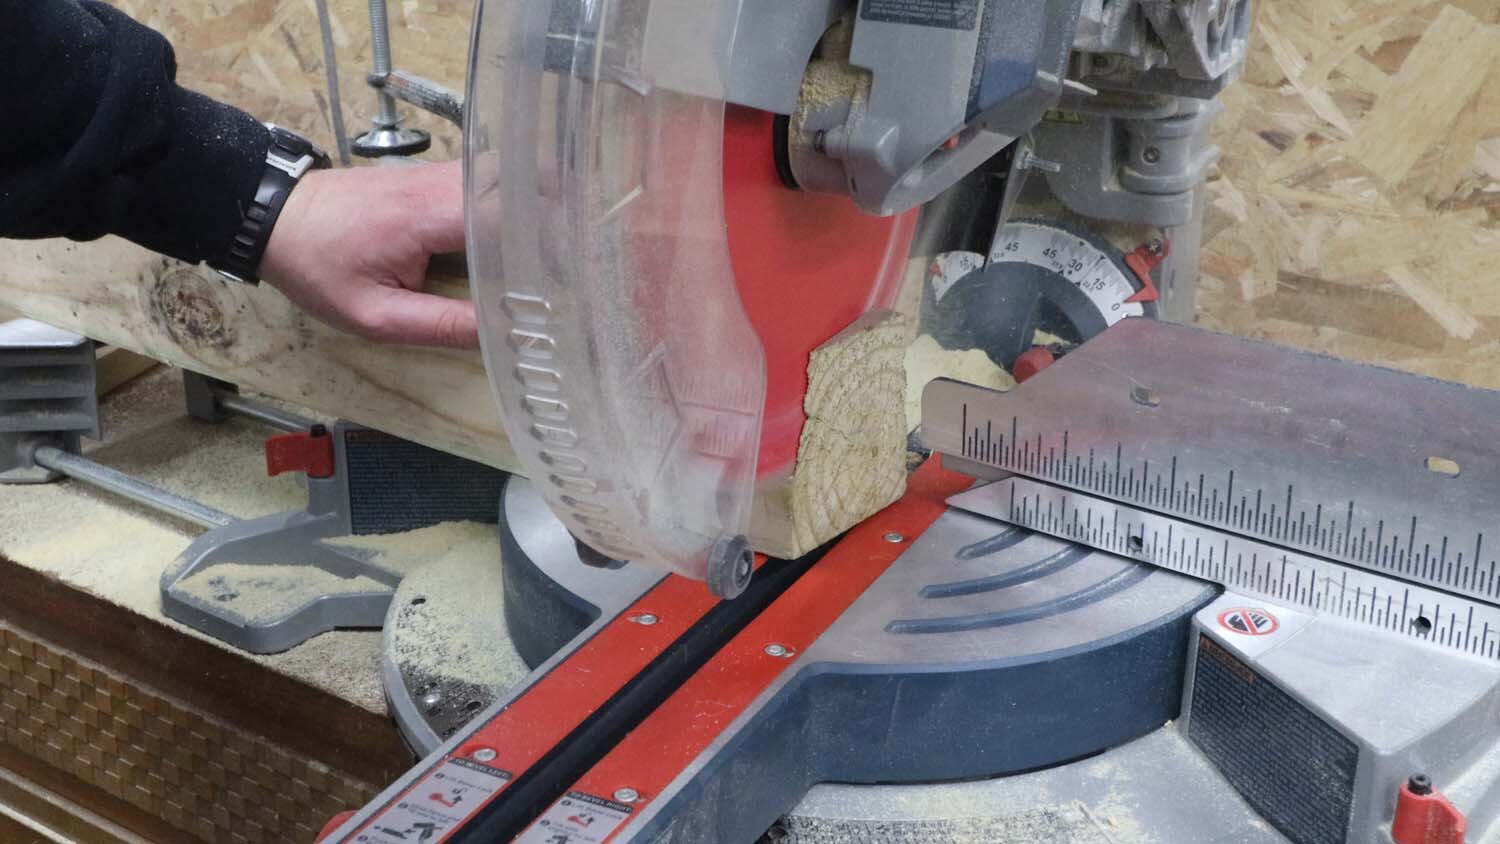
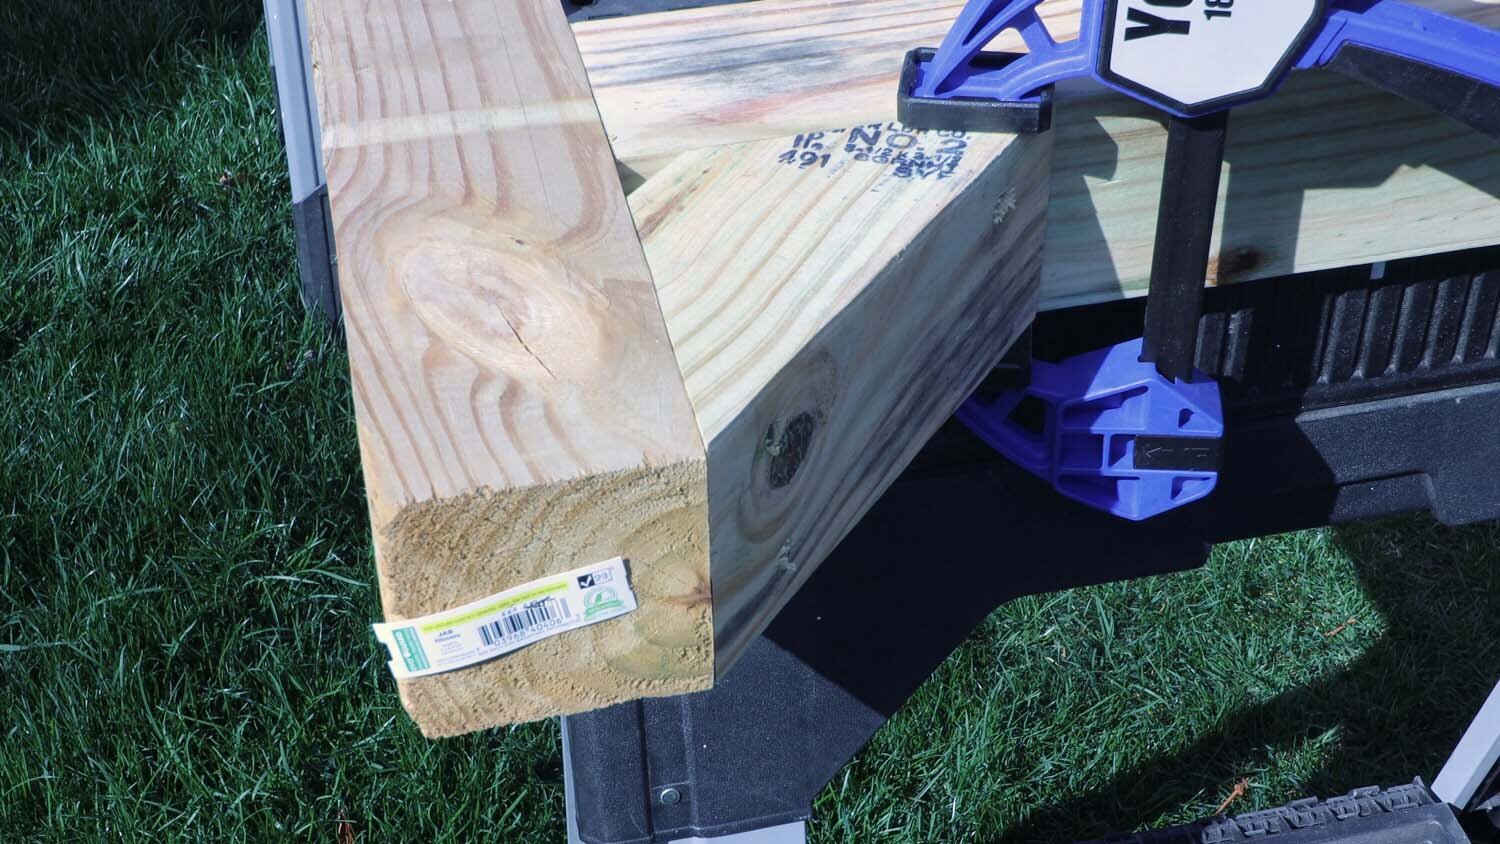
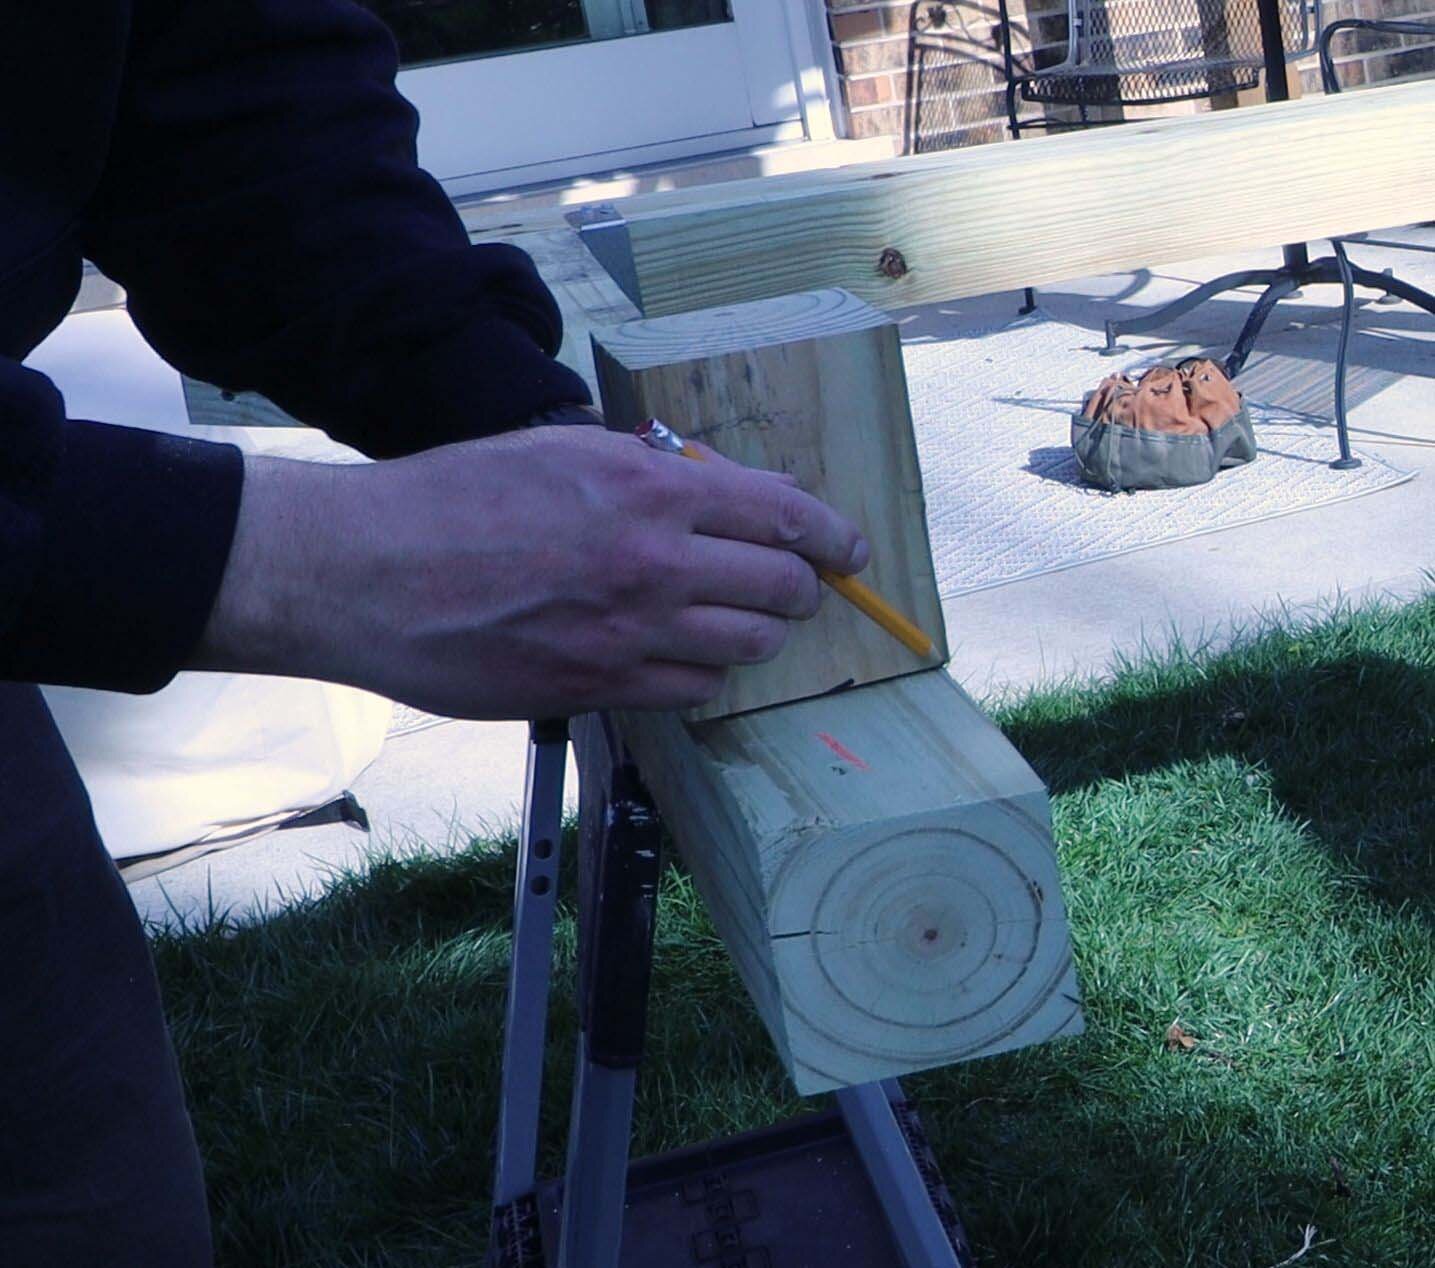
I then cut a 10-degree bevel on the top of the uprights for a bit of visual interest, and so that rain runs off the tops more easily.
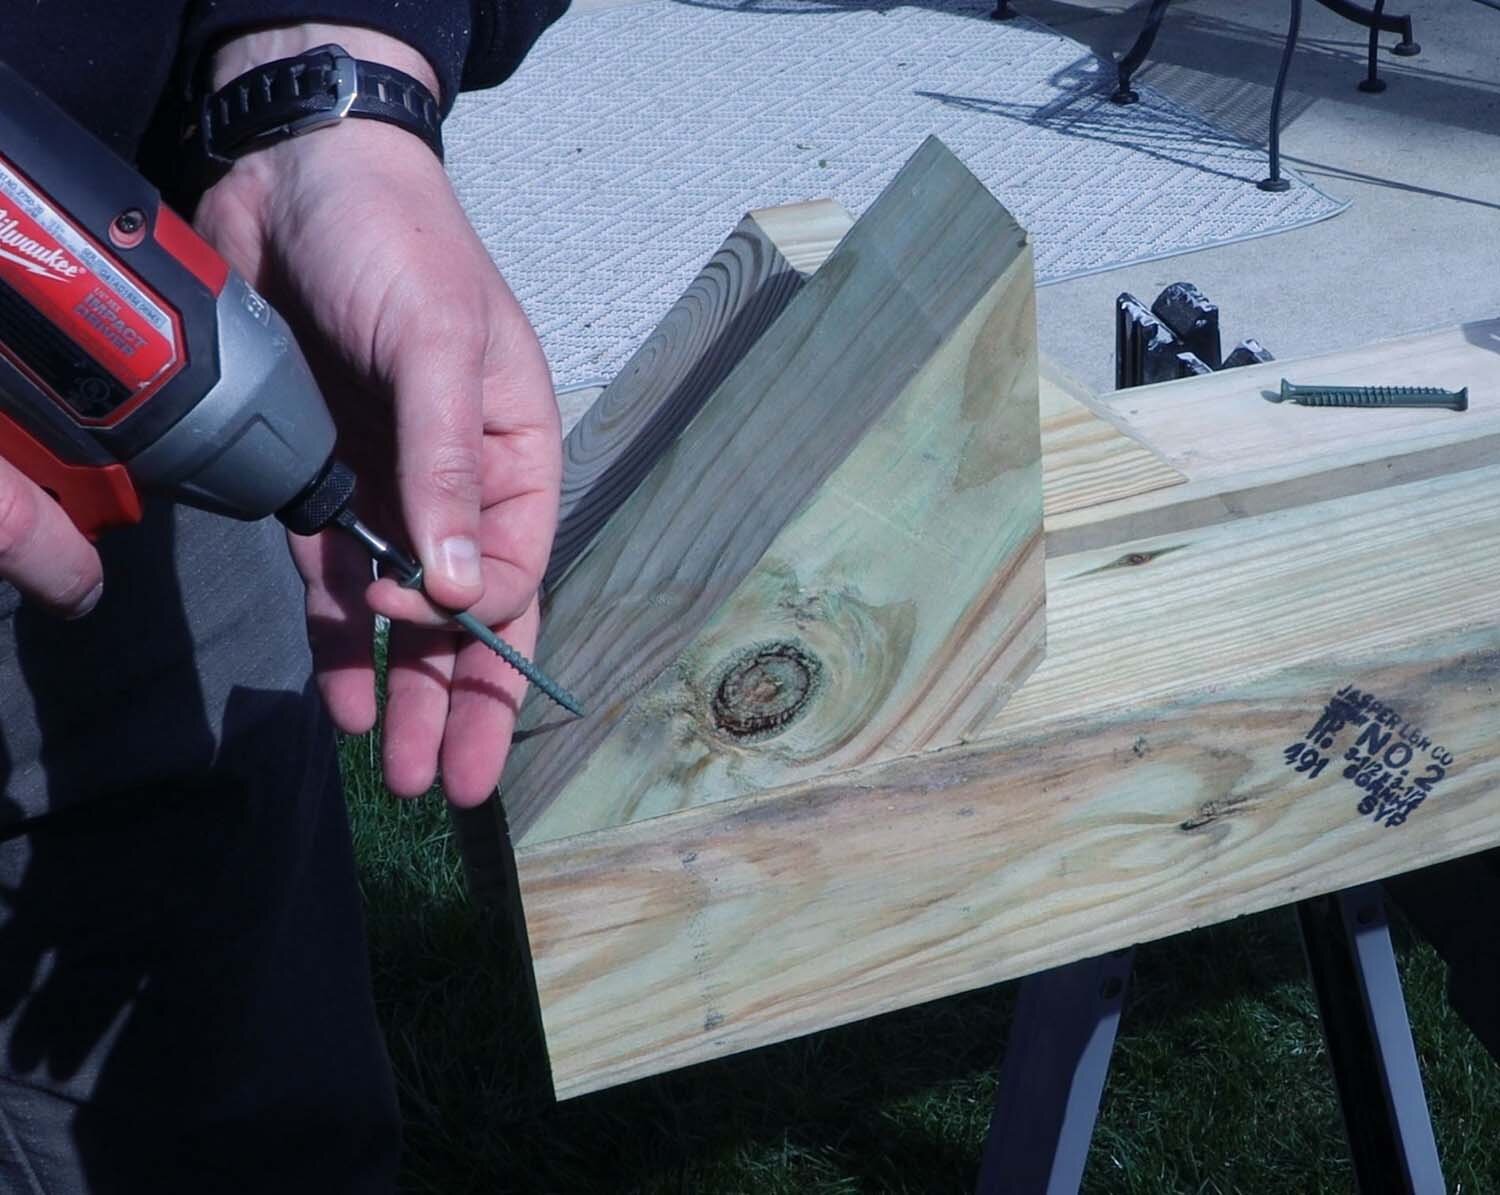
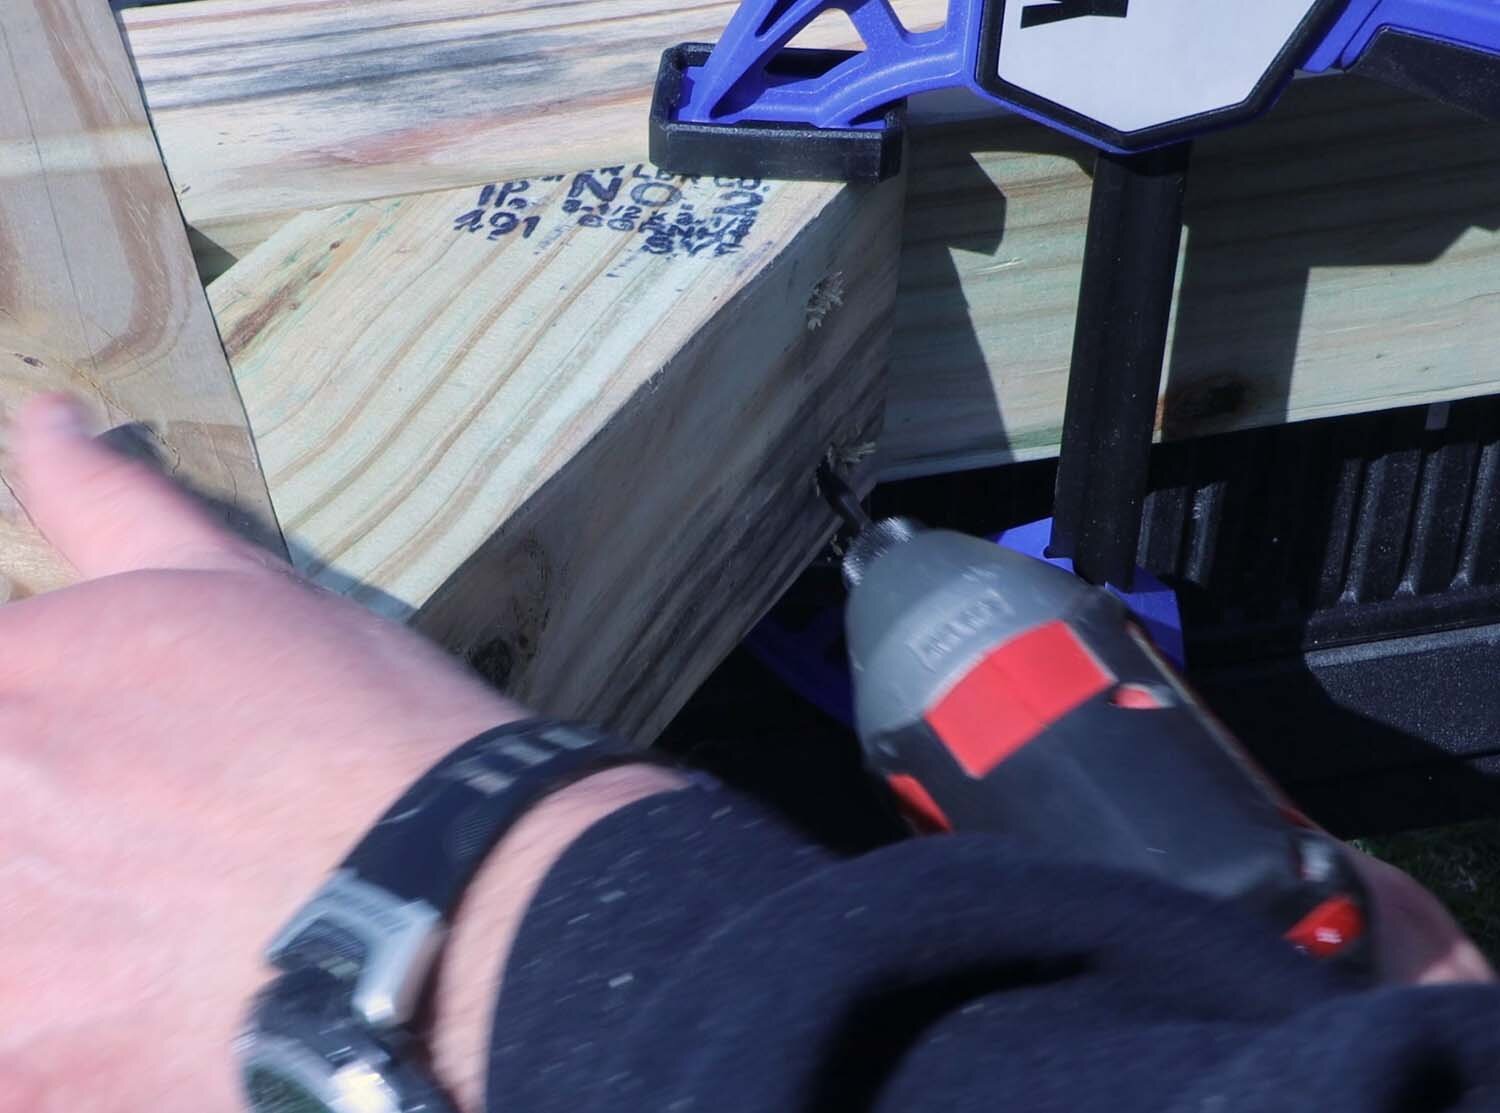
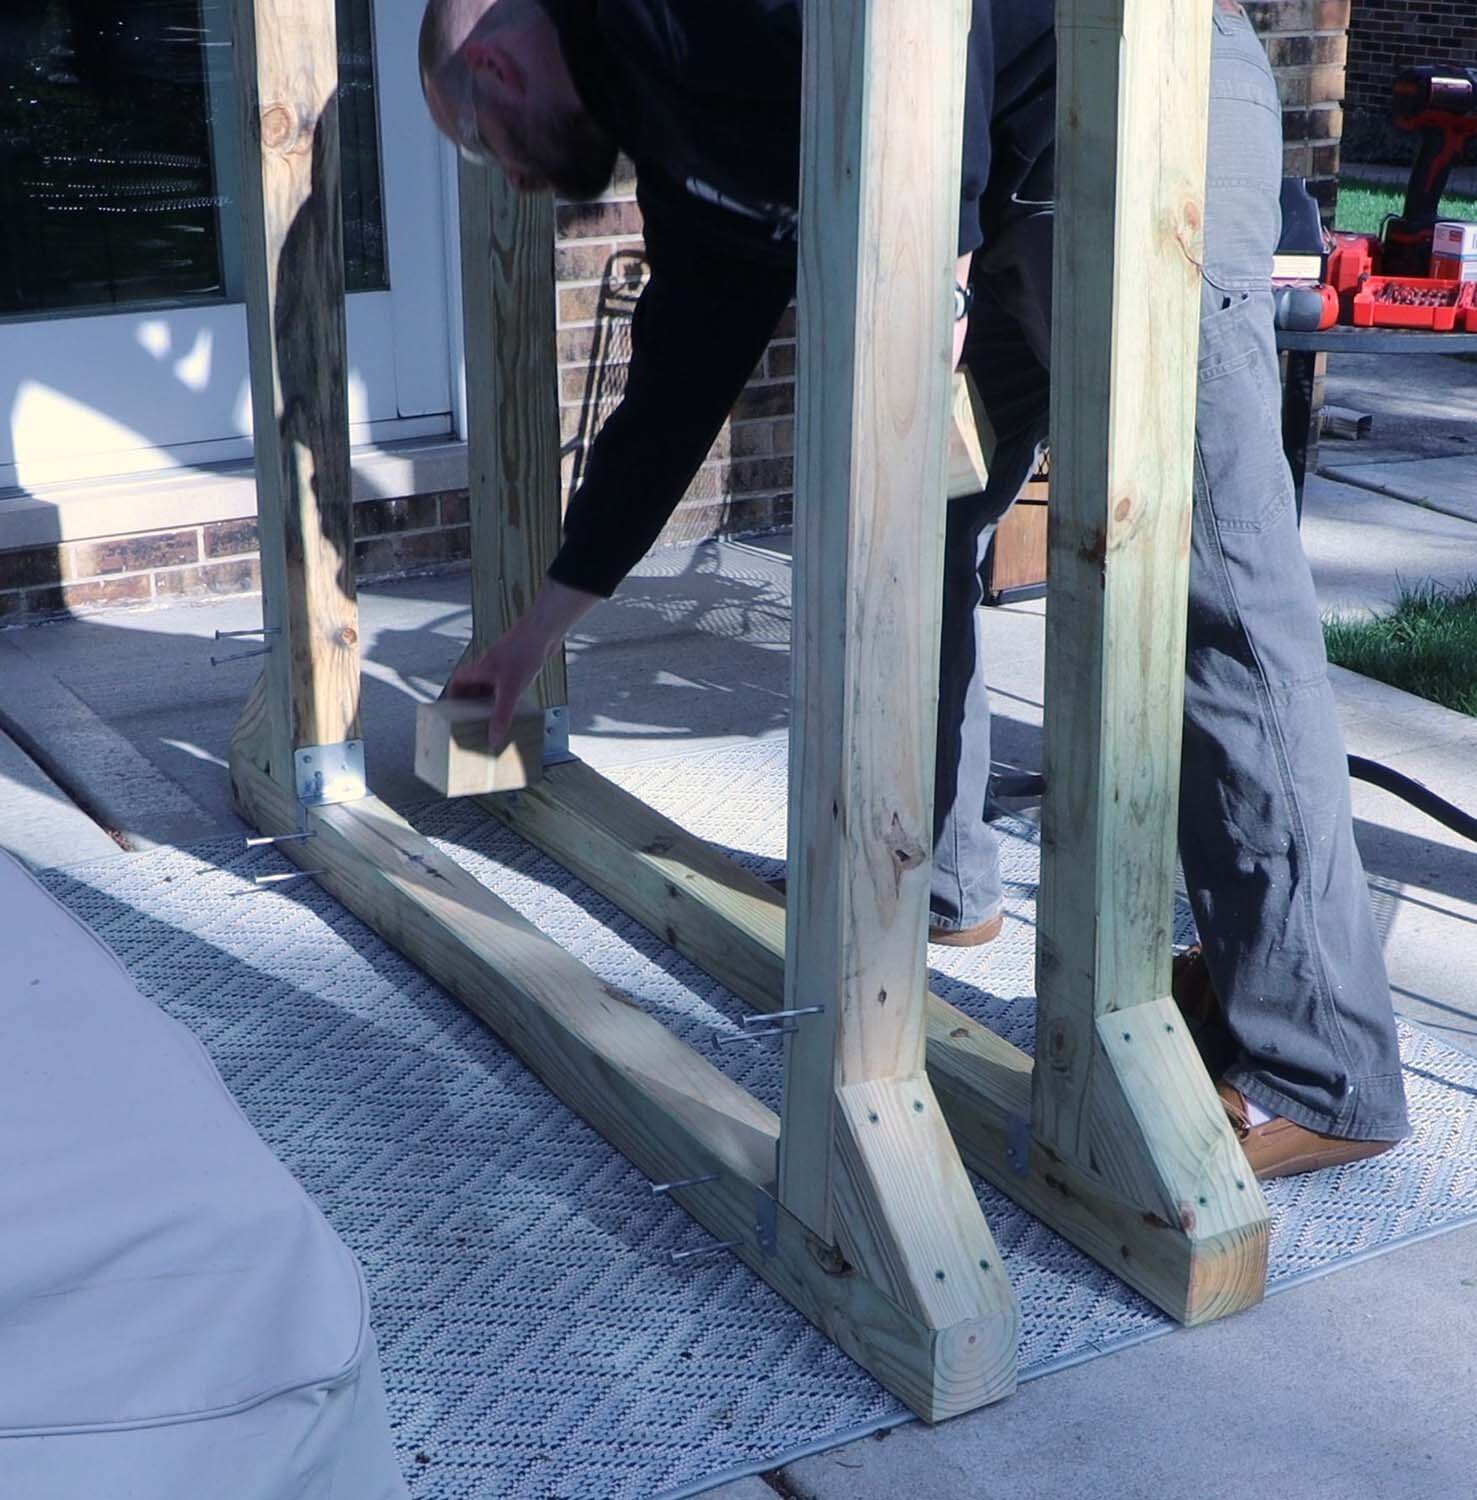
The braces are attached to the sleepers with a couple deck screws. The other end of the brace also attaches to the upright with deck screws.
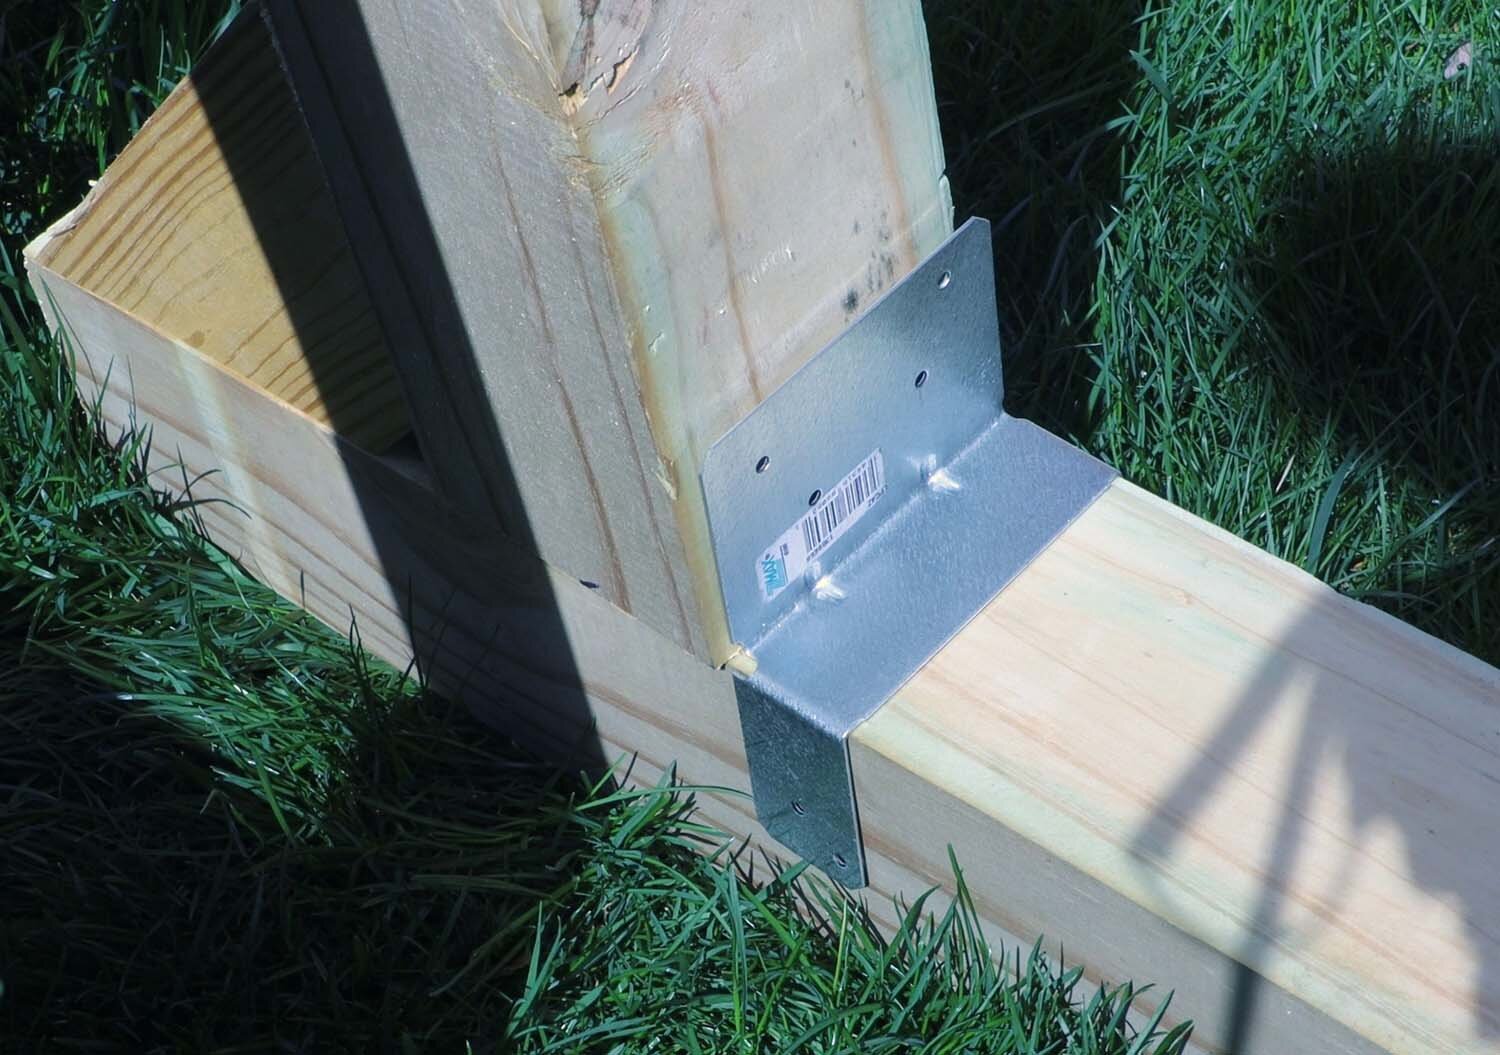
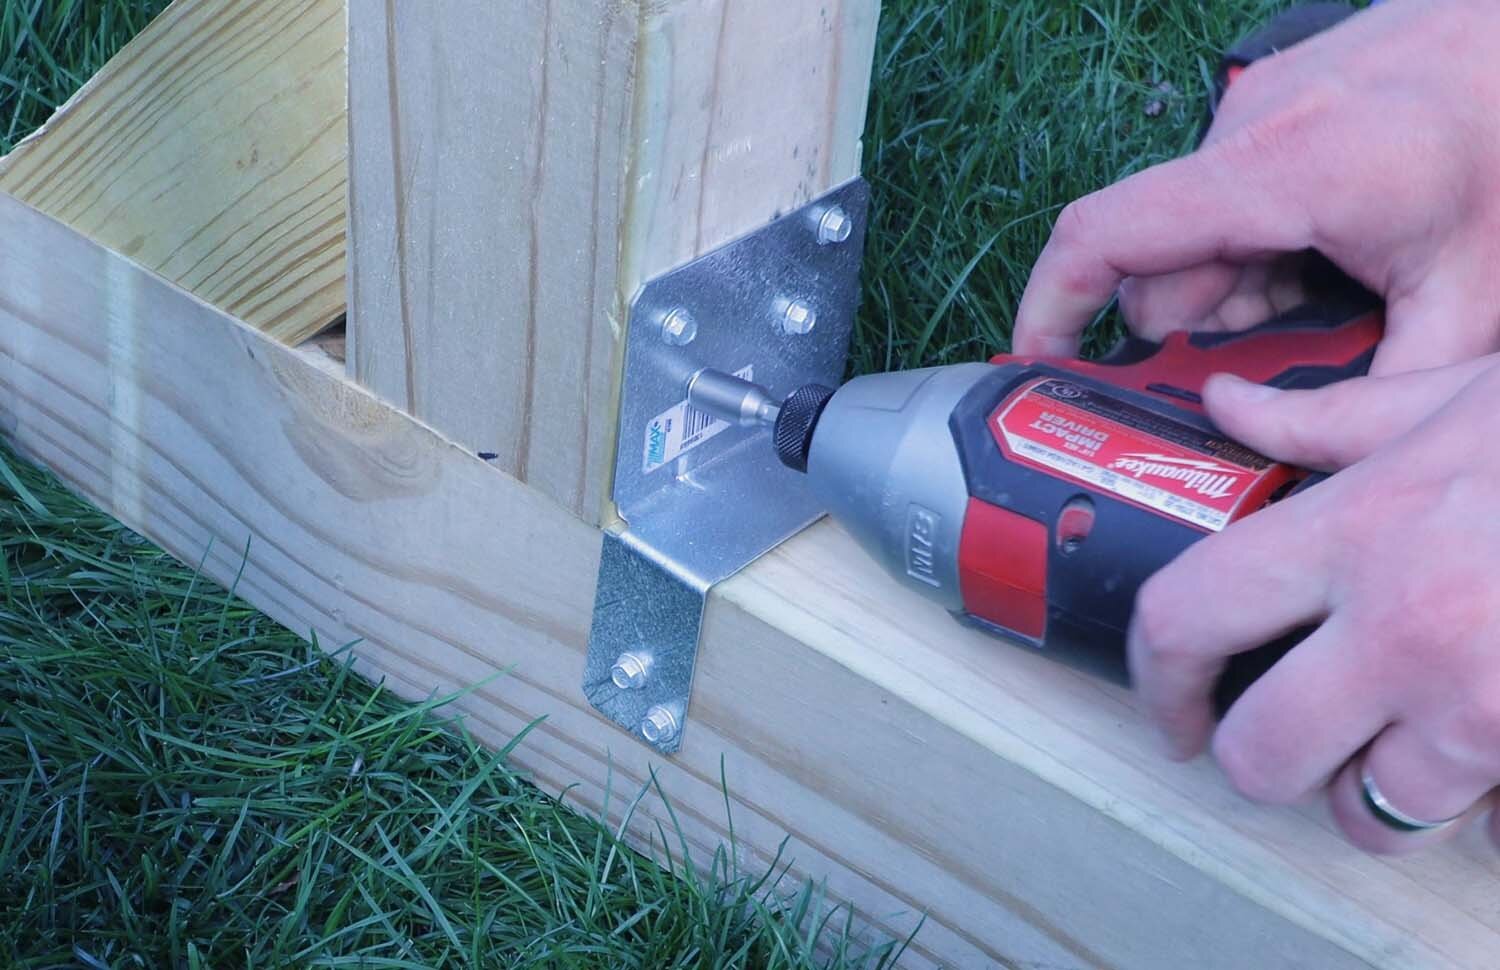
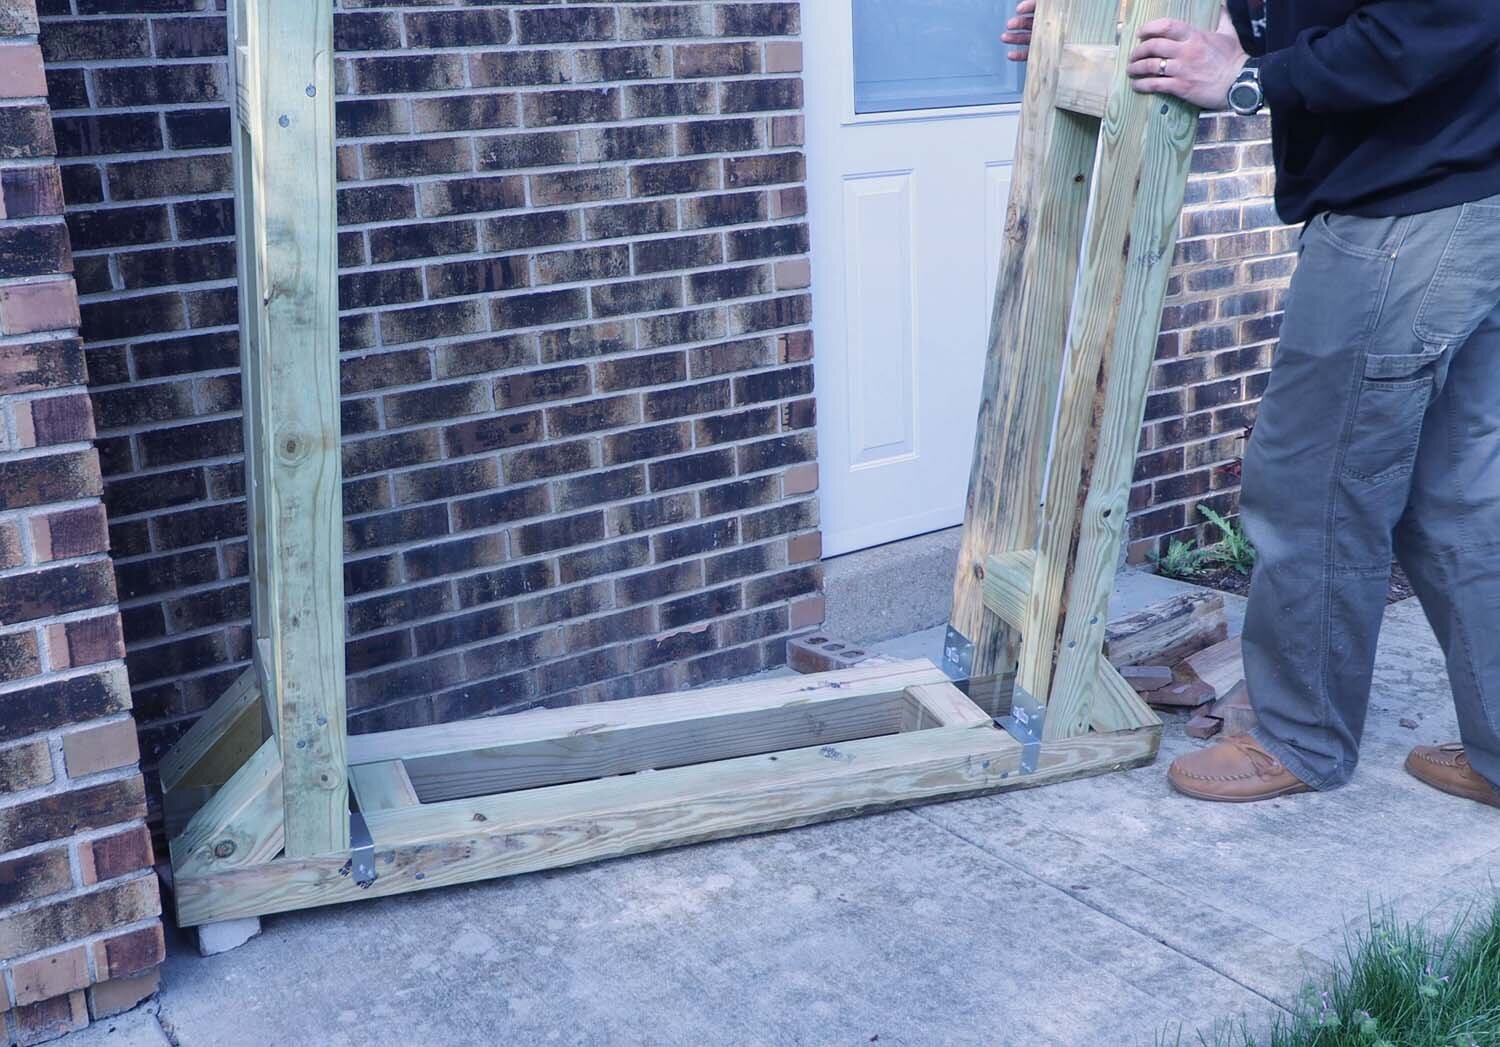
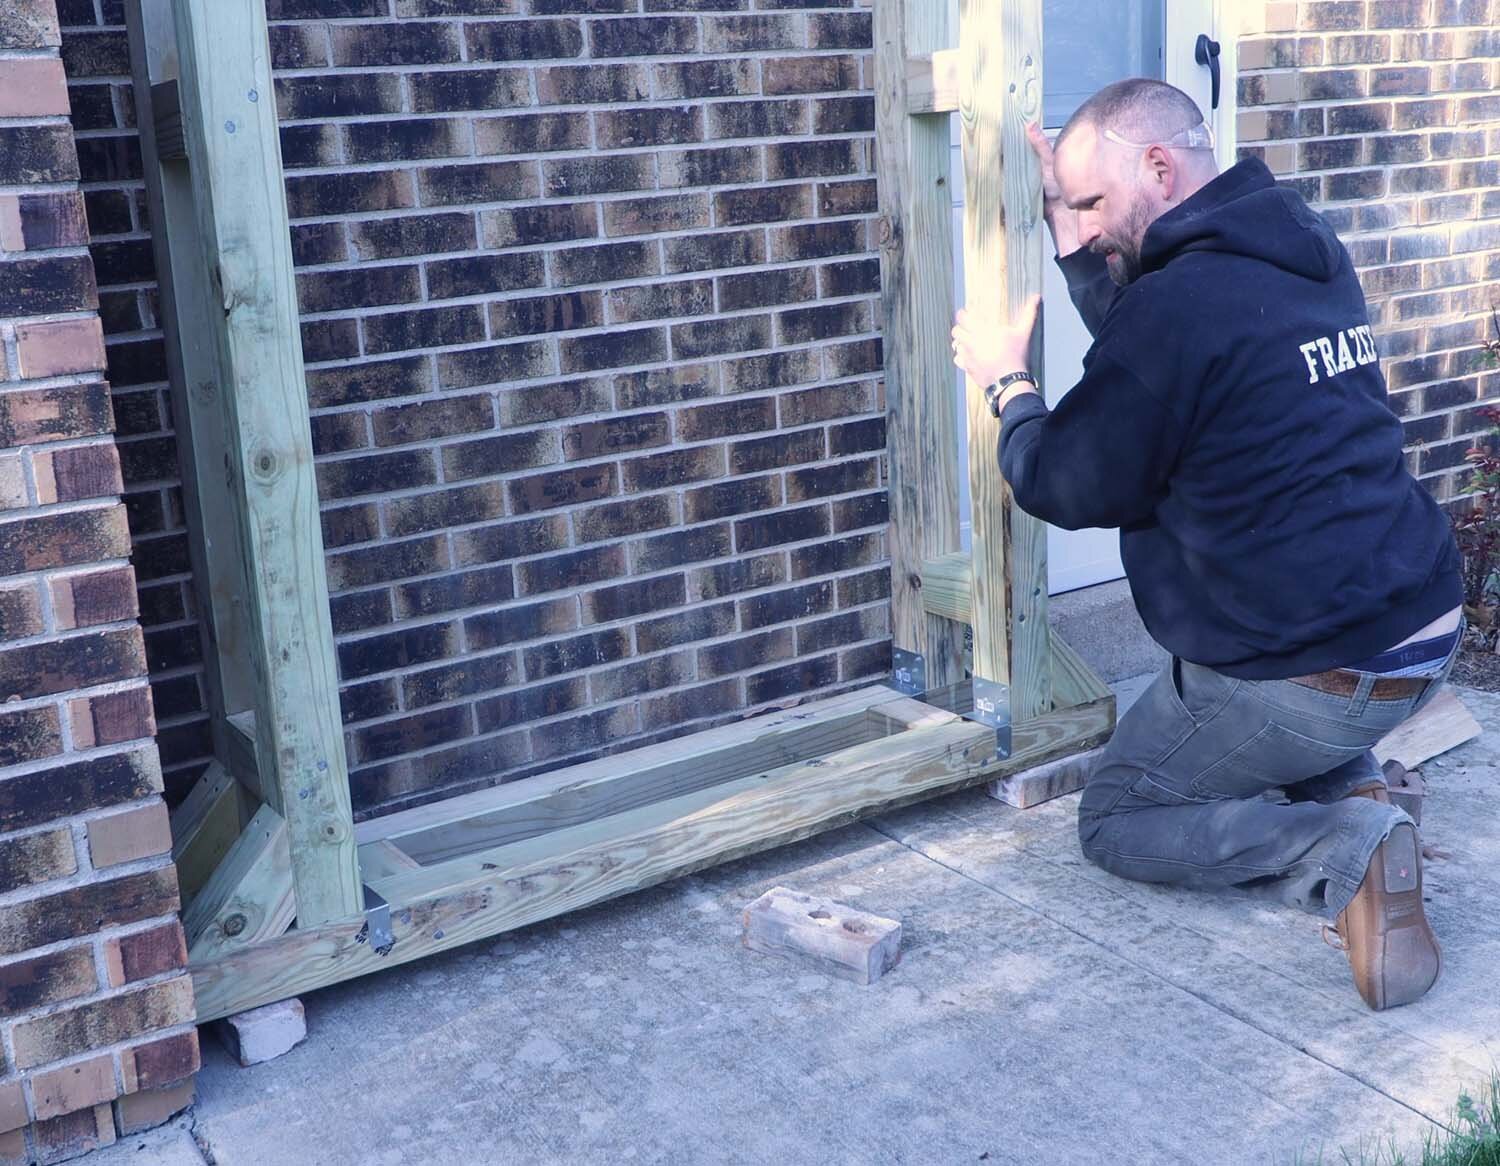
On the inside face of the uprights, I use a post cap connector to hold the upright down to the sleeper. These have a slimmer profile than the 45-degree braces and take up less room where the wood goes.
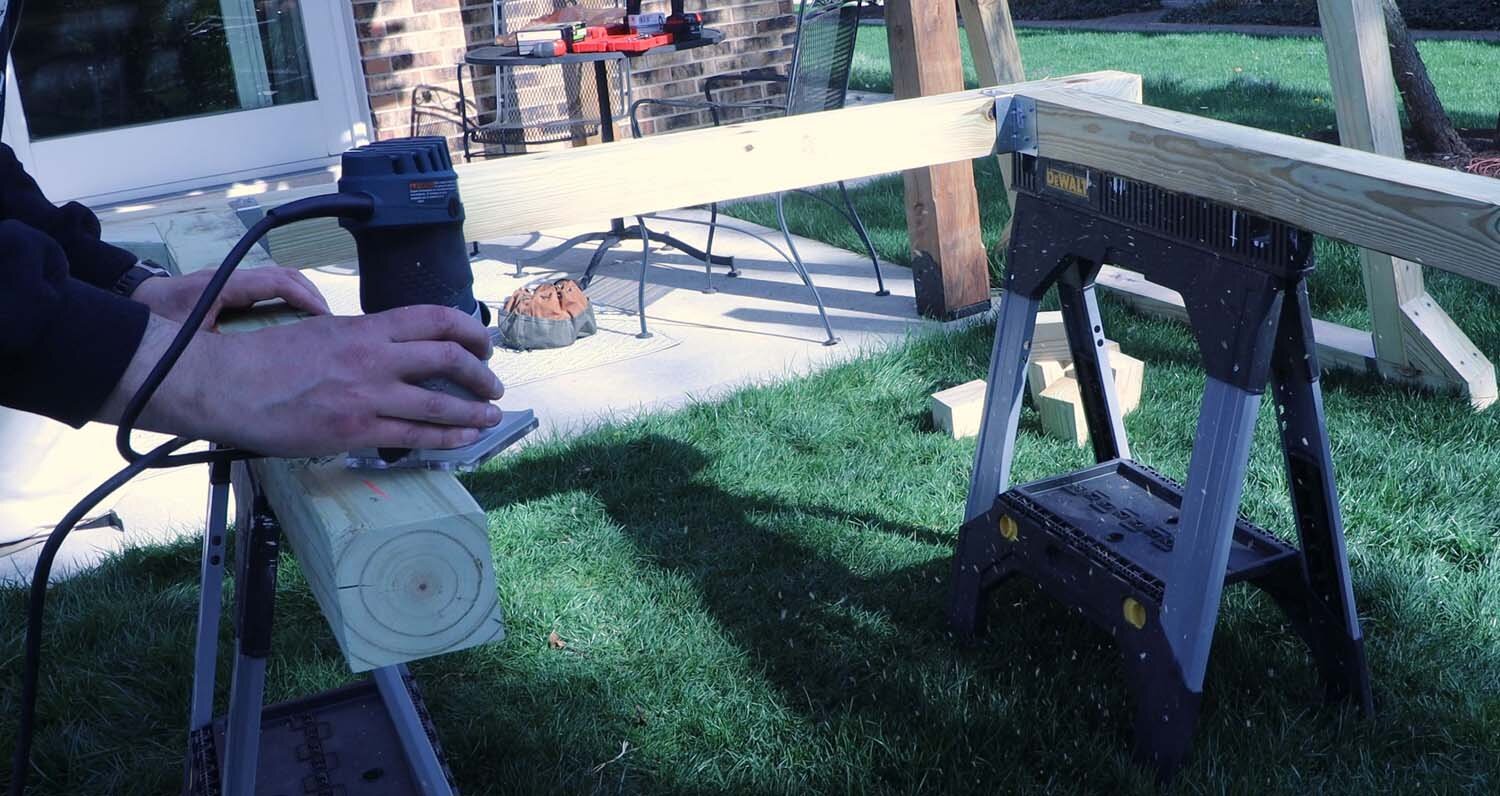
Next I mark out where the spacers go on the assembled frames. This next step is optional, but I run a 45-degree chamfer bit around the frames to soften the corners and make them less likely to splinter.
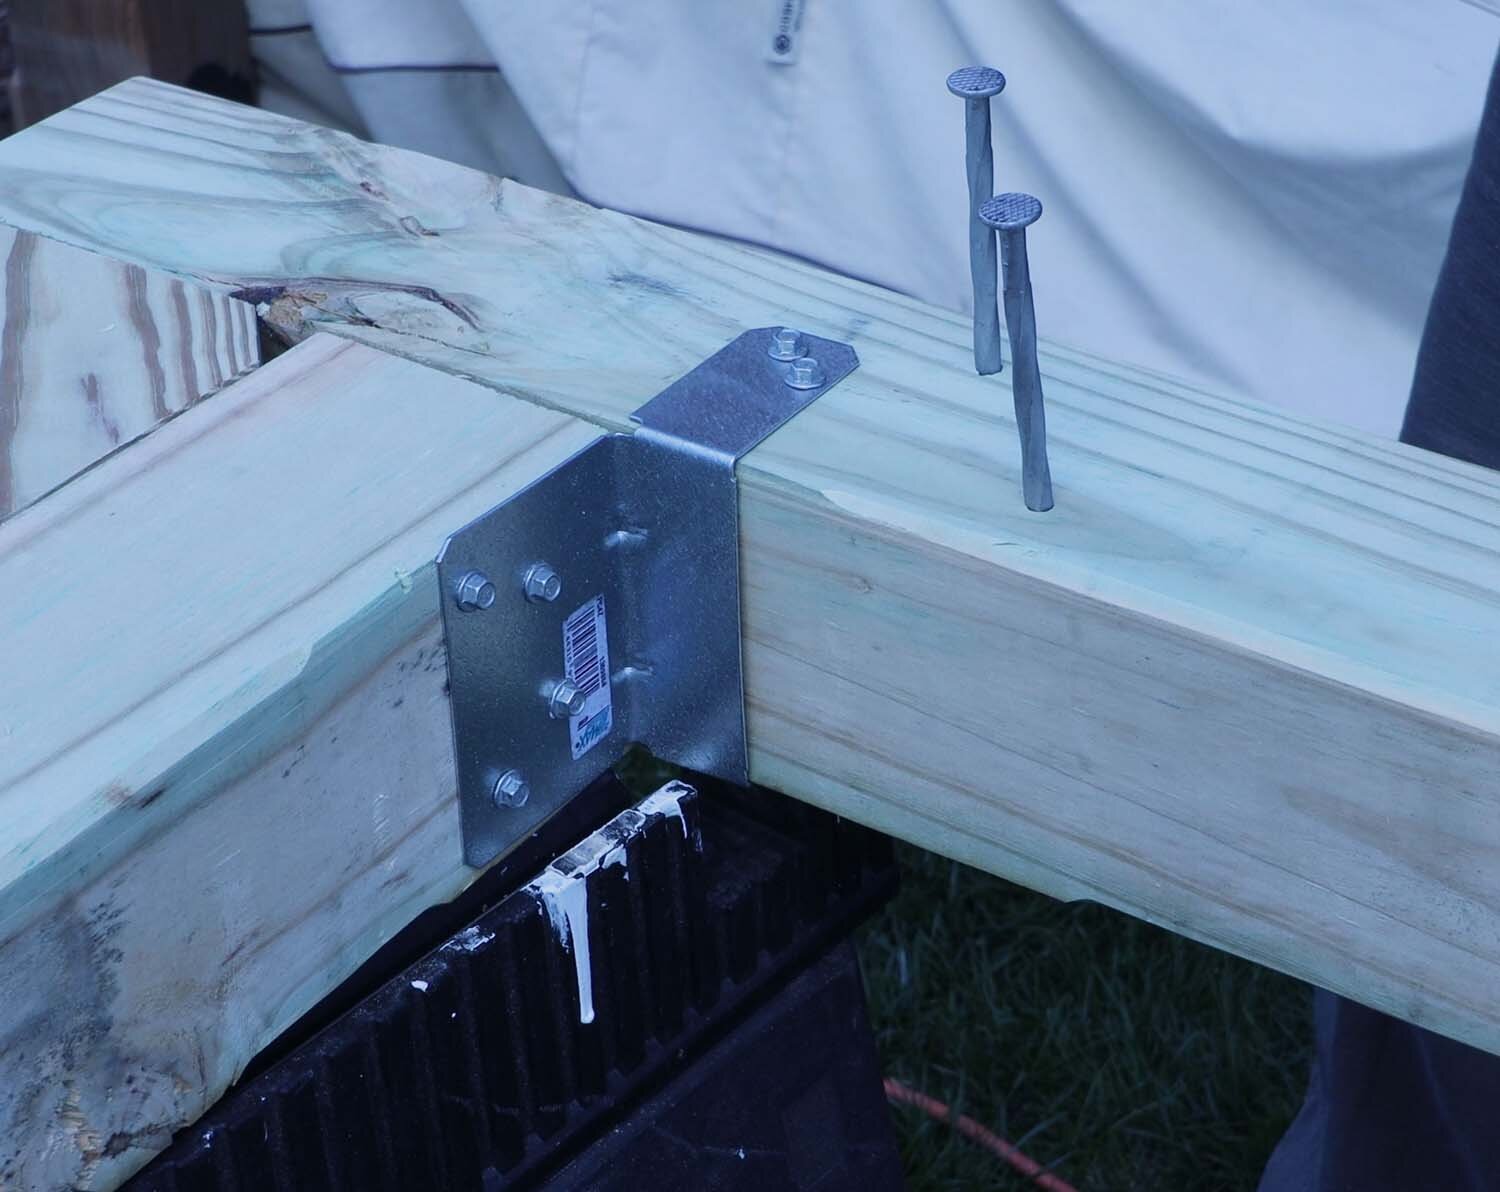
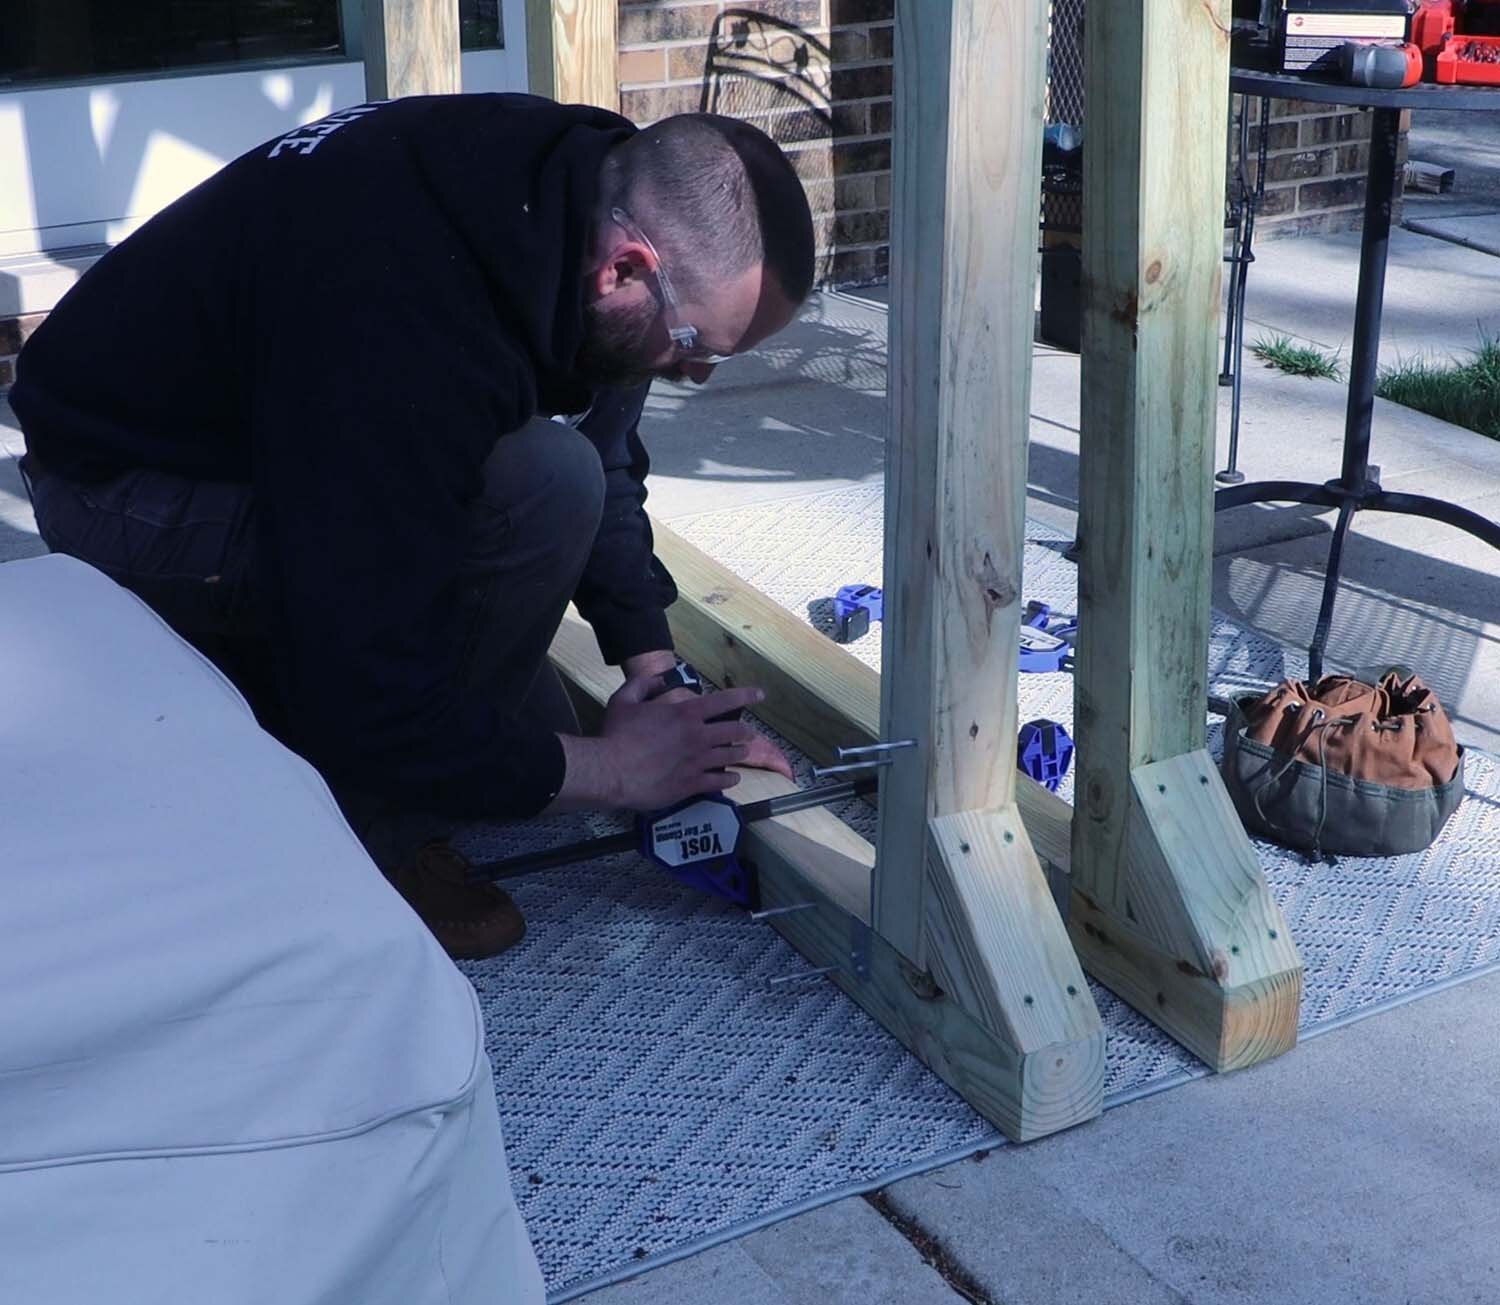
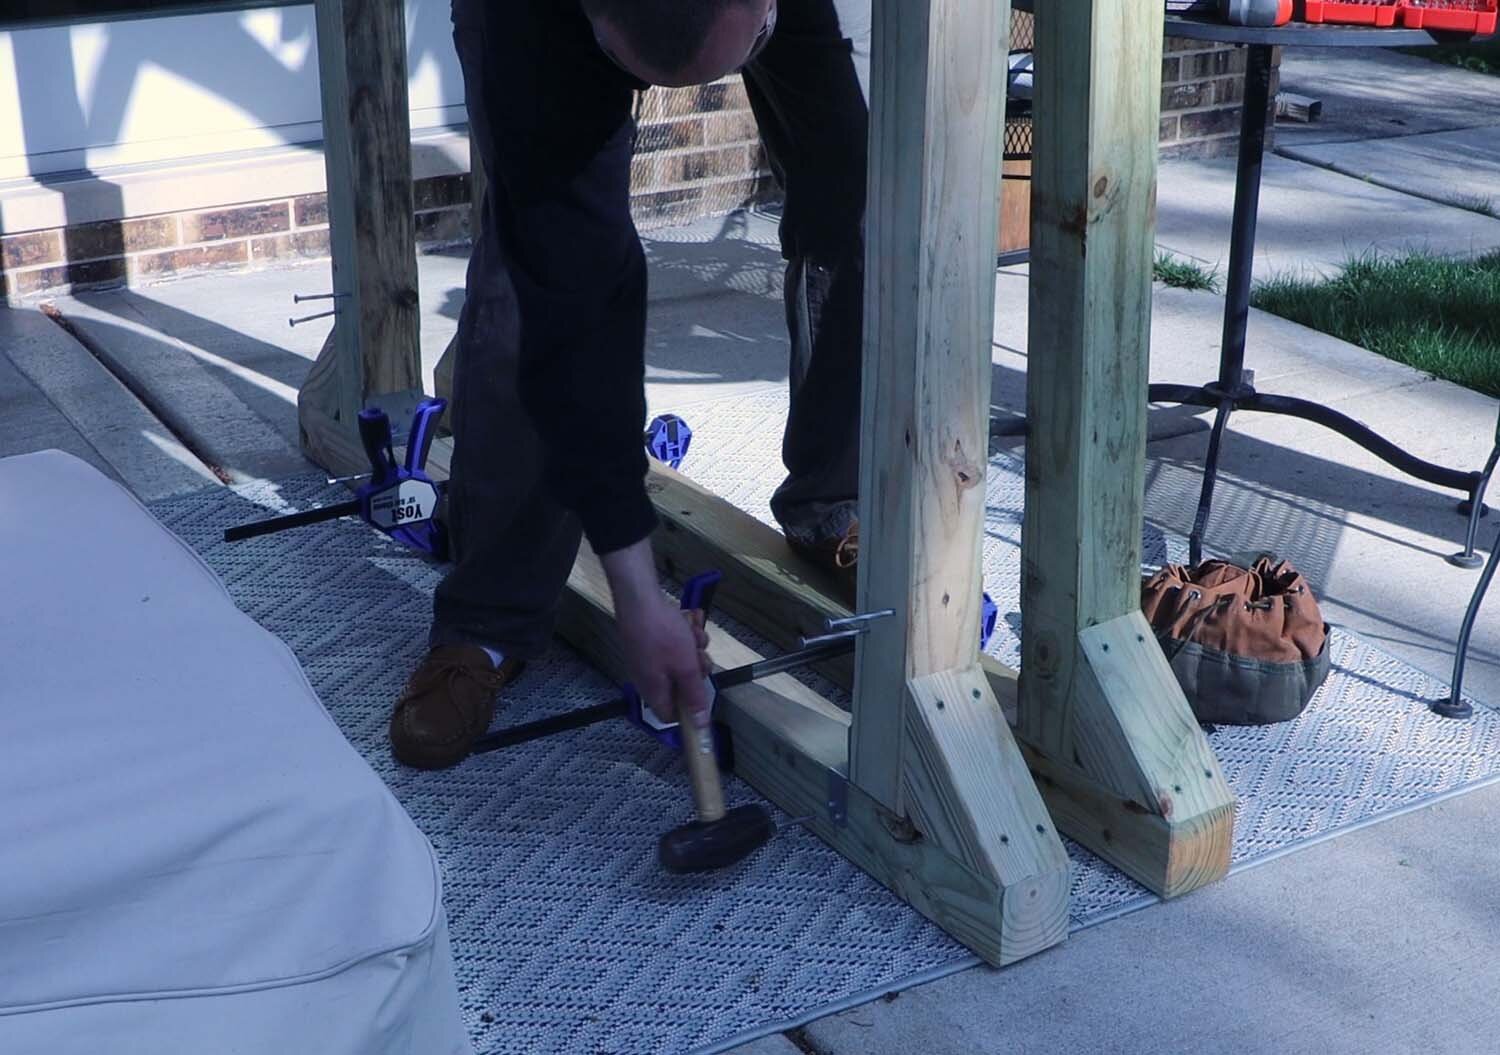
With that done, I drive some 6" long timber ties part way into the frames at the locations of the spacers, in preparation of assembling the entire unit together. I then clamp the two halves together to hold things in place, and drive the timber ties home. I repeat this for each spacer.
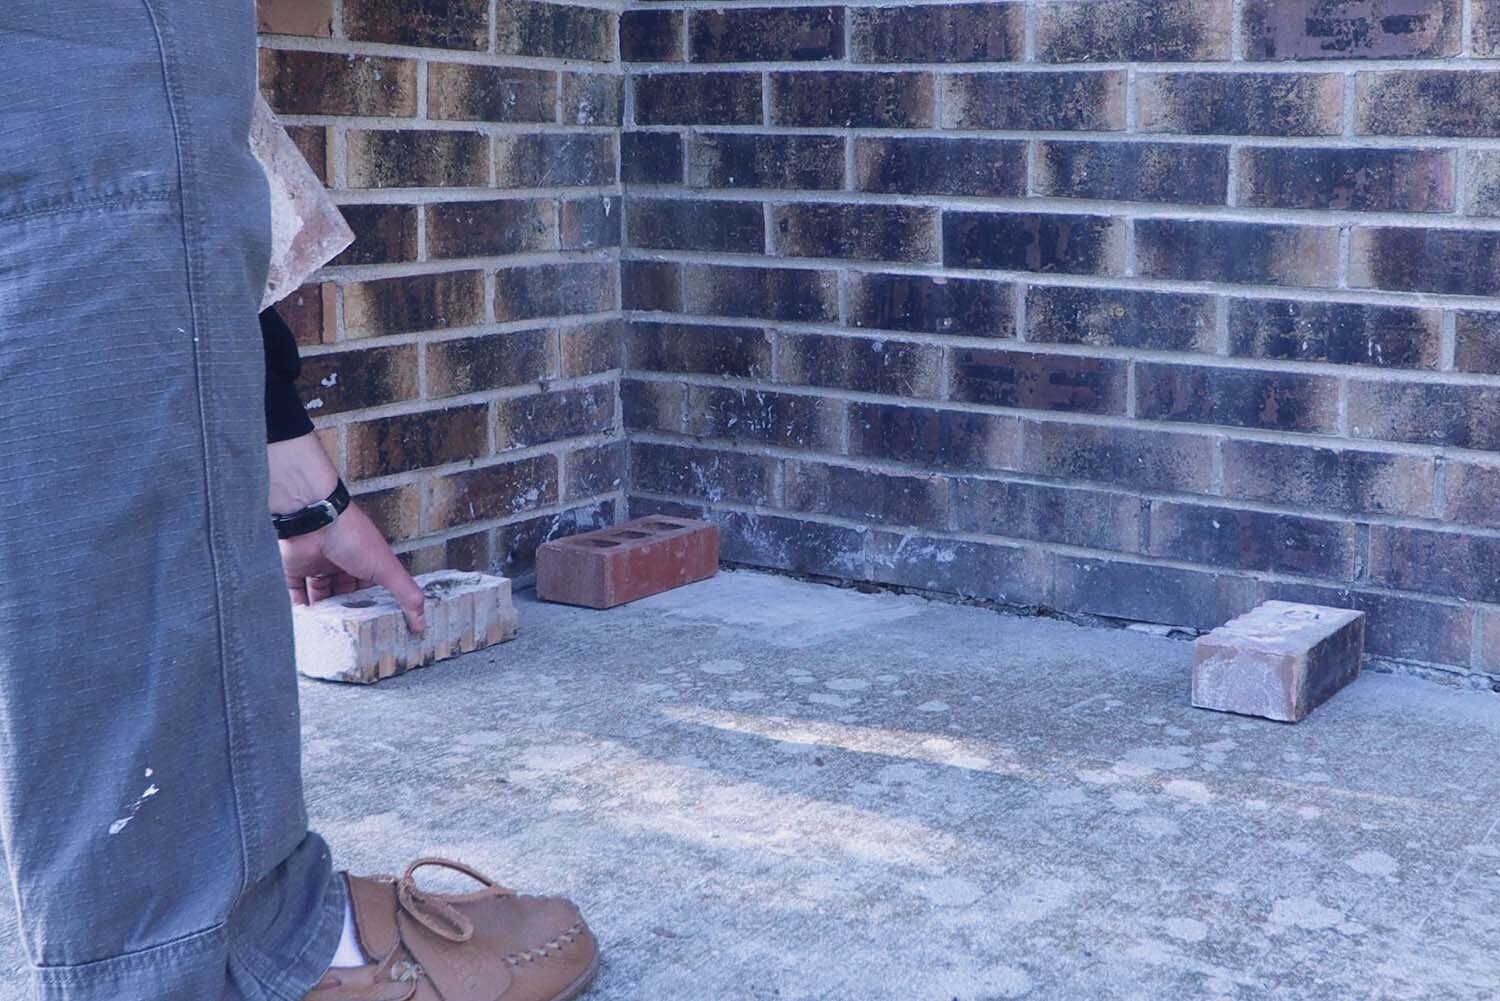
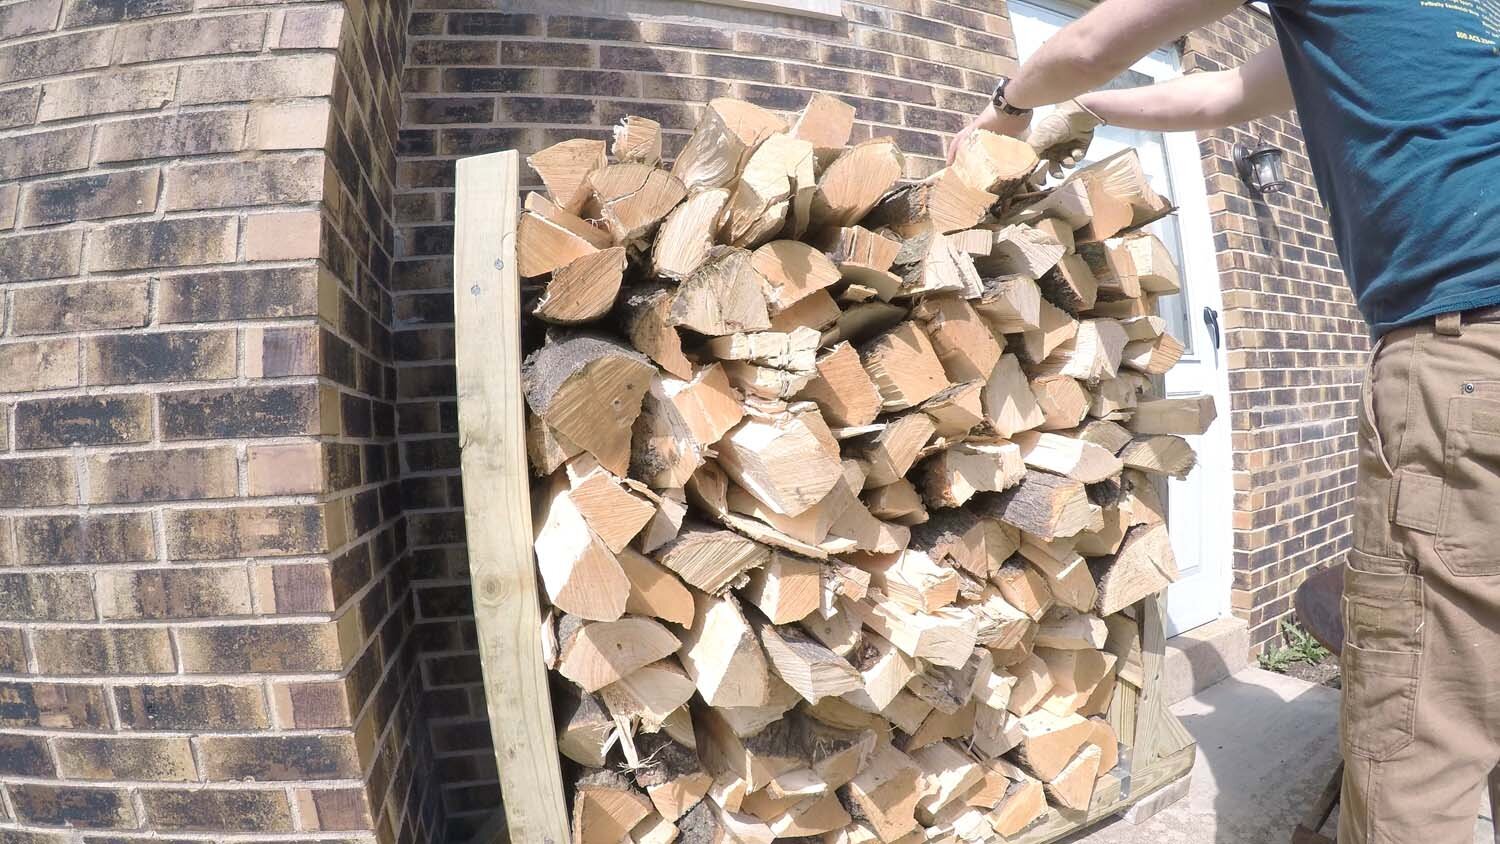
With the firewood rack assembled, I now clear out a space next to my chimney for it to sit. To provide for better airflow, and to help keep the sleepers from rotting out, I use some old bricks to prop it off the concrete. You'll want to maintain some space at the back of the rack so that air can circulate behind the firewood pile and speed drying.
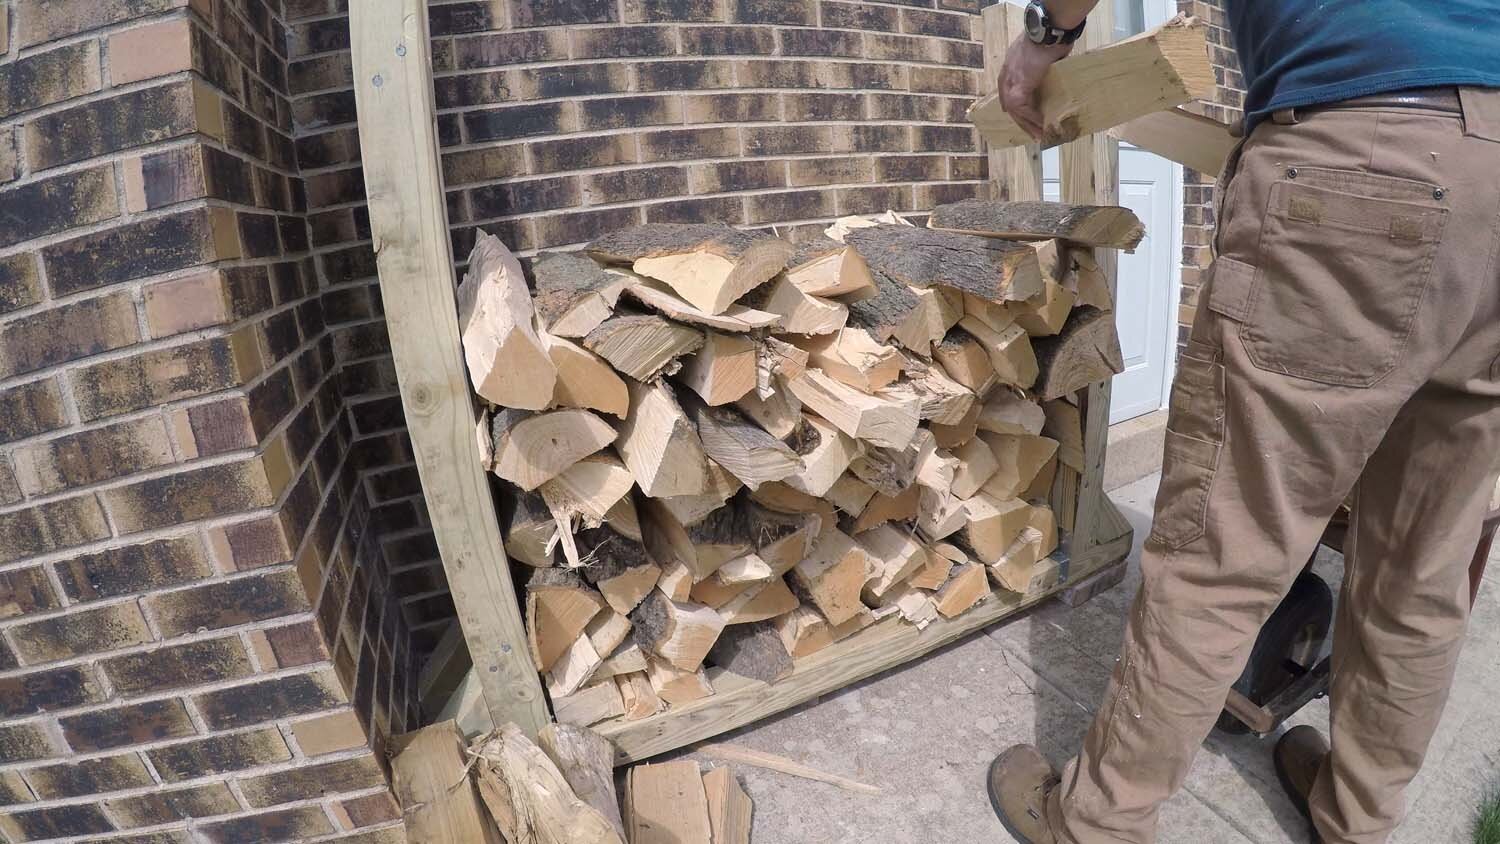
With the rack in place, I can get to bucking up and splitting the wood. It's been a while since I've split firewood, and I've forgotten what a workout it is!
If you made it this far, thanks for looking!