
DIY Garage Hand Rail for Elderly Relative
My grandmother-in-law has been having trouble getting in and out of the garage, so I was asked to install some hand rails so she had an easier time with the stairs. I made these using construction lumber and components commonly available at the home center, and finished it with a paint-grade poplar hand rail.
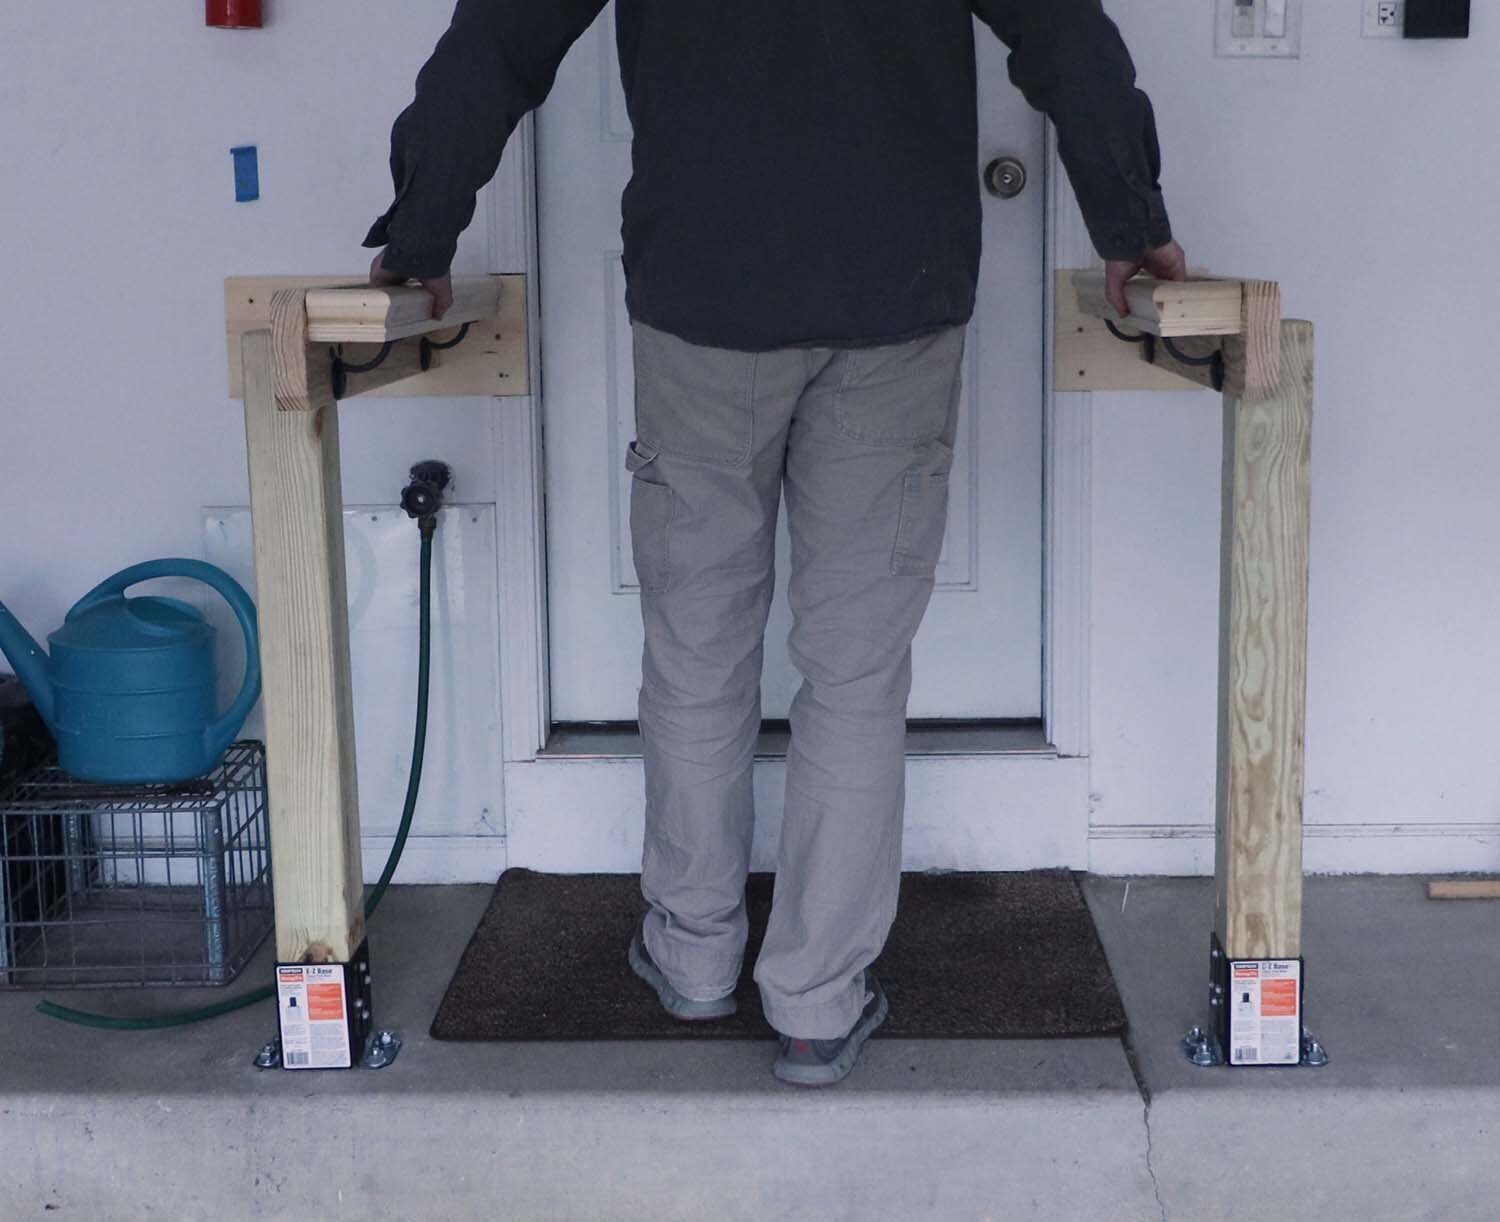
The Americans with Disabilities Act of 1990 mandates that hand rails be 34" to 38" from the walking surface, so I'm shooting for 38" to make it easier to grab. While I doubt that this hand rail meets all the ADA requirements, this is a private residence, and in-use testing shows that it'll be plenty sturdy for the use it will see. It can always be cut down when the house is sold if the inspector doesn't like it.
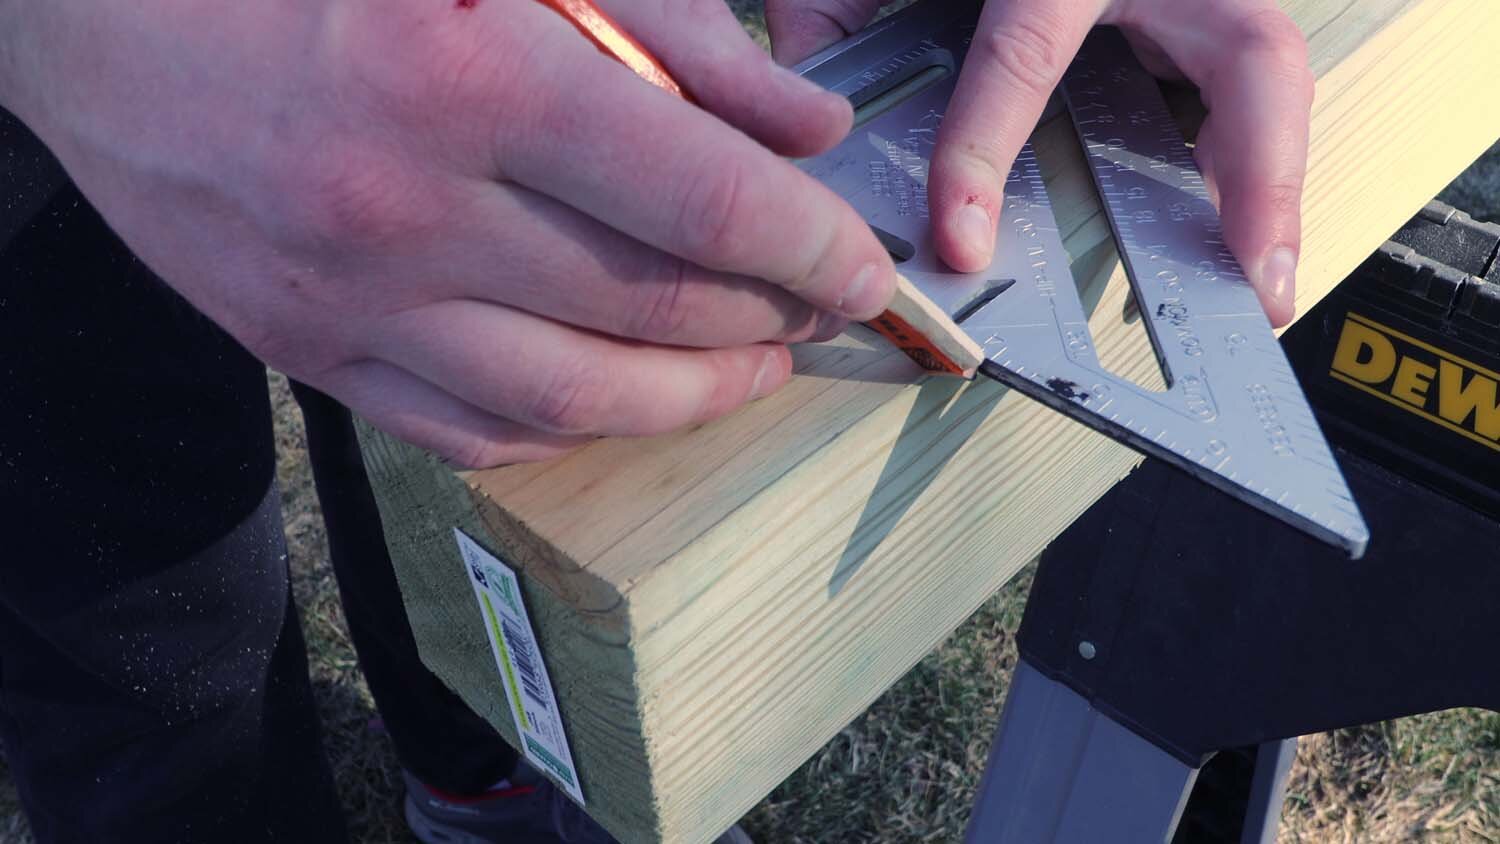
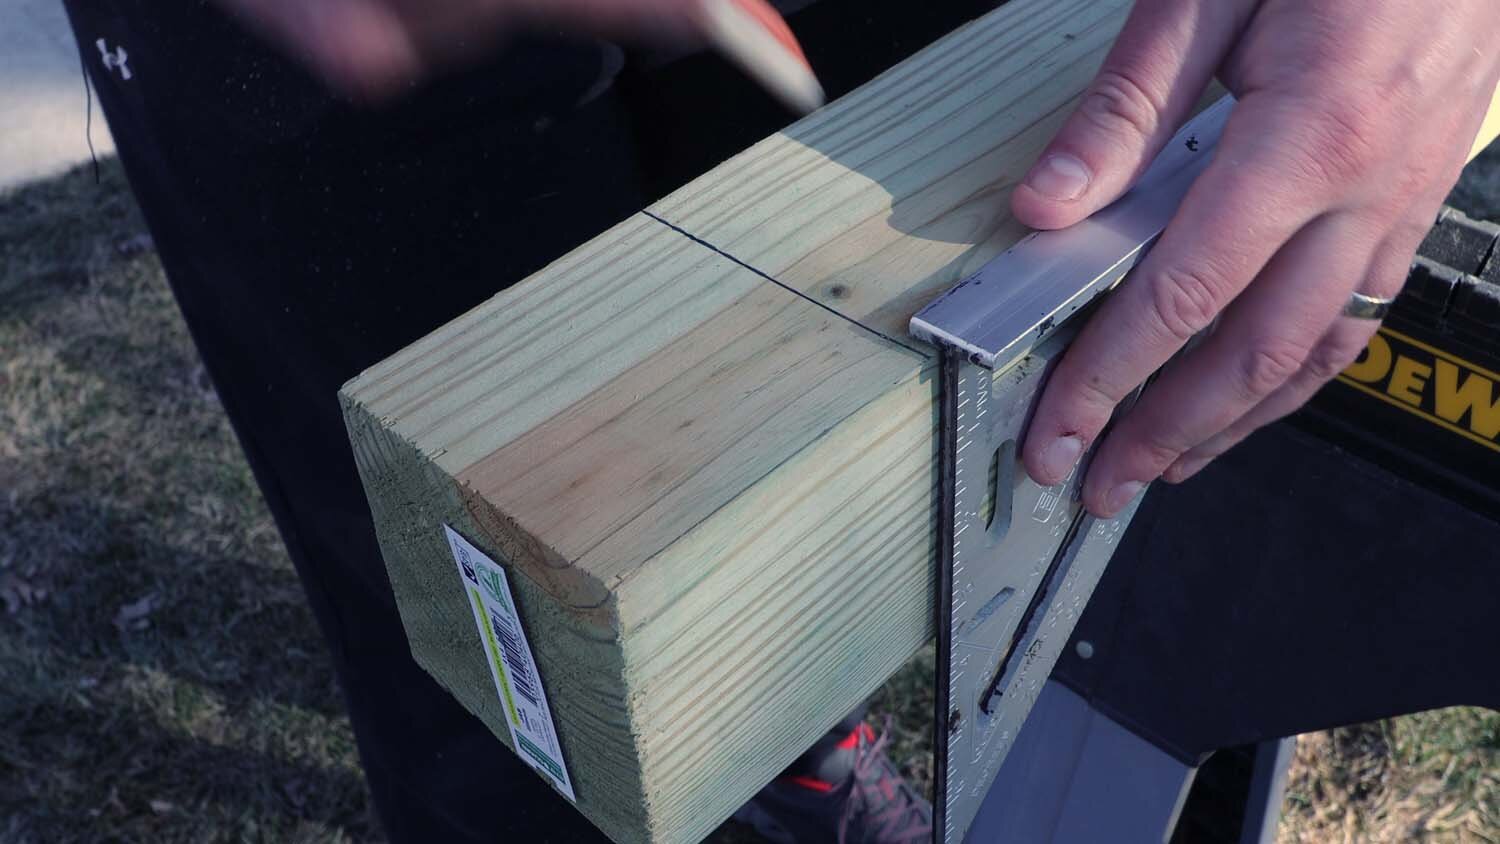
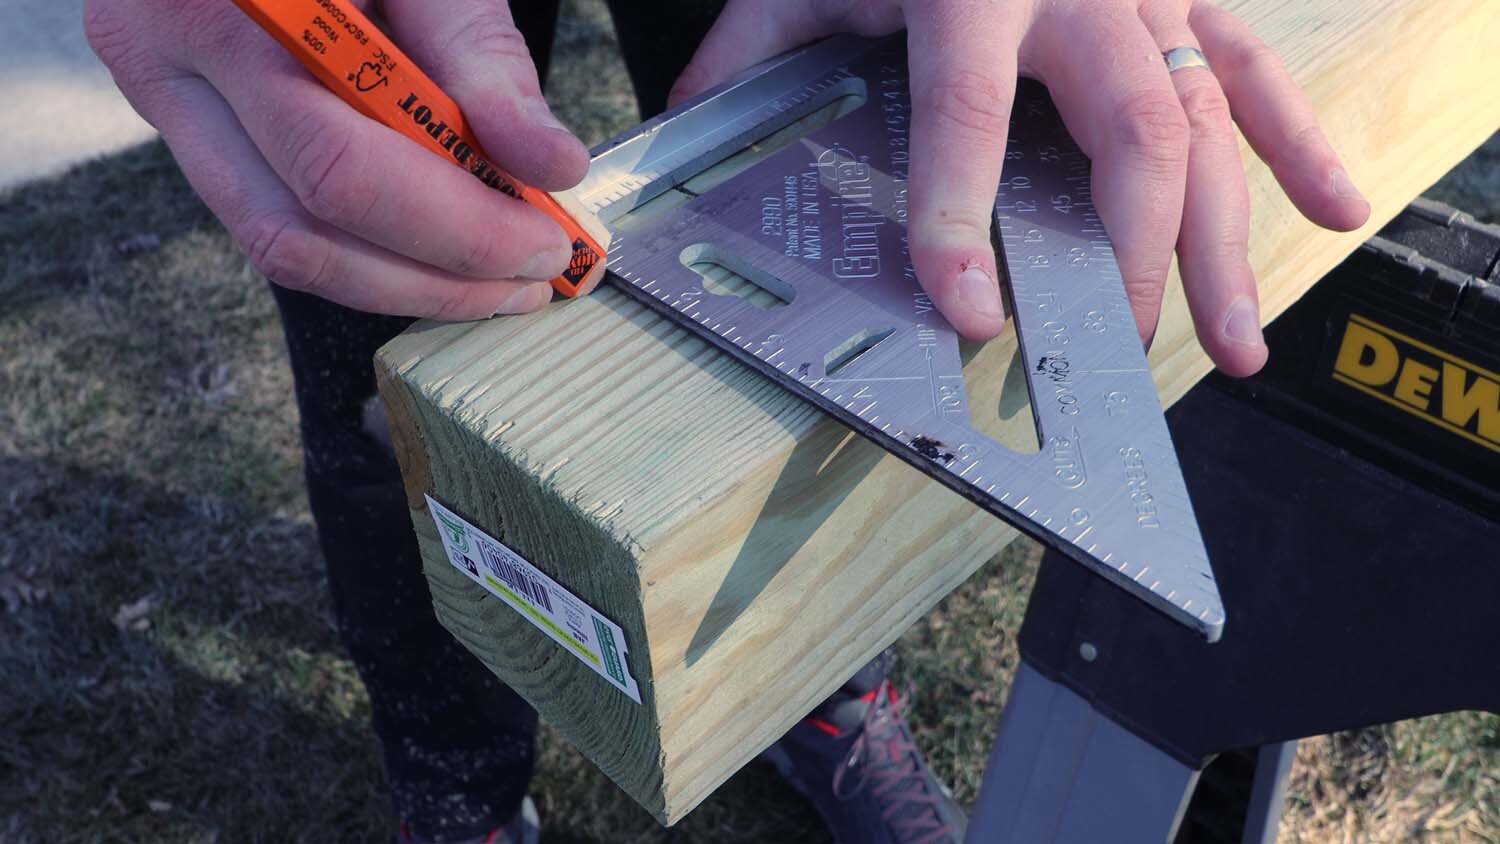
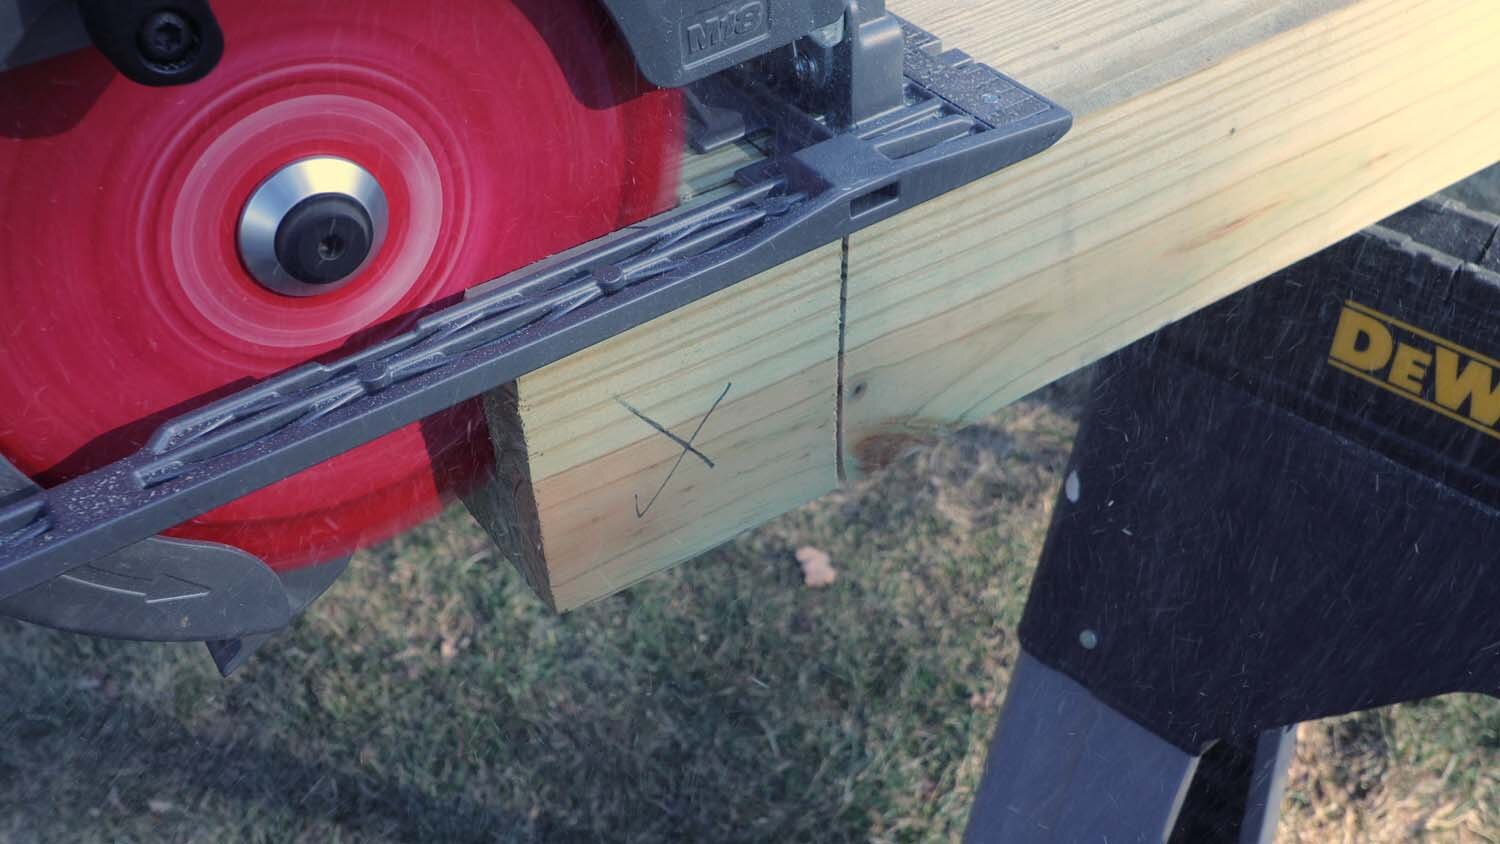
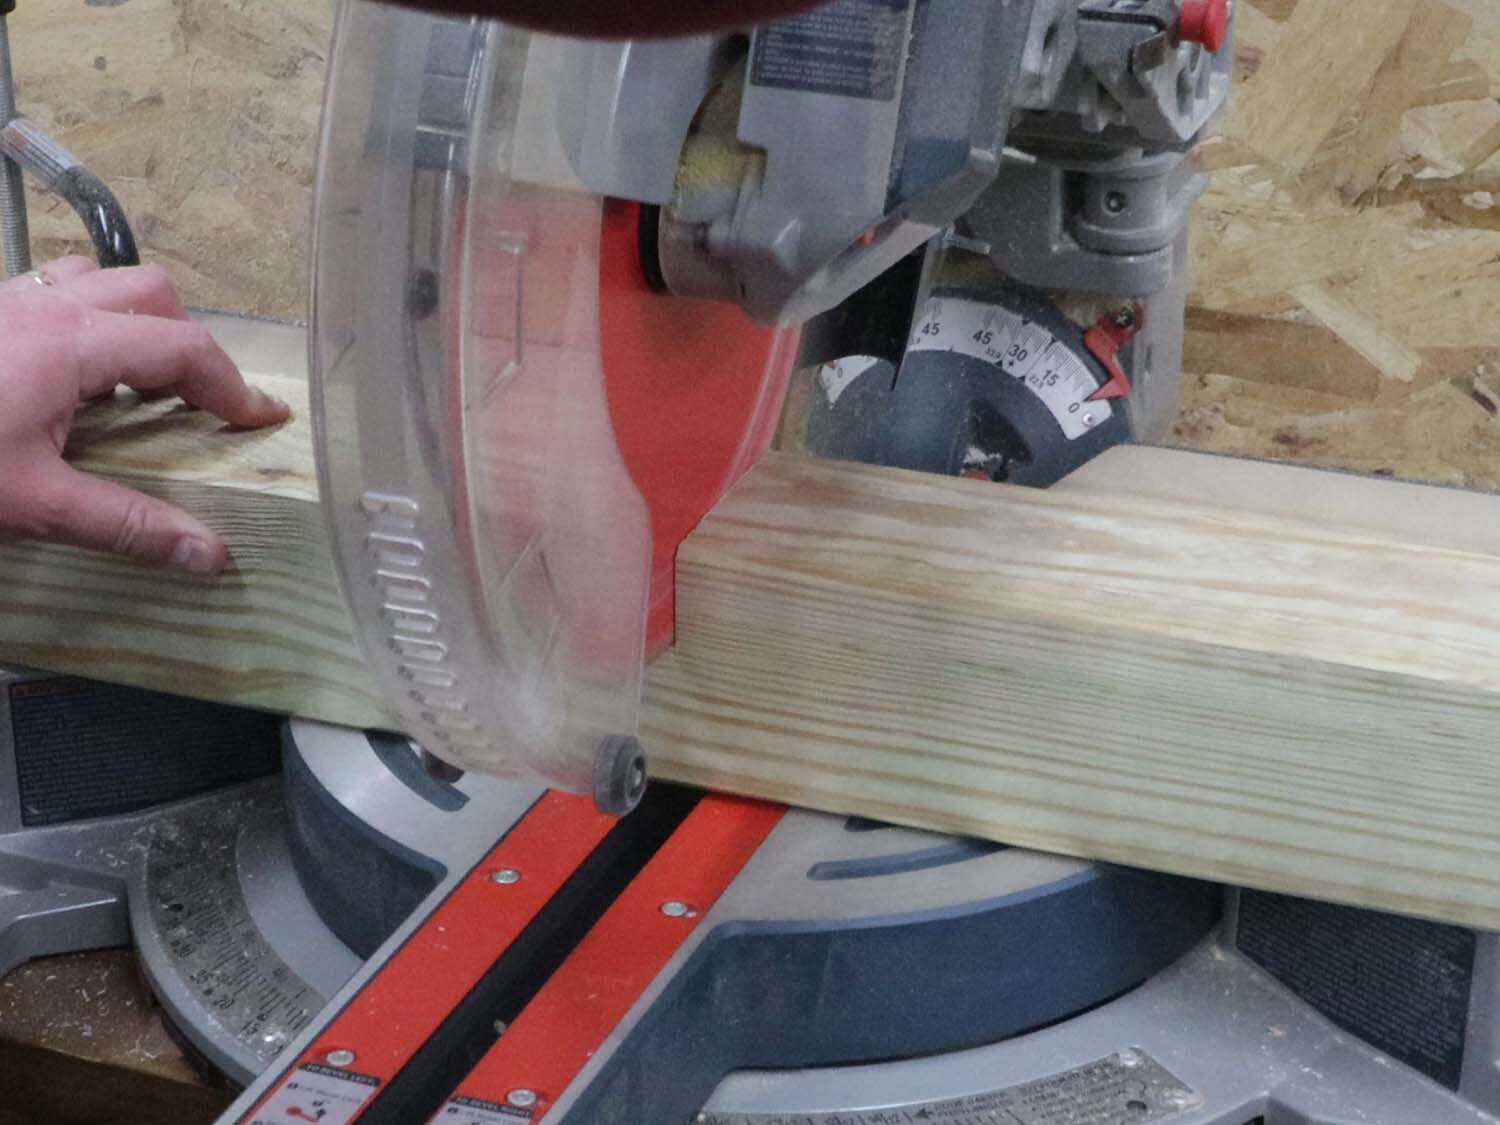
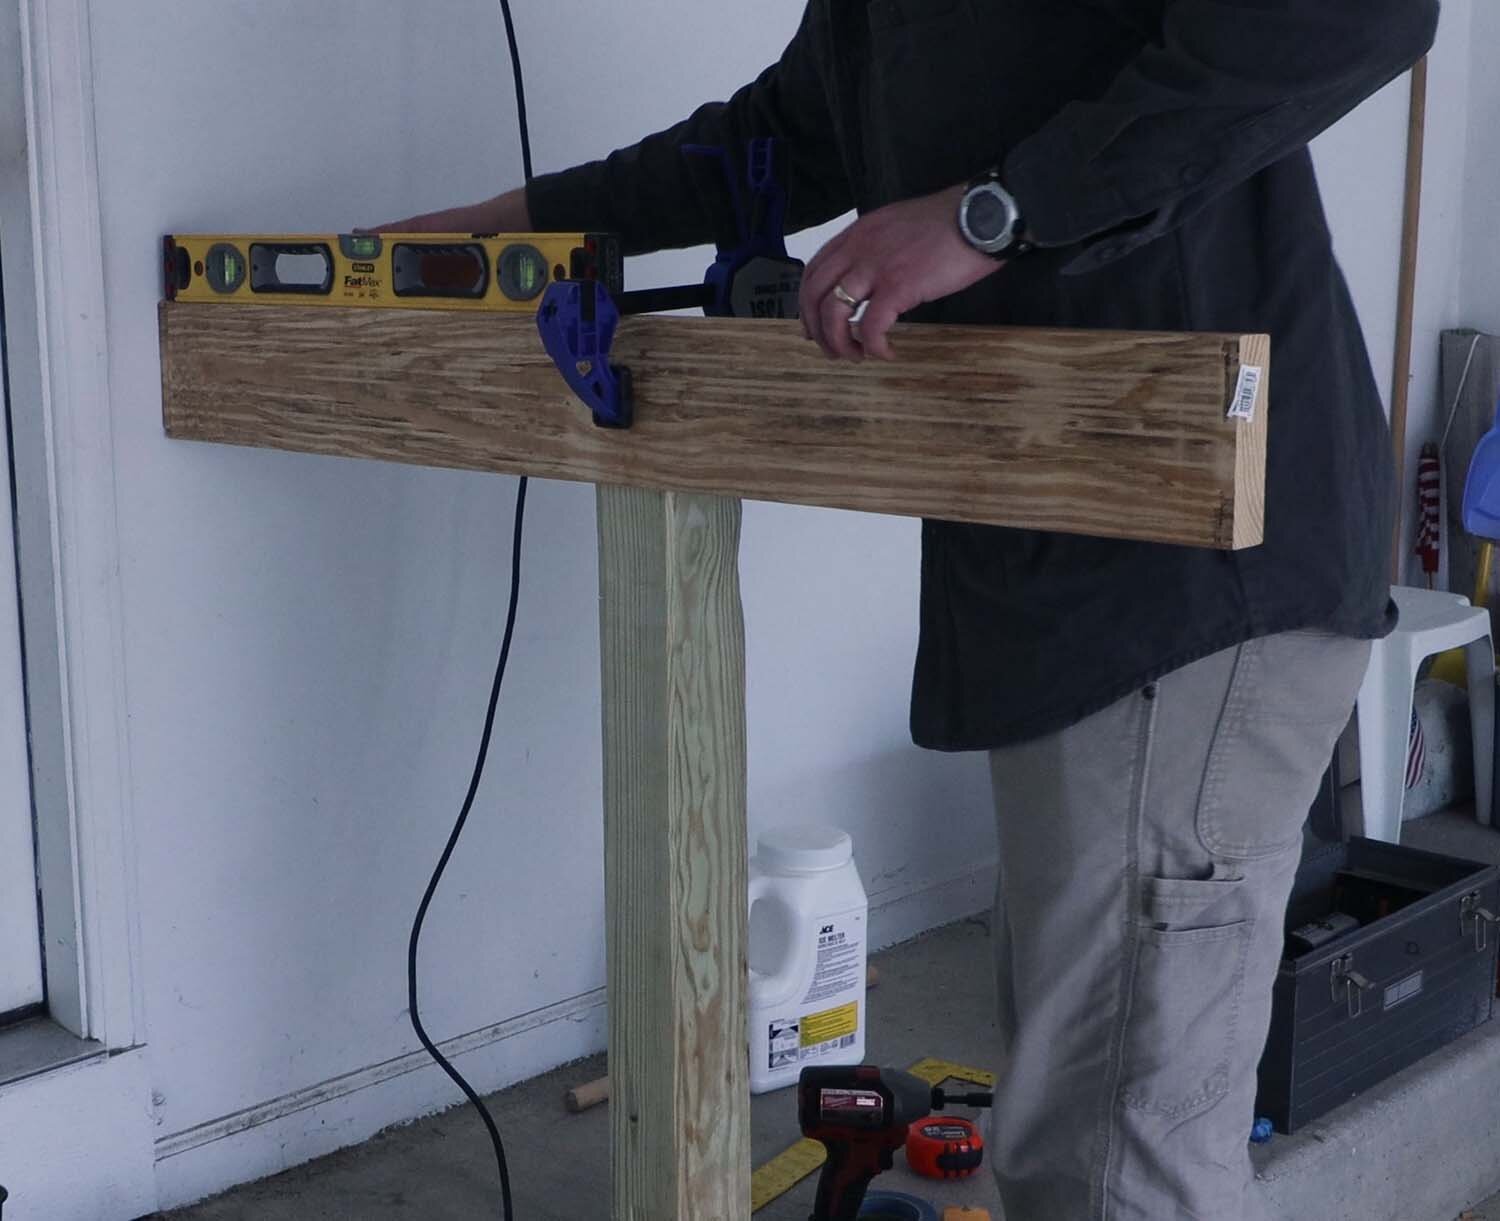
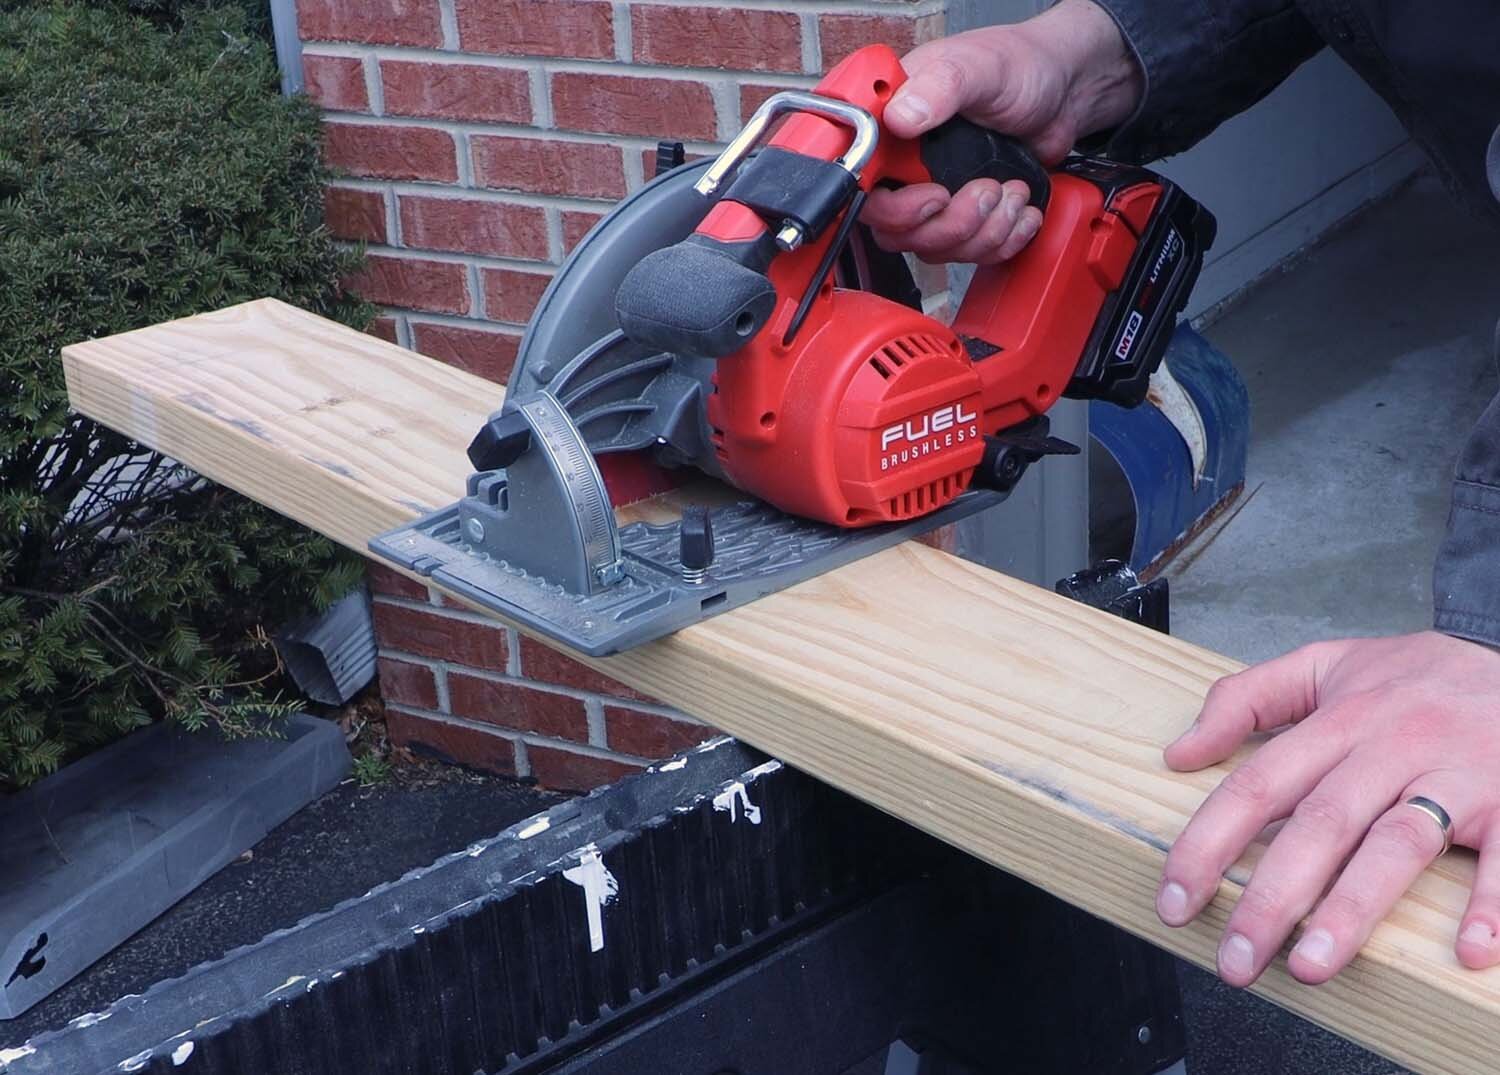
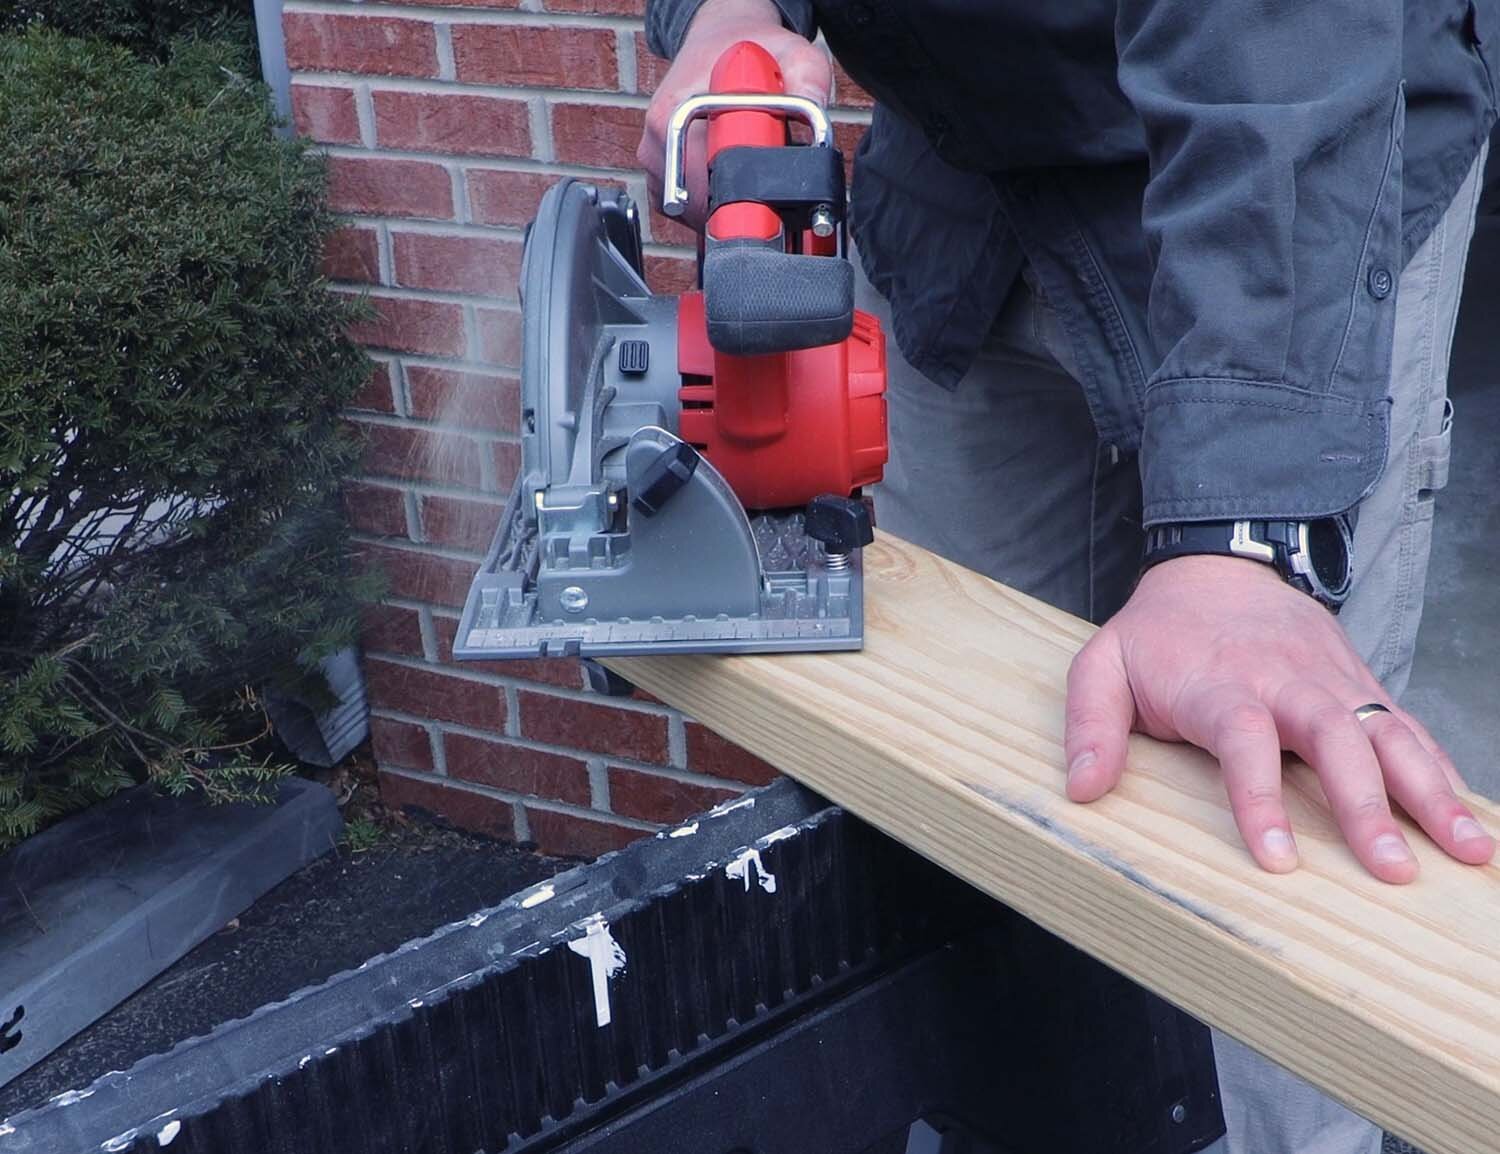
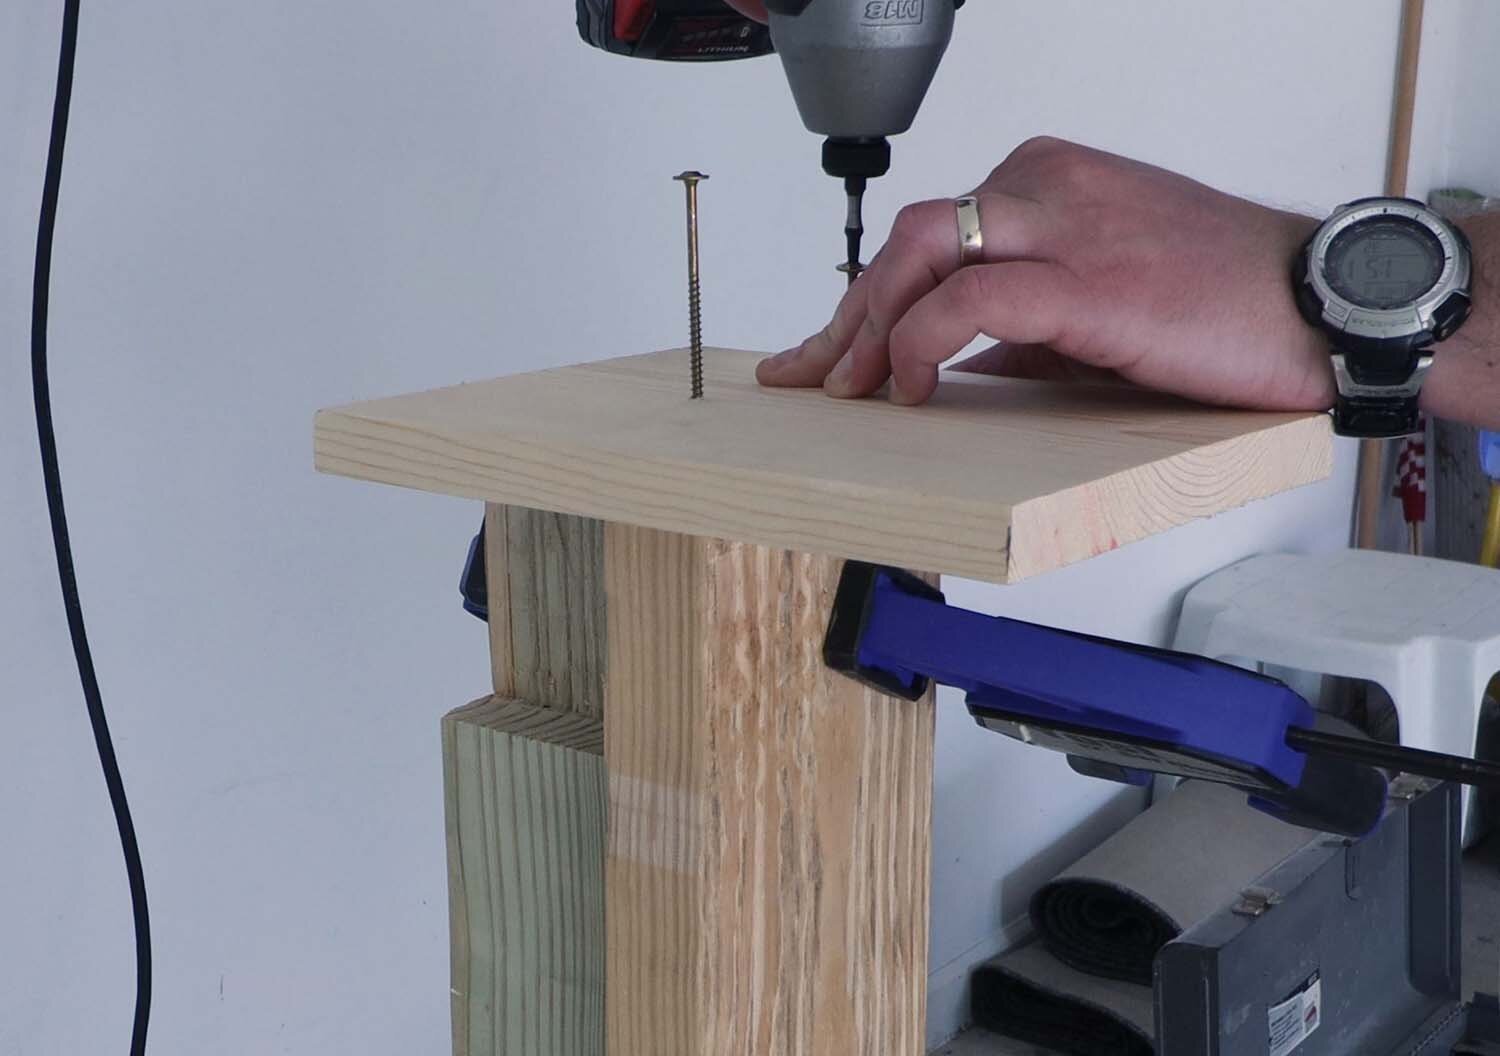
I start by cutting some notches in the tops of a 4x4 post, which will hold a horizontal 2x6. The 4x4s will be 36" high, and I'm cutting a 3-1/2" by 1" notch in the timber, which will give a total height of 38" when the 2x6 is set on top.
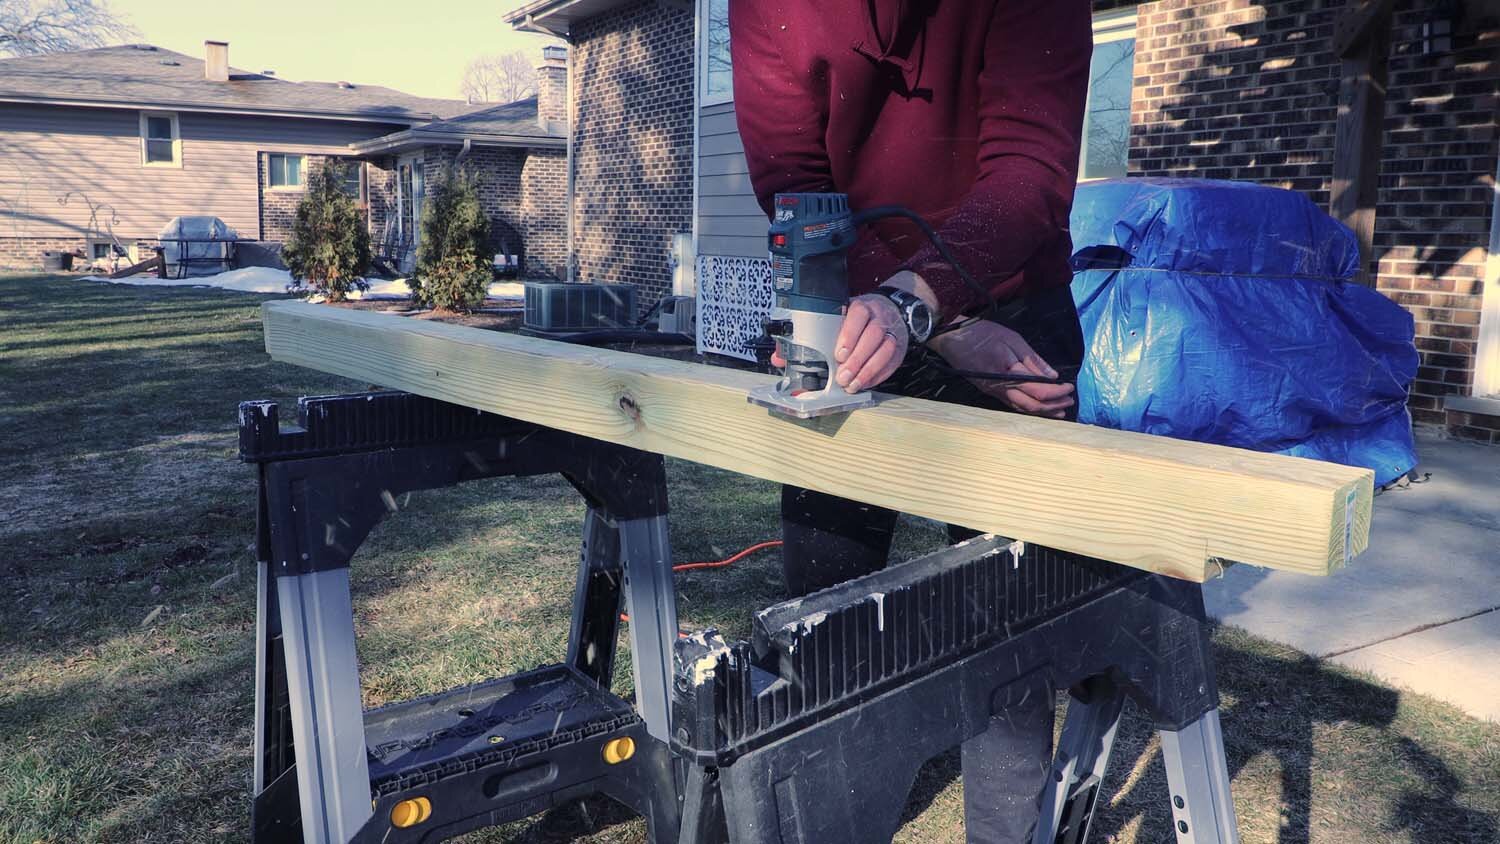
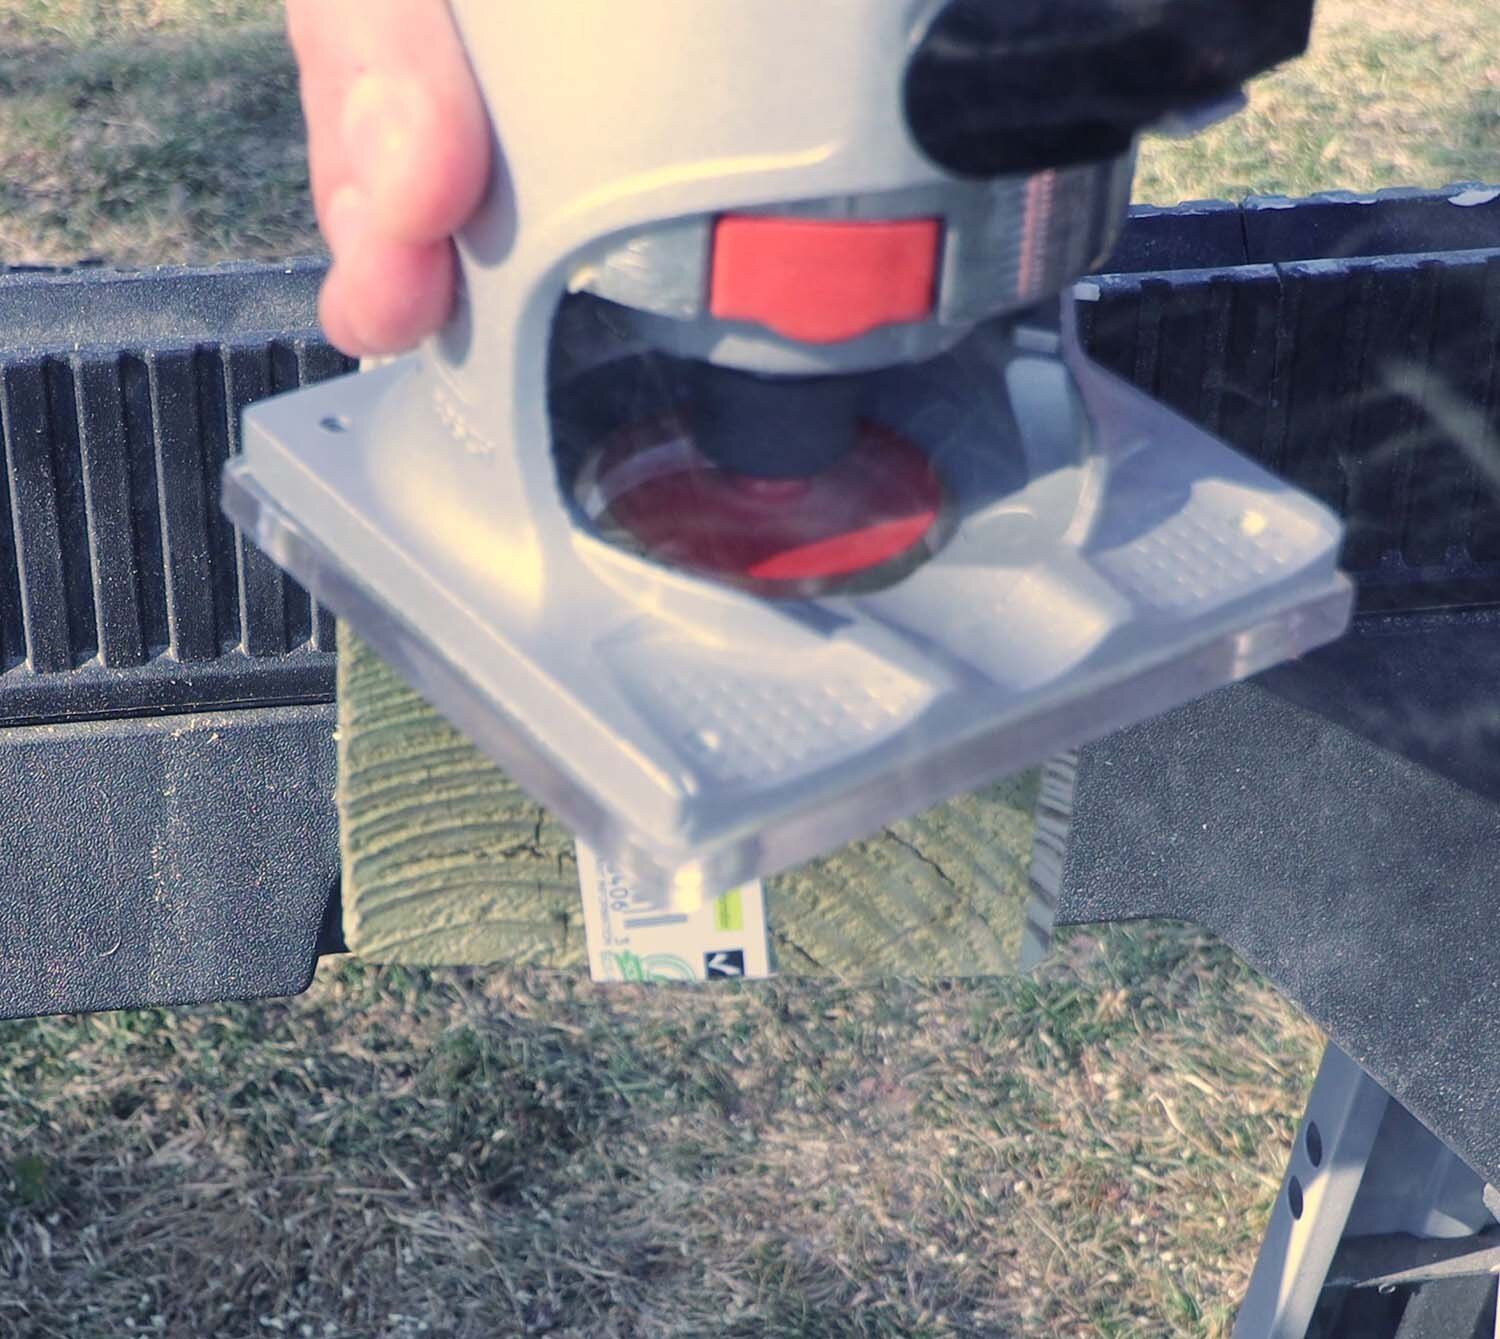
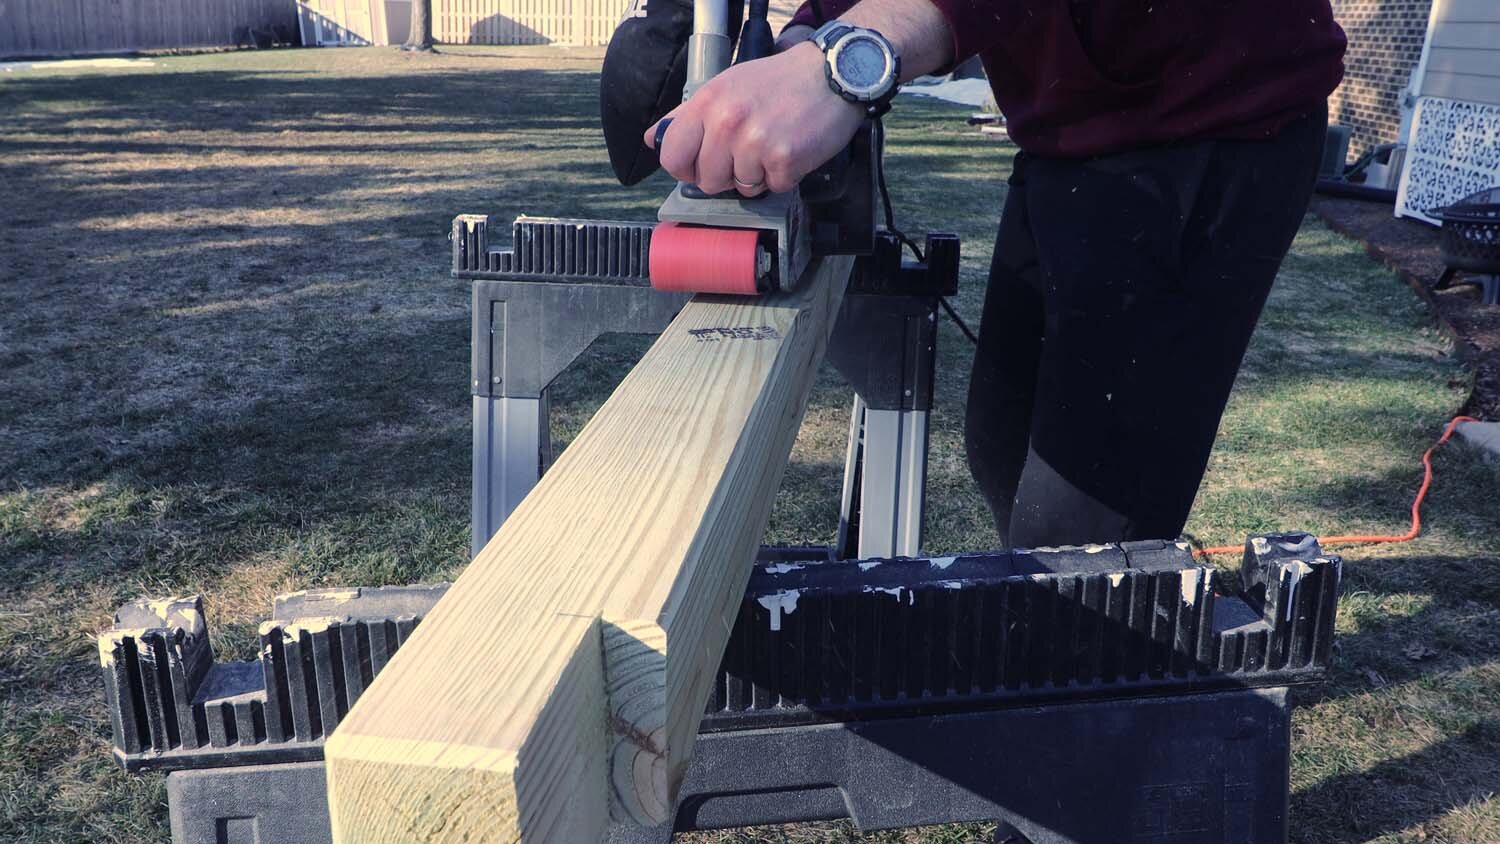
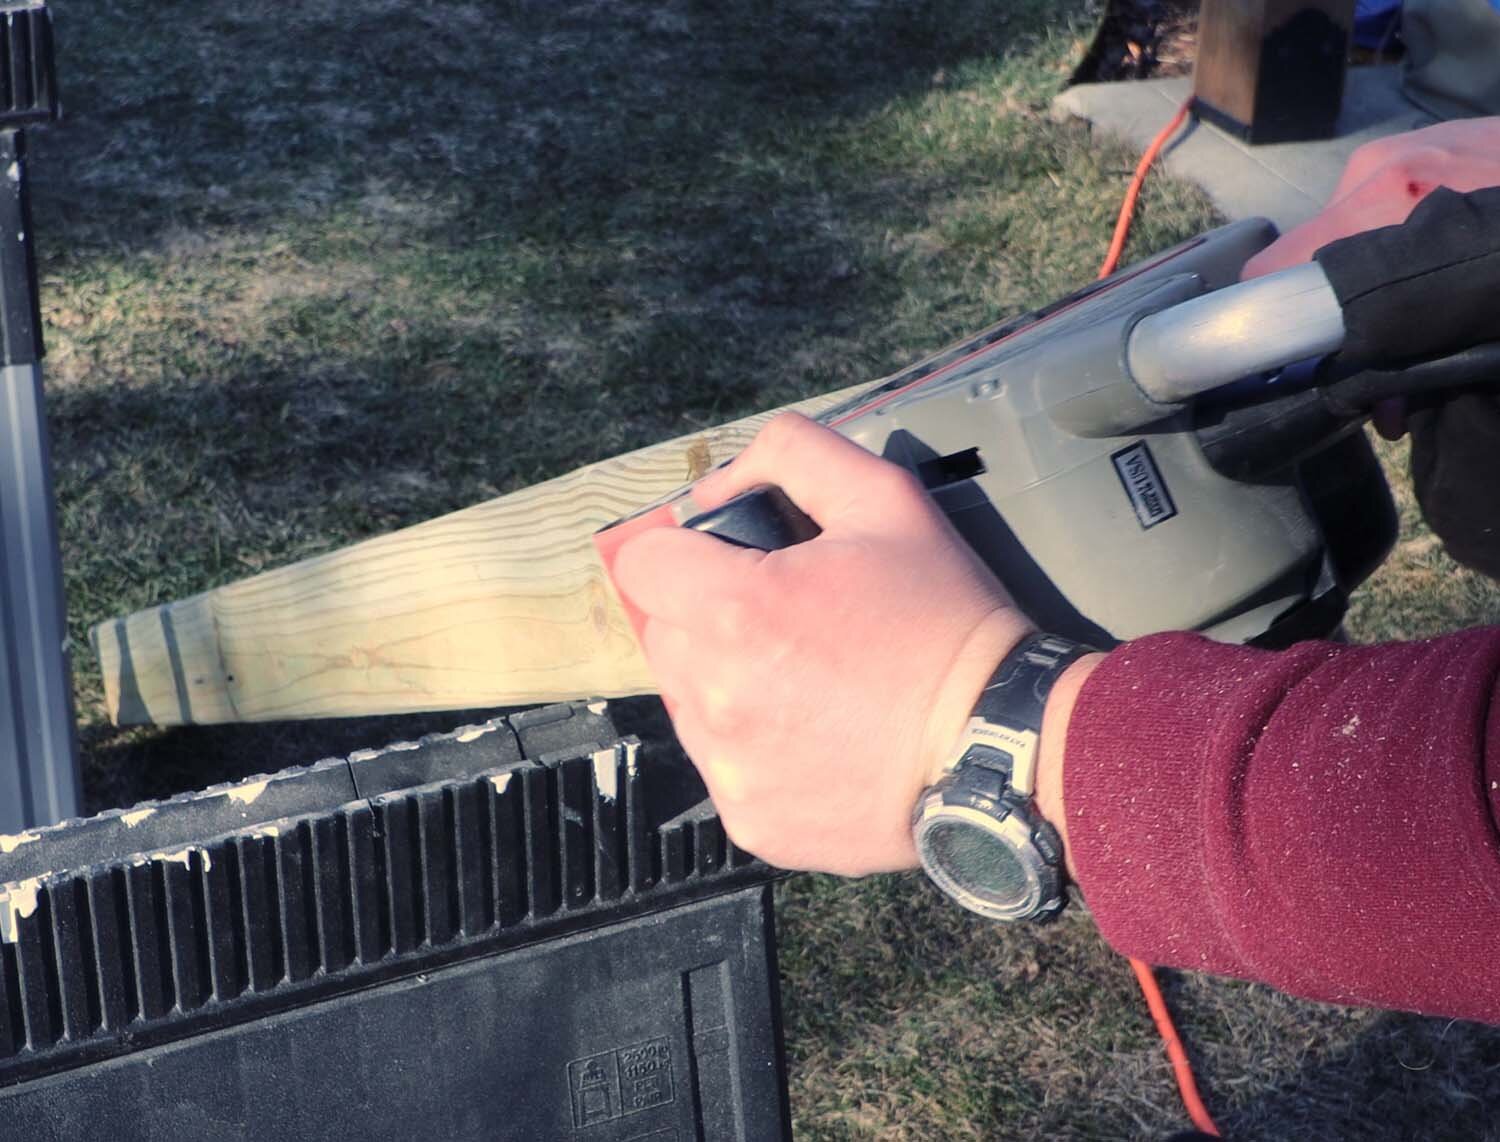
I use a 45-degree chamfer bit to ease the corners of the 4x4 posts, so that they're not sharp if accidentally bumped into. I then smooth the surface of the post with a belt sander to get rid of any splintering.
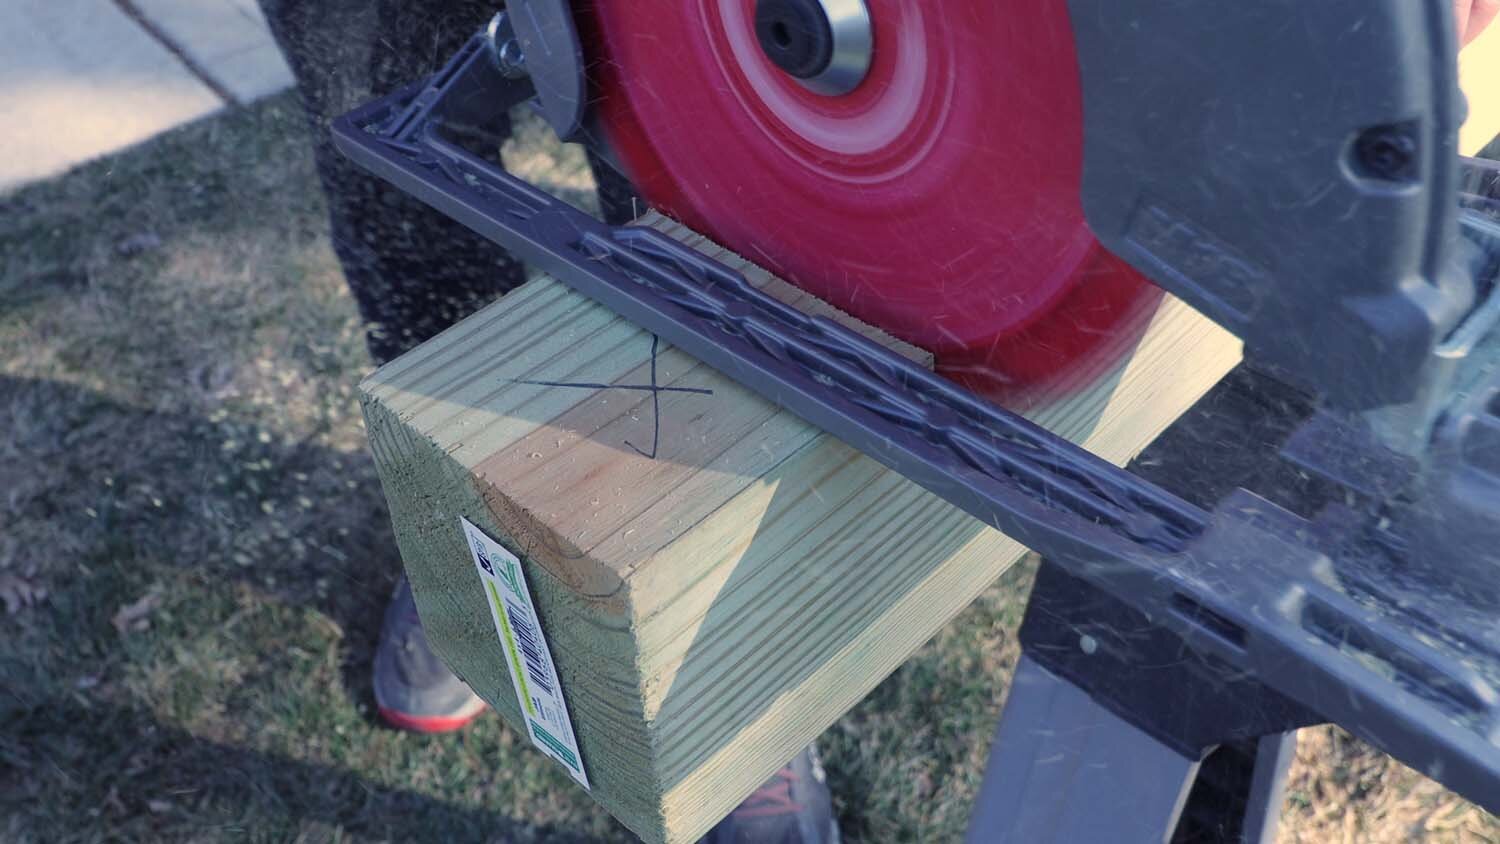
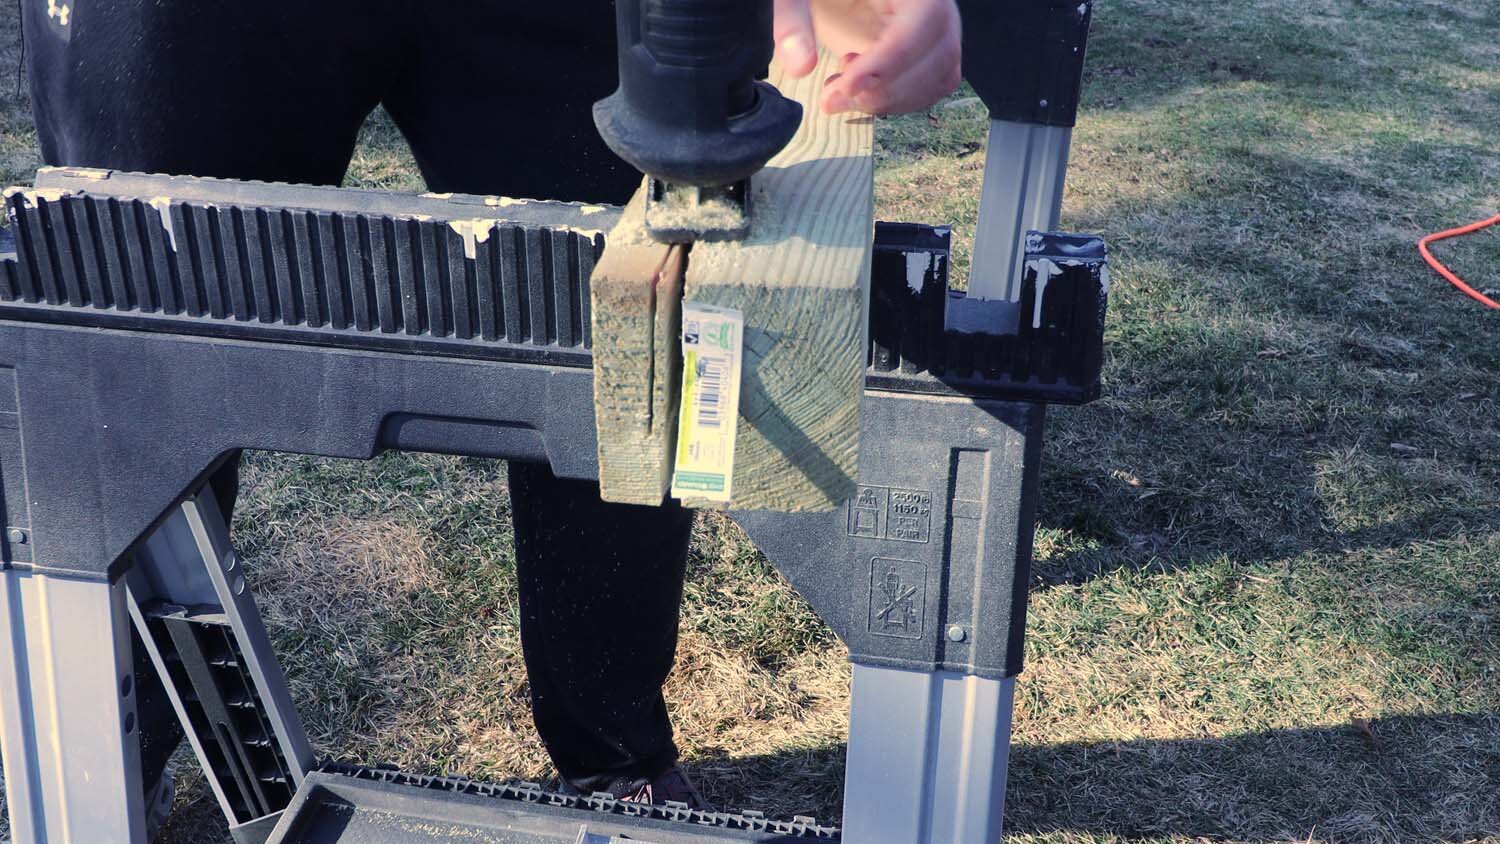
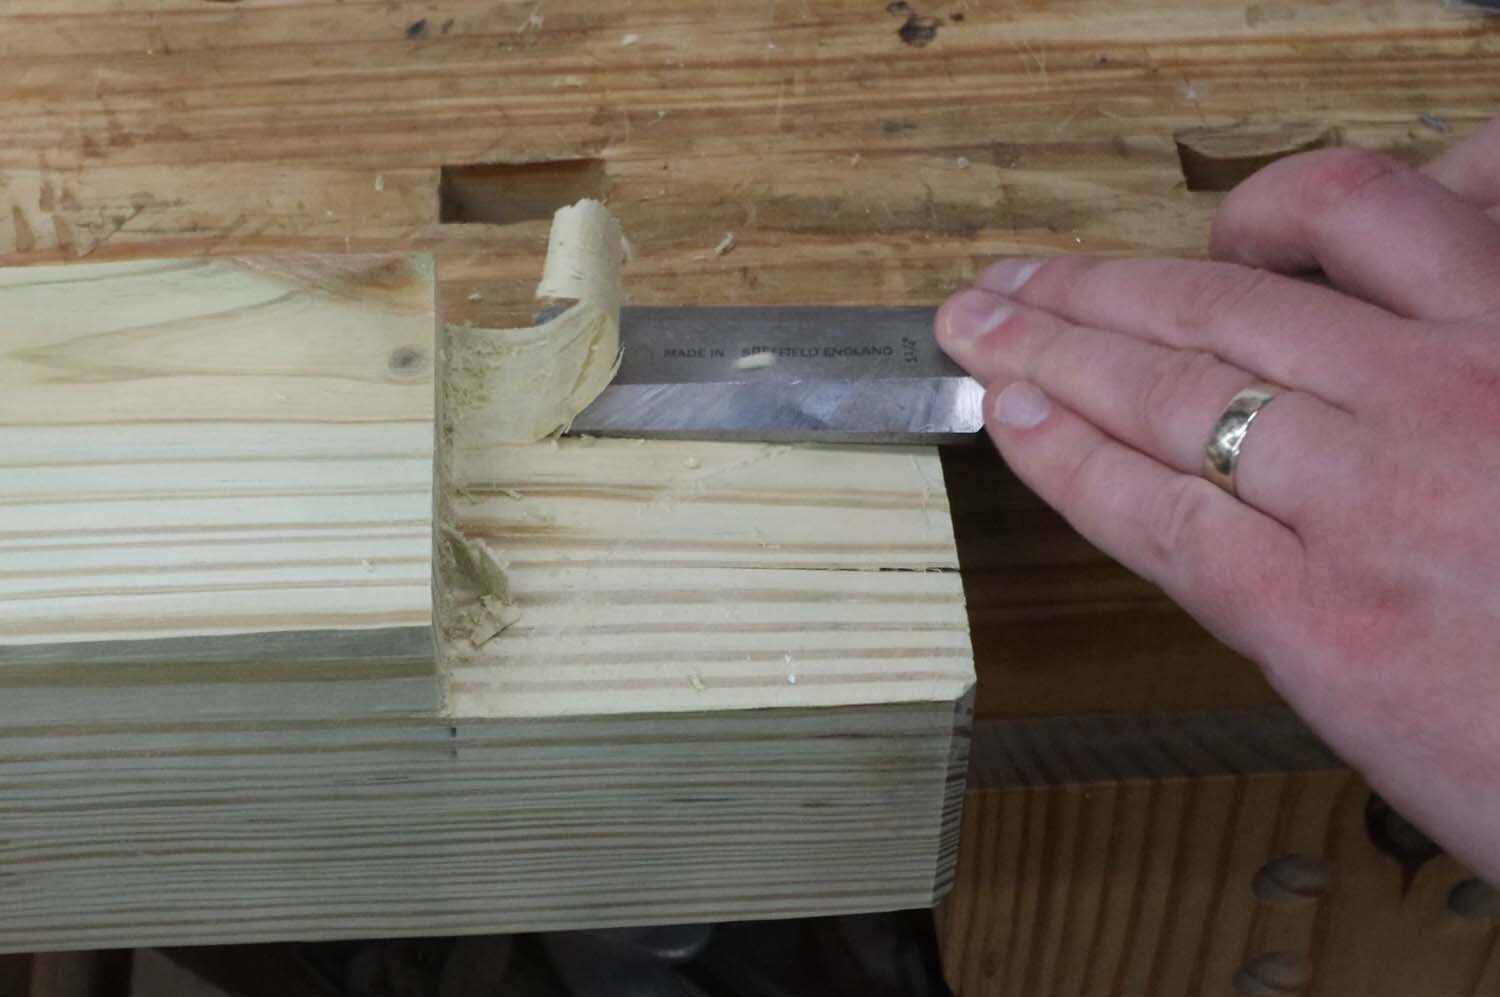
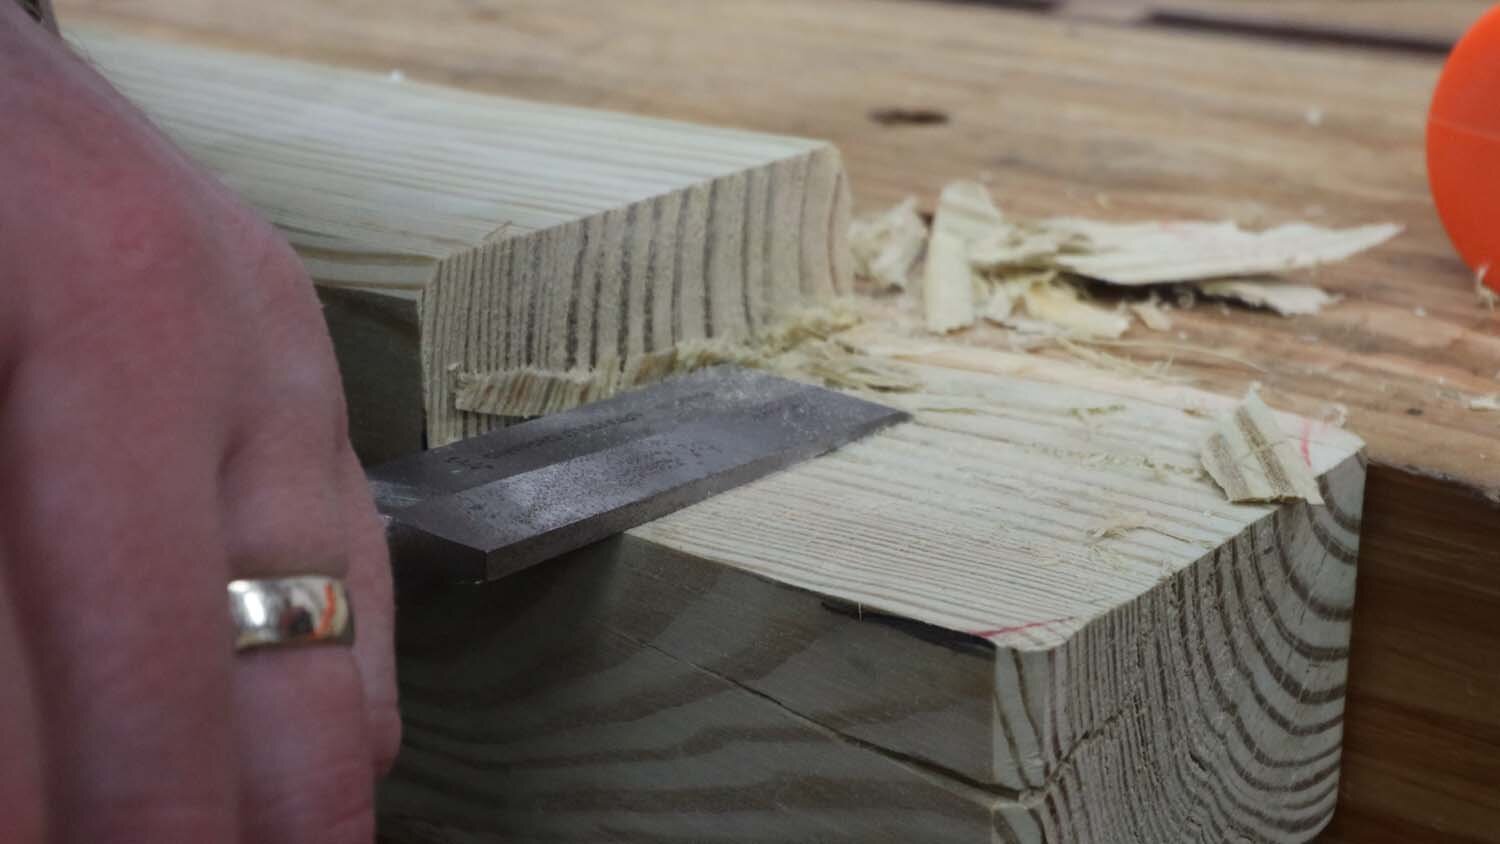
Since this 4x4 is 6 feet long, I cut it in half to make two 3-foot posts. I then clean up the notches with a chisel.
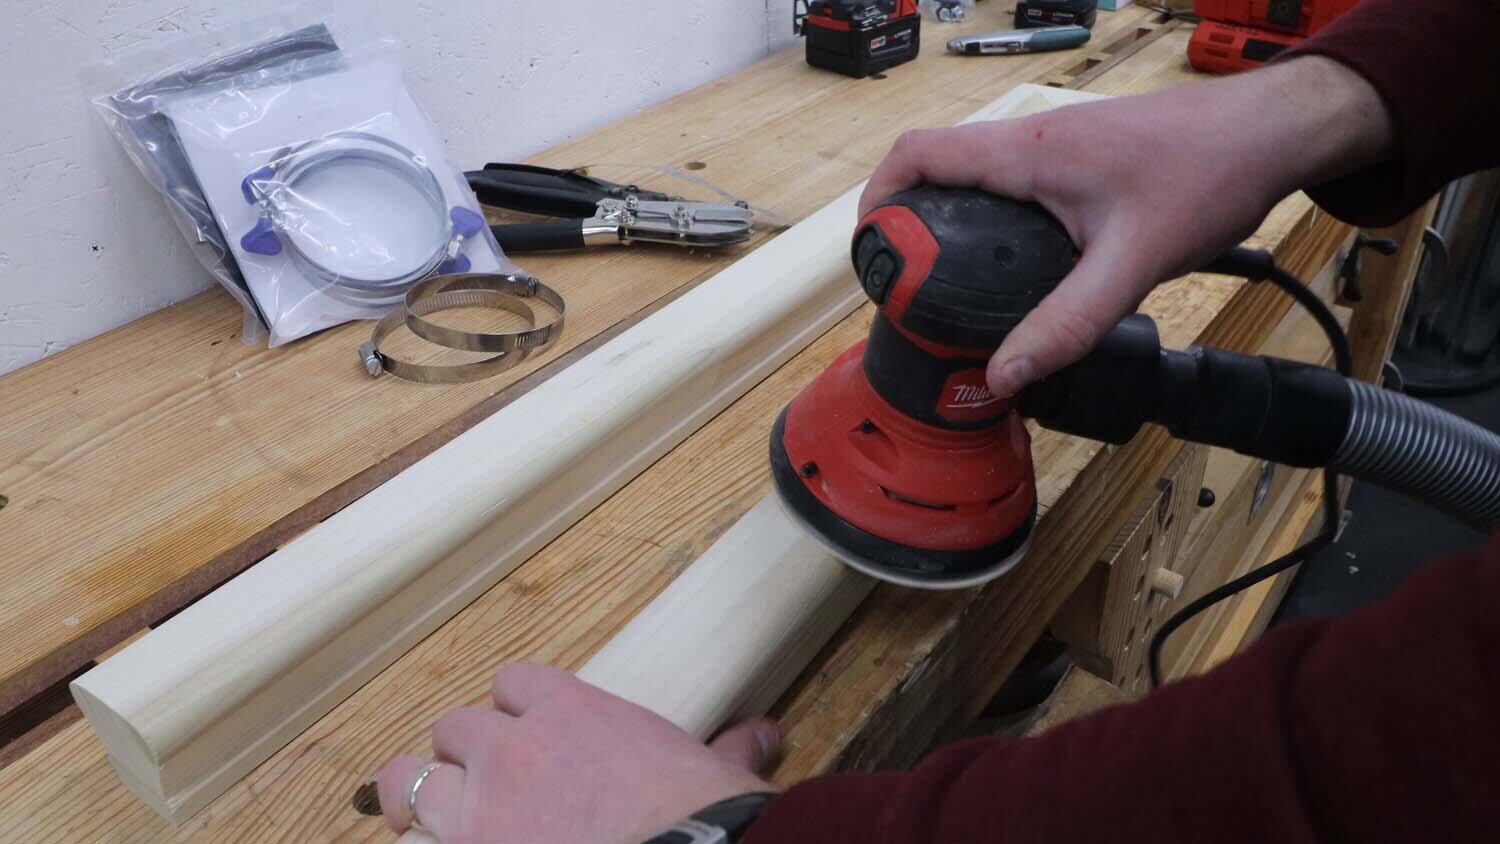
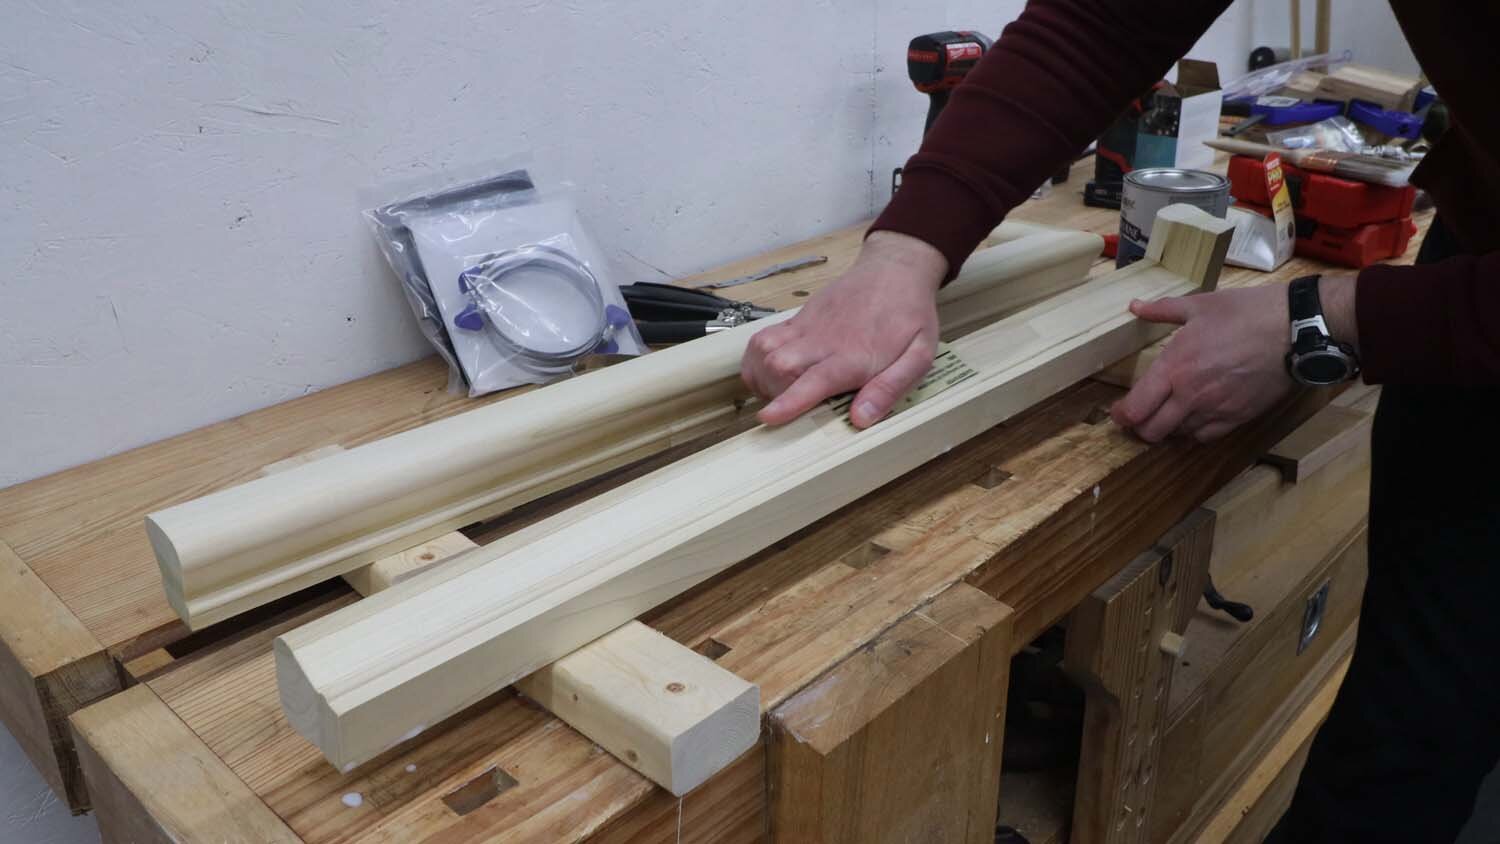
Now is time to pre-make the hand rail. This is a paint-grade poplar rail from the home center. These tend to have a lot of pieces glued together into a larger piece, so aren't well suited for staining and varnishing. However, as this will be in a garage, I'm saving them a couple bucks instead of using a solid oak hand rail.
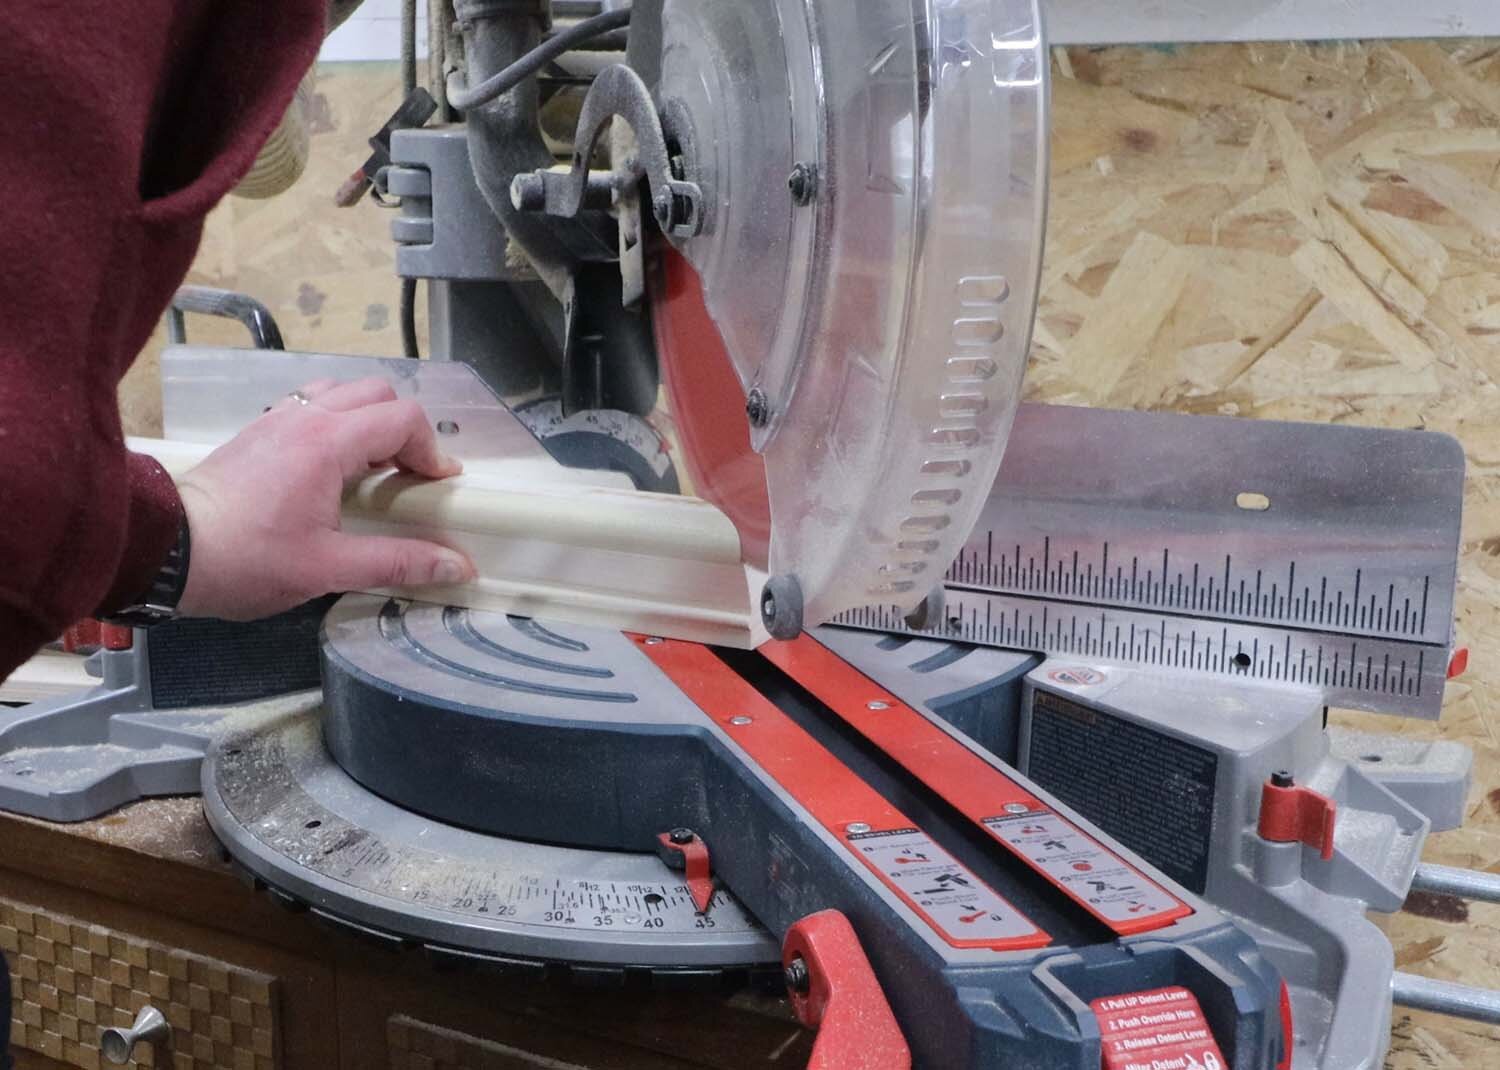
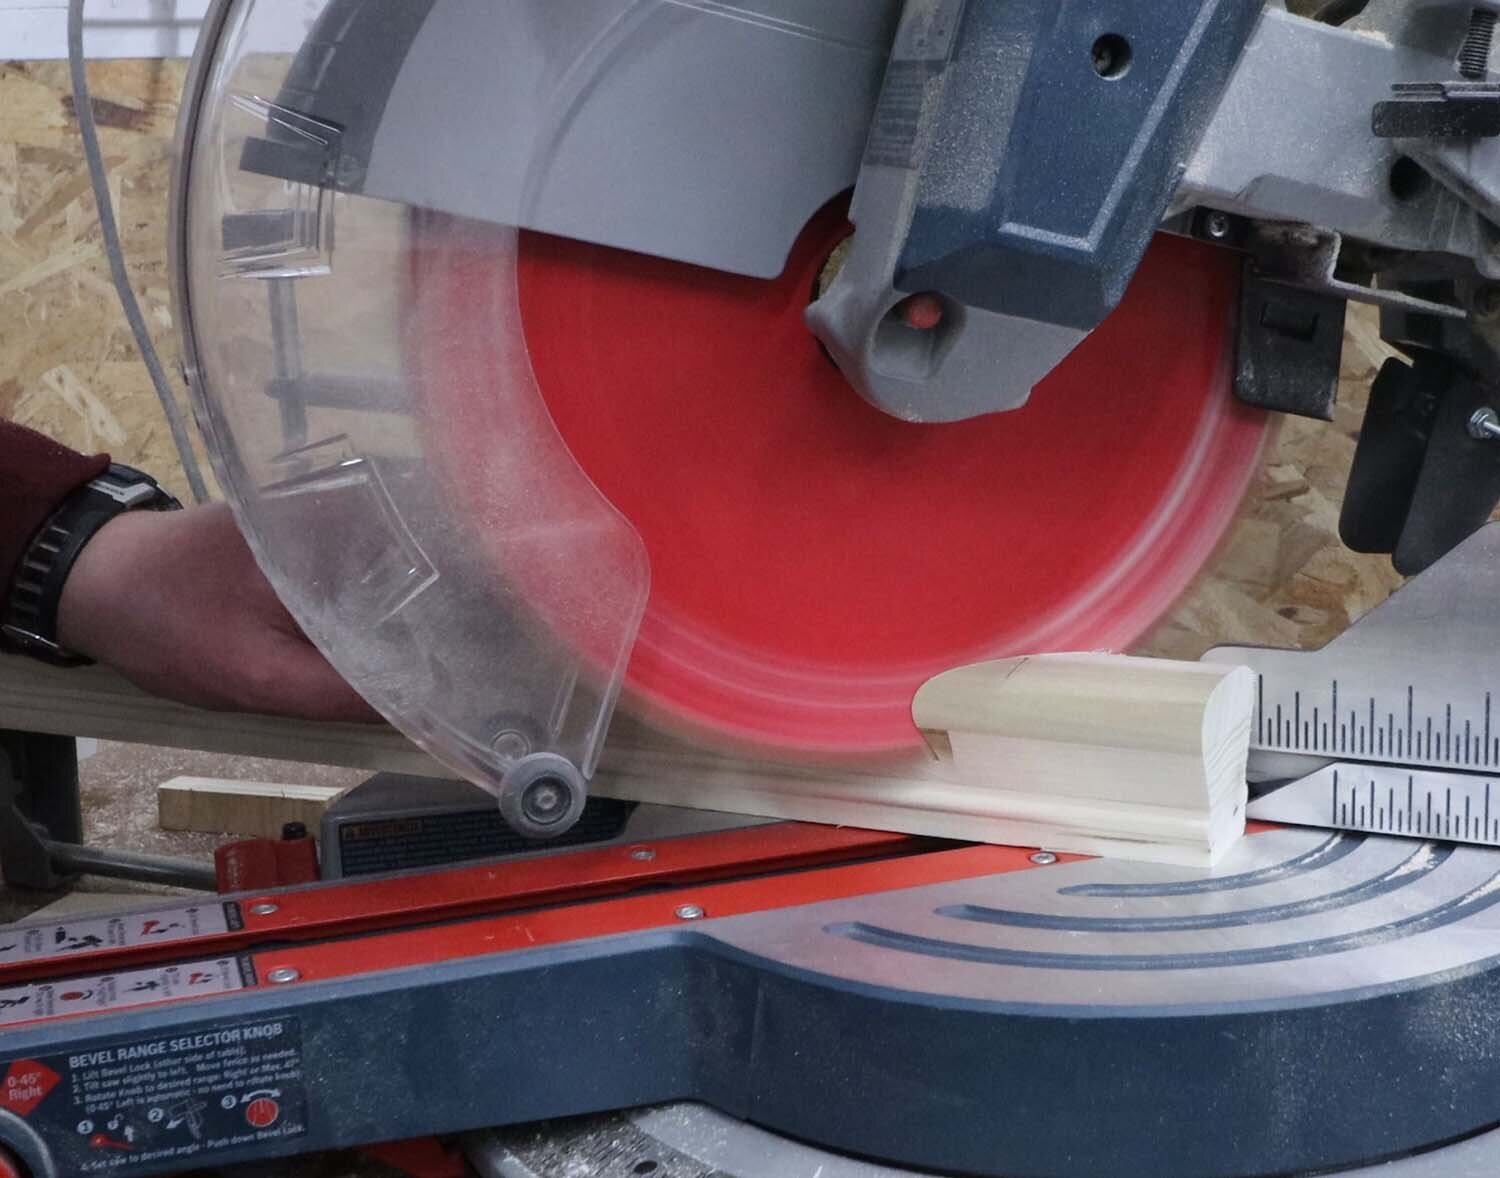
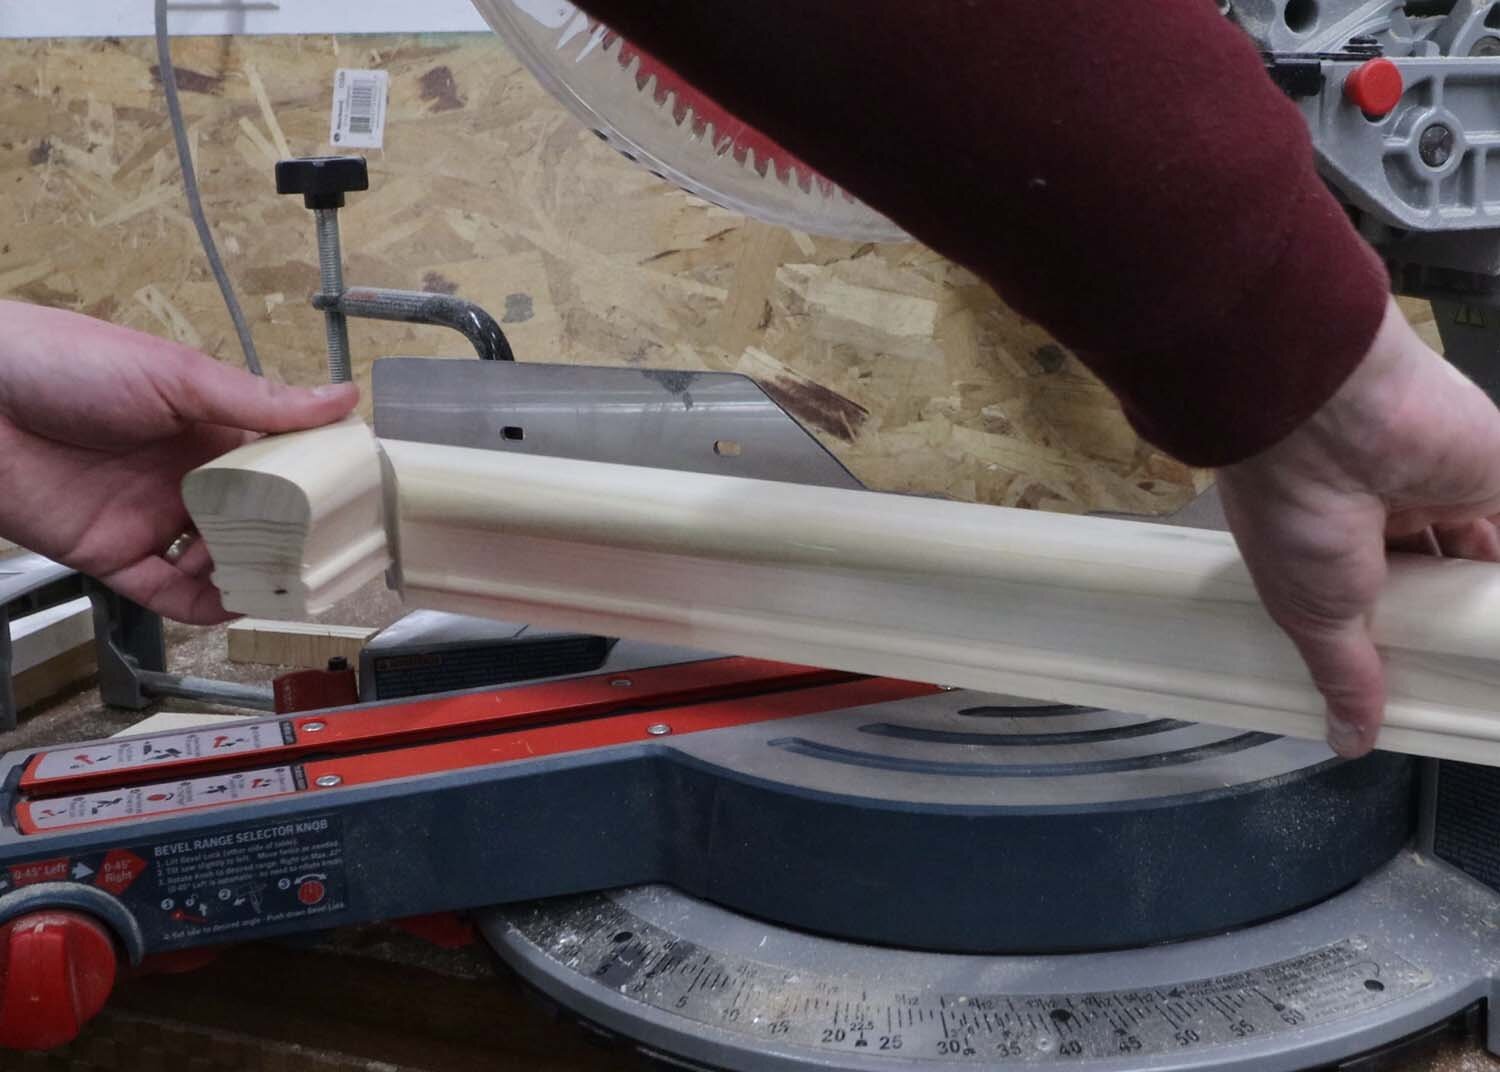
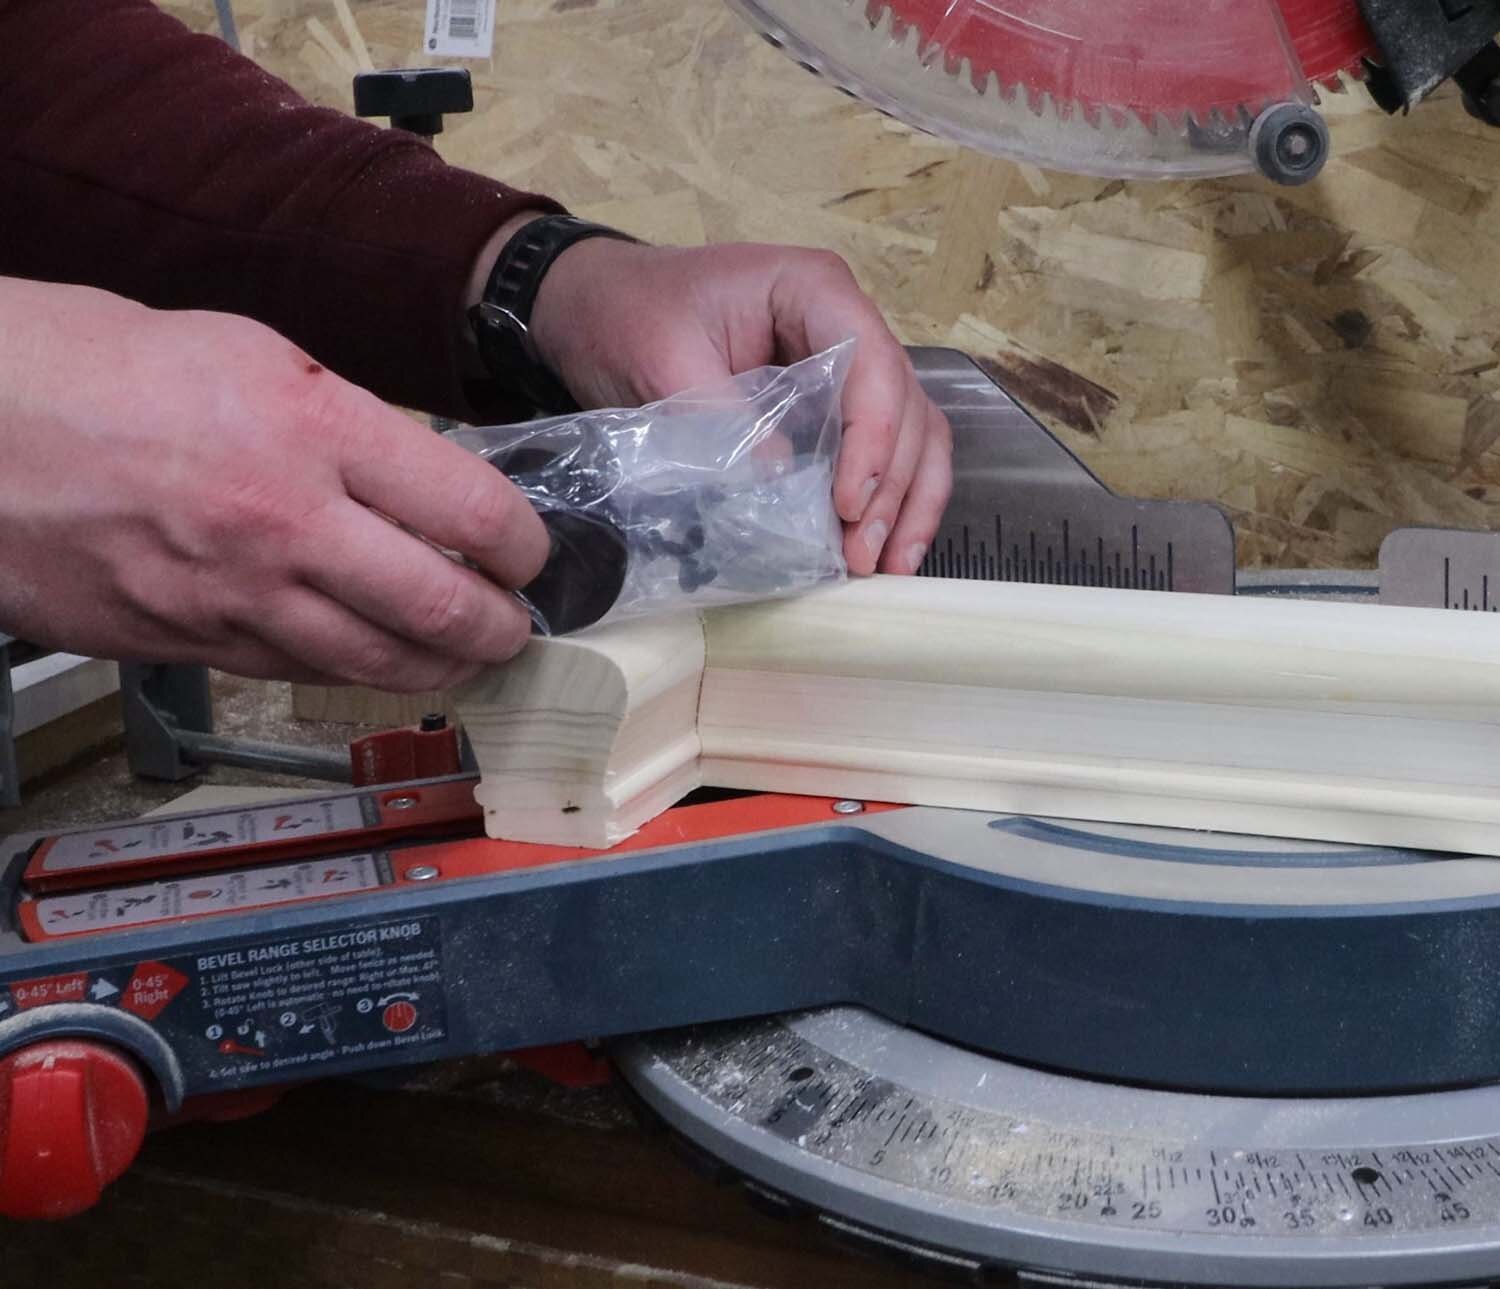
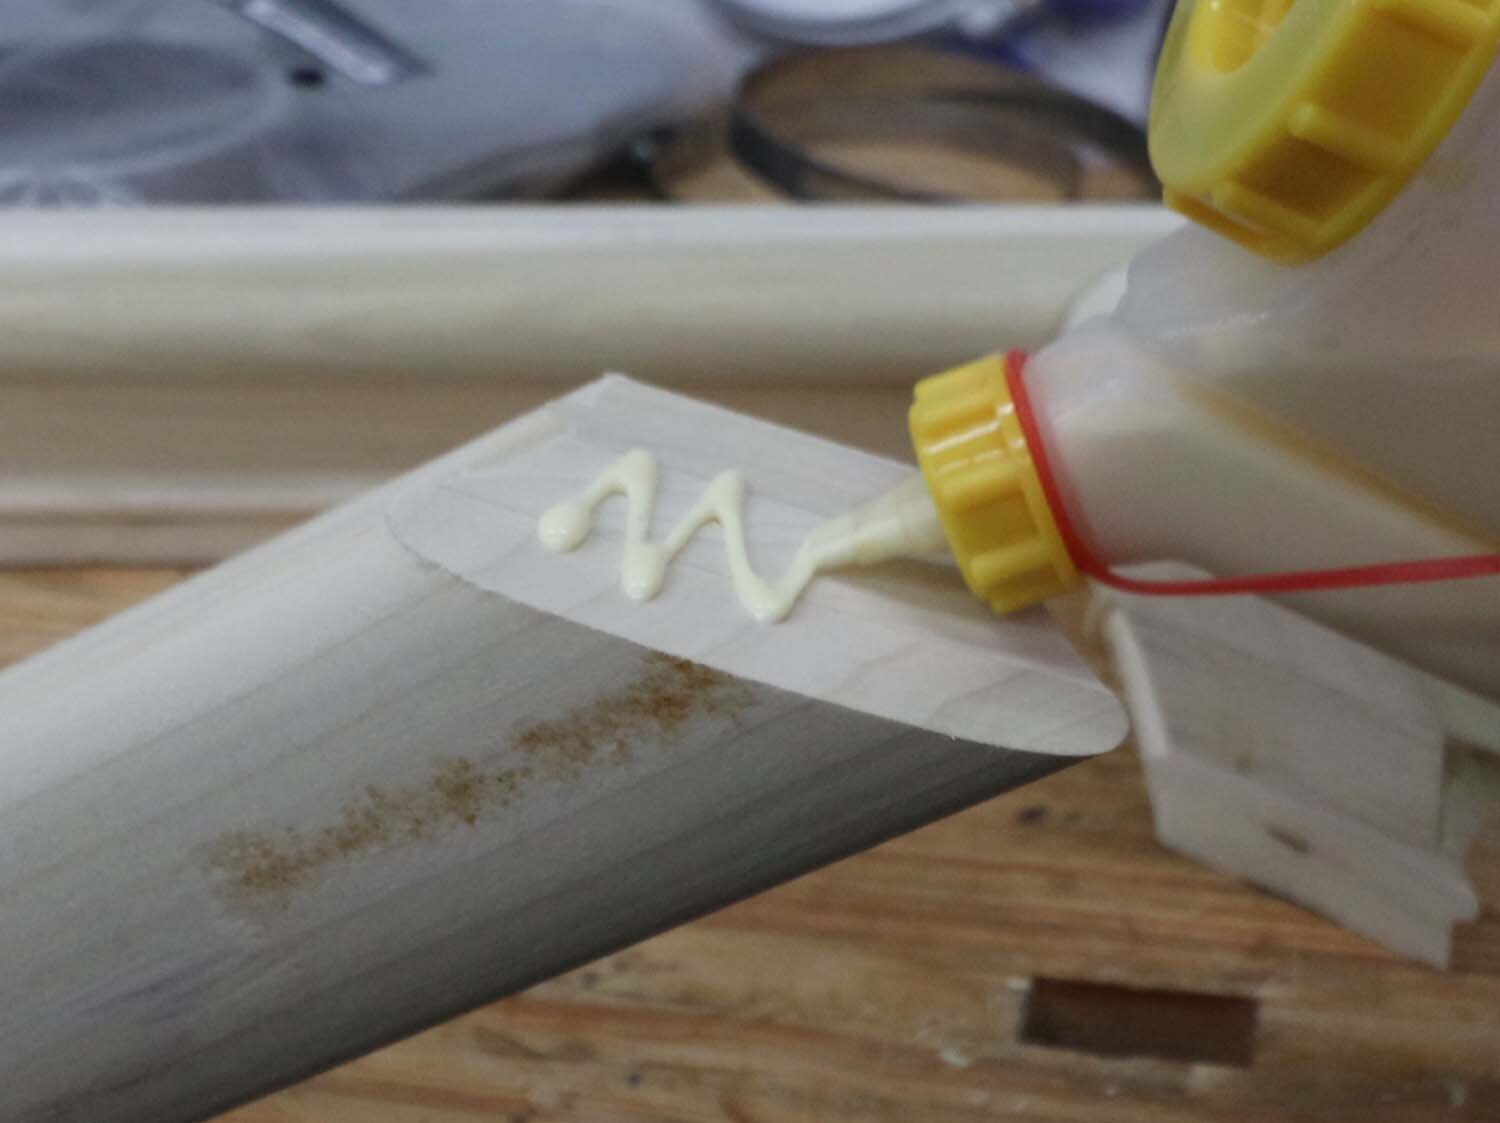
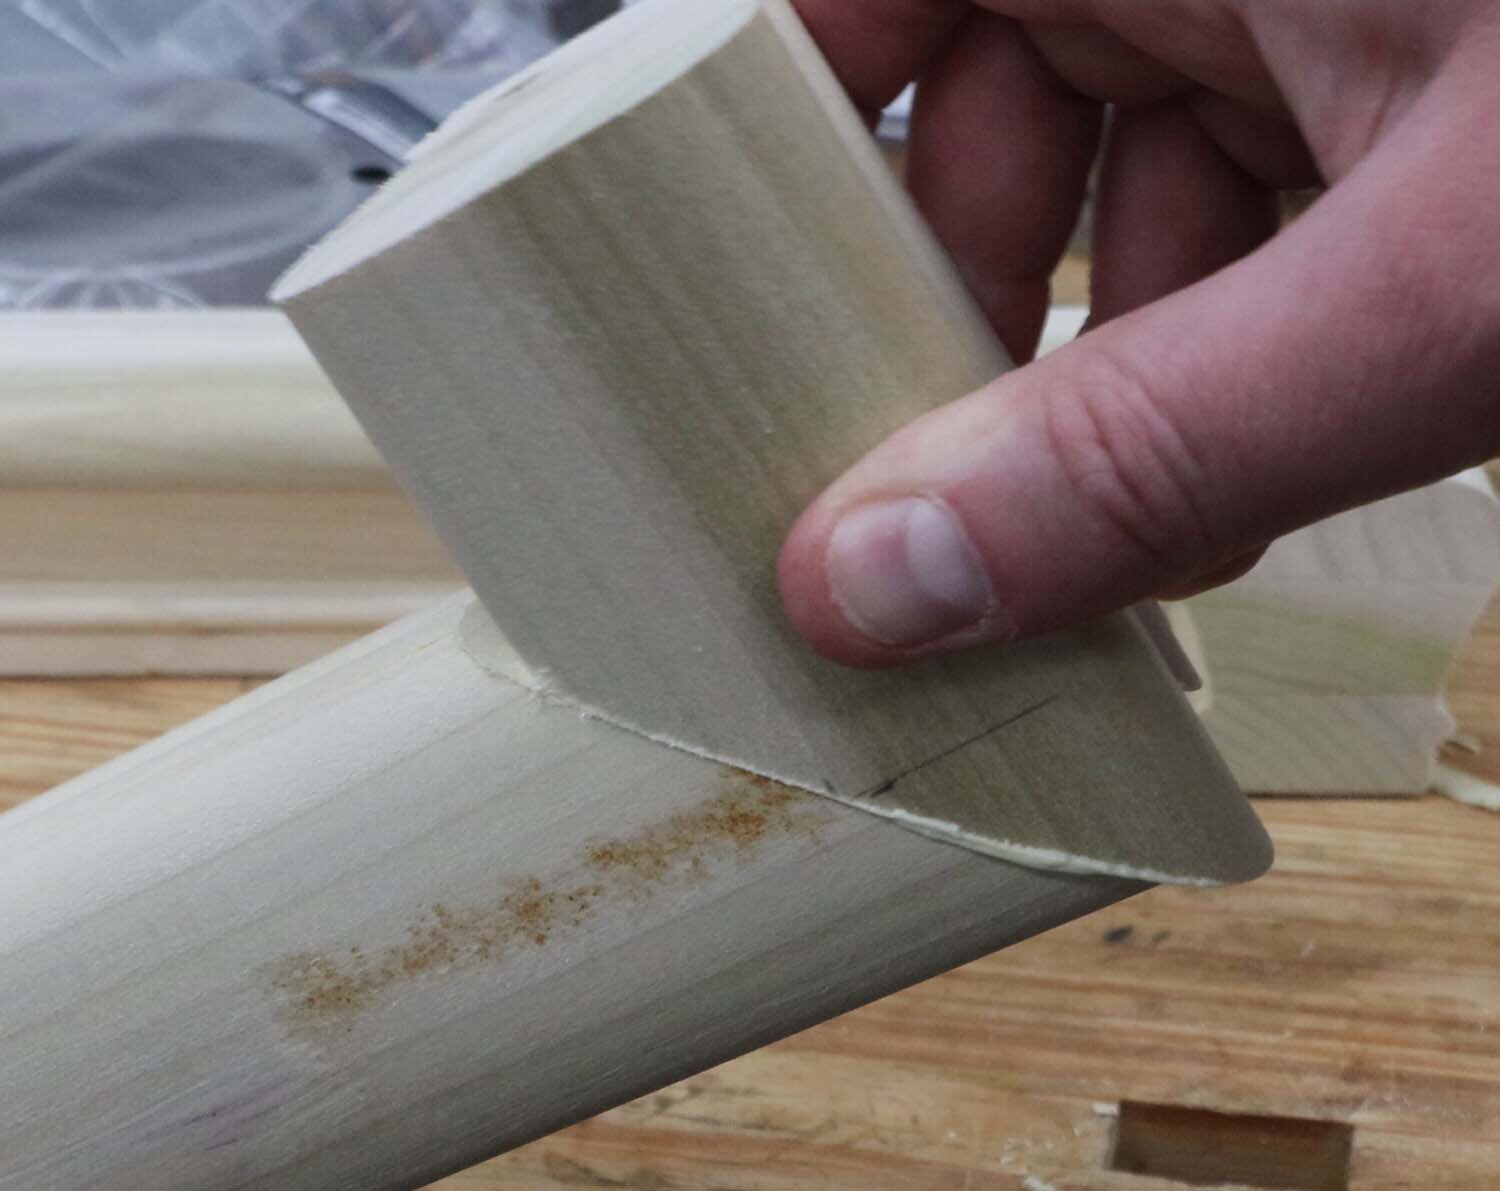
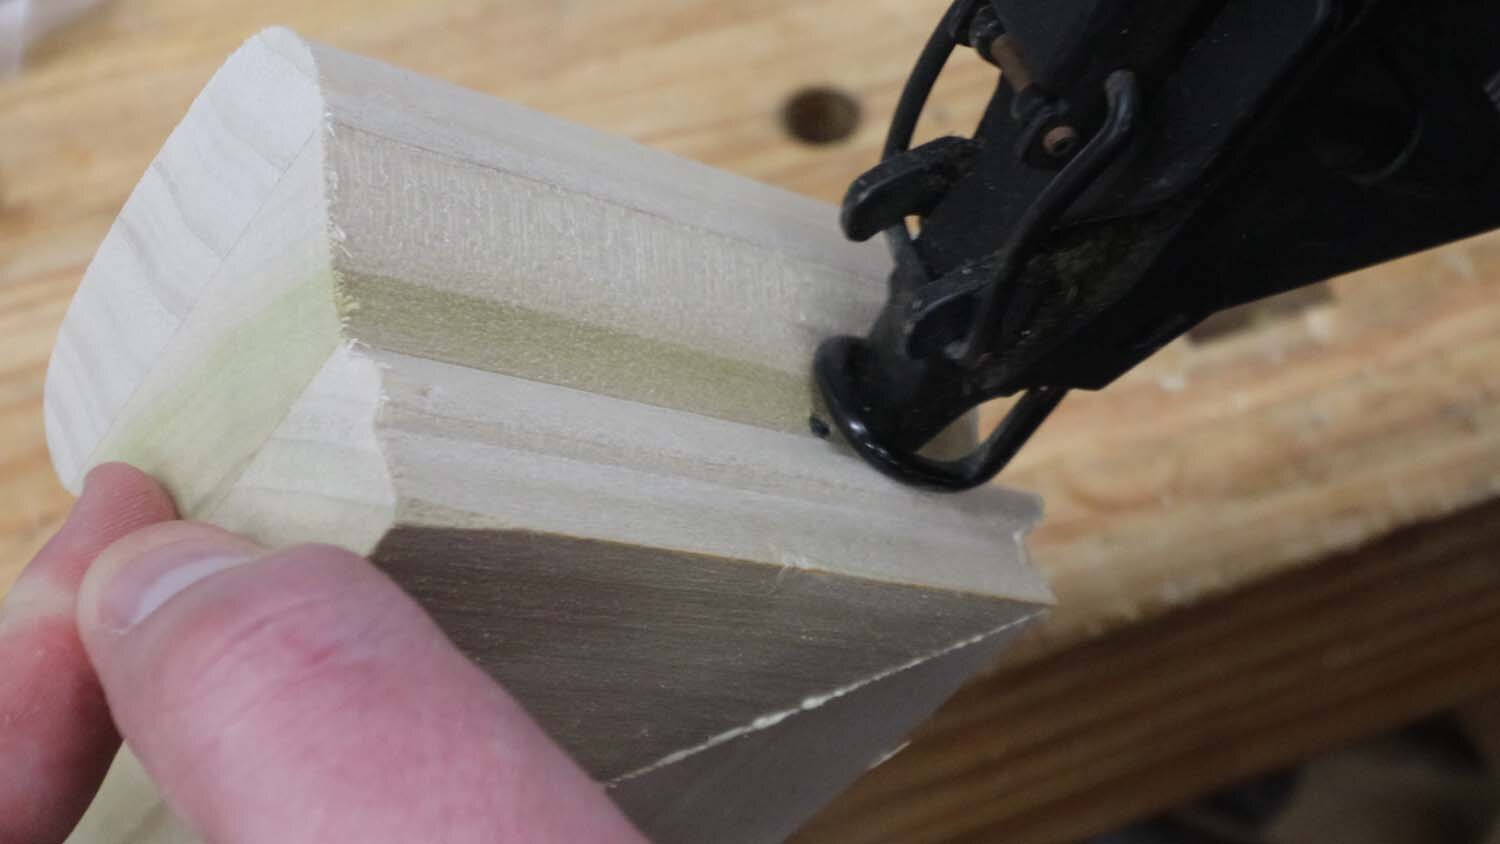
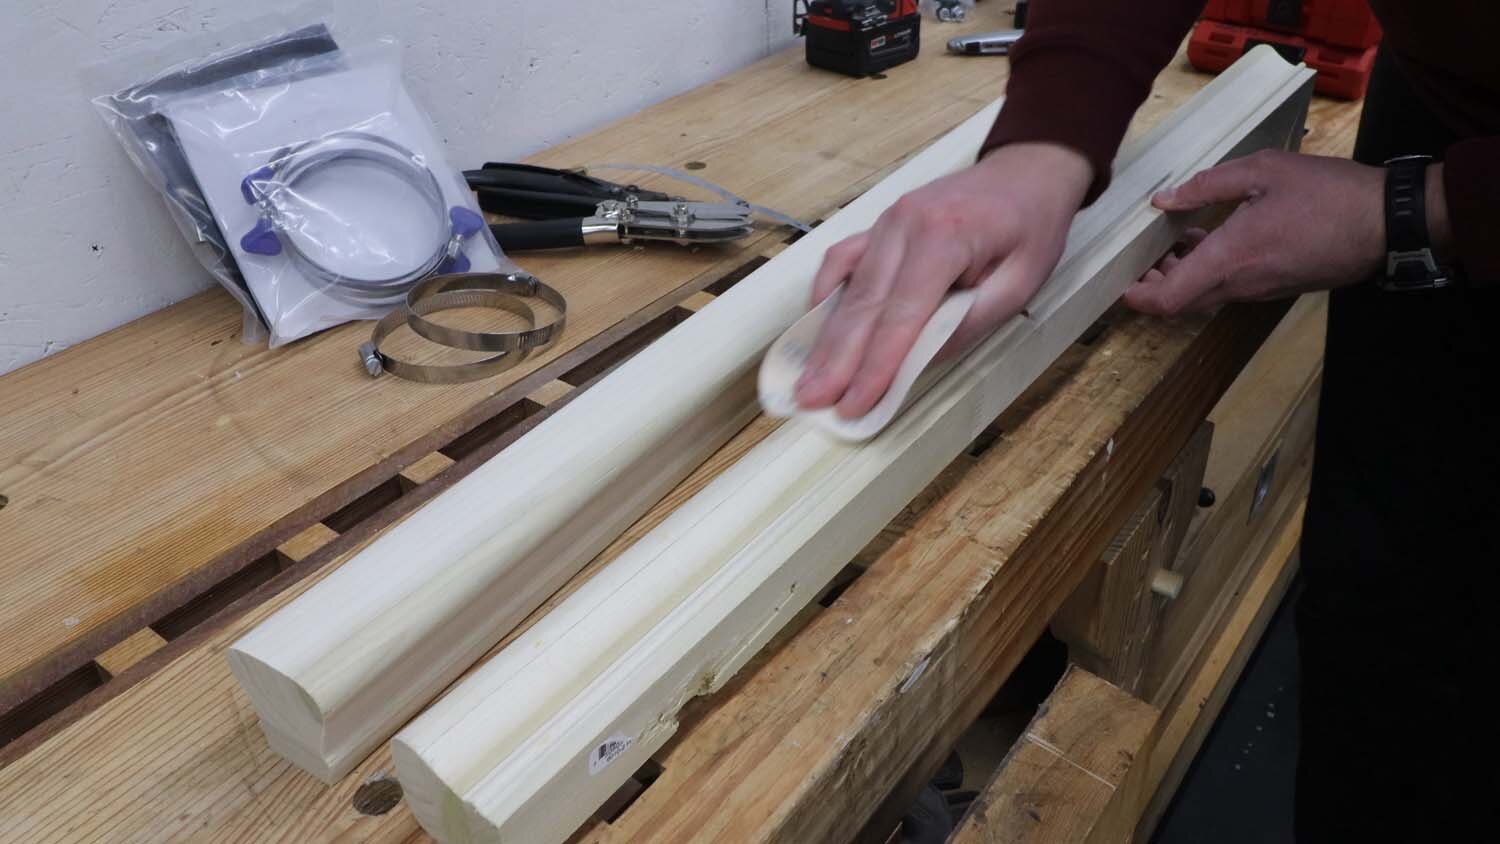
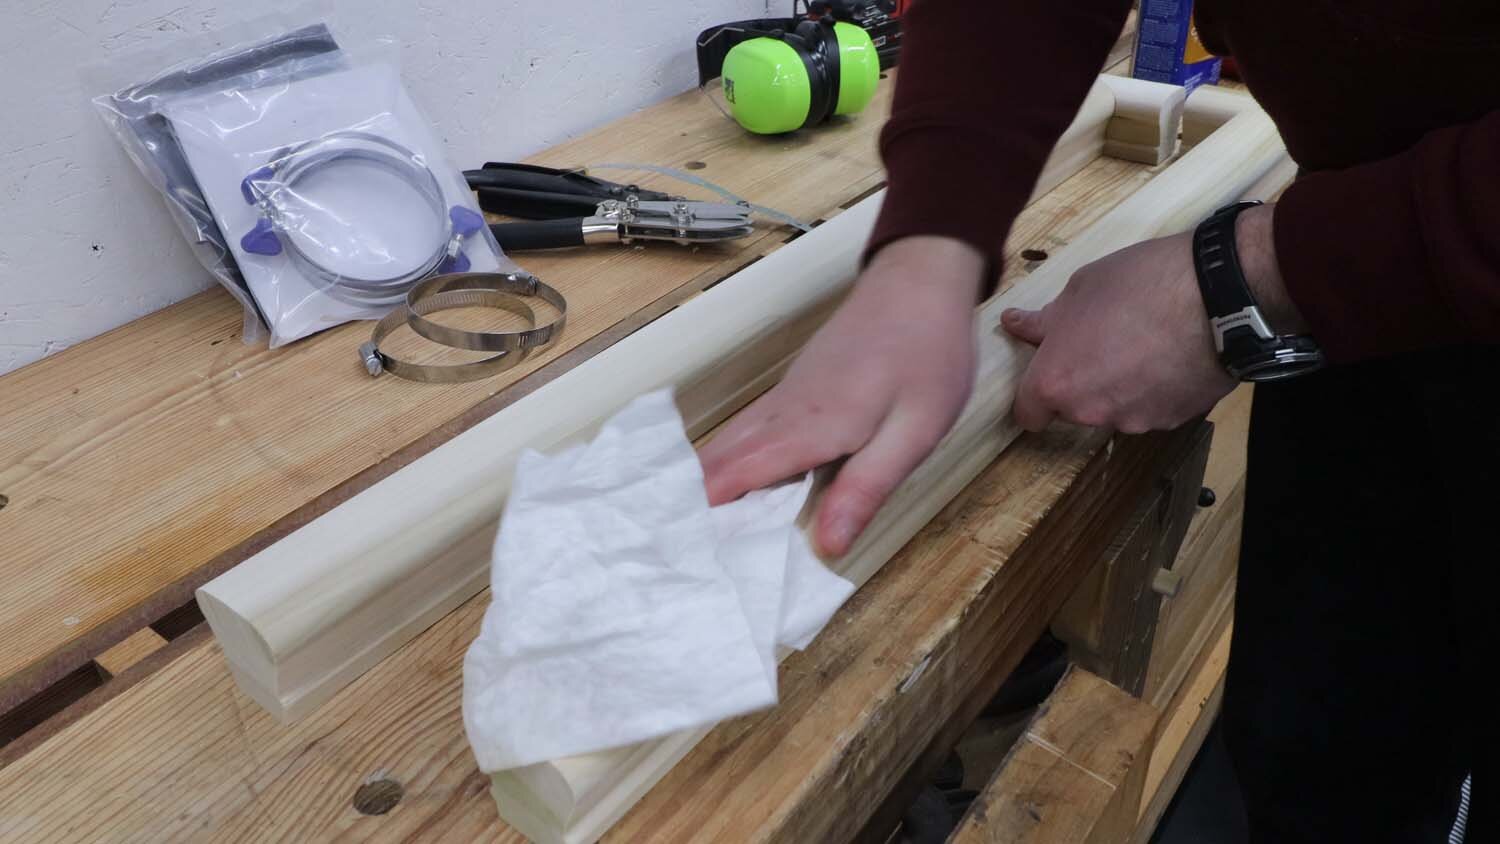
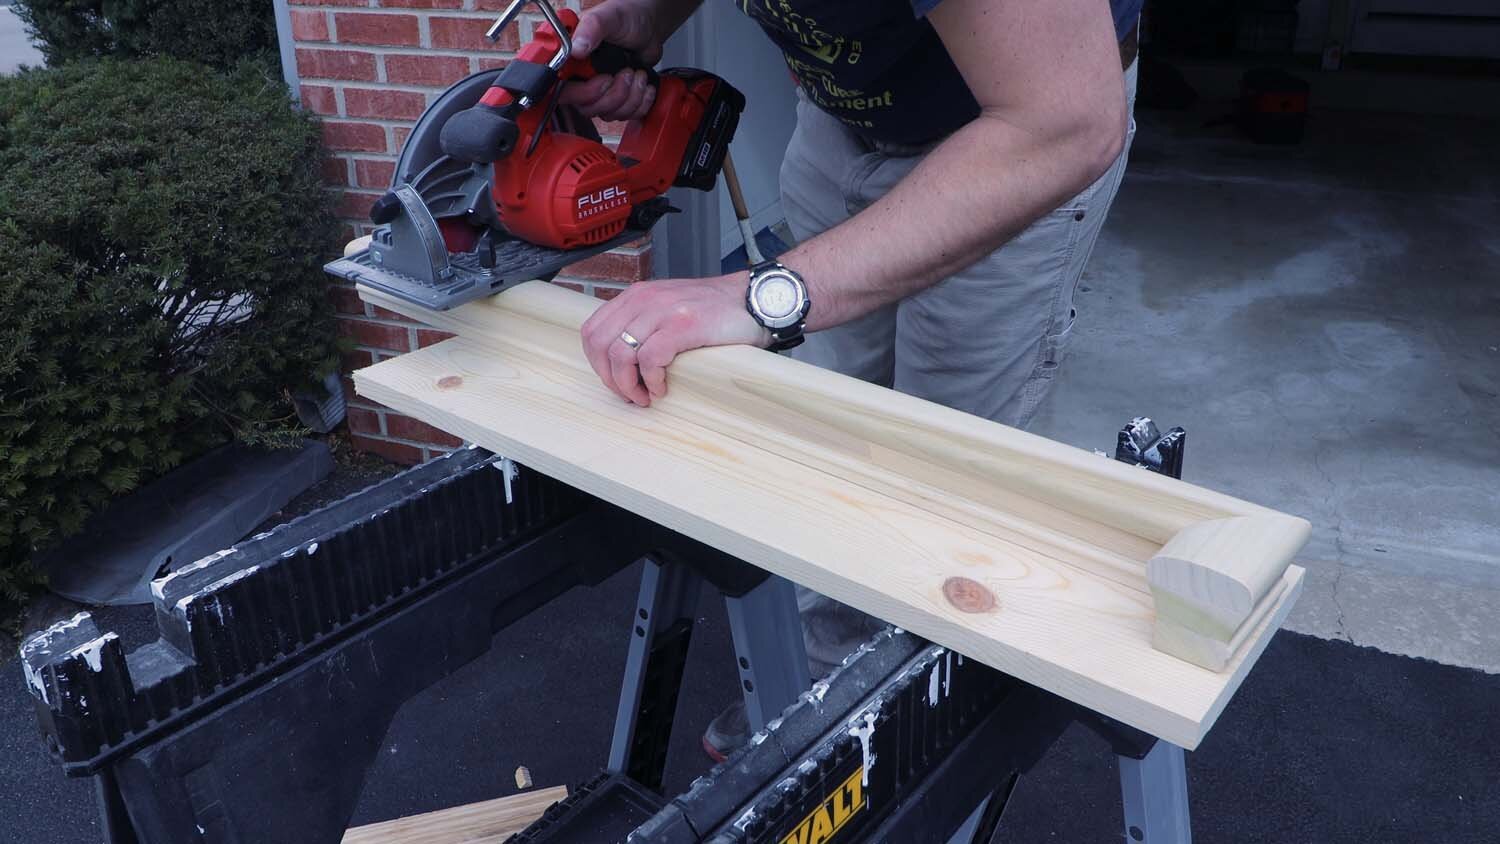
I start by cutting a 45-degree miter on the hand rail for an end return. These end returns are required so that arms, purses, bags, and other things don't get snagged on a free end, which could result in someone falling if they're not expecting it. With the end returns applied, I go through the process of sanding and sealing the rails. I wipe off the sanding dust with mineral spirits.
In total, I applied three coats of a water-based polyurethane, lightly sanding between coats, and wiping off the sanding dust with a tack cloth.


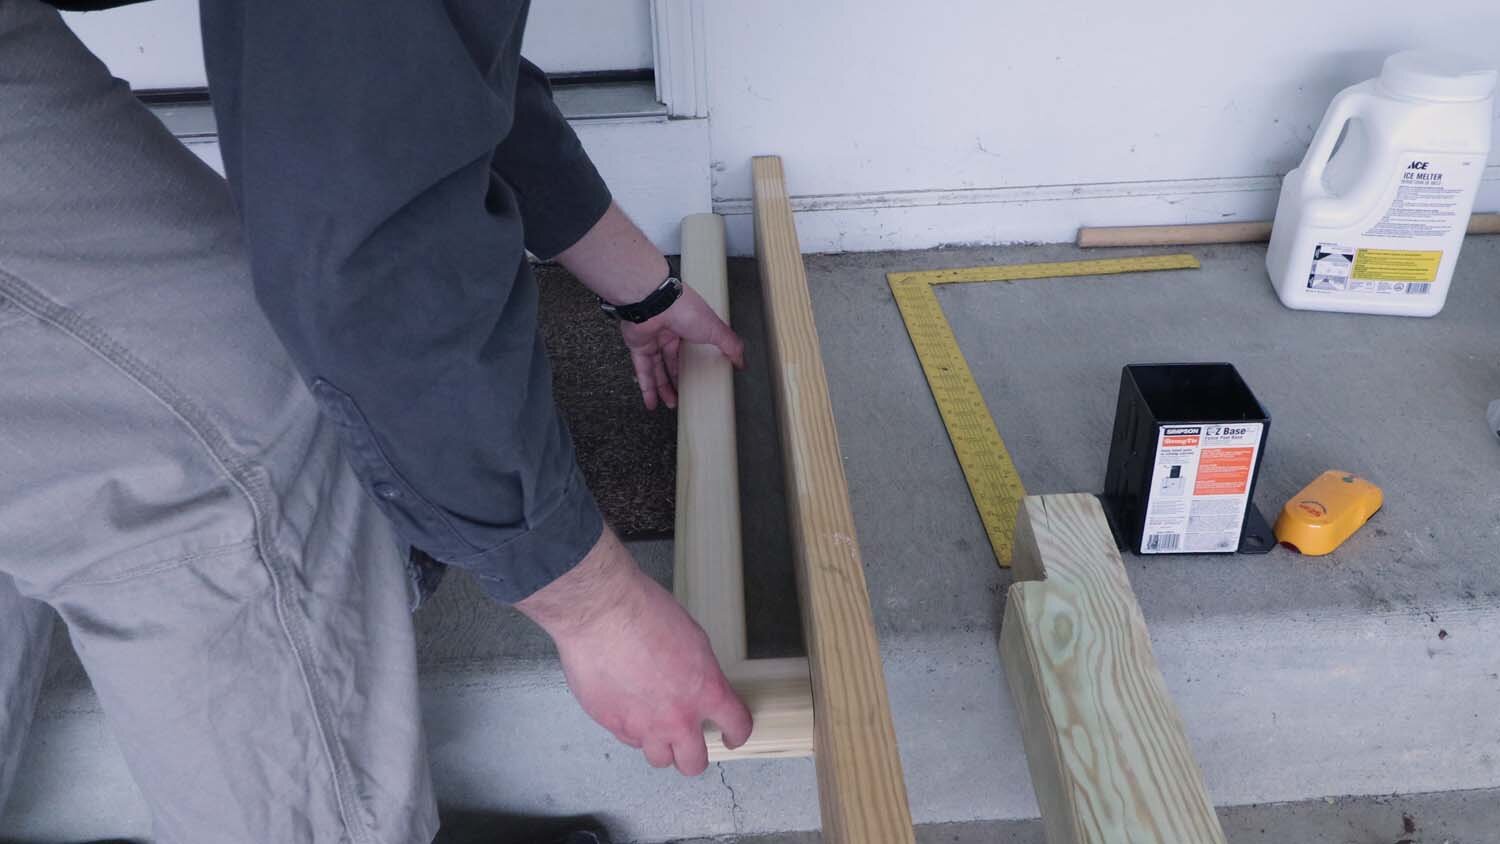
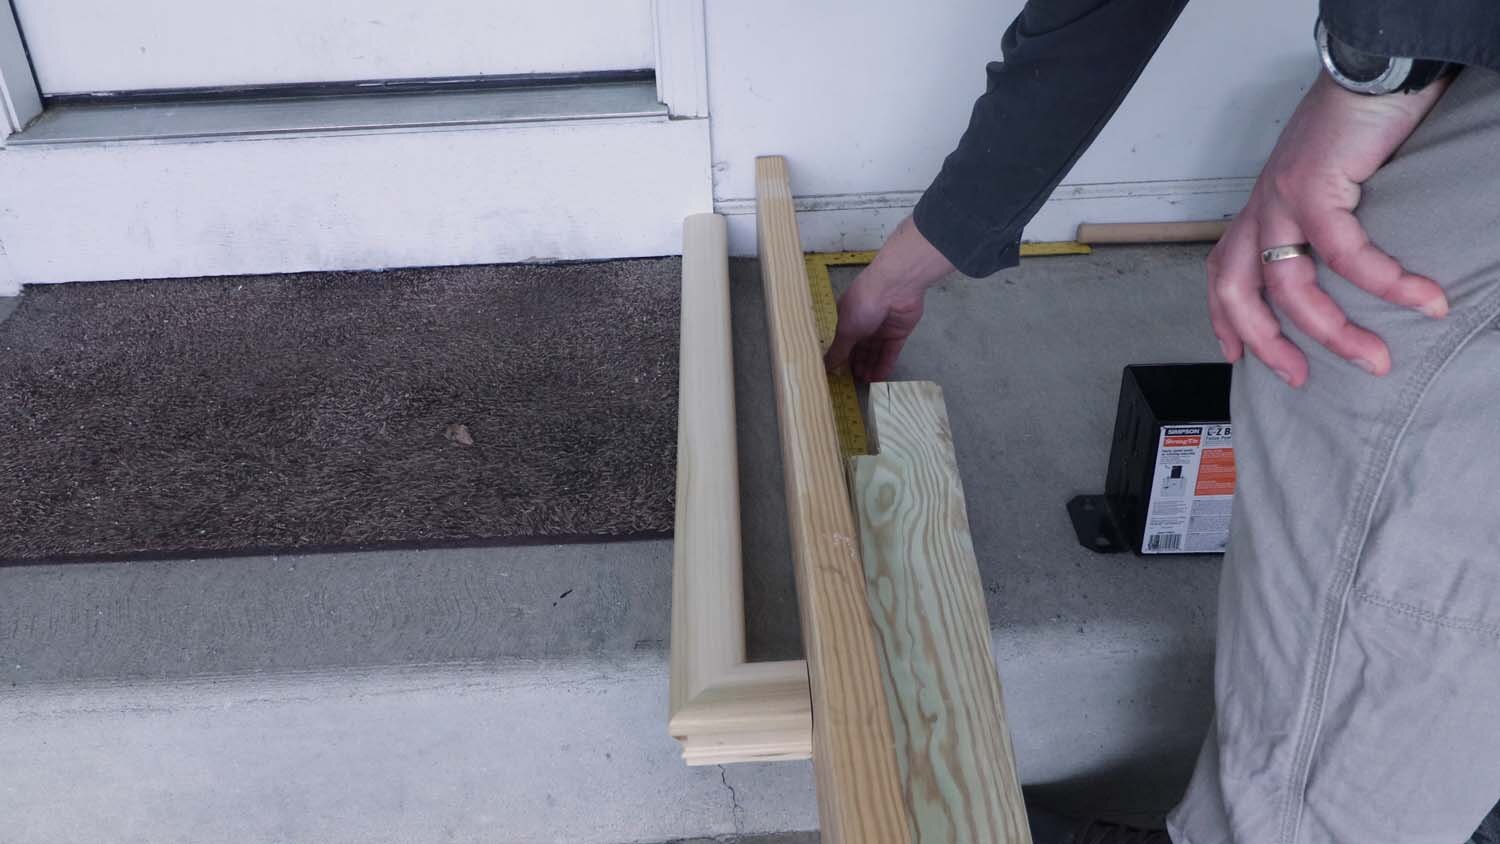
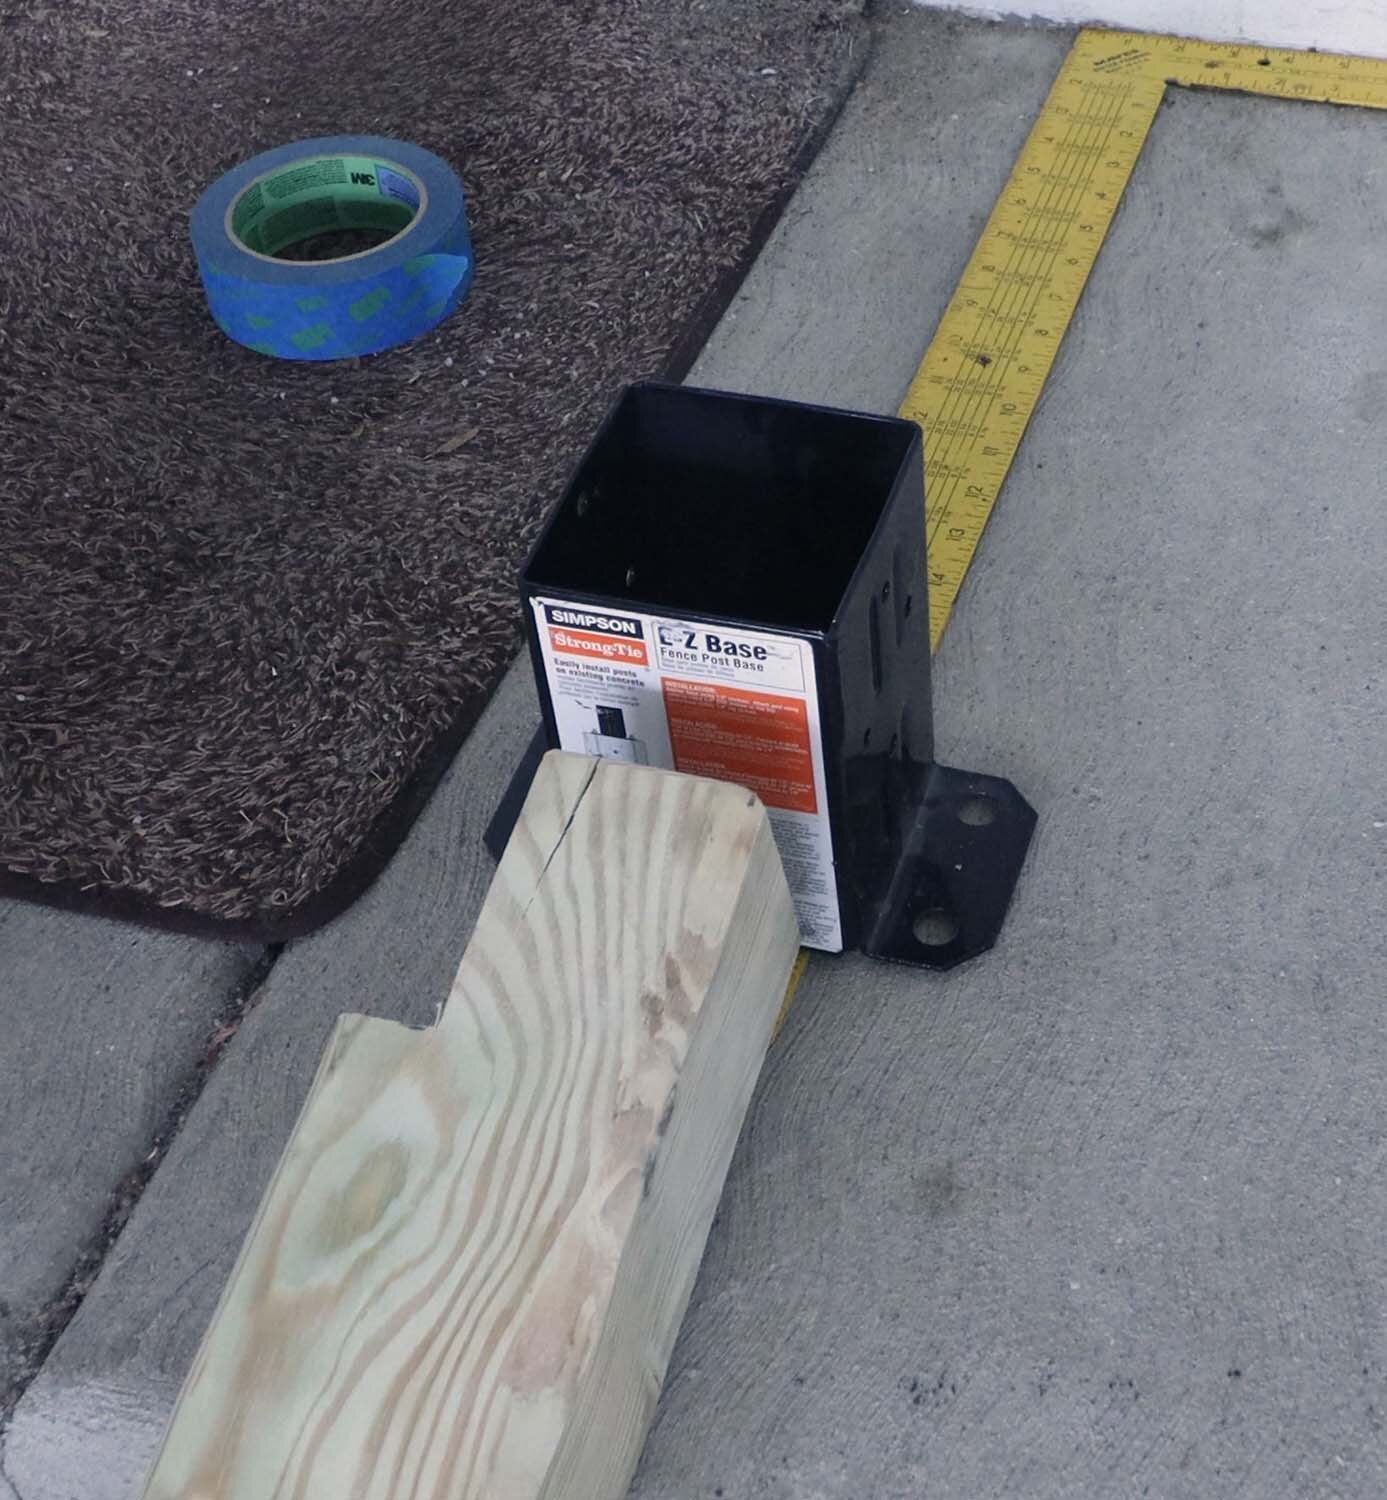
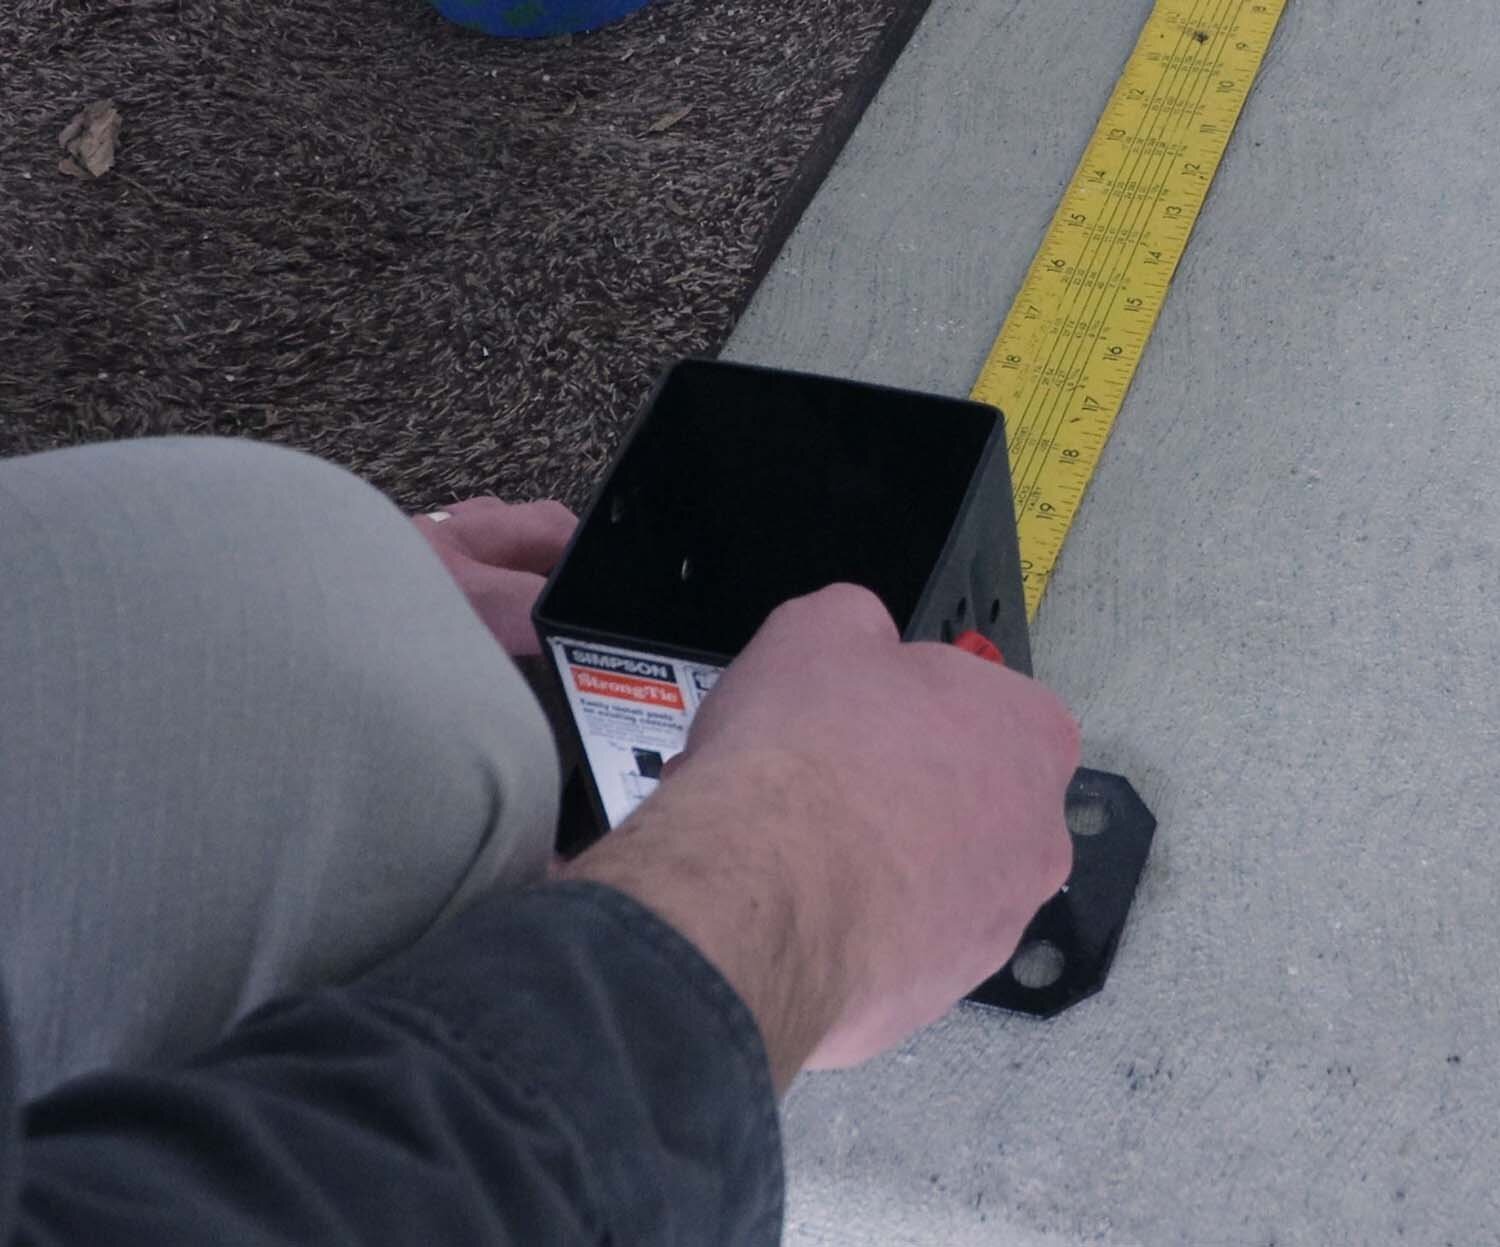
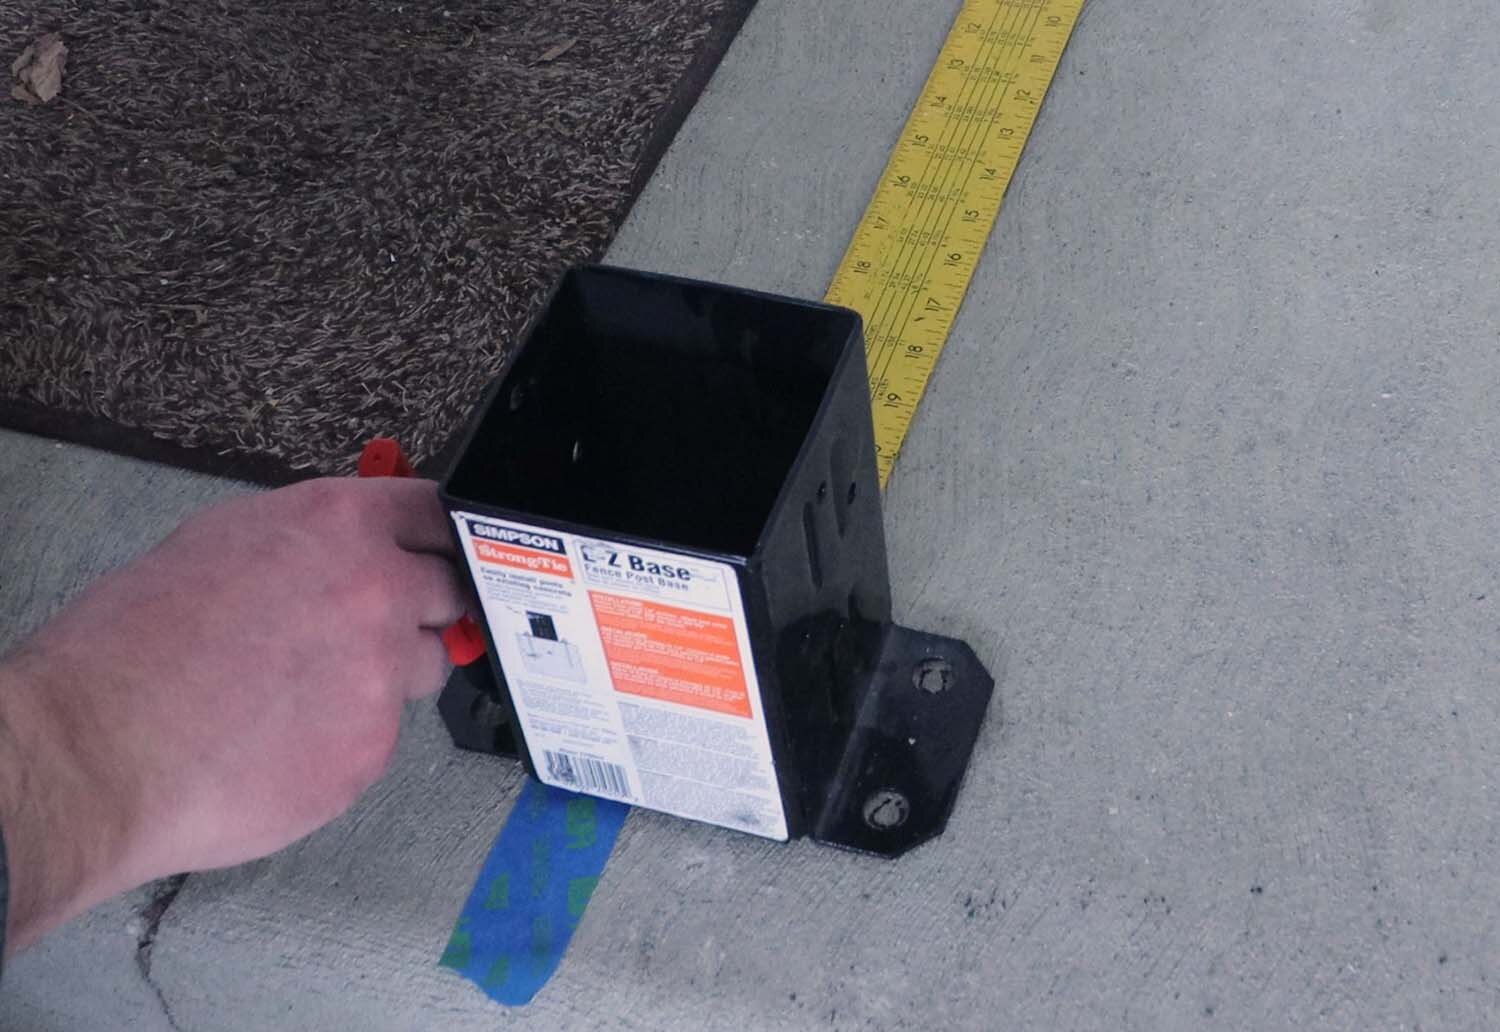
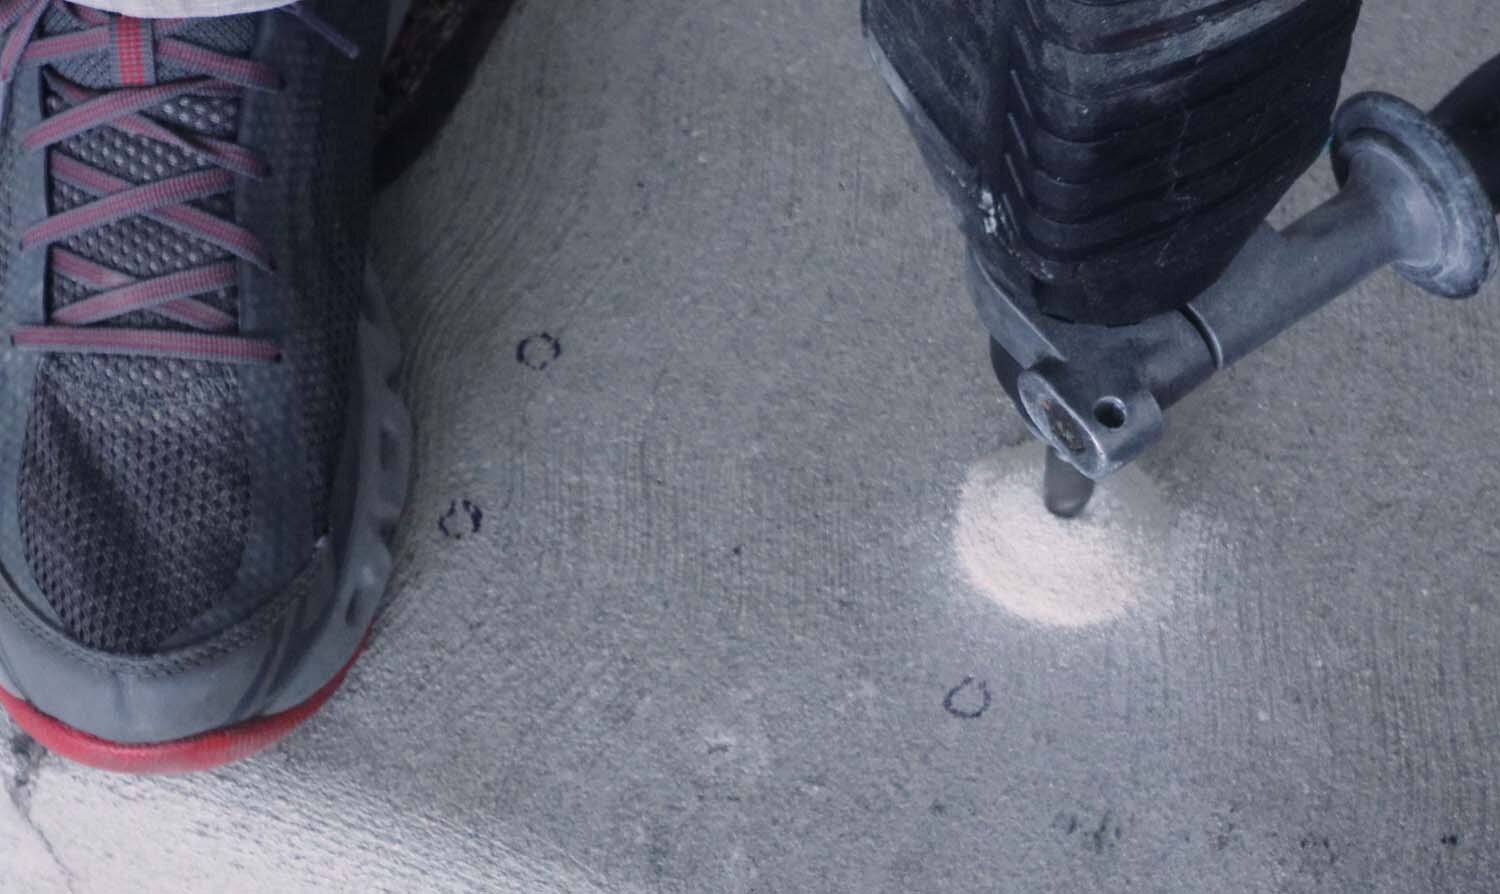
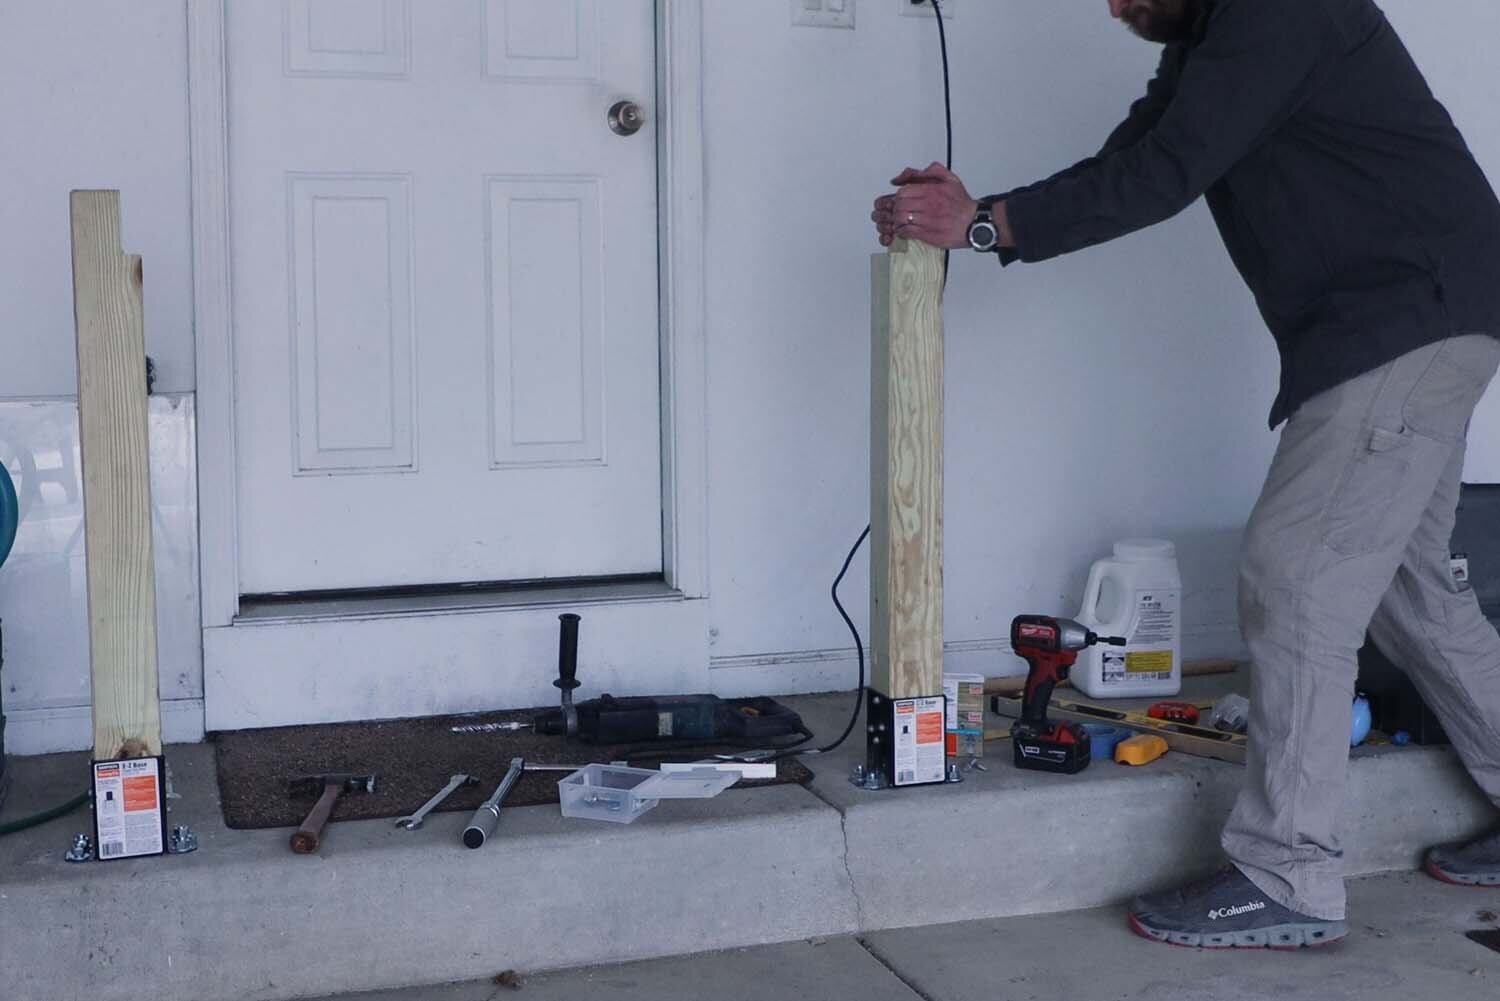
Now back to the garage and laying out for the posts. I want the rails to be set back slightly from the door jamb. Using the notch to locate the post, I set the location of the post base back about 3" from the edge of the concrete step.
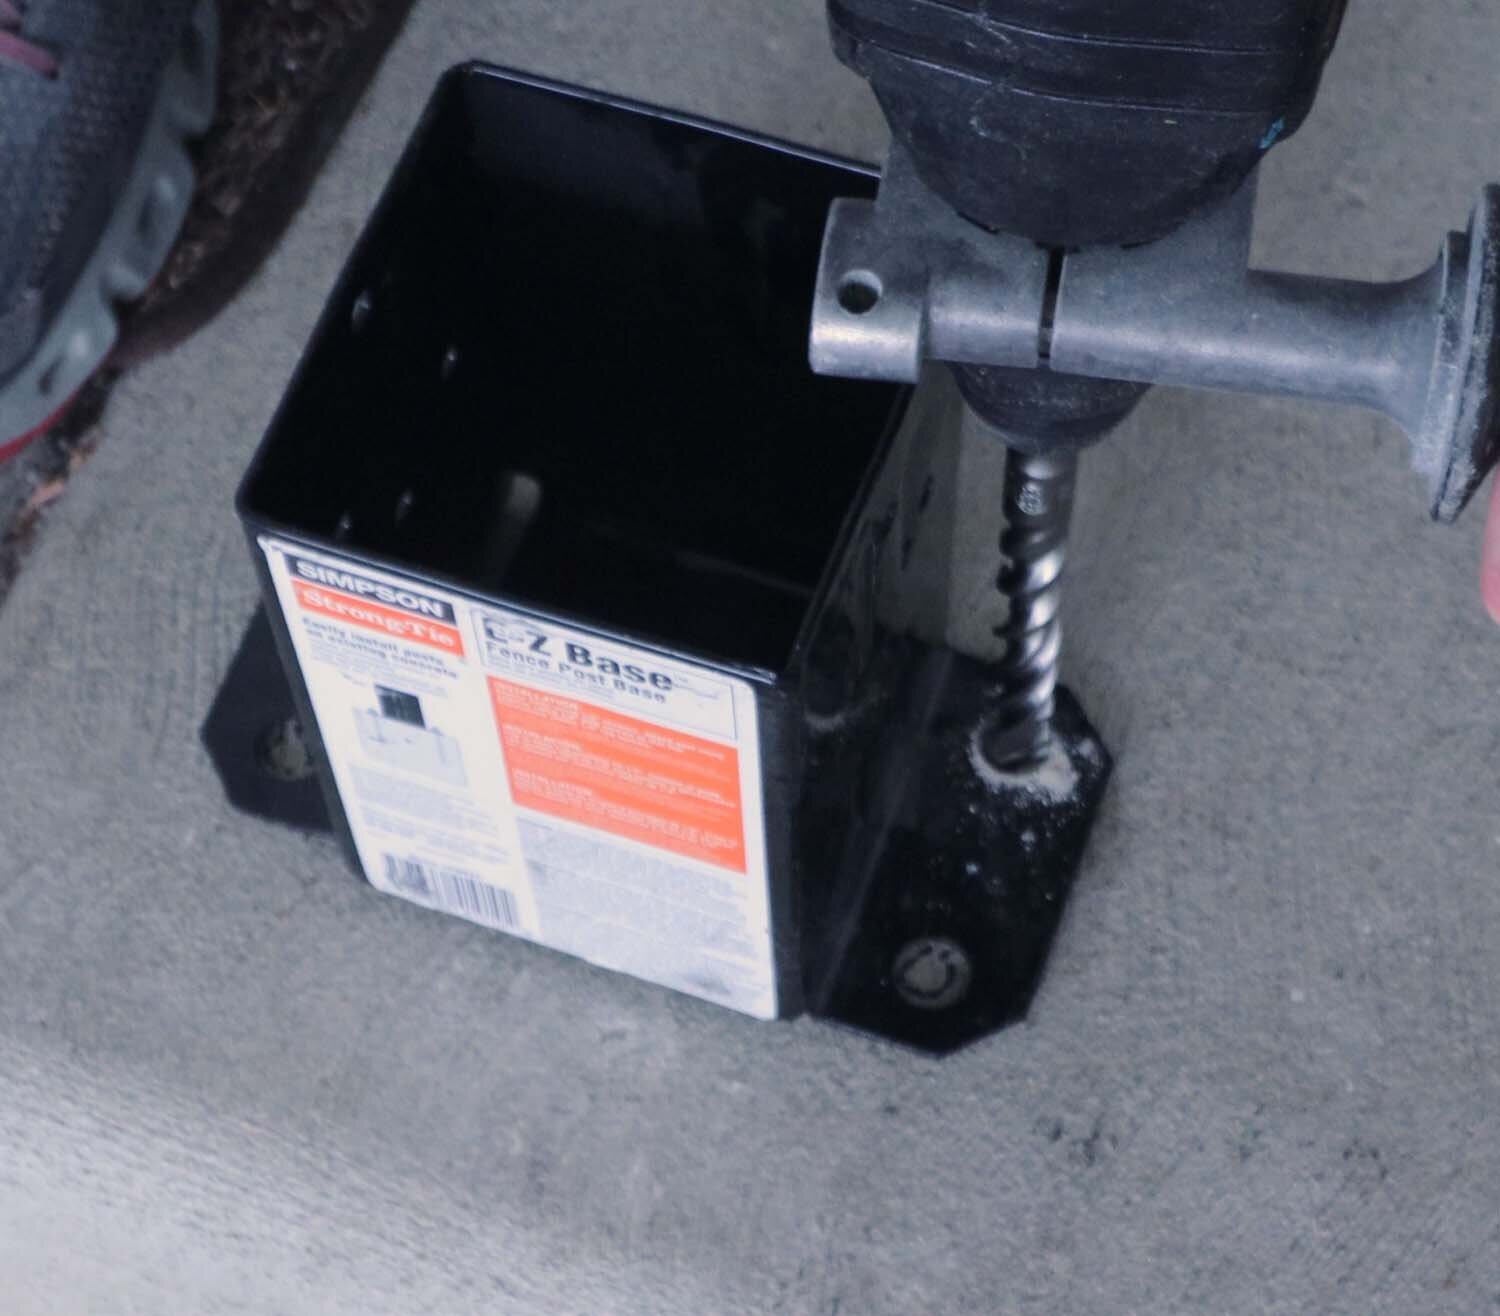
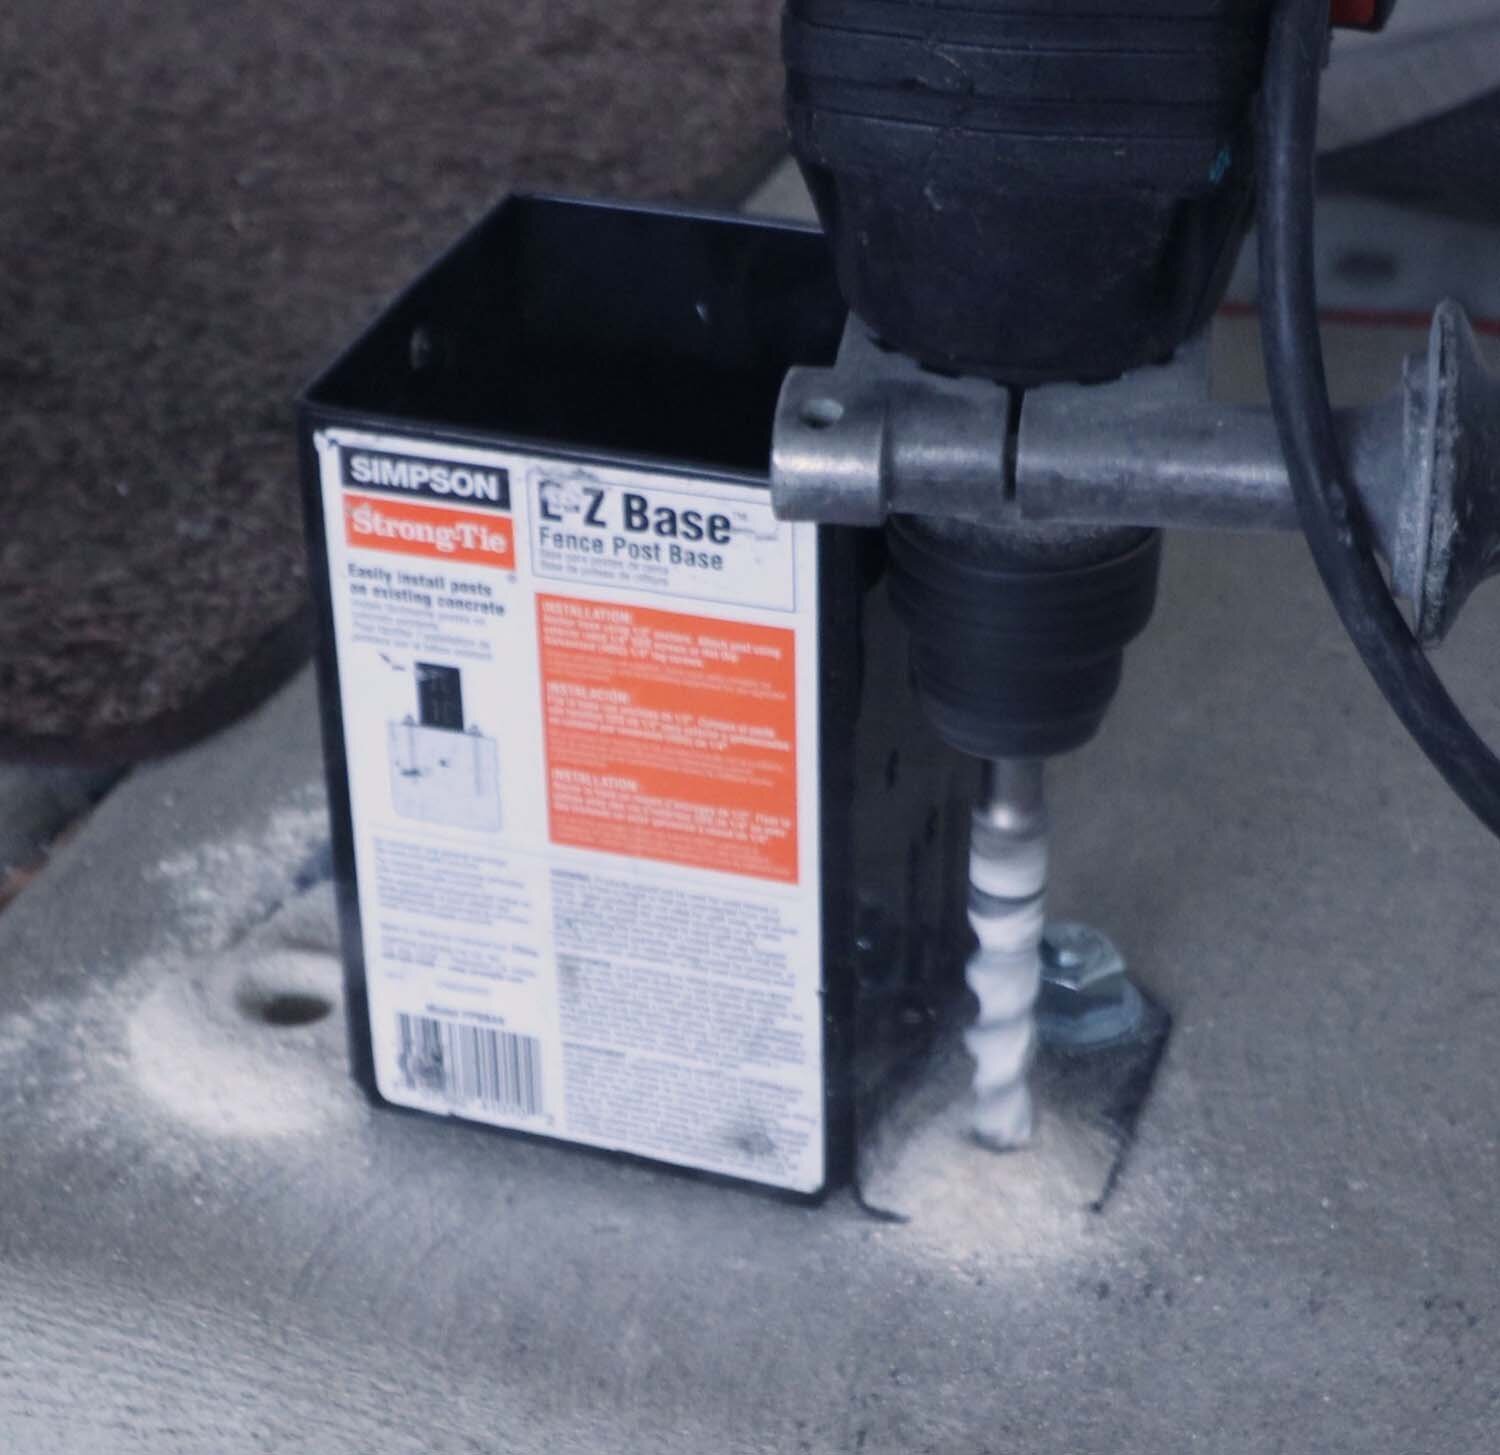
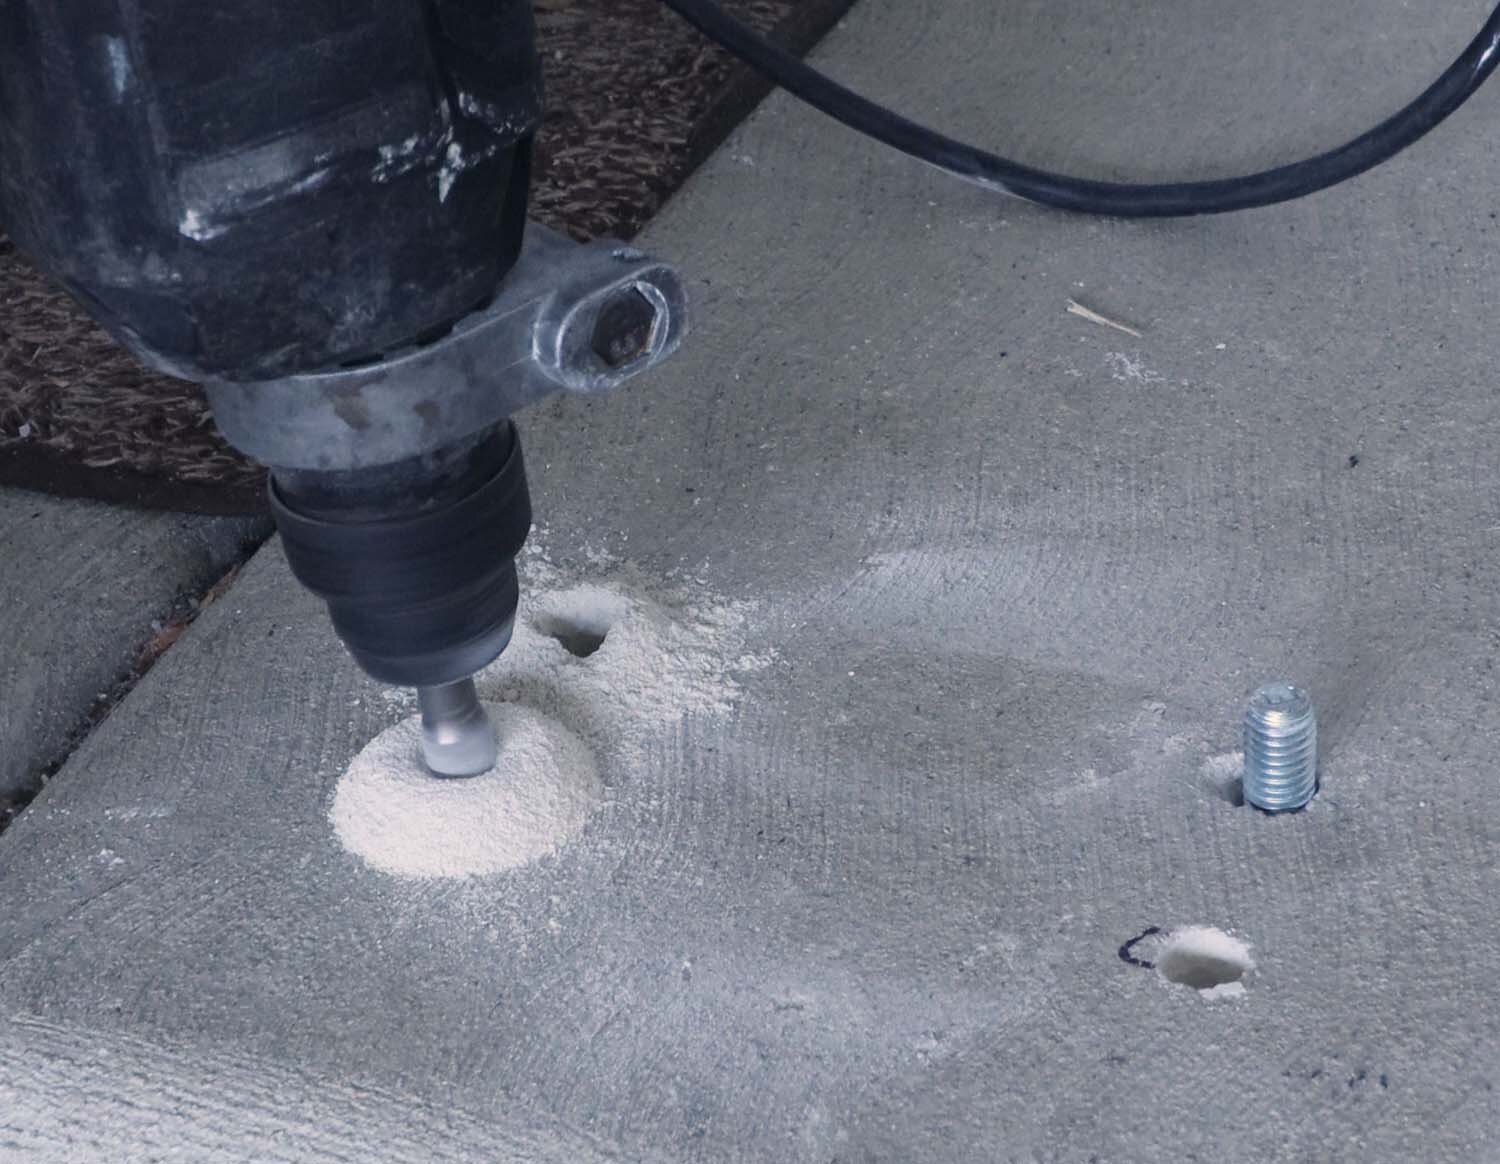
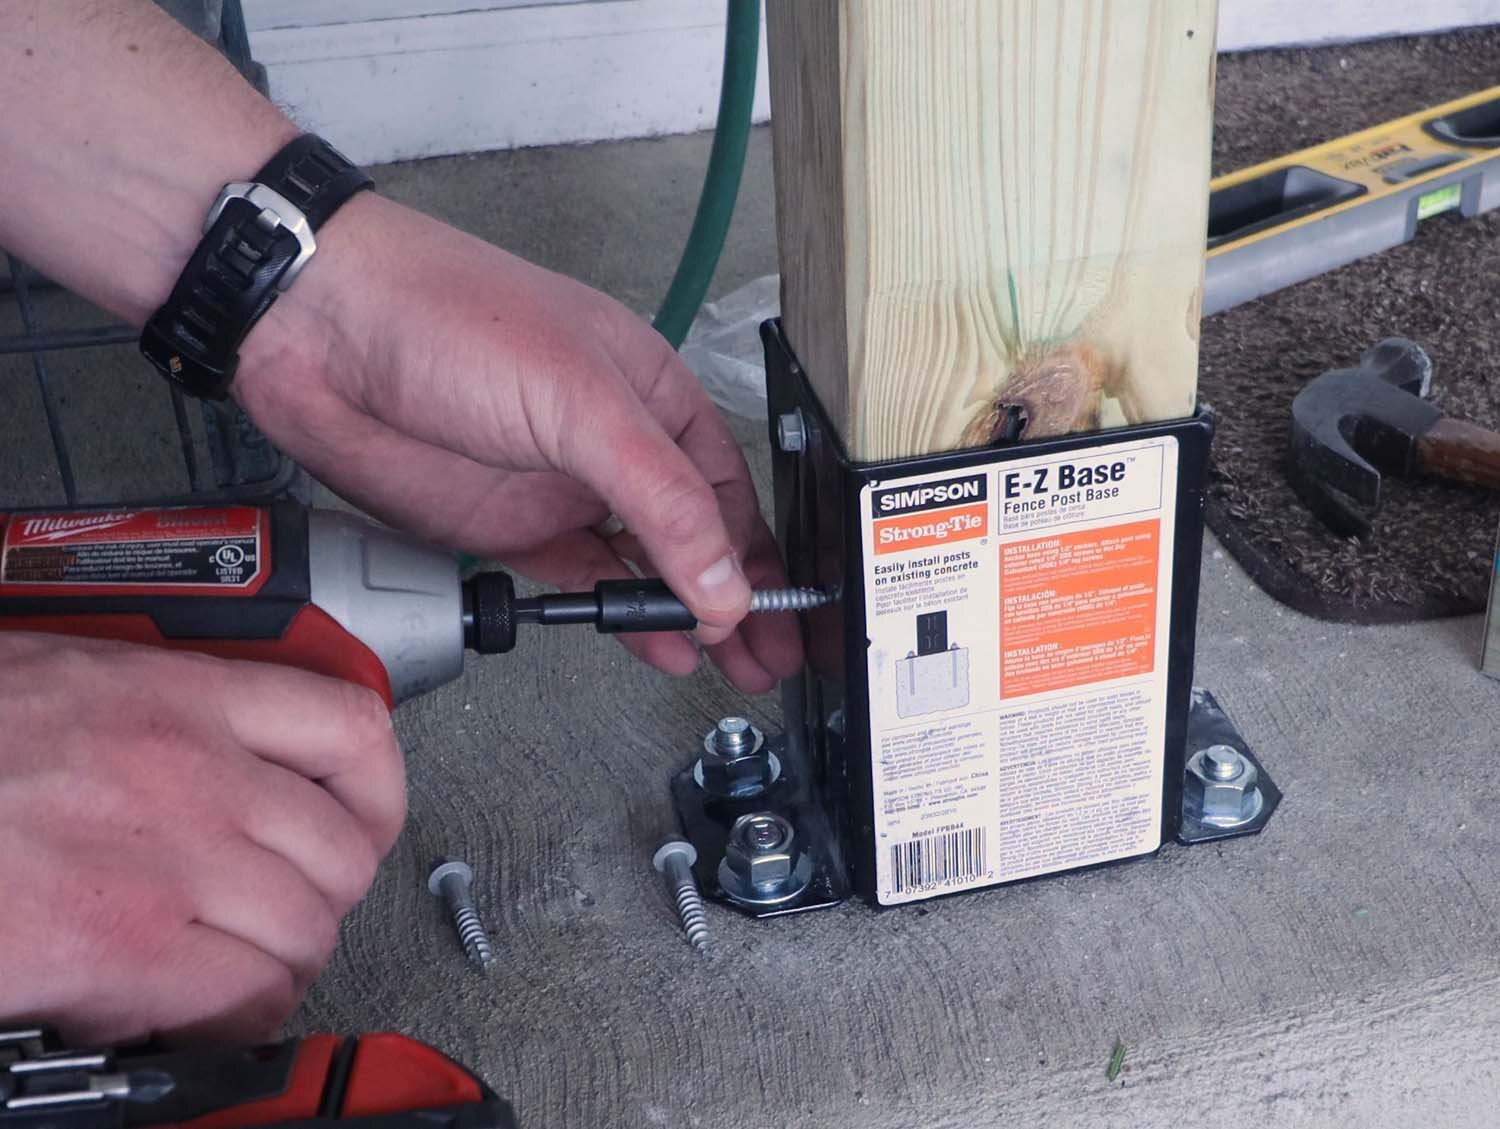
Since this post base takes four anchors, I start first by drilling for one anchor. I get the anchor snug tight, without torquing it to final spec. This helps me get the other holes perfectly aligned, since now the post base won't move as I'm drilling.
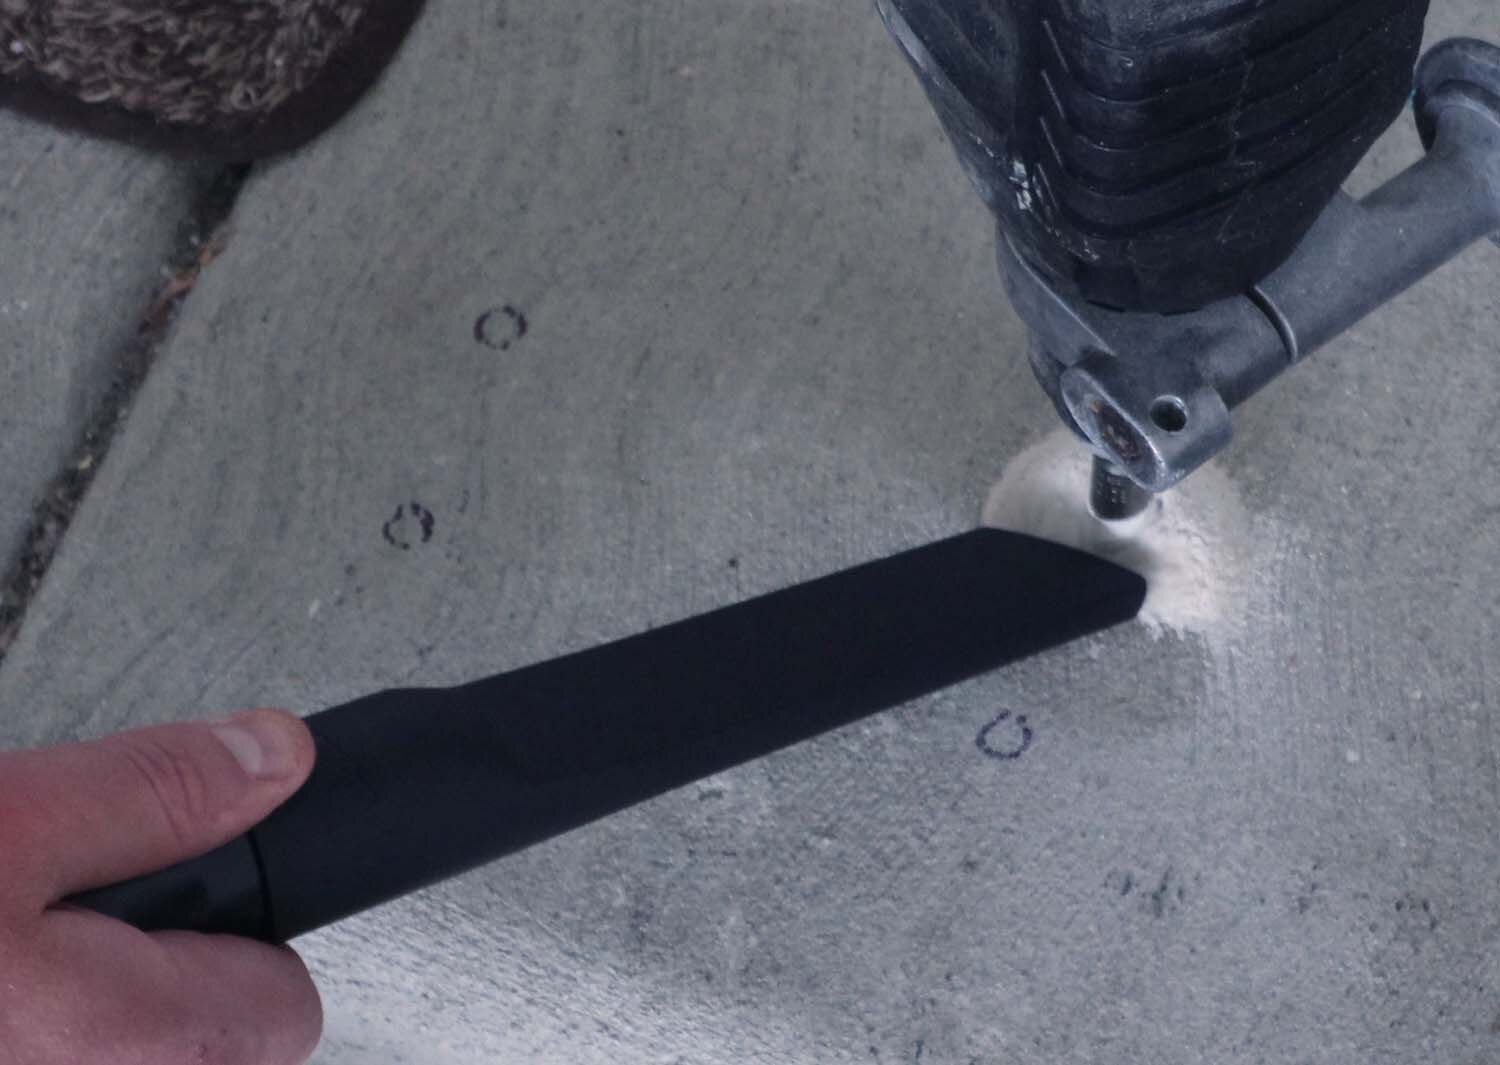
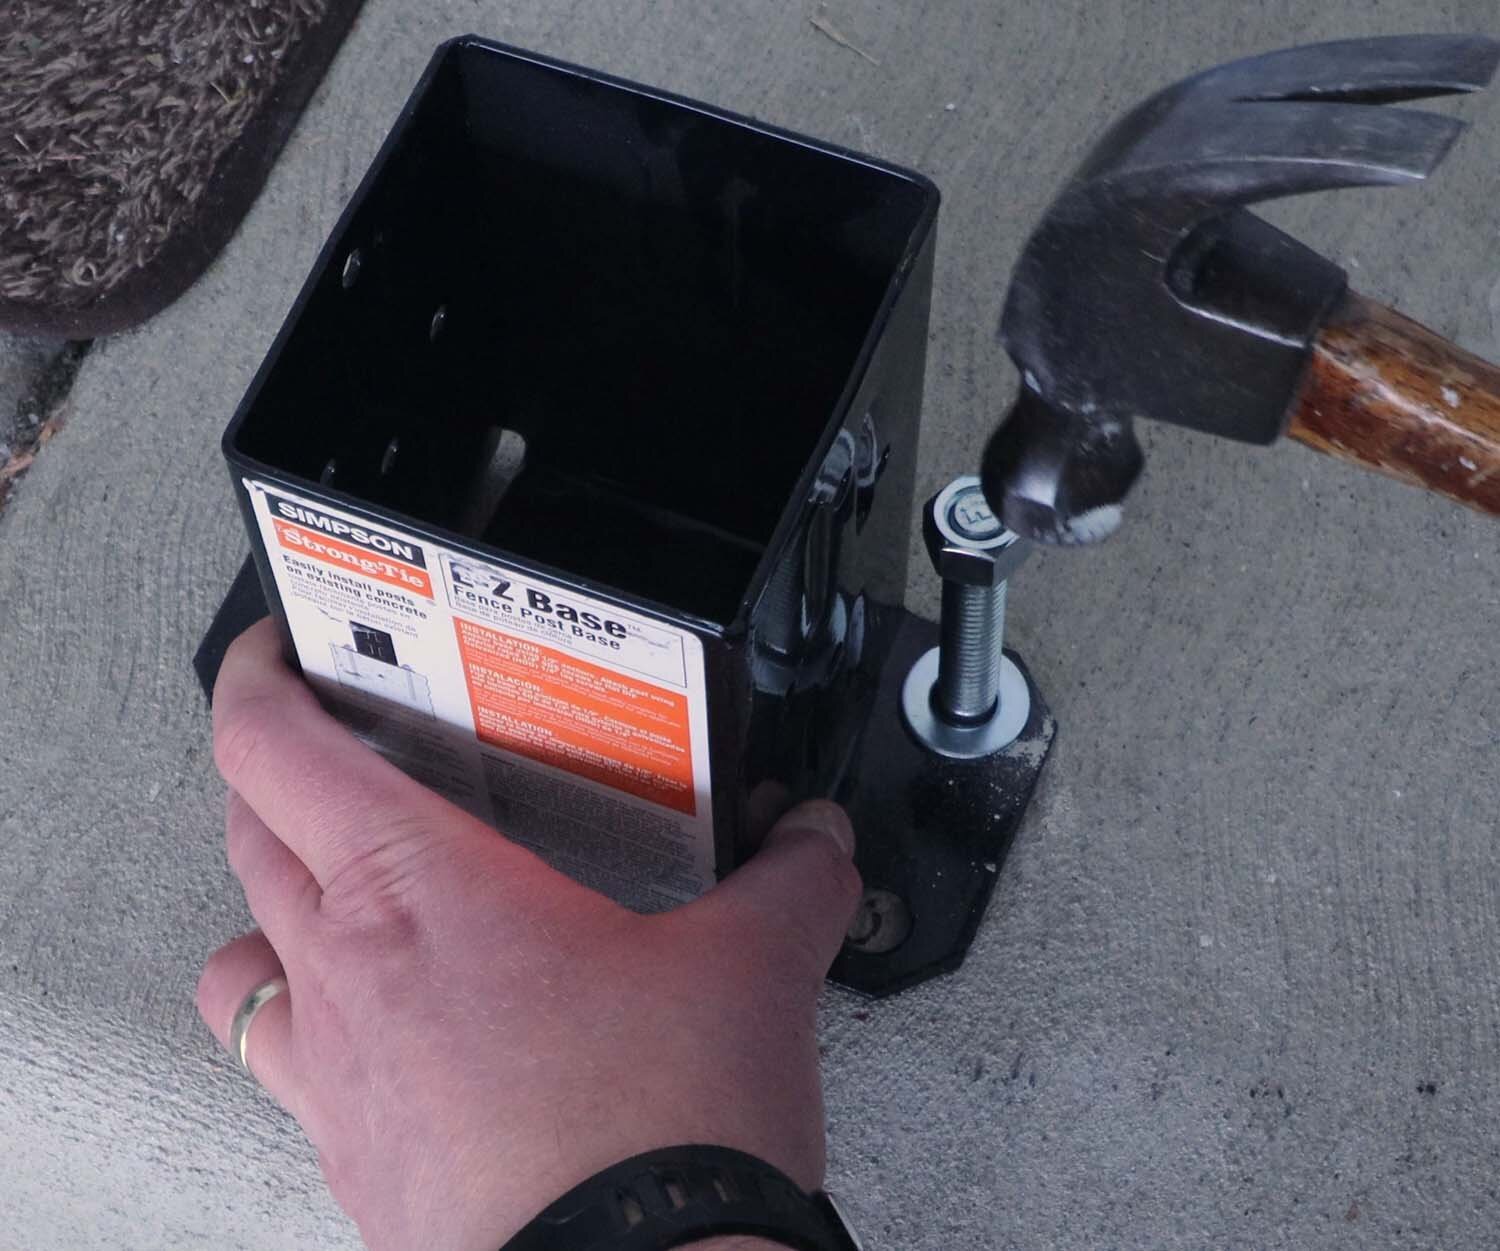
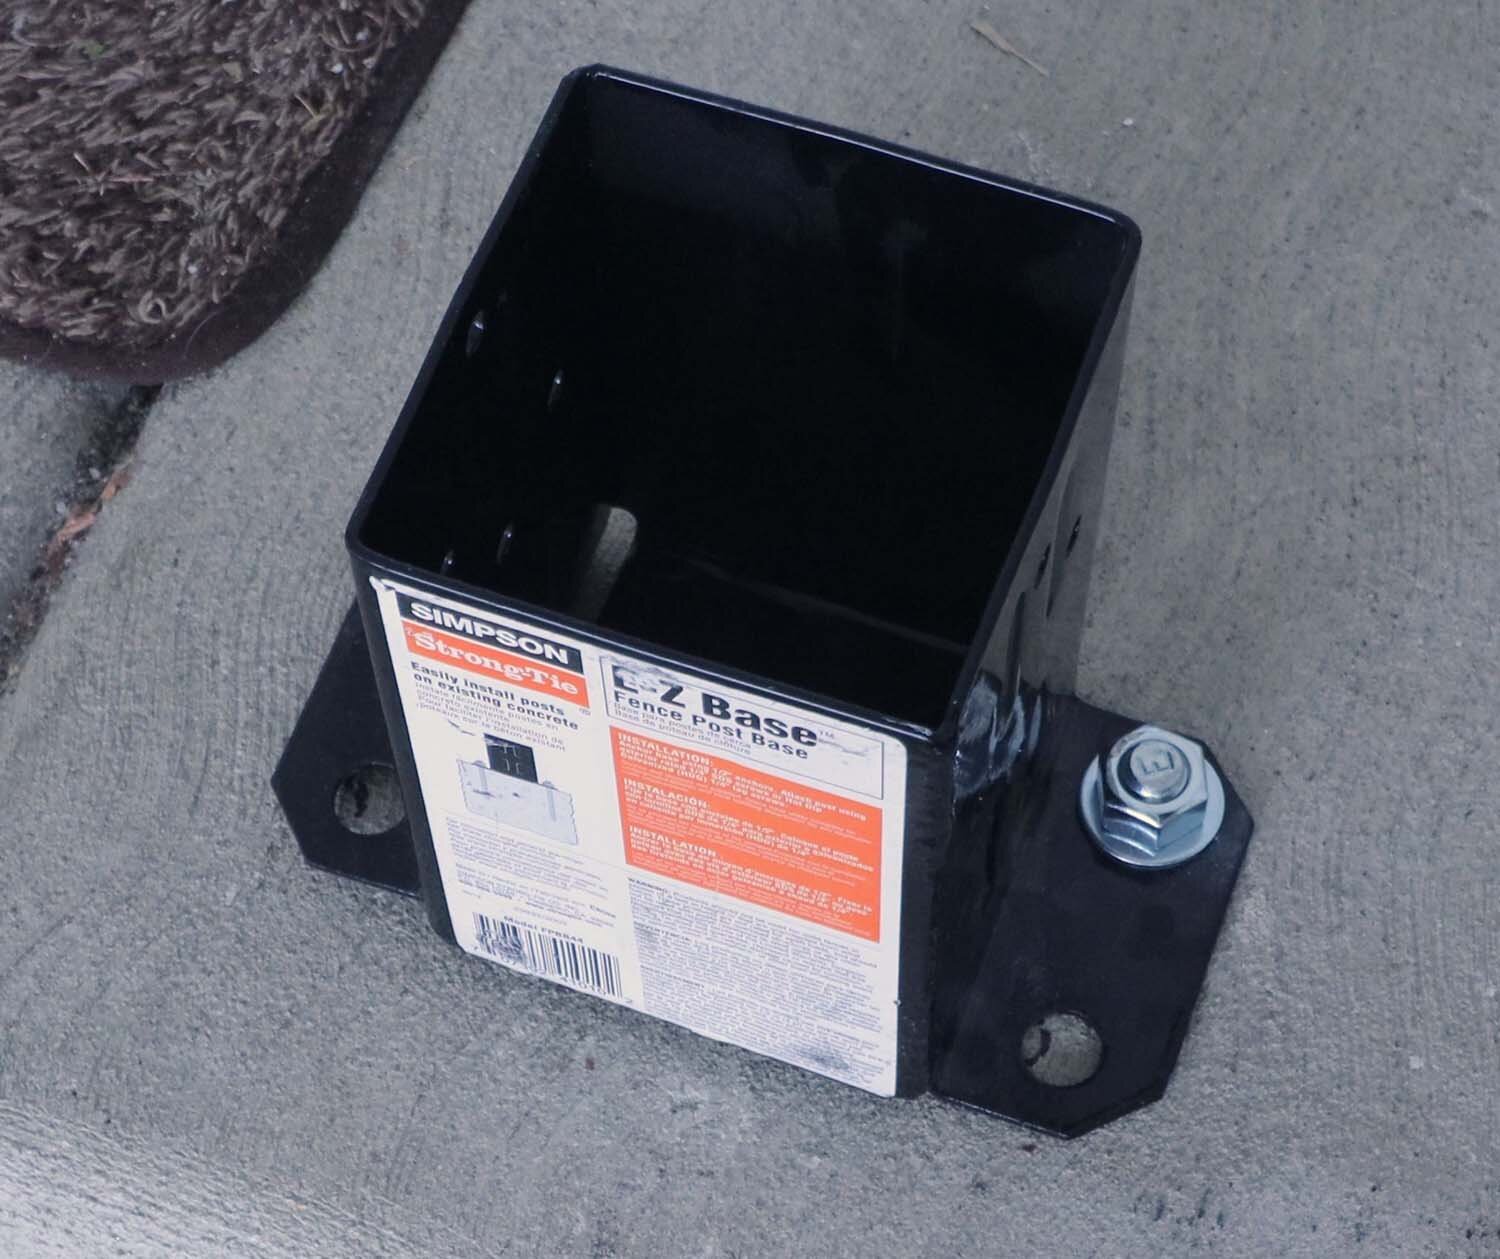
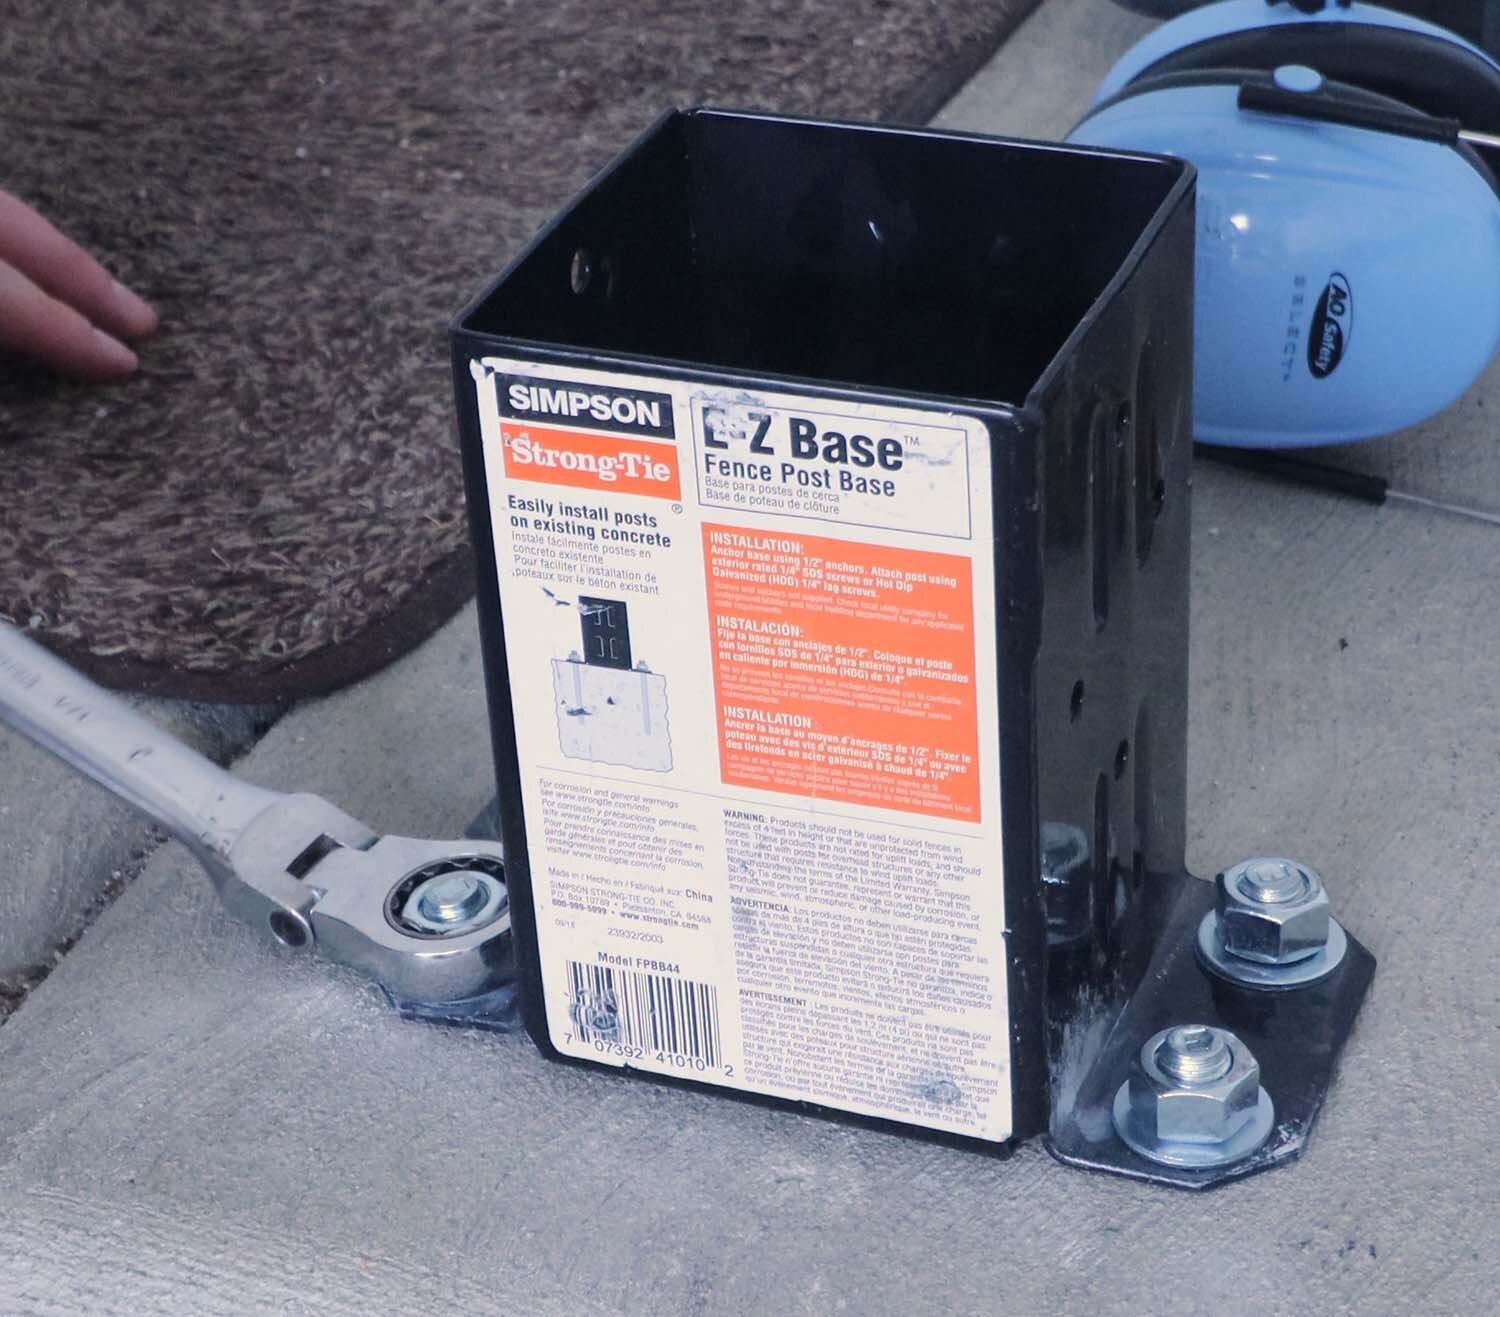
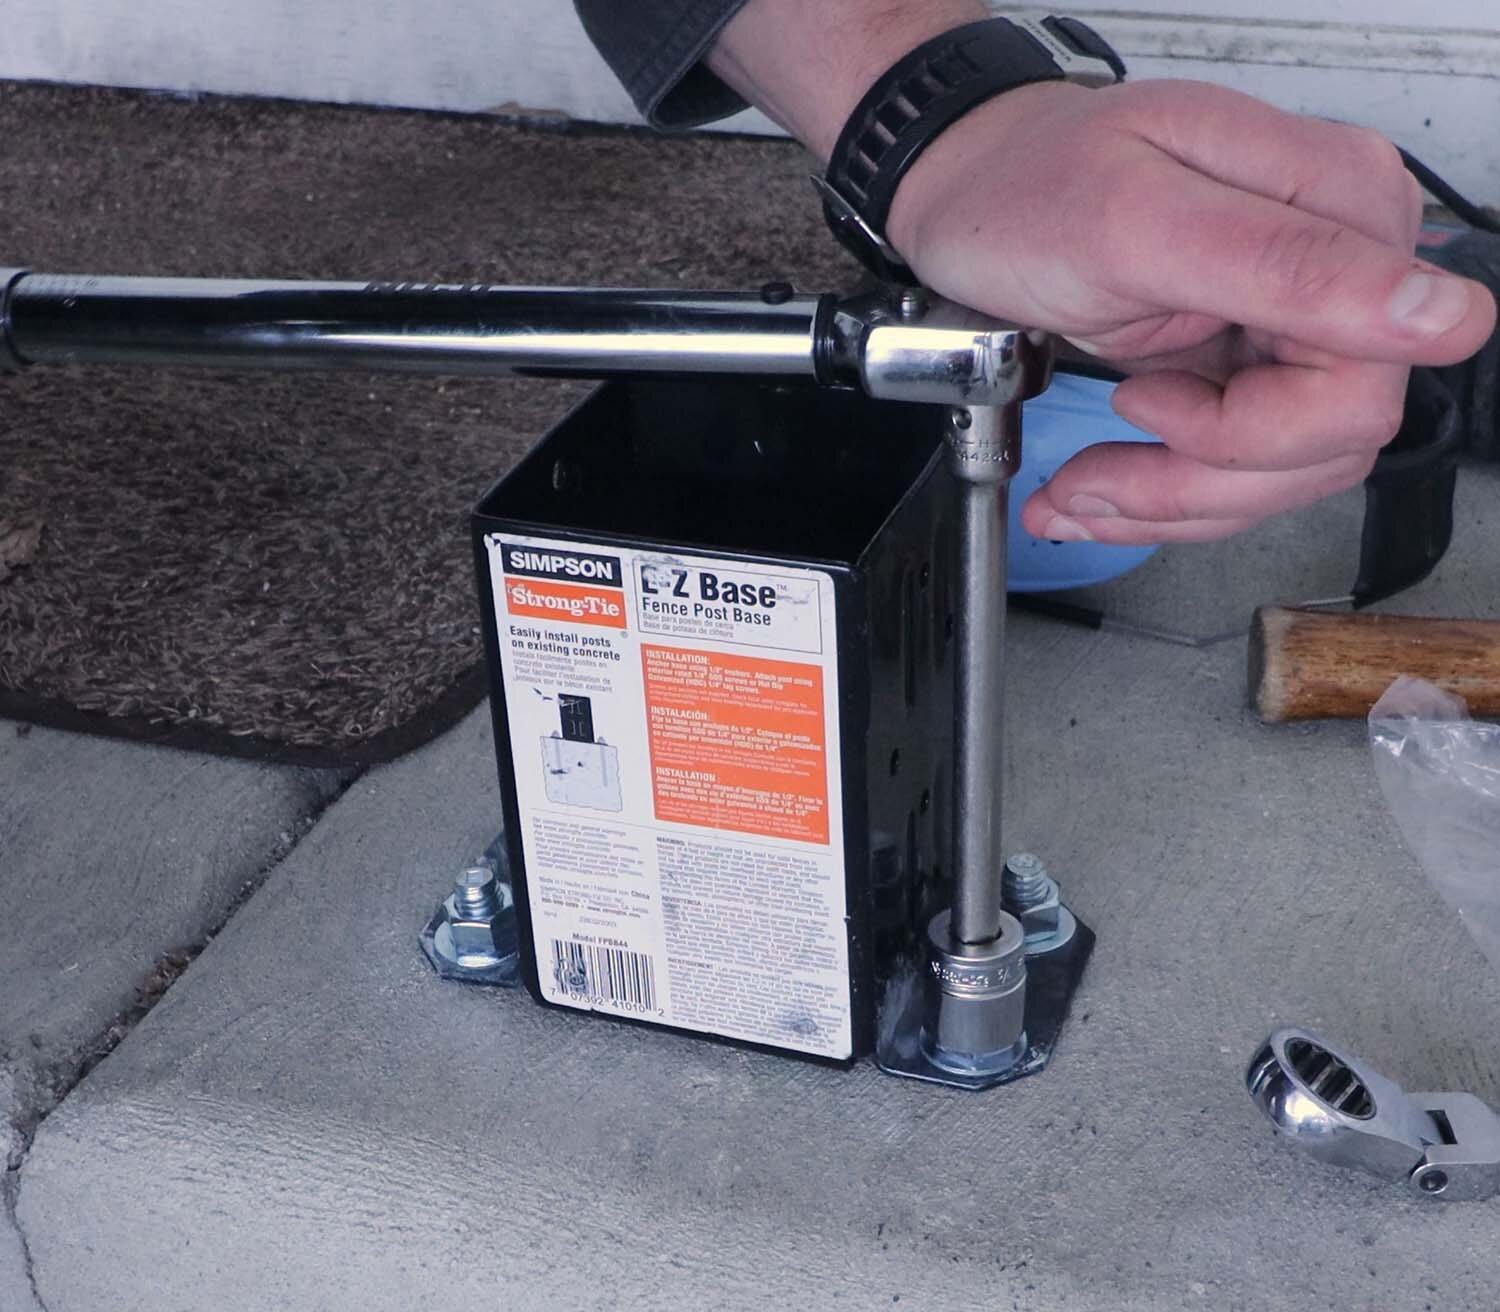
With the wedge anchors installed, I torque them to spec (50 ft-lbs for these particular anchors). This ensures that the wedge is properly set into the concrete, giving you the maximum tensile capacity. I then repeat the process for the other post.
These posts are just slightly too large to slip into the post bases, so I had to shave them with a power planer.
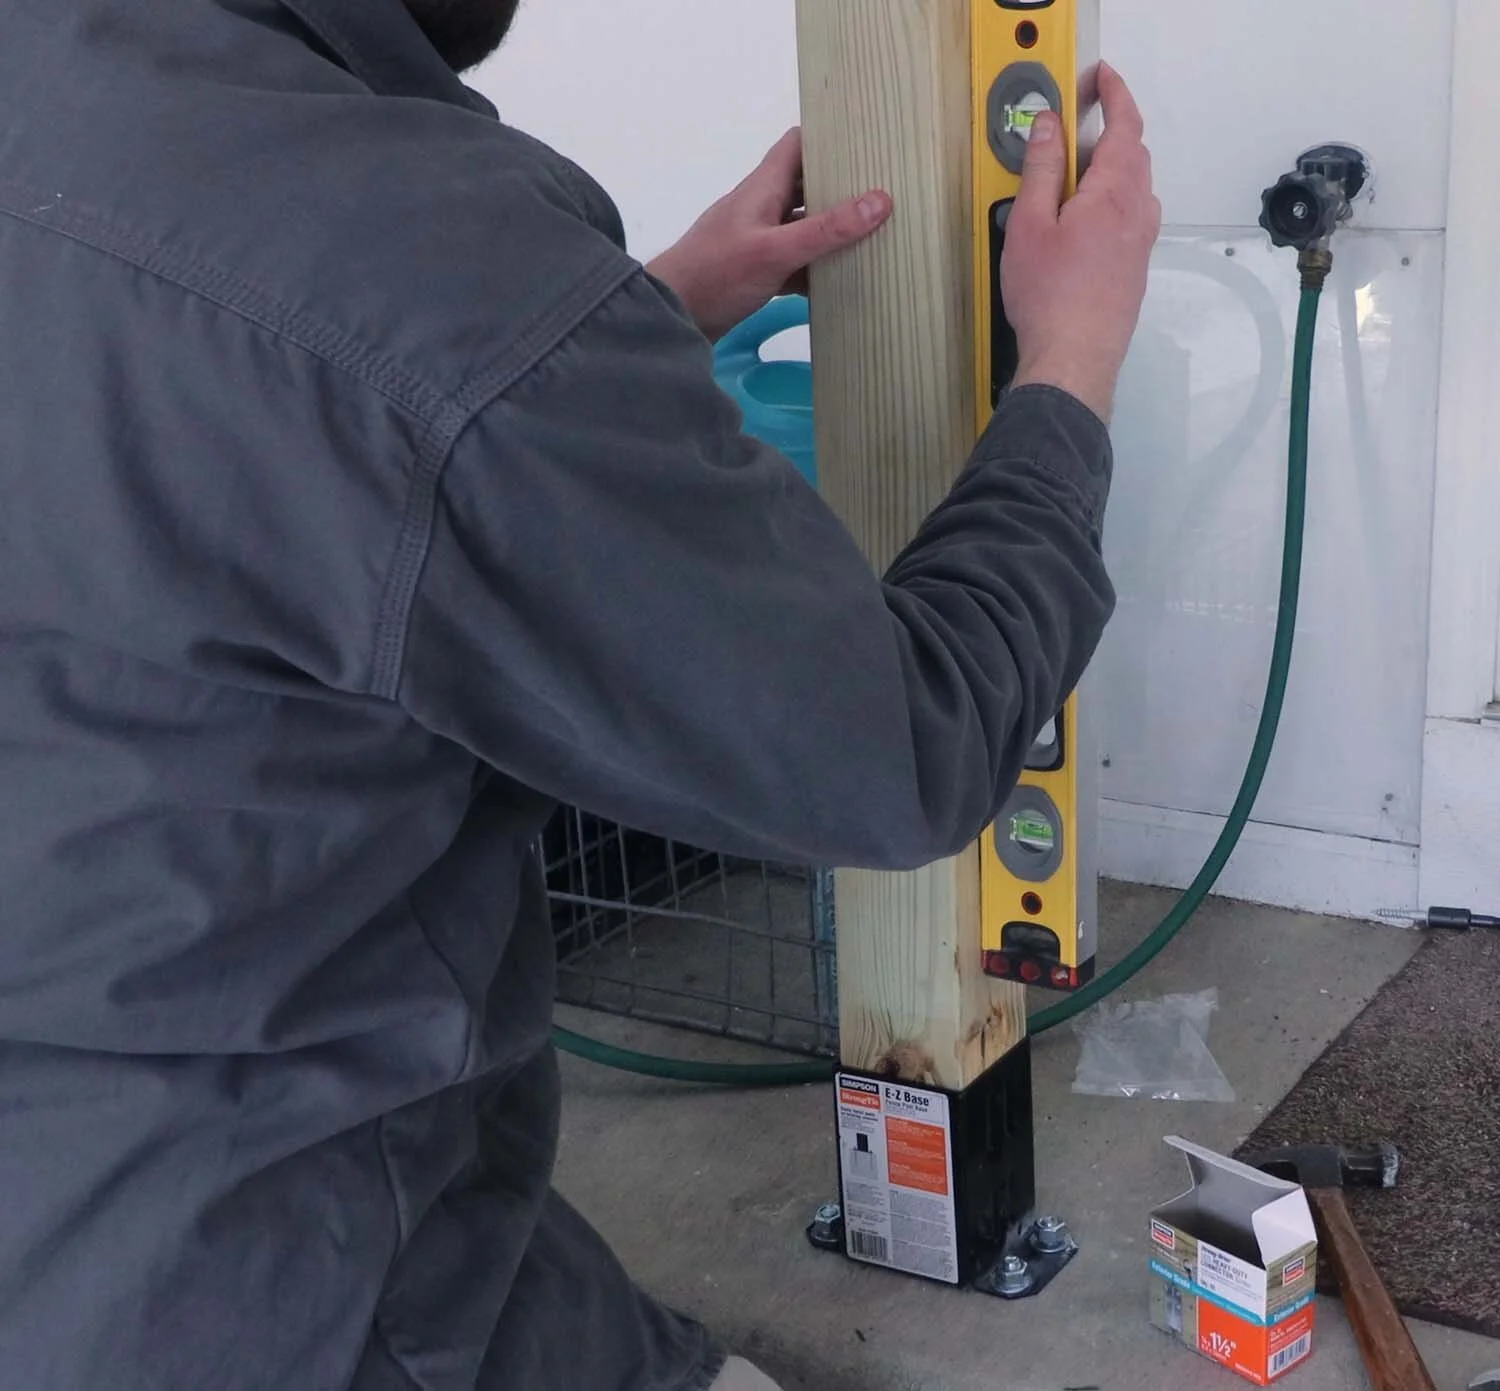
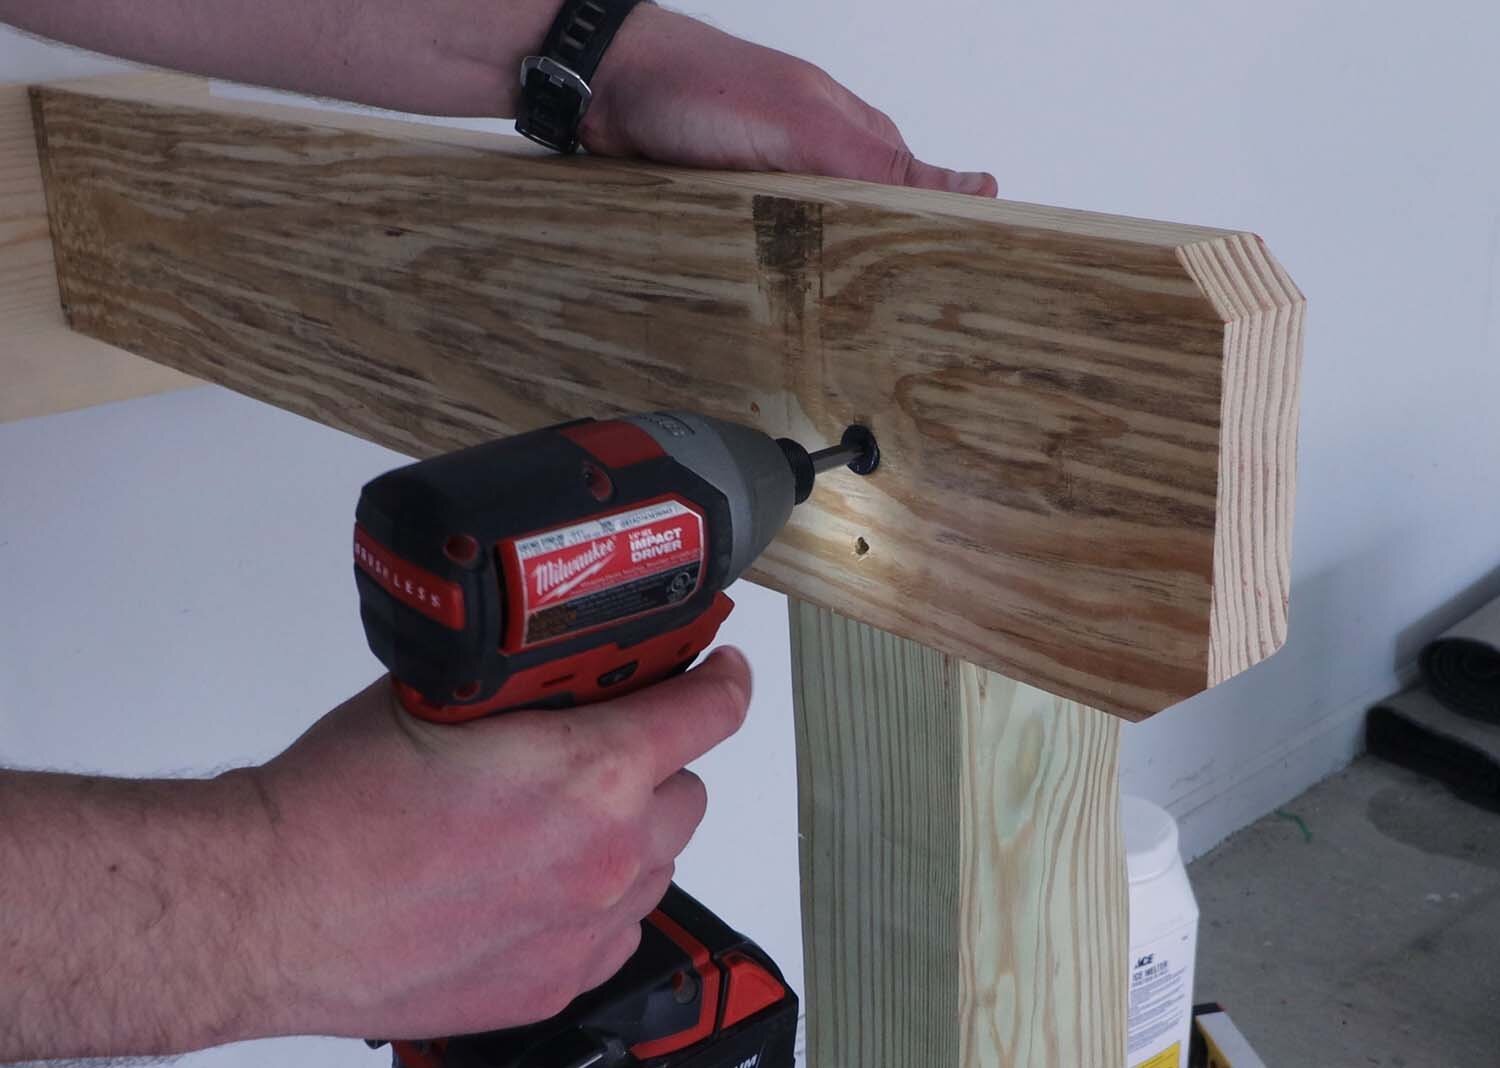
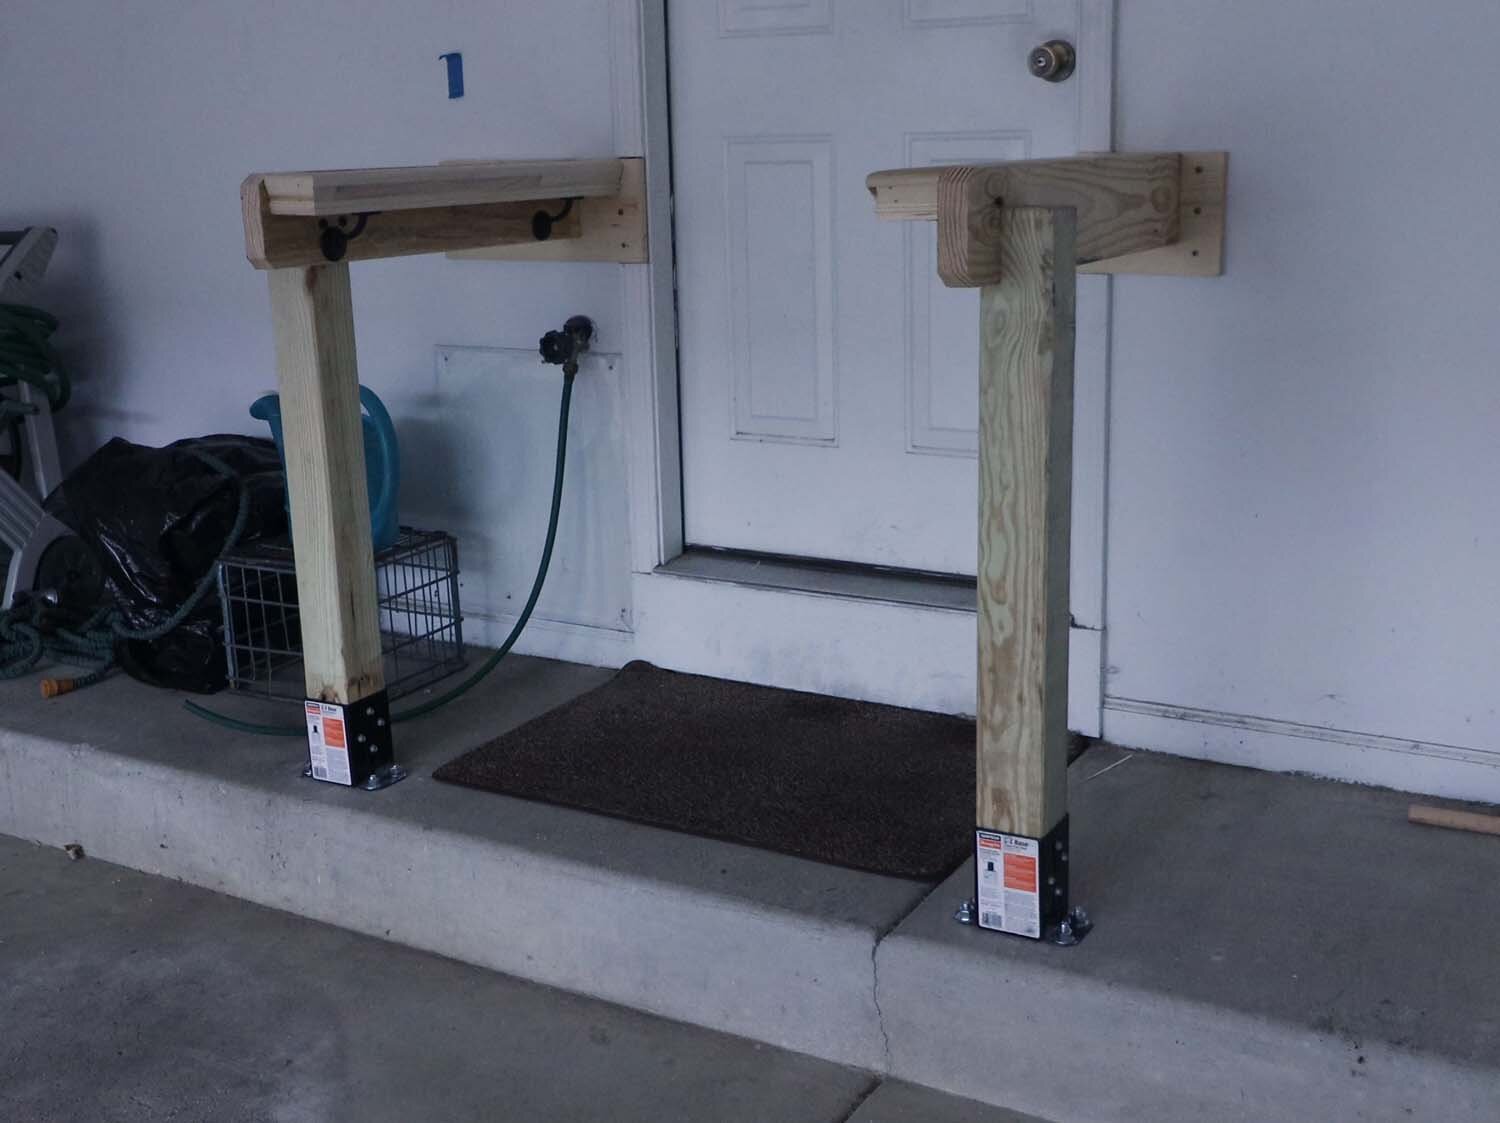
Using a level to check the post for plumb, I attach the post to the base using the manufacturer's recommended fasteners. As you can see, these posts aren't going anywhere, and that's with me putting quite a lot of oomph into it.
Now is time to attach the 2x6s to the posts and the wall. These will hold the poplar hand rail. I first cut these to length, and then use the saw to clip the corners off the cut end.
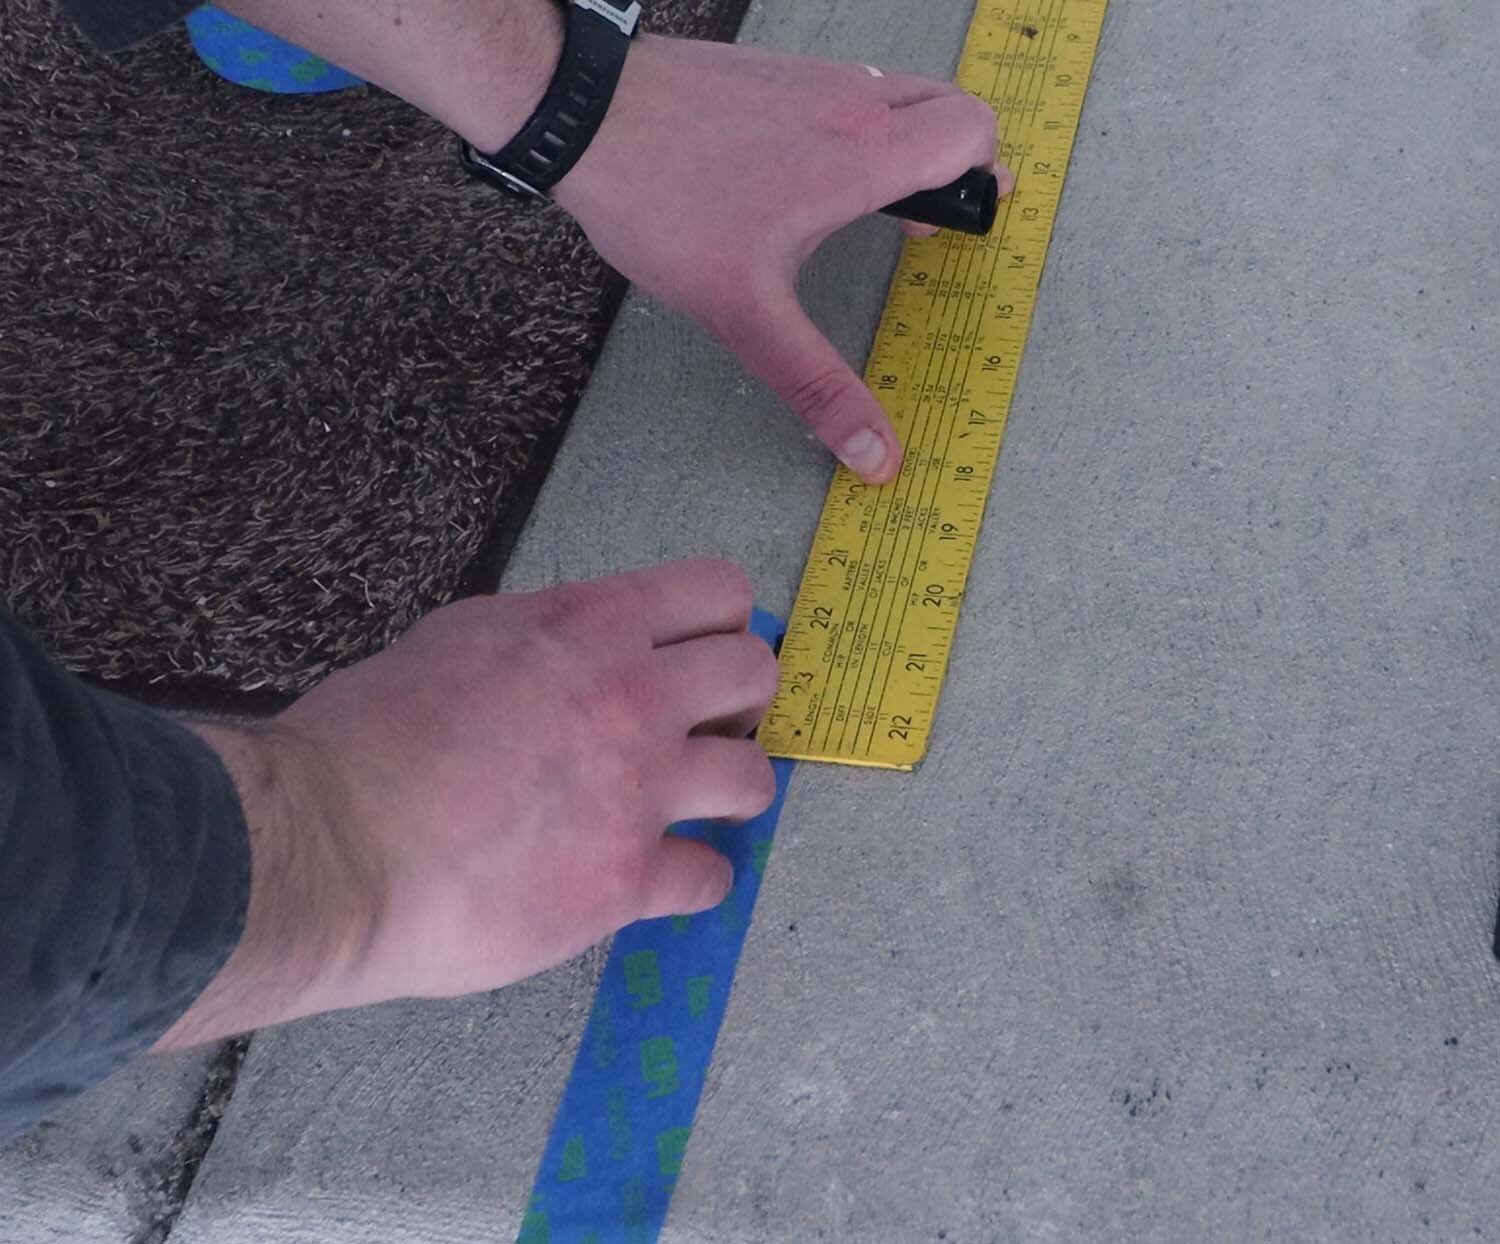
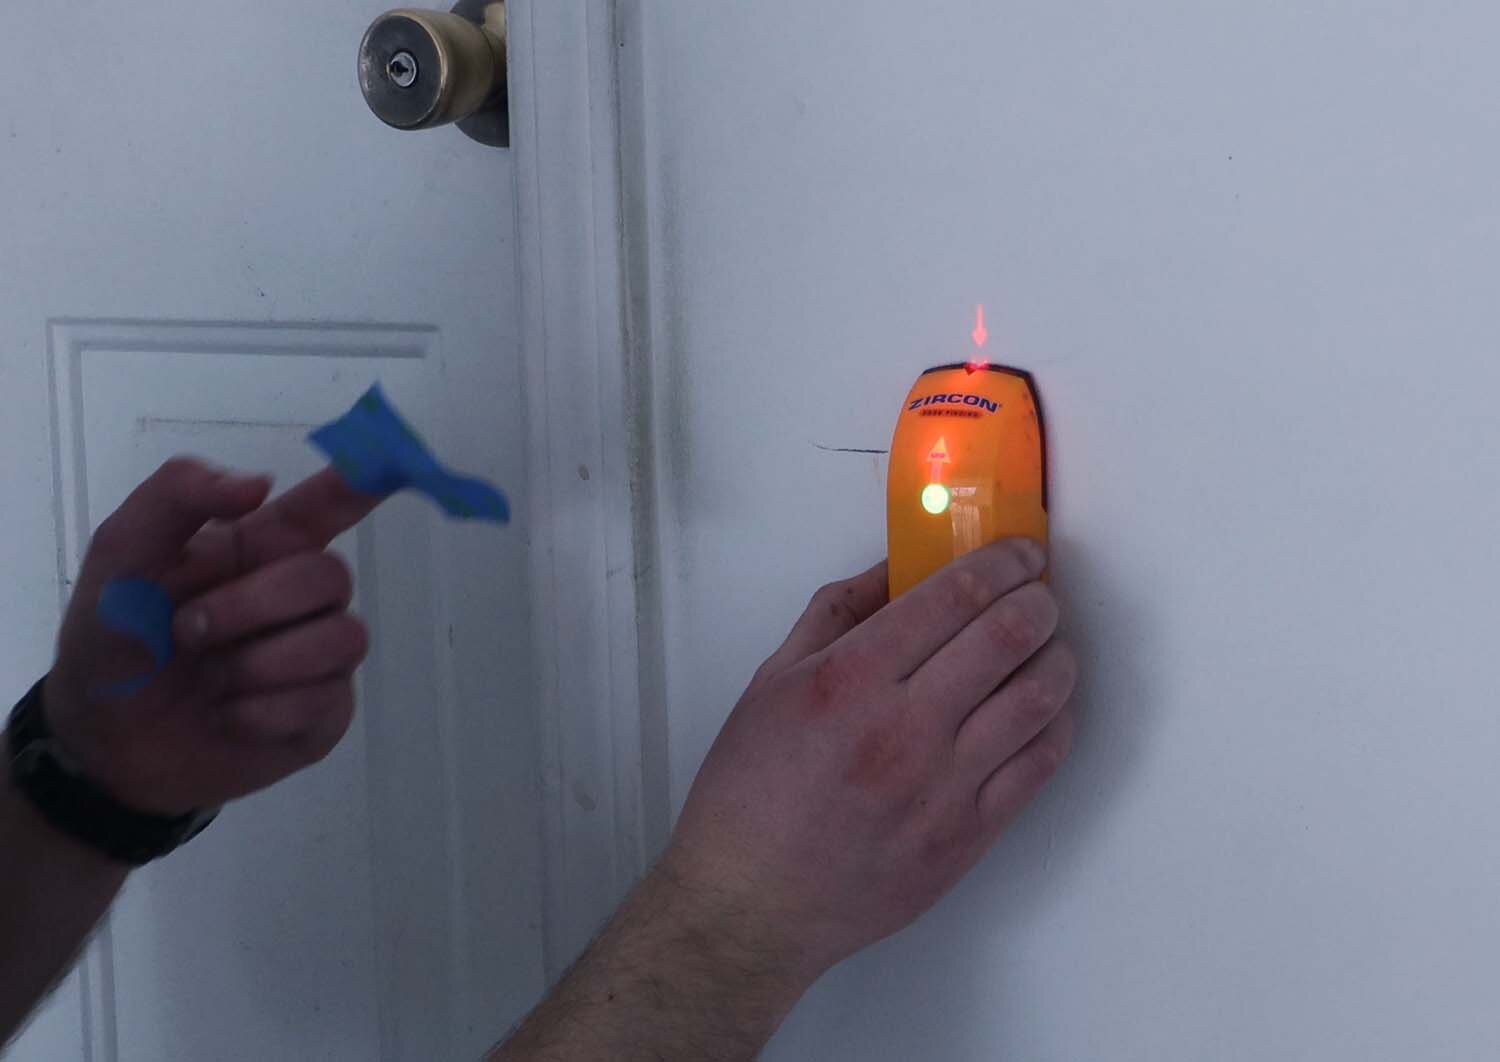
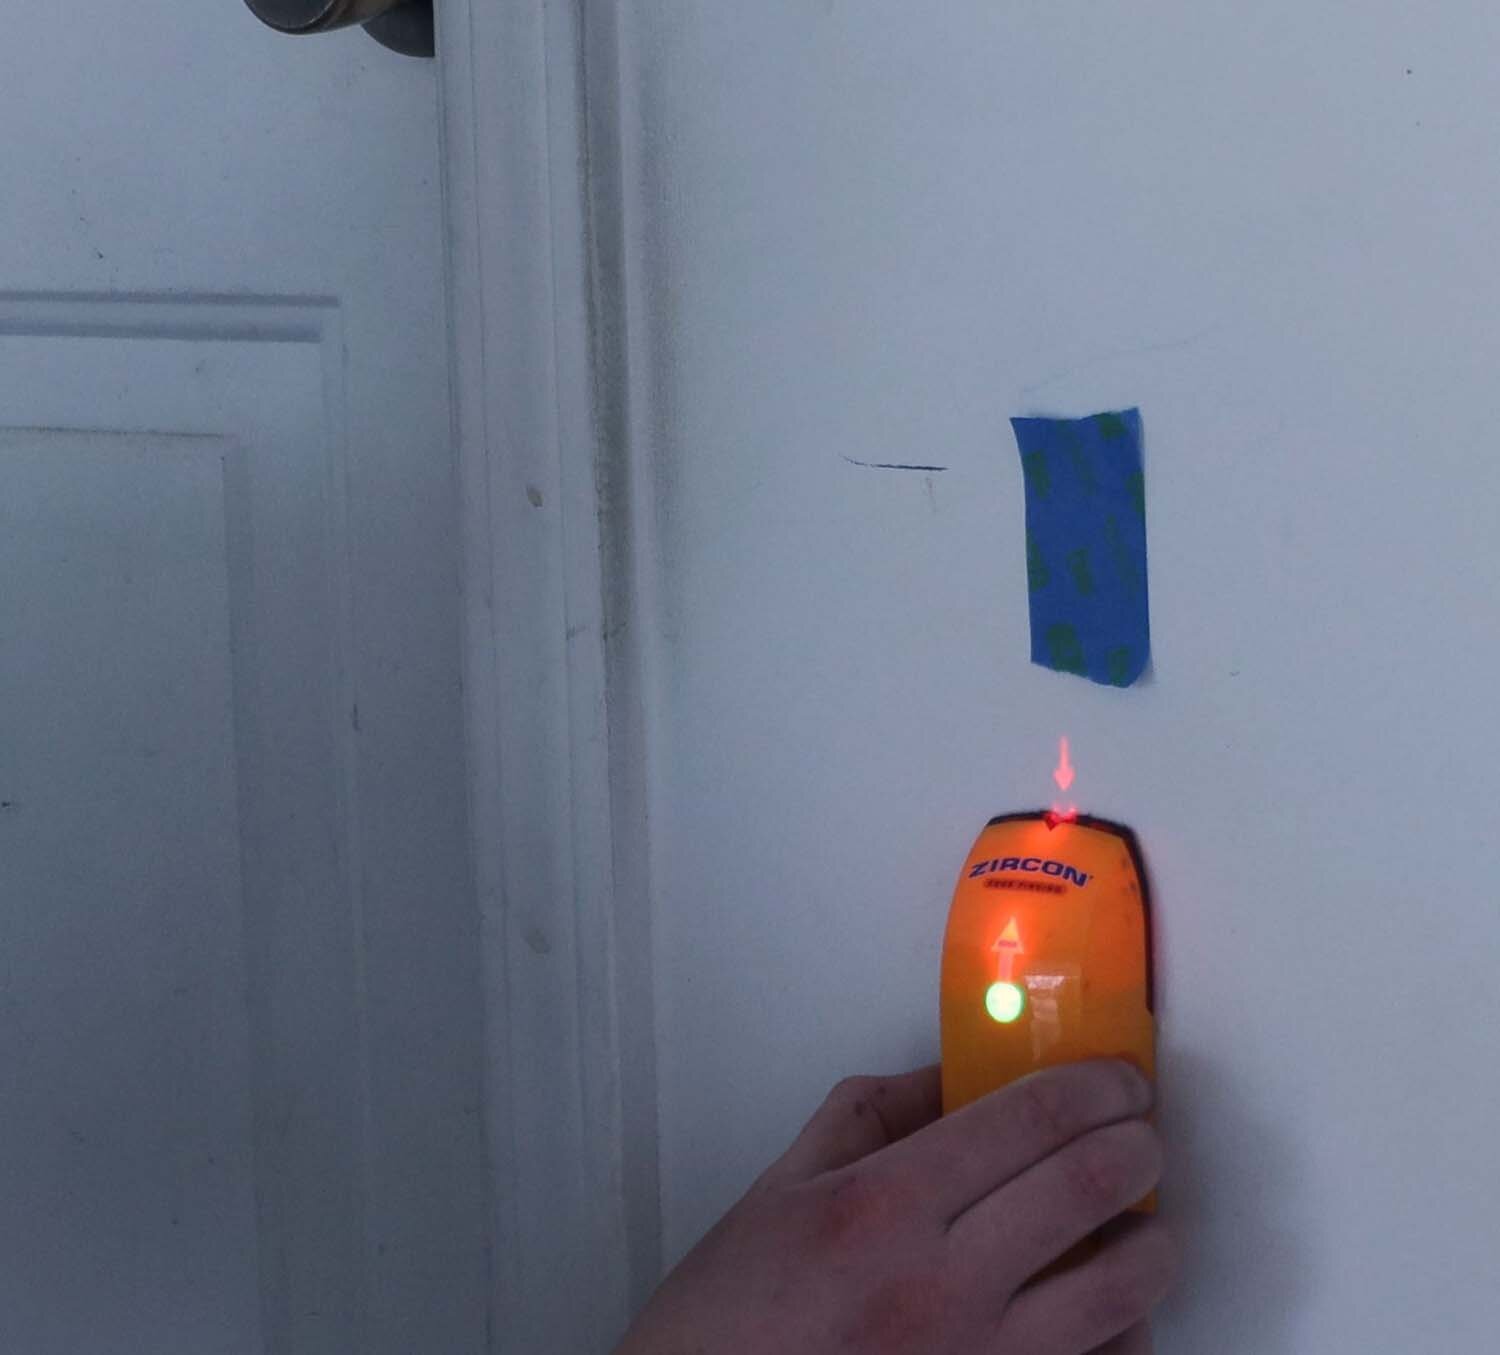
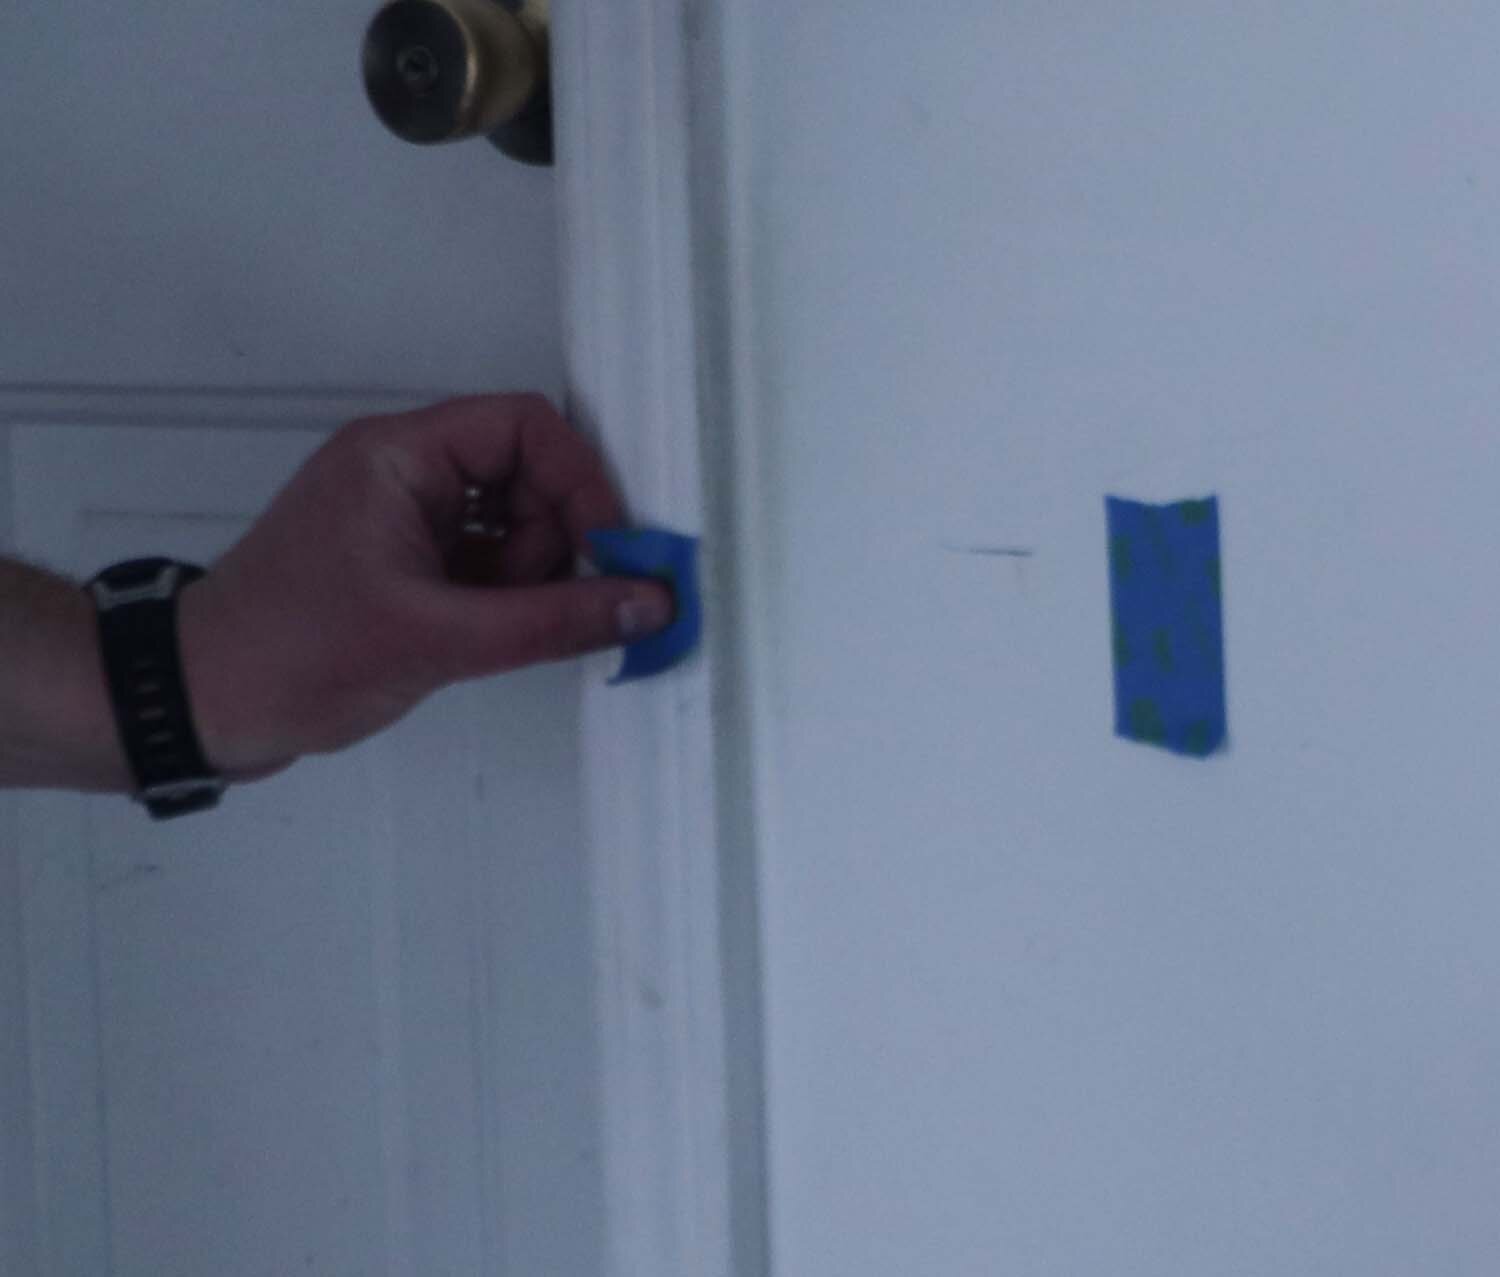
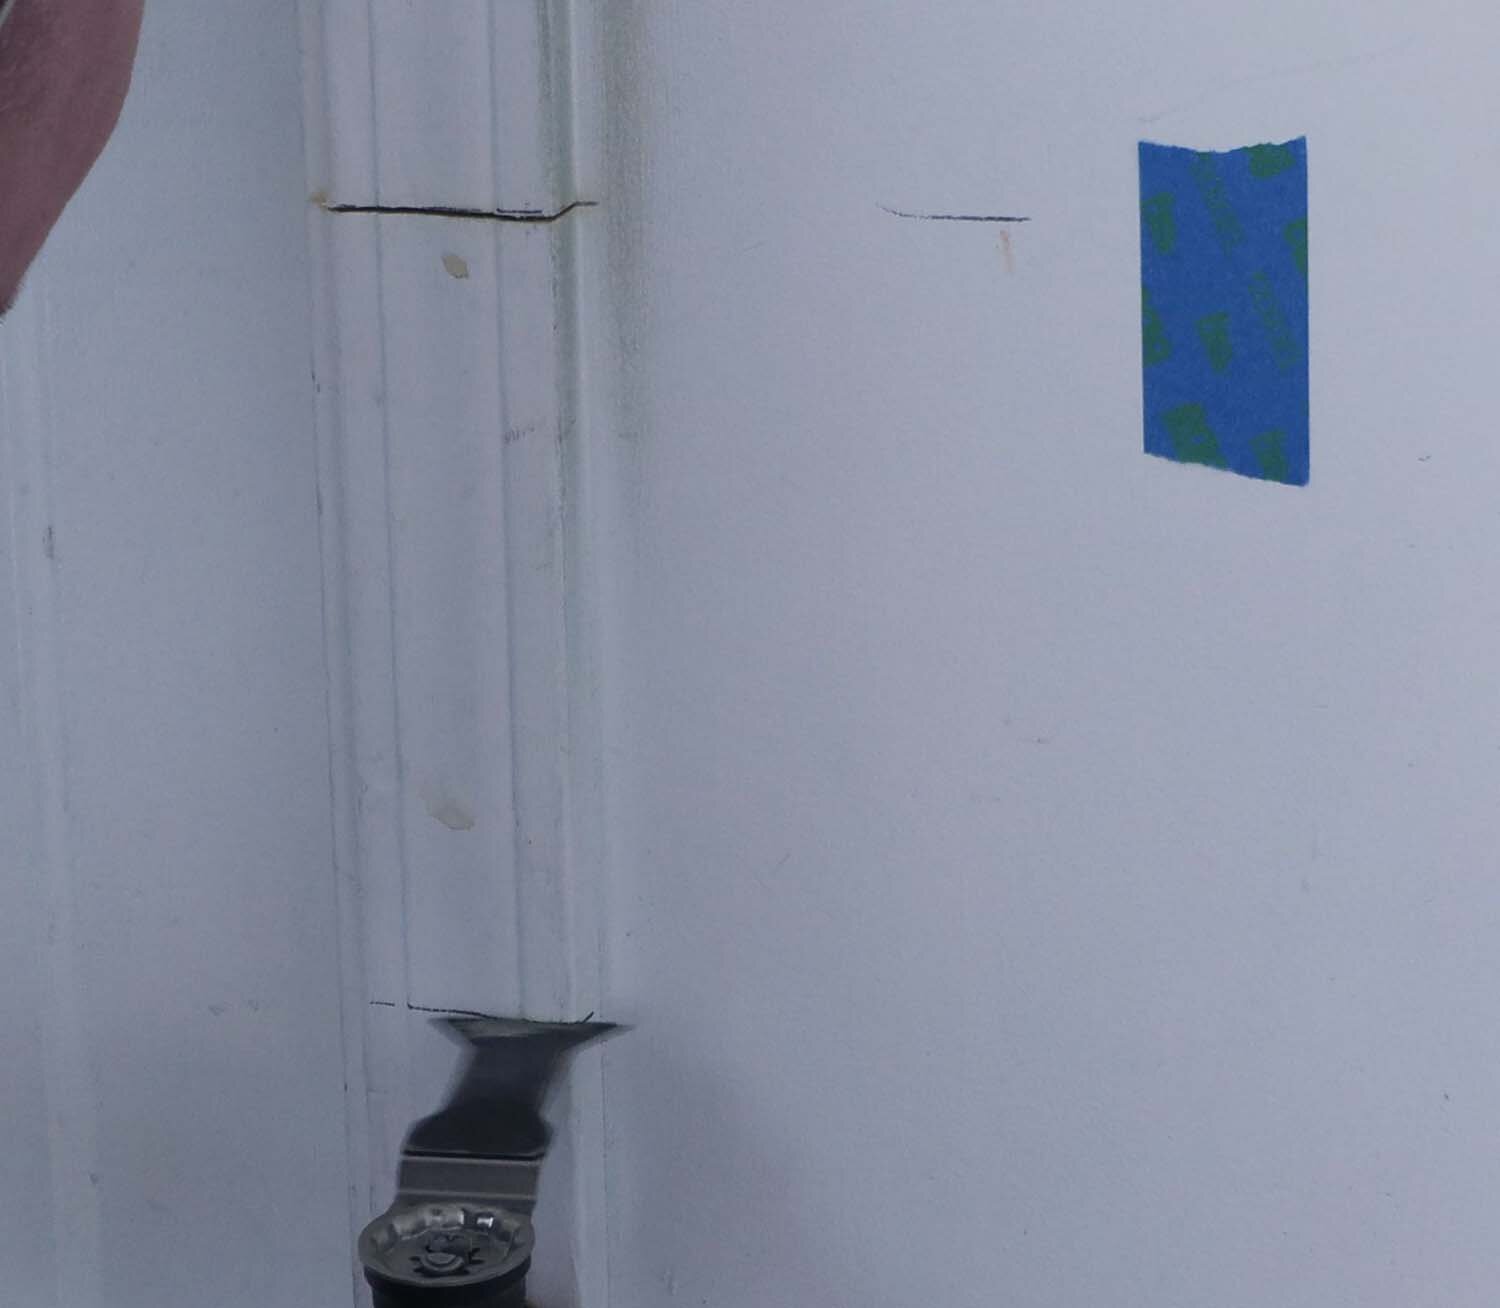
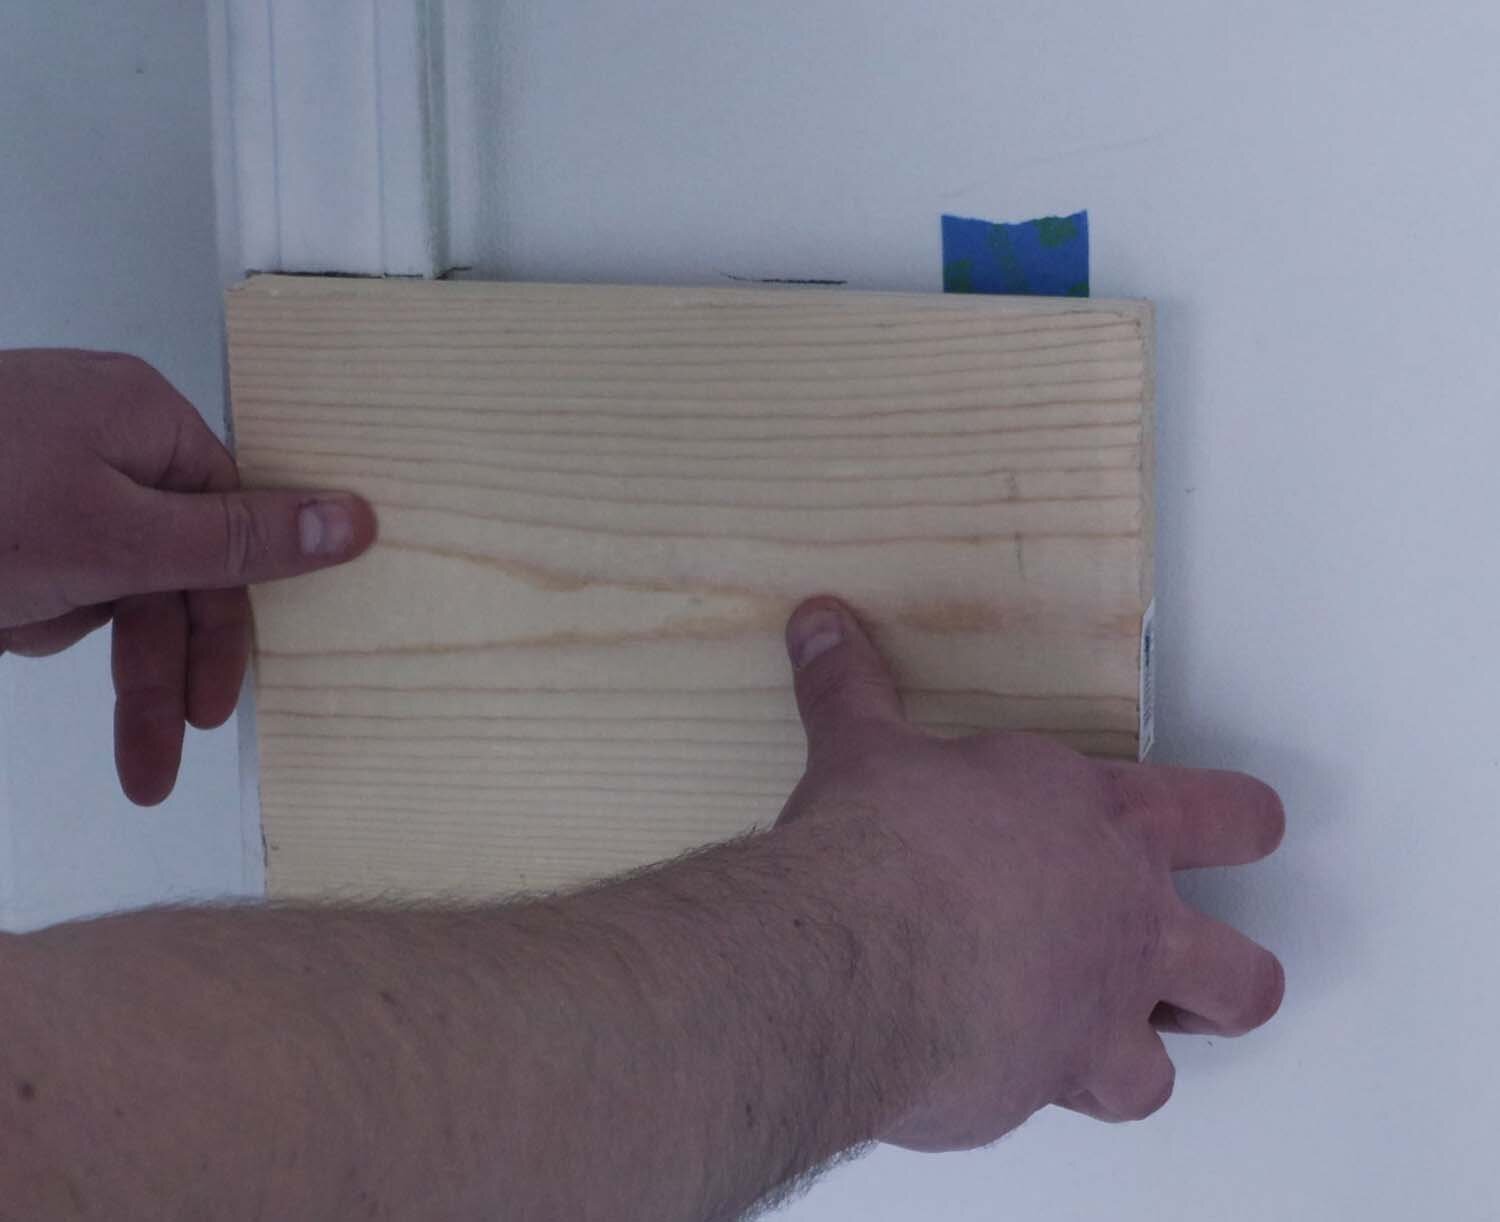
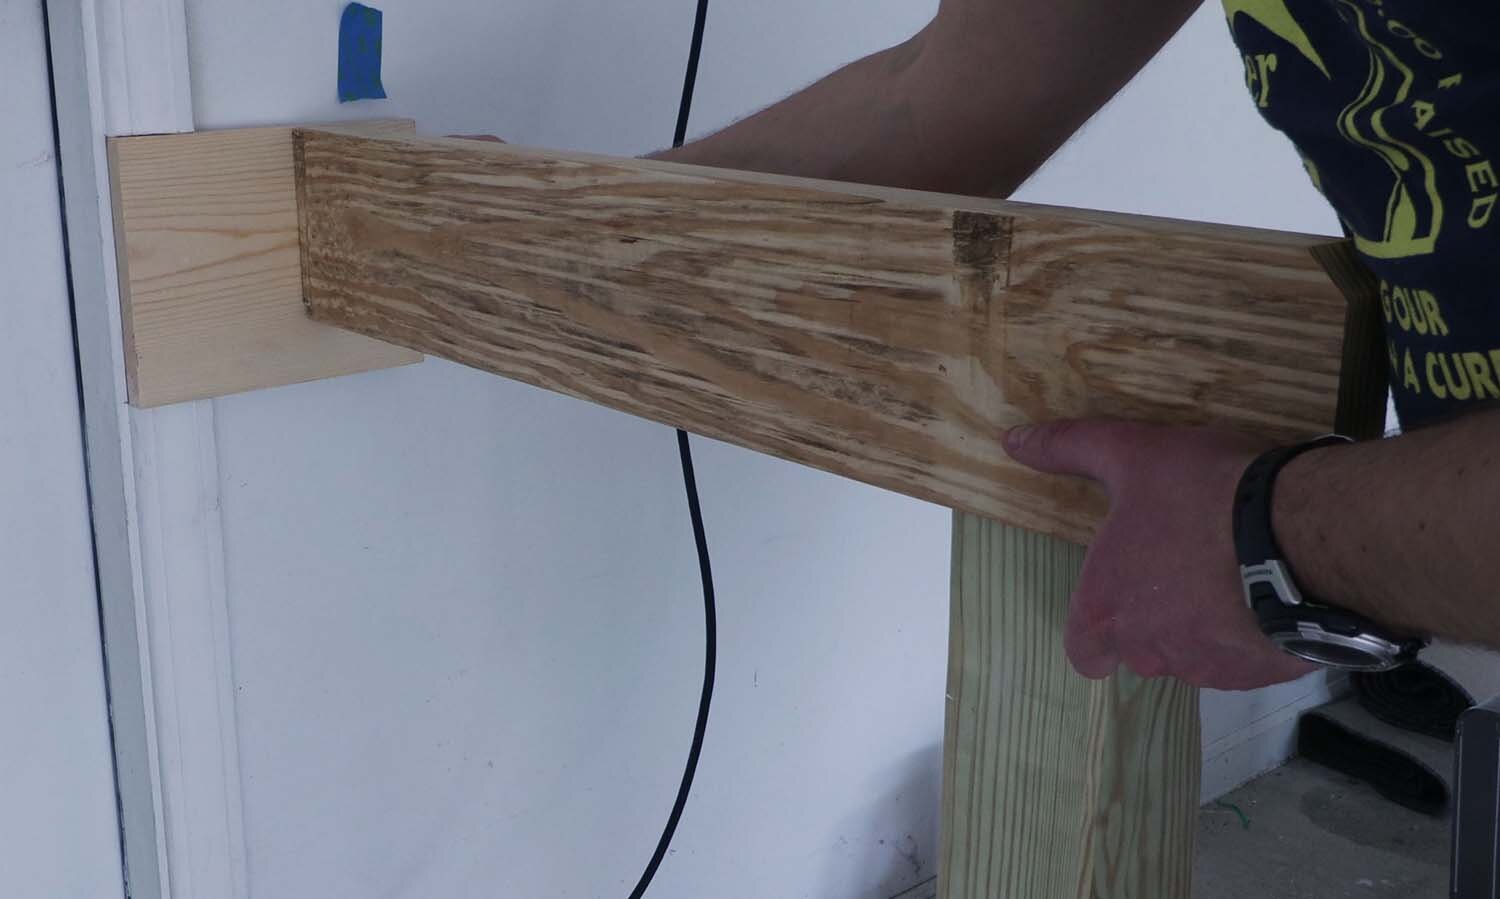
The ends of these 2x6s fall between wall studs, so I'm using a piece of 1x material to catch the end of the 2x6 and screw into the studs. I use a stud finder and a piece of tape to locate the studs in the area. In wood-framed houses, there is always a stud behind the door jamb.
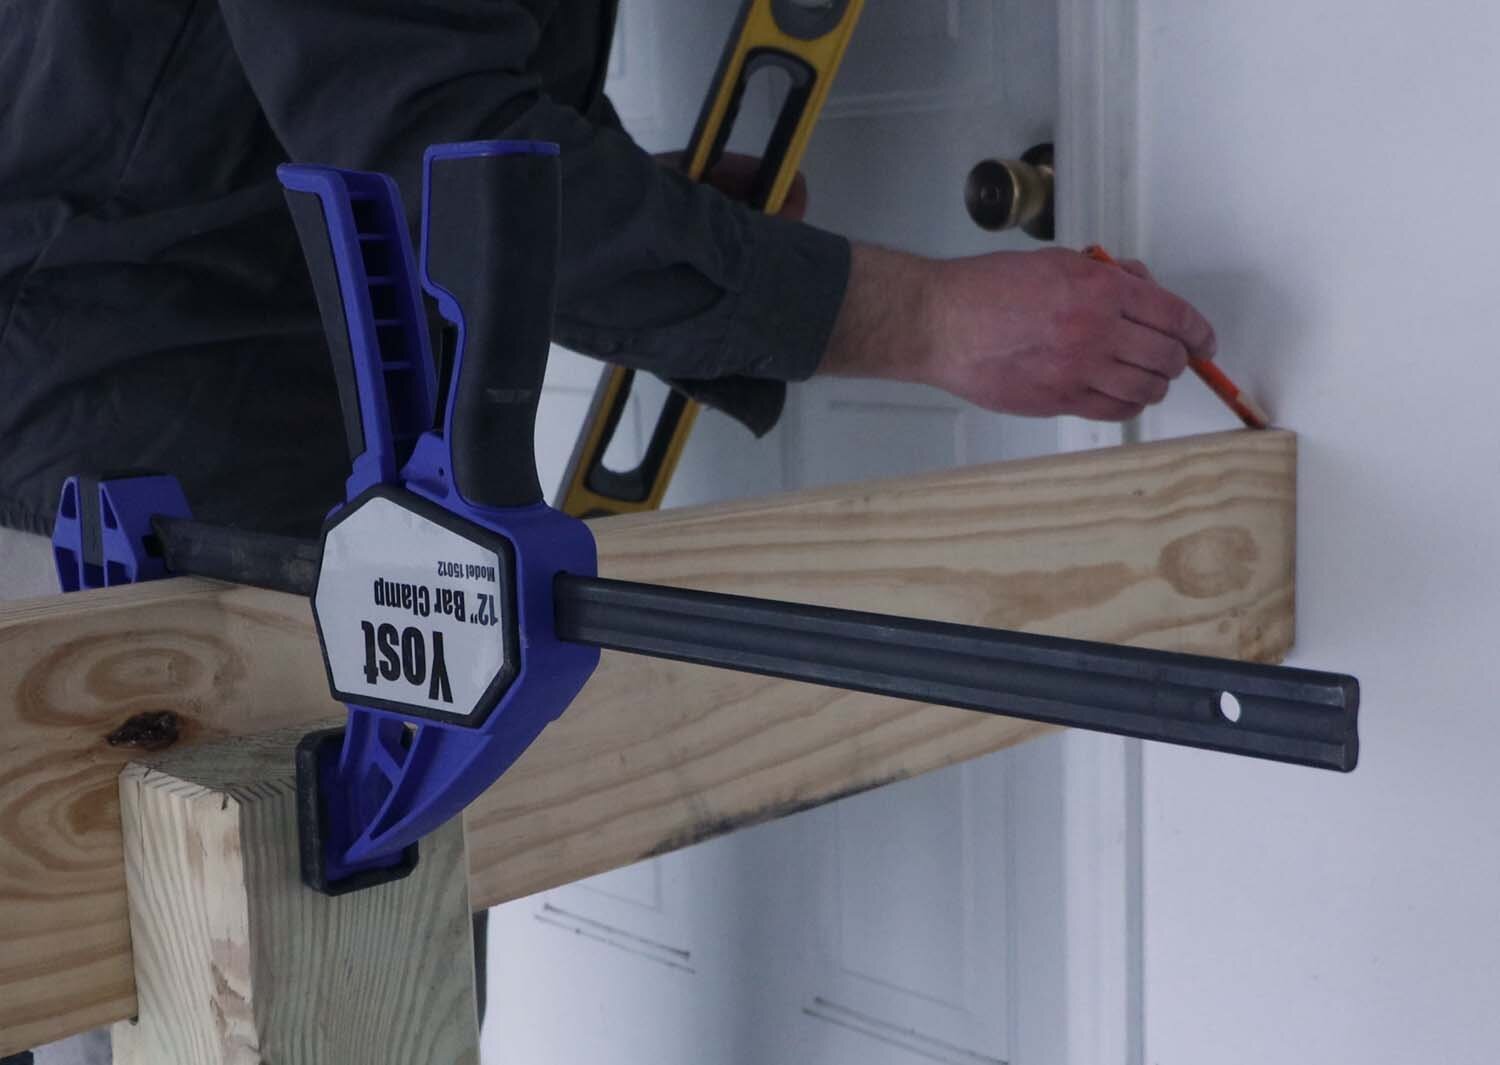
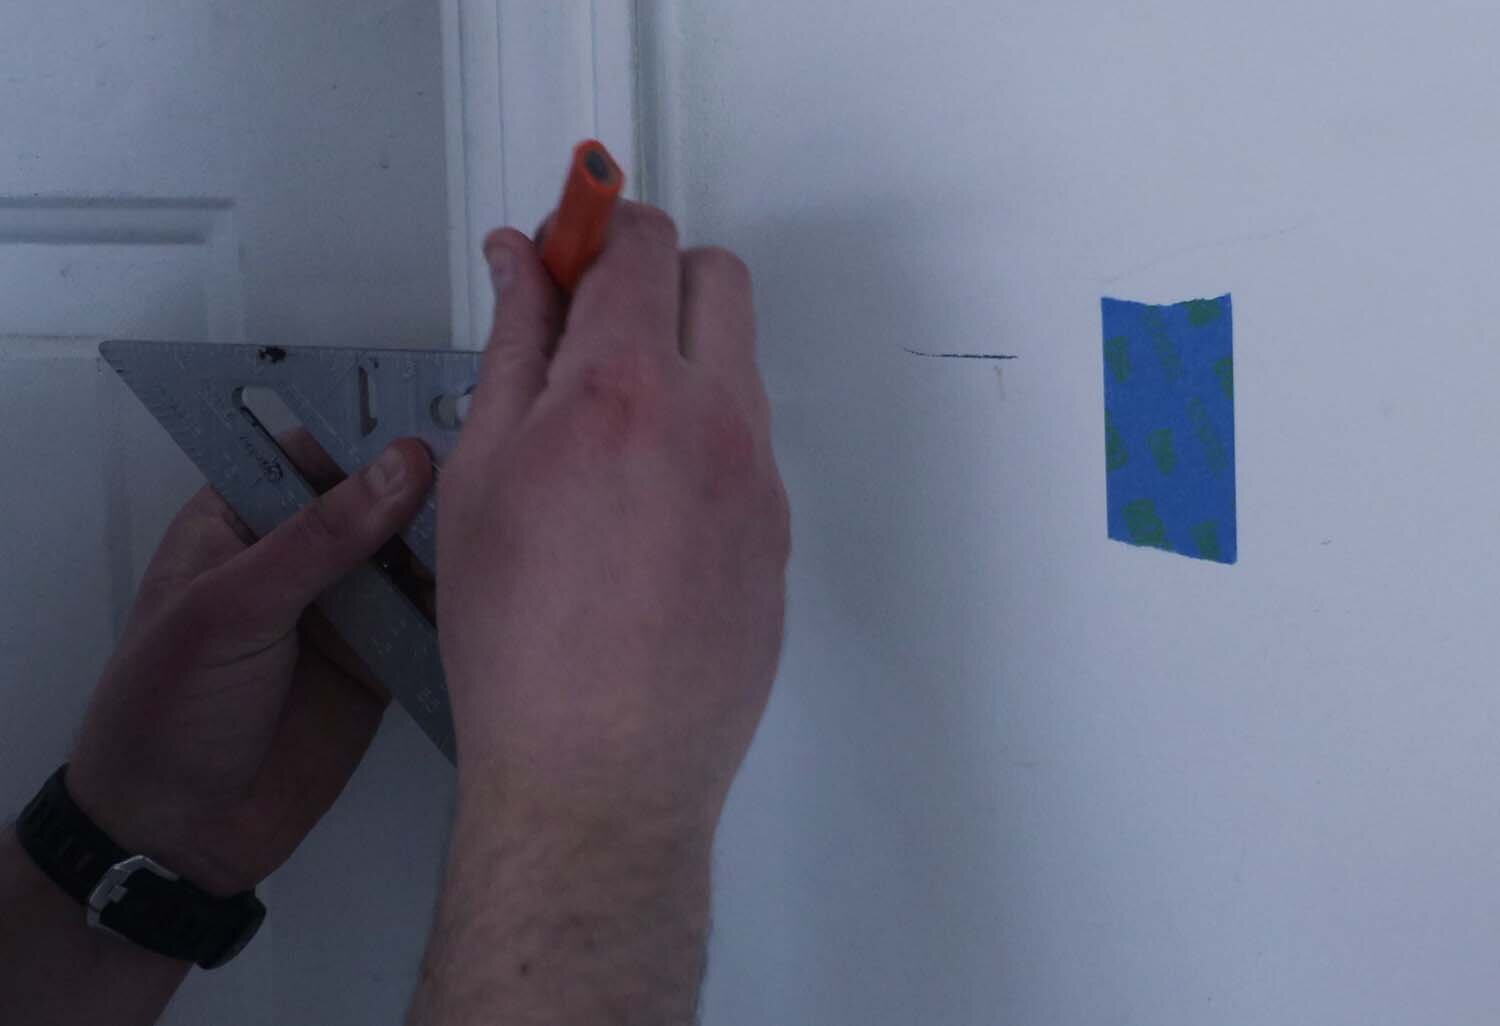
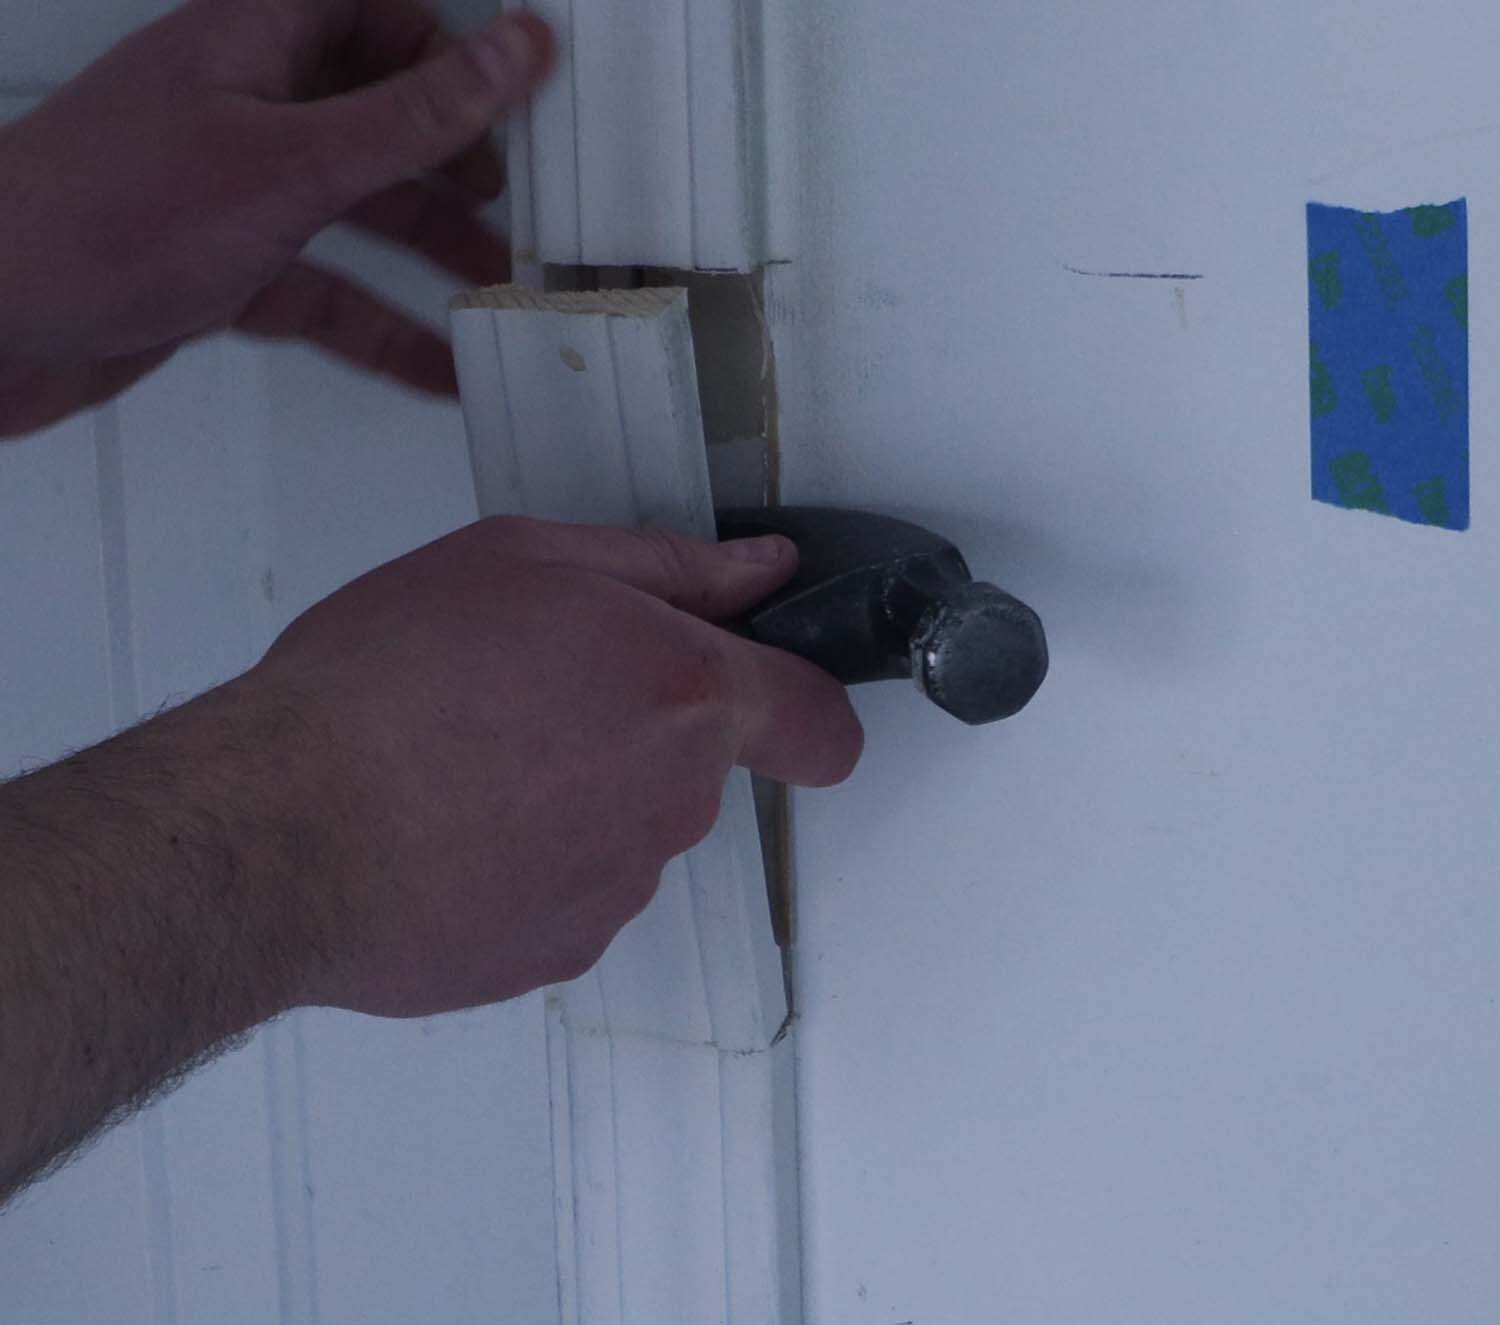
I then measure for the length of the 1x board and cut it to length. Using this as a gauge, I mark on the door trim for a couple of cut lines, and cut with my oscillating multitool. Then, using a knife to cut the caulking and a hammer to pry it away, the trim piece is removed.
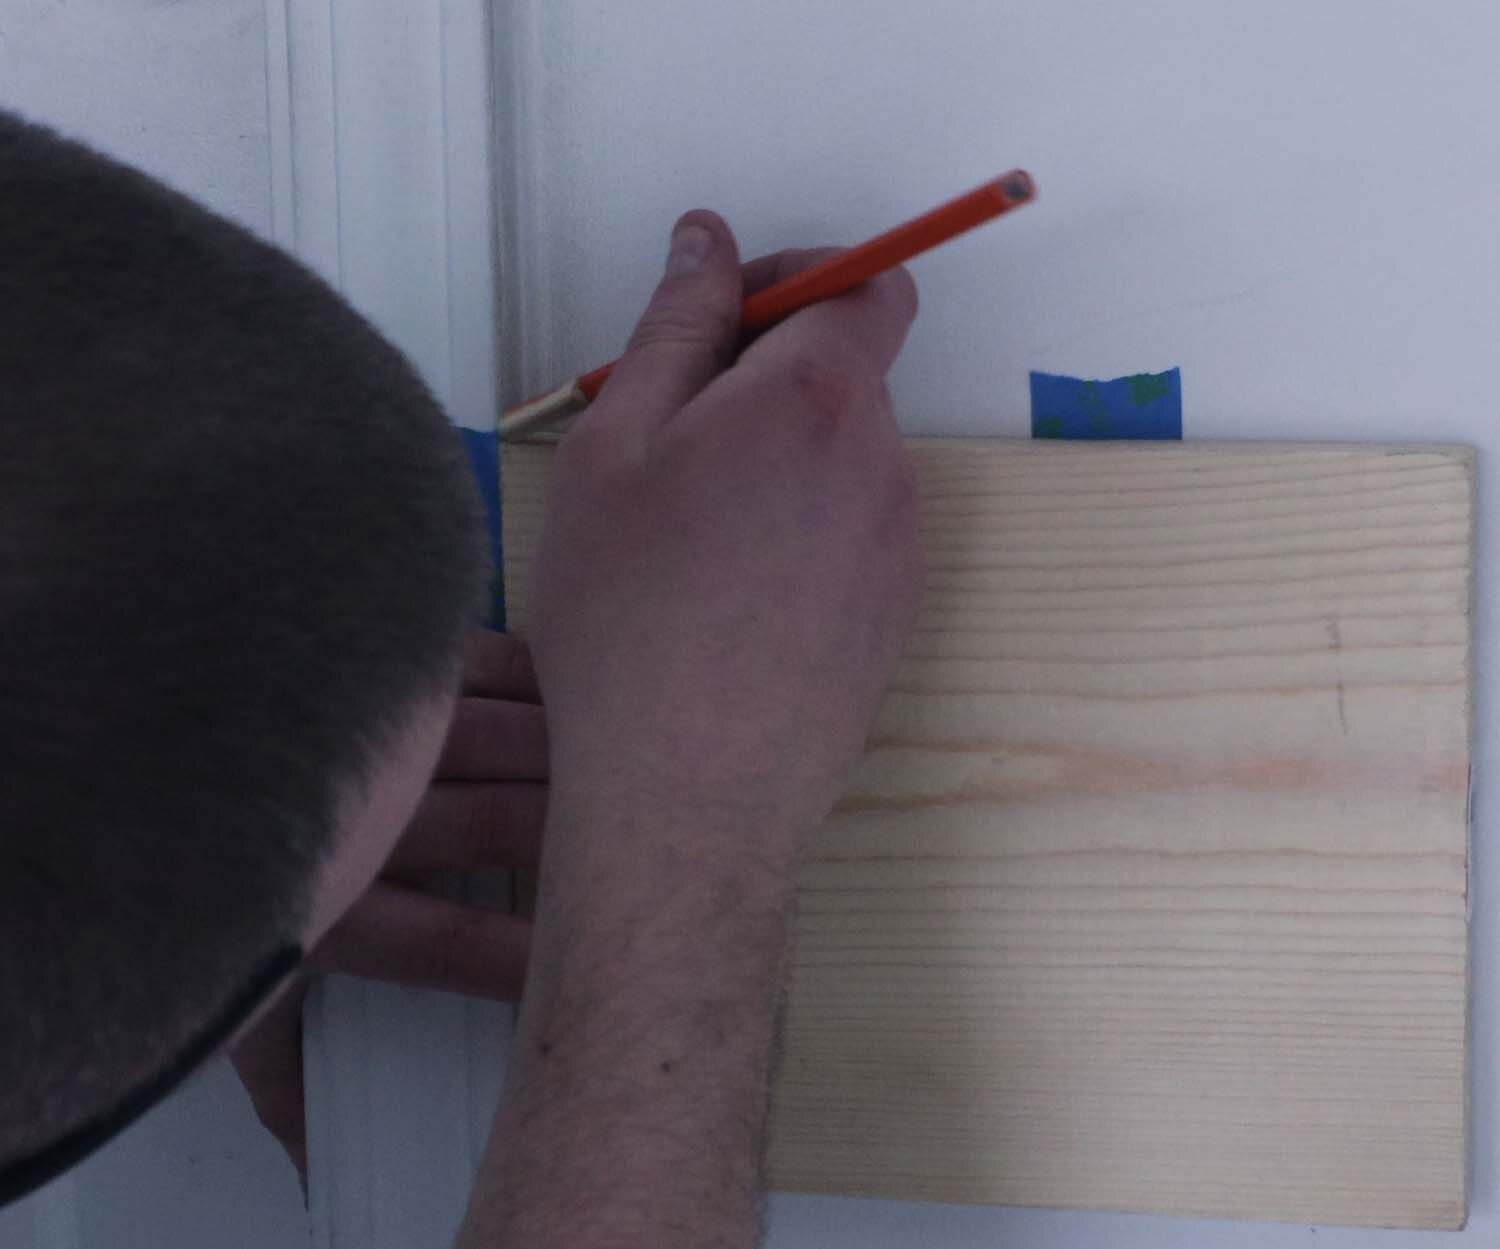
The 1x board needs to be screwed to the 2x6 (or maybe that’s the other way around?). I temporarily attach the 2x6 to the post, and mark its location on the 1x. Then I screw it in to the 2x6.
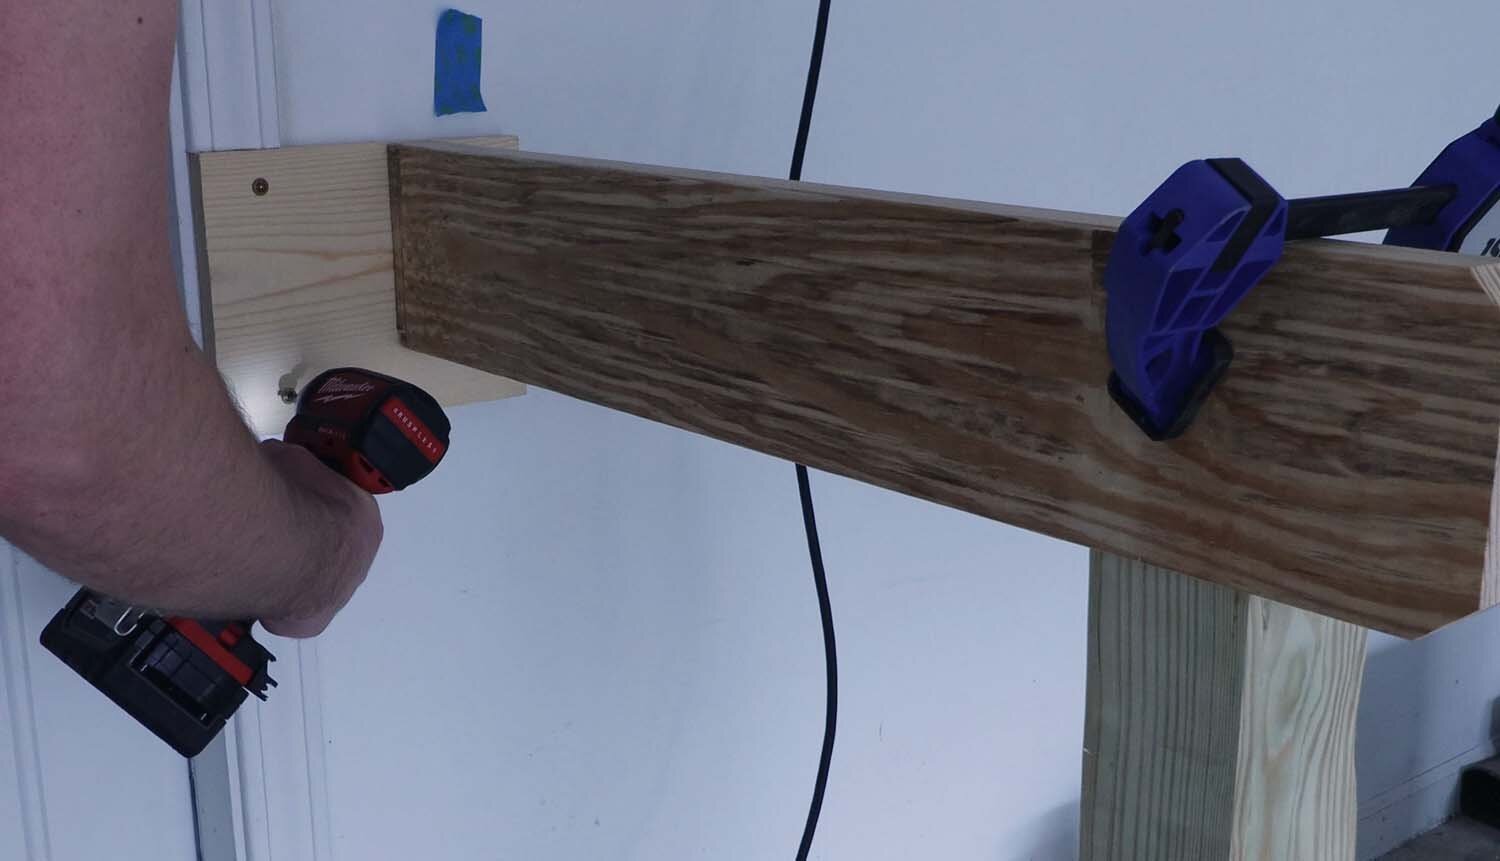
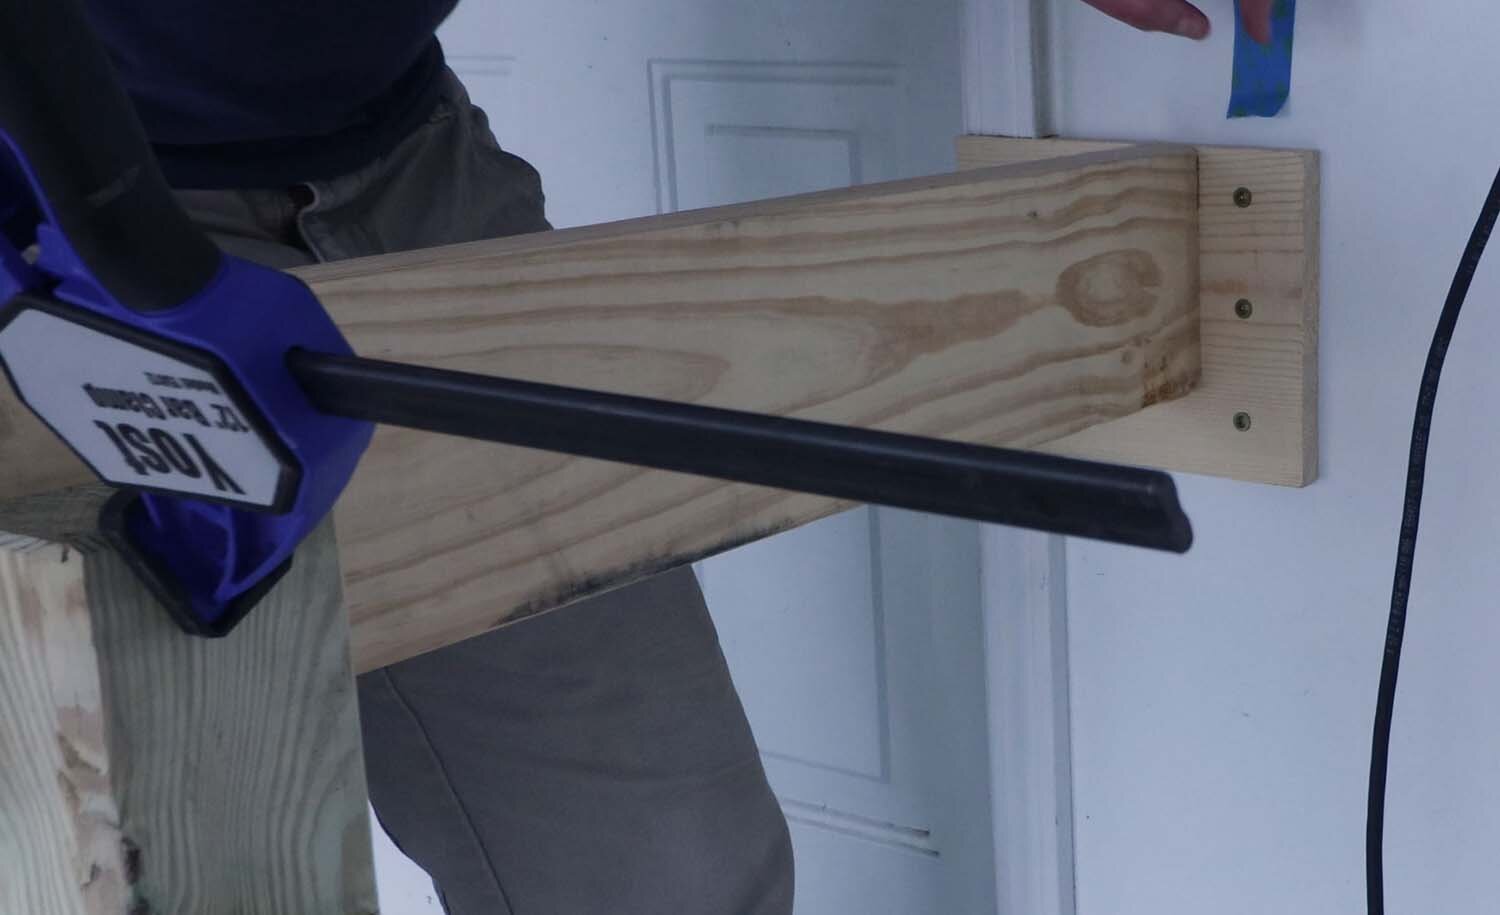
With that done, I attach the 1x board on both of its ends to the previously marked studs. Next I fasten the 2x6 to the post with a couple lag-type screws. I repeat this for the other side of the doorway as well.
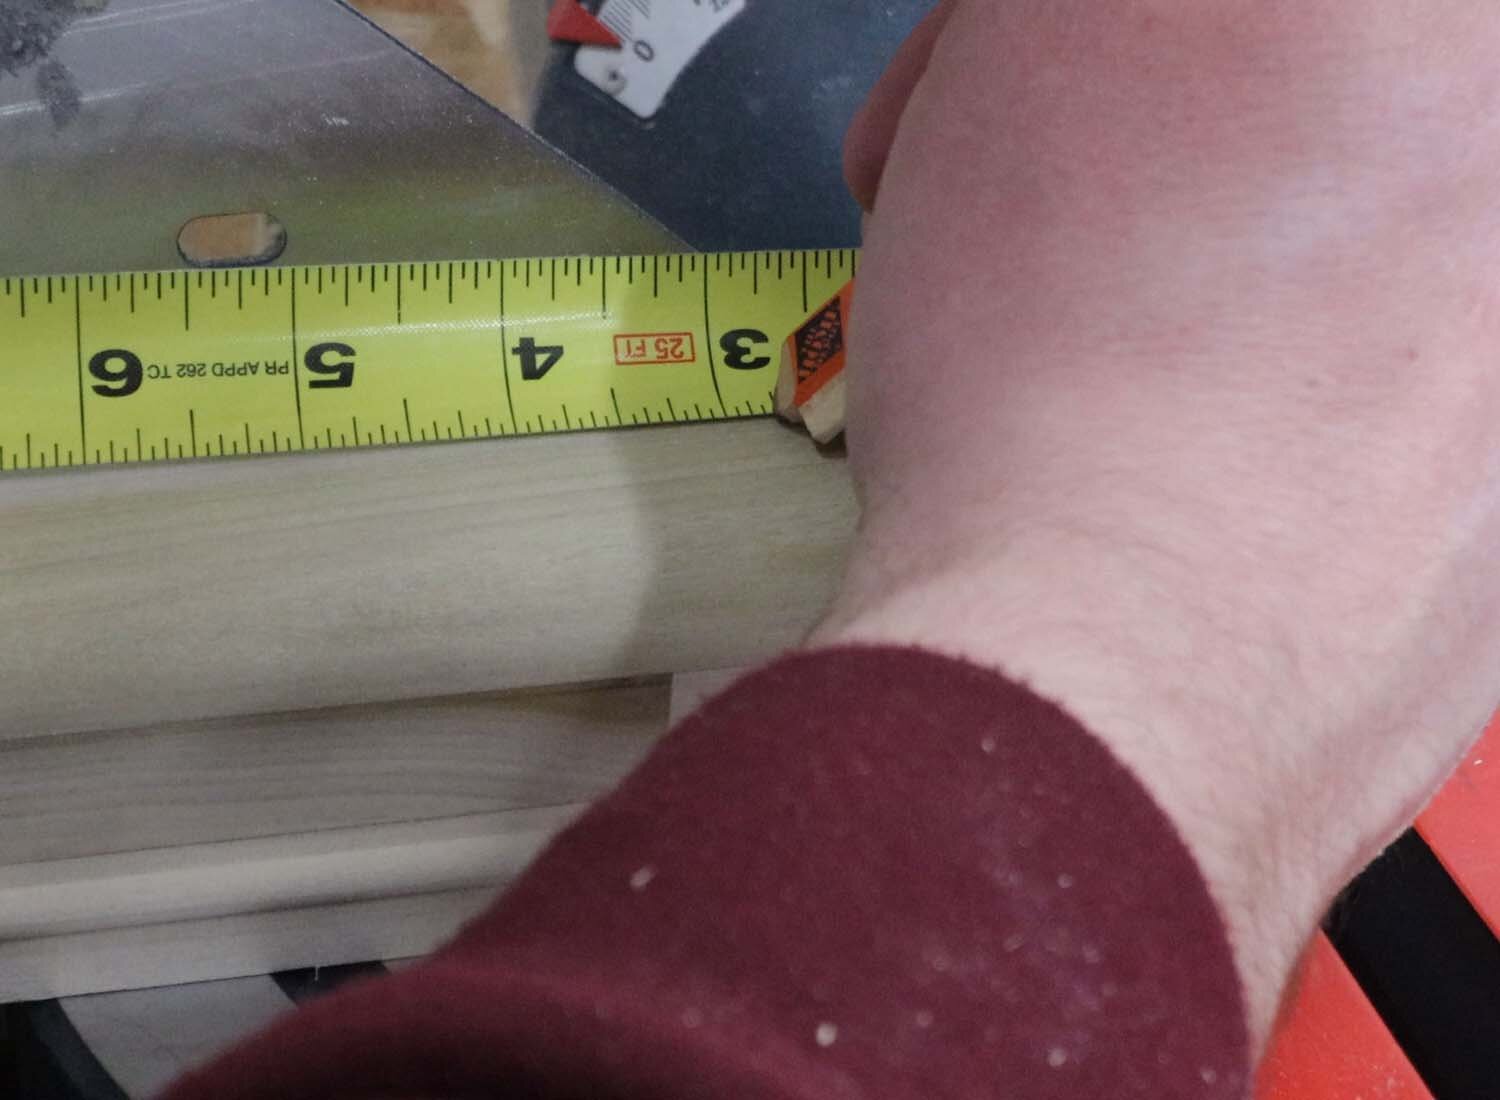
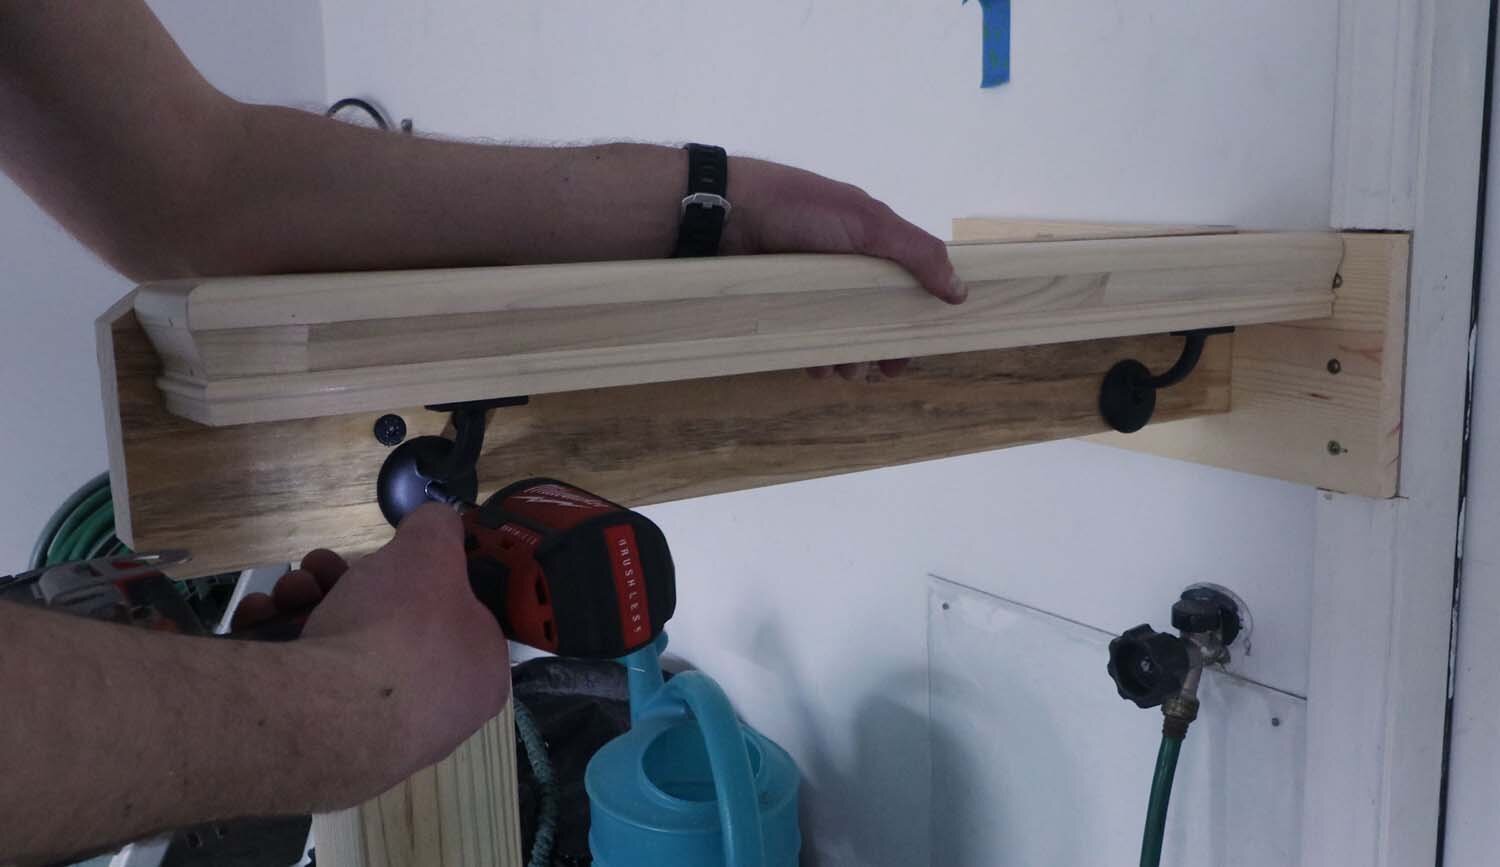
Finally, it's time to install the hand rail. I purposely built these long so that I could trim them on-site.
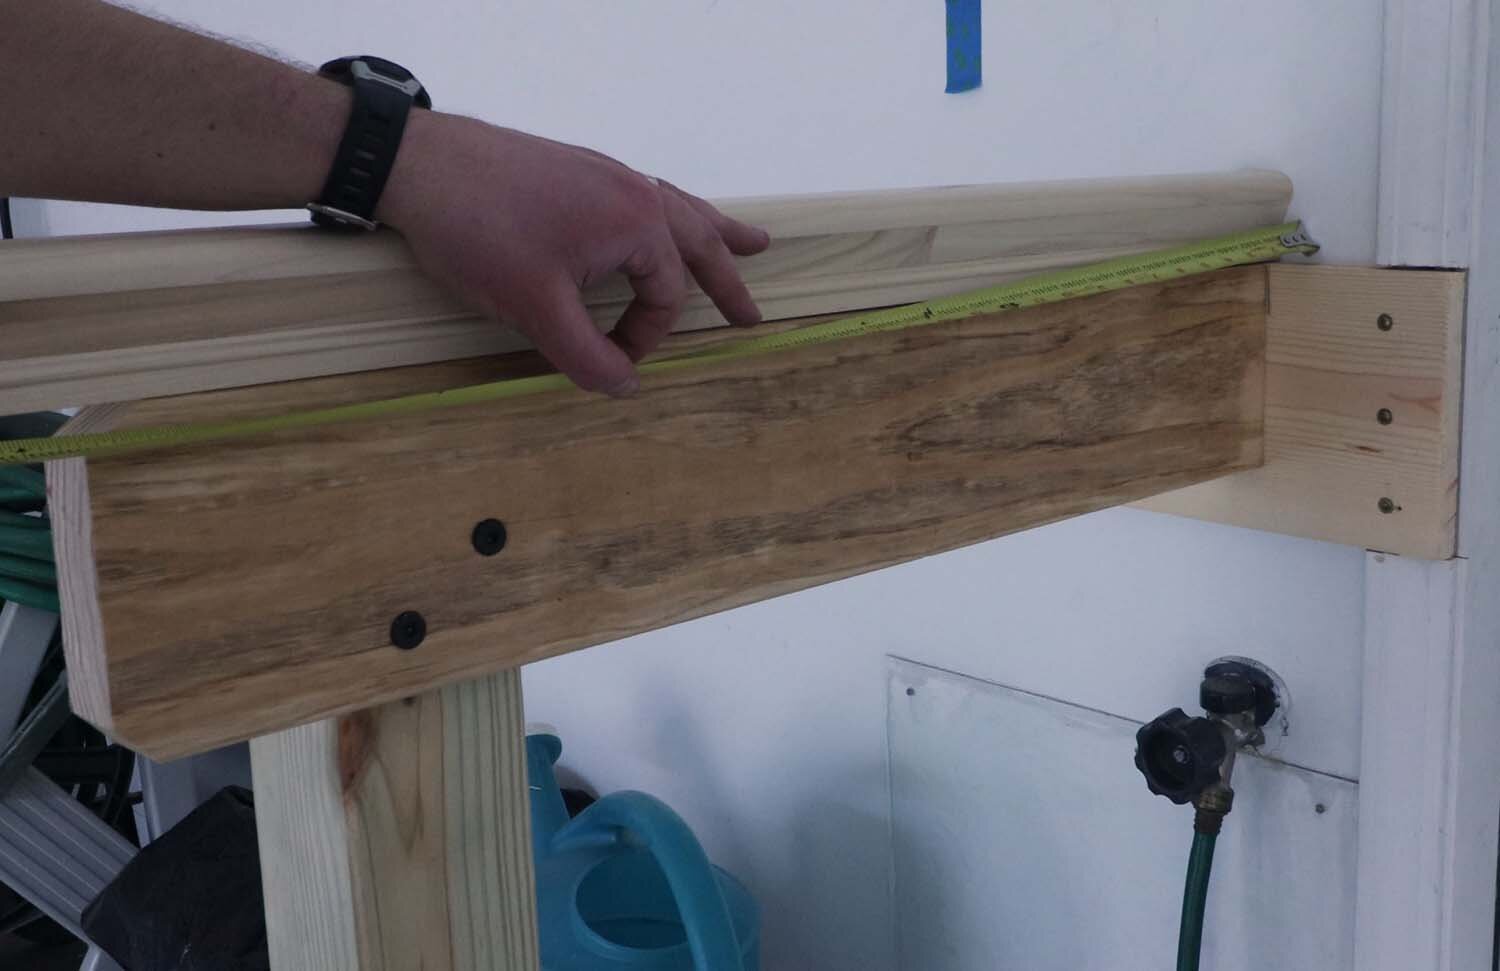
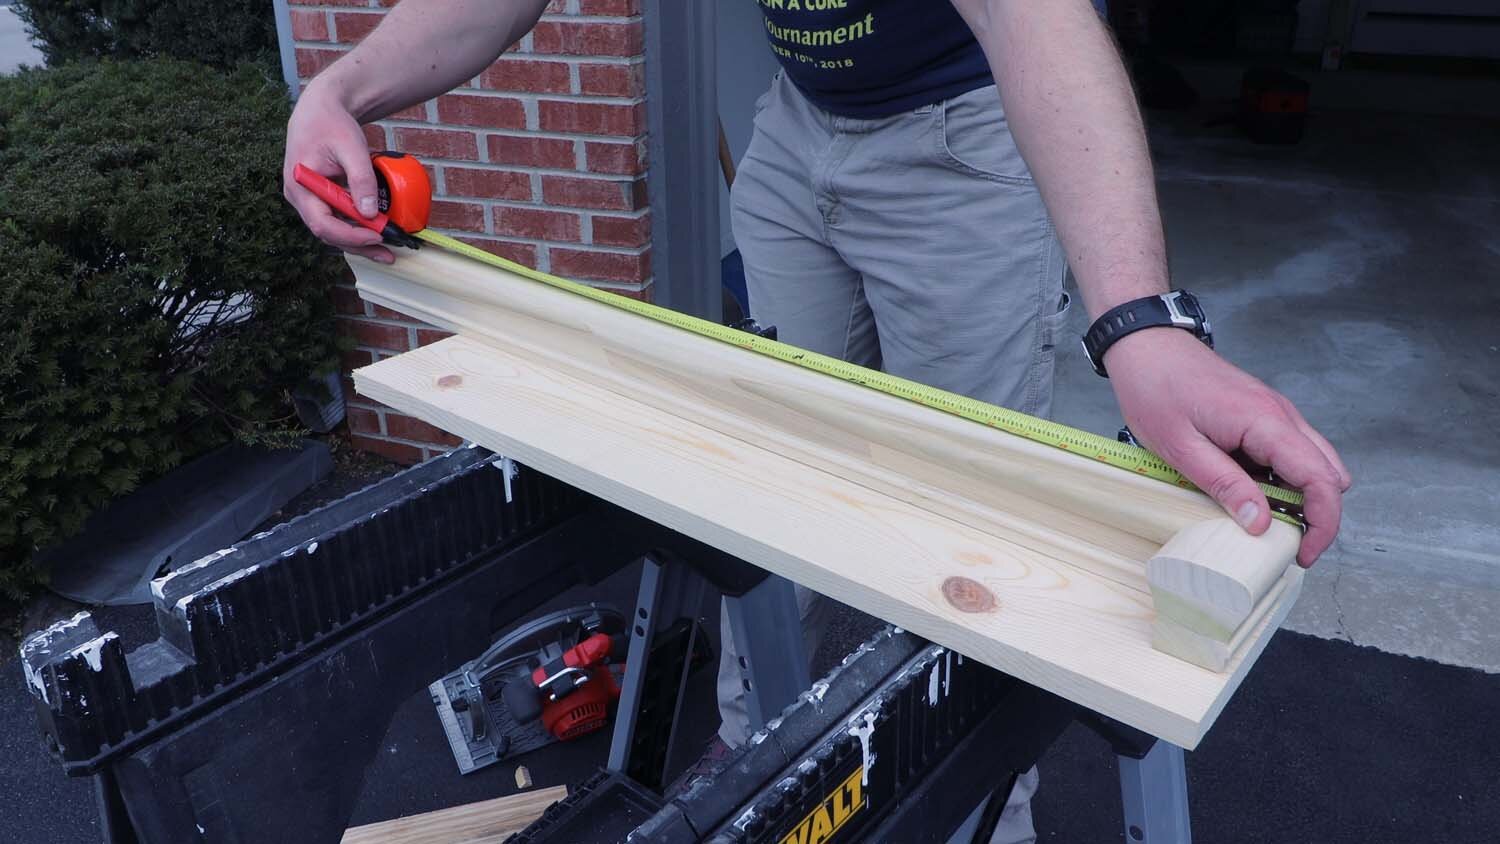
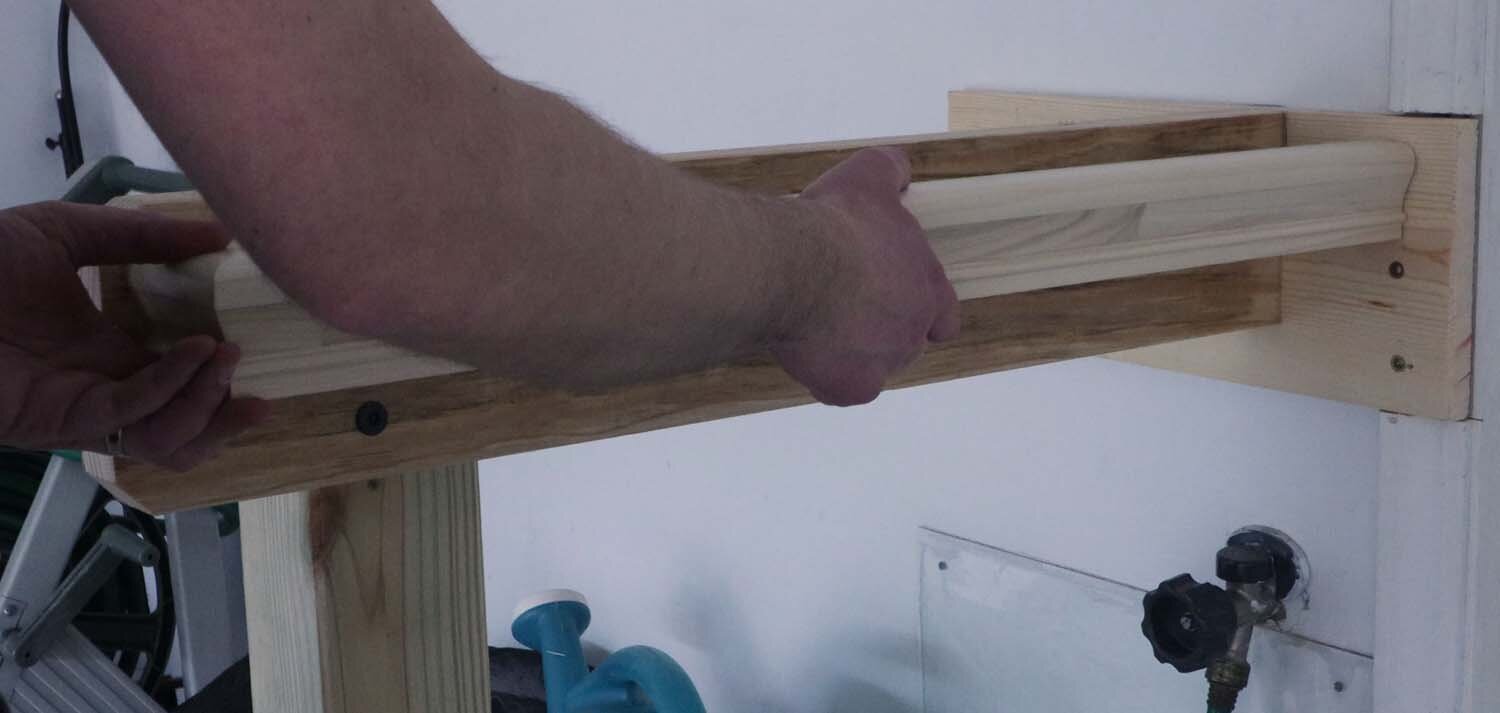
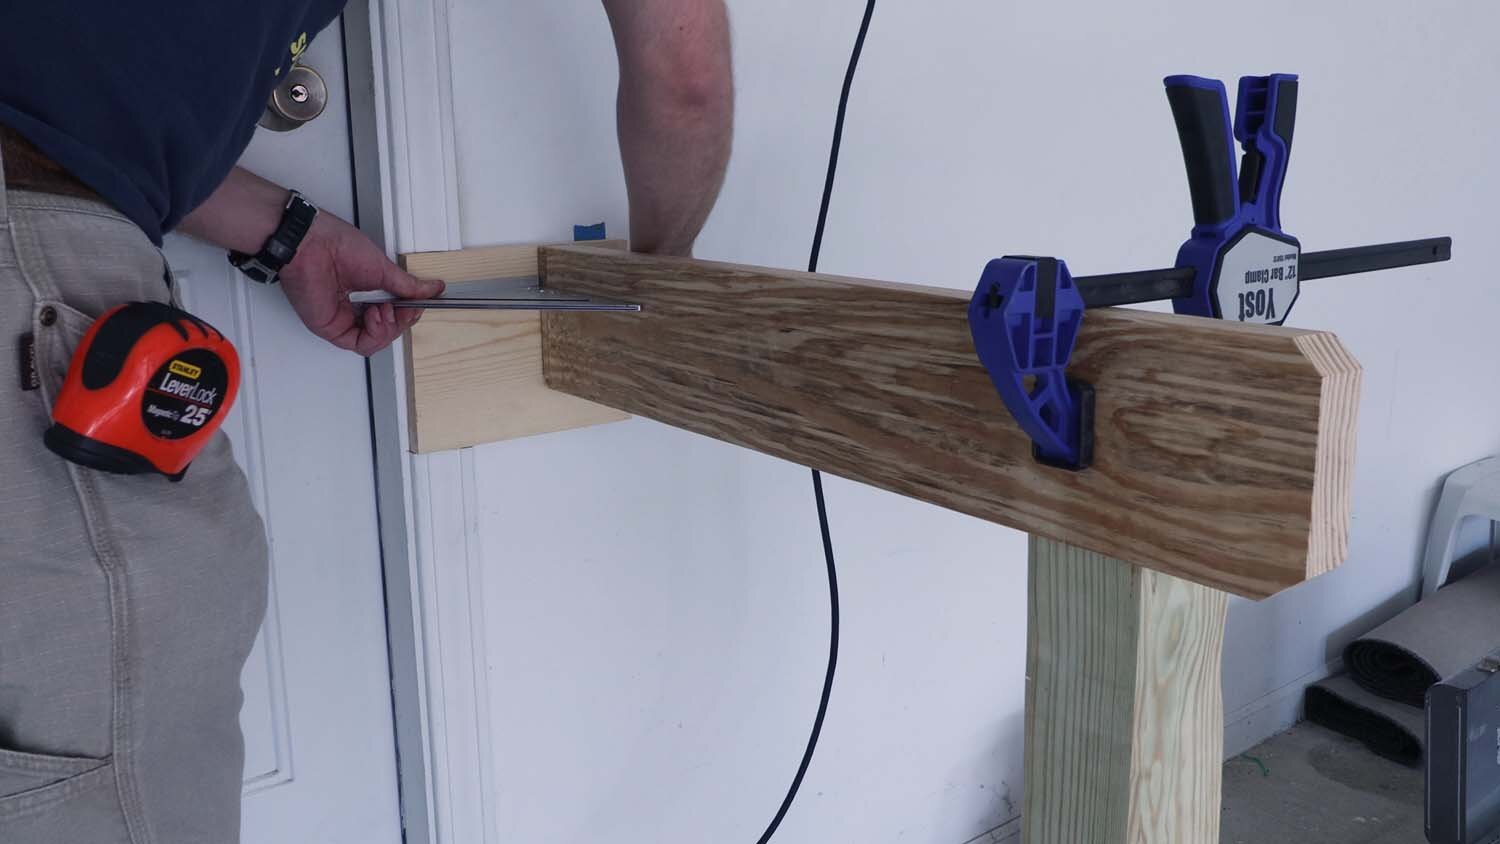
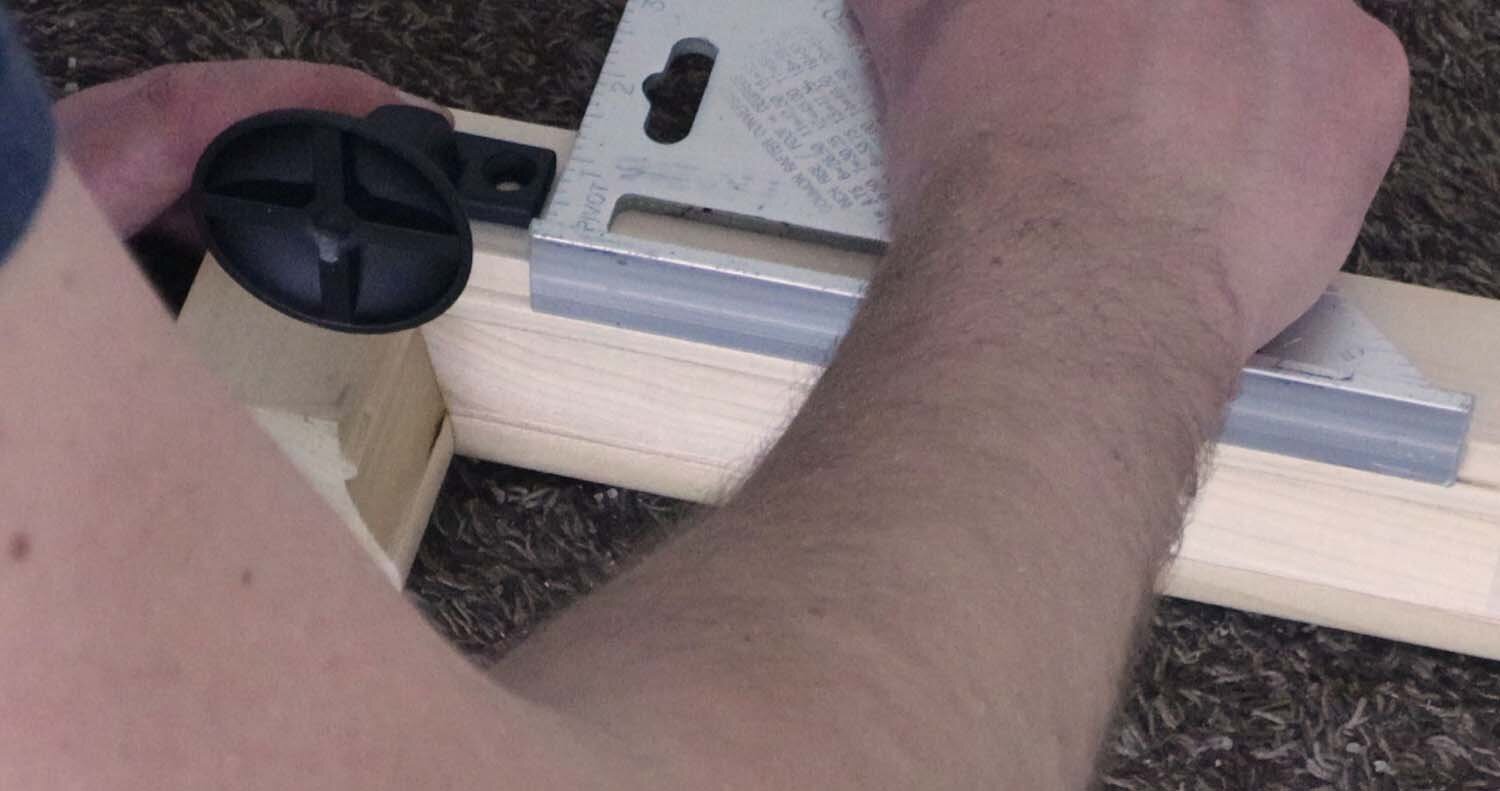
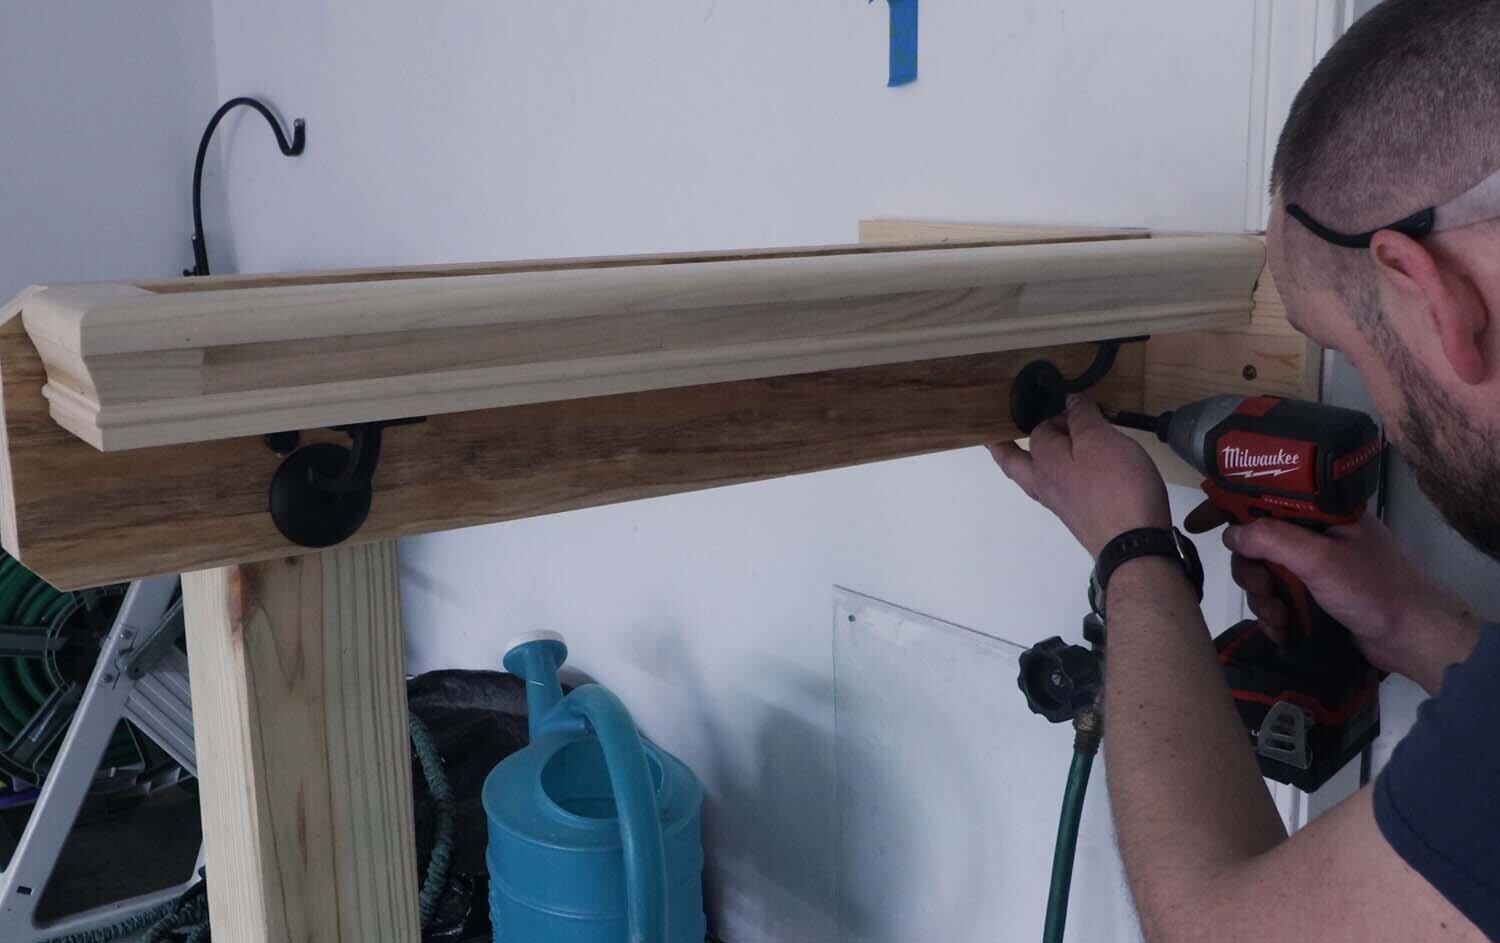
So that the end returns butt into the 2x6, I measure for their location, using the rail support and my speed square as a gauge.
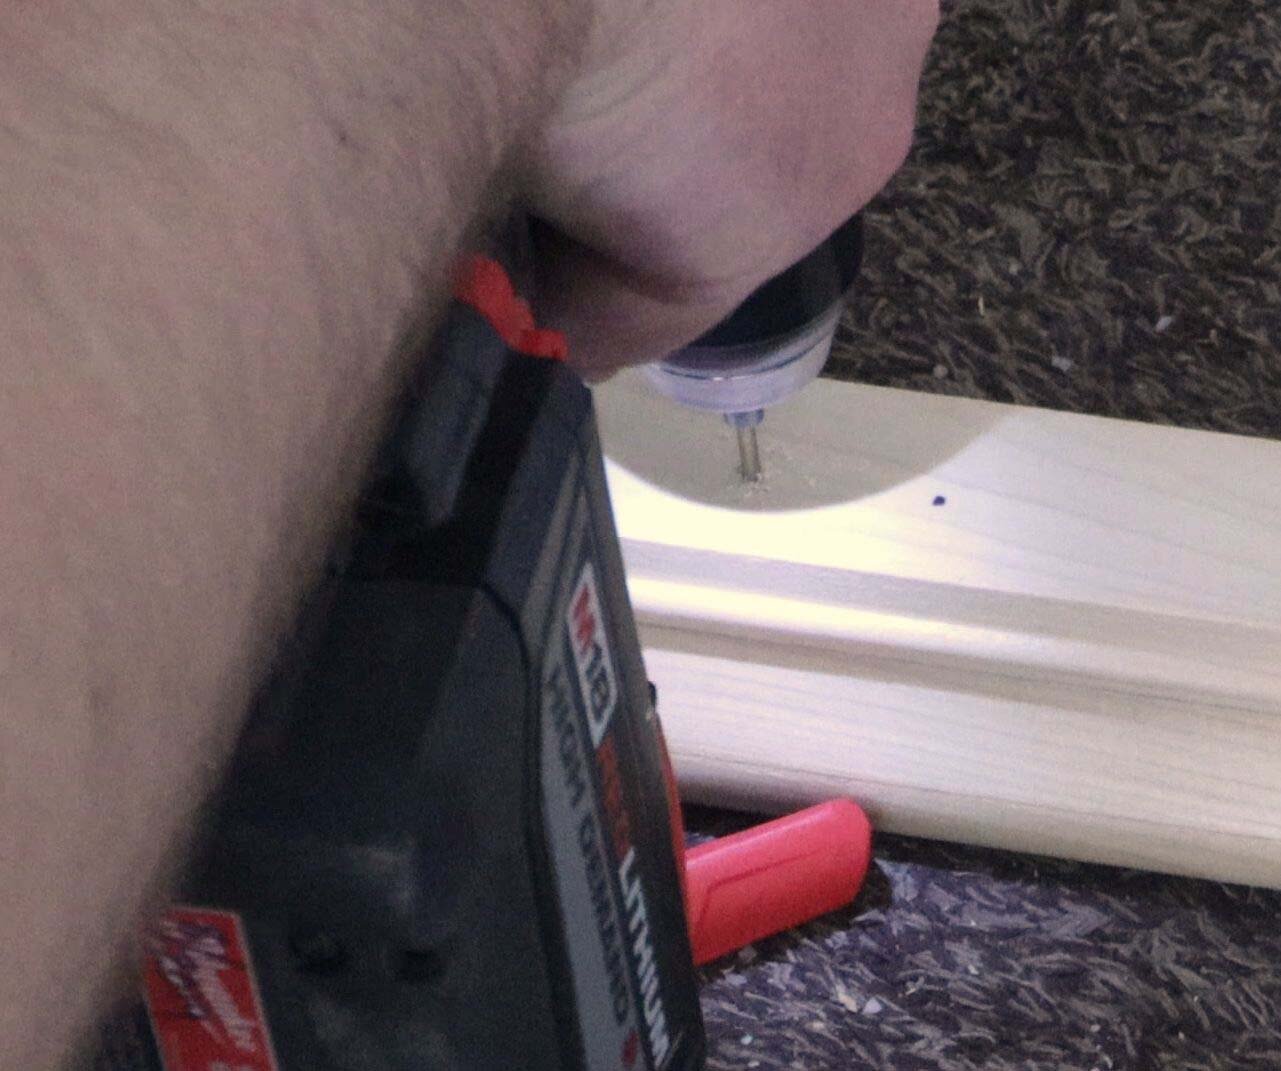
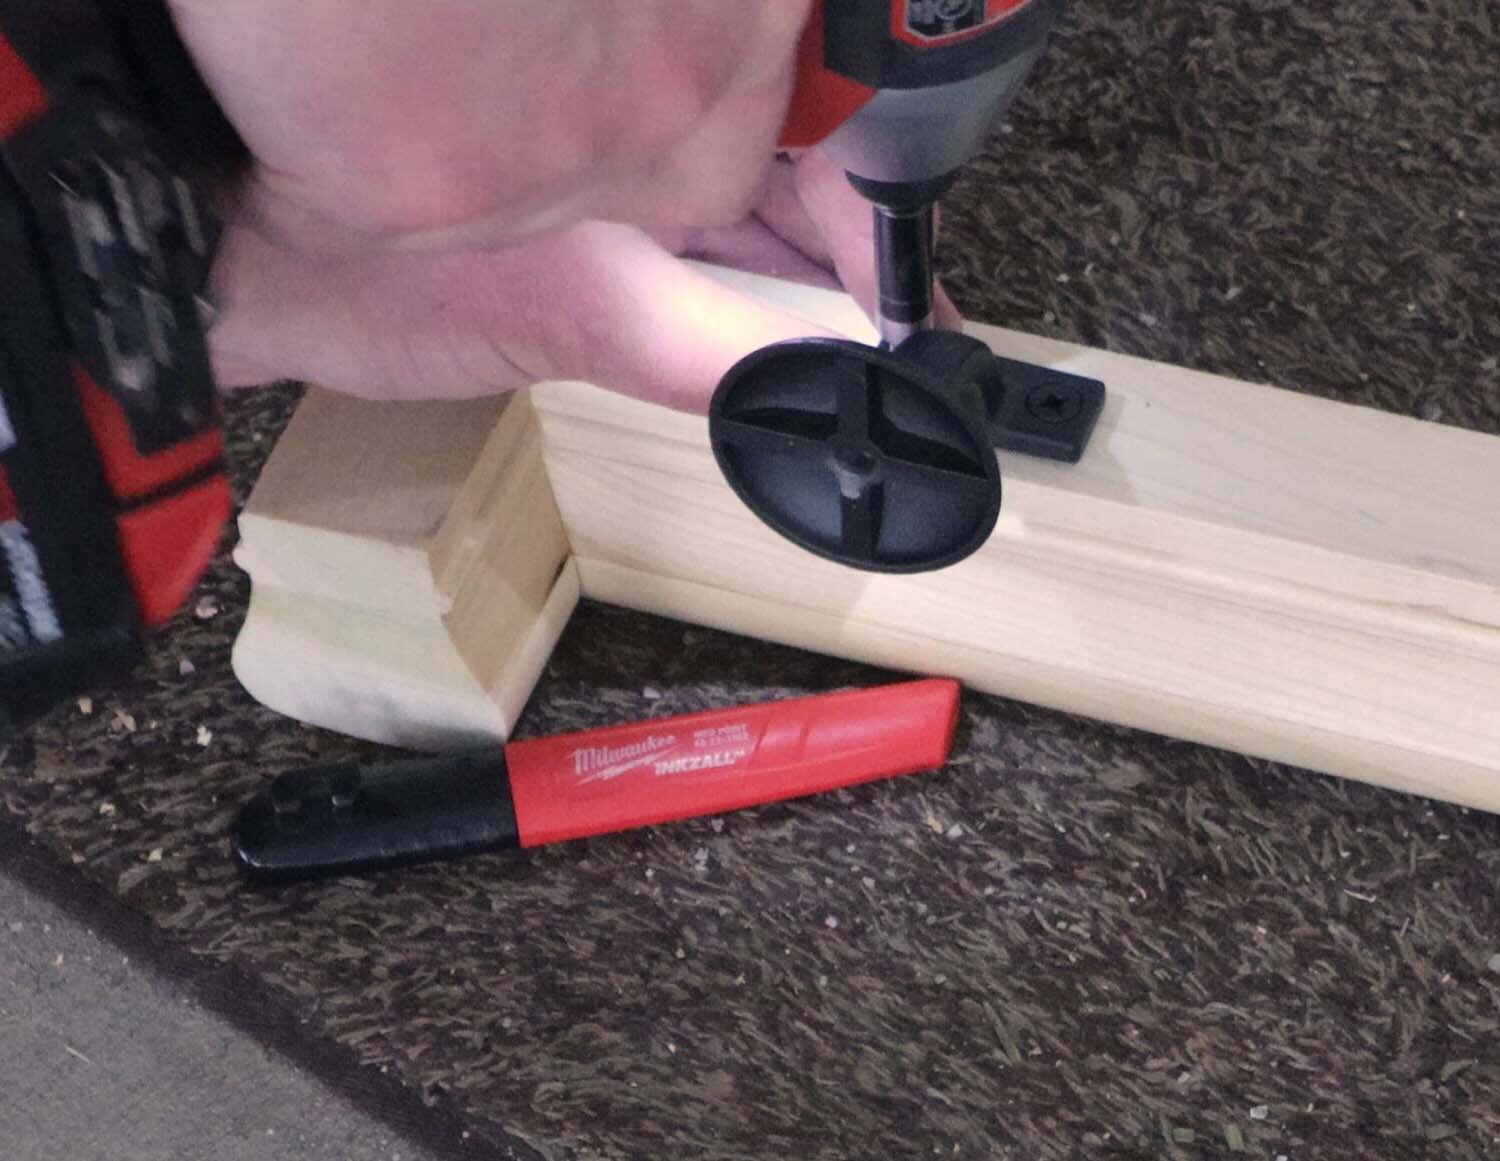
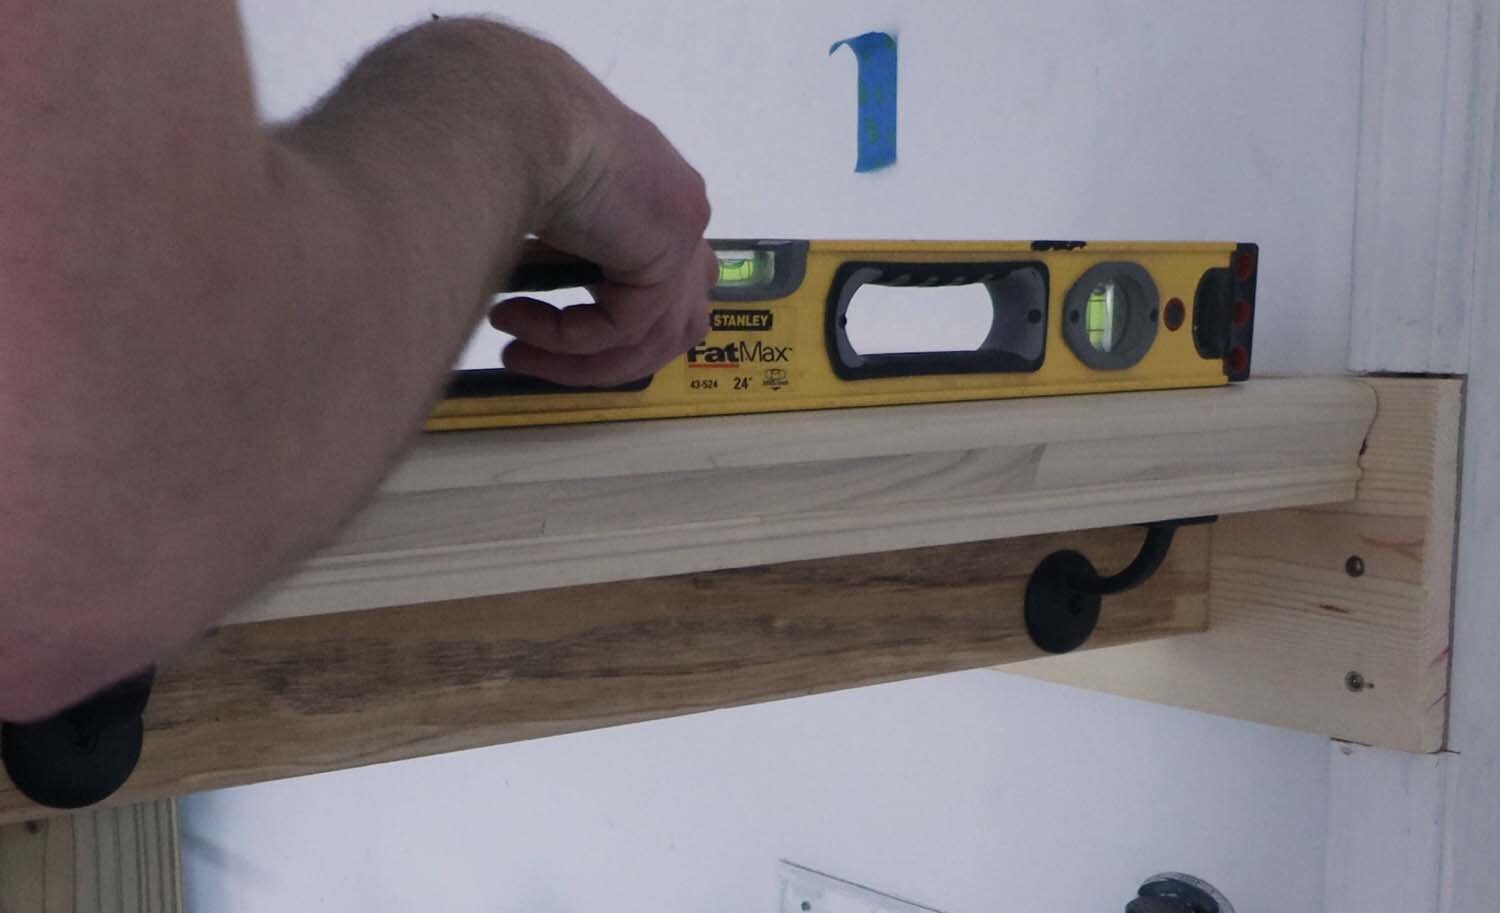
Since I know the top of the 2x6 is at 38", I set the top of the rail level with it, and then fasten the rail supports to the 2x6.
I'm really pleased with how these hand rails turned out. They're incredible sturdy, and I have no doubt they'll hold up to their use. And more importantly, I'm happy that I was able to make my grandmother-in-law's life a little easier as it gets harder for her to move around.

I hope this was instructive, and thanks for viewing!
If you enjoyed this article, subscribe to my YouTube channel for more!
—————————————————————————————
Below is a listing of the supplies you will need. I have supplied Amazon Affiliate links to the products I used. As an Amazon Associate I earn from qualifying purchases.