
DIY Steel Garden Edging
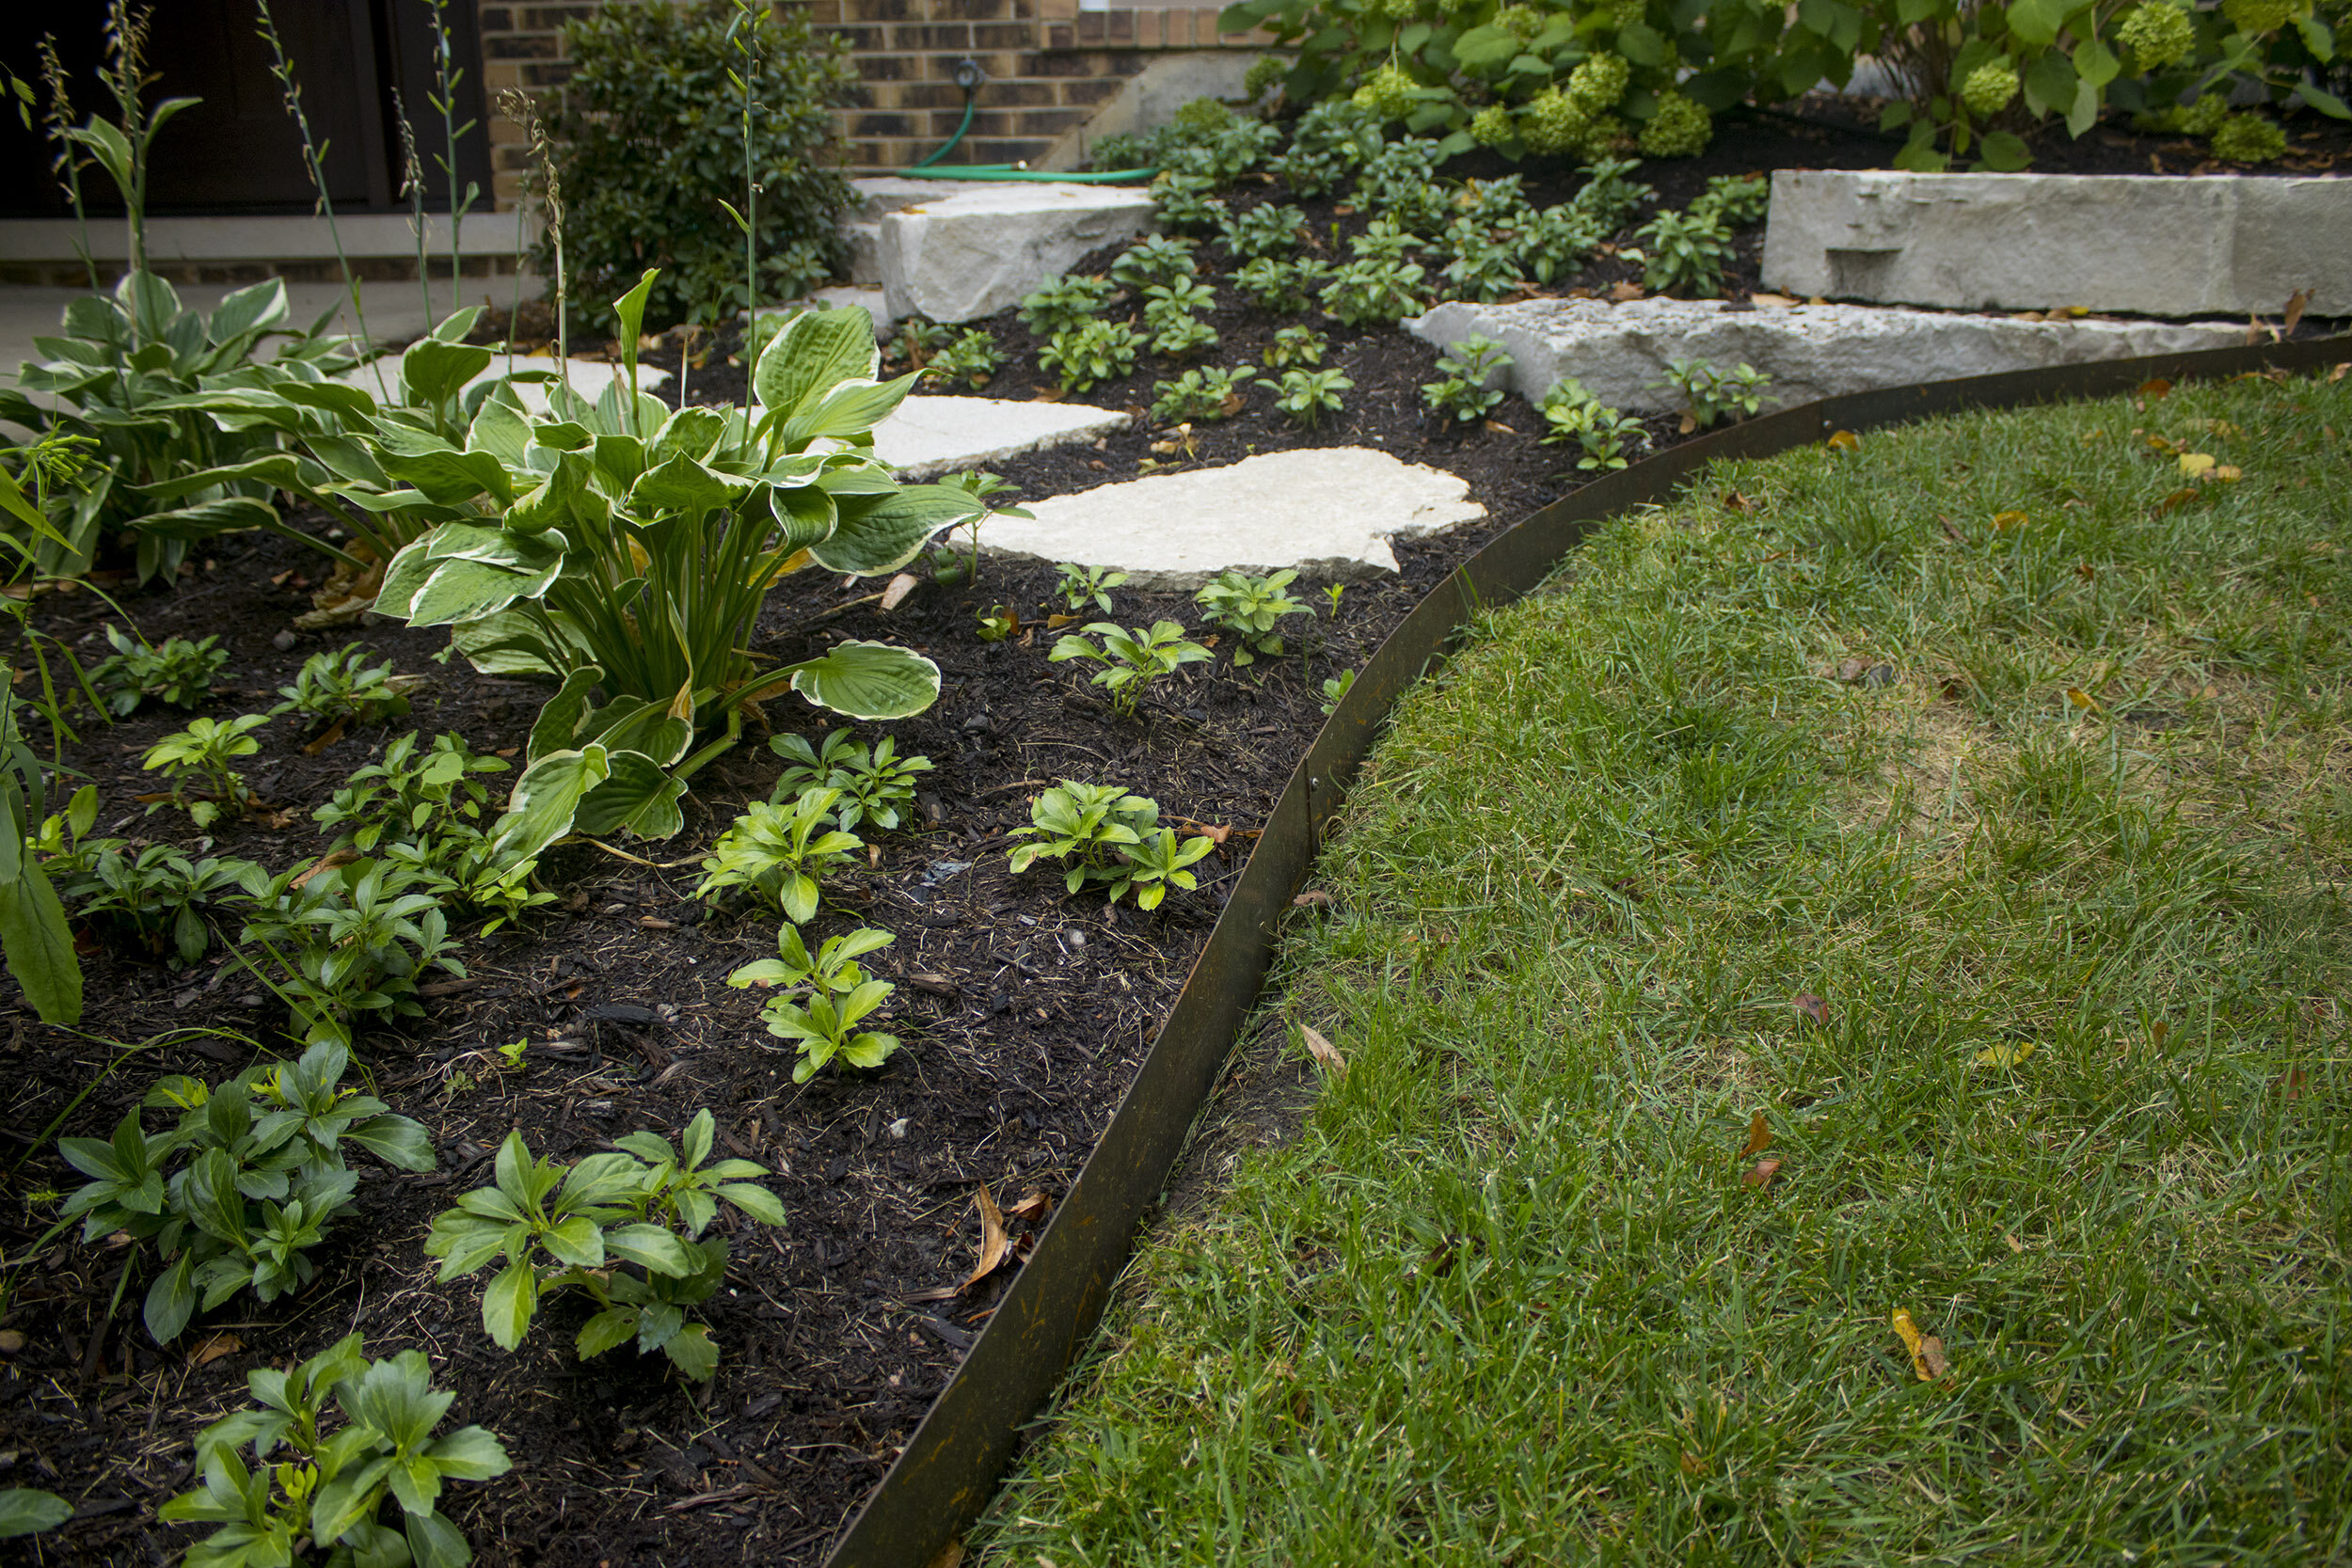
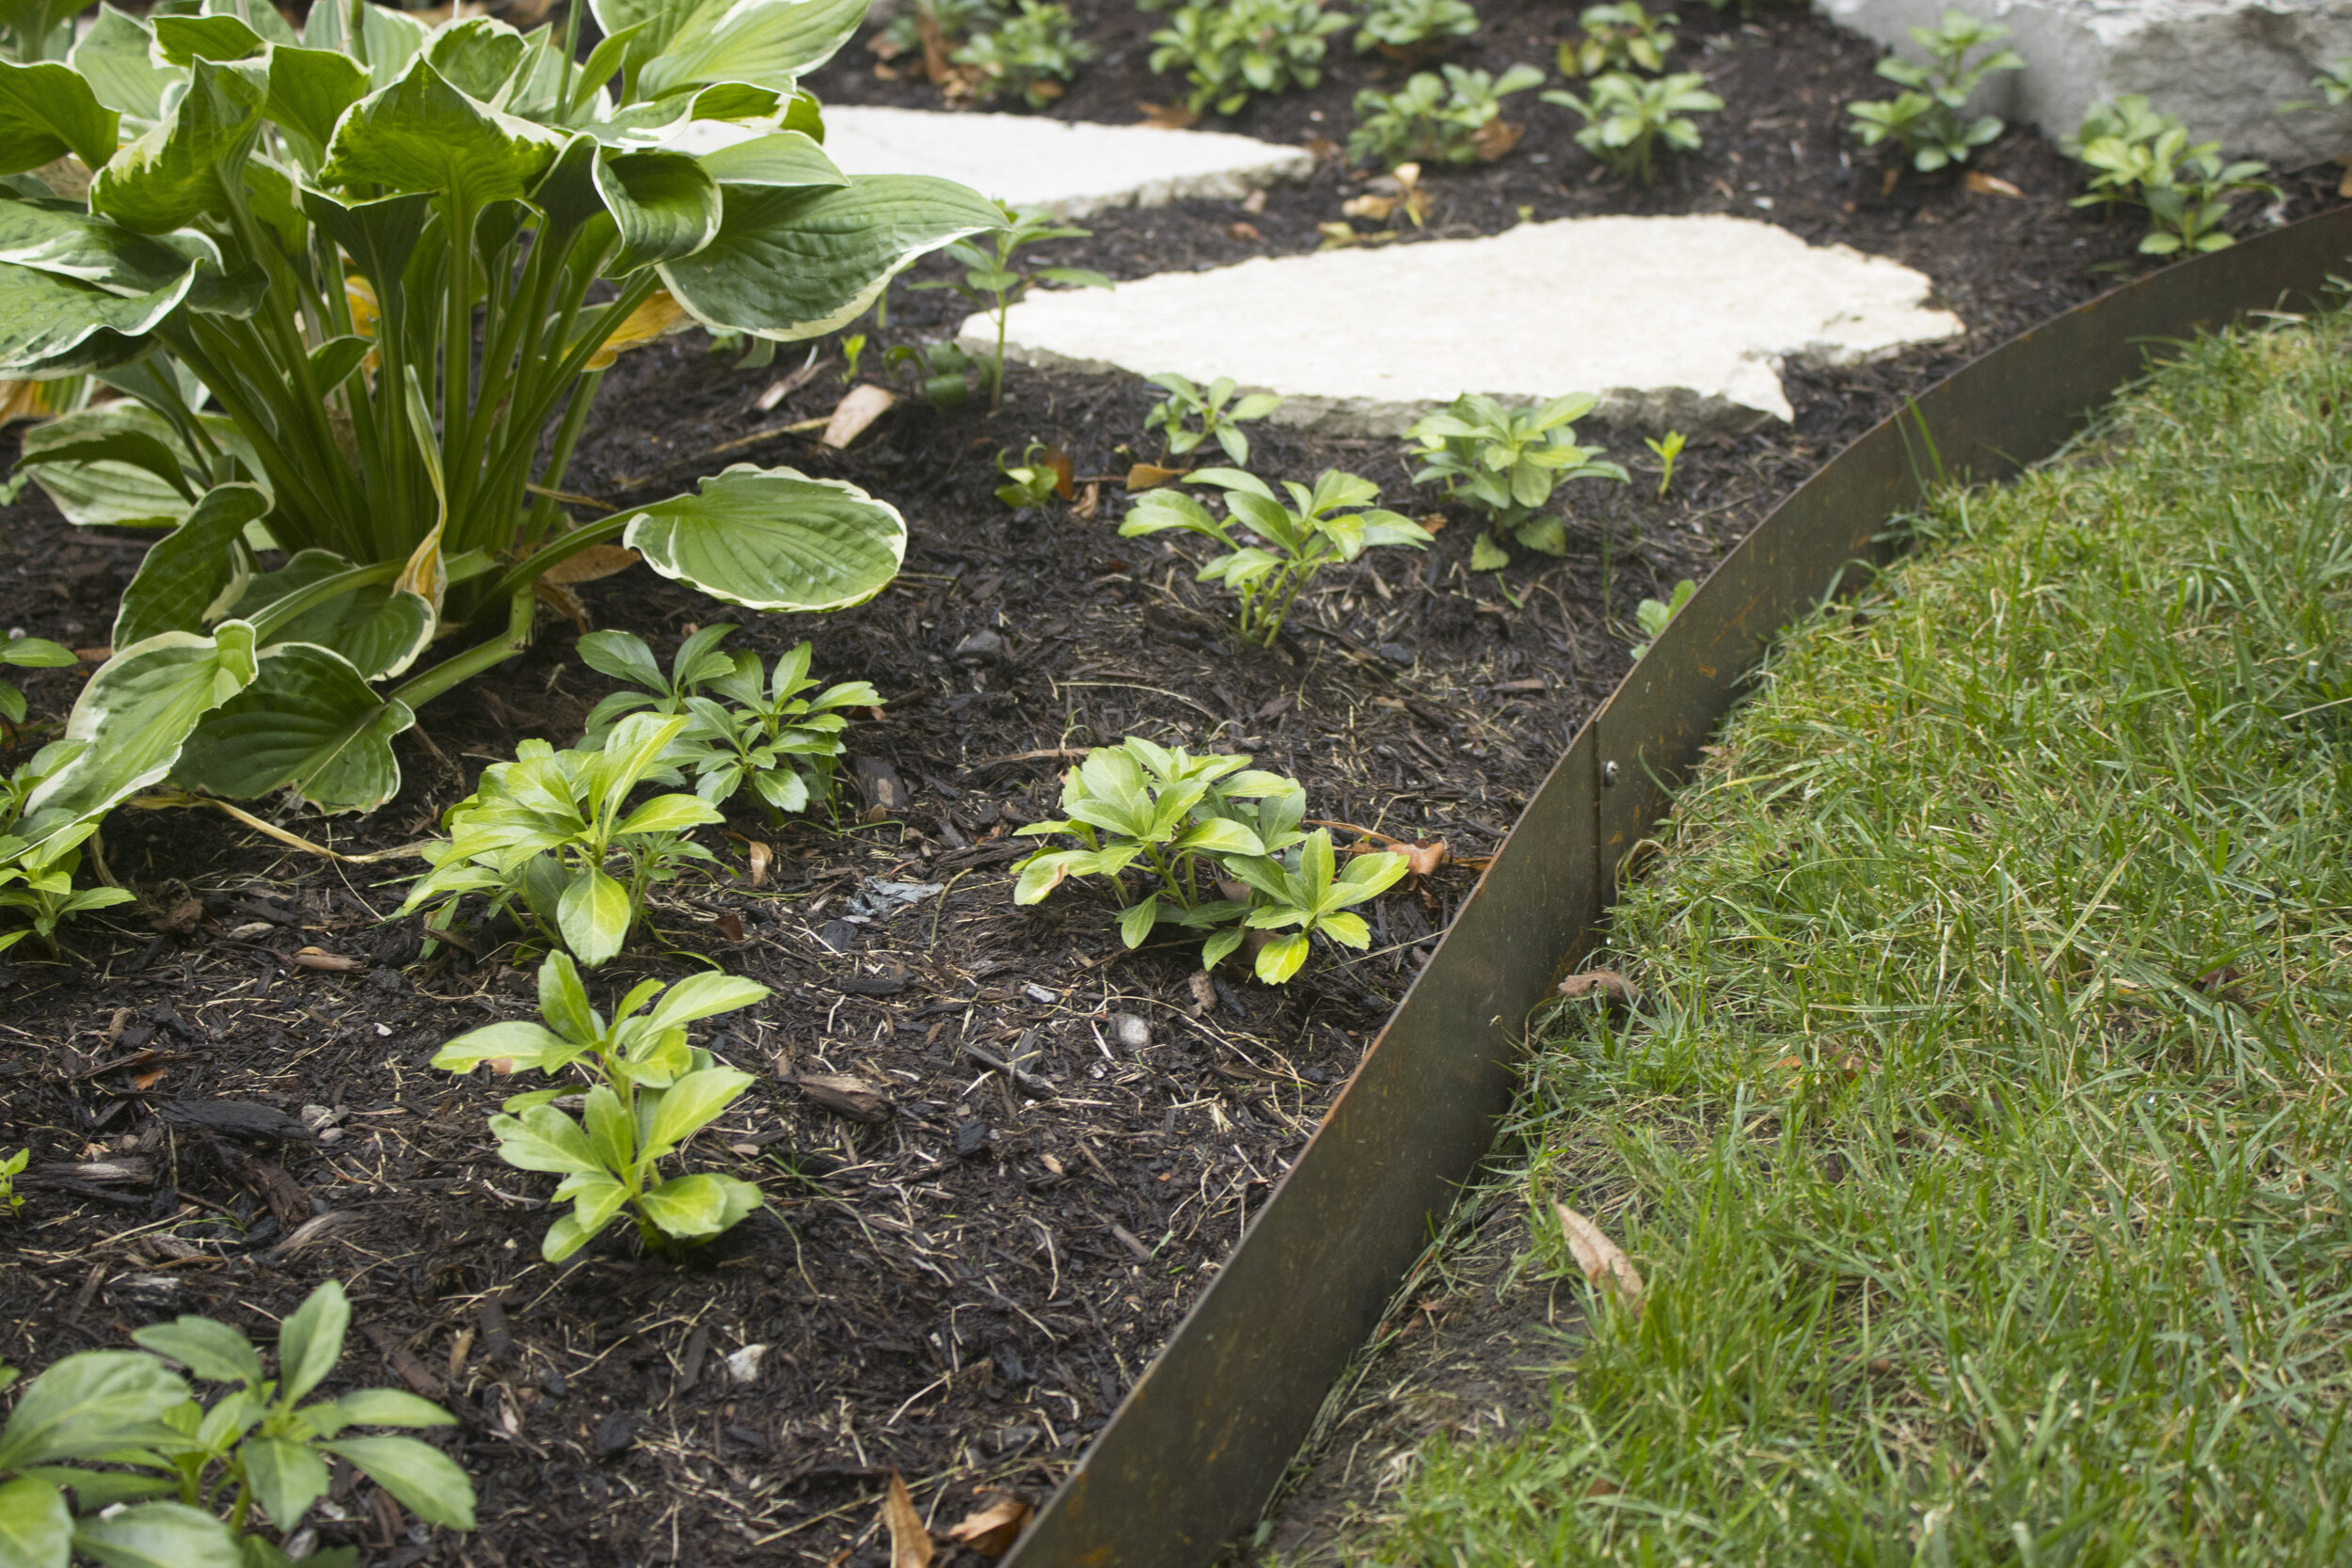
If you have garden beds in your yard, then you know how much of a pain it is to go through the yearly process of re-edging with a spade before applying more mulch. Also, you probably have struggled with grass growing into your garden beds each year. Well, no more!
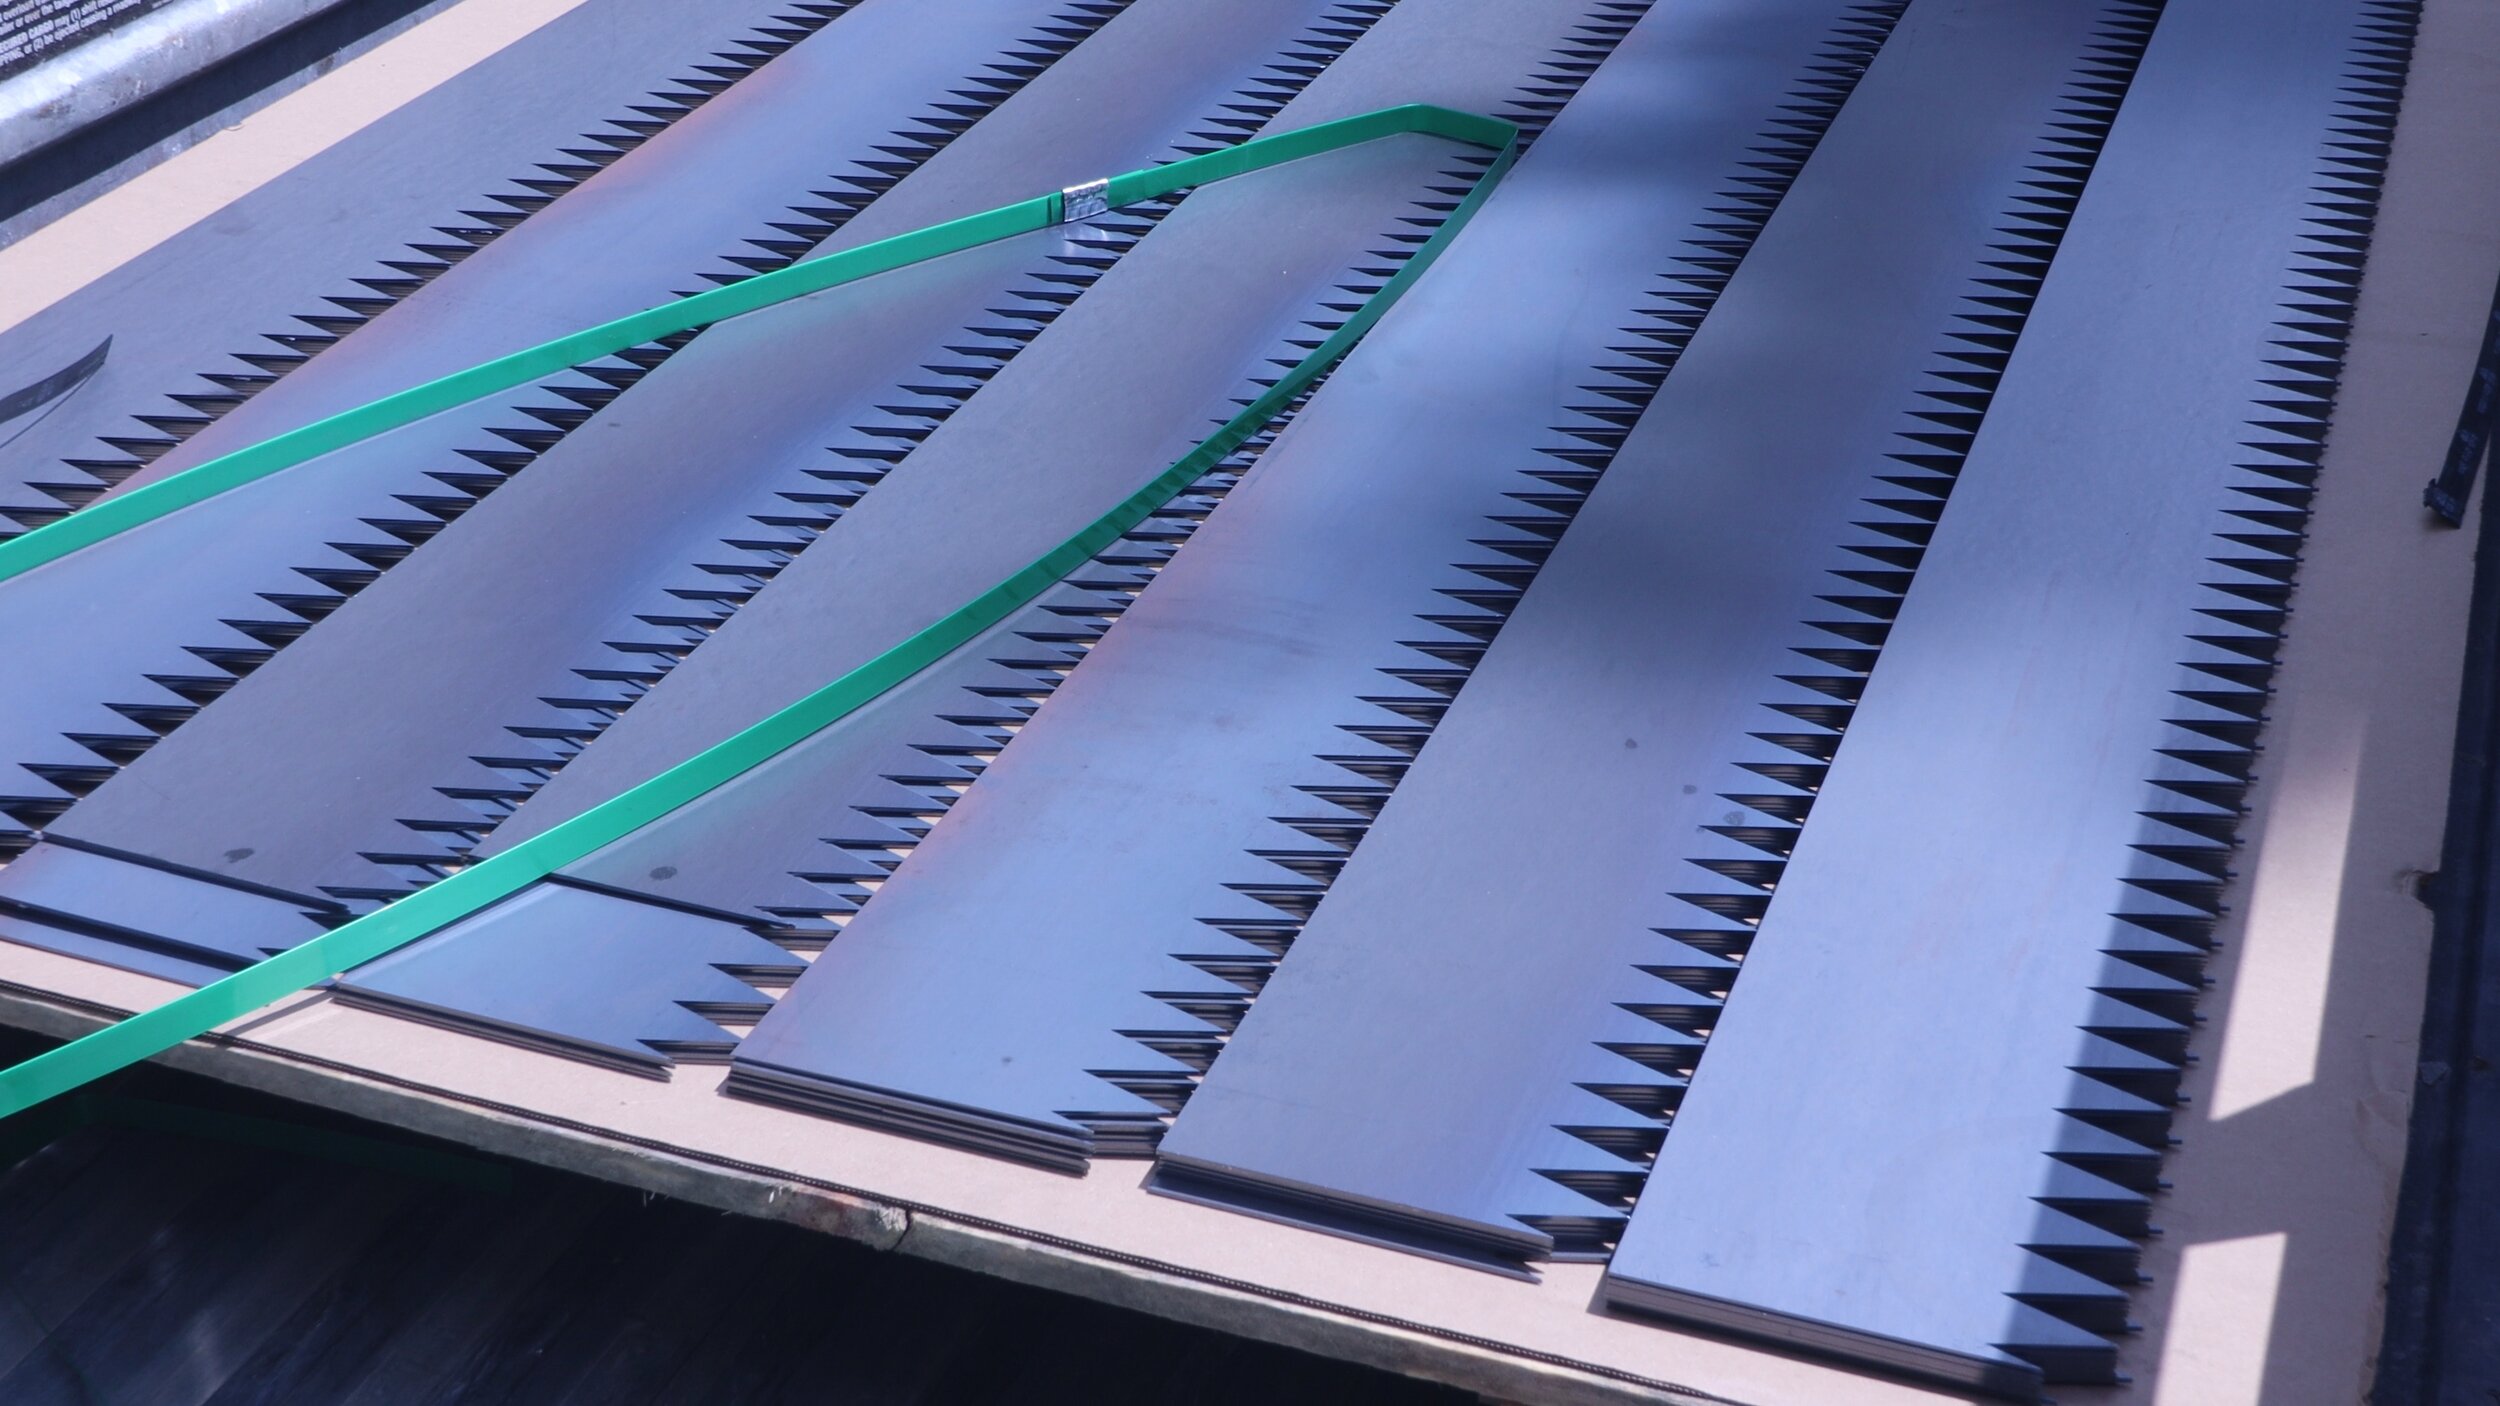
I went to a local steel supplier with a CAD file for my steel edging and asked them to plasma cut it out of 14 gauge COR-TEN steel. This alloy is called “weathering steel” and forms a protective rust patina over time that’s won’t flake off. Unit cost for this 6” tall edging was about $2.25 per linear foot (in summer 2020), which is less than half the cost of comparable commercial products I’ve found.
Commercial garden edging products have existed for for years, ranging from the cheap plastic edging that falls apart when hit by a lawnmower to high-end limestone retaining walls. Steel edging is nothing new either; however, the costs for ready-made steel edging is, in my opinion, exhorbitant. Making your own steel edging is much more affordable and creates a long-lasting and attractive landscape border.


Before ordering any edging, you must measure the total length of edging required. This can be done any number of ways, but the easiest way I can think of is to use a measuring wheel. This makes measuring the total length of edging as easy as walking.
A quick note before going further. It's a good idea to call your local Digger's Hotline (or local equivalent) to mark any buried utilities in your yard. Since you will be digging and cutting below ground, there's the possibility of hitting something. Your electrical service should be buried deep enough not to be an issue (no guarantees), but your phone and cable lines may only be a few inches deep.

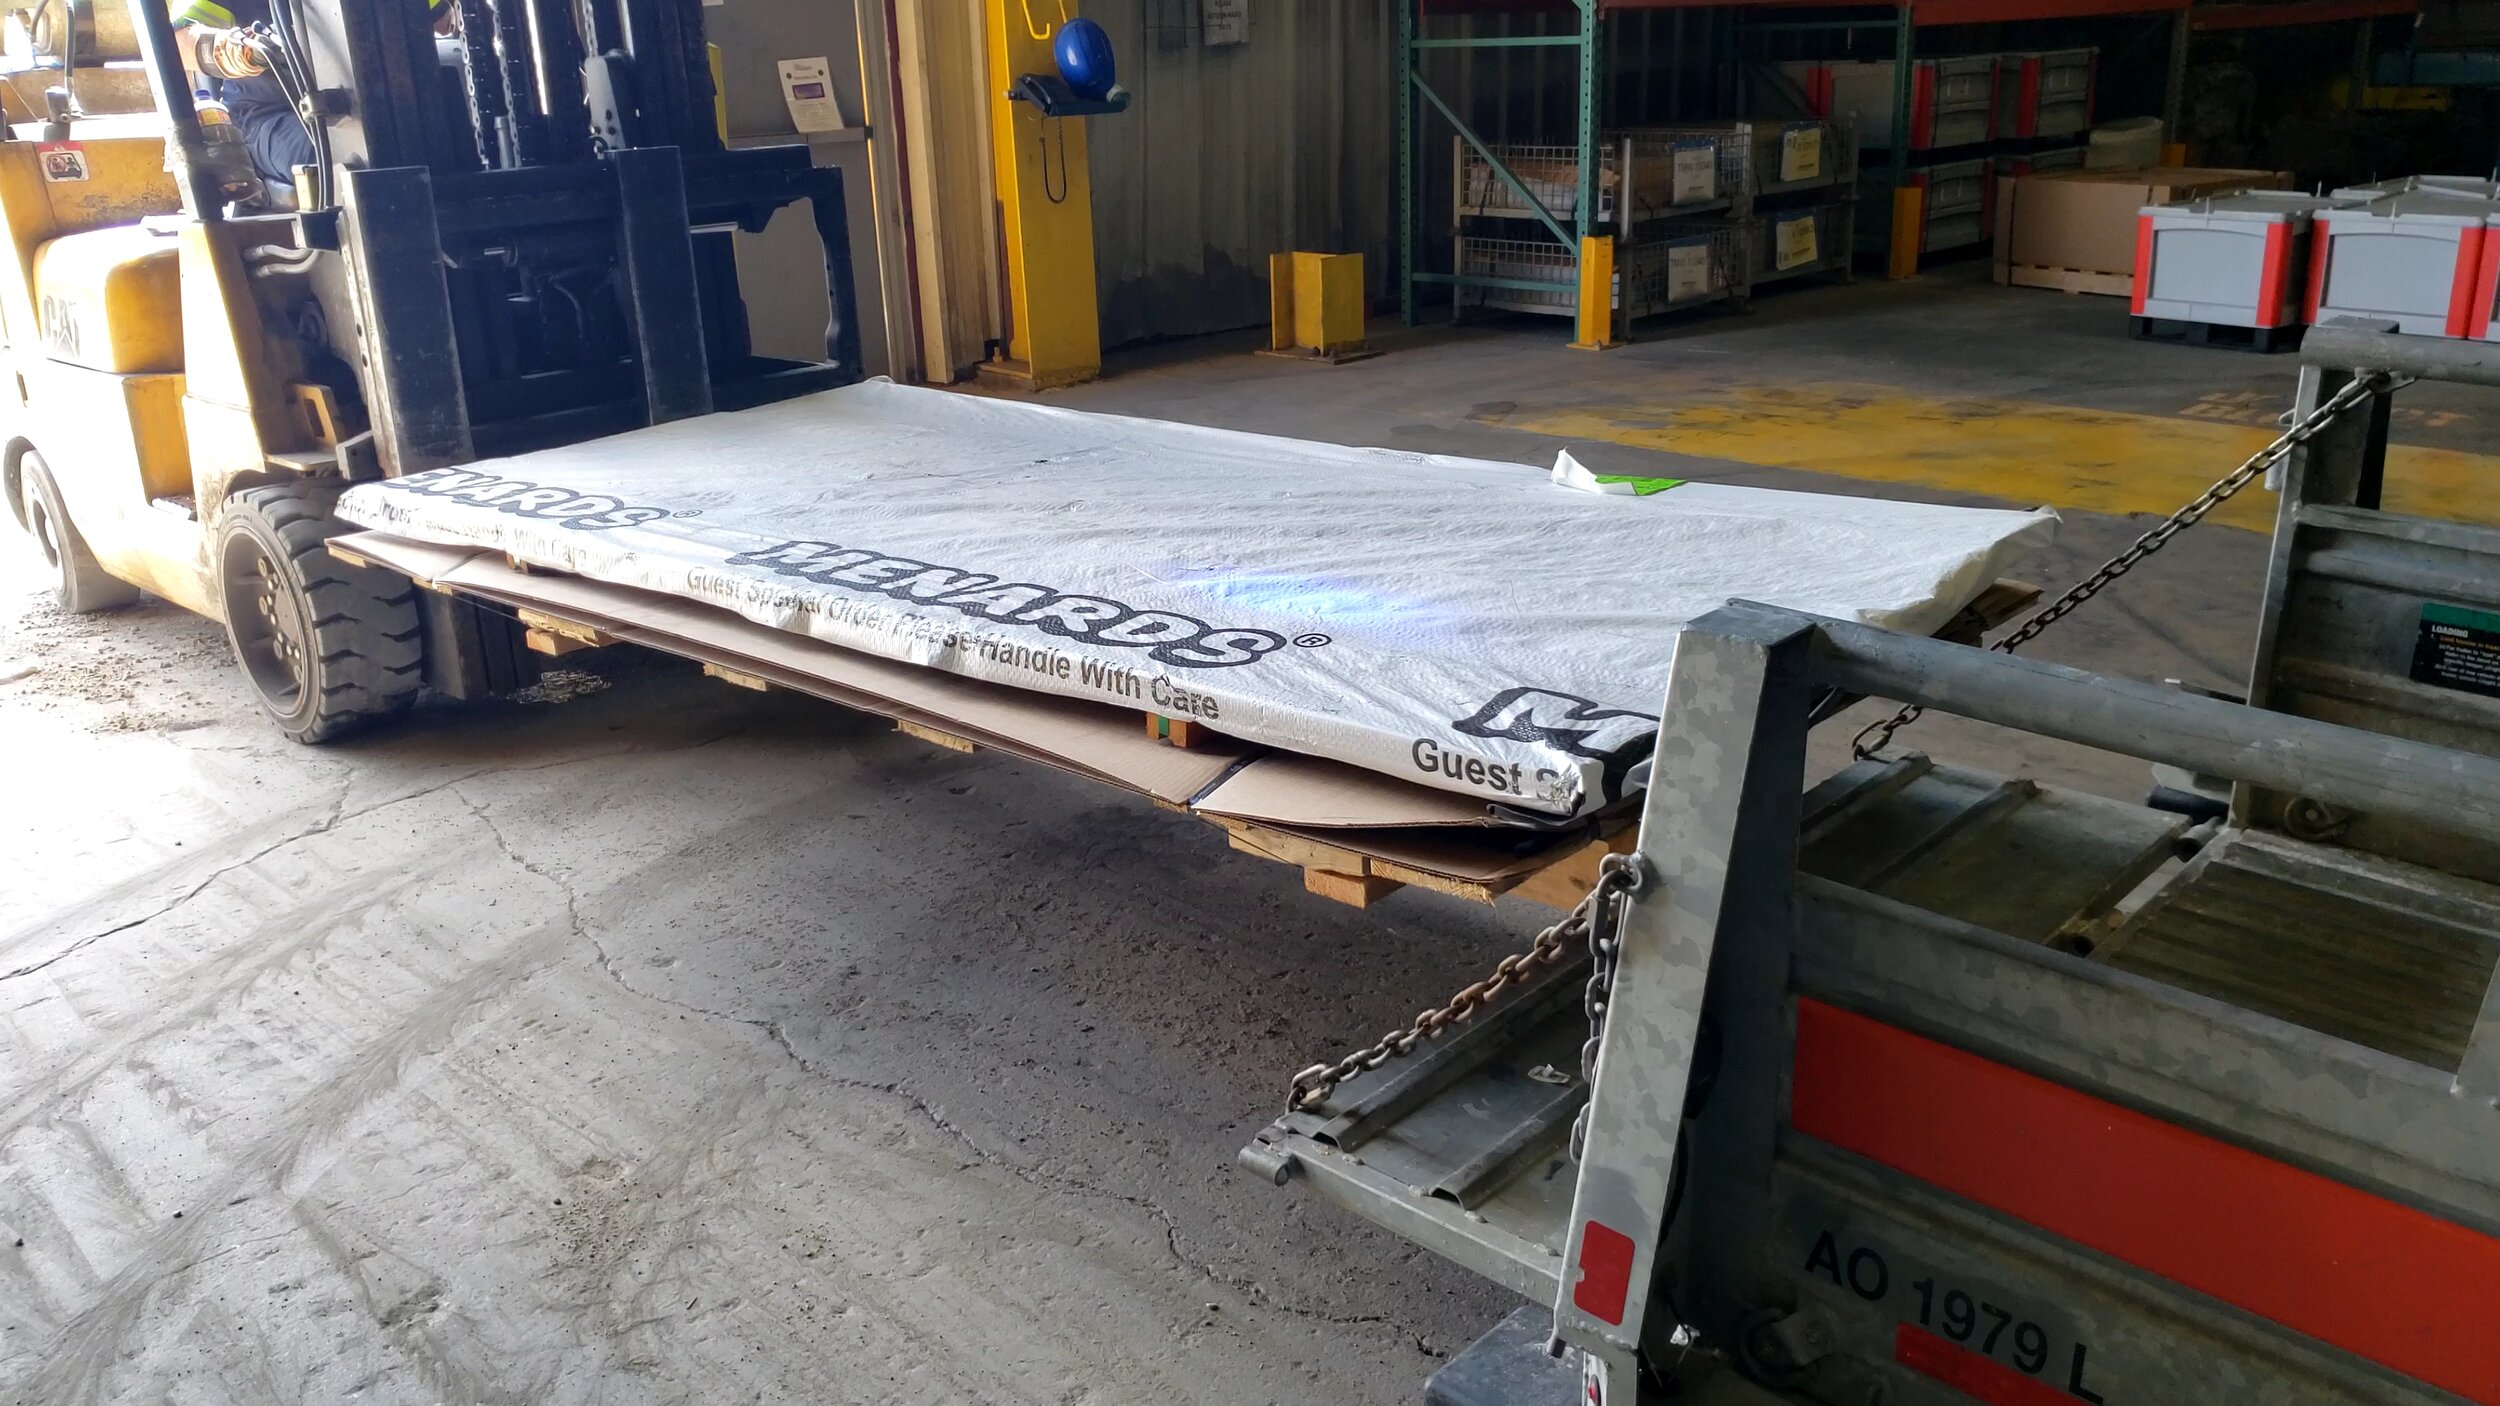
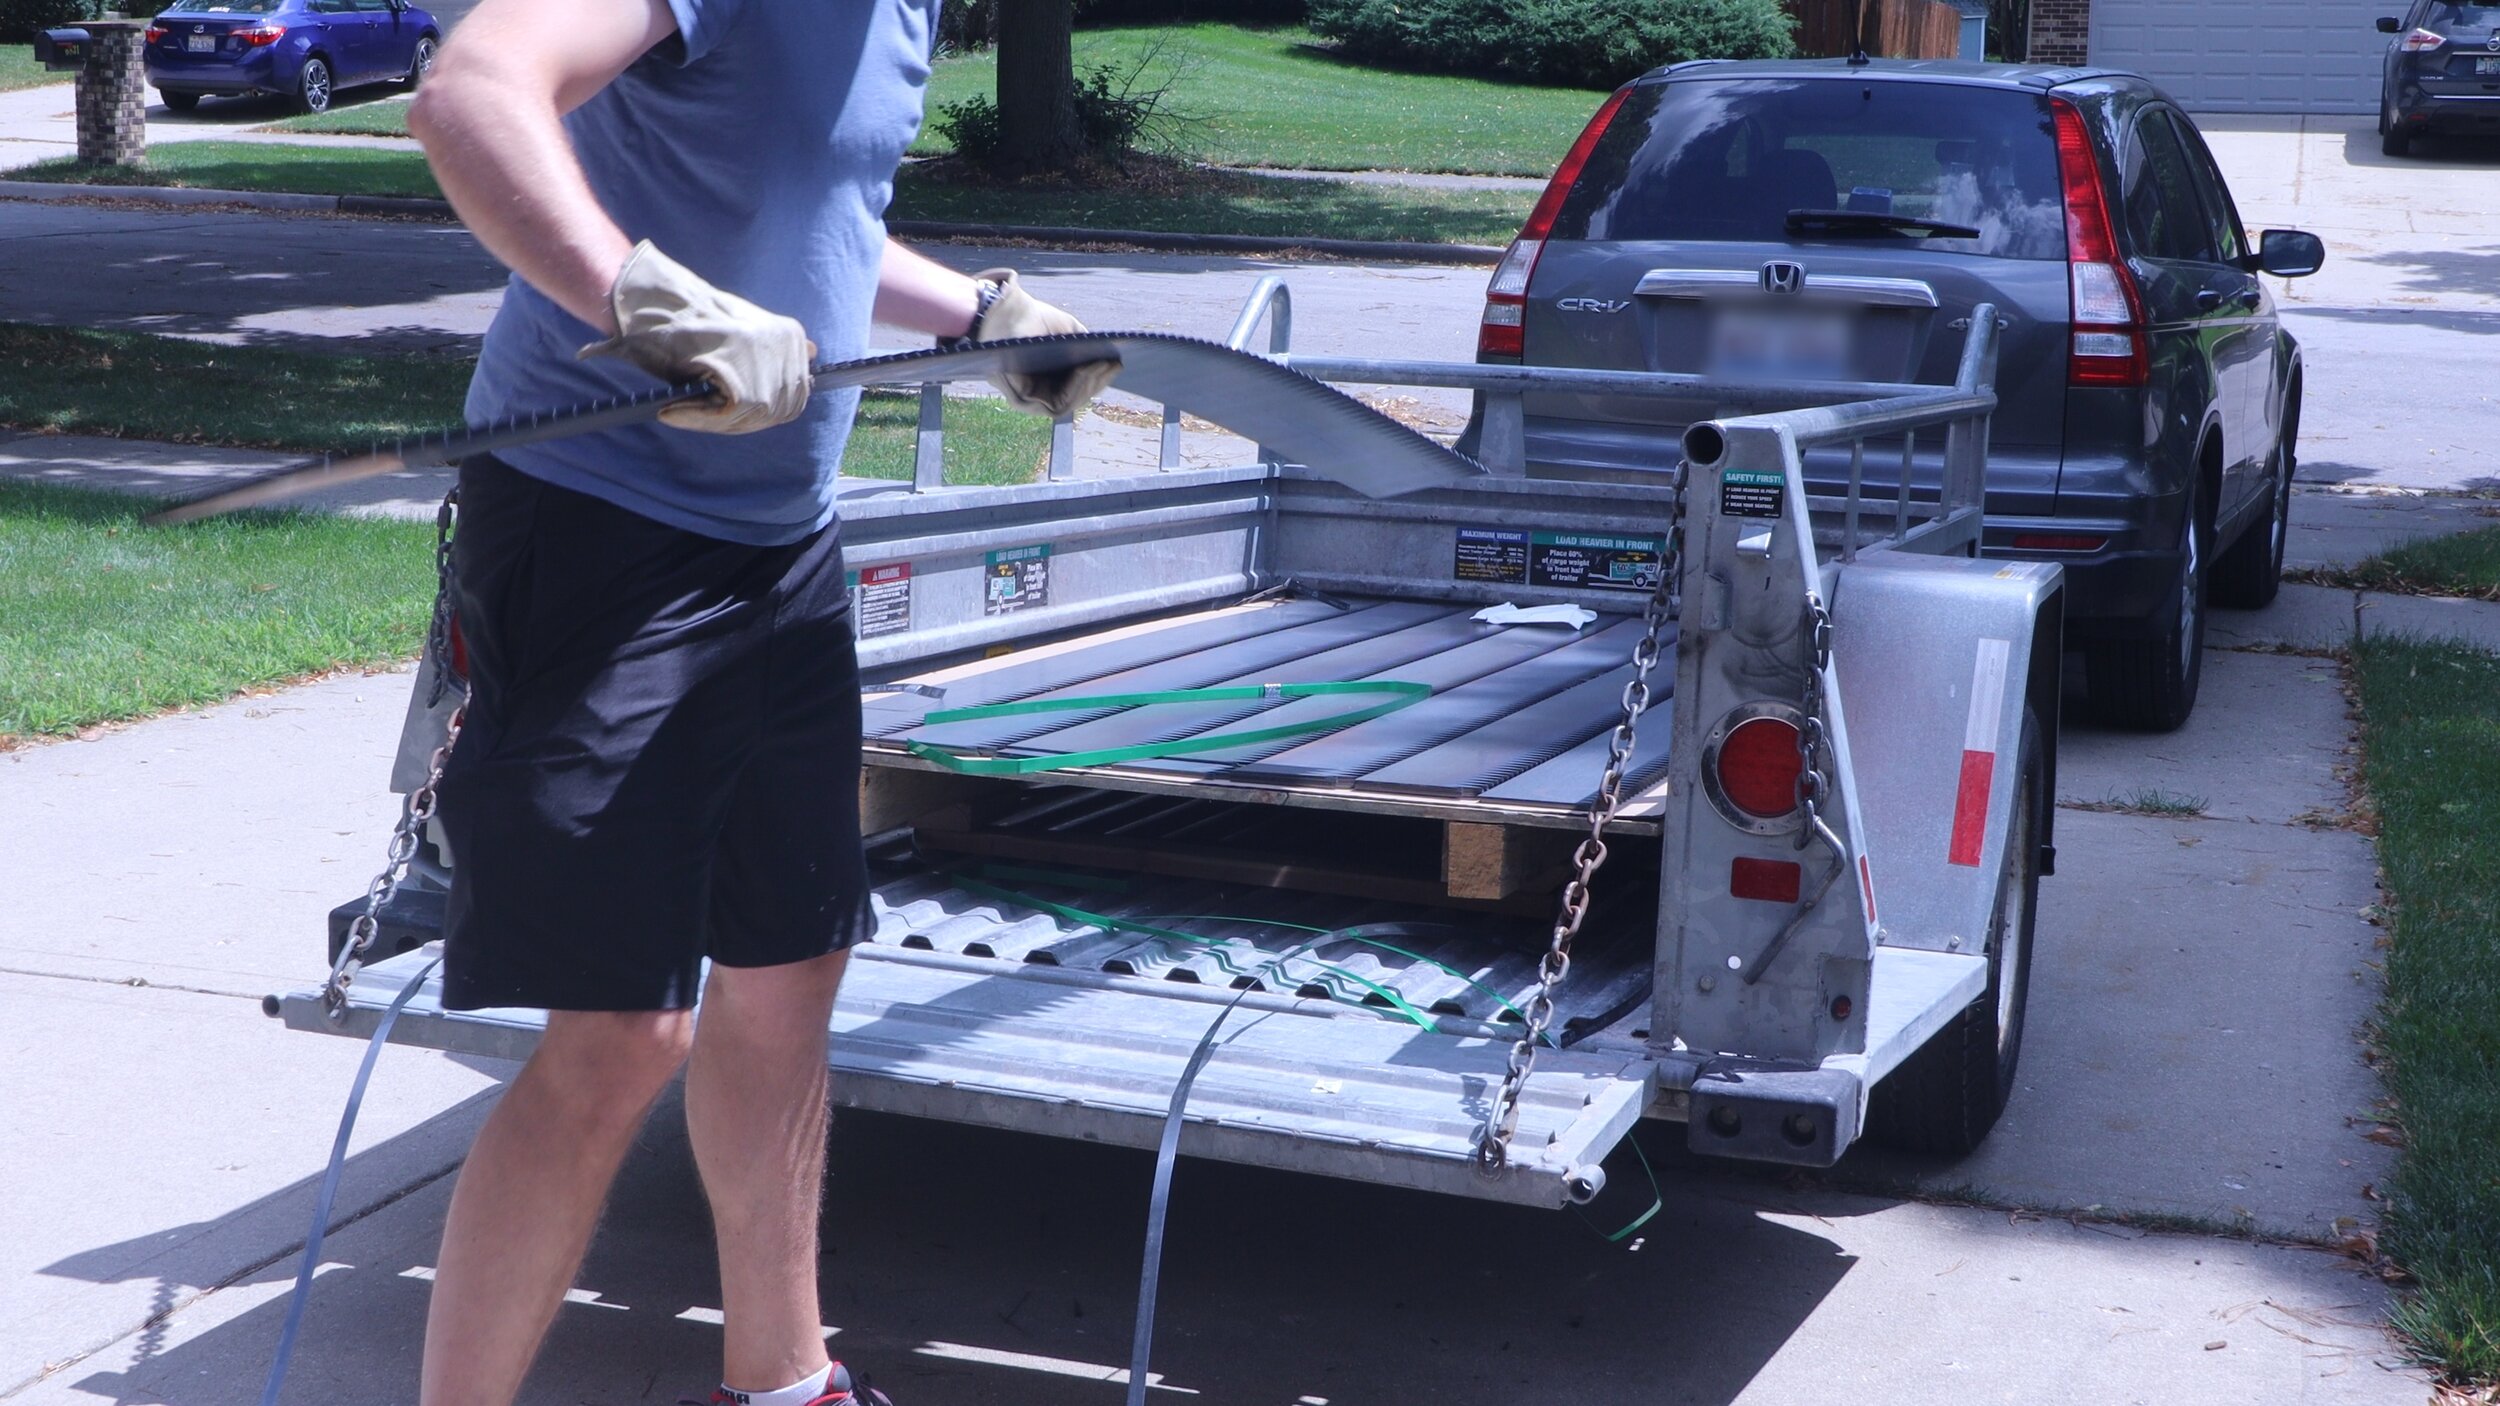
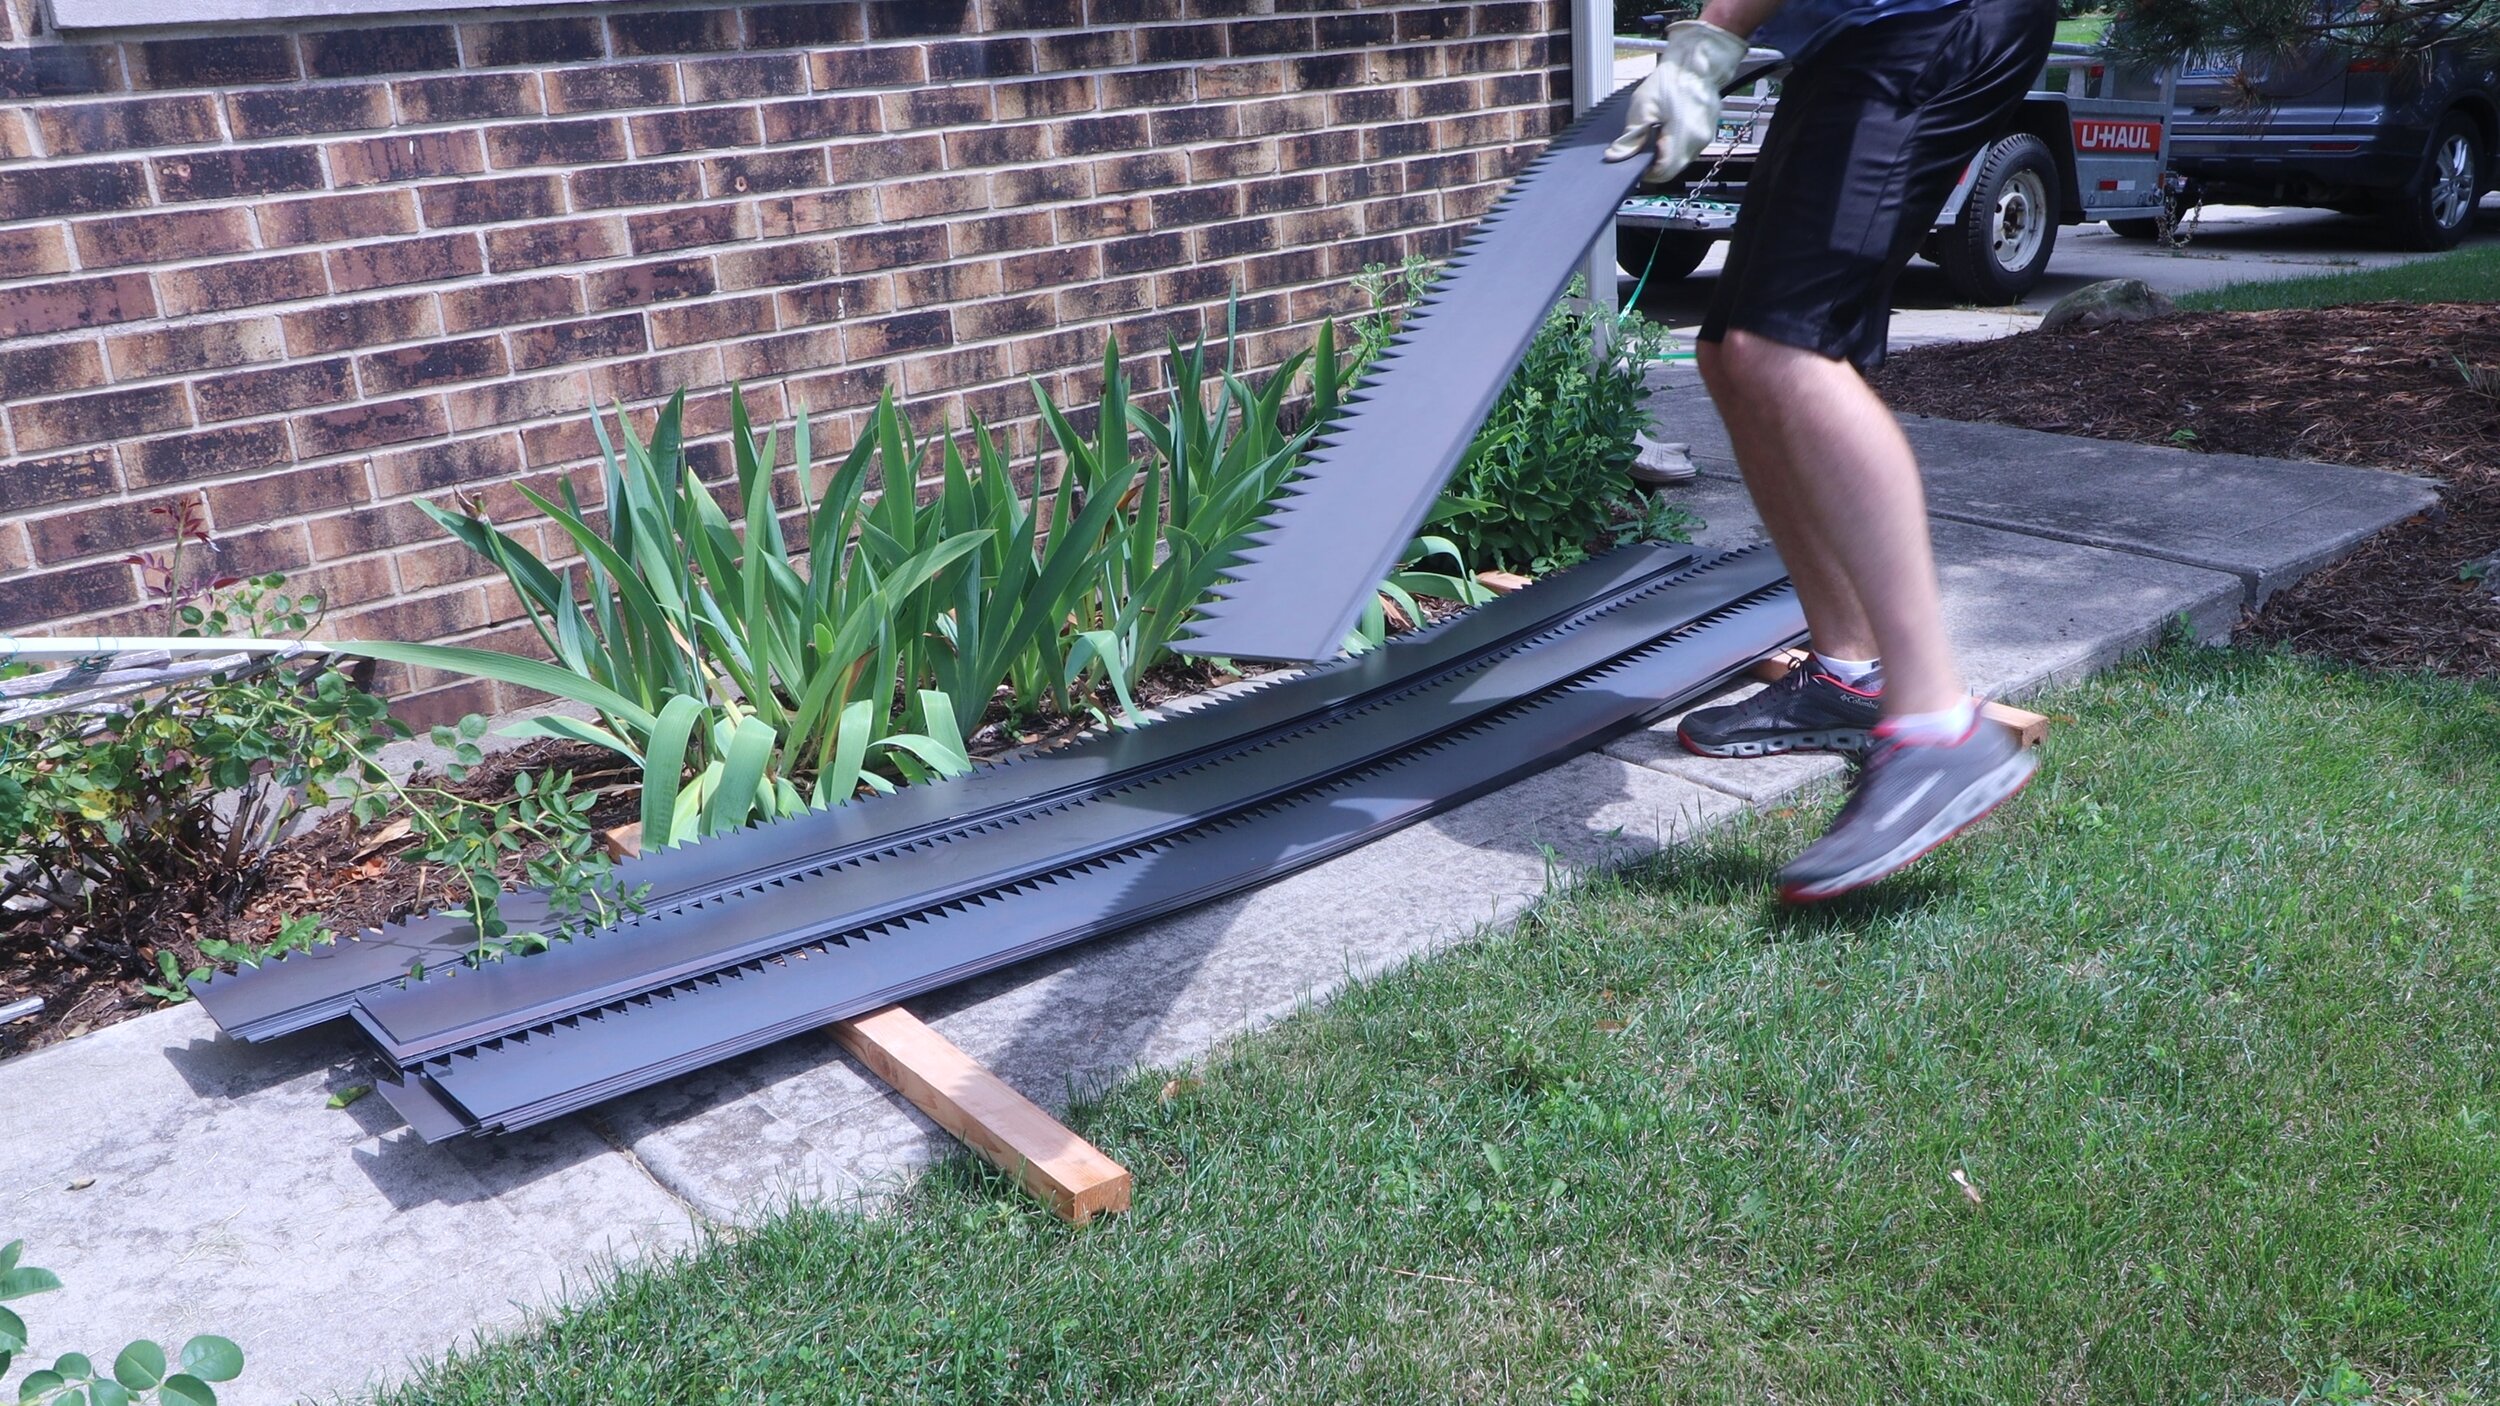
Once you figure out the total length of edging, it's time to order. The CAD files I provide have two versions of the edging for the 6” tall stuff - a 94" length, and a 46" length. The longer edging is more suited for flat lawns with softer ground, and the shorter is easier to handle and is better for sloping lawns. Standard steel sheets are 4ft x 8ft, which will provide about 62 linear feet of edging per sheet.
Get in contact with a sales rep at your local steel supplier and tell them you have a CAD file for use with their plasma cutter. I recommend 14 gauge thickness using ASTM A606, Type 4 or A588 (COR-TEN/weathering steel). The 14 gauge steel is a good balance between bend-ability and stiffness for hammering in.
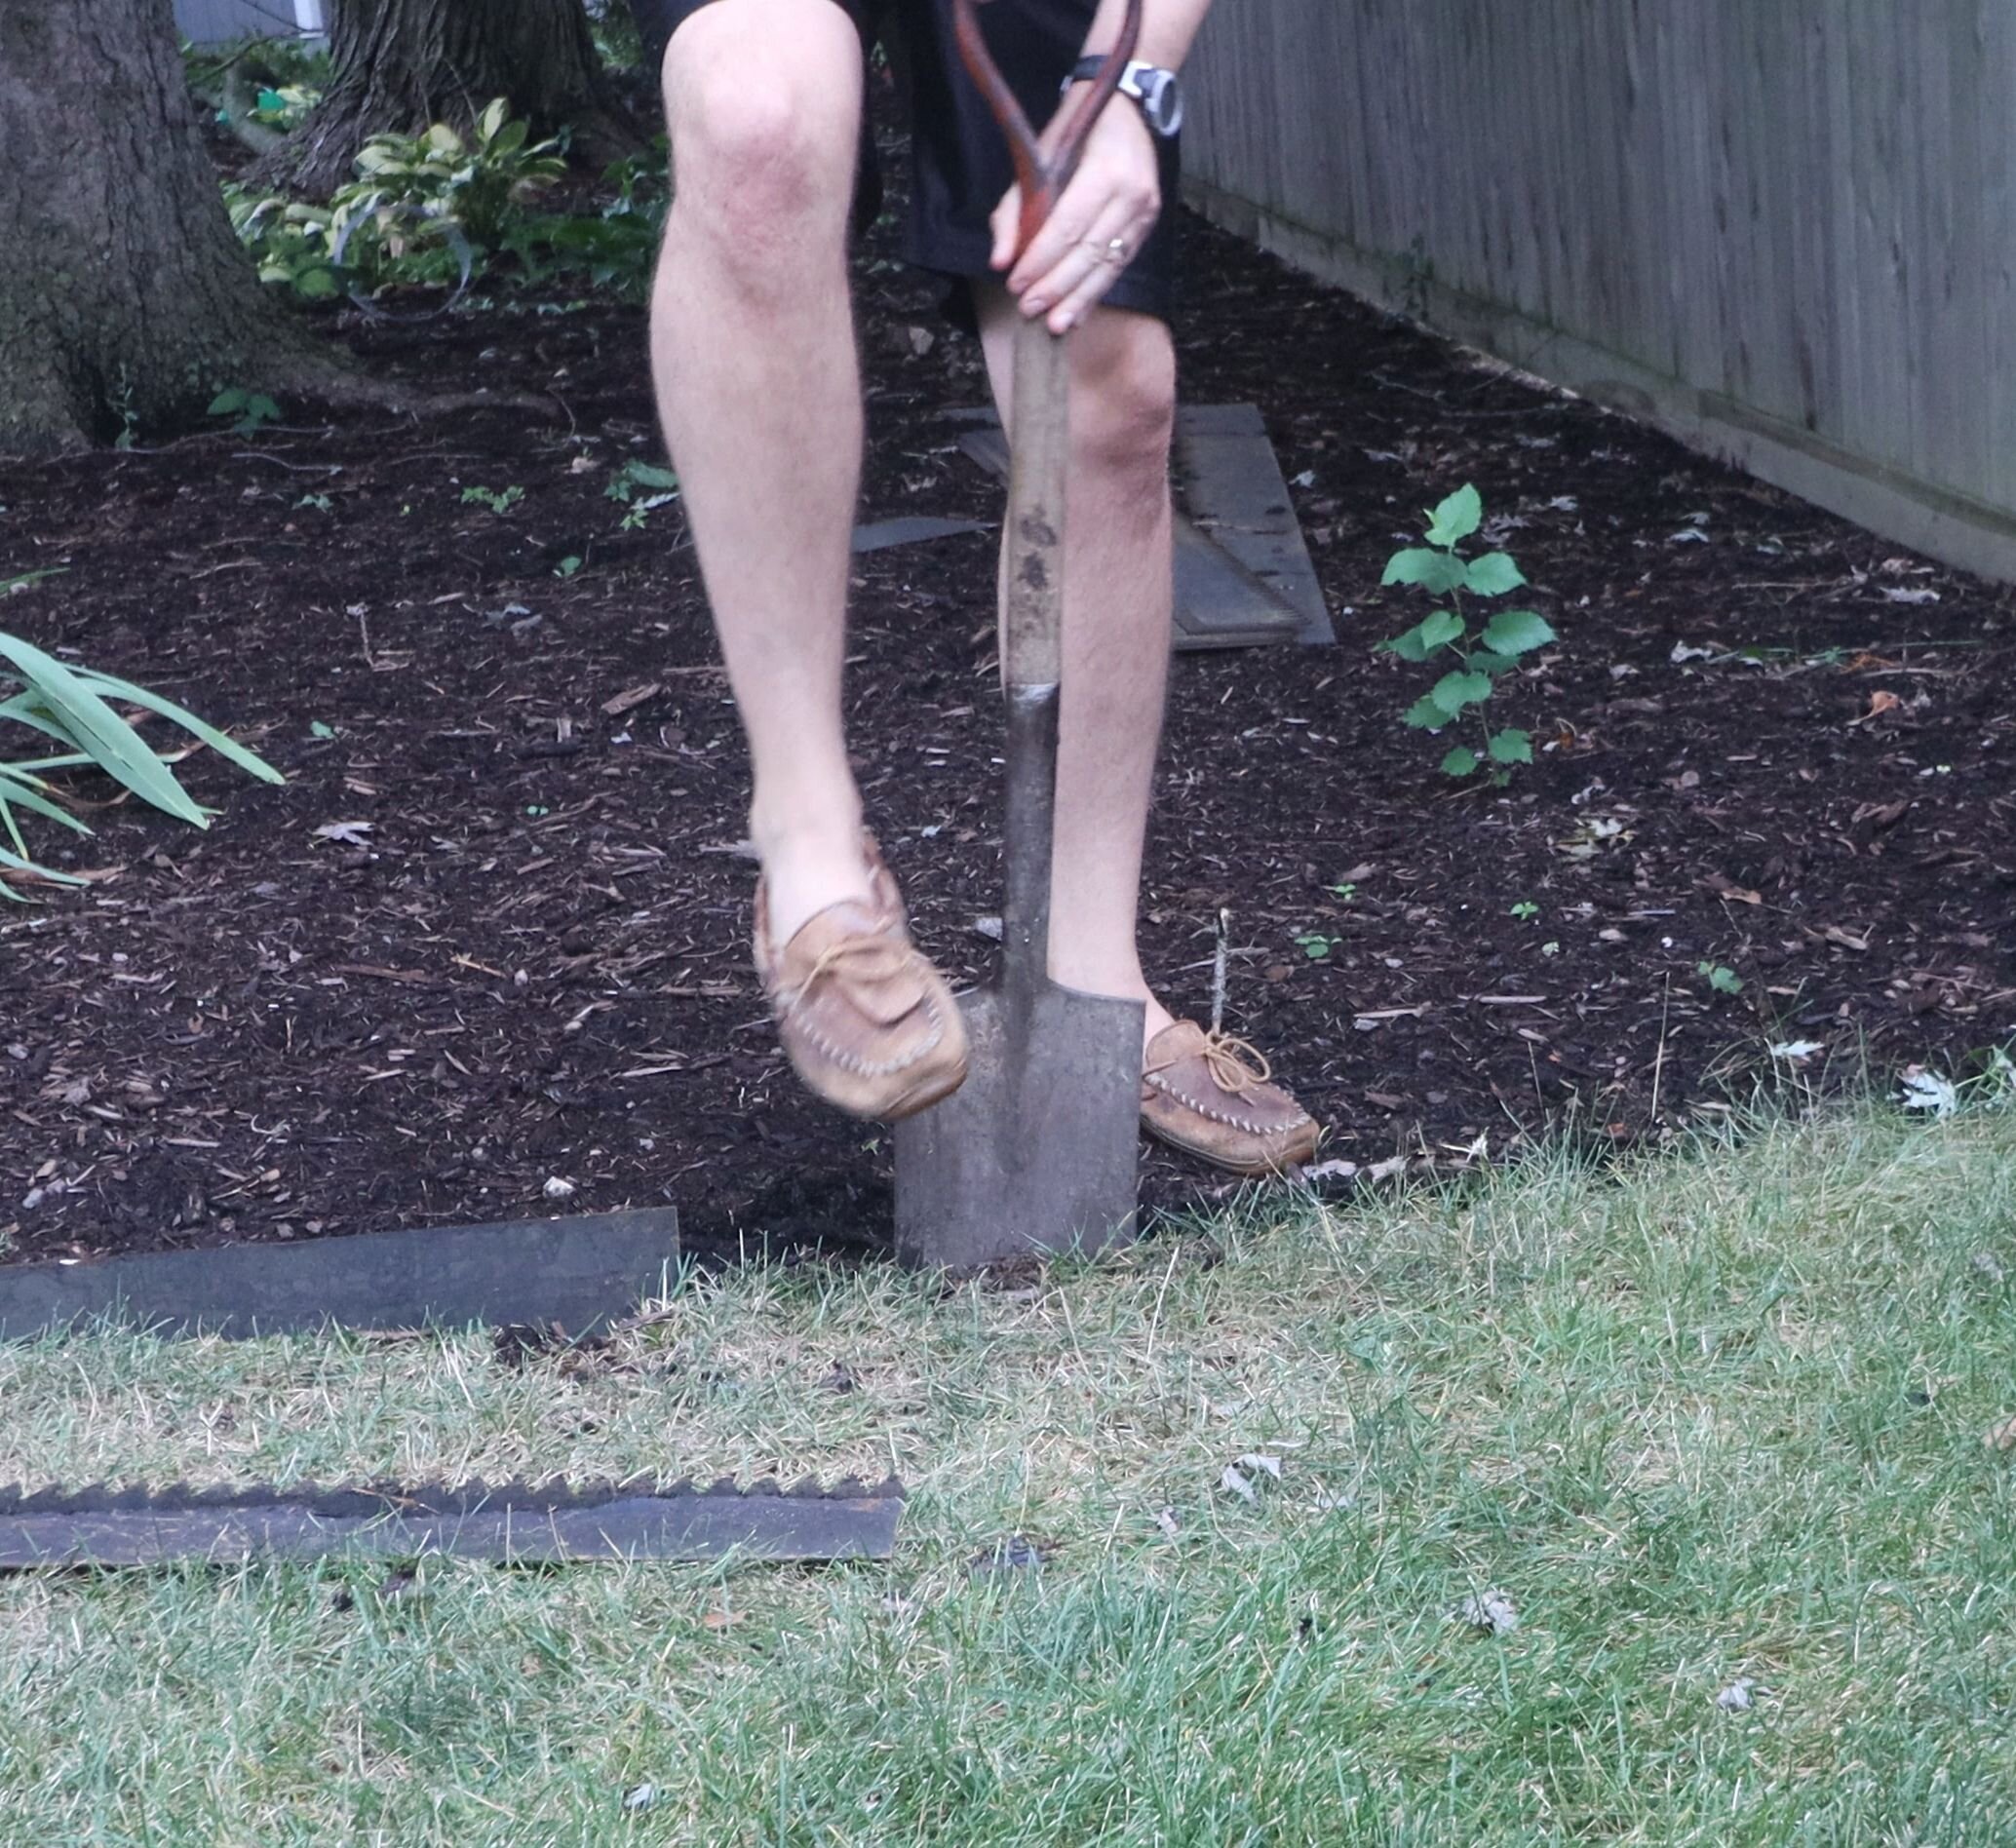
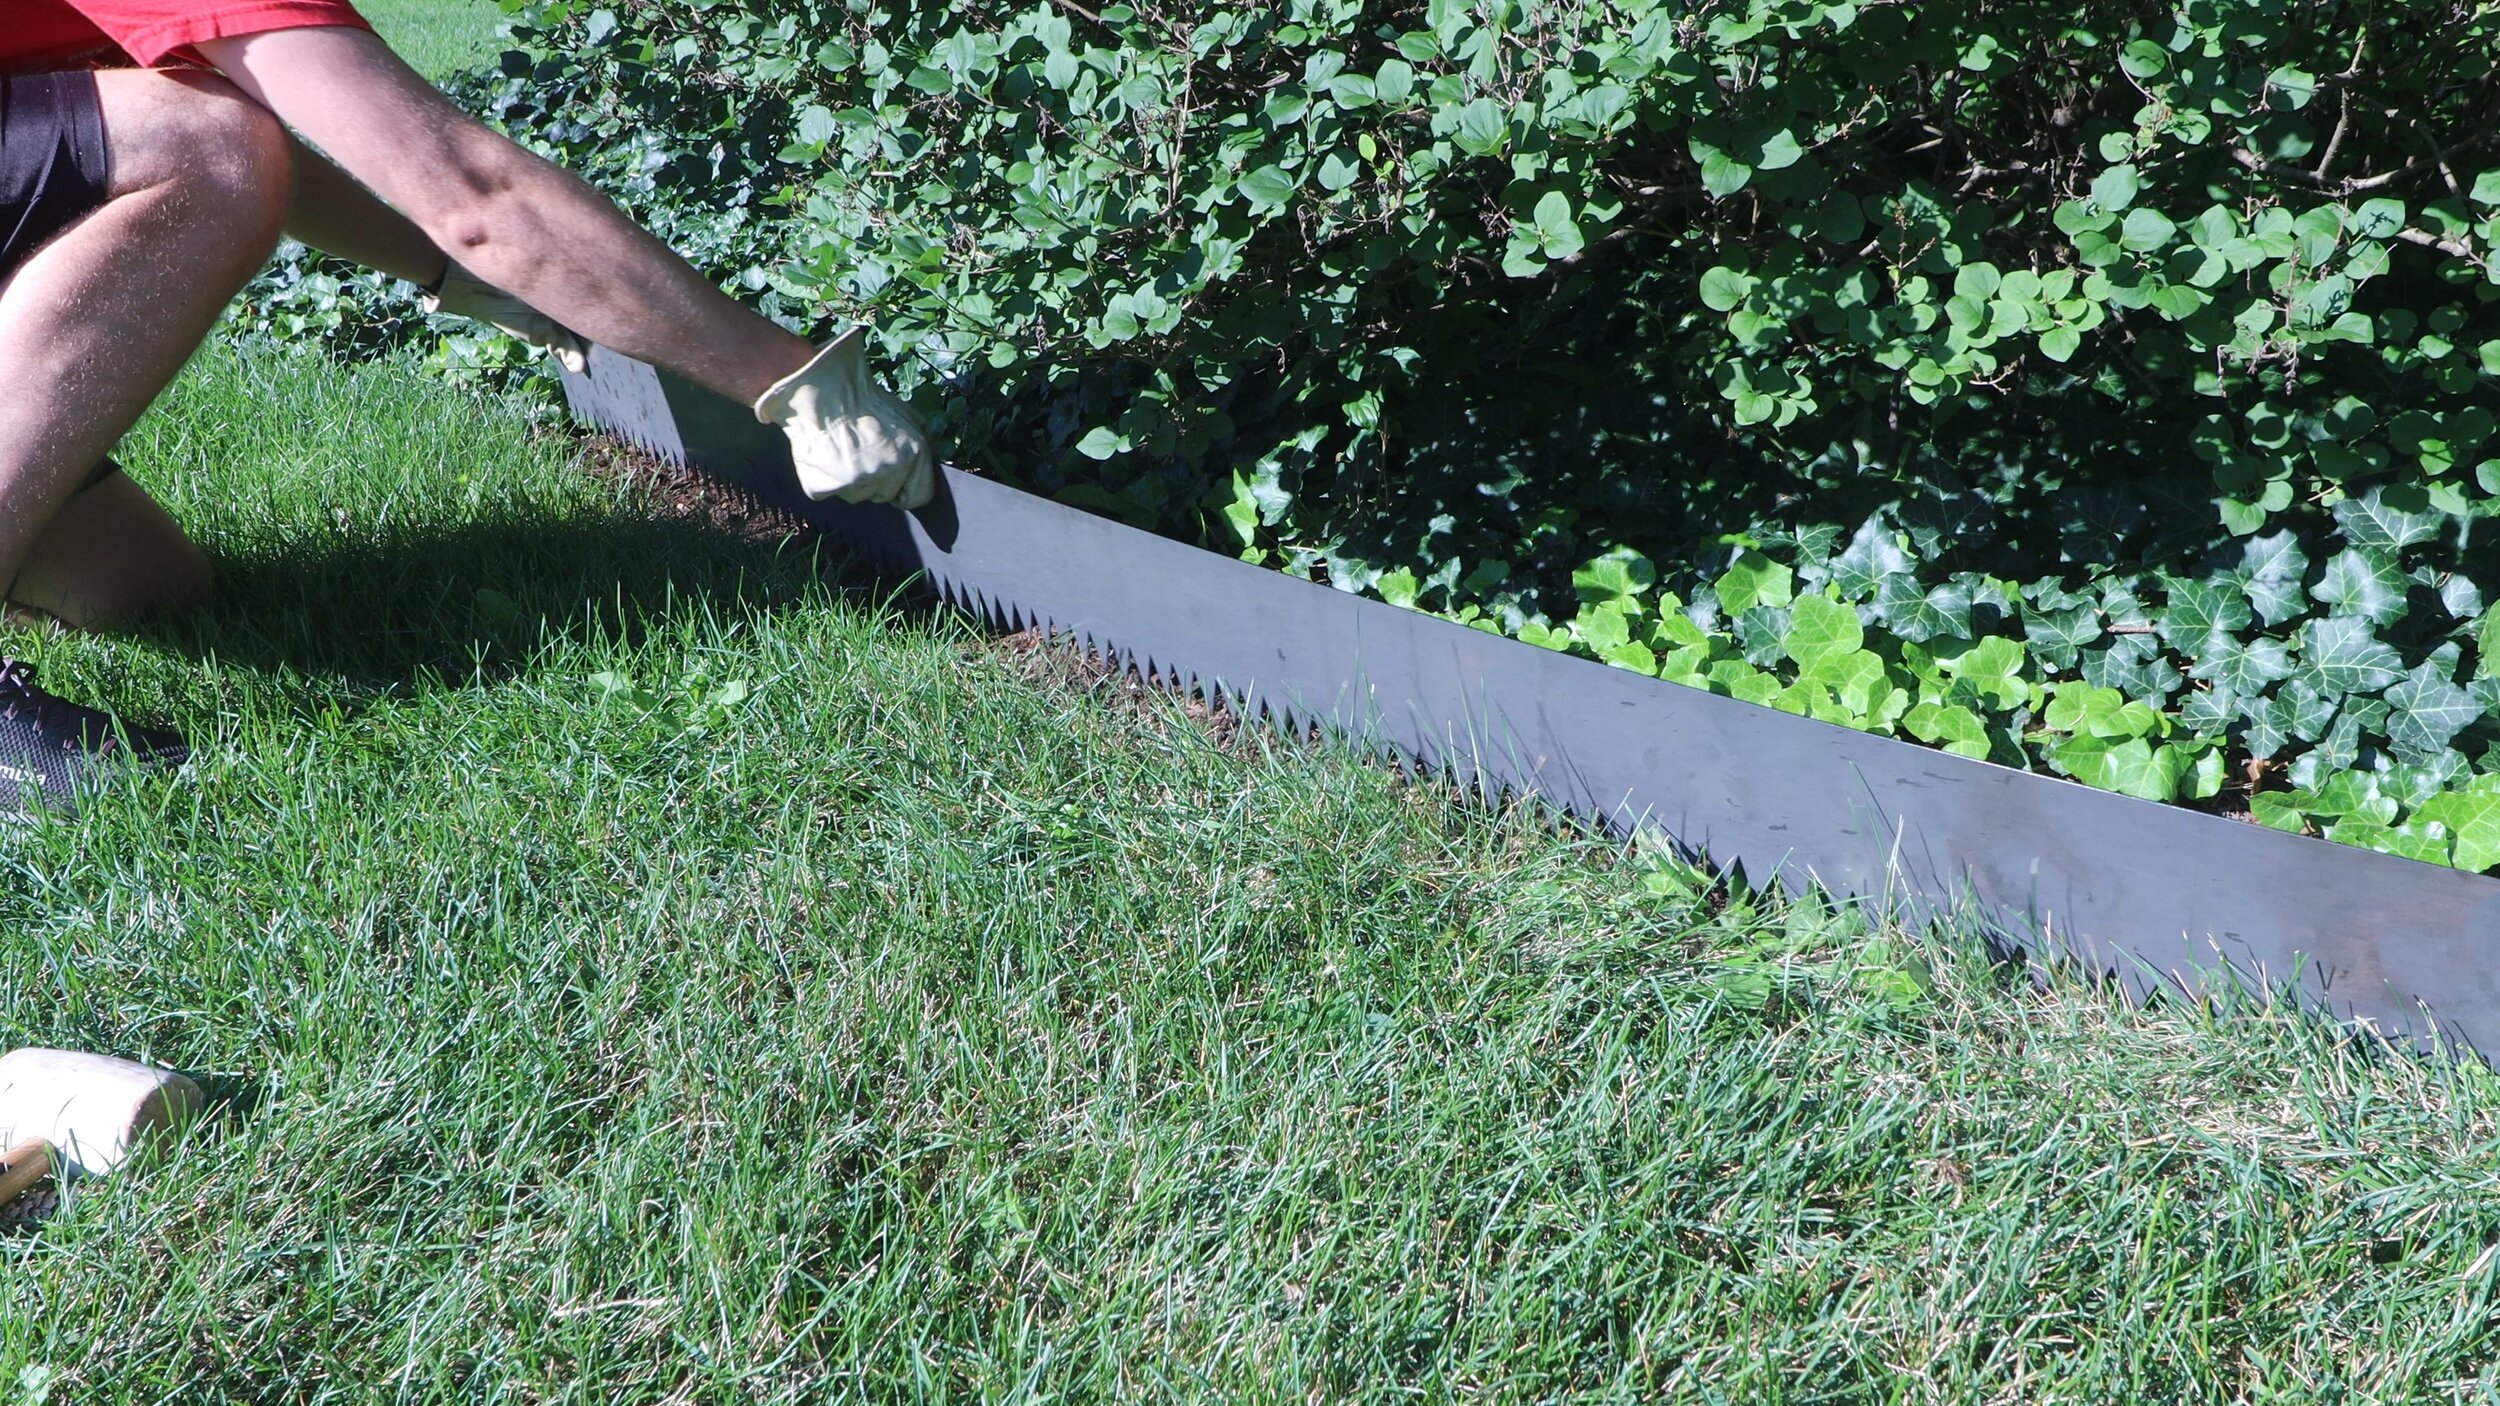
If you can manage it, installation of the edging is easiest after a good, soaking rain since the ground is softened considerably. I recommend first following the line of the edging with a flat spade to cut through the top layer of soil and grass, which will make hammering in much easier.
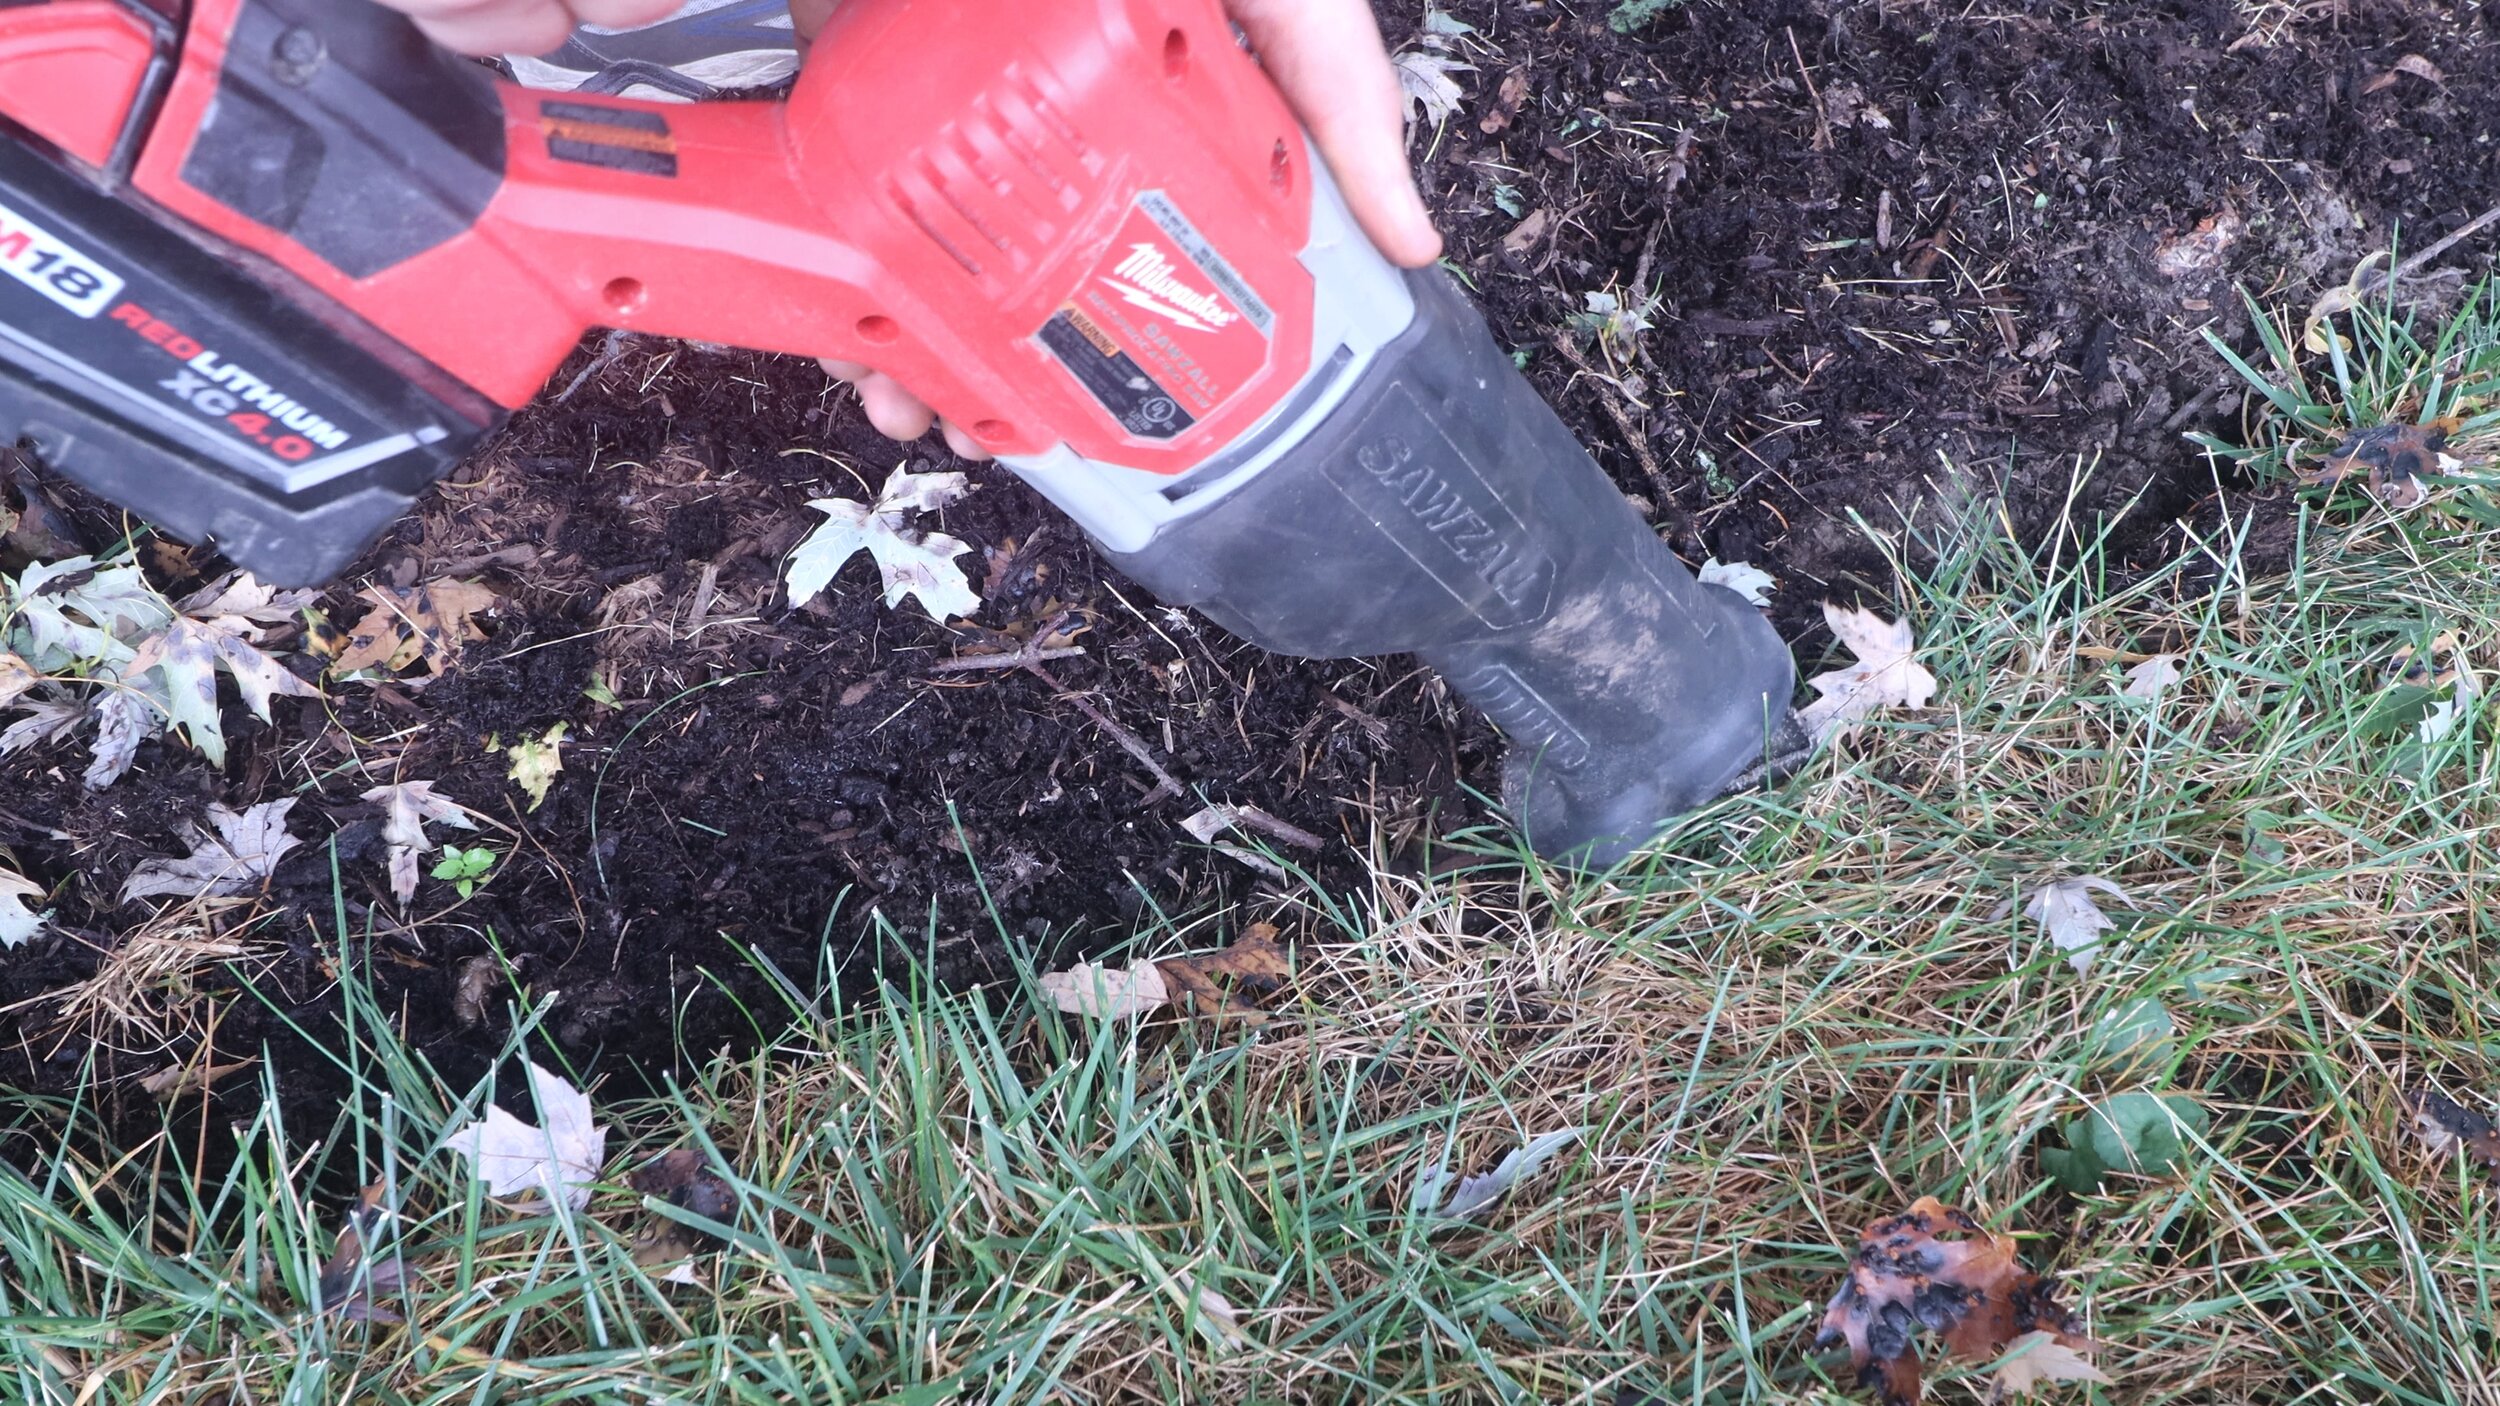
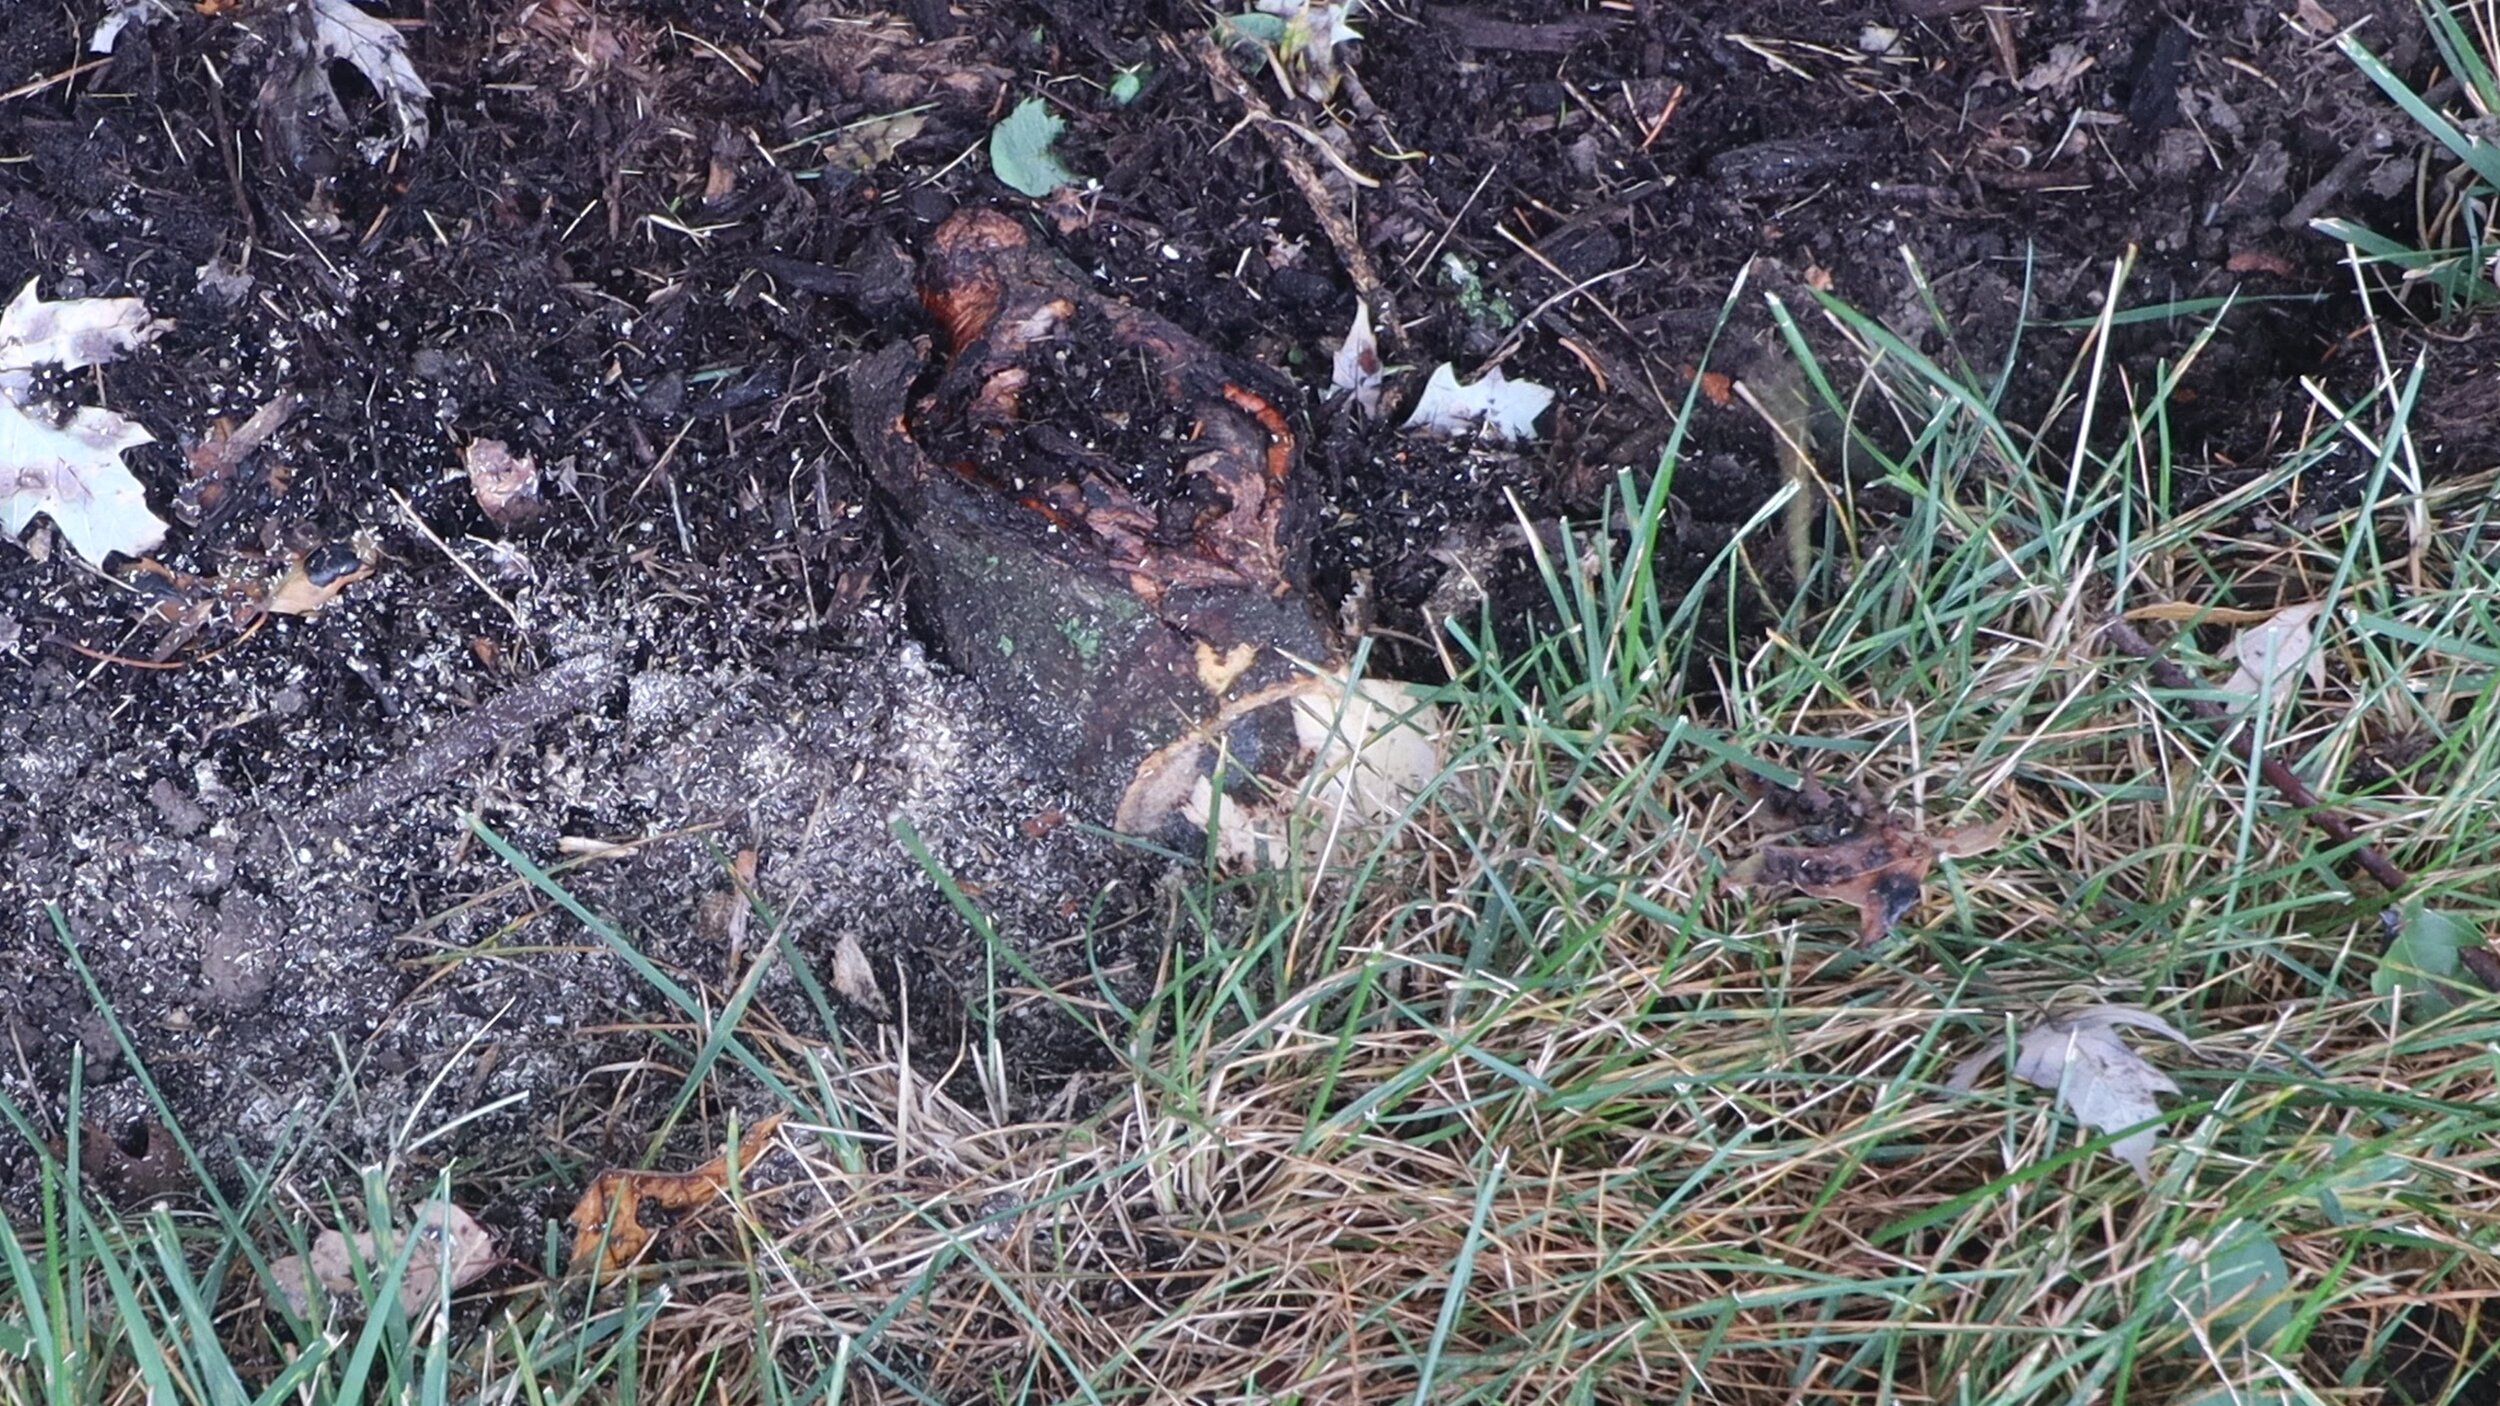
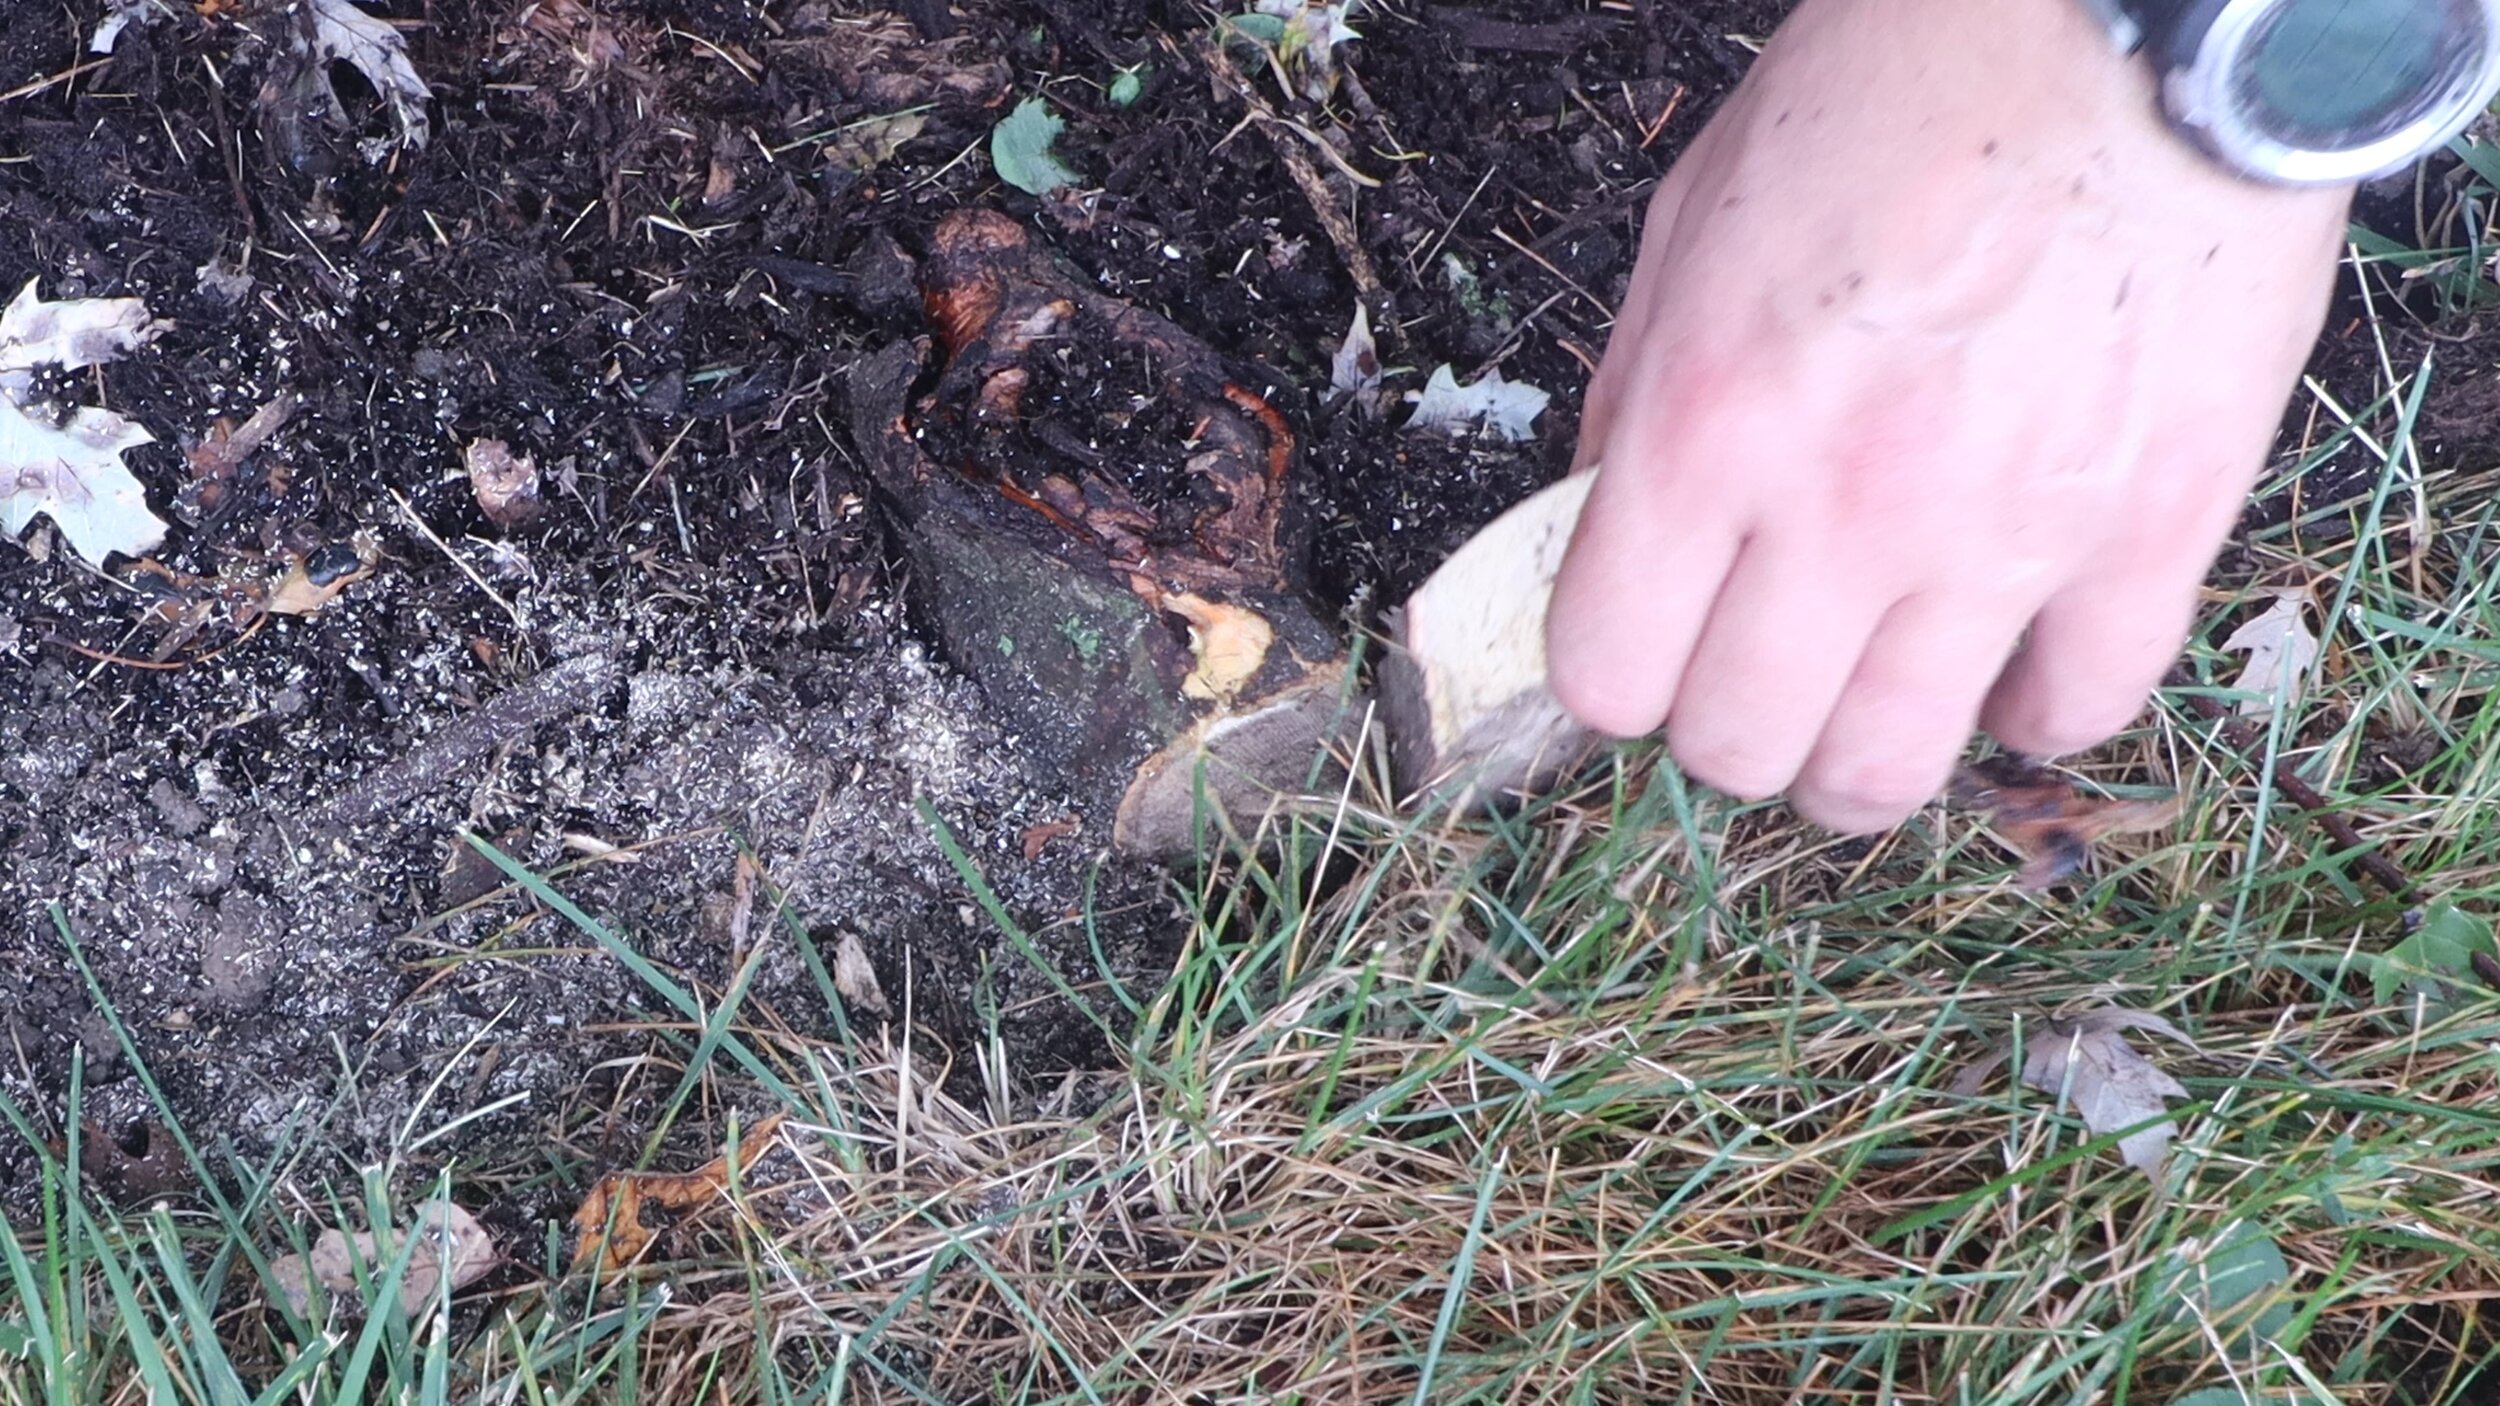
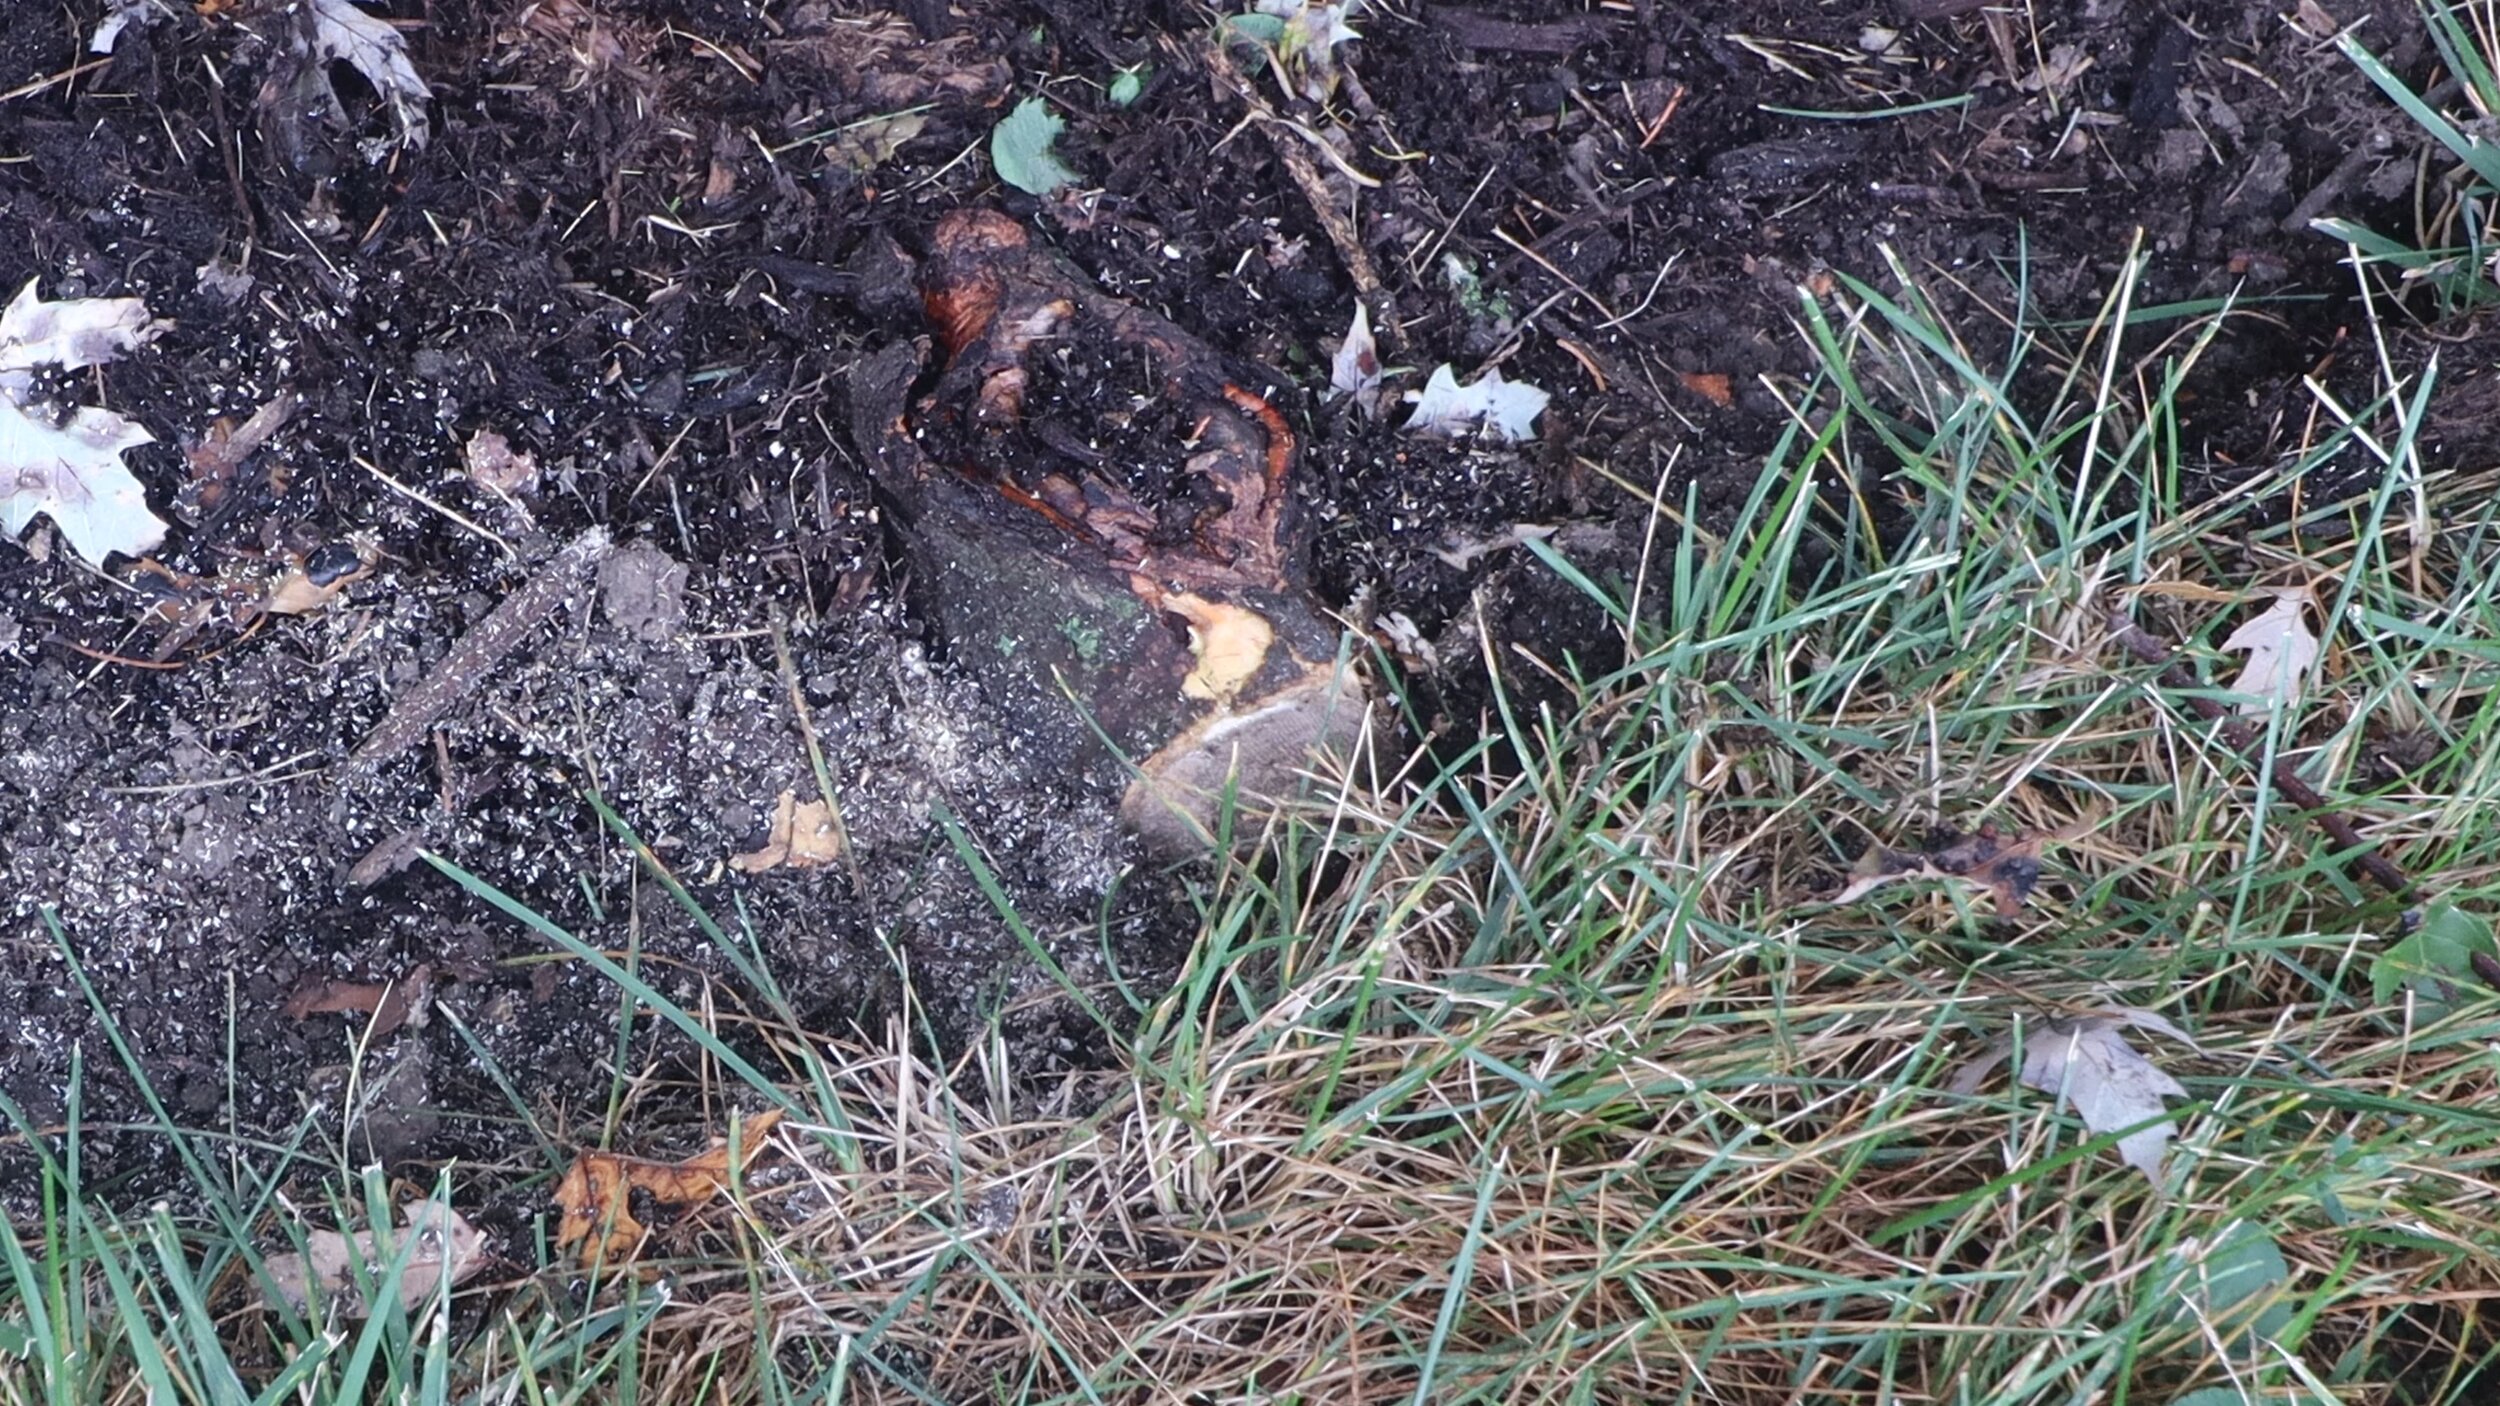
In areas around trees and bushes, you may want to use a SAWZALL with a demolition blade to cut through any surface roots too large for the spade to cut. For thick roots, cut out about 1" of the root to allow the edging to pass. Very thick surface roots that may be necessary for the health of a tree should not be cut and instead the edging should stop and start on either side.
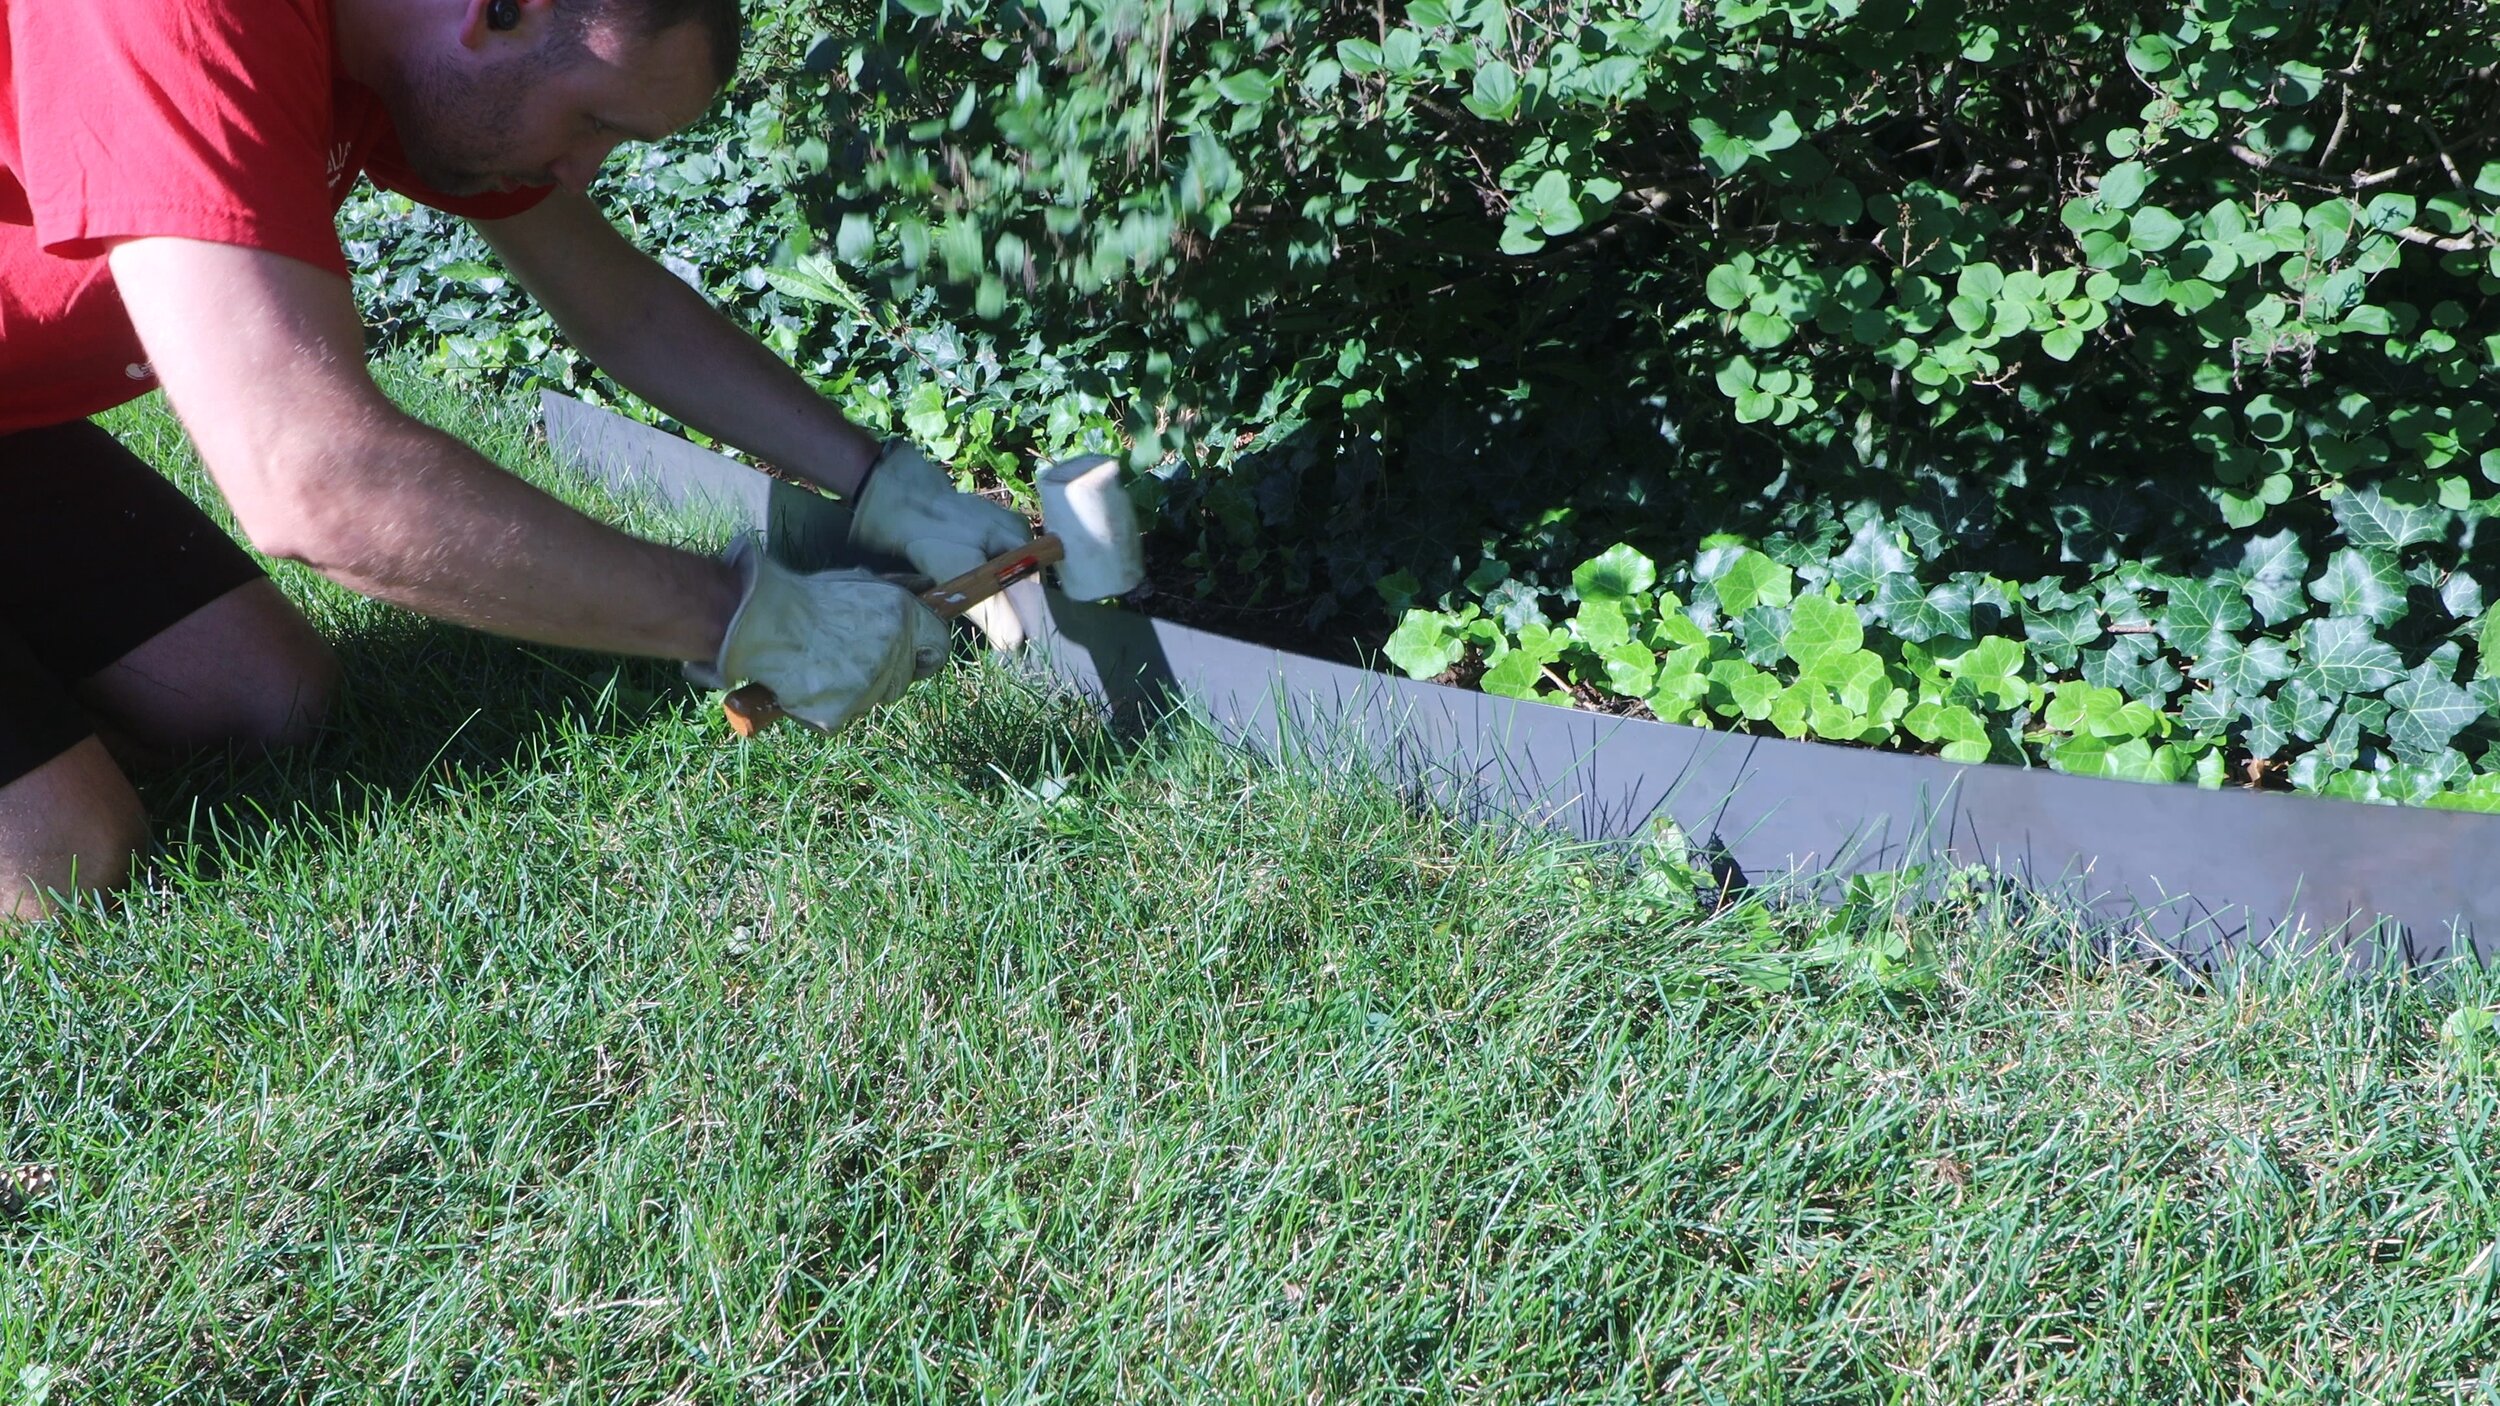
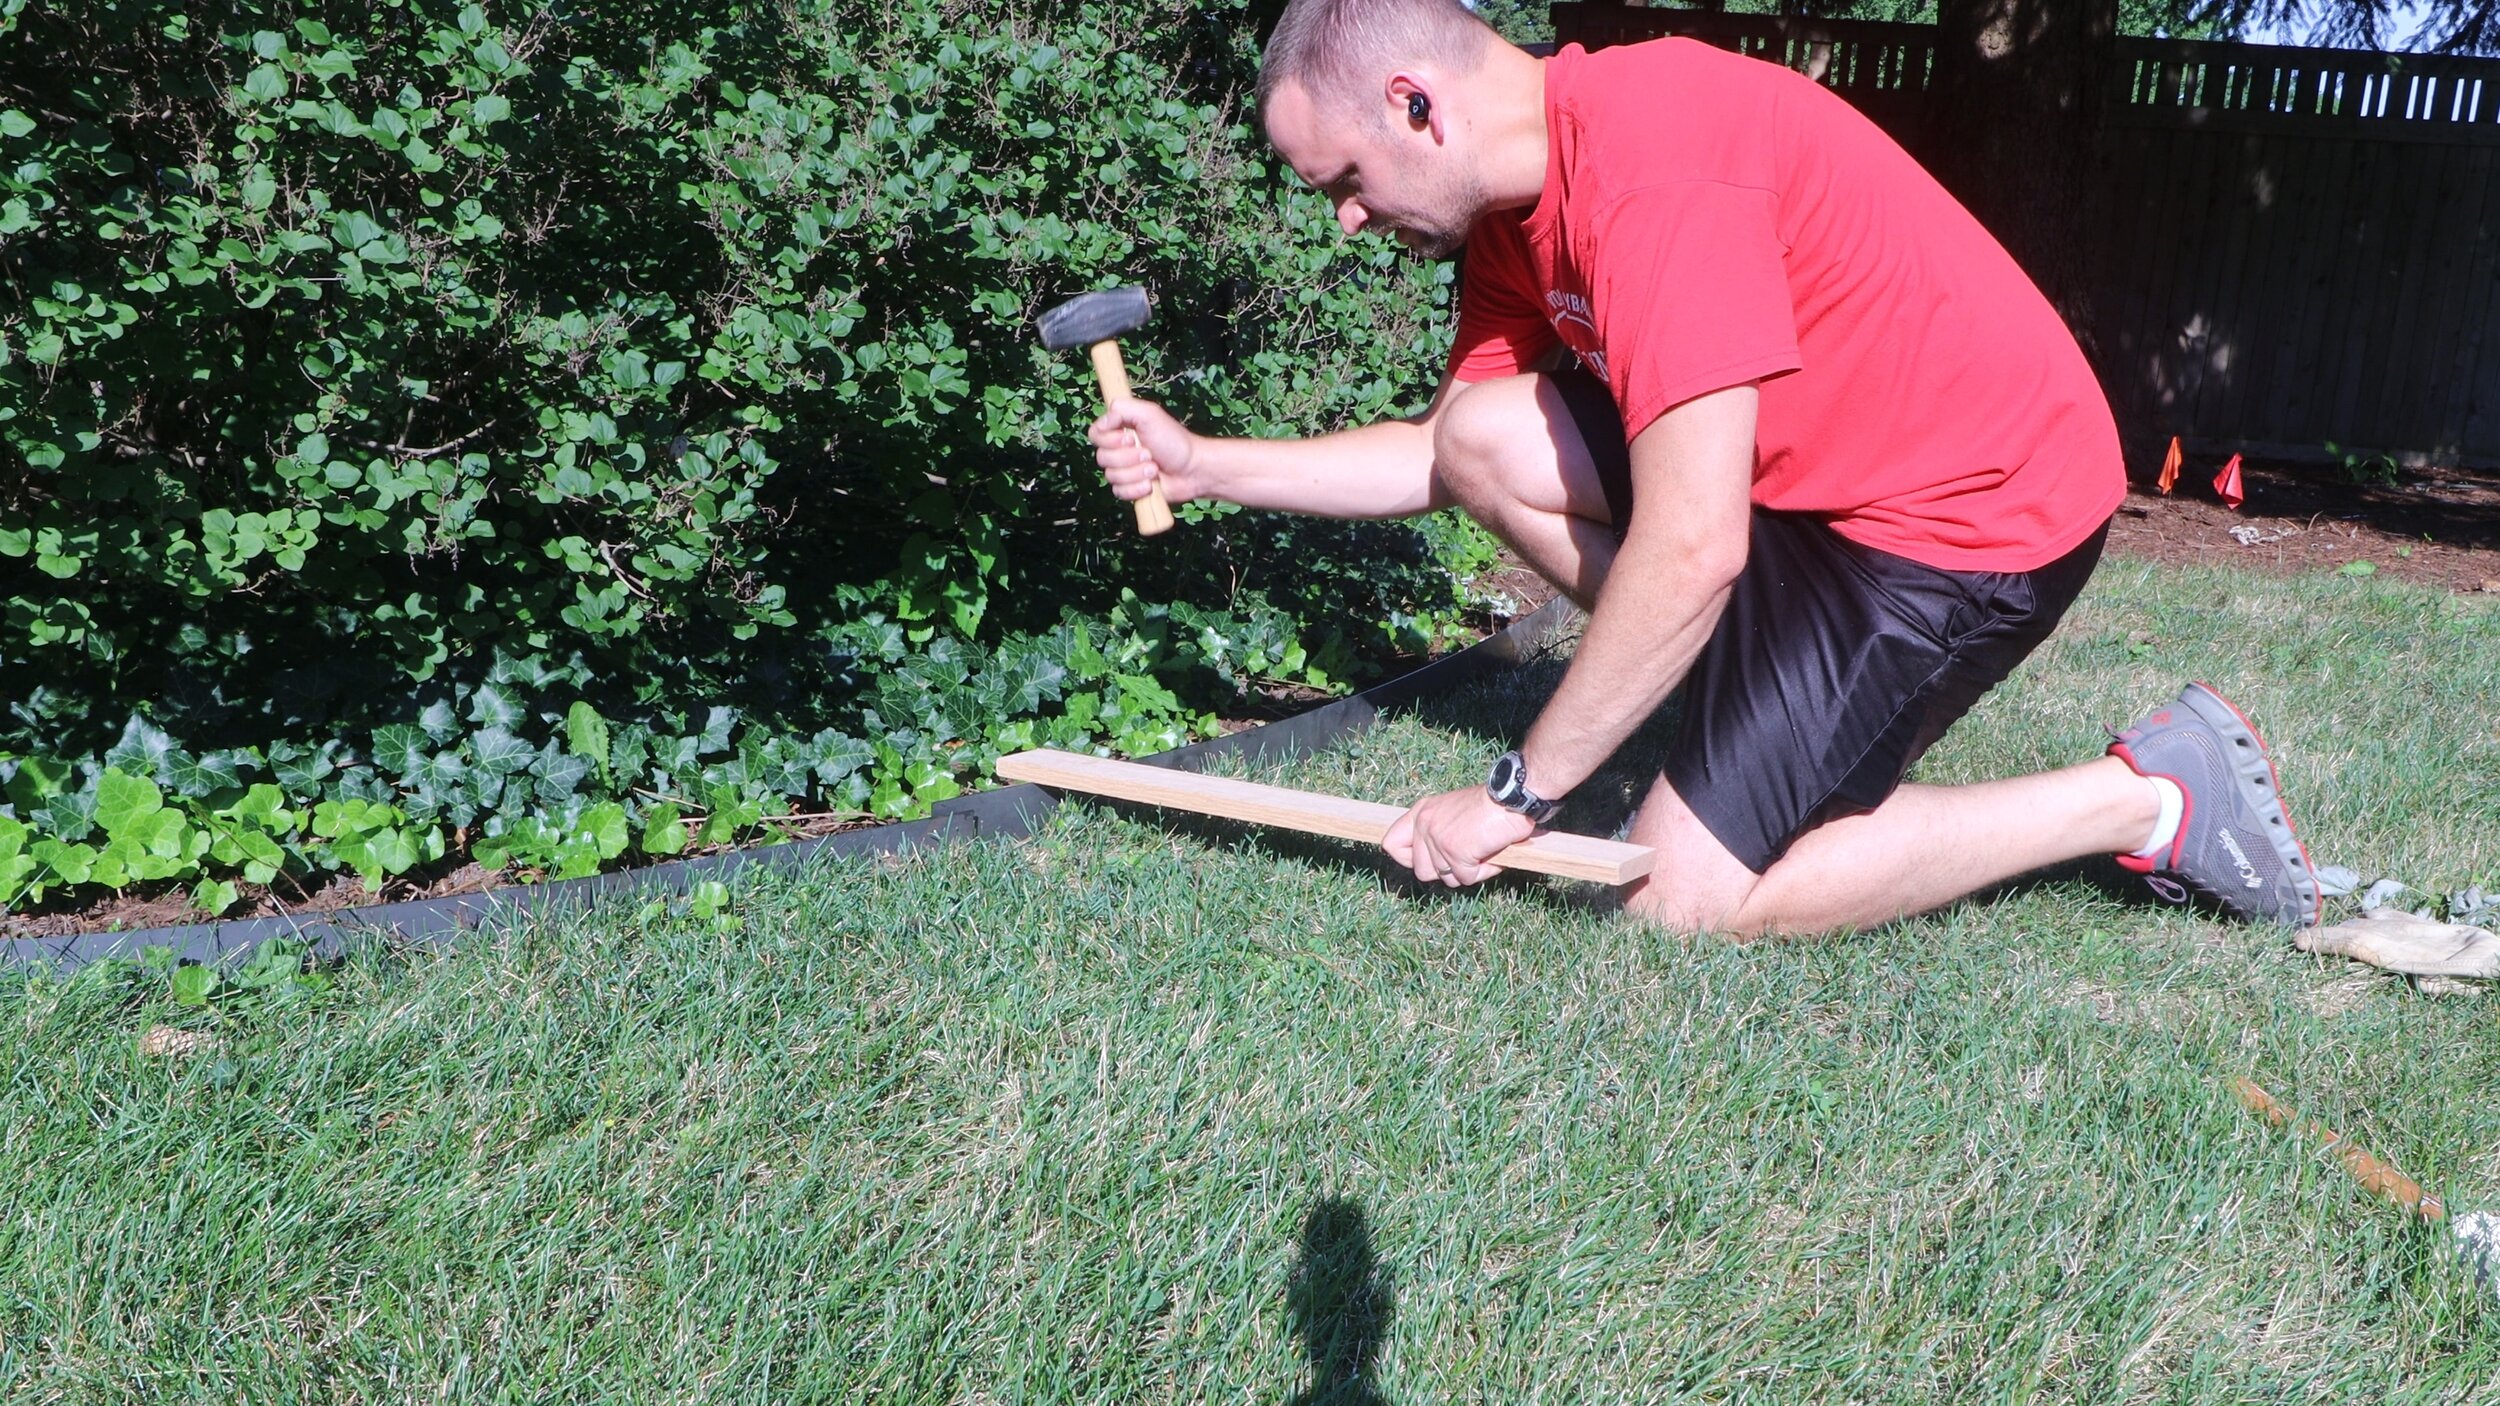
If your ground is soft enough, or you were diligent with your spading, the edging may install with only a rubber mallet. If not, a steel sledge and a block of wood provide enough force to hammer the edging in to more stubborn ground.
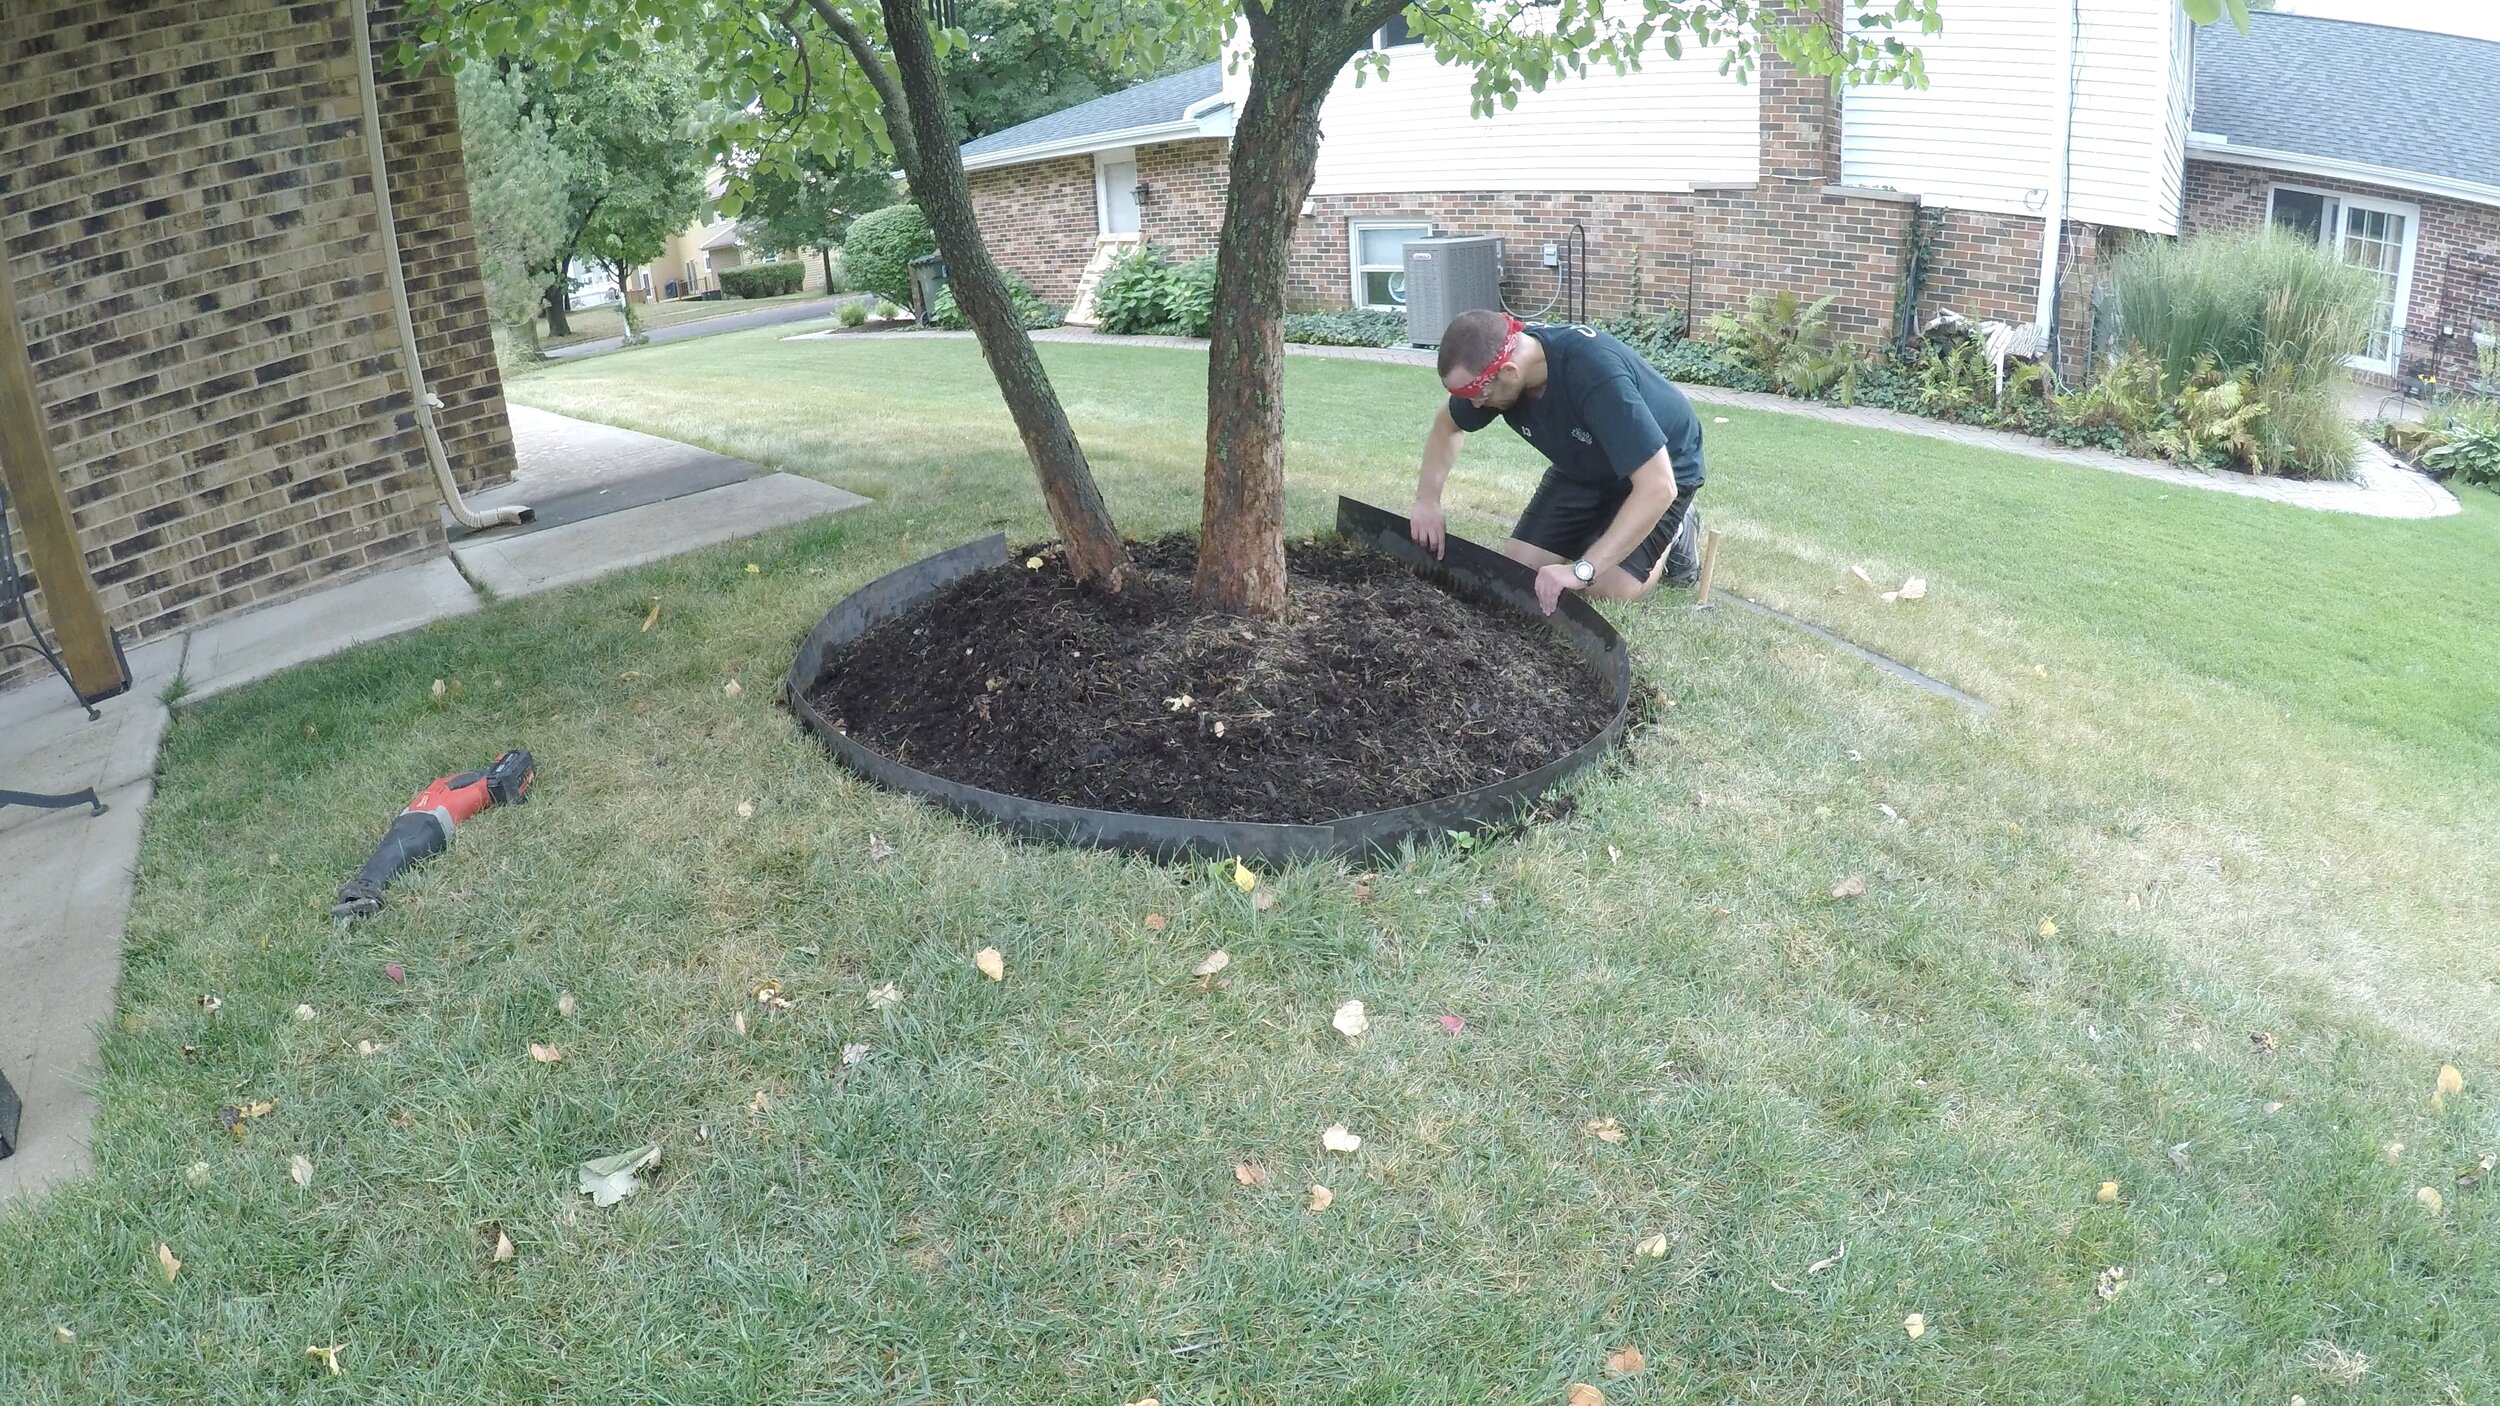
Since we're using 14 gauge steel, it's fairly easy to bend around even relatively tight curves, such as around trees.
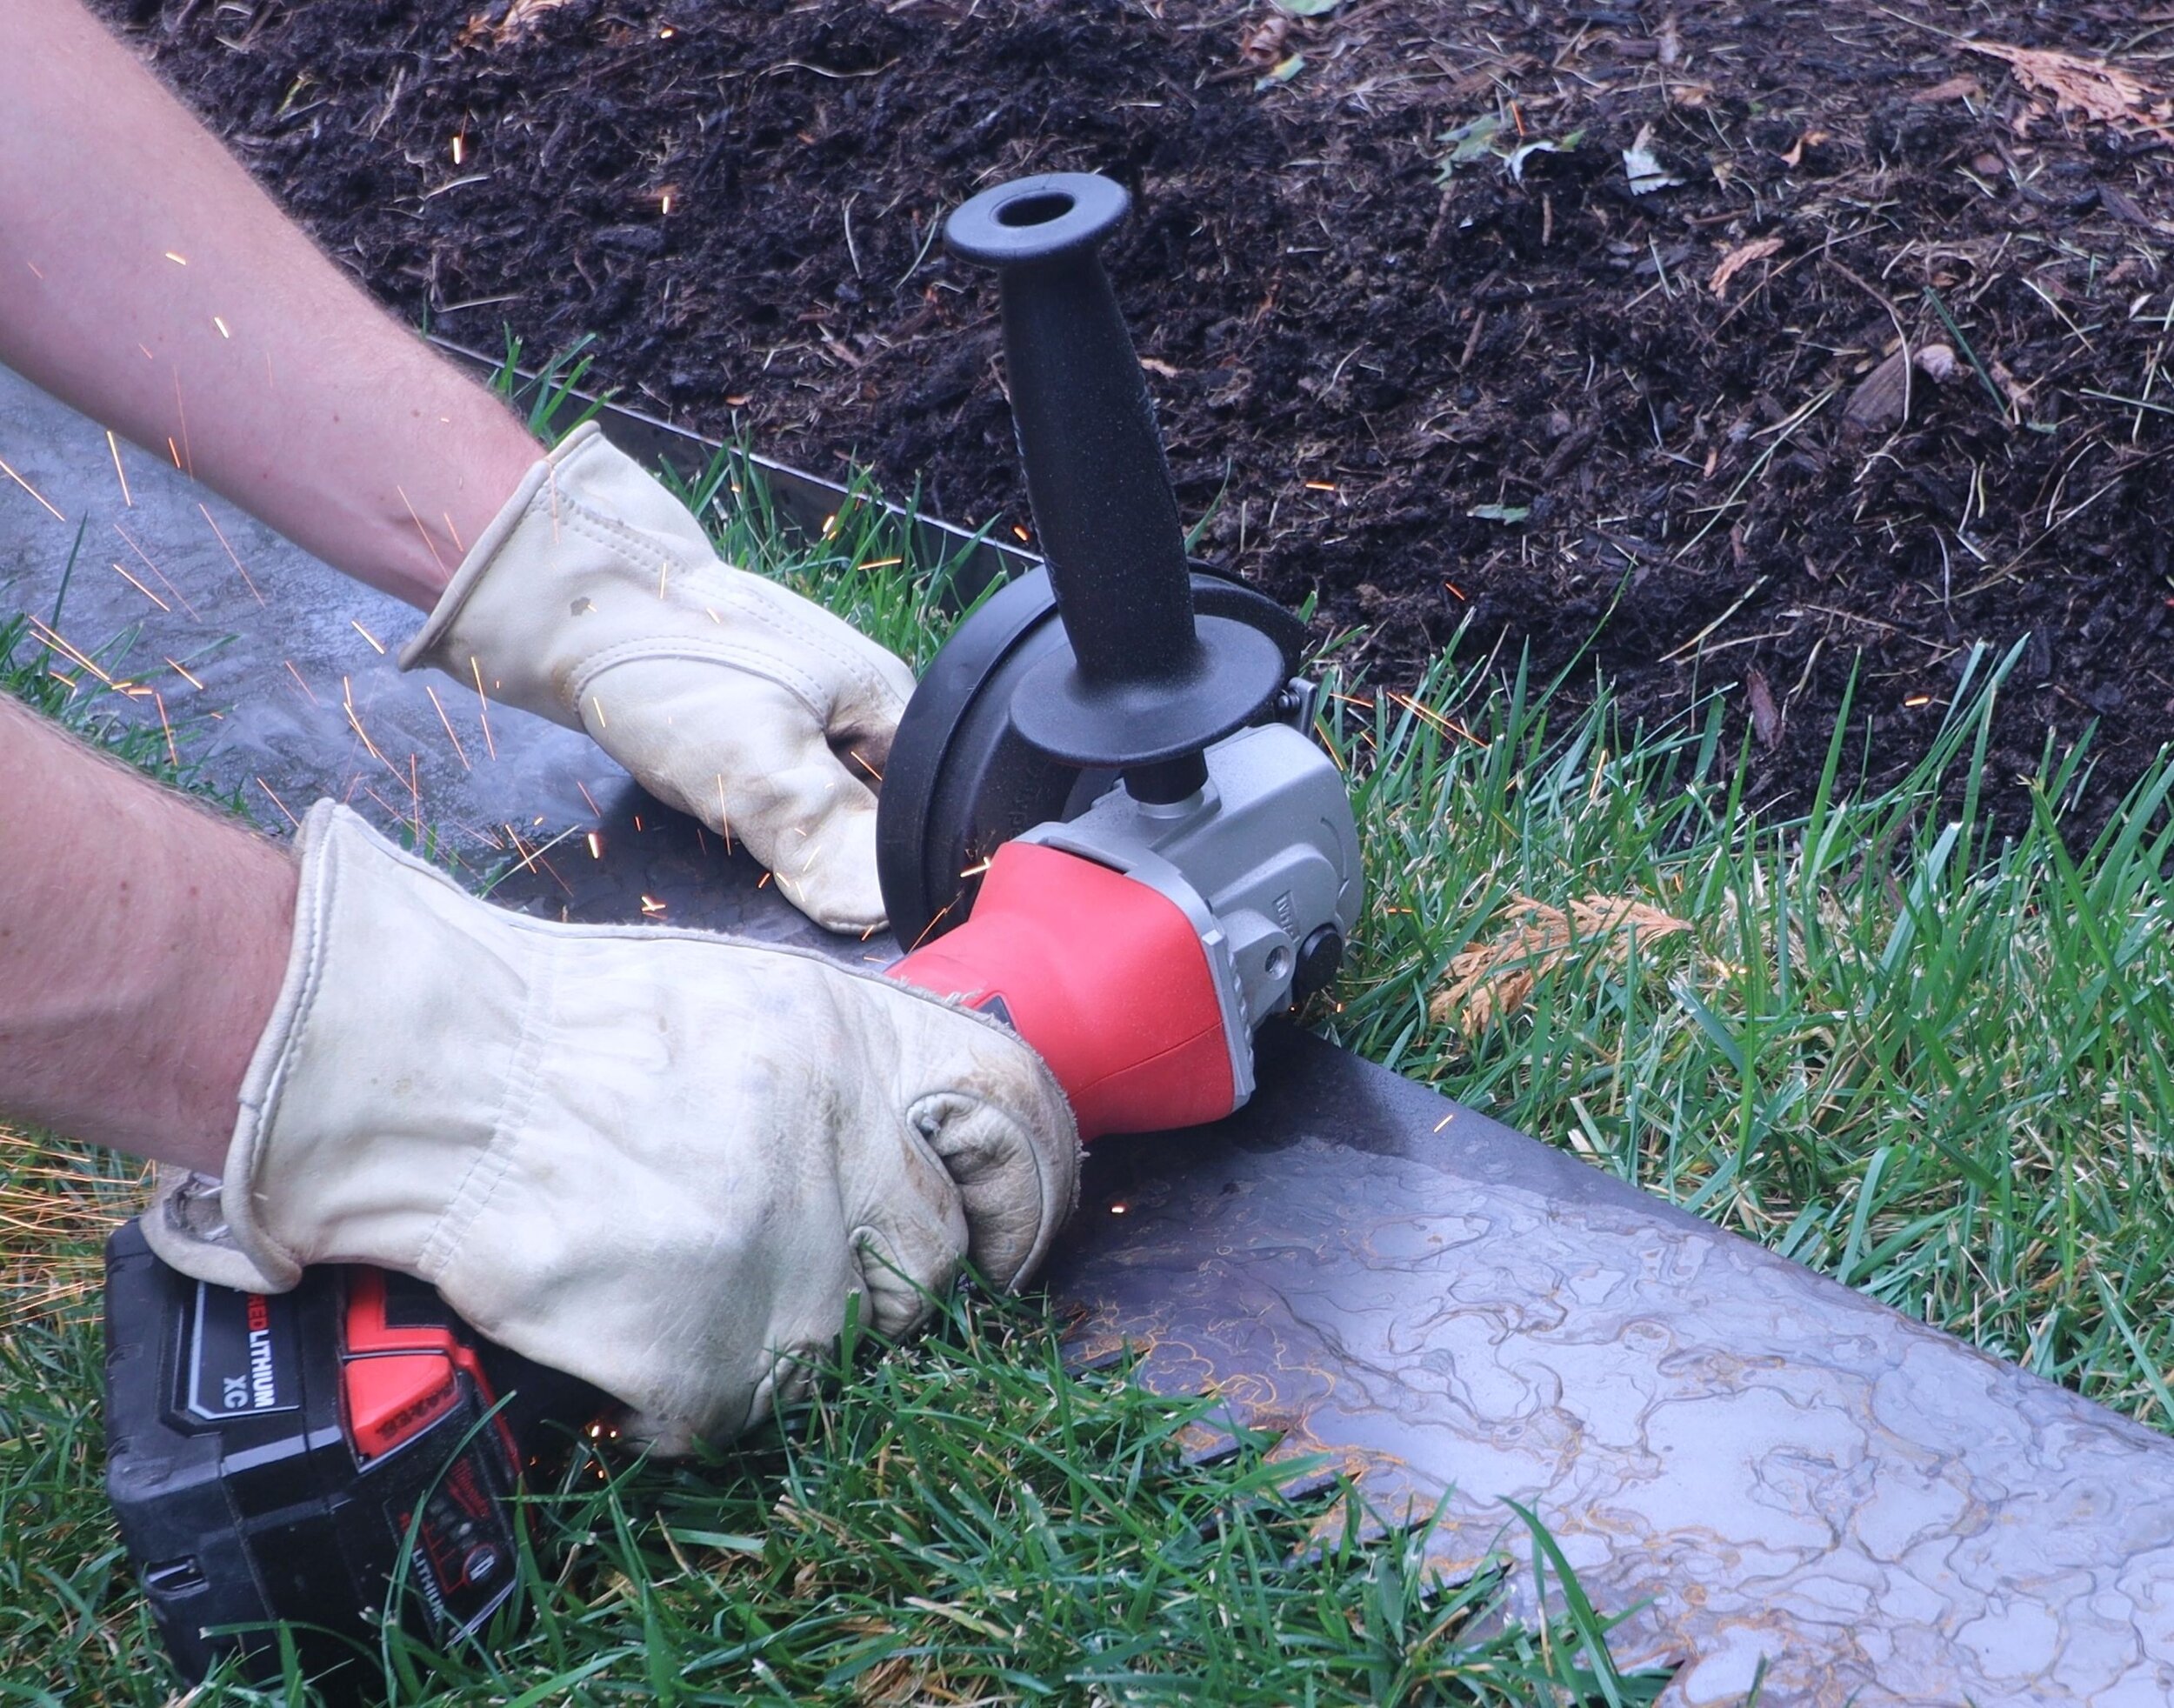
At the ends of runs or where the slope changes abruptly, it will be necessary to cut the edging into shorter lengths. This is easily done with a angle grinder using a cutoff wheel.
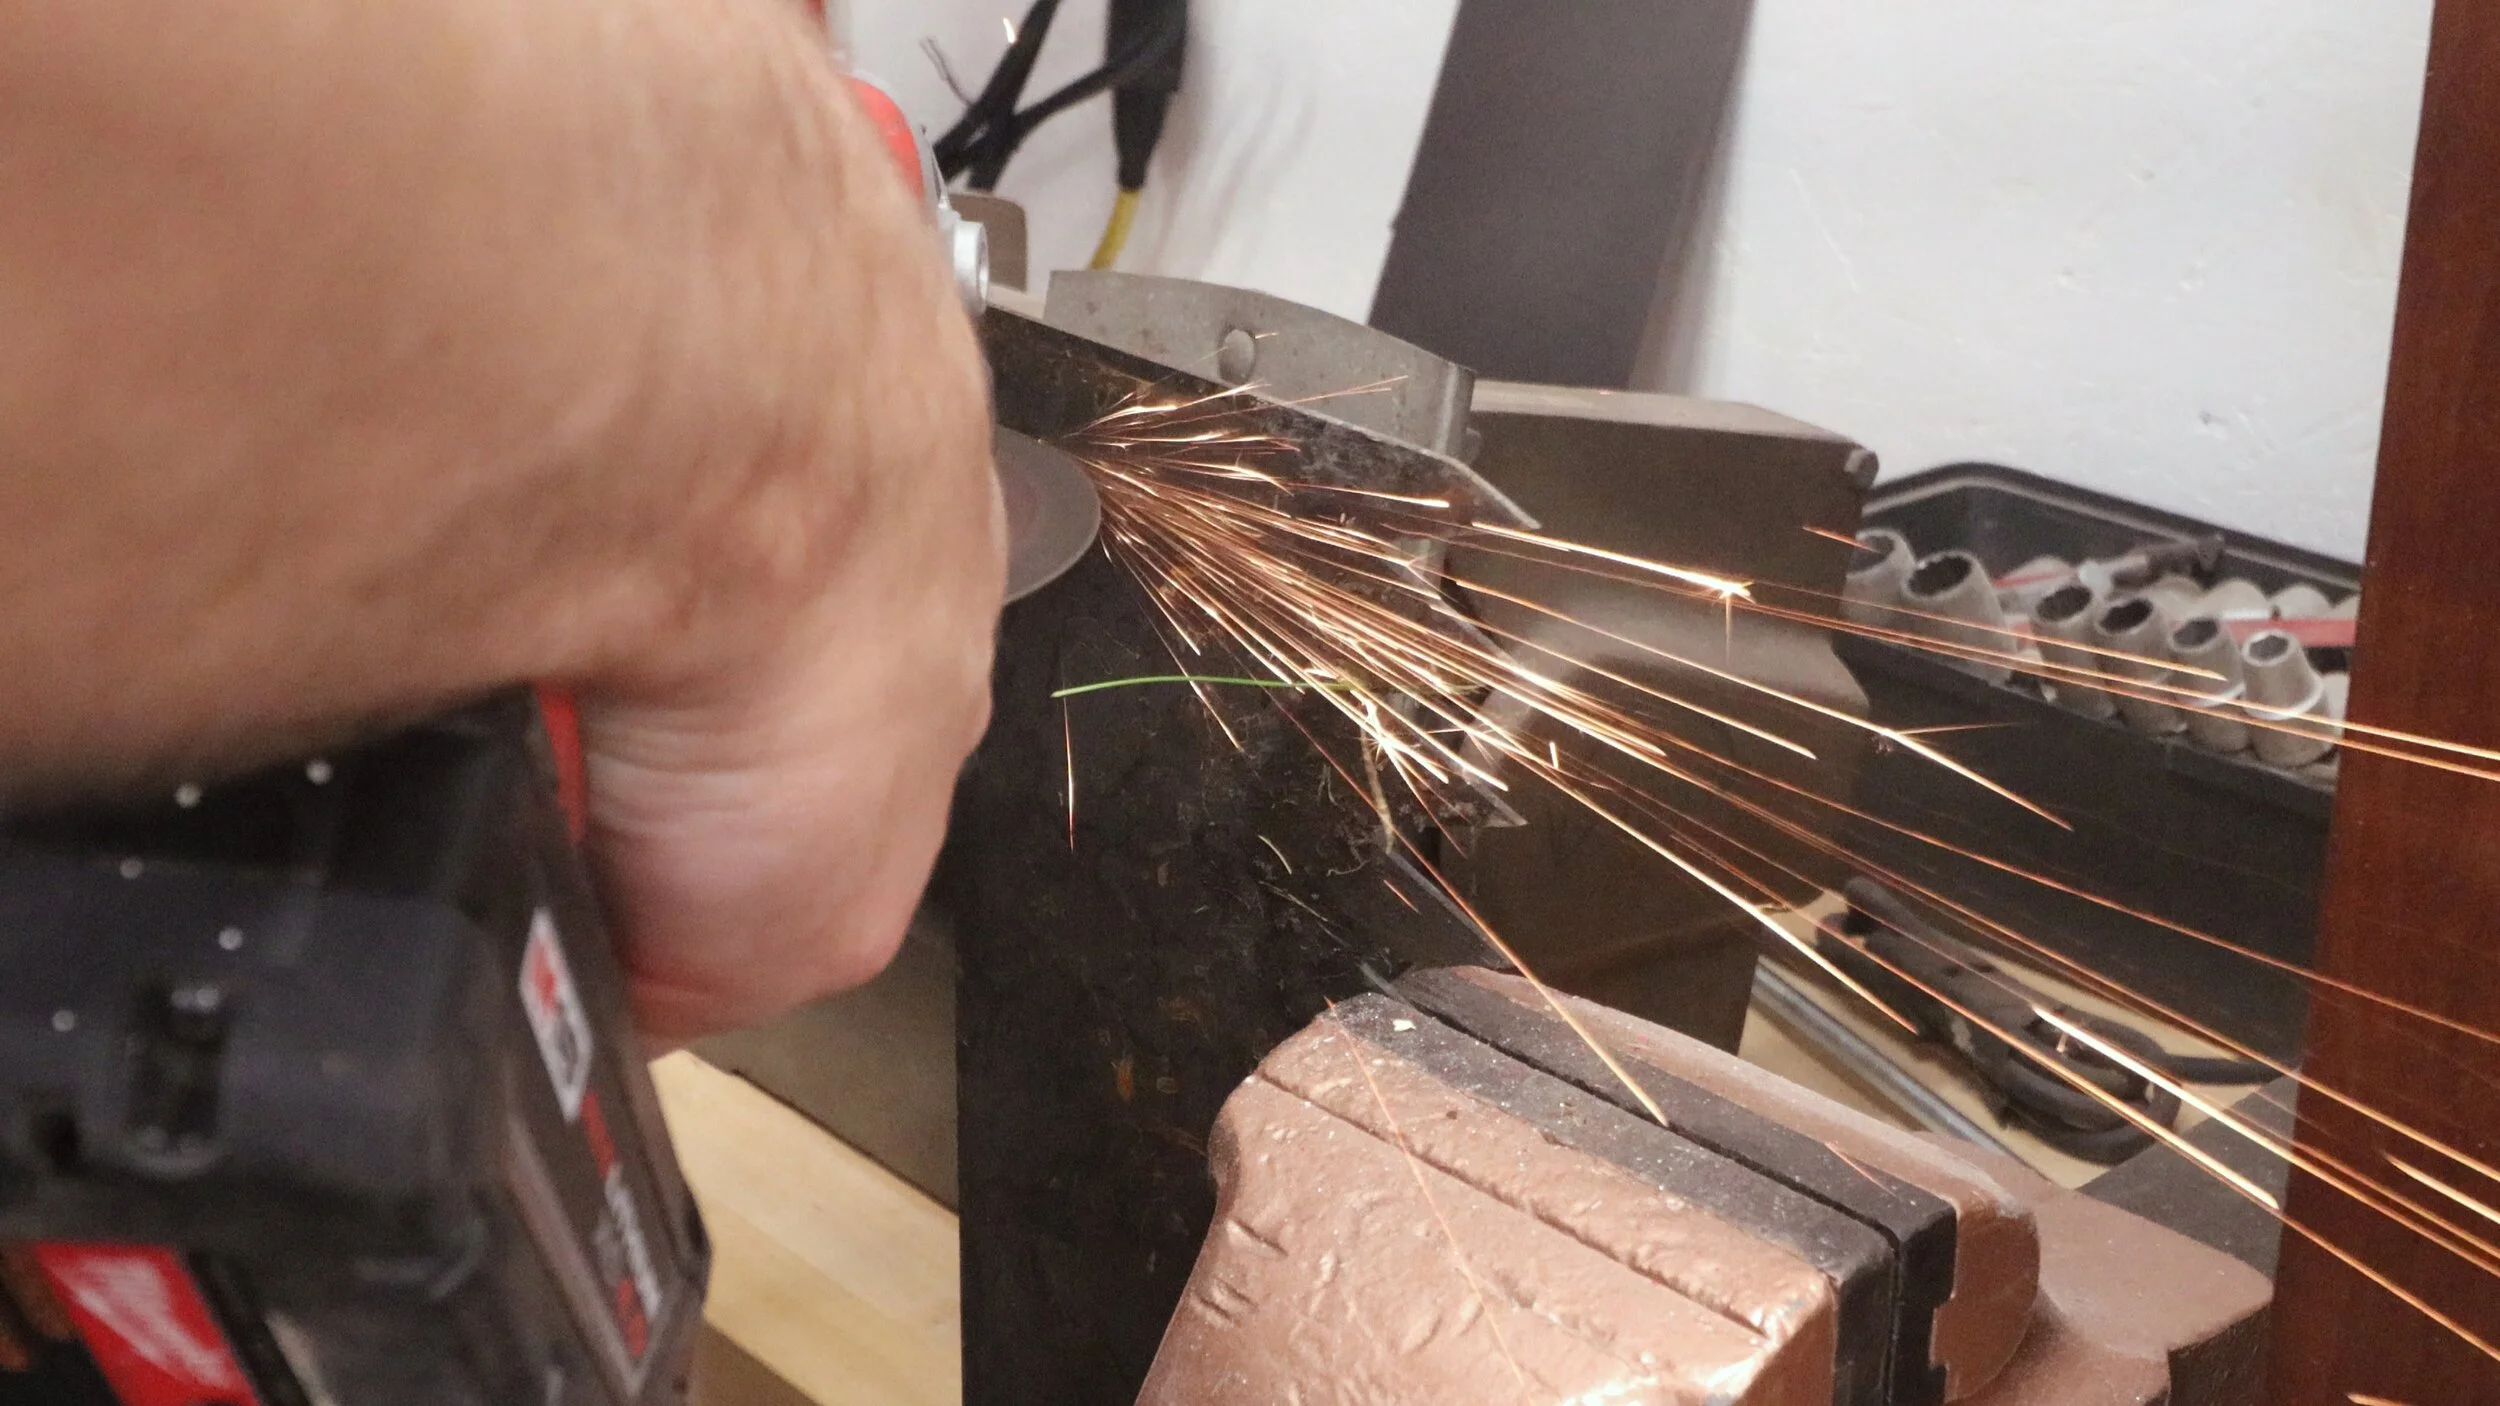
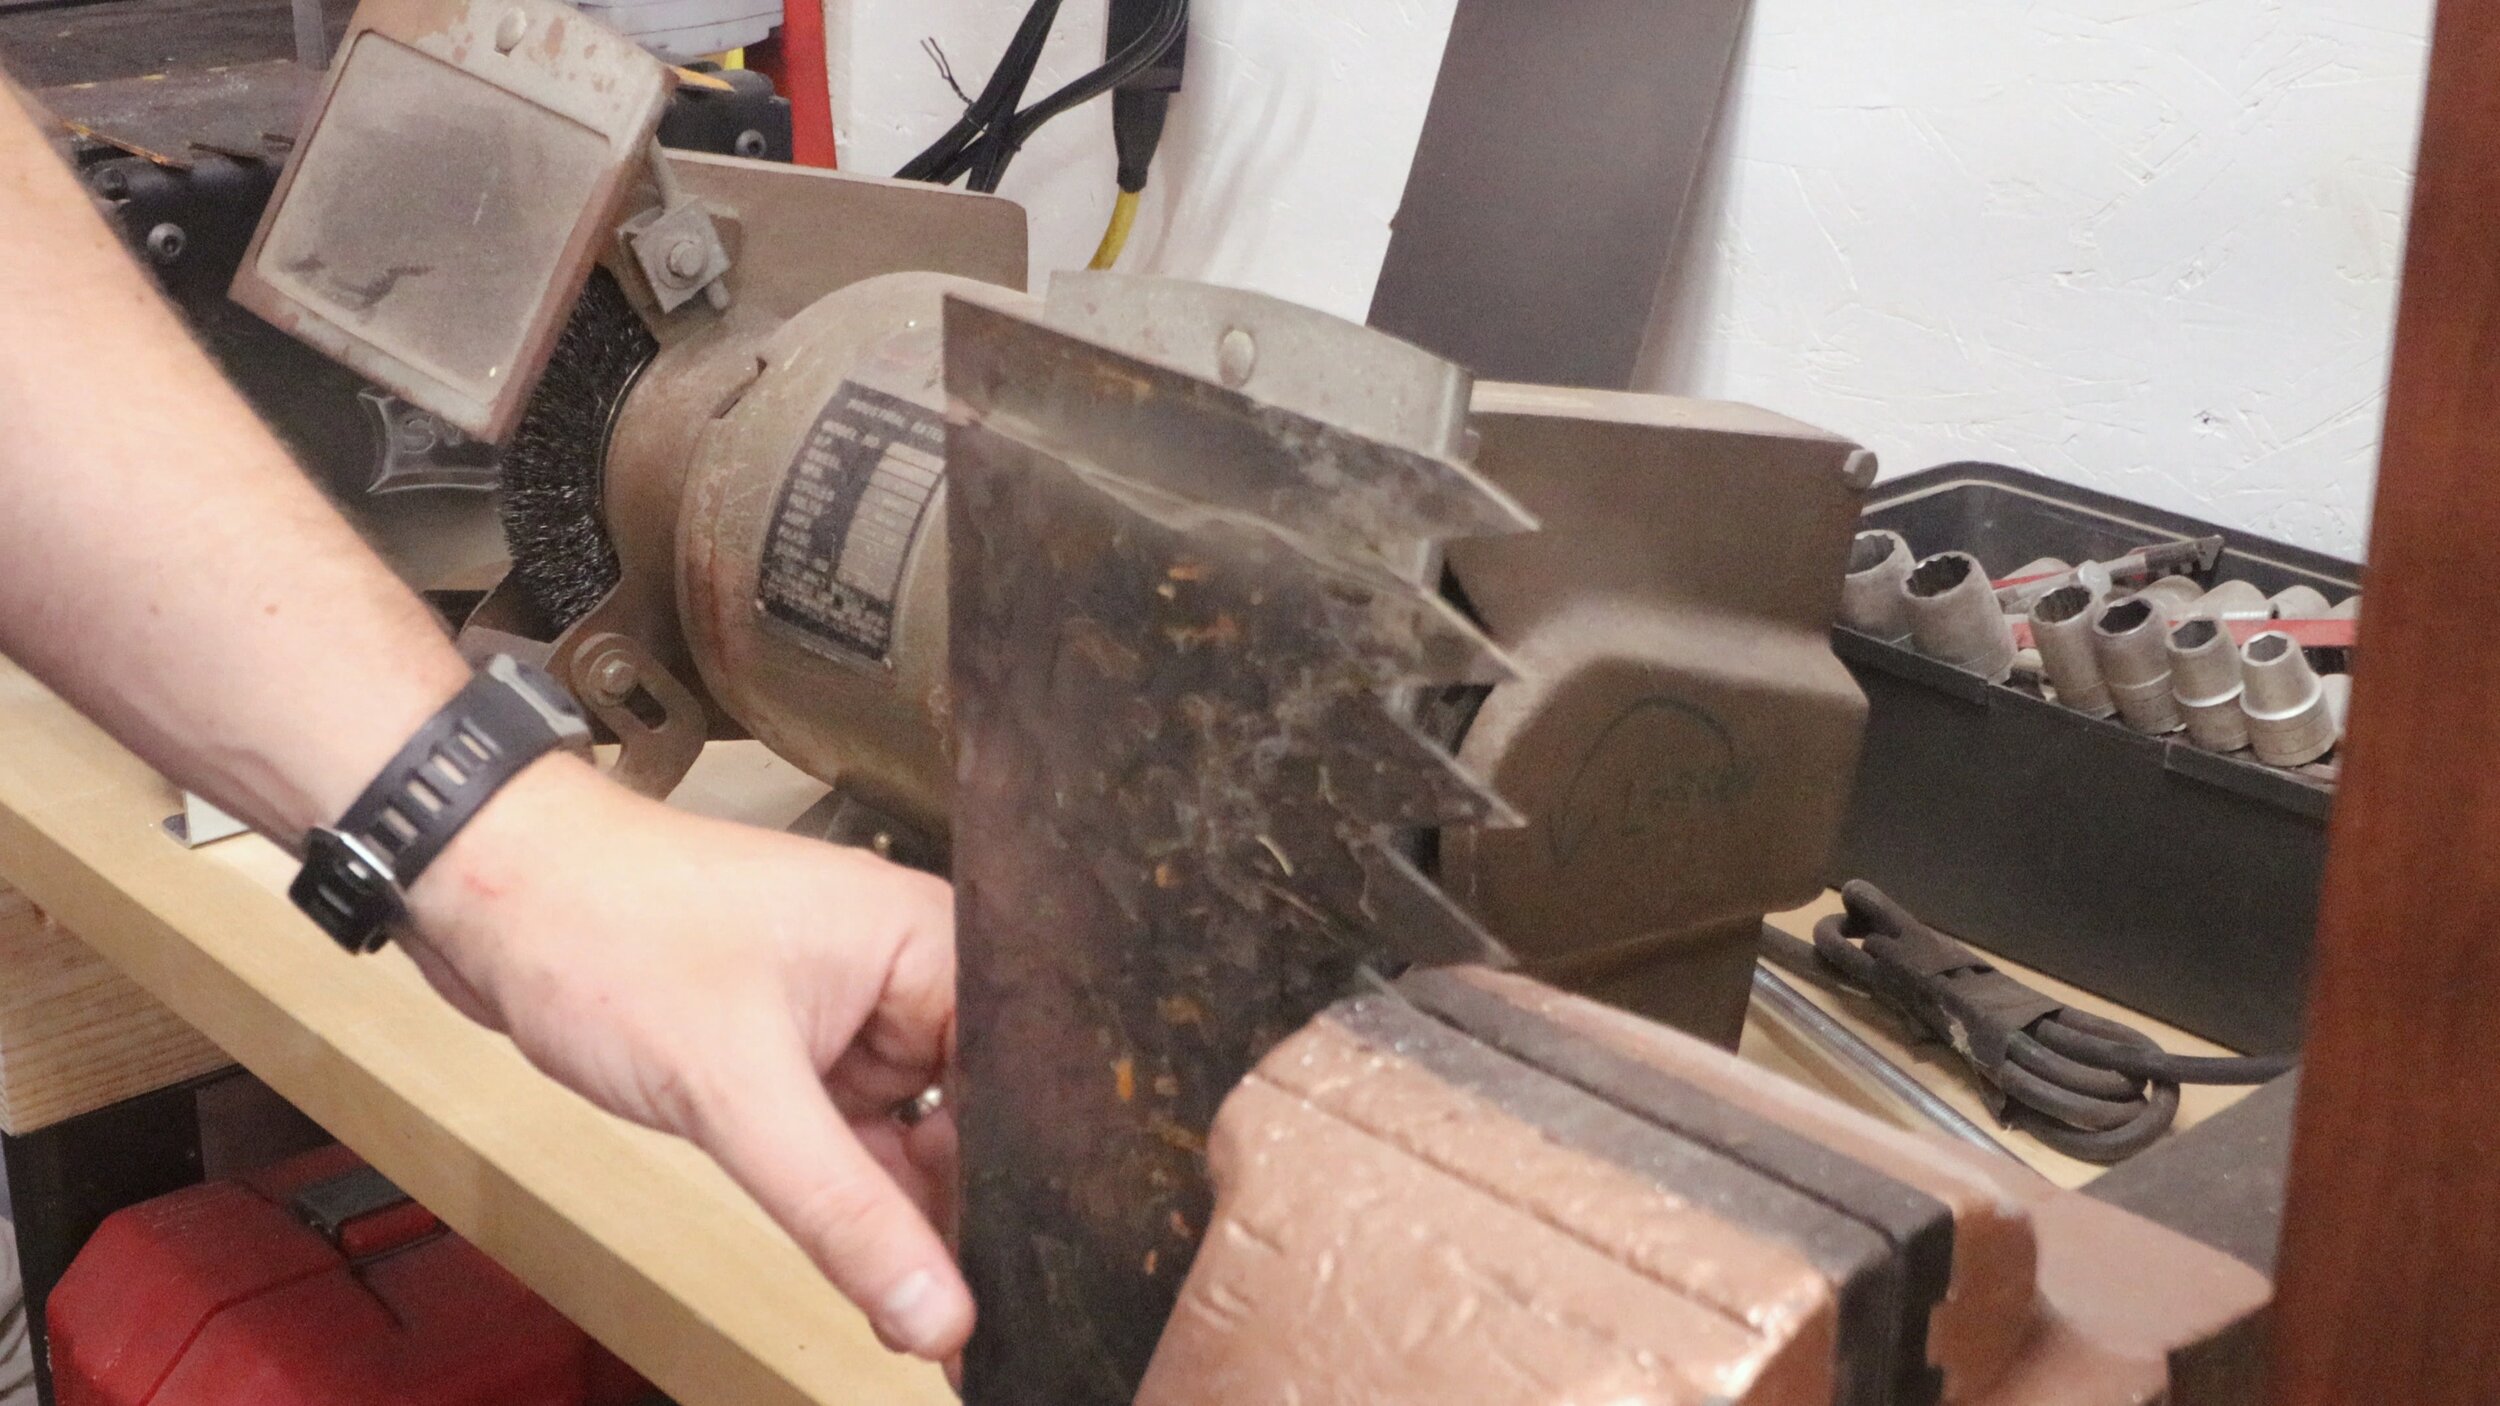
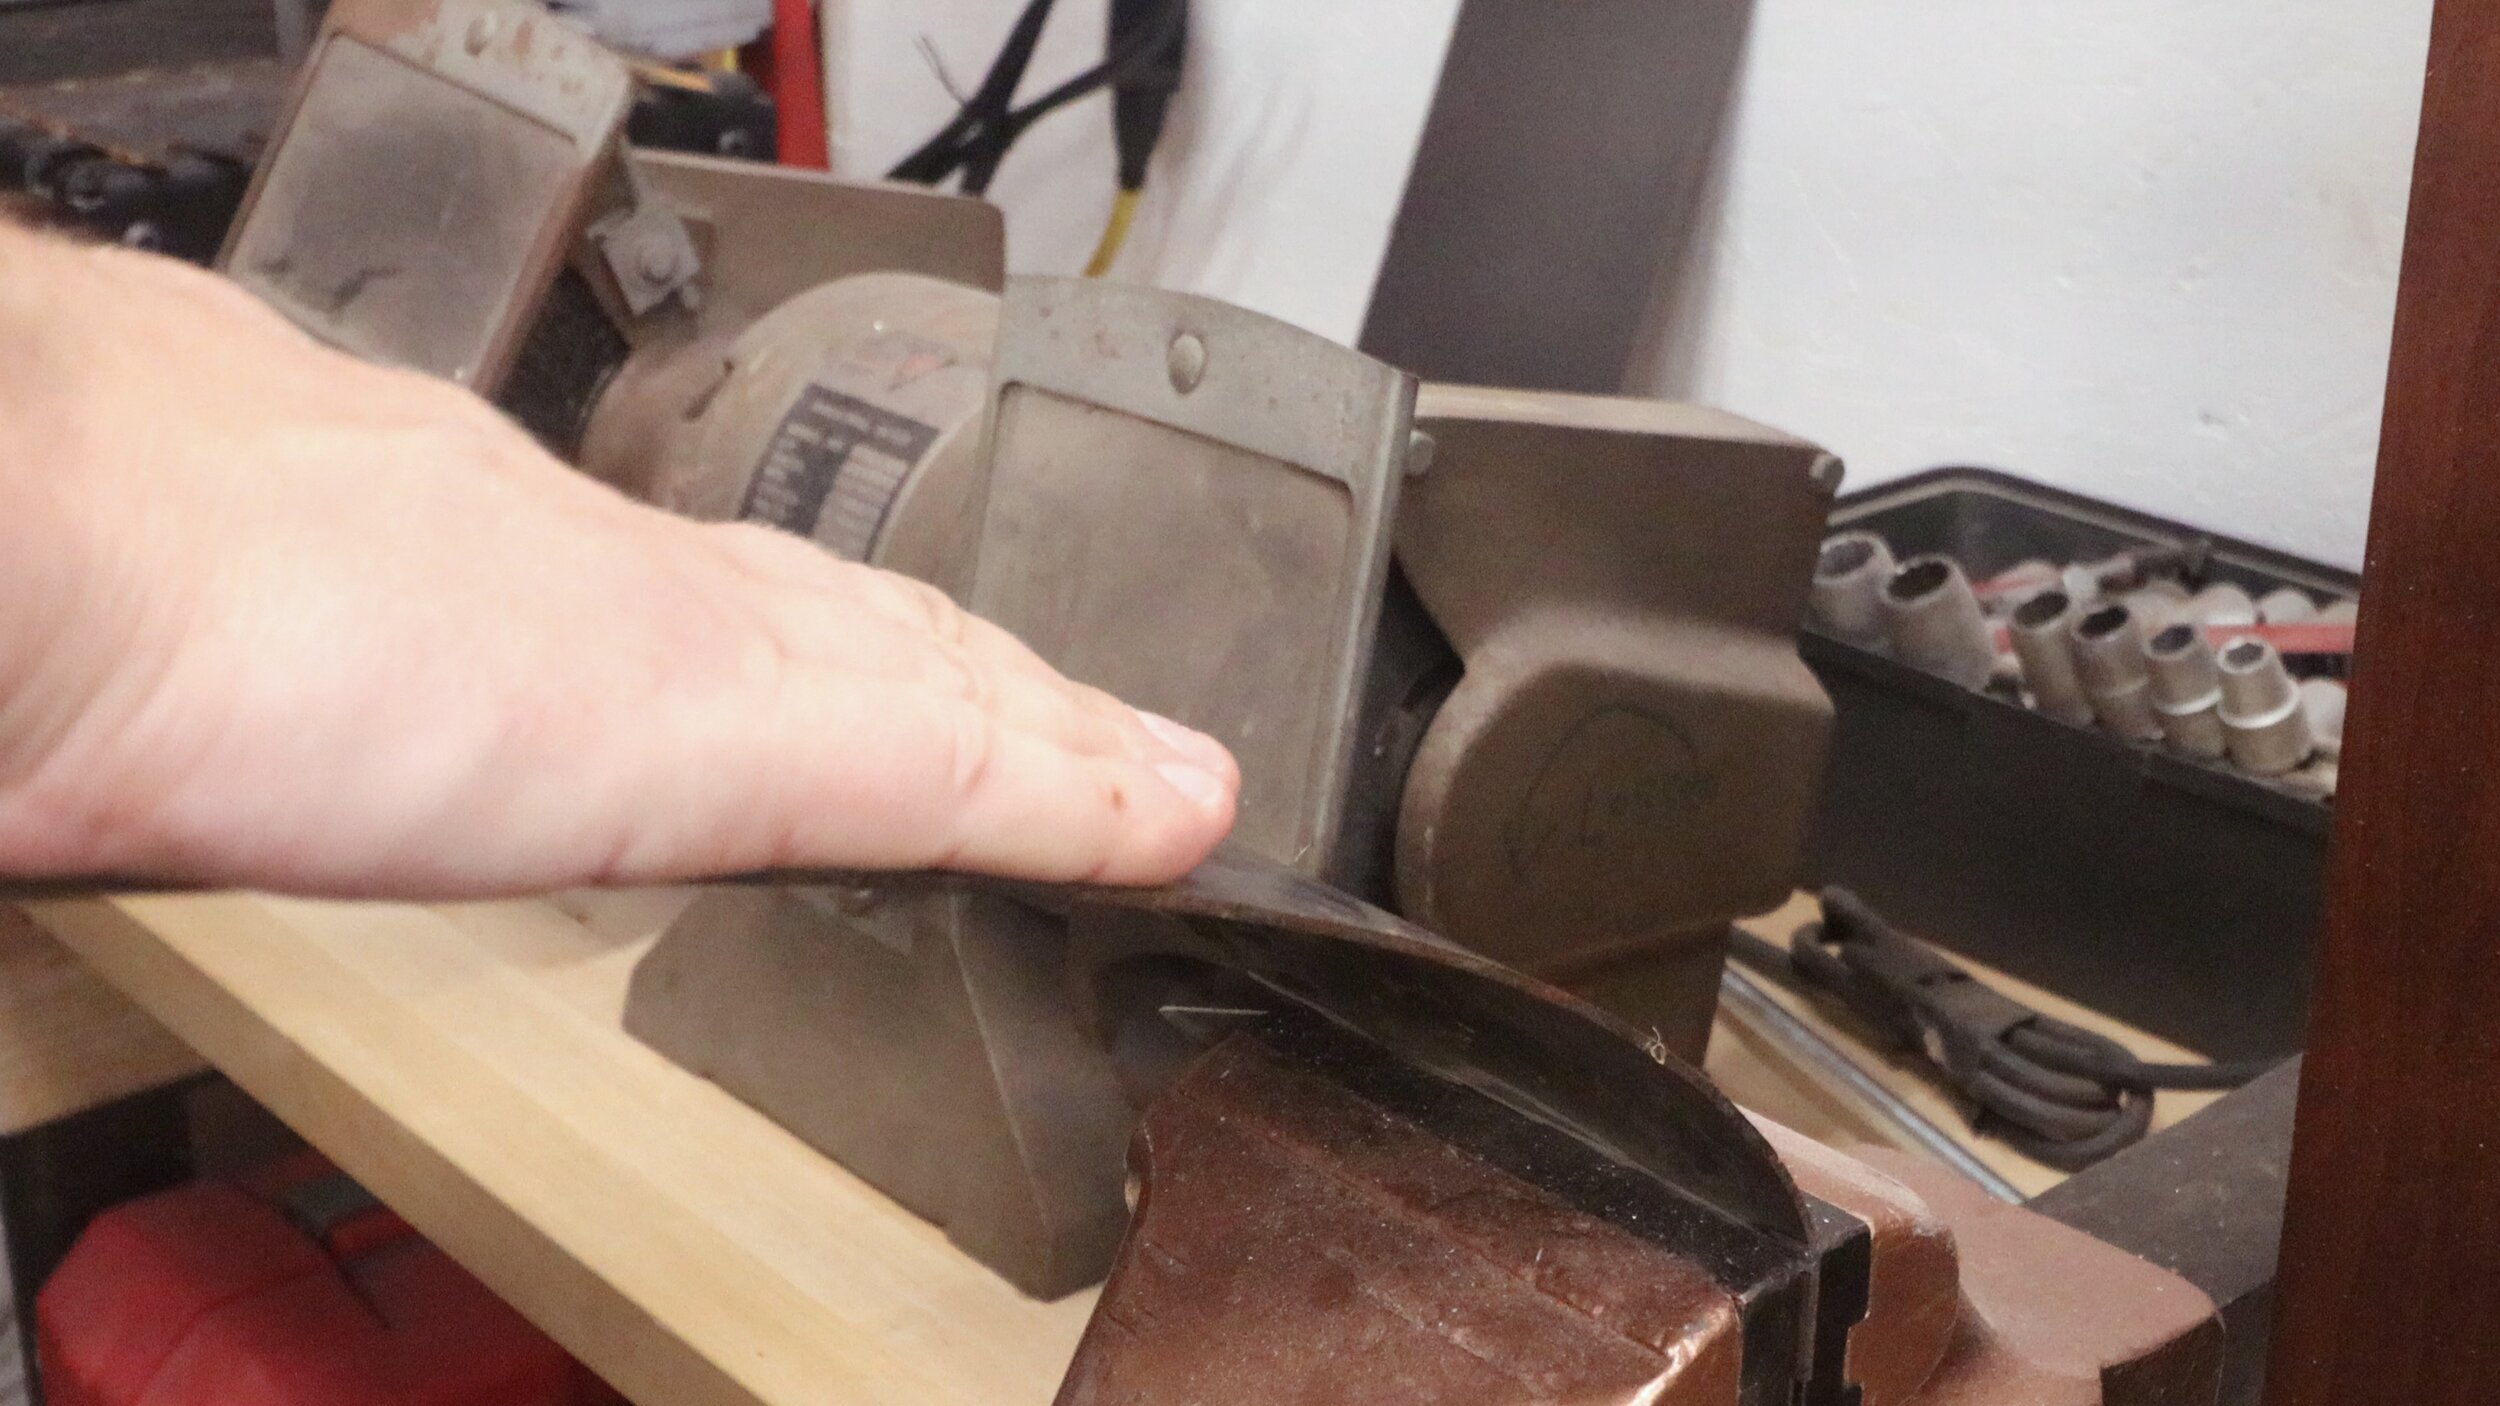
For hard angle turns, I recommend scoring a cut line about 1" back from the end and bending the end over in a vise. Use a hammer to crisp up the bend line.


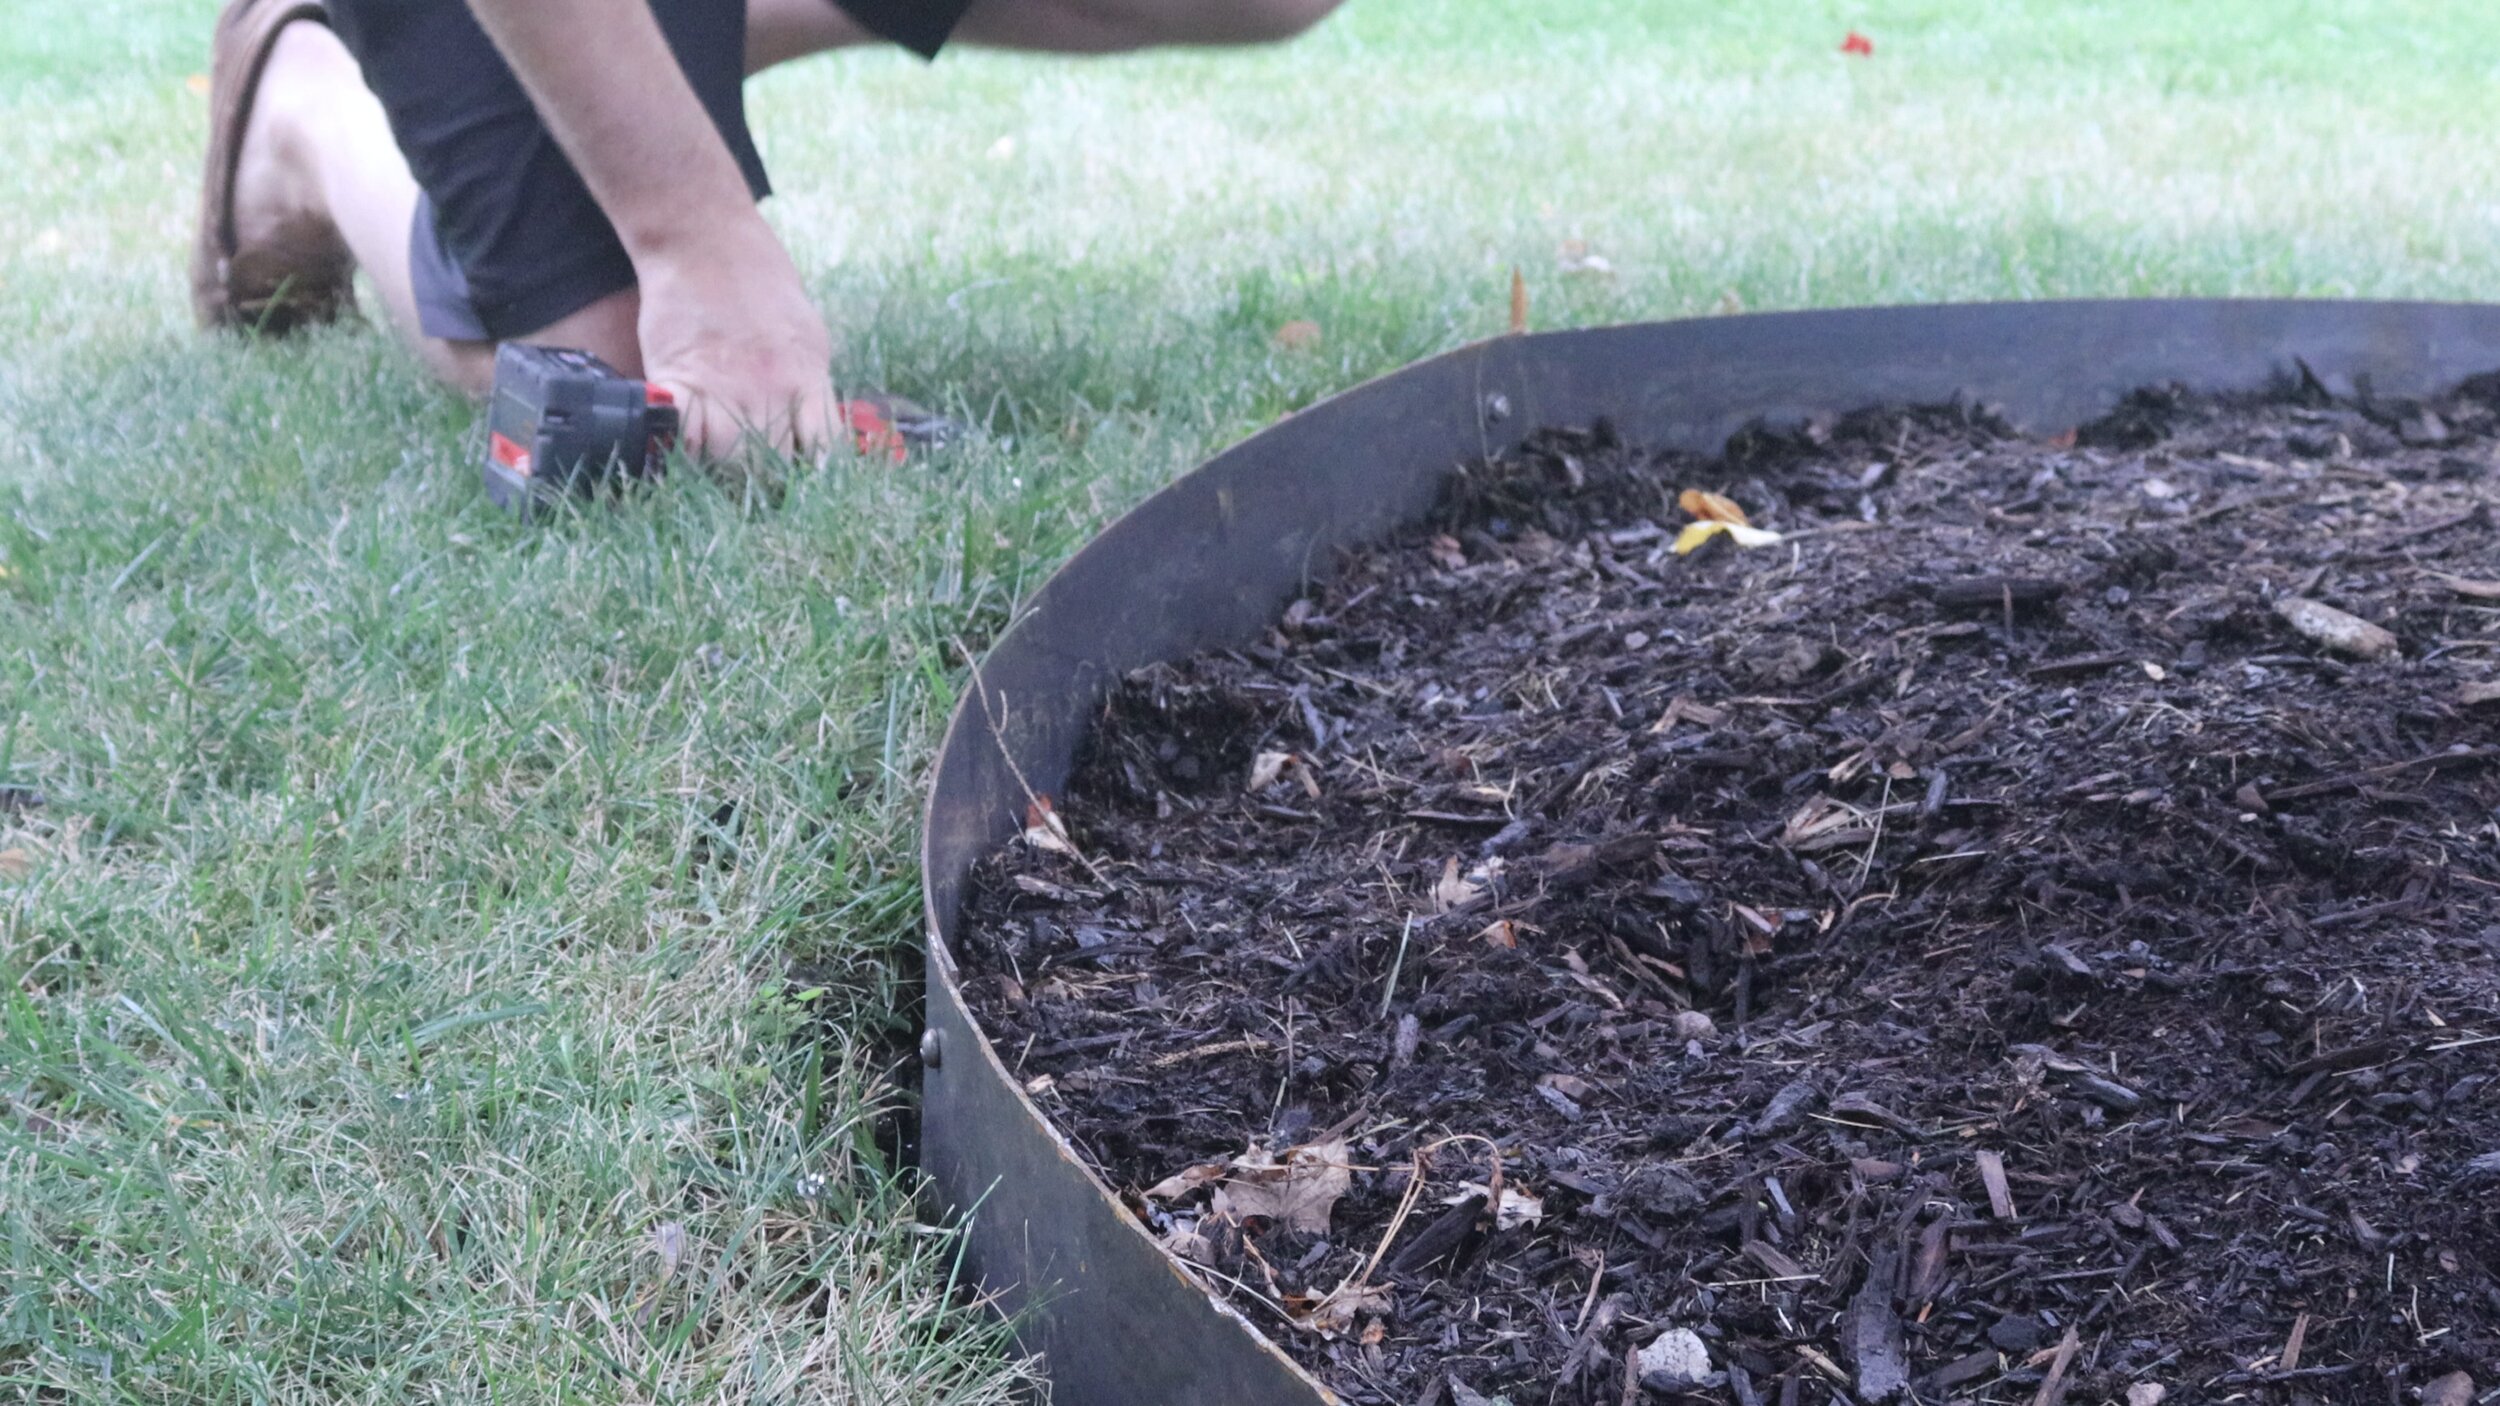
If you have tight curves, you will likely end up with gaps as in the first picture below. To tidy up the appearance of the edging, I recommend bolting the pieces together.
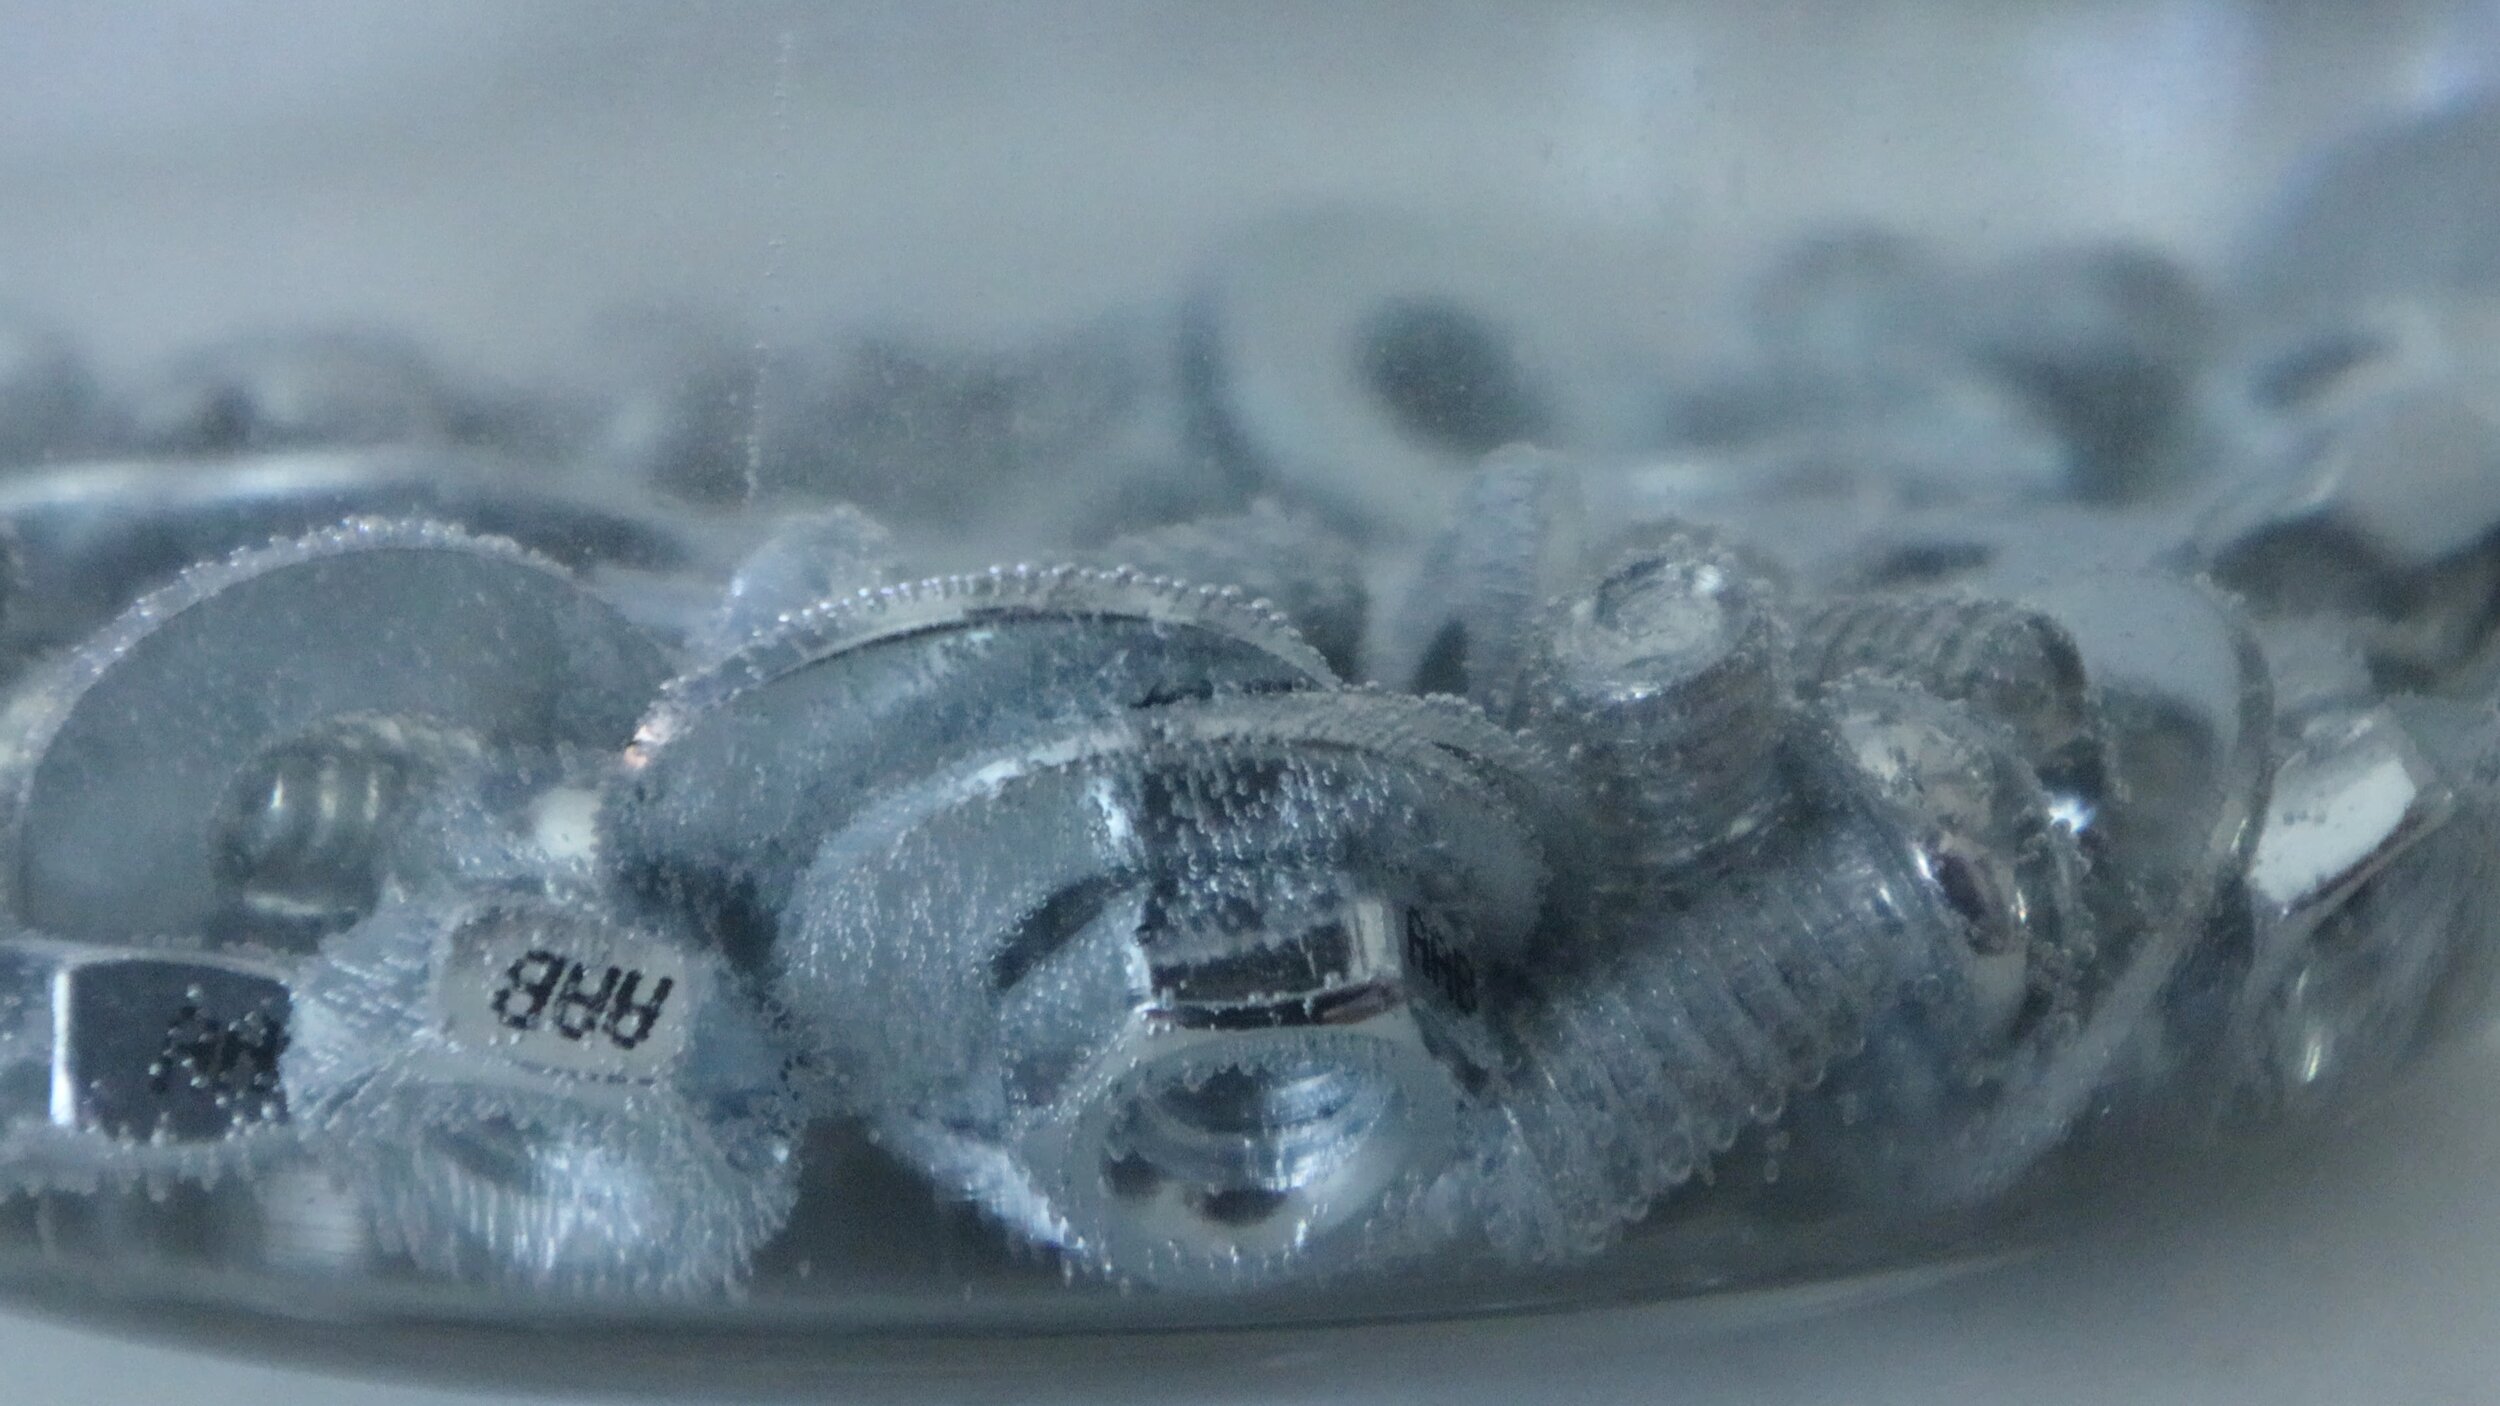
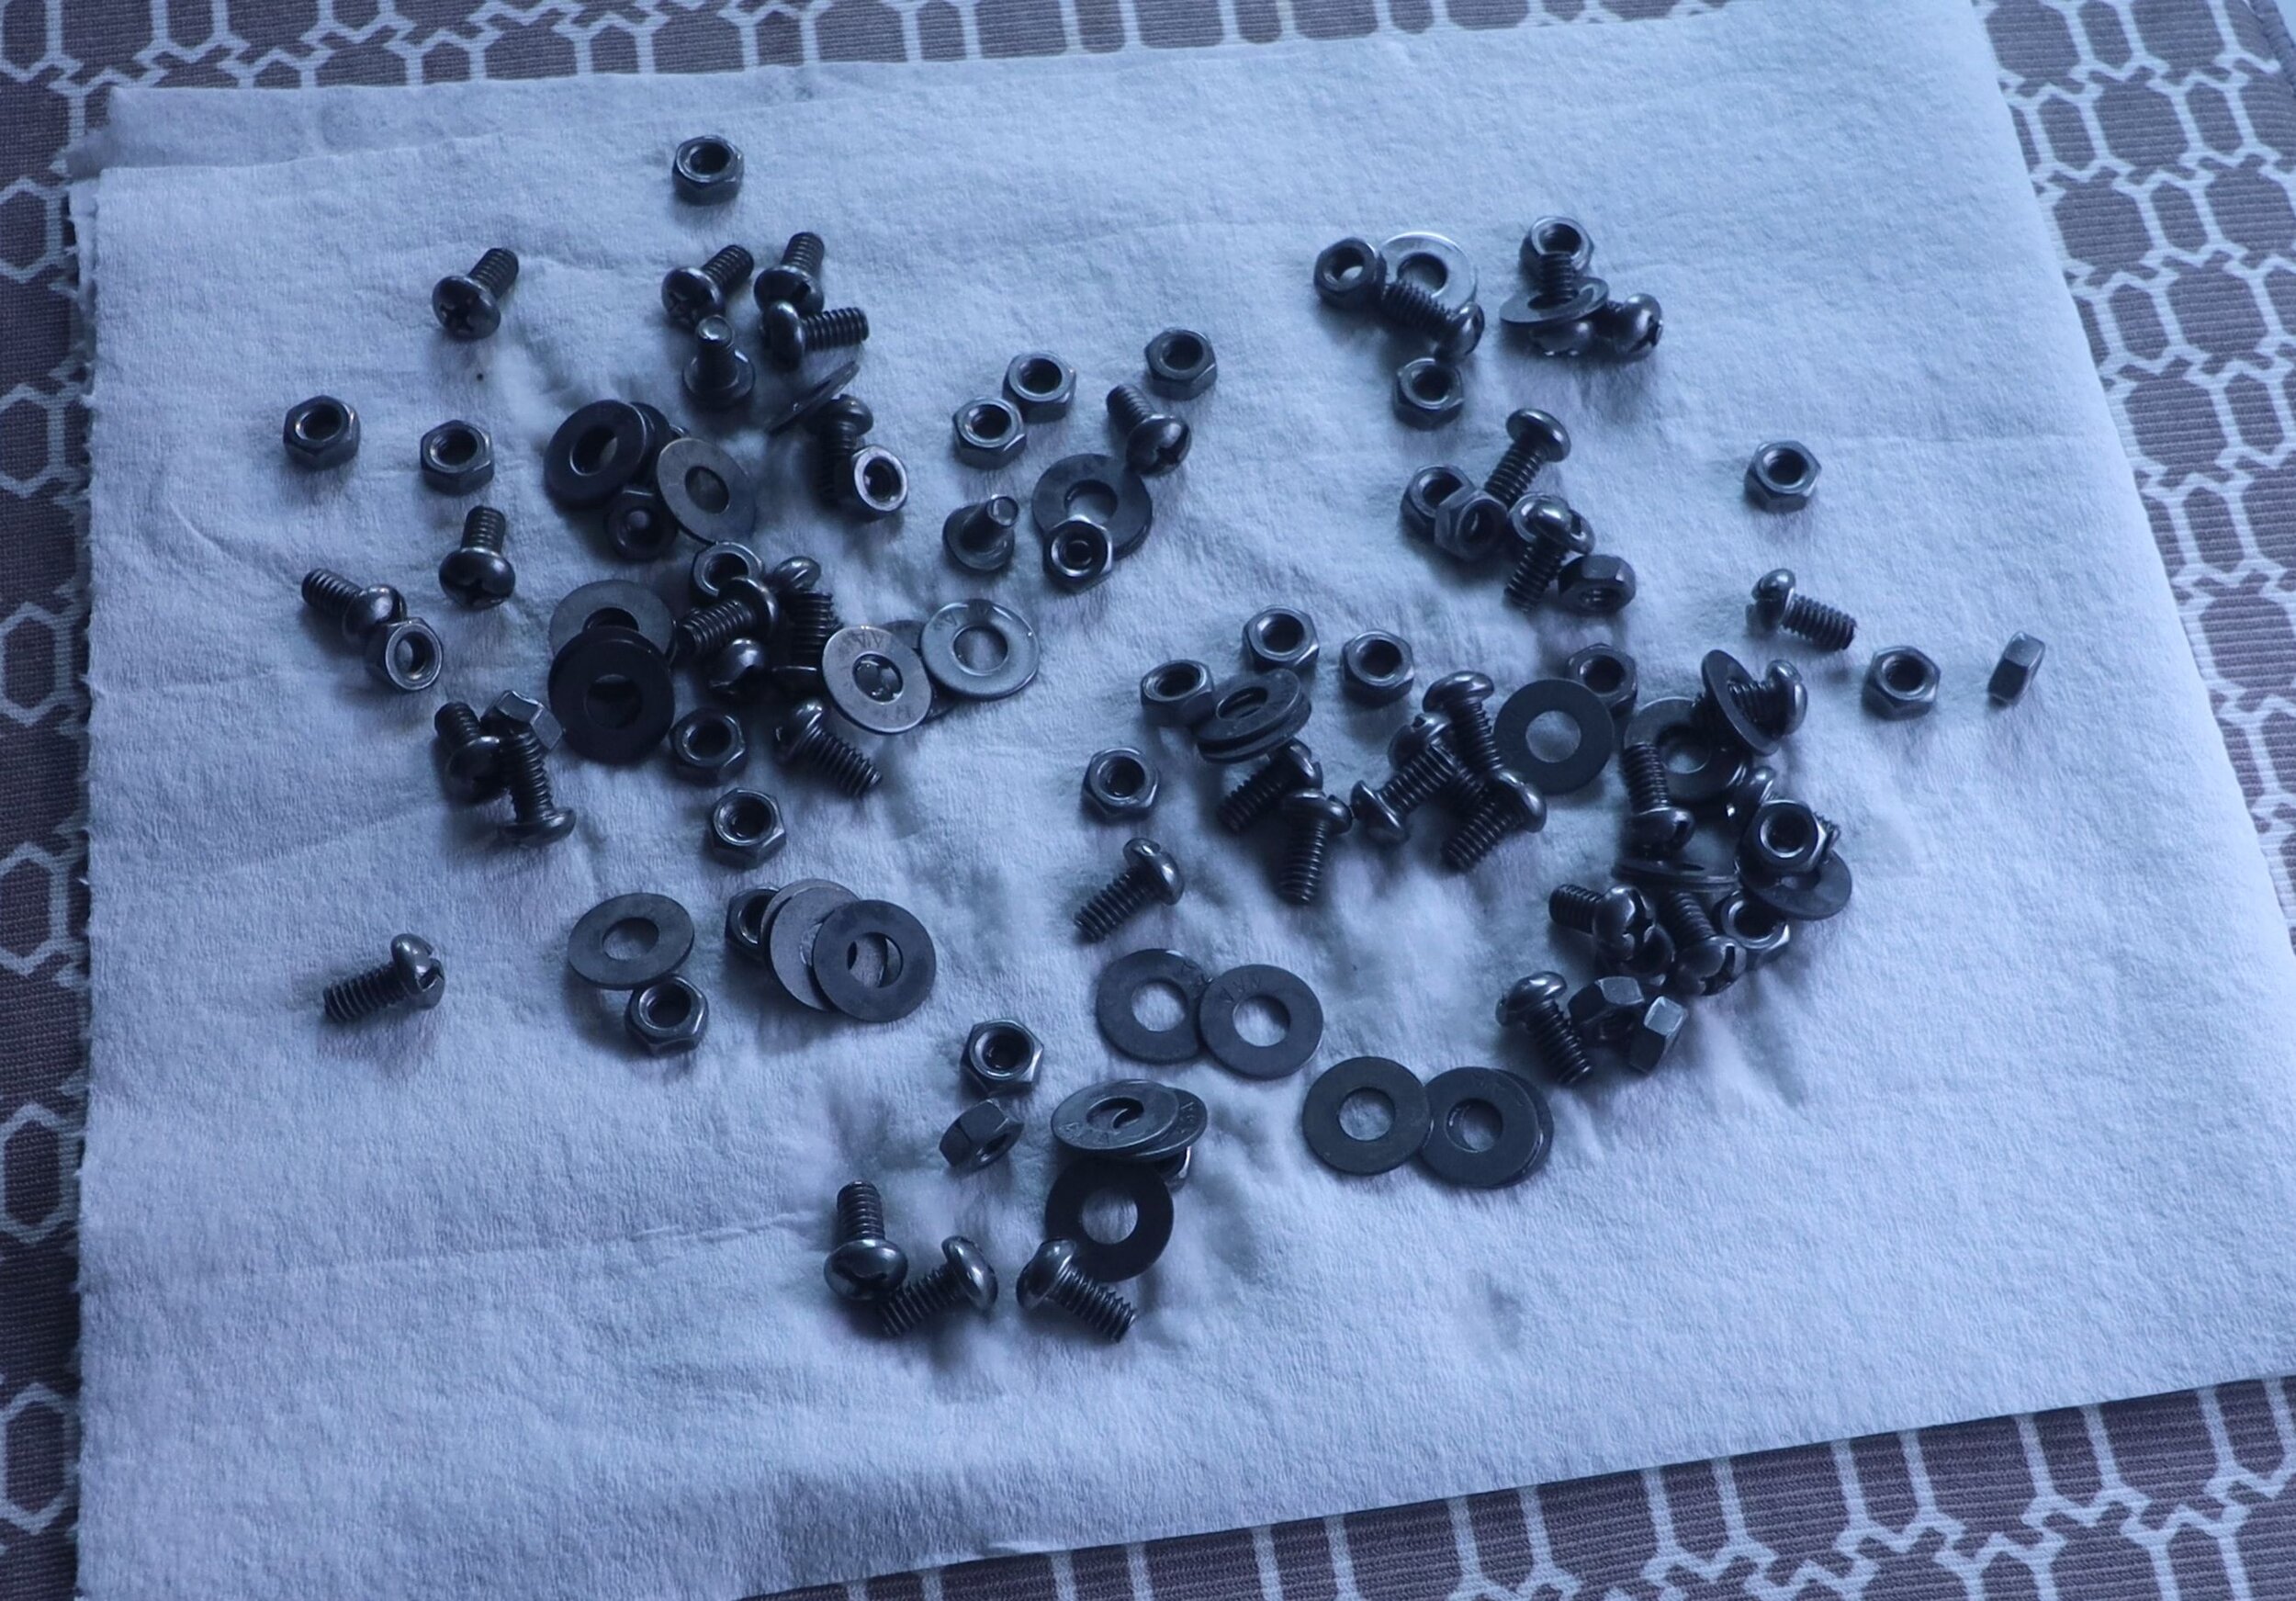
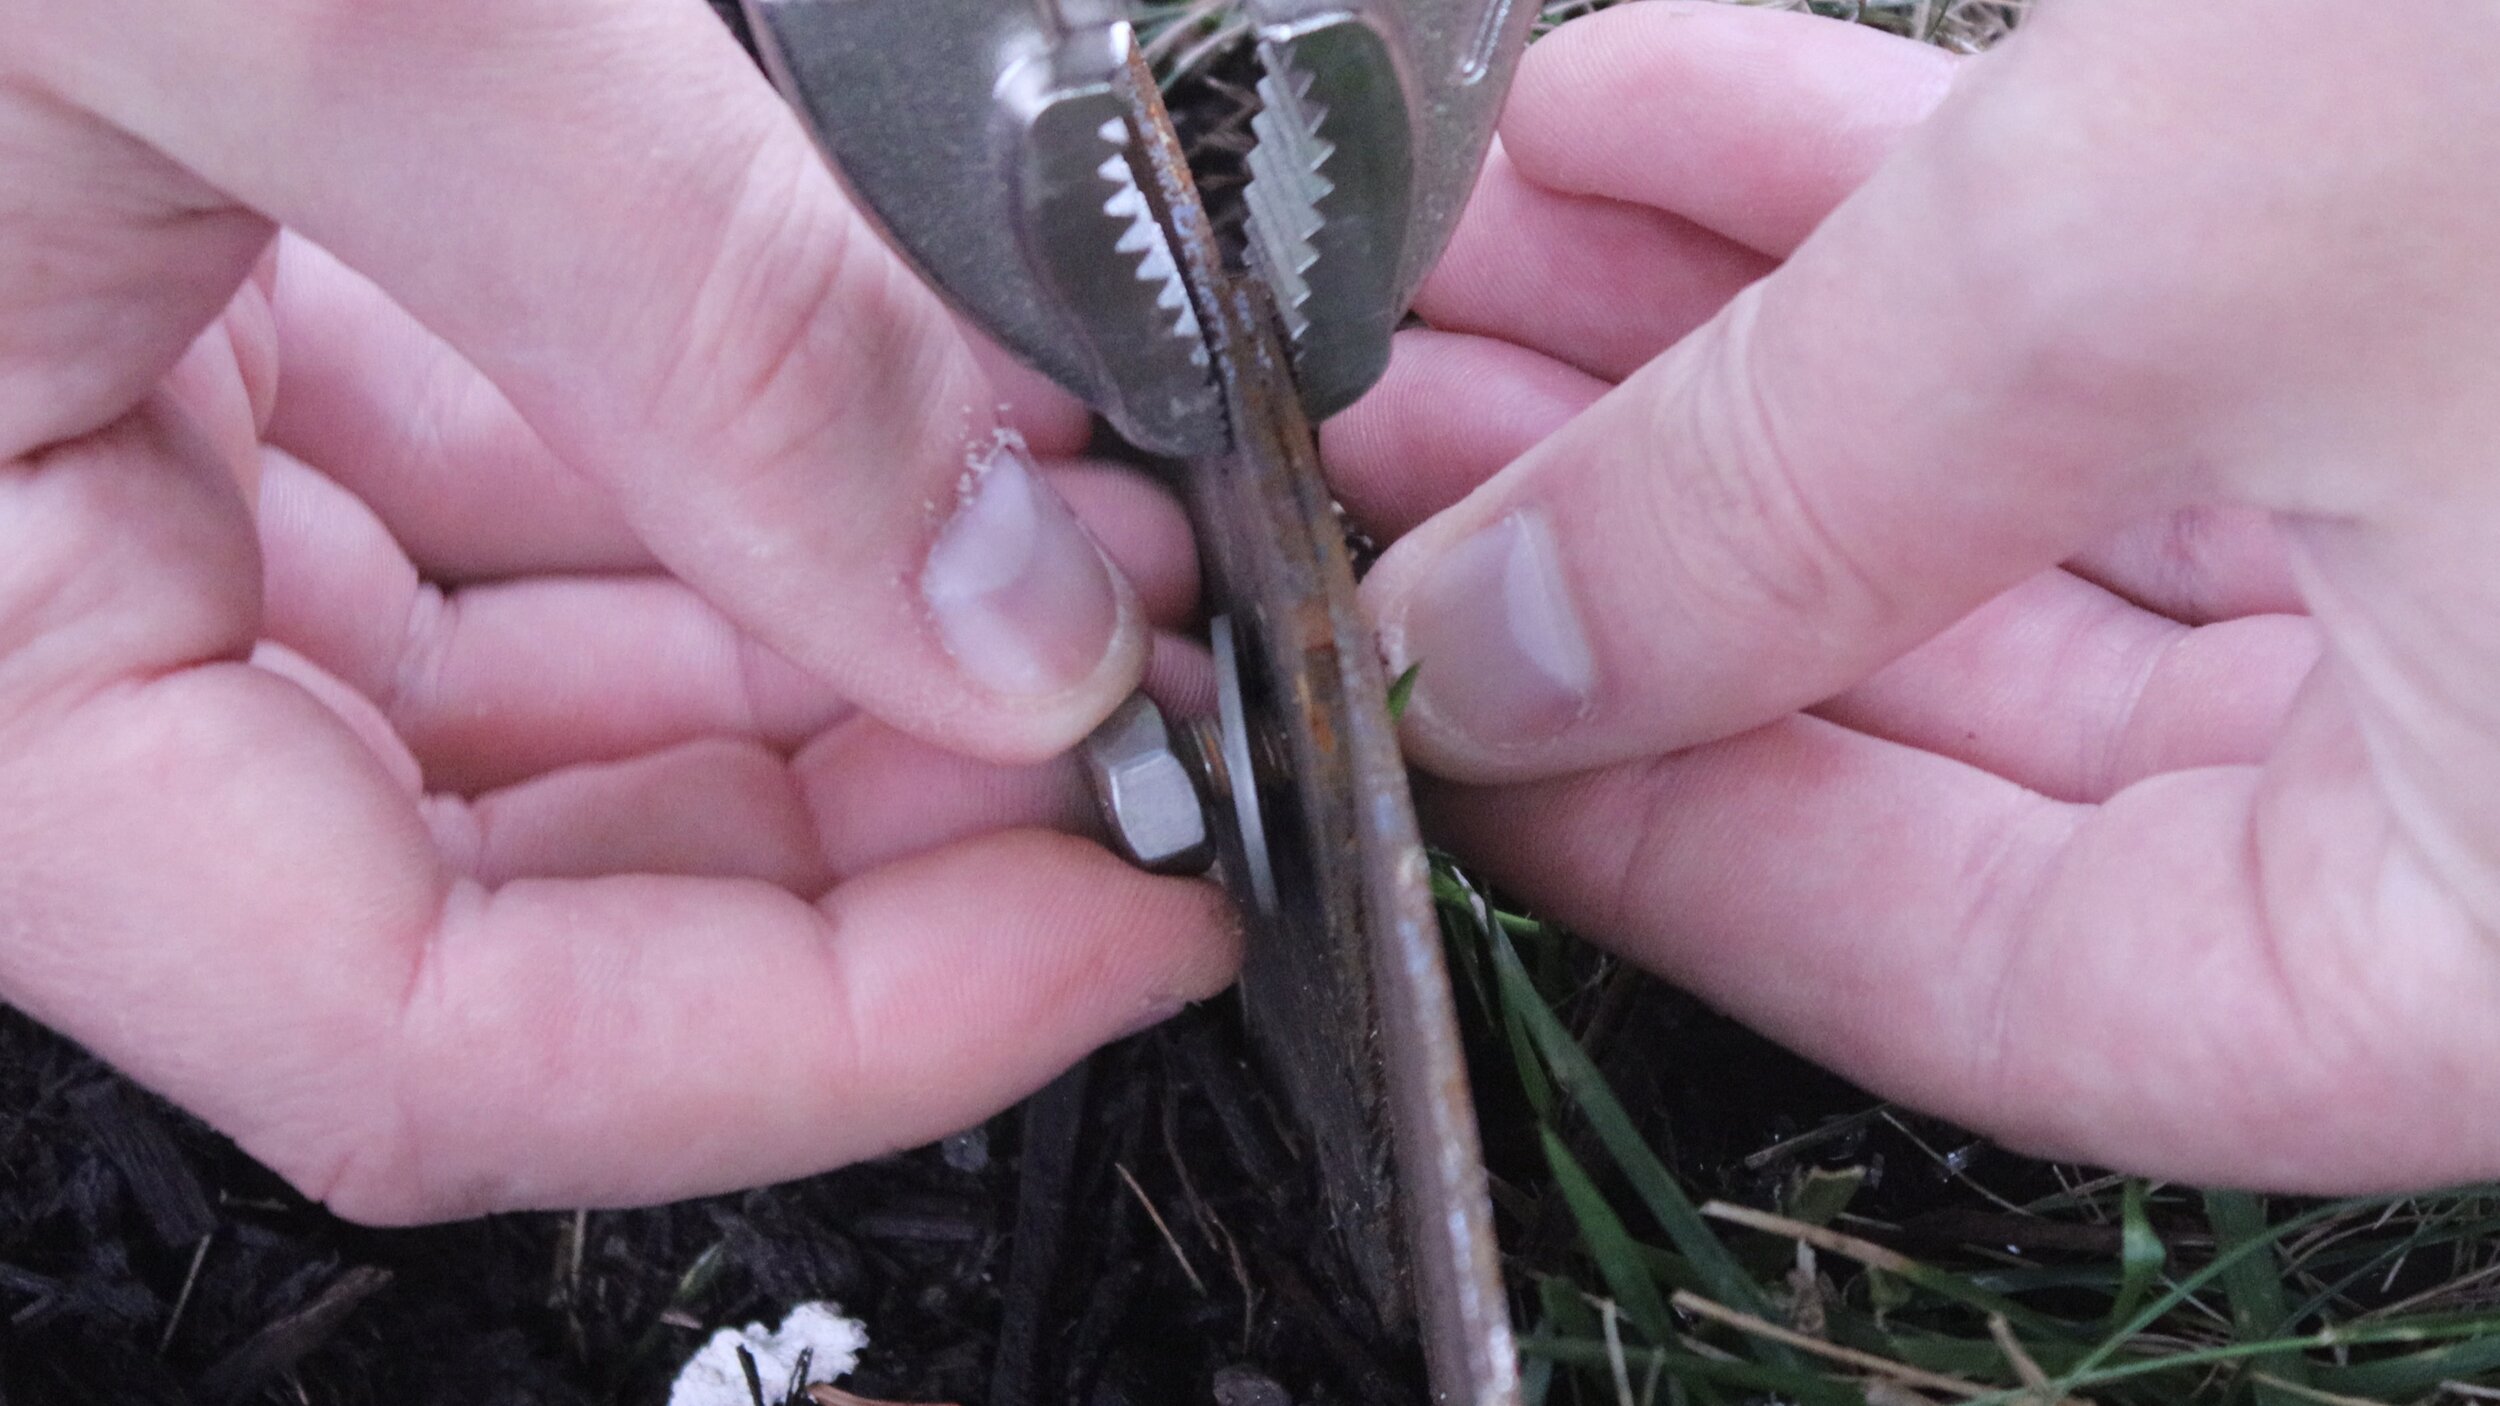
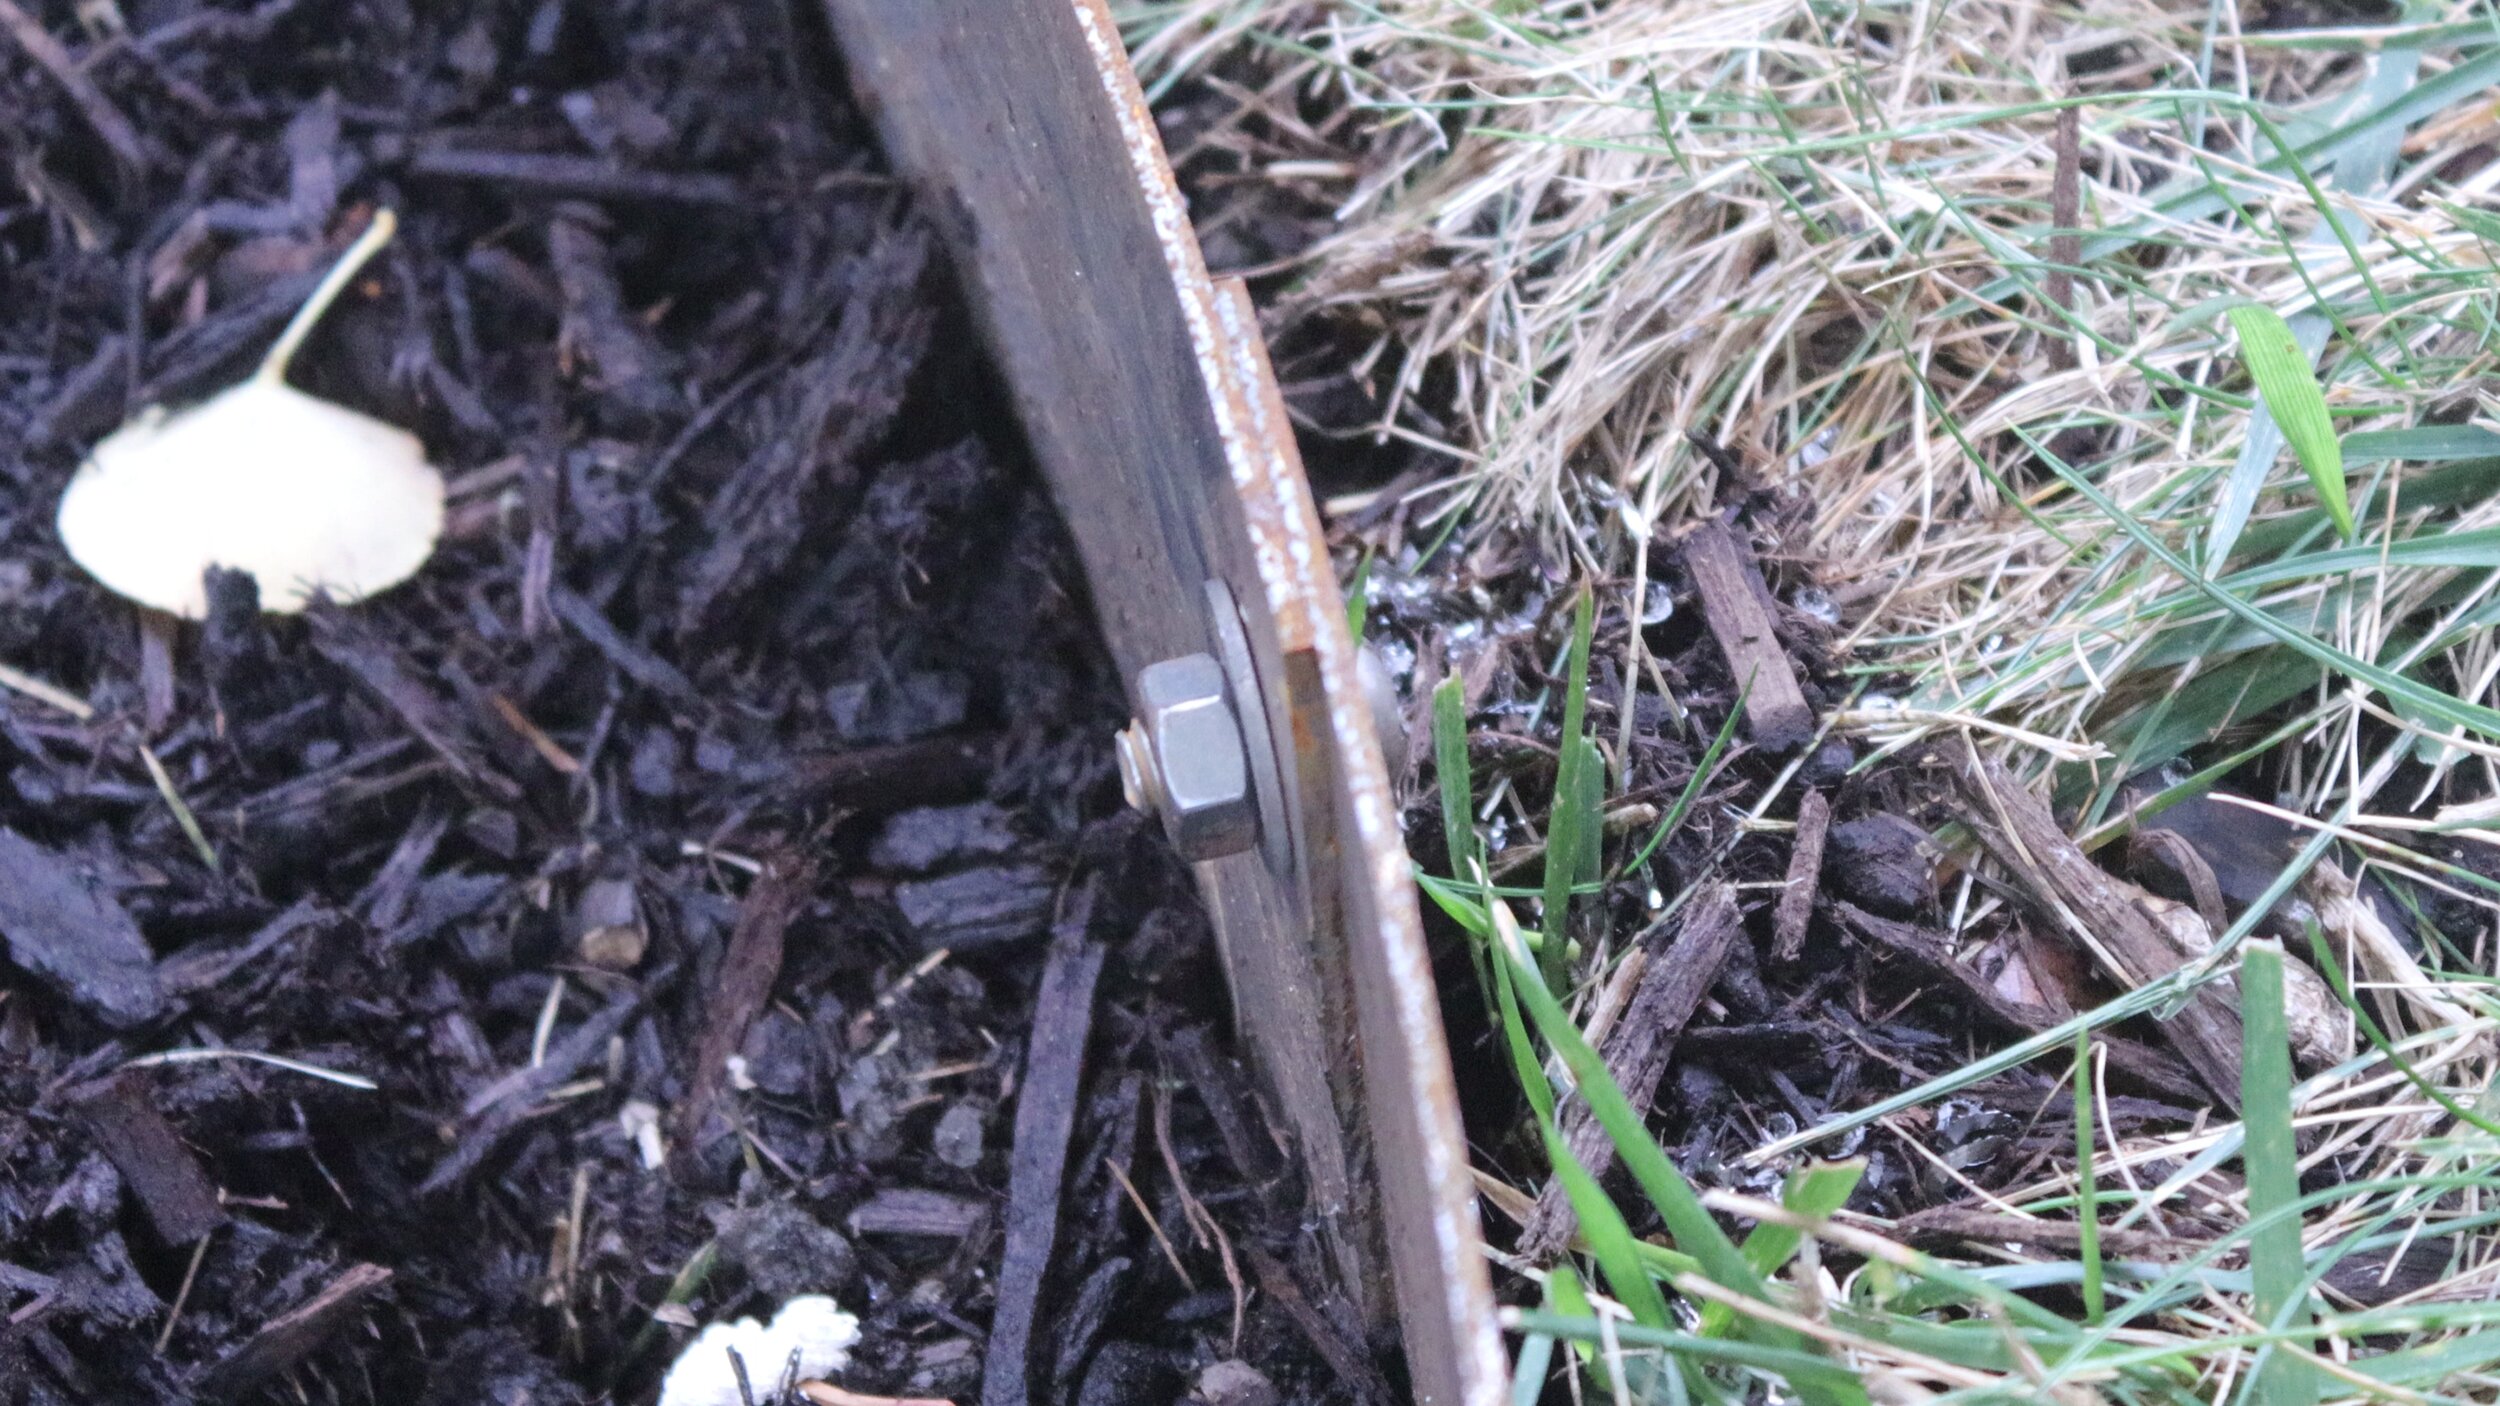
I found that 1/4" machine screws were a good choice for this task since they're strong enough to do the job yet not so large as to be obtrusive. These days, machine screws and other hardware are sold with a zinc plating to inhibit rust. Using the screws as-is, they would stick out like a sore thumb against the rusted patina of the edging.
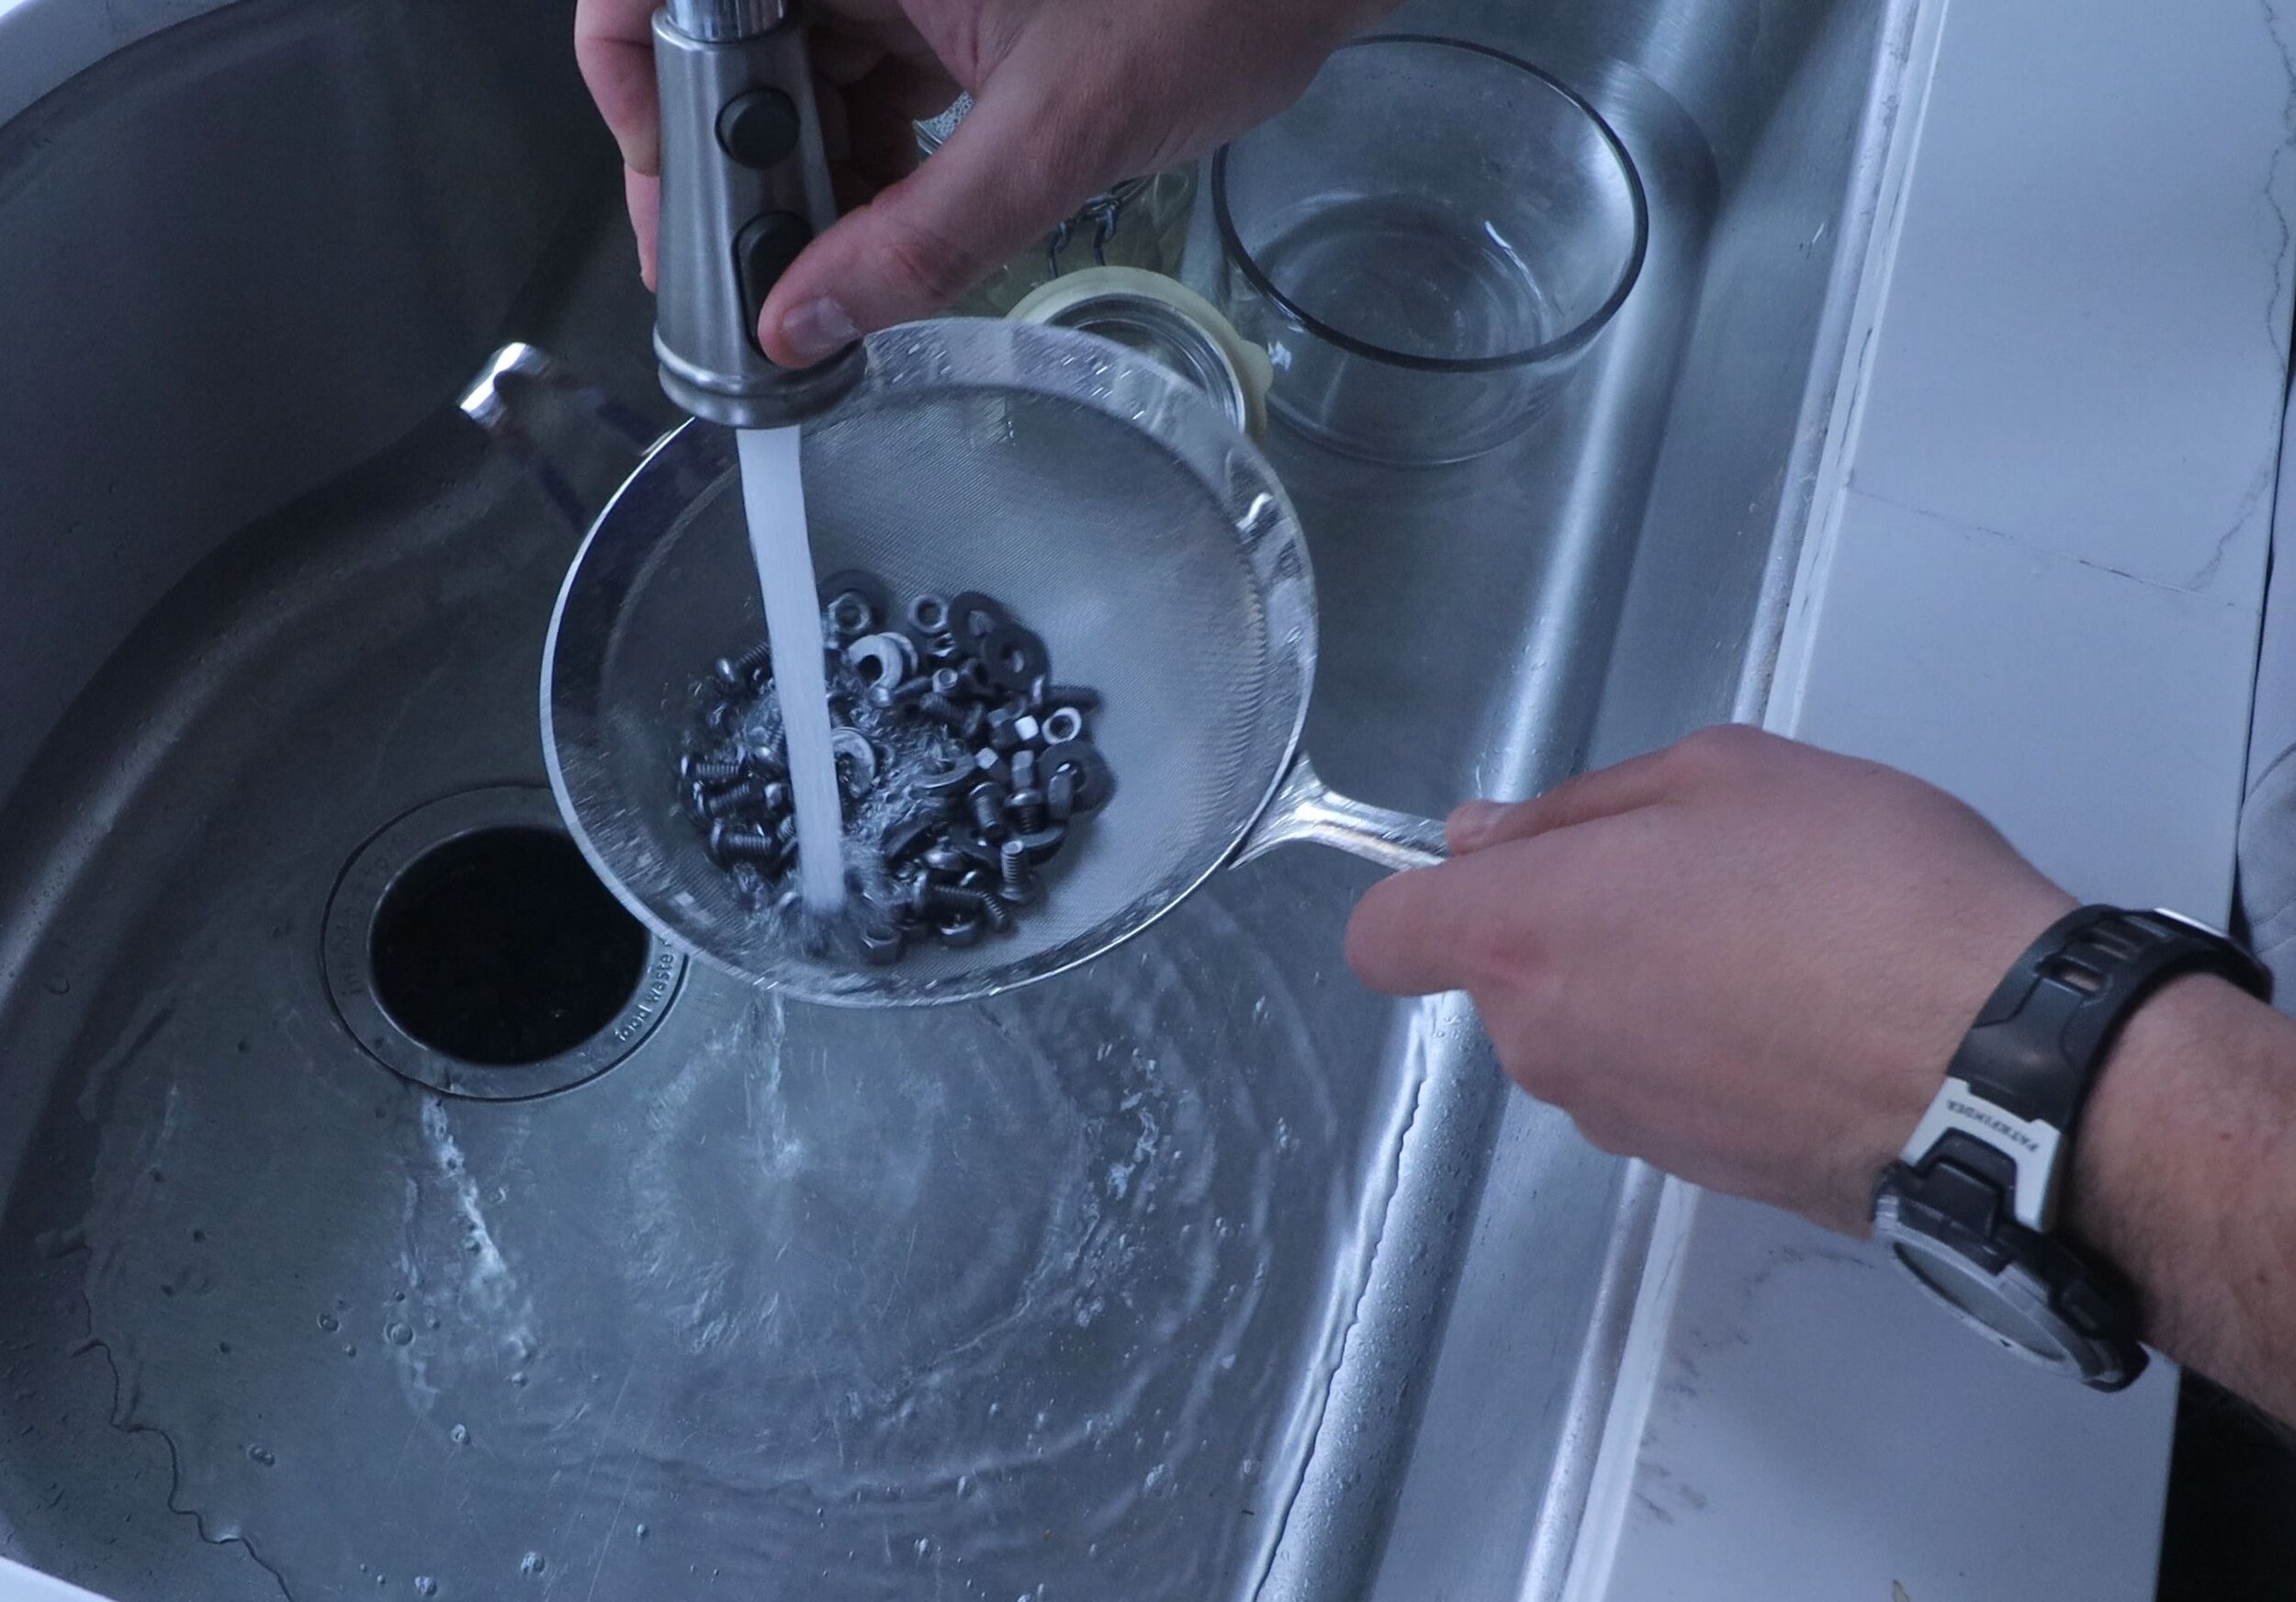
Luckily, stripping the zinc plating off is very easy and safely done with plain white vinegar. Simply cover the hardware in vinegar and let sit for about an hour, letting the acid in the vinegar dissolve the zinc. After it's done, rinse and let dry.

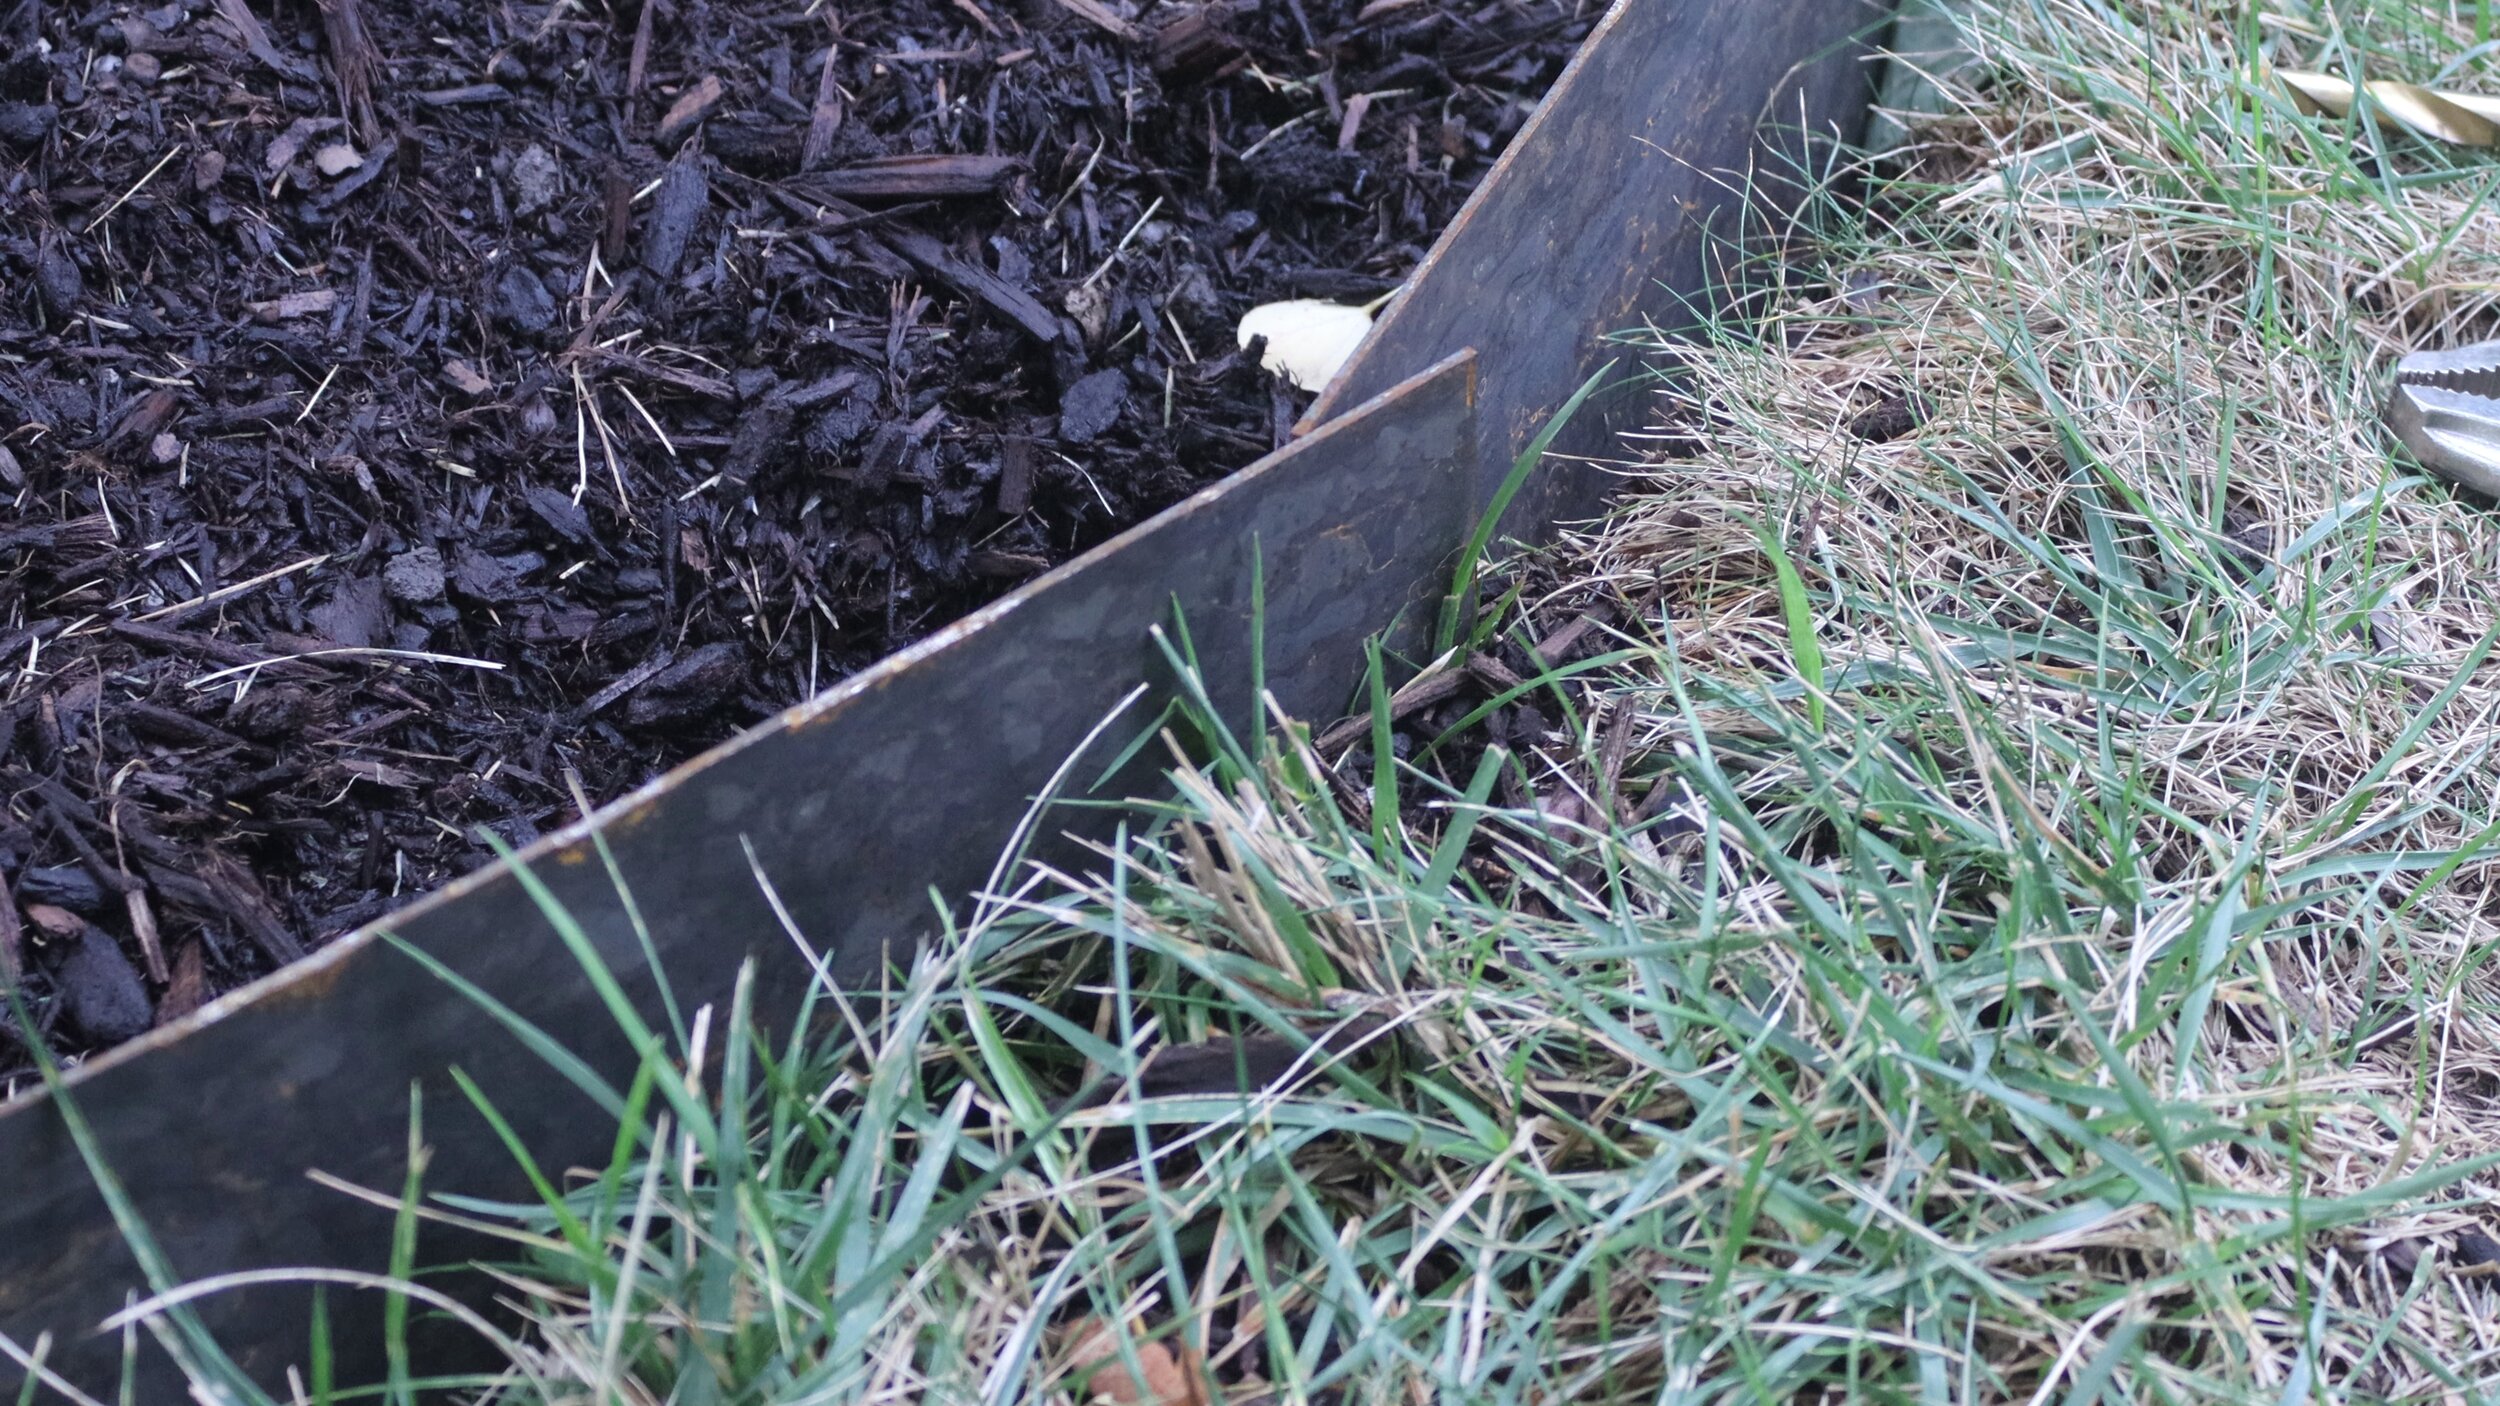


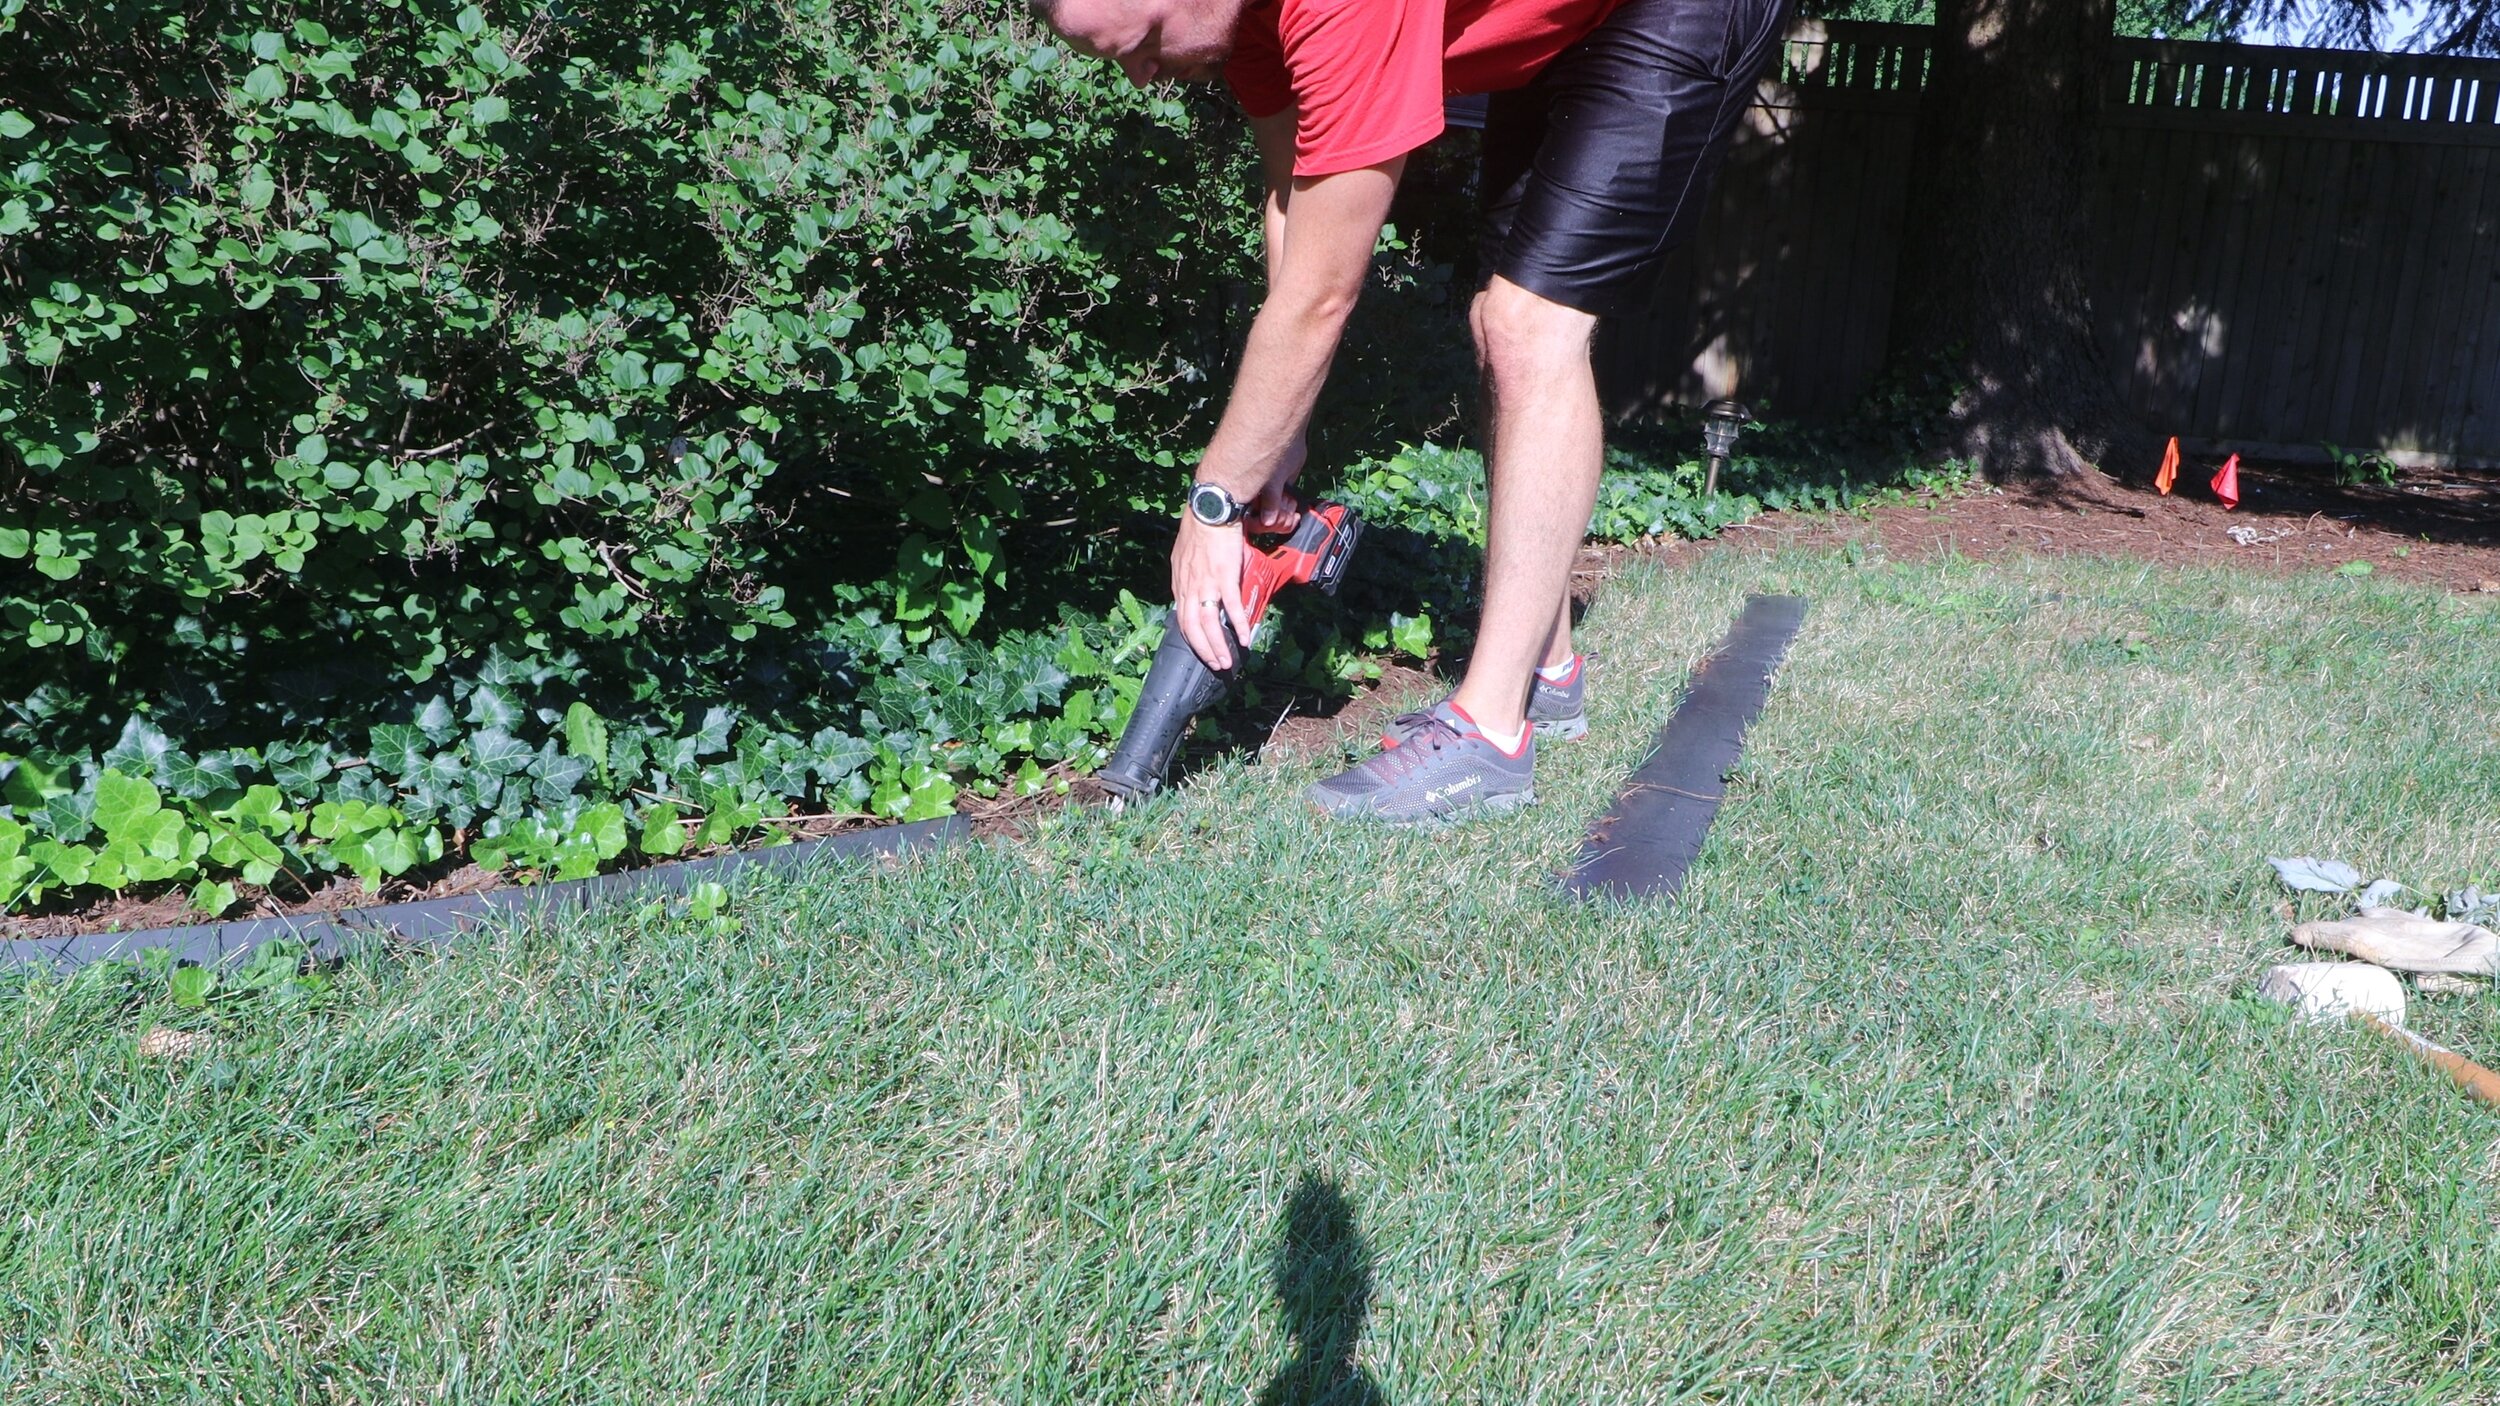
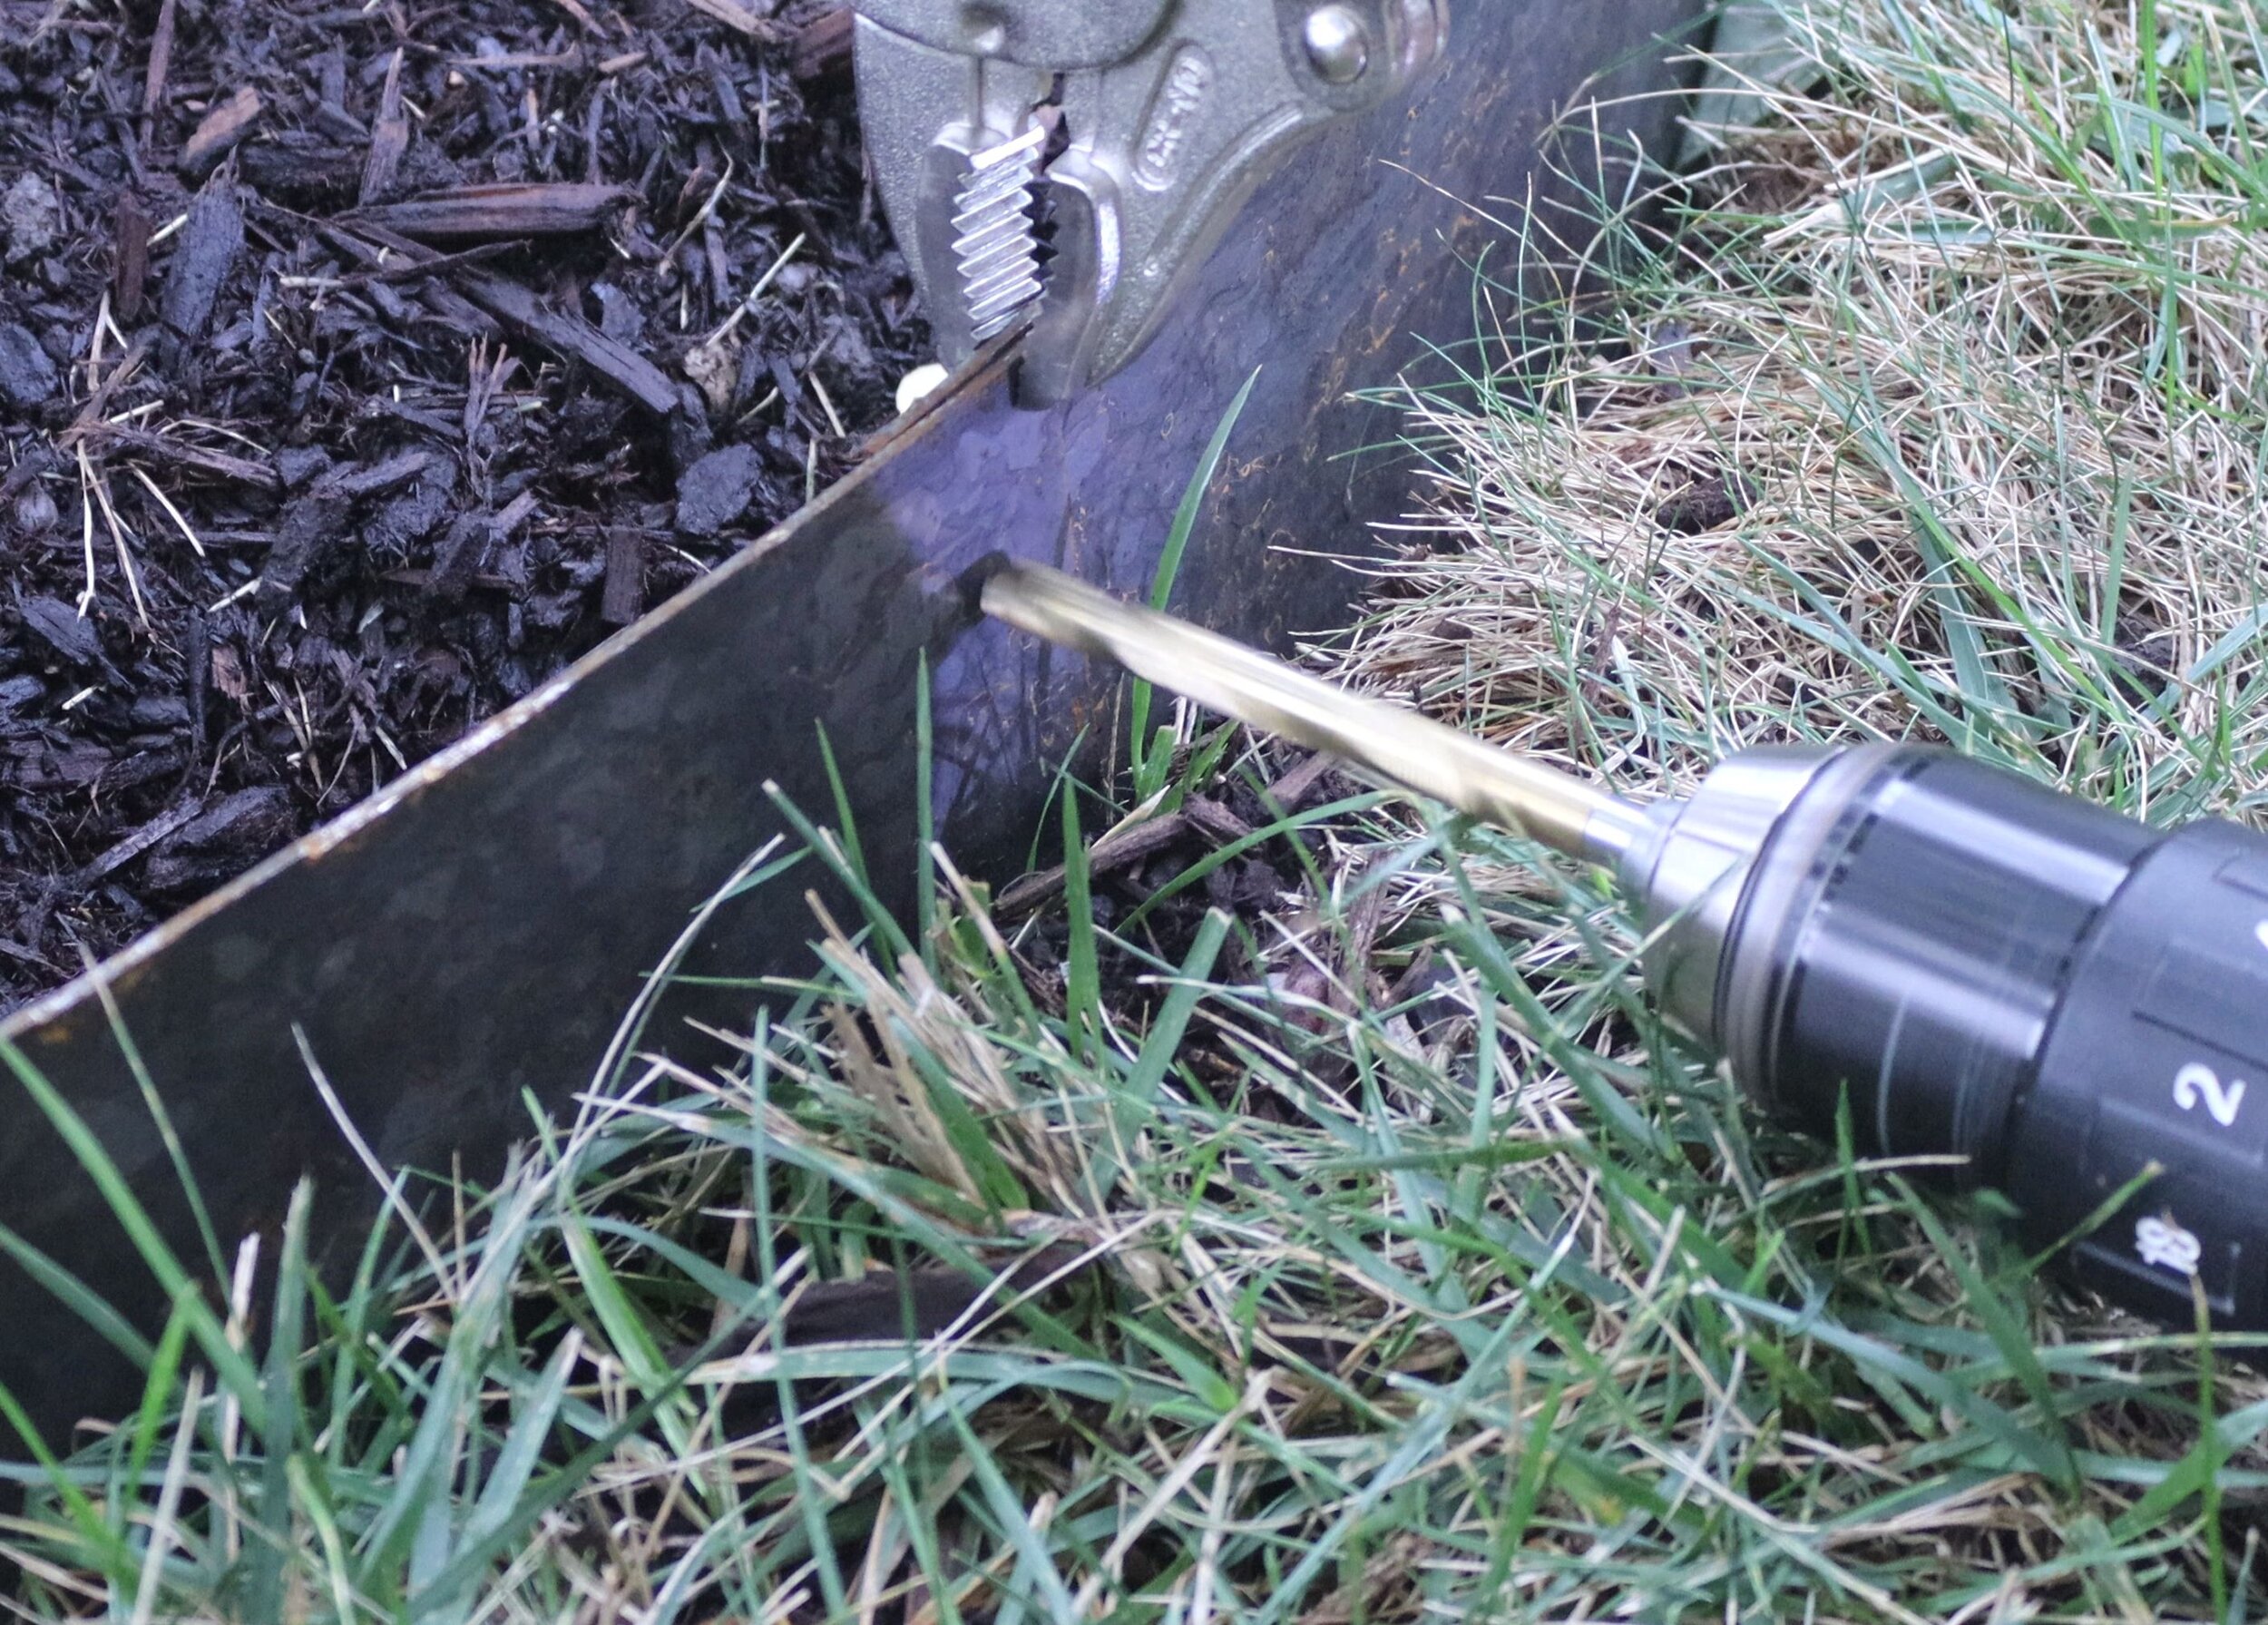
Use a vise-grips to pinch the two pieces together at the gap, and then use a 5/16" drill bit to drill for the machine screws. Then tighten the screws up.
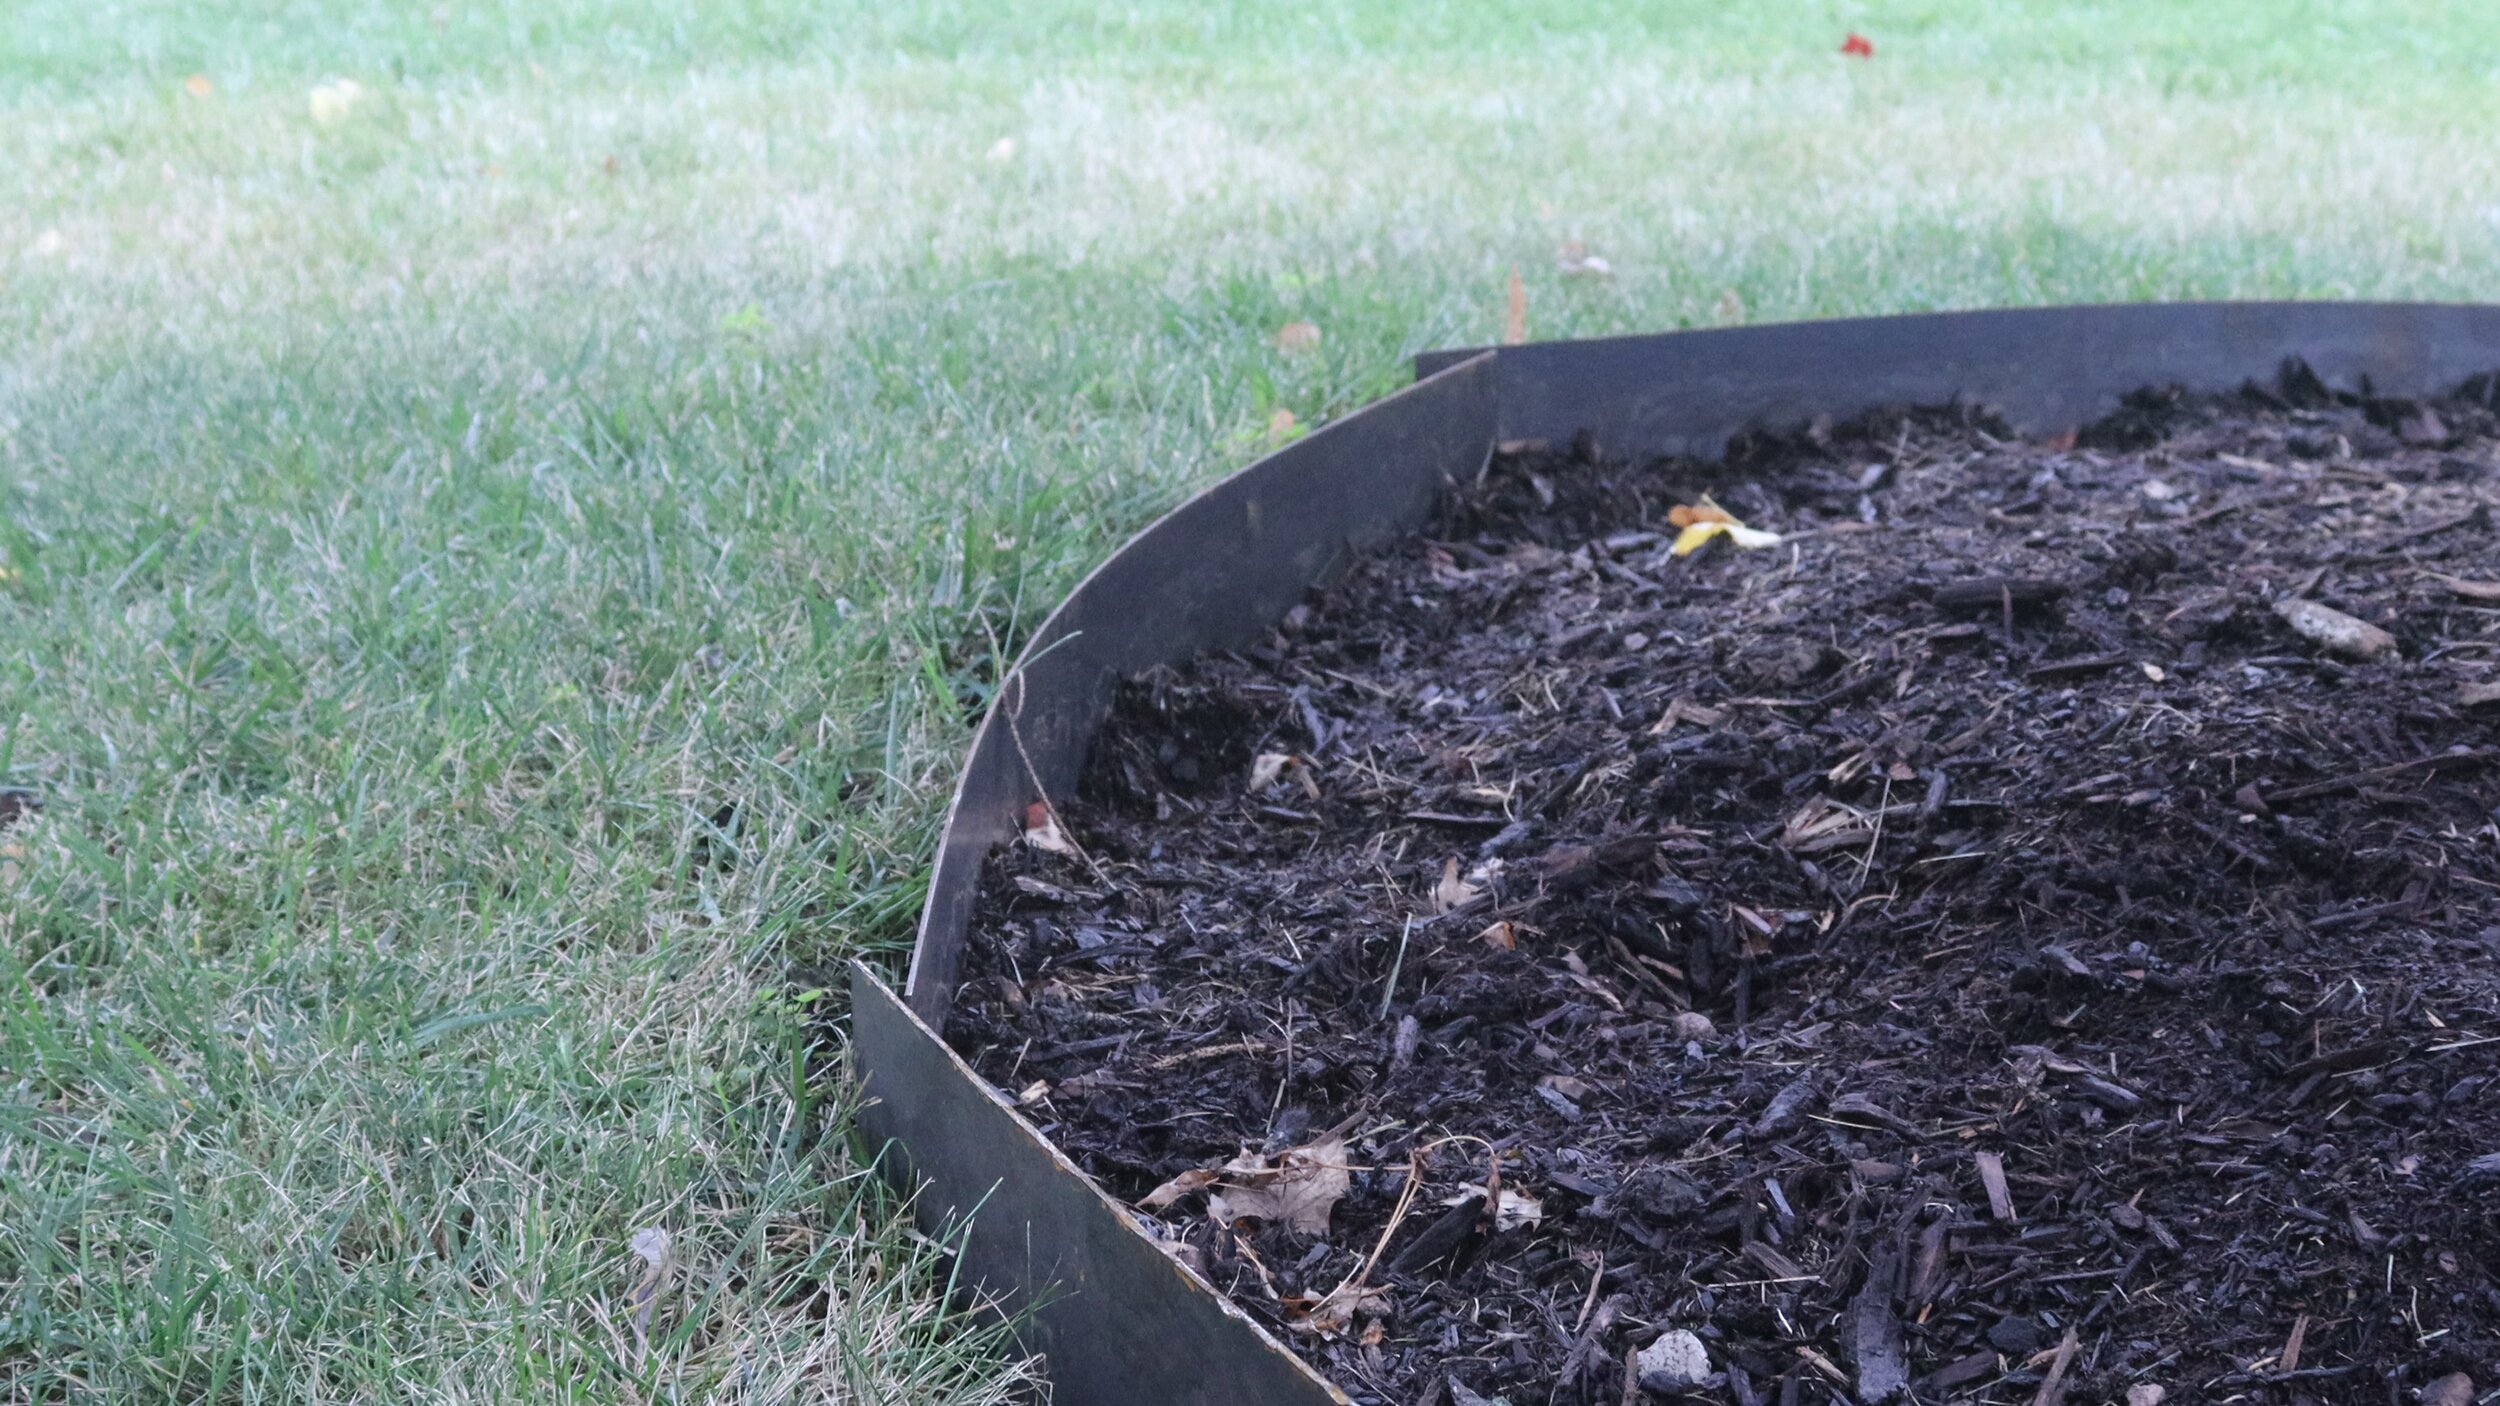
Go around the edging once more and even out and high or low spots with some well-placed blows of the sledge hammer. With that done, your edging is finished!
Since we used weathering steel, the edging will develop a beautiful, rusted patina over 6-12 months. Due to the steel alloy, this rust layer is stable and will not flake off over time. As such, there's no reason this edging shouldn't last at least 20 years in most installations.
If you enjoyed this, subscribe to my YouTube channel for more!