
Inexpensive, Collapsible Projector Screen Frame
Summertime is perfect for backyard movie nights. Now is about as good a time as any for hosting a neighborhood movie night, and building a frame for your projector screen is one of the first steps. Not only is it easy, it's also very affordable (<$35 for the frame, and <$200 to get your entire setup, projector included!).
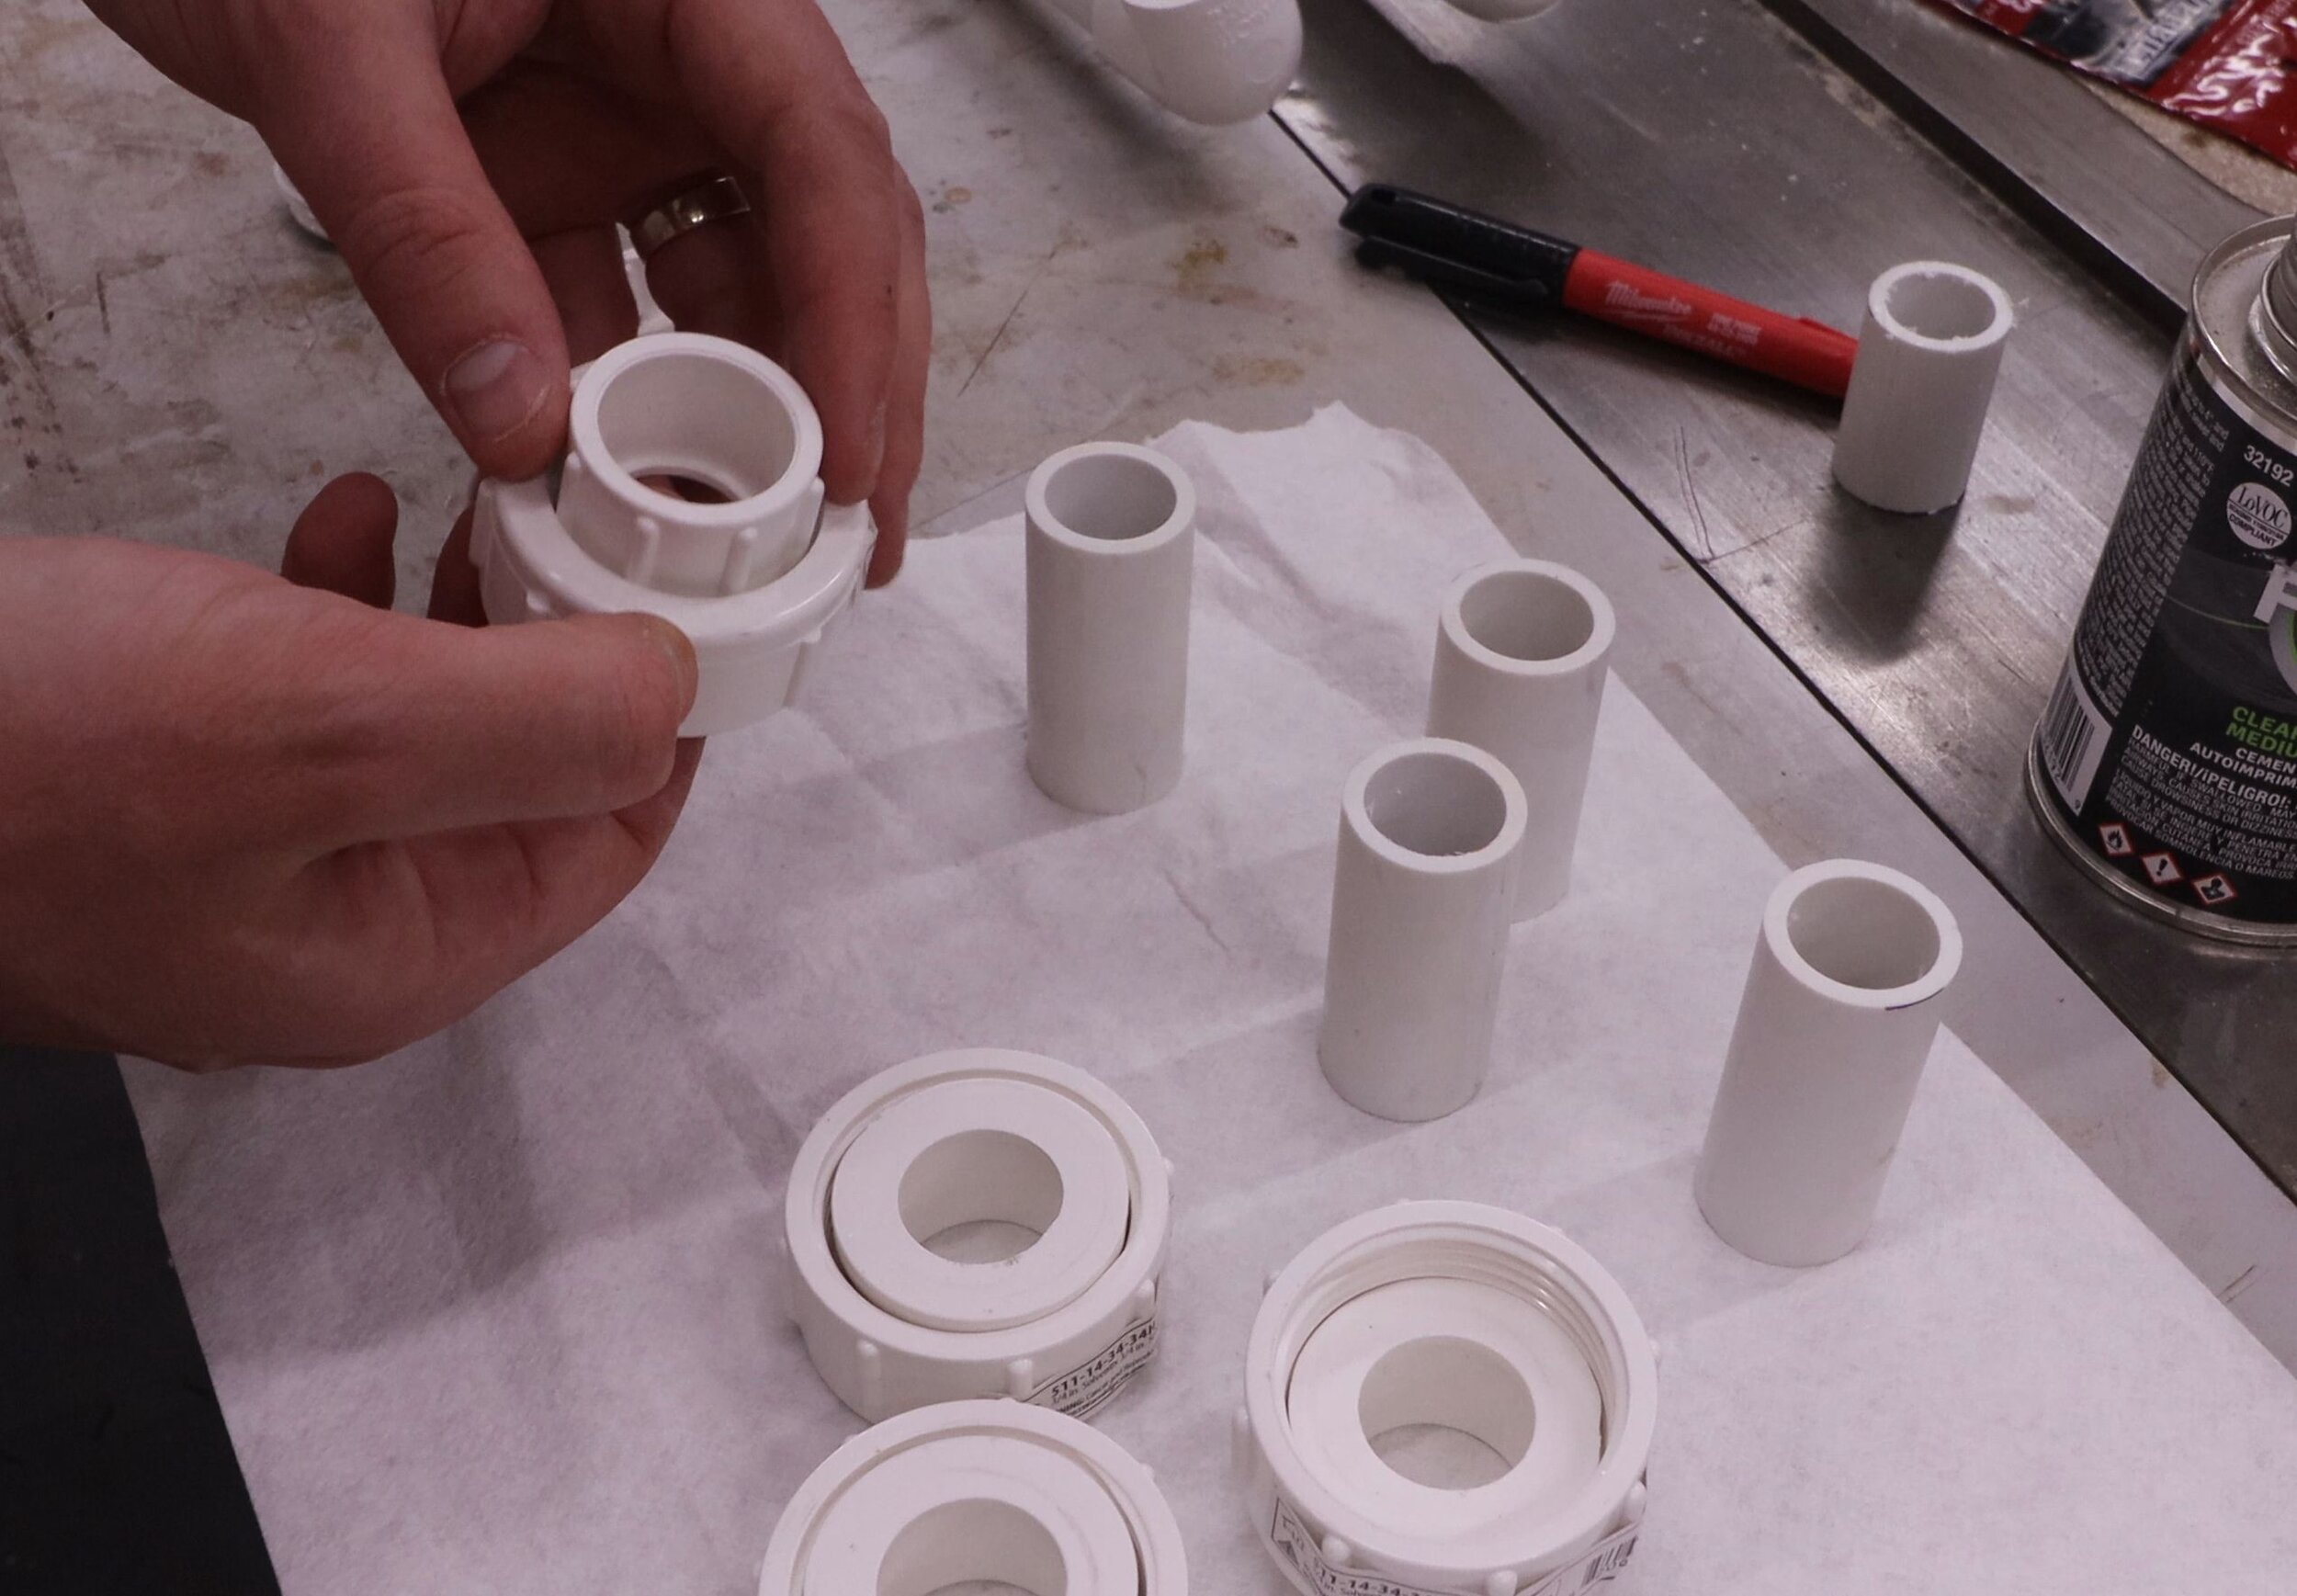
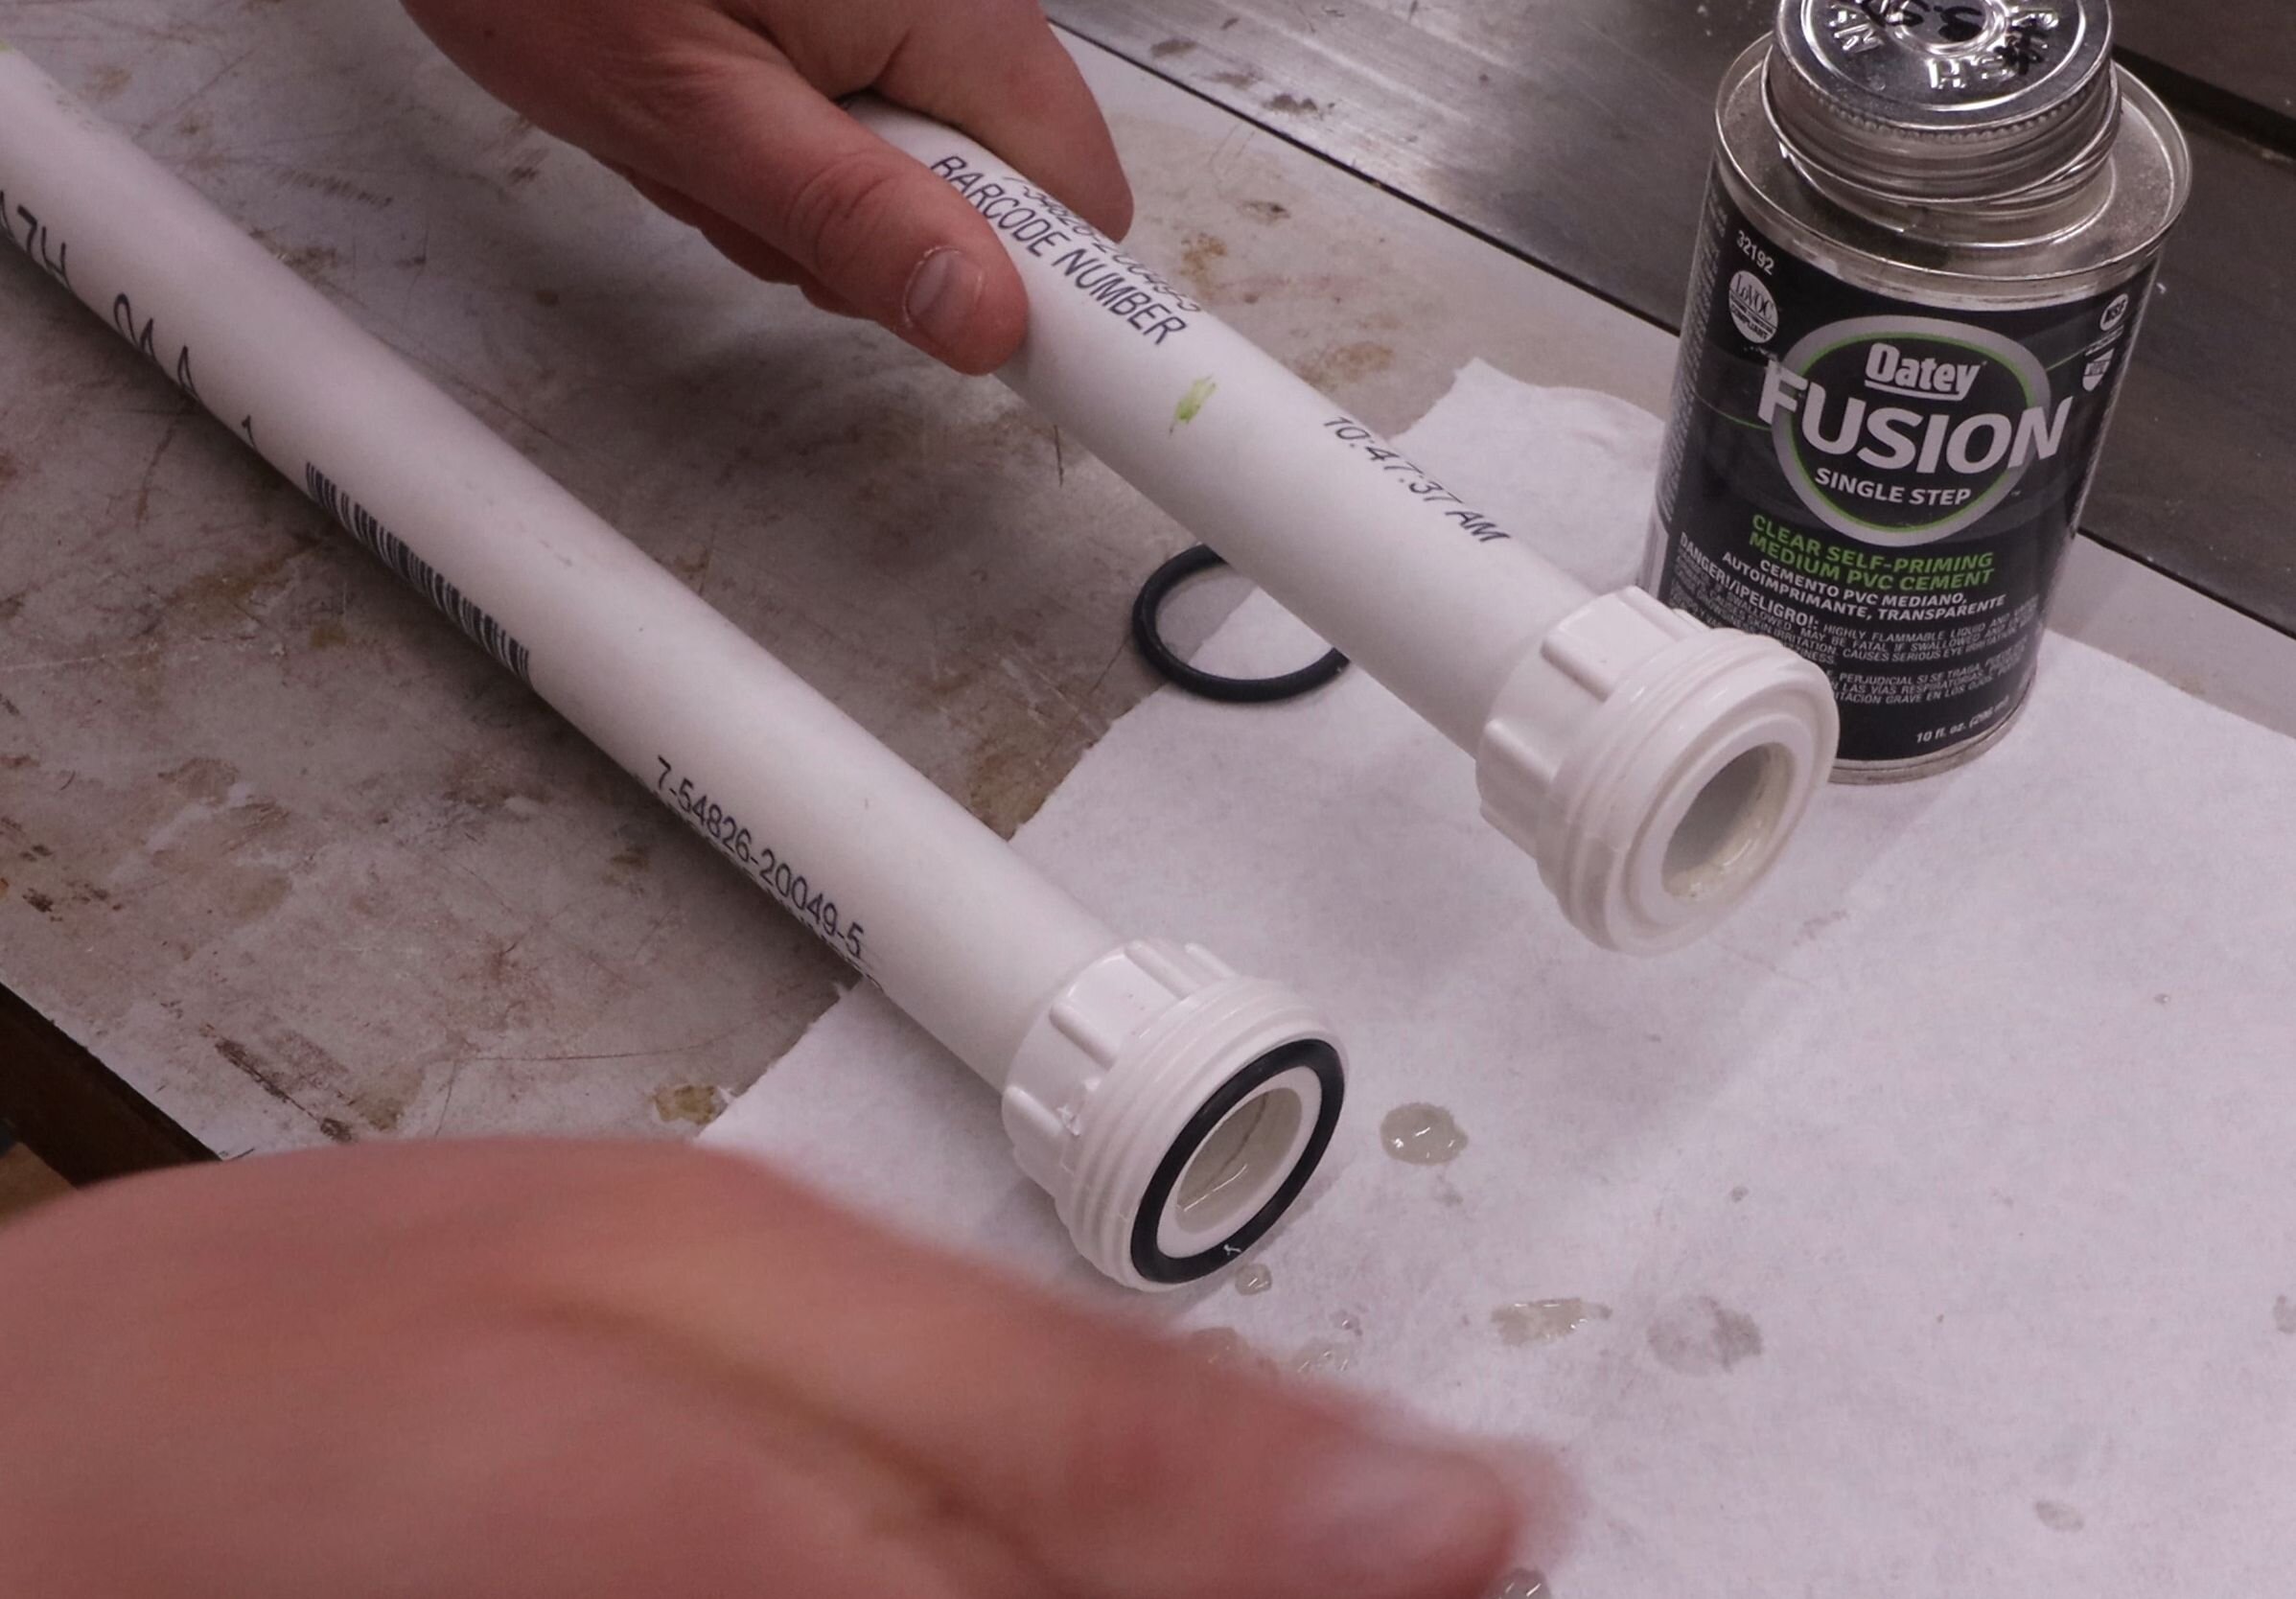
The frame is made of 3/4" PVC plumbing parts, which are readily available at any hardware store or home center.
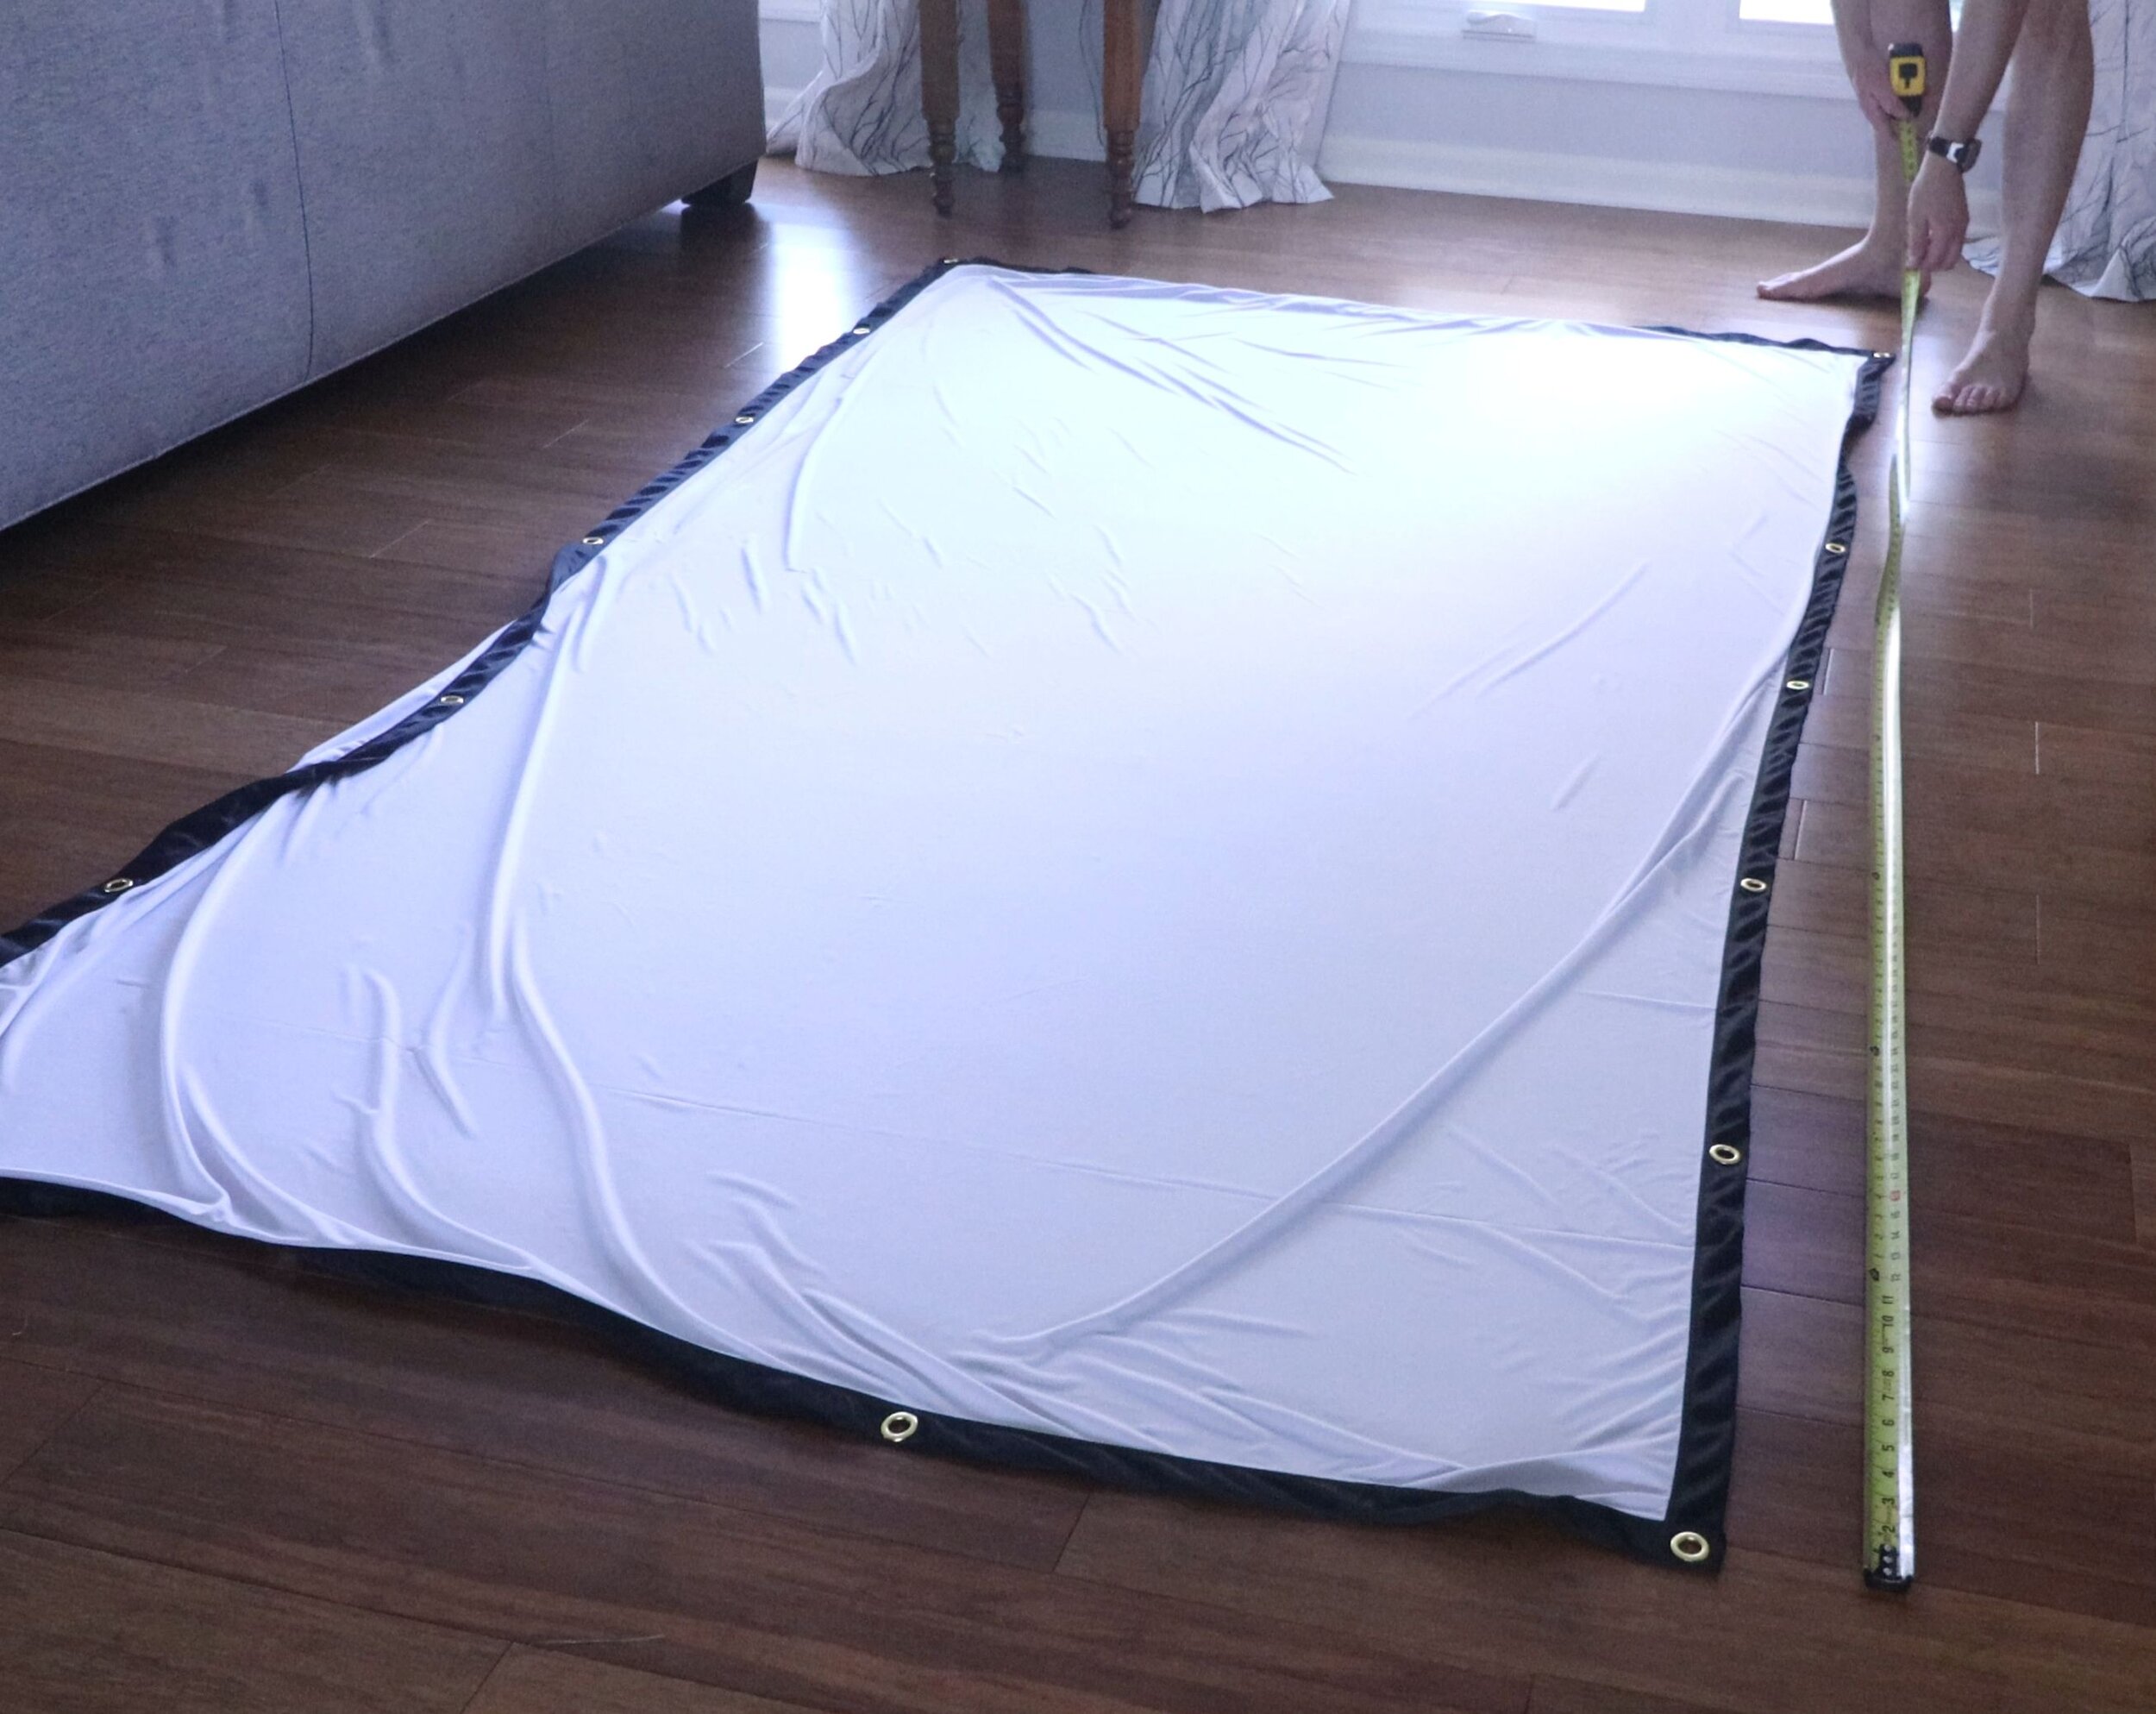
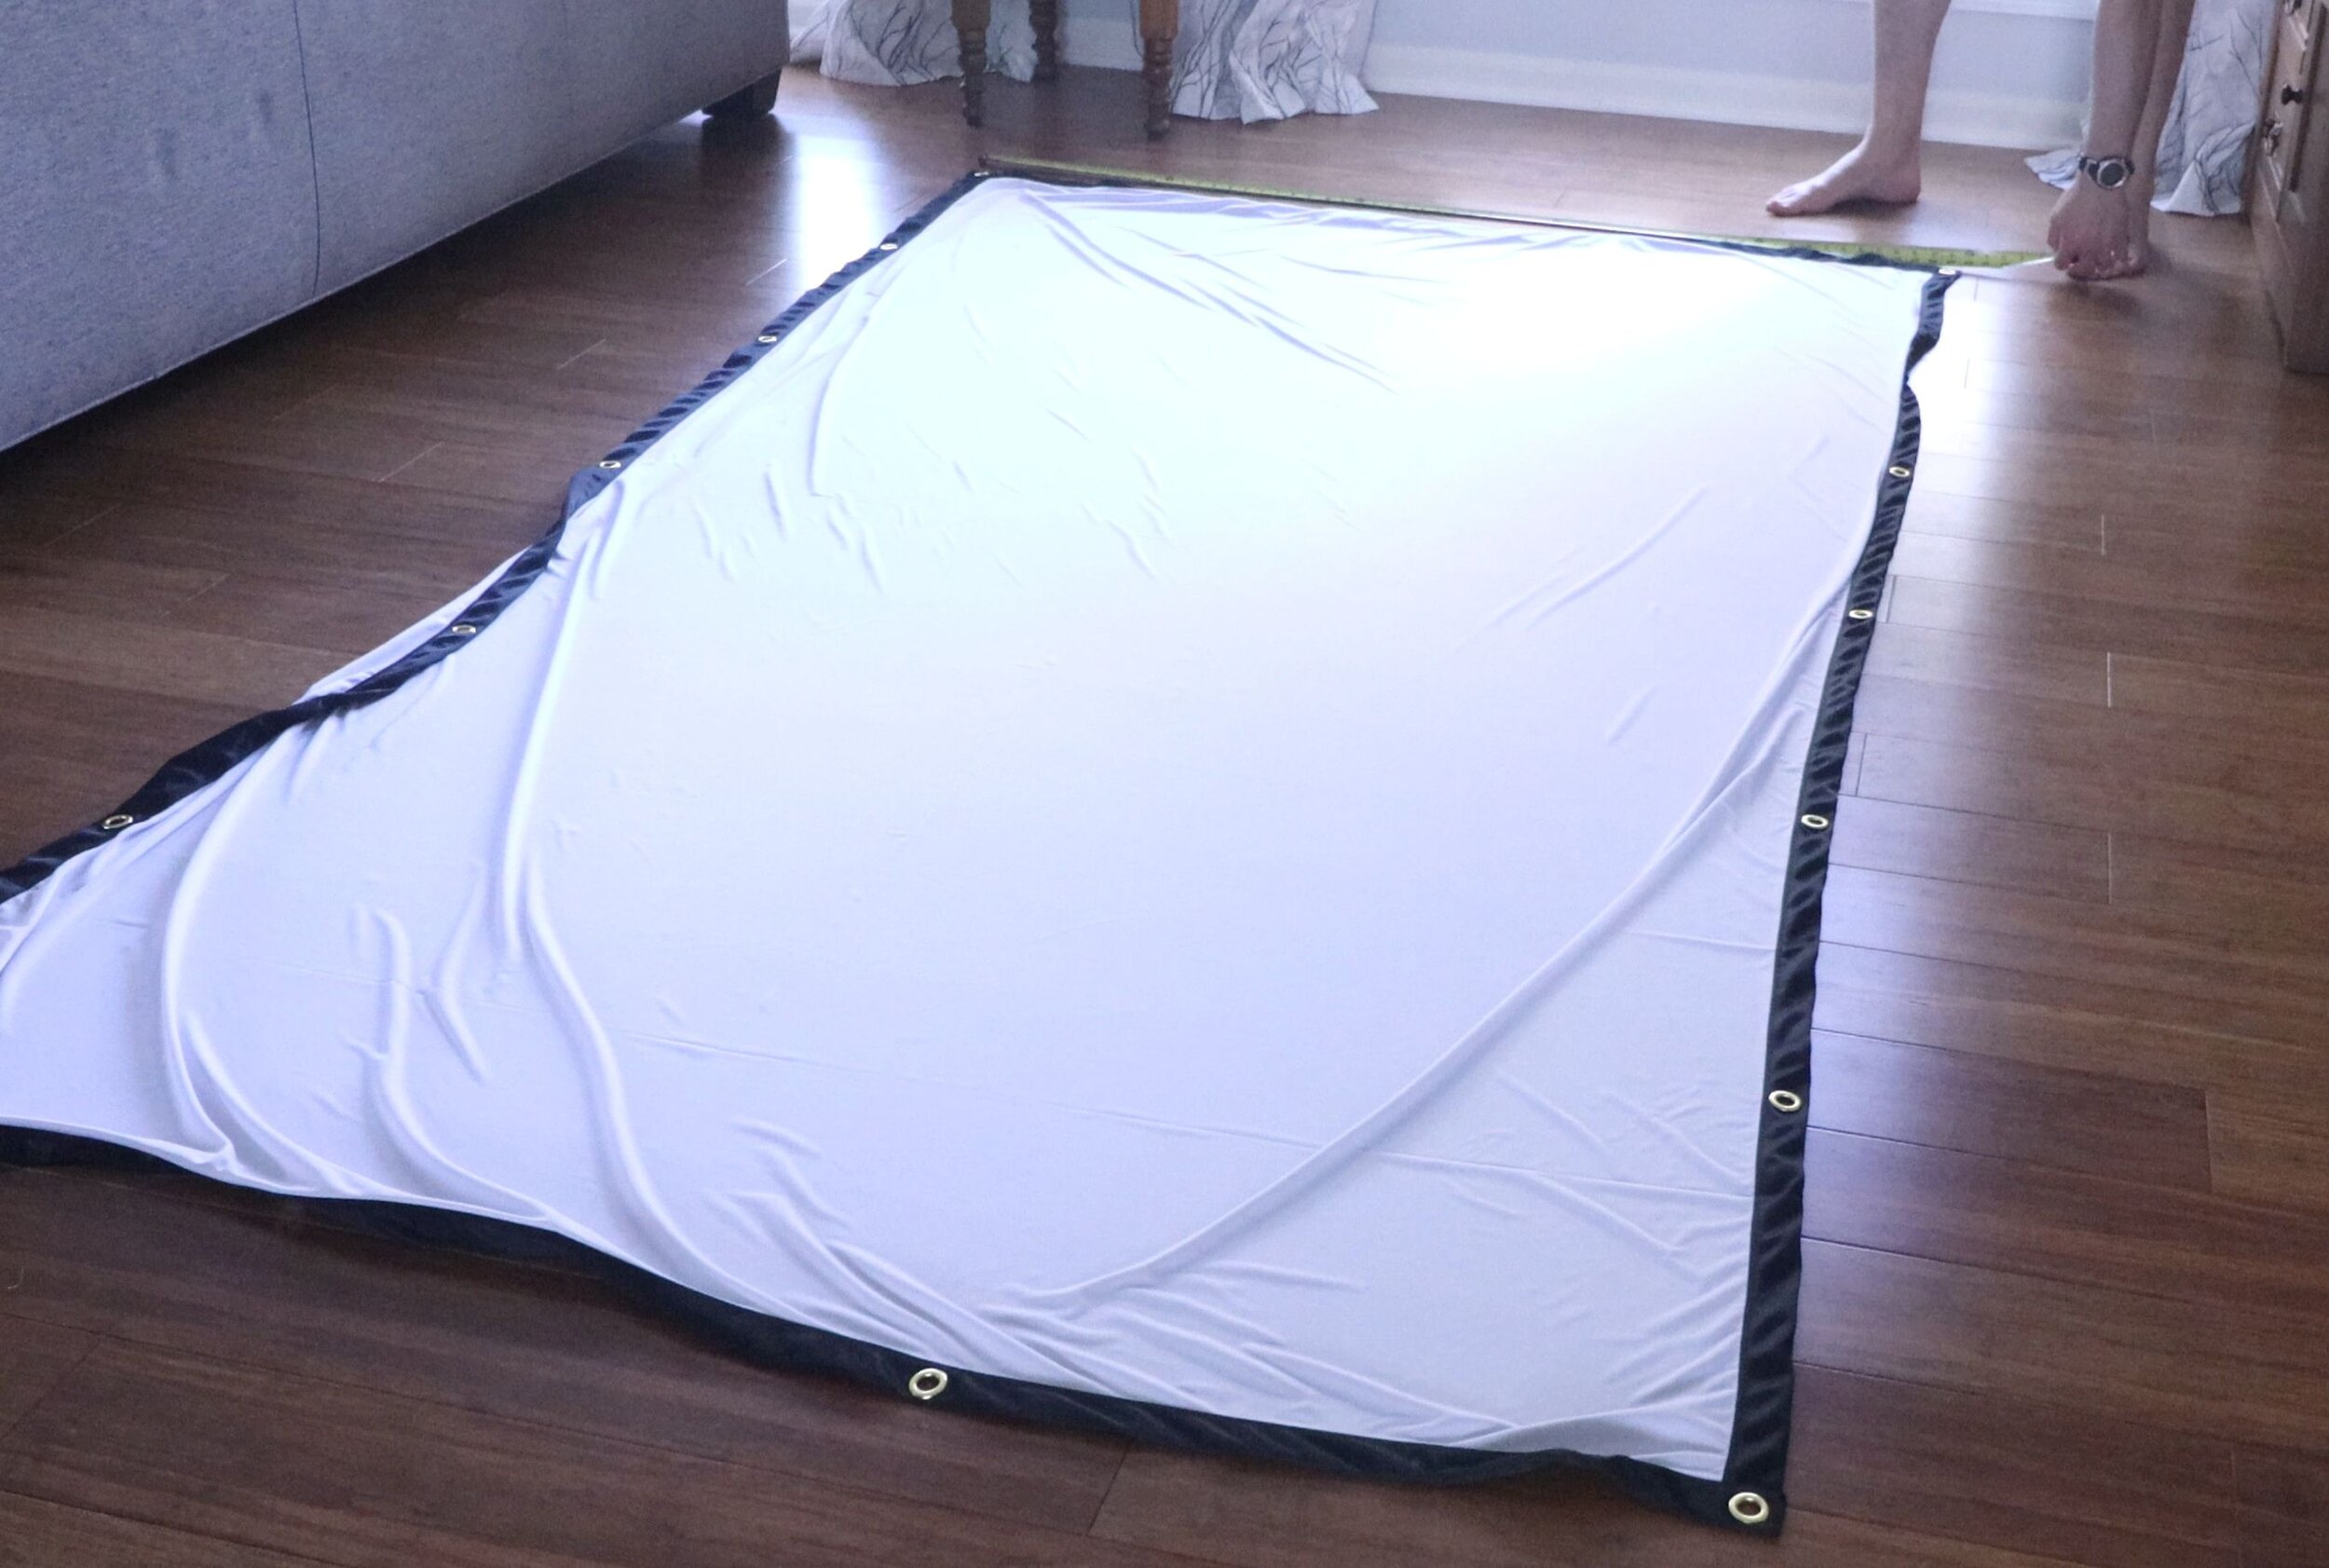
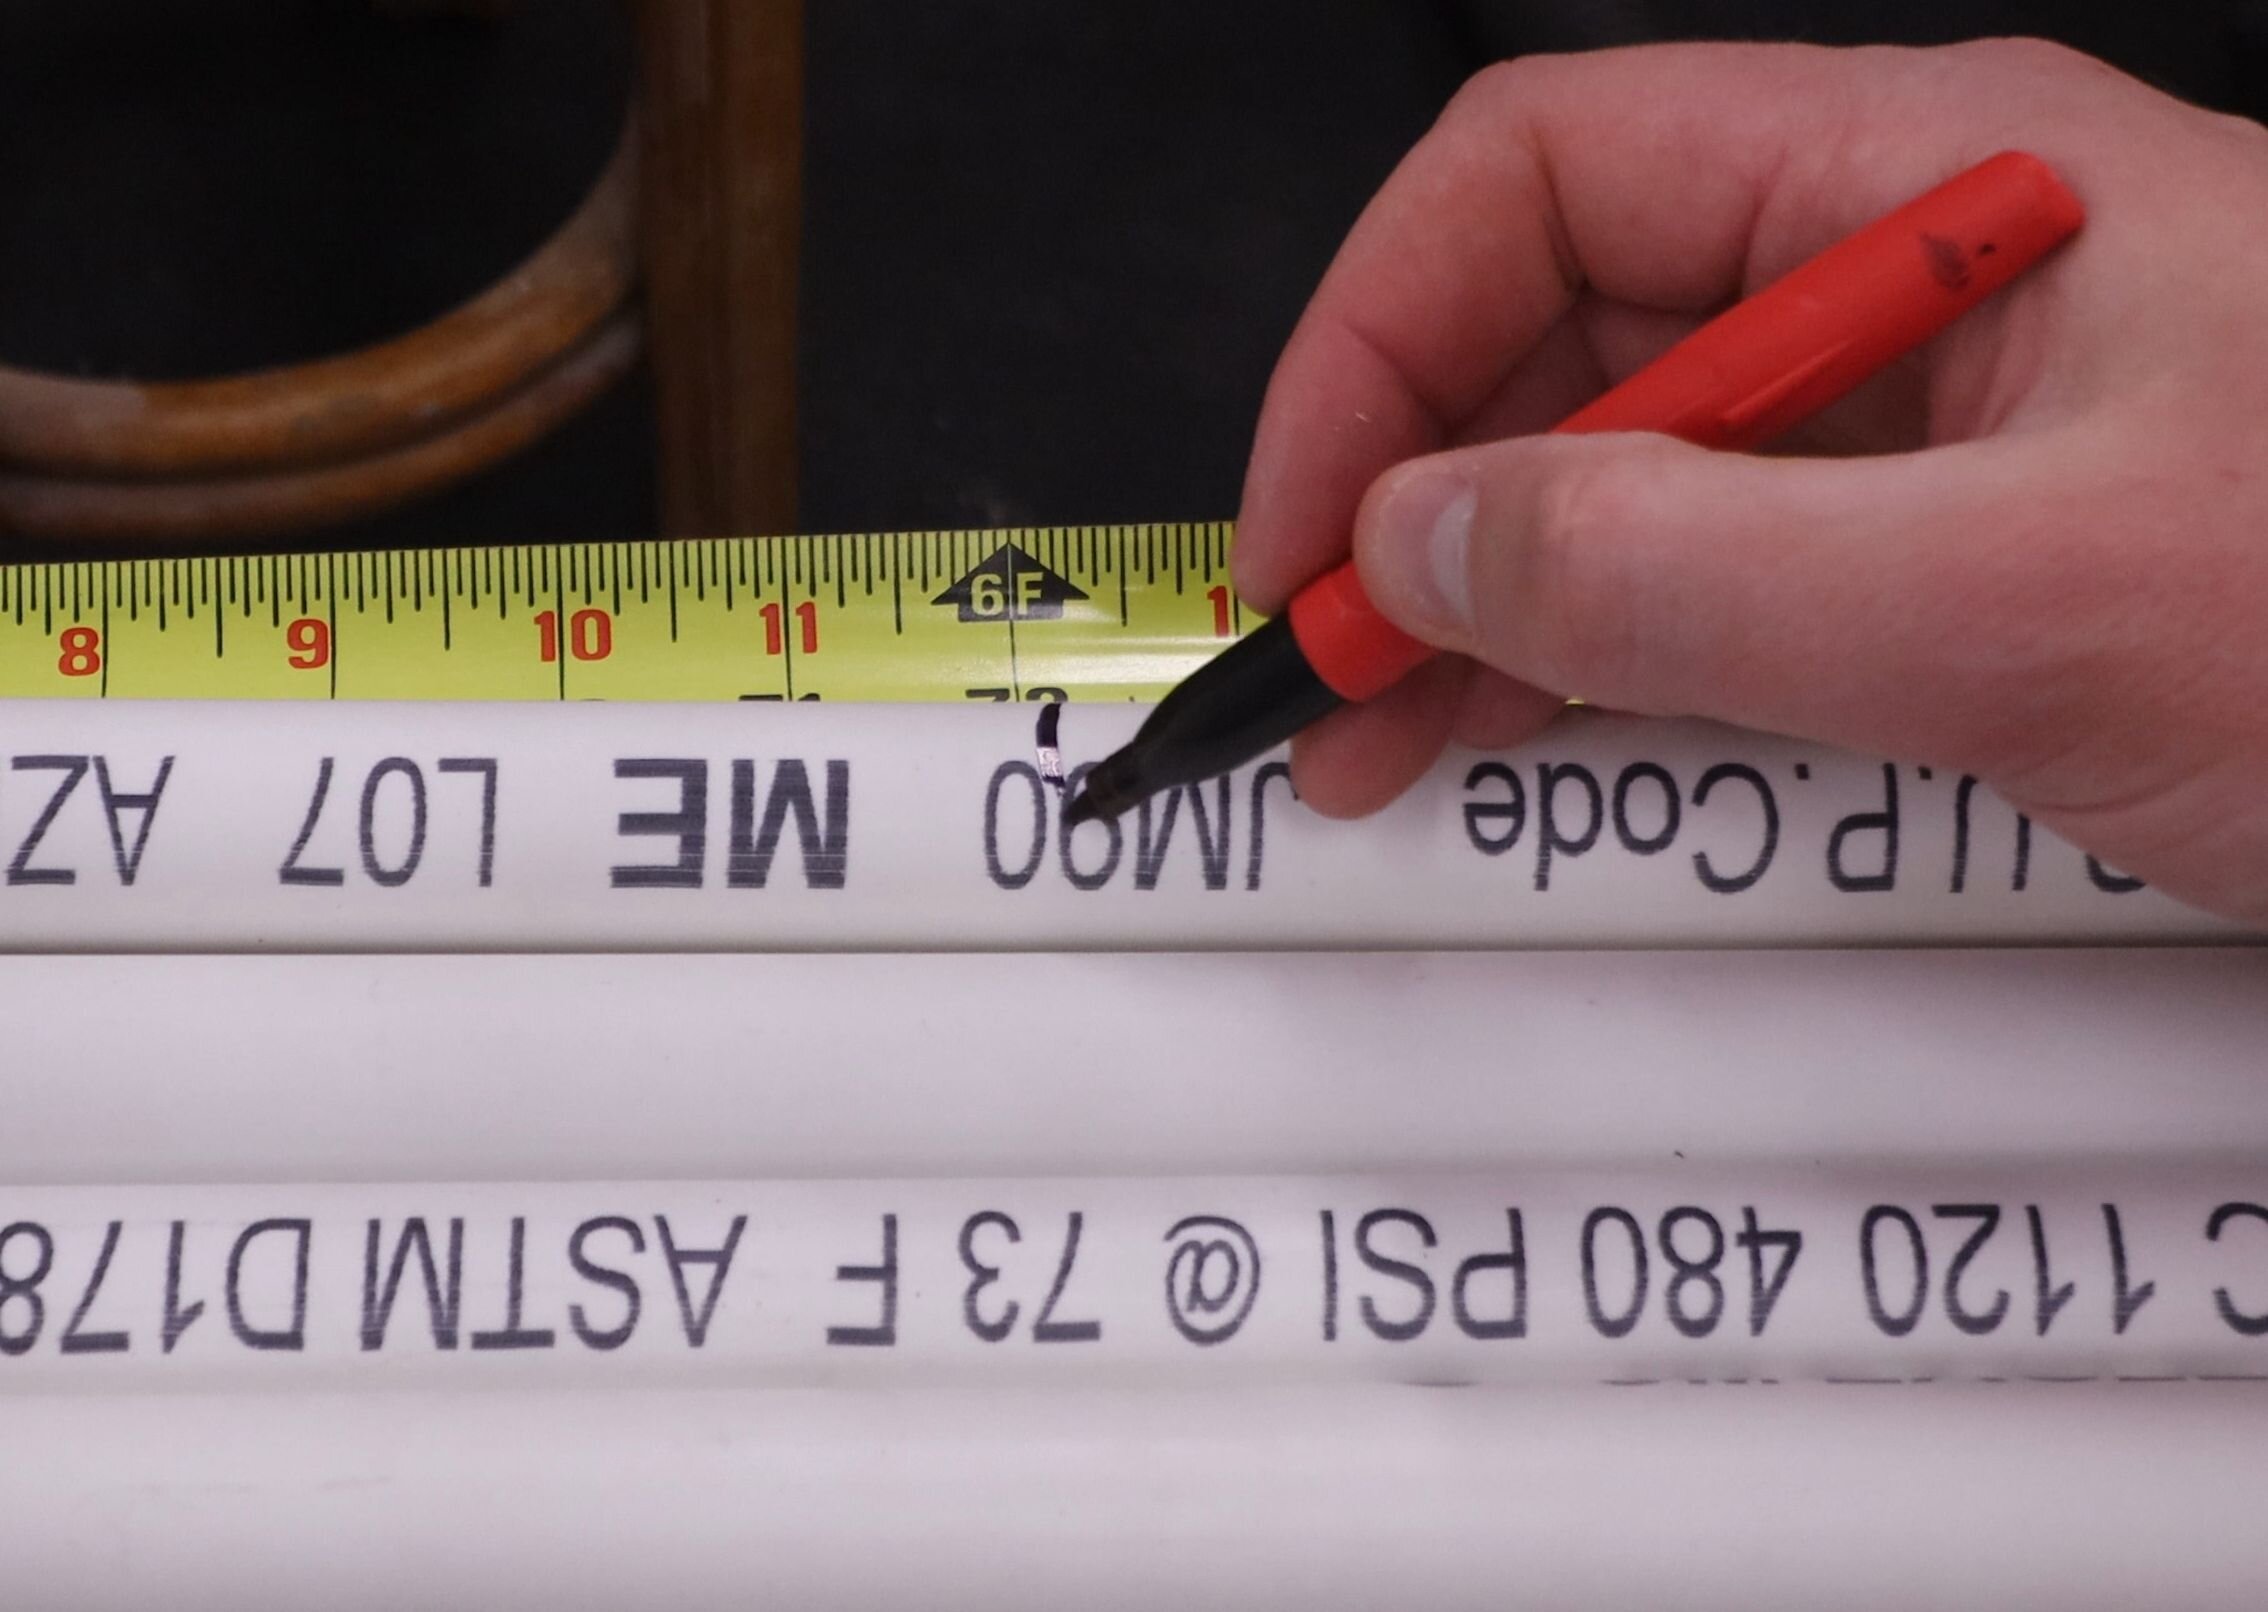
Start by laying out an measuring the dimensions of my projector screen. The frame should be about 6” (150 mm) larger in each dimension than the screen, which allows for the strings to pull the fabric taut.
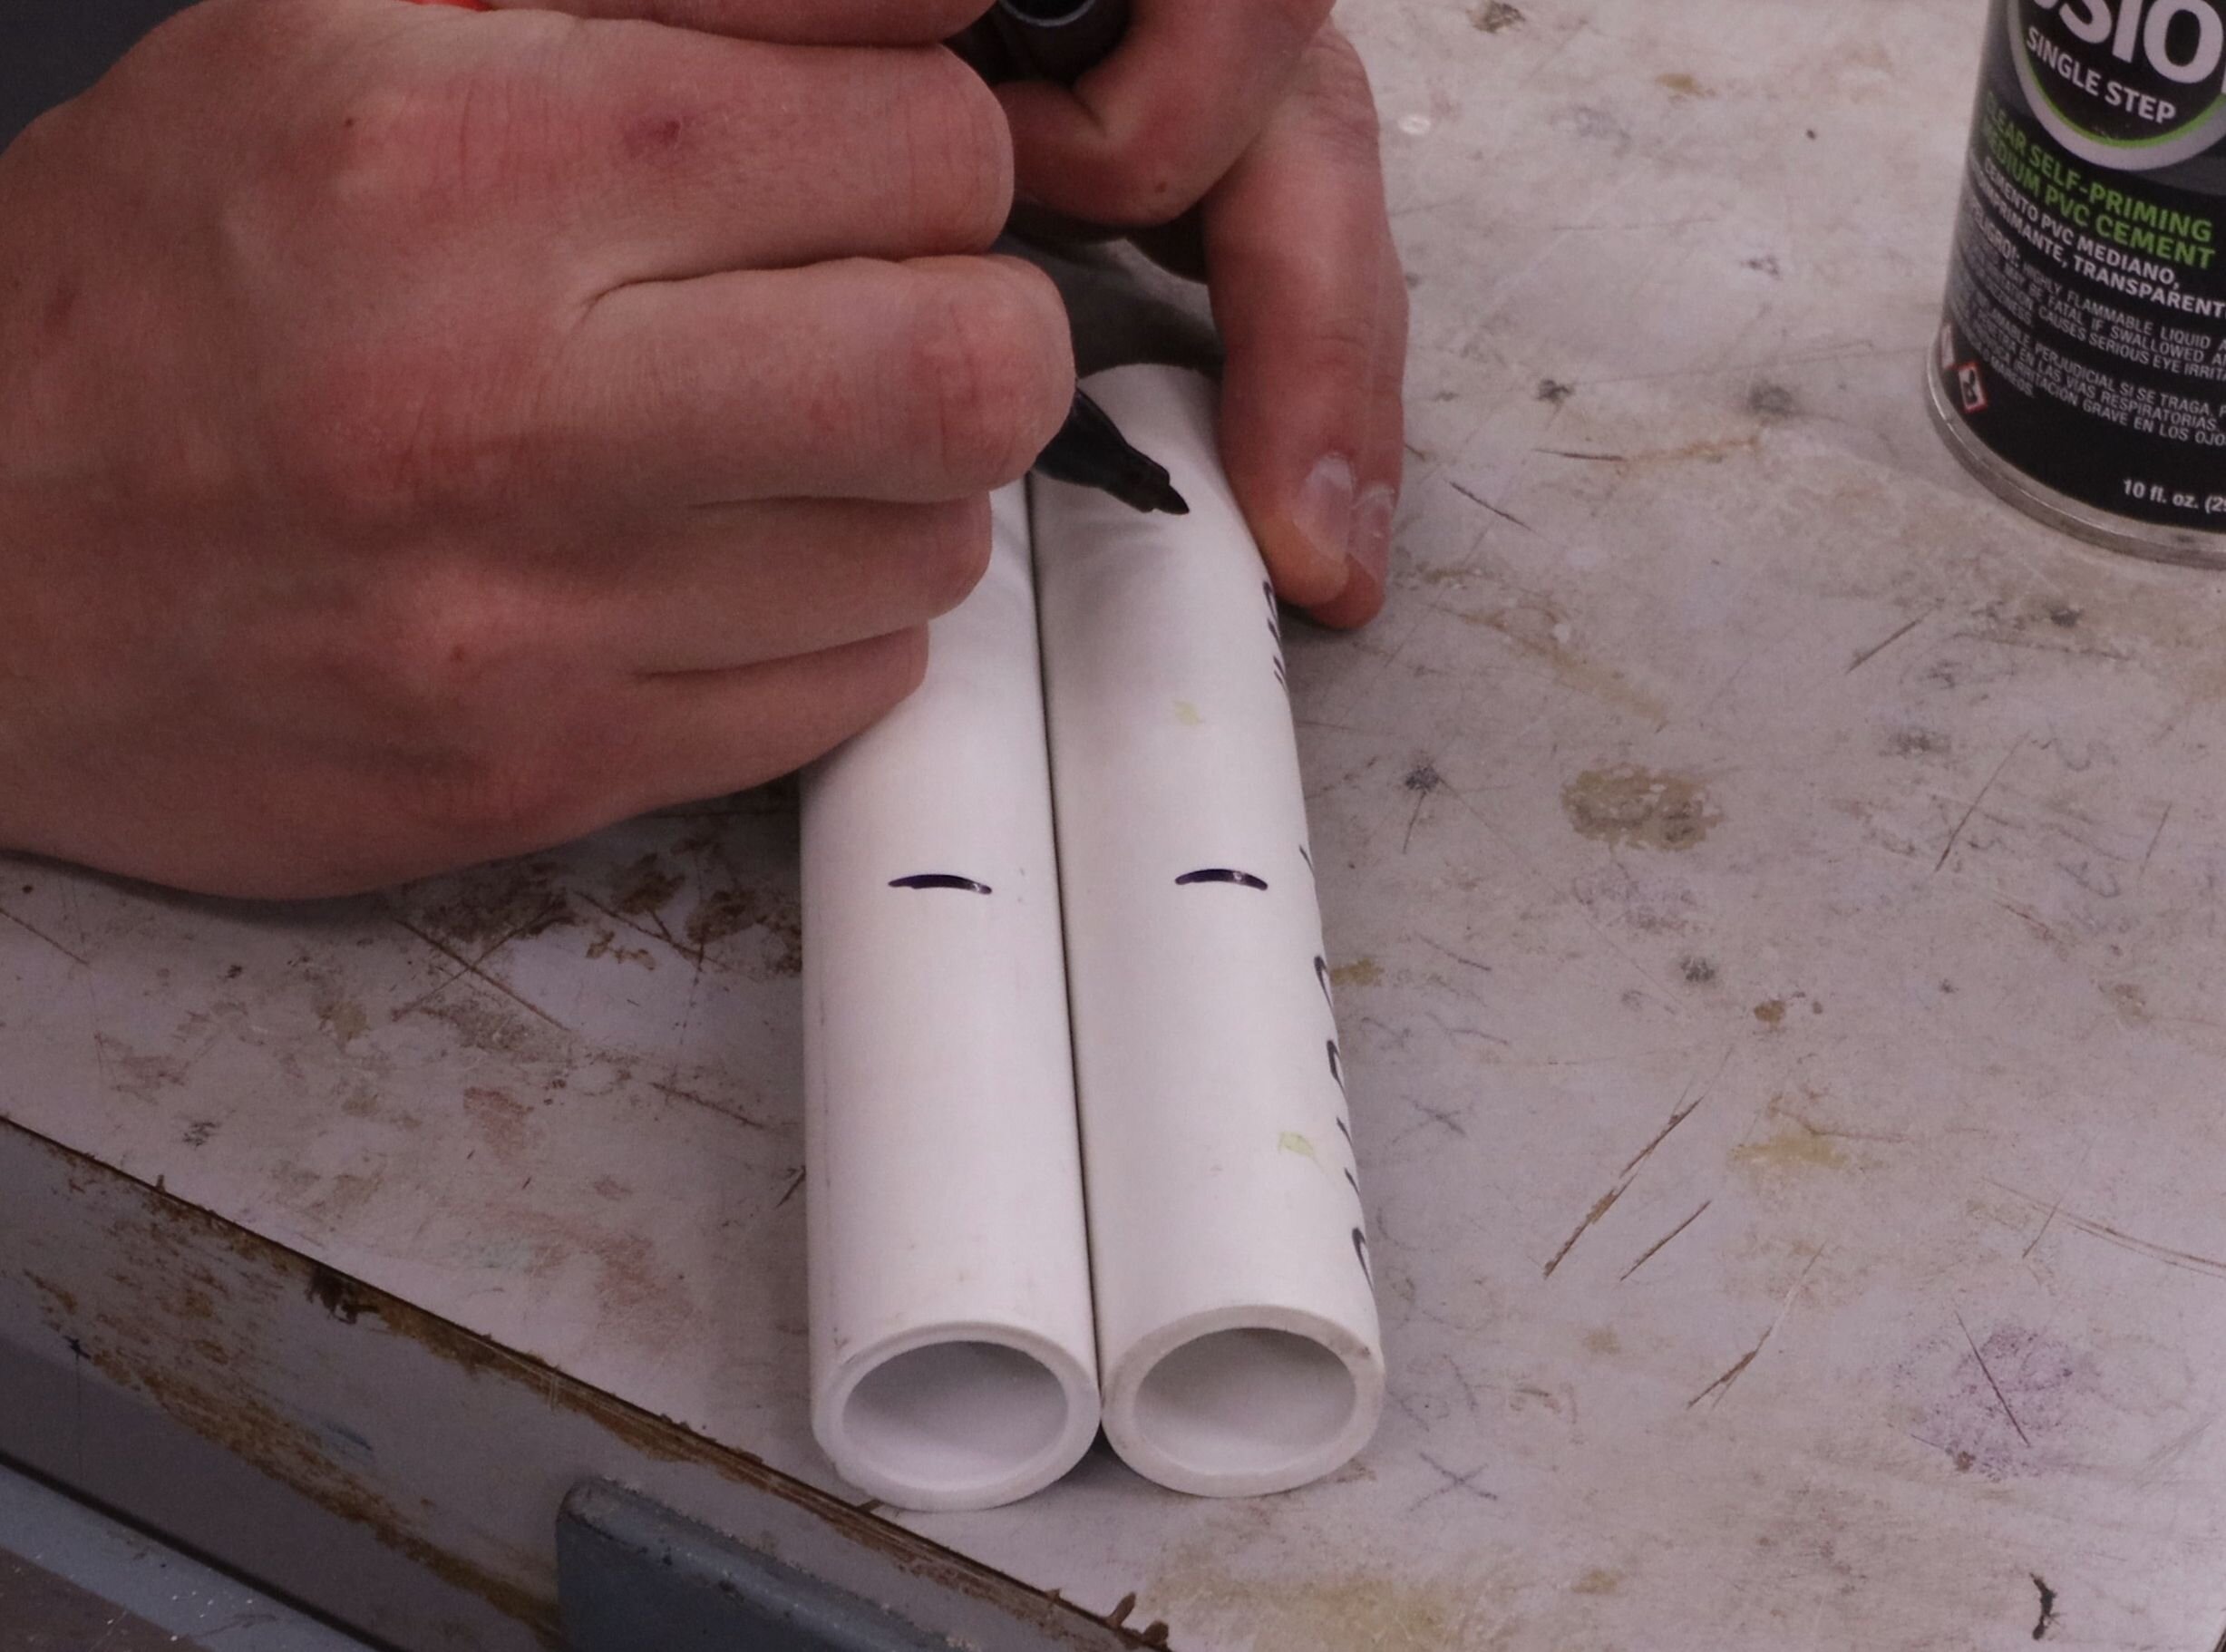
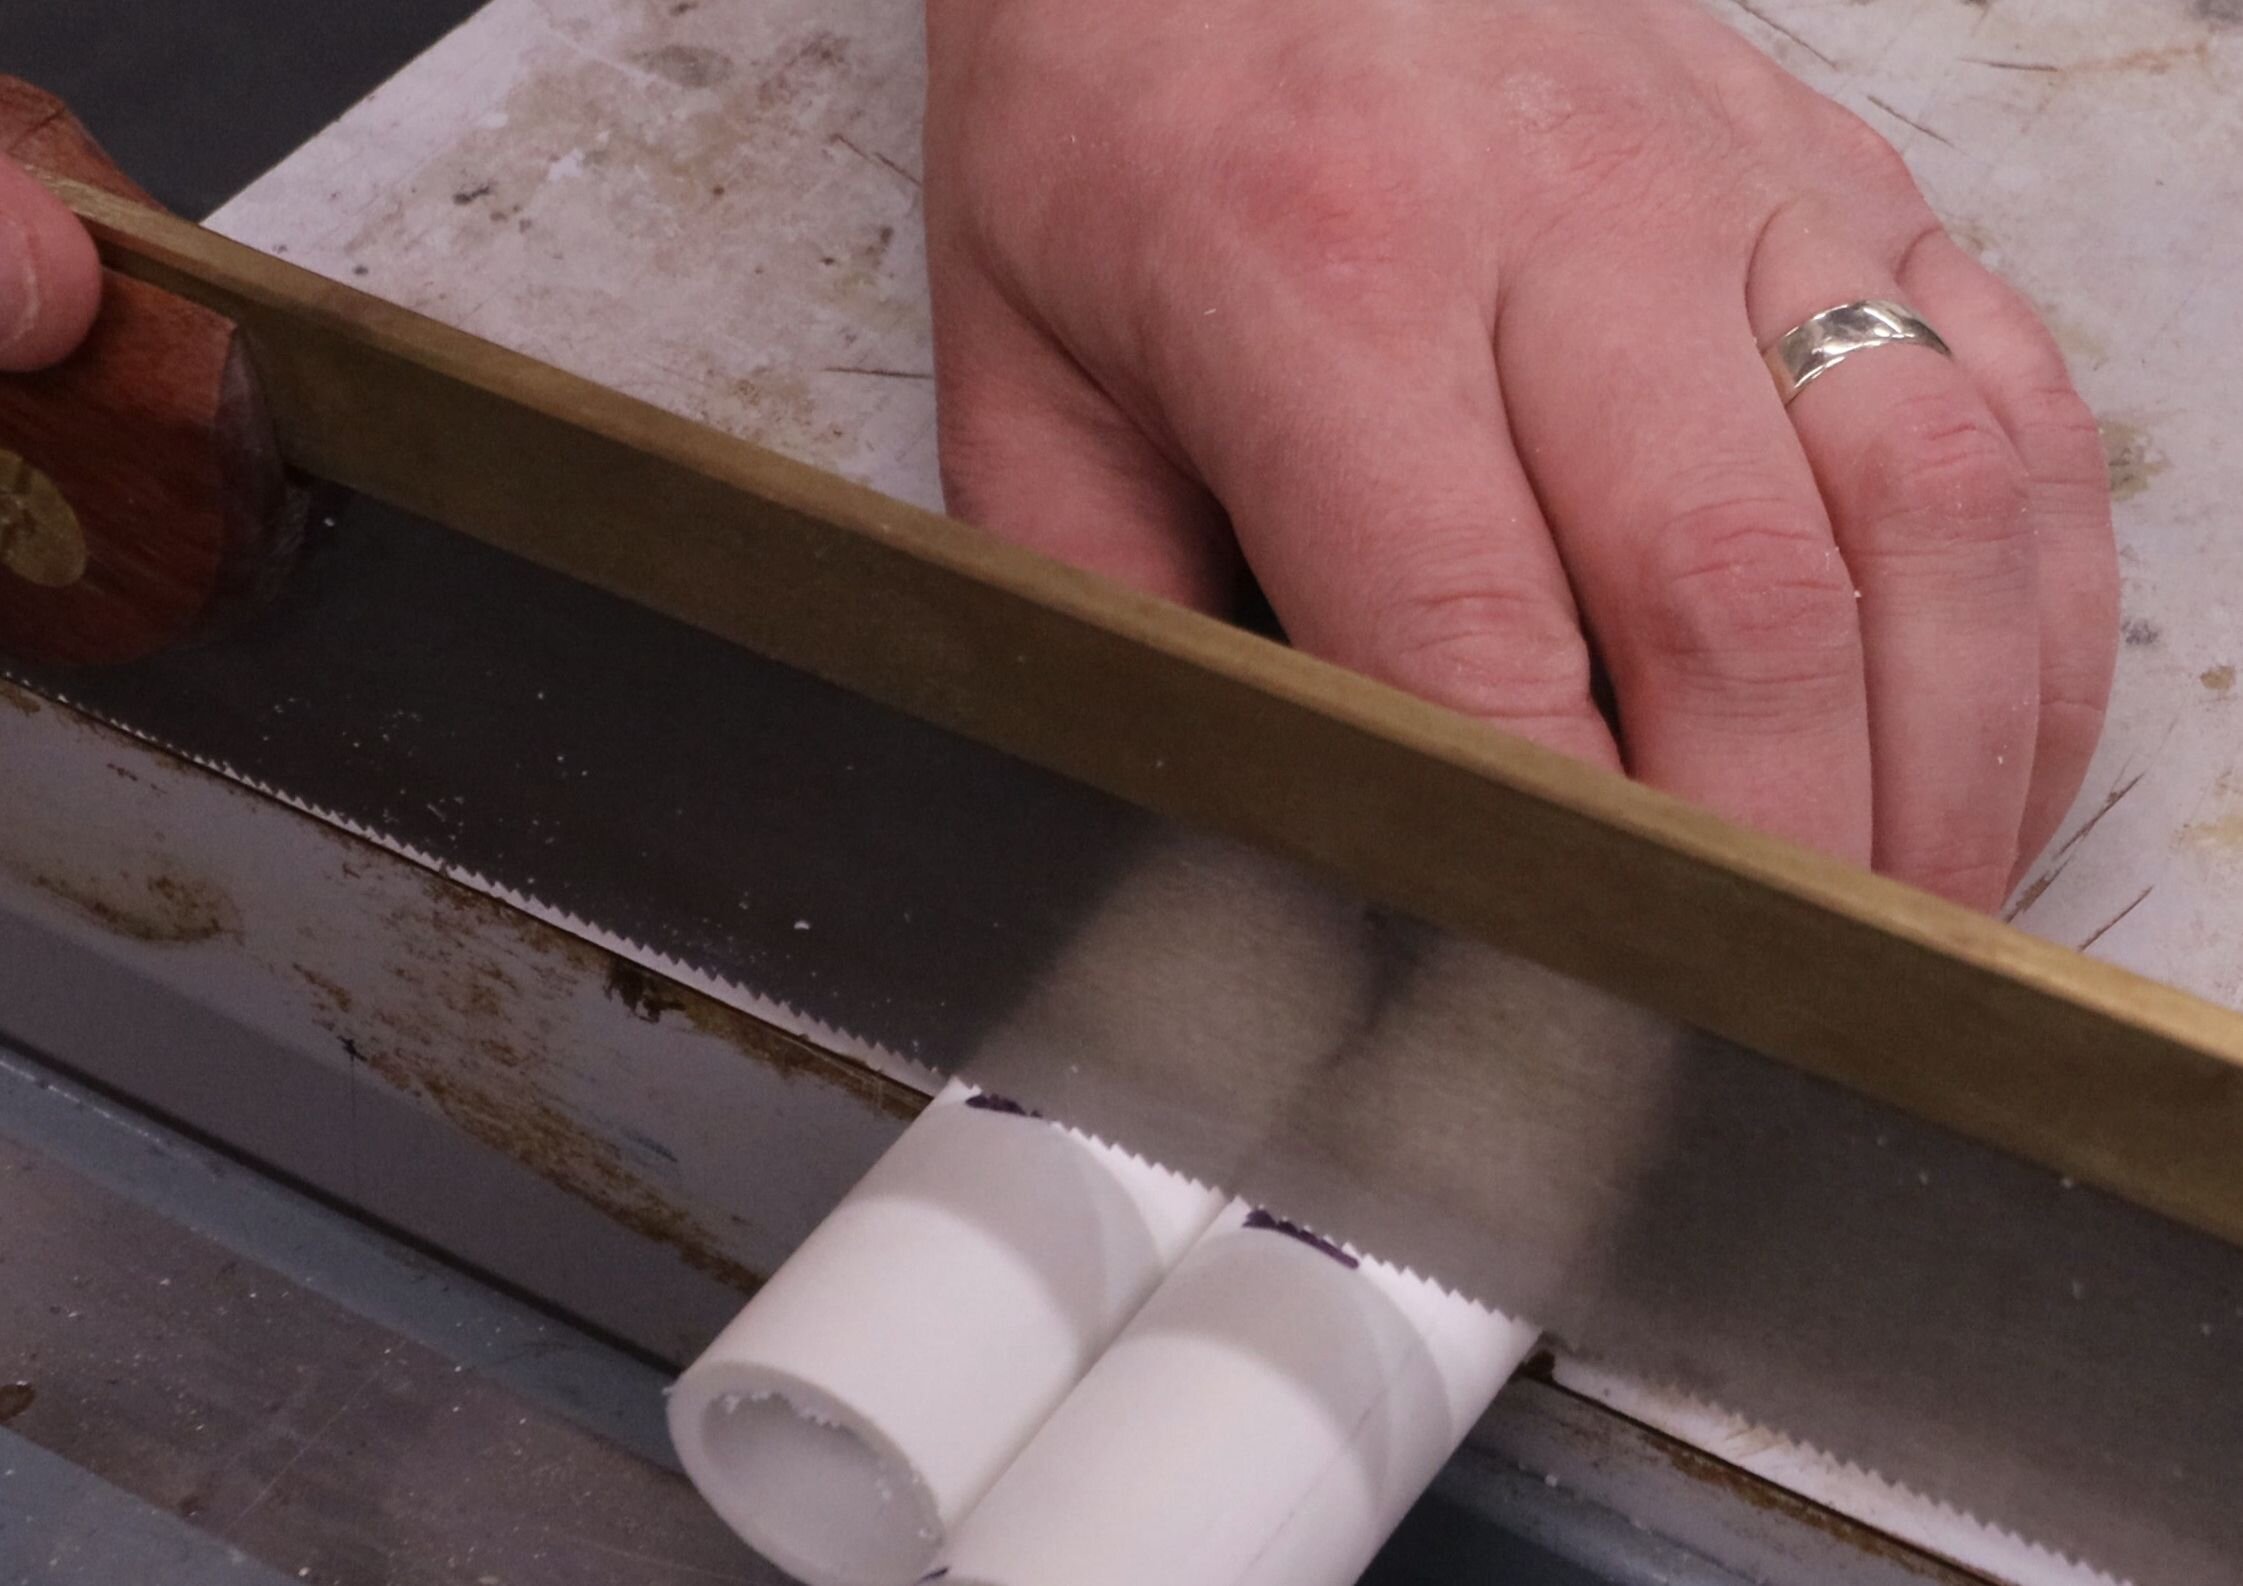
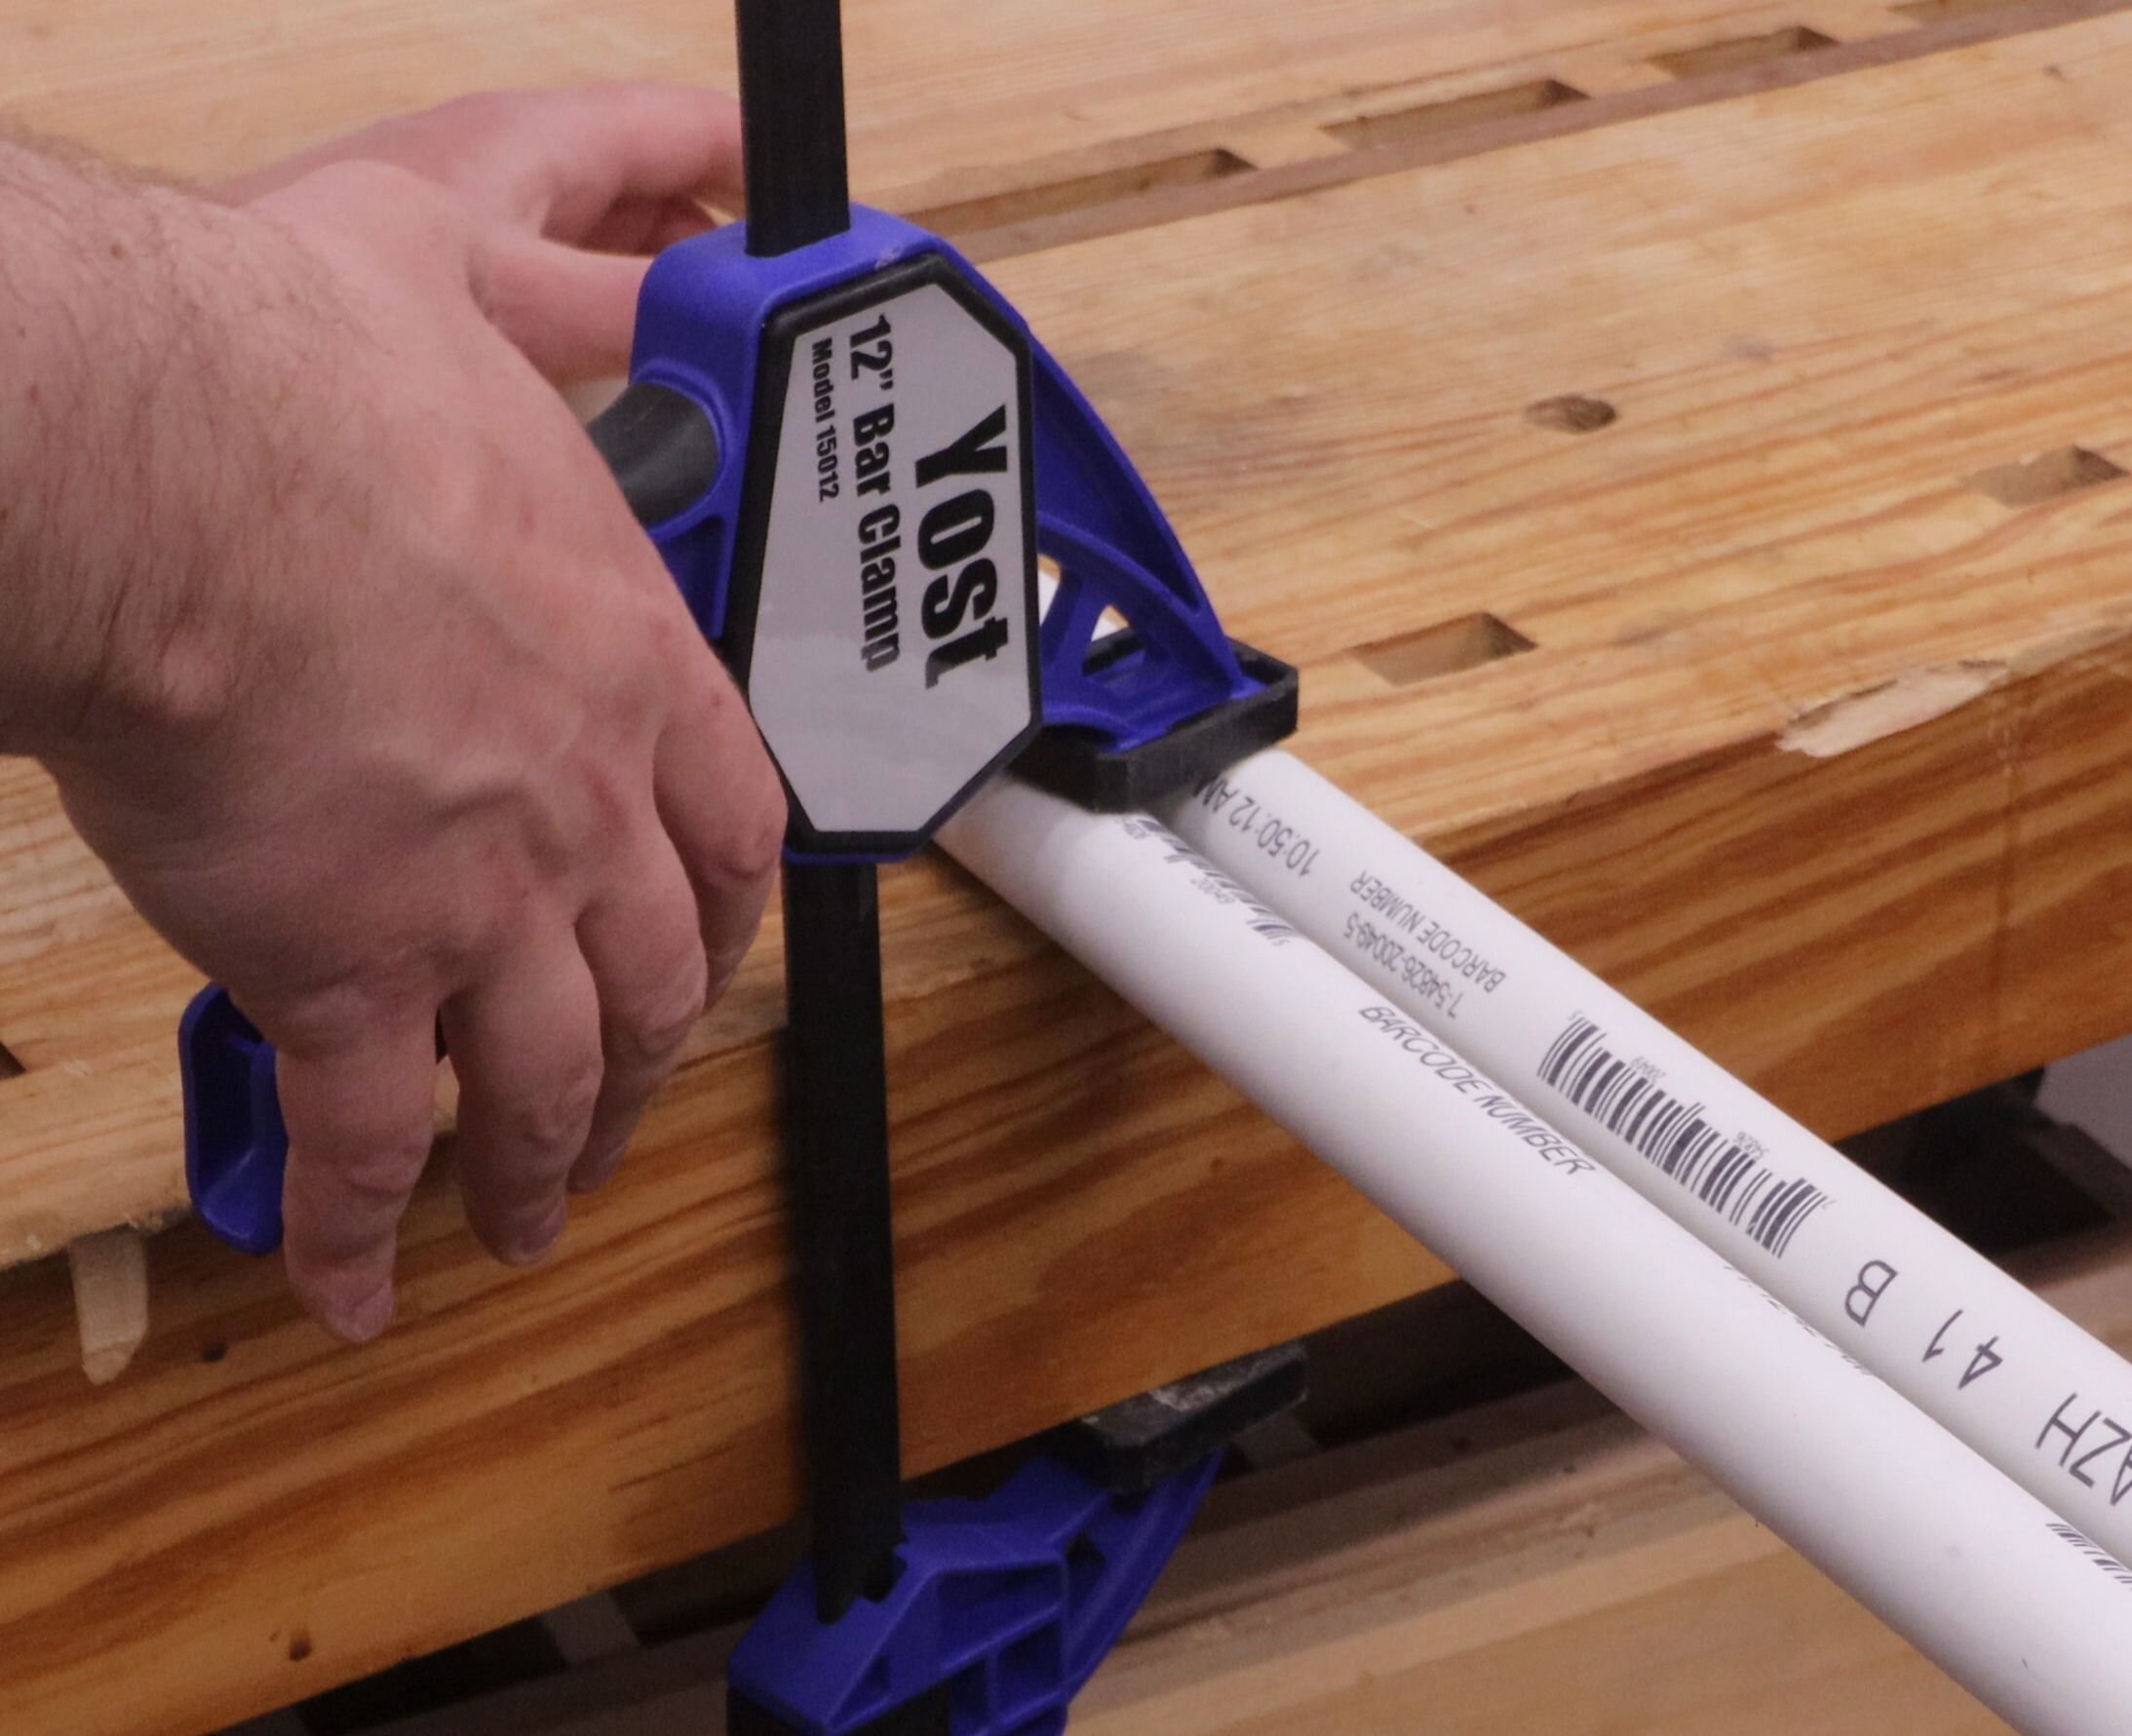
Mark the lengths on the PVC pipes.
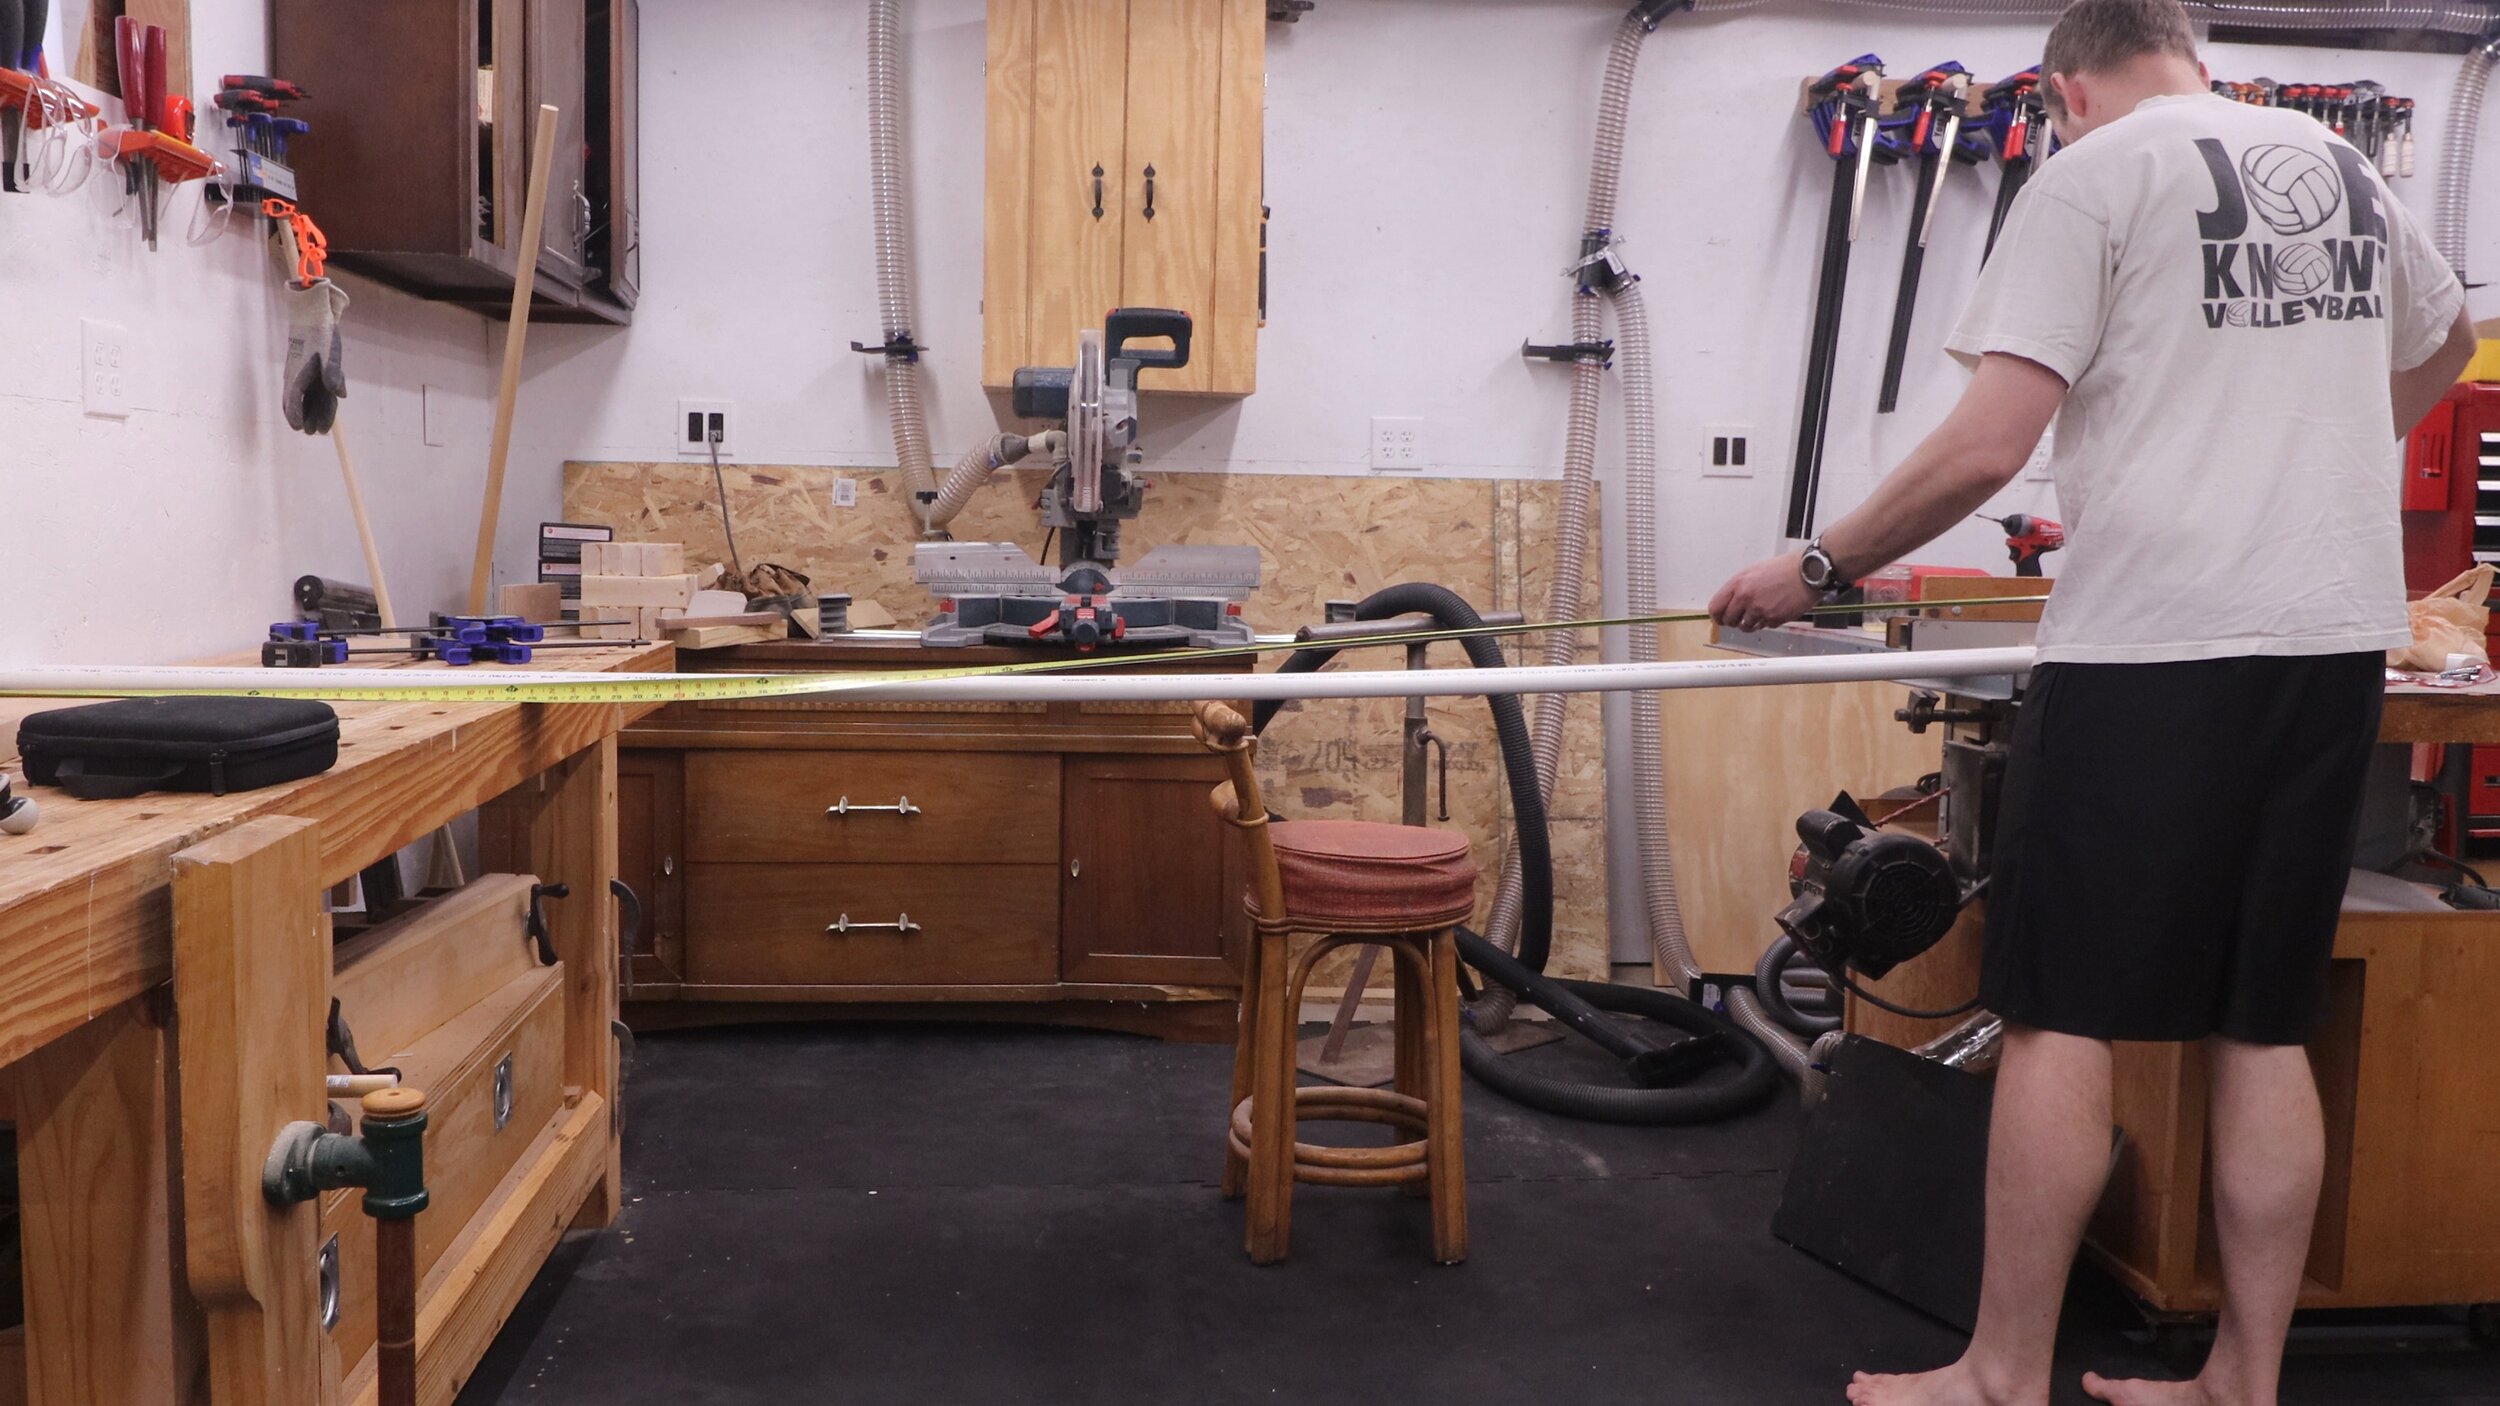
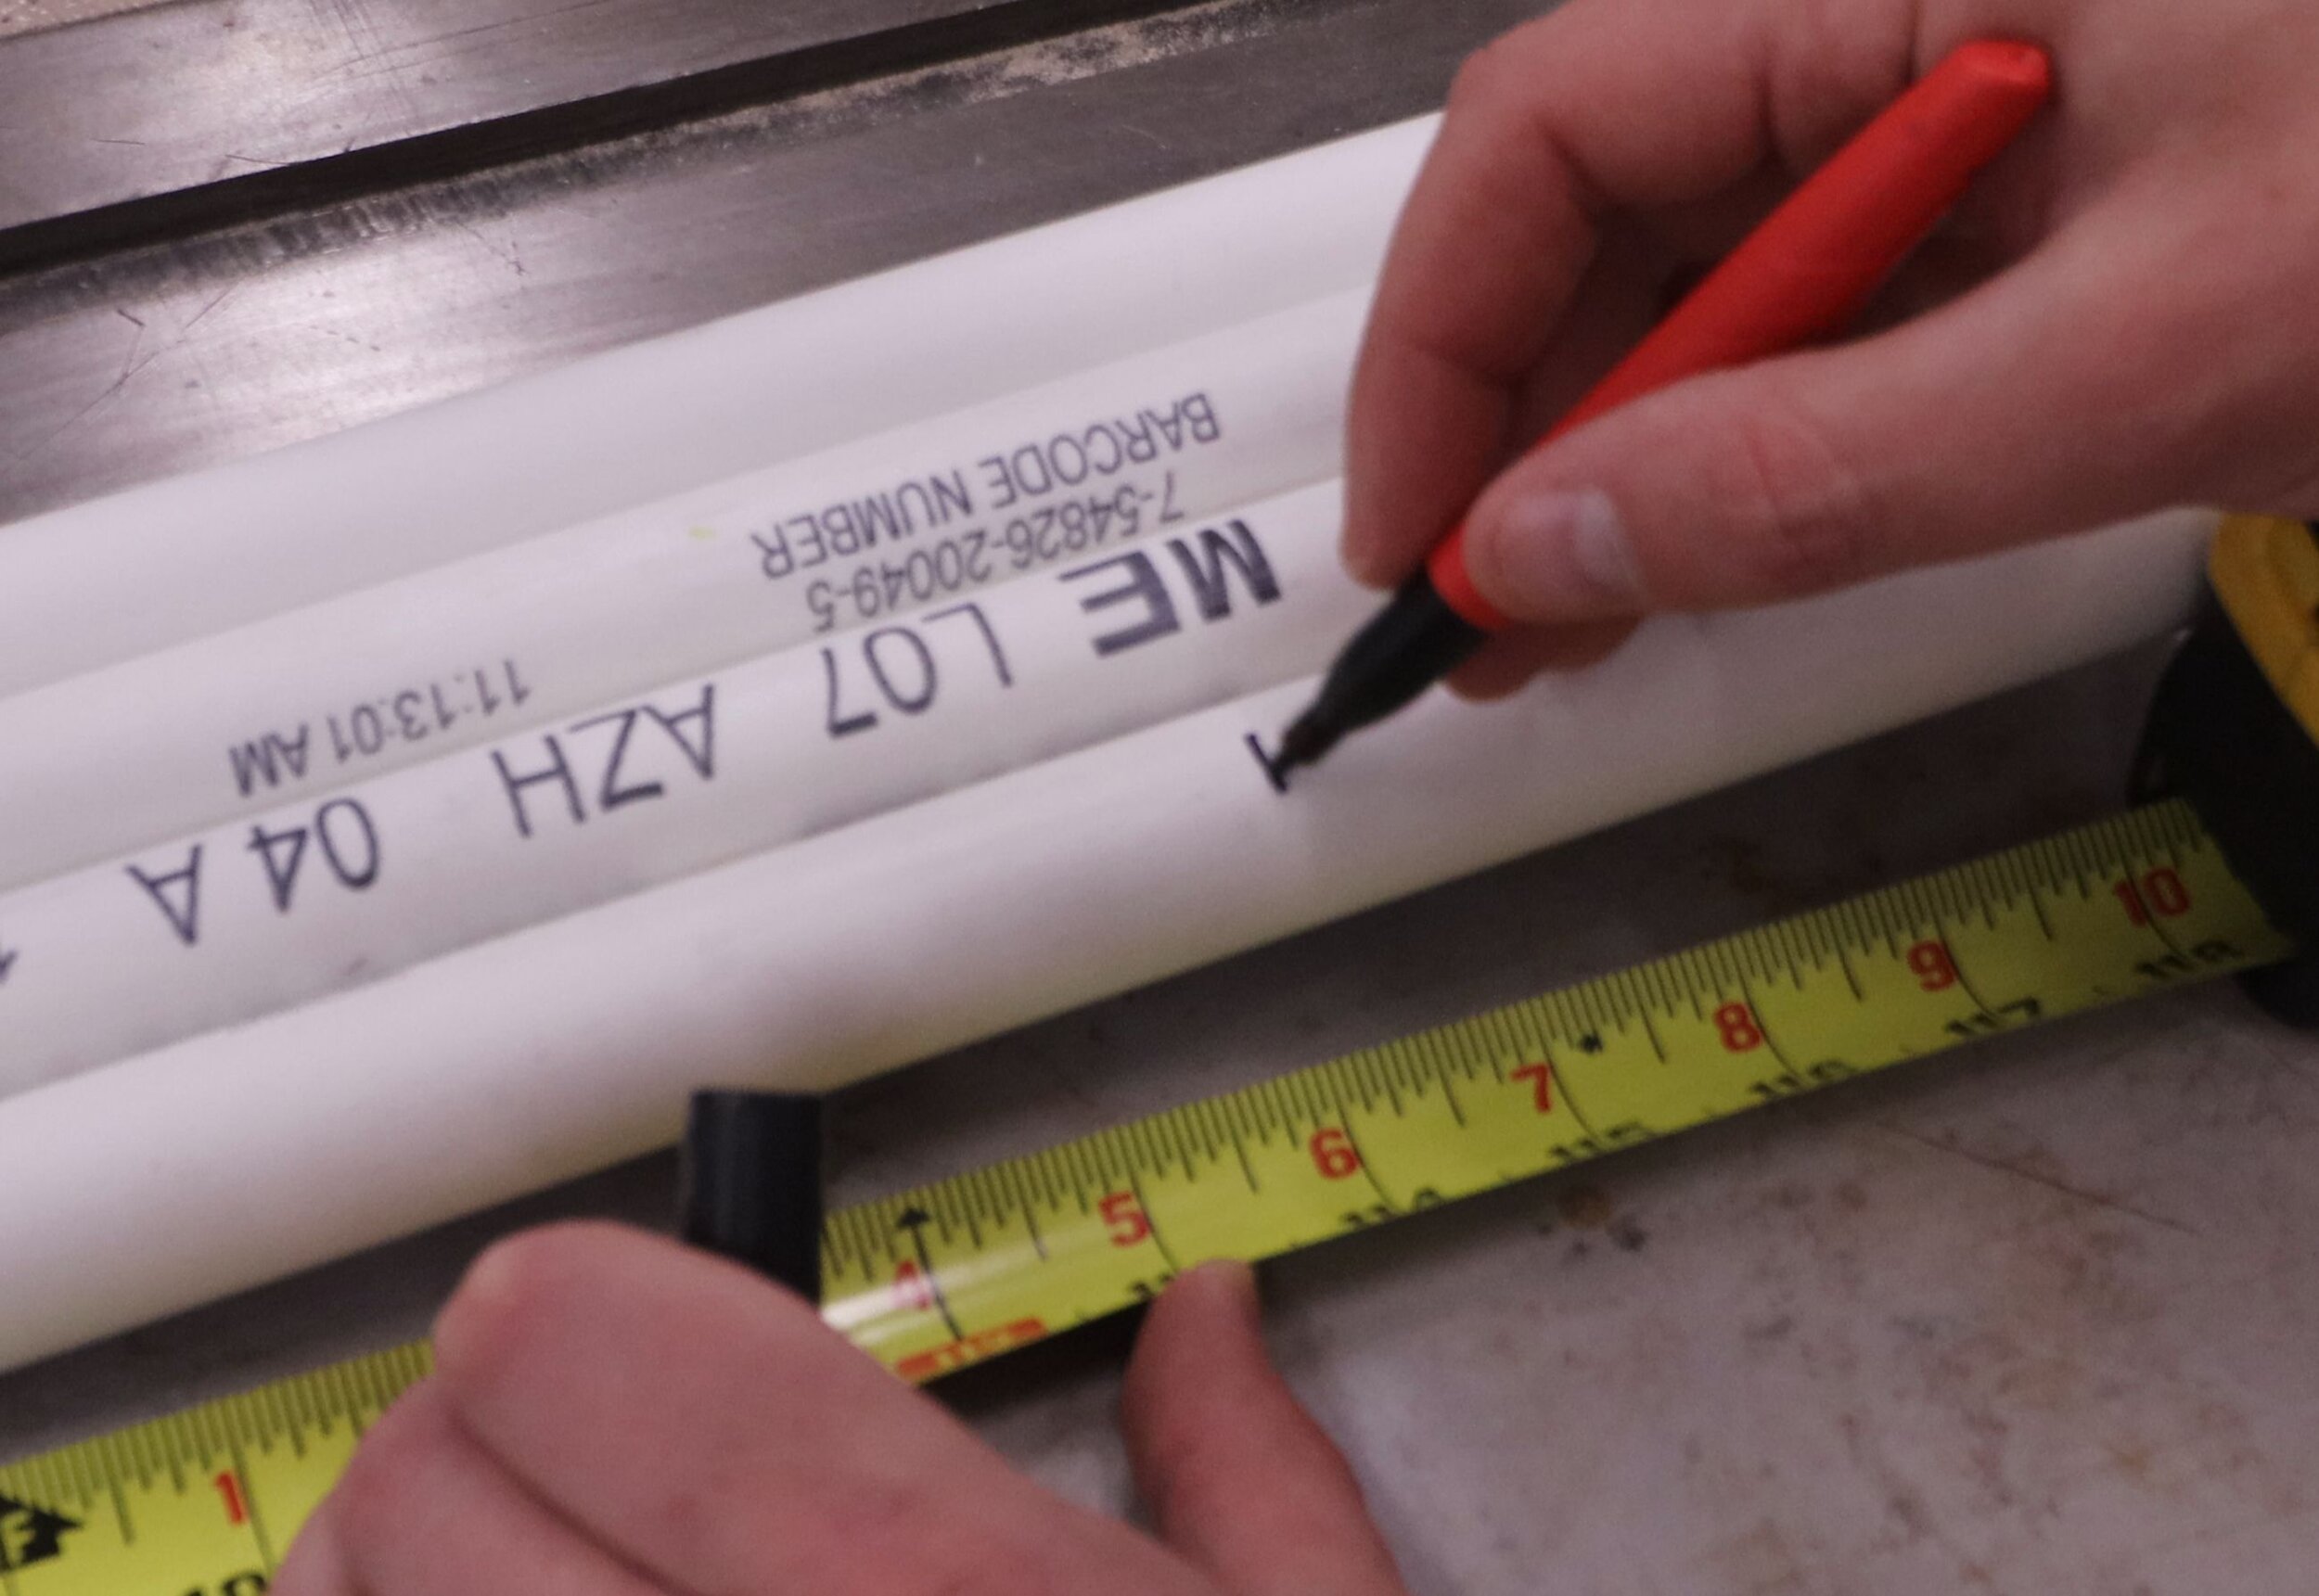
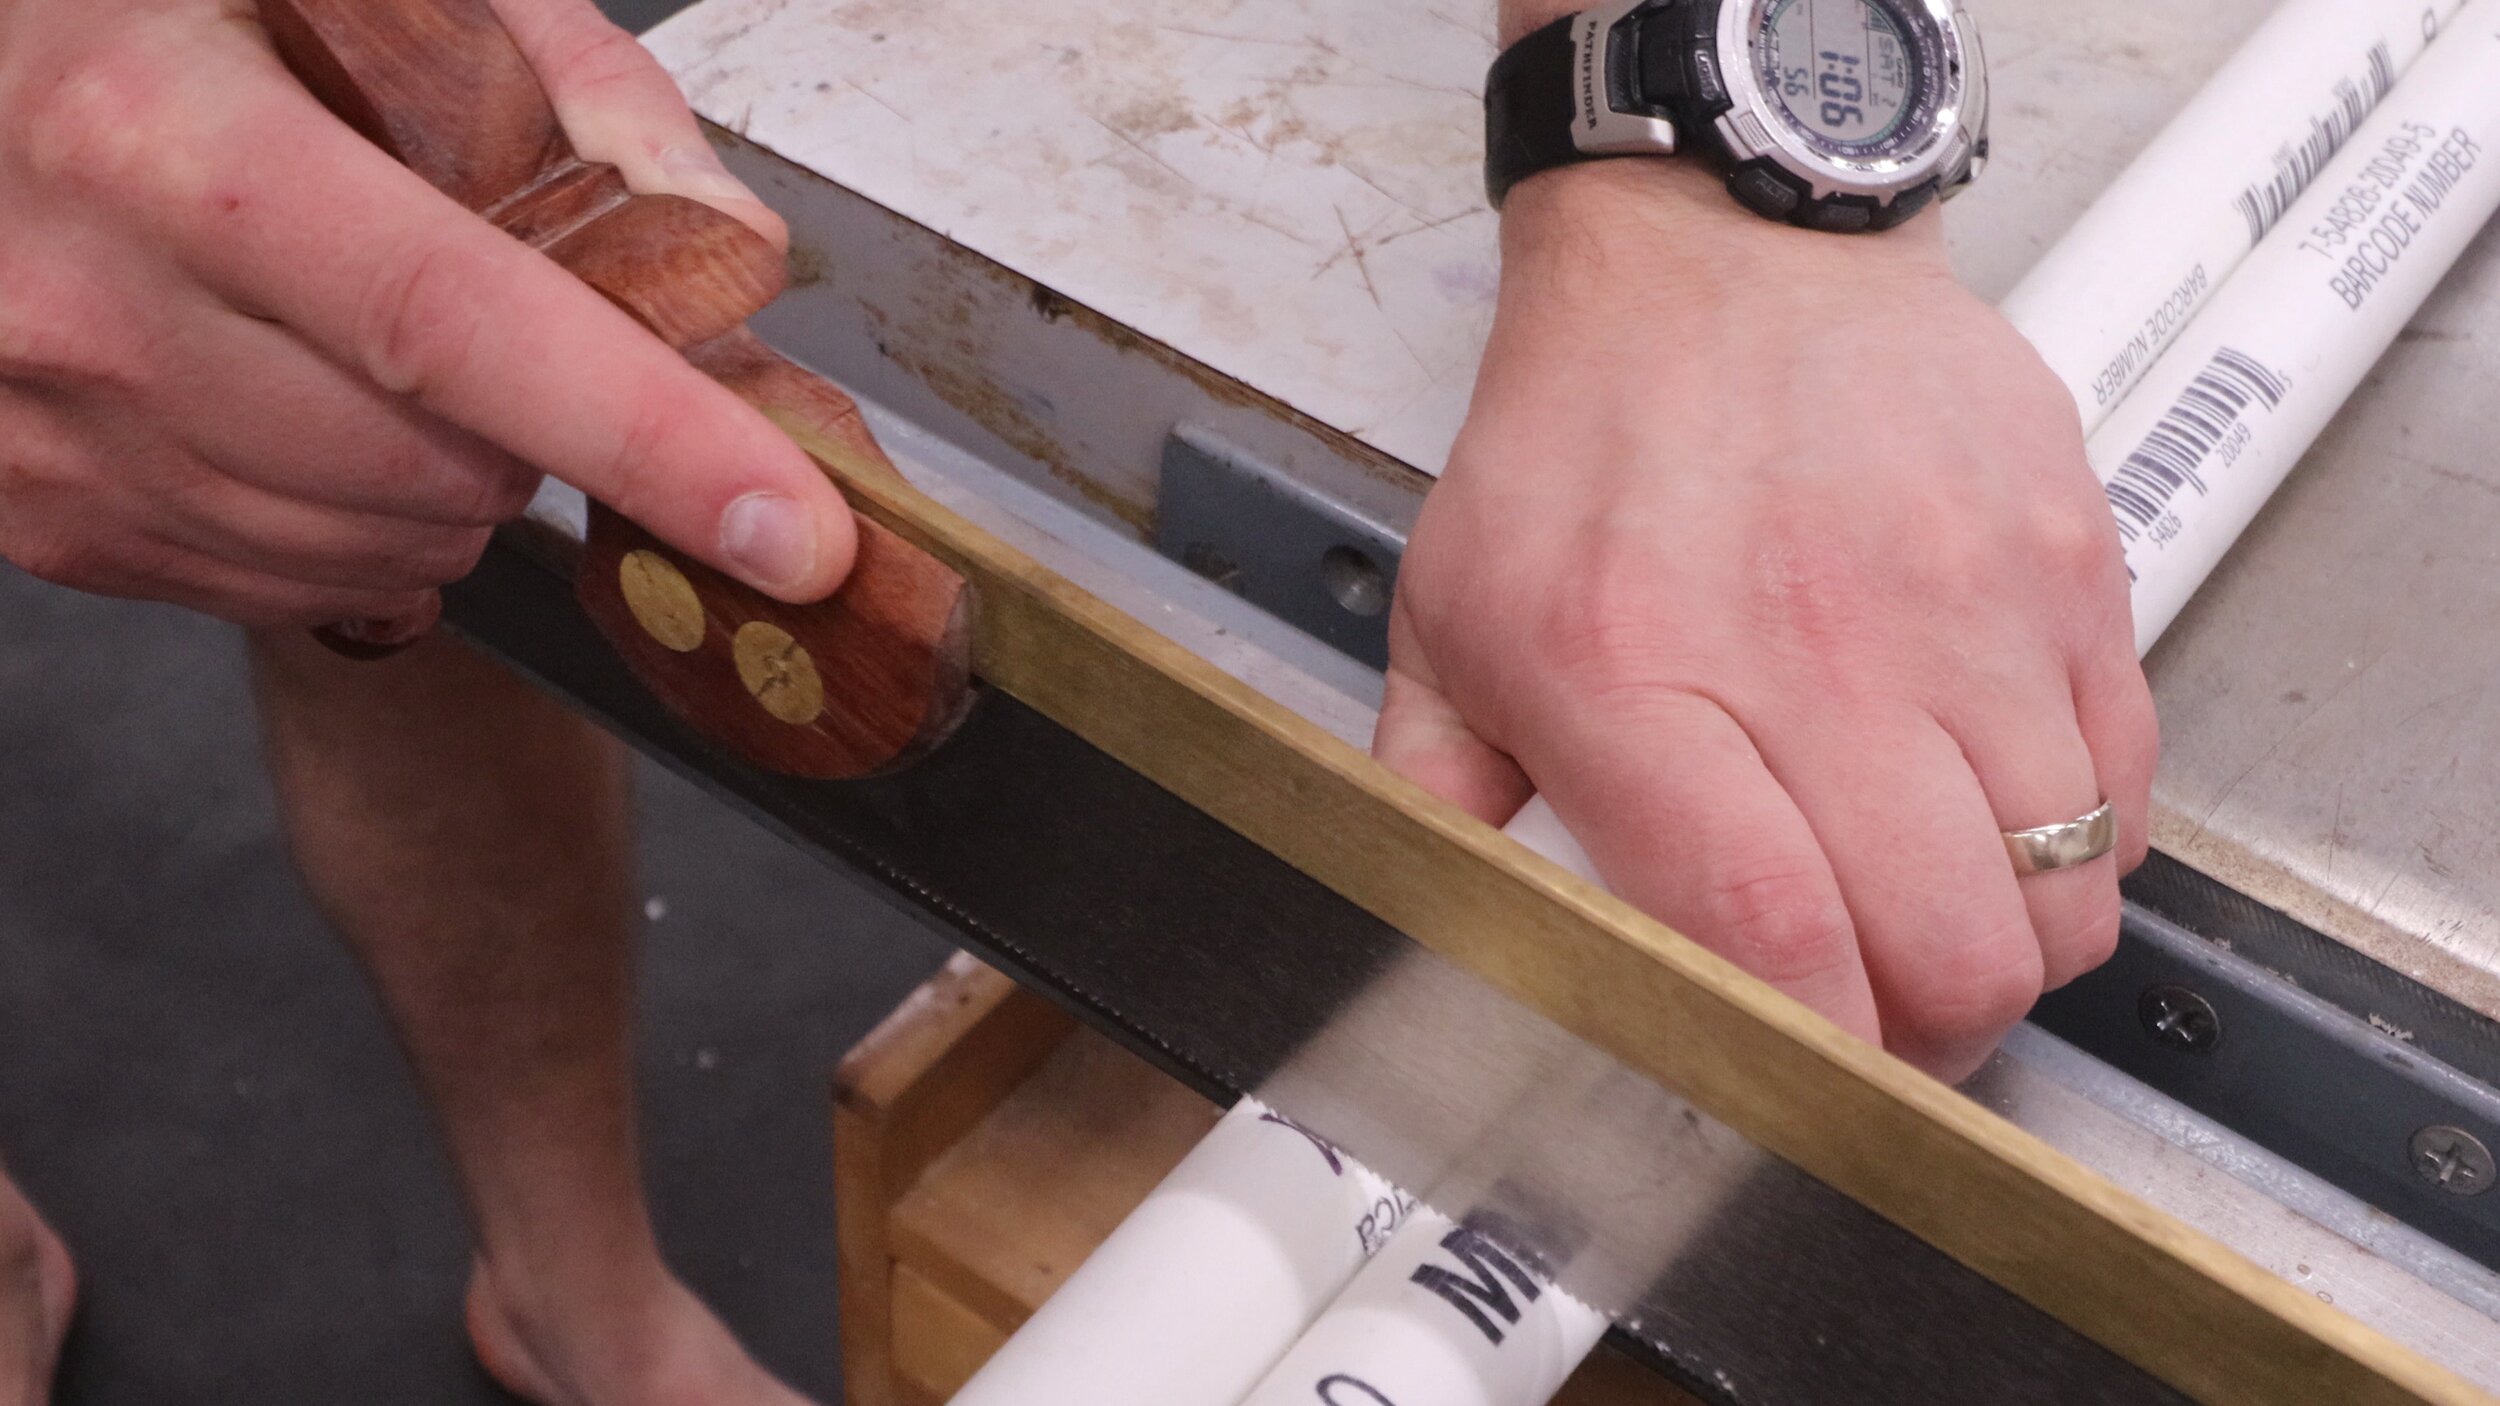
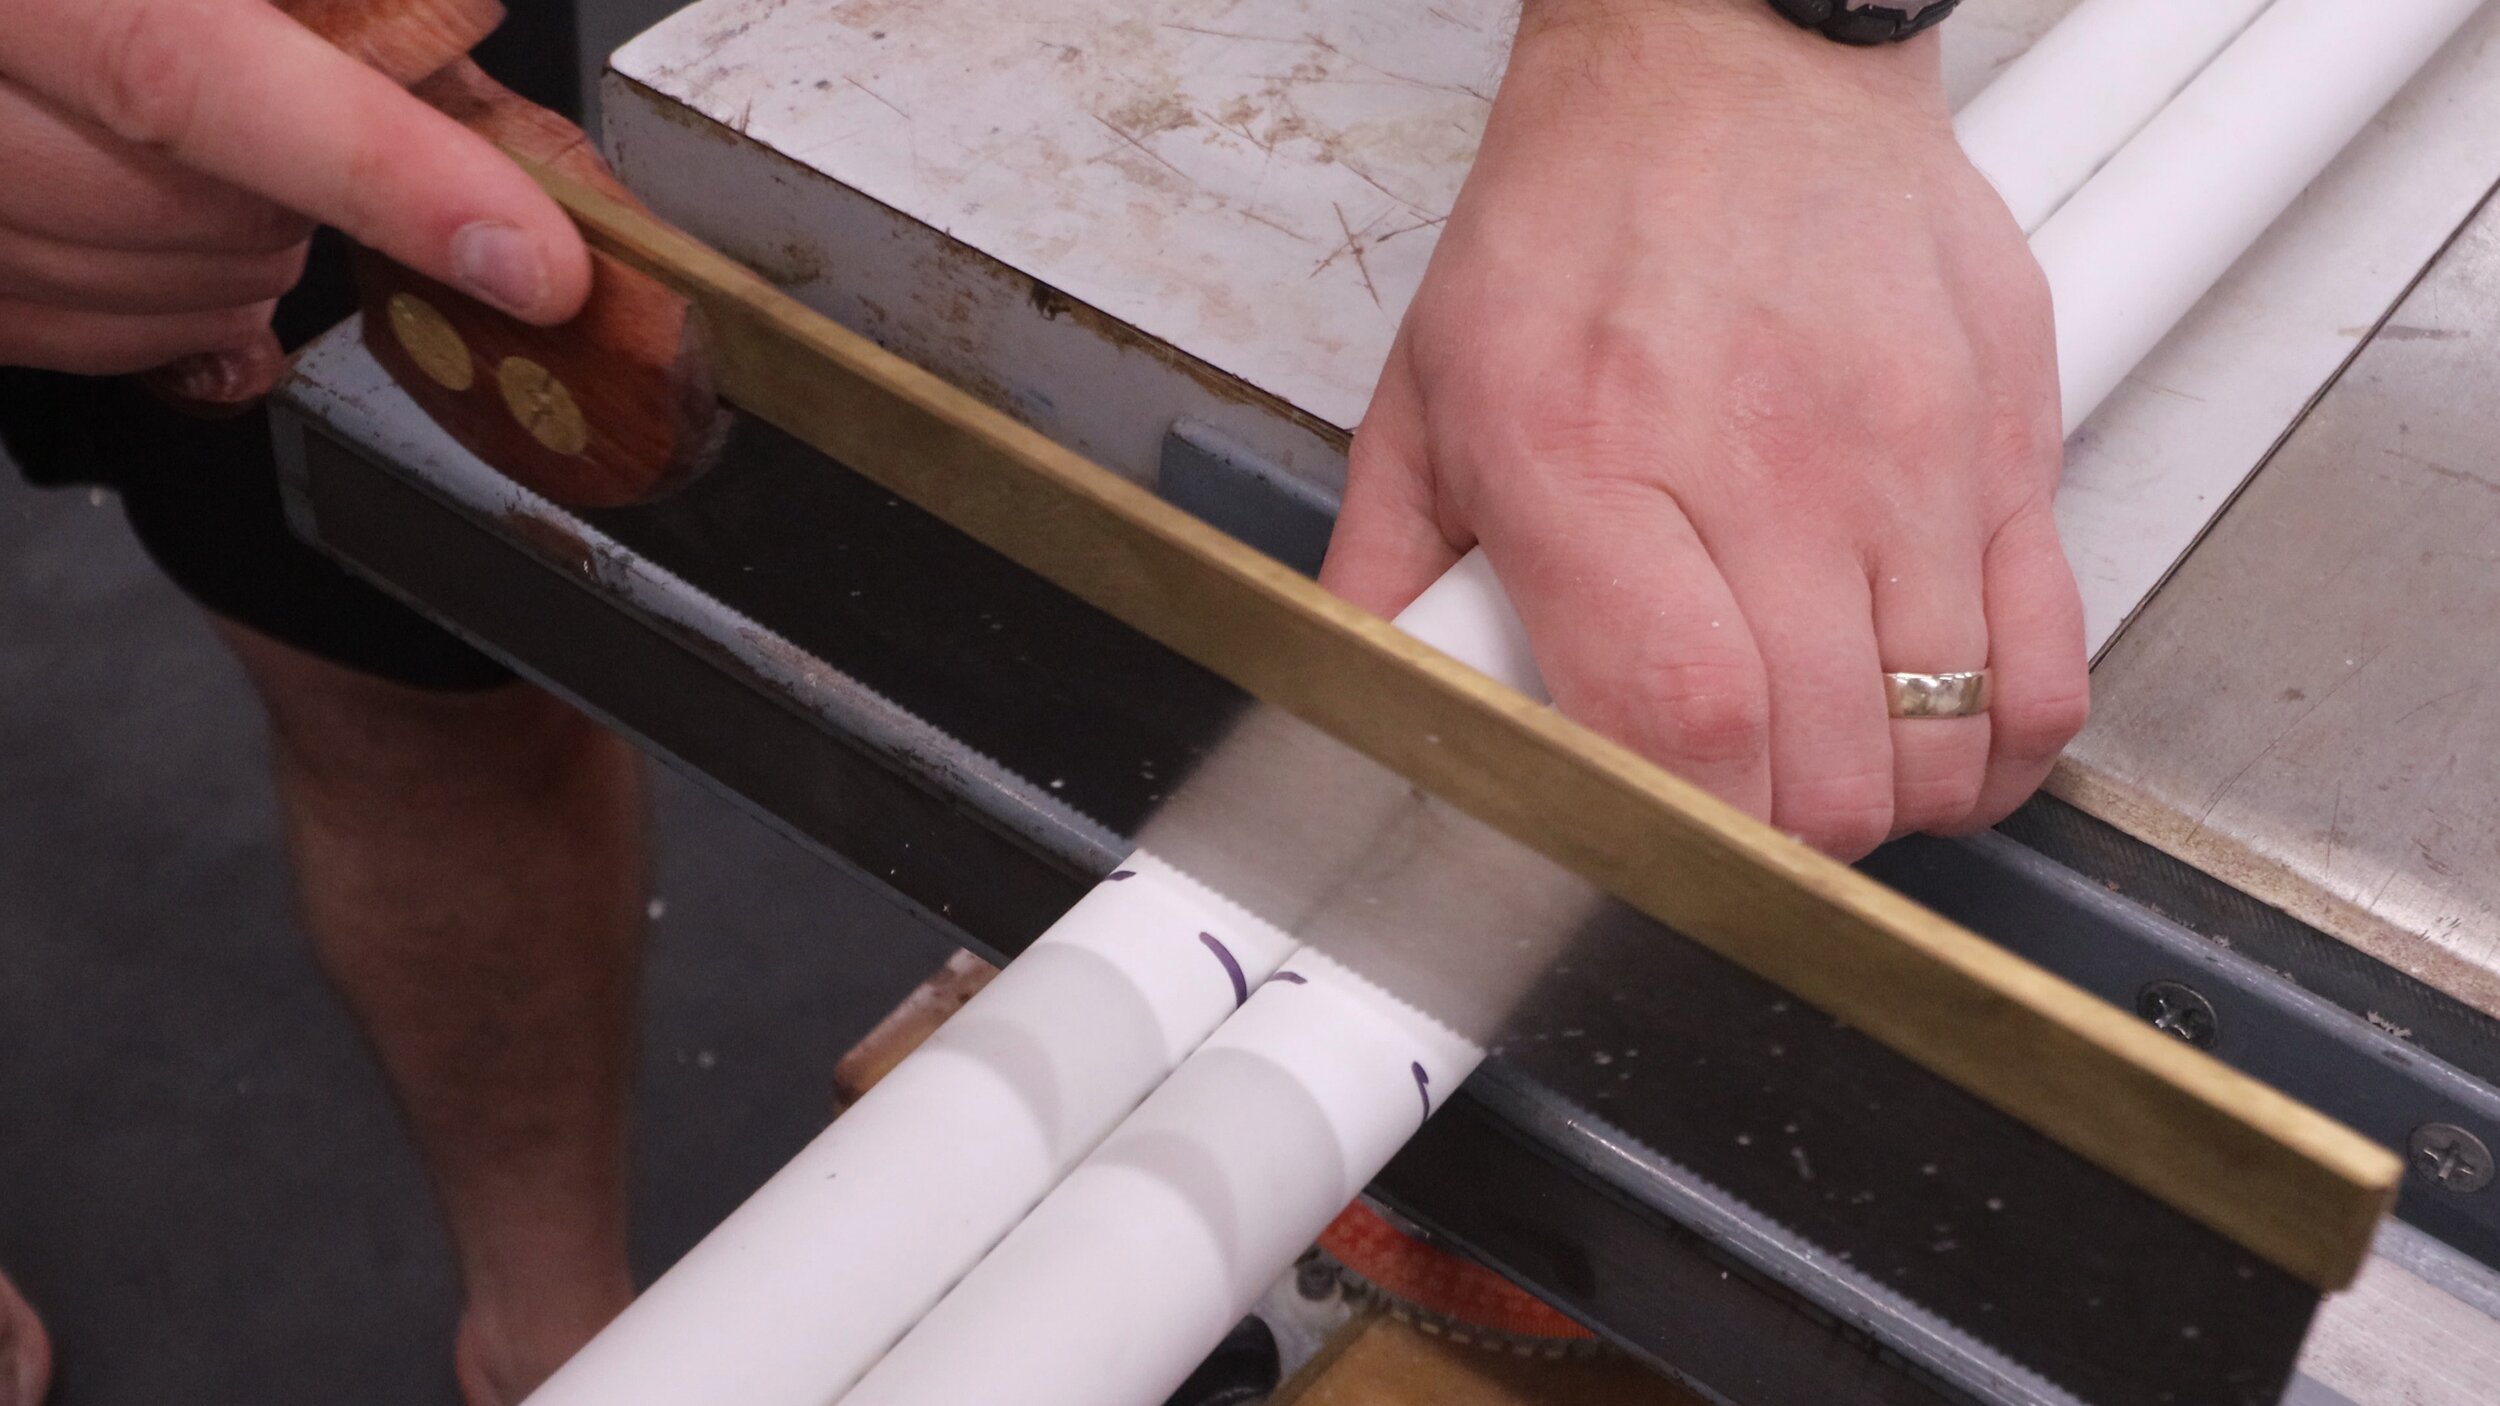
Using a hand saw (or miter saw), cut the pipes to length.
Also mark off four 2" (50 mm) lengths of pipe and cut these out as well.
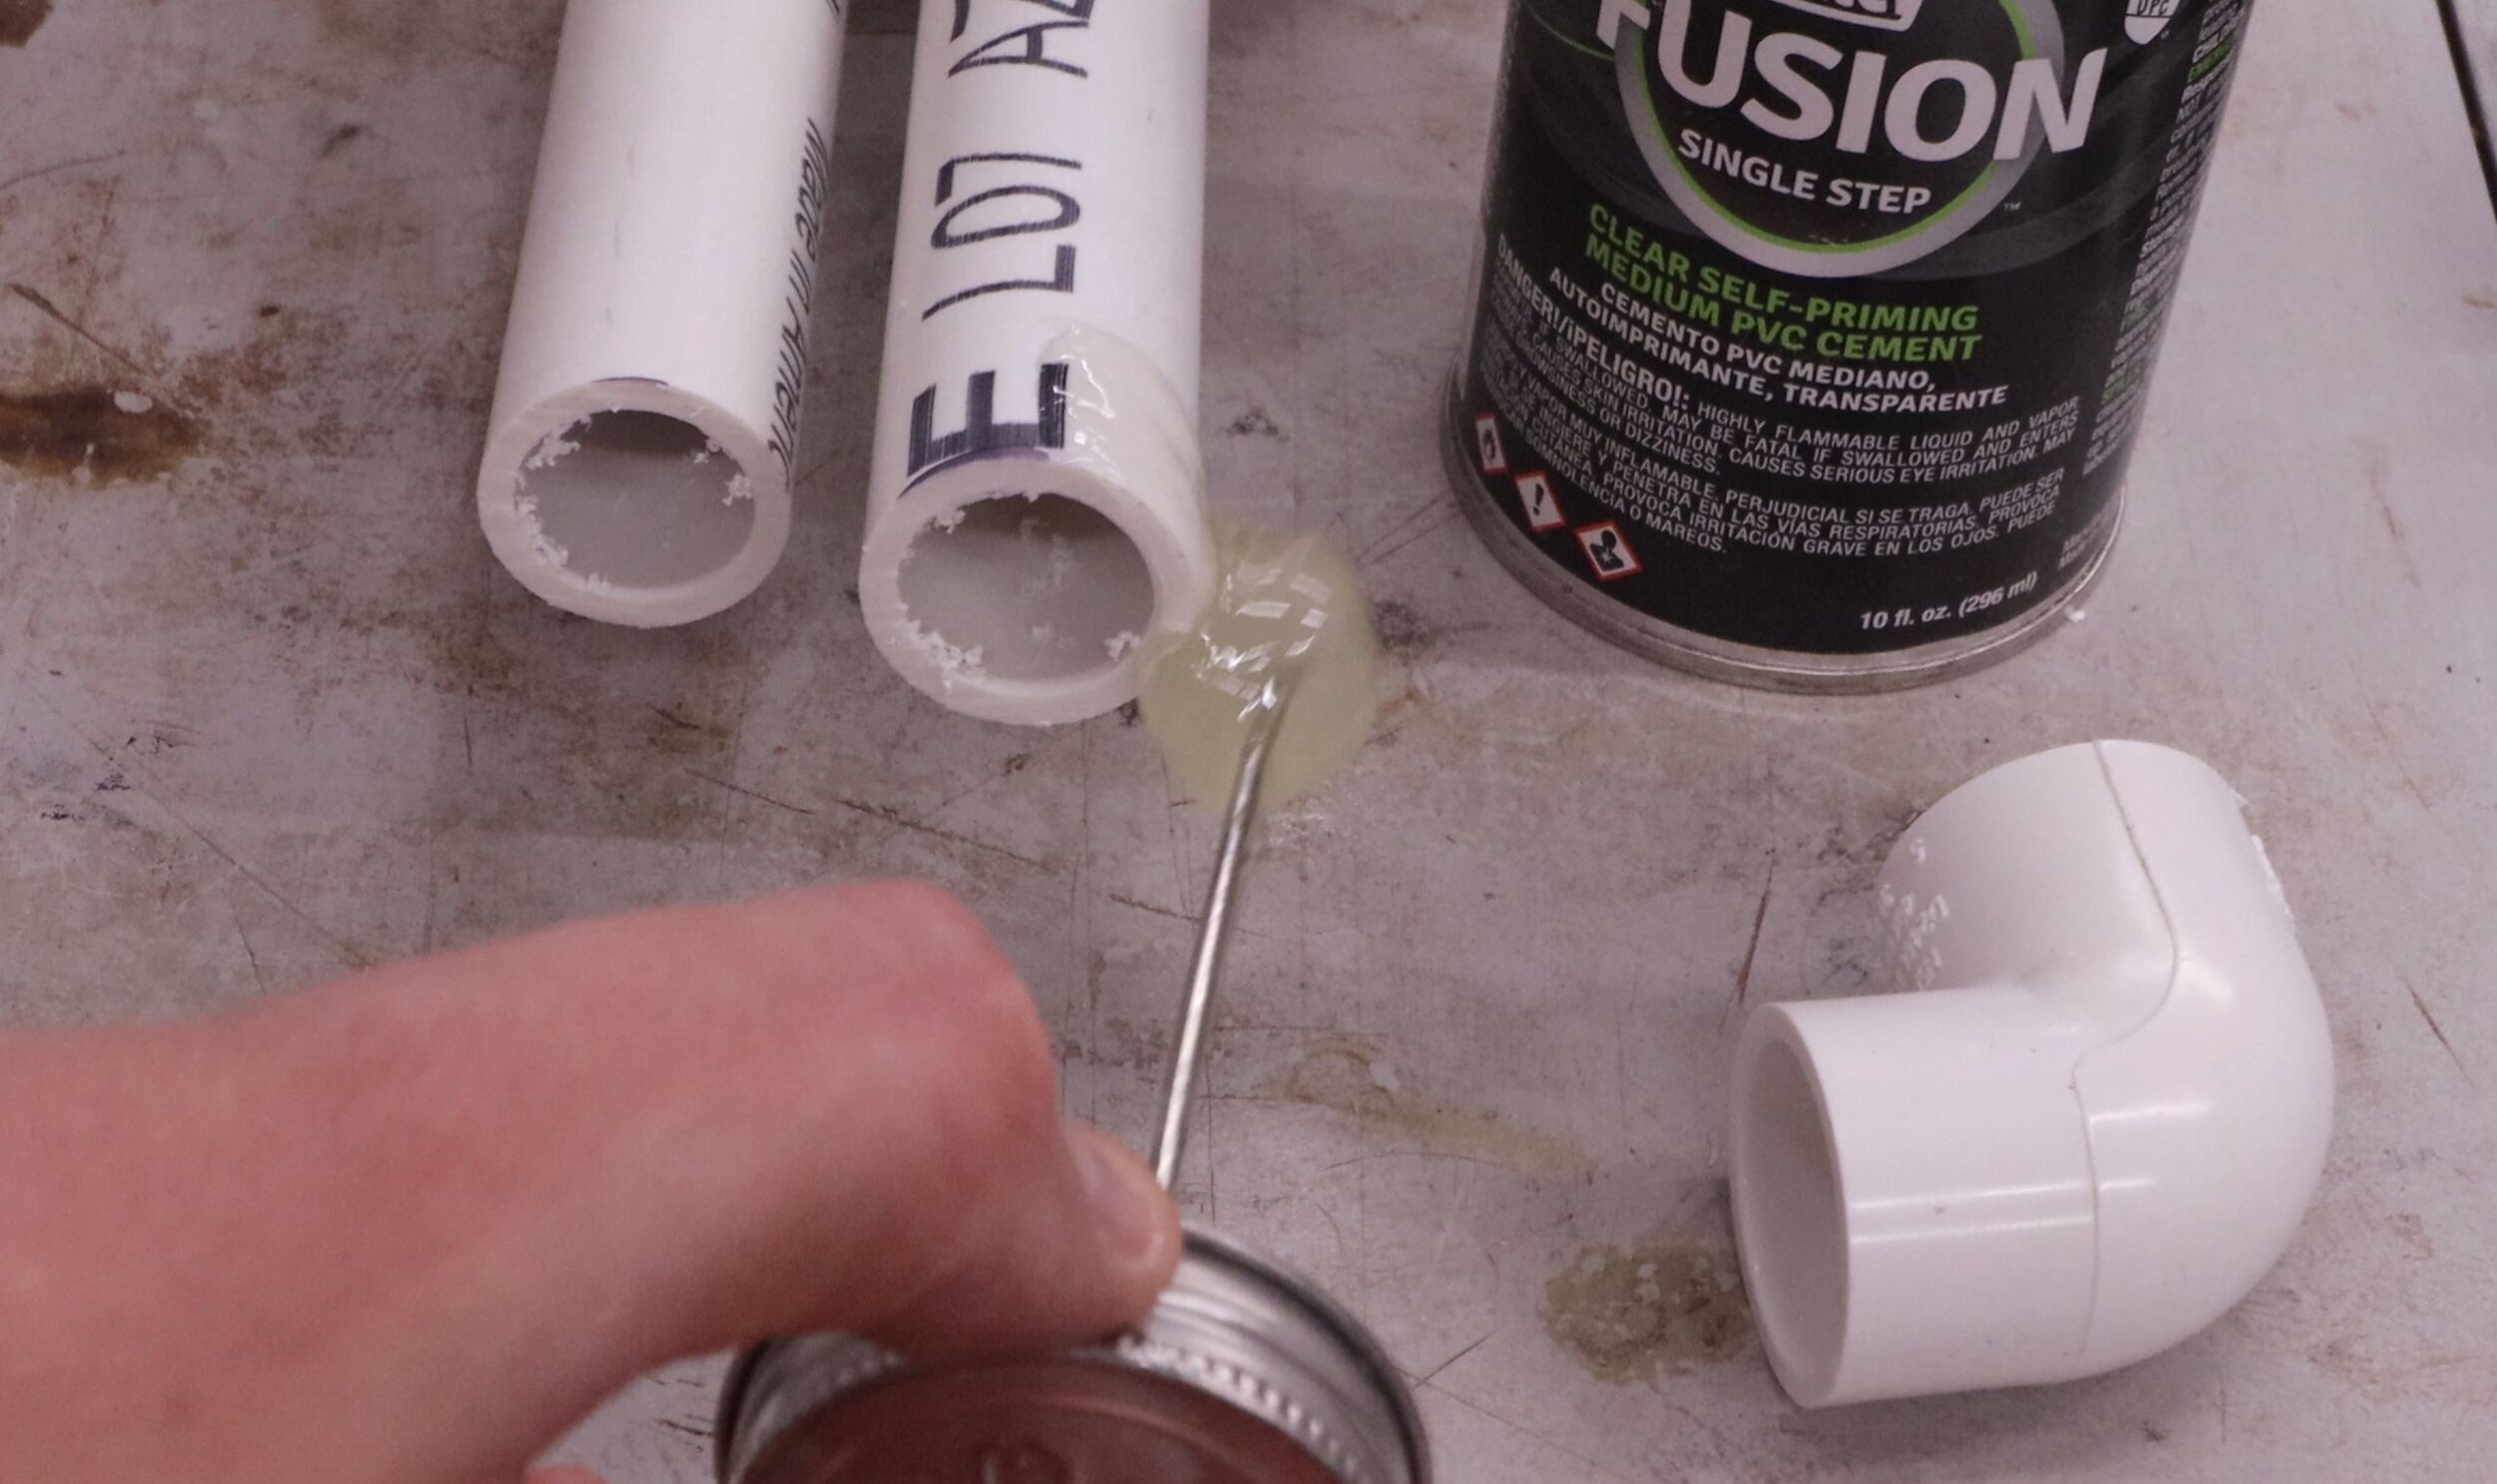
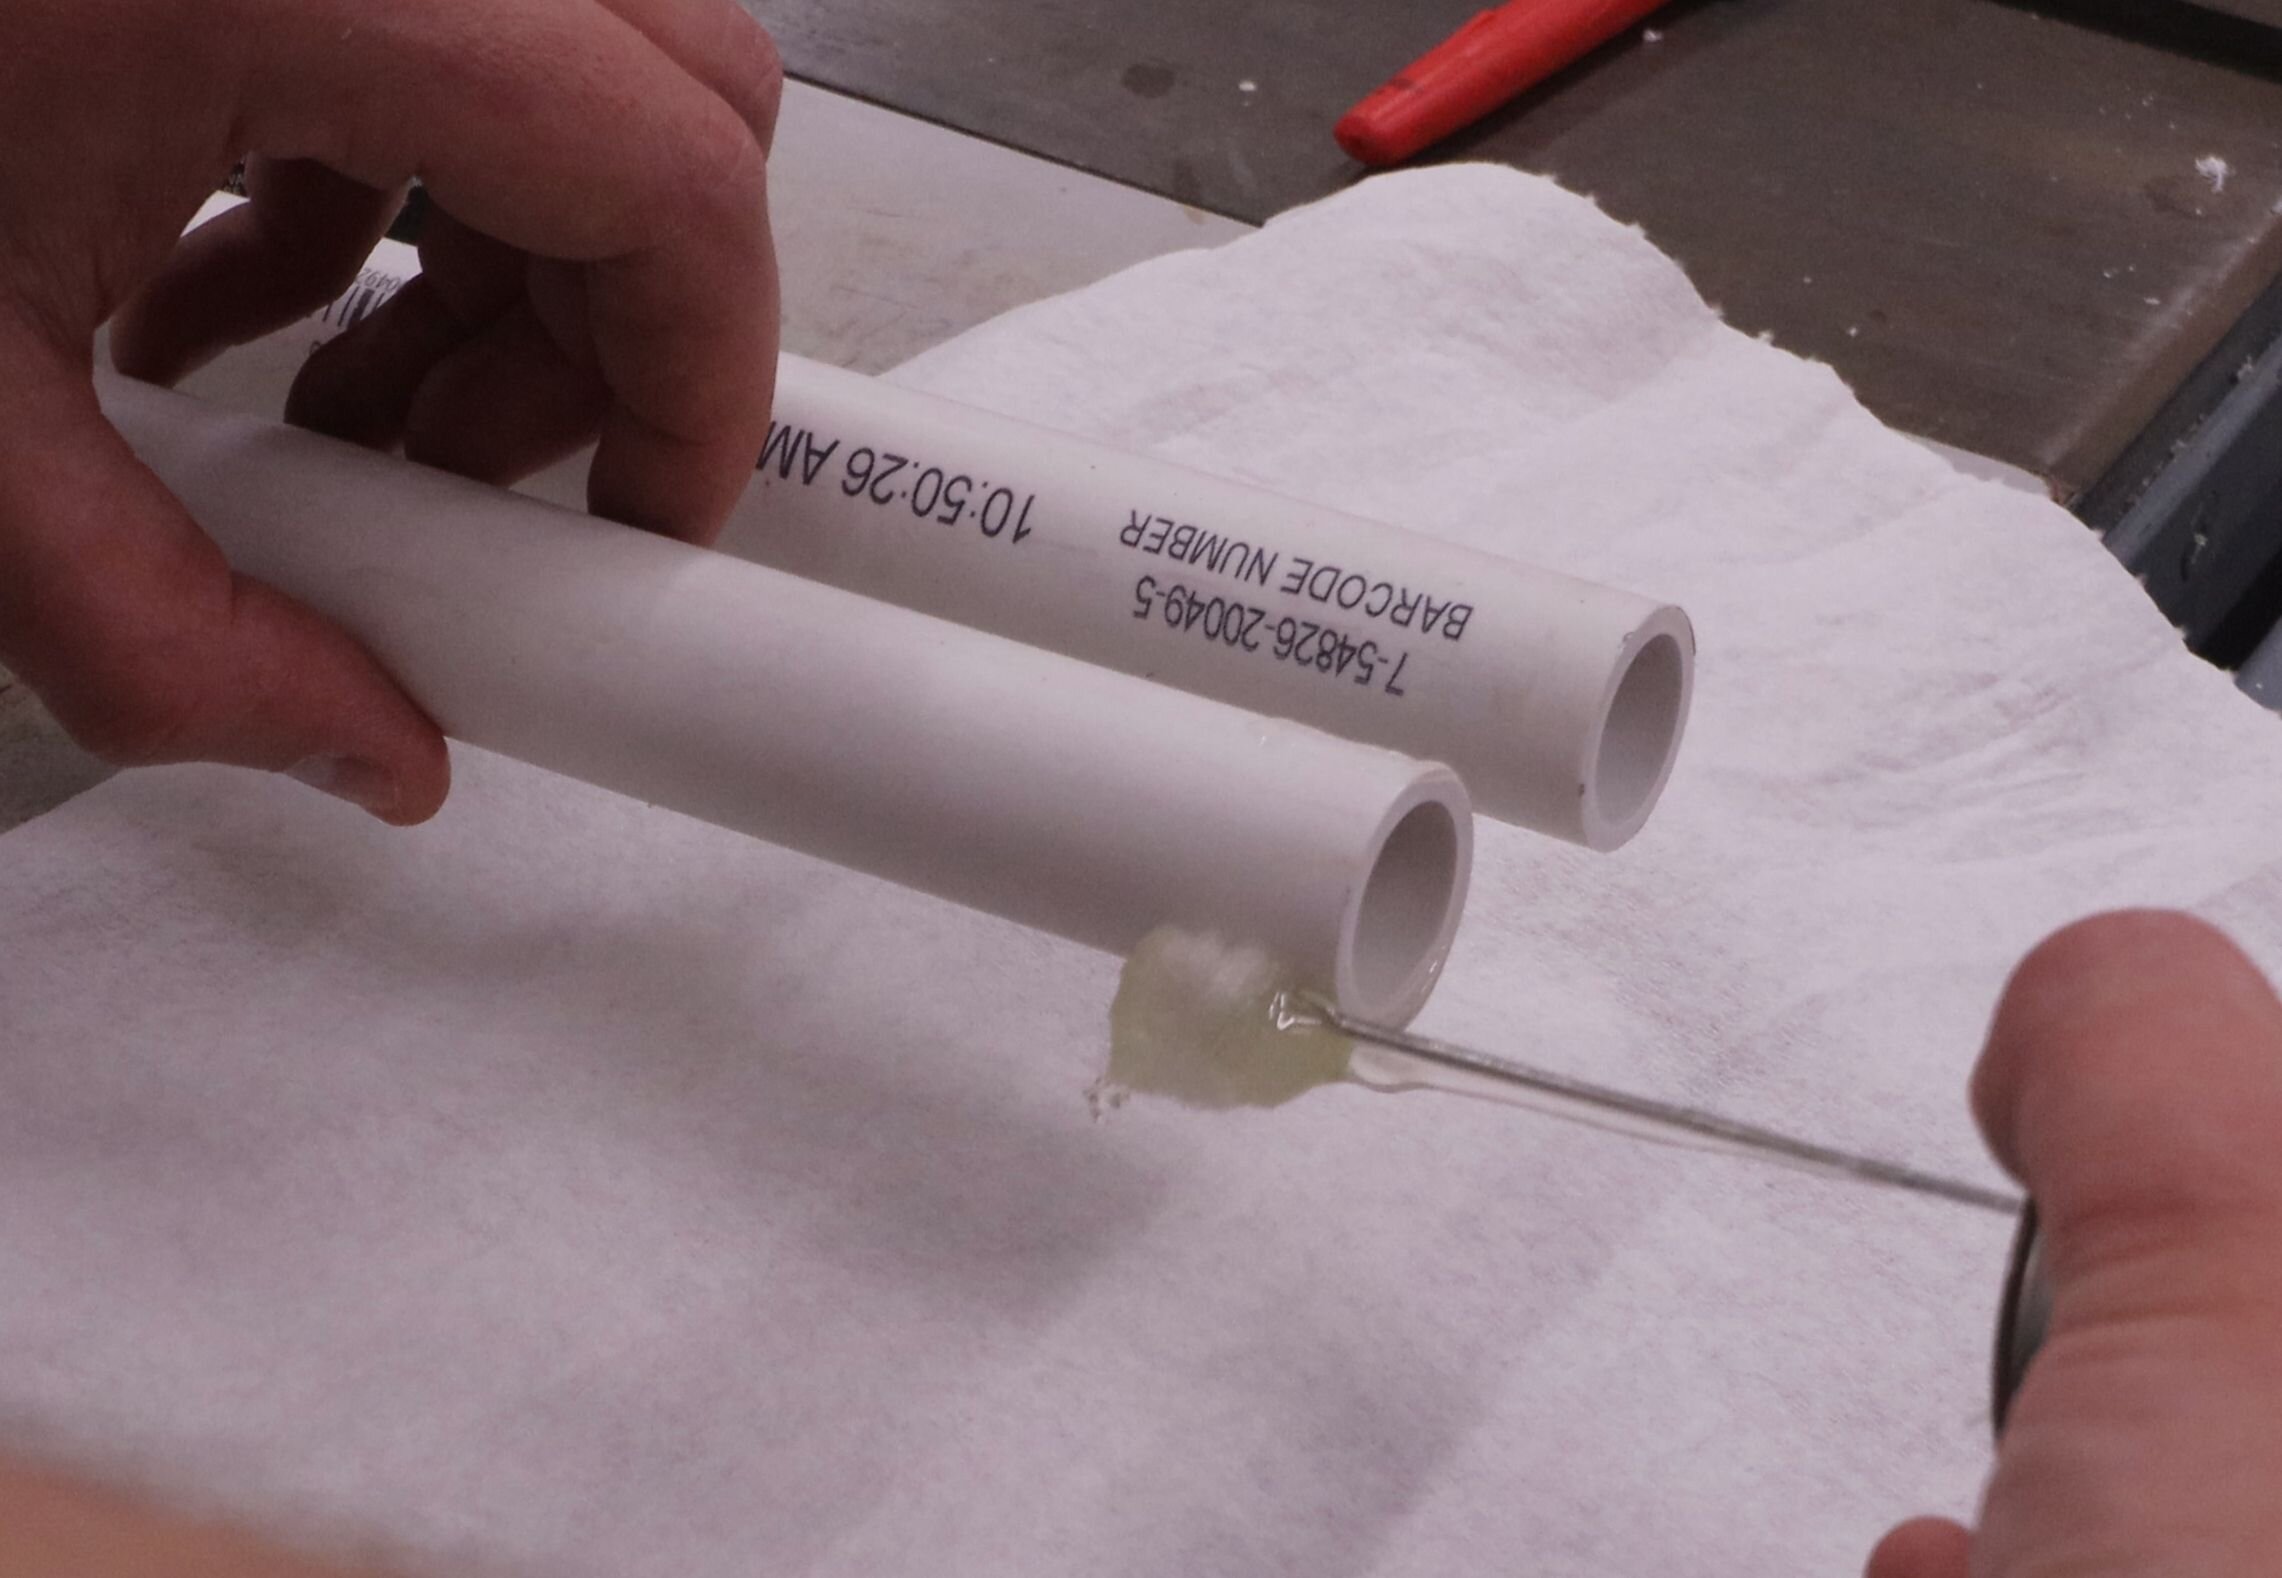
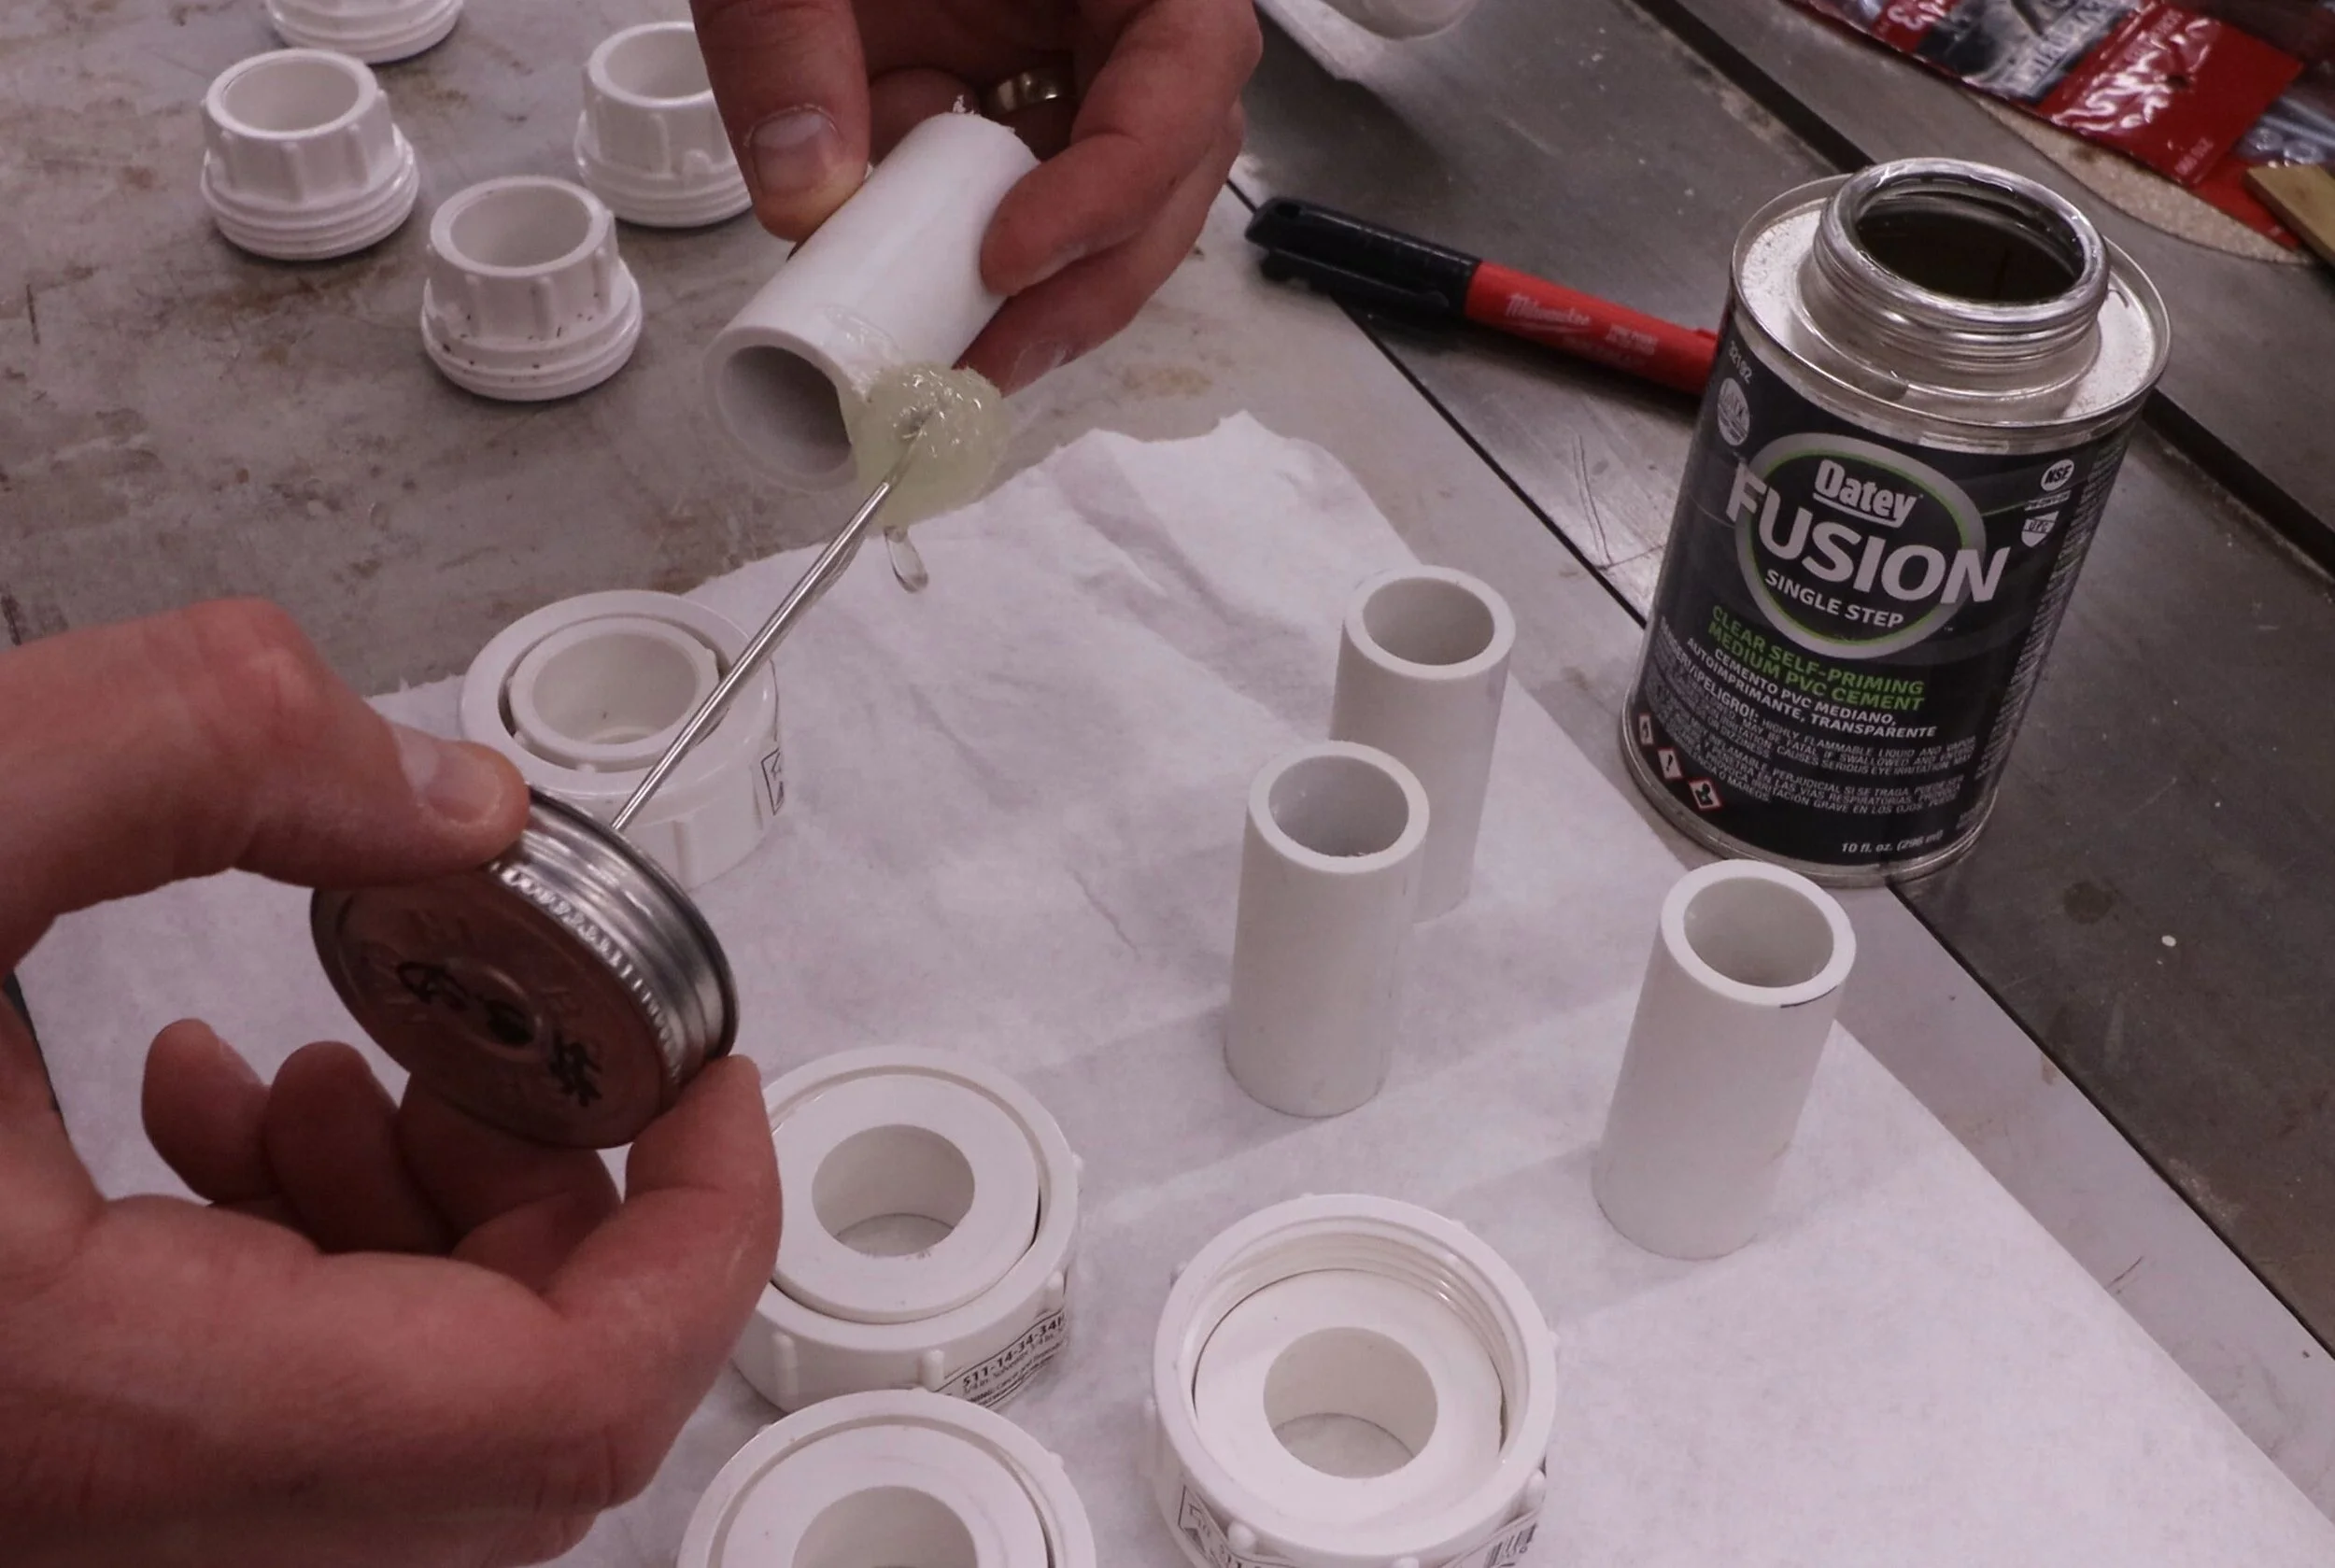
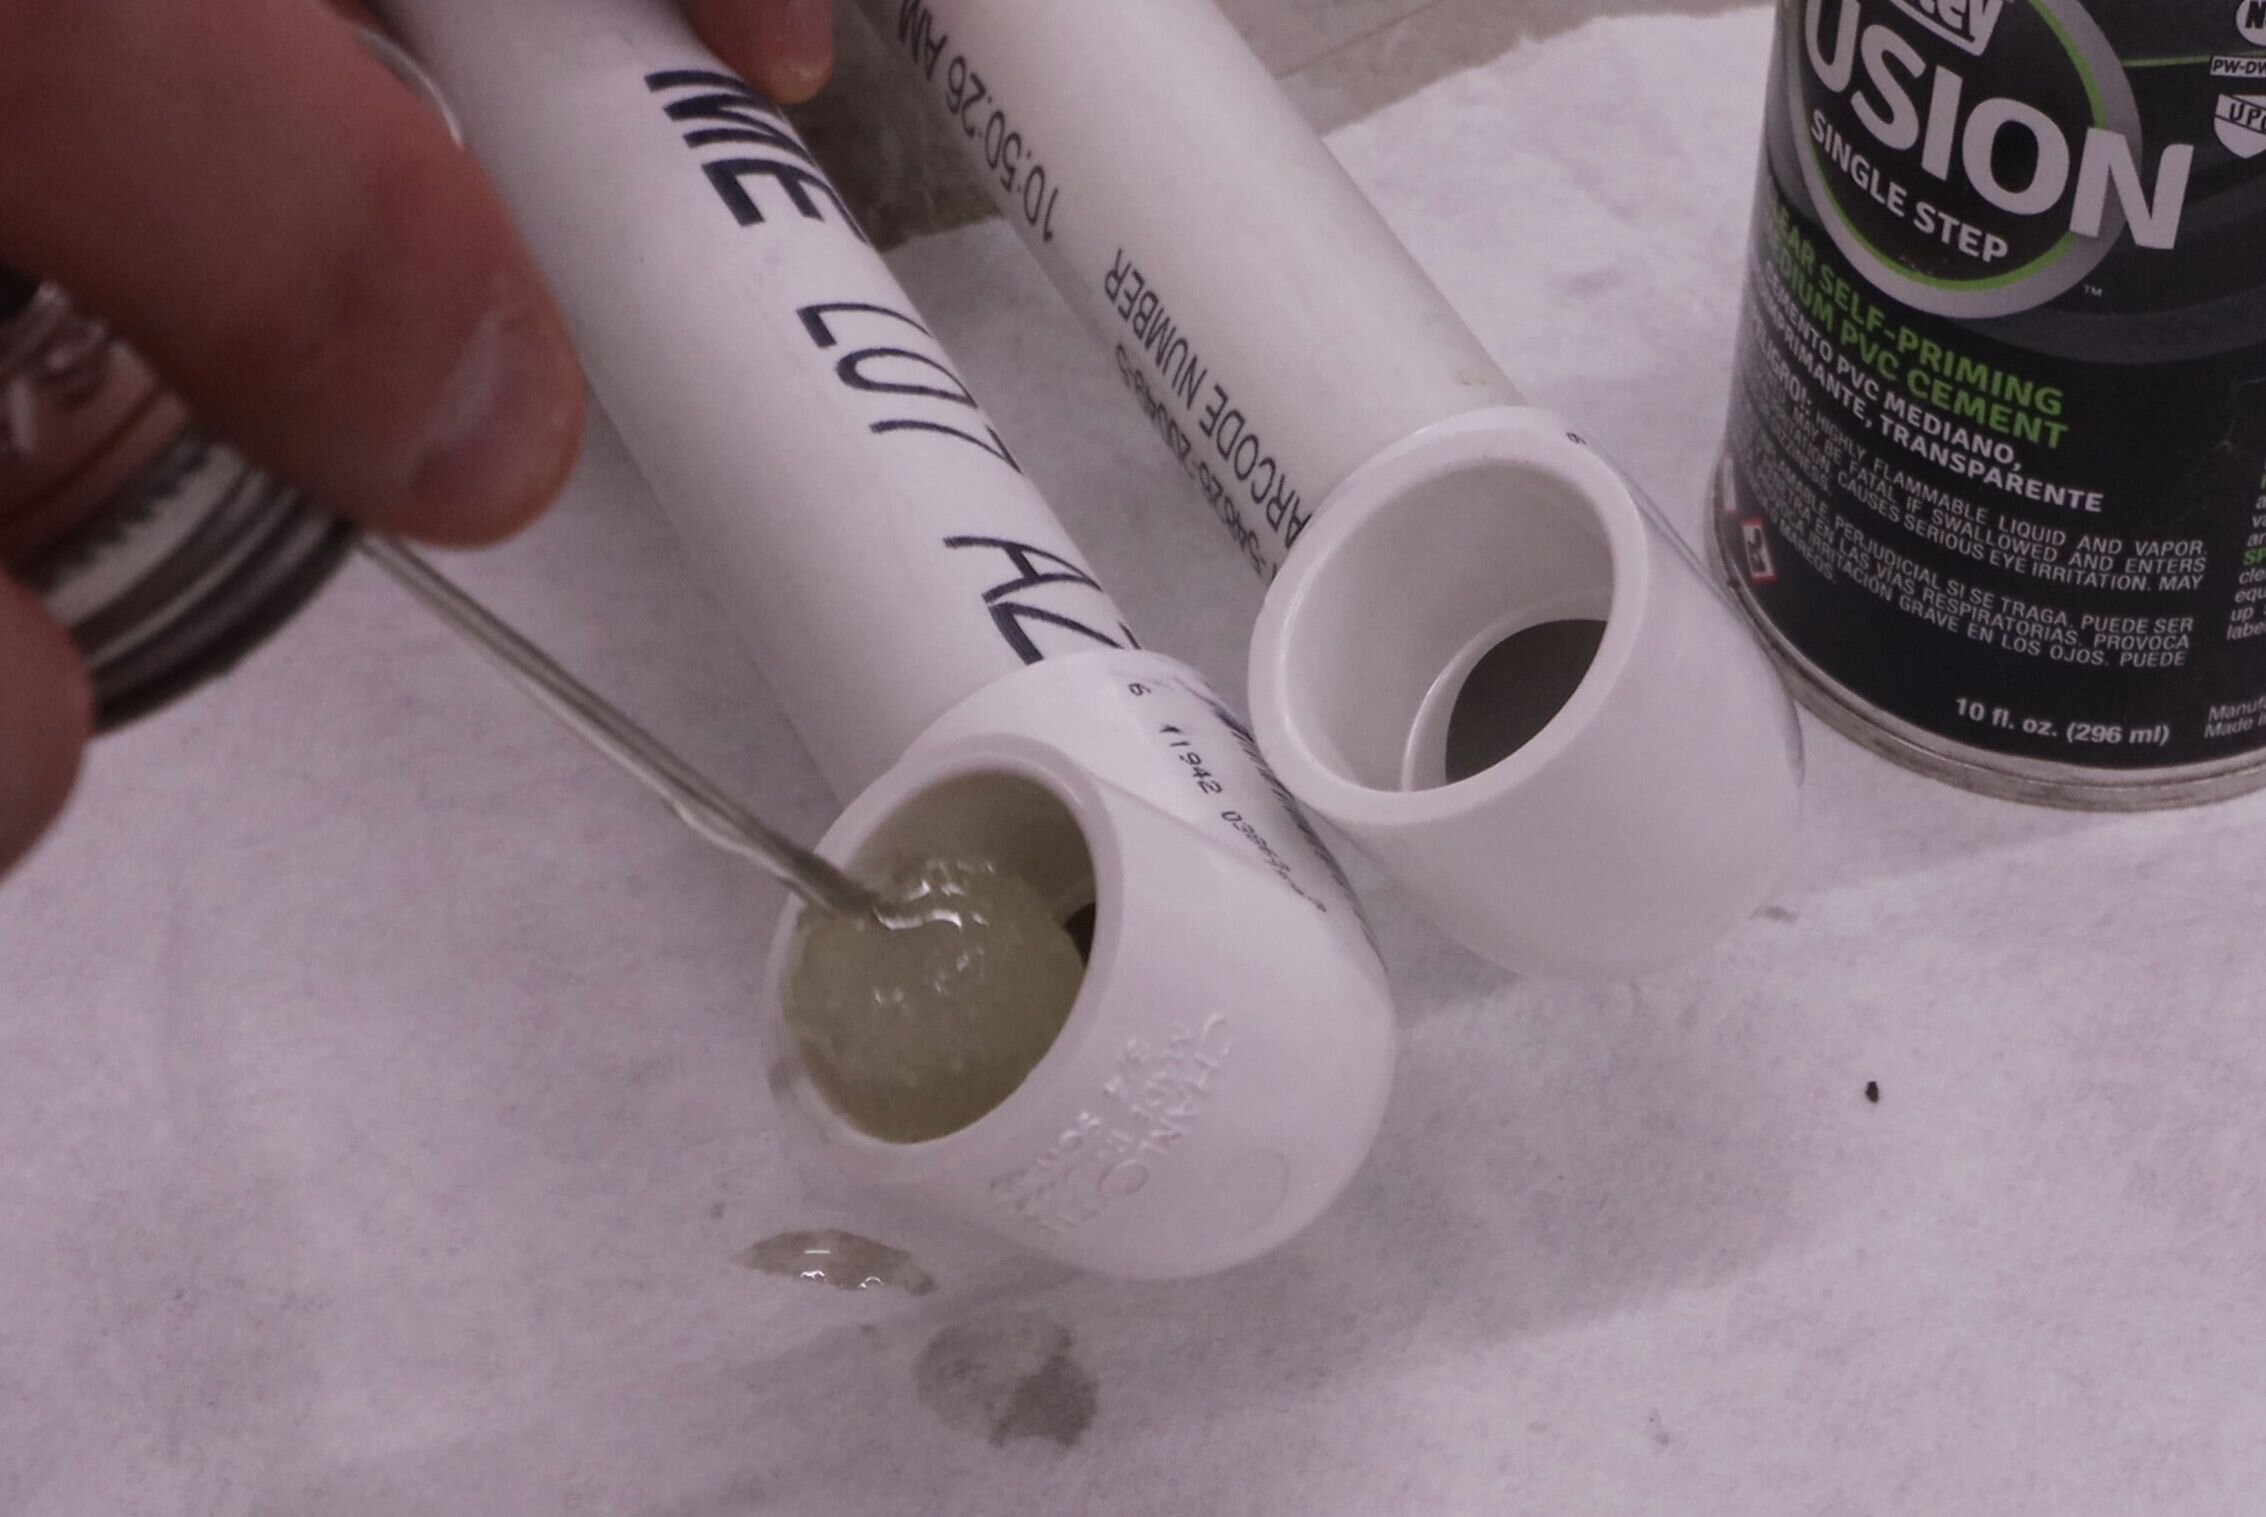
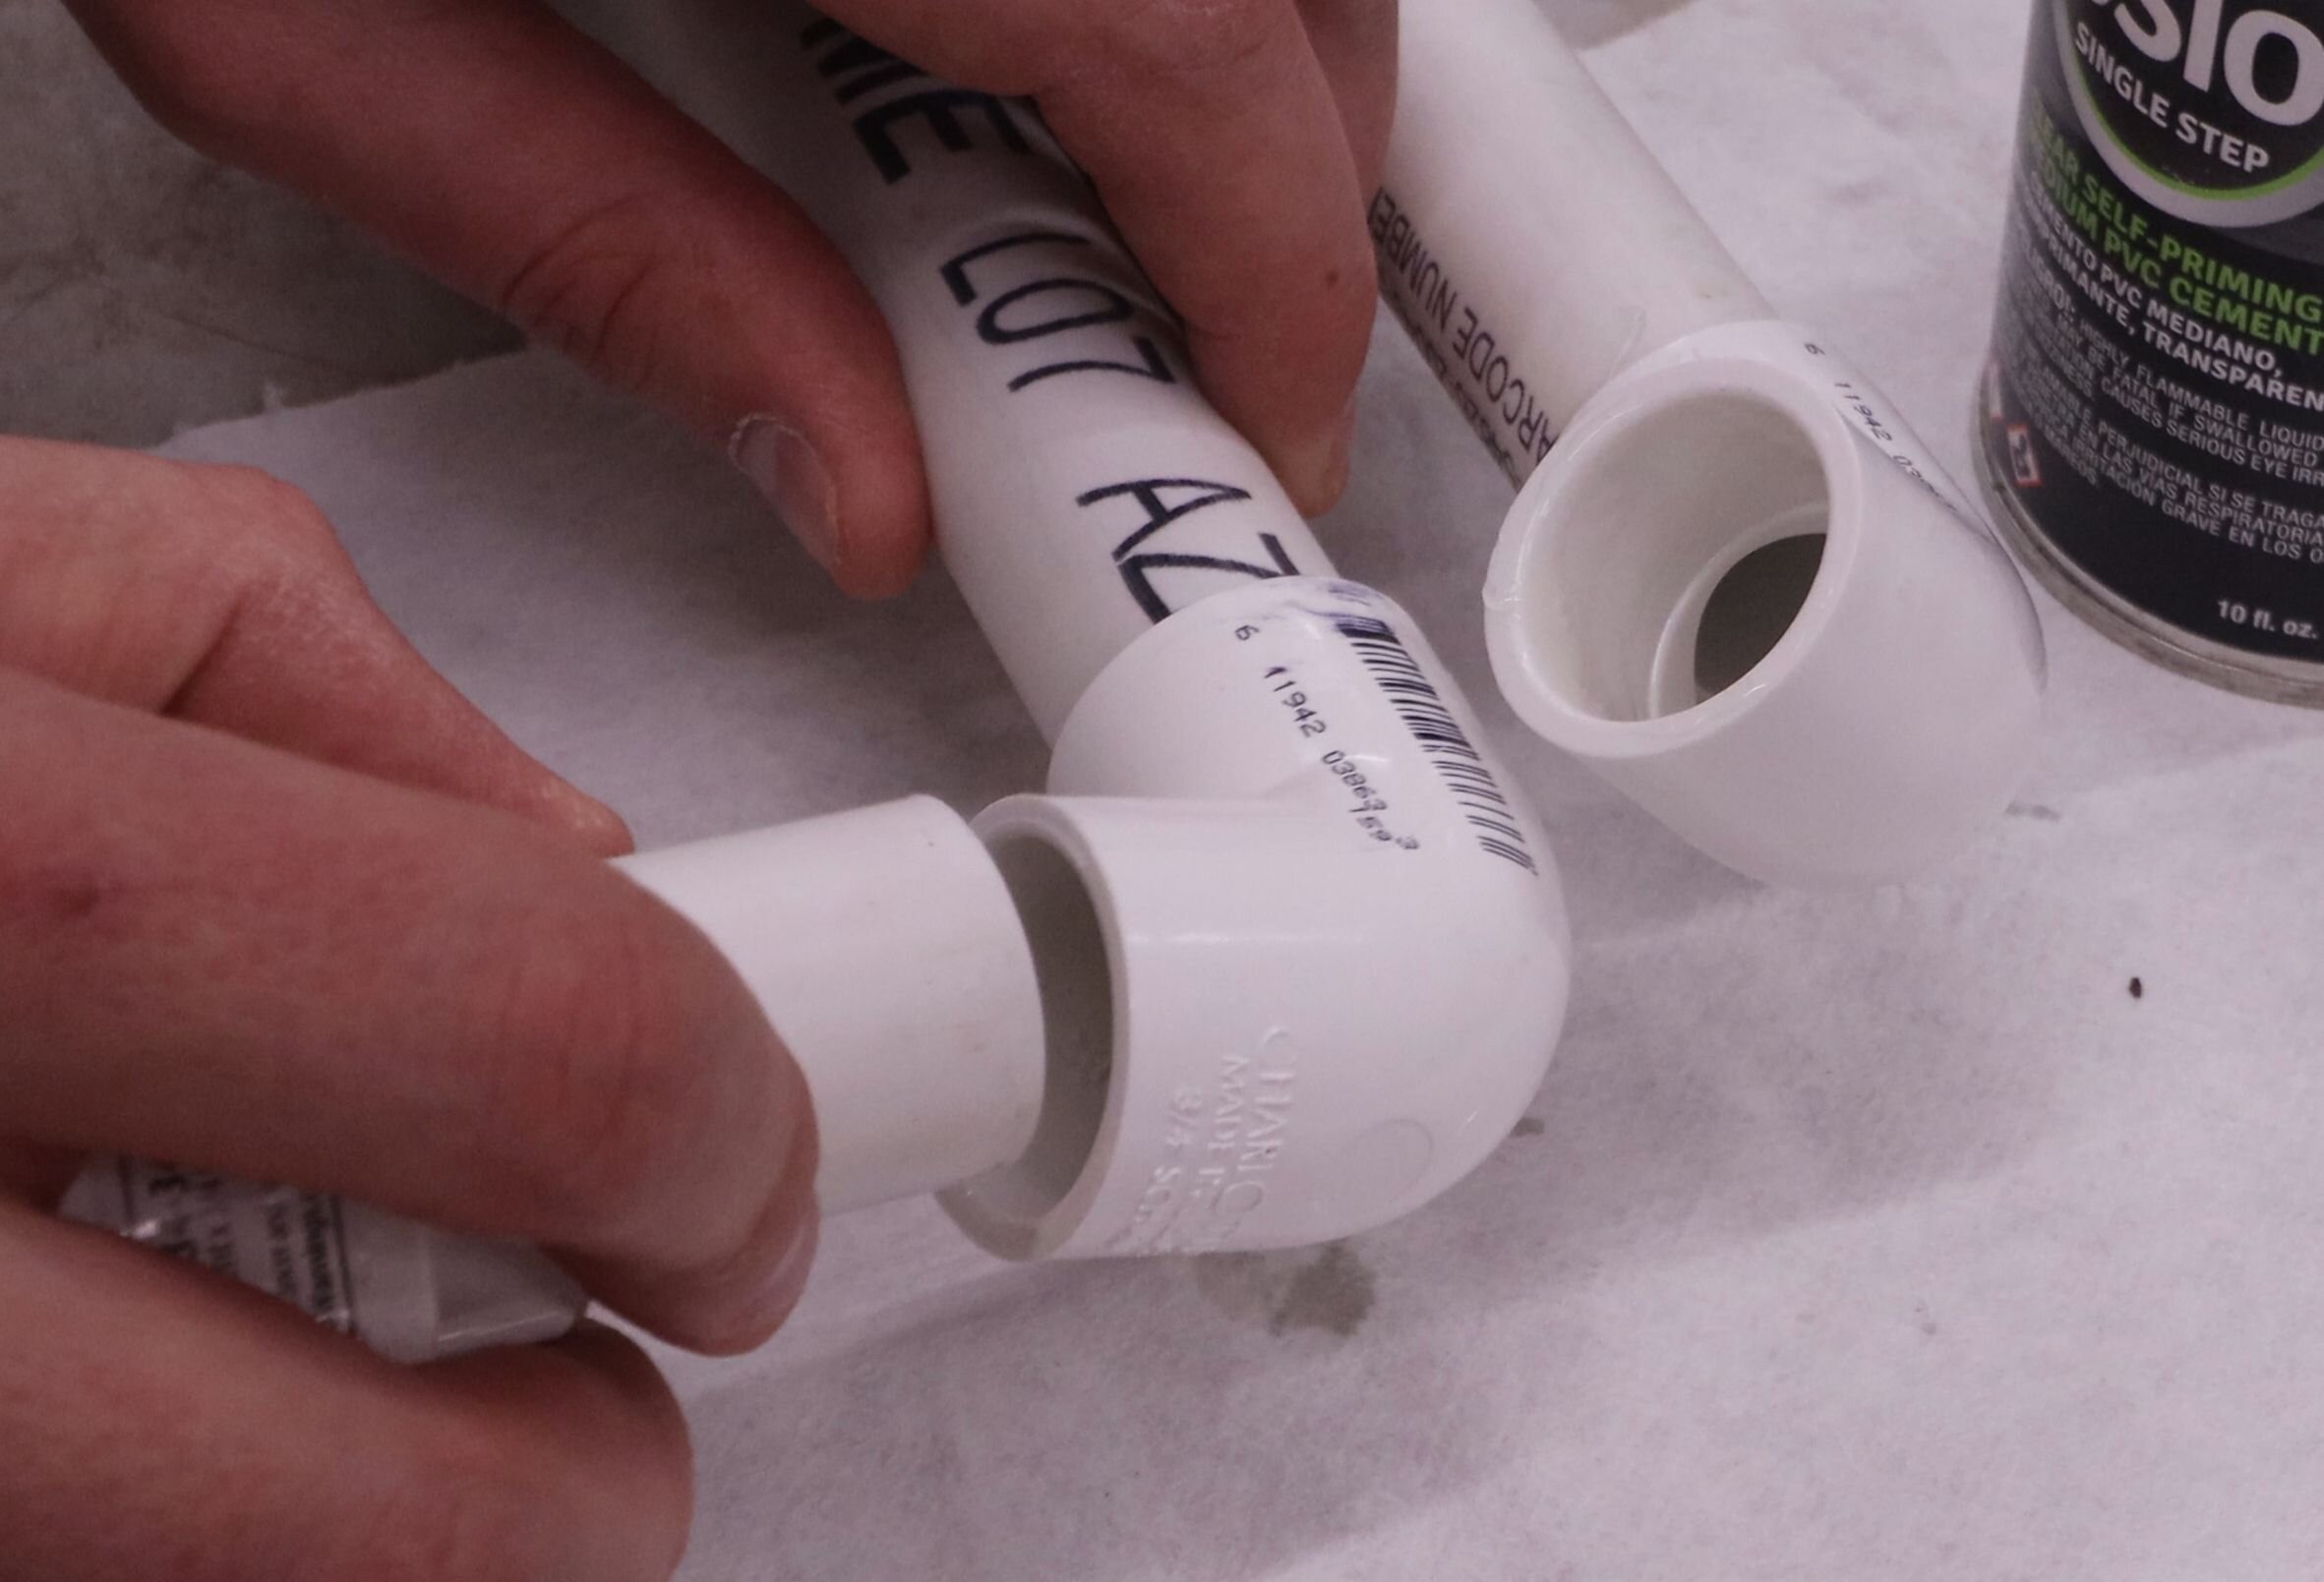
Use the PVC cement to glue the two elbows onto the ends of the long (horizontal) pipe pieces. Simply use the dauber included with the cement to wipe an even coat of the cement on the pipe. Only one side of the joint needs cement for this application.
Press the fitting onto the pipe, and rotate a quarter turn to seat it. This ensures even cement application on the circumference of the pipe. Full adhesion isn't strictly necessary here since the pipe doesn't have to hold water, but it's a good habit to get into if you plan on working PVC pipe in the future.
Flip the long pieces end for end and orient the elbows facing upwards. Use a clamp to hold these in place. Now, when you put the elbows on the other ends, you don't have to guess at the elbow alignment and can just orient the new ones facing upwards as well.

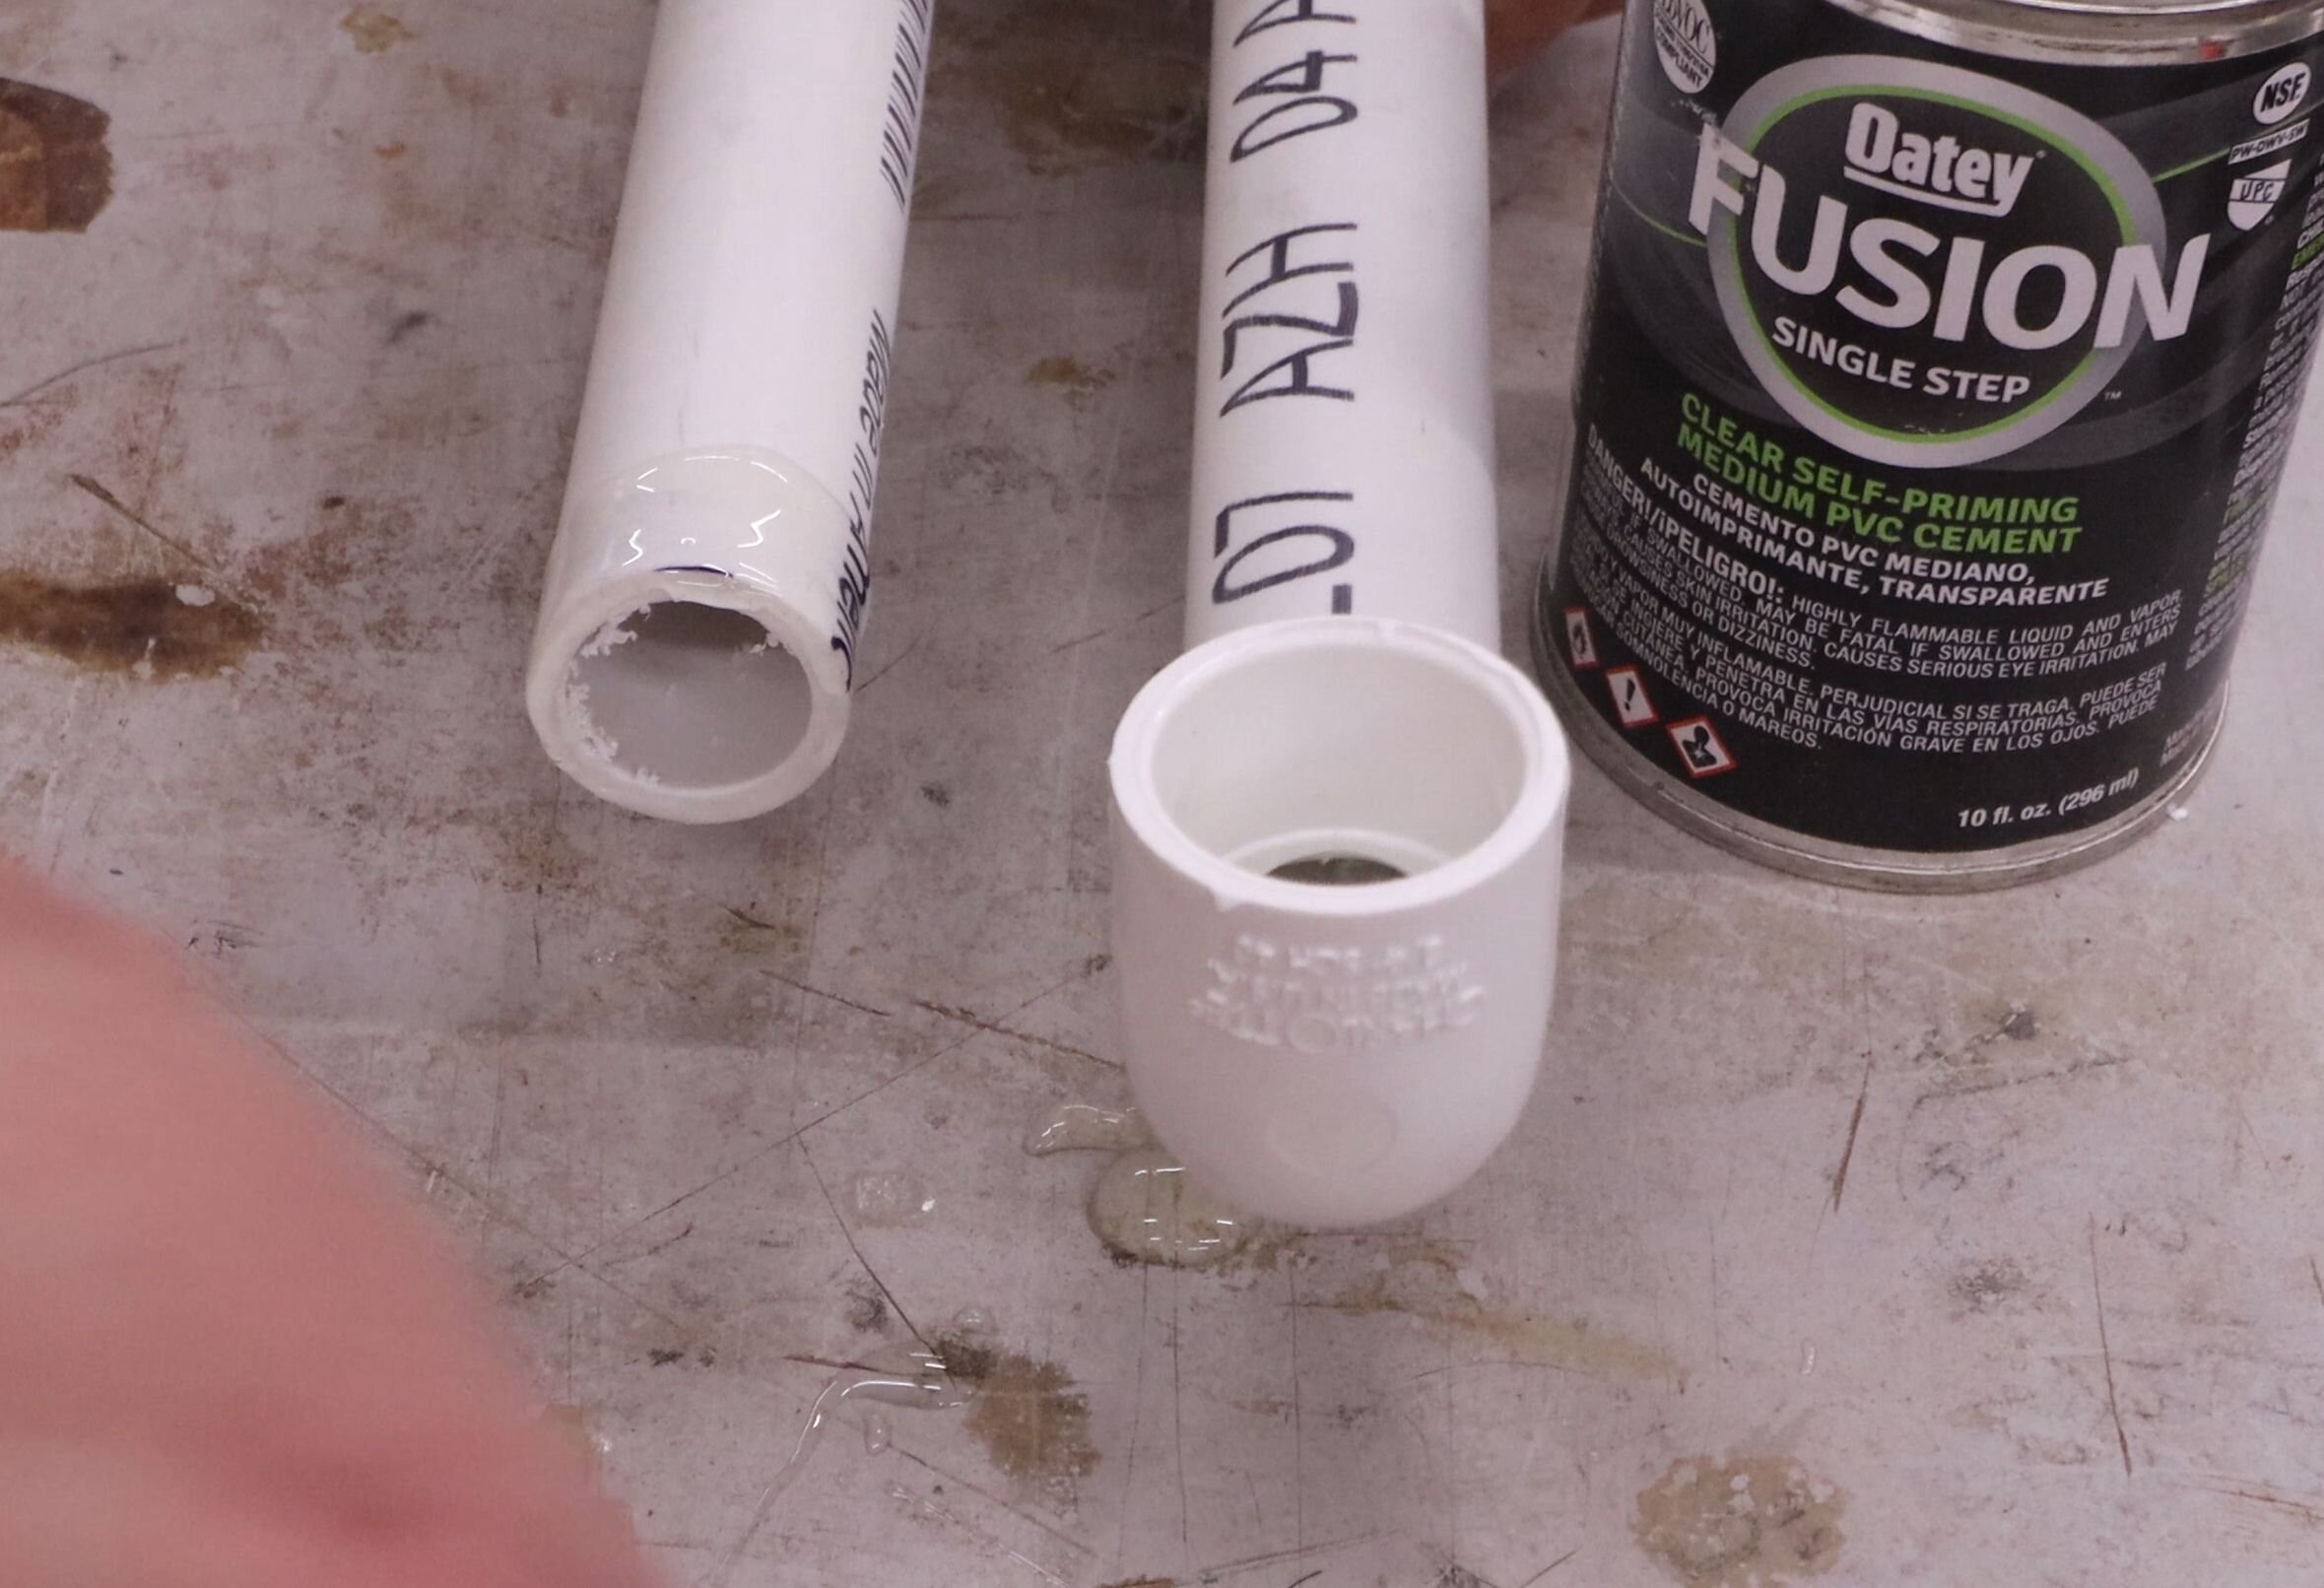
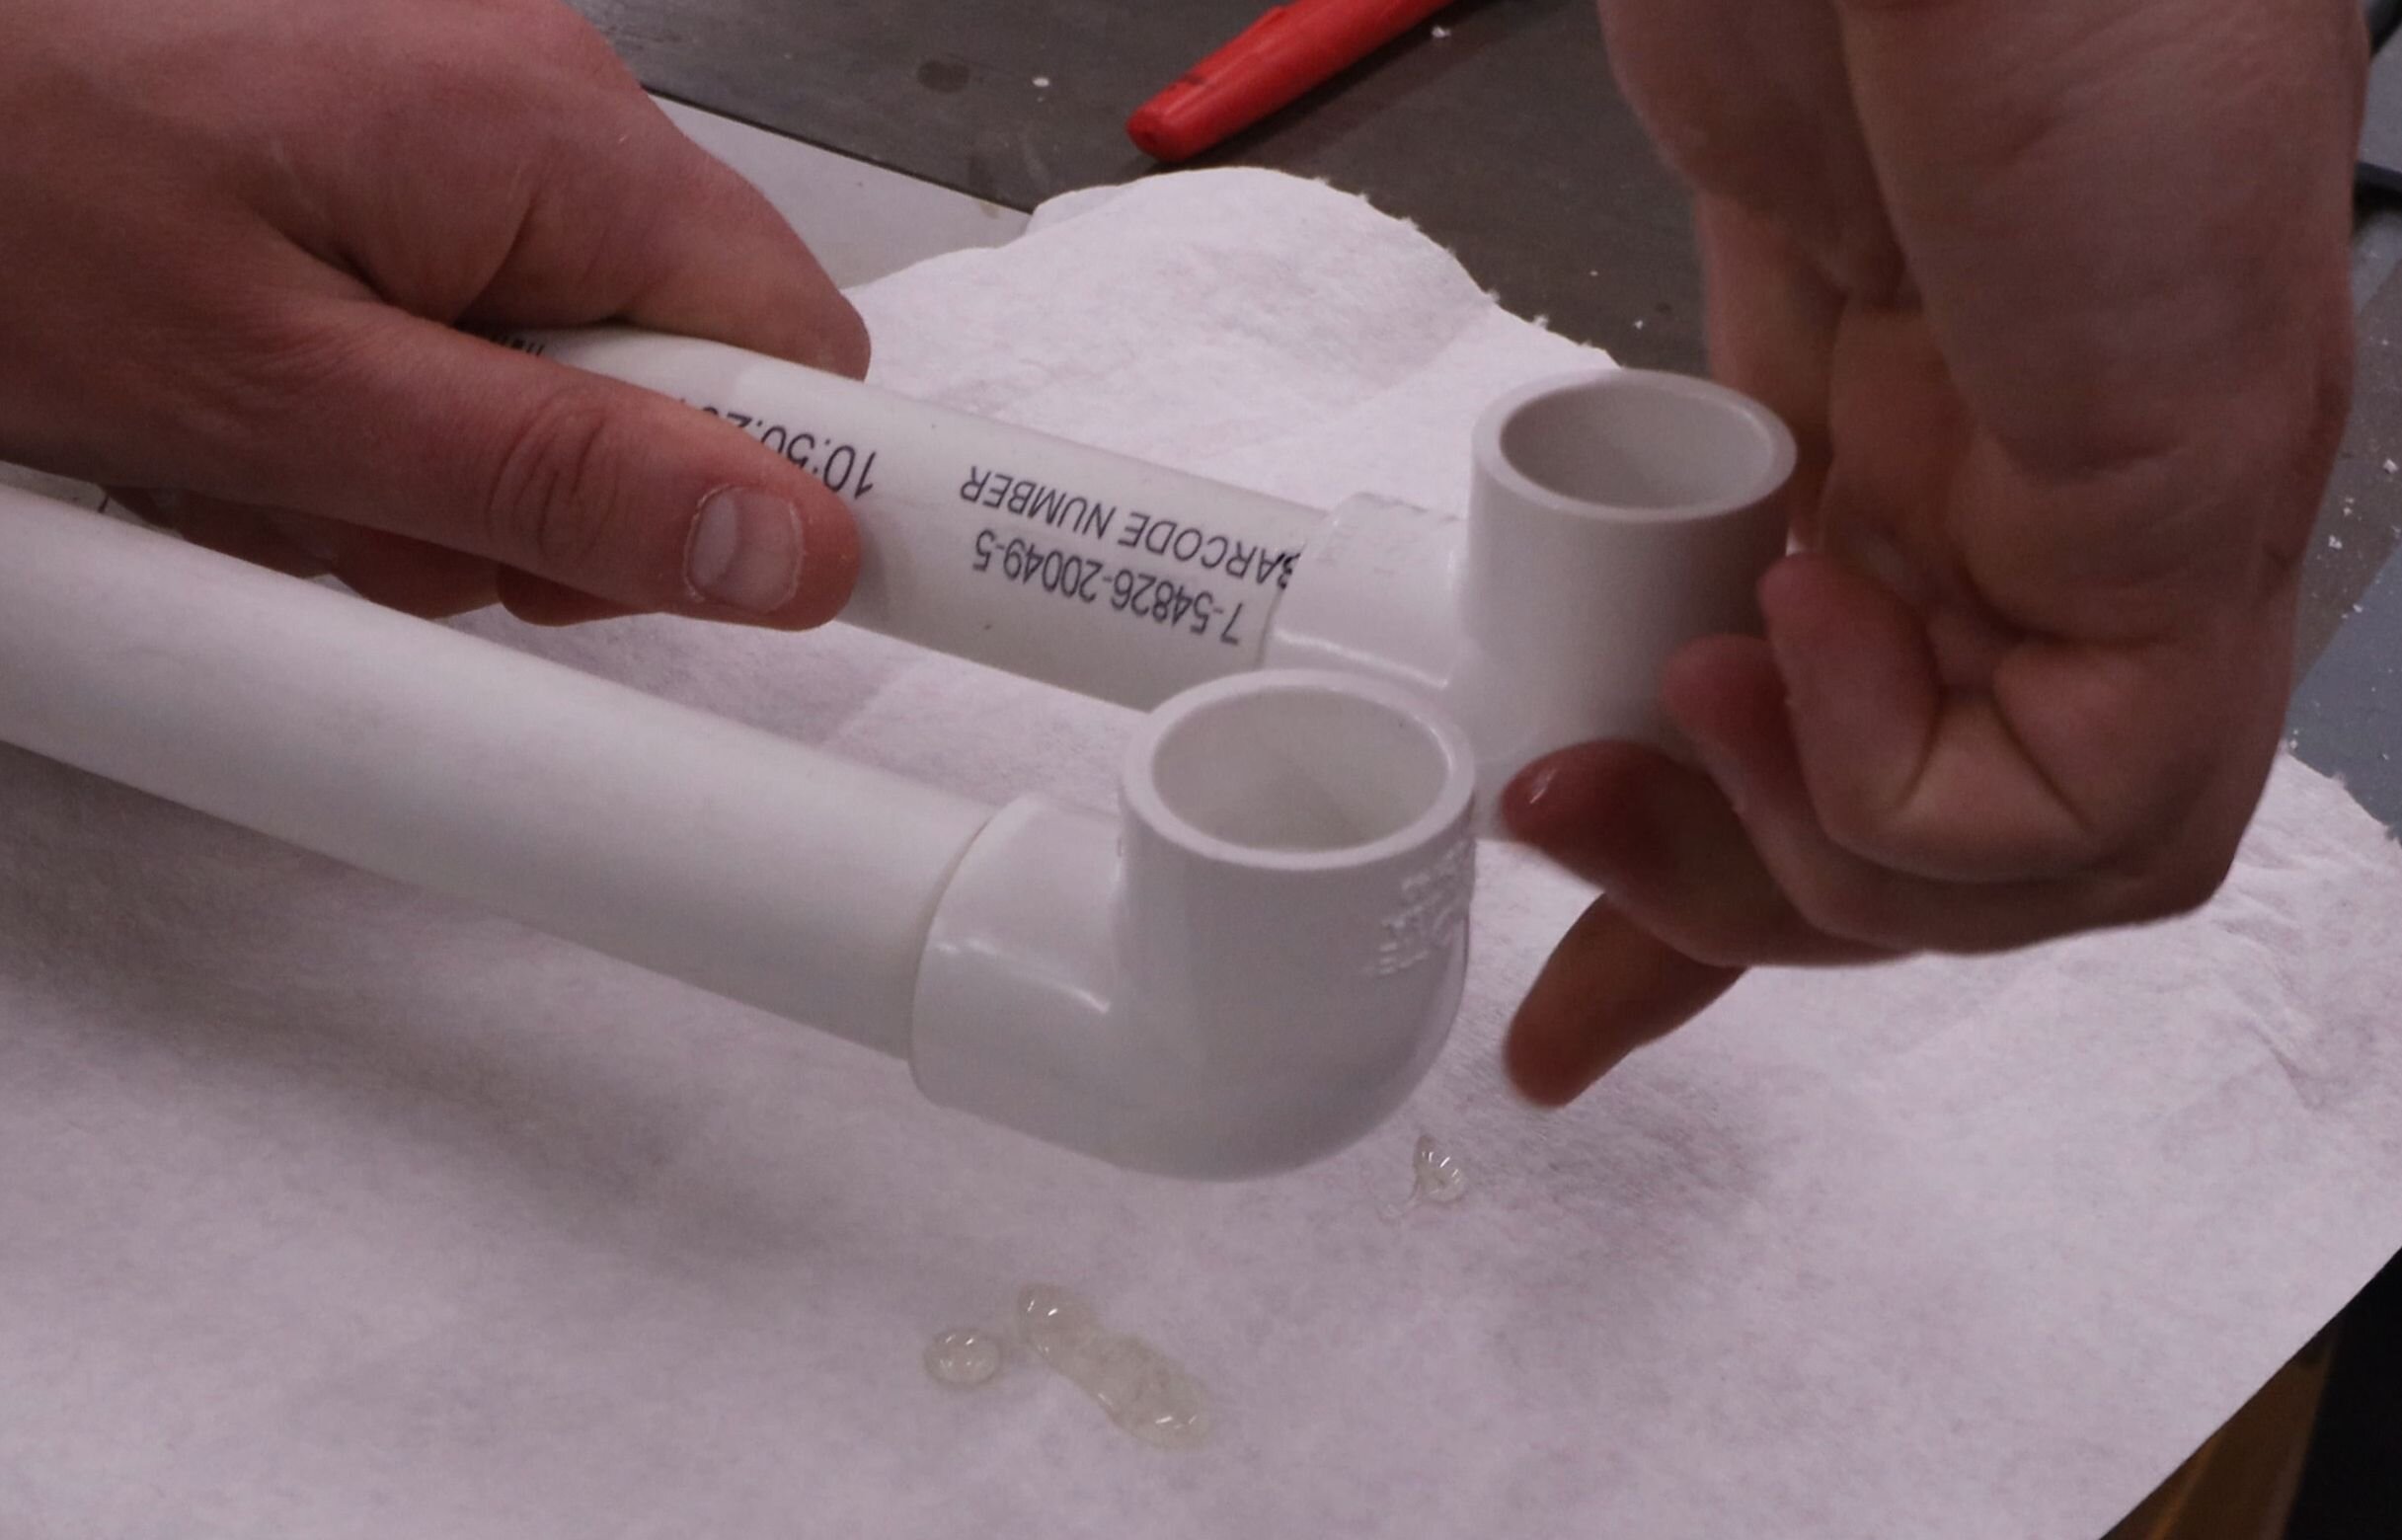
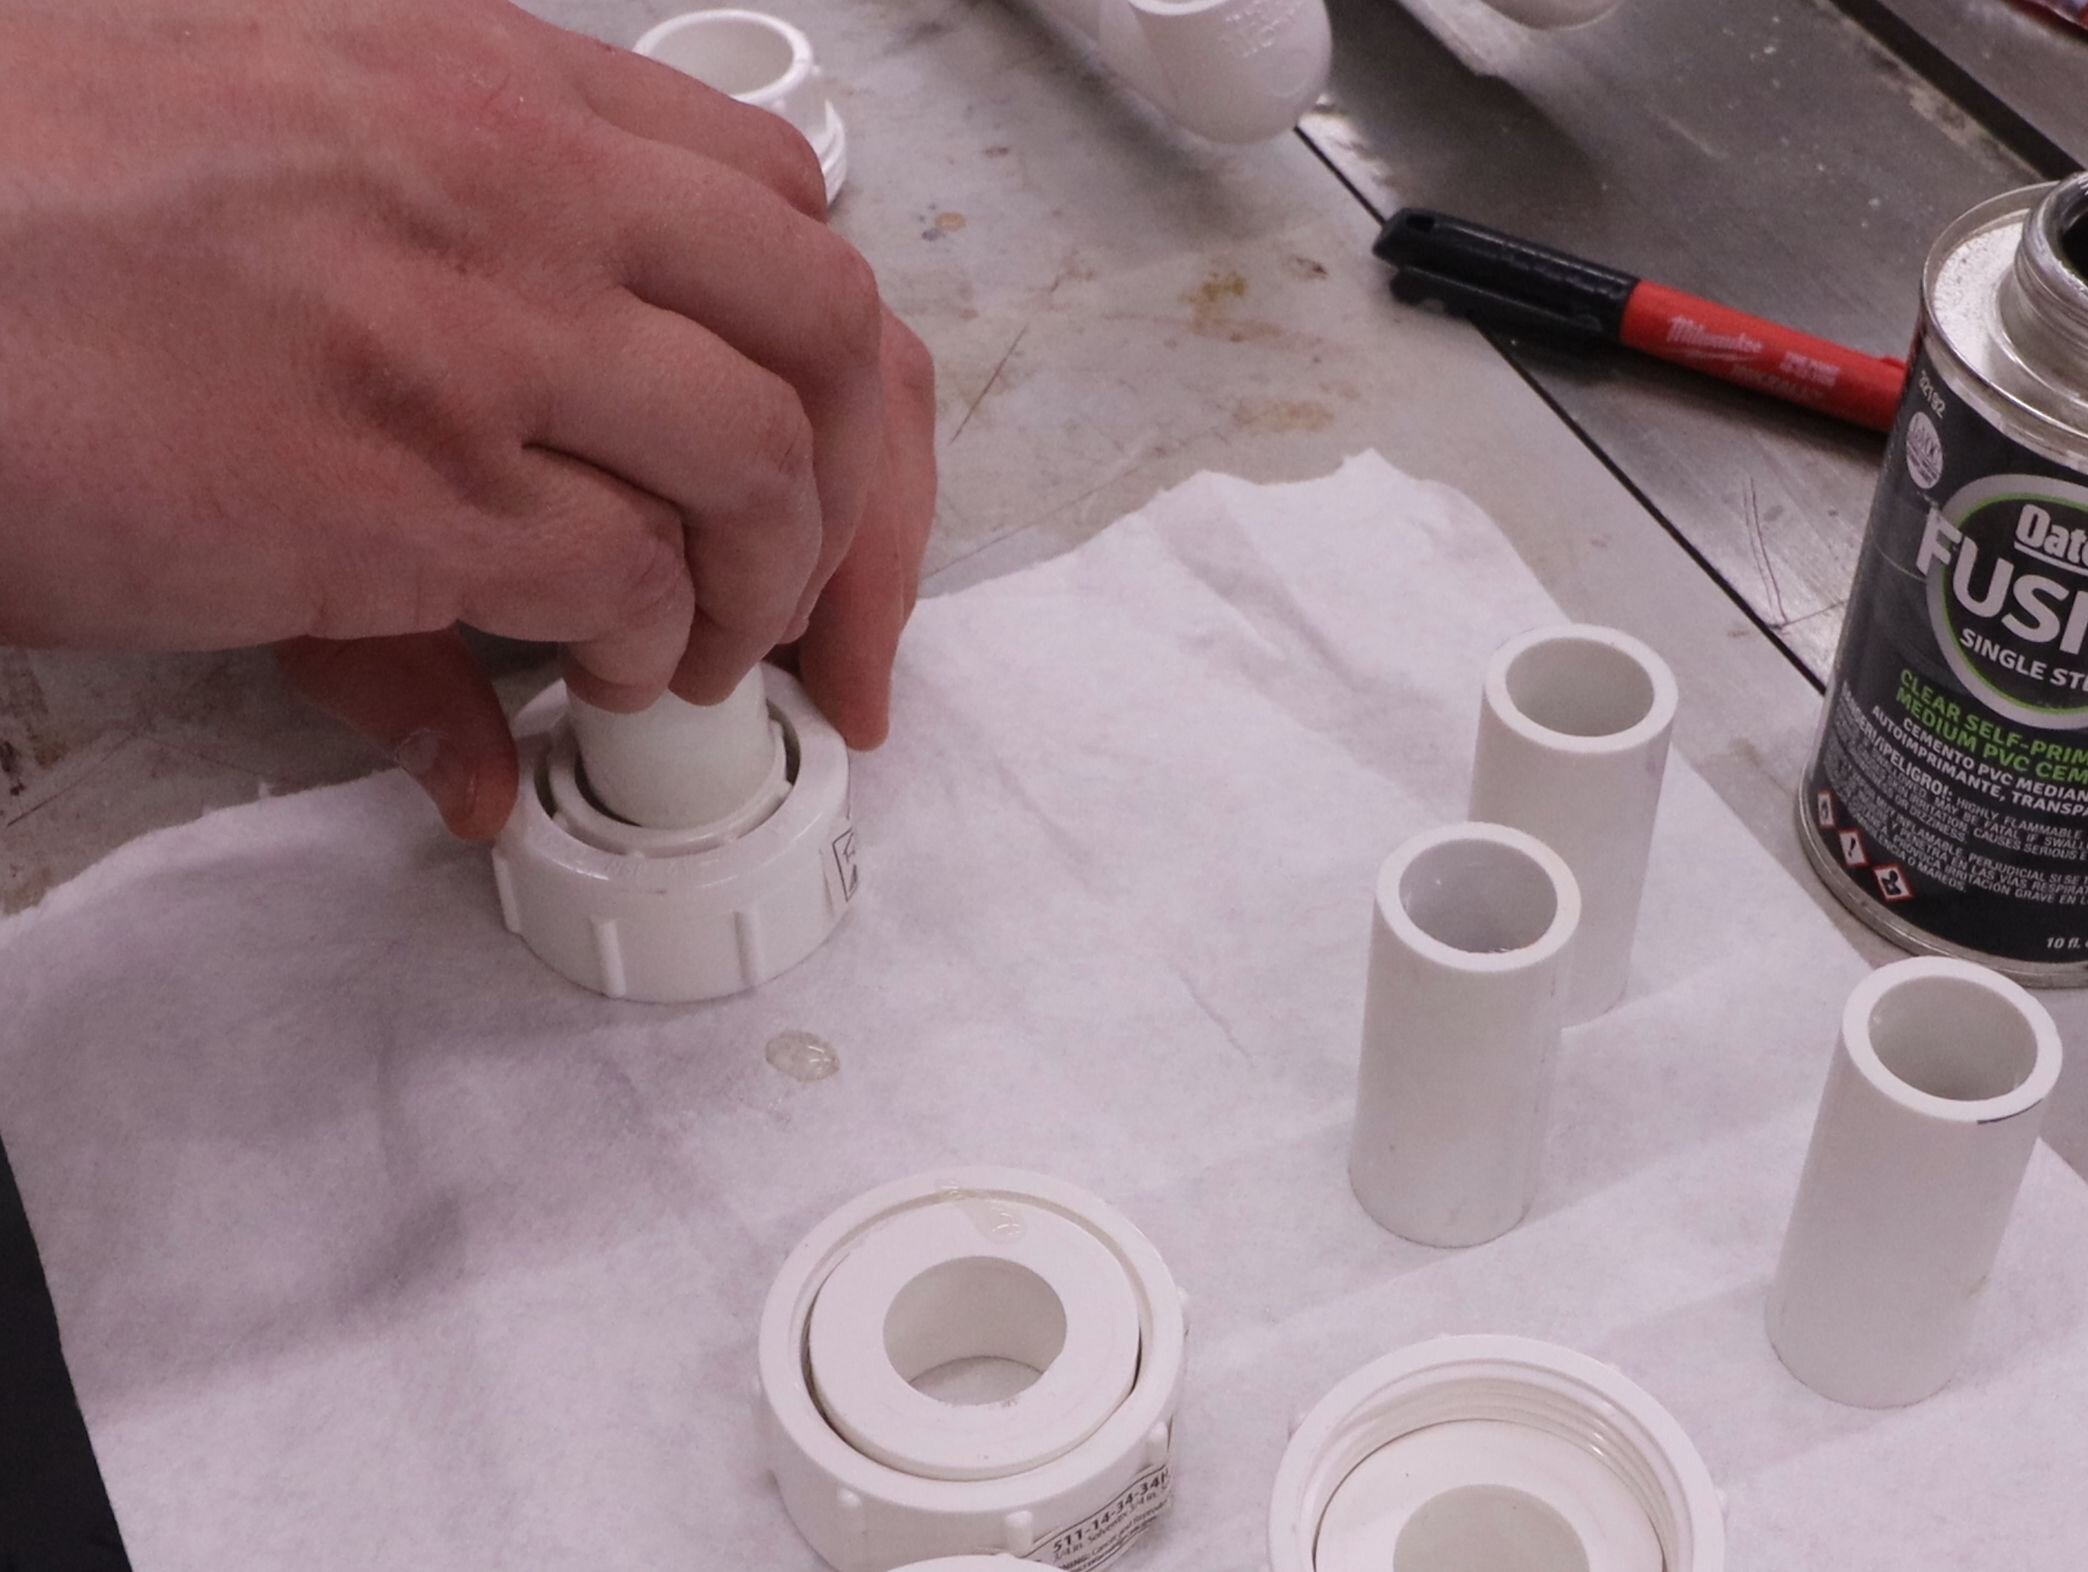
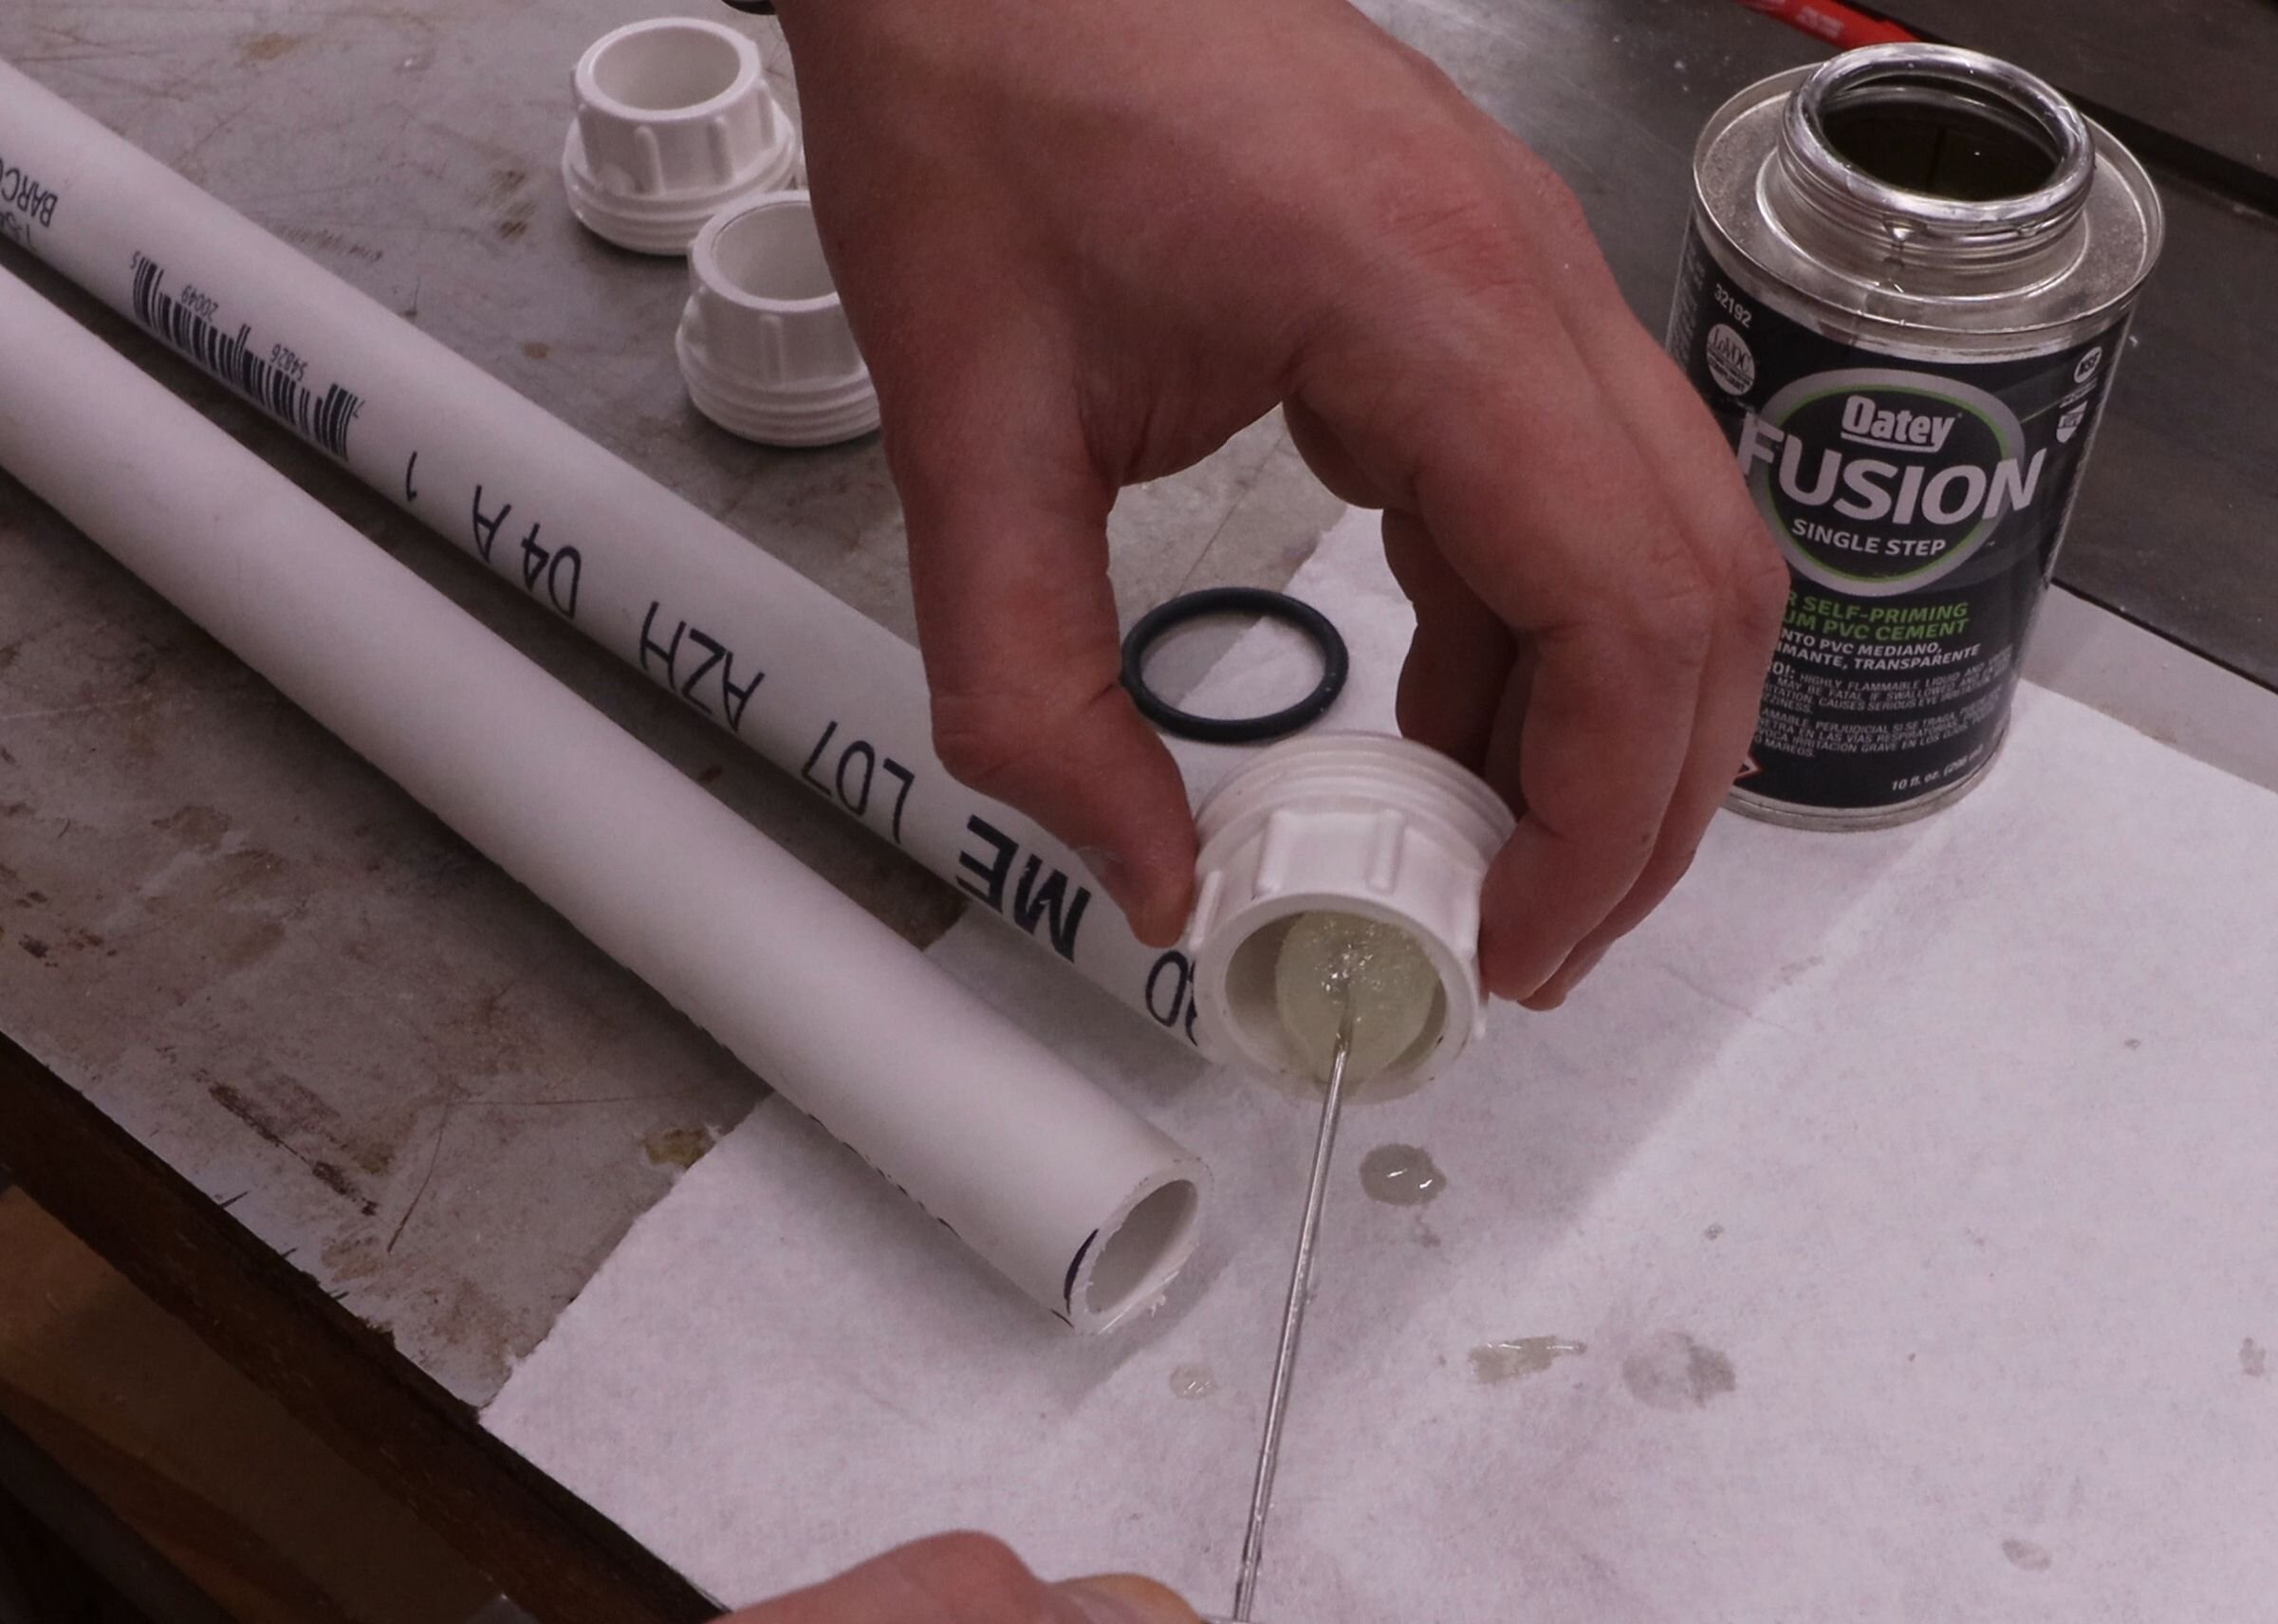
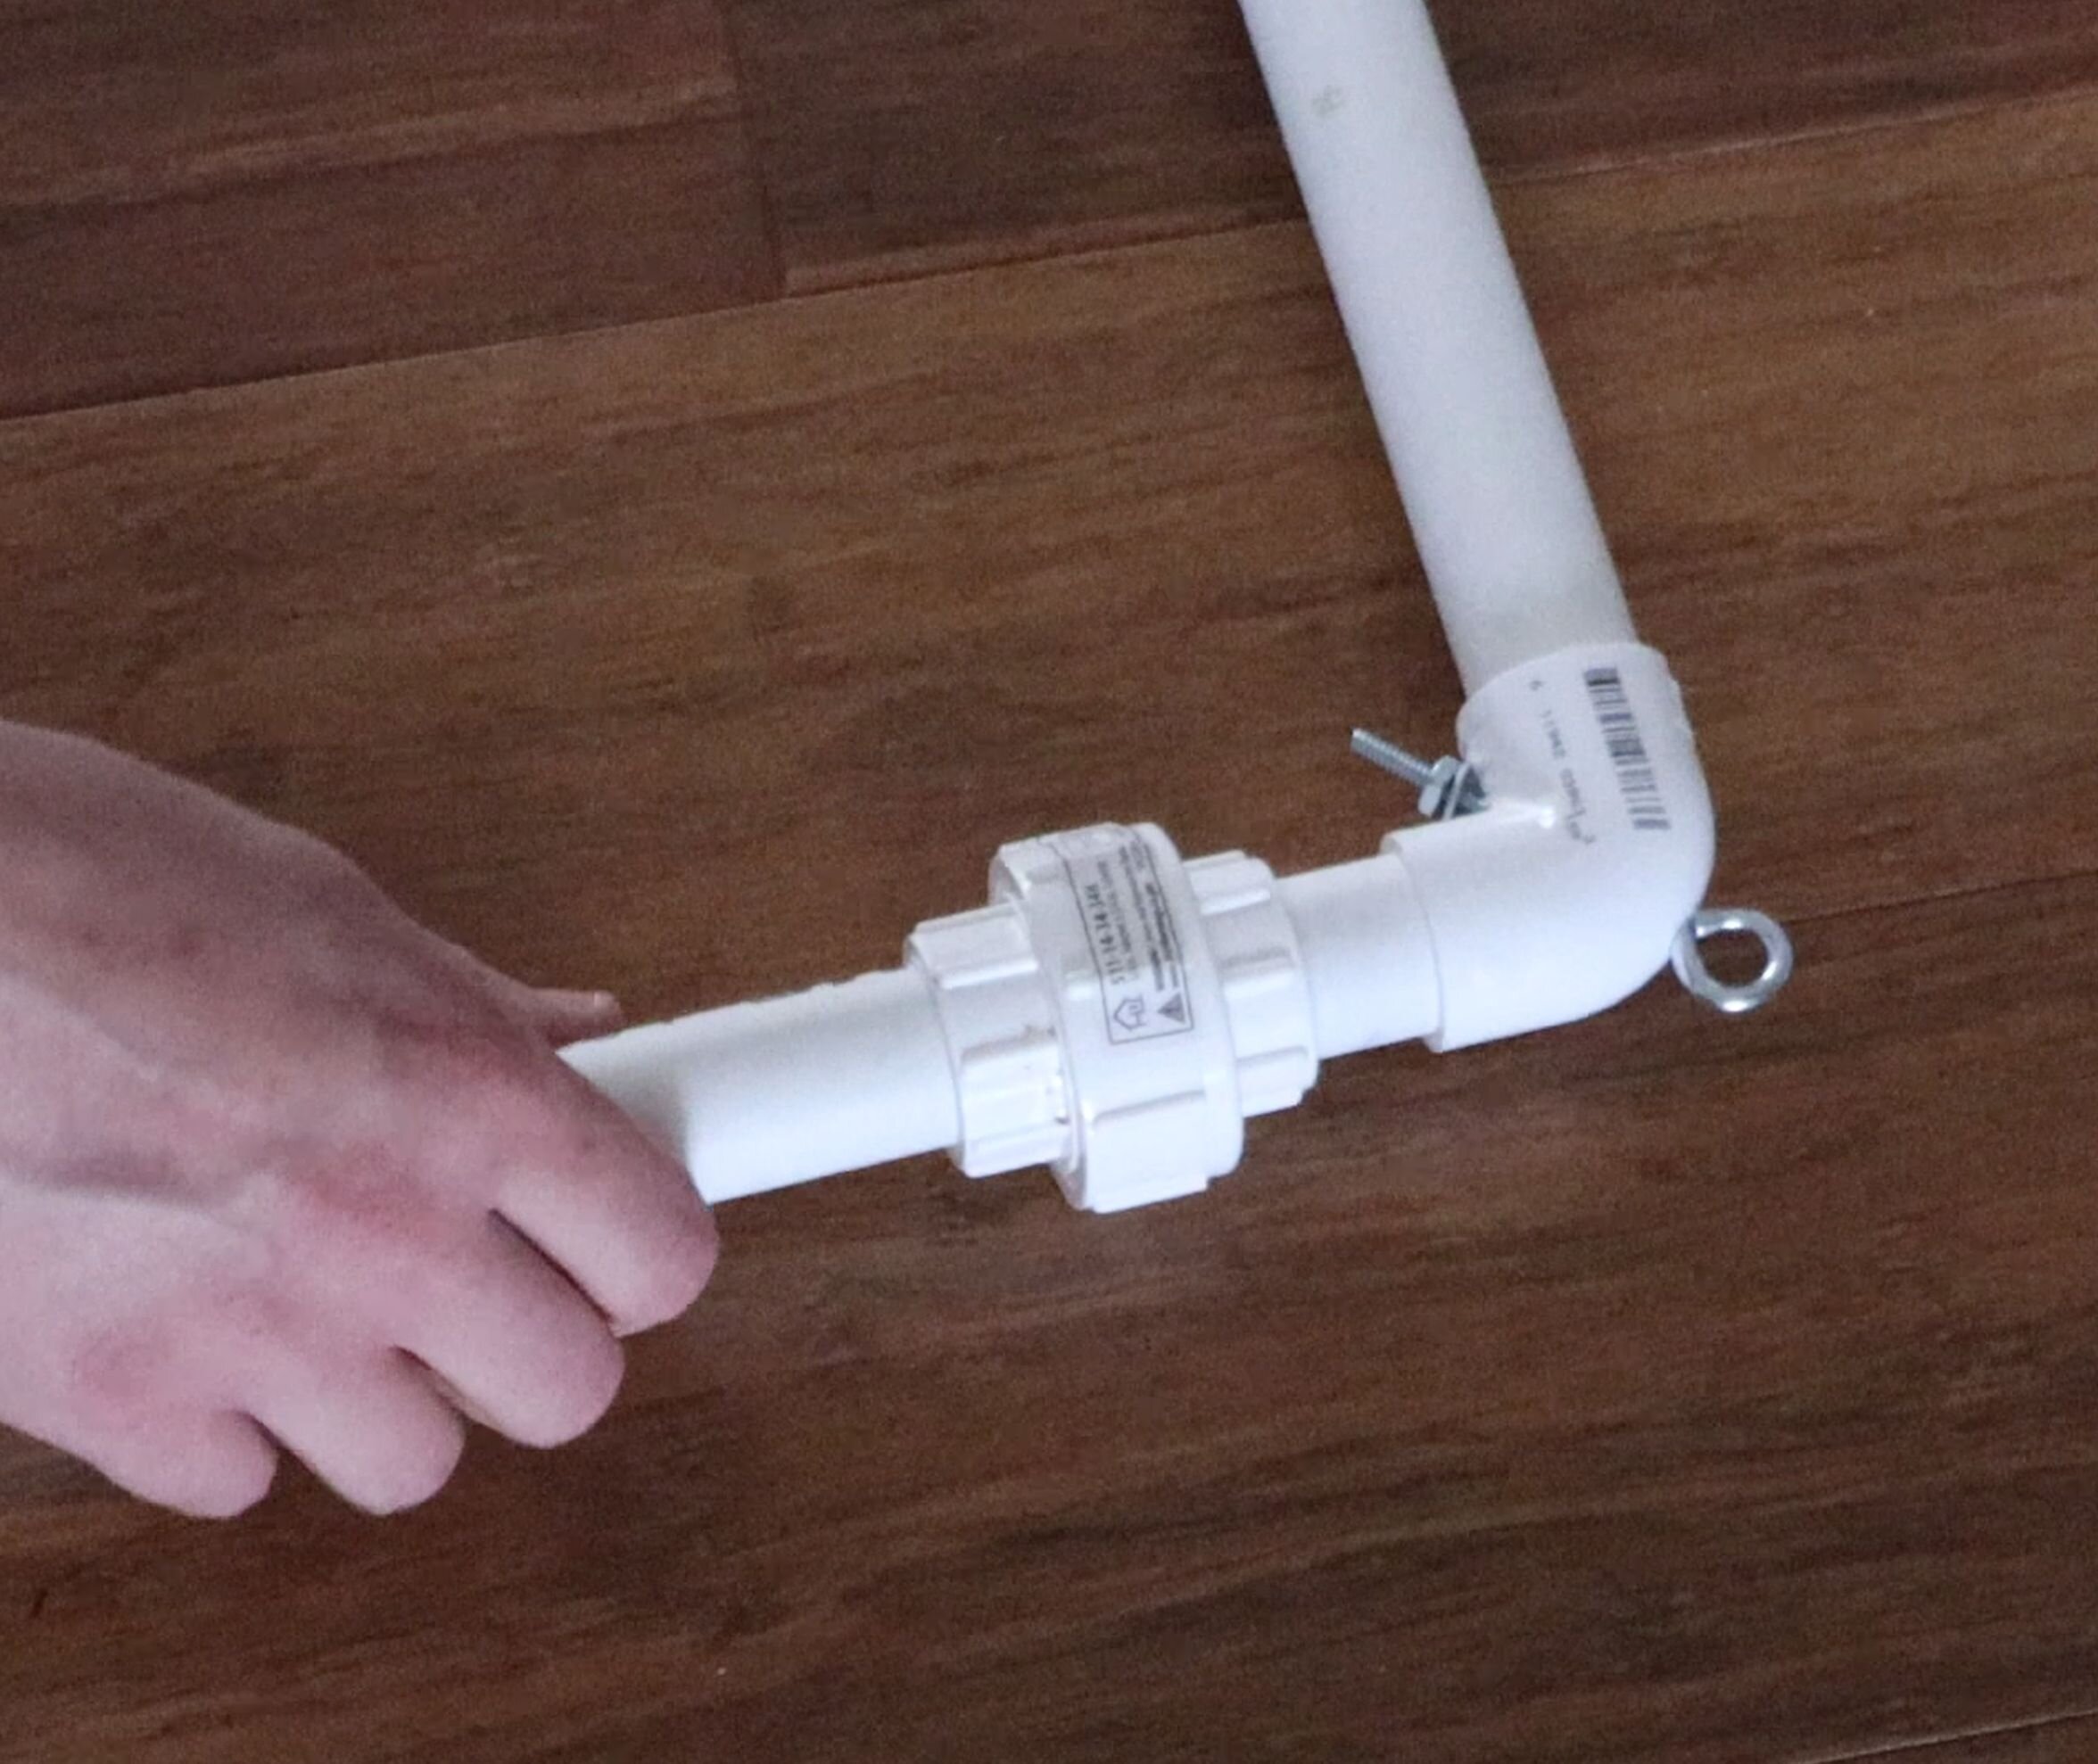
Unscrew the four union fittings to separate the halves. Glue the 2" (50mm) piece onto the half of the union fitting that has the nut attached.
Note: you can glue the union fittings in any orientation you want, but this way captures the nut in the corner of the frame, which is more convenient.
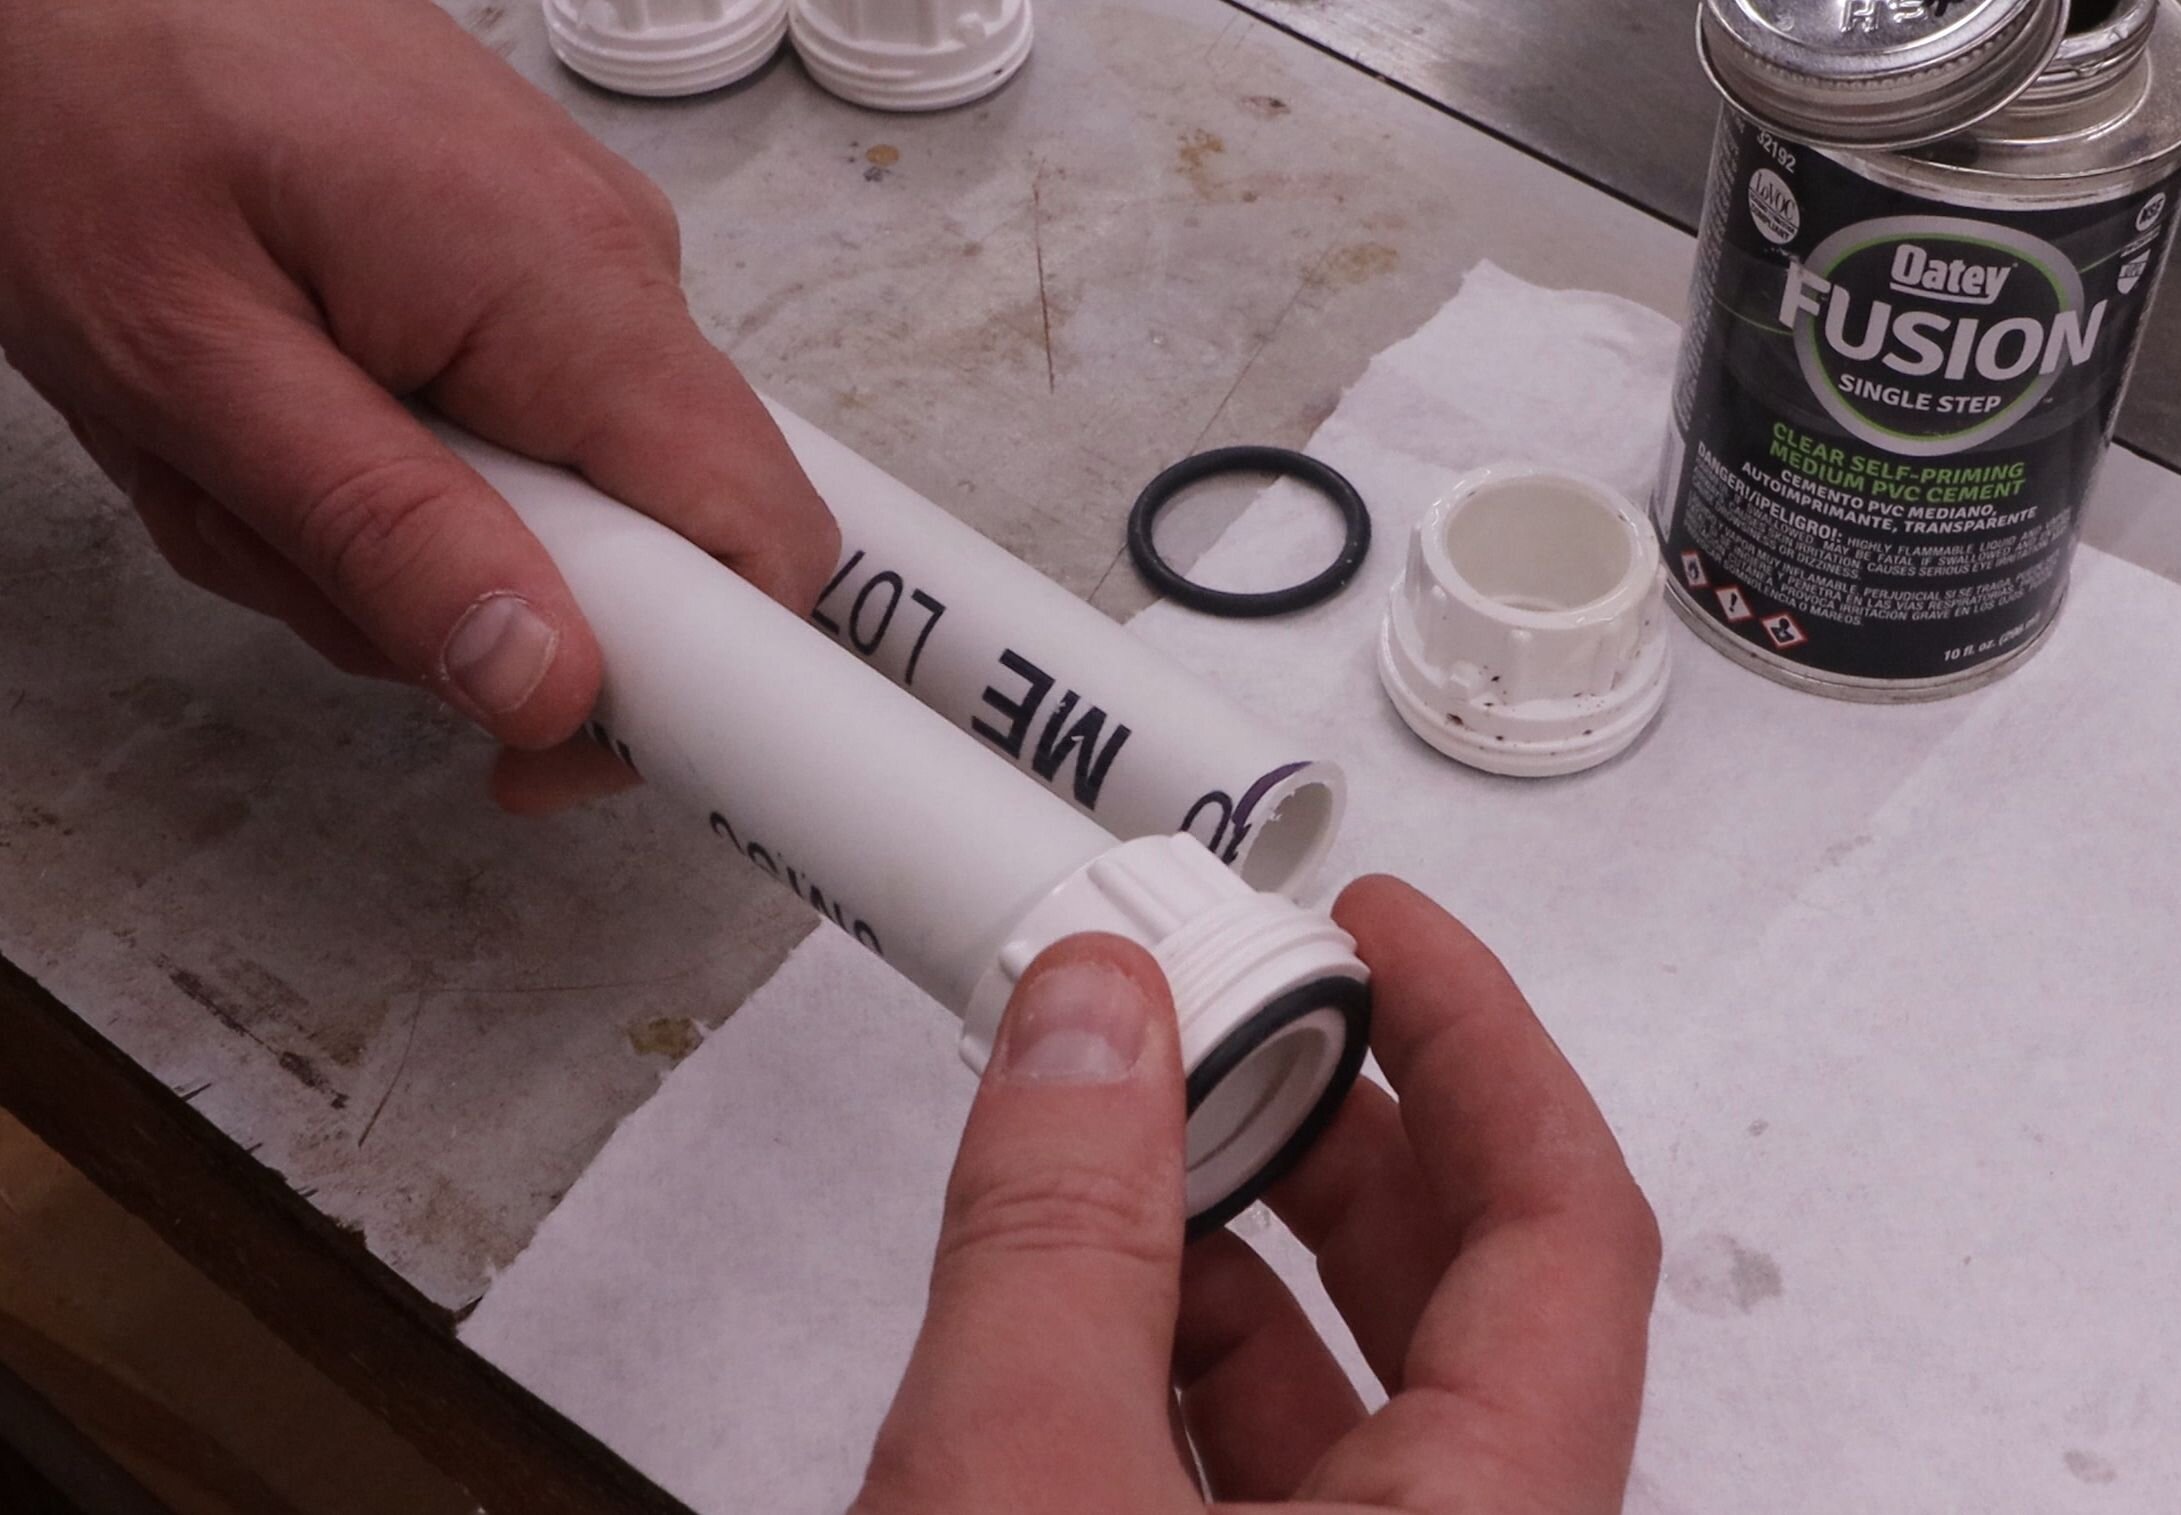
Wipe some PVC cement in each of the four elbows at the corners, and attach the union fitting assembly to them.
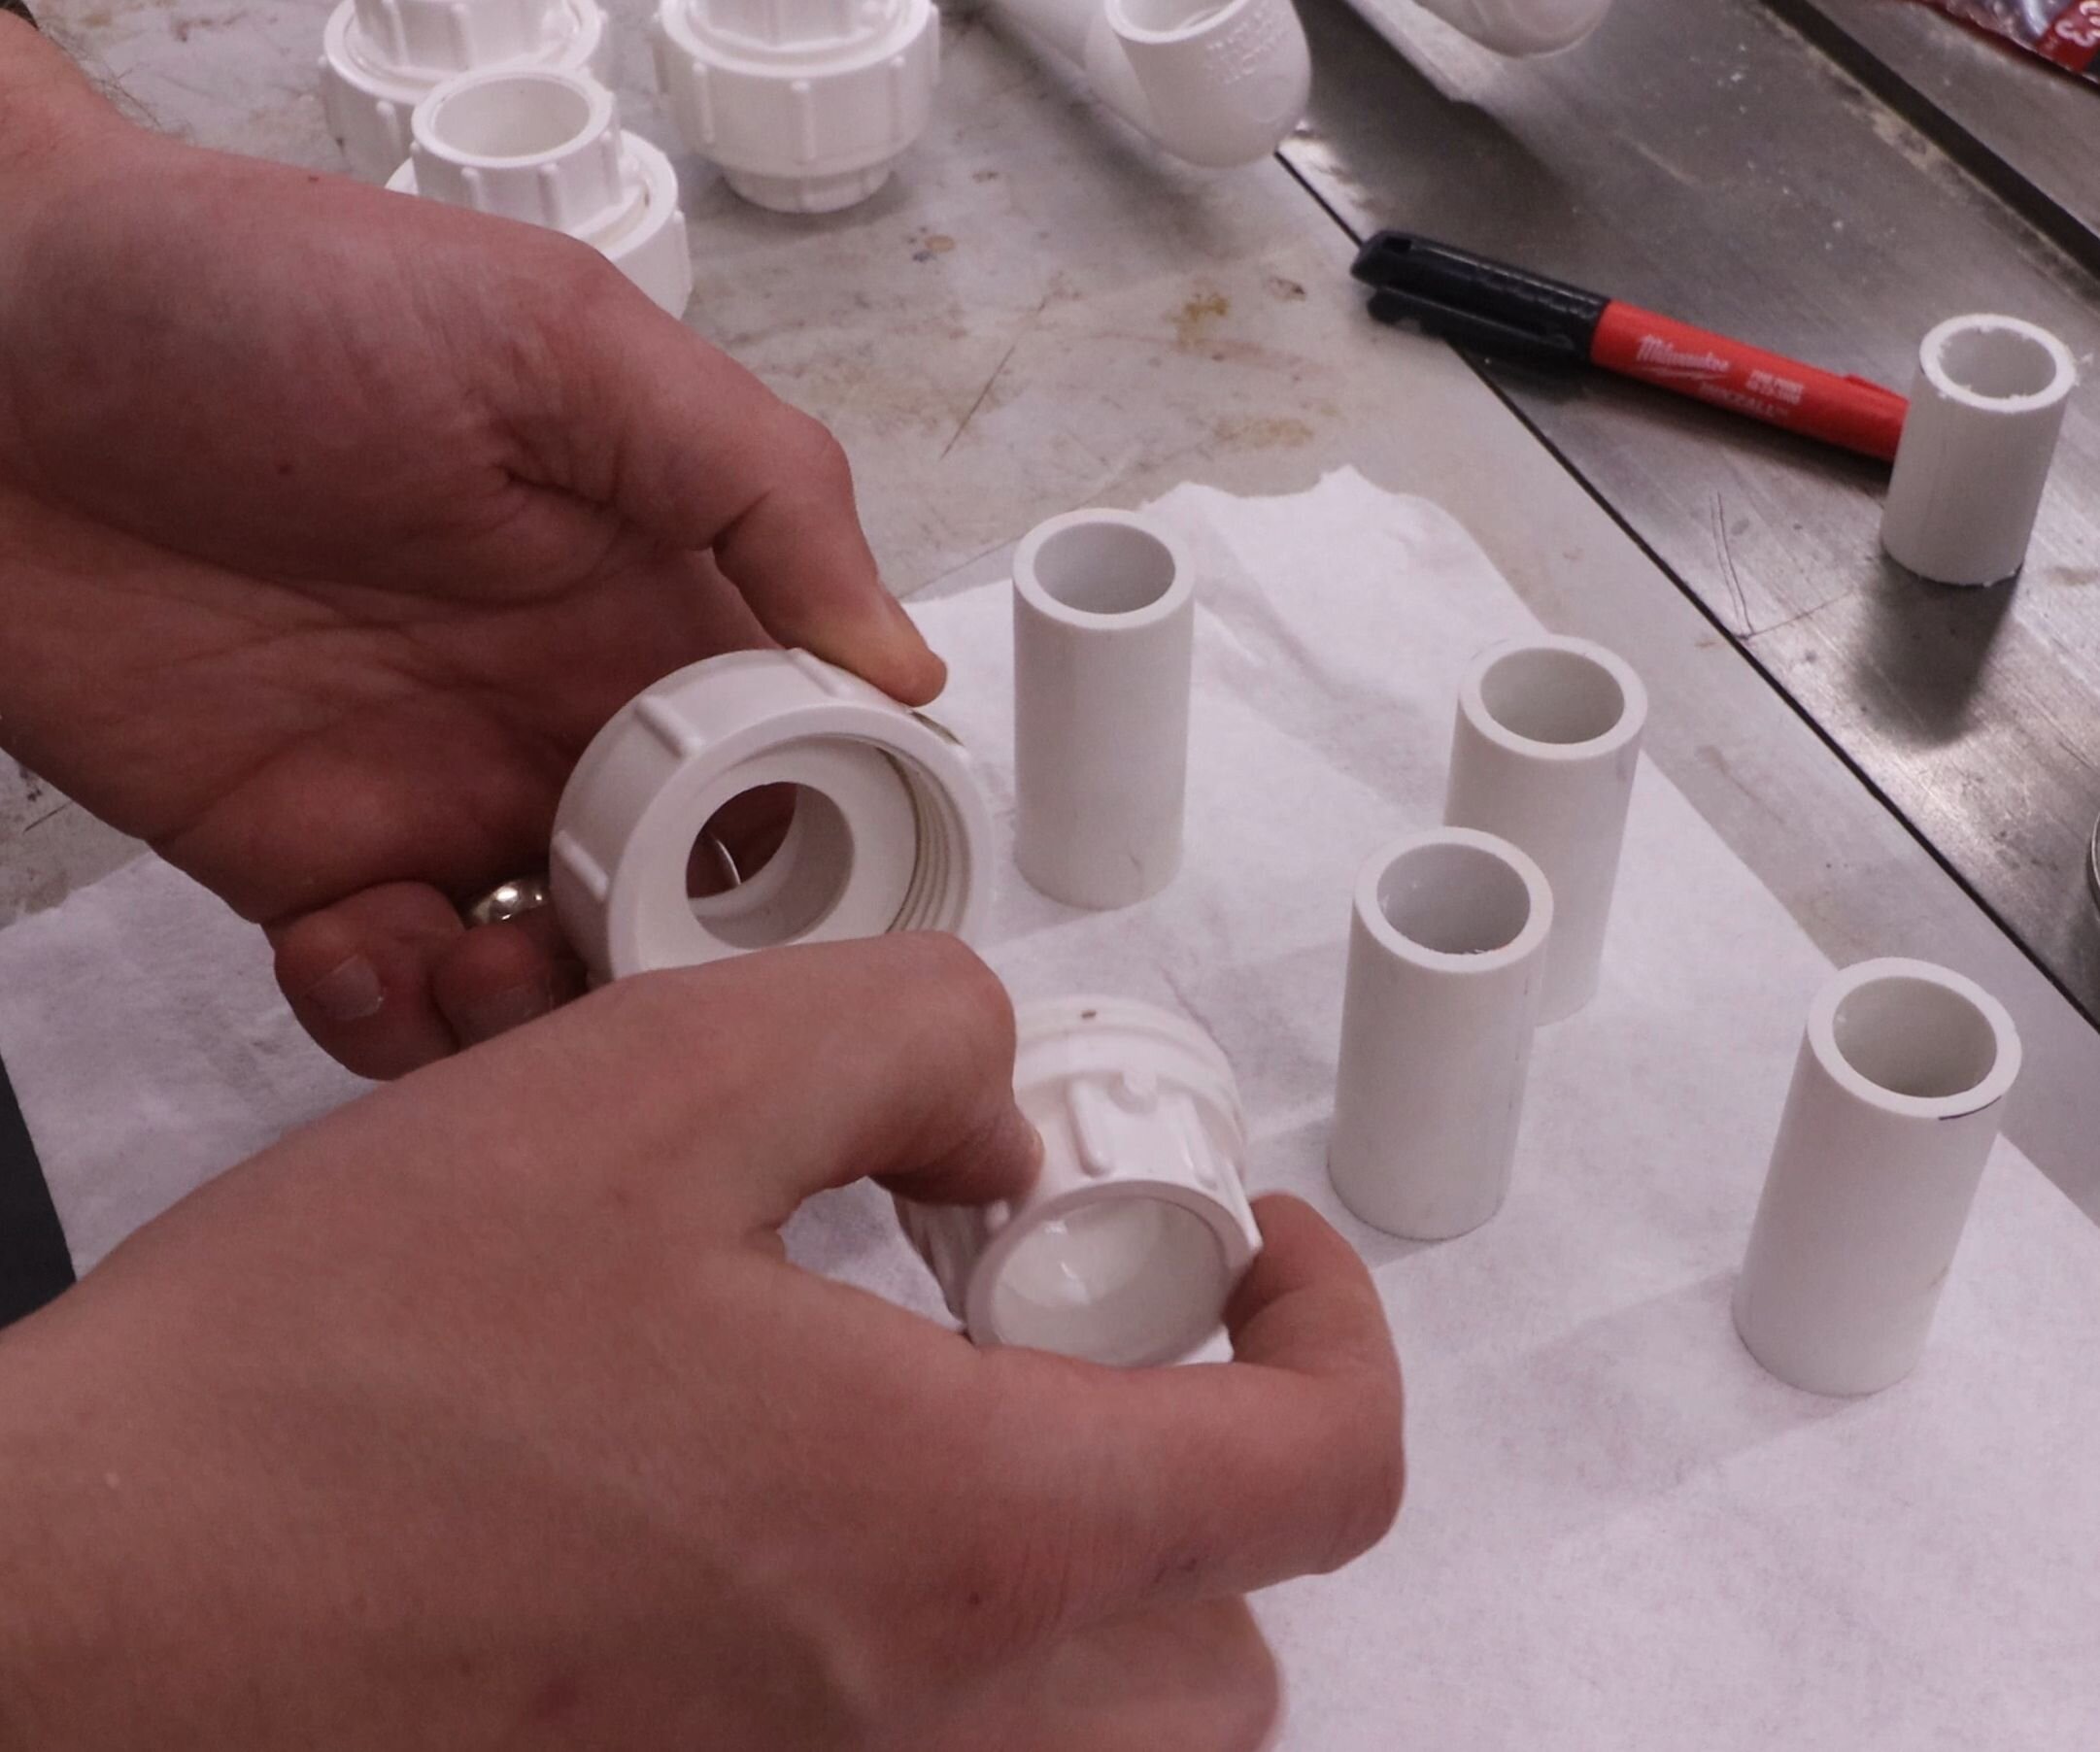

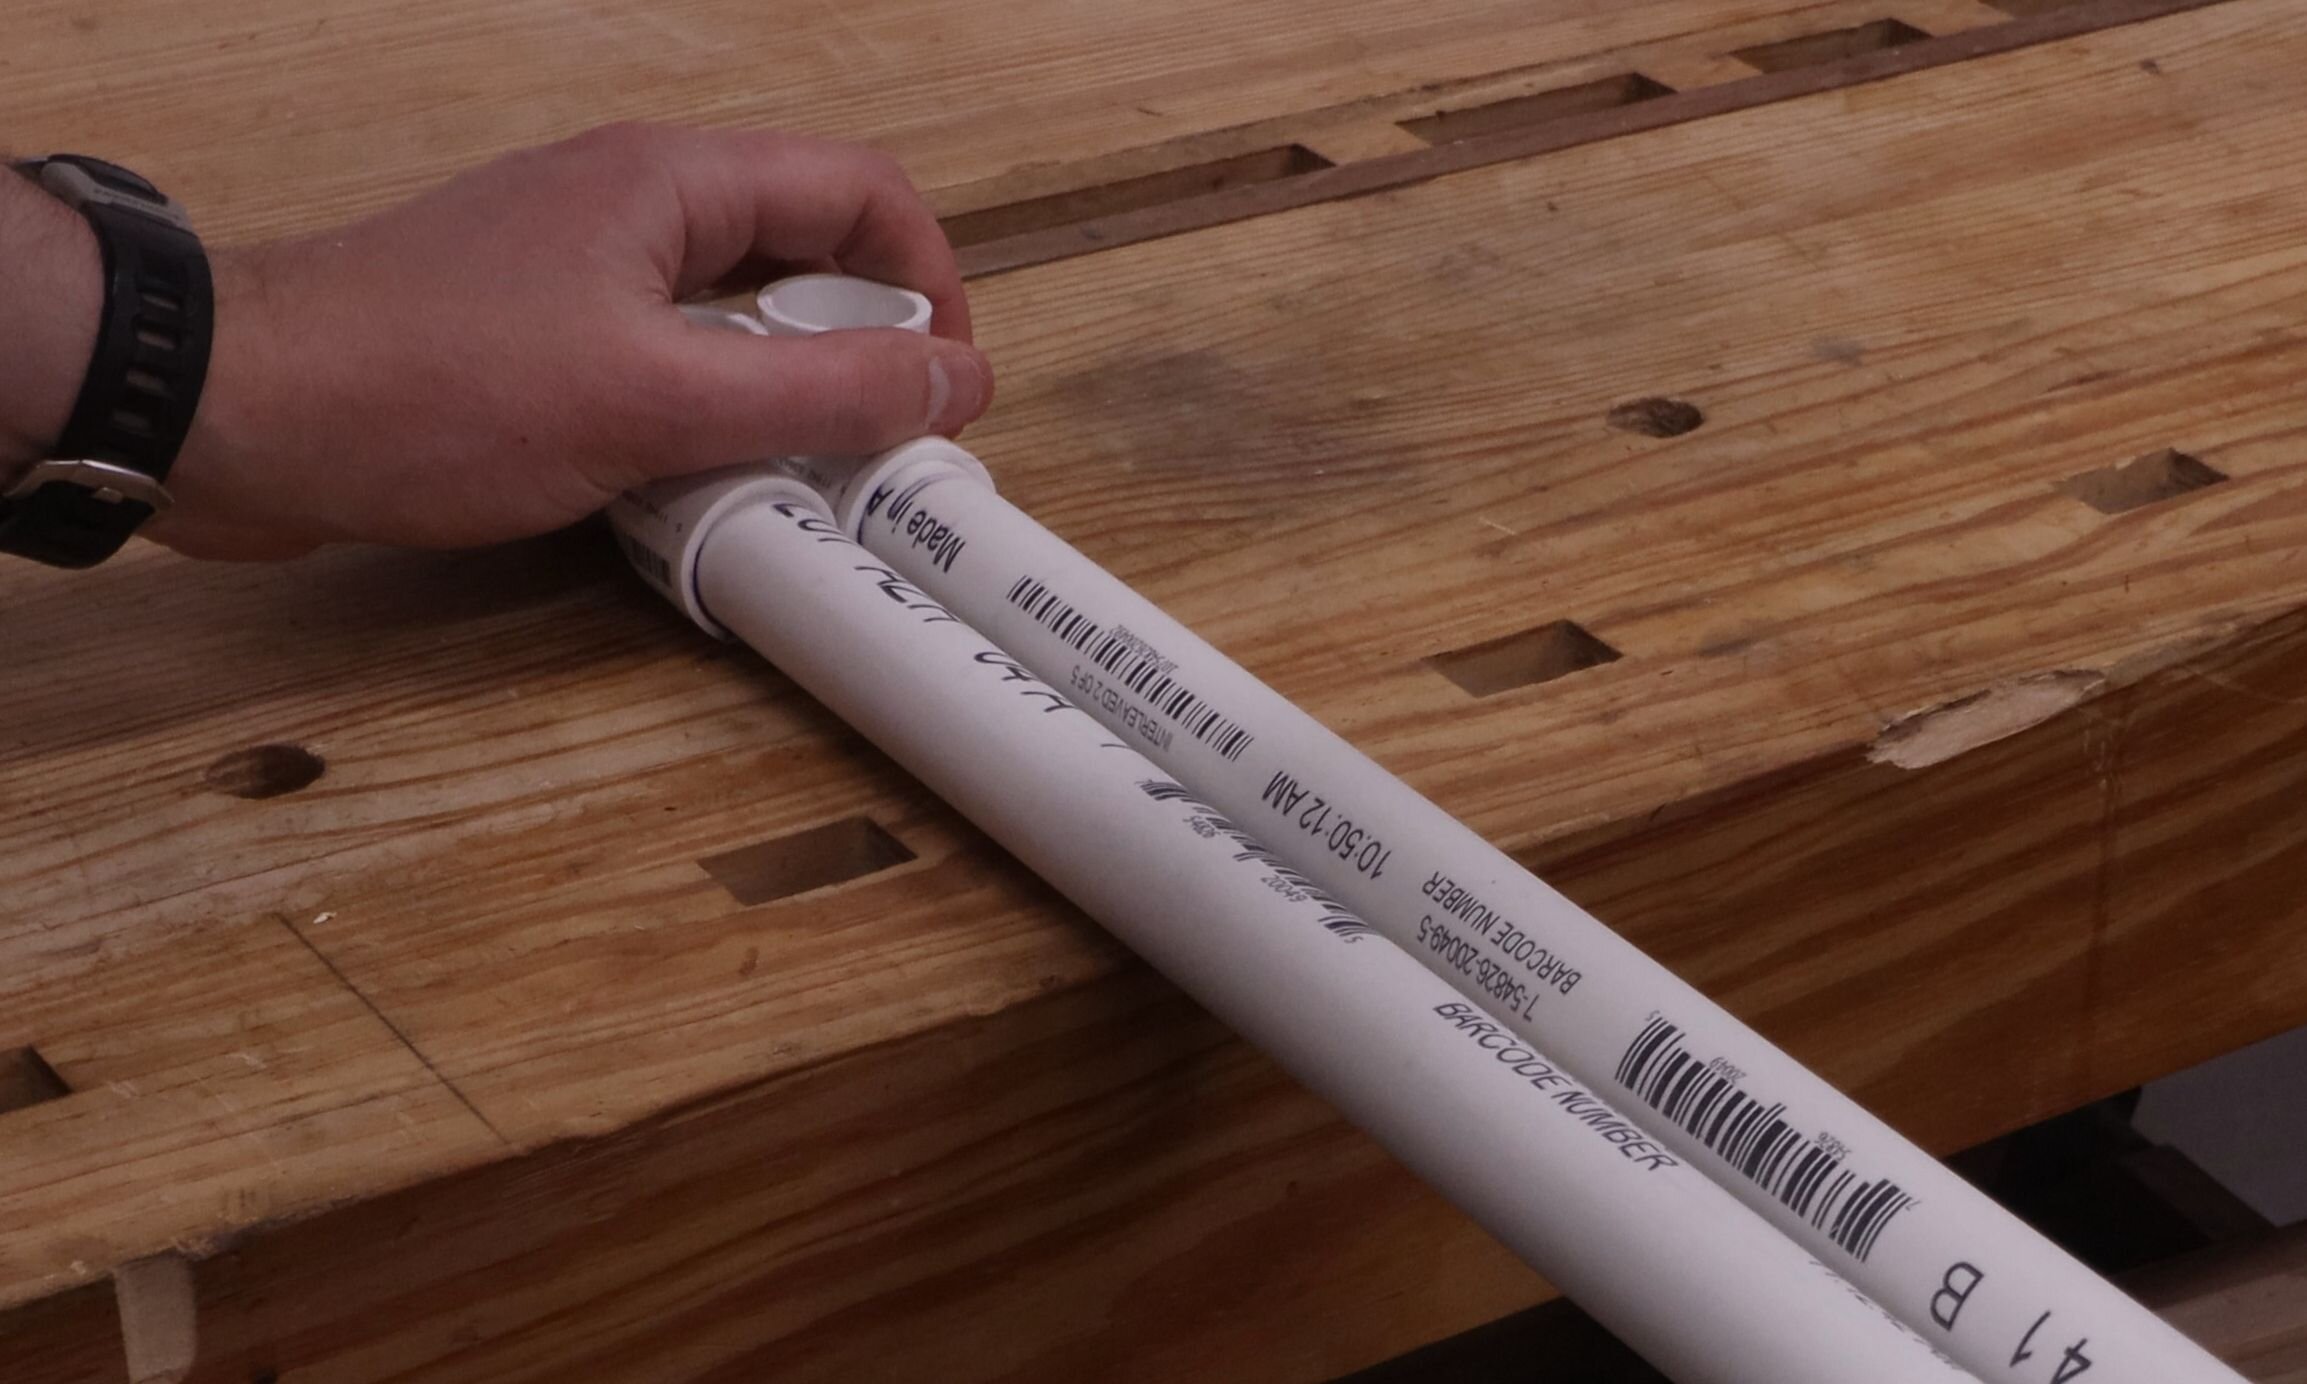
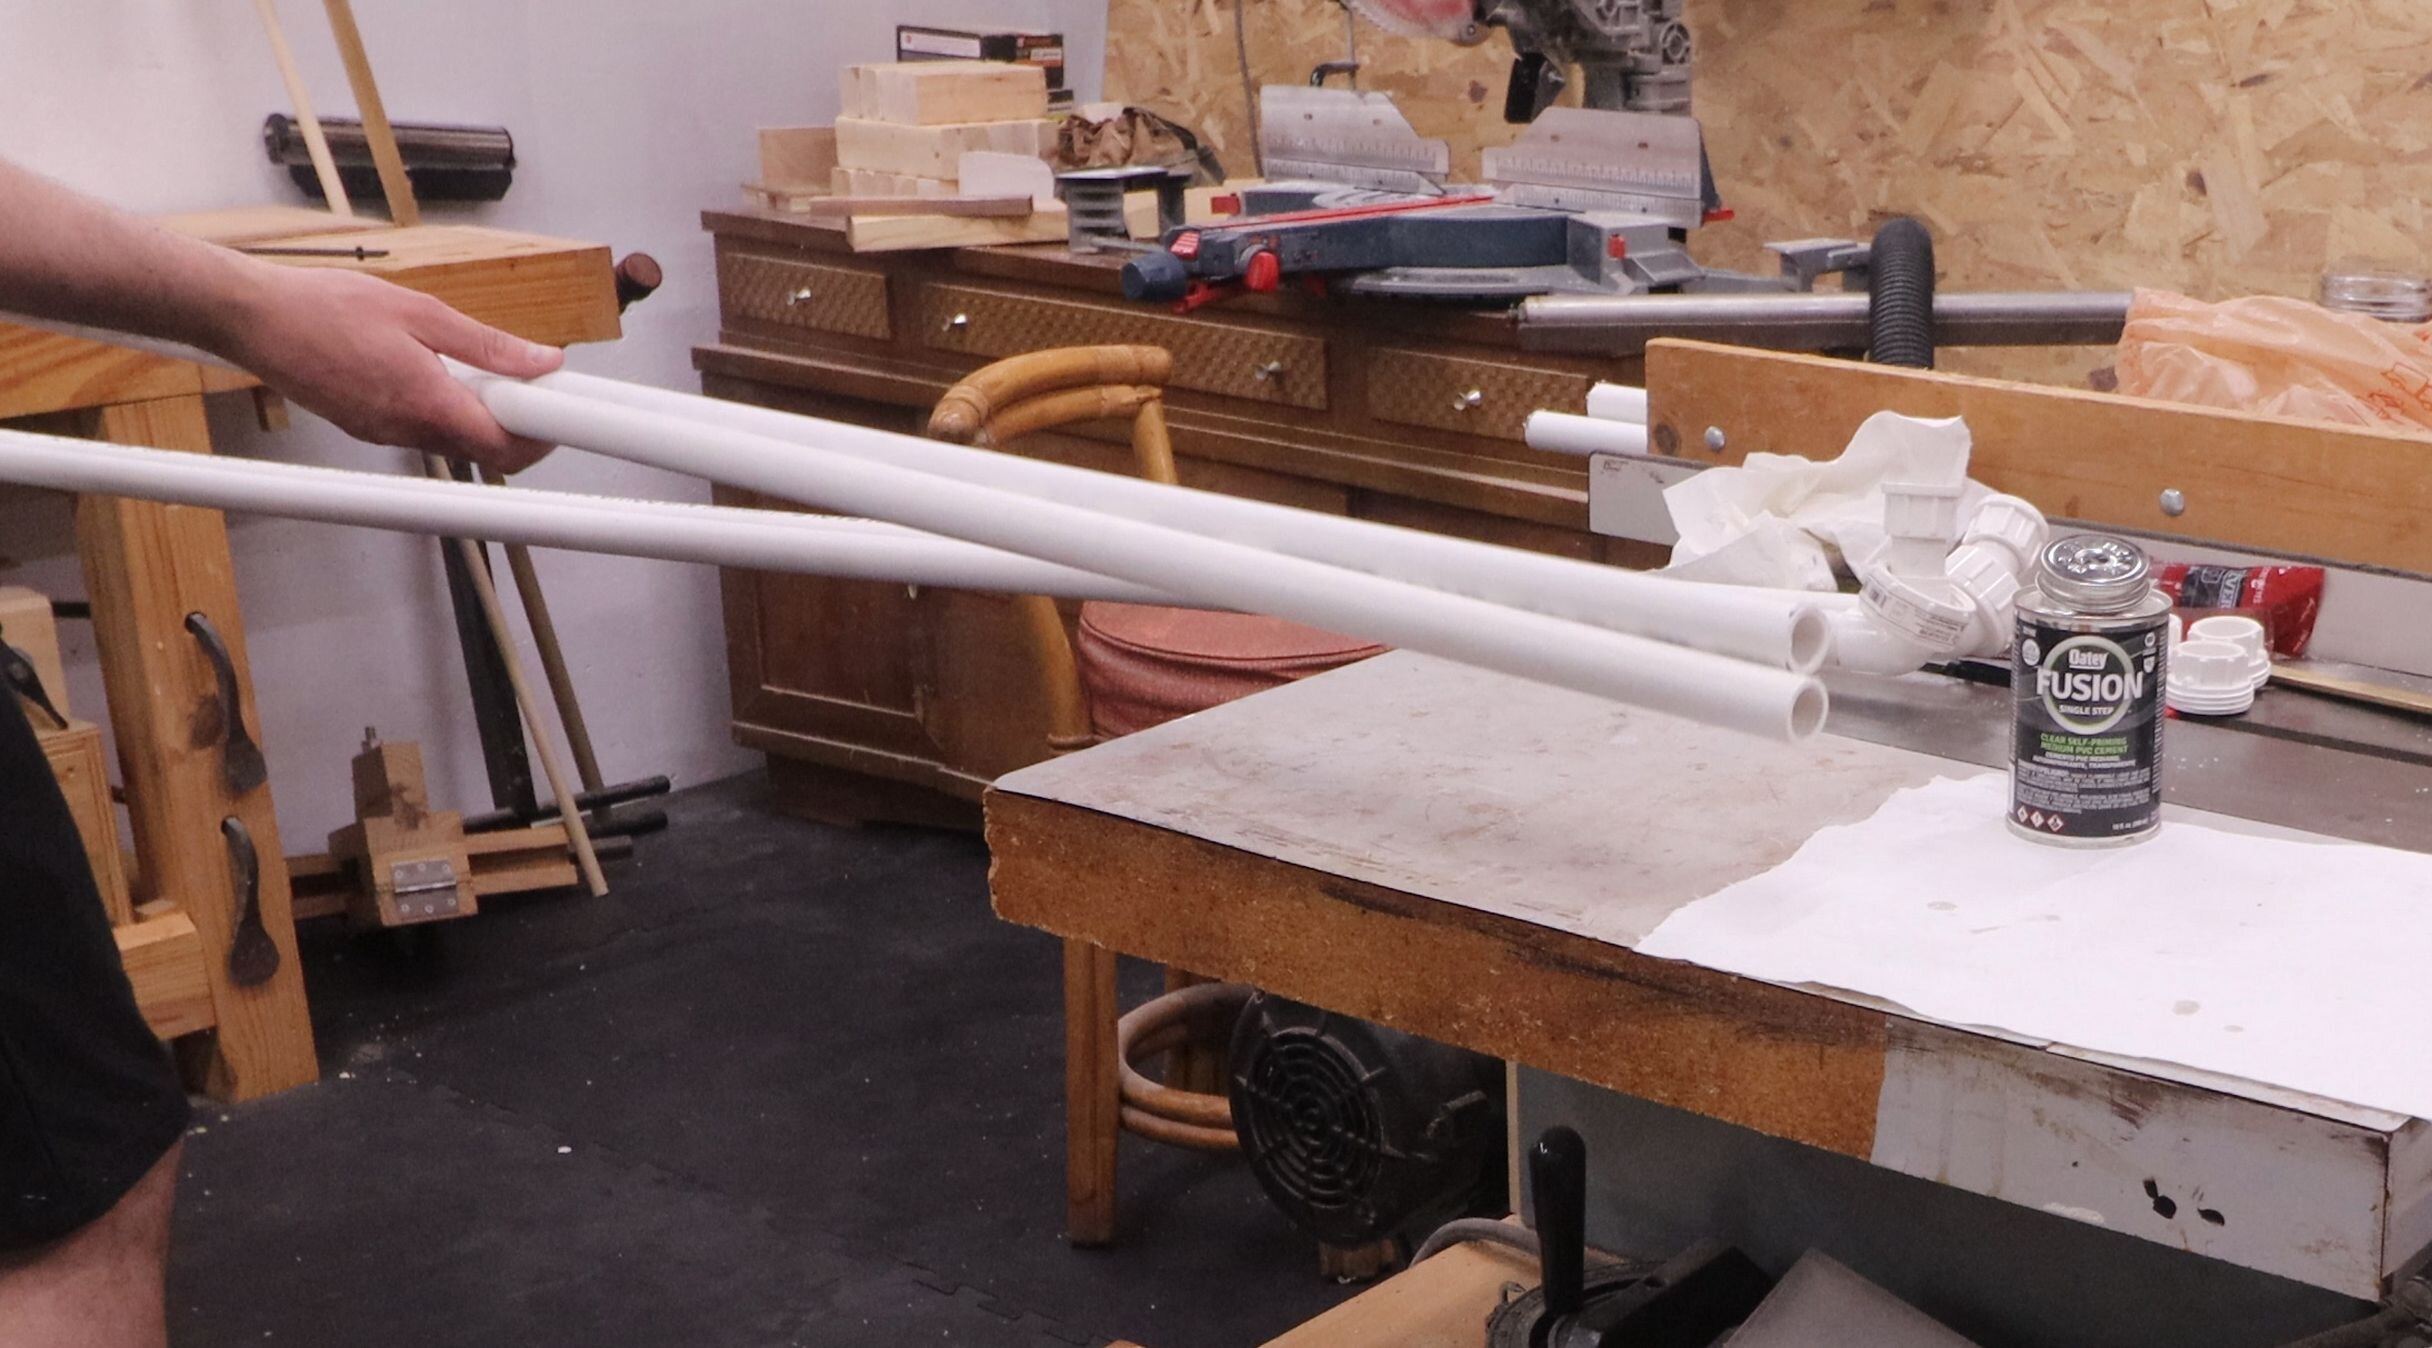
The long (horizontal) pieces are finished assembly. Now for the short (vertical) pieces.
Use PVC cement to glue the other half of the union fitting to the ends of the shorter (vertical) pieces.
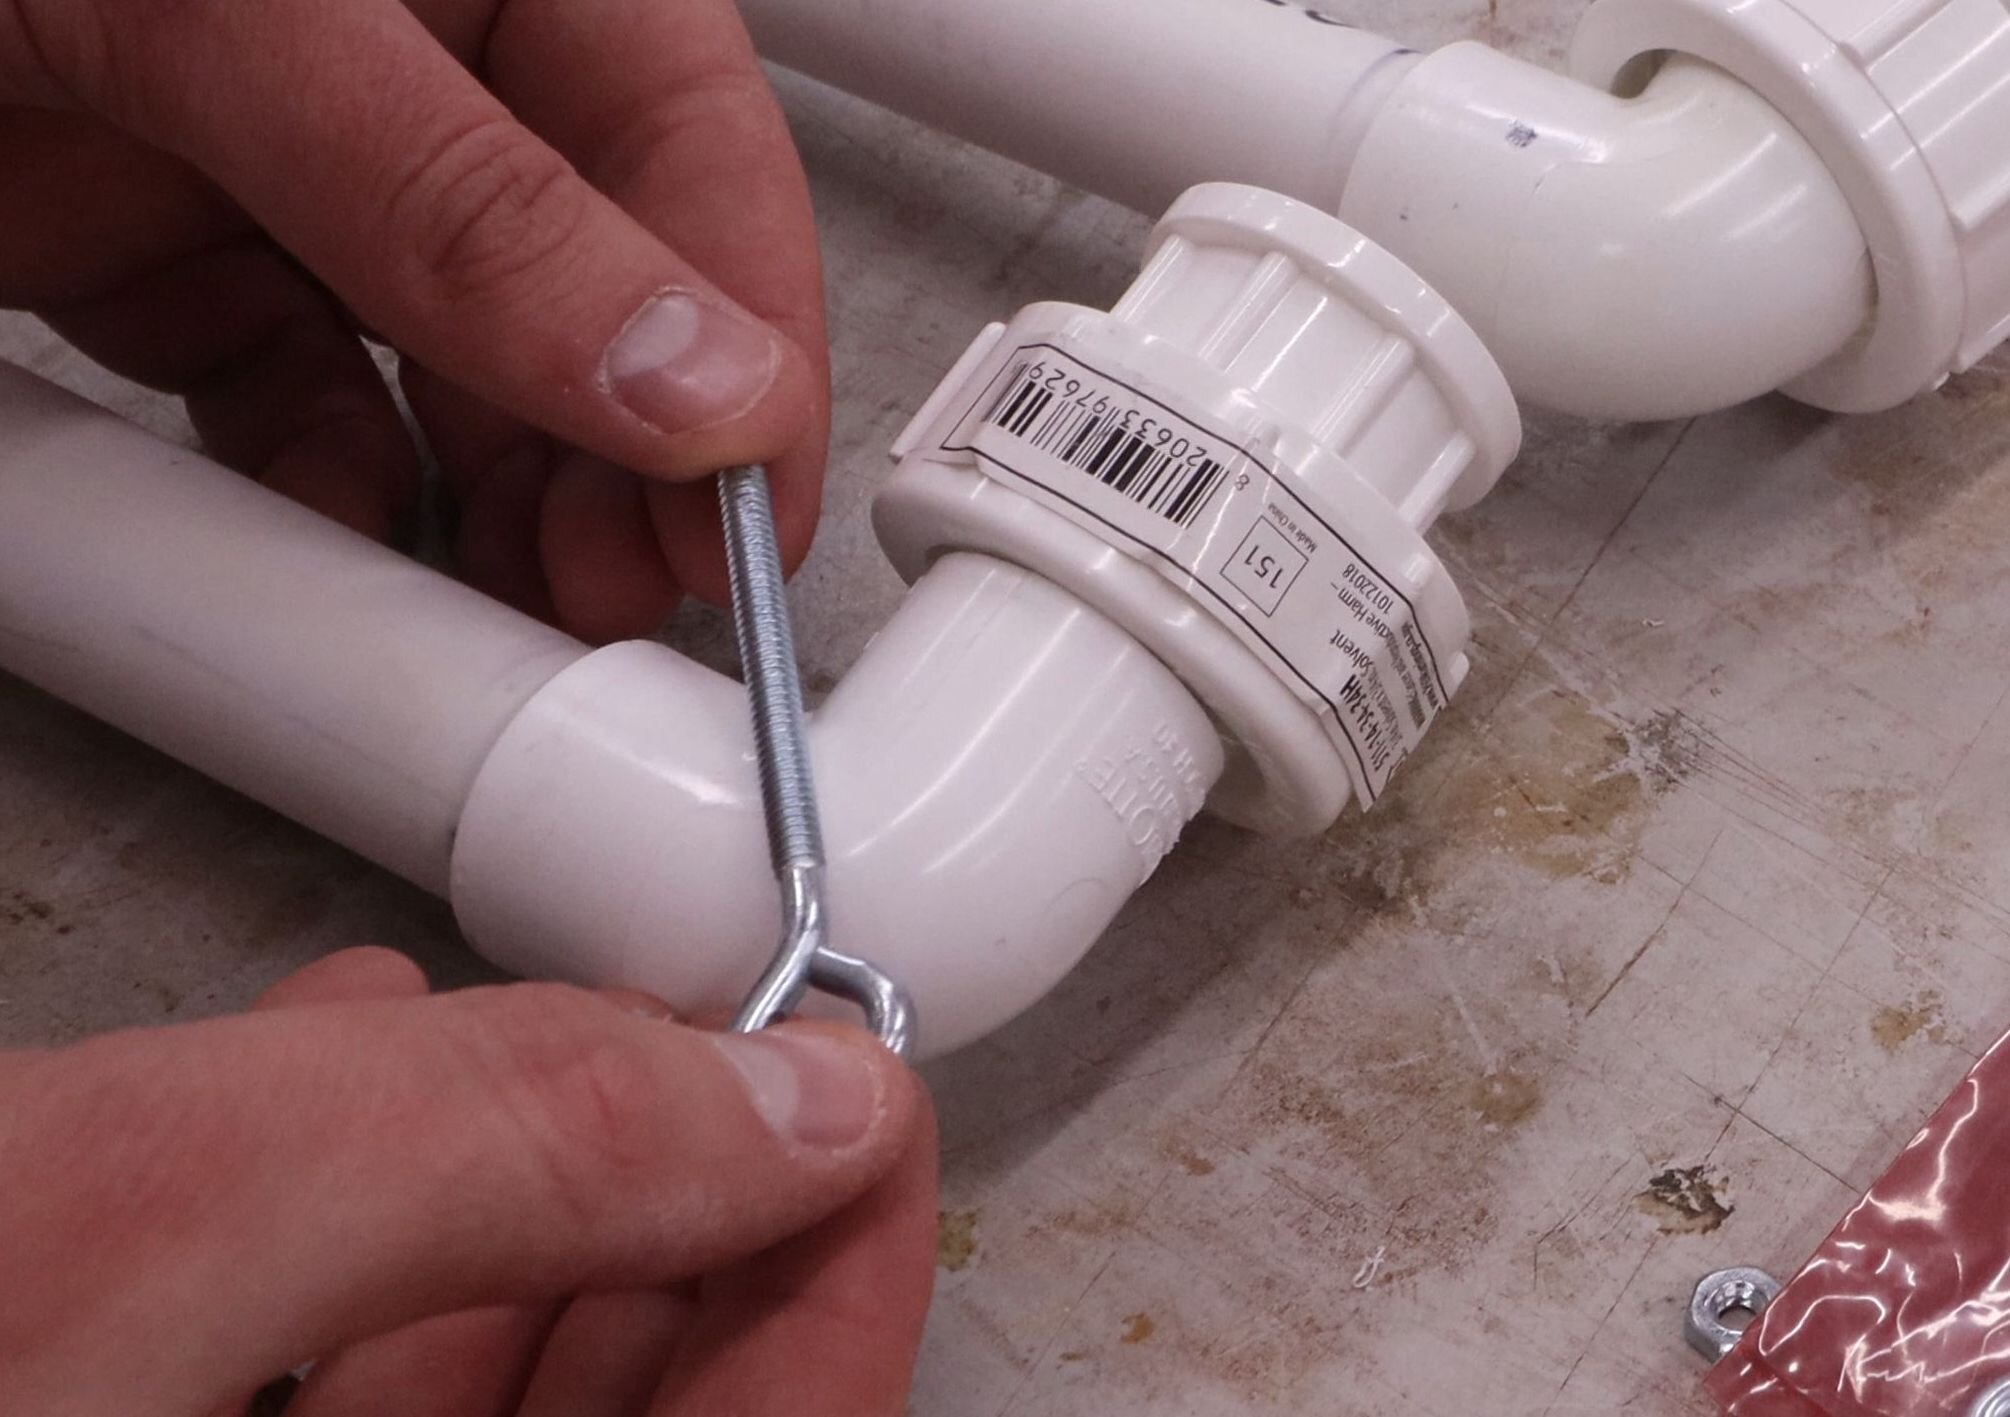
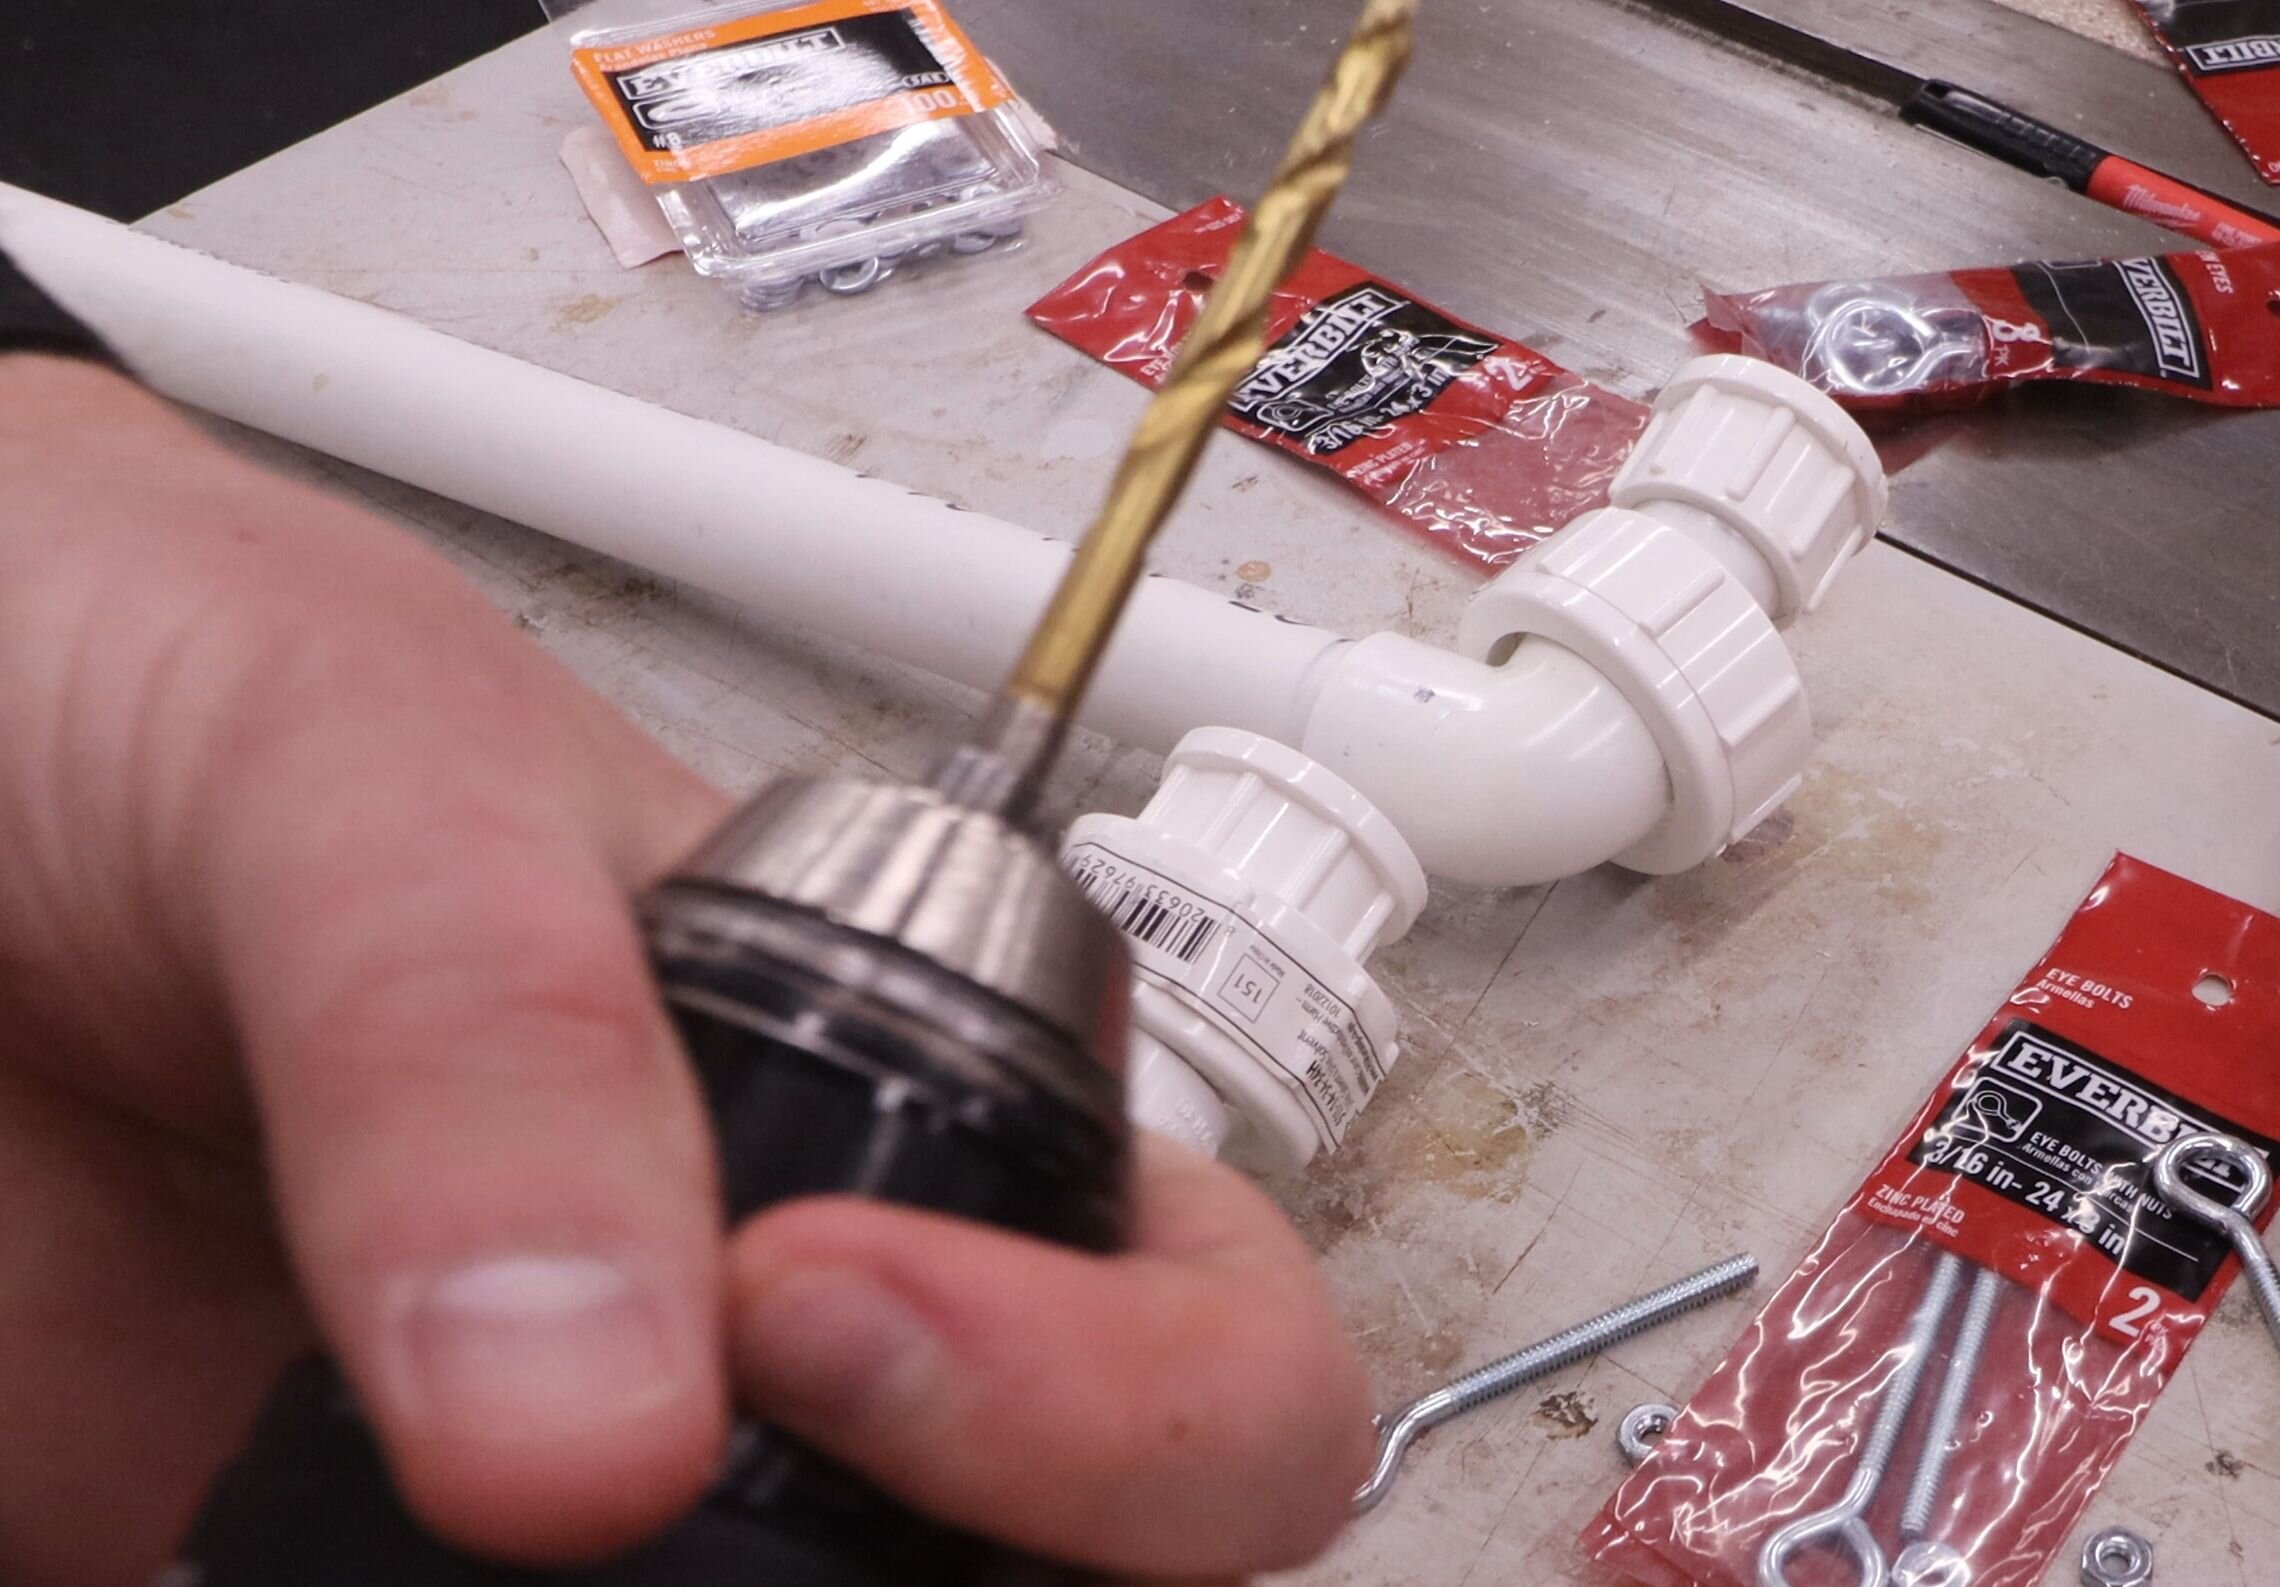
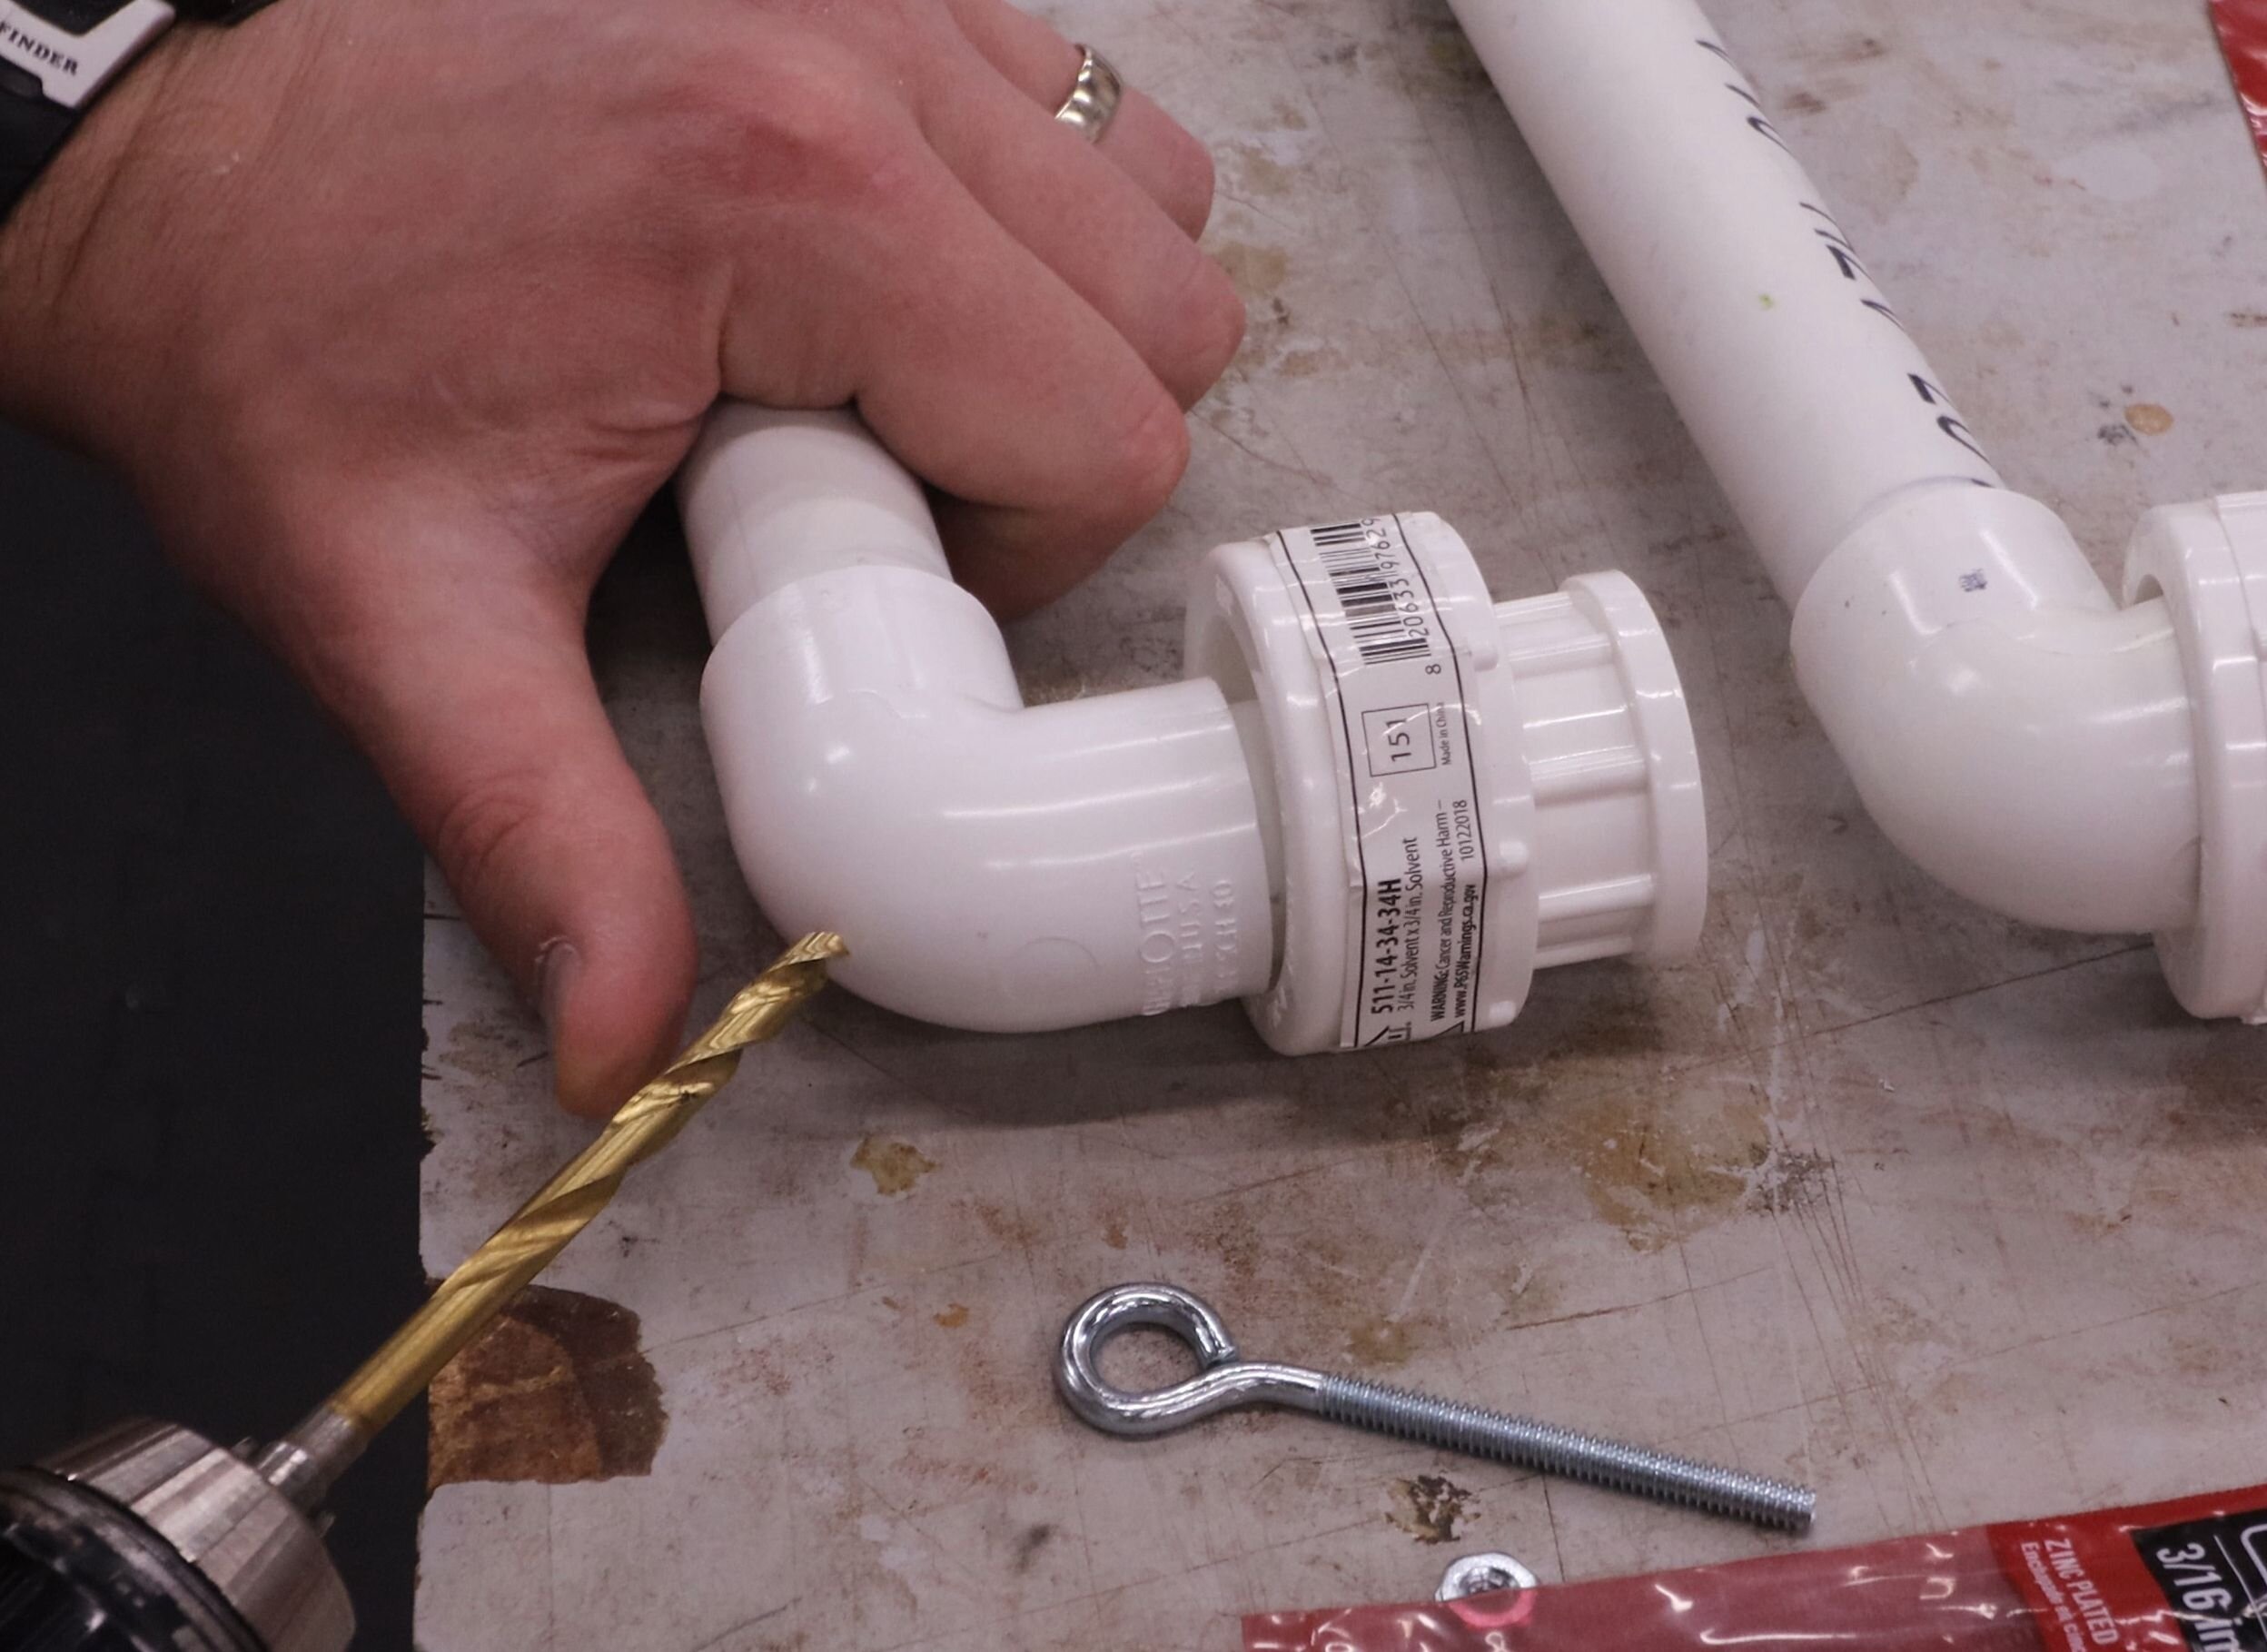
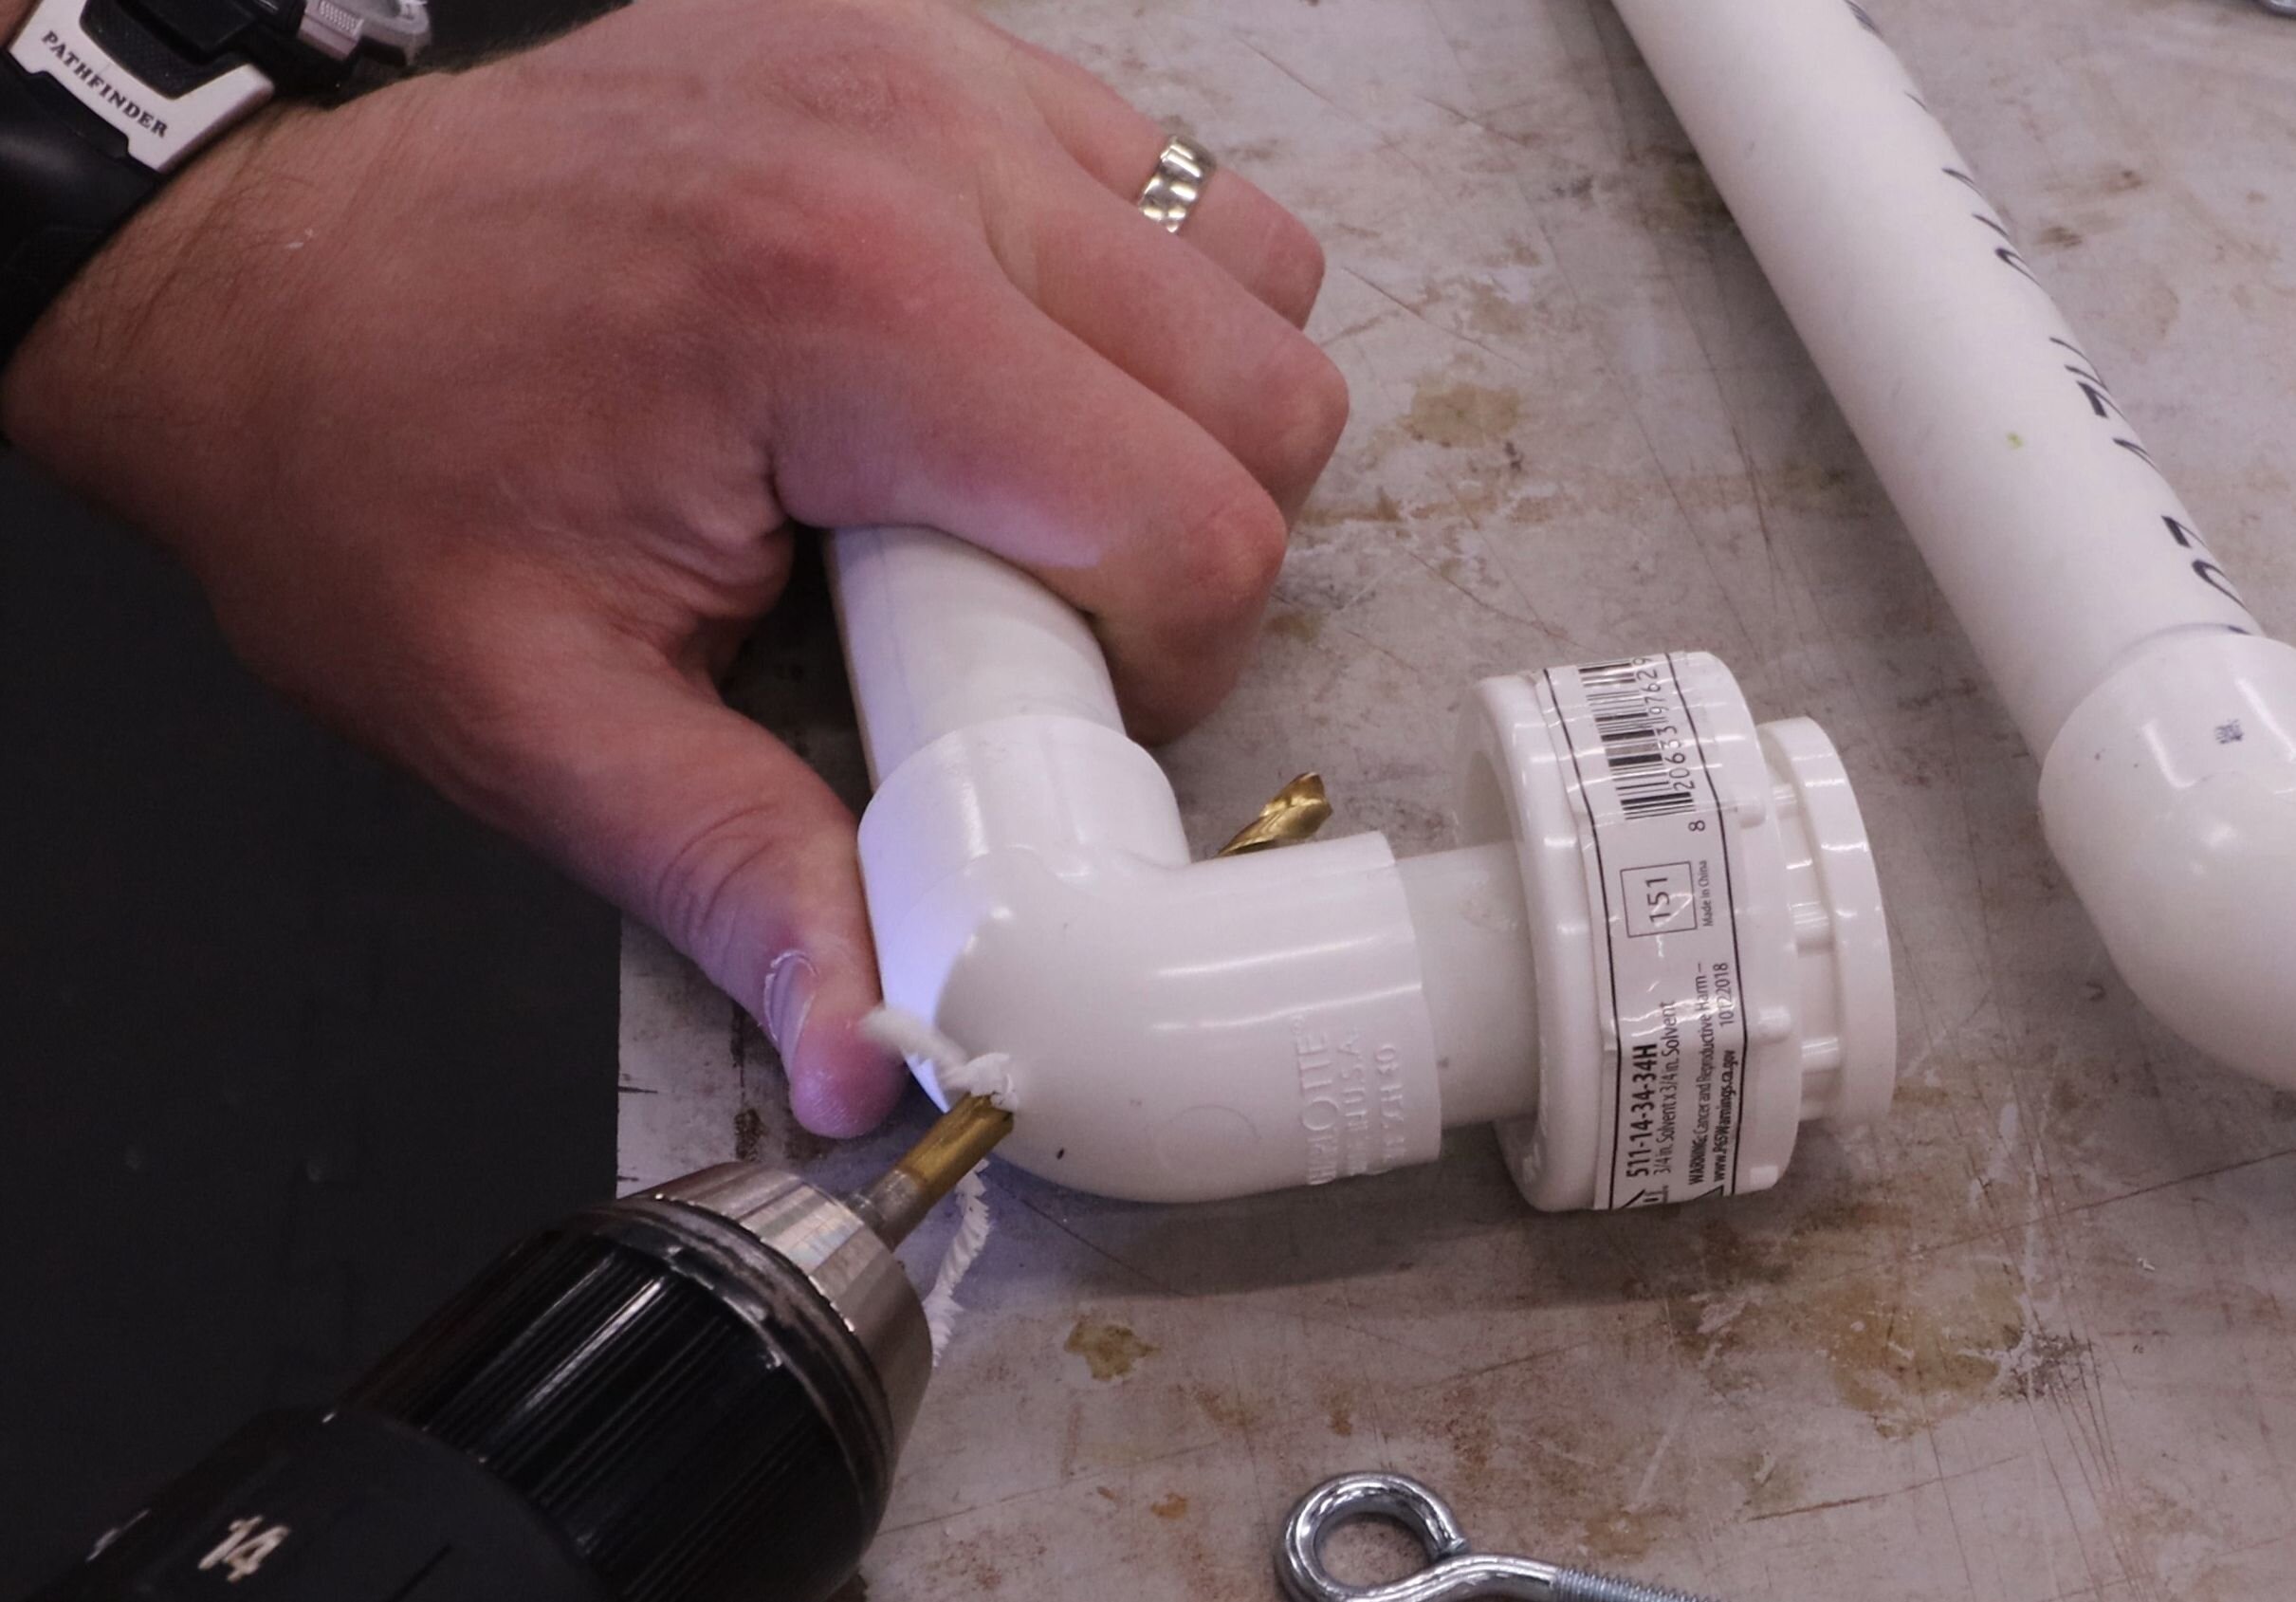
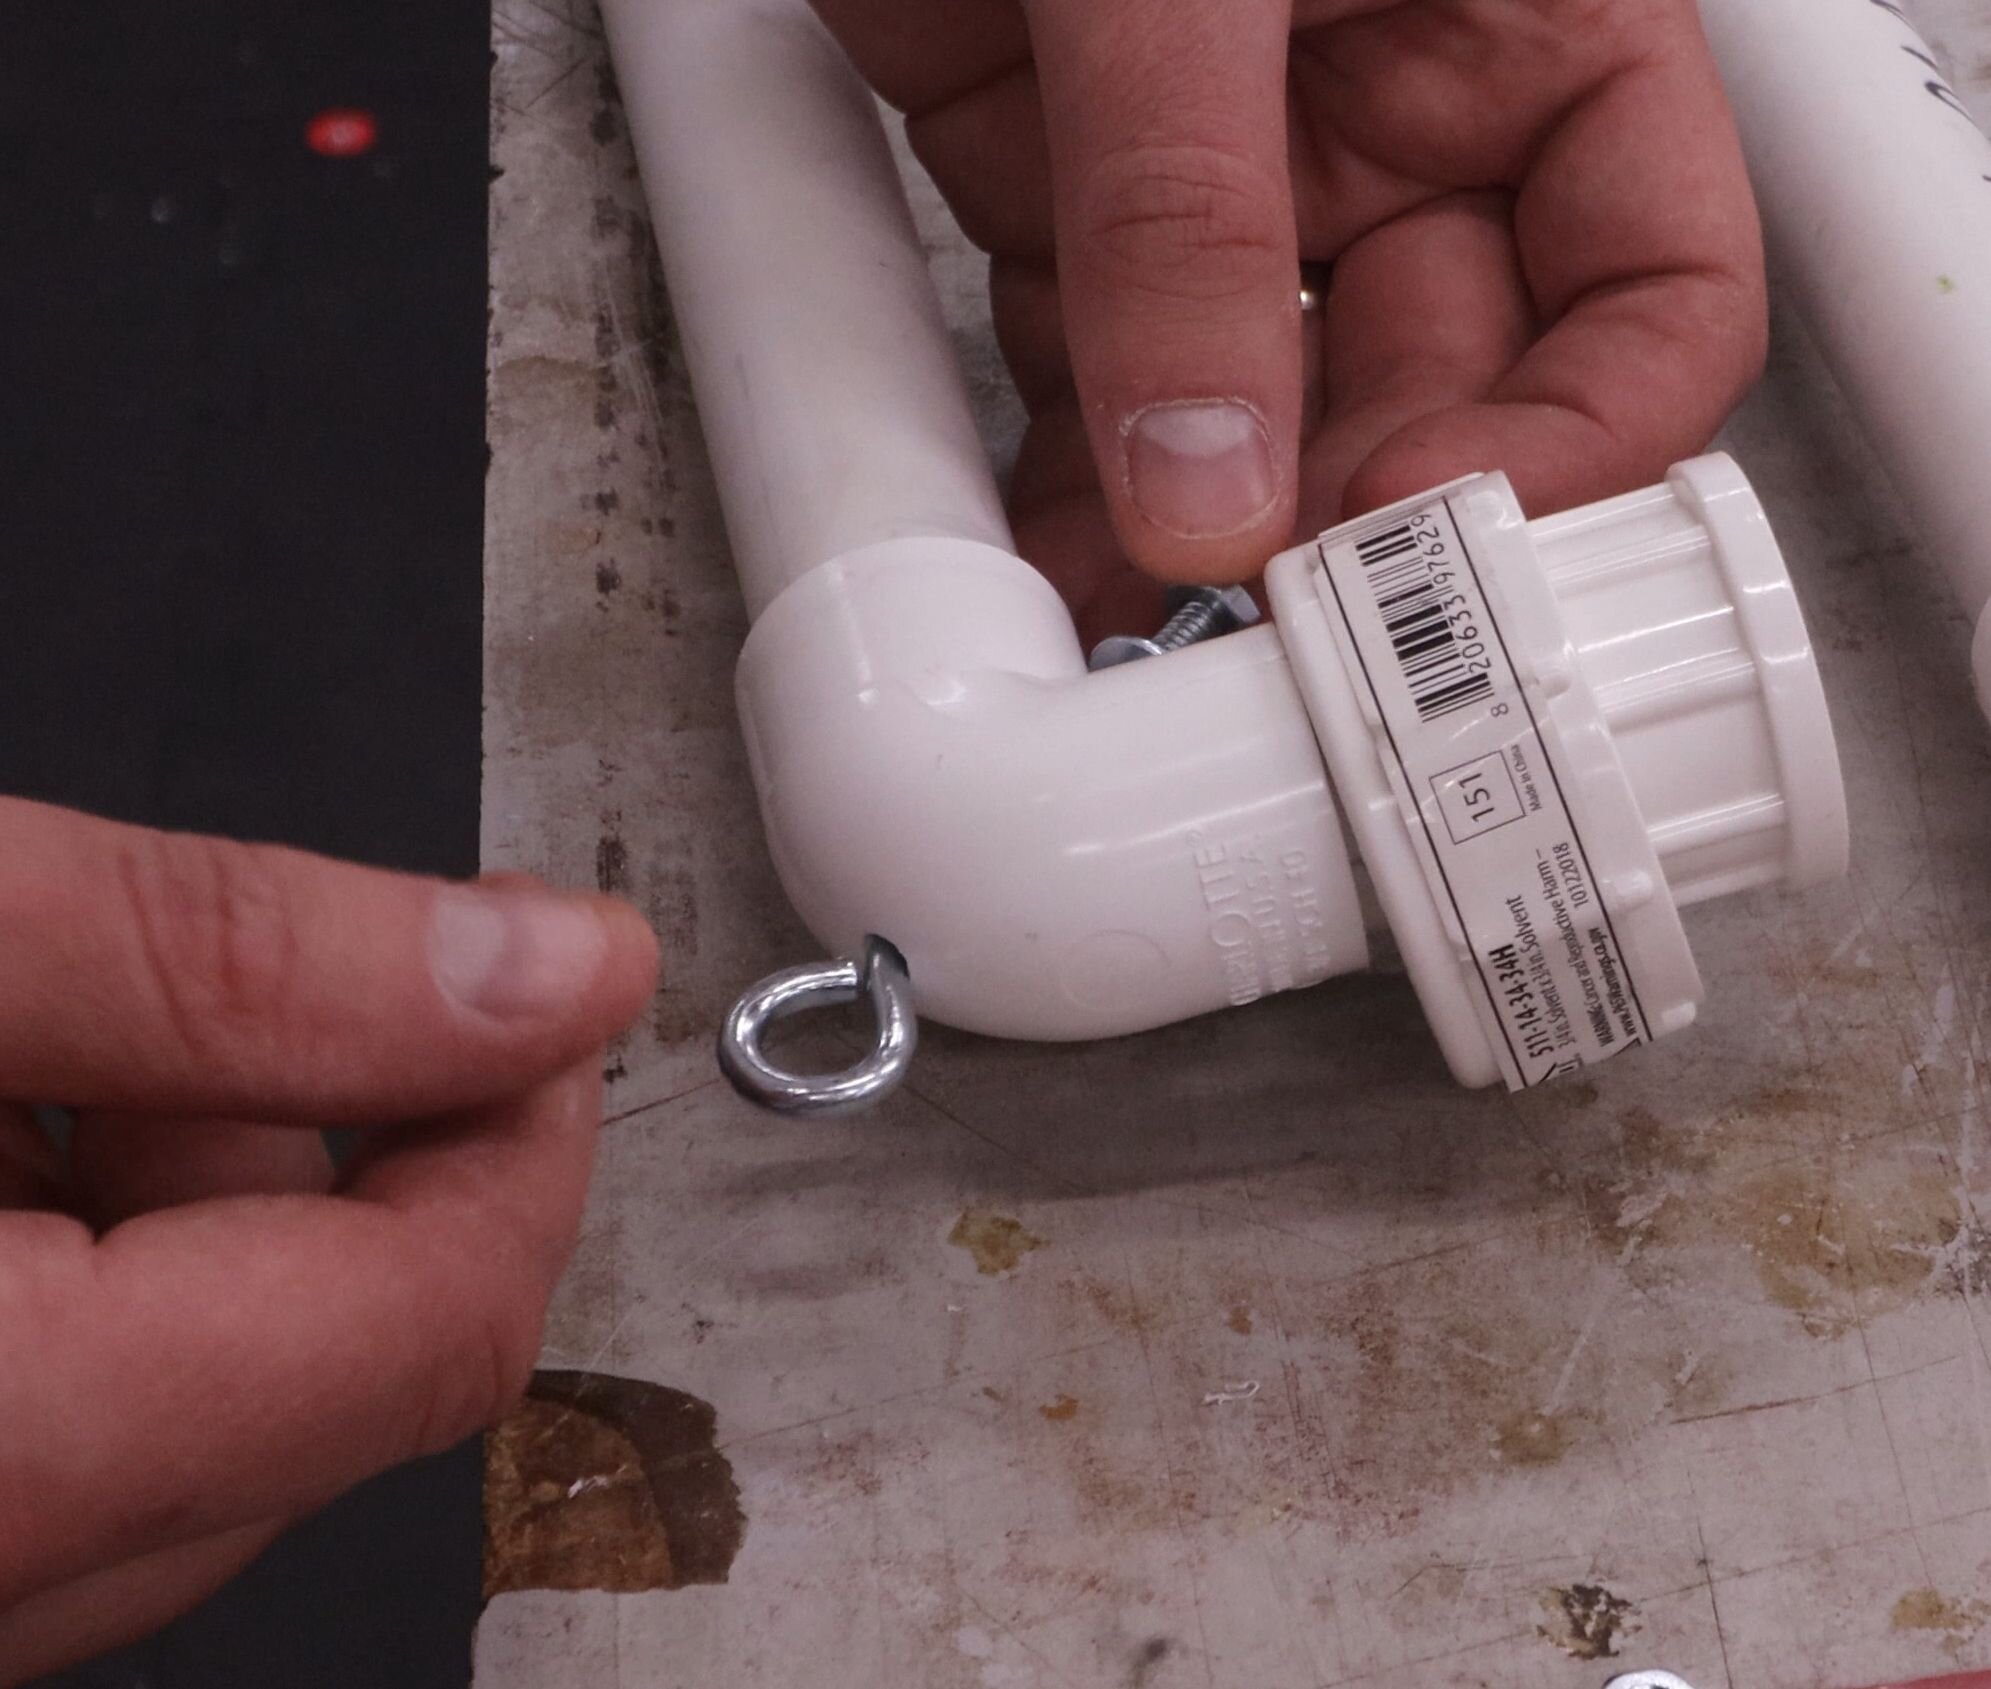
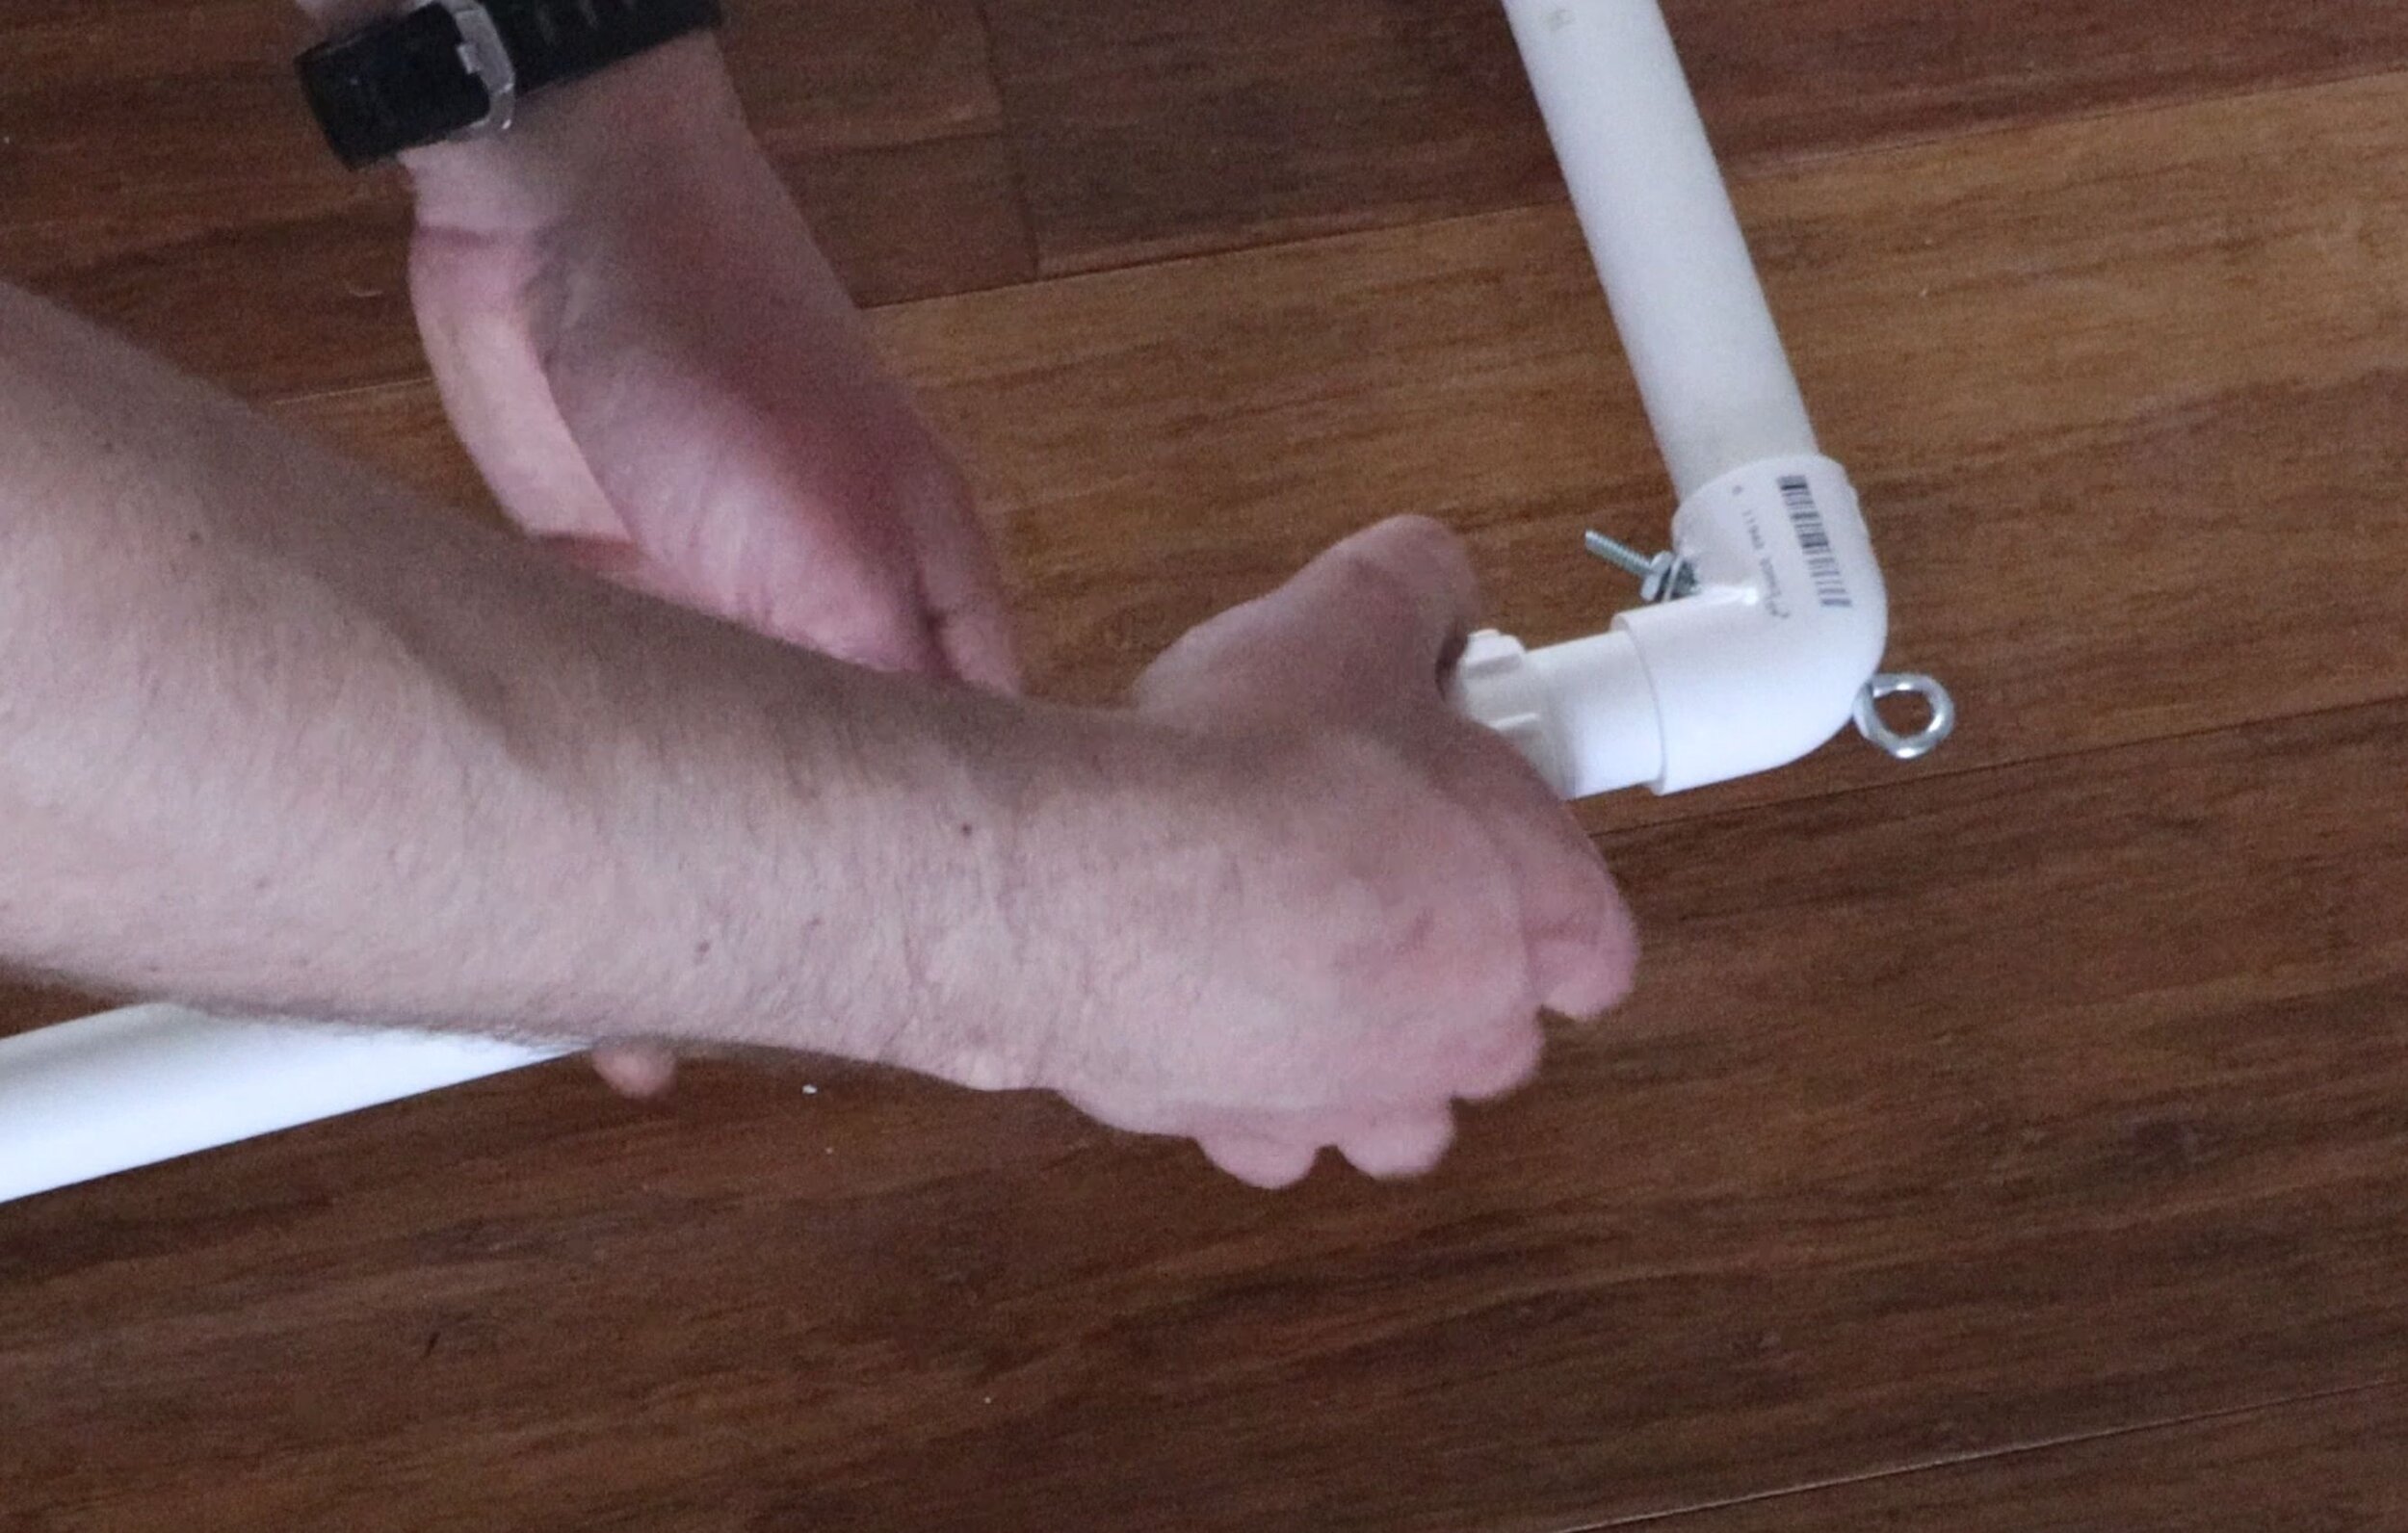
For mounting the frame to another structure, it's convenient to have eye bolts in the corners.
To attach these, use a drill bit slightly oversized for the eye bolt and drill through the corners at a 45-degree angle. Use a washer and nut to fasten the eye bolt to the corner. Repeat on all four corners.
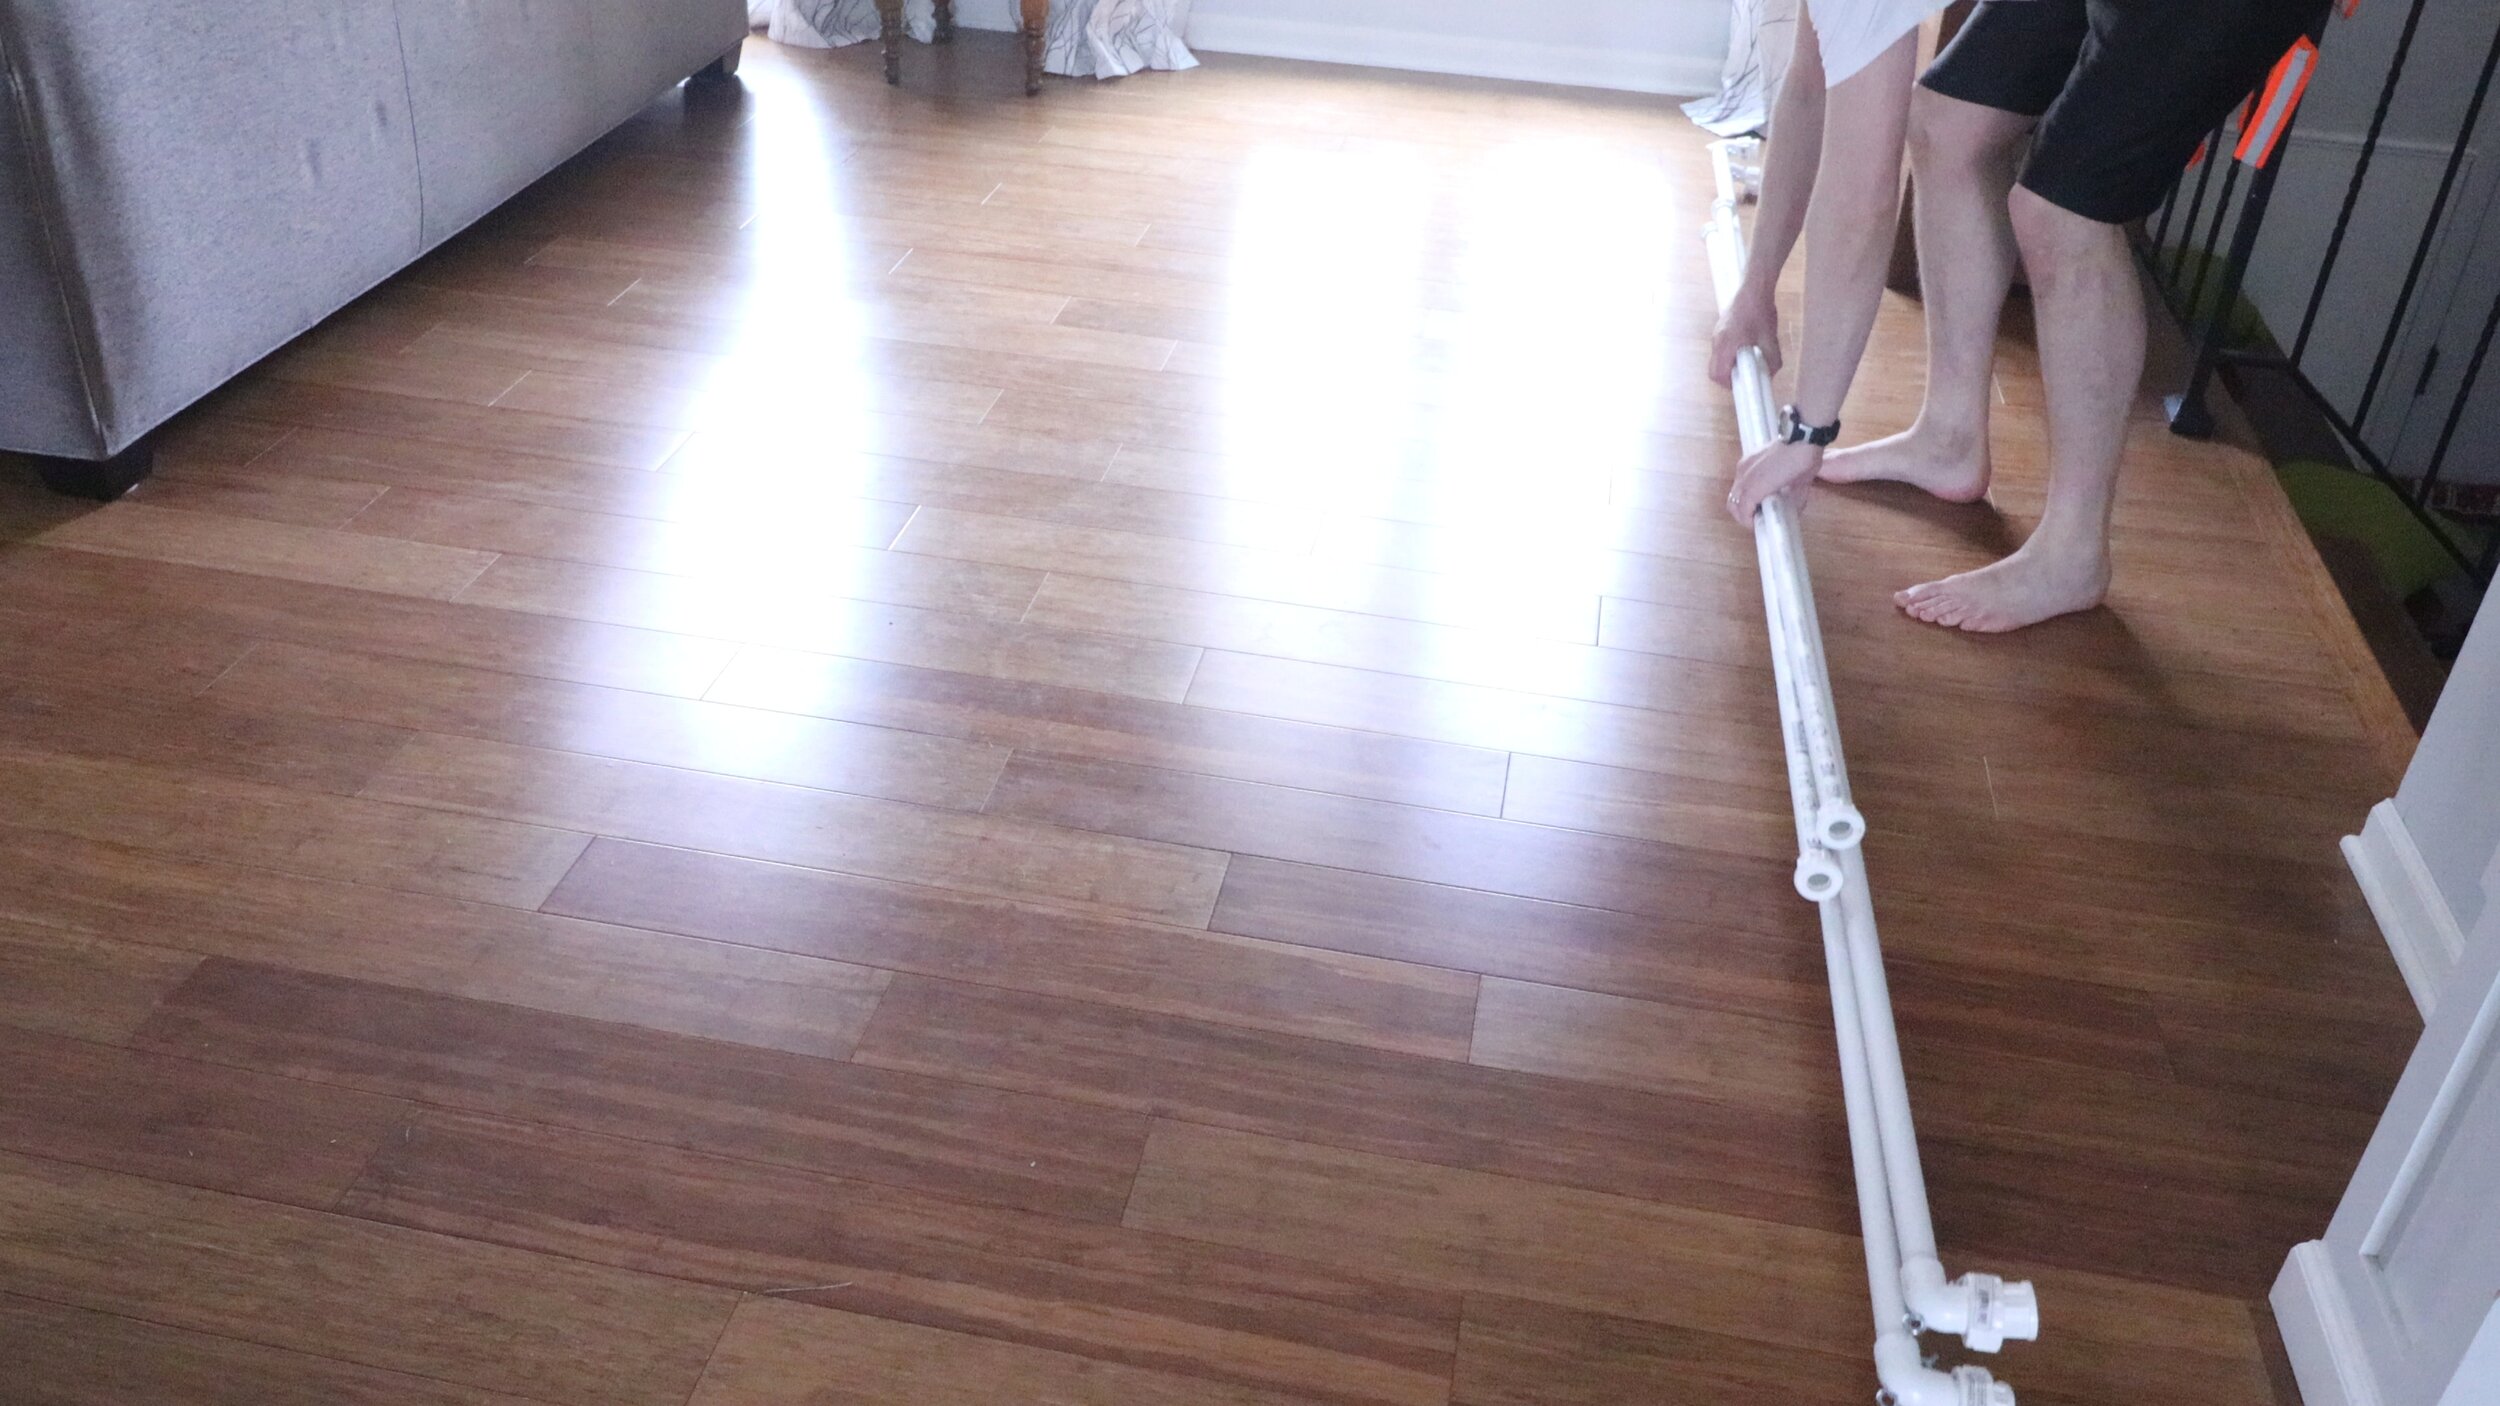
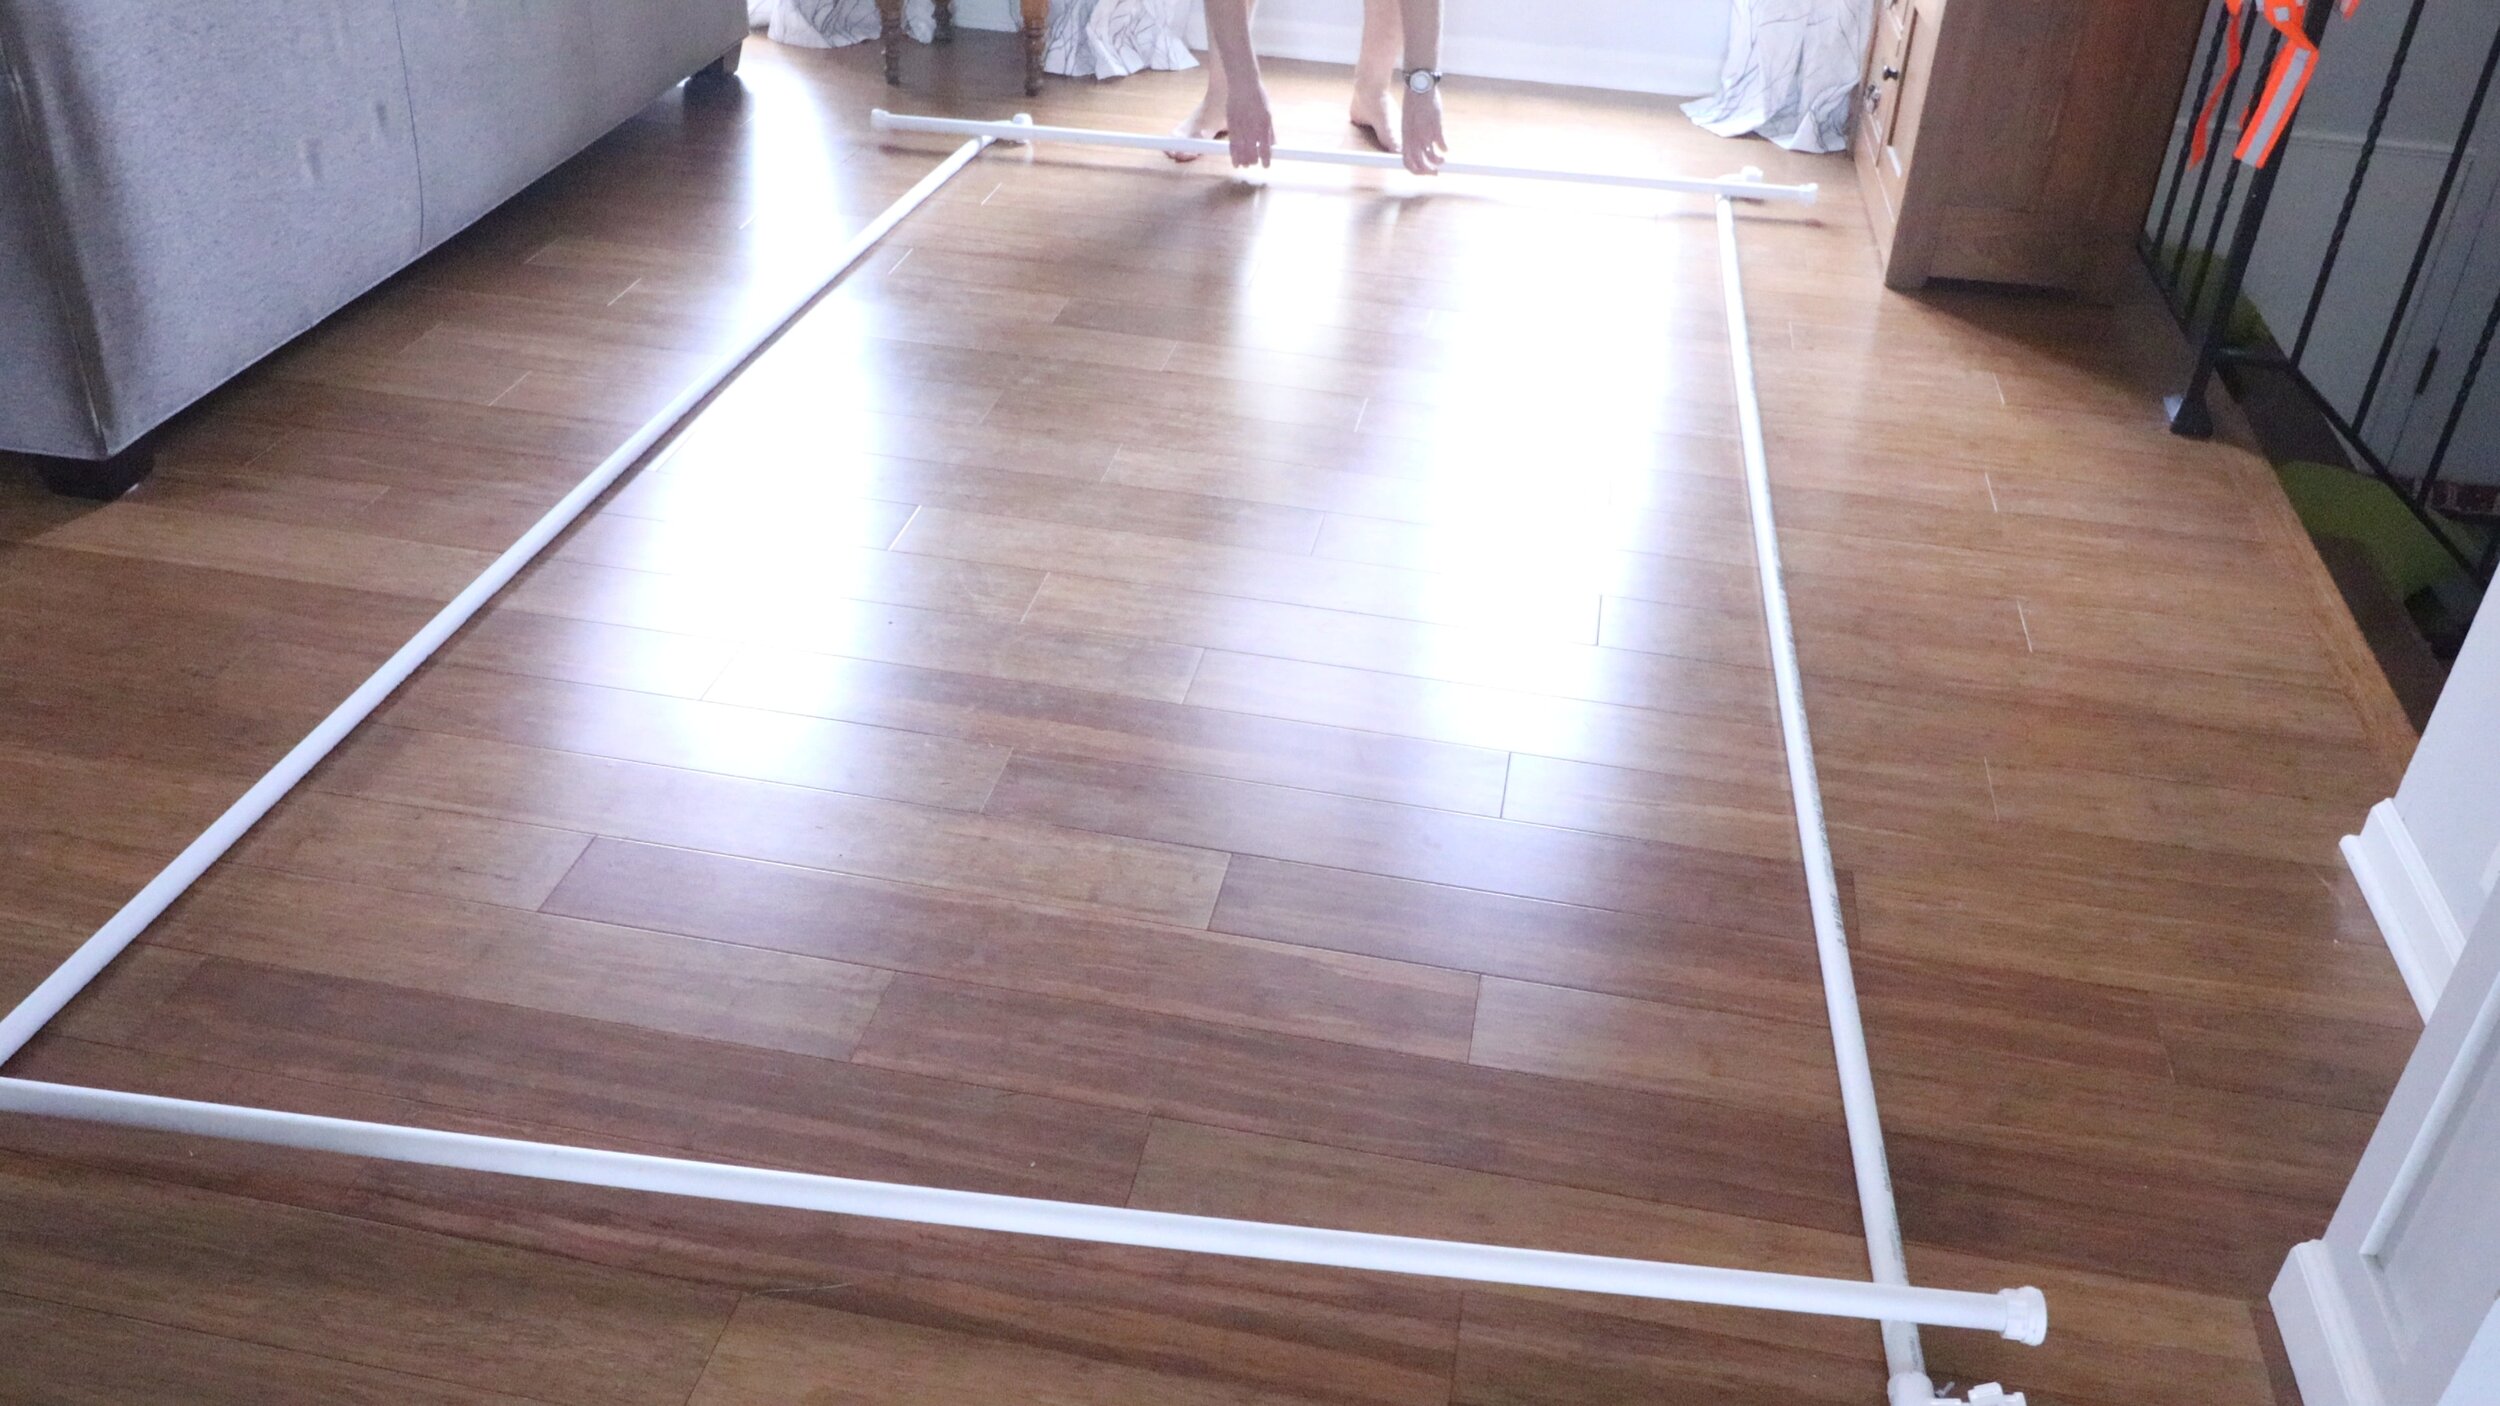
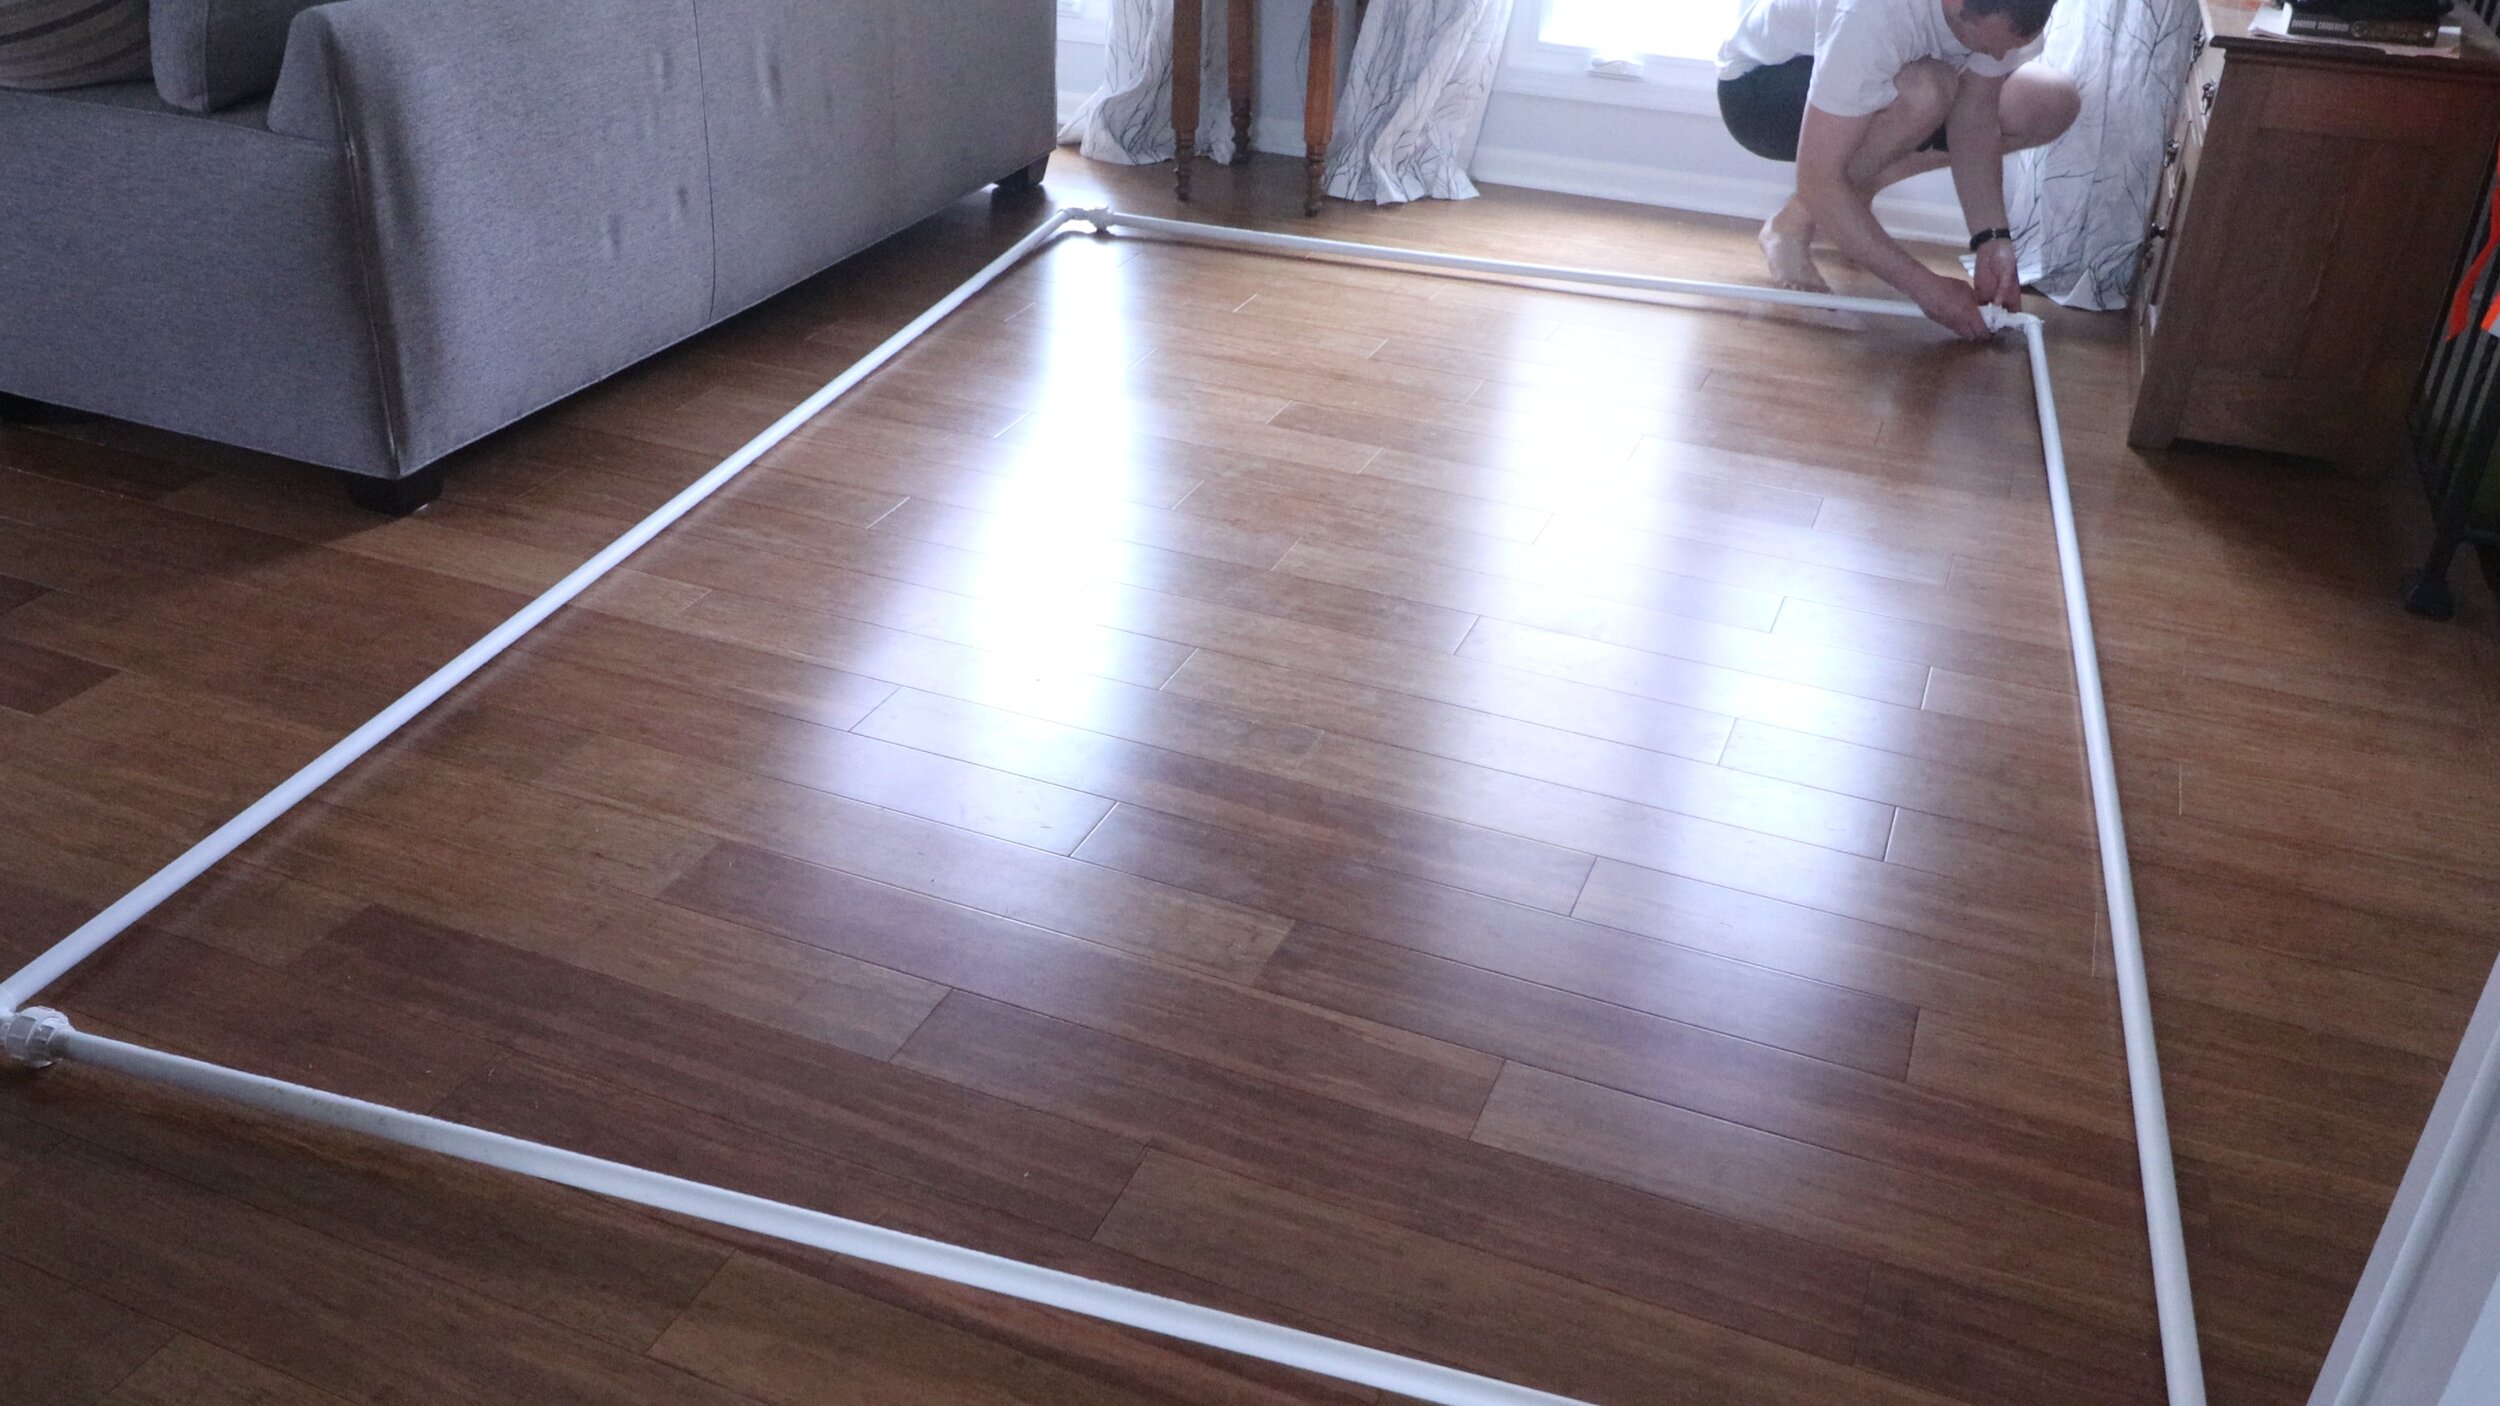
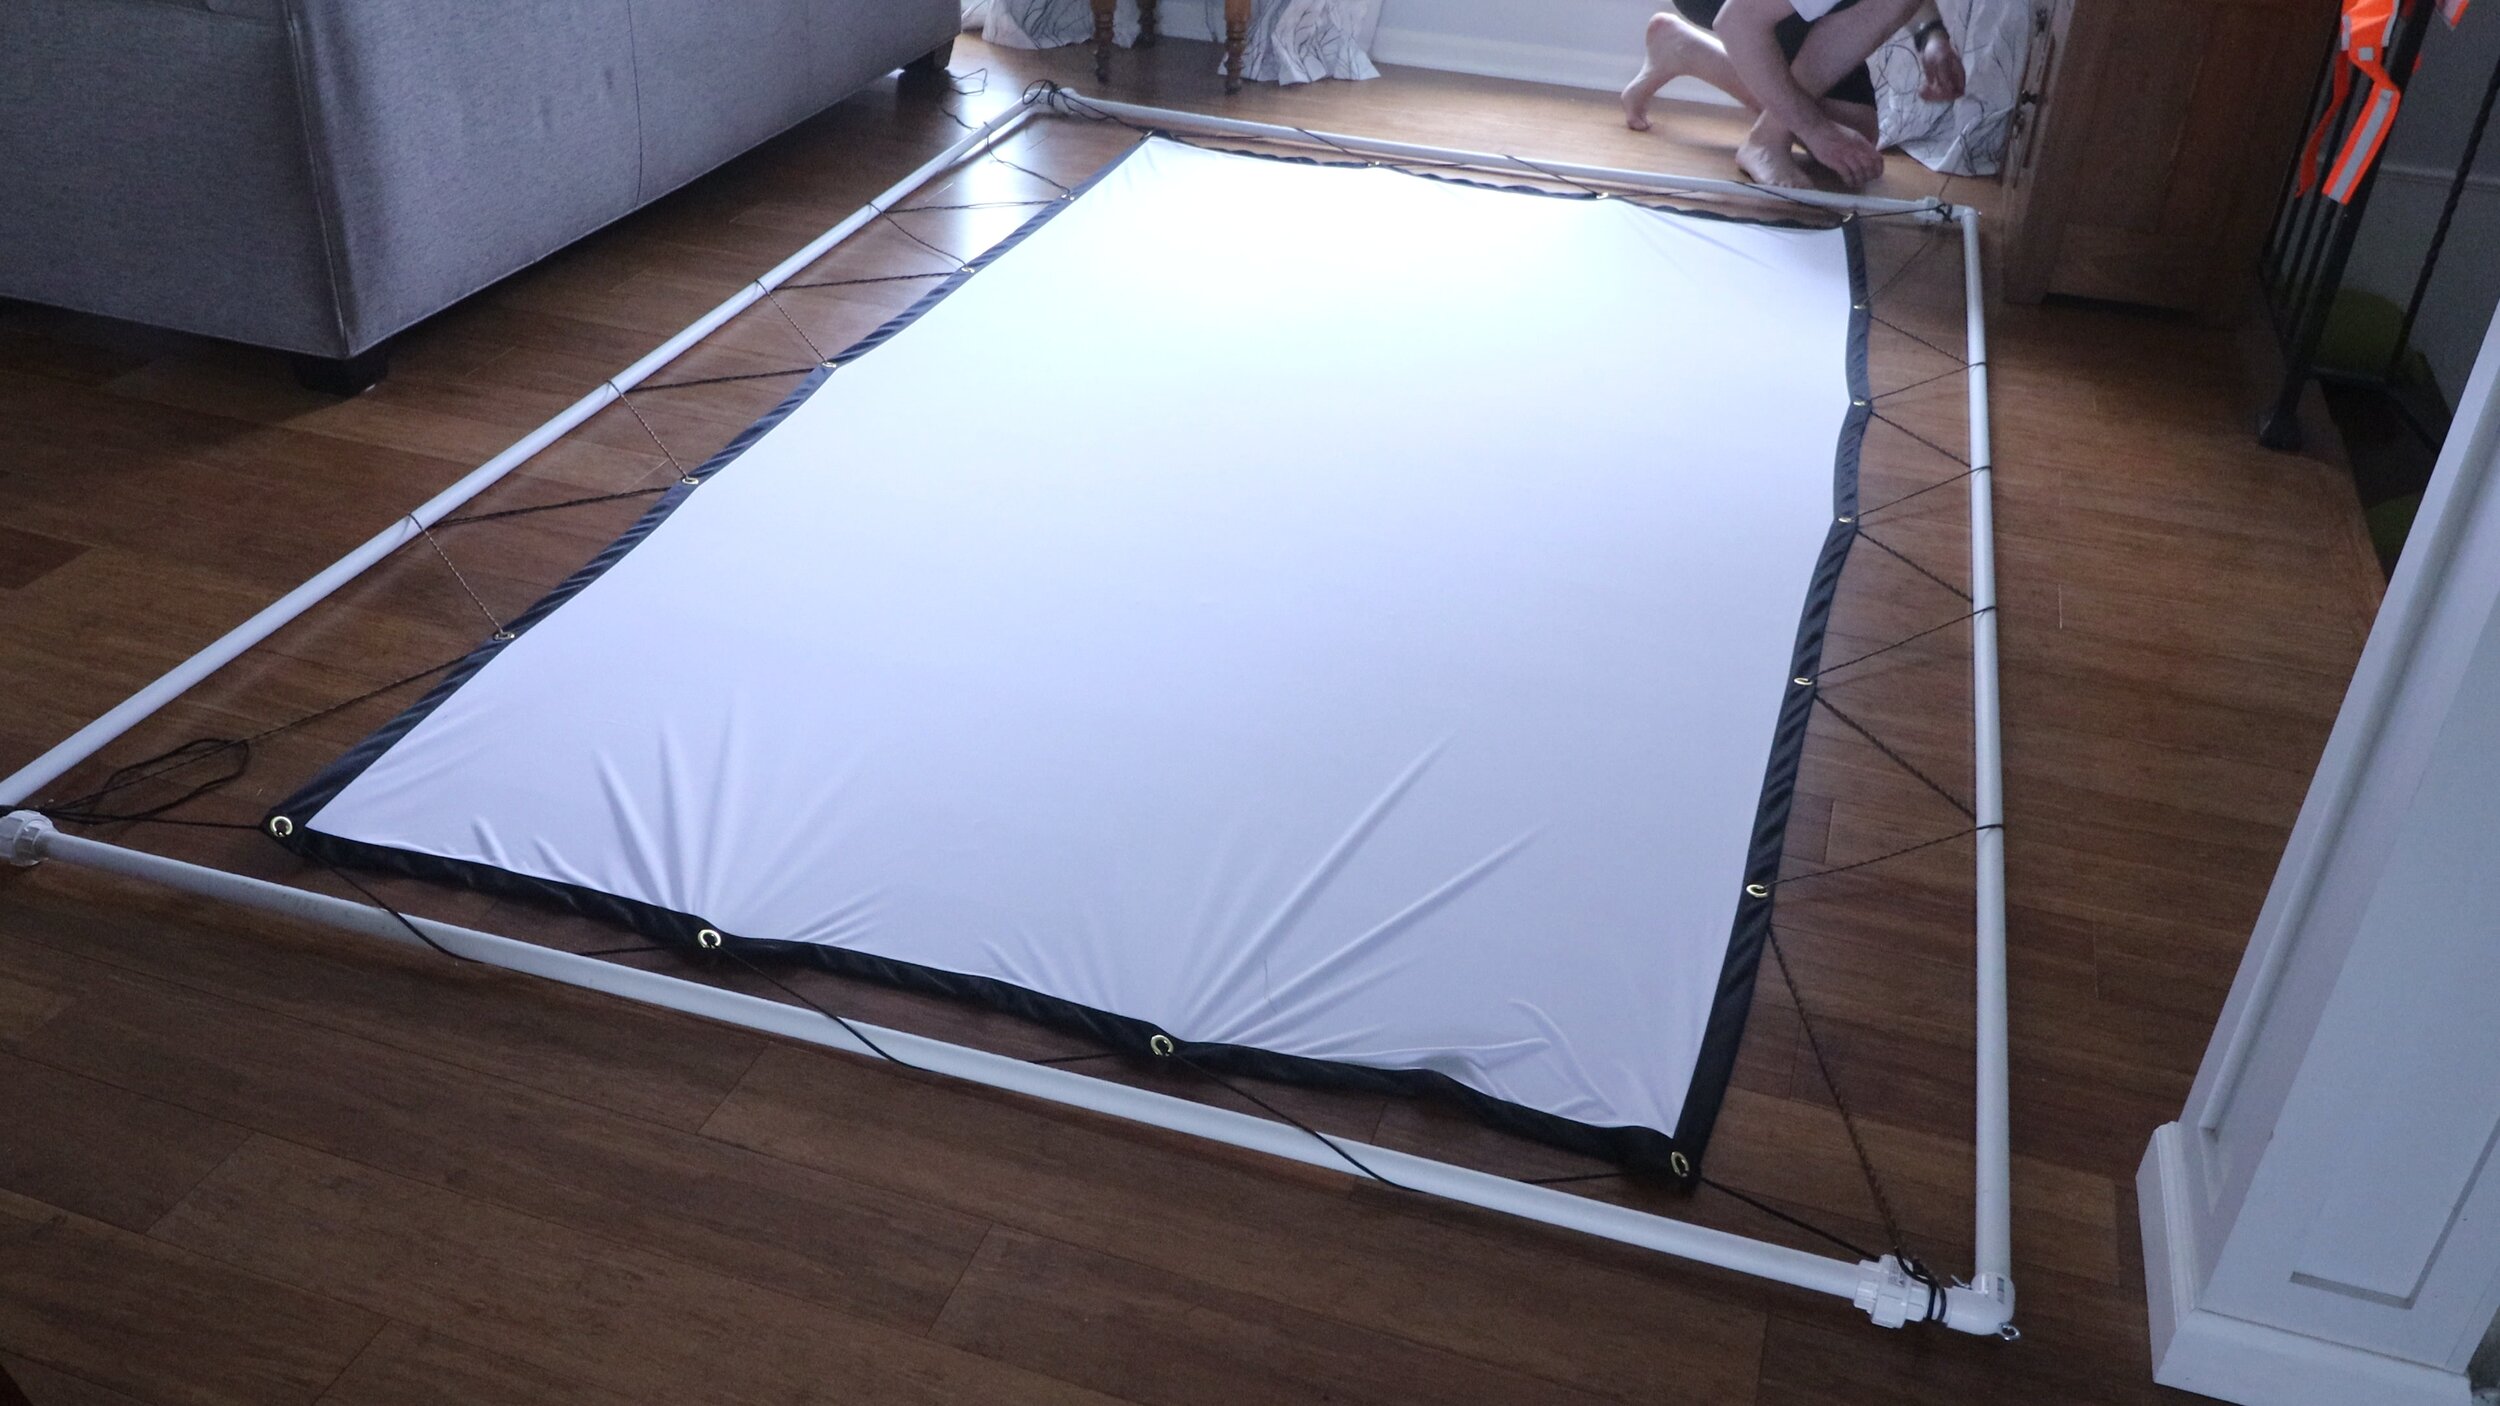
Find an open spot to lay out the frame. The union fittings make it very easy to screw everything together.
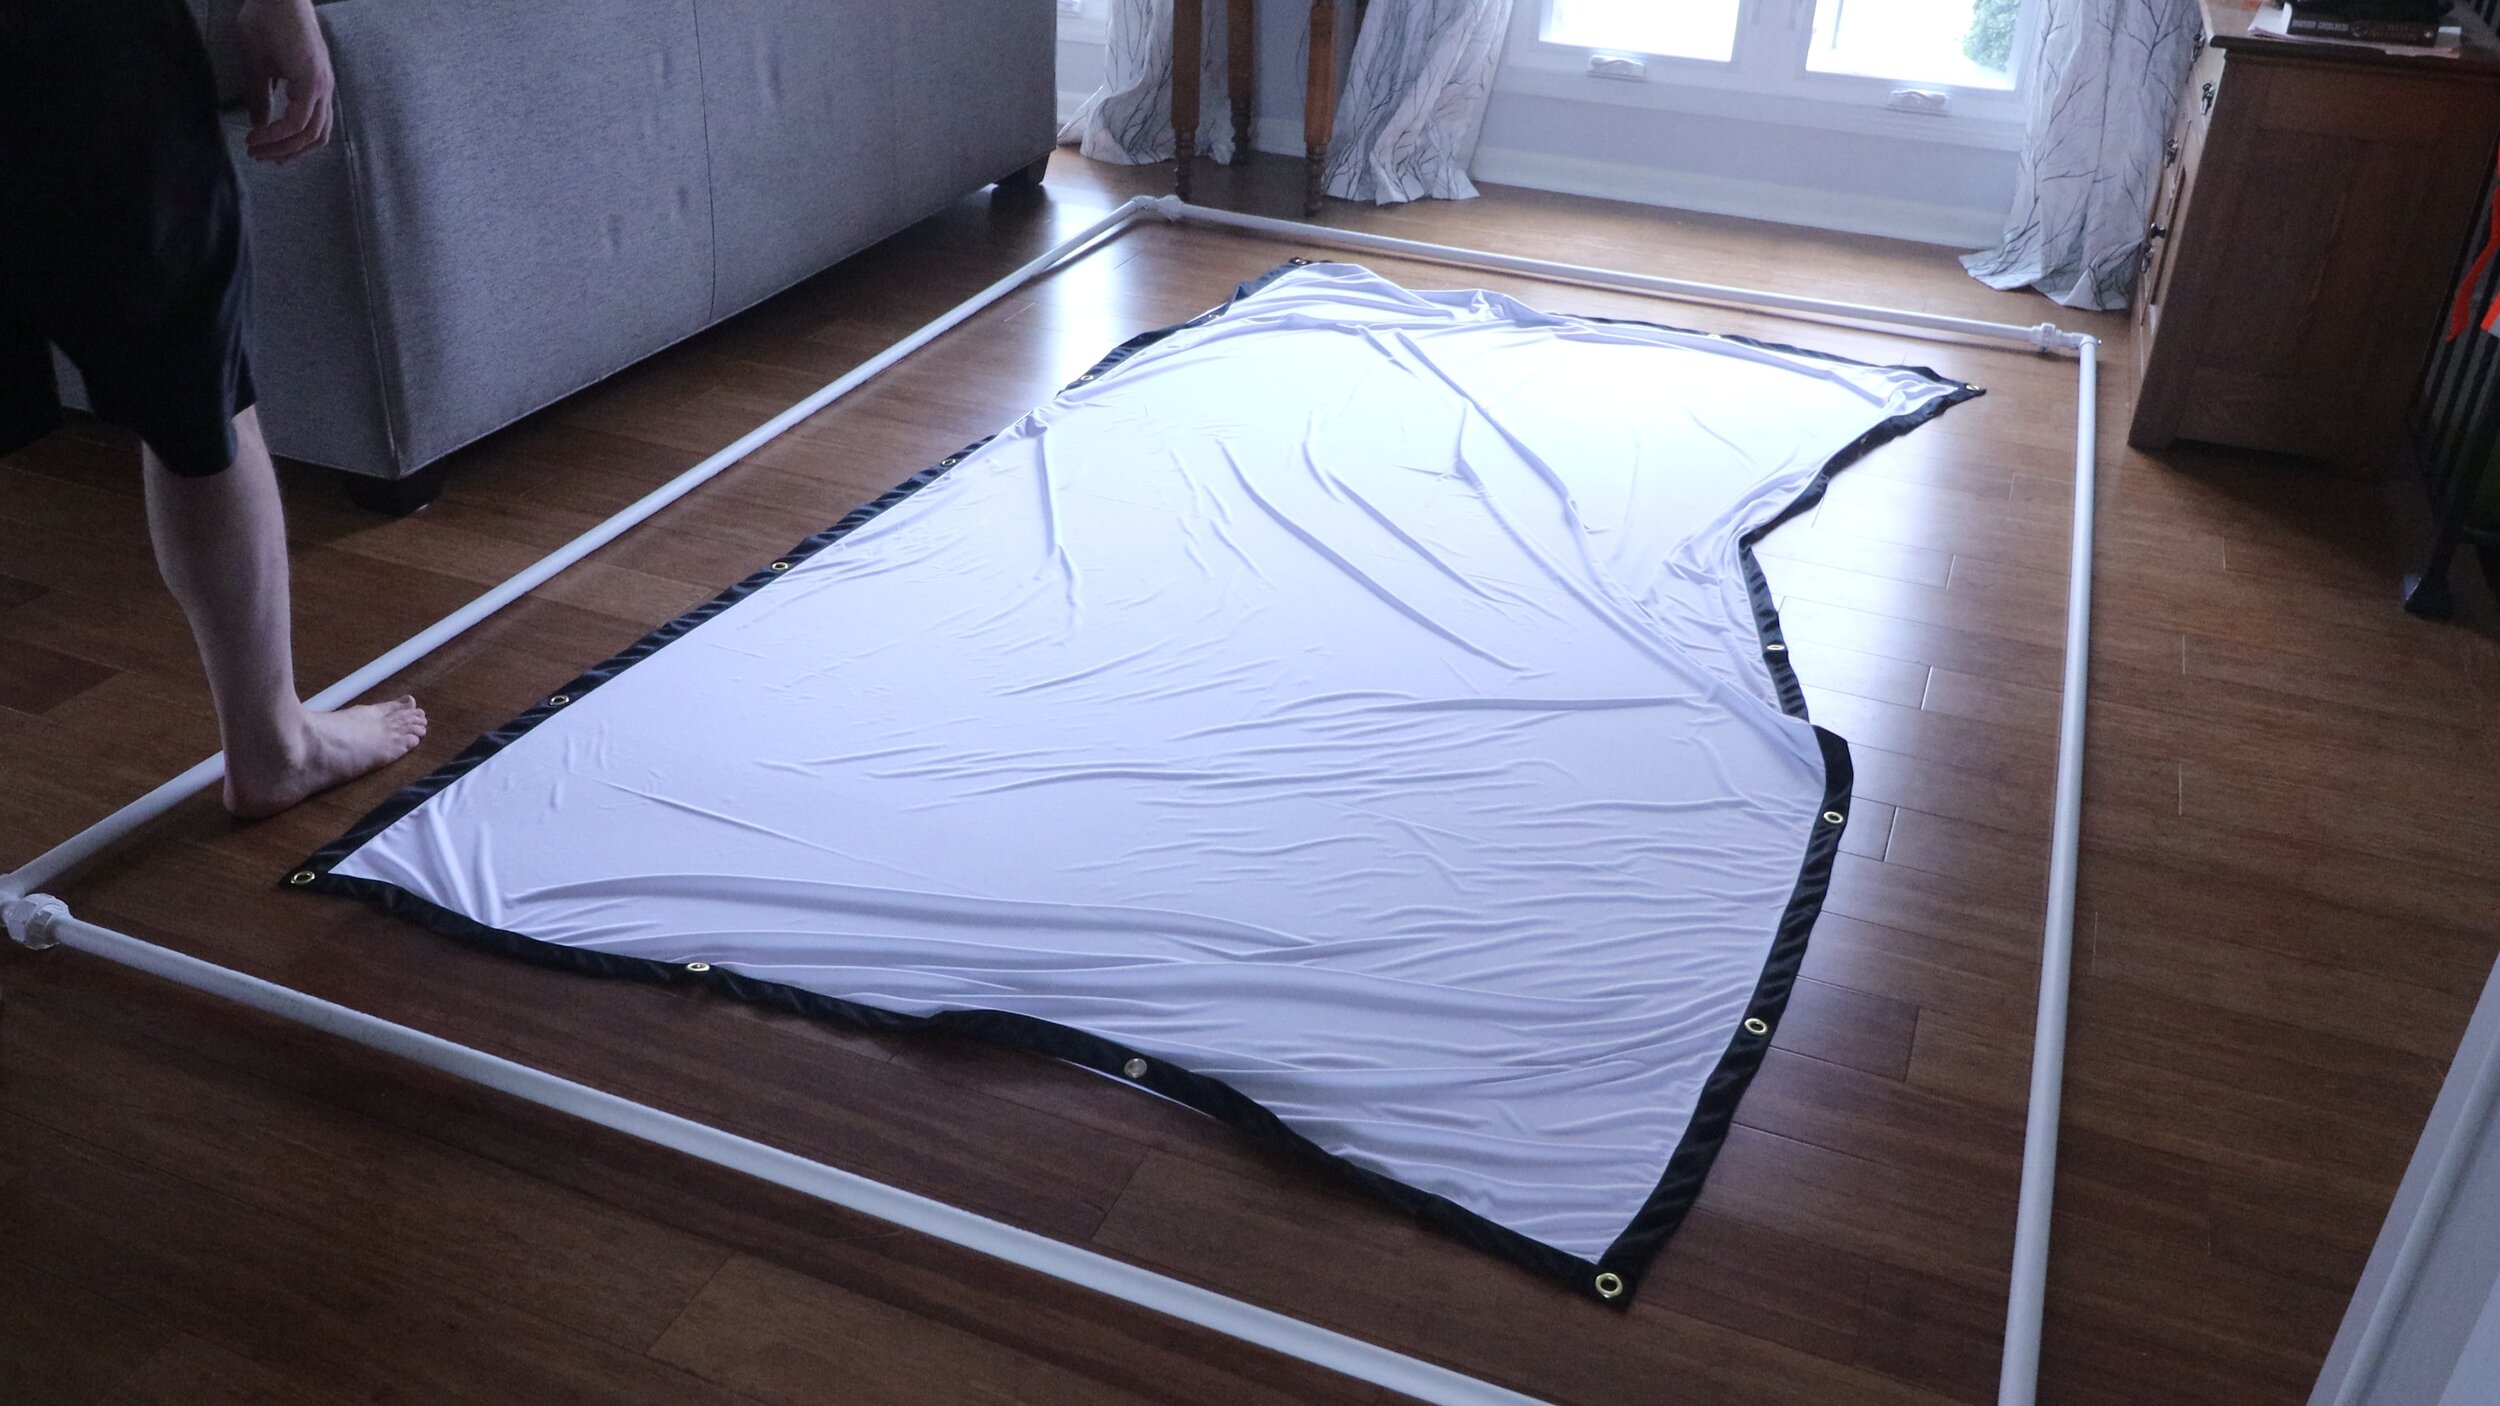
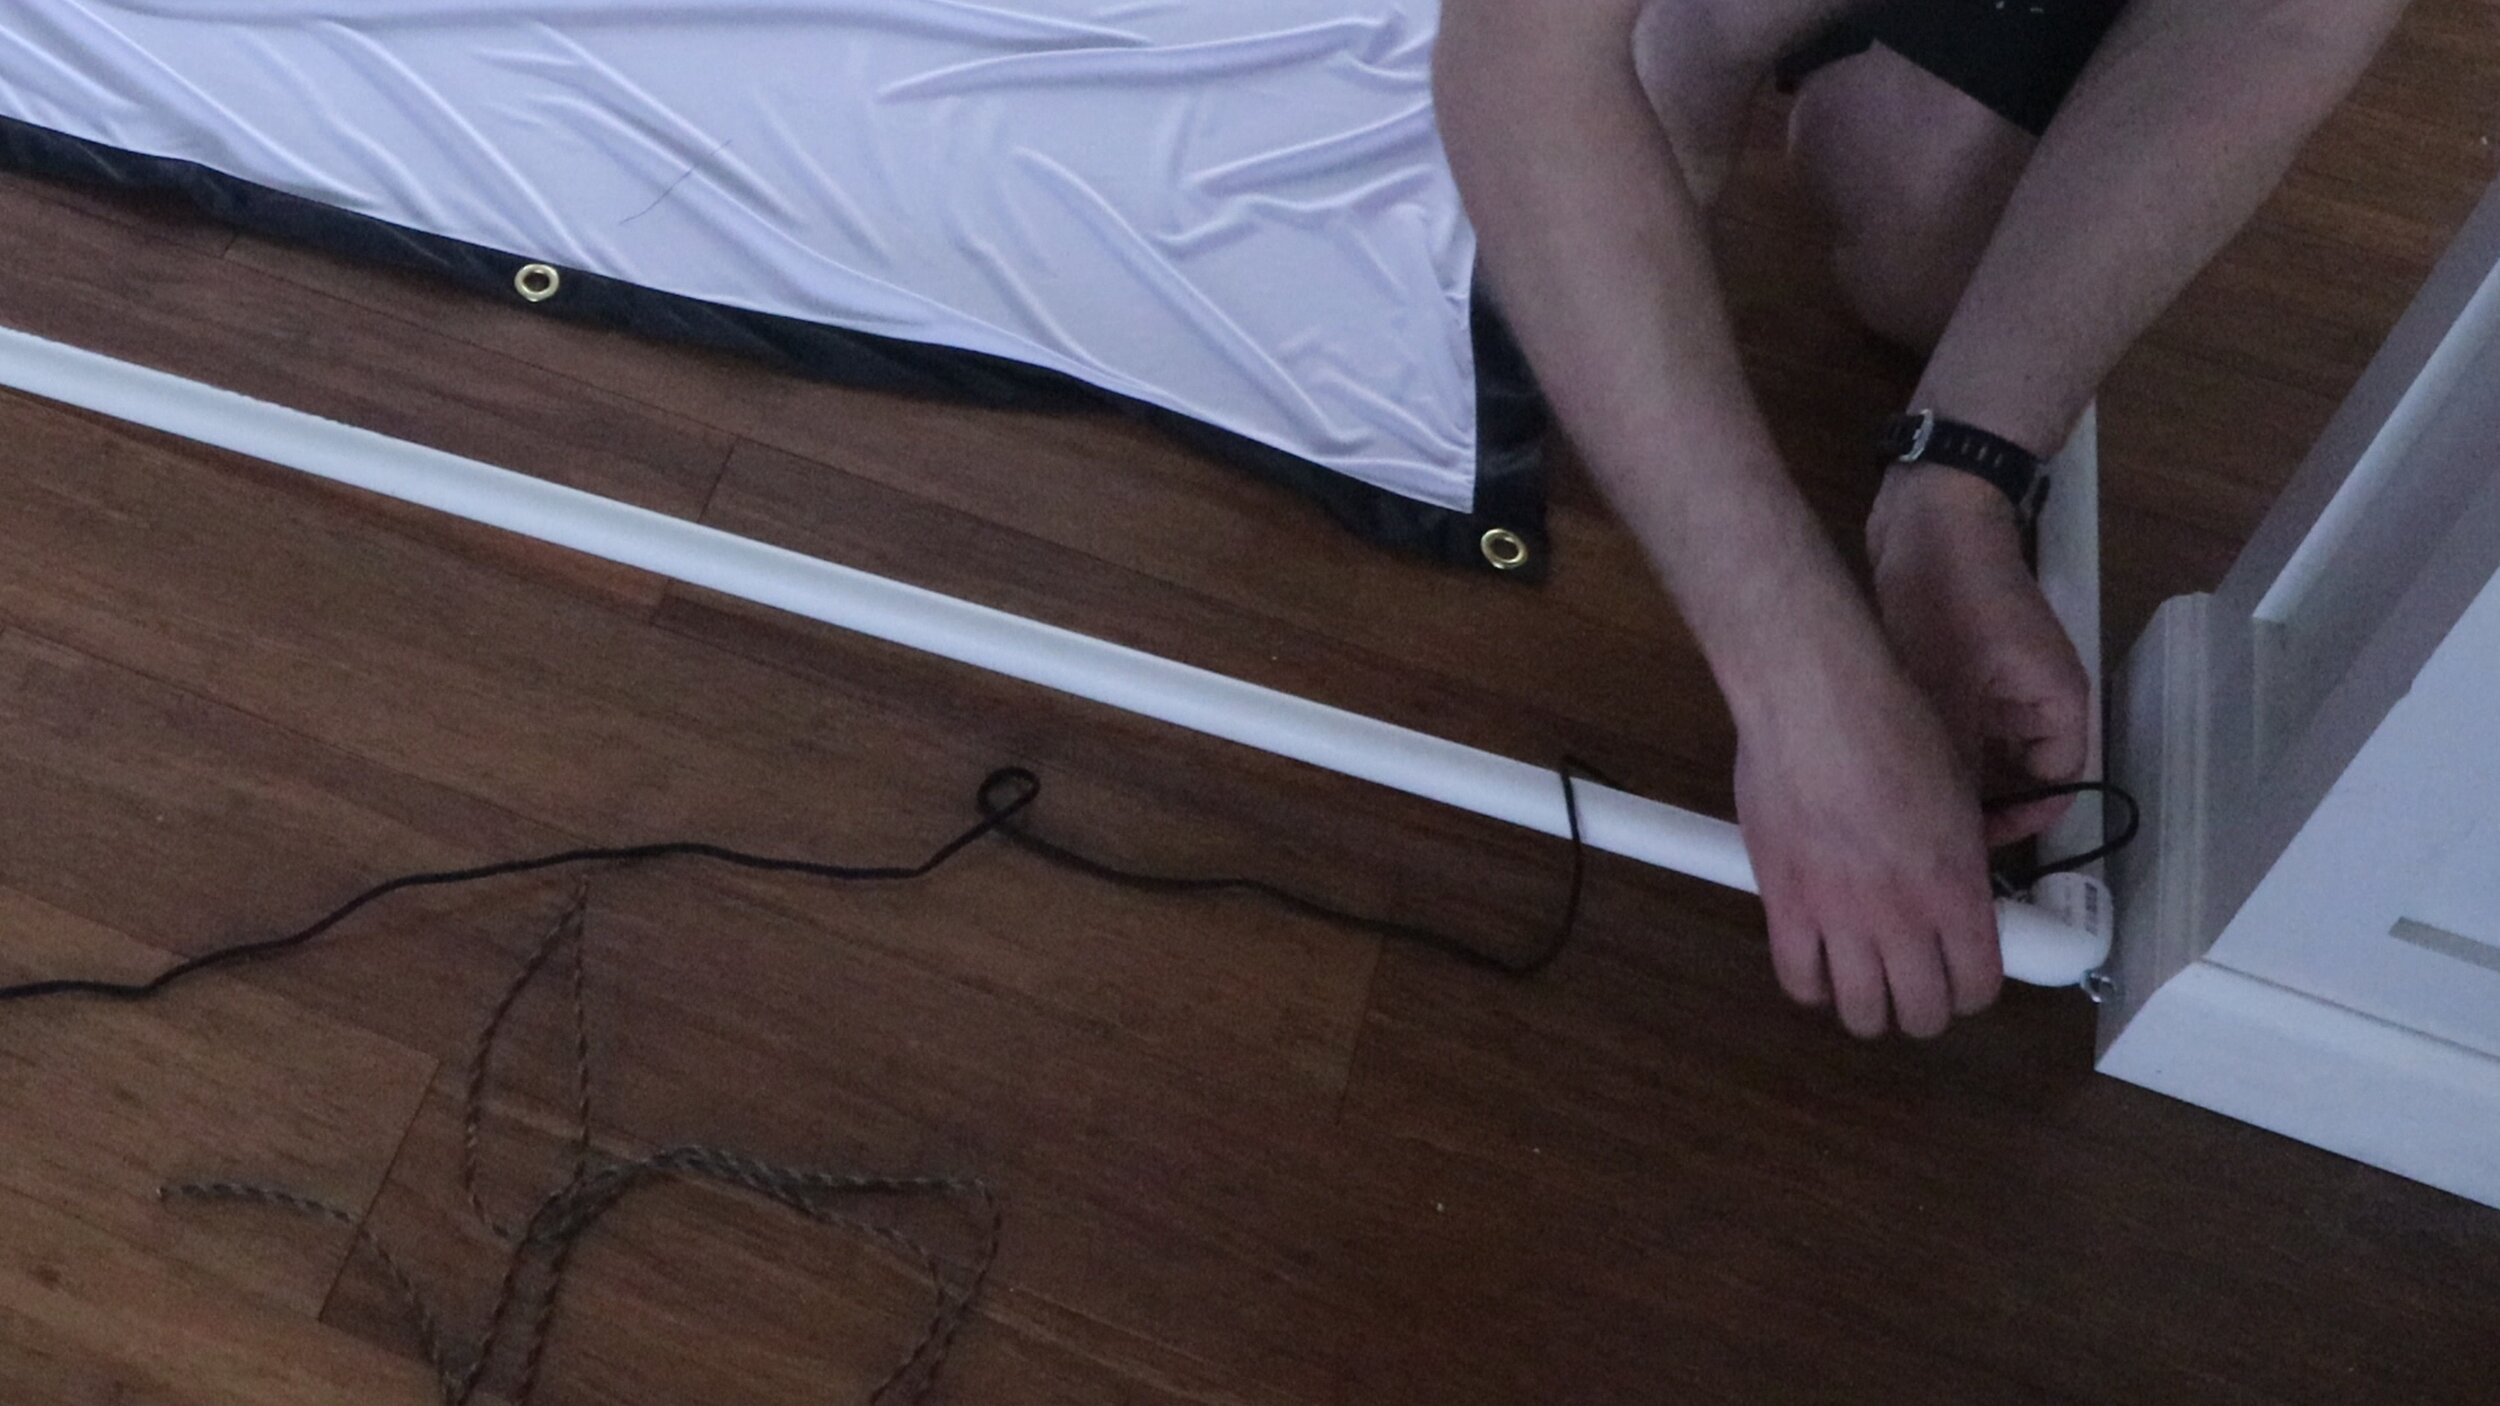
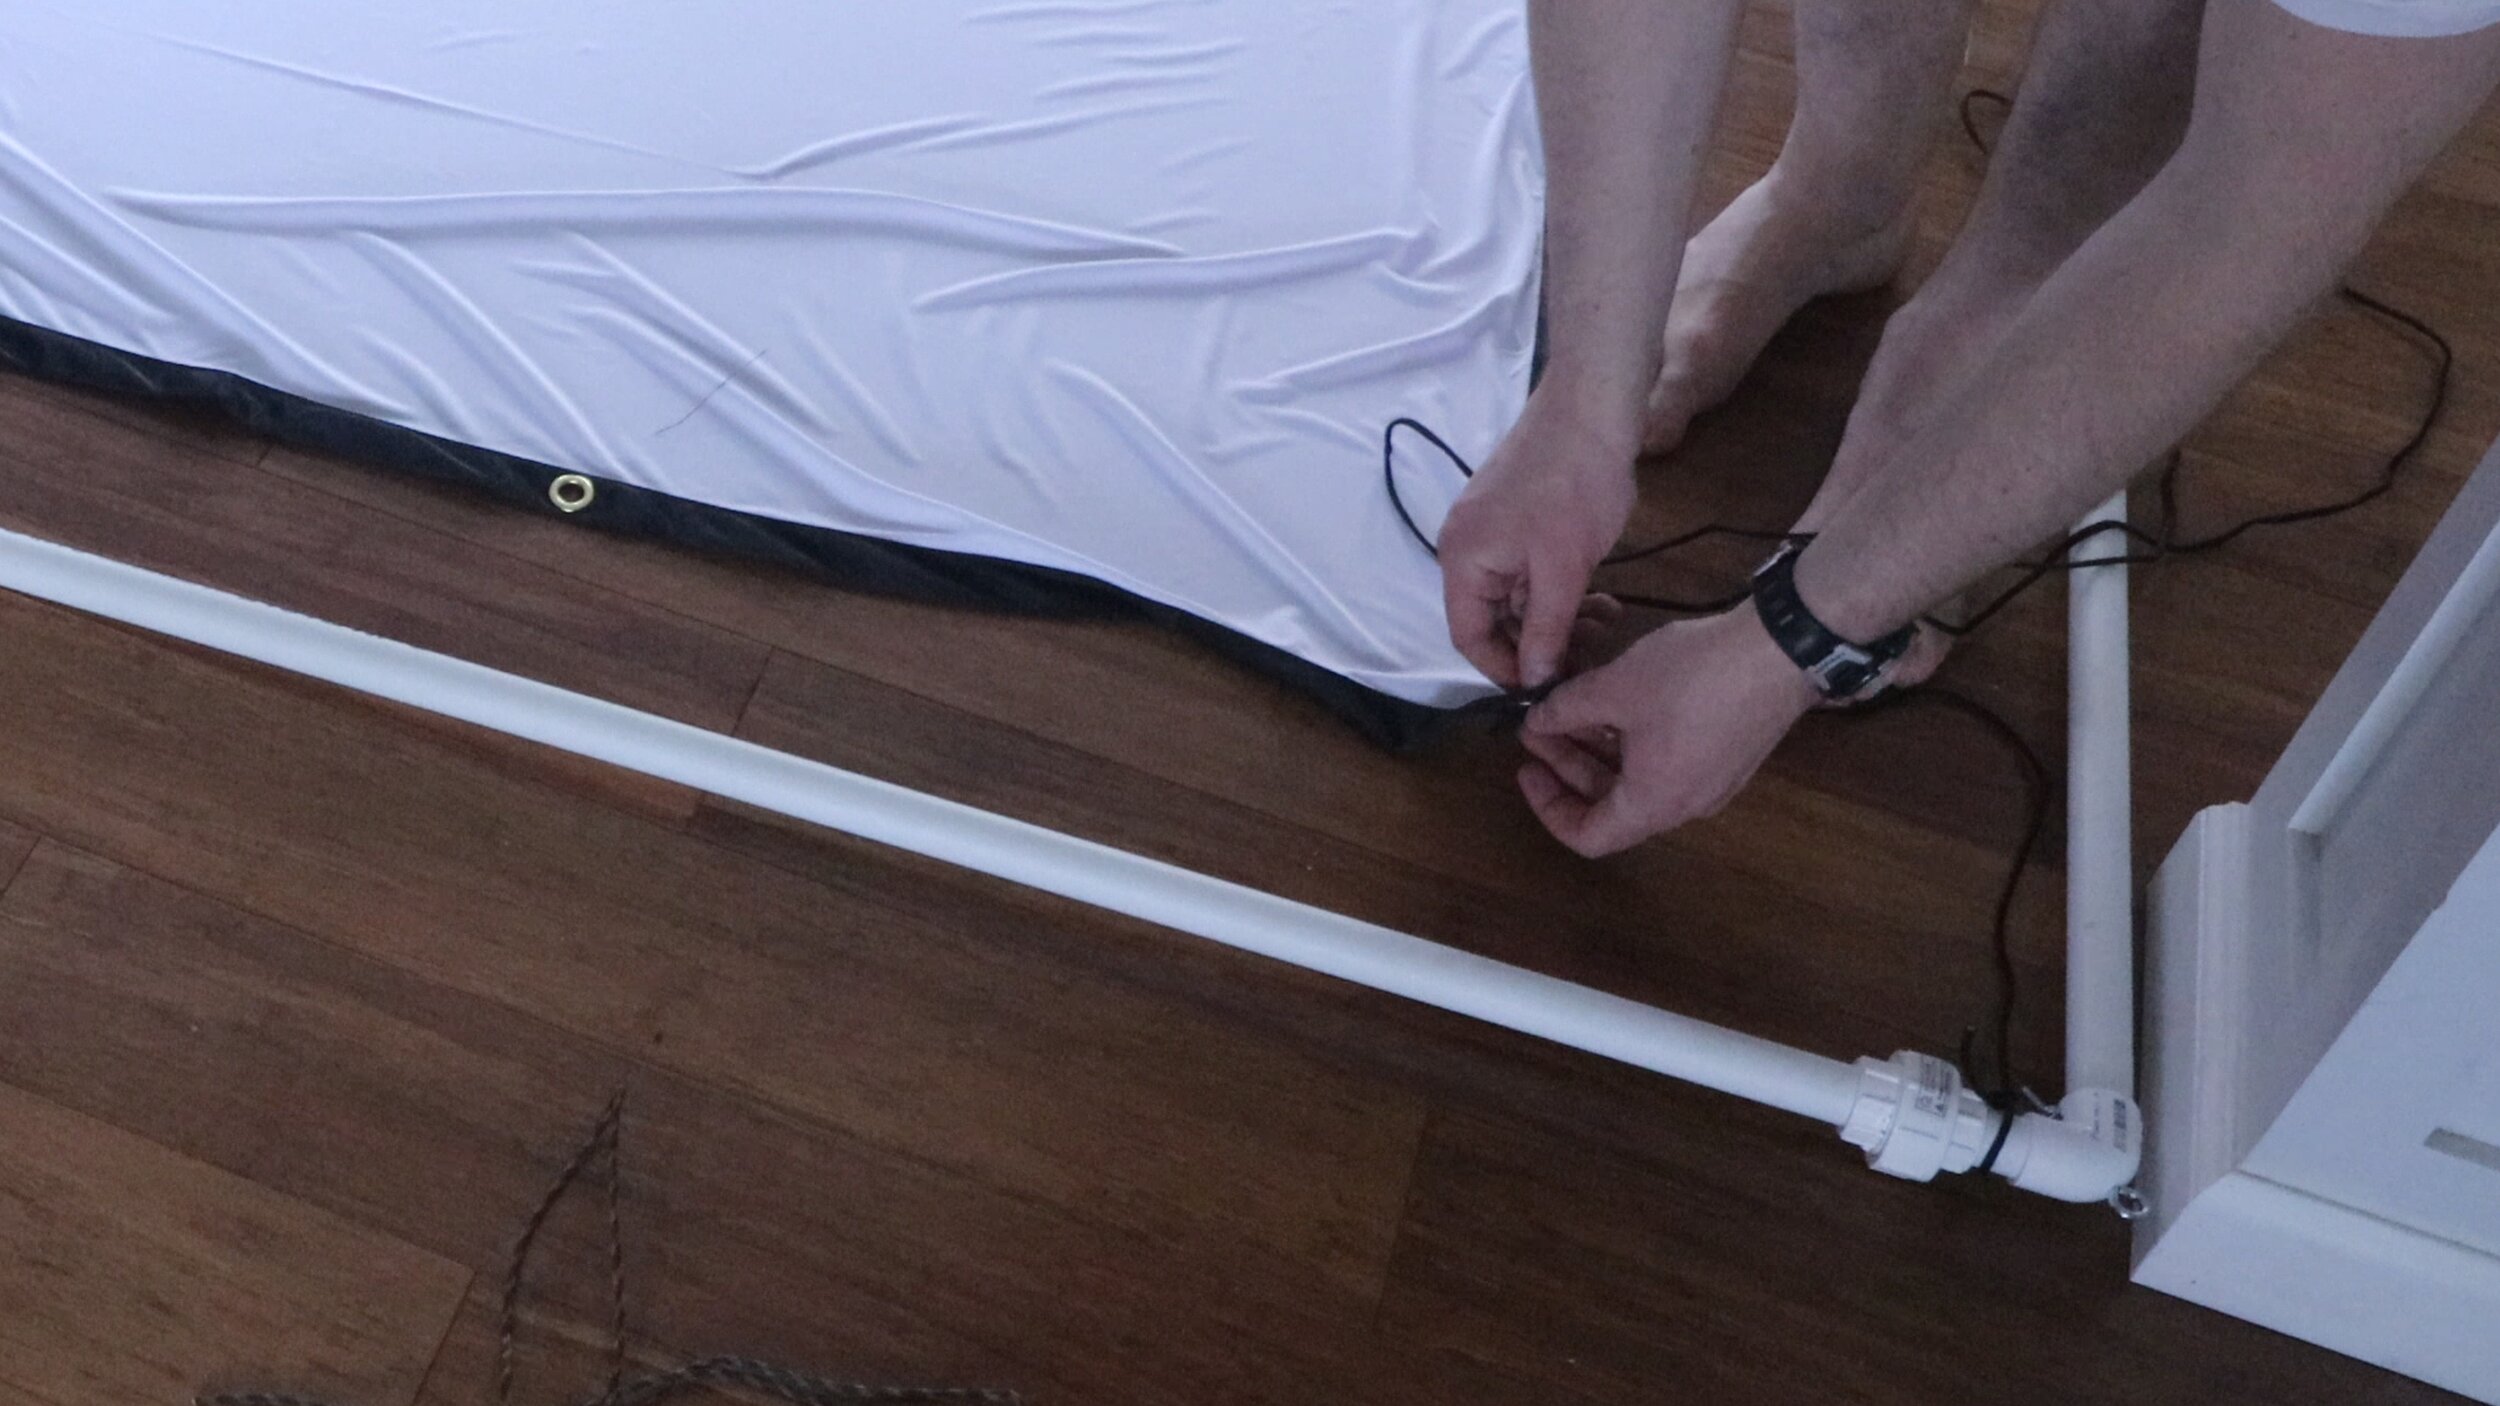
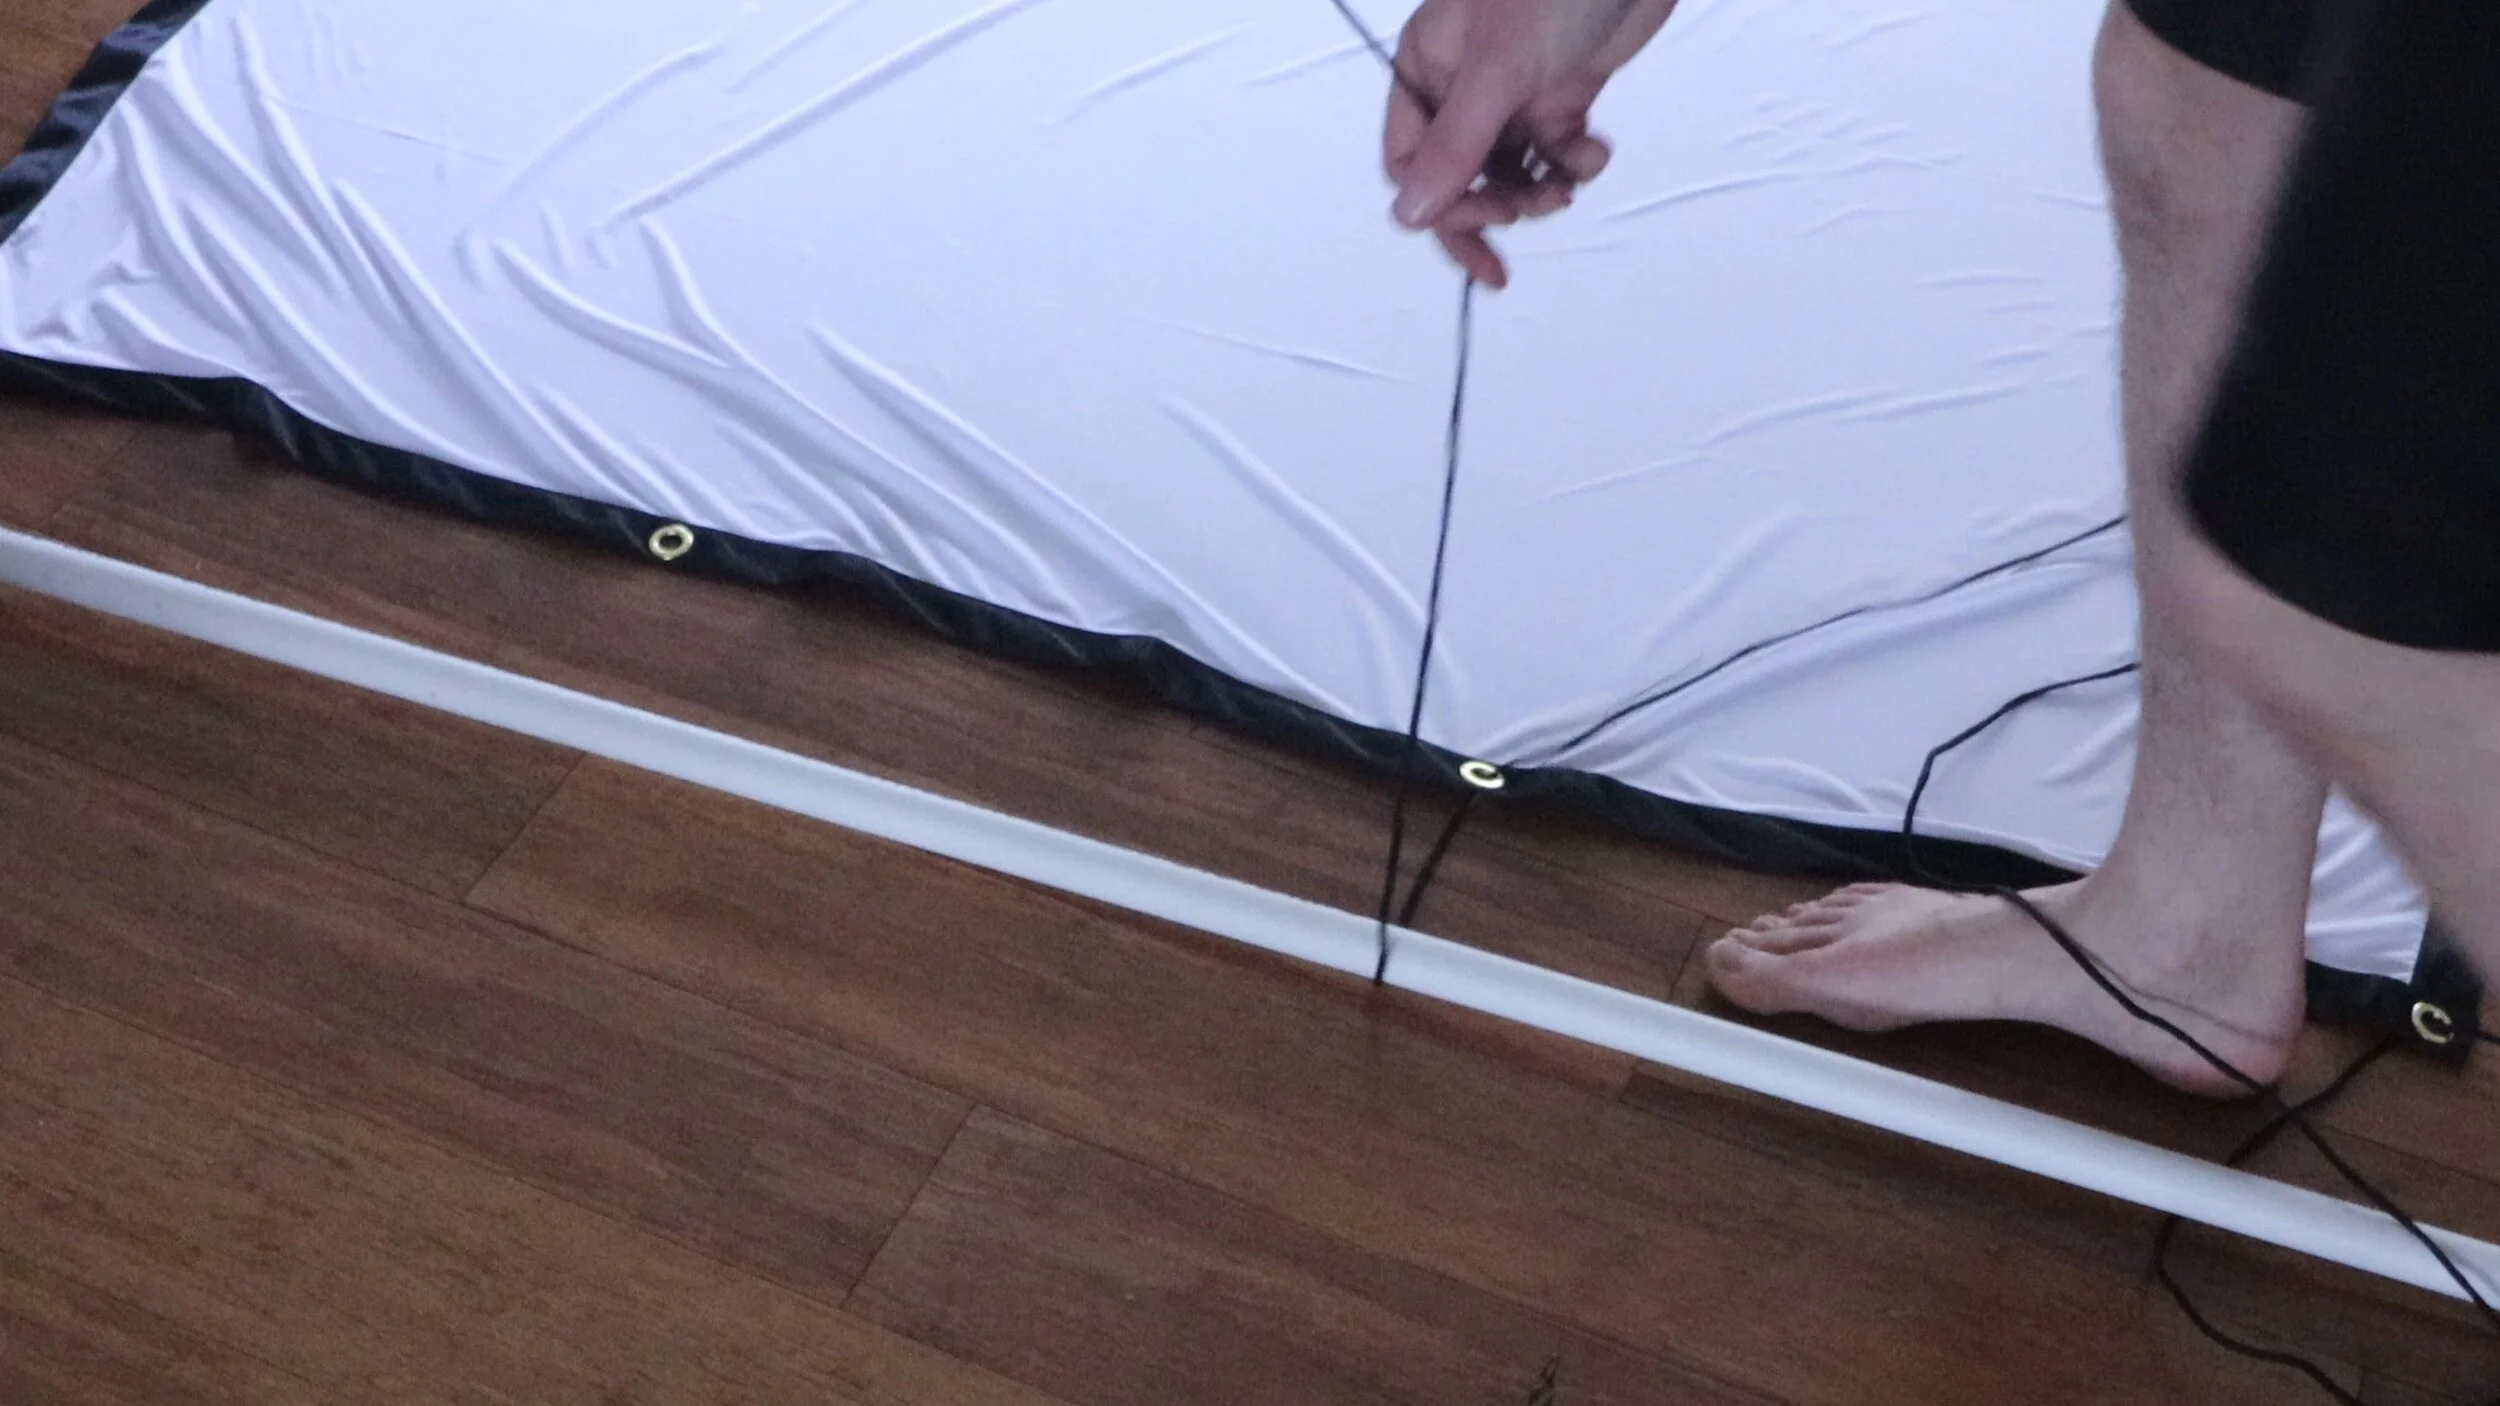
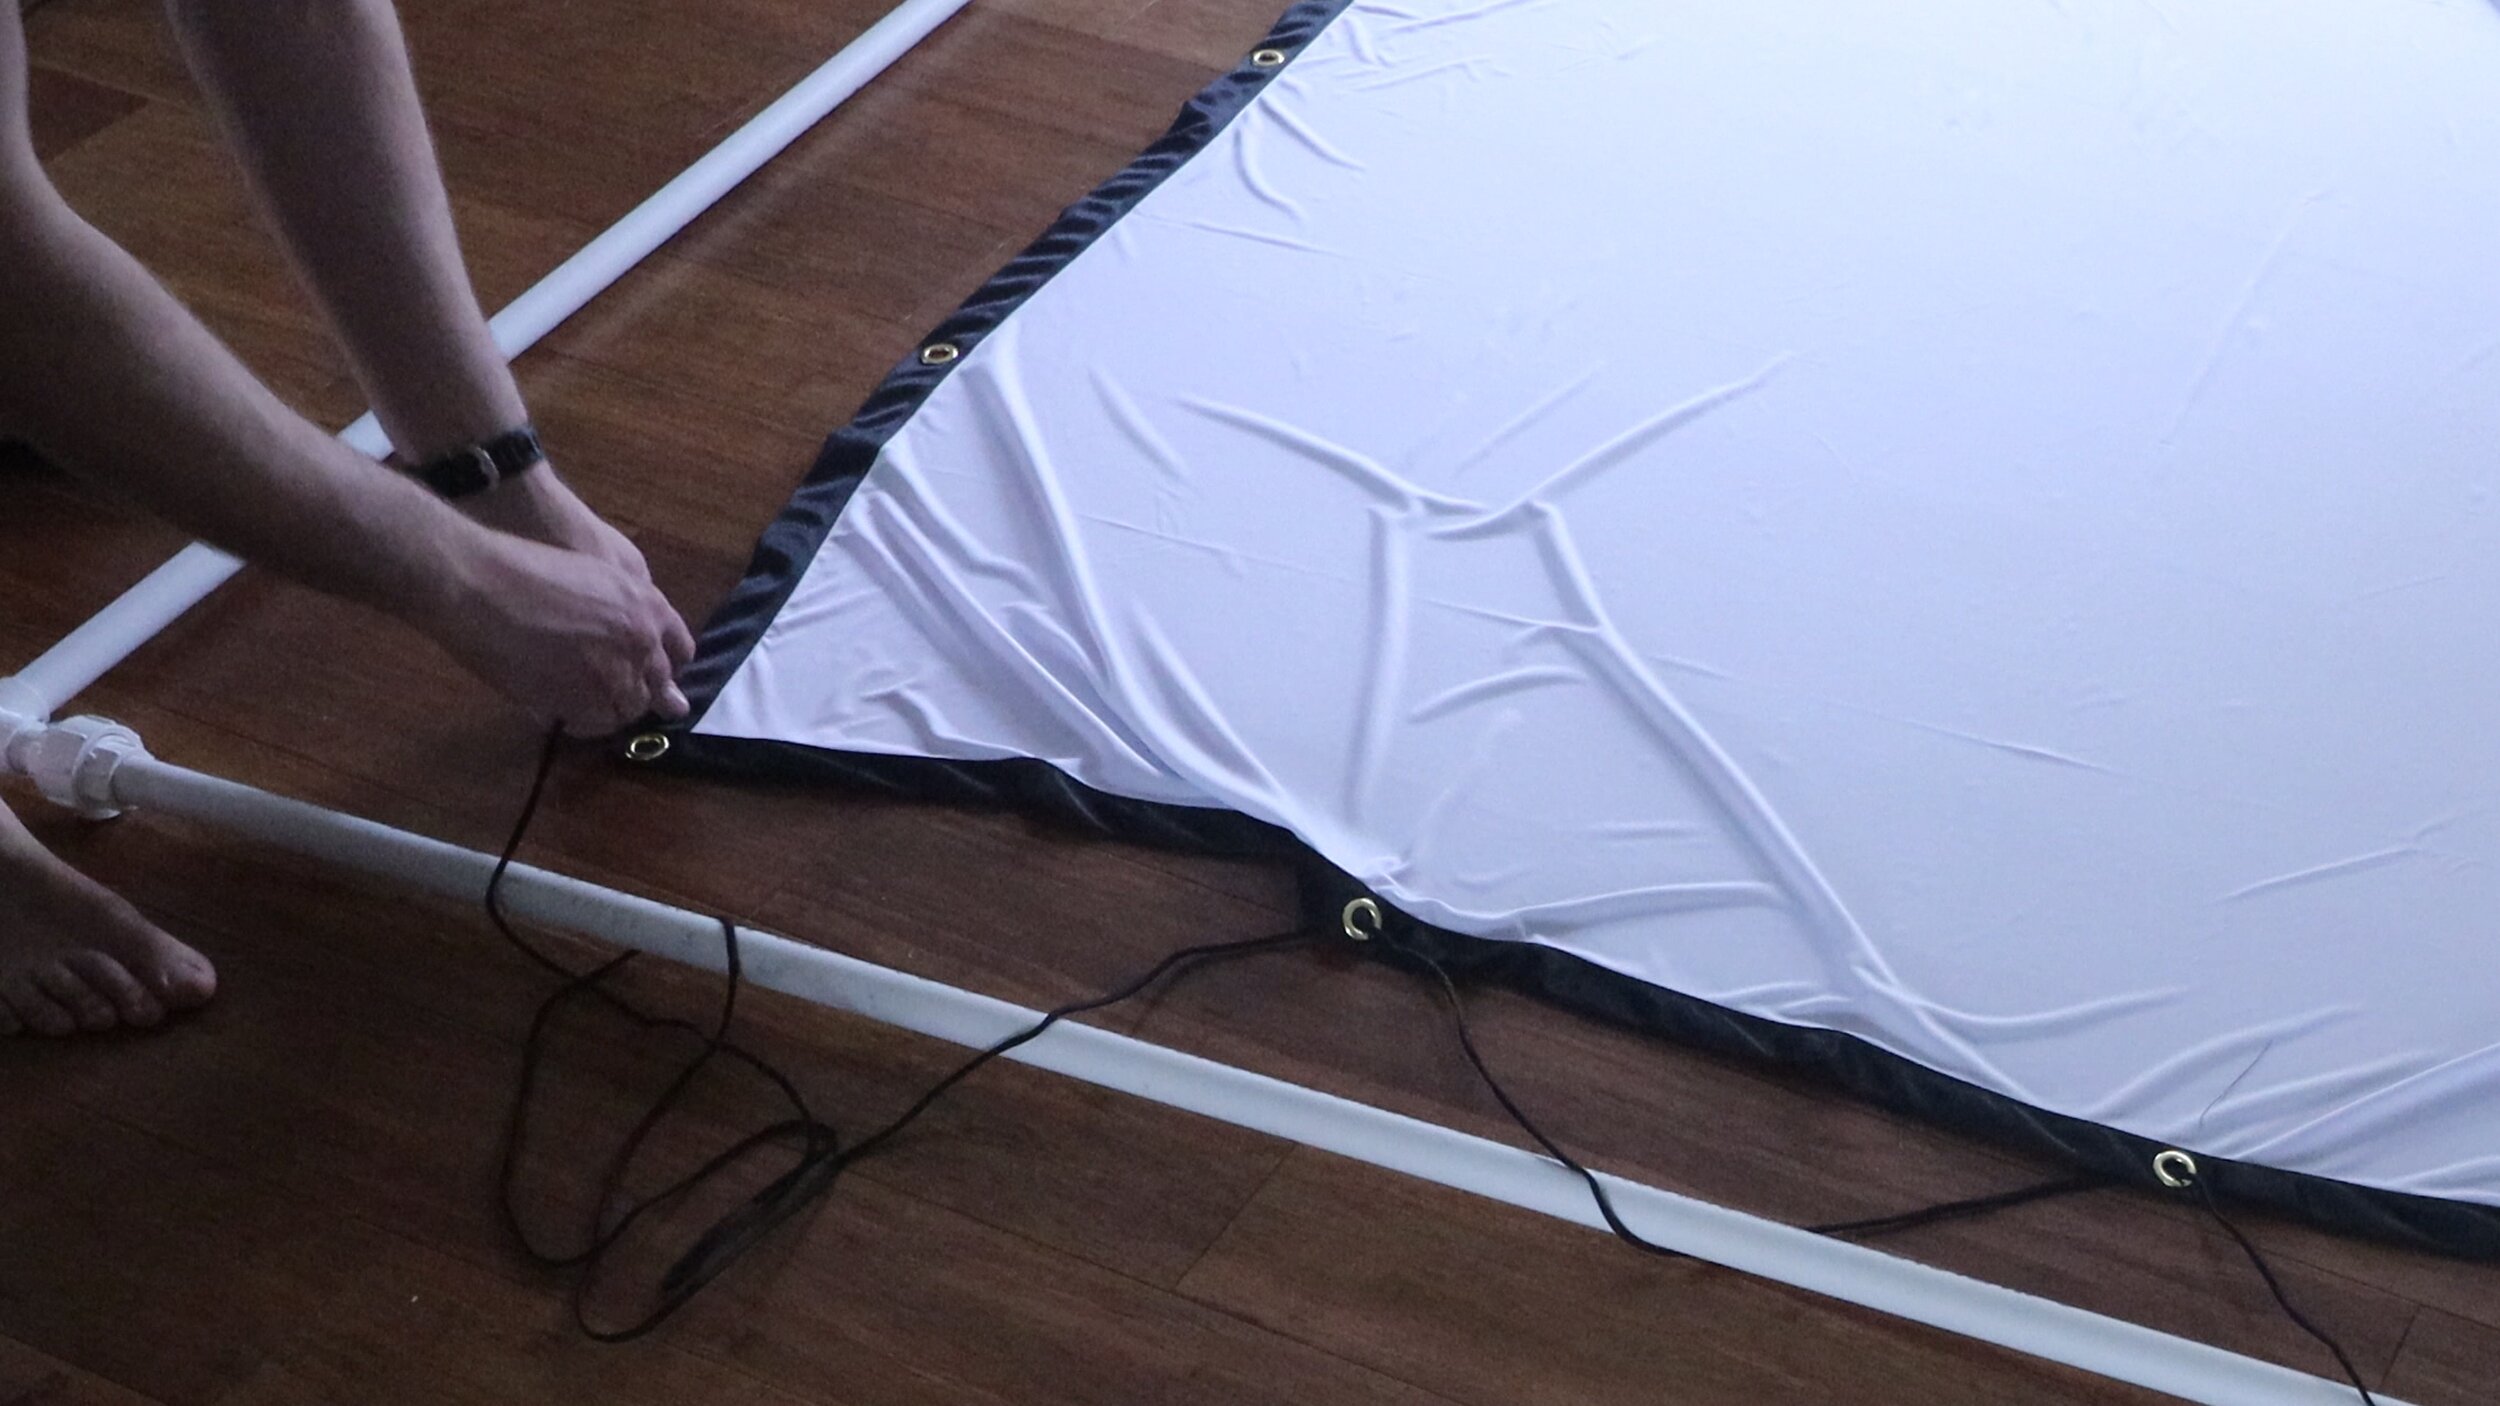
Starting in one corner, tie a string such that the union fitting or the eye bolt keeps it from moving. A bowline knot is useful here. Loop this sequentially around the frame and through the grommets on the screen, similar to tying a shoe. Keep the line somewhat loose for now.
Repeat the lacing process on the opposite side of the frame. Then lace the top and bottom. Once all four sides are attached, tighten up the strings to even tension all around and even up the screen within the frame.
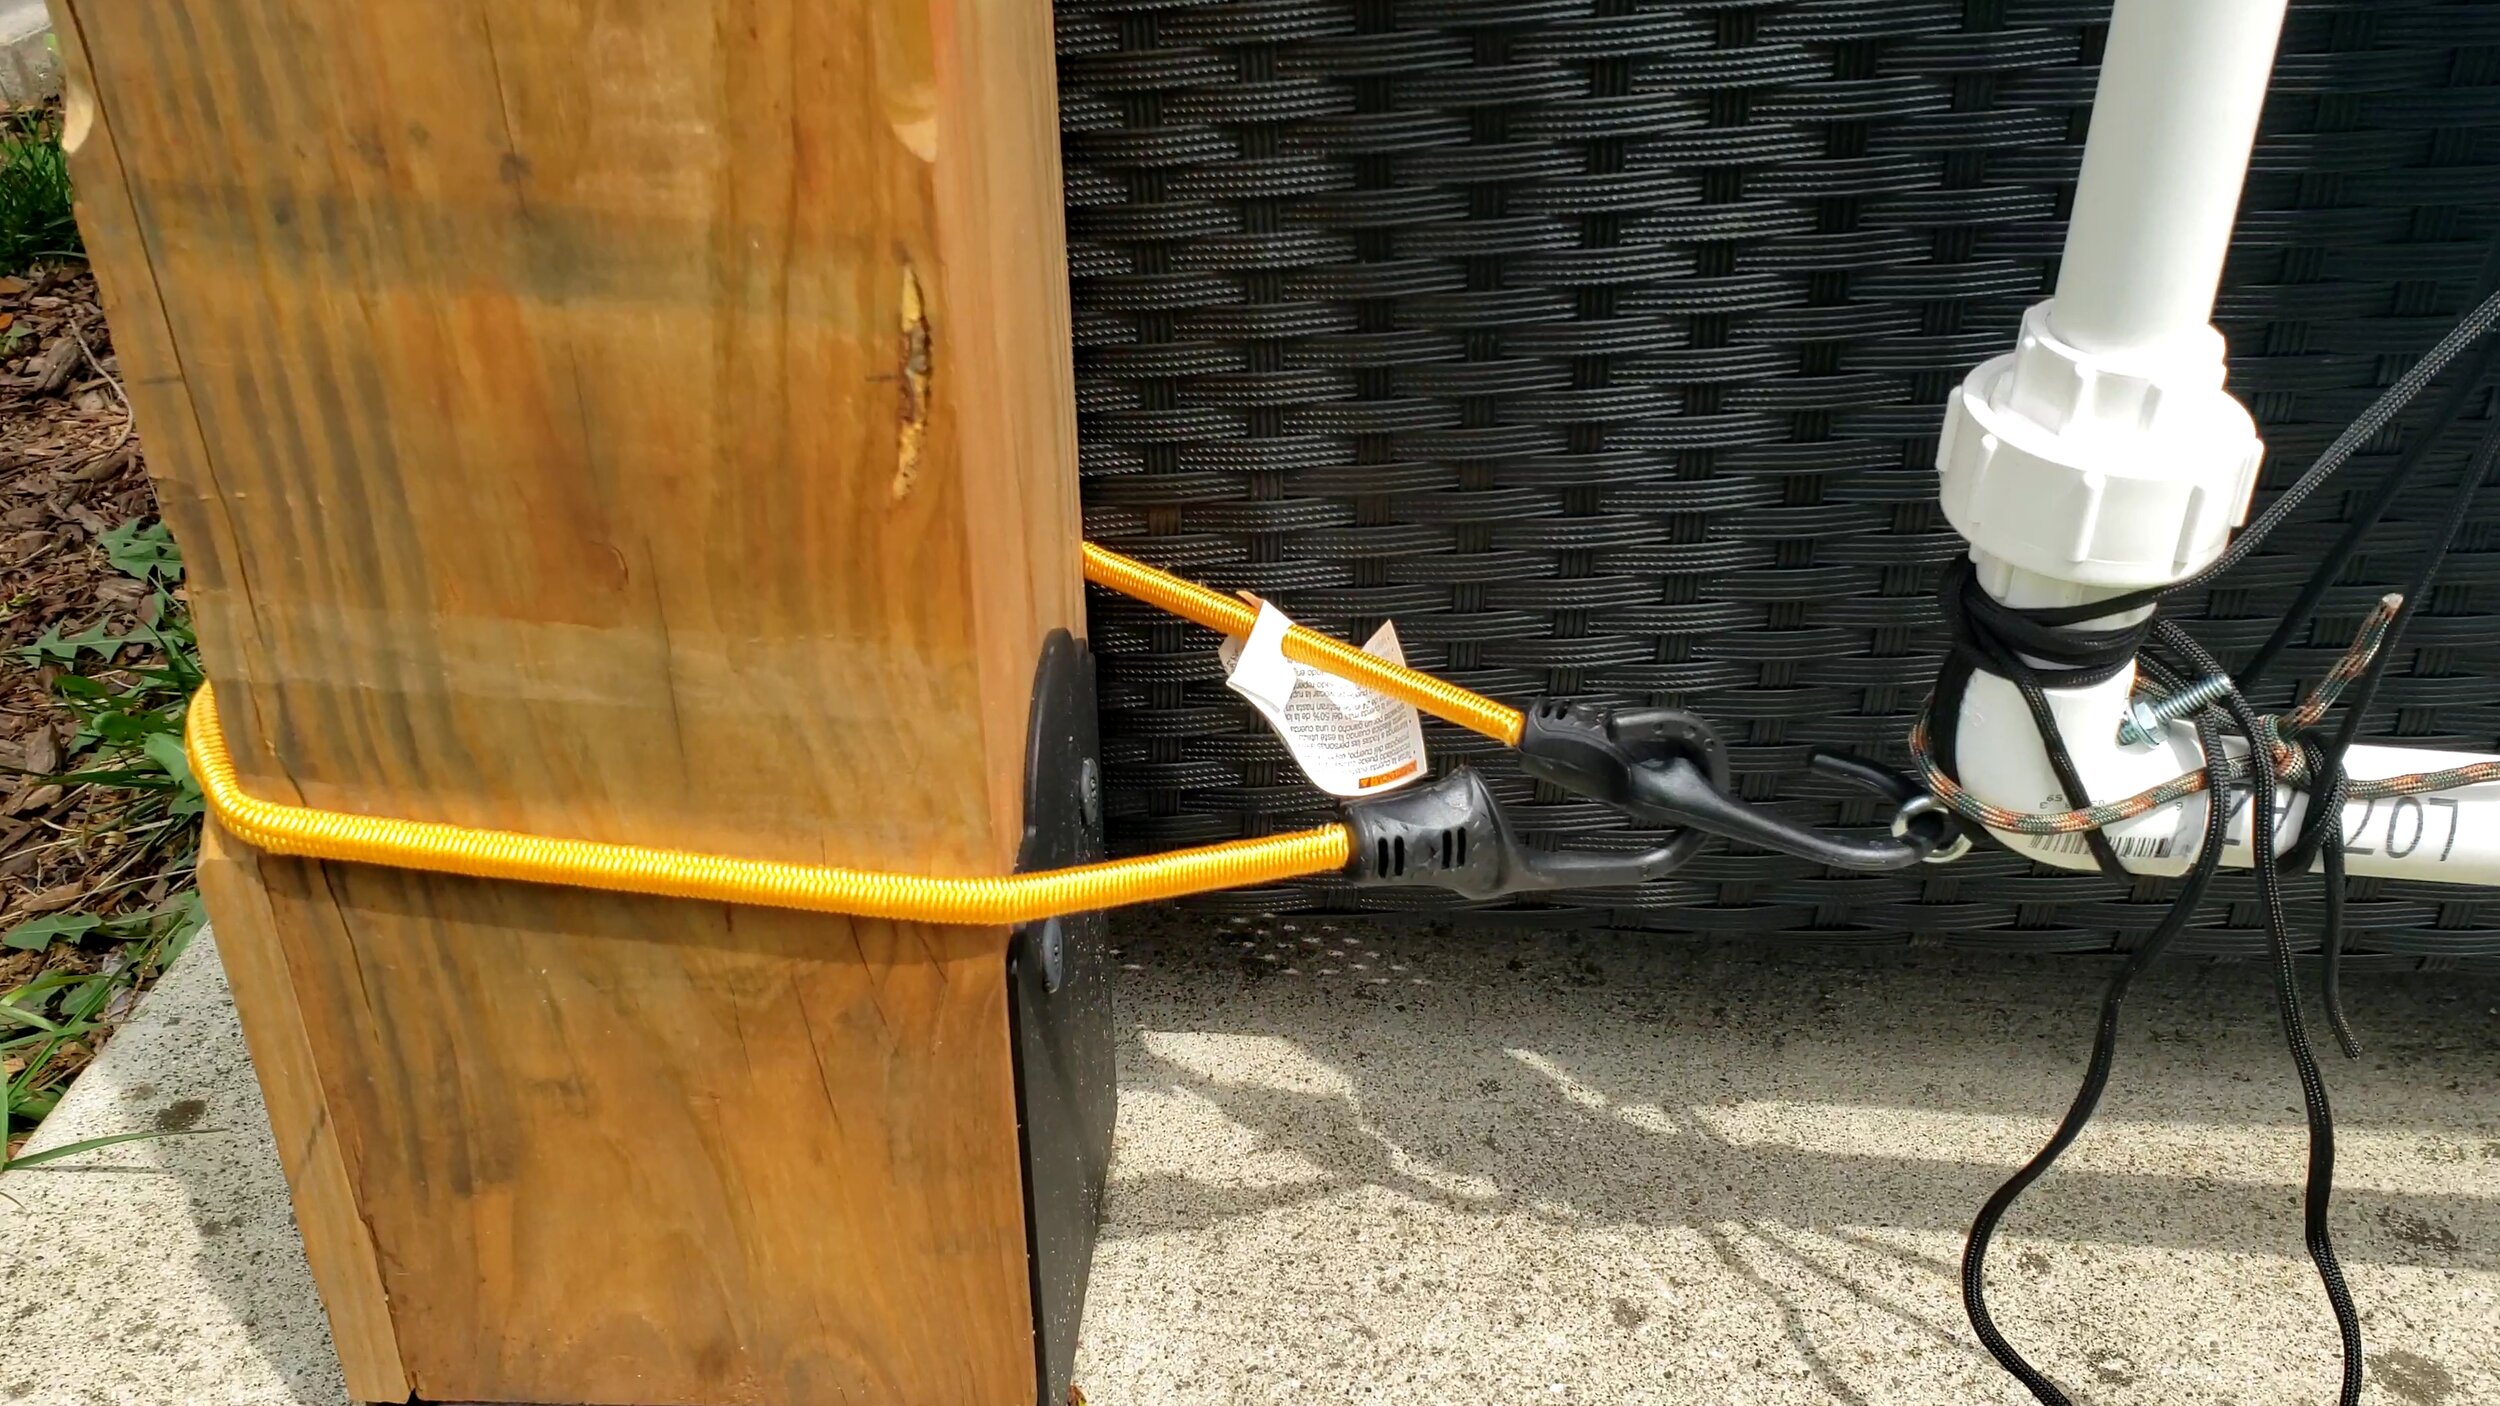
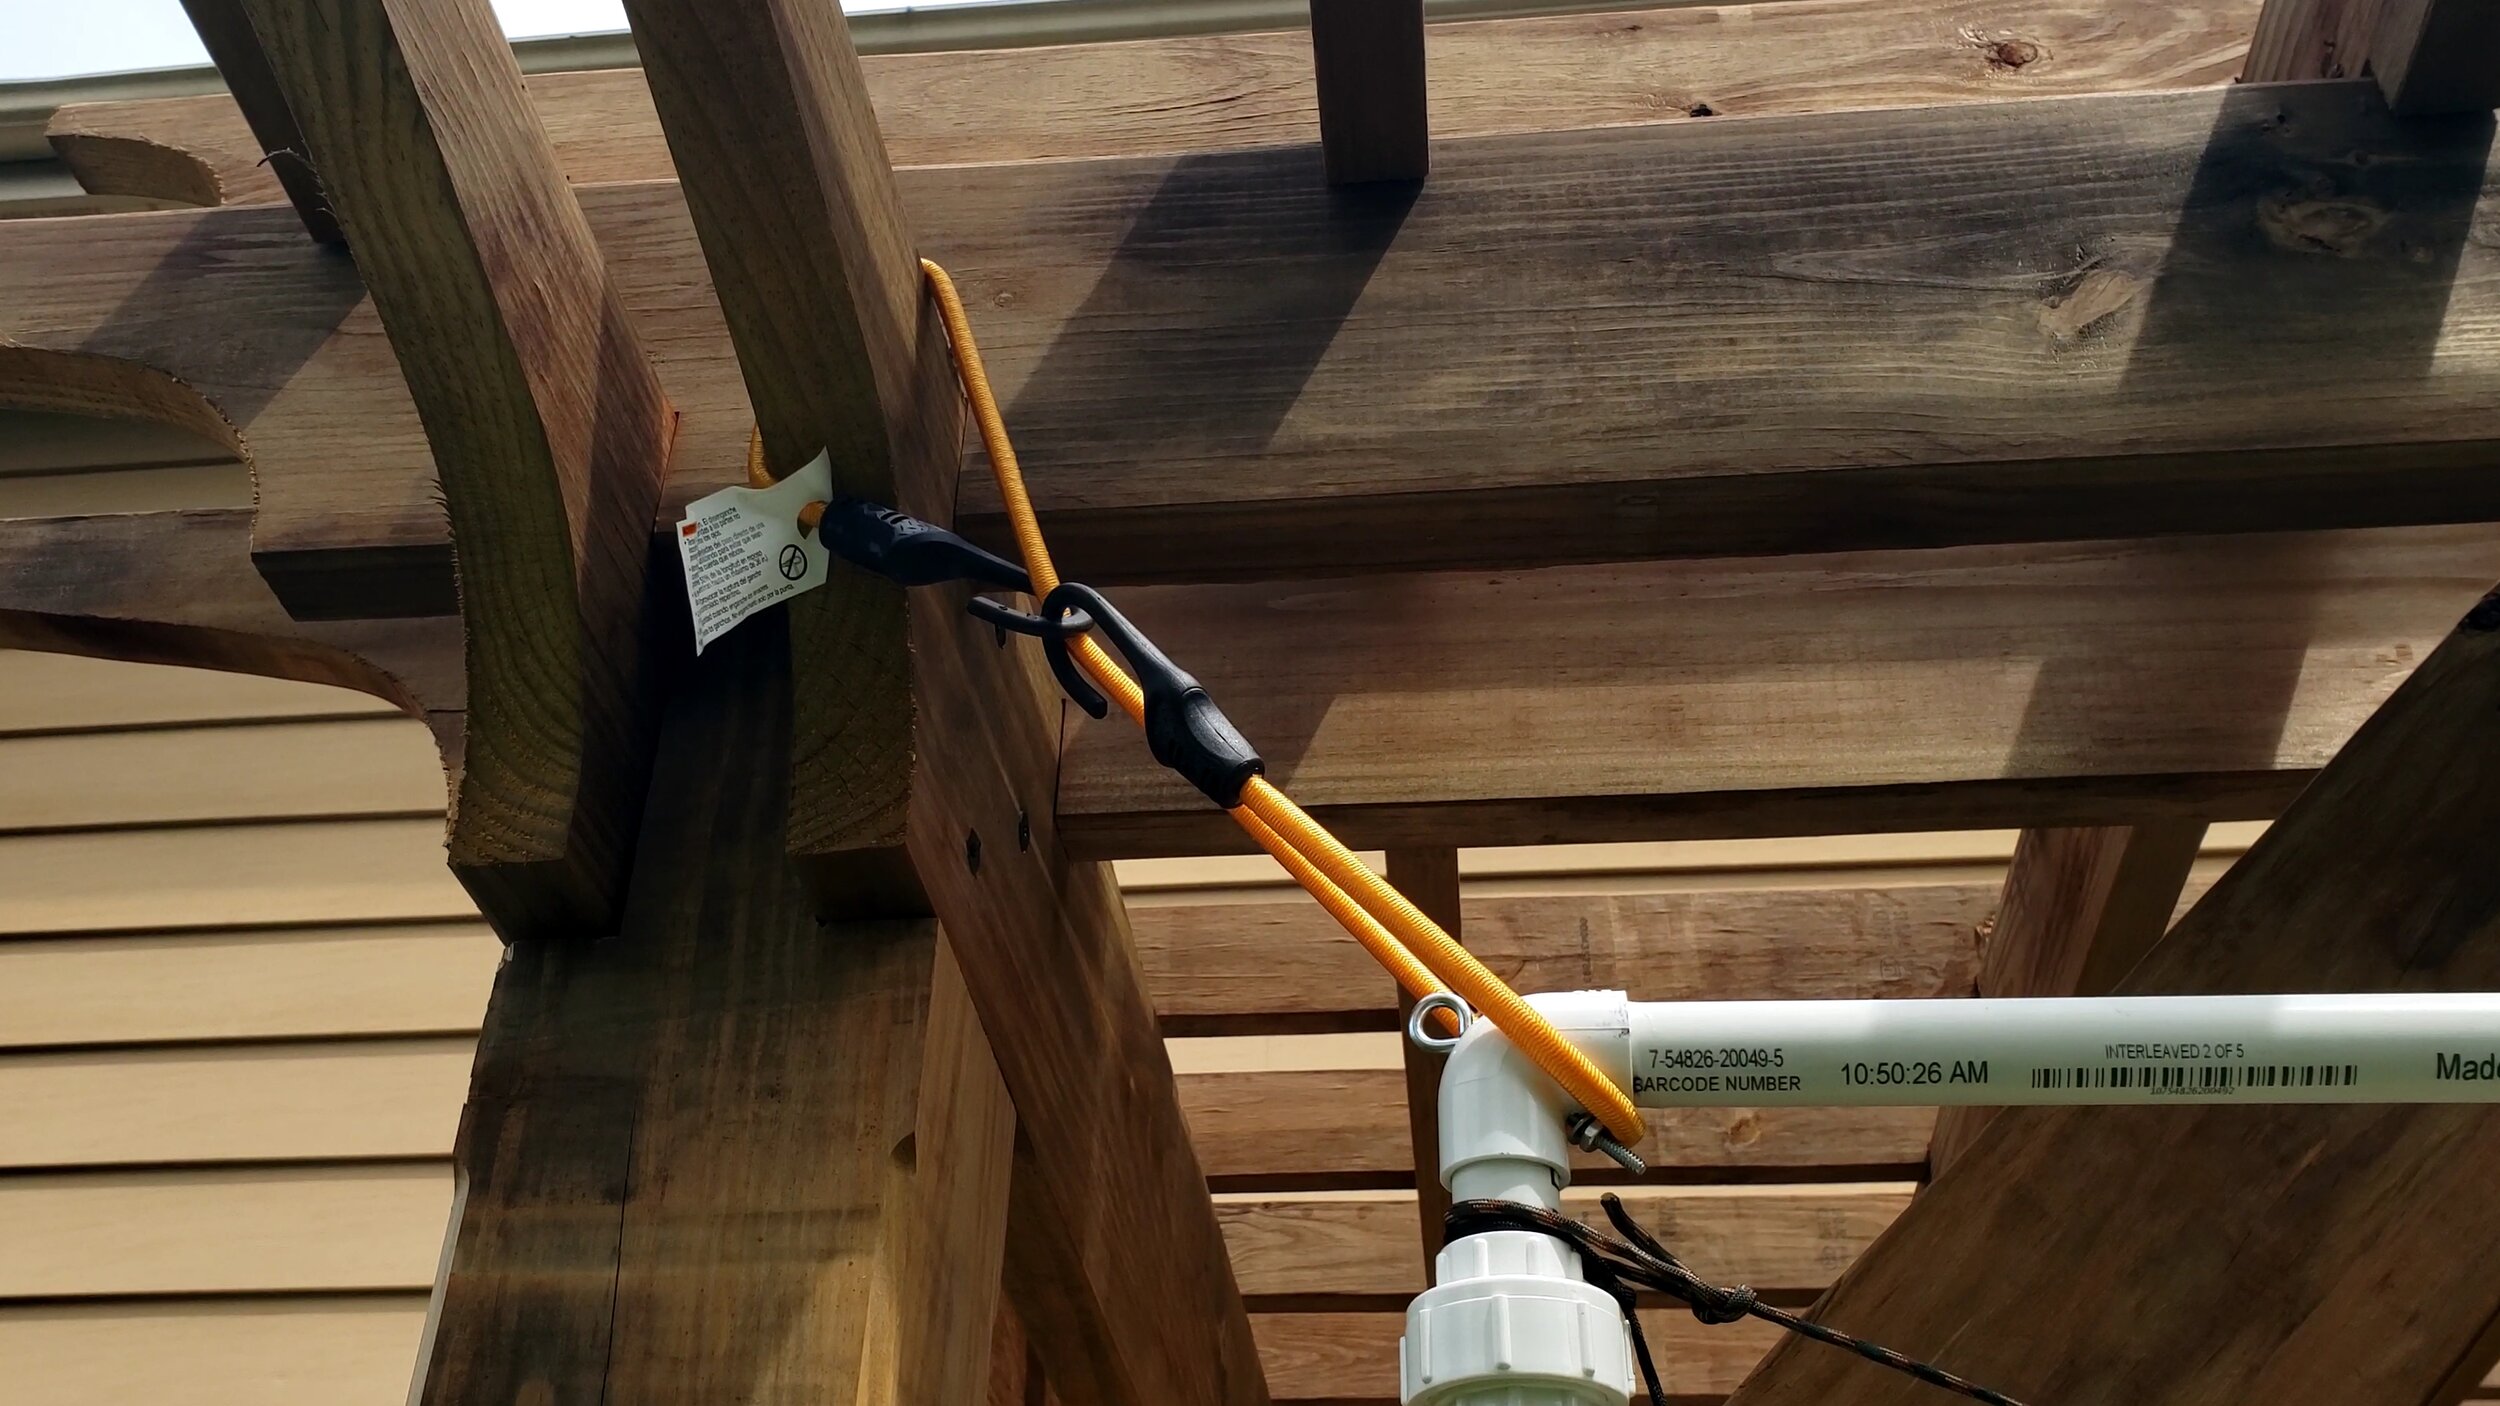
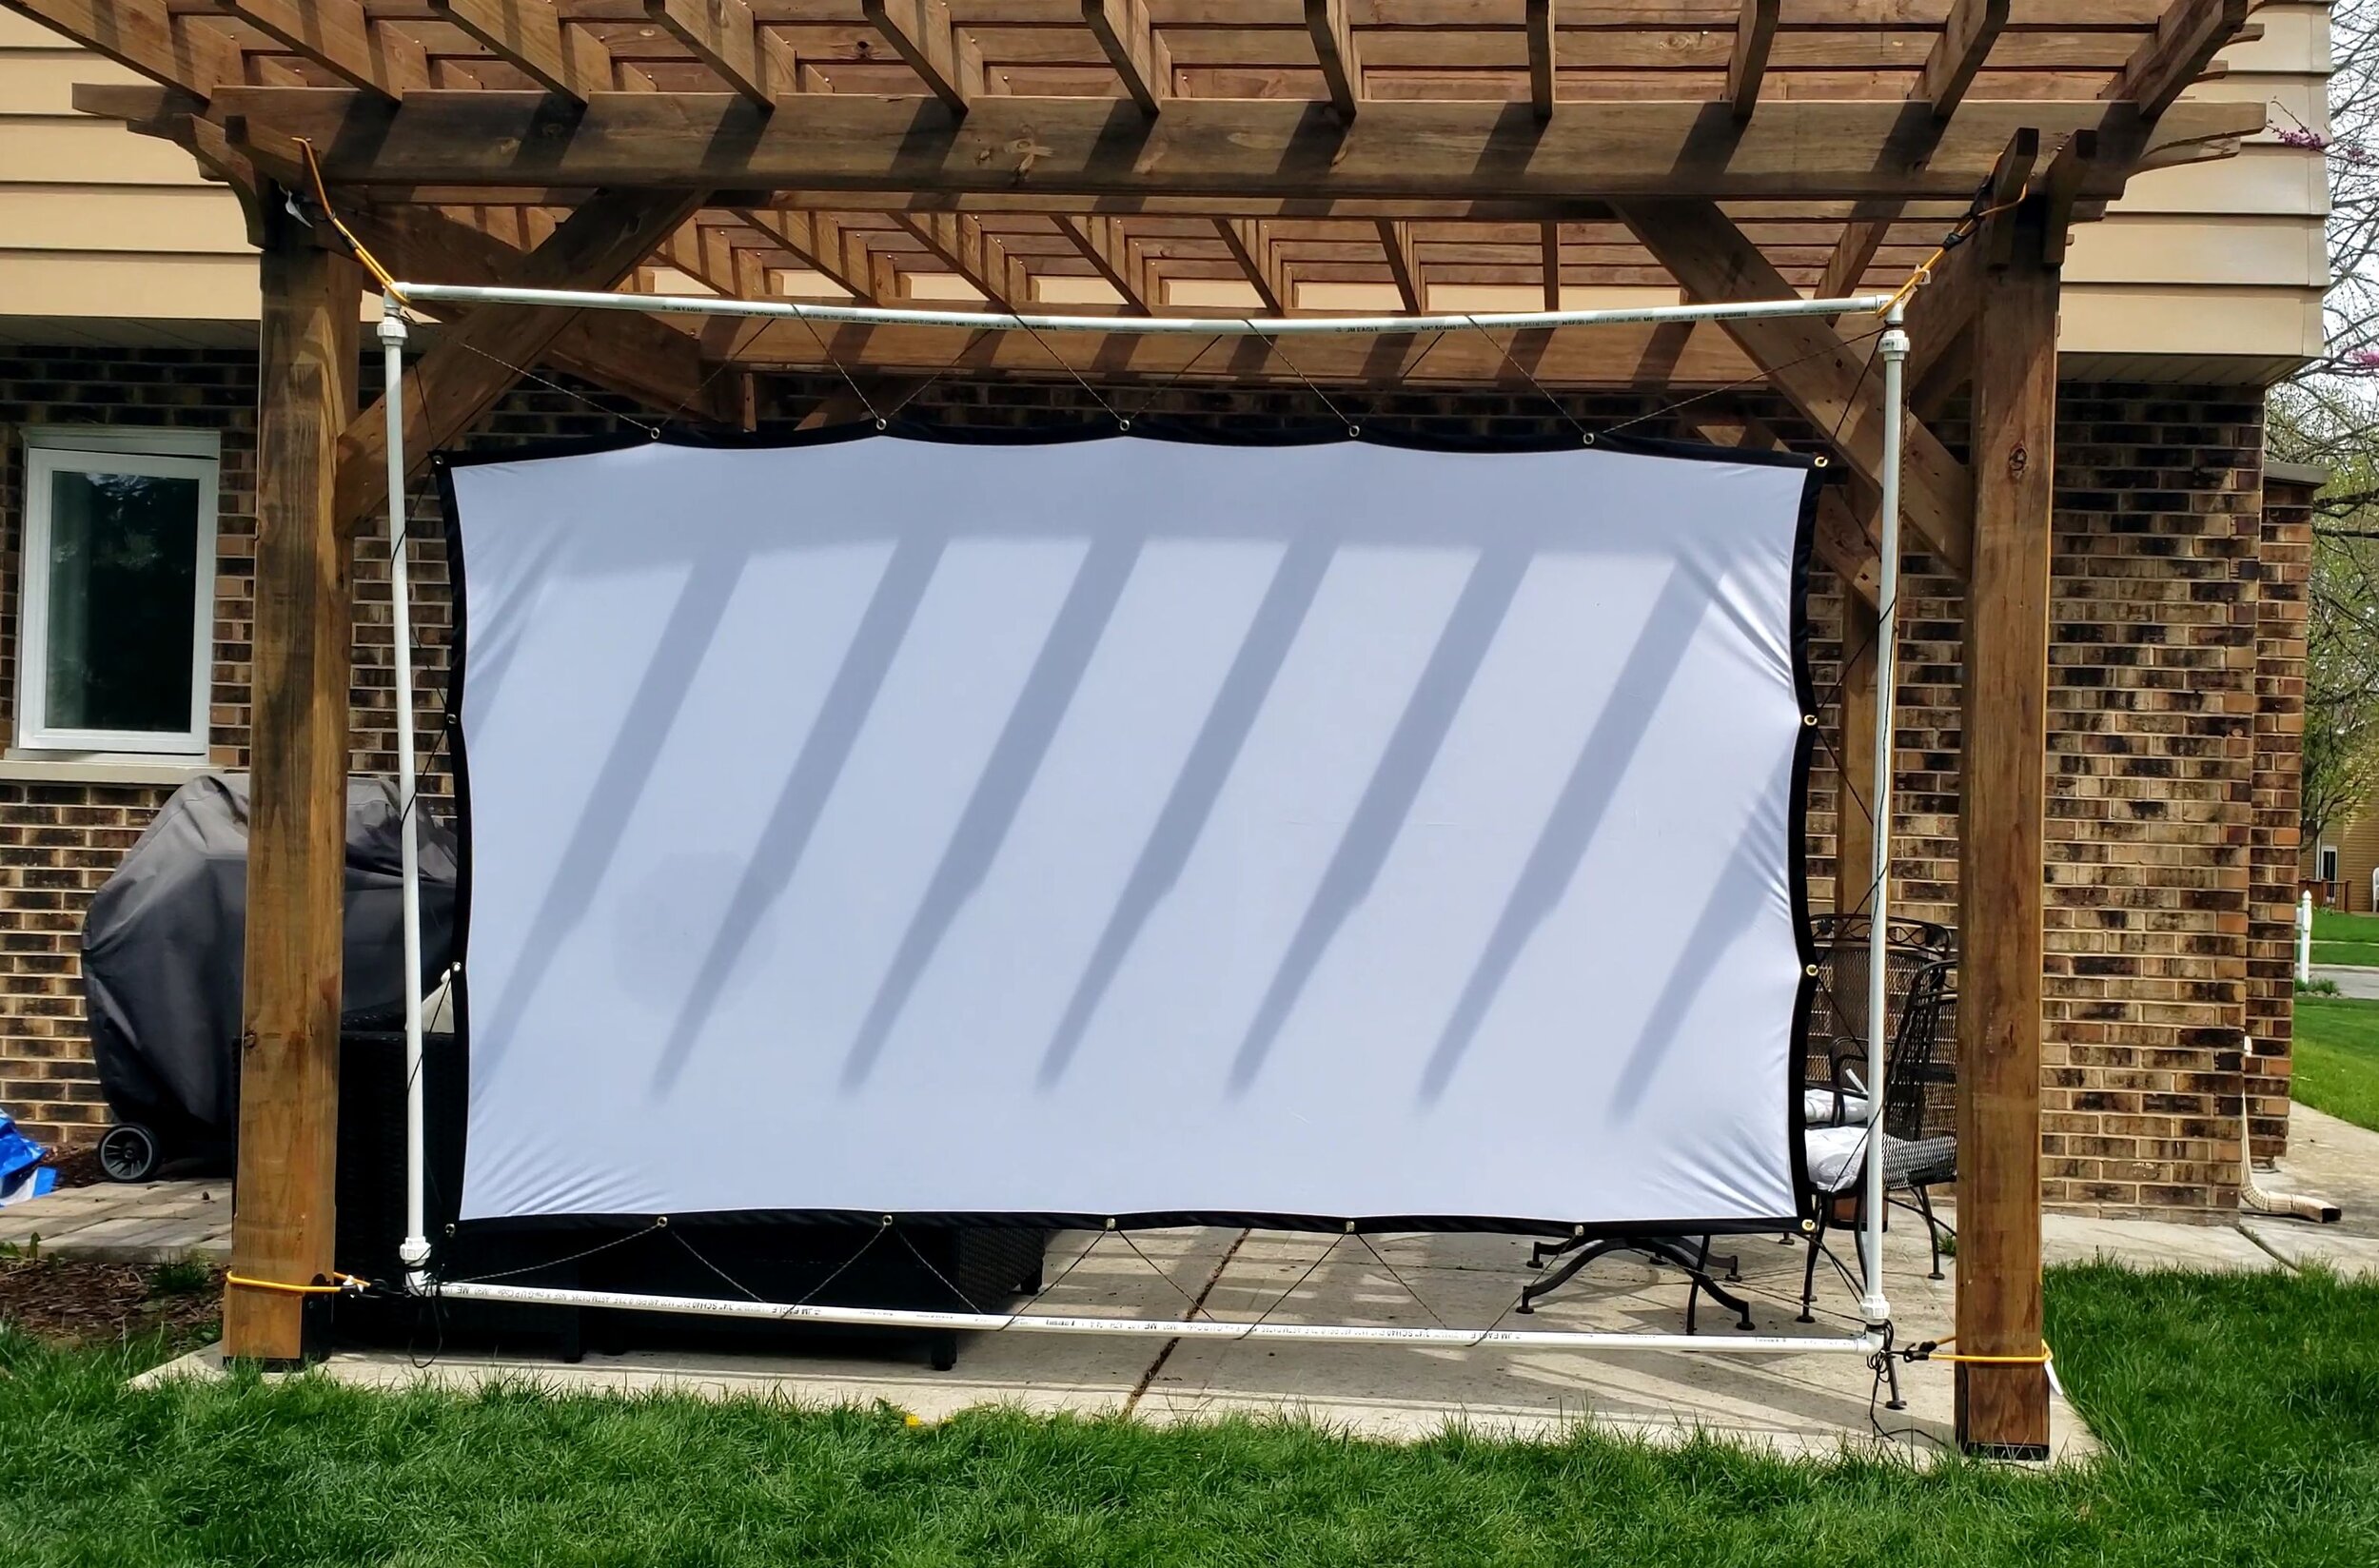
At this point, your screen is ready to mount. My pergola is the perfect size to mount my screen, so I used a couple bungee cords to attach it.
All that's left to do is wait for dark, hook up your projector, and get to watching movies!
If you enjoyed this article, subscribe to my YouTube channel for more!
——————————————————-
Below is a listing of the supplies and tools you will need to build this. I have supplied Amazon Affiliate links to the products I used. As an Amazon Associate I earn from qualifying purchases.
Supplies:
For the frame:
(4) 3/4" PVC, Sch. 40, 10-ft long
(4) 3/4" PVC elbows
Movie night essentials: