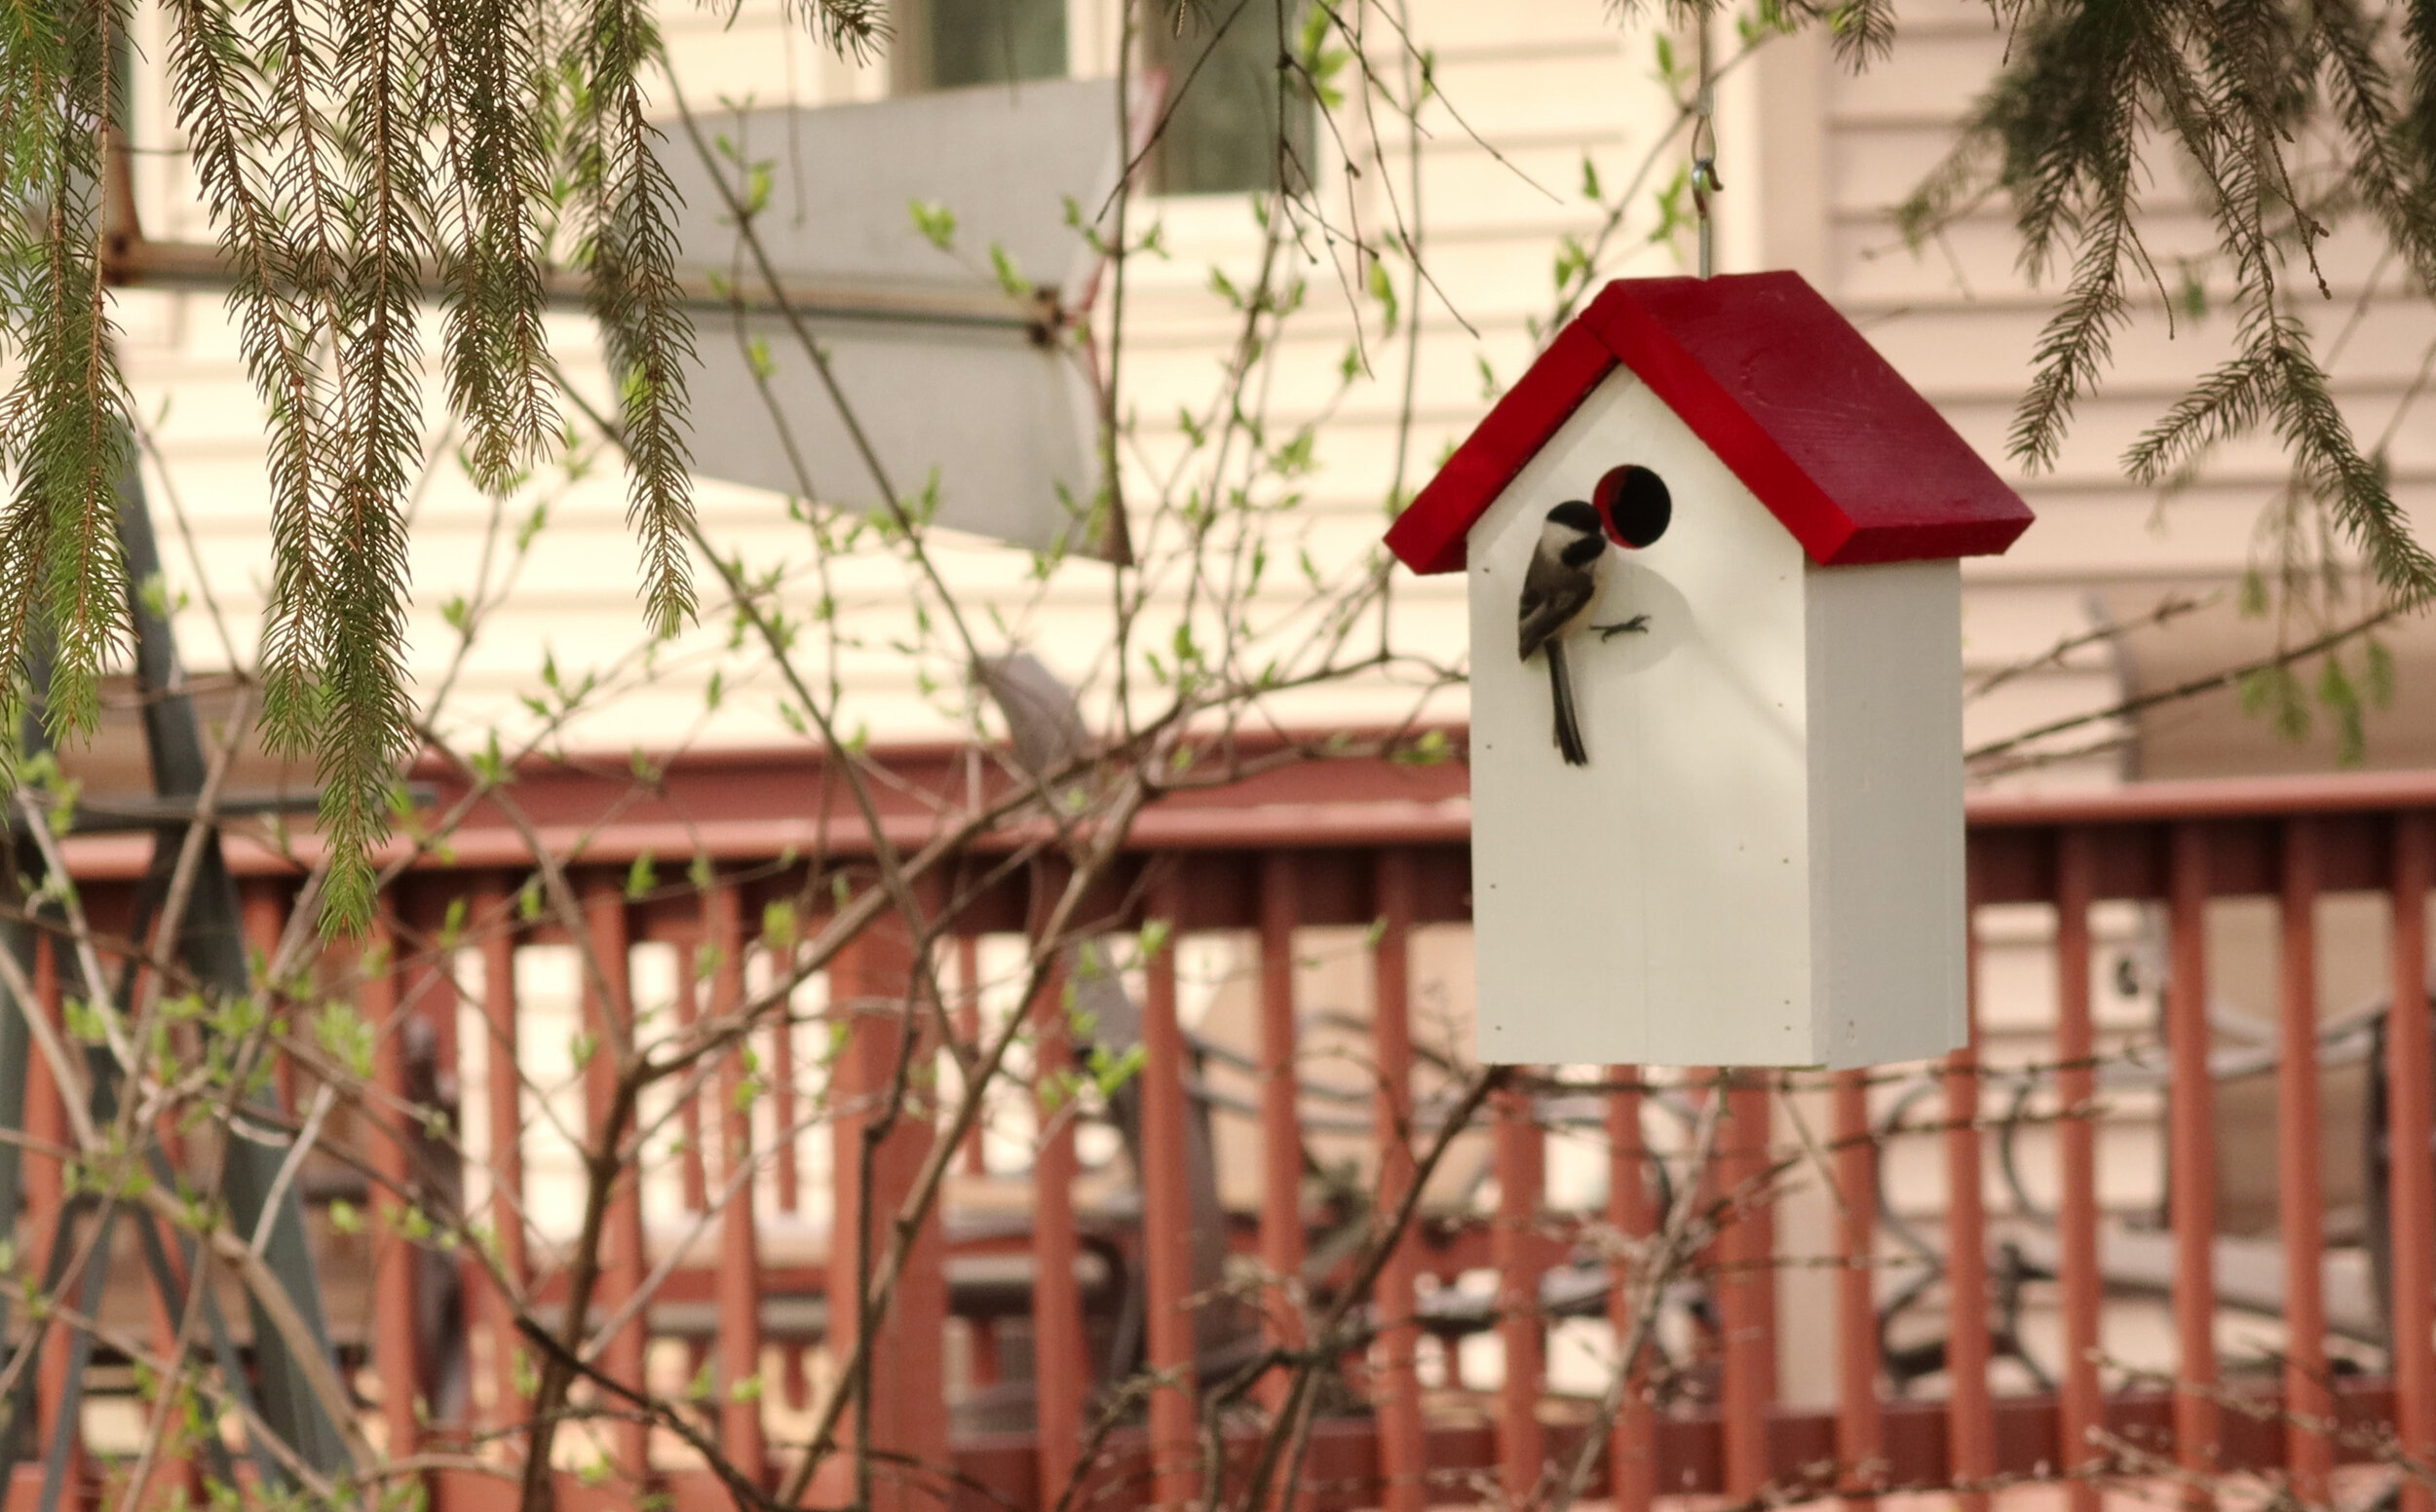
Simple Birdhouse | Quarantine Project for Kids
Well, spring is here in the Midwest, and so is the quarantine. With everyone cooped up at their homes, I thought it was time for an easy, inexpensive project that people could make with their kids, and that could also serve as a skill-builder for the young ones. A bird house is a perfect first project for a kid, and it’s one that teaches some foundational woodworking skills too. Download the plans here!
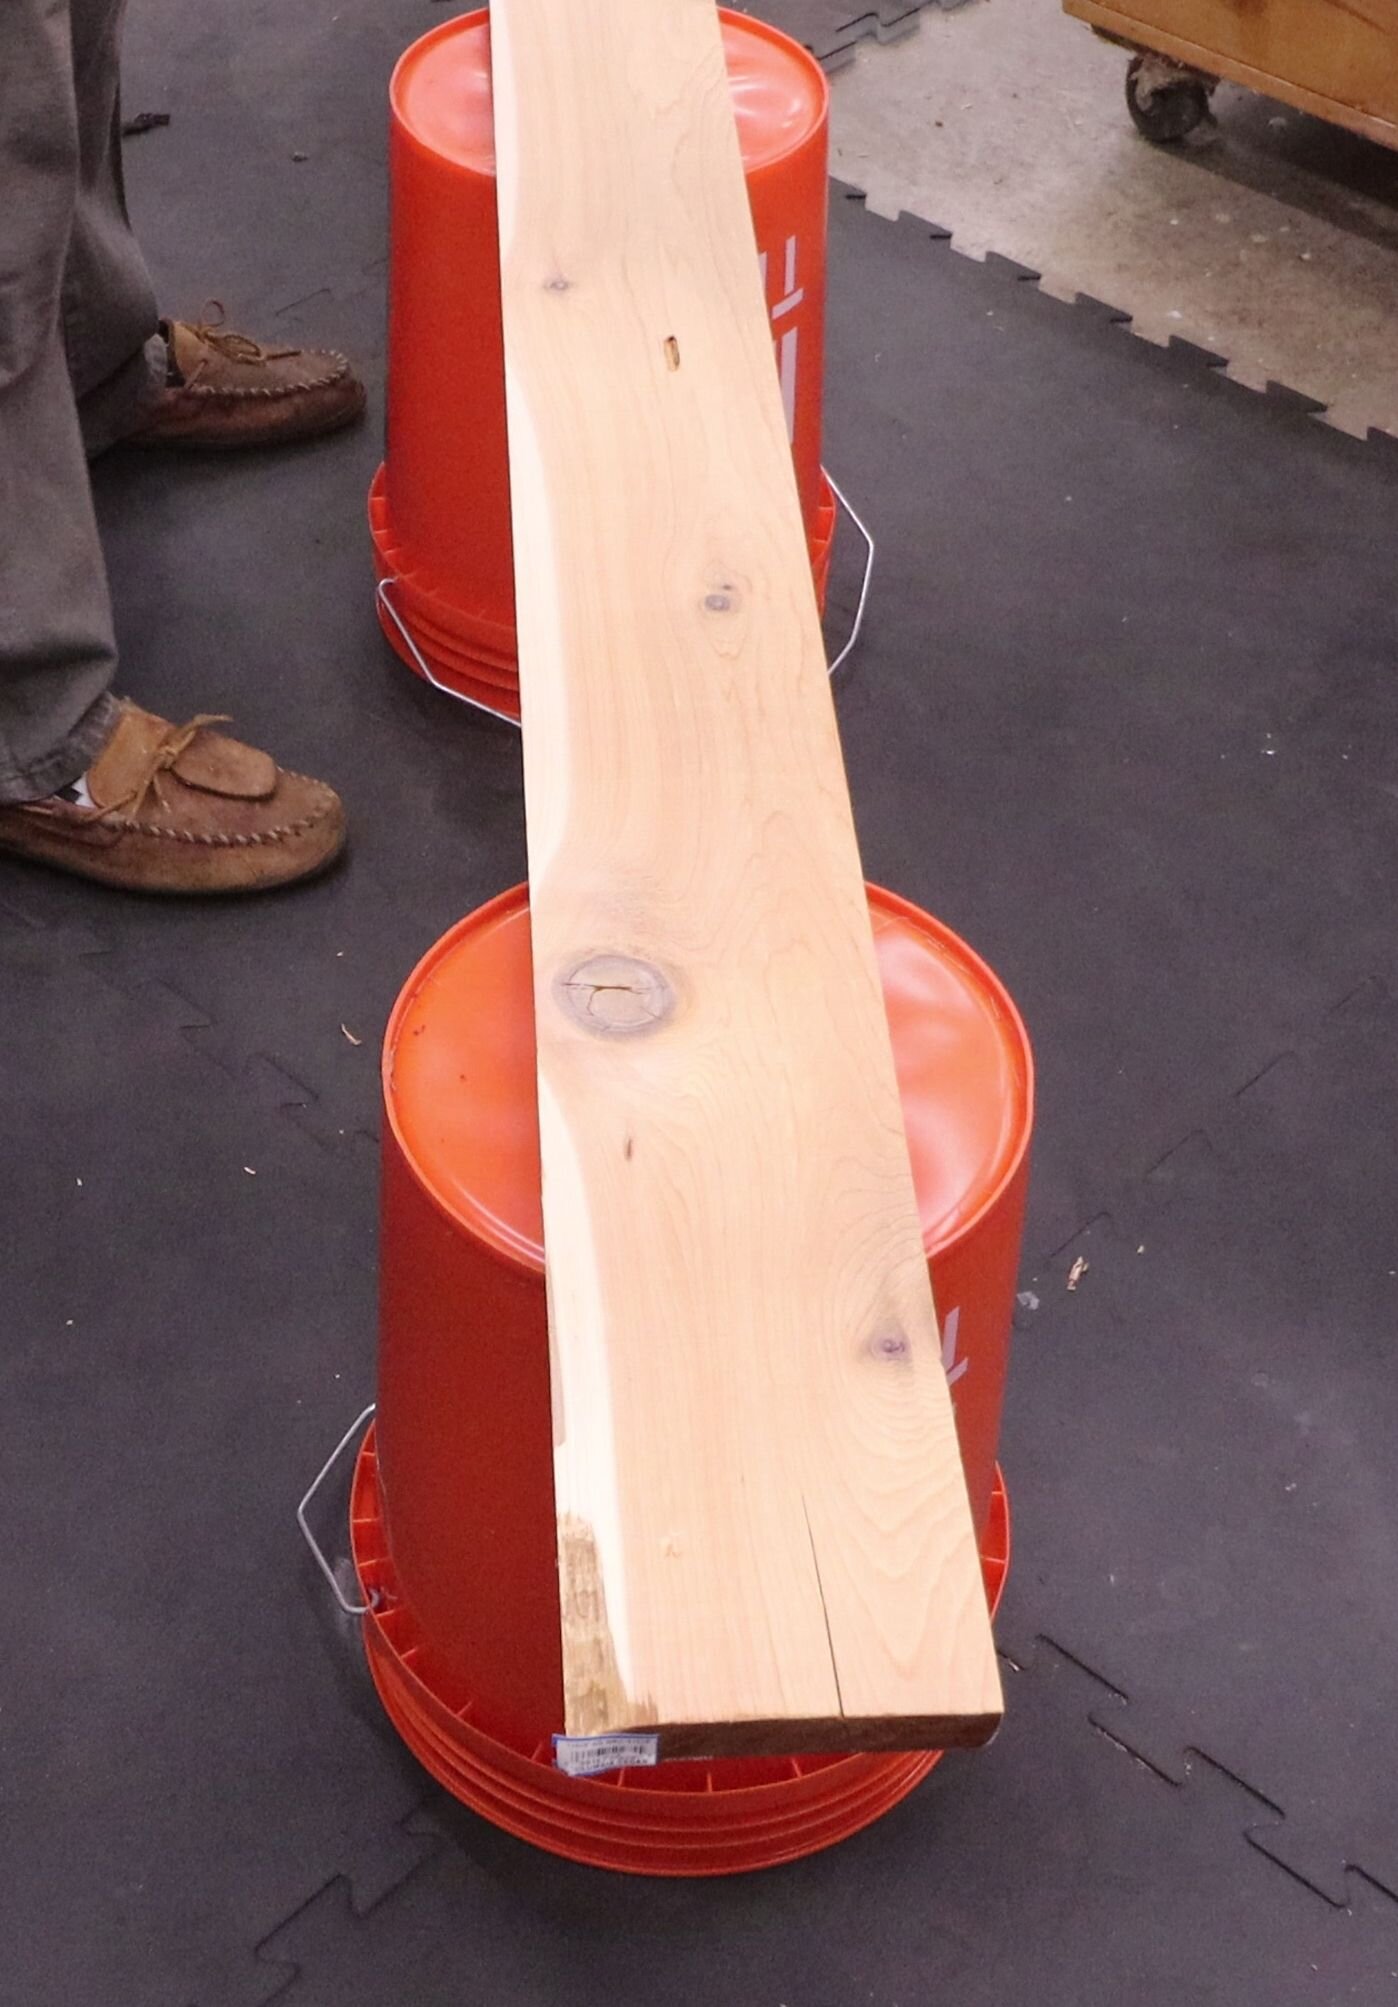
Set up your board over two overturned buckets to make a makeshift workbench/seat. If you have a workbench, you can obviously skip this step if you want.
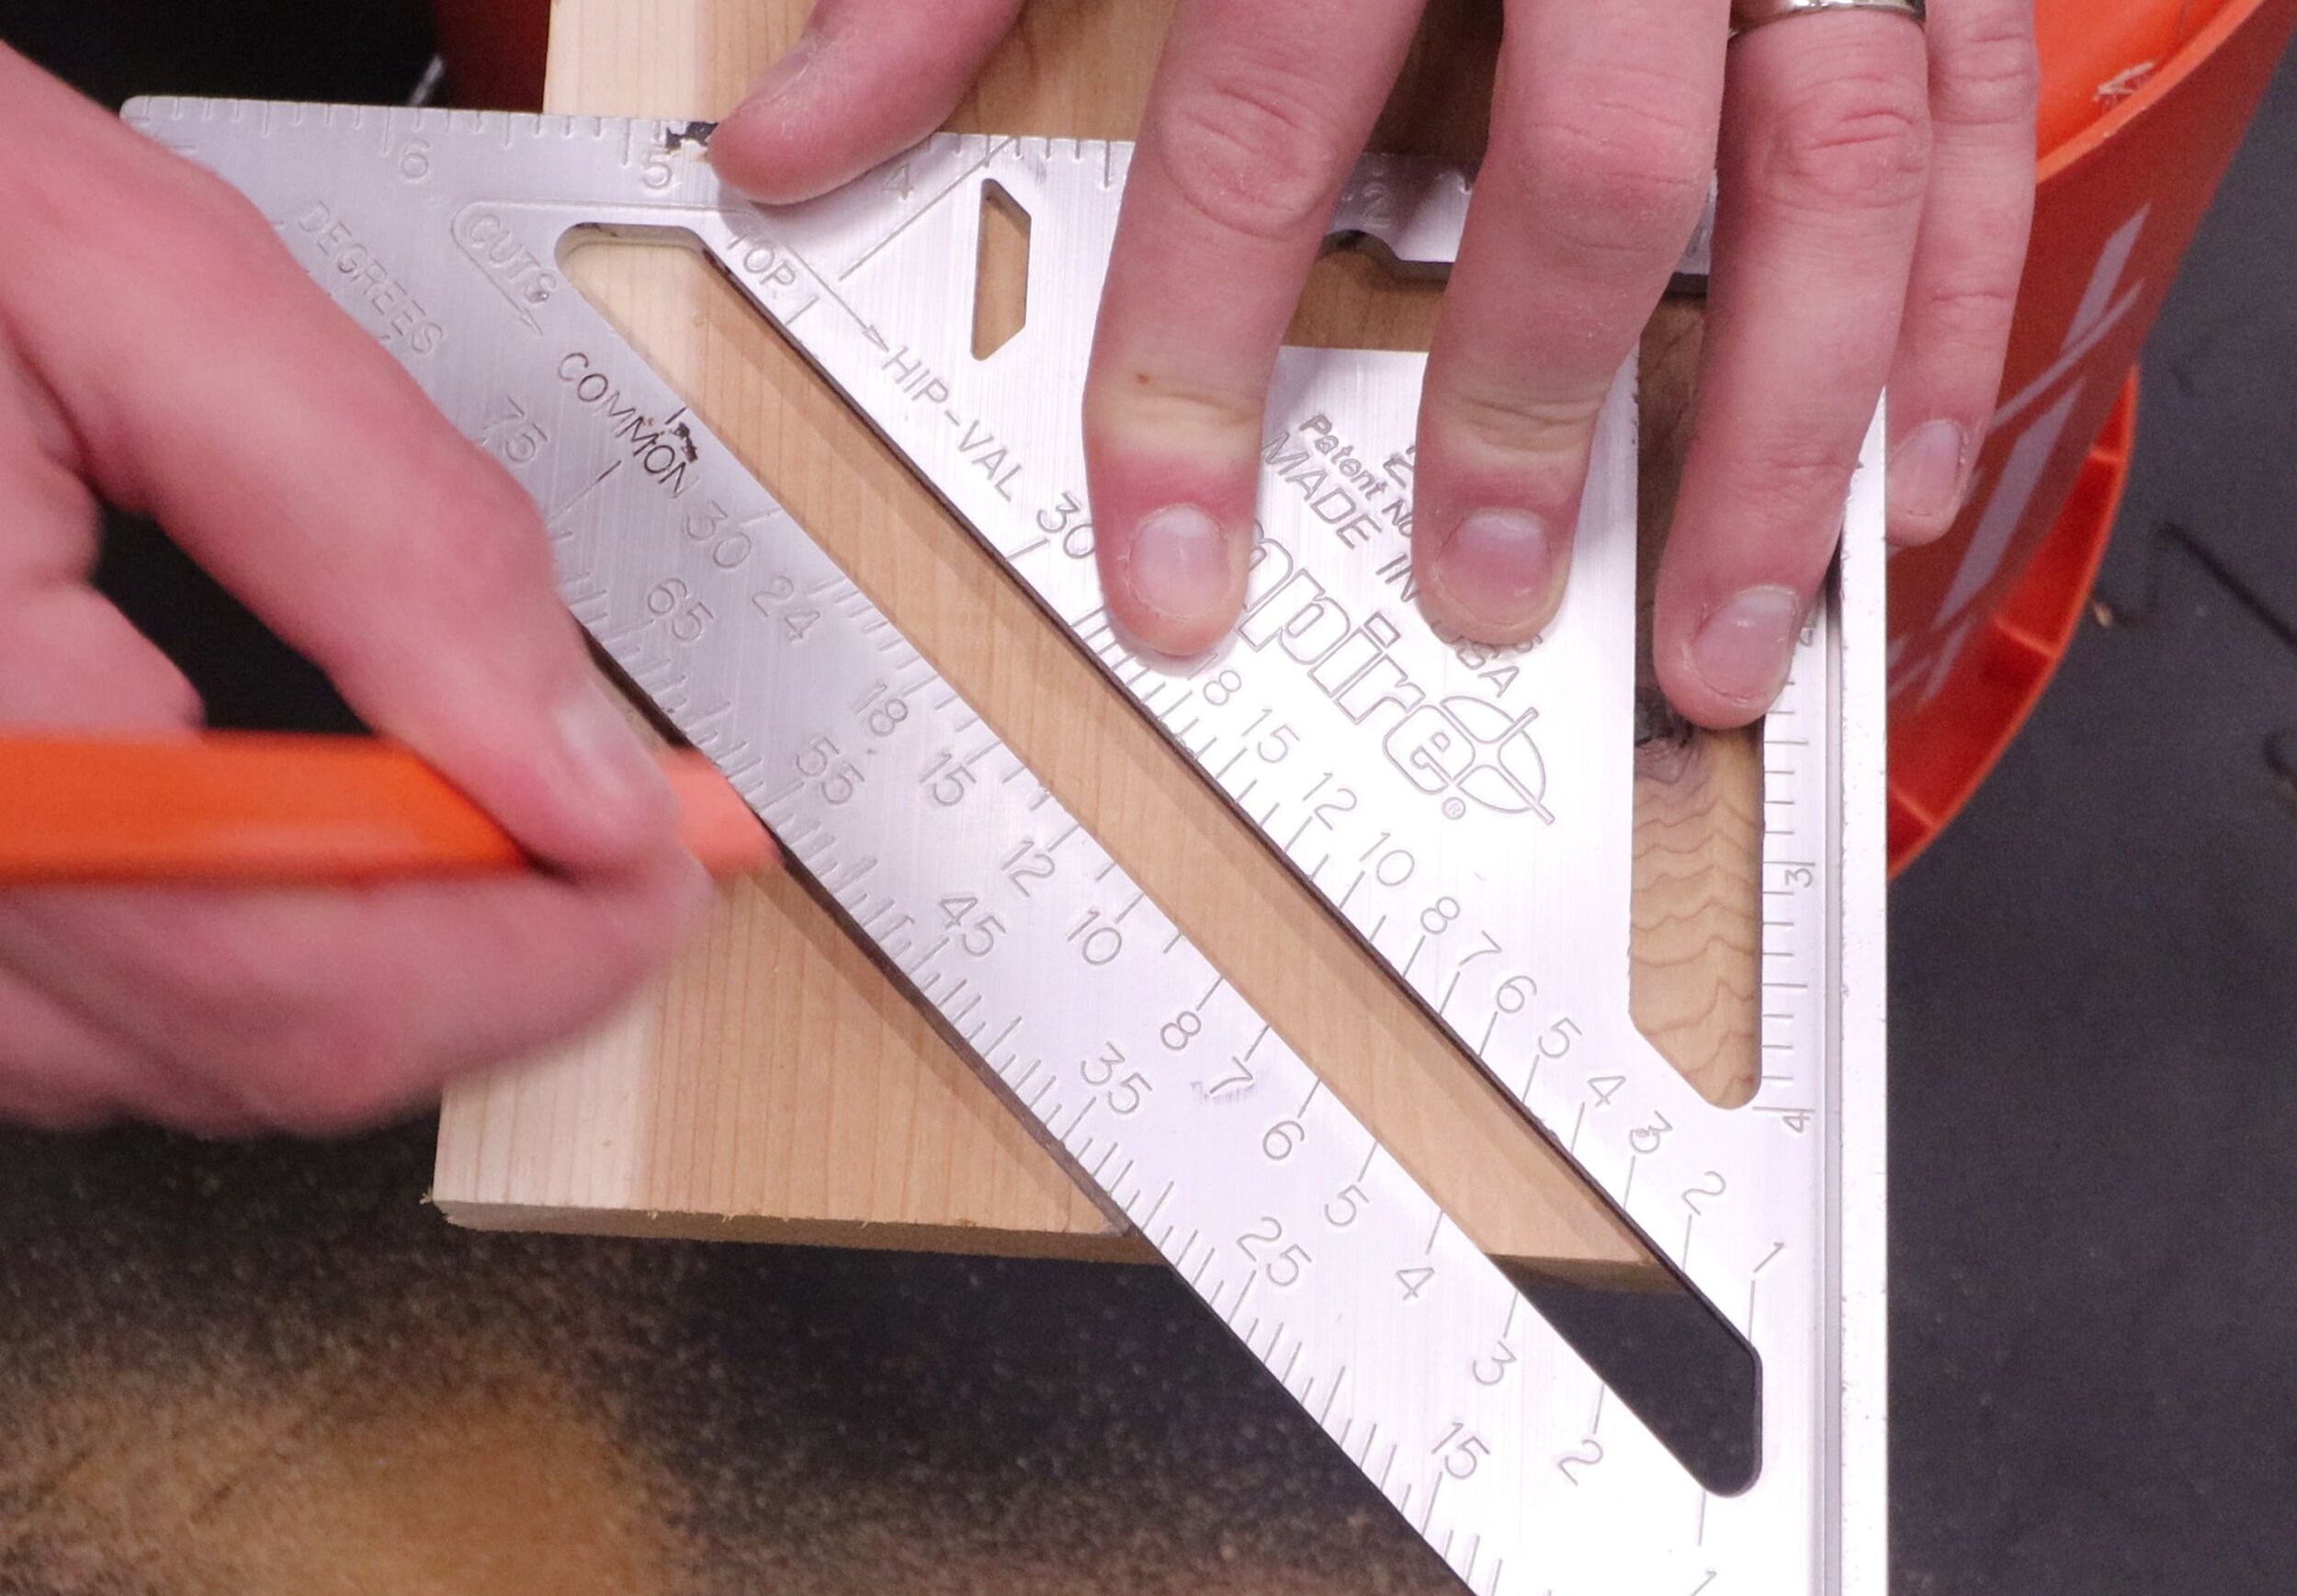
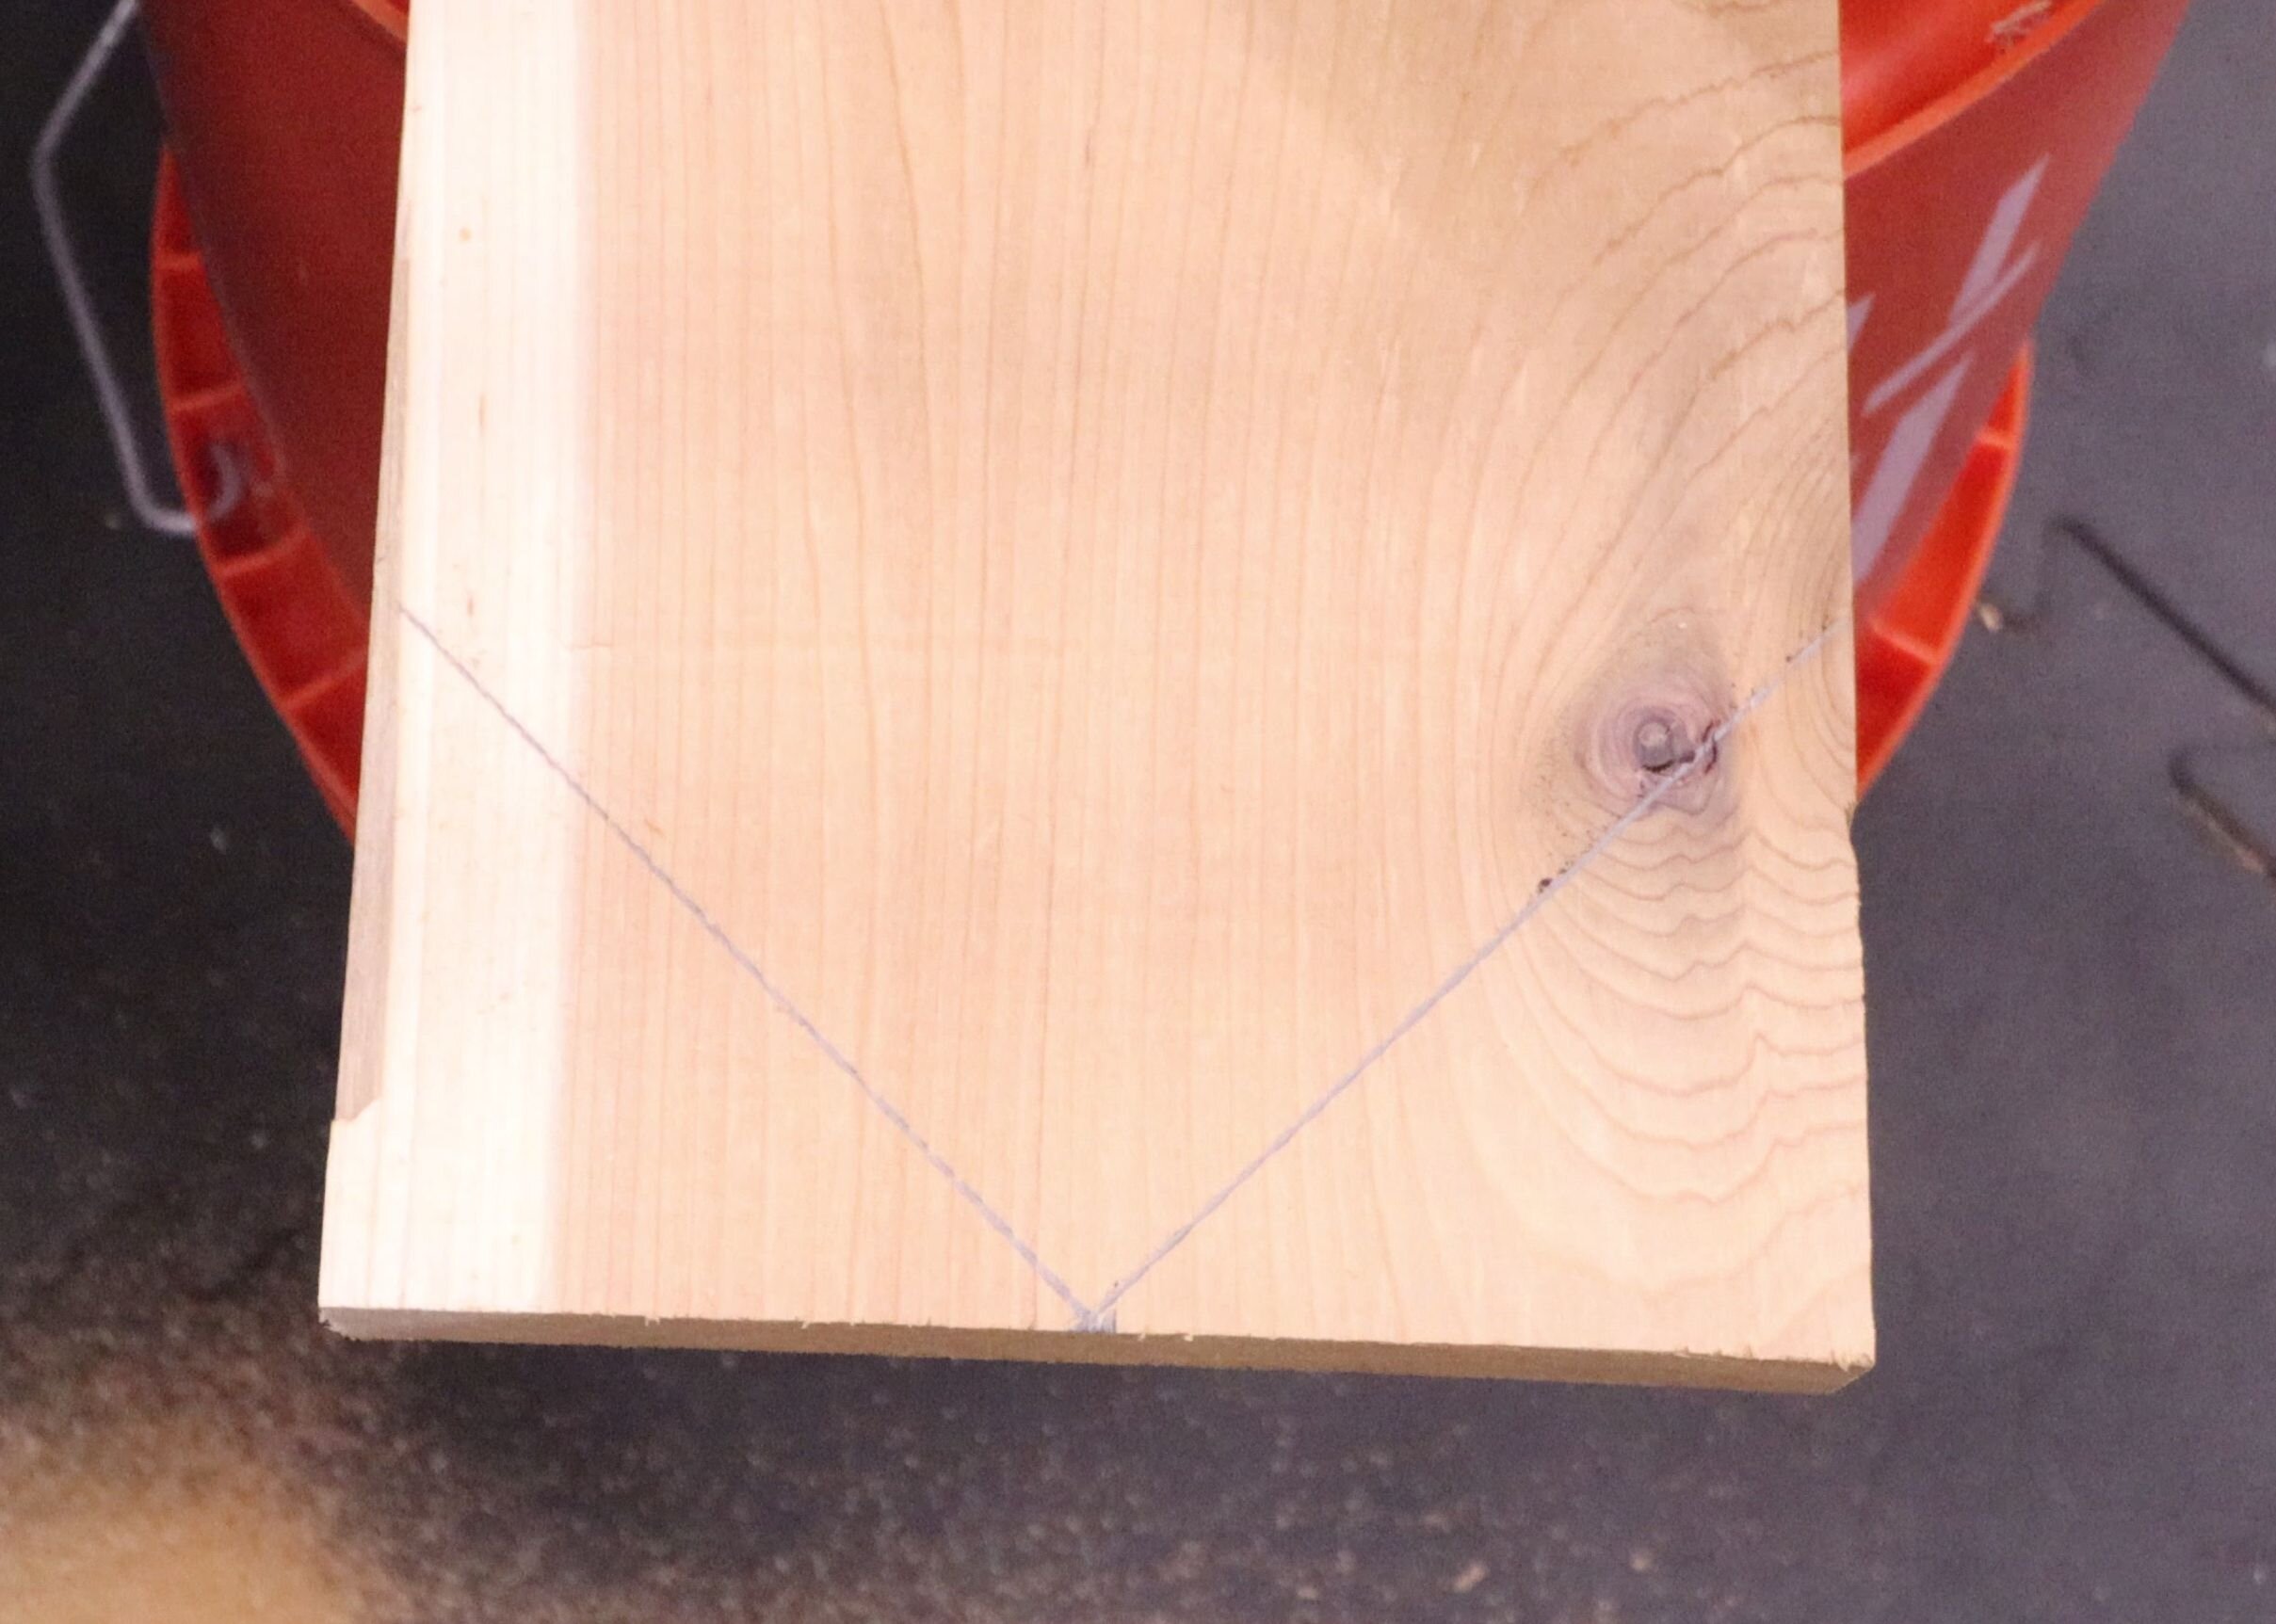
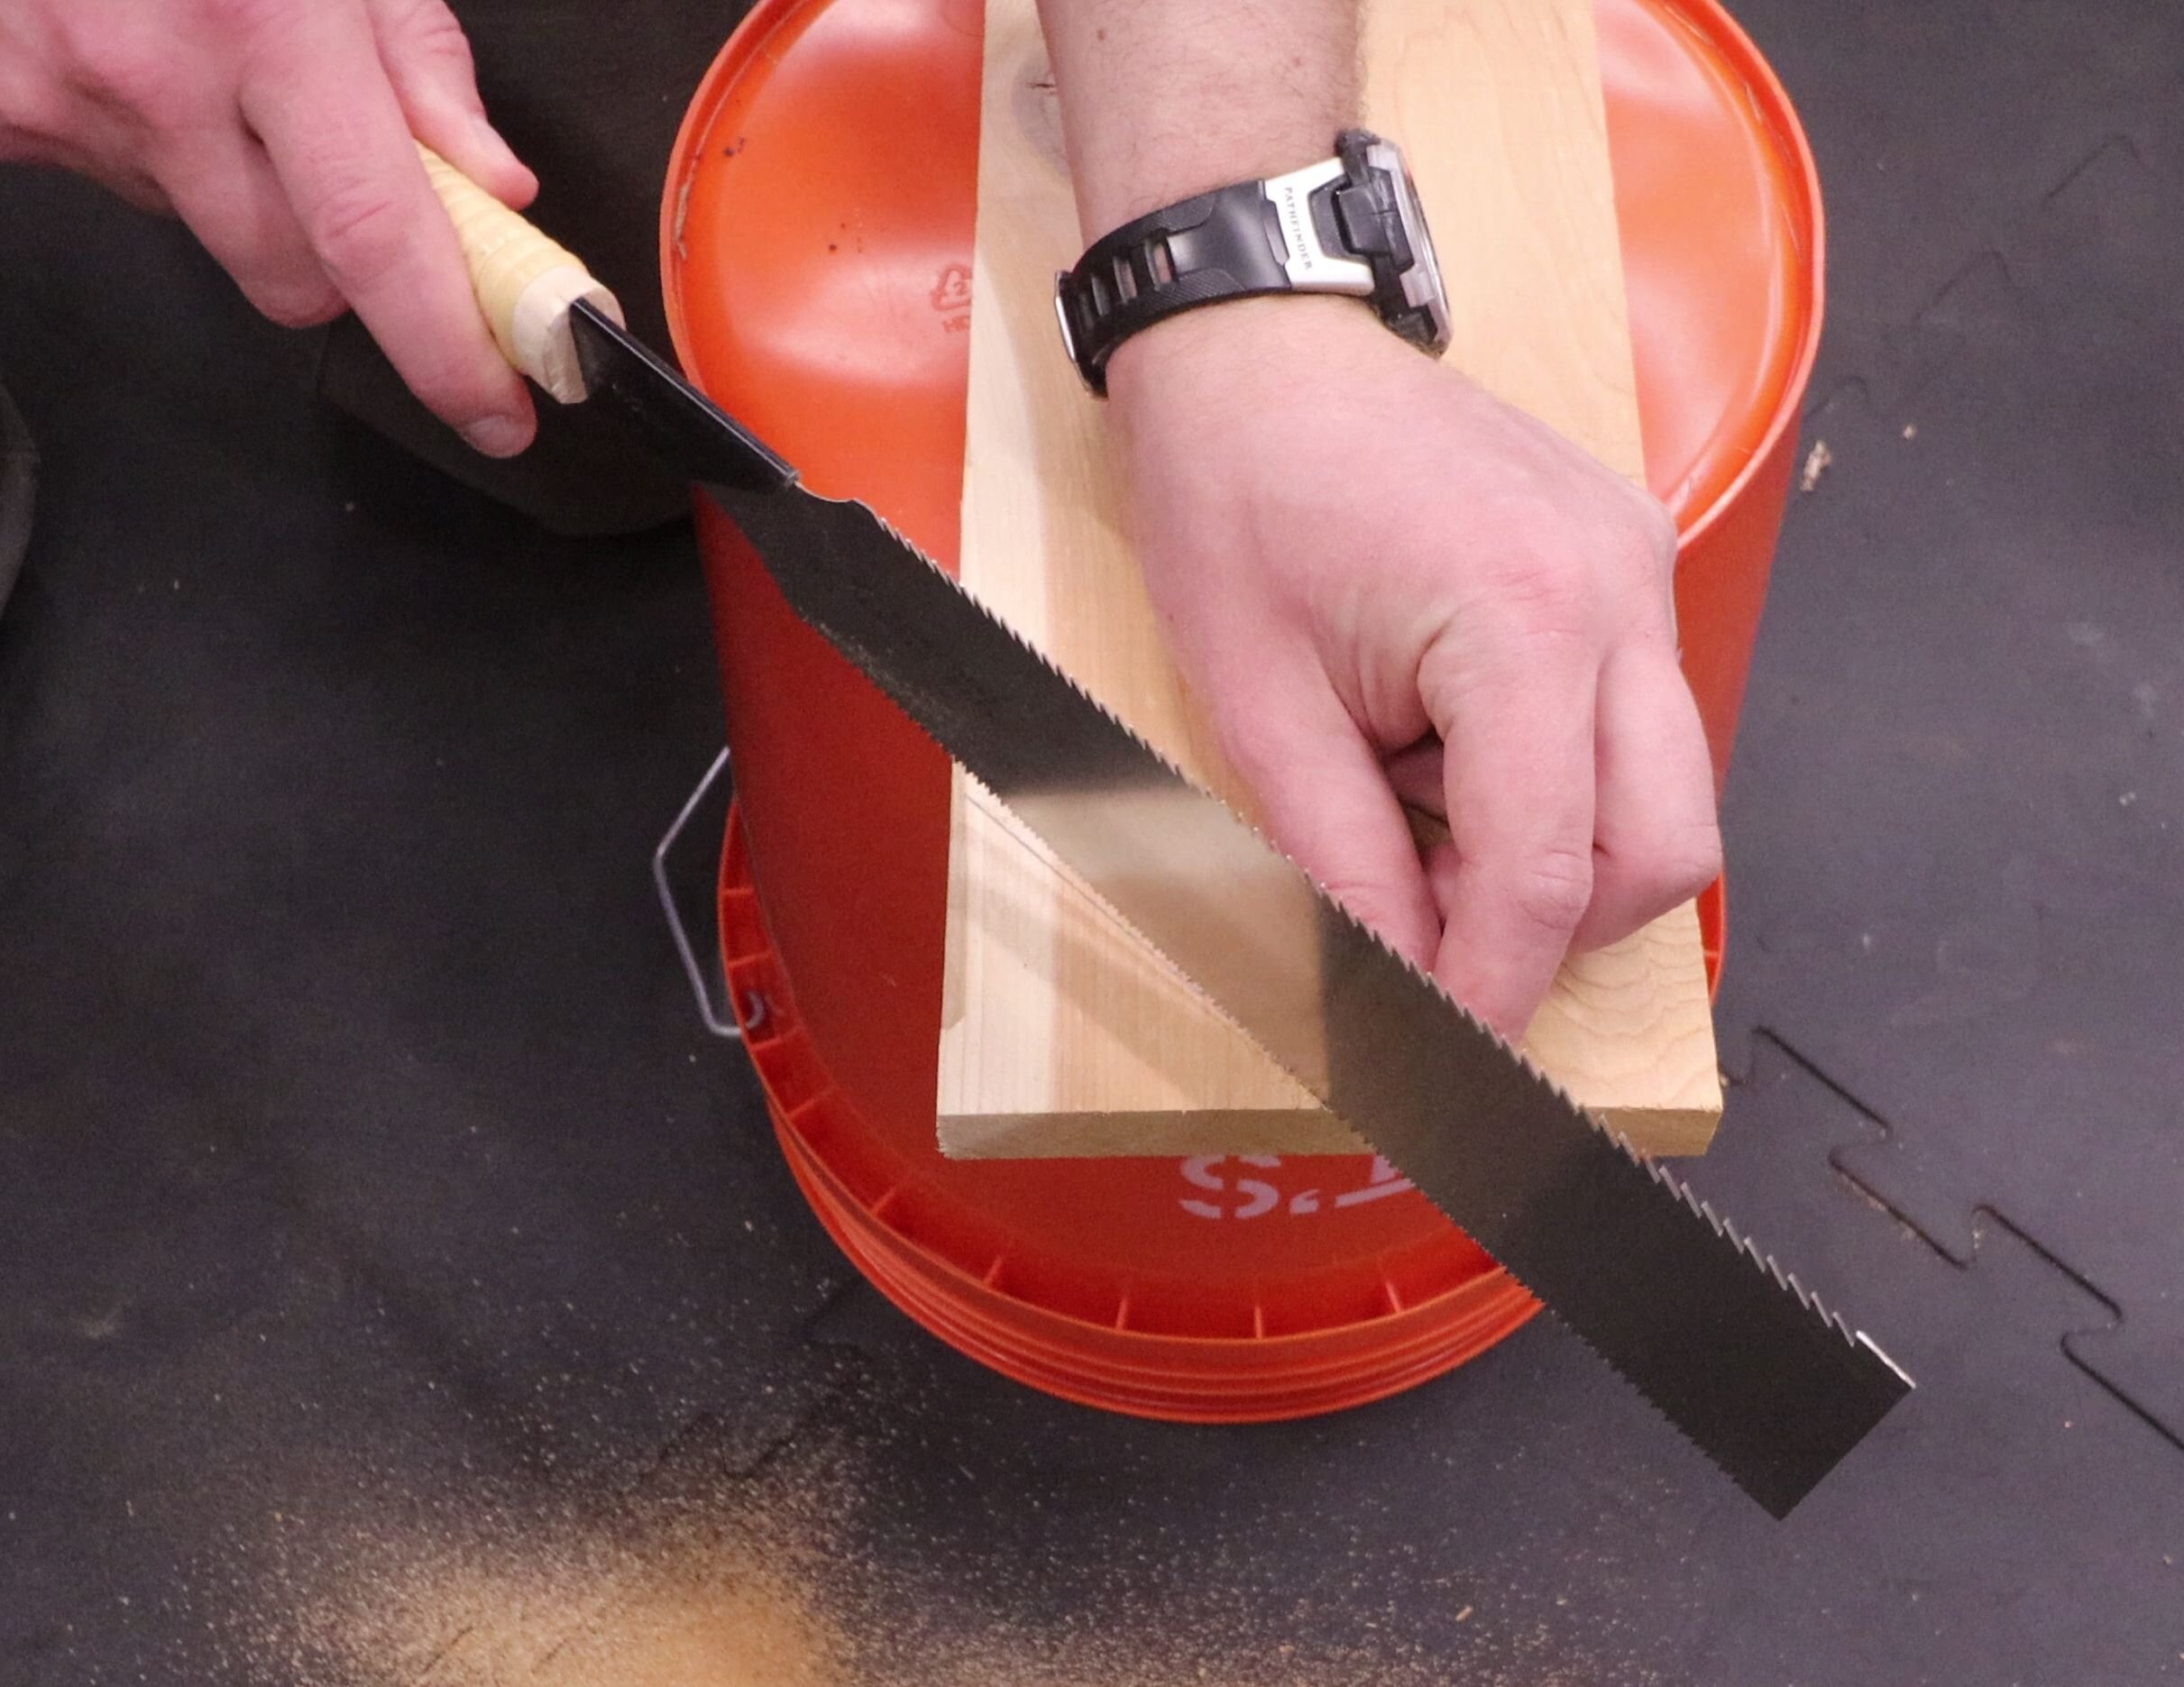
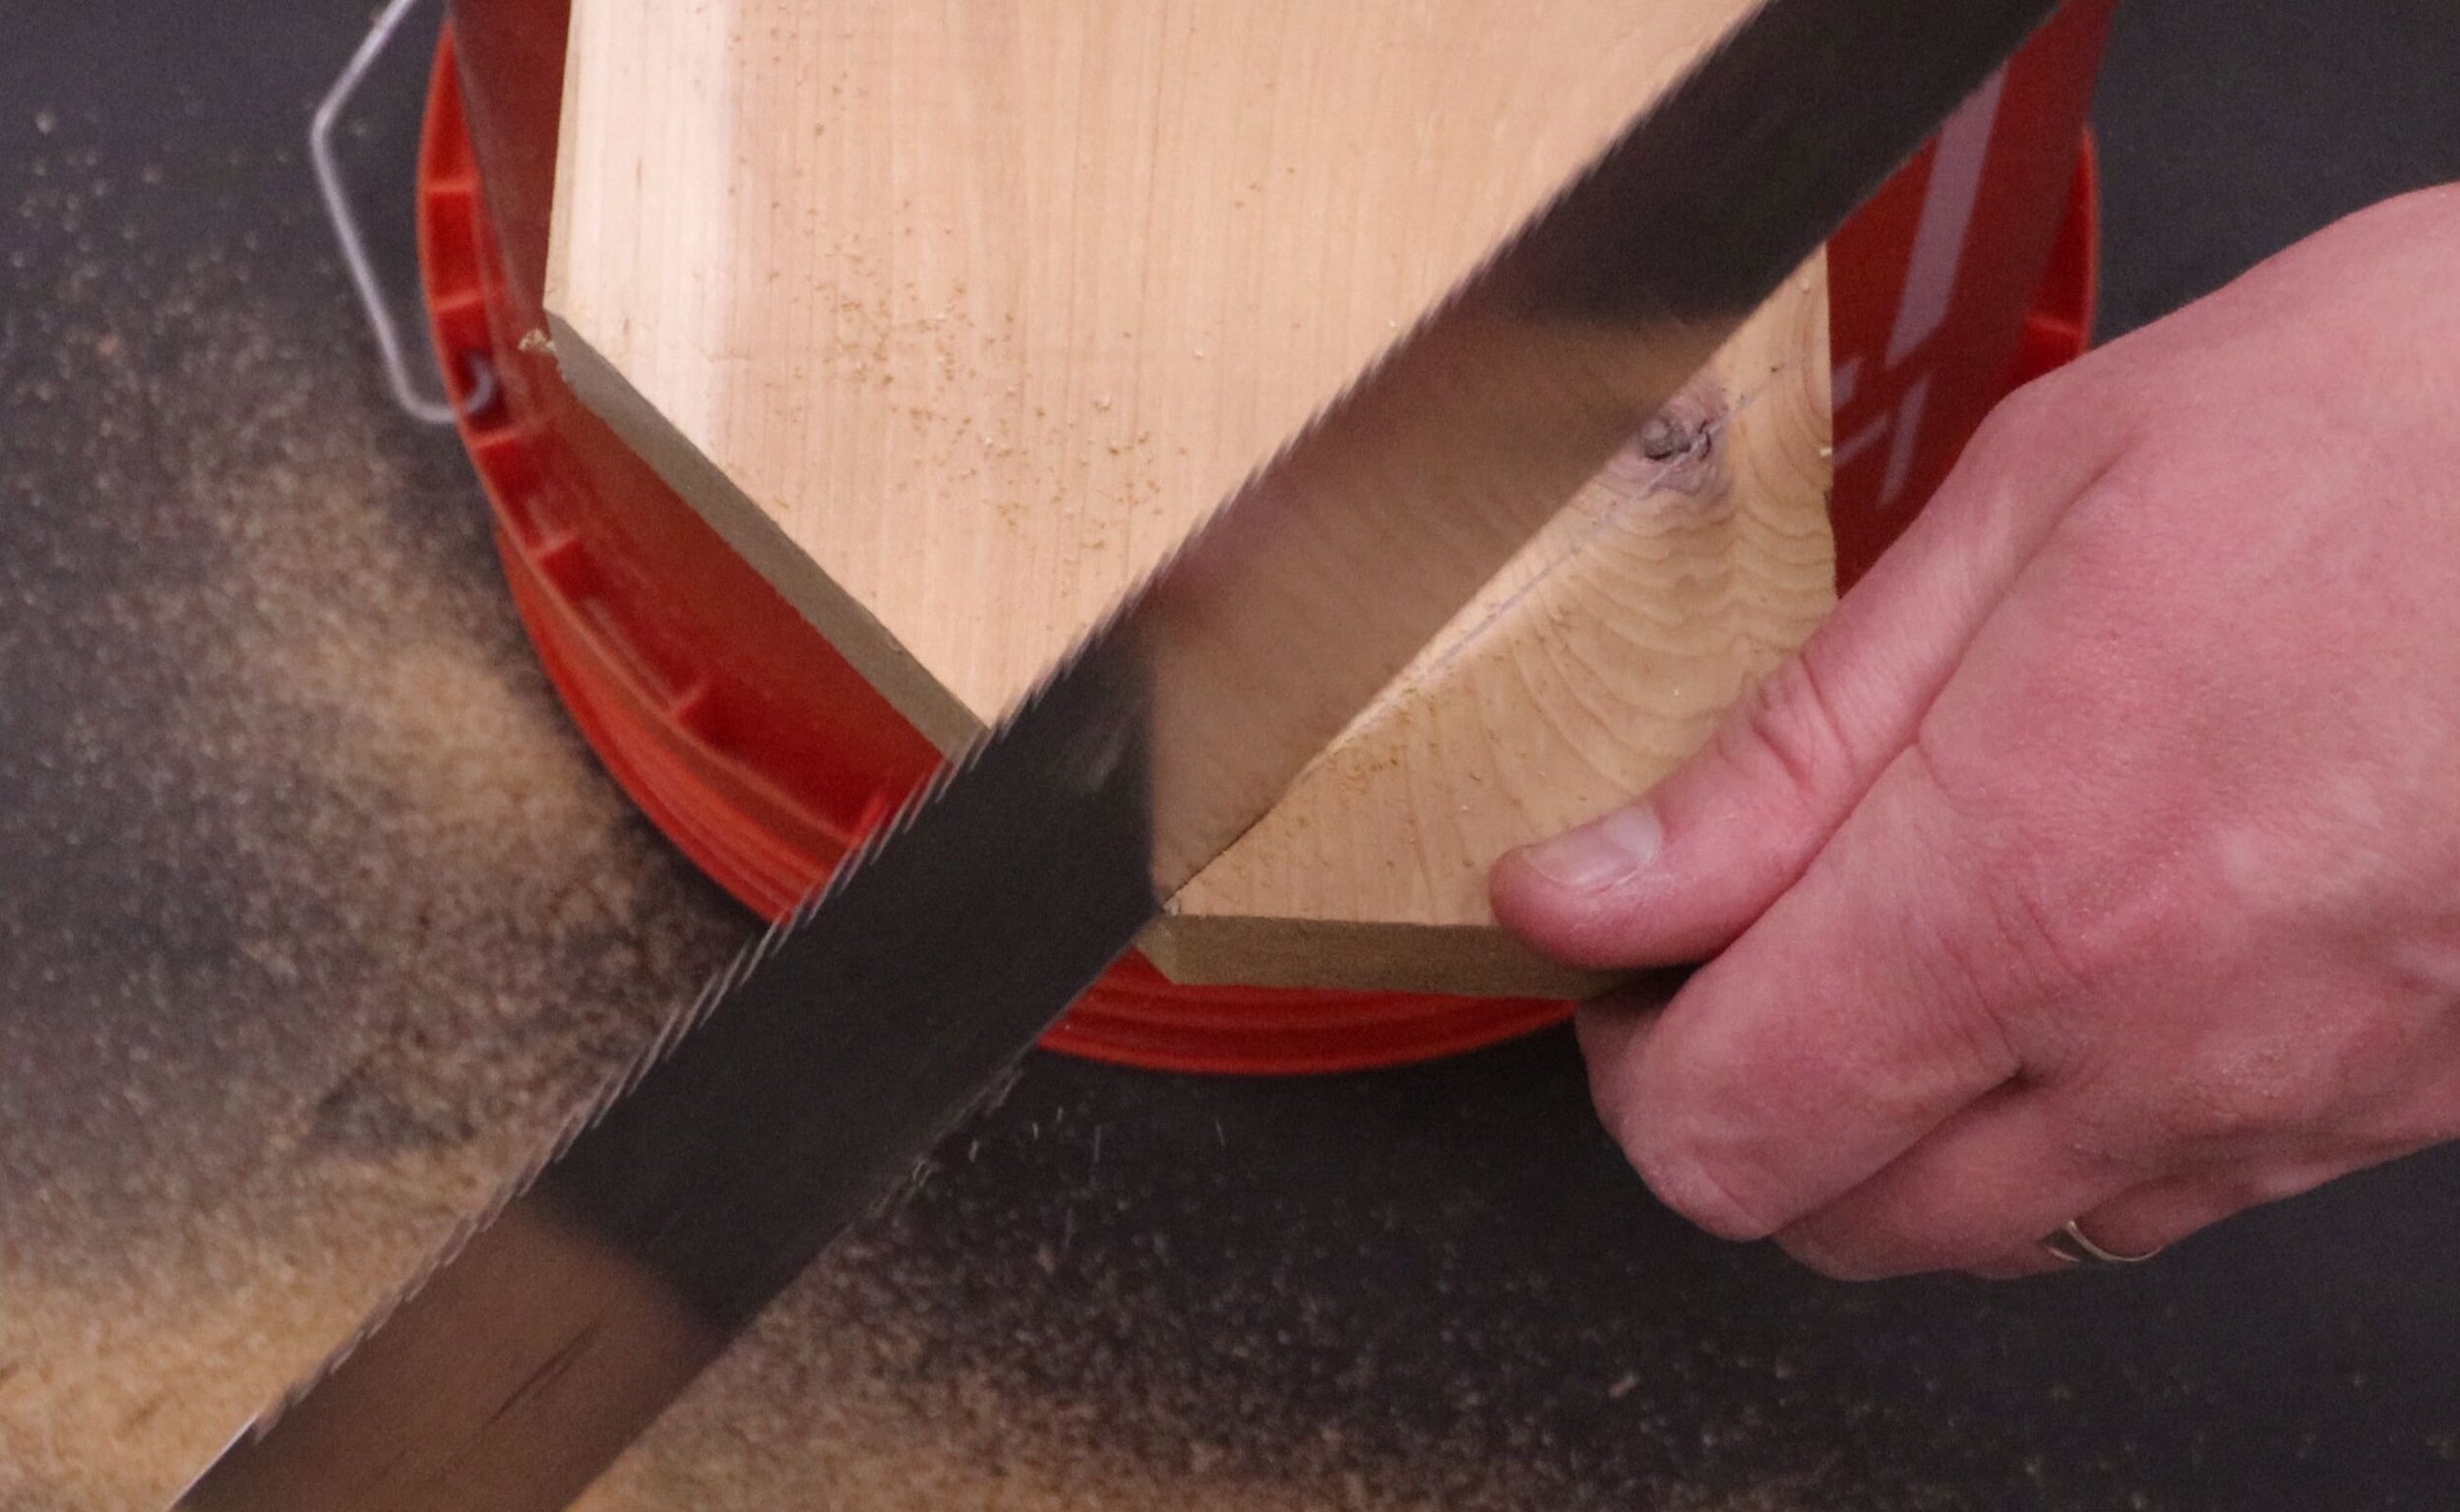
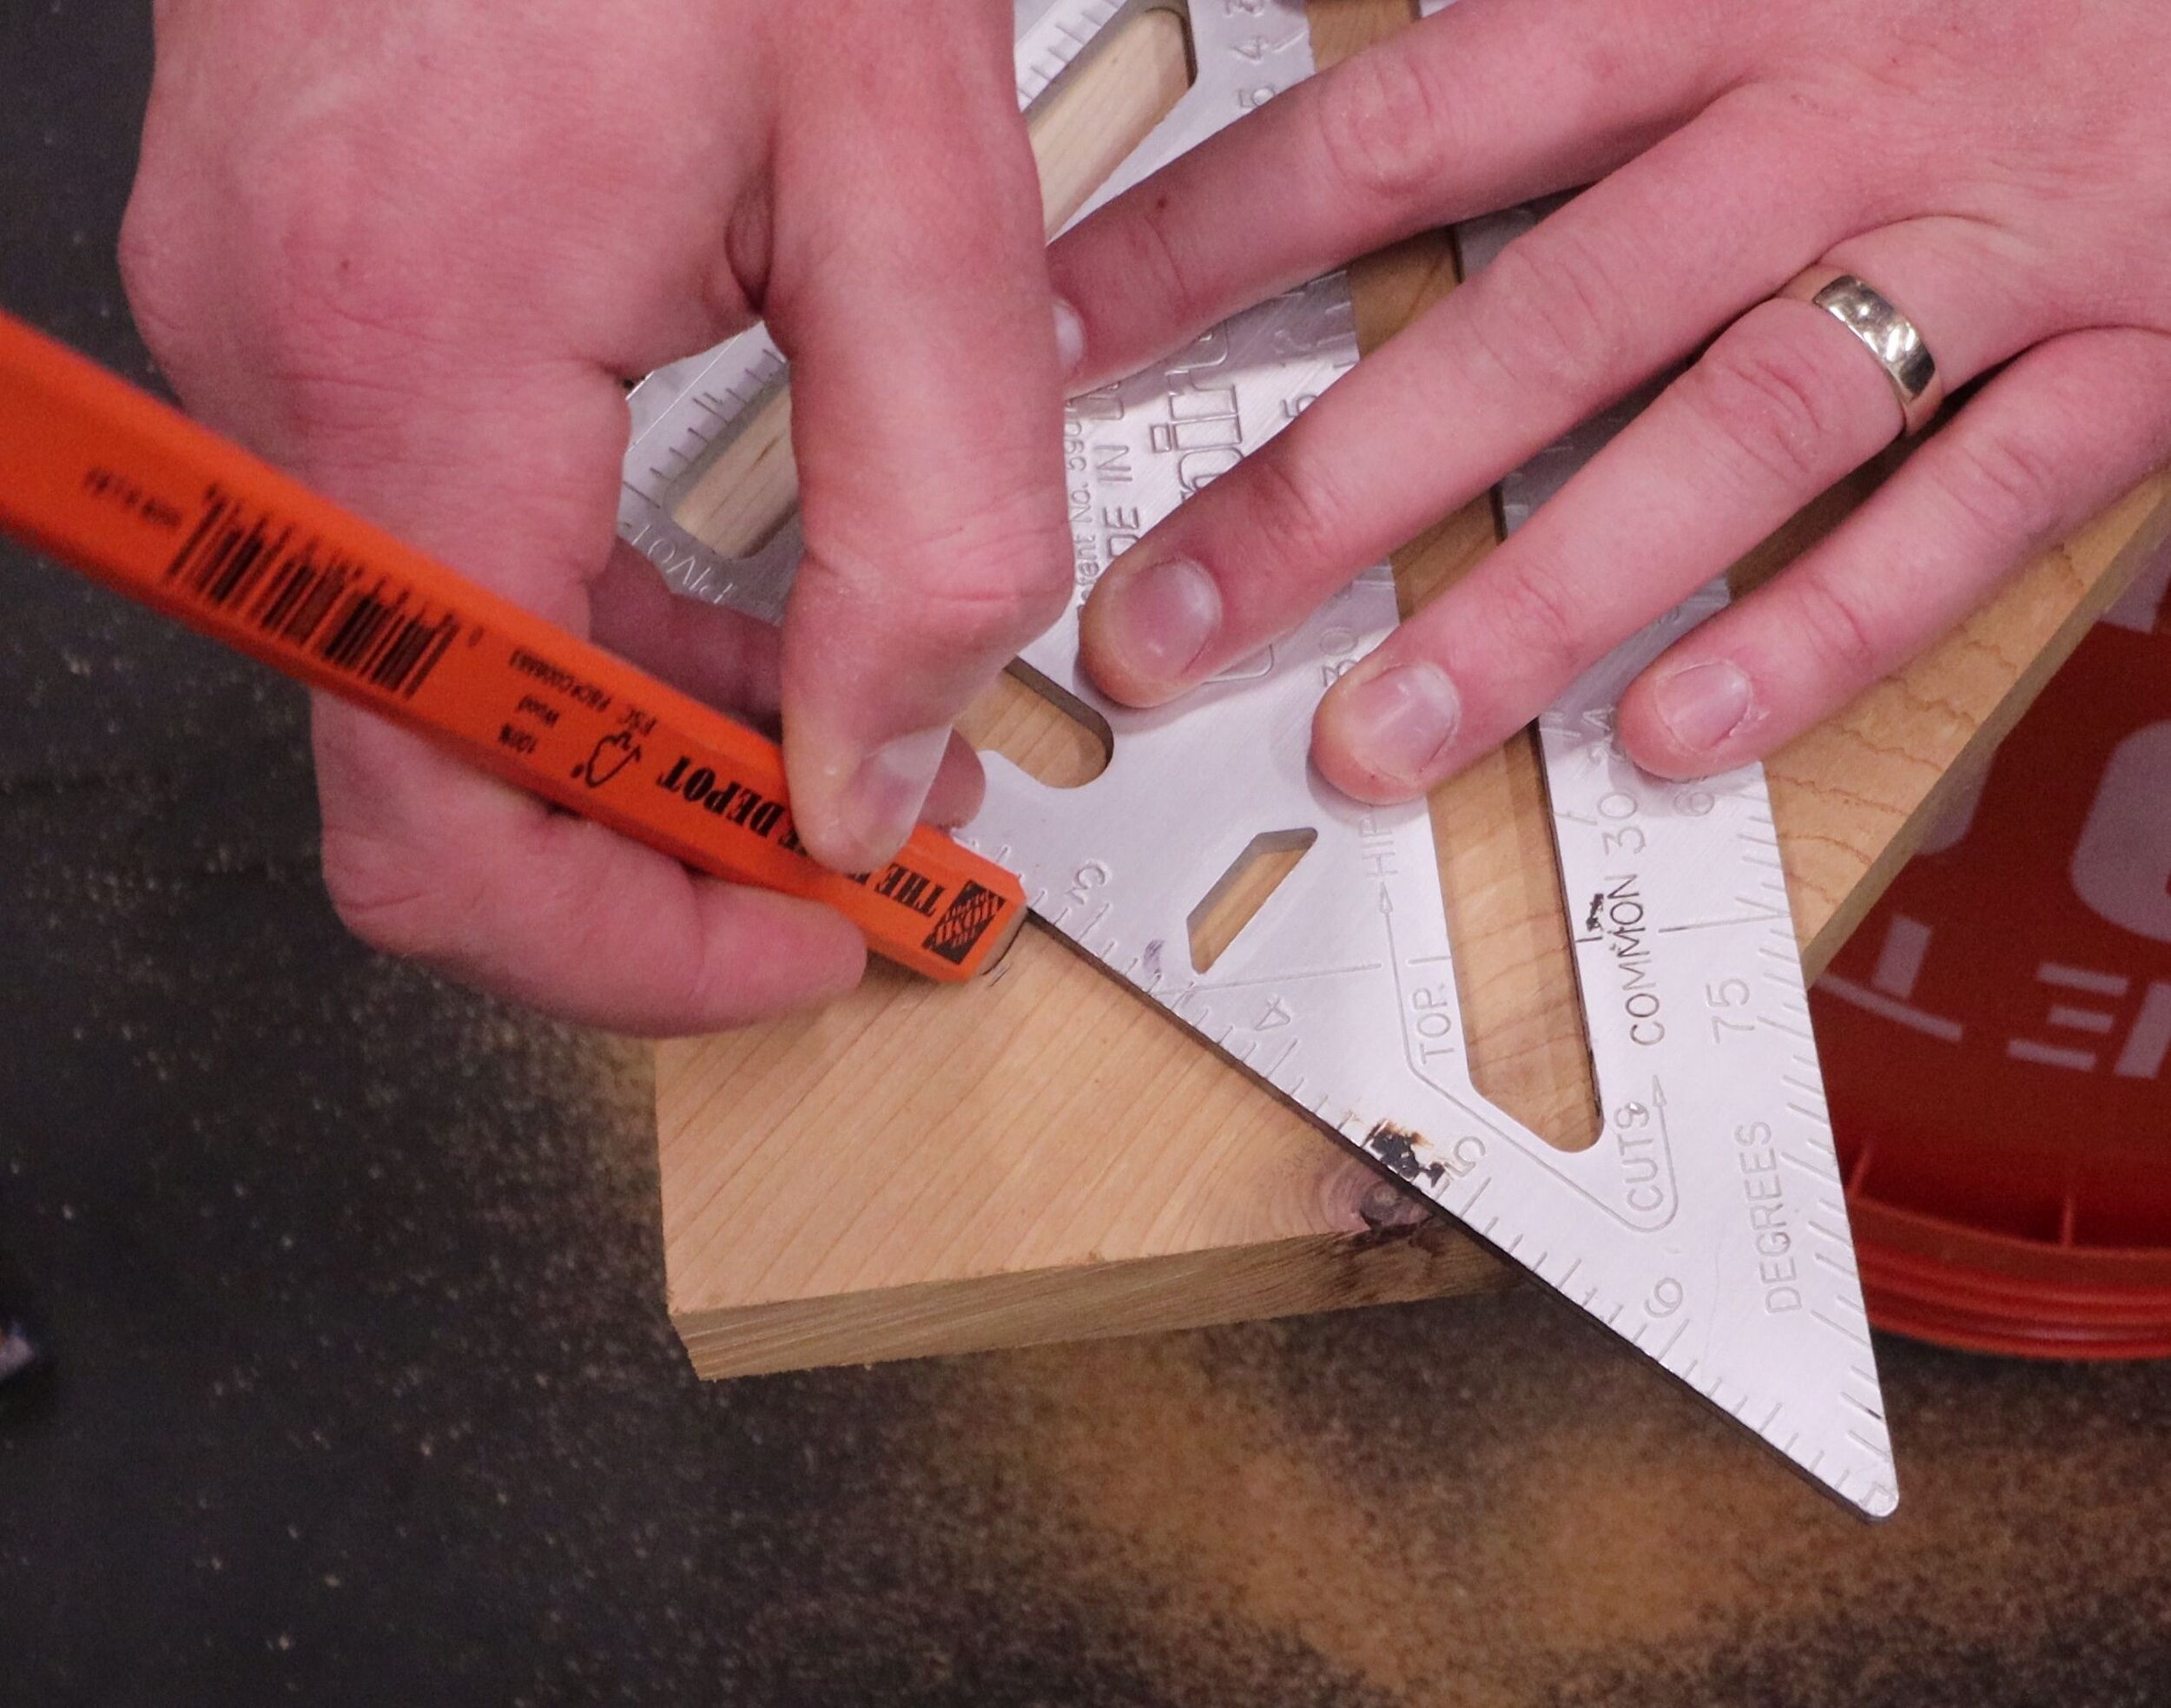
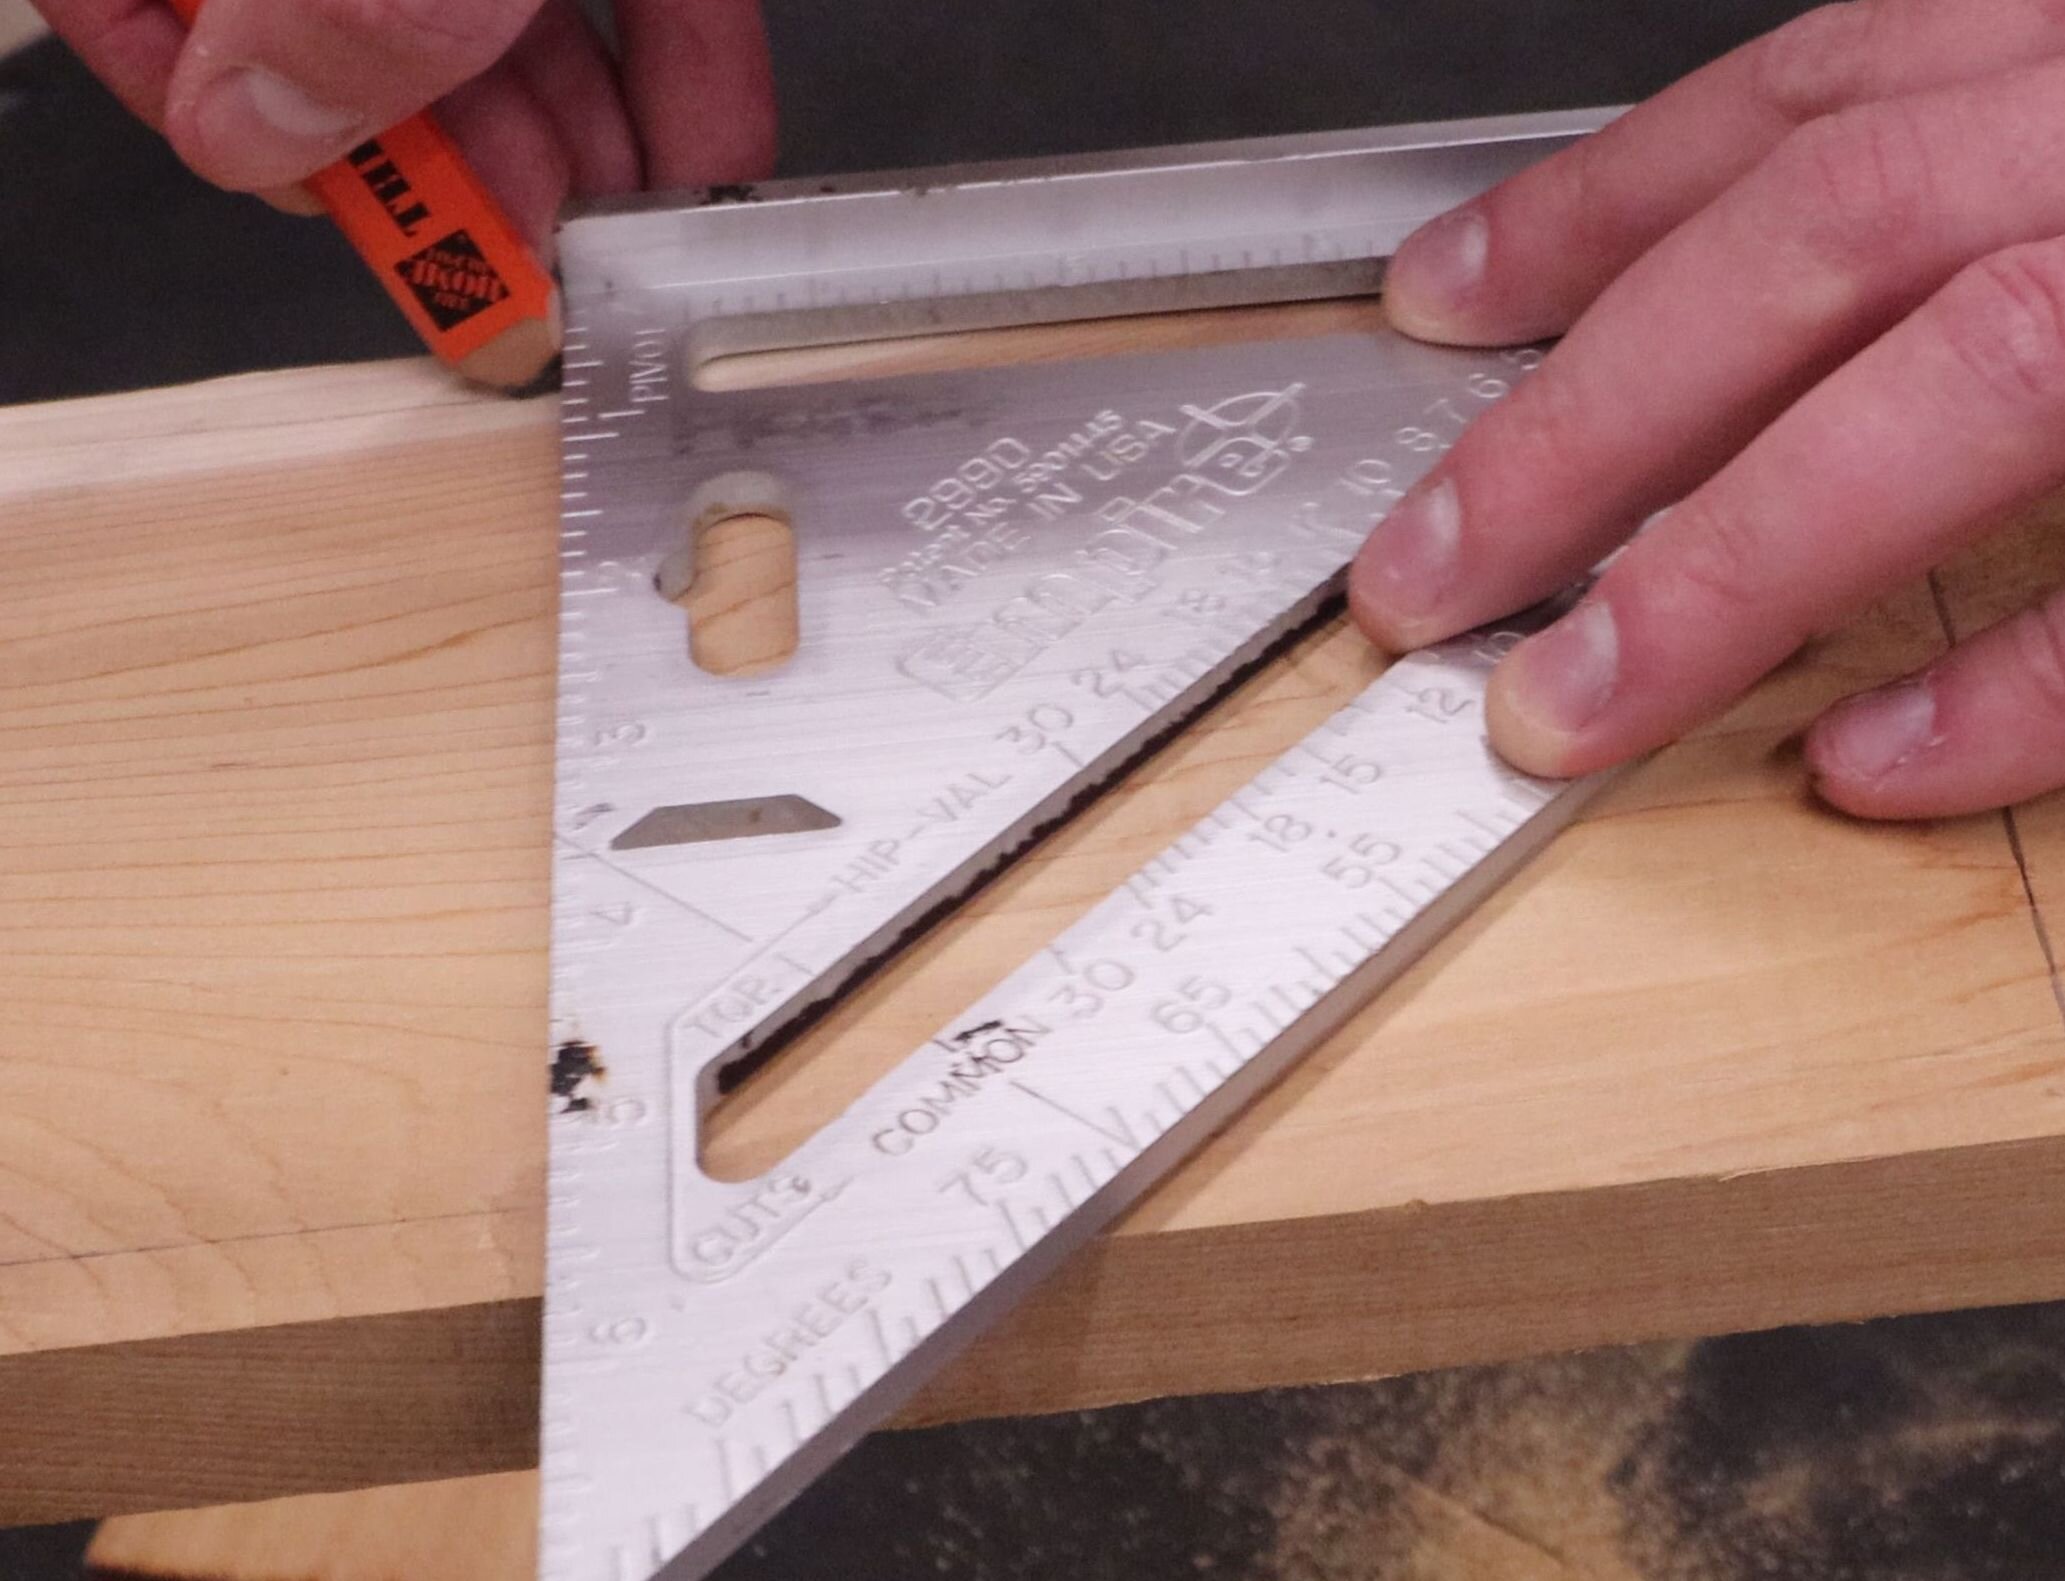
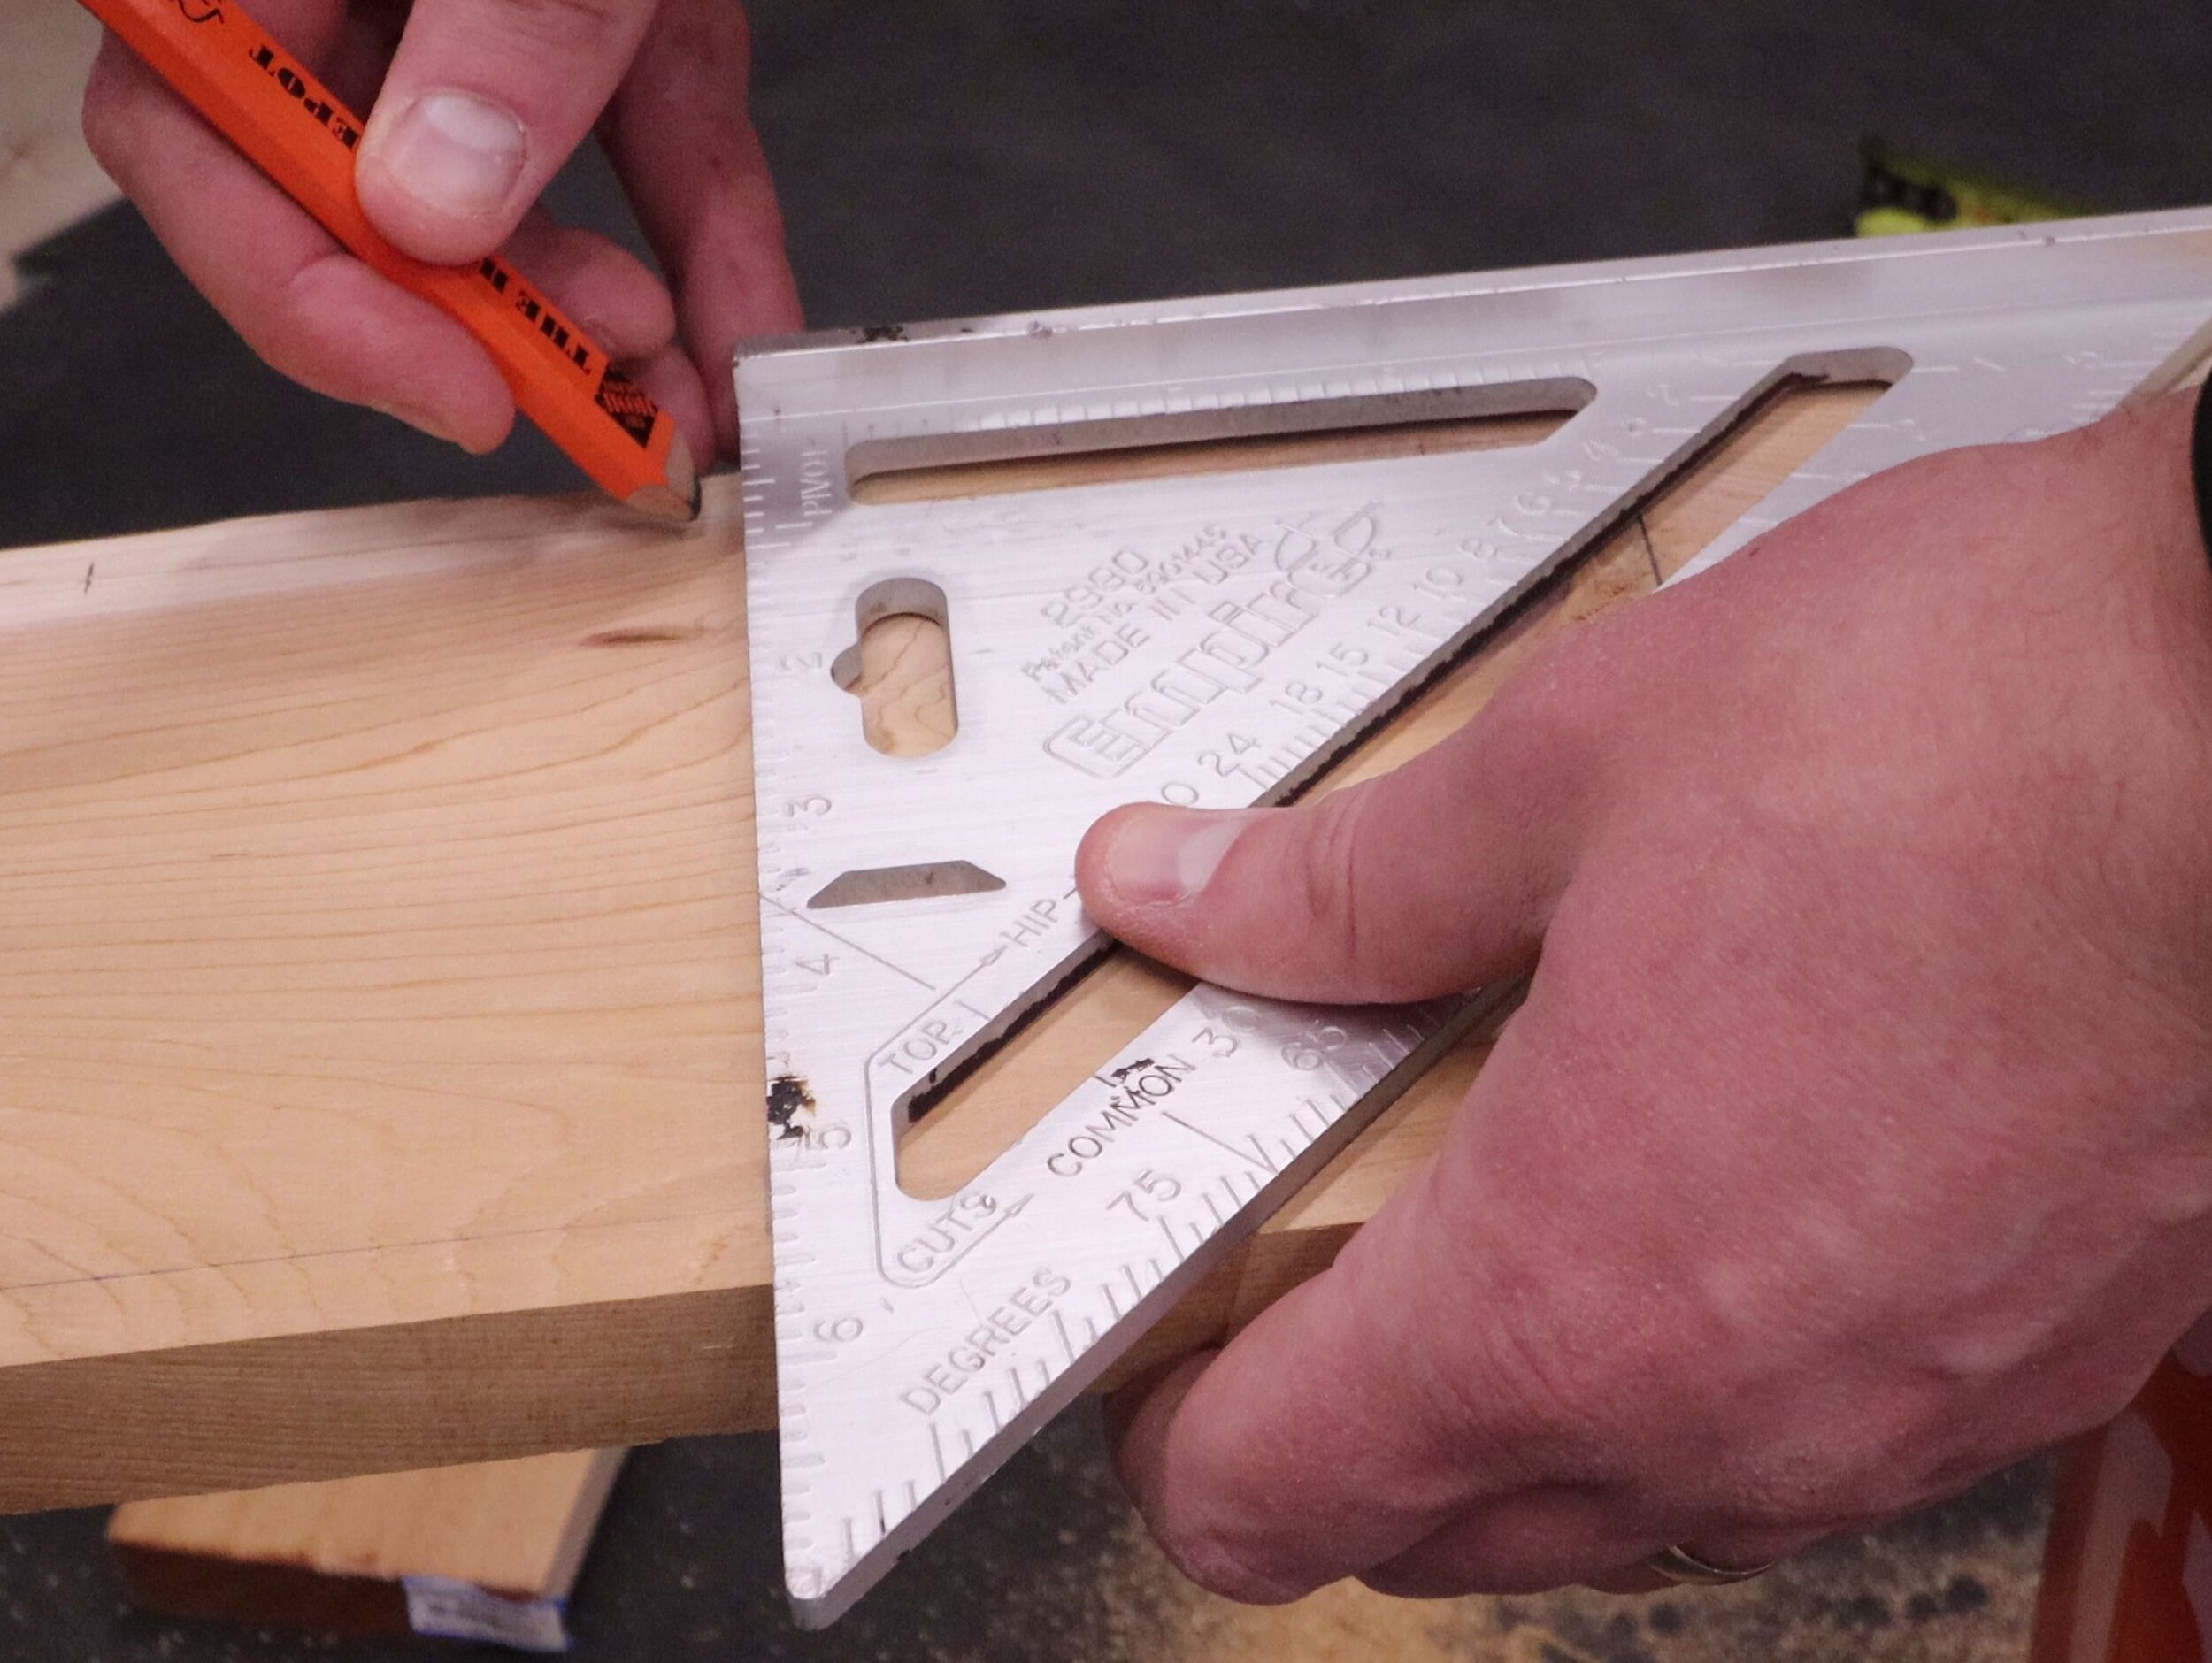
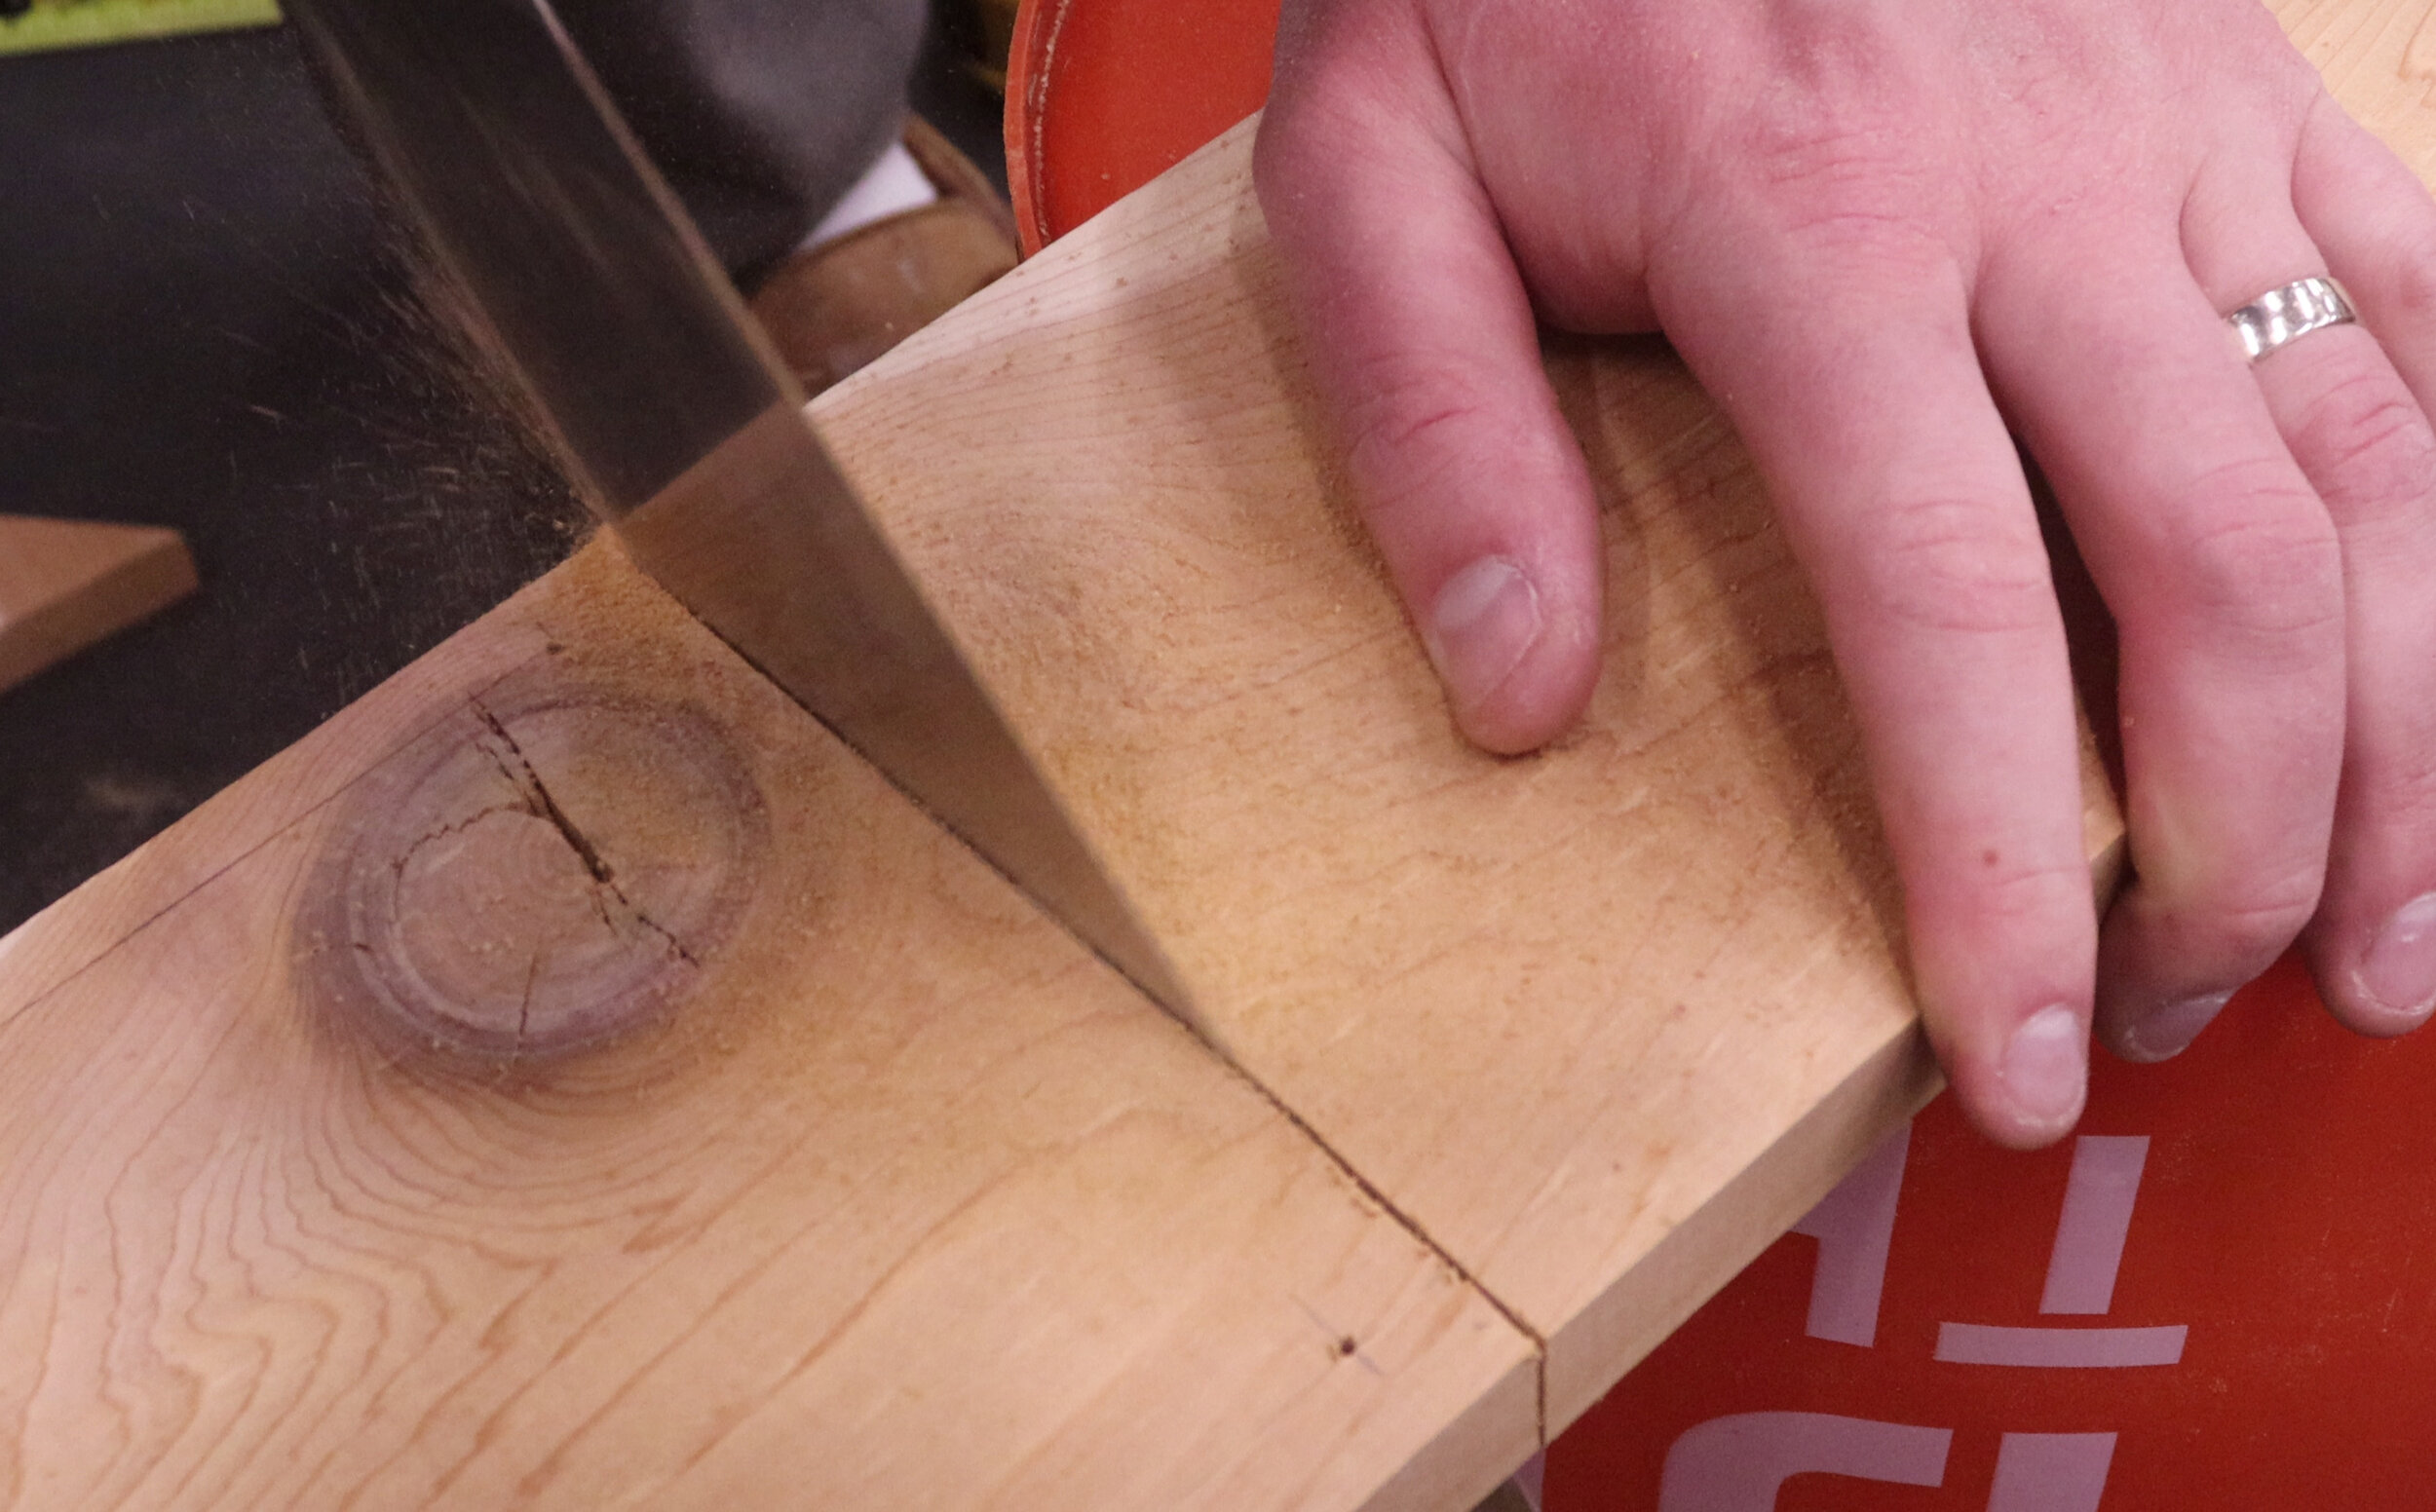
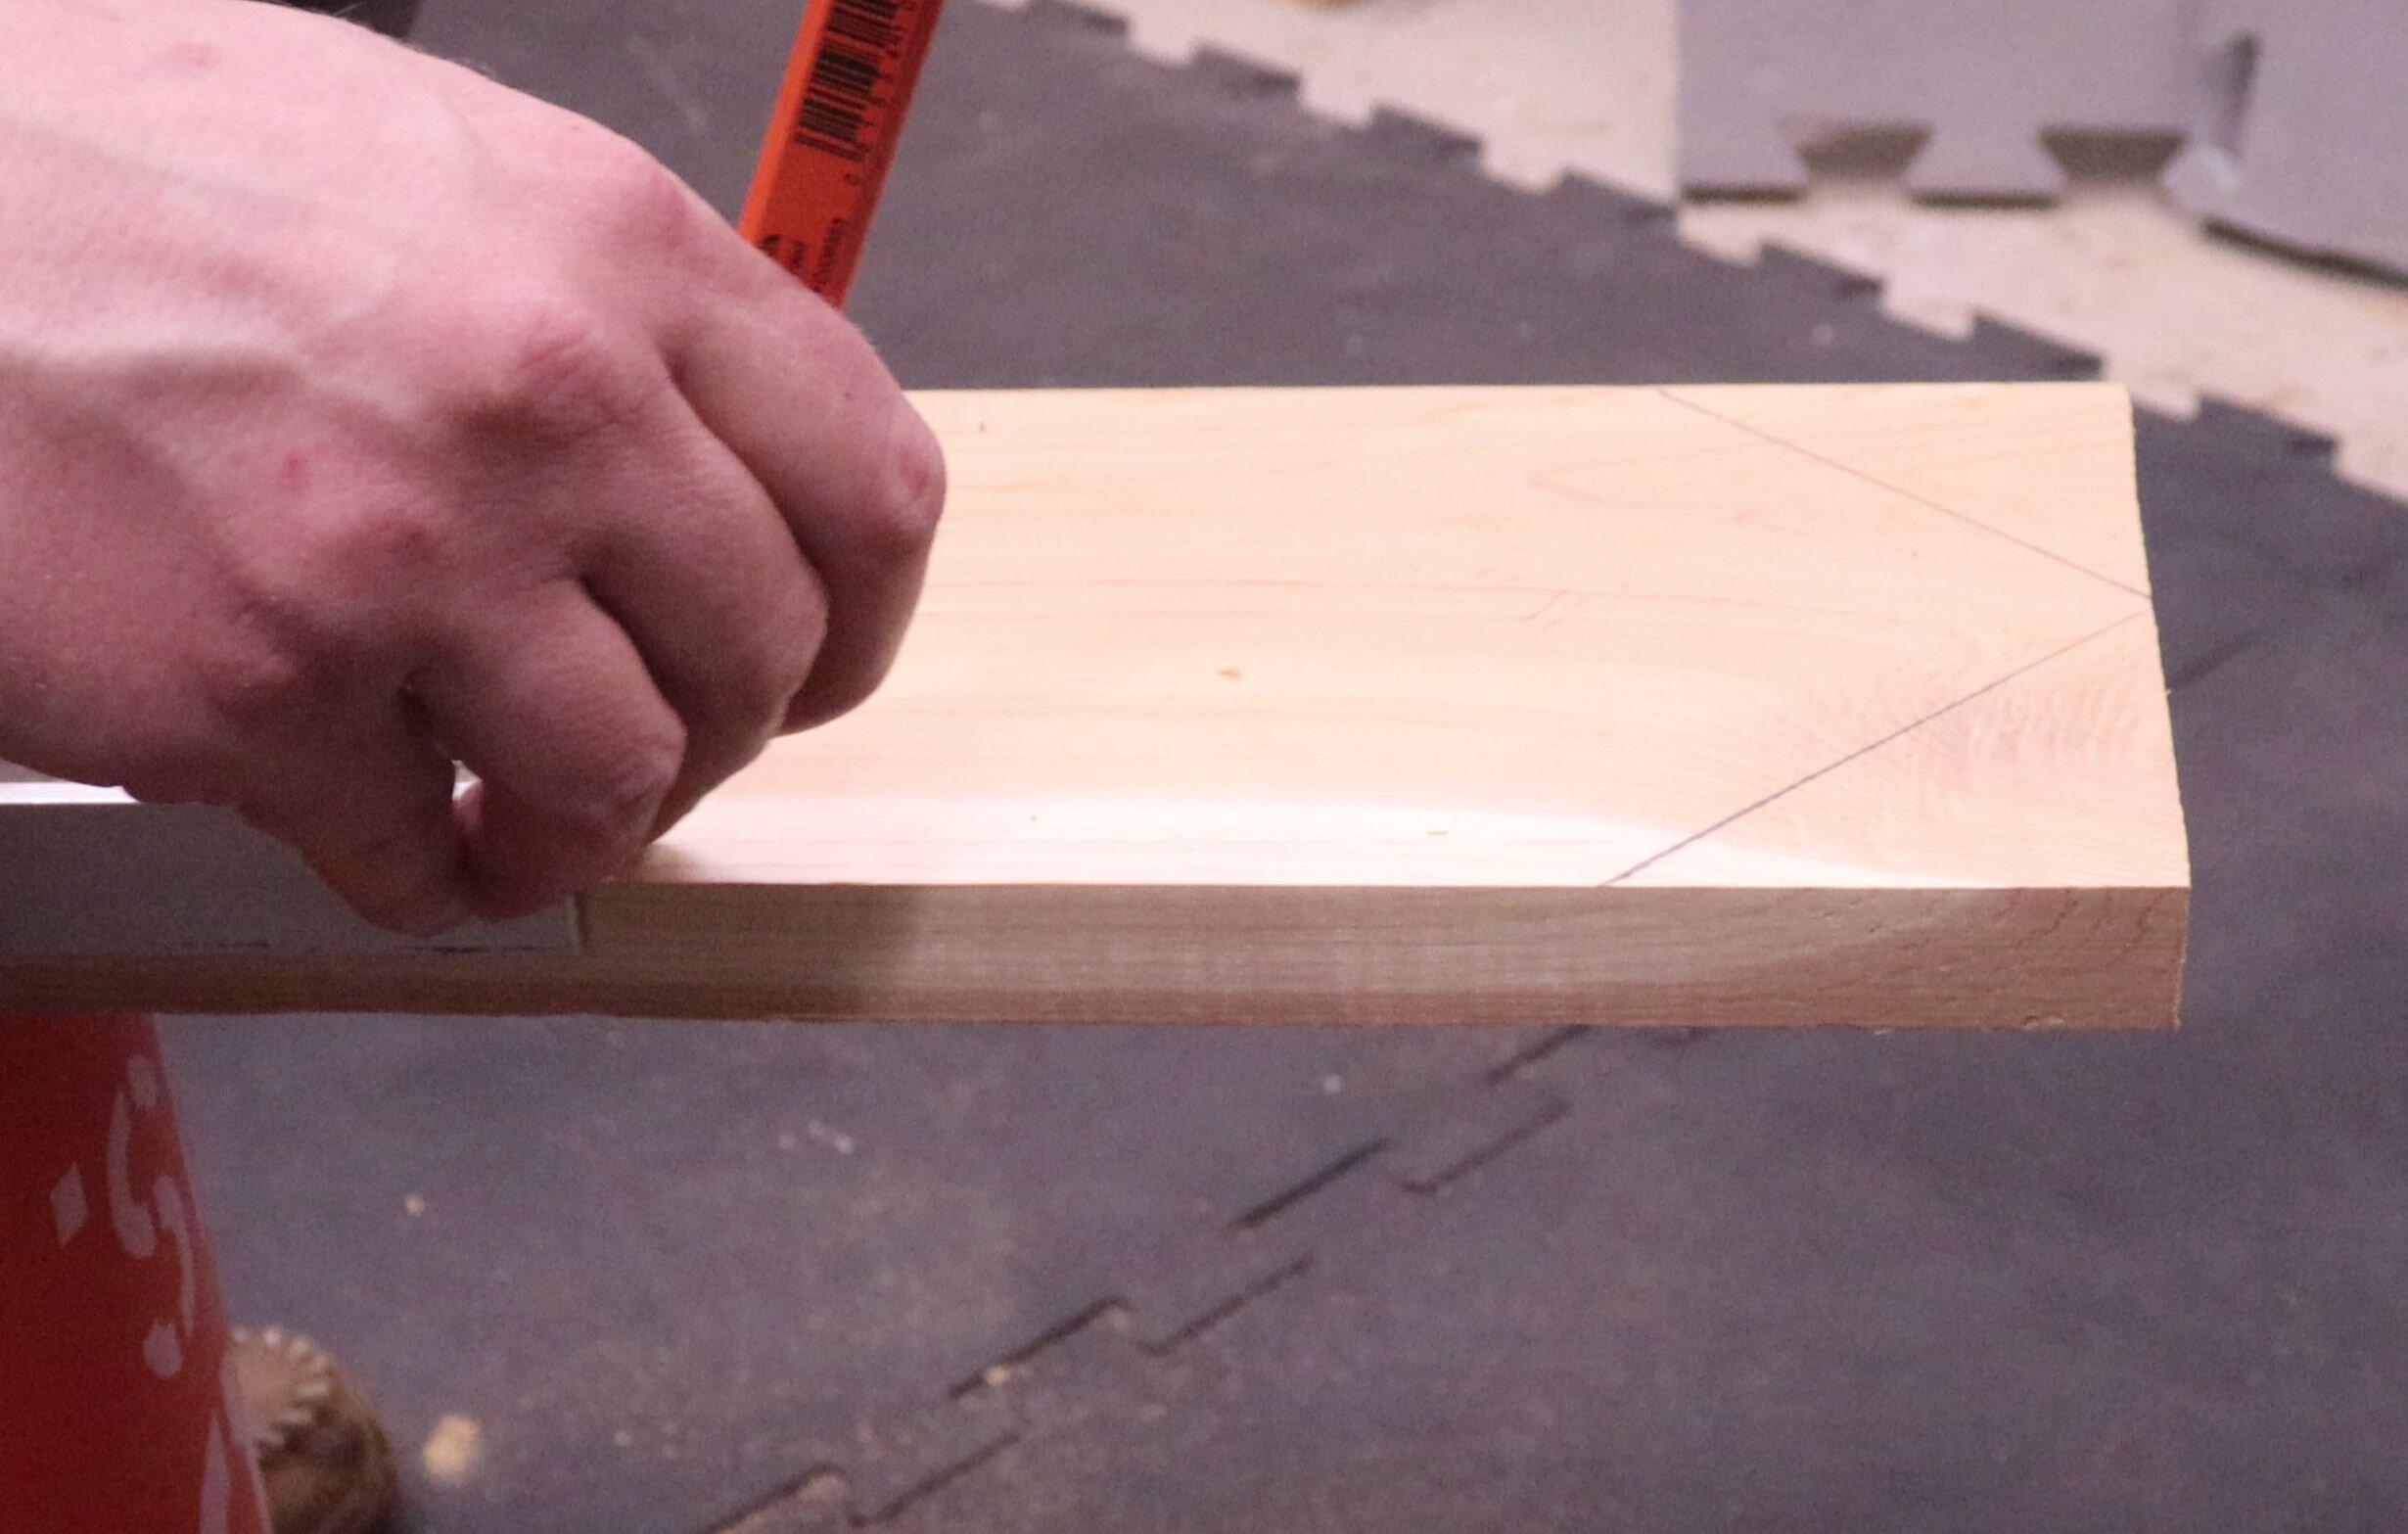
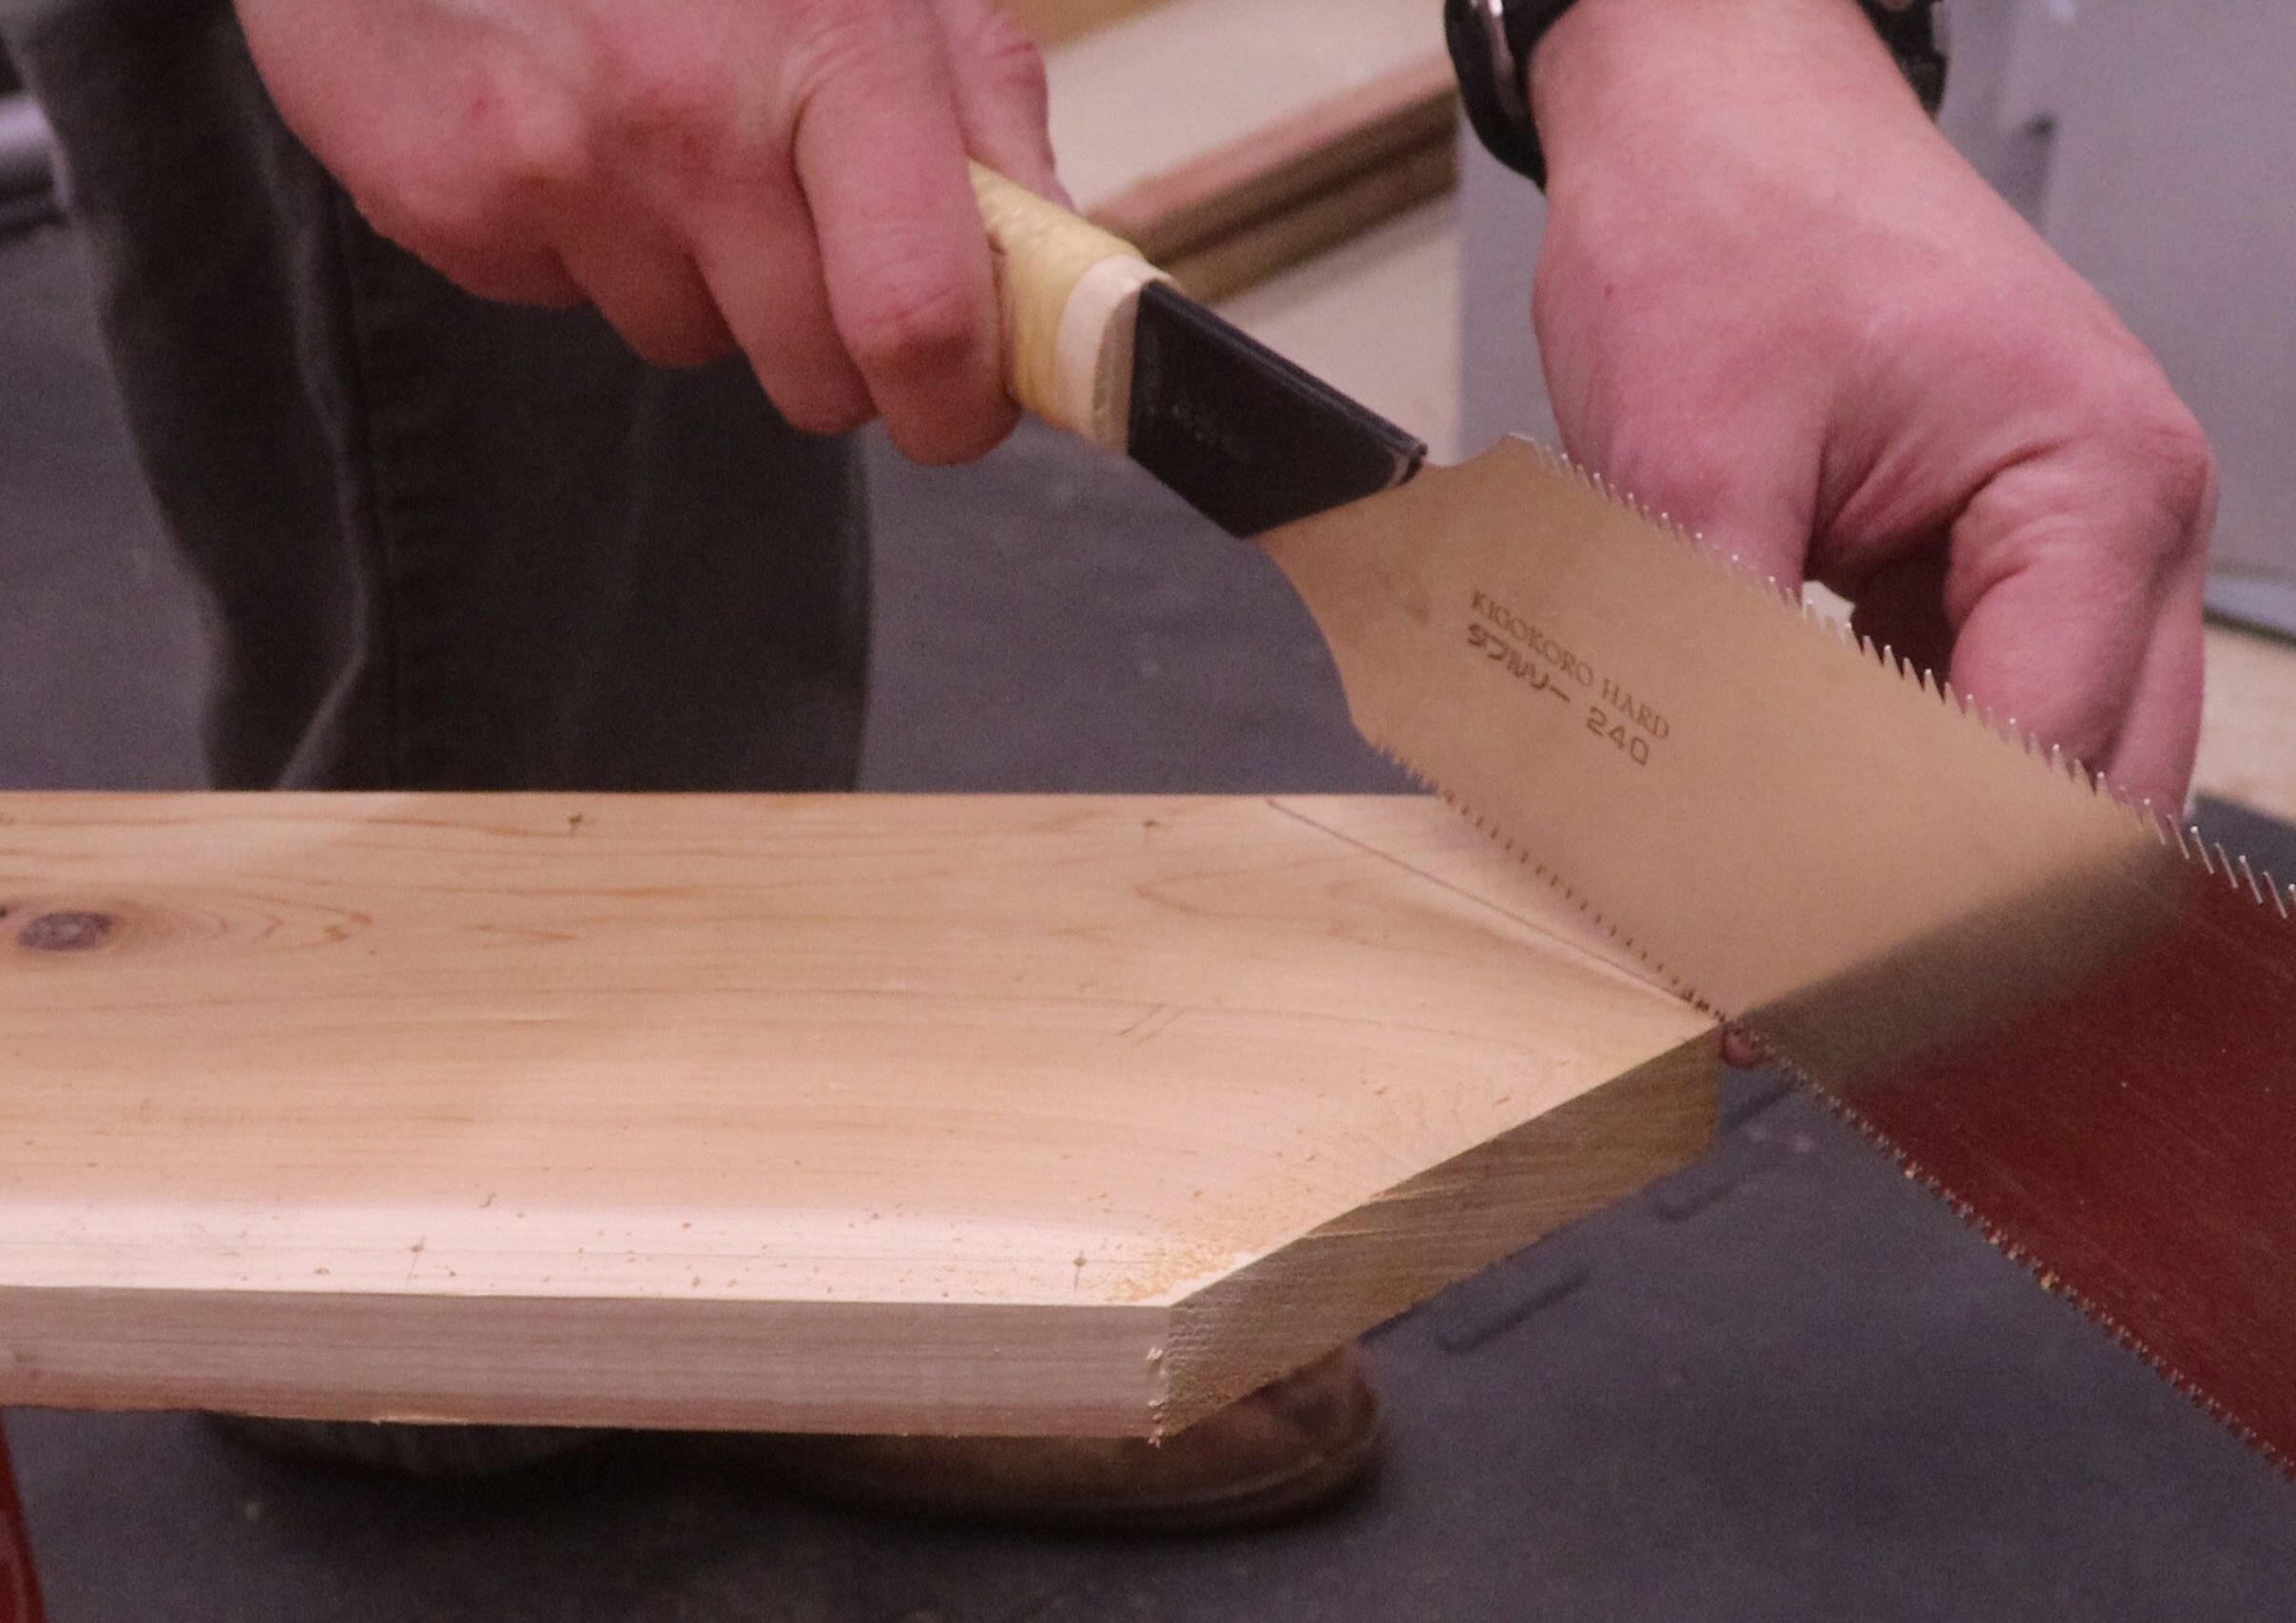
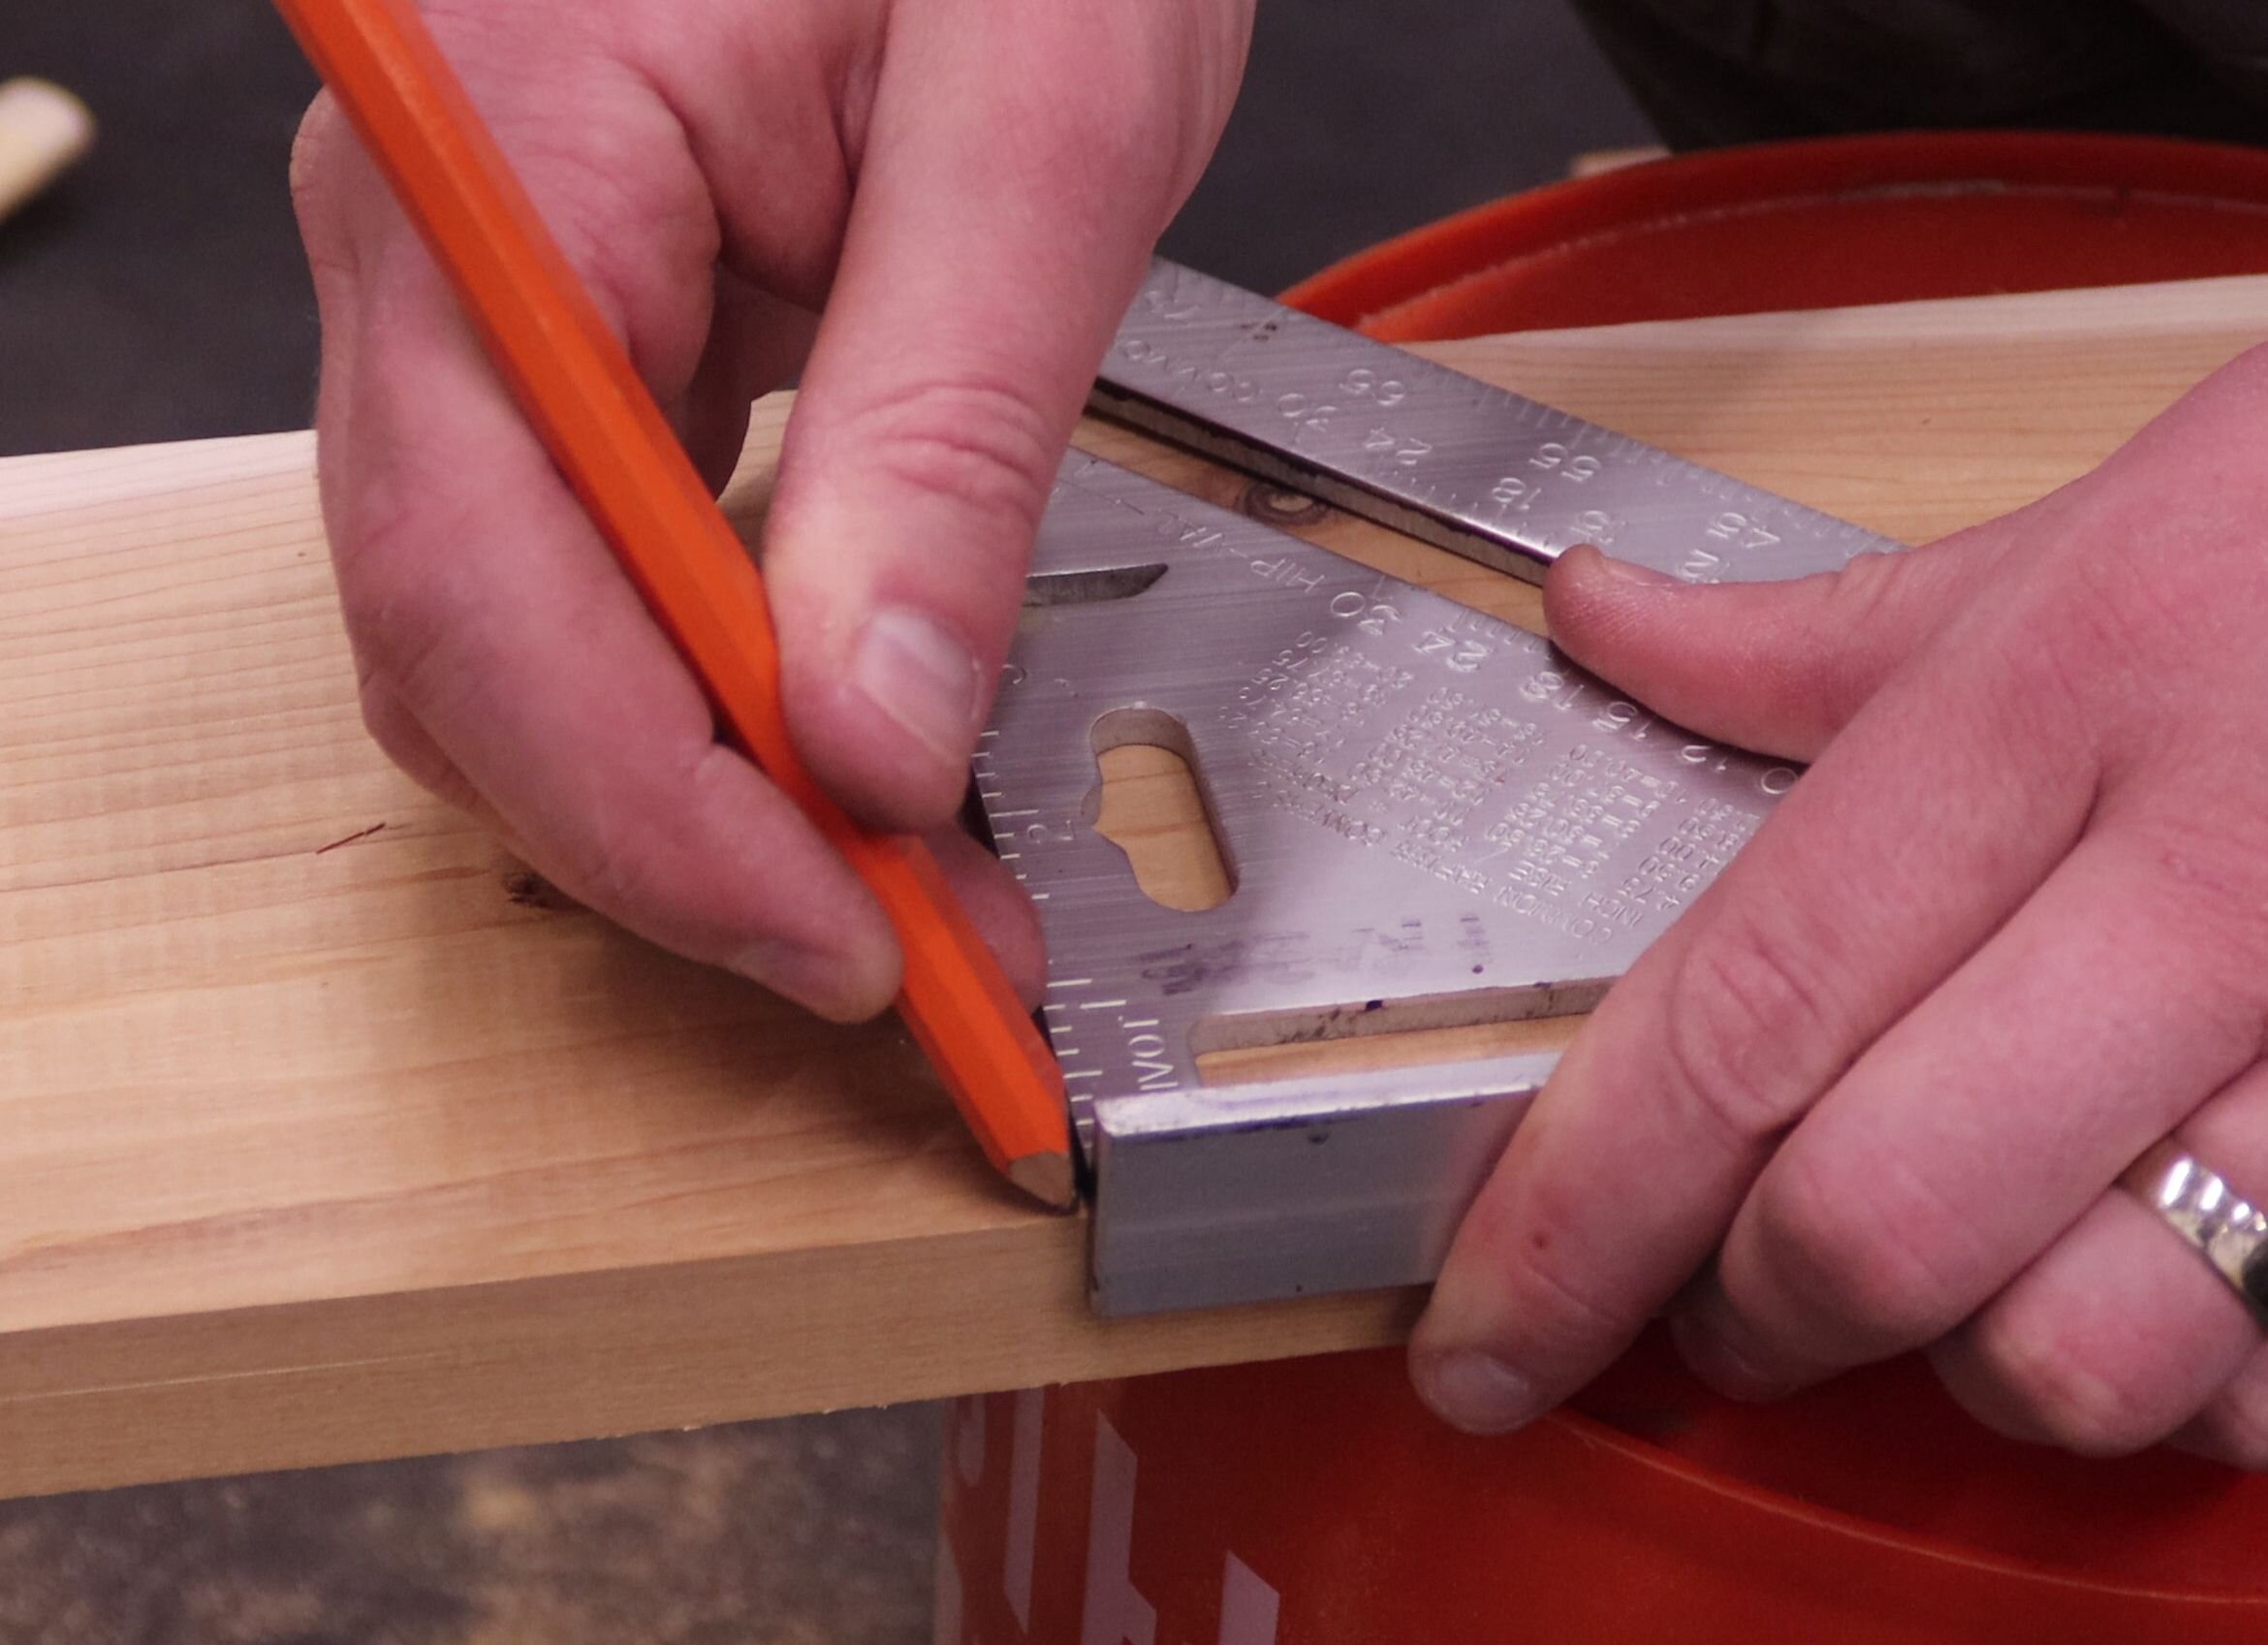
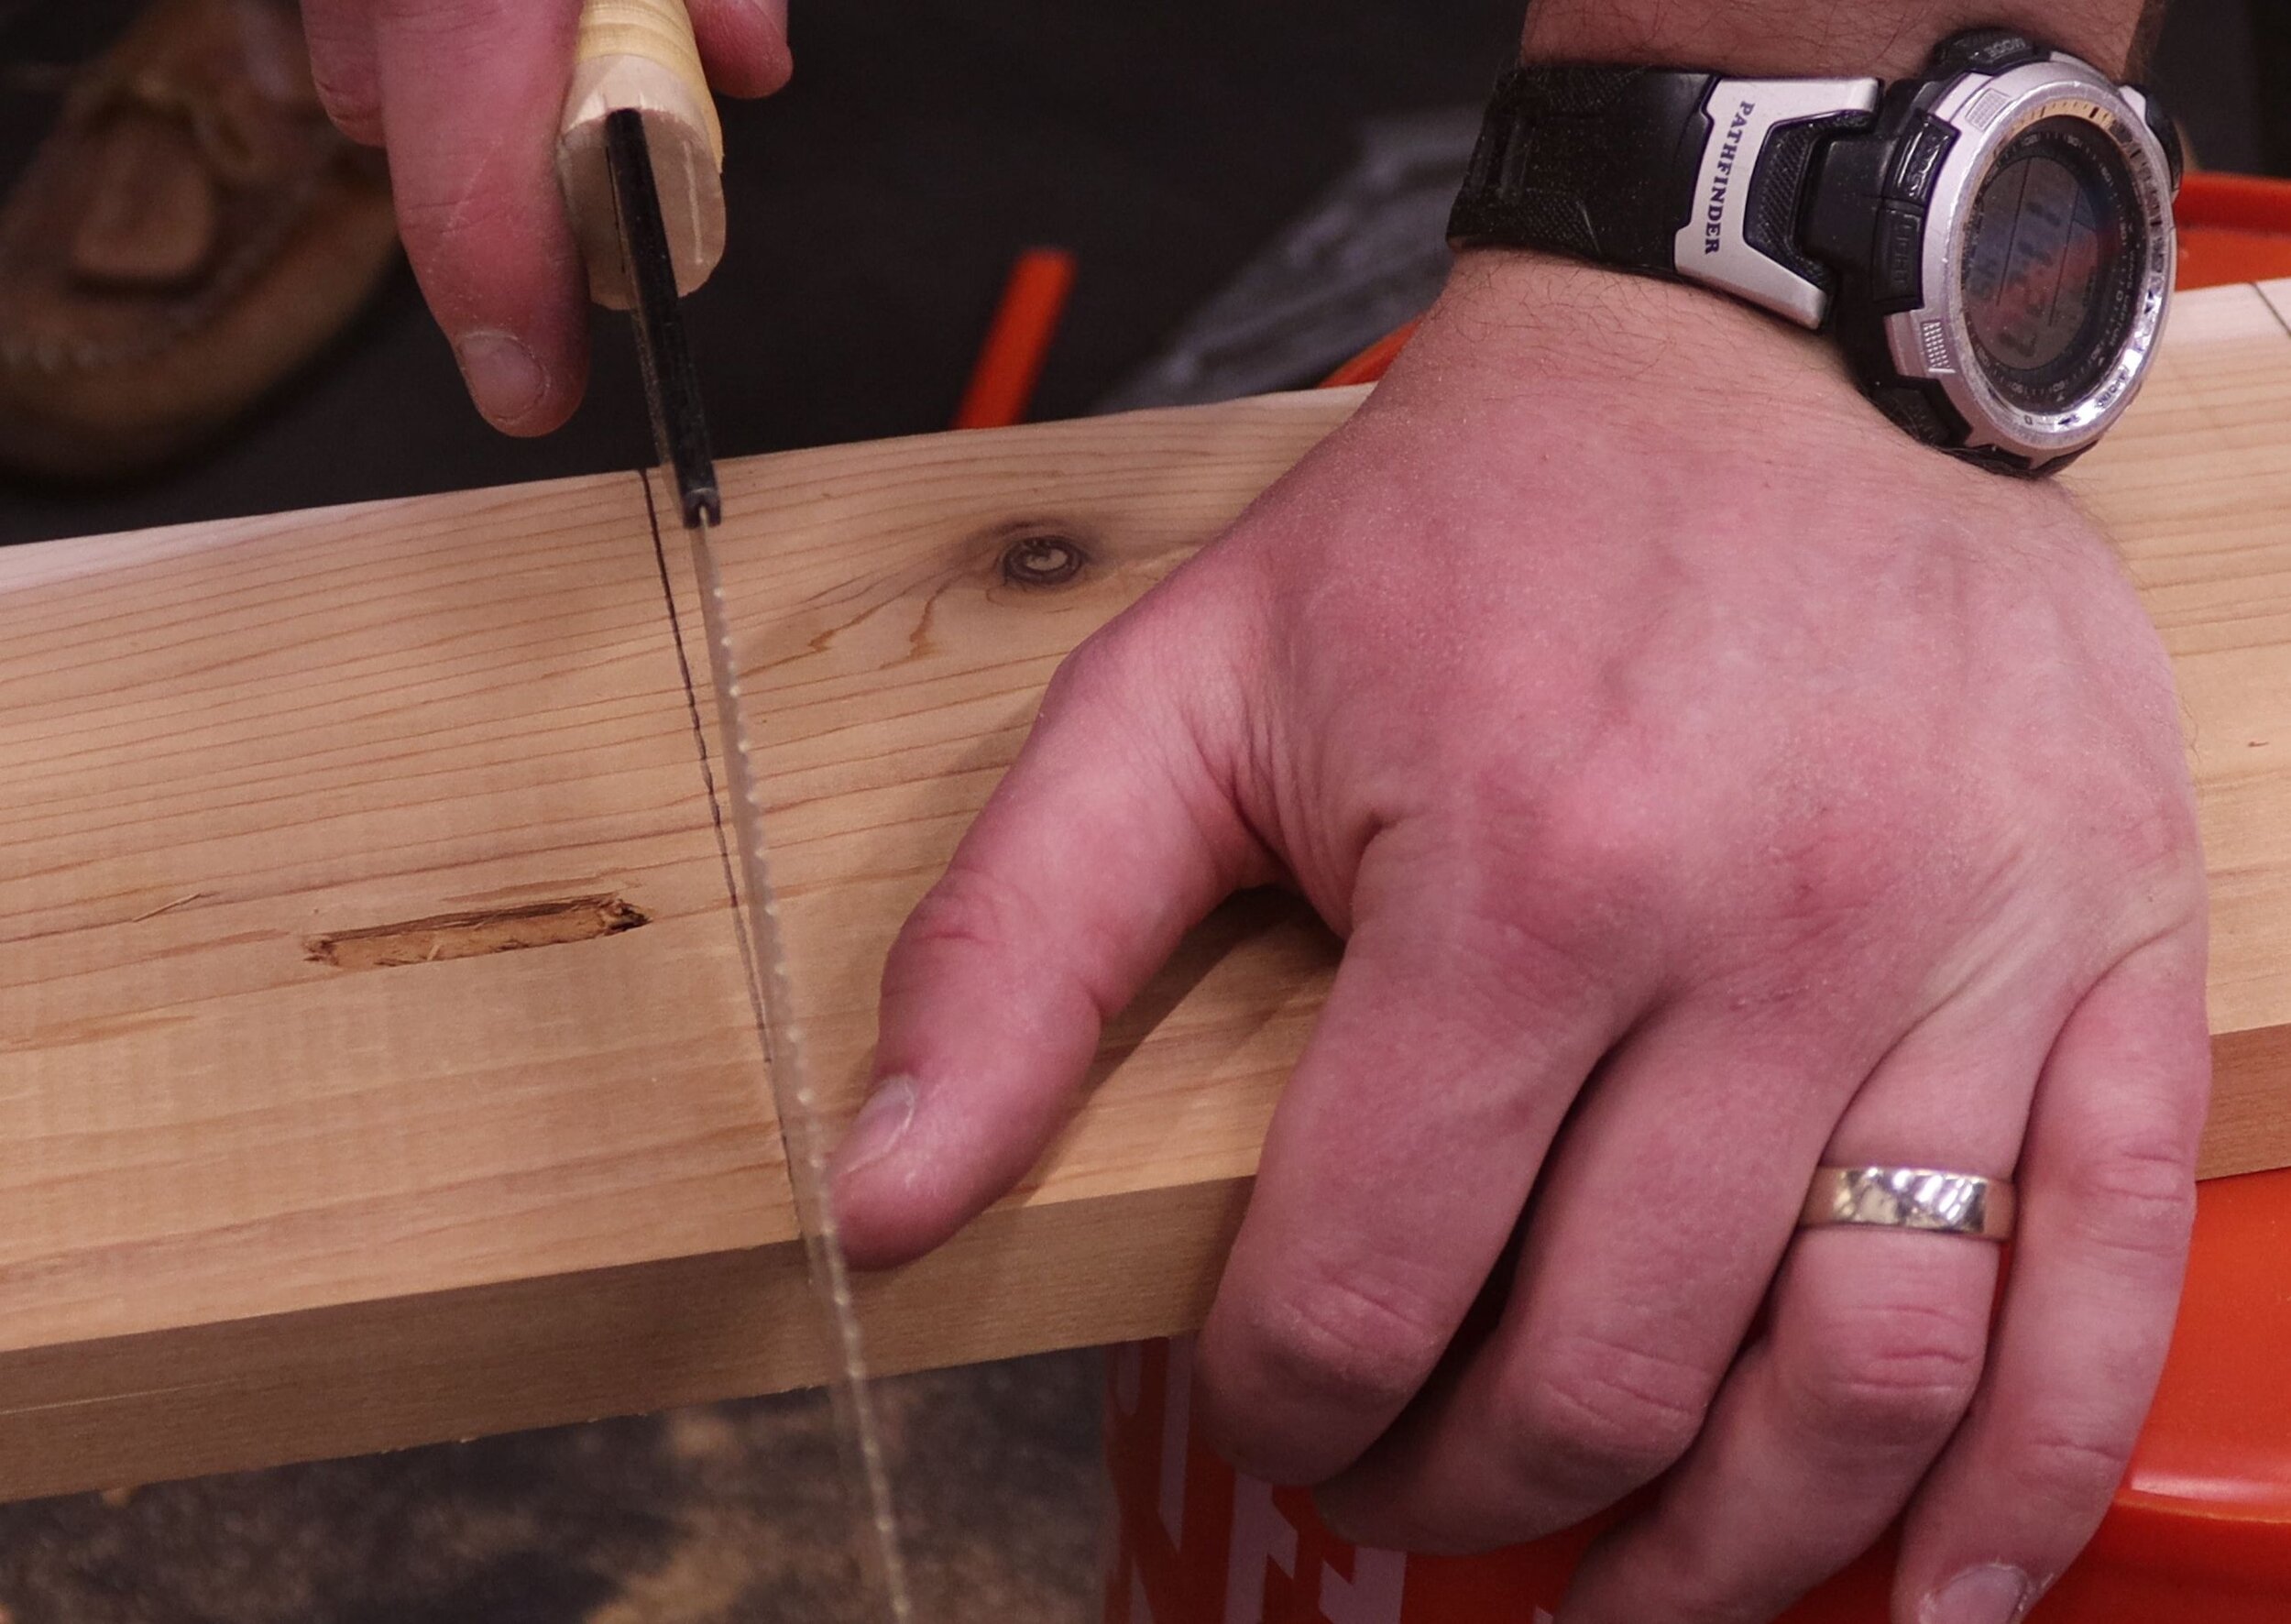
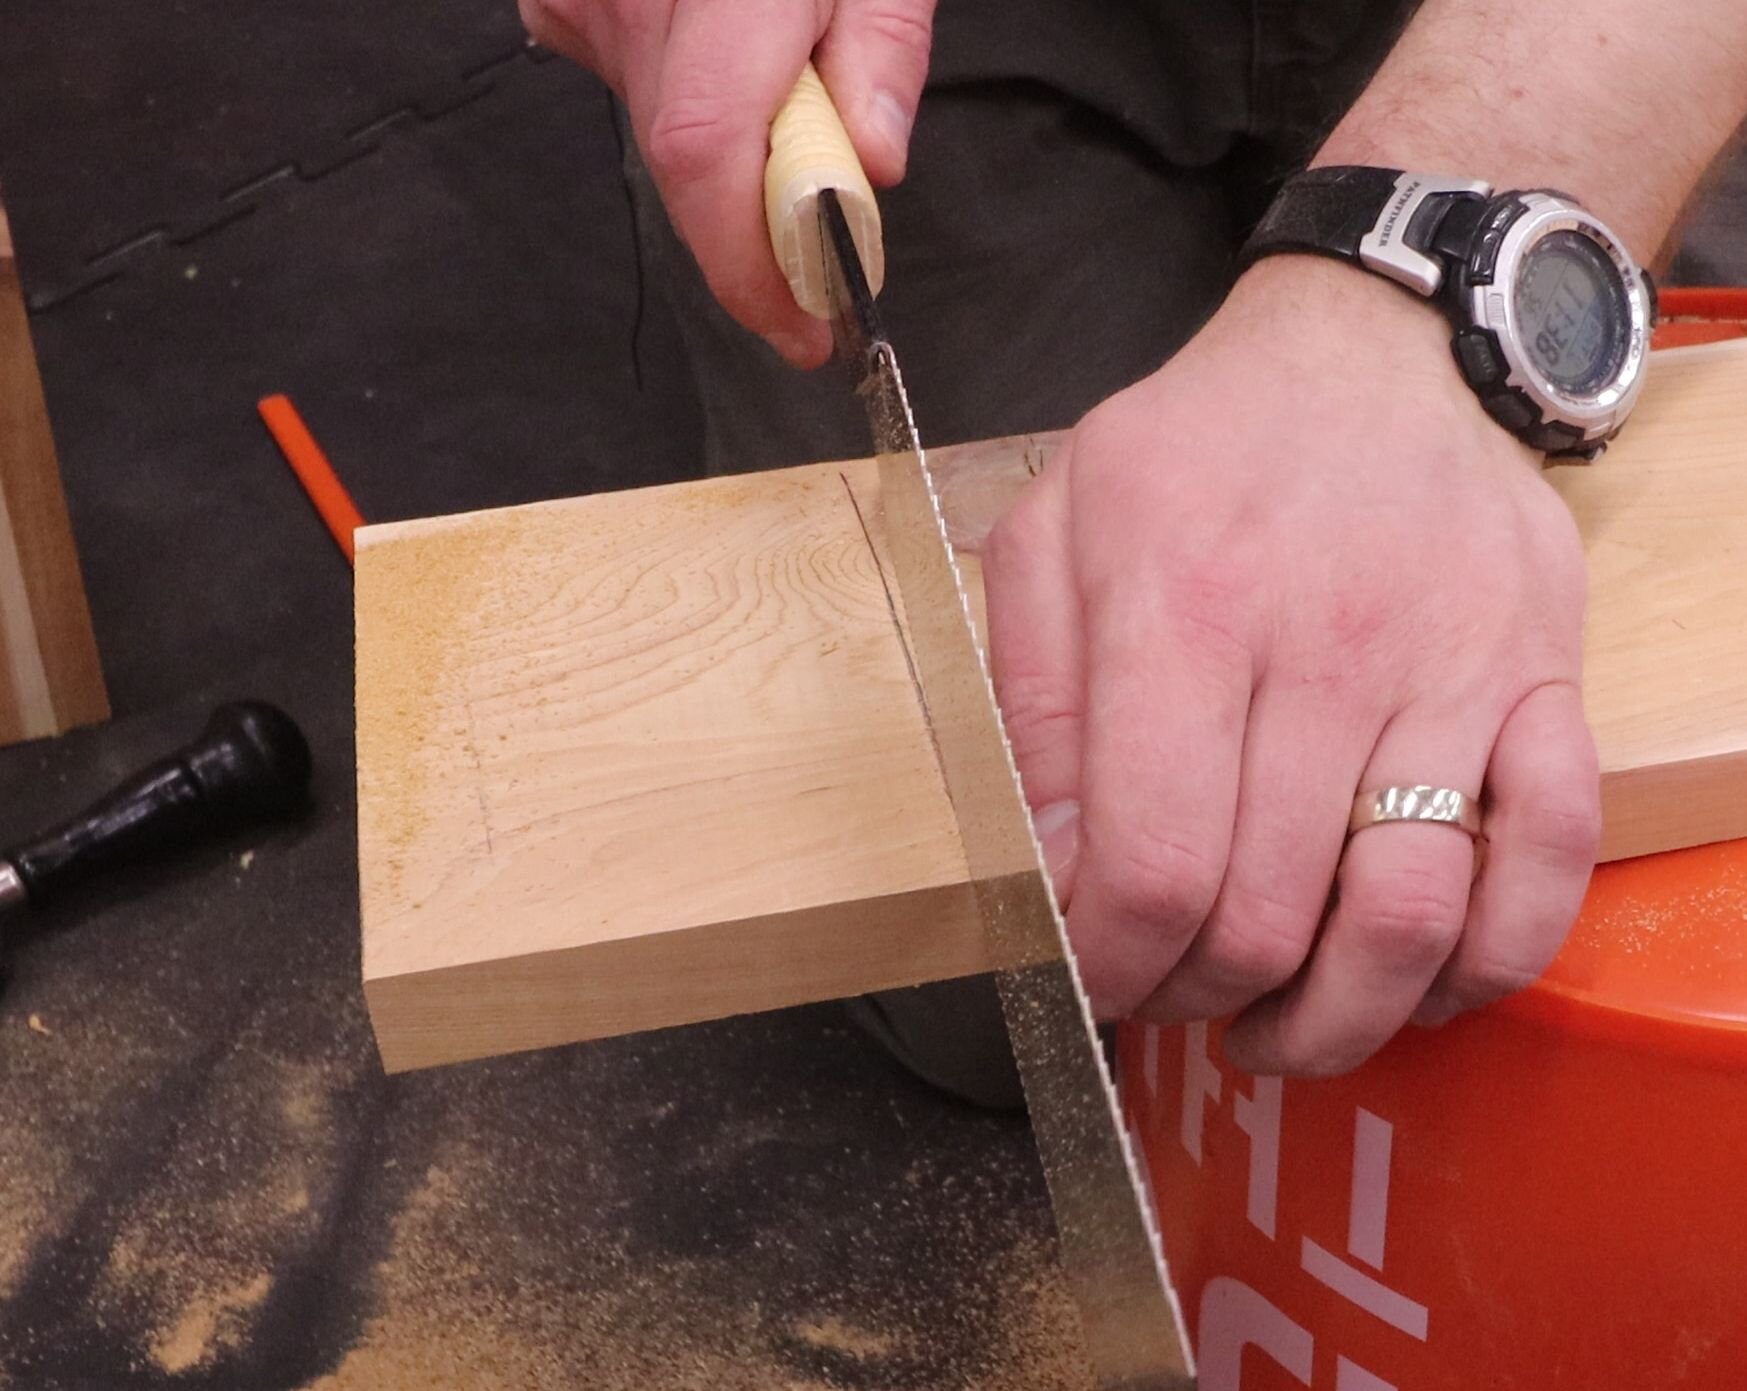
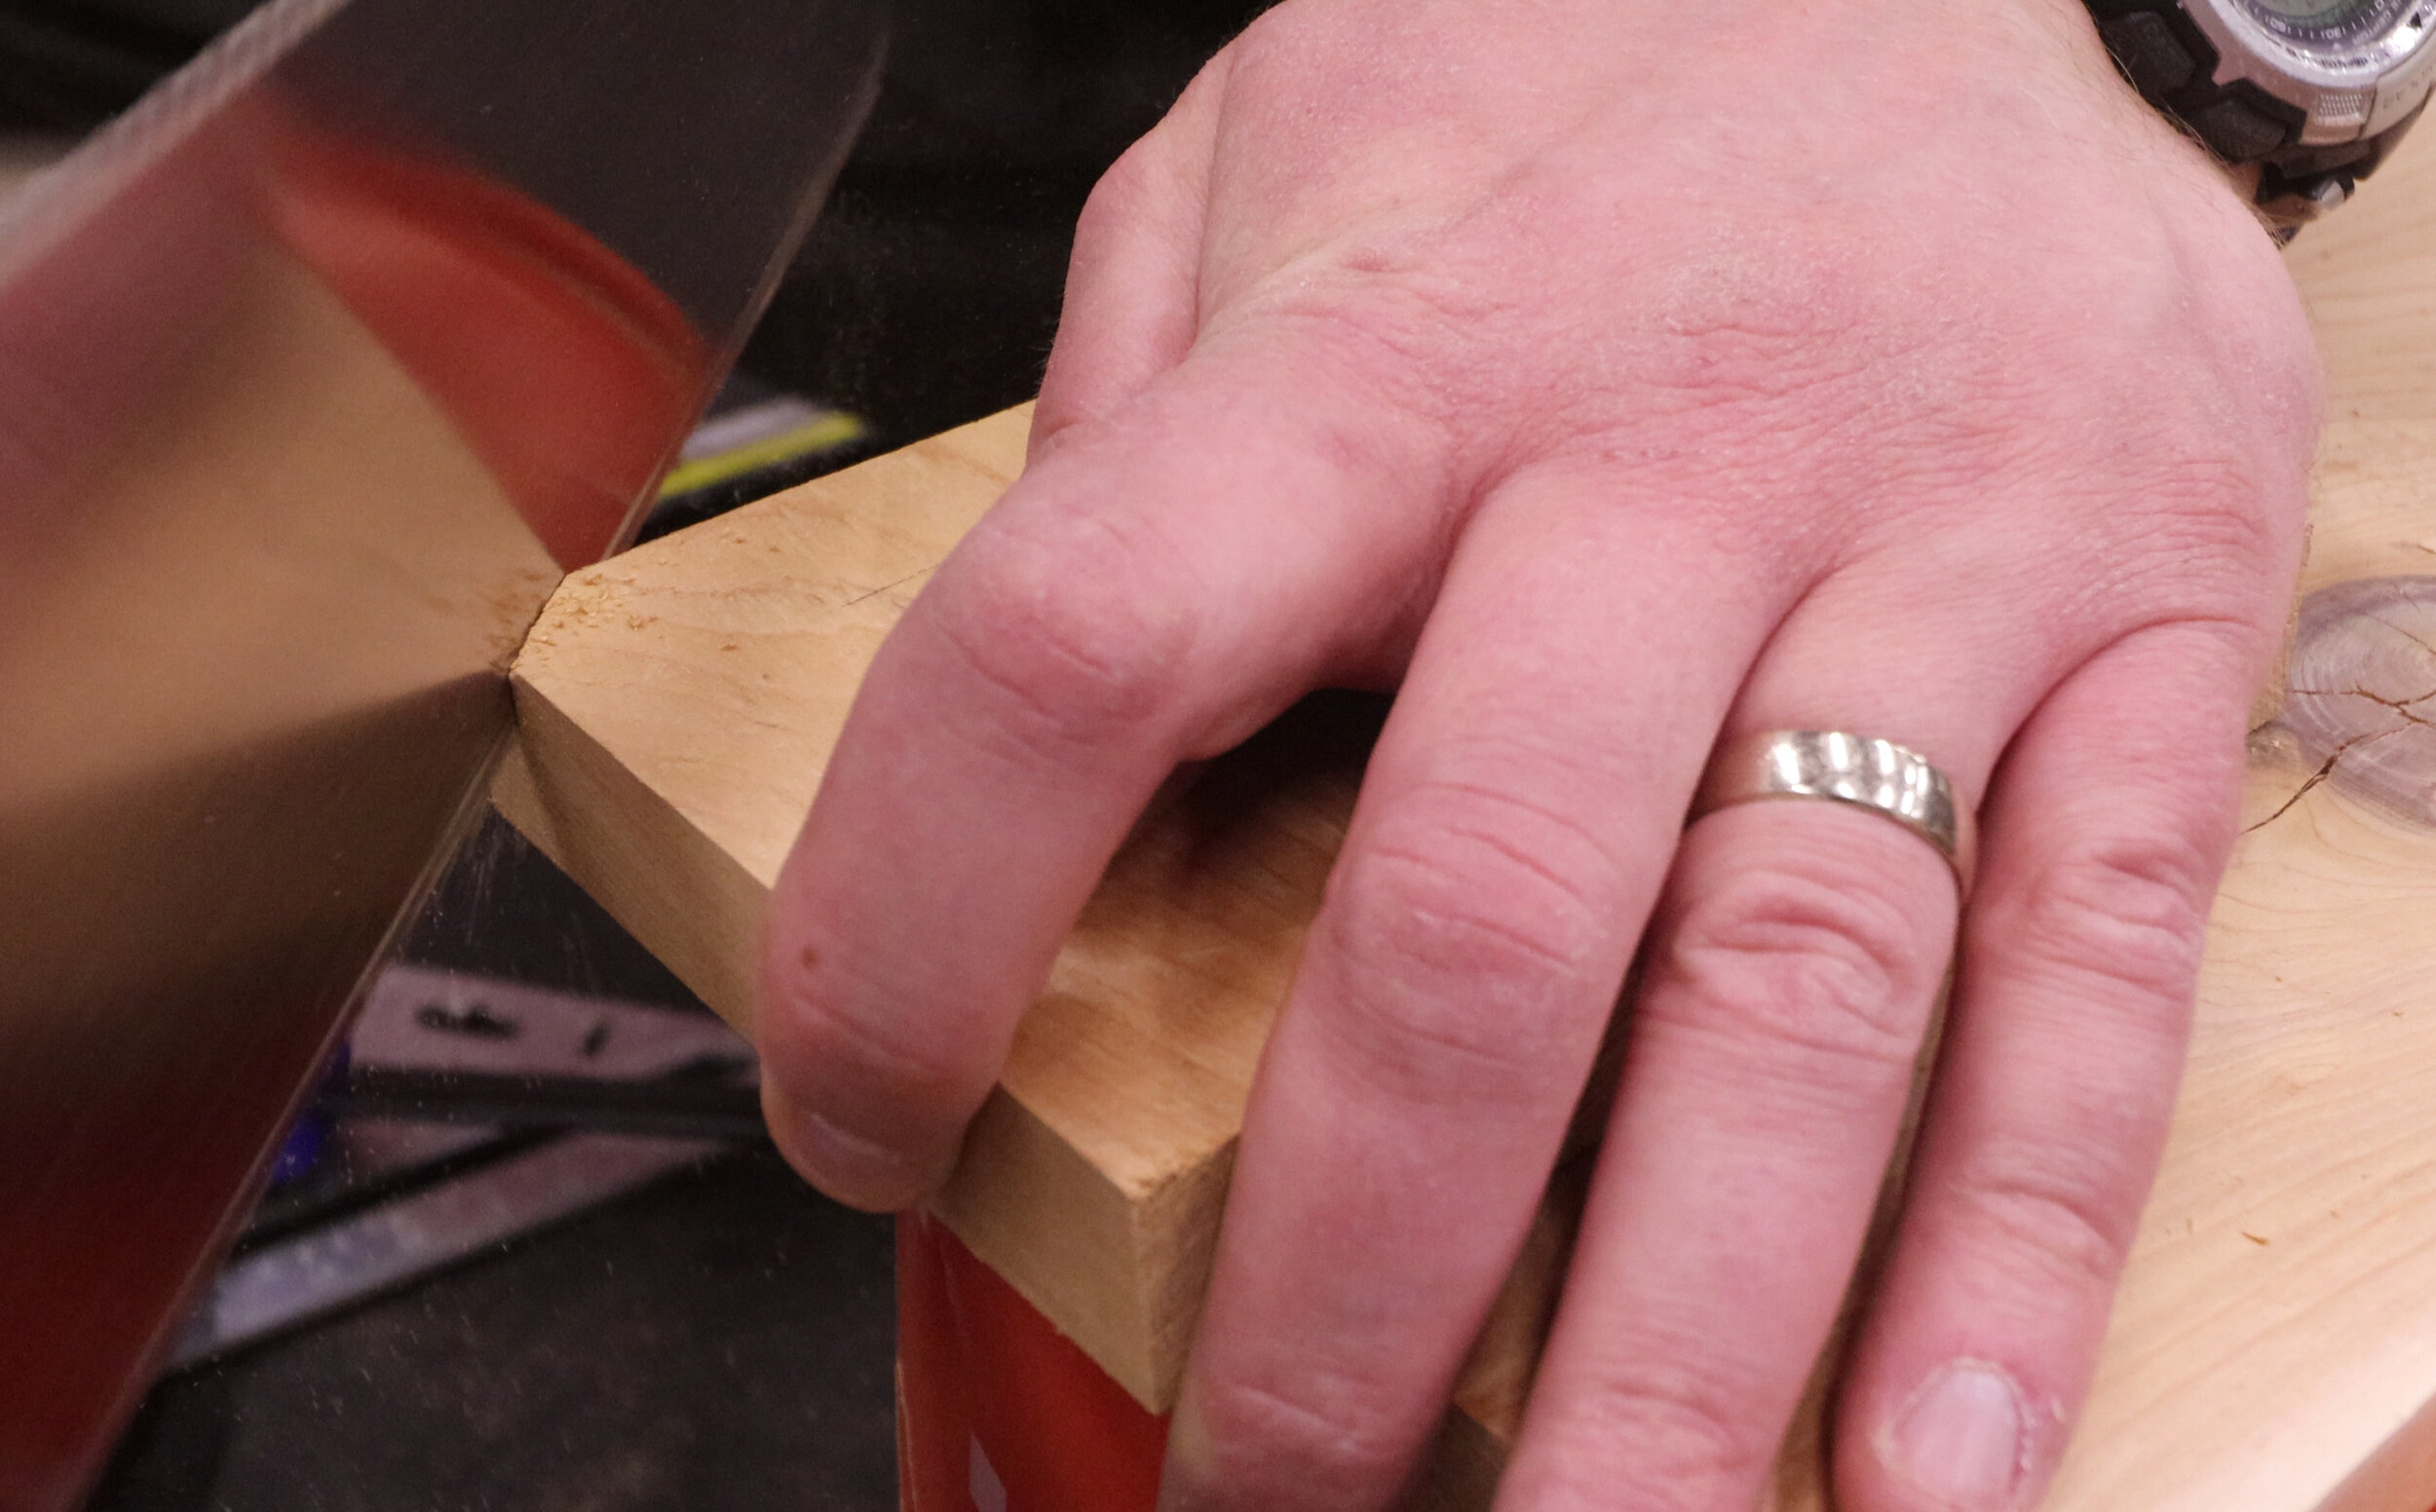
Find the center of your board and mark it. Then use the speed square to draw two 45-degree lines that connect at the peak of the roof. Saw these corners off.
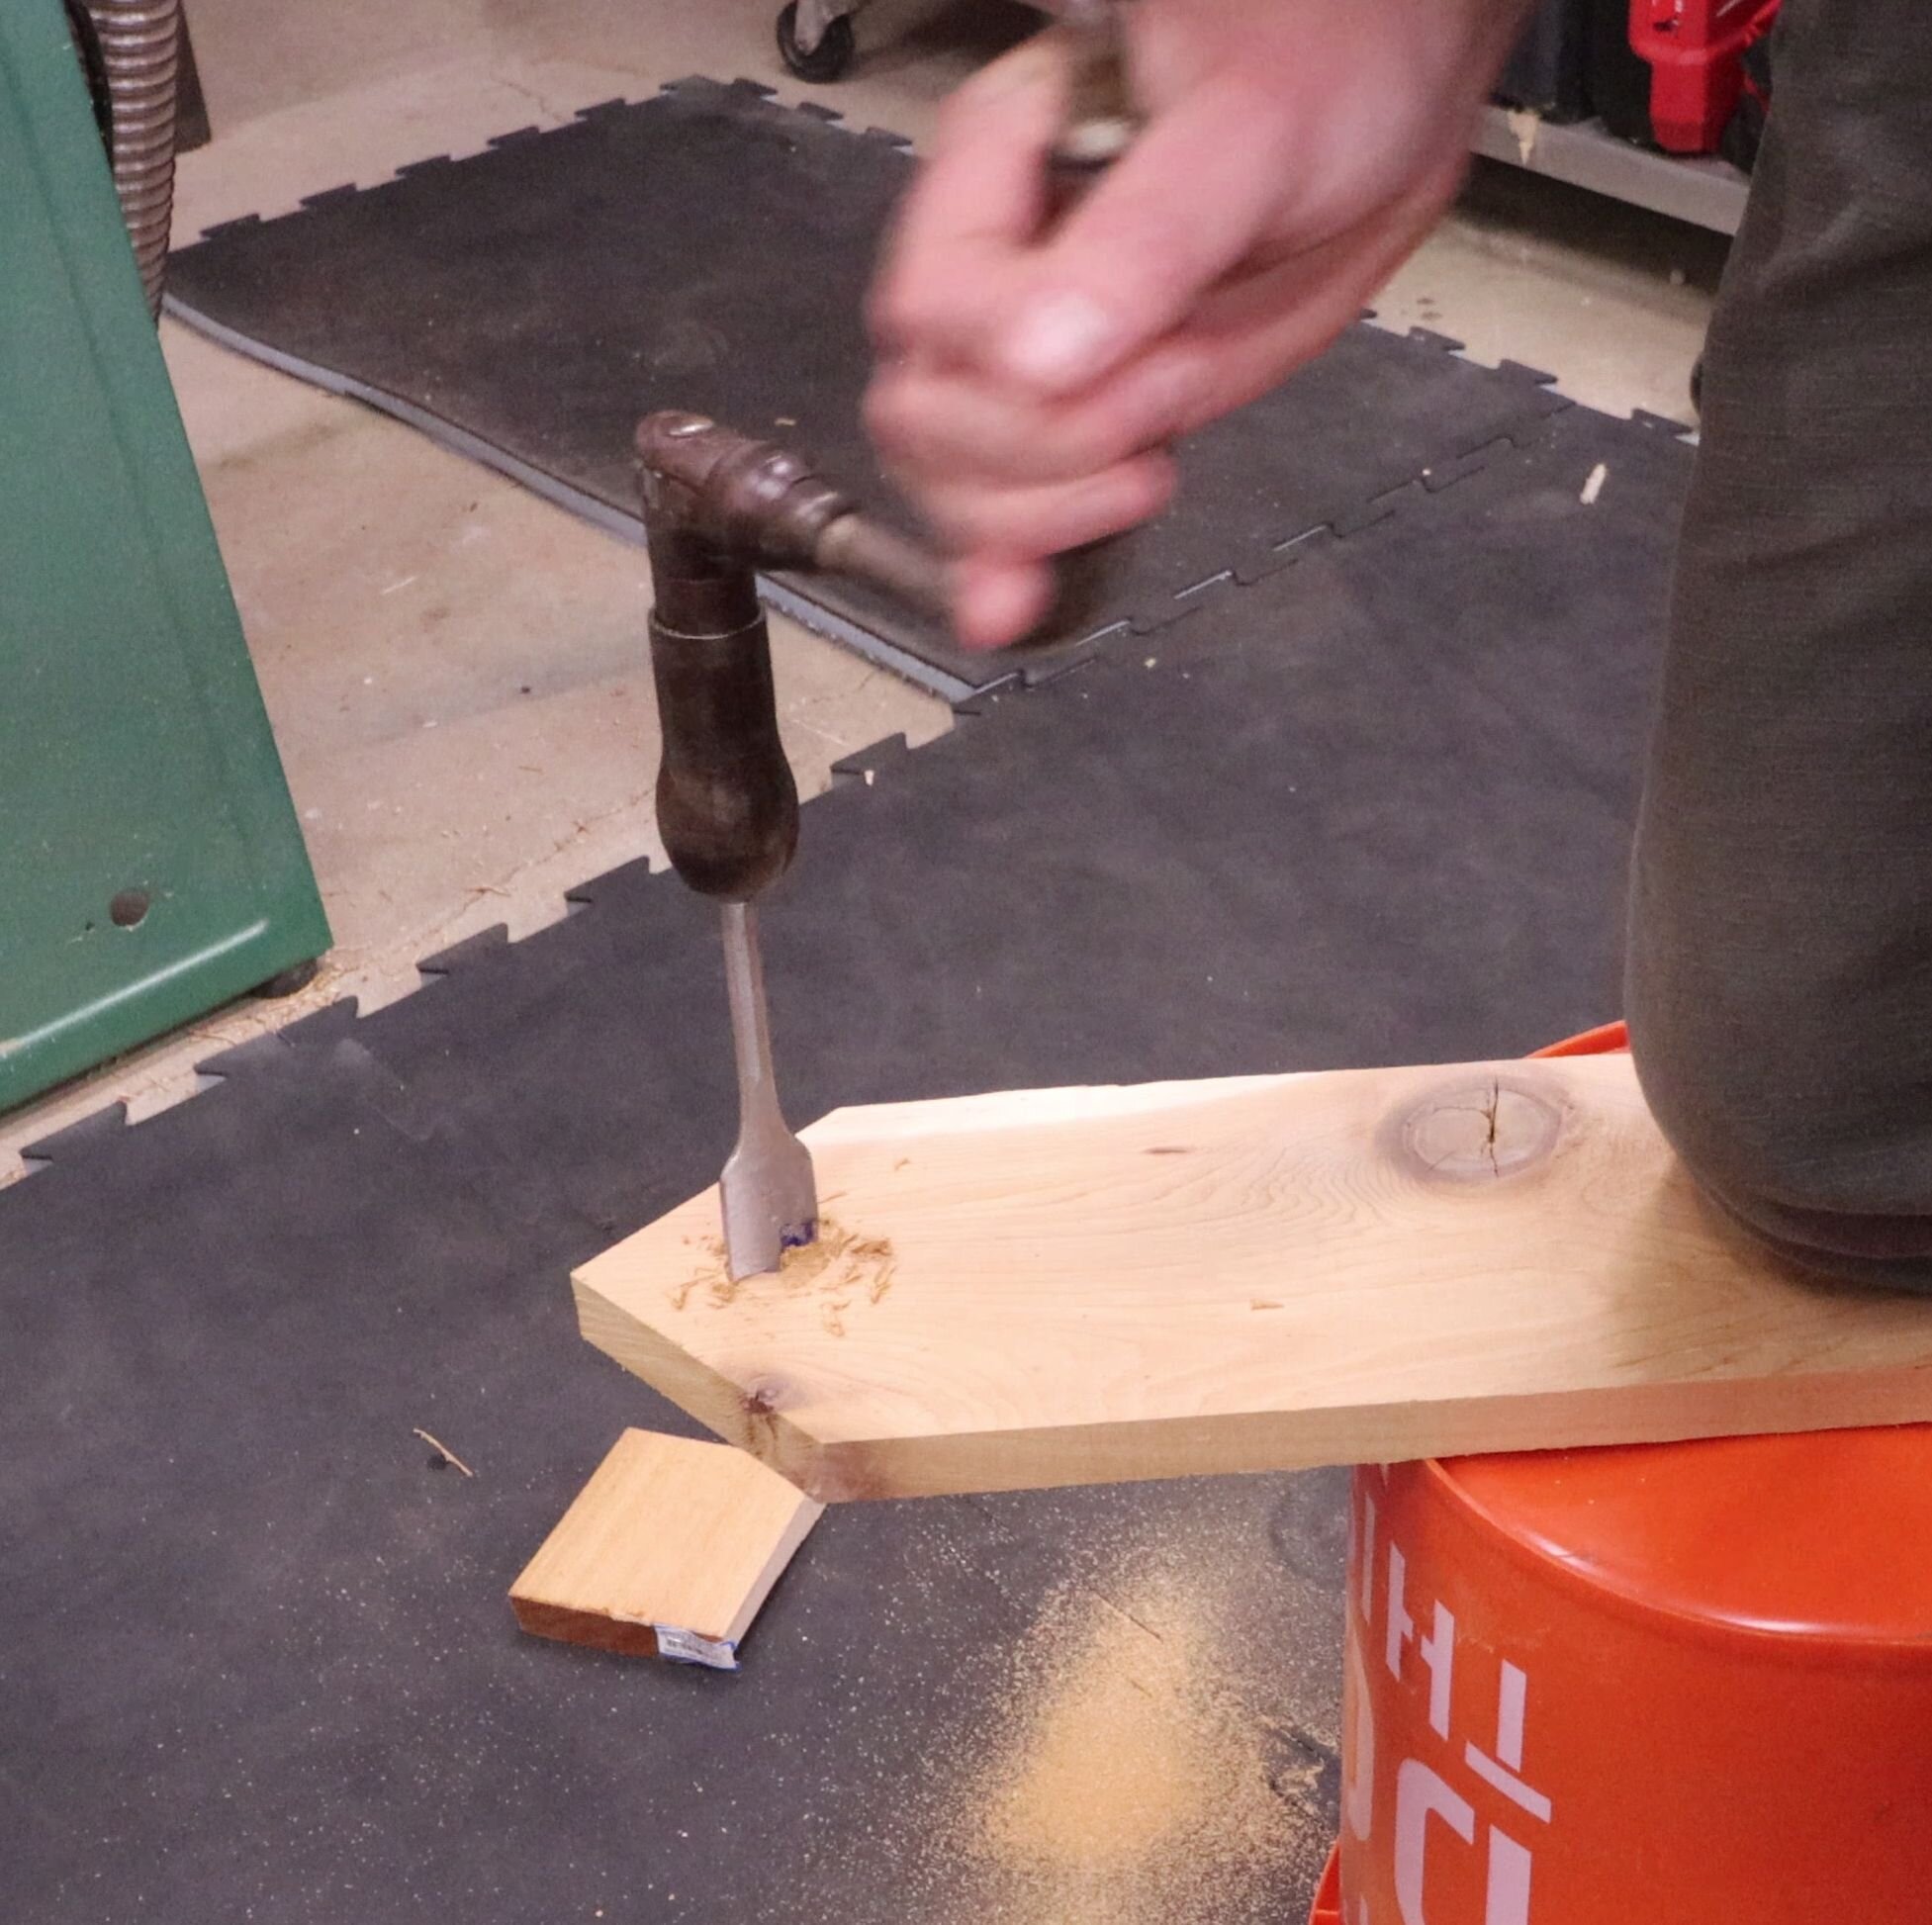
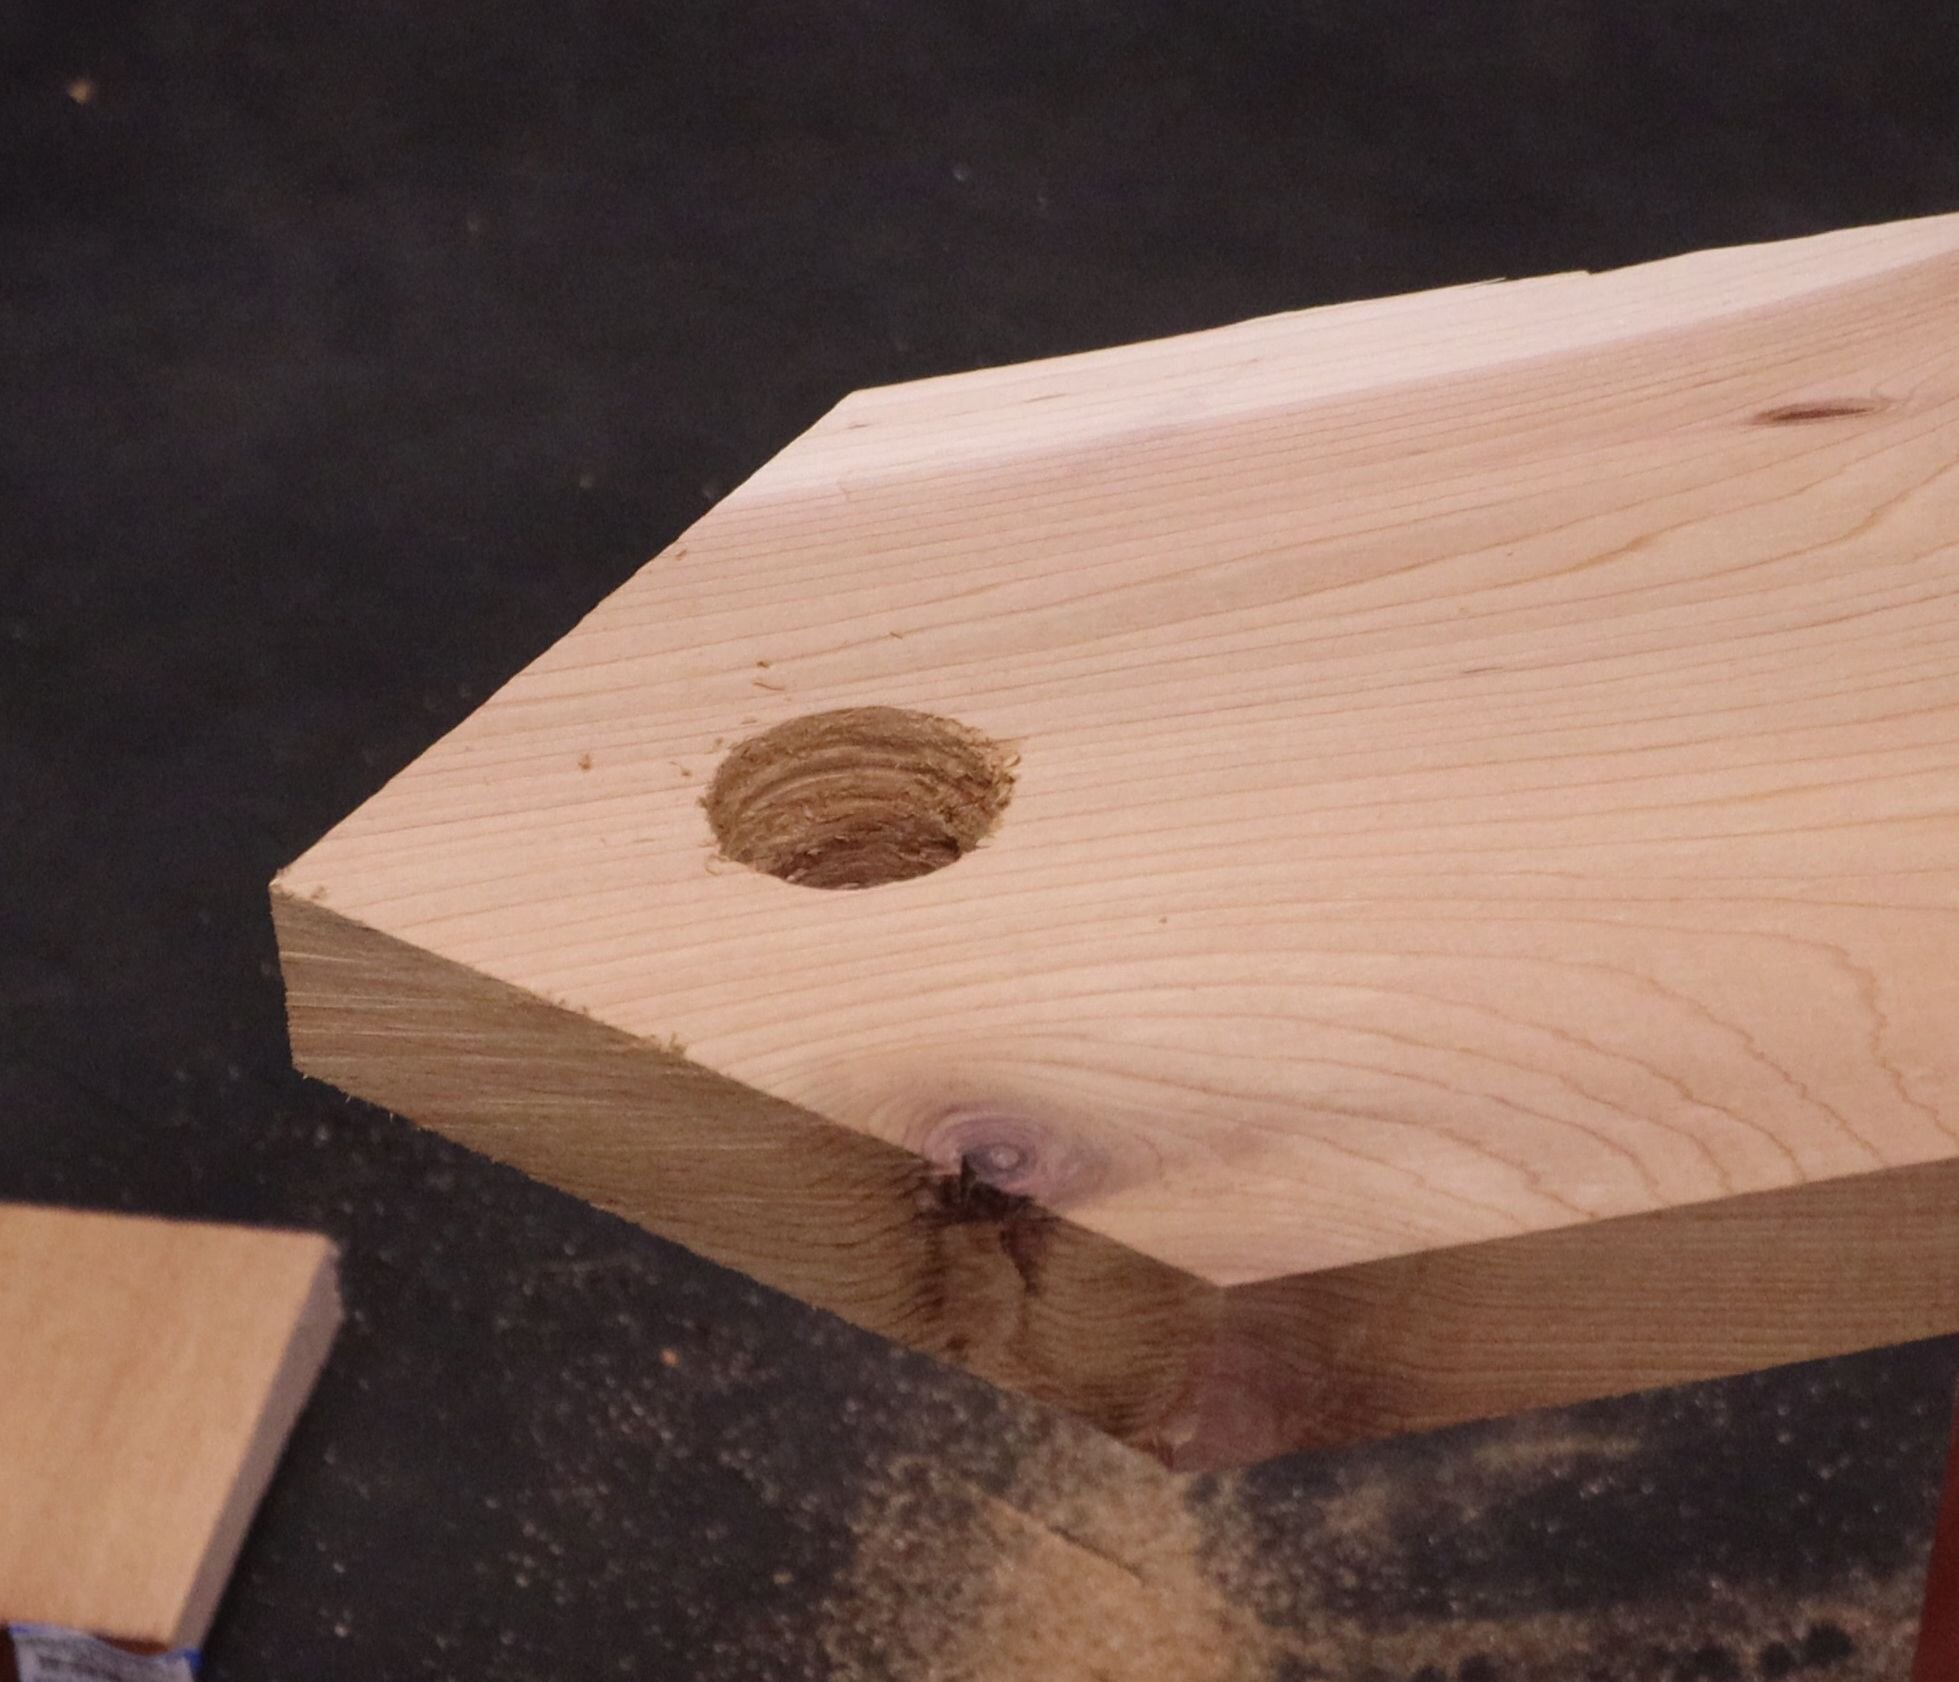
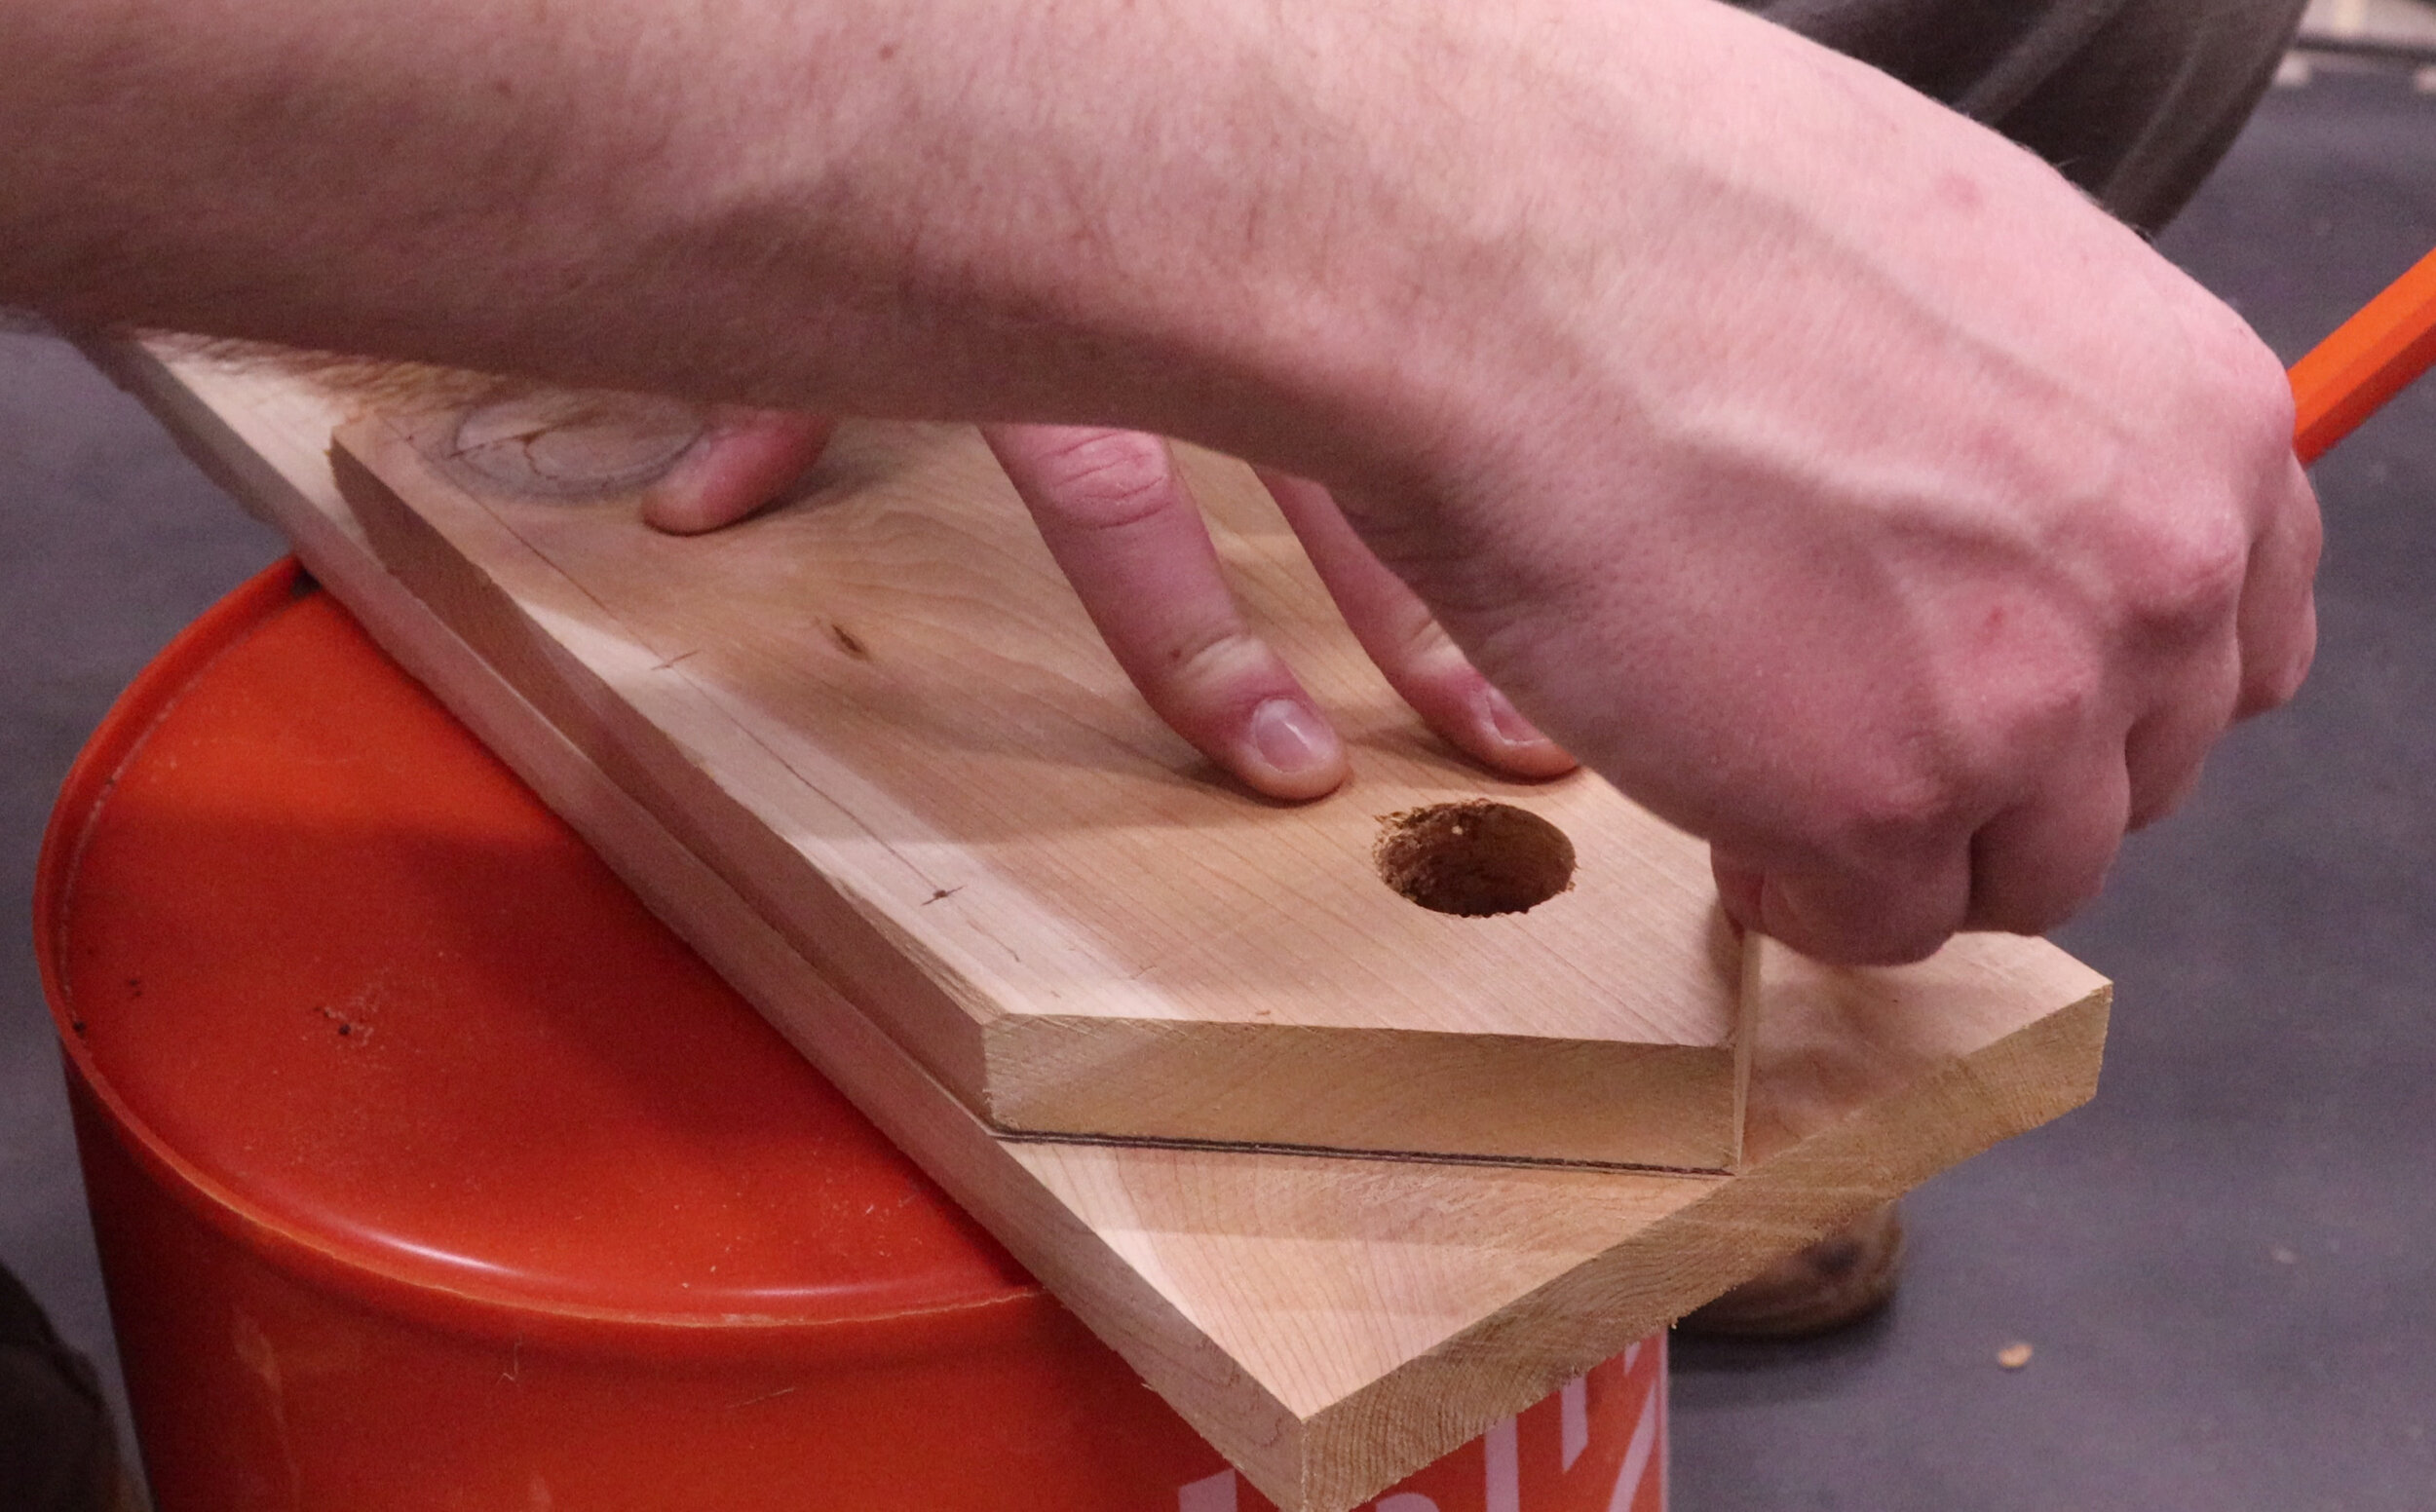
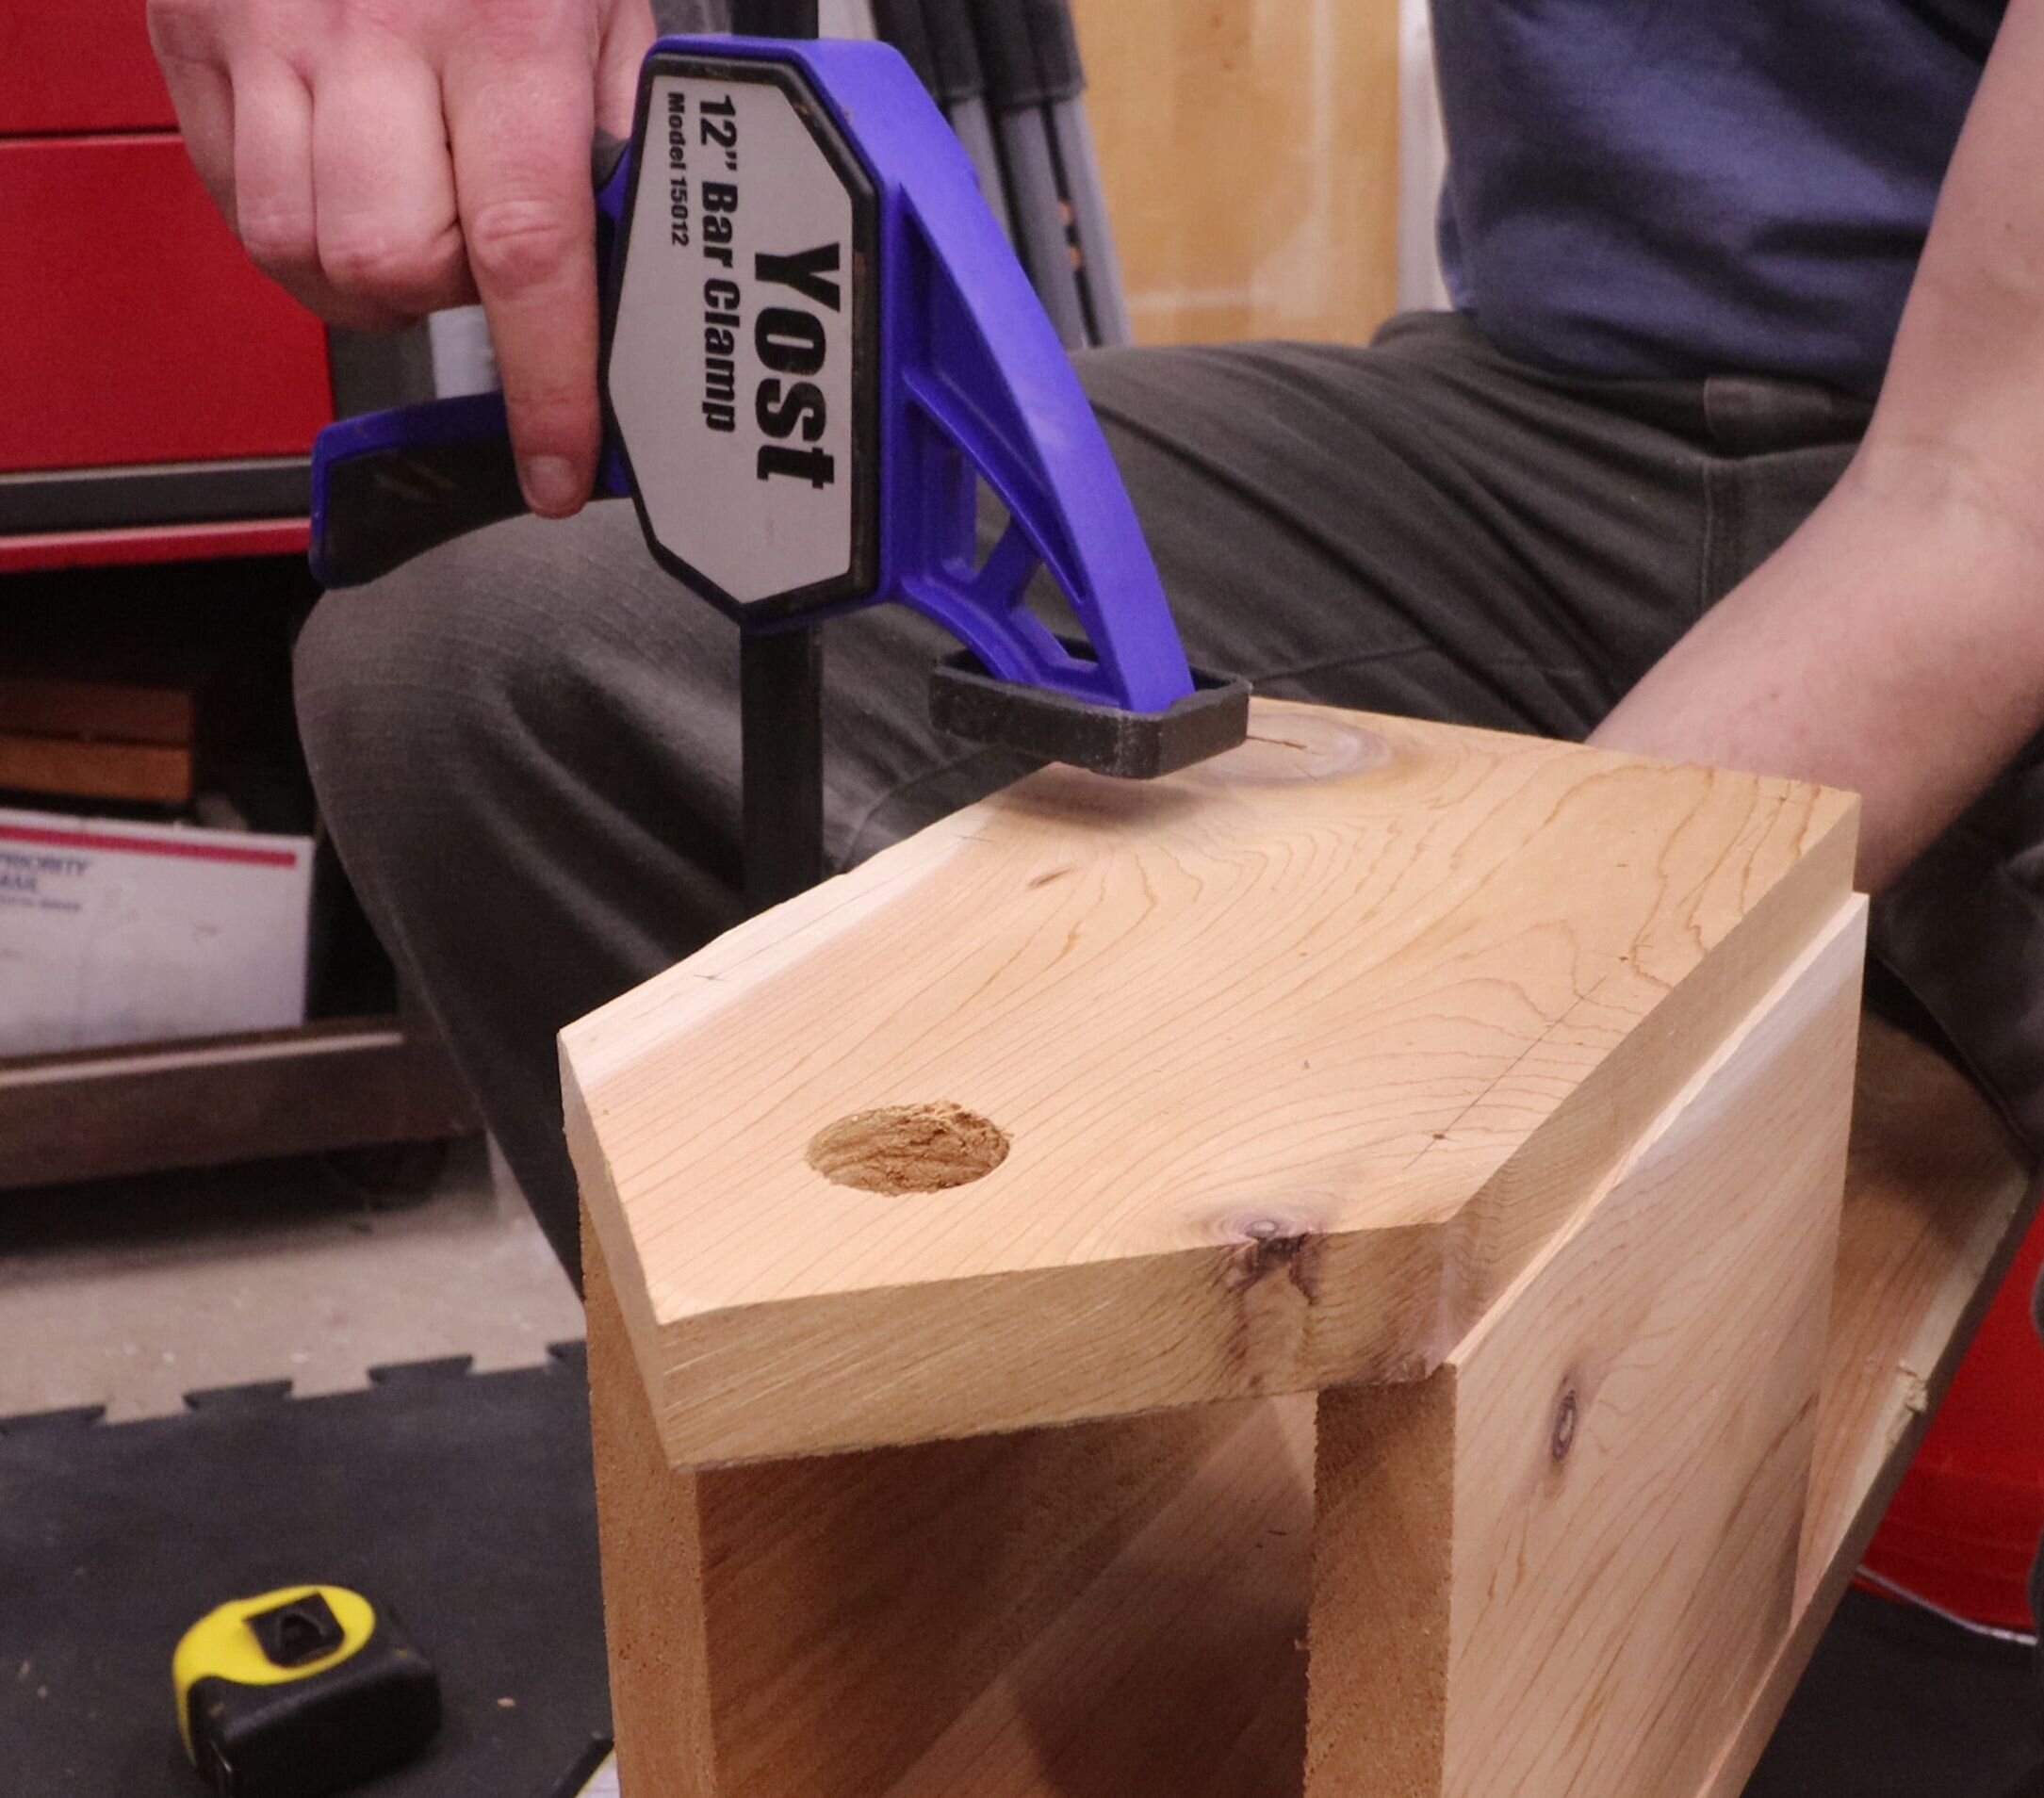
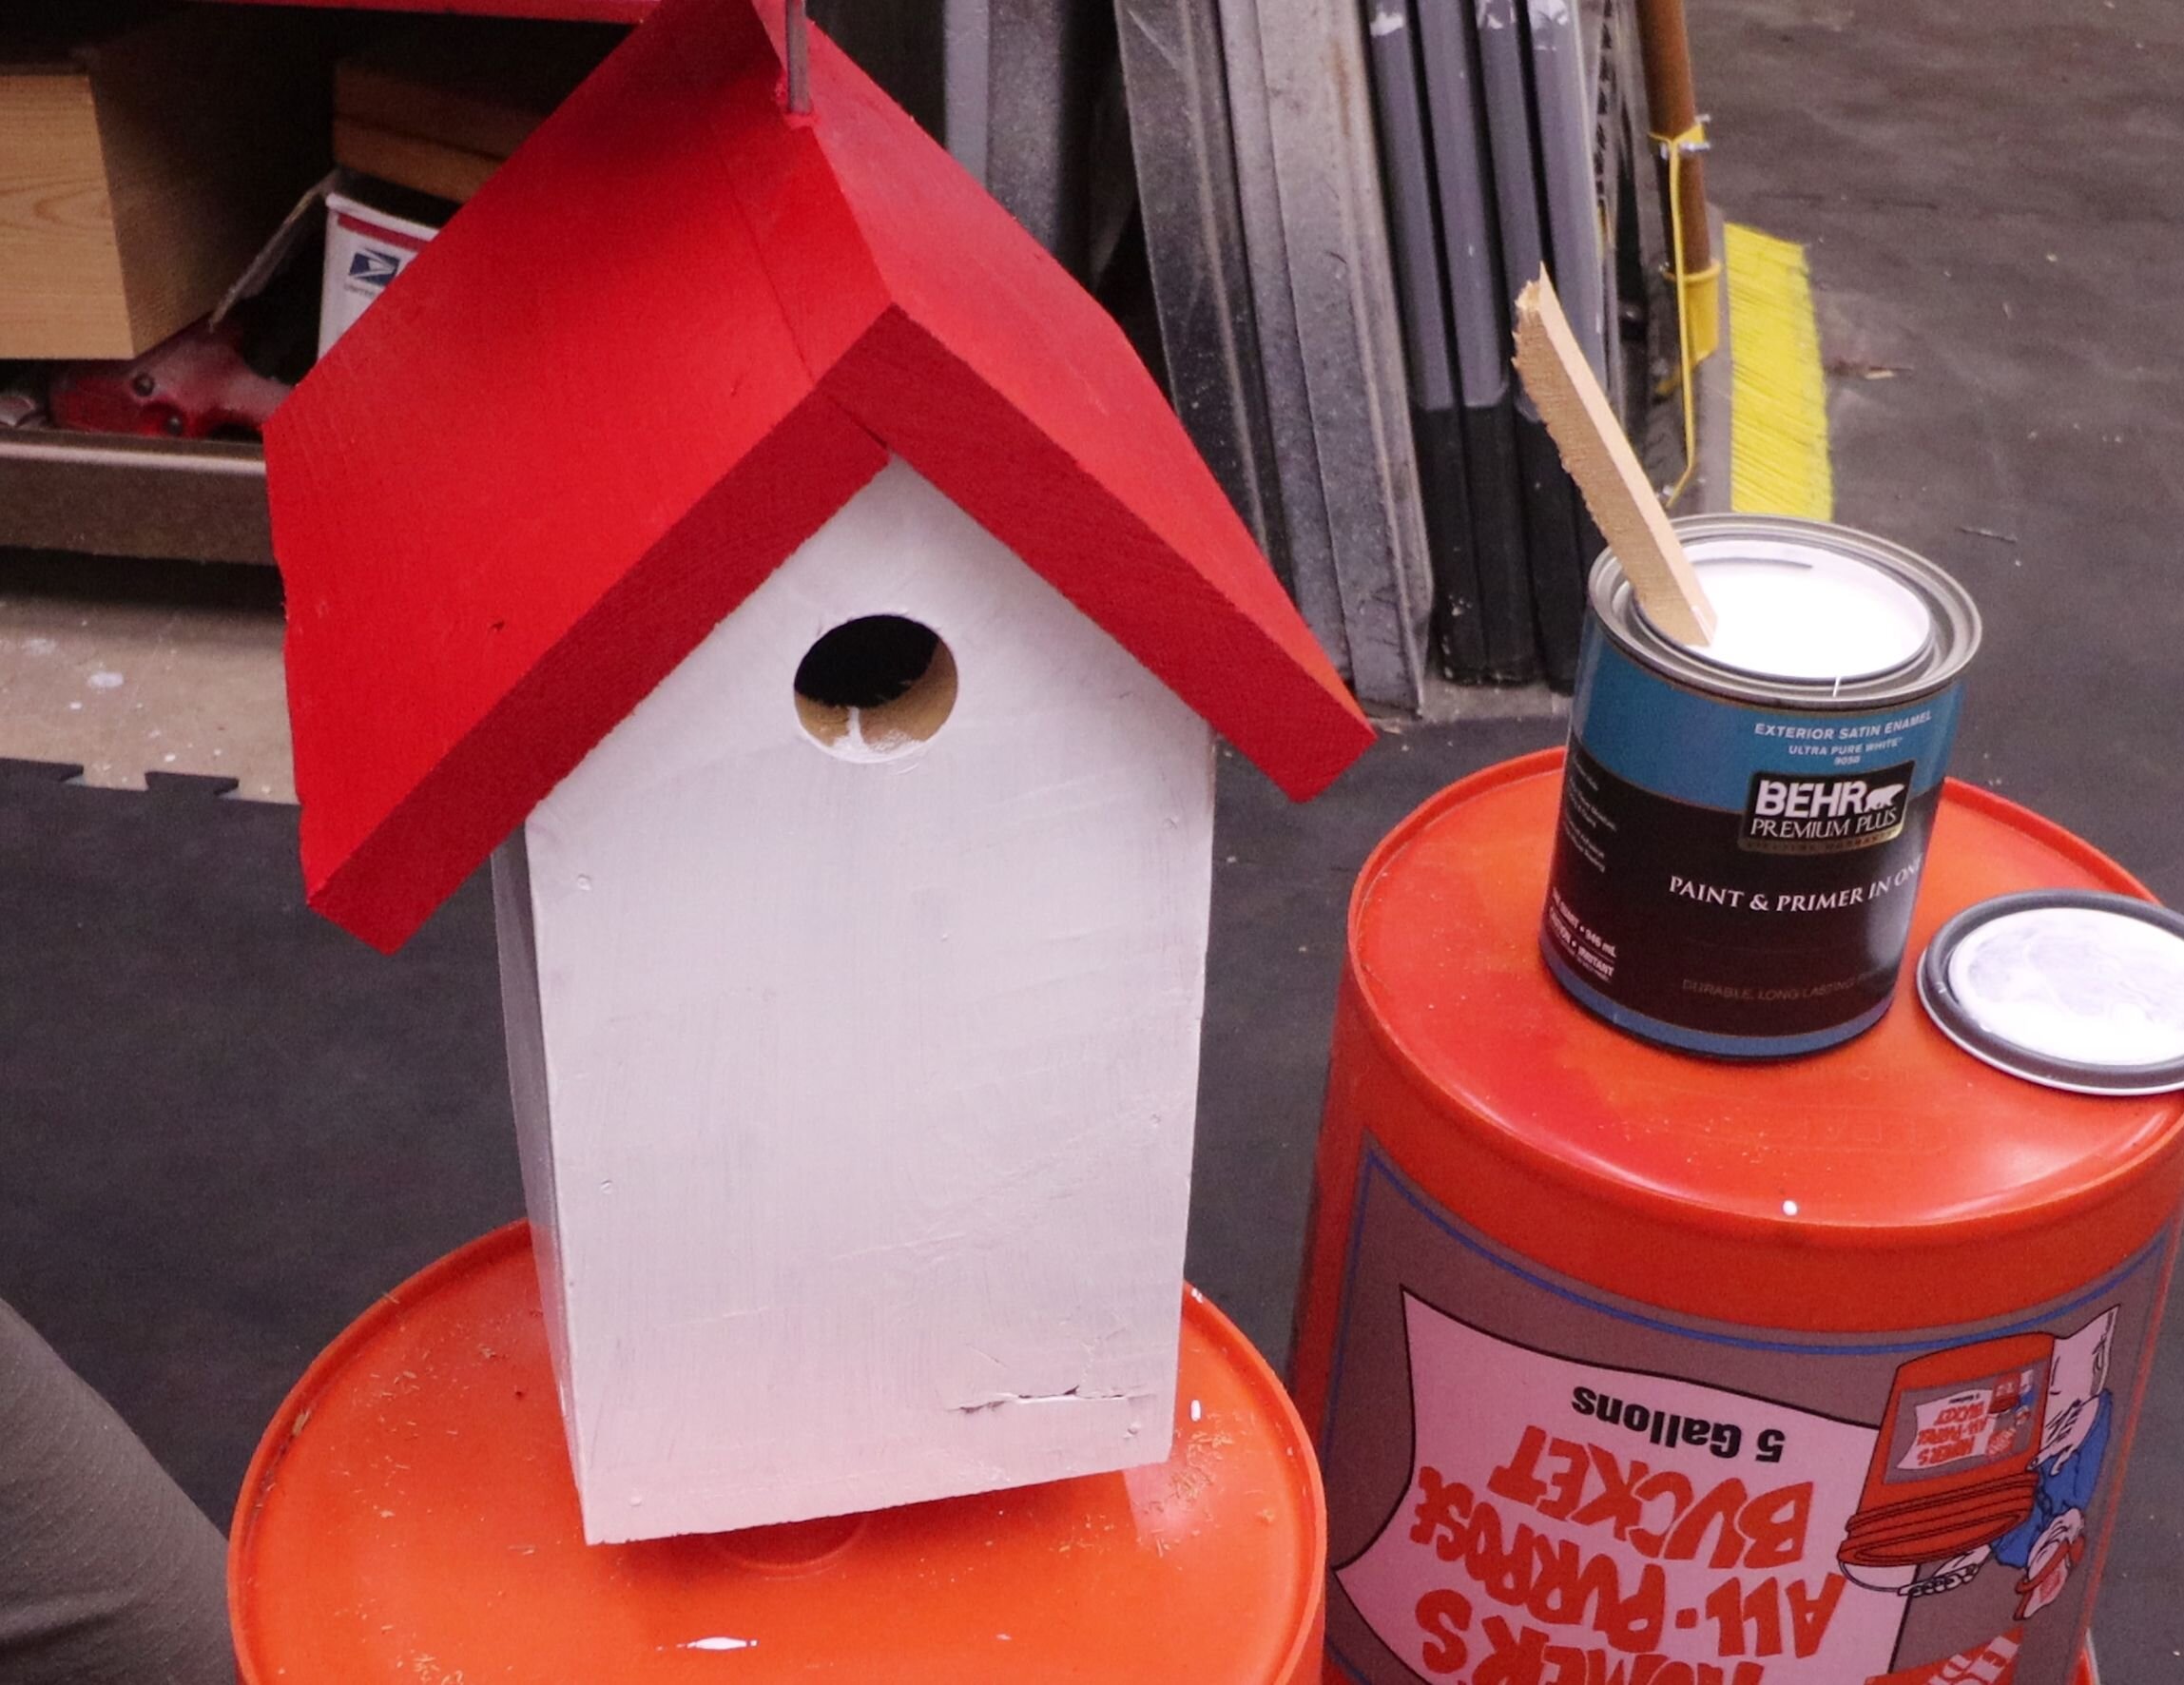
Mark for the entrance hole, which is 1/2" up from the base of the roof slope, and centered on the piece. Drill this out with the 1-1/4" (32mm) spade bit. When you feel the tip of the spade bit poking out of the back side of the board, flip it over and finish drilling from the opposite face. This will reduce tear-out on the back face.
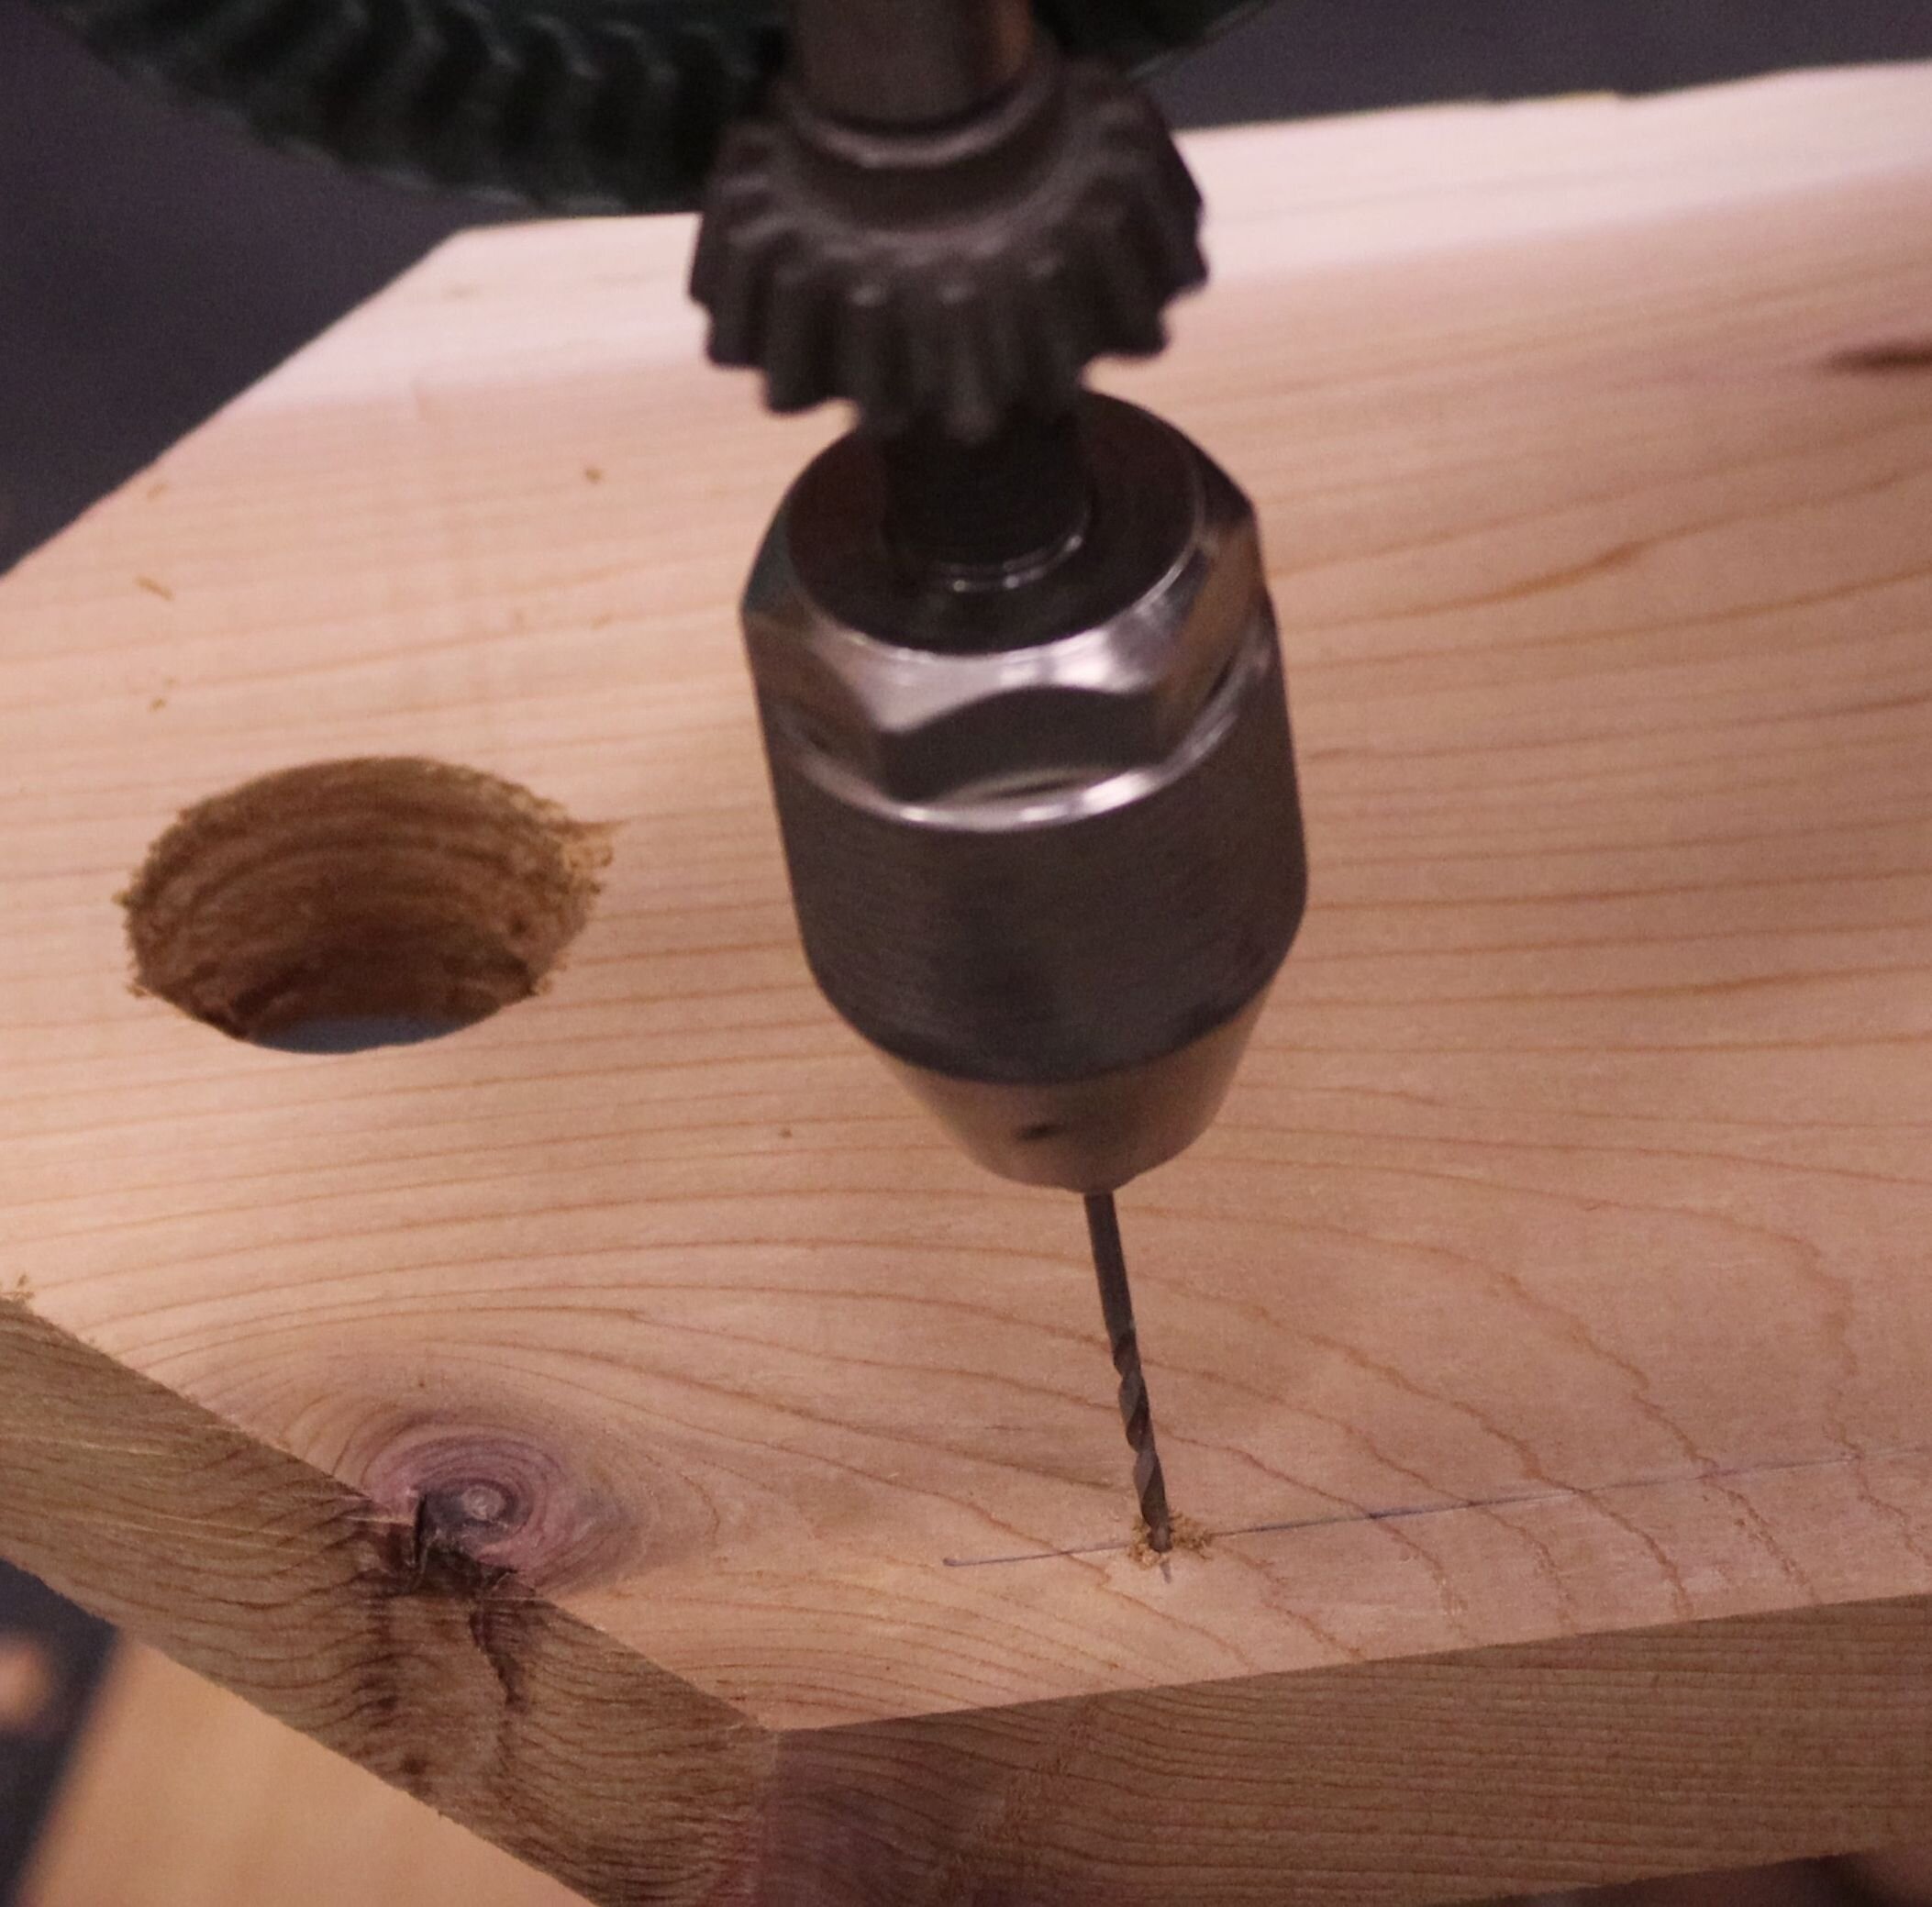
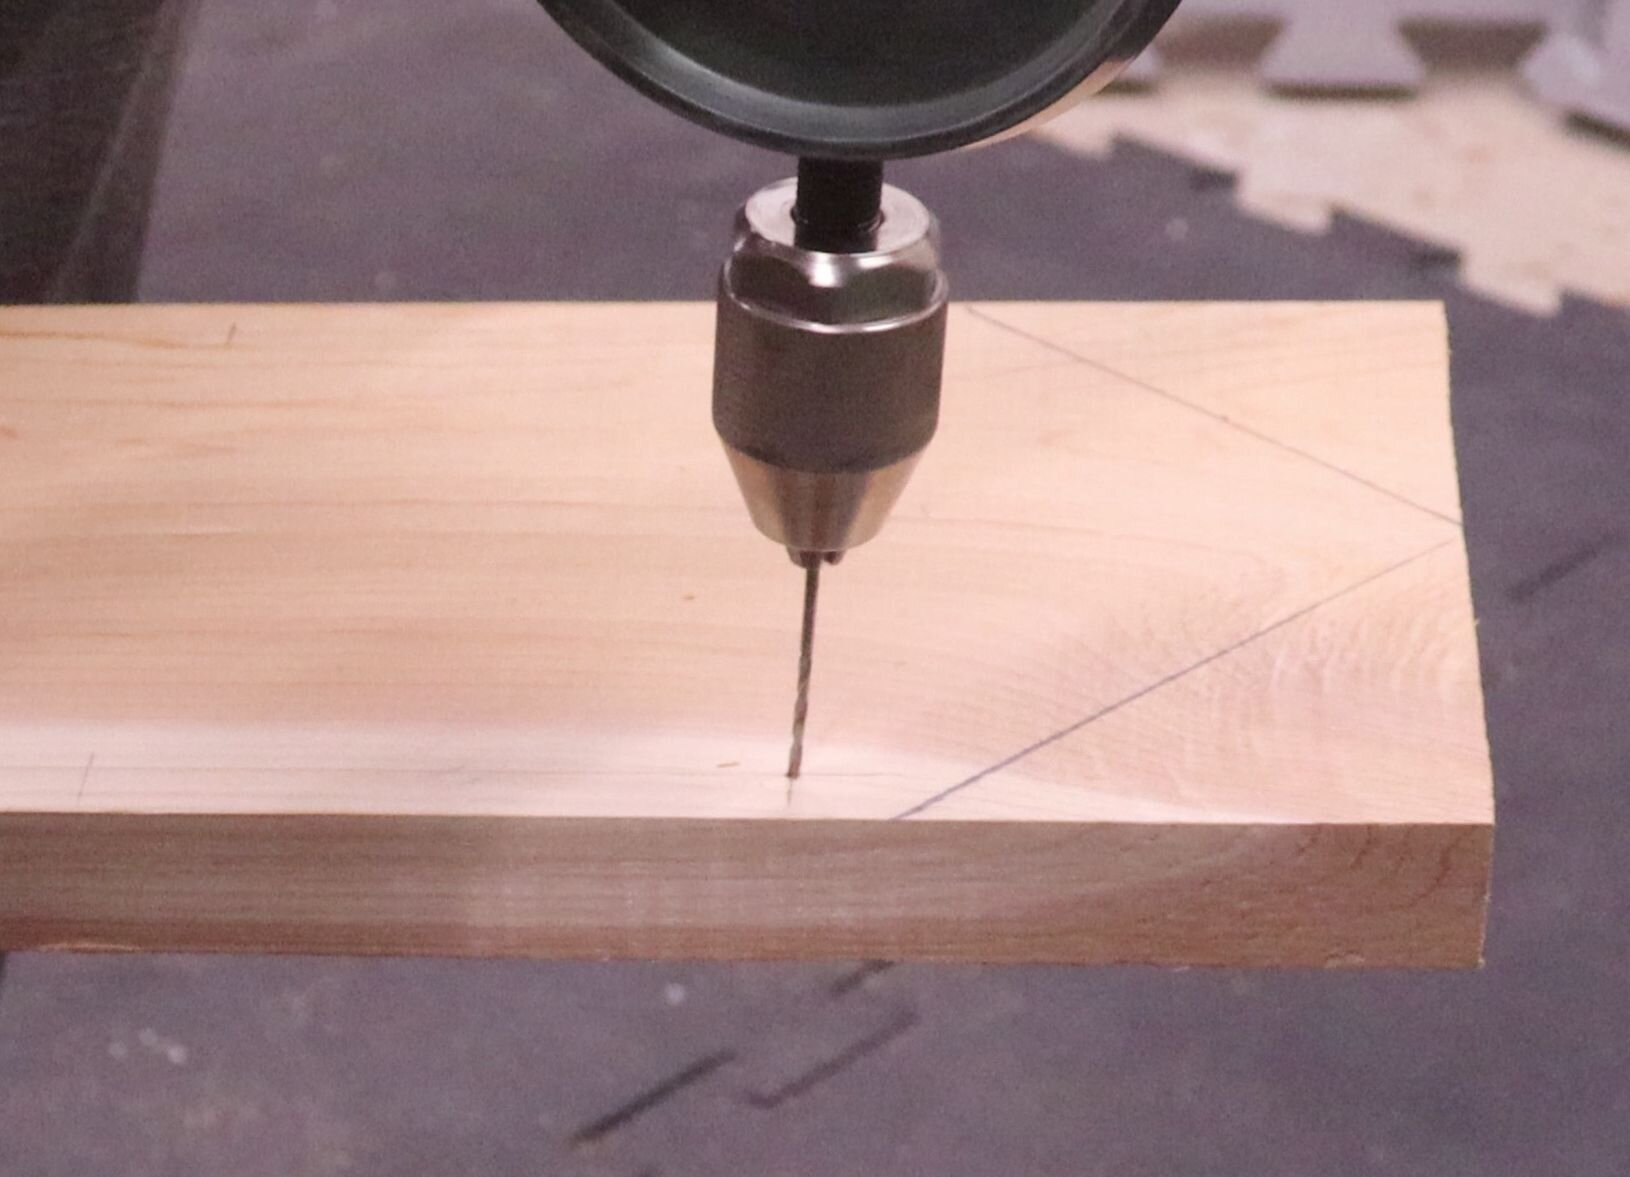
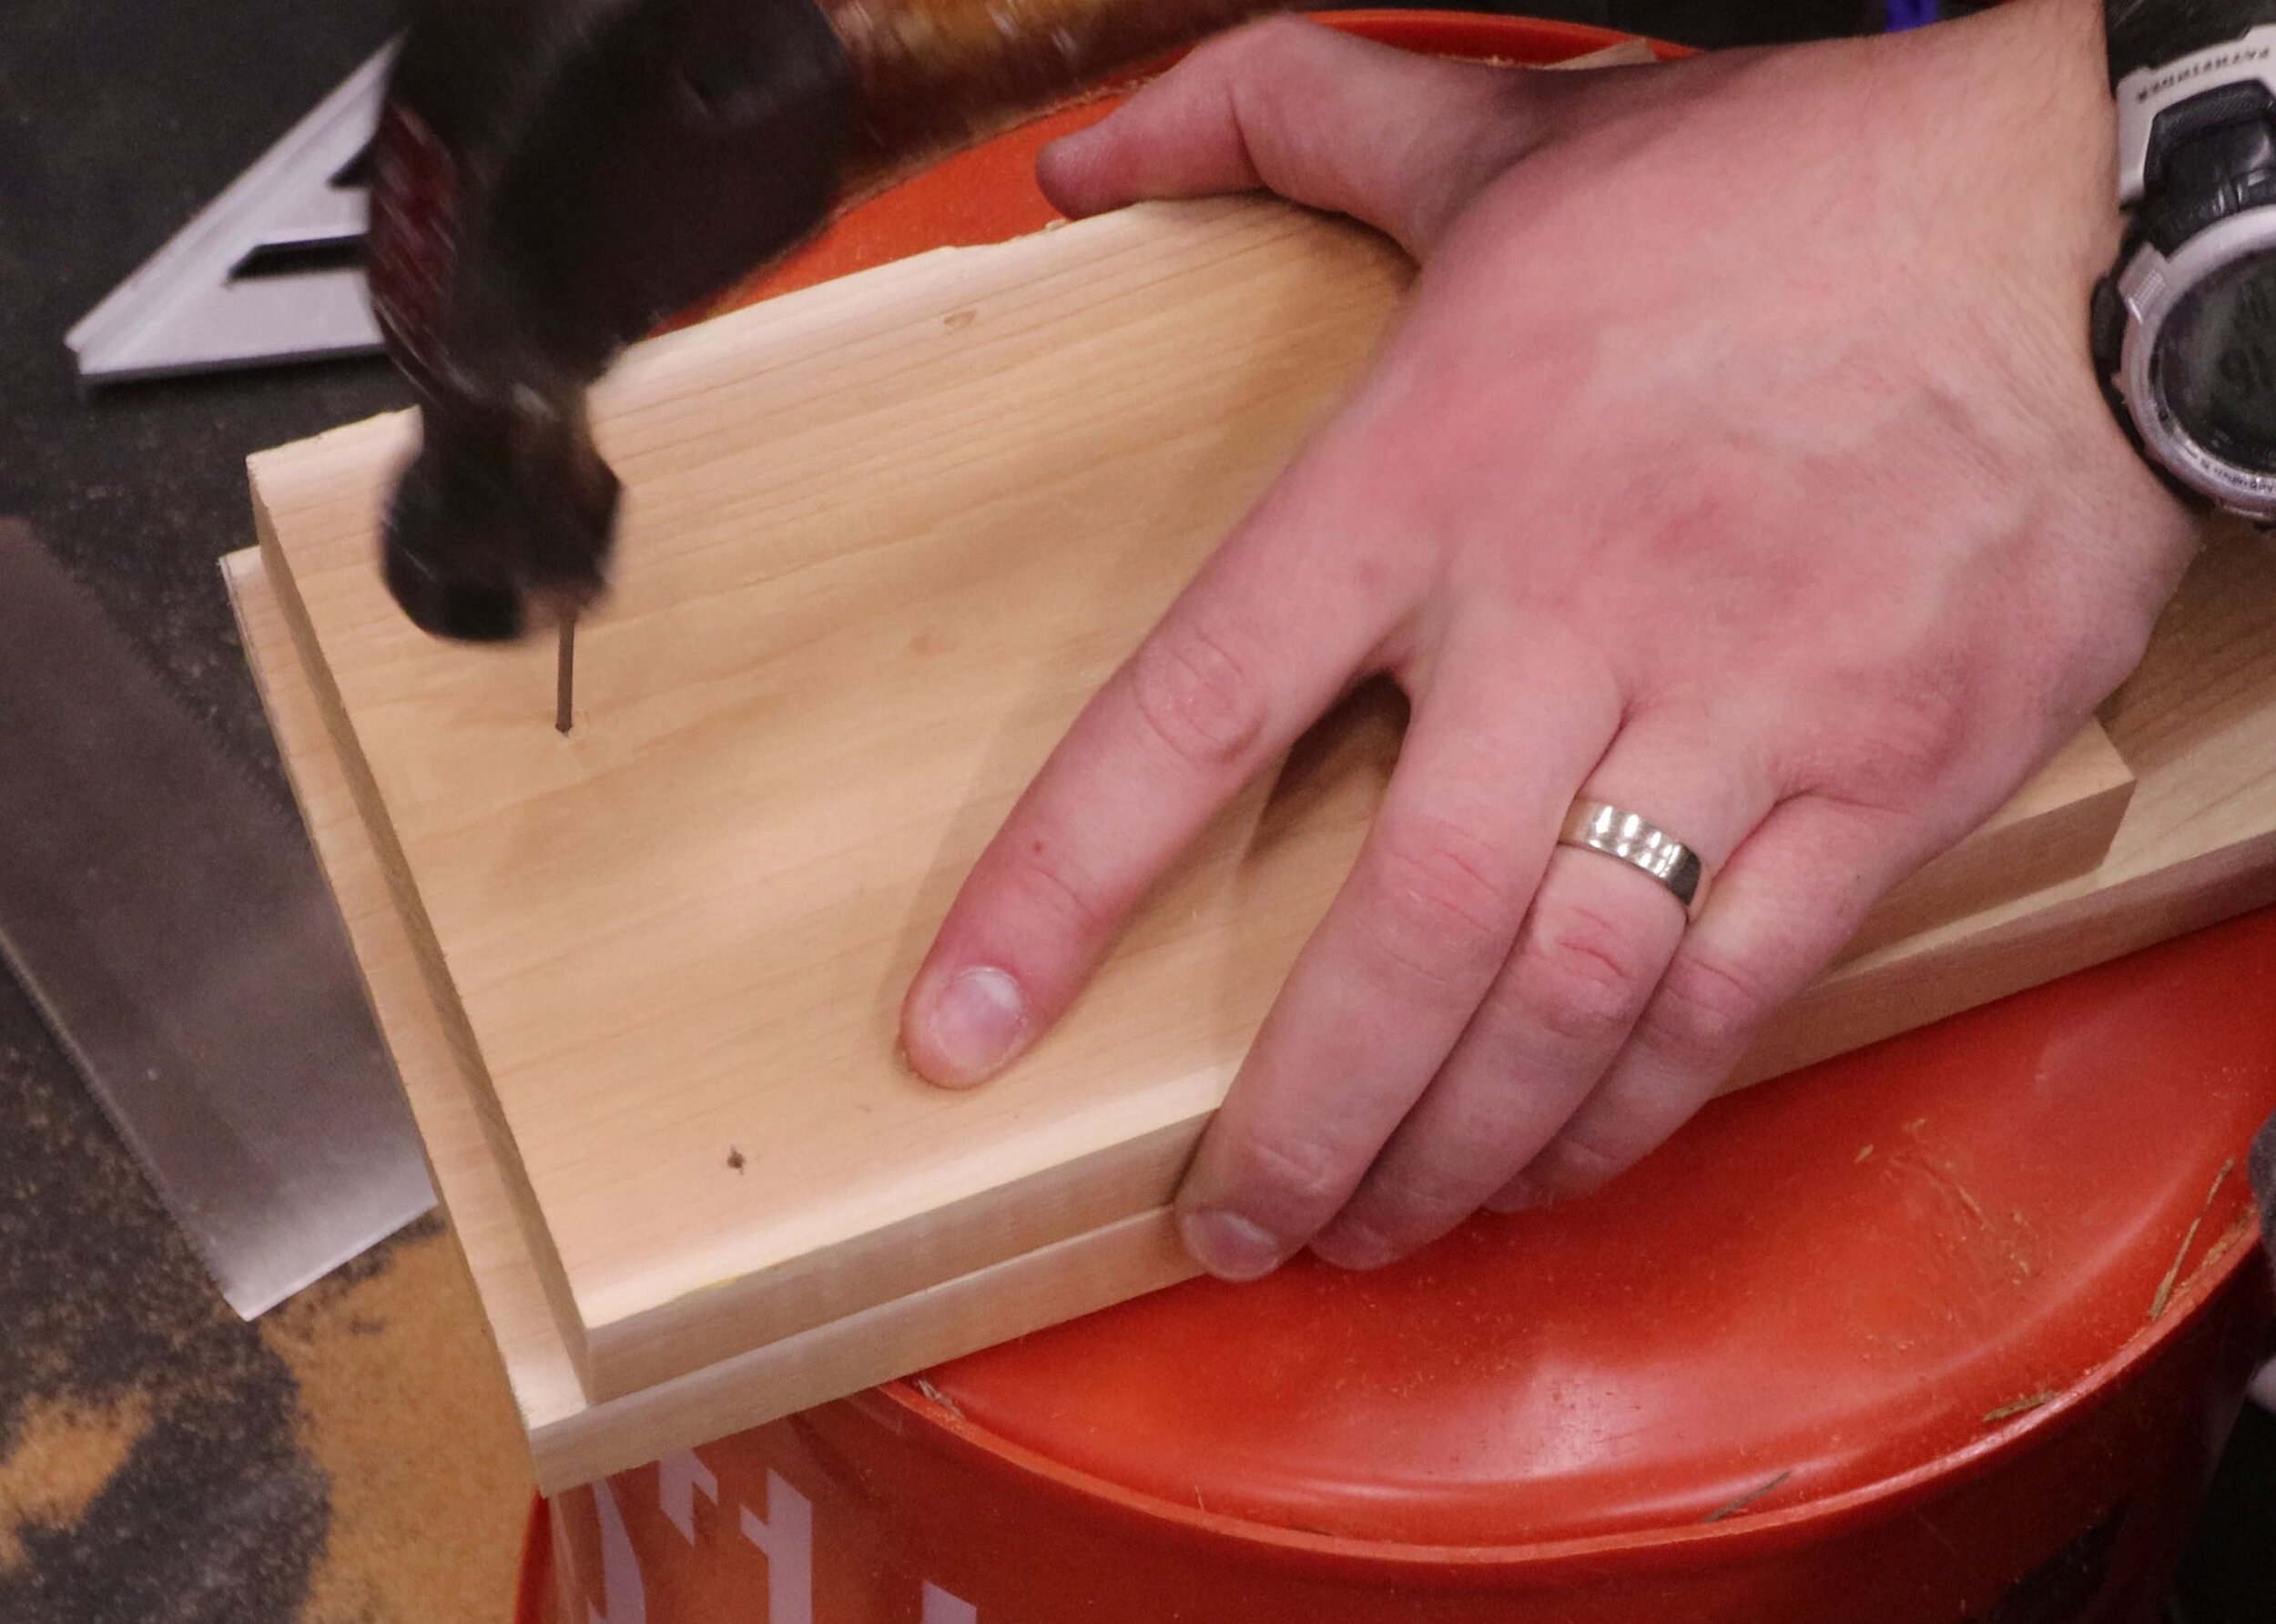
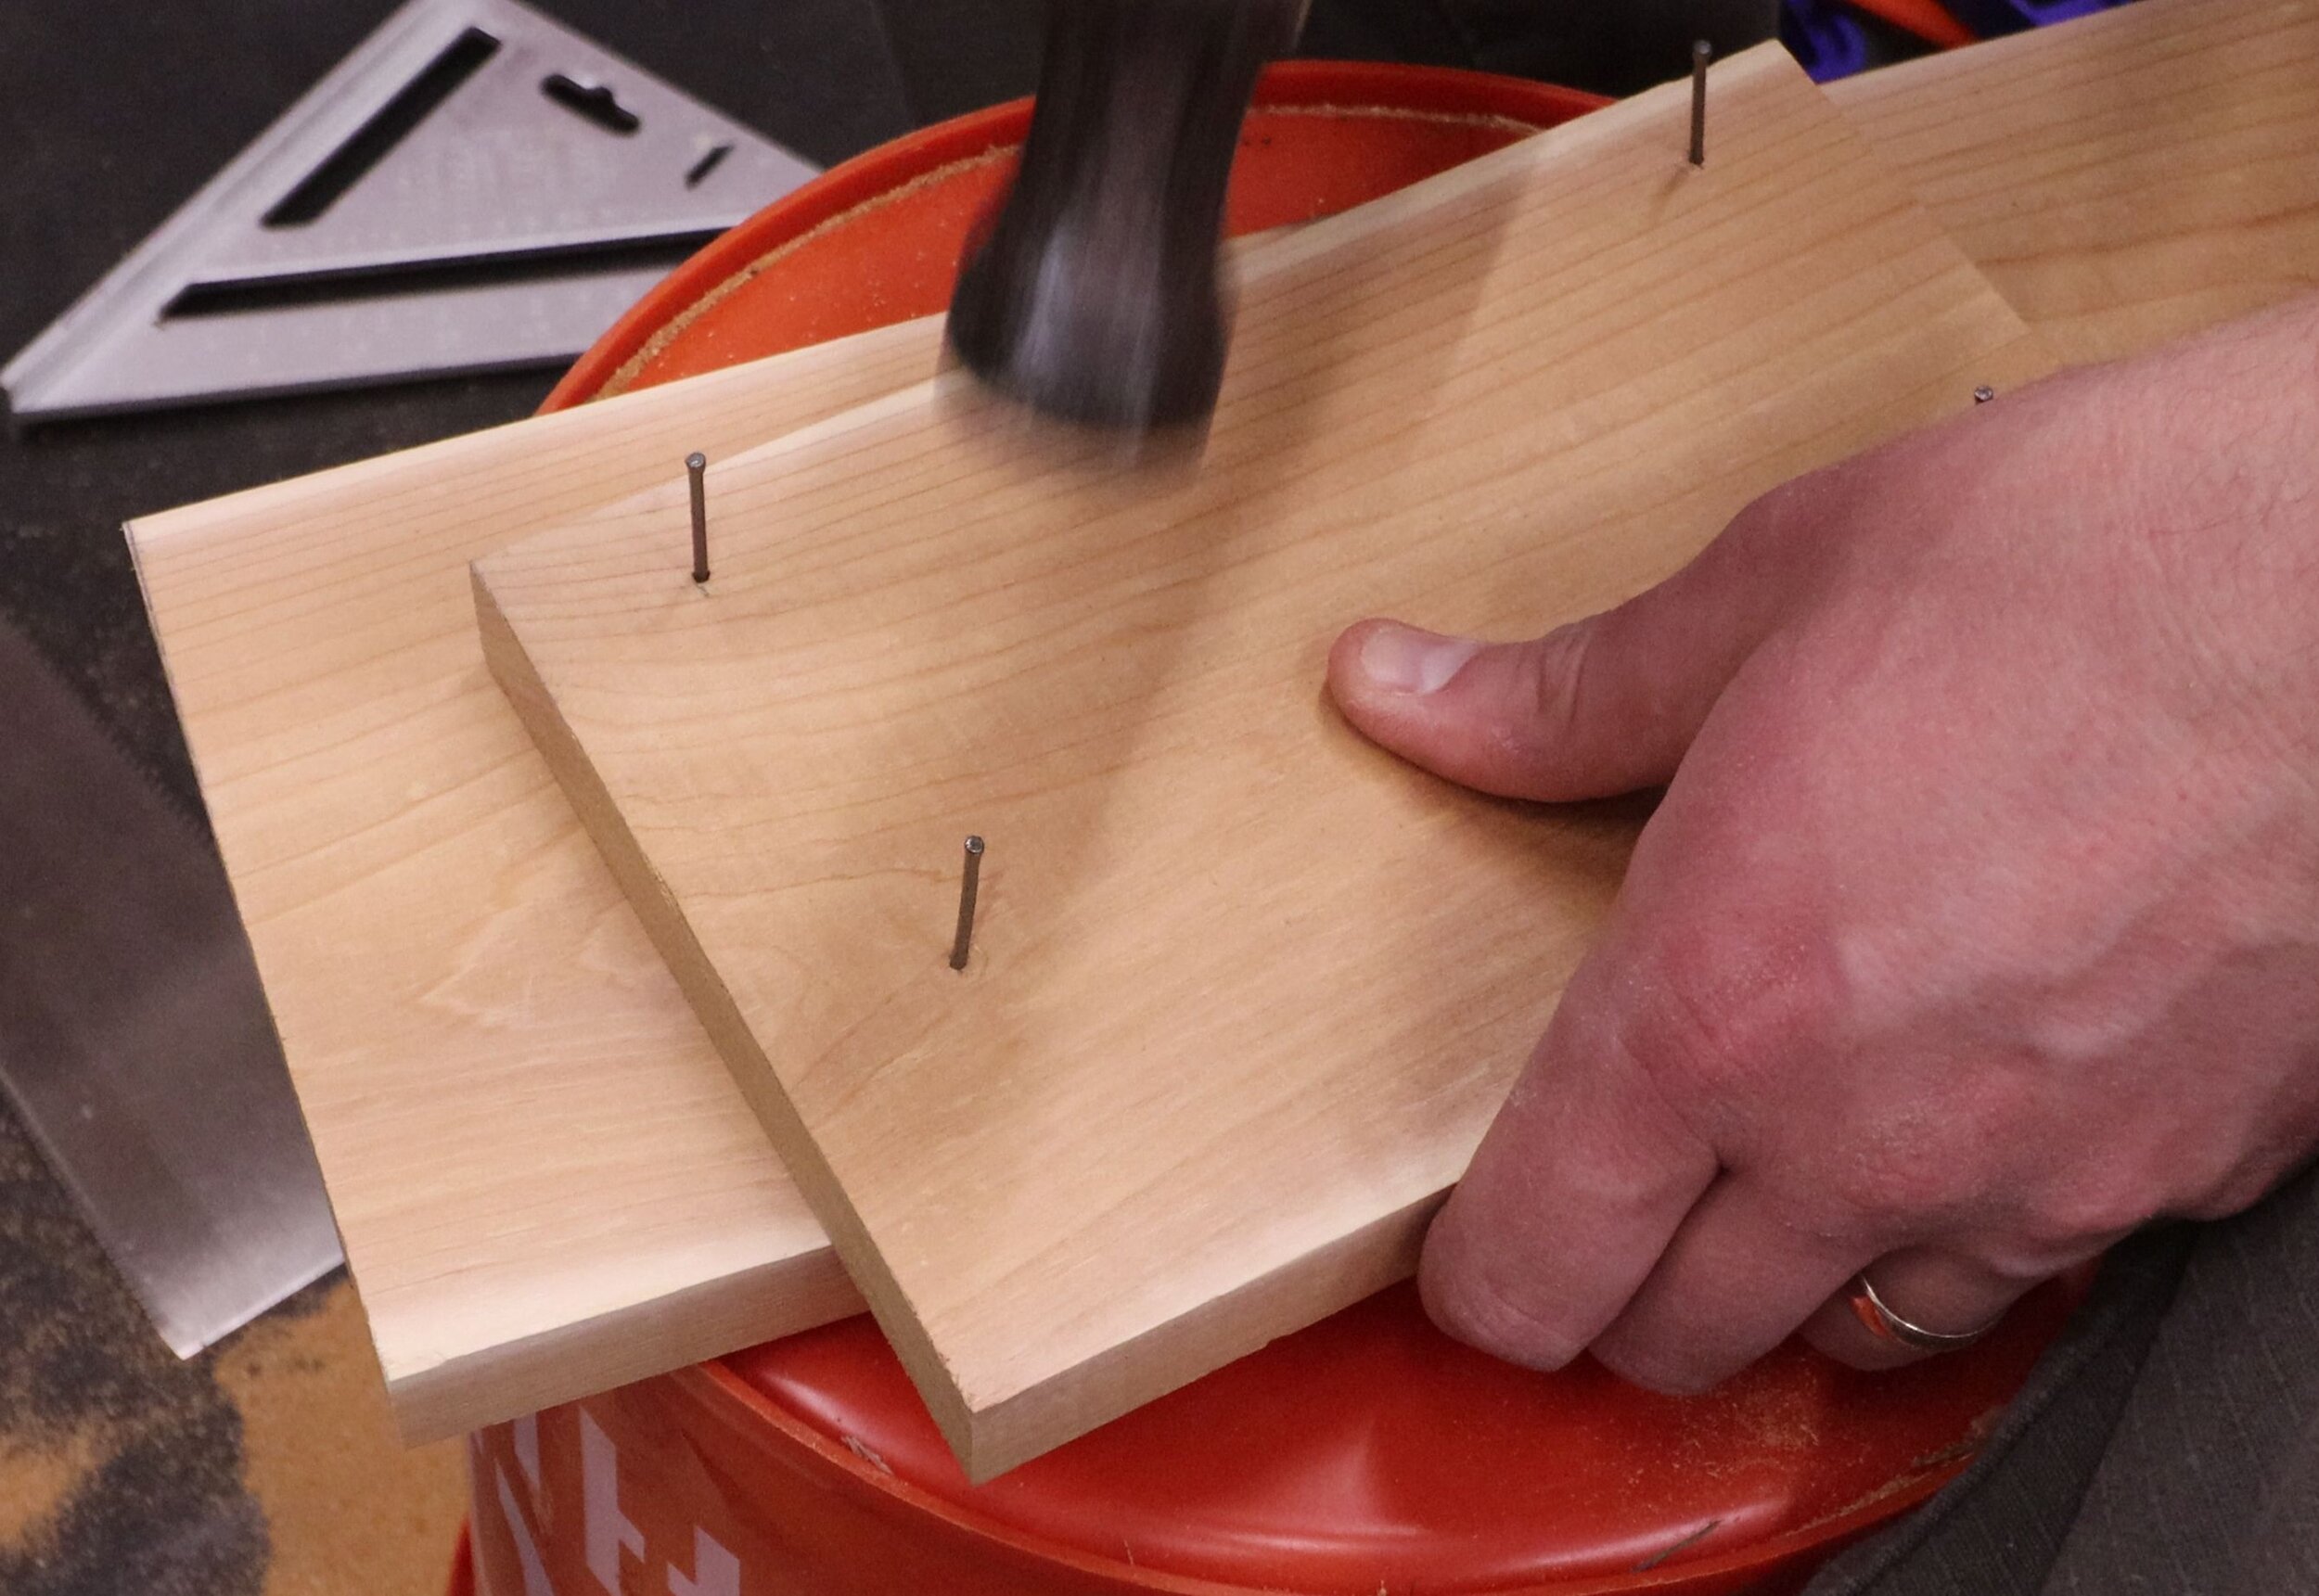
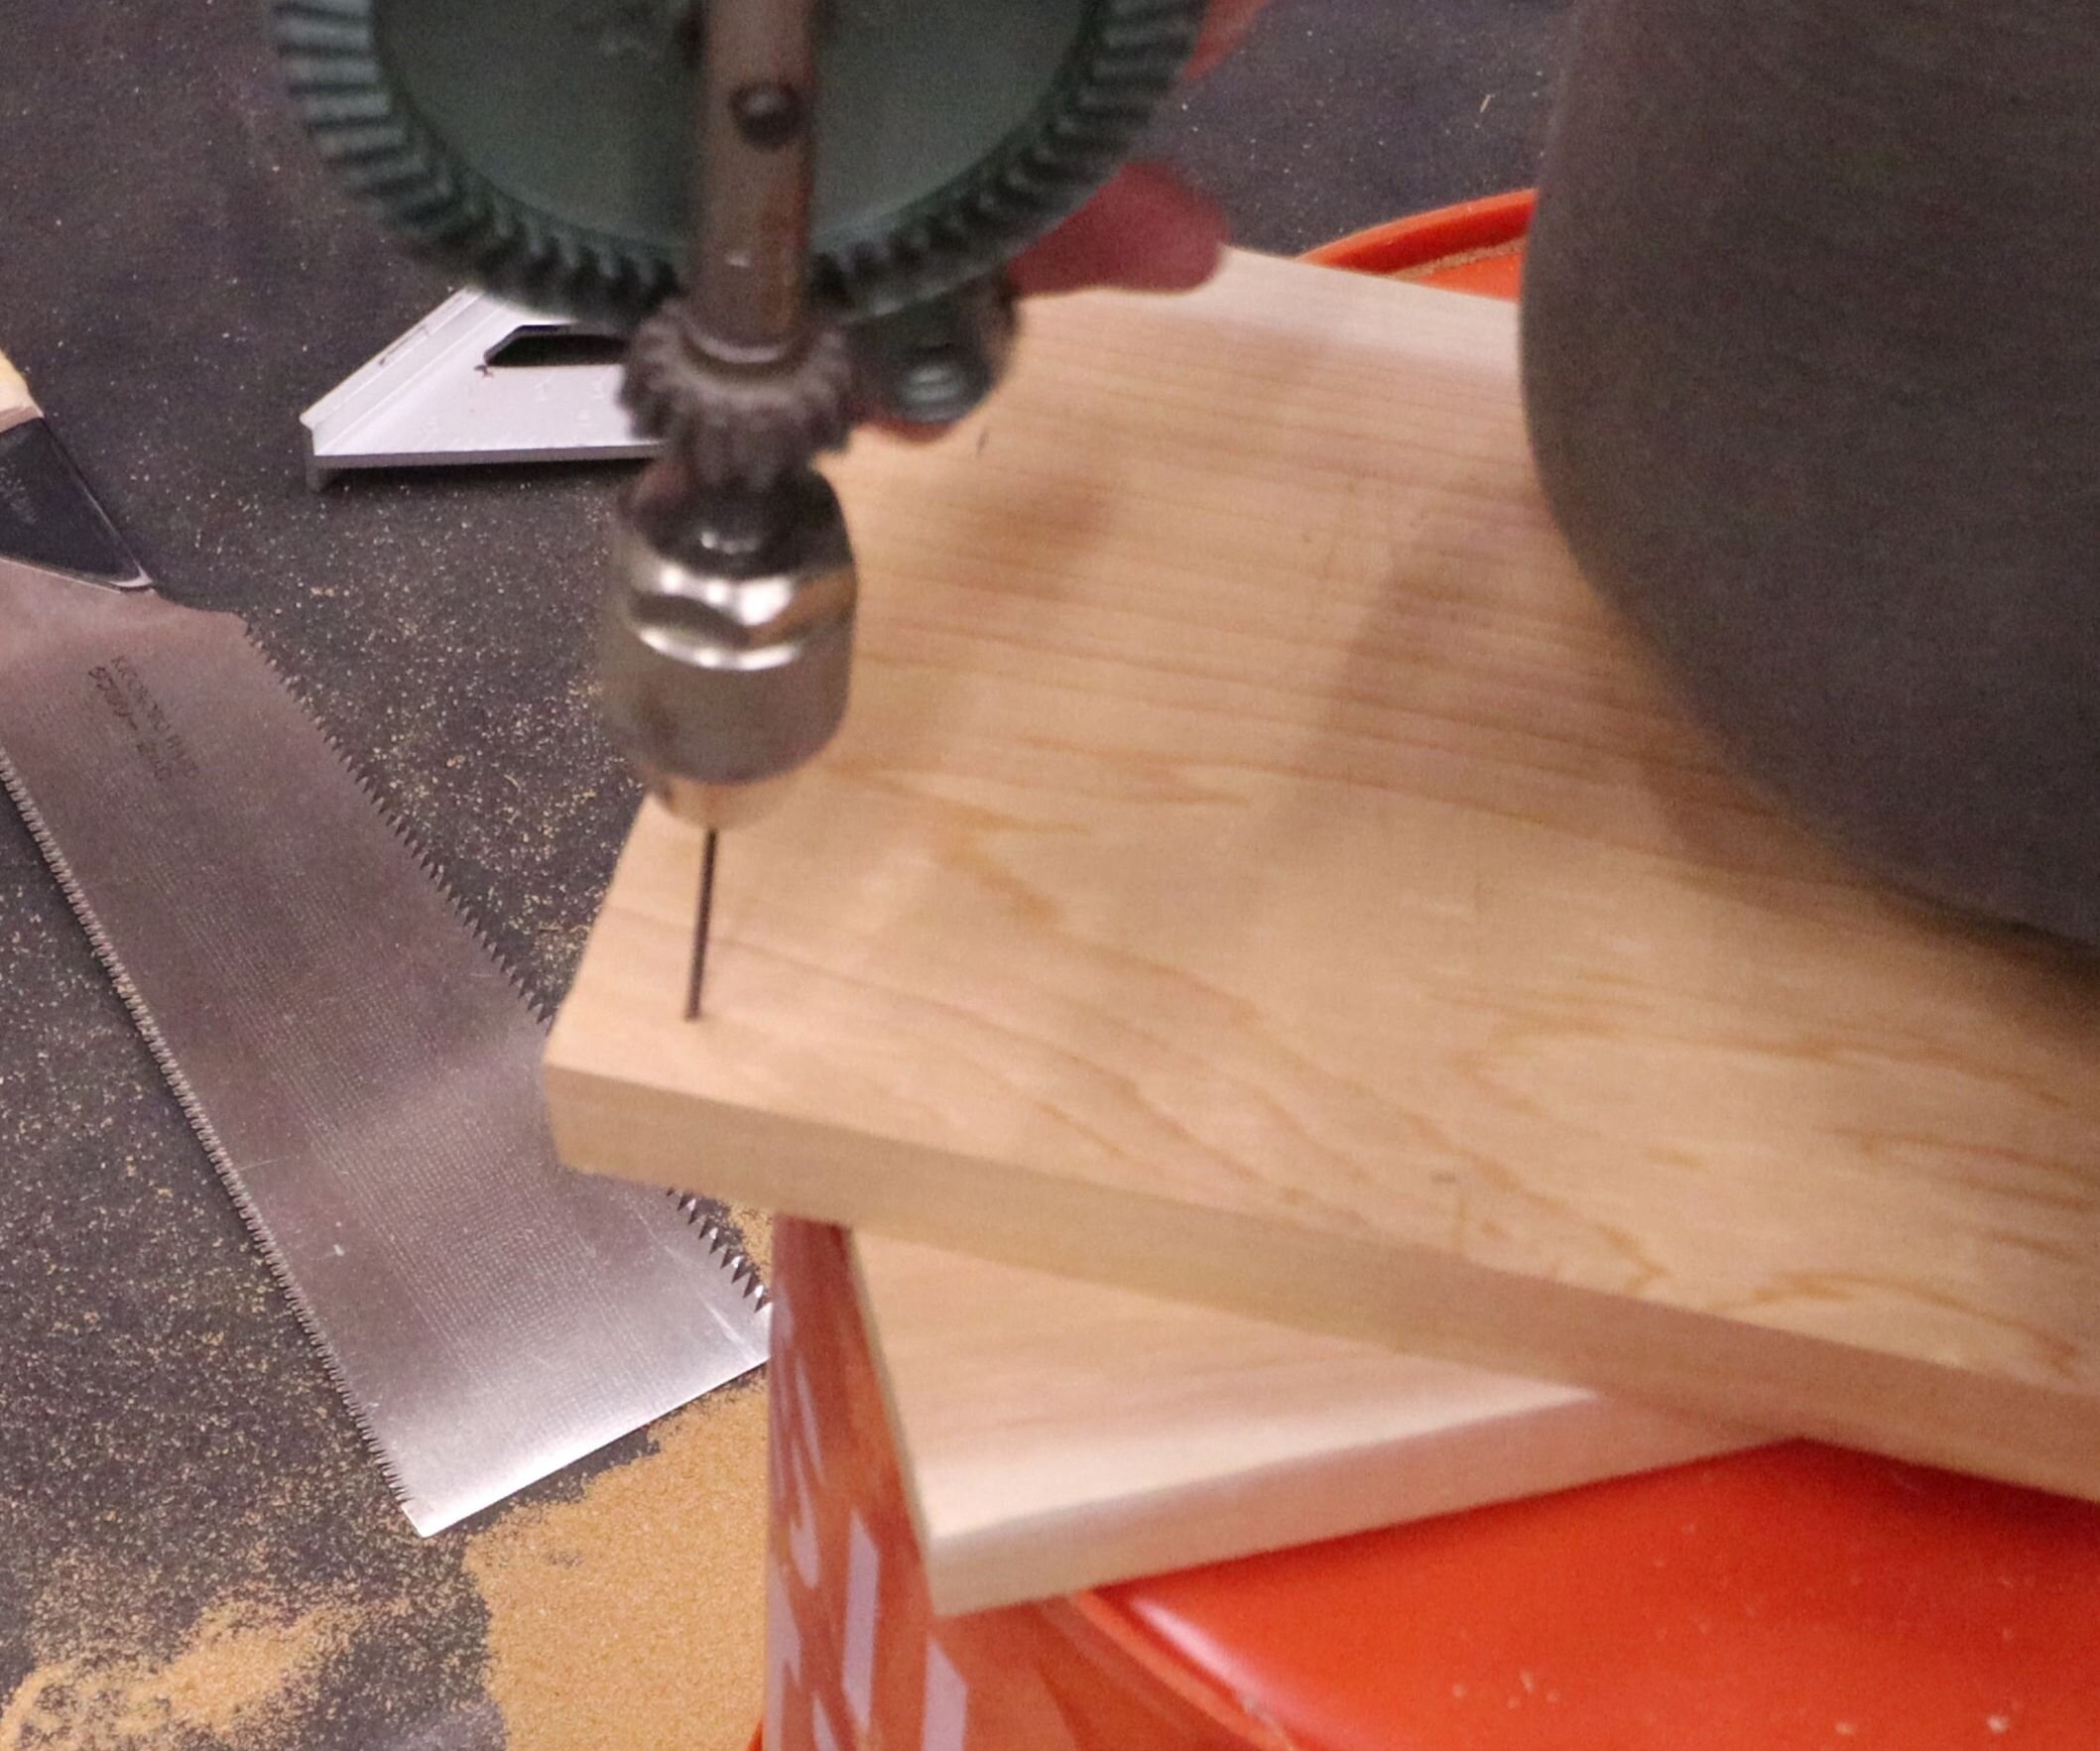
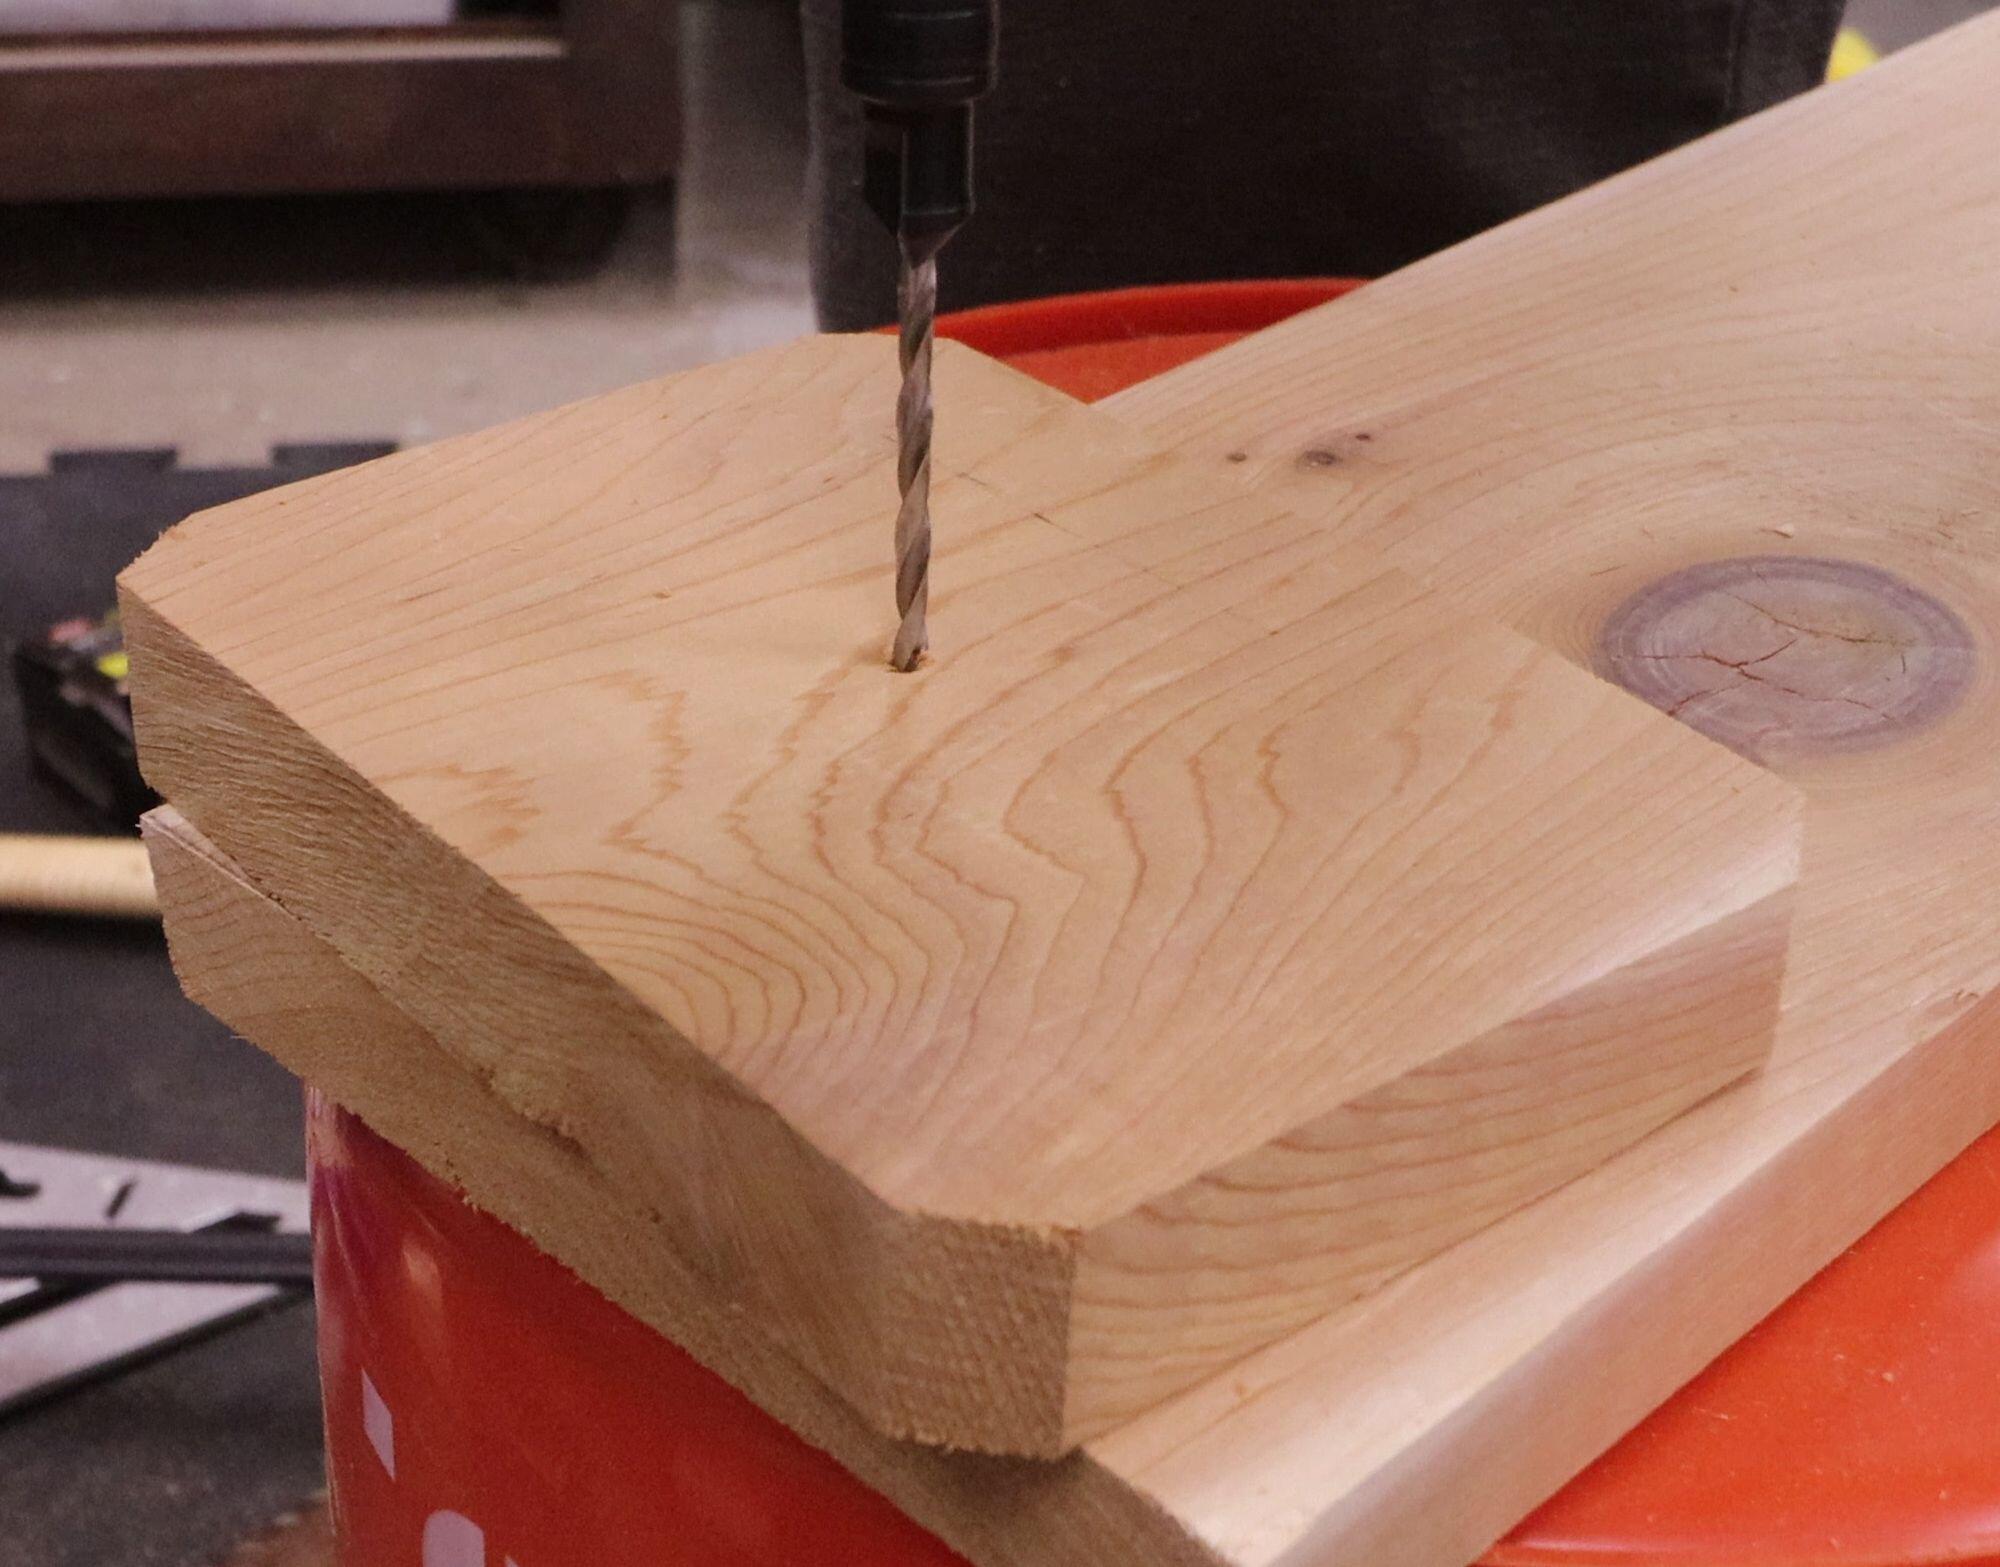
While this piece is still attached to the longer board, it’s easier to pre-drill for the nails that will hold the birdhouse together. Mark a line about 1/2" in from either side of the board. Then, mark three equally-spaced holes on either side. Chuck the 1/16” drill bit in the hand drill, and drill through at each of these hole locations.
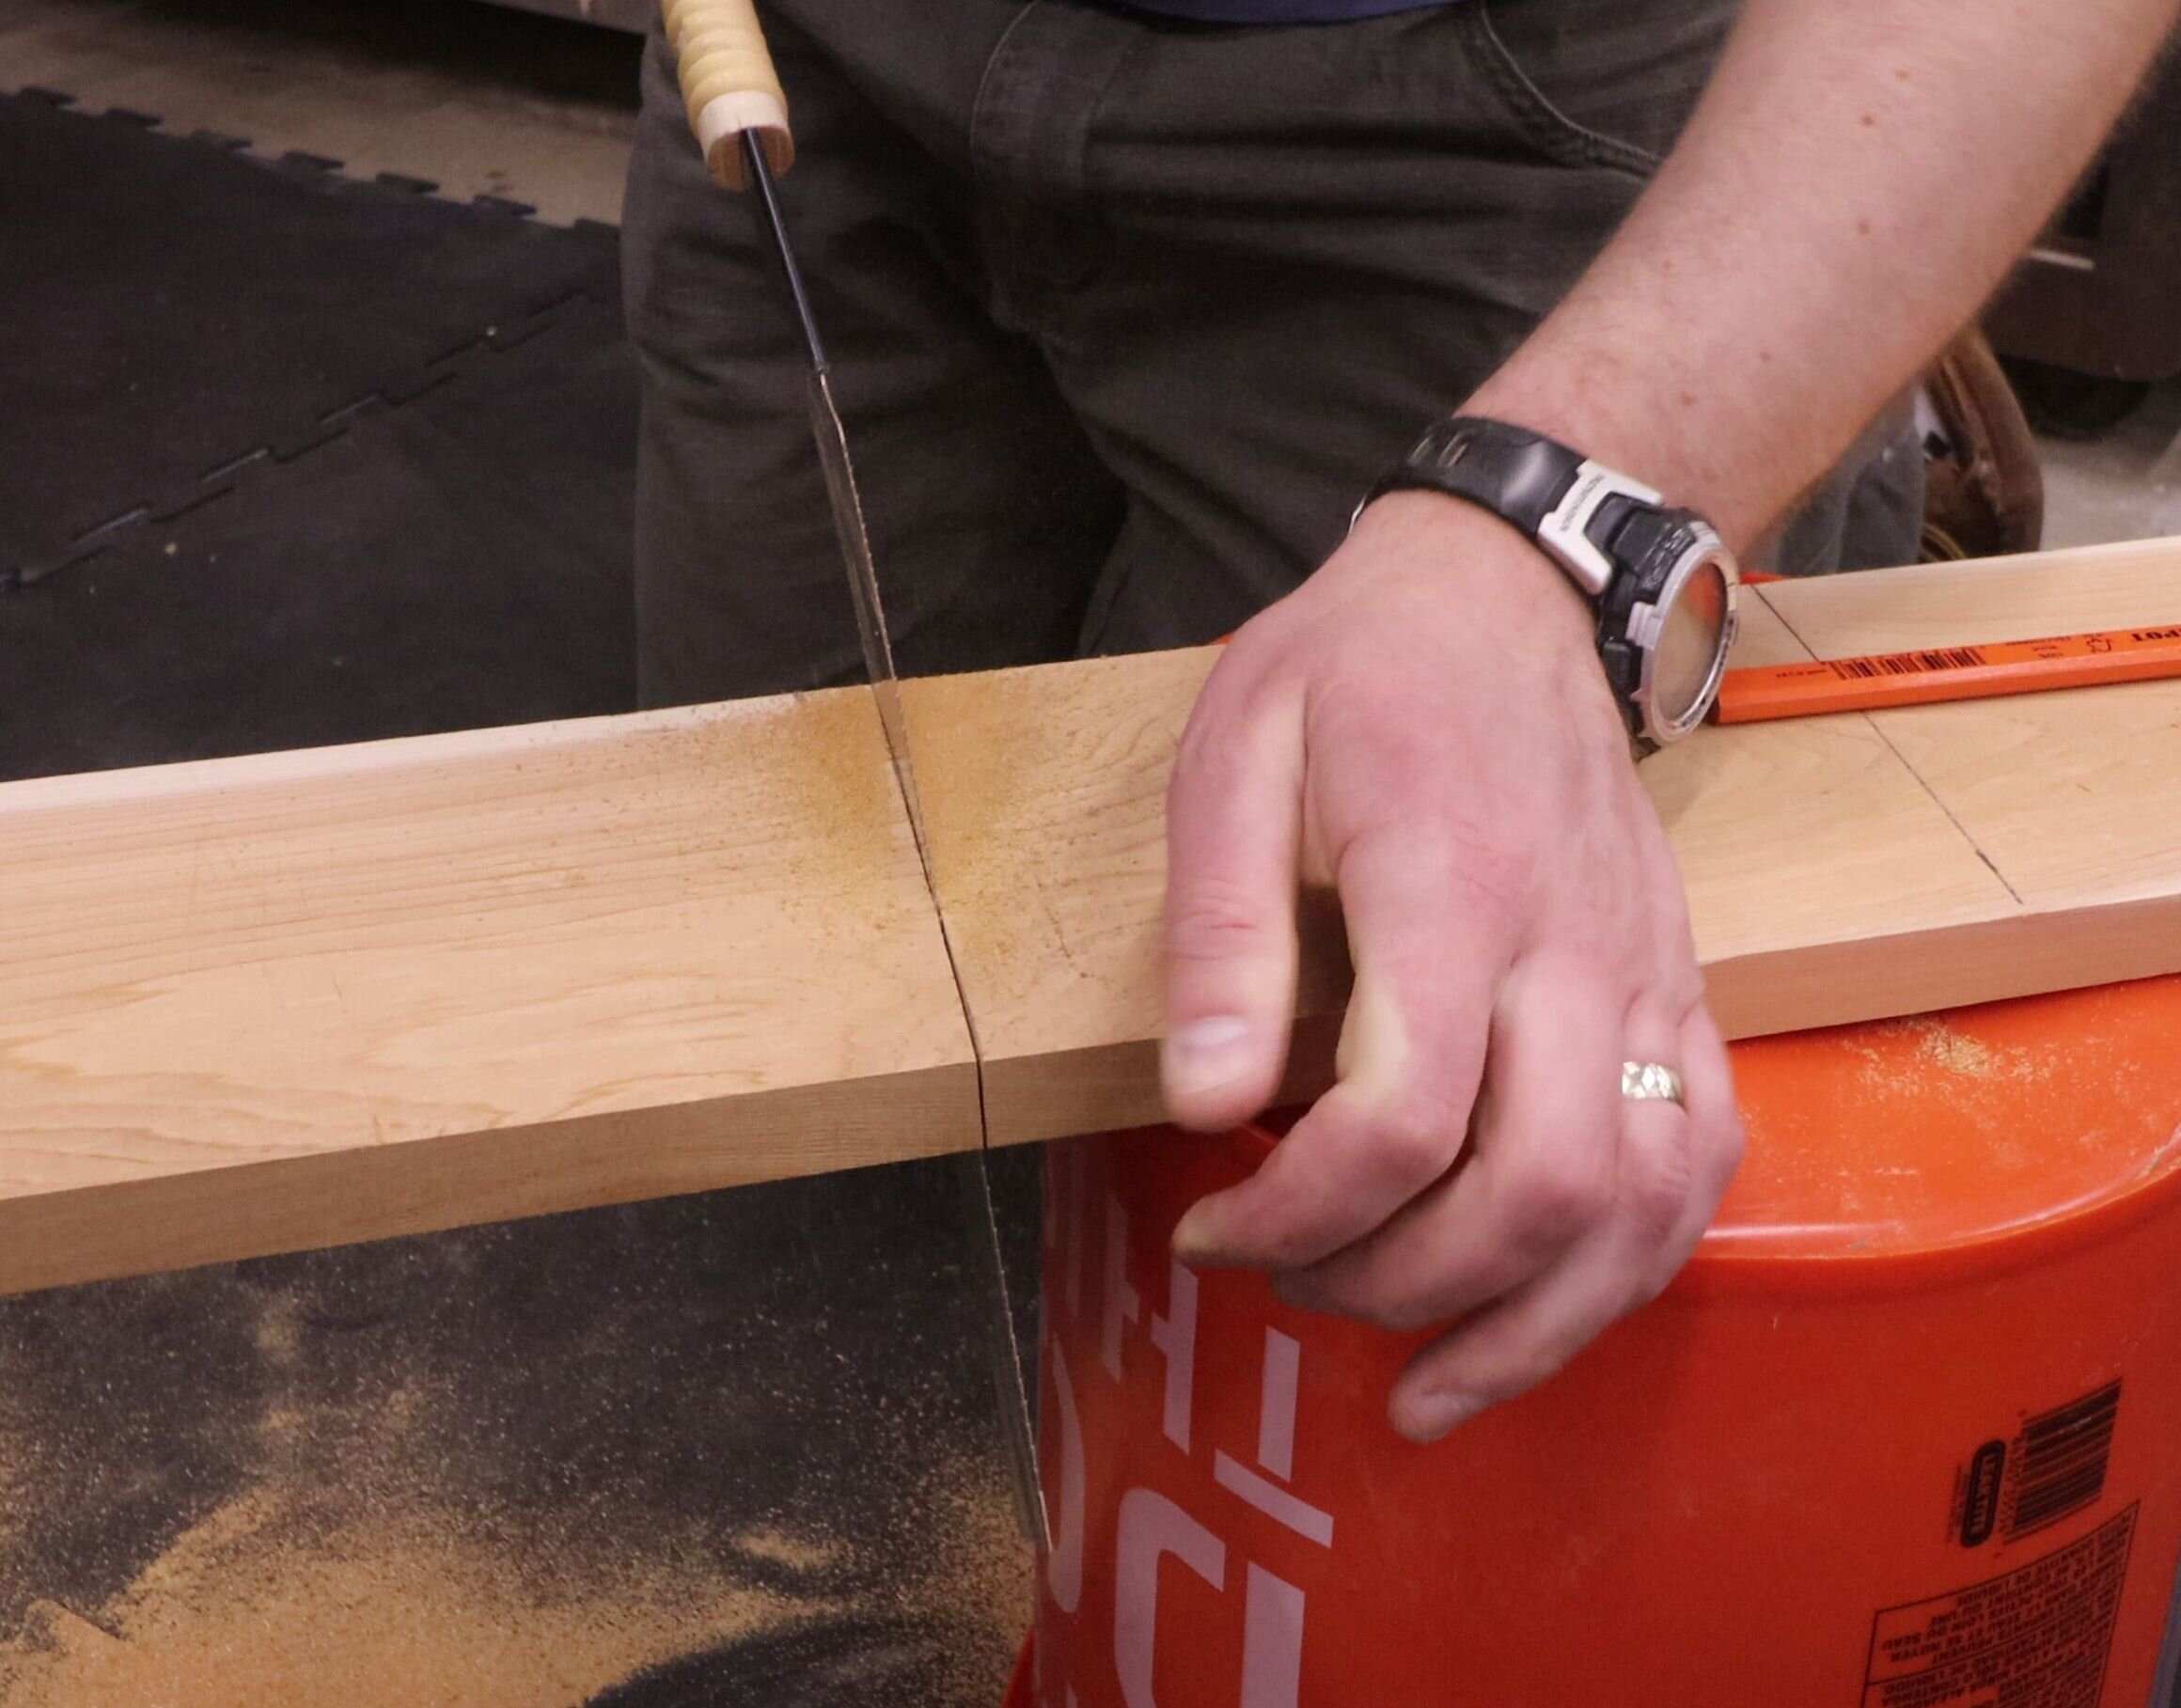
Next, measure down 8” from the end of the roof slope to set the bottom of the bird house. Draw this line square across the board with the speed square. Finish it off by cross-cutting the piece from the board.
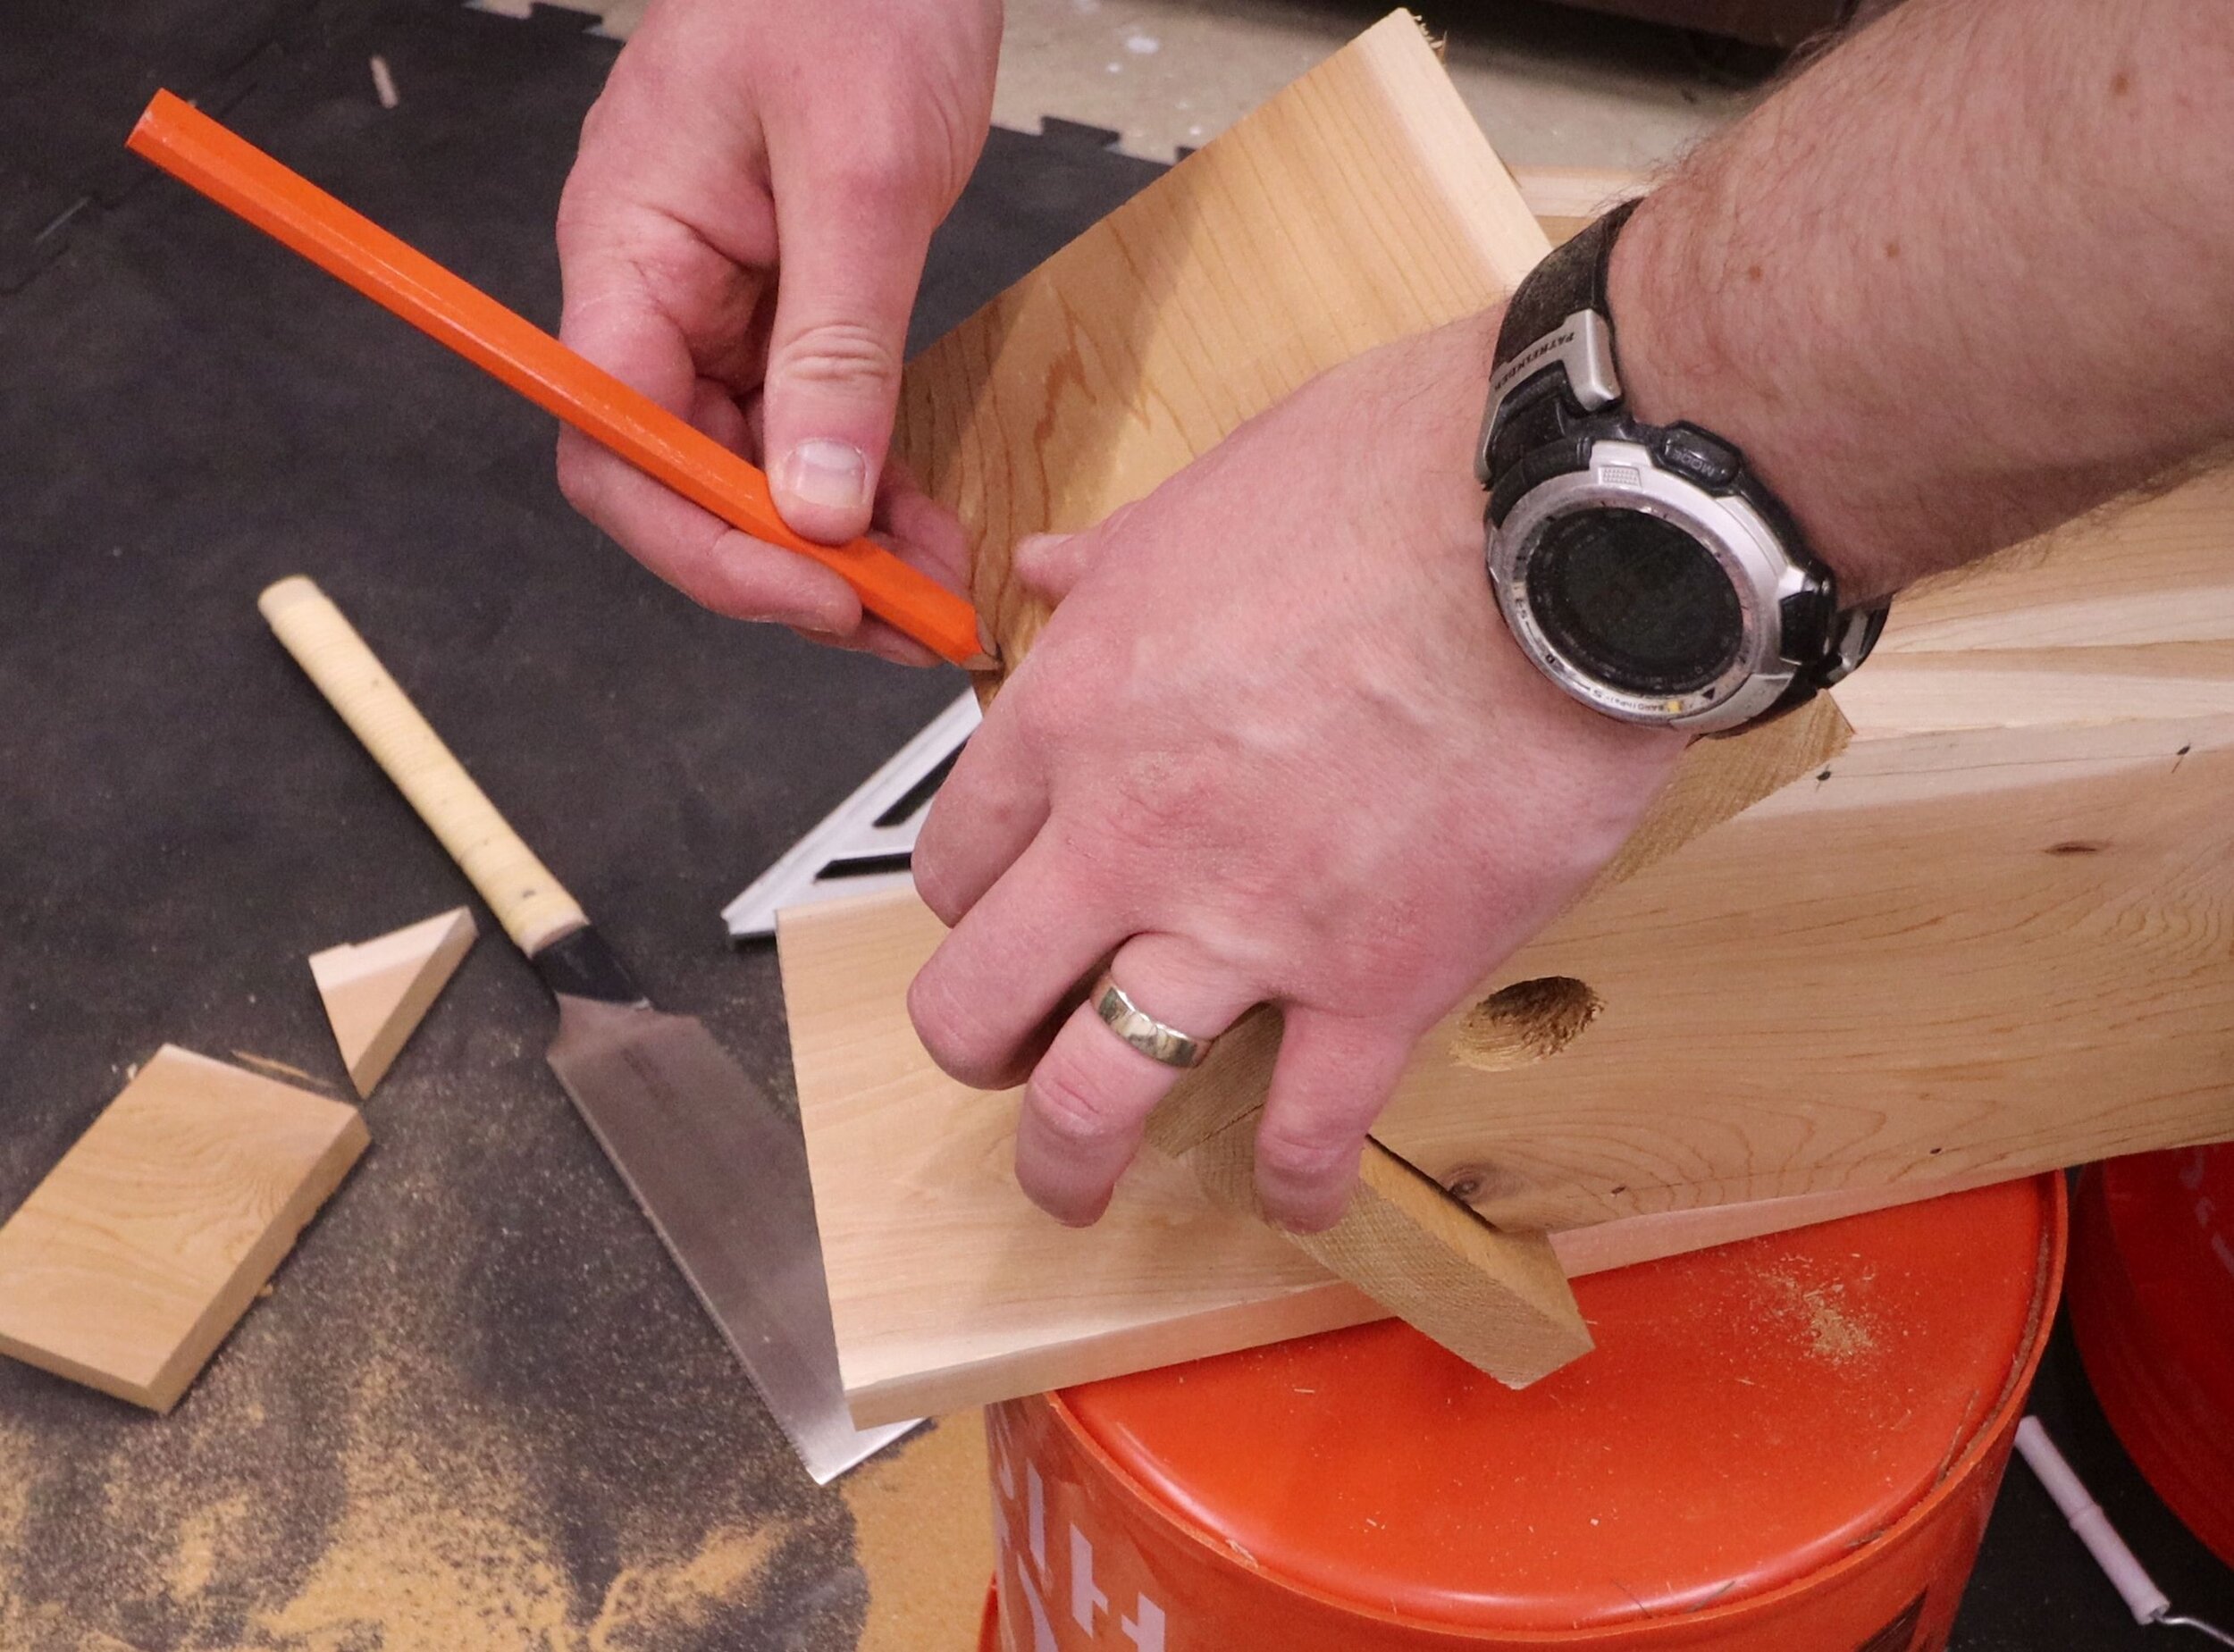
For the back of the bird house, use the first piece you cut as a template and trace out the shape. This way, any slight irregularities in the roof angle are the same between the two pieces. Also mark for pre-drilling the nail holes, as with the first piece. Drill the six holes. Then, cut the corners off the piece. Finally, cross-cut it from the board.
Next cut two pieces that are 7-3/4” long for the sides of the bird house.
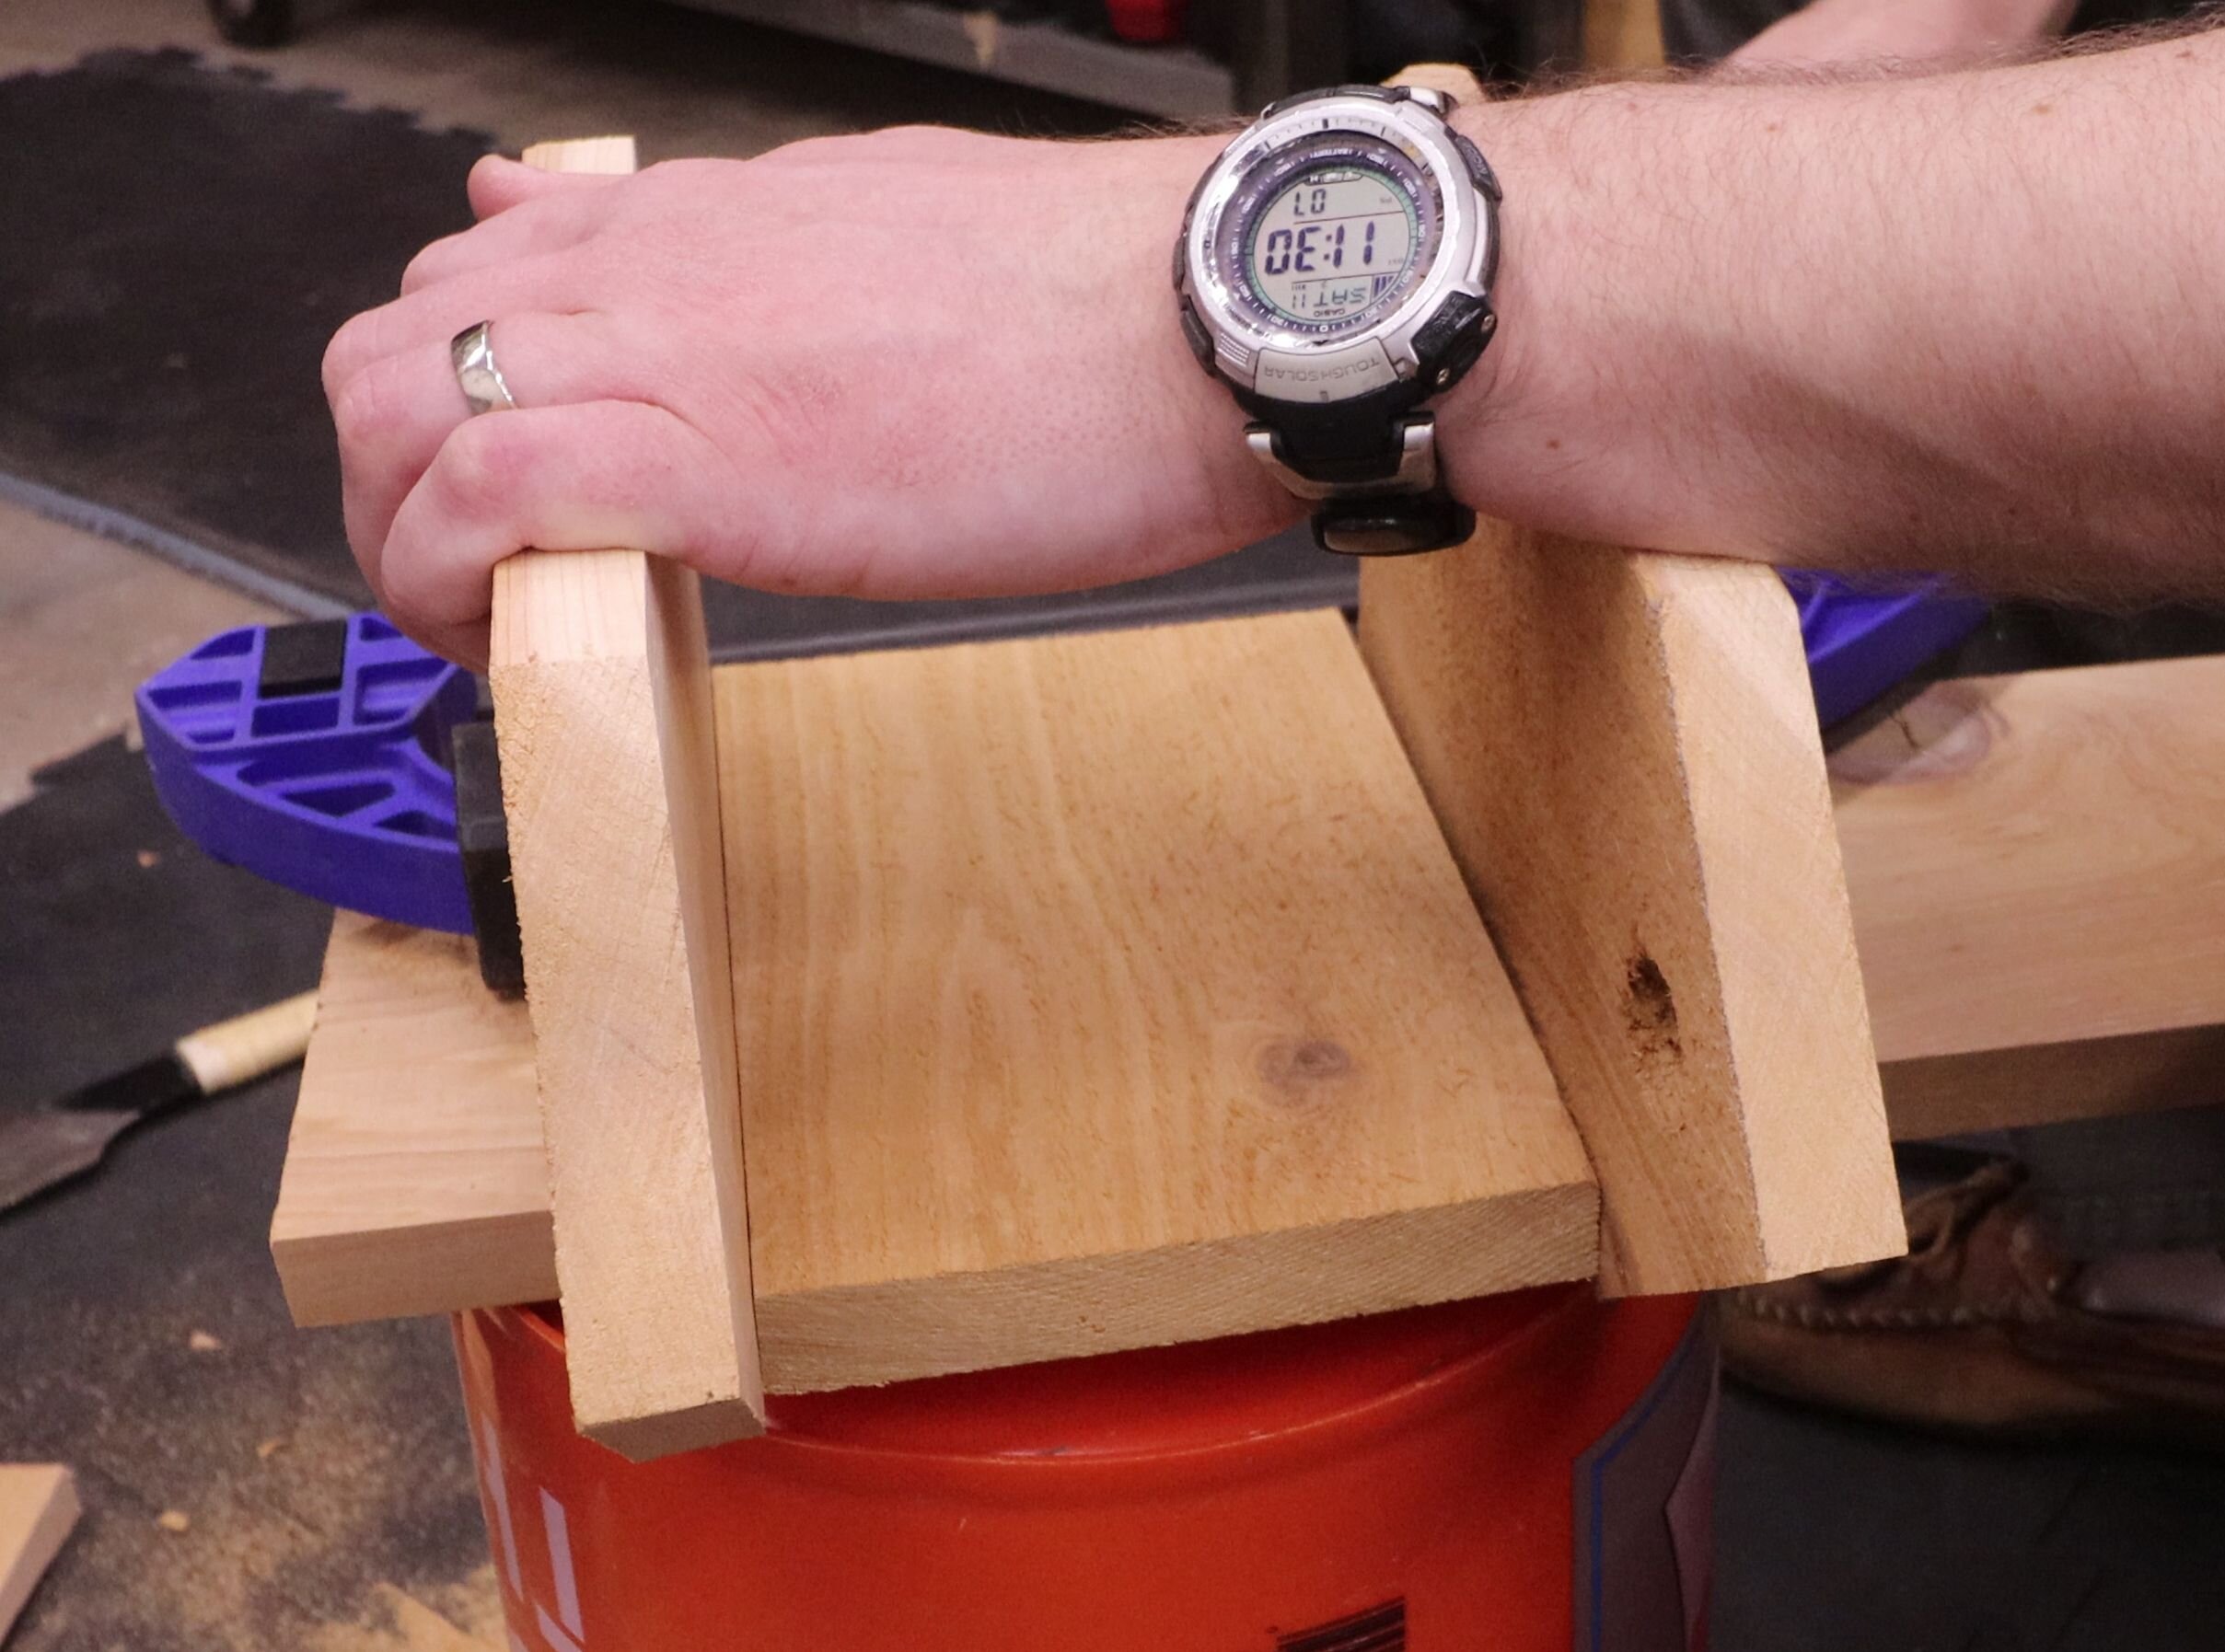
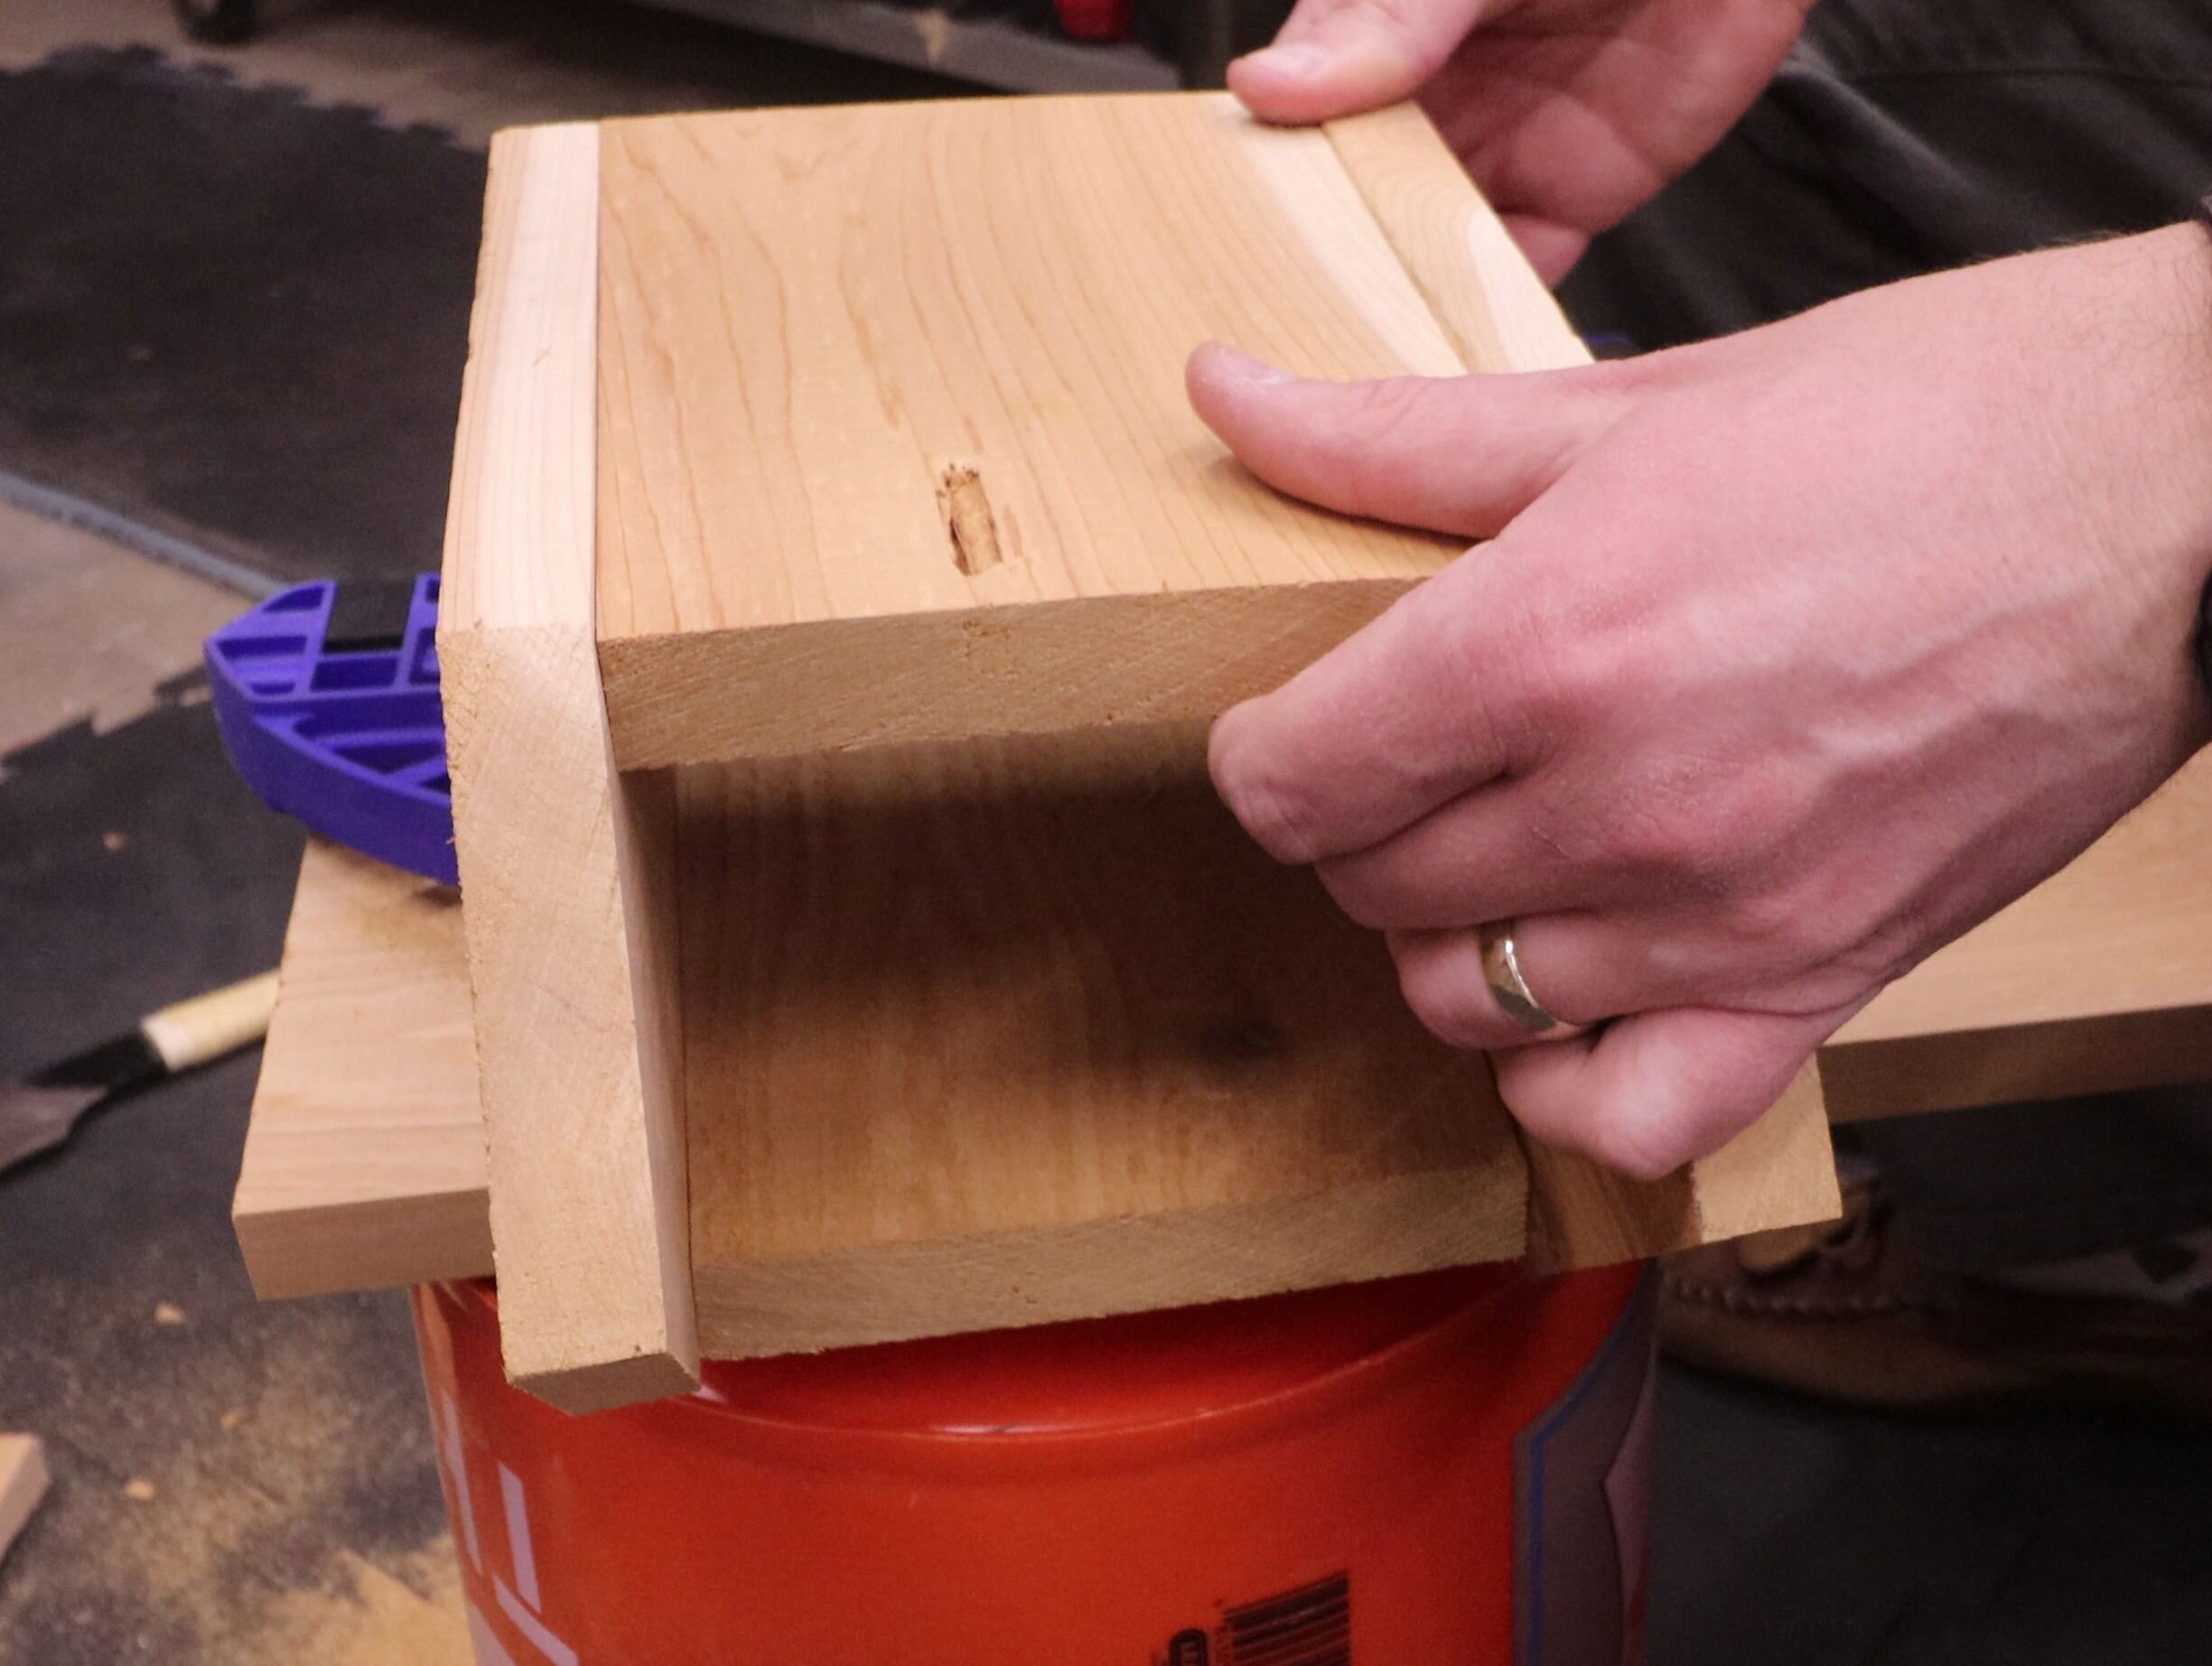
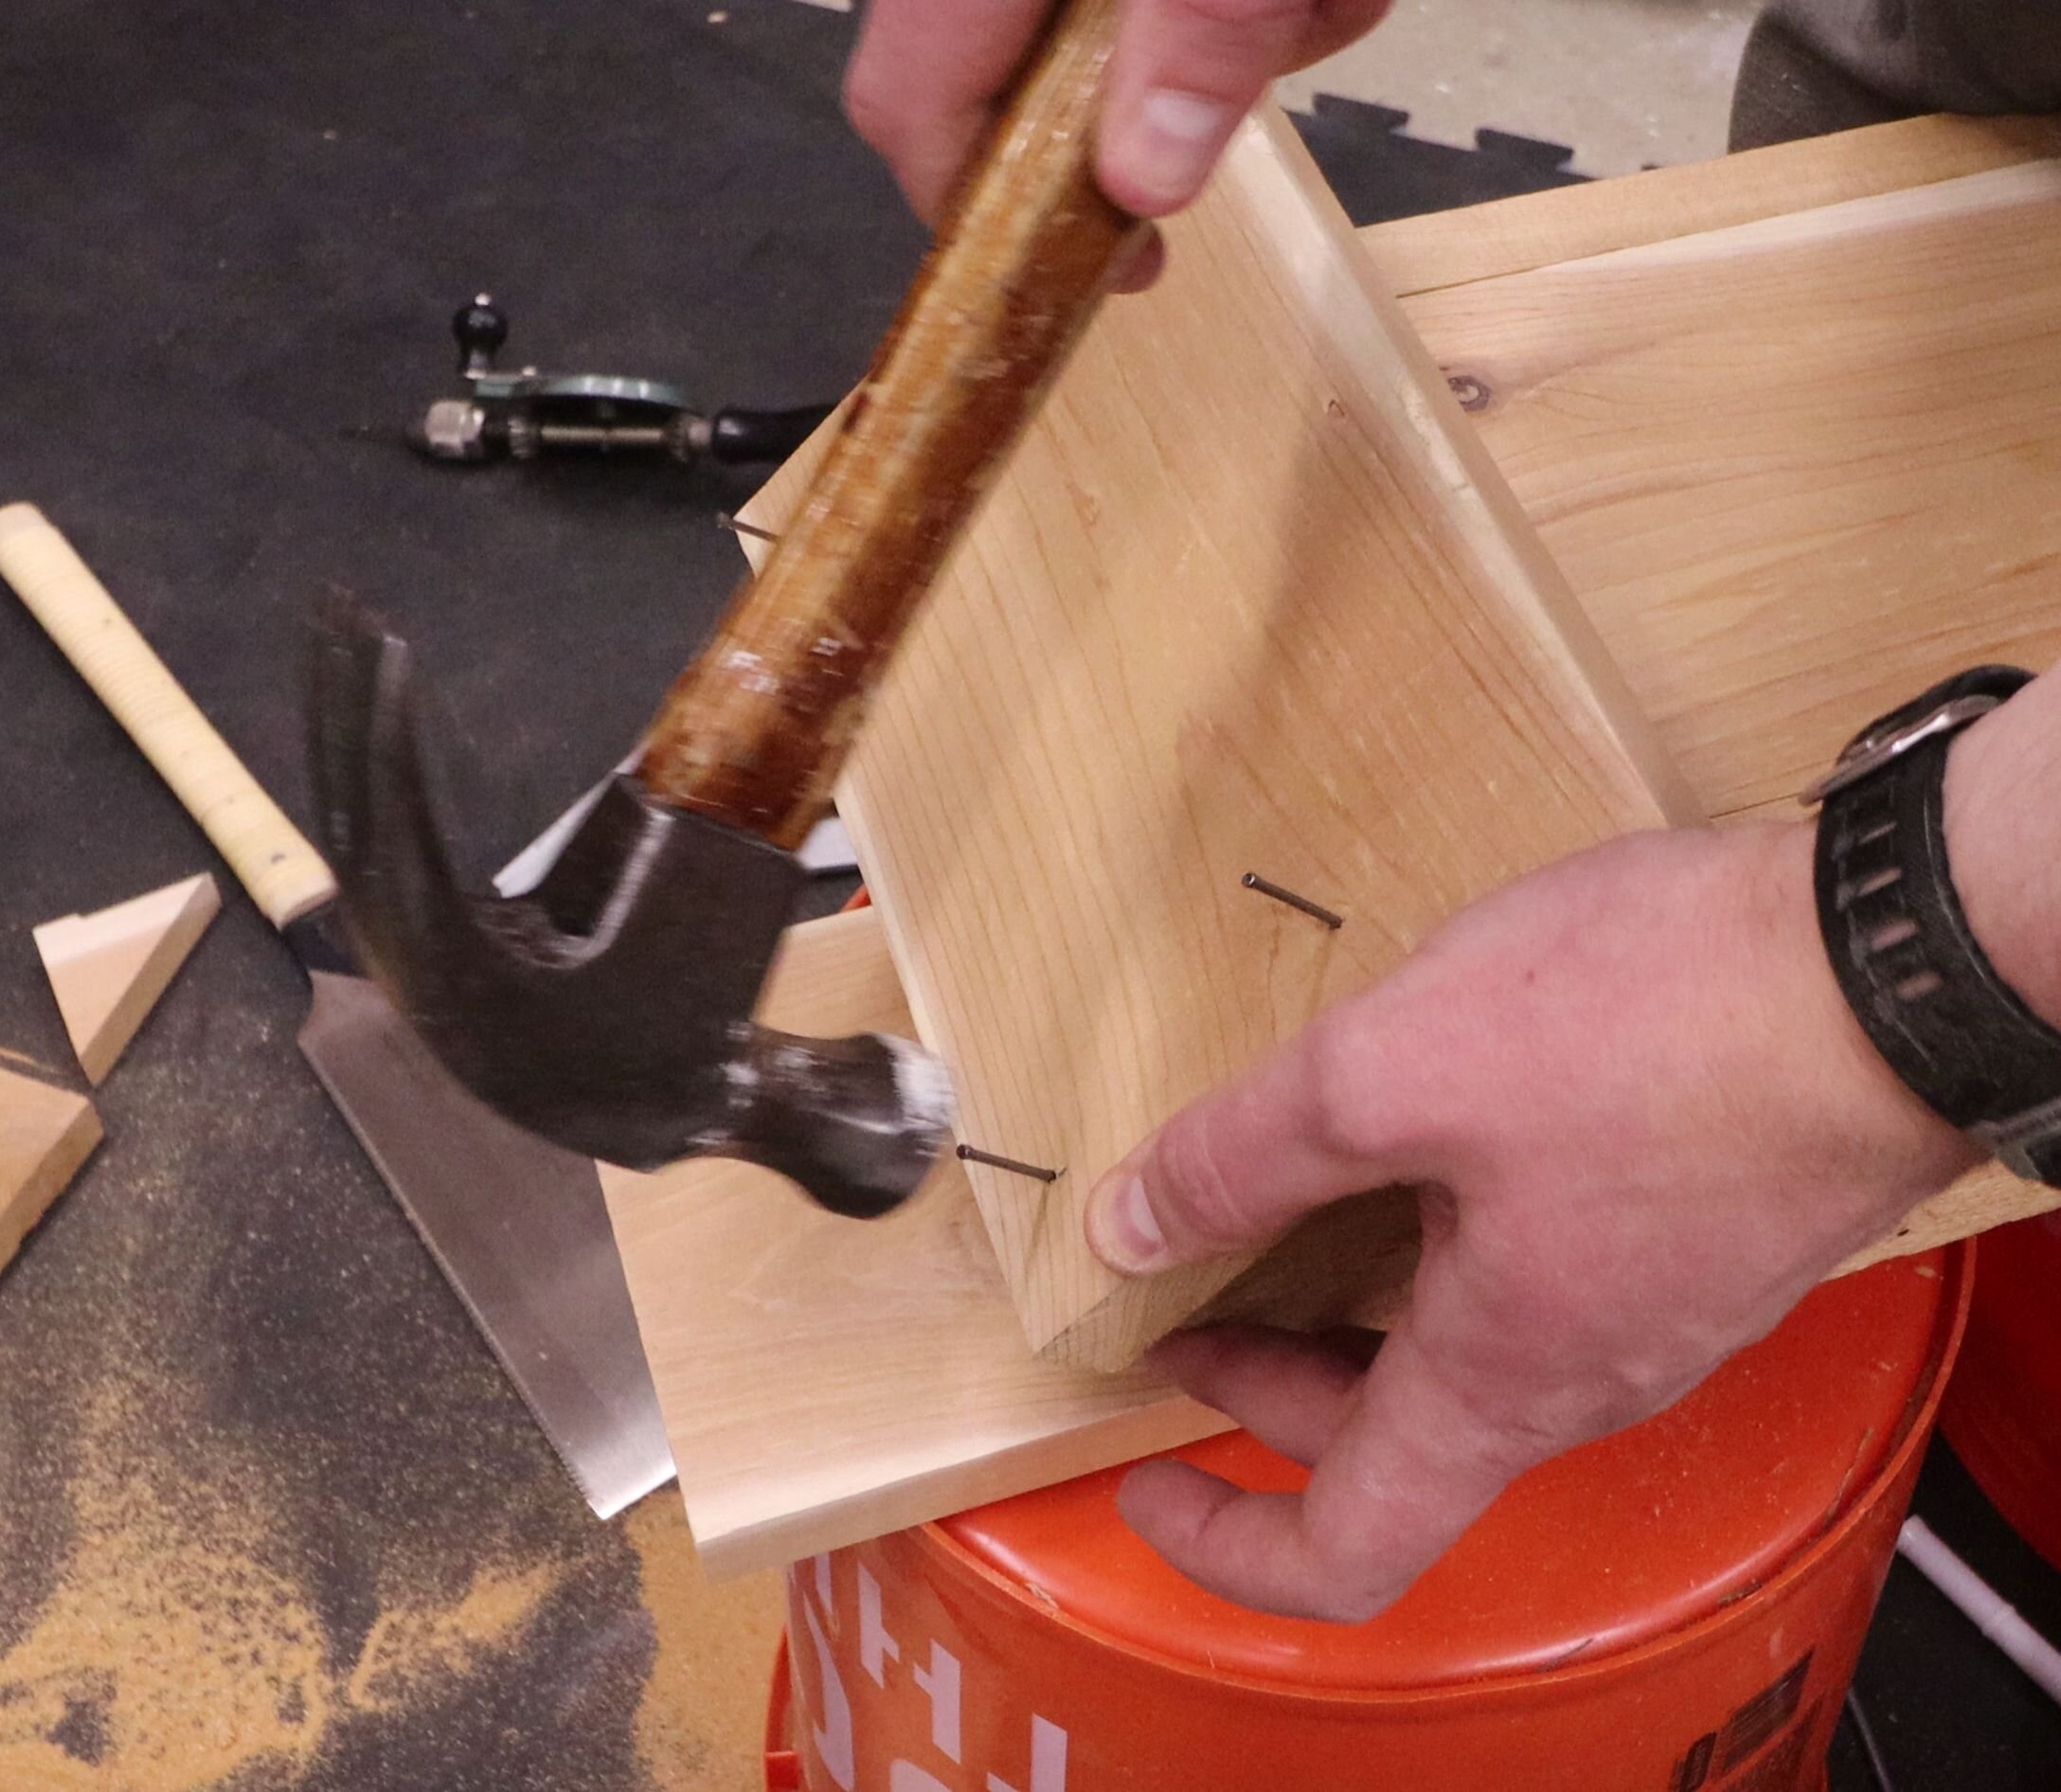
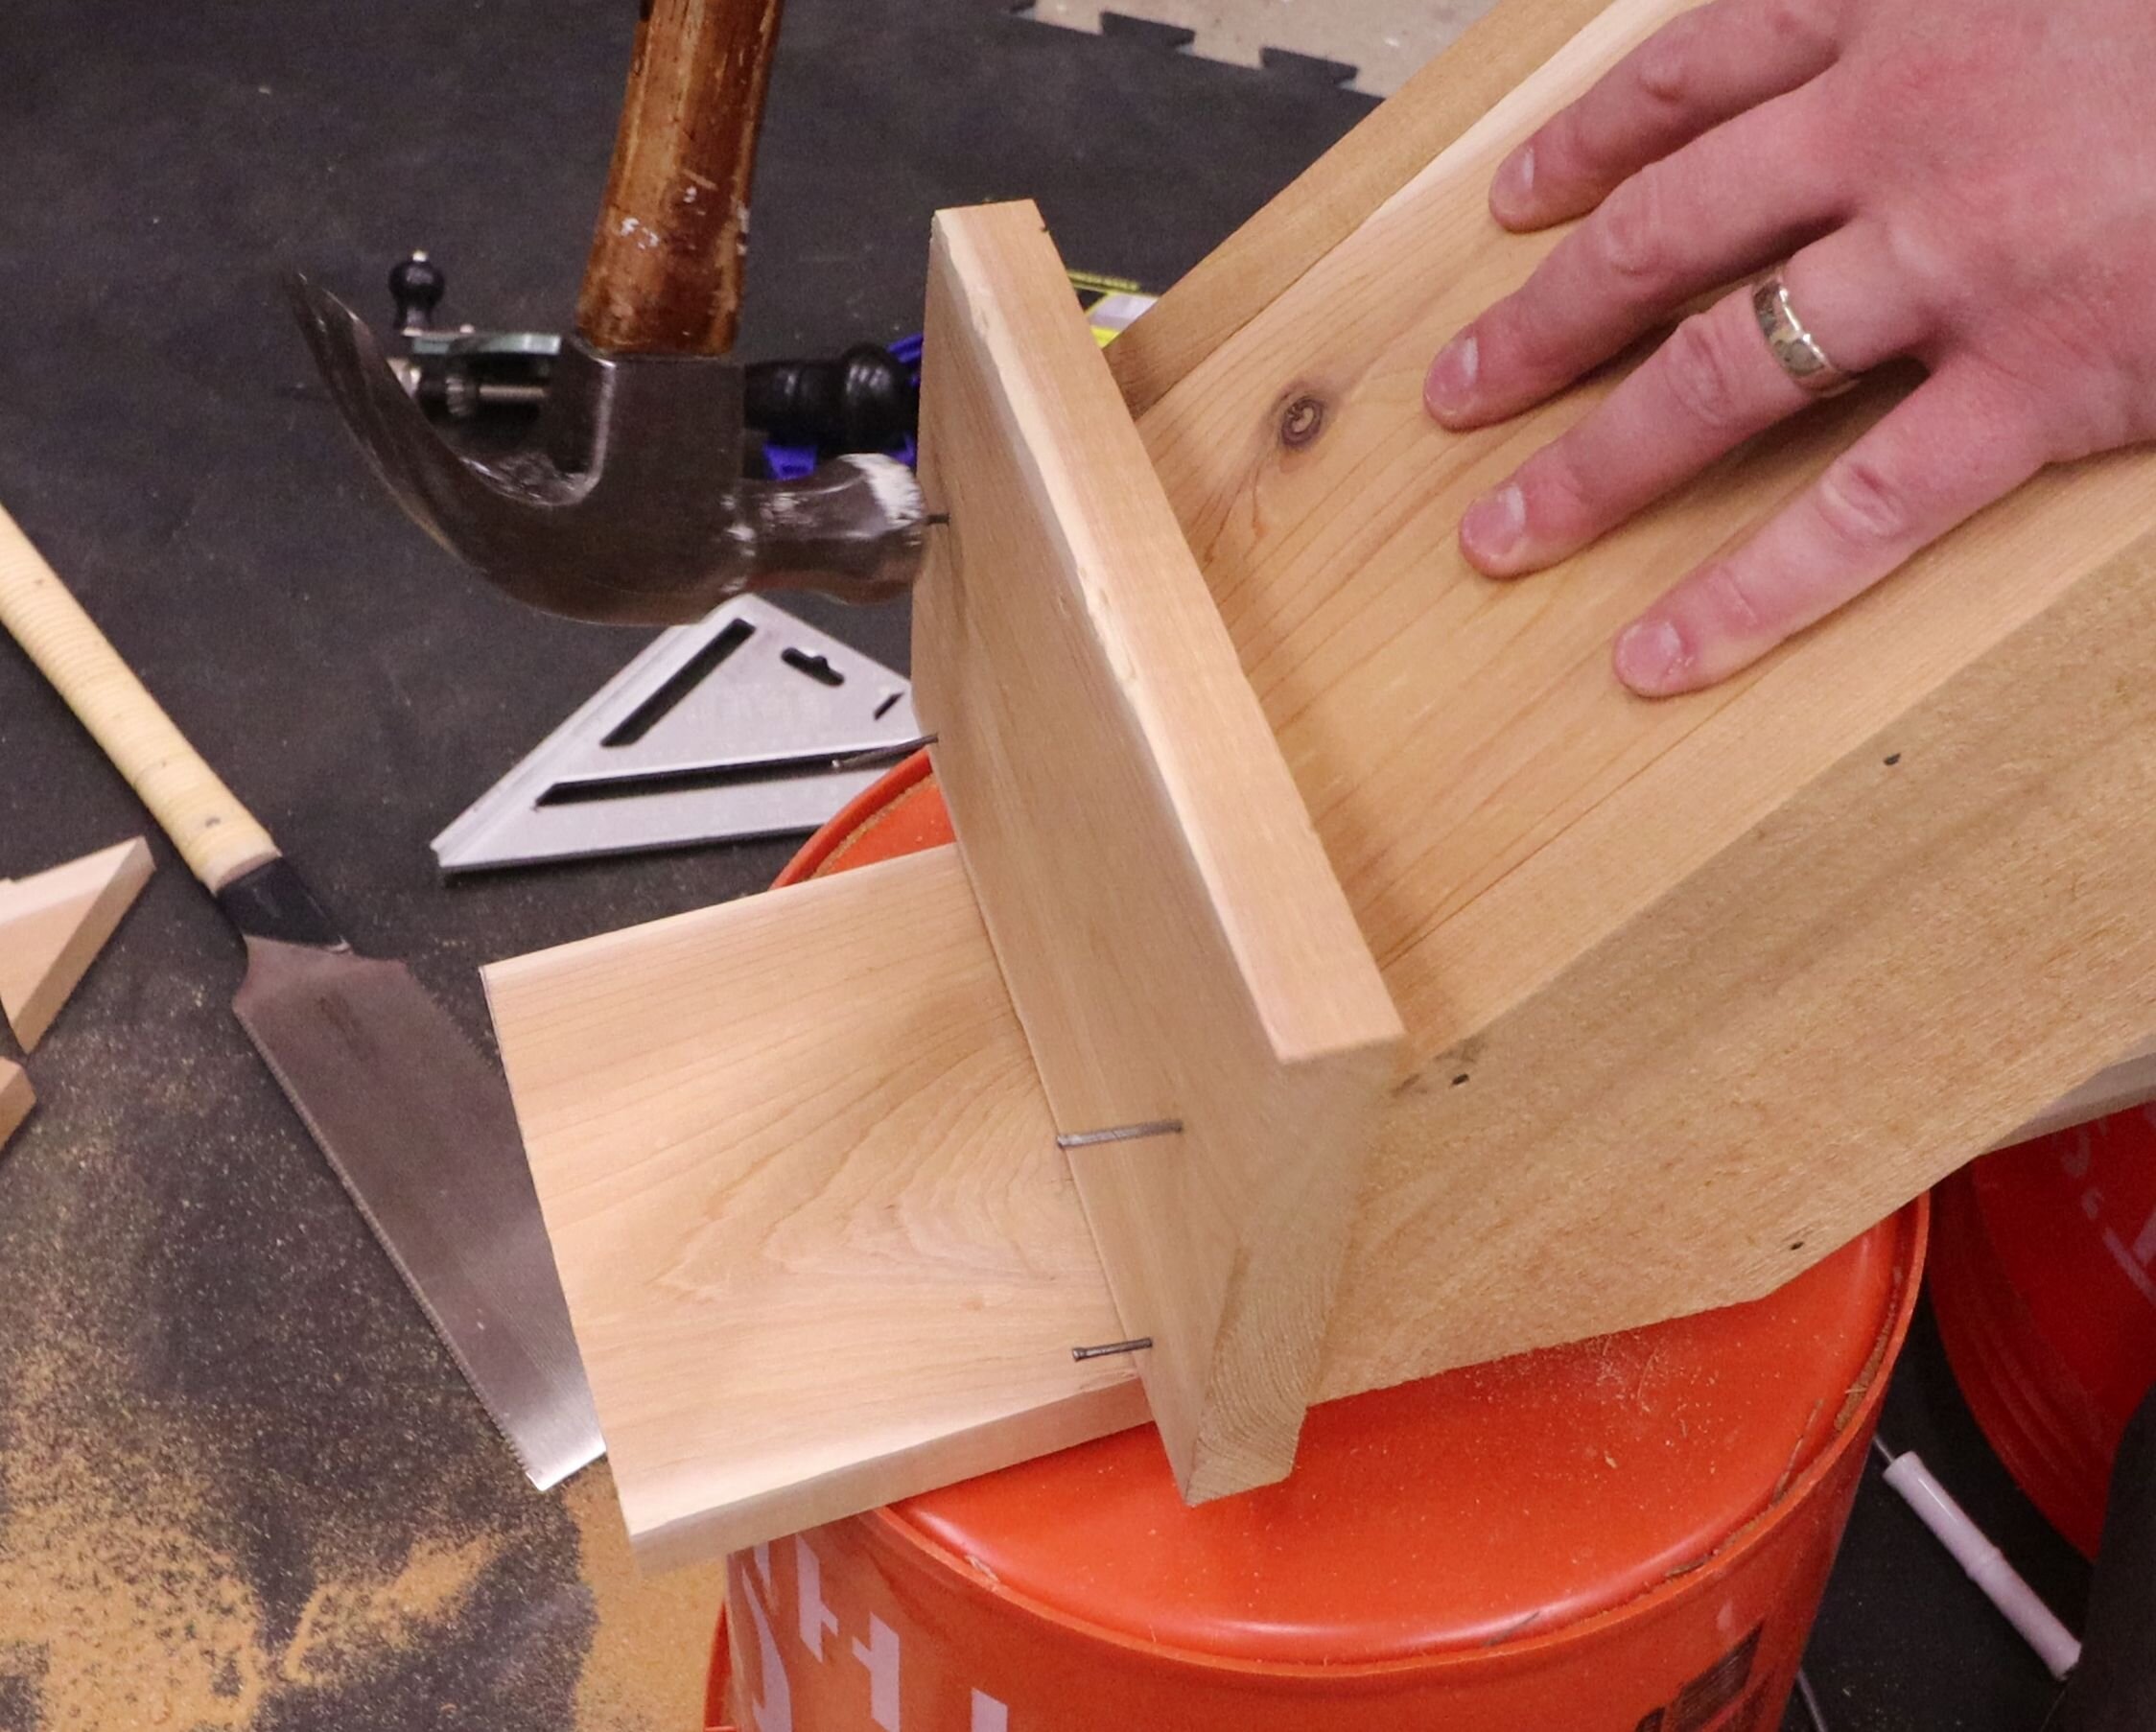
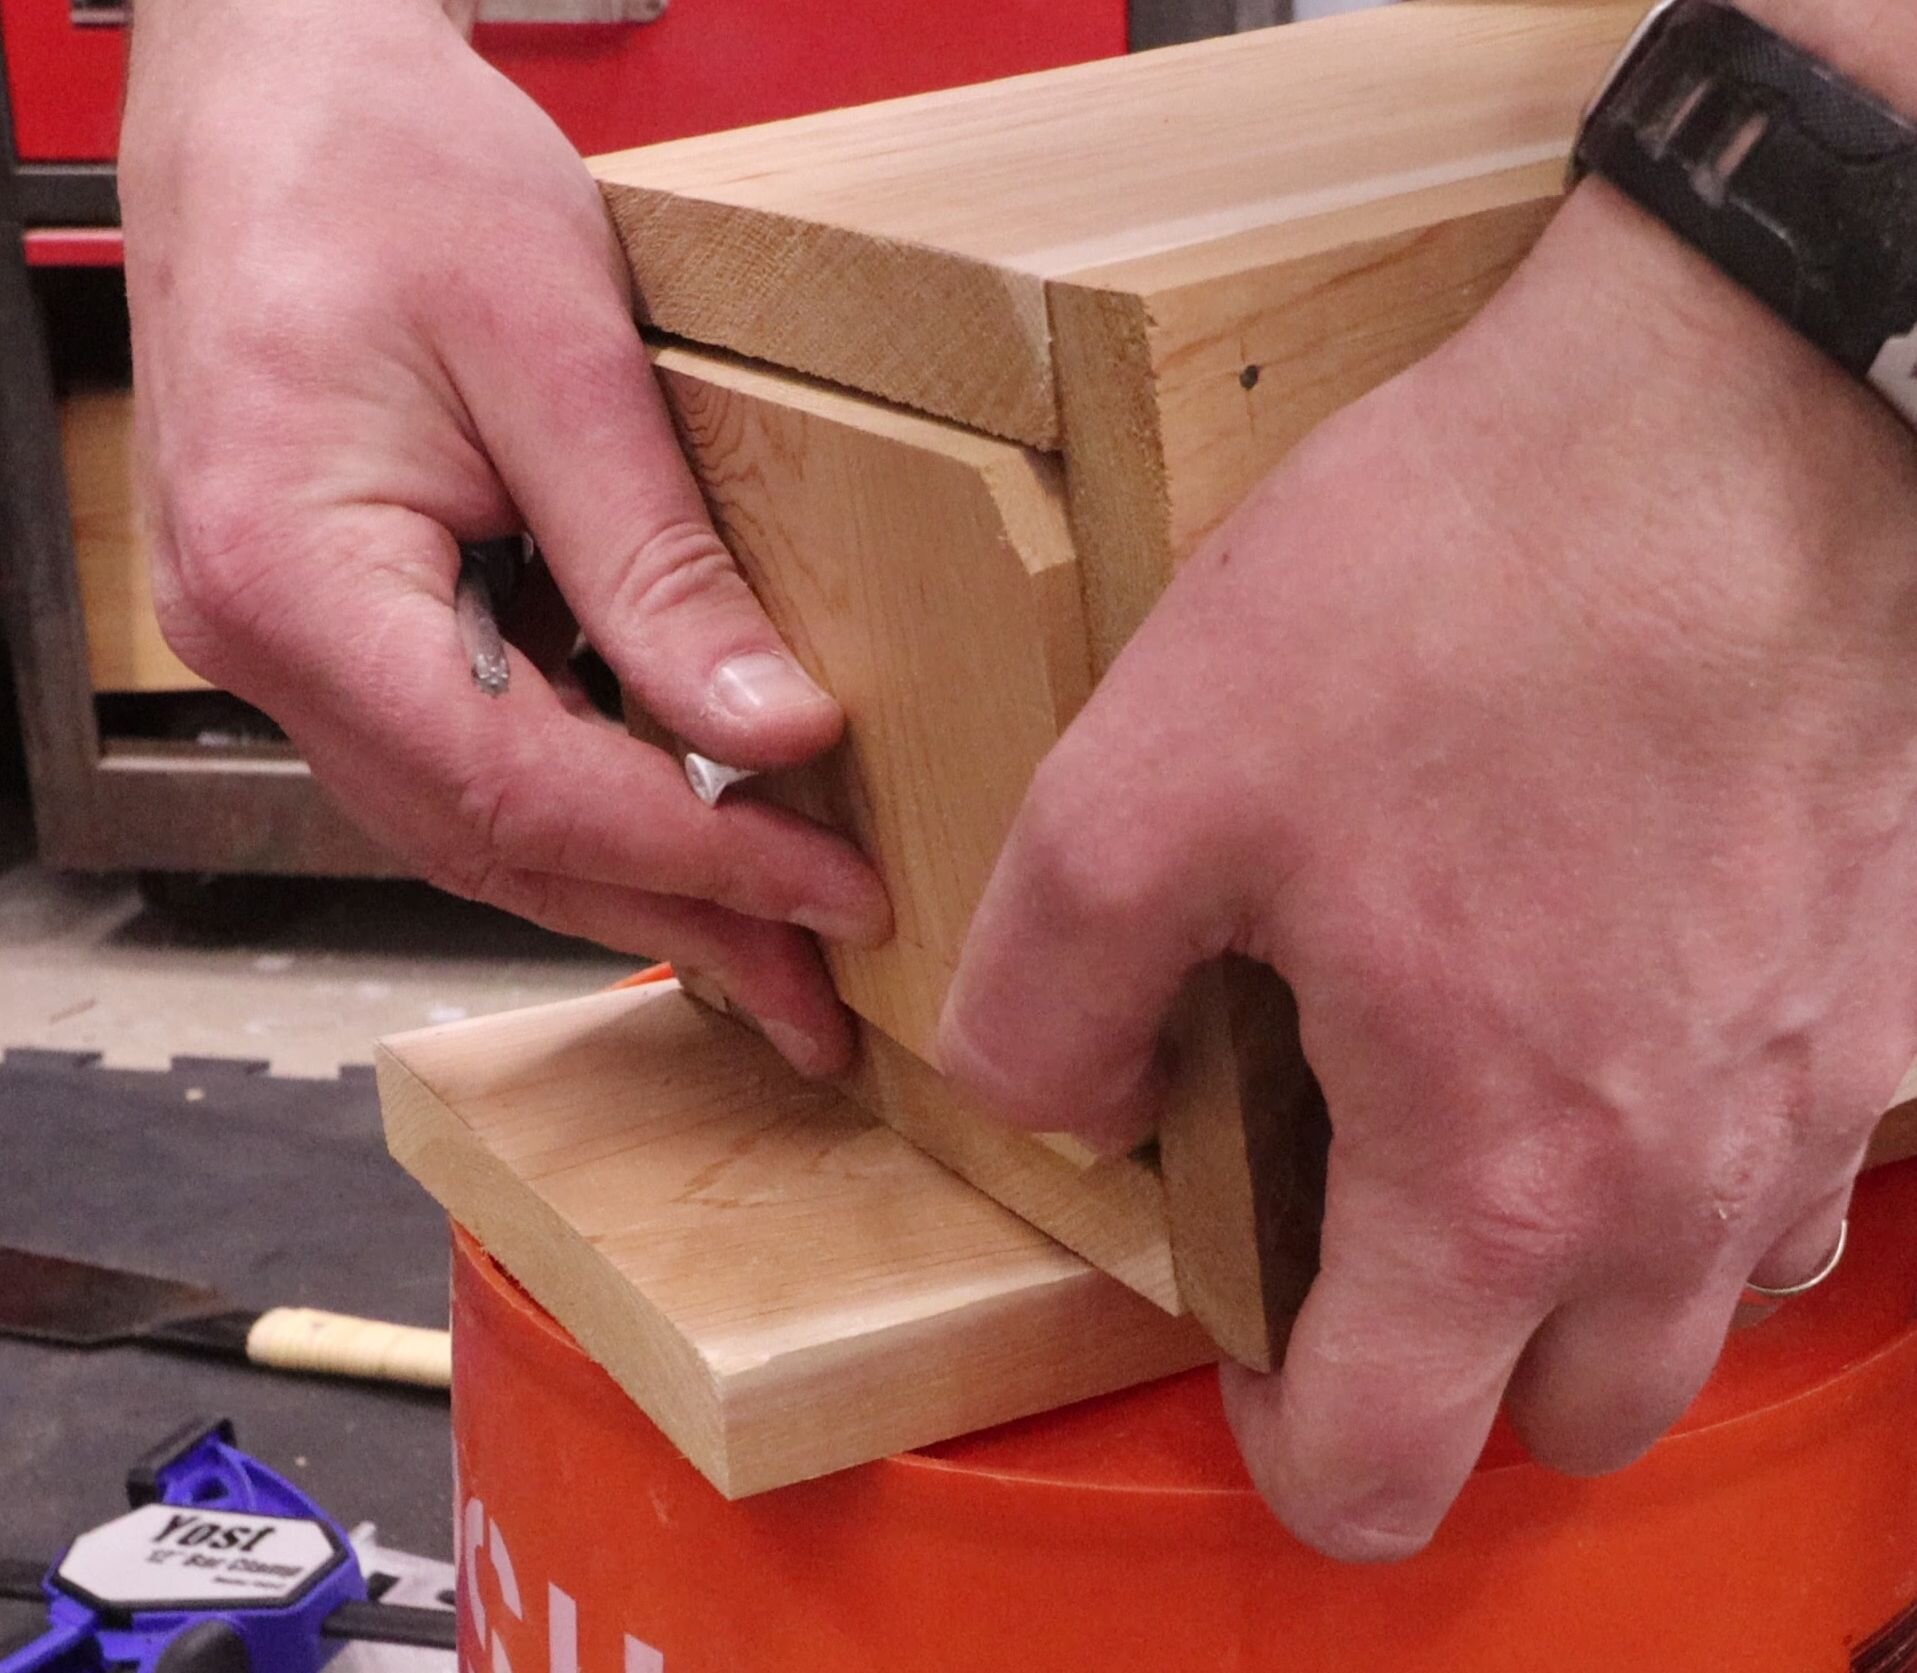
Time to assemble the walls of the birdhouse! Things get a little squirrely here, so it’s a good idea to clamp things together temporarily while you work. Use the 4D finish nails in the pilot holes you previously drilled to fasten the sides together. Make sure you check the alignment of the sides as you go.
The roof pieces are also 8” long. Try to use parts of the board that are clear of knots and other imperfections to help keep the rain out of the birdhouse.
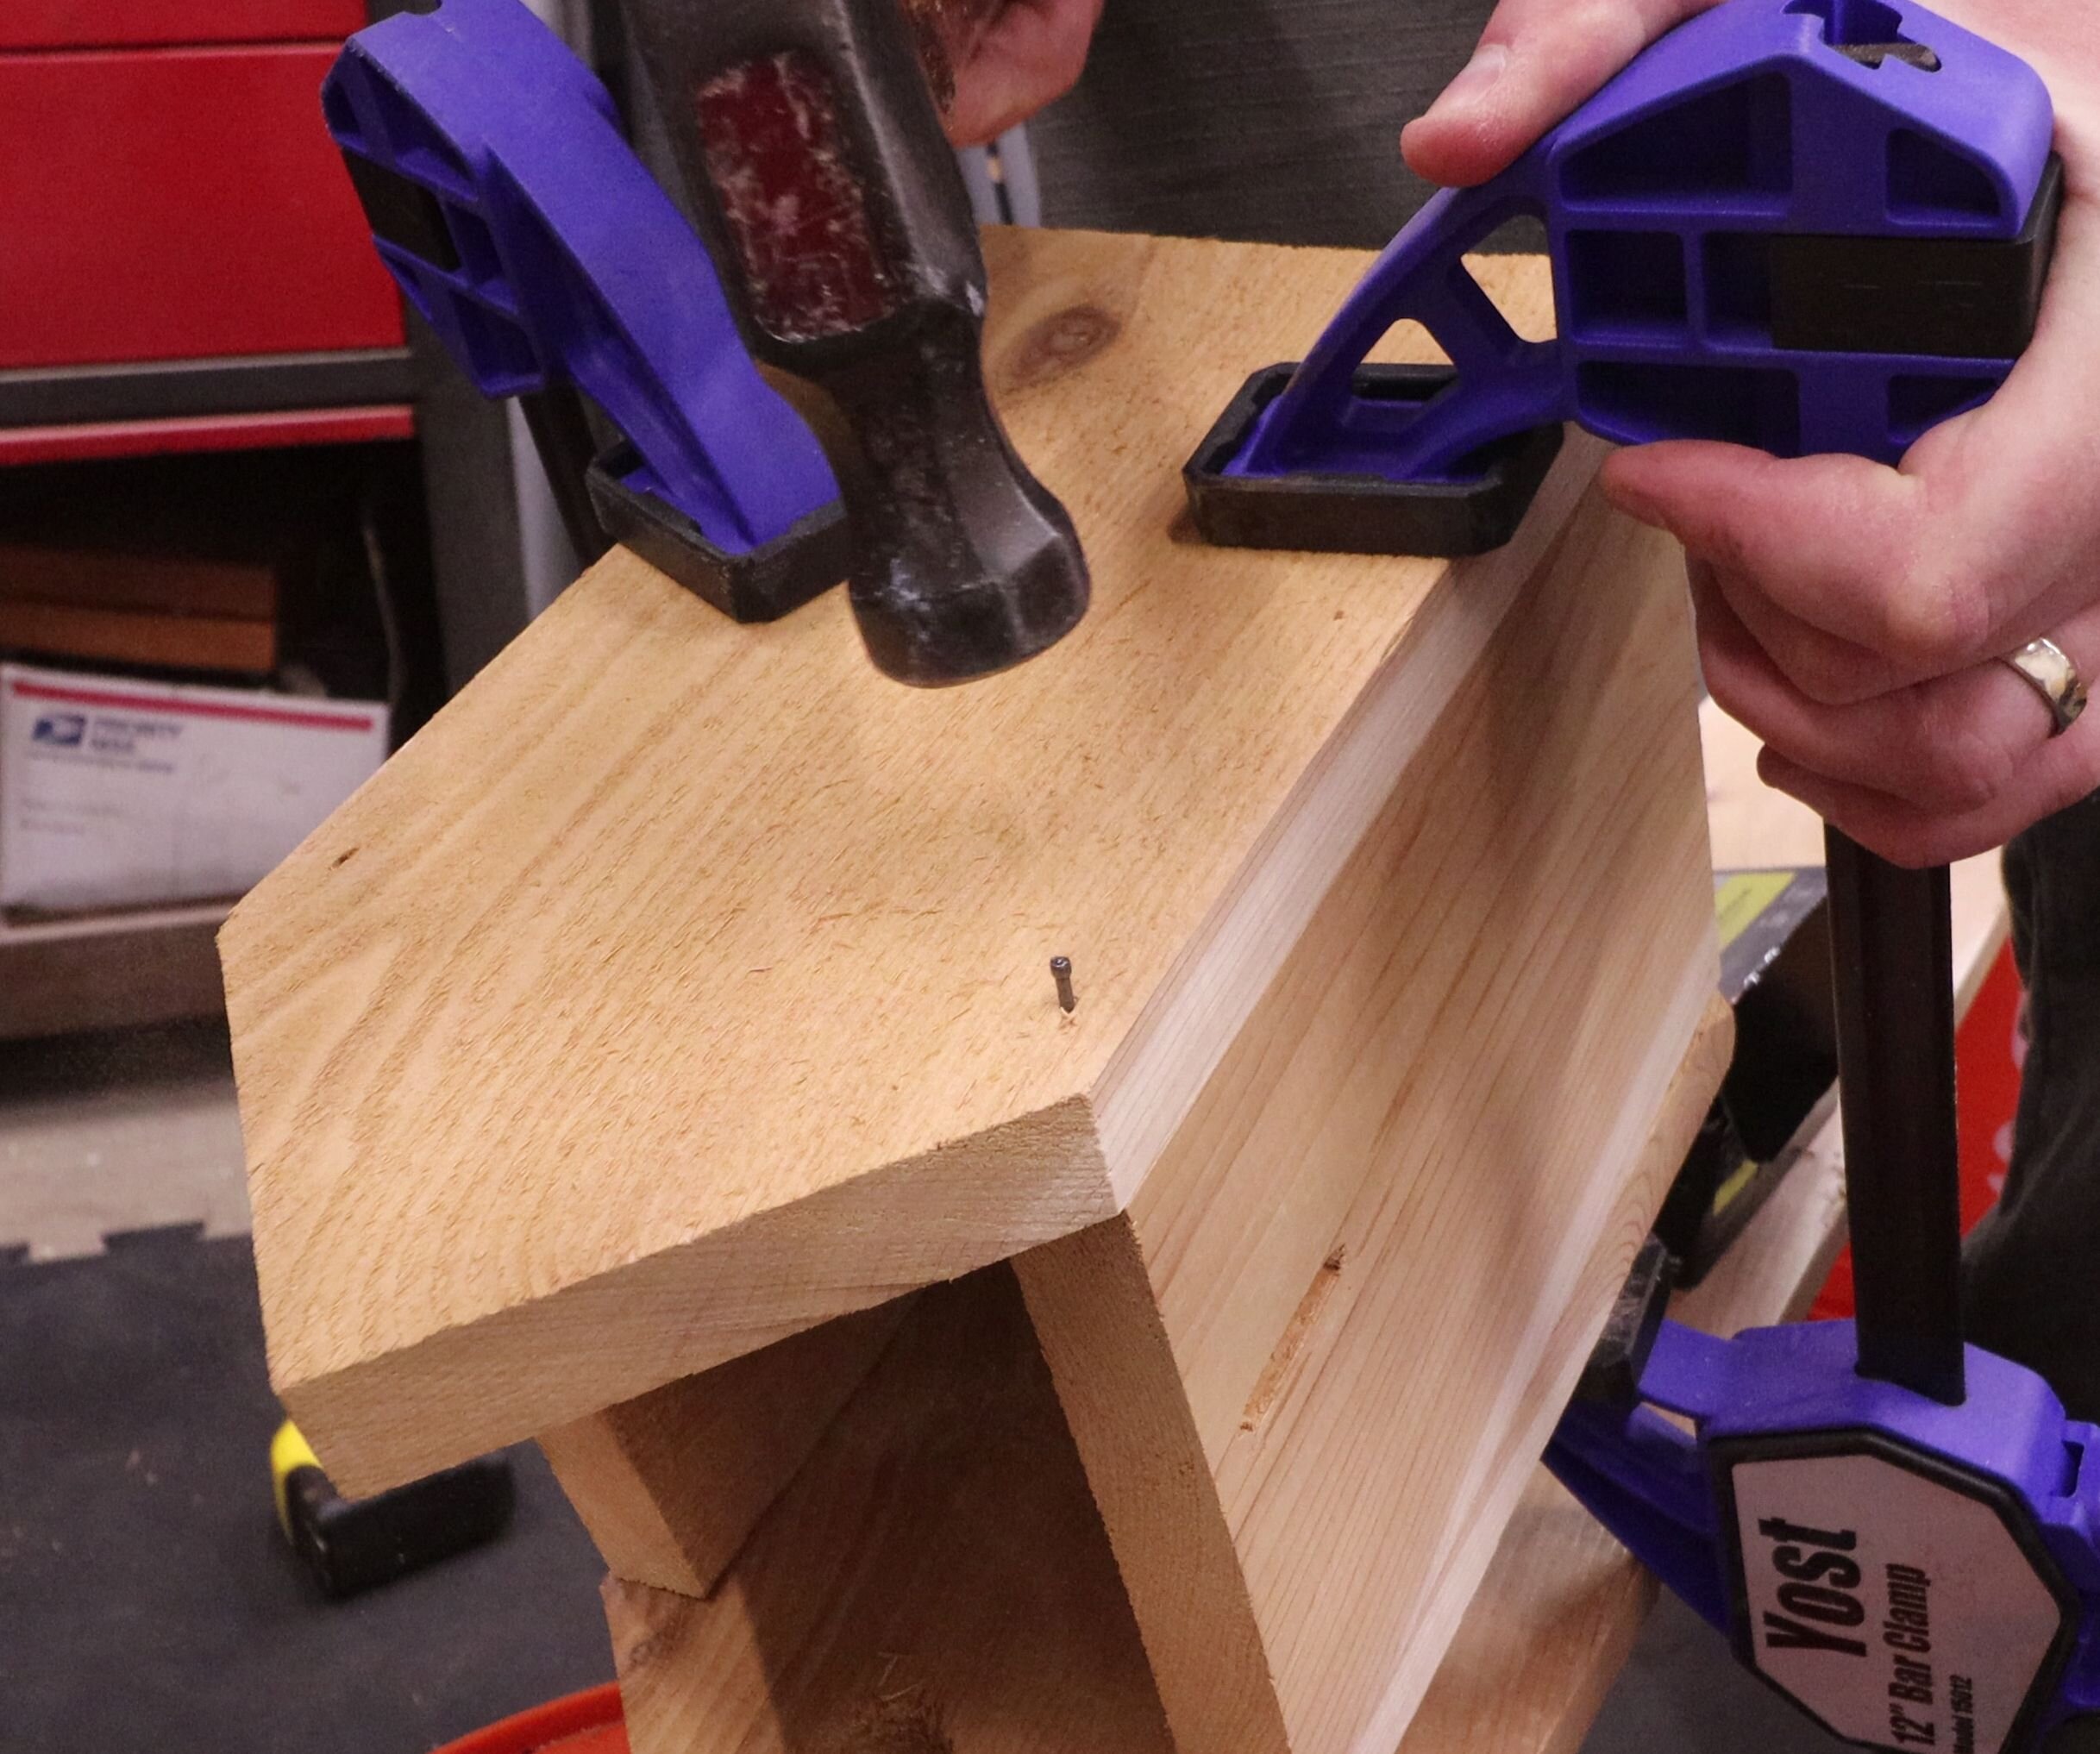
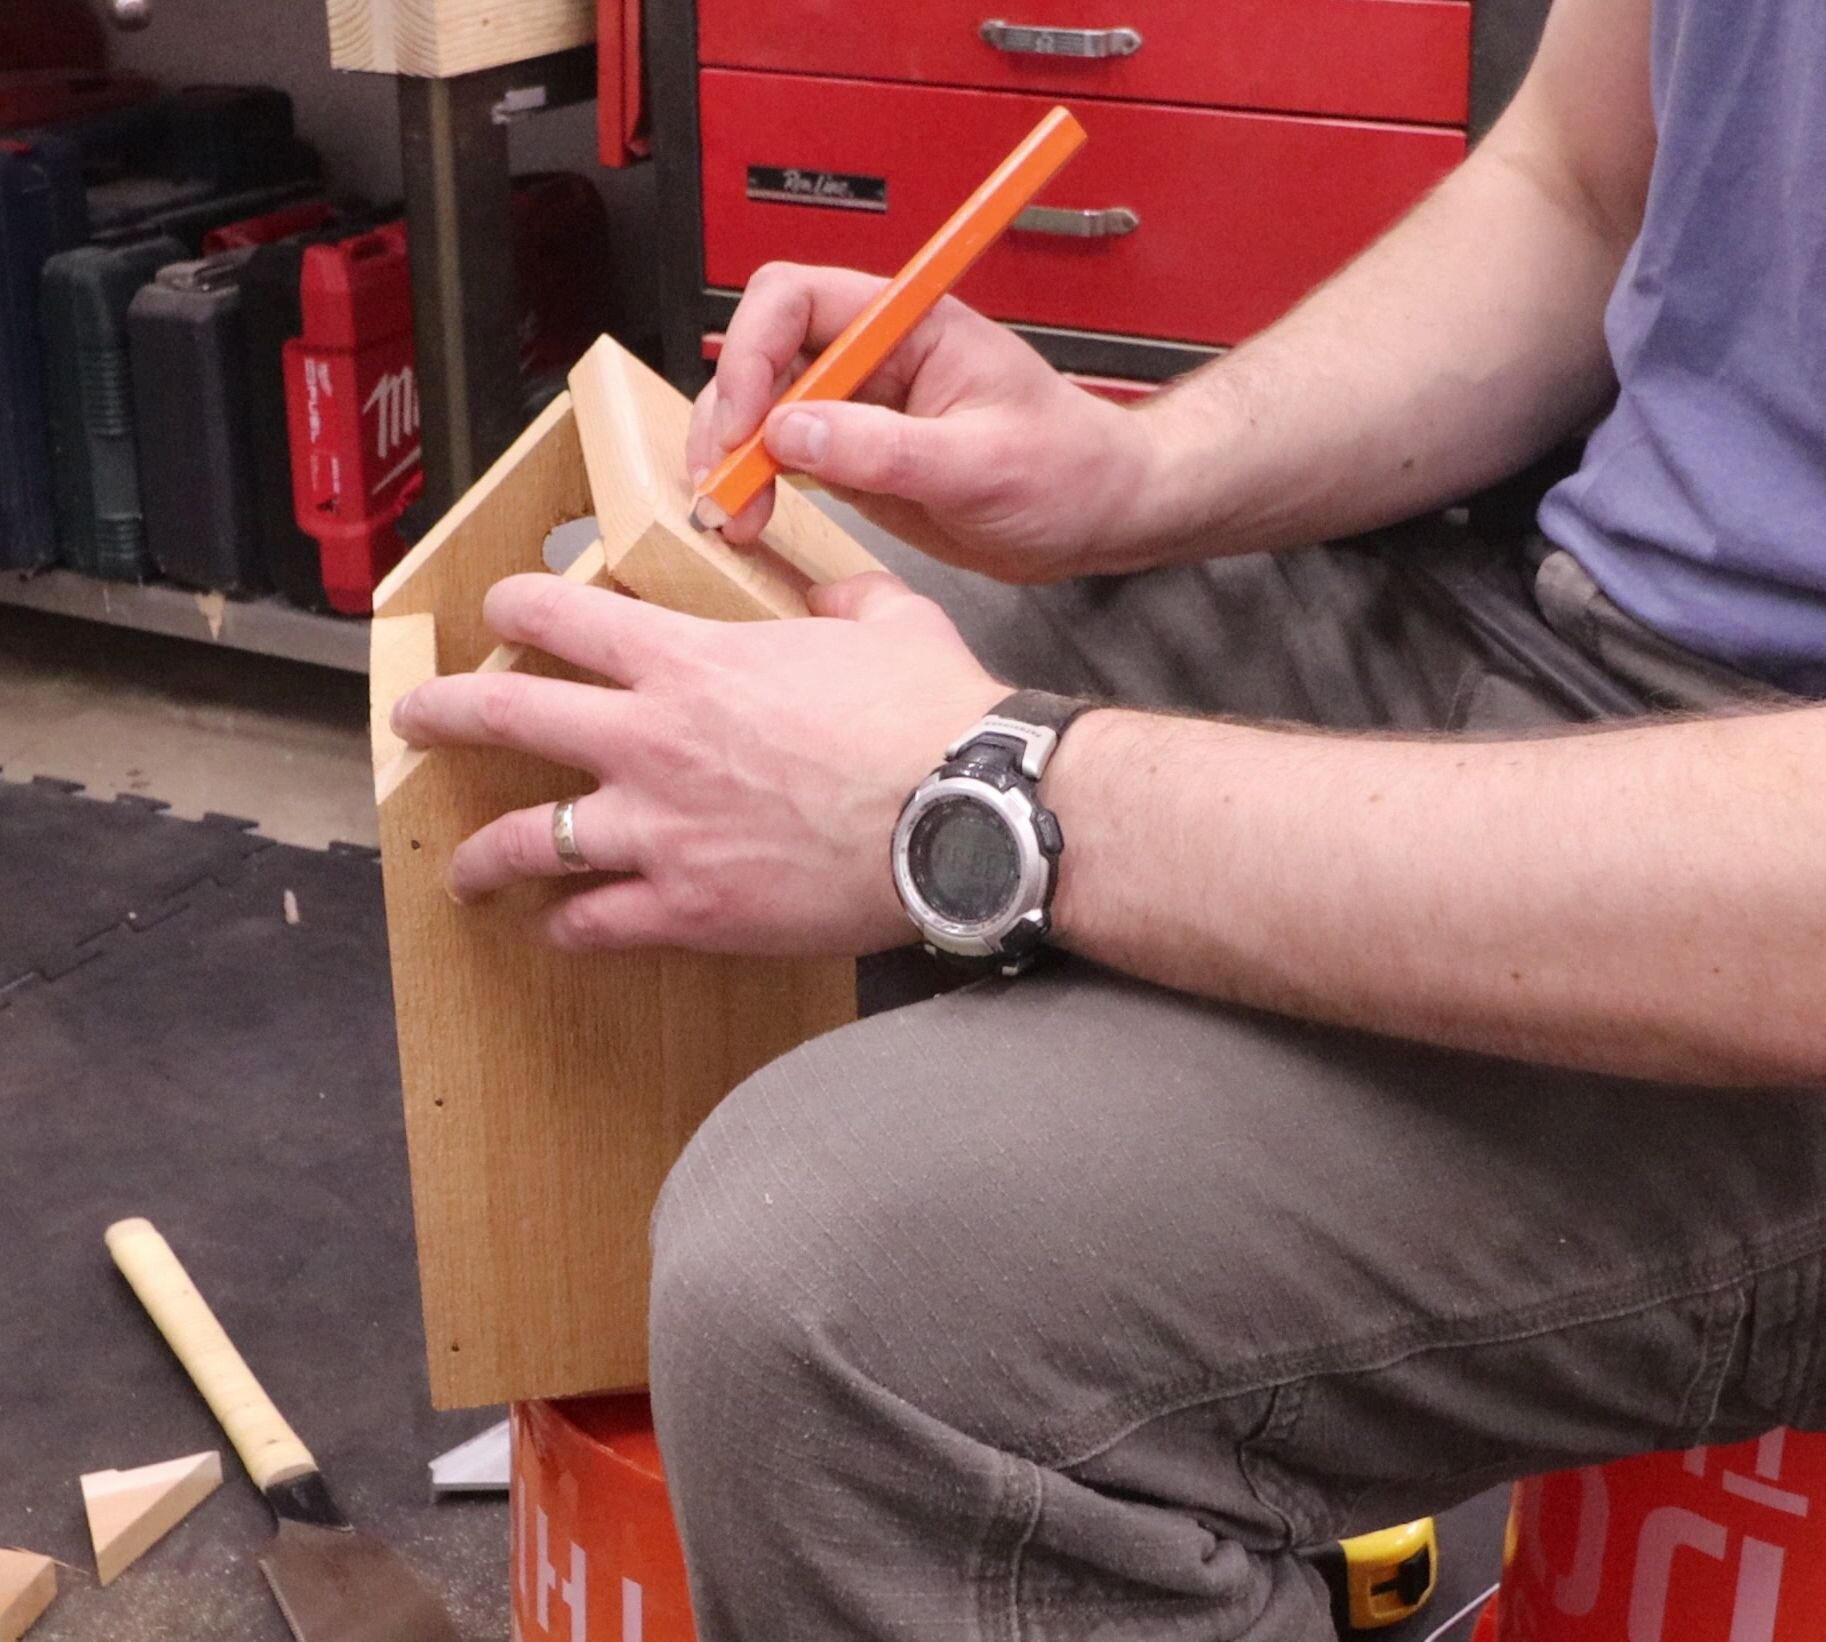
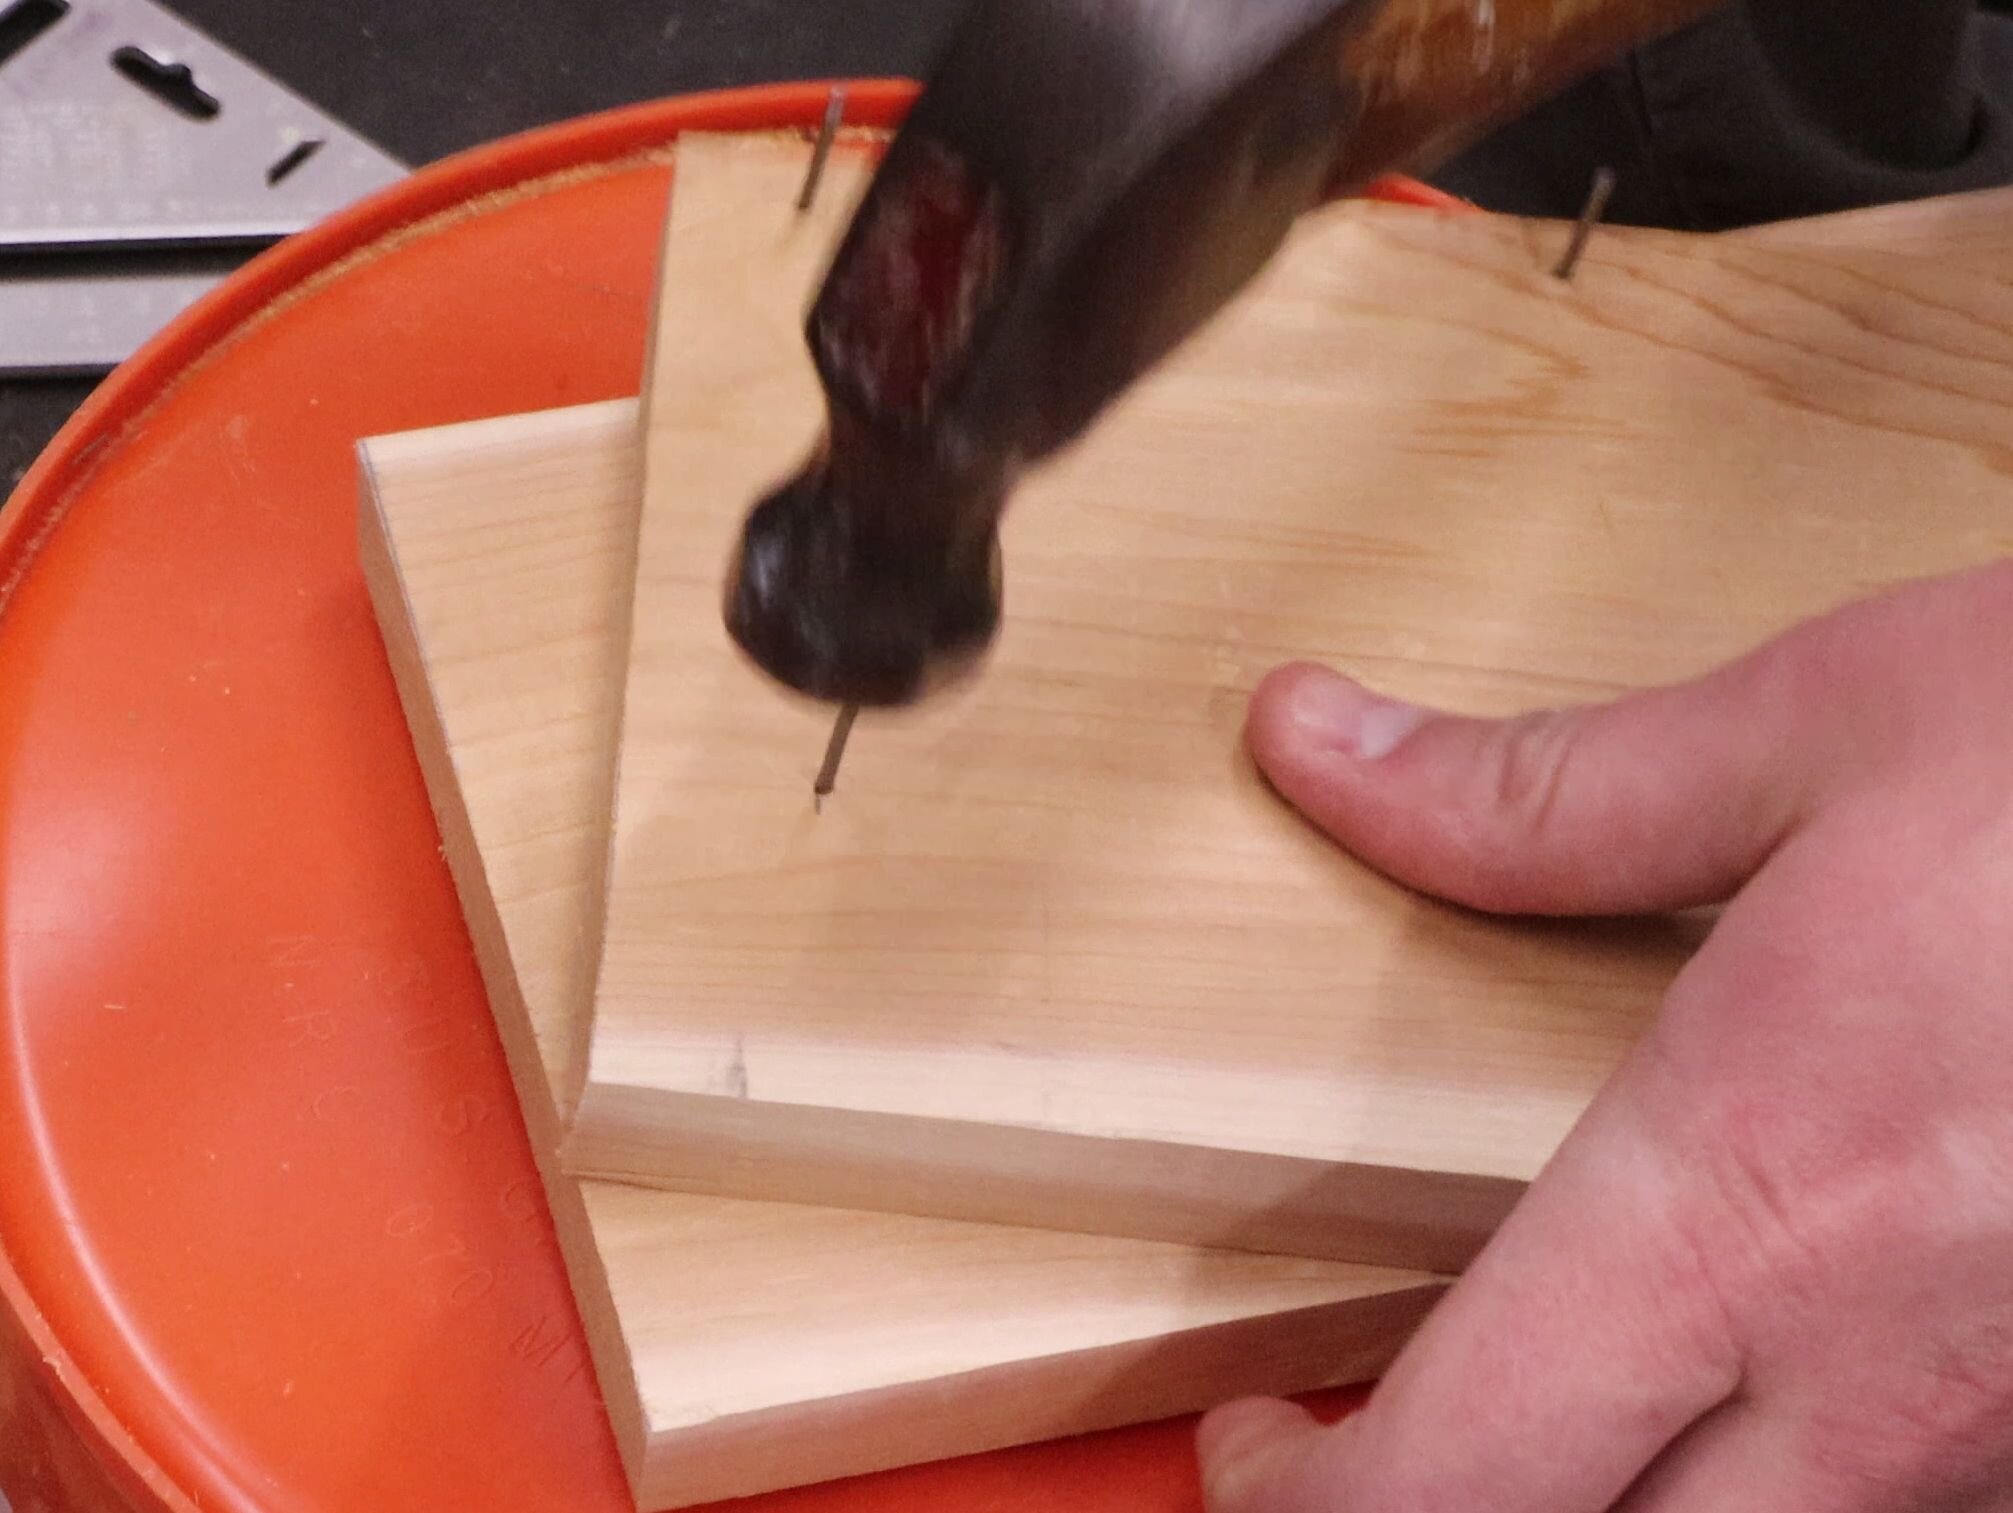
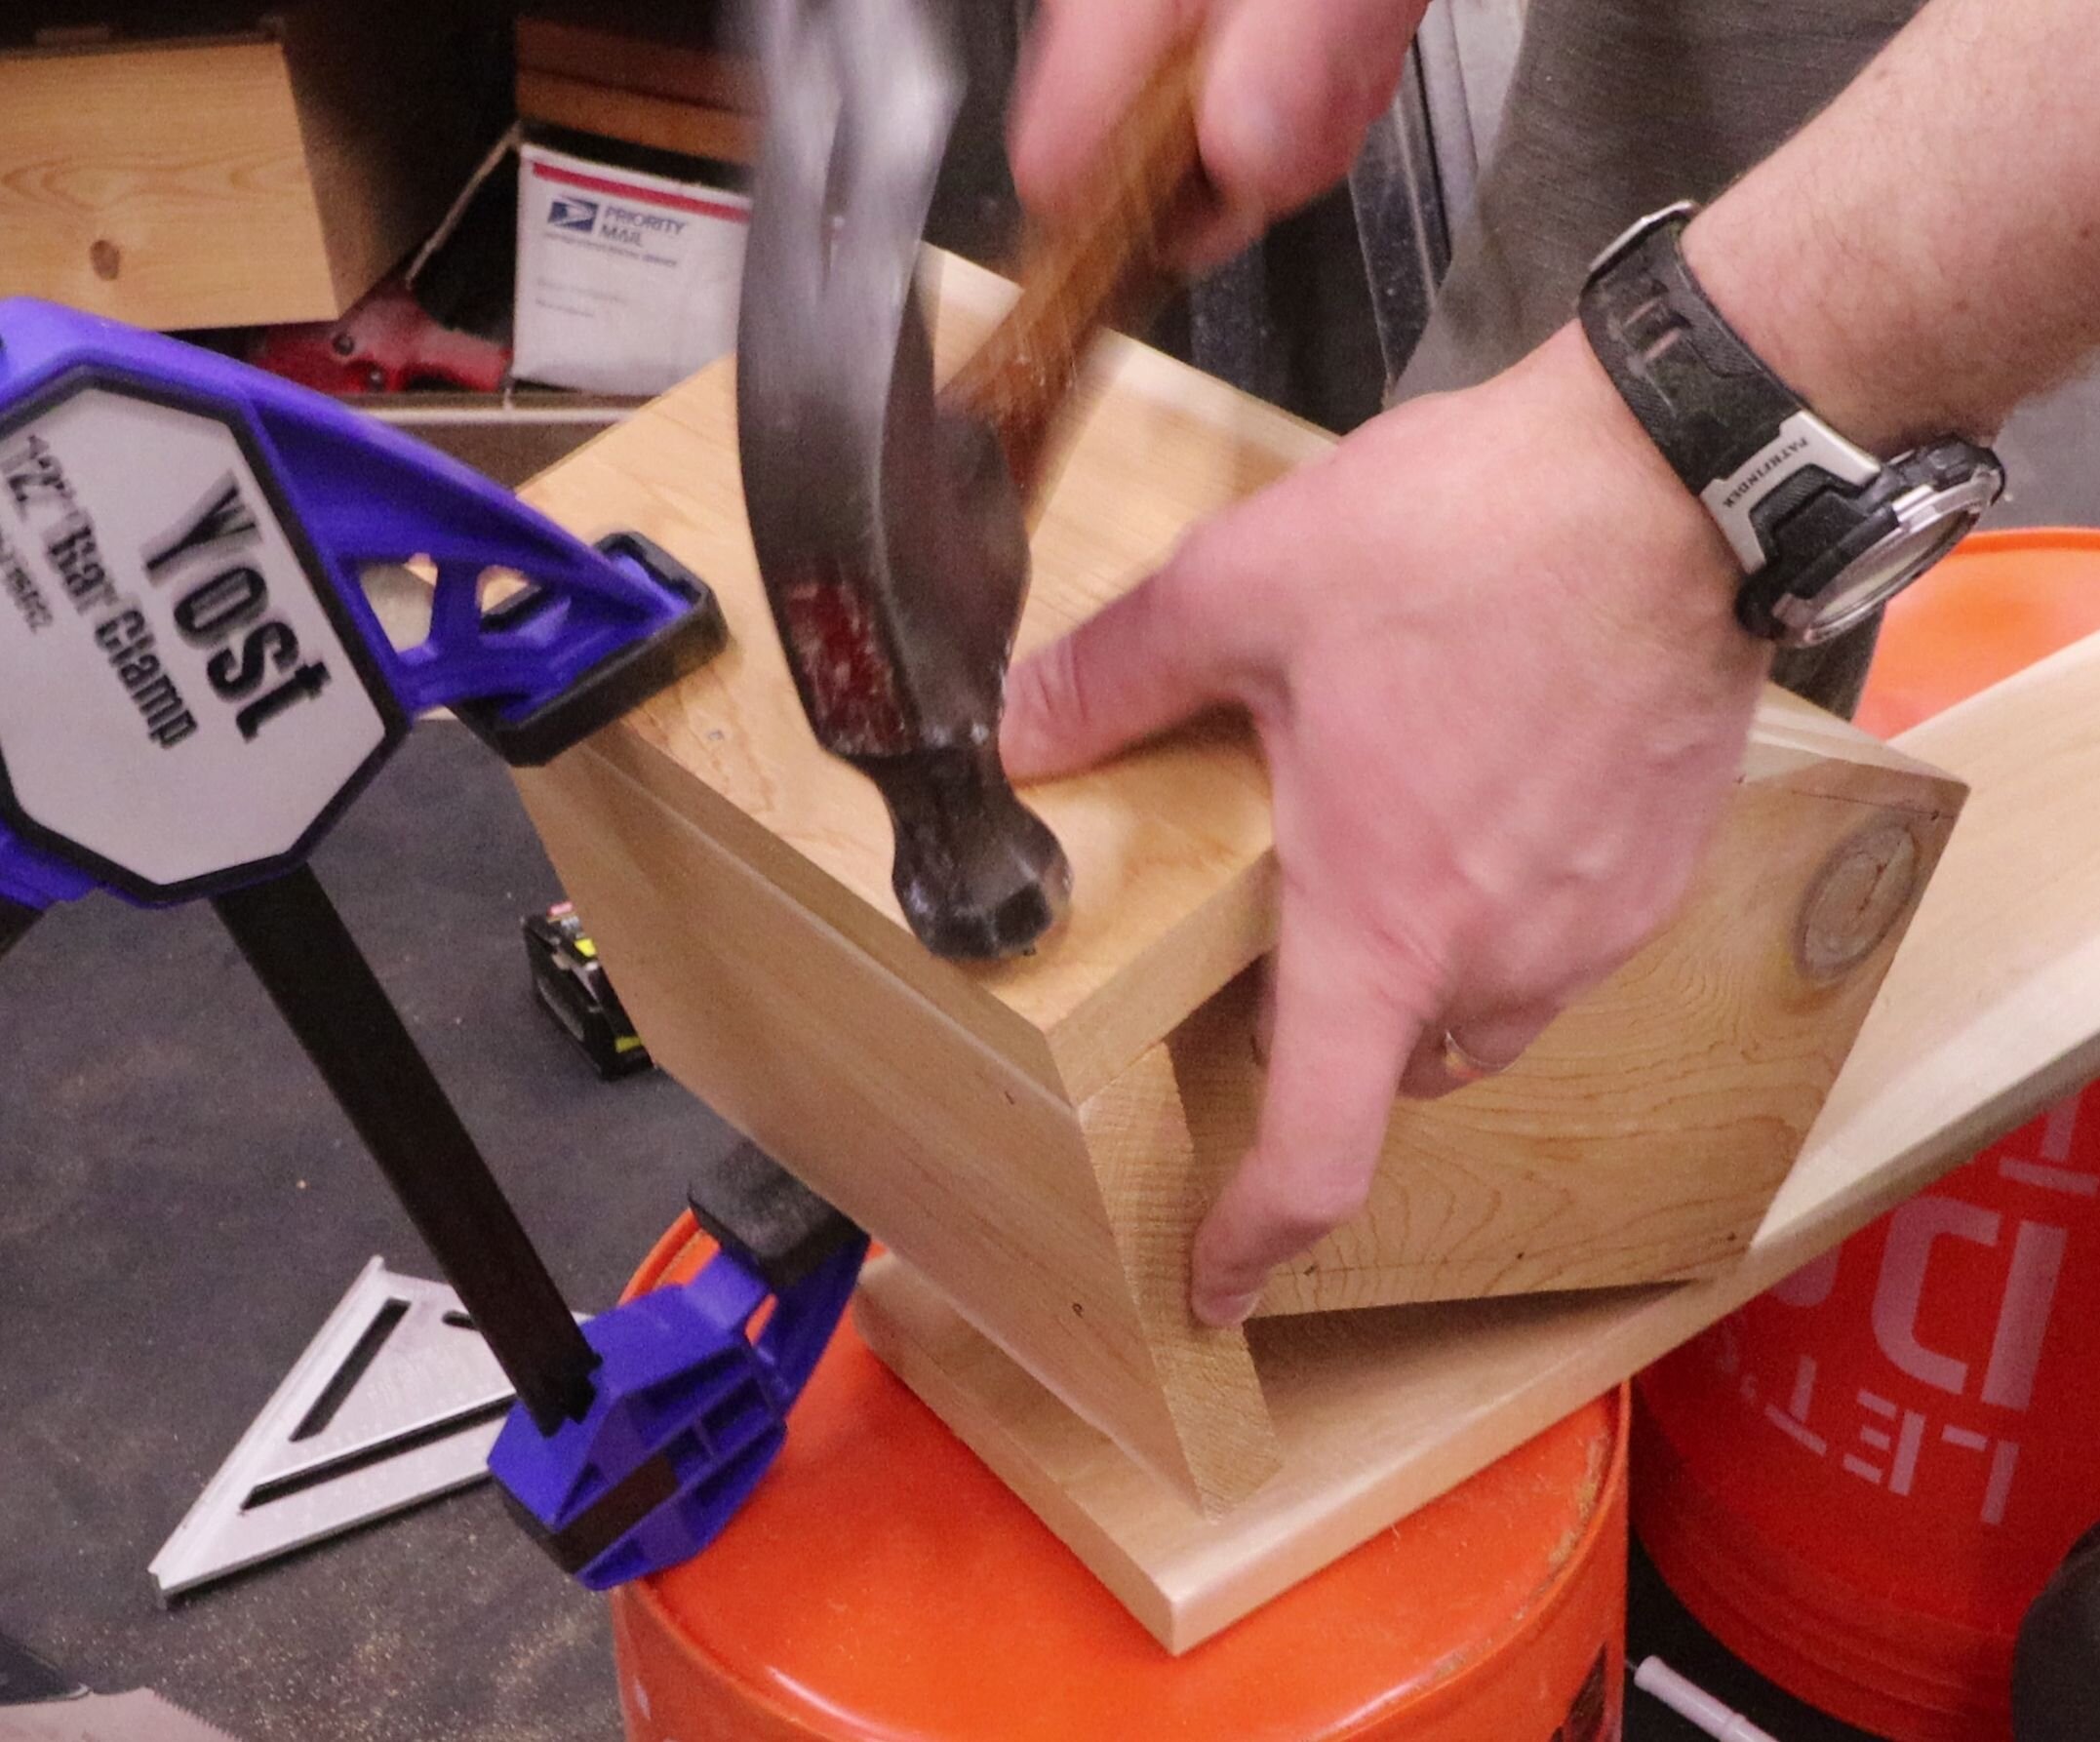
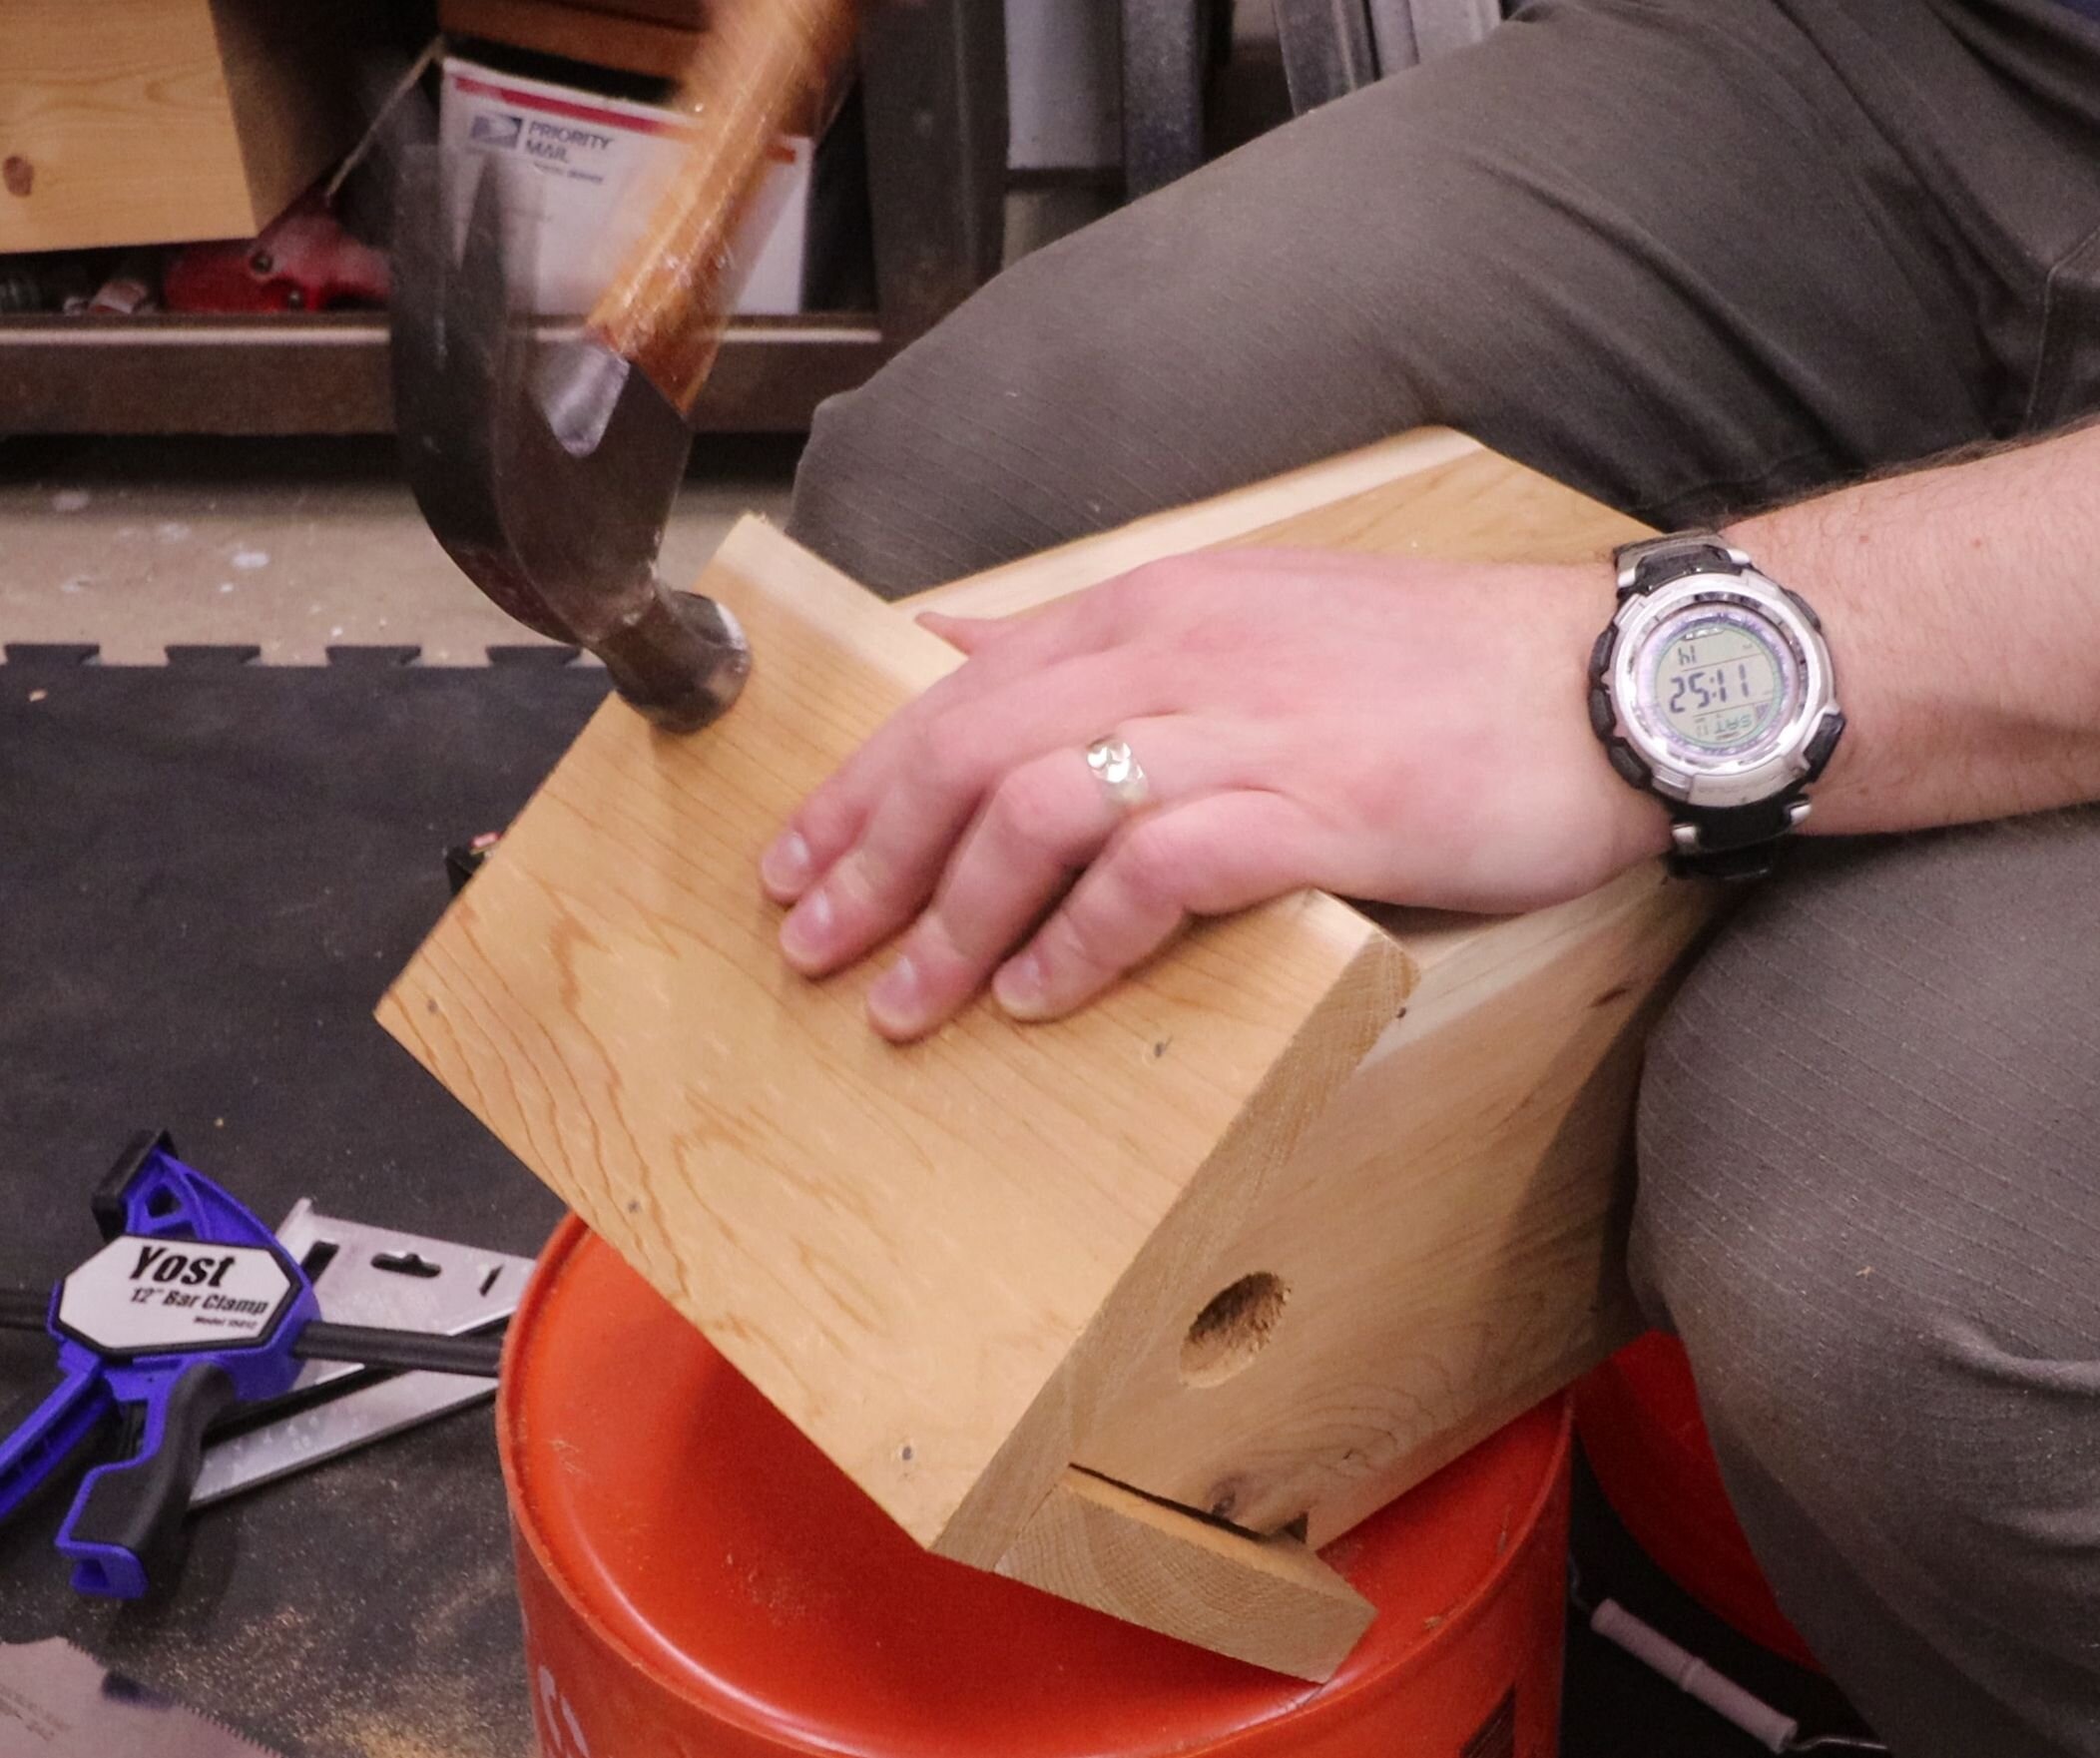
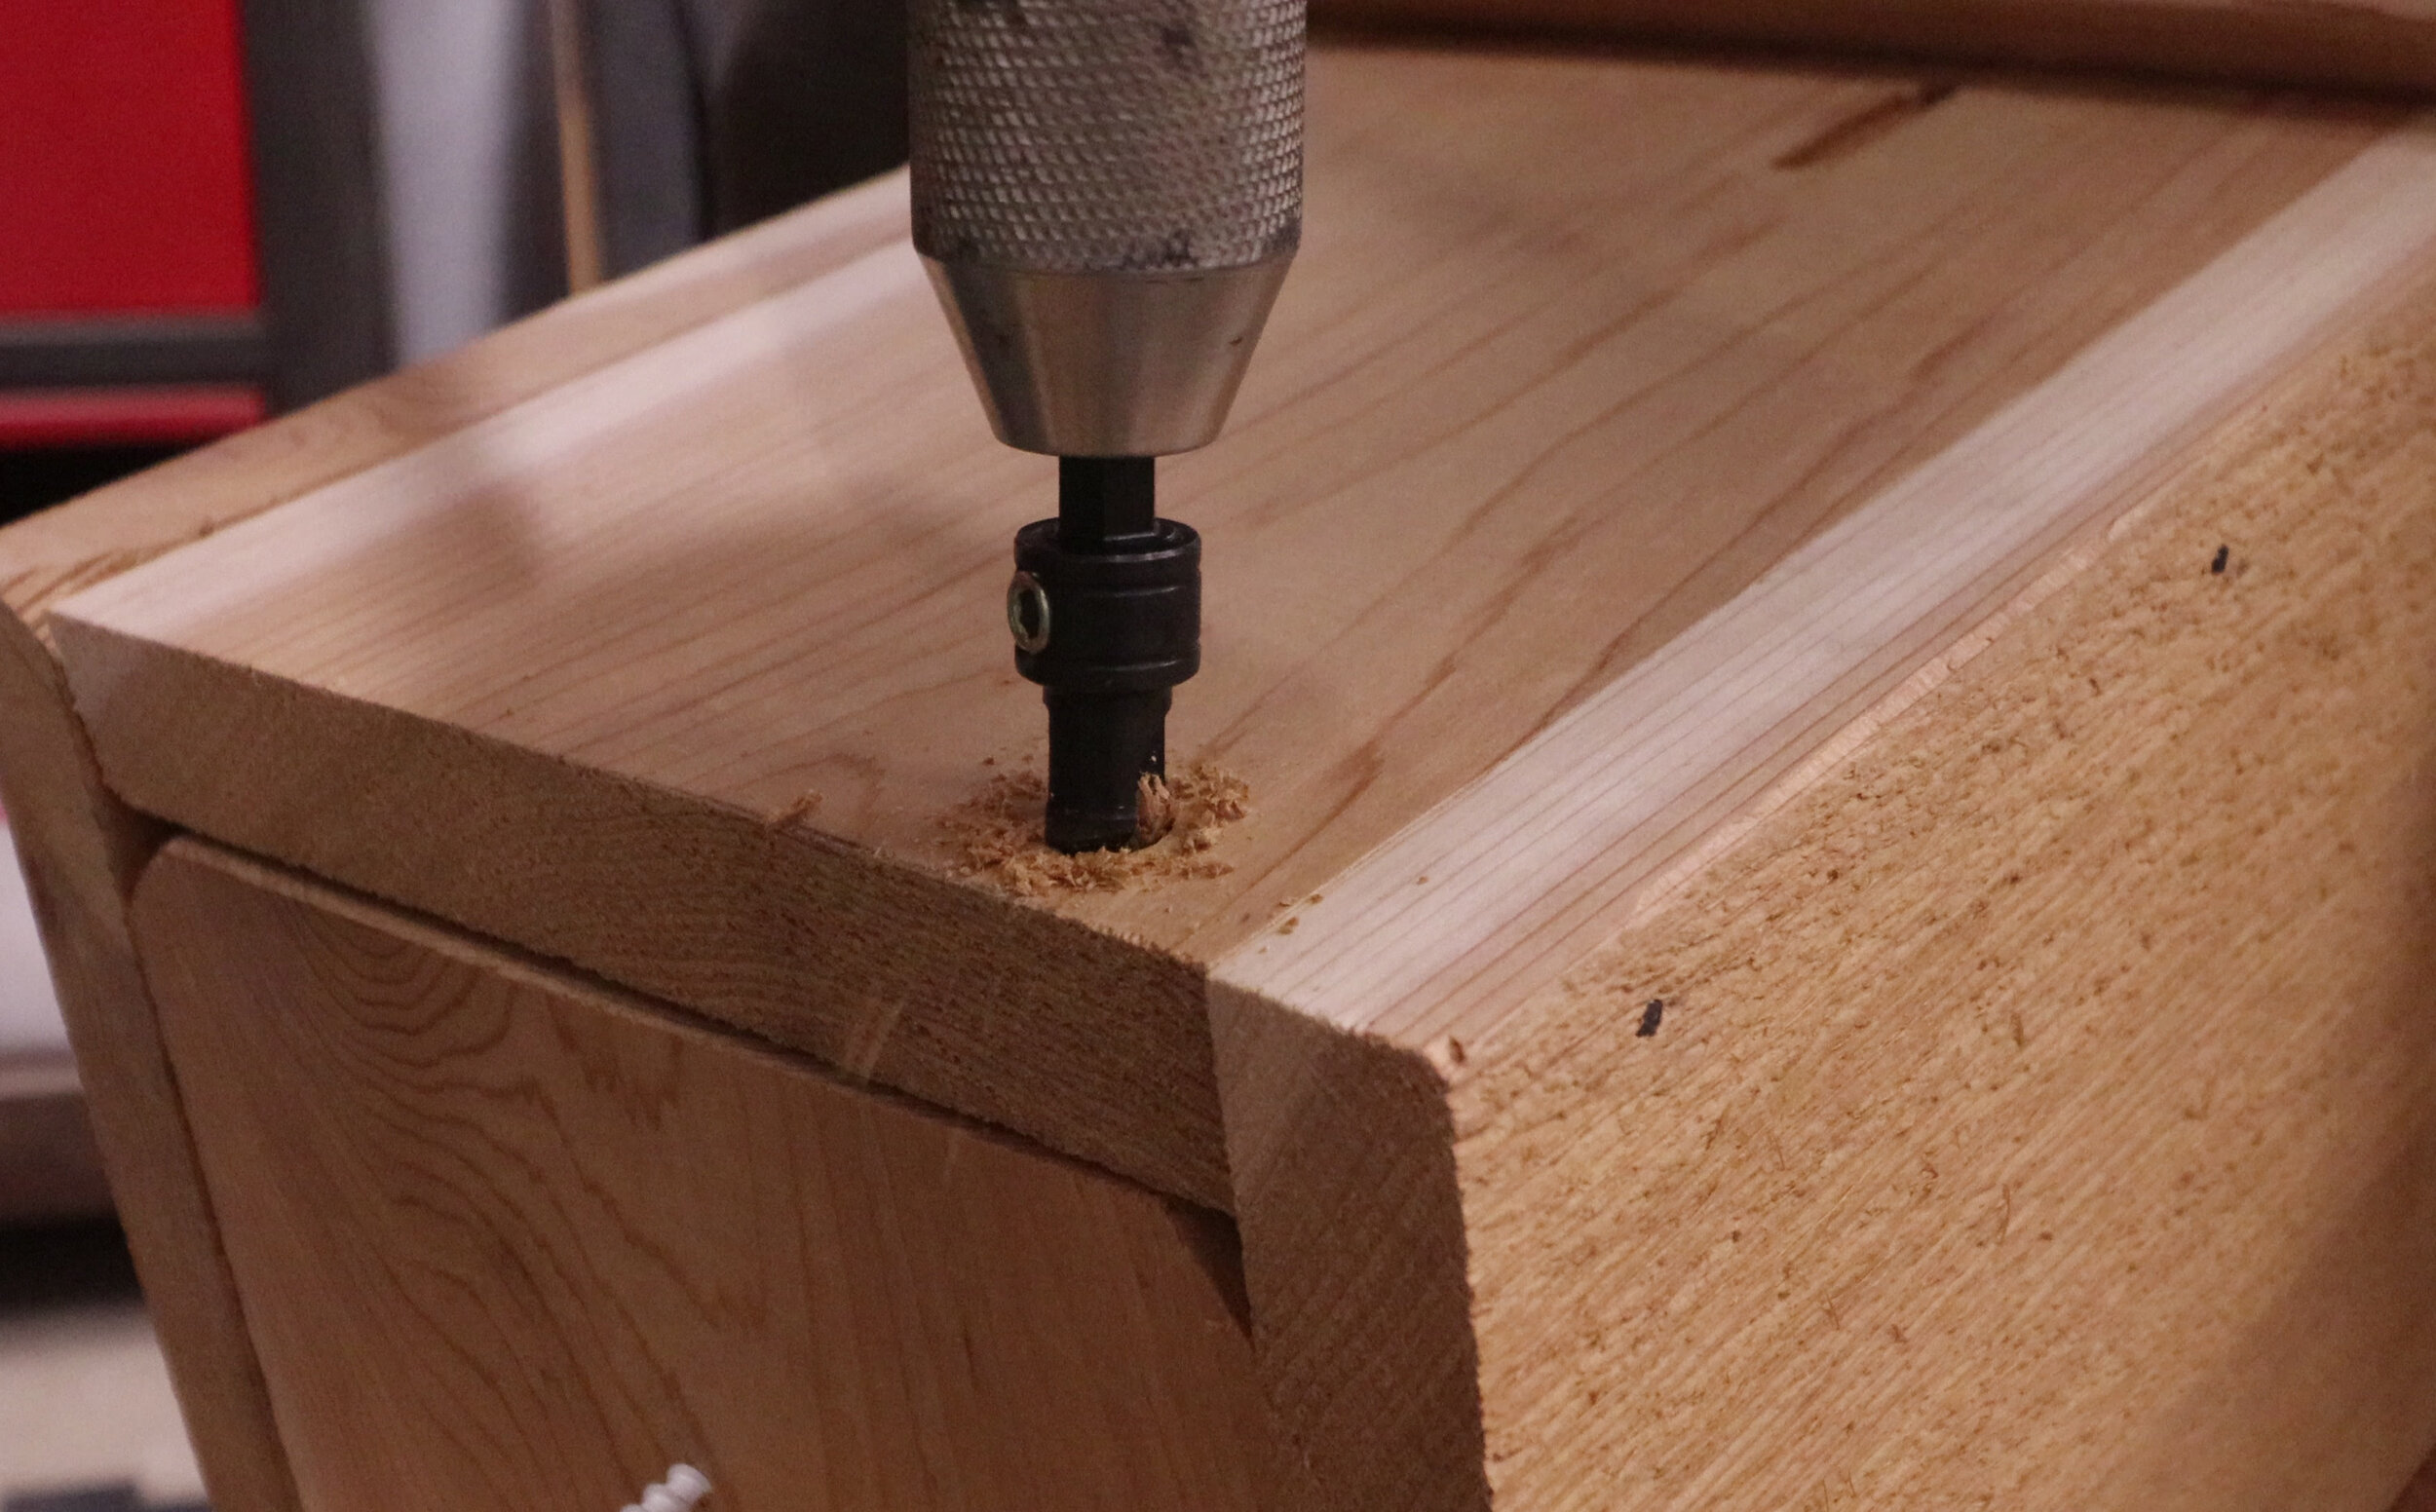
For assembling the roof to the birdhouse, it will be easiest to again pre-drill for the nails. Mark these locations out, then drill them out. Start the nails part way in the holes, but don’t pound them all the way in just yet. Line the roof board up on the birdhouse and tack a couple of the nails in for placement. Then drive them all home once satisfied with the location of the board.
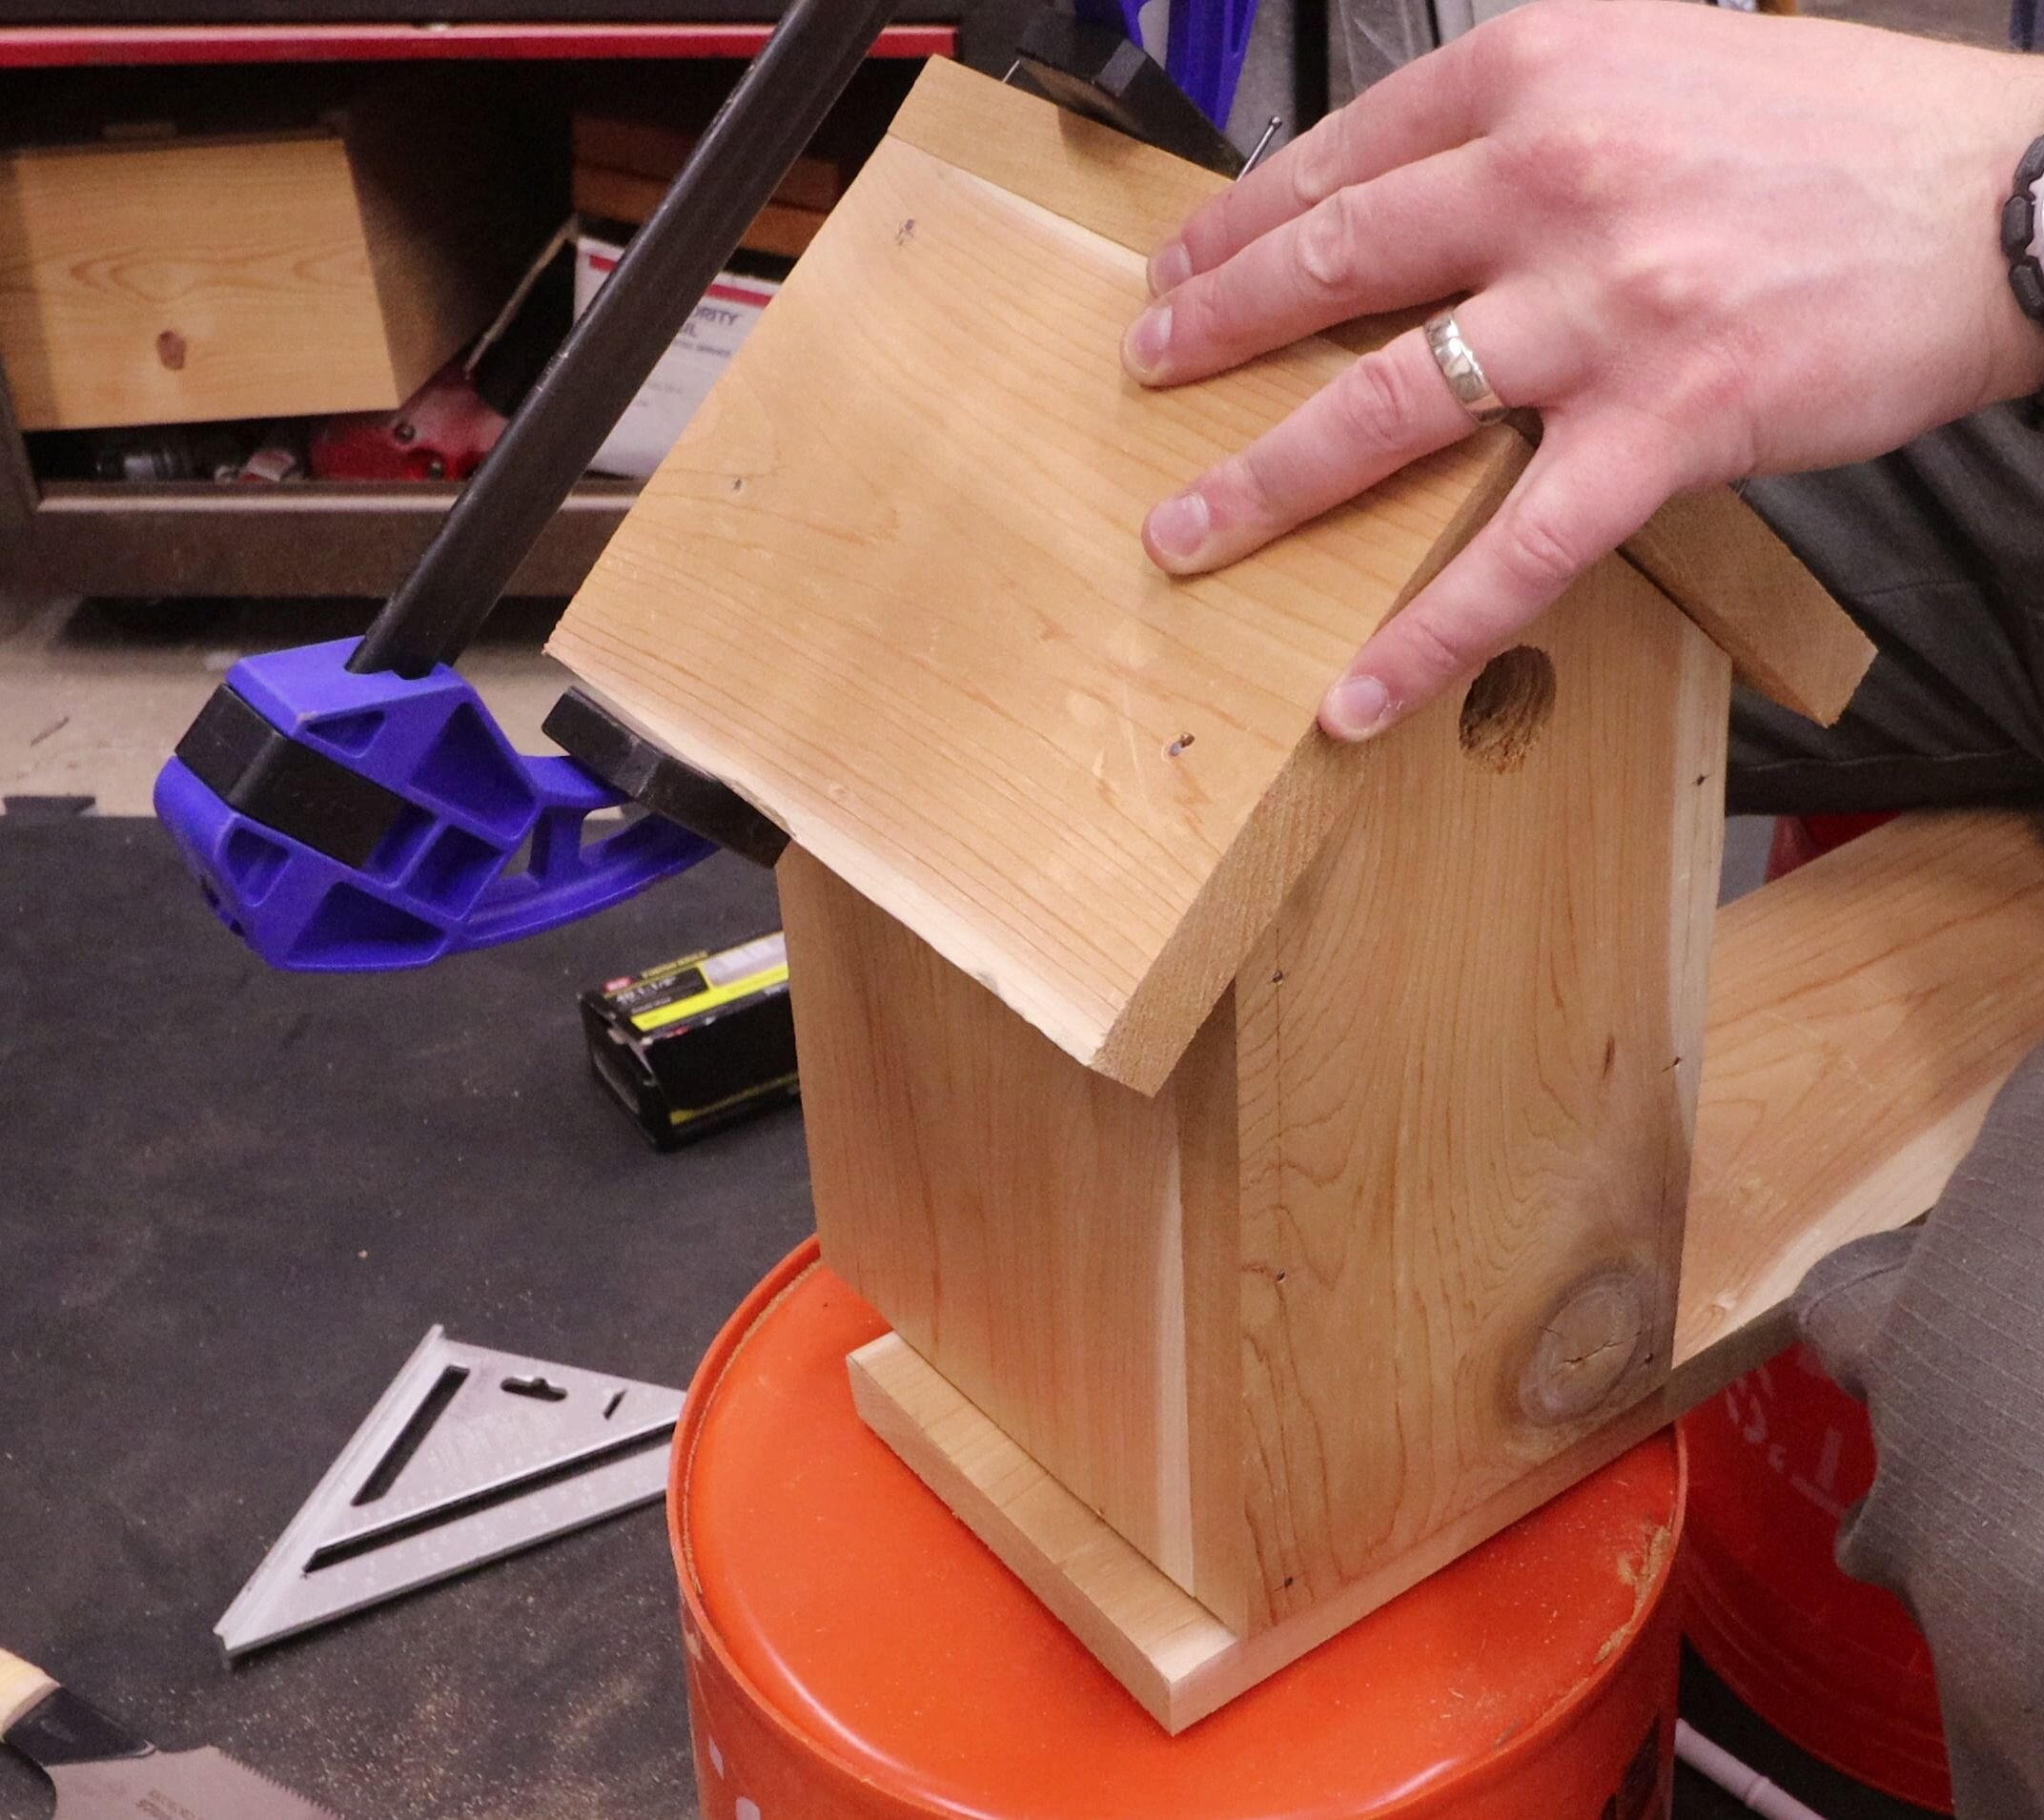
Take the second roof piece and mark it for nails – three into the first roof piece, and two more into the walls. Drill the pilot holes. Start the nails in the holes. Then attach the piece to the birdhouse. A clamp is helpful here to hold things in place.
Alternatively, it might be easier to first attach the two roof pieces to each other, and then attach the whole roof assembly to the rest of the birdhouse.
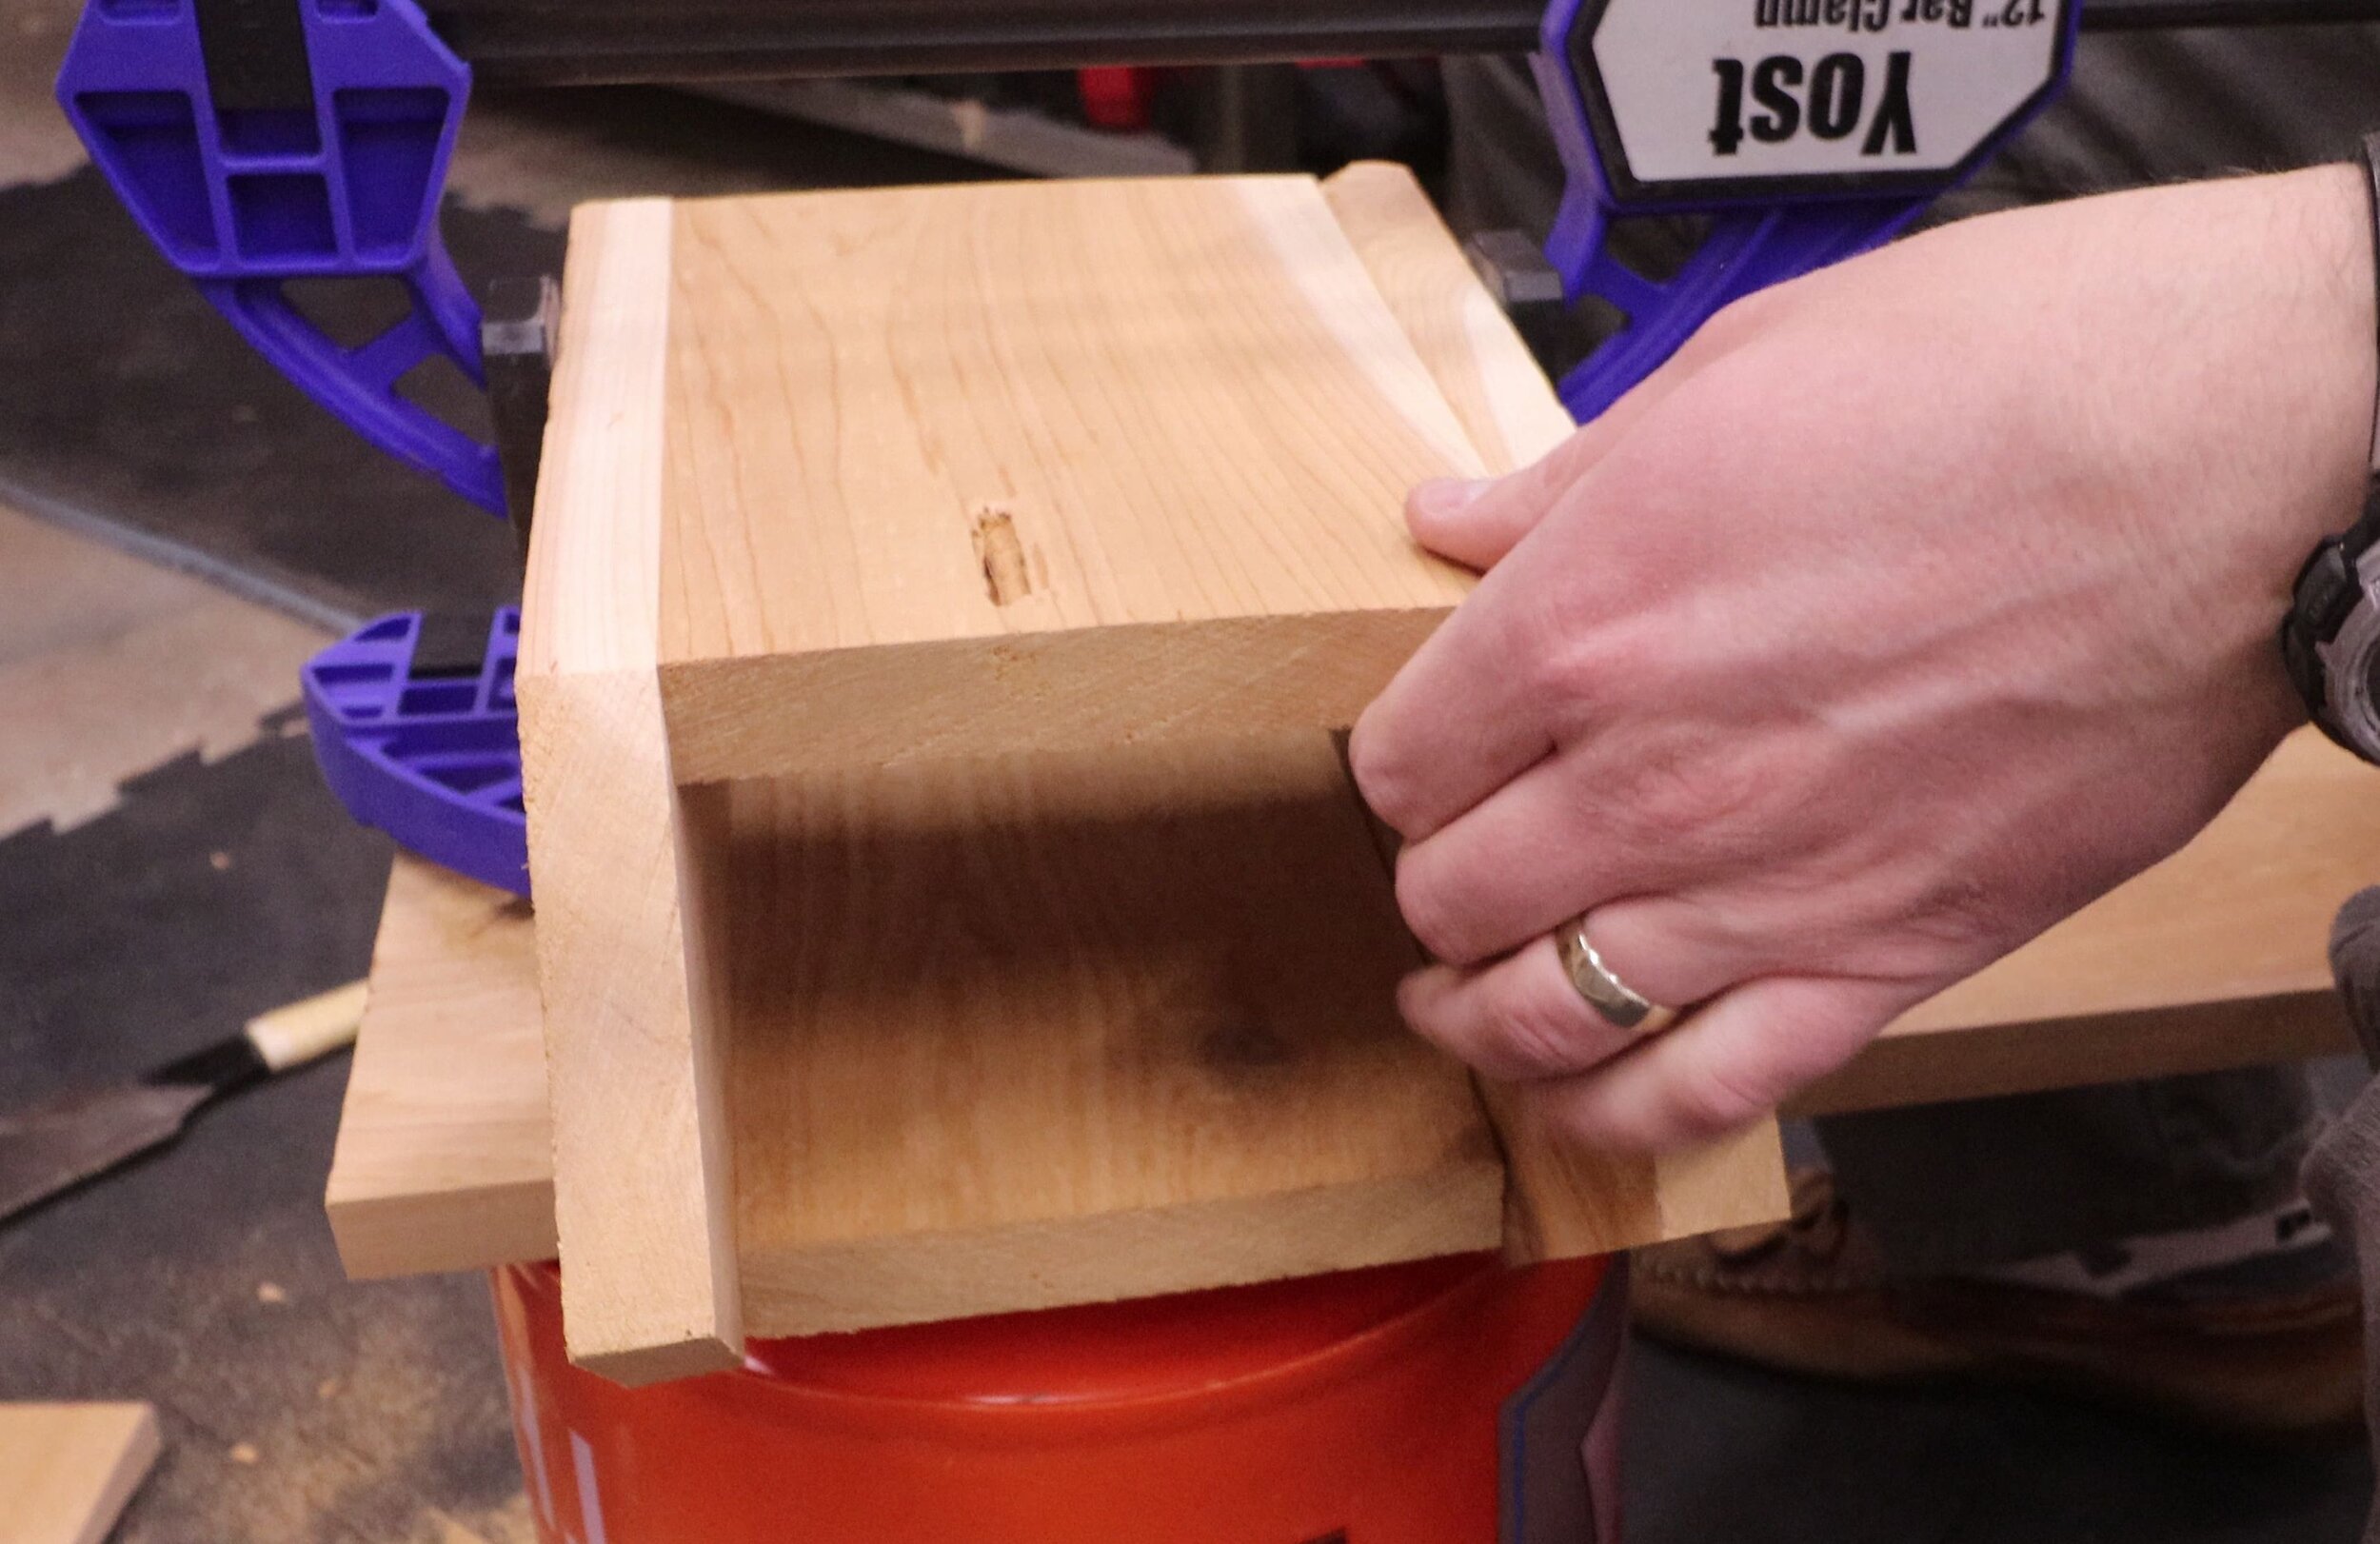
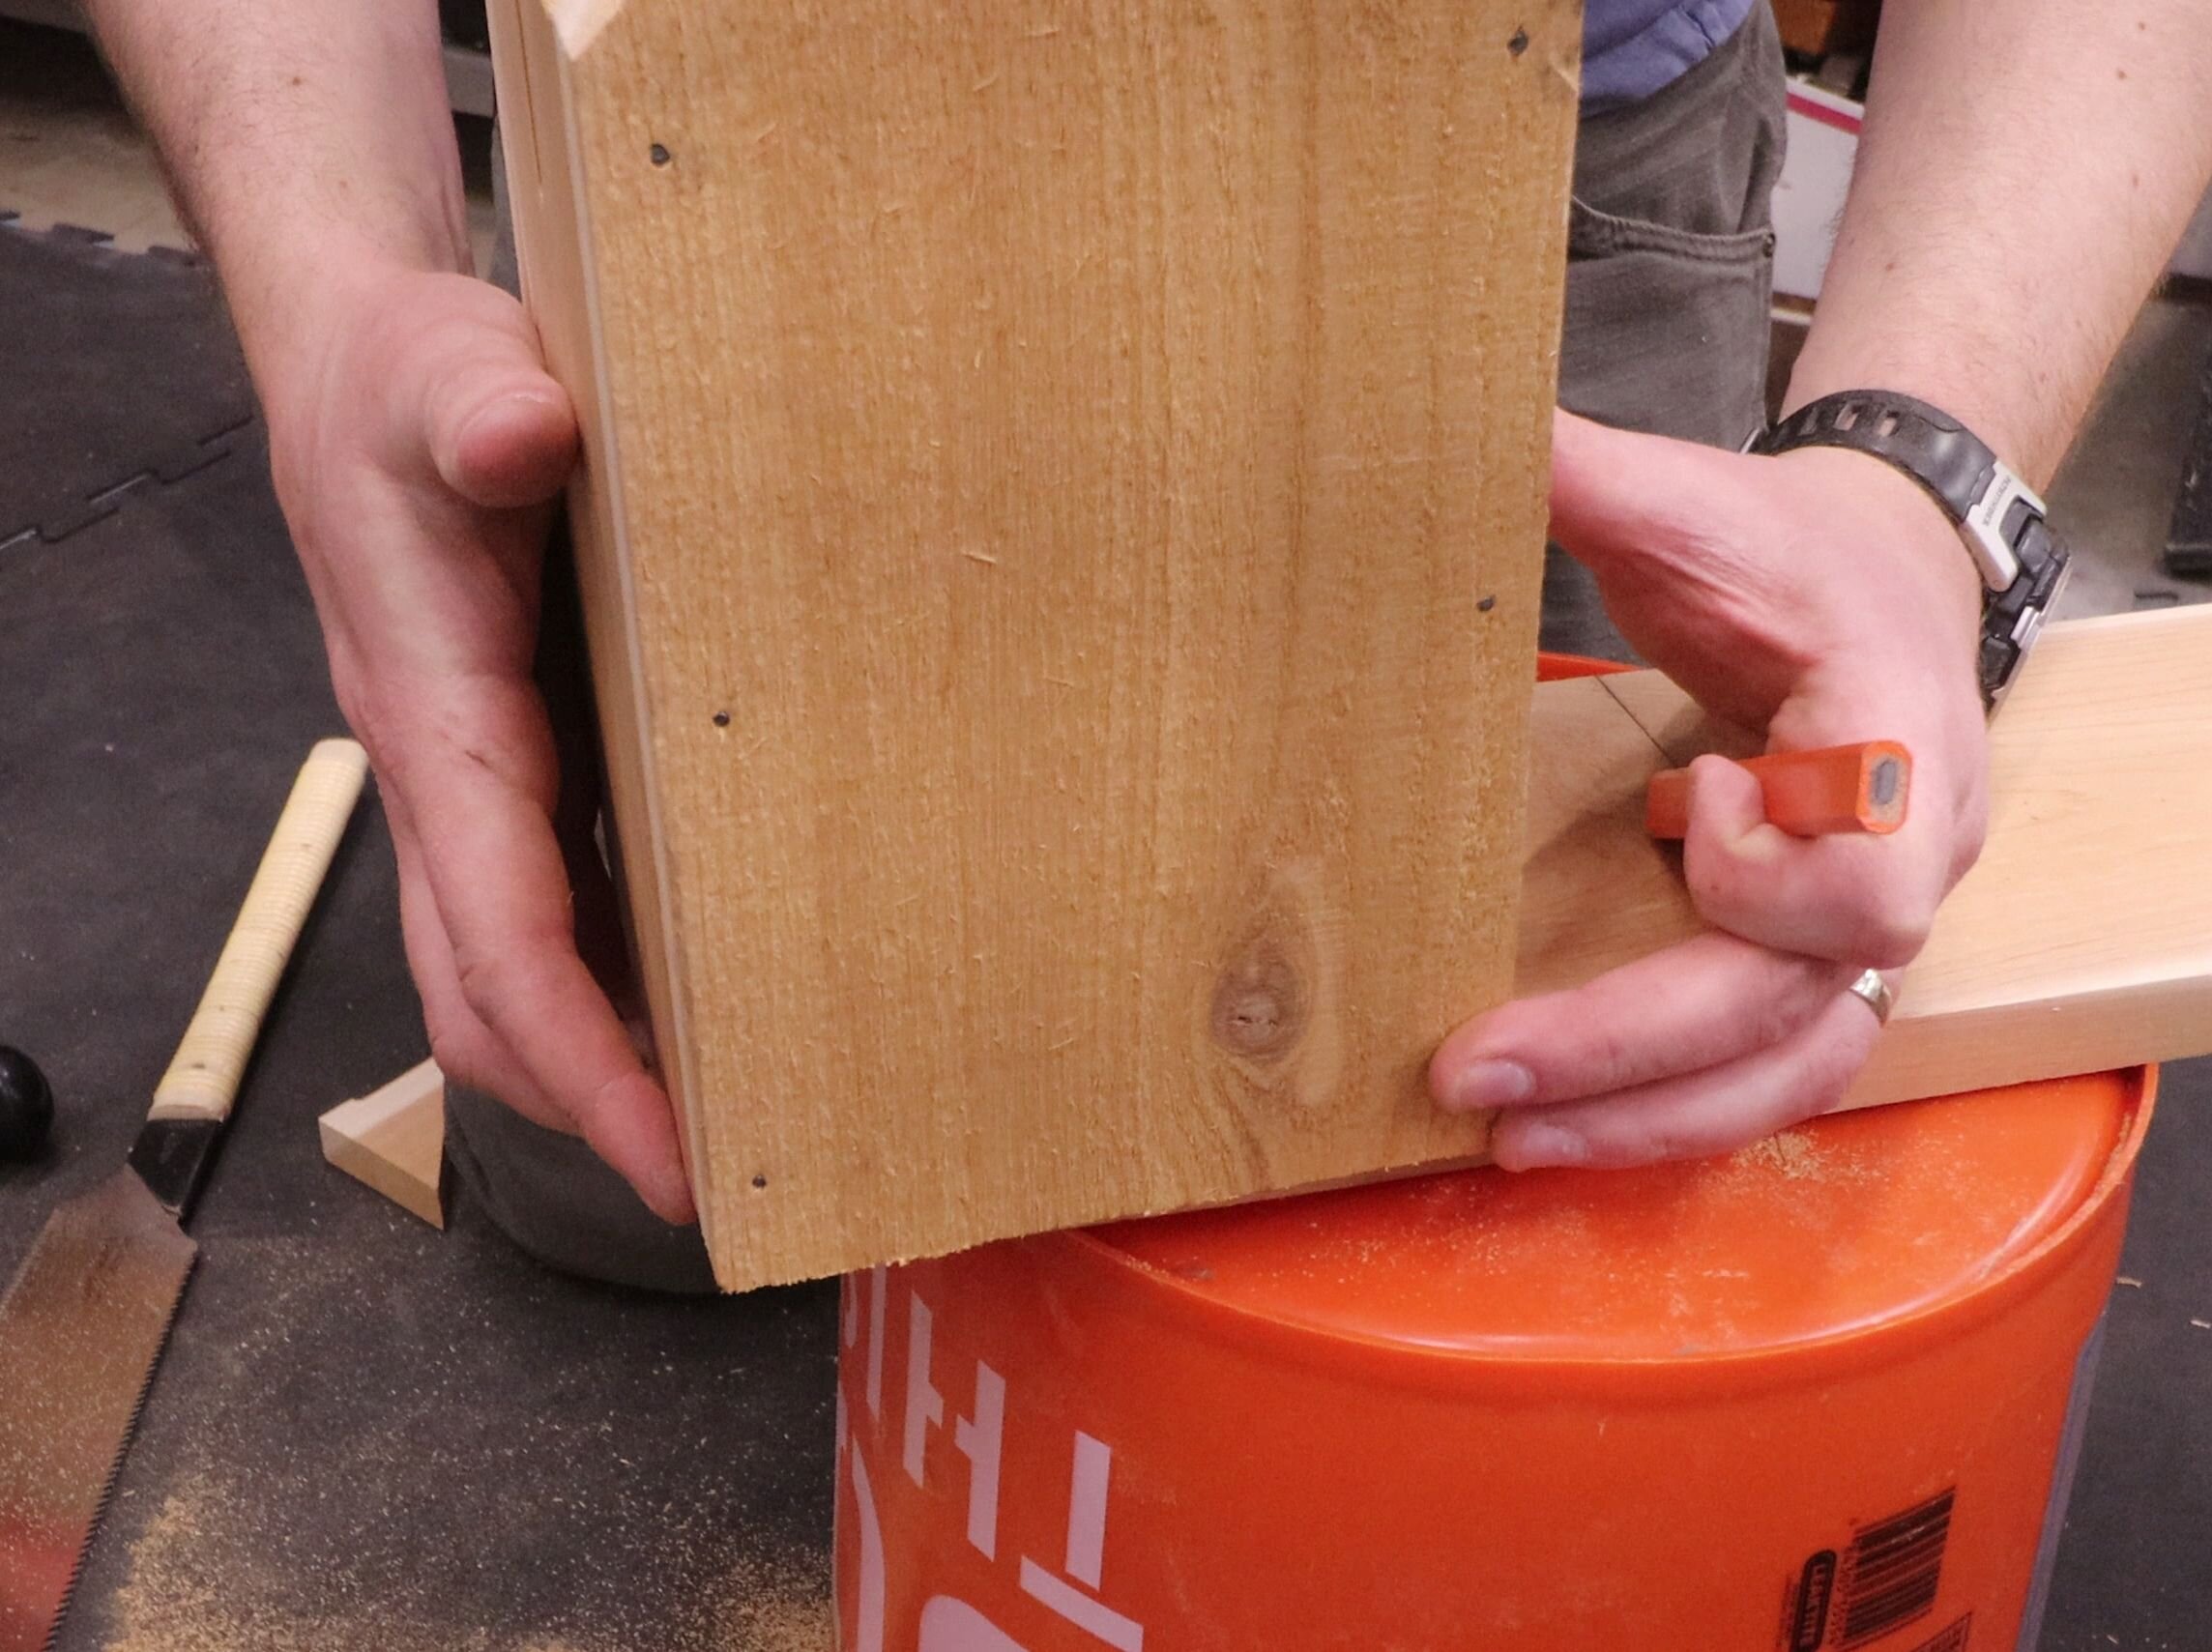
Use the birdhouse to trace the width of the bottom piece. It should be about 3-3/4", but size this to fit the opening with a light friction fit.
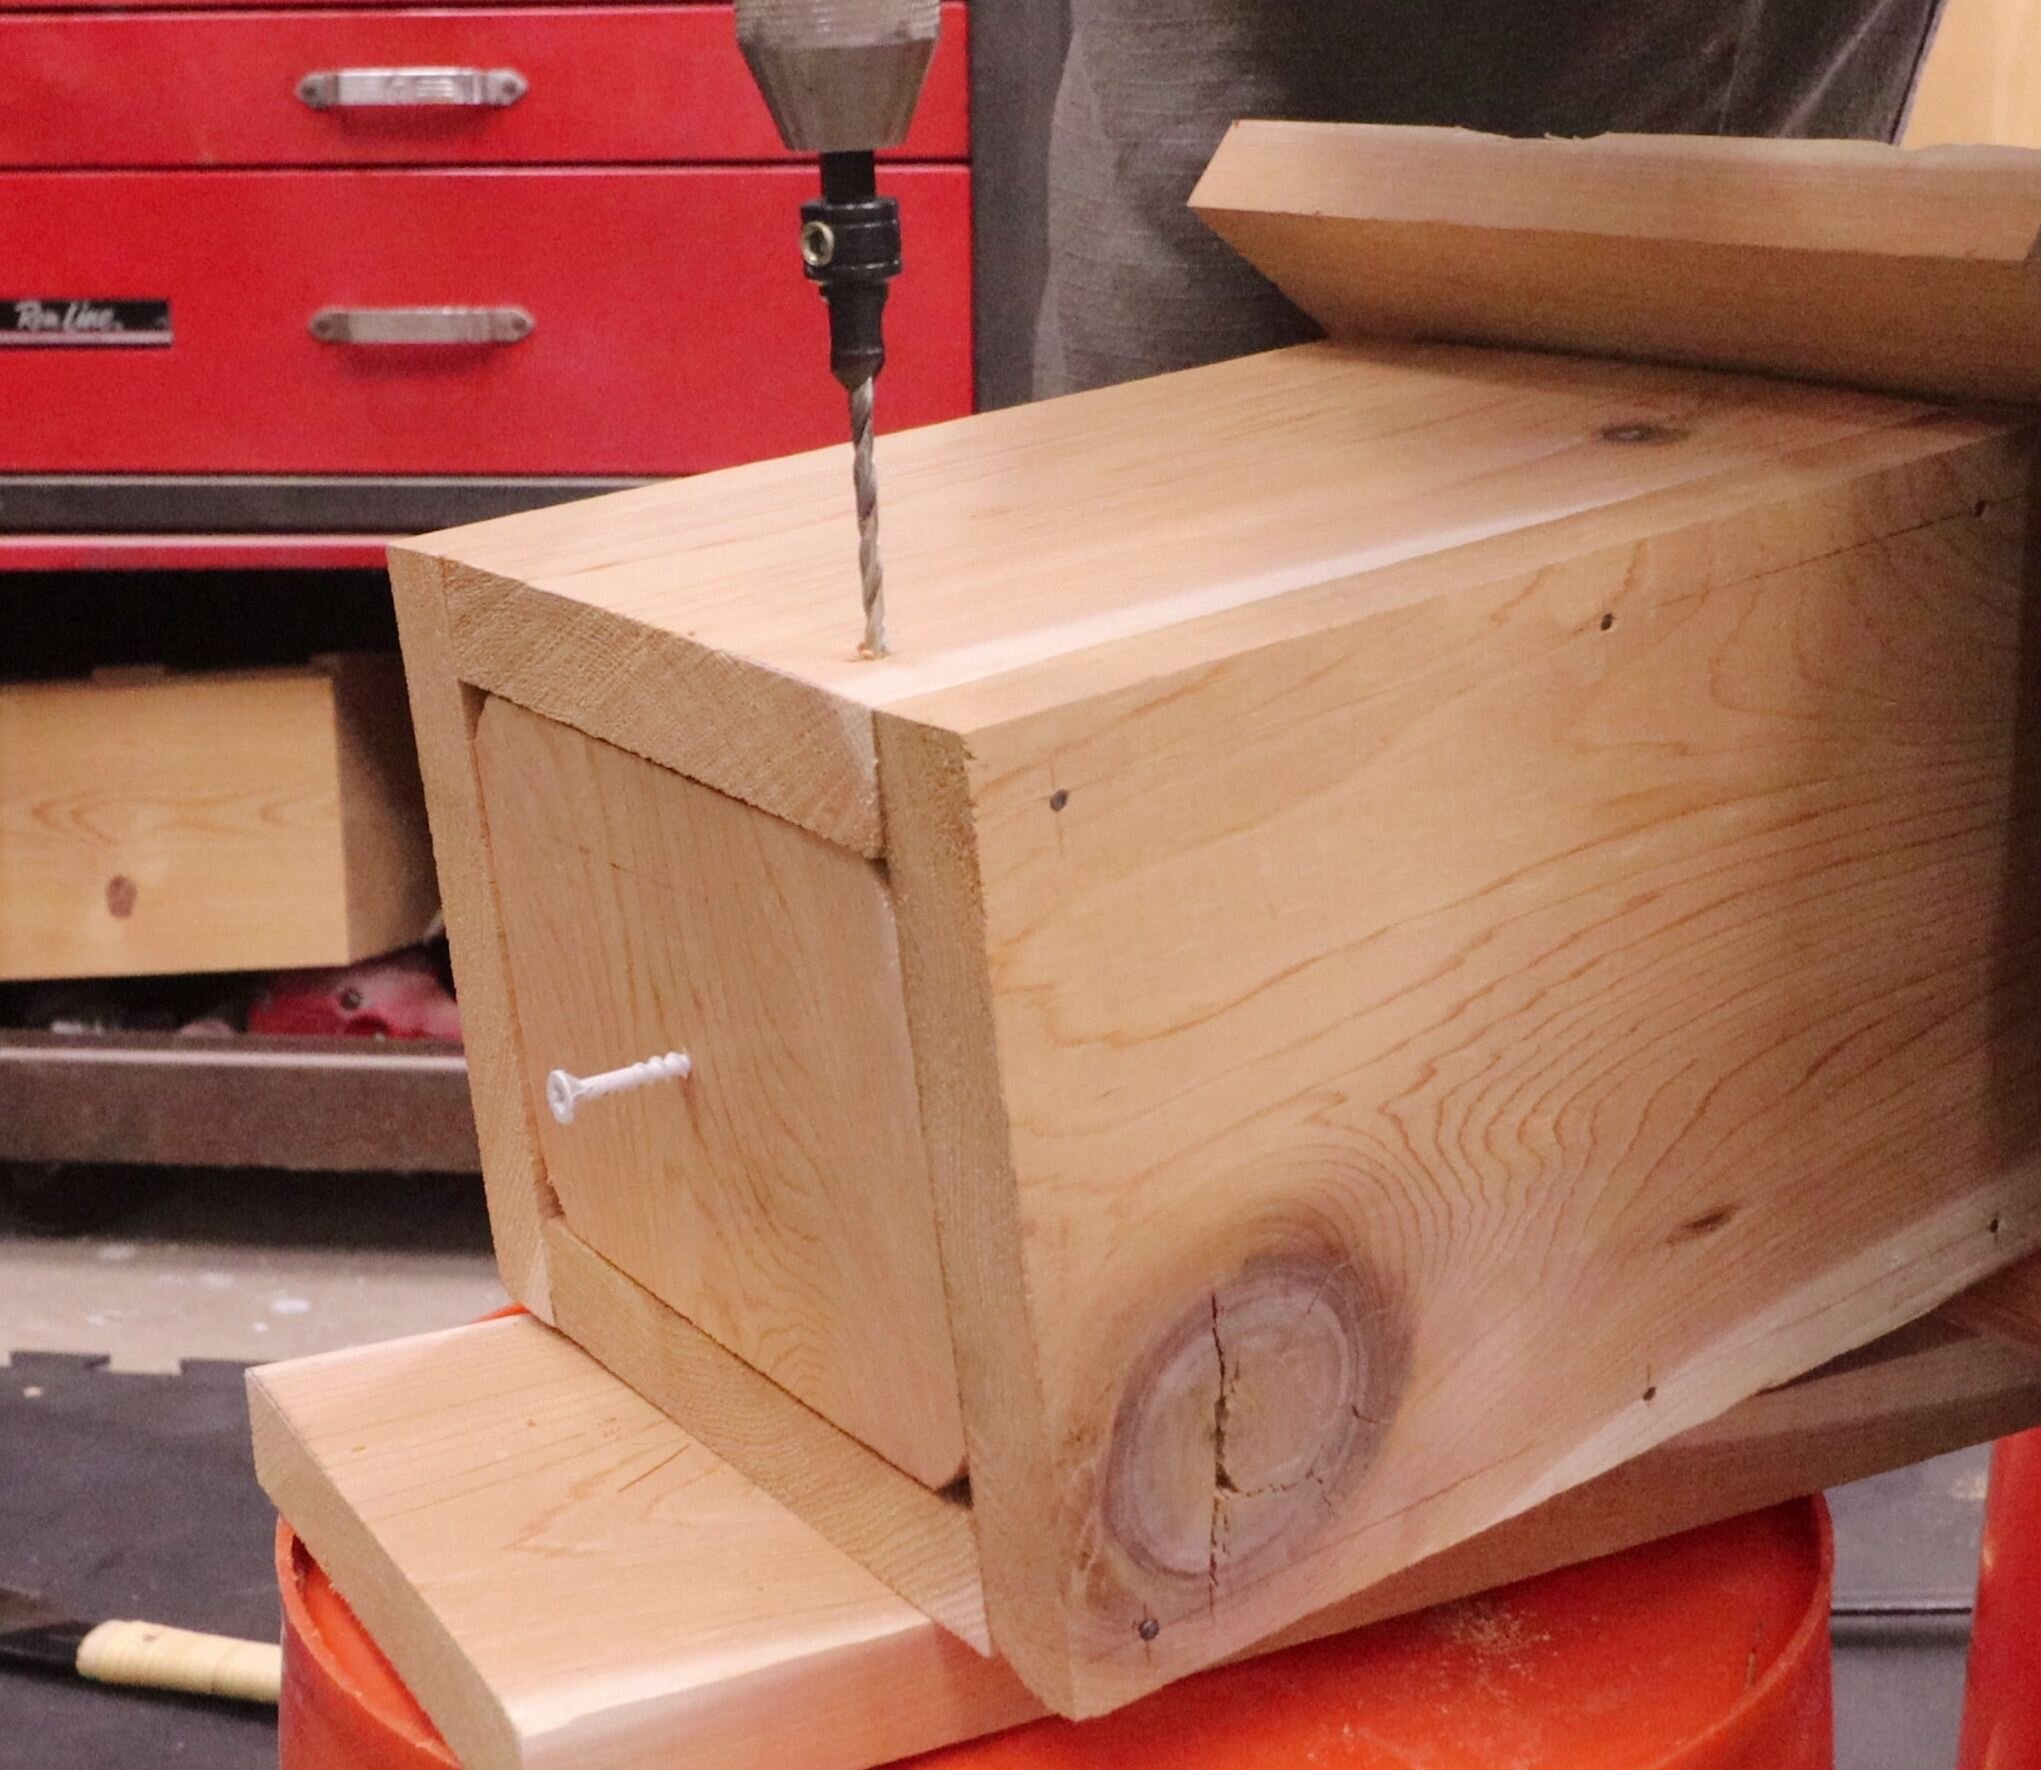
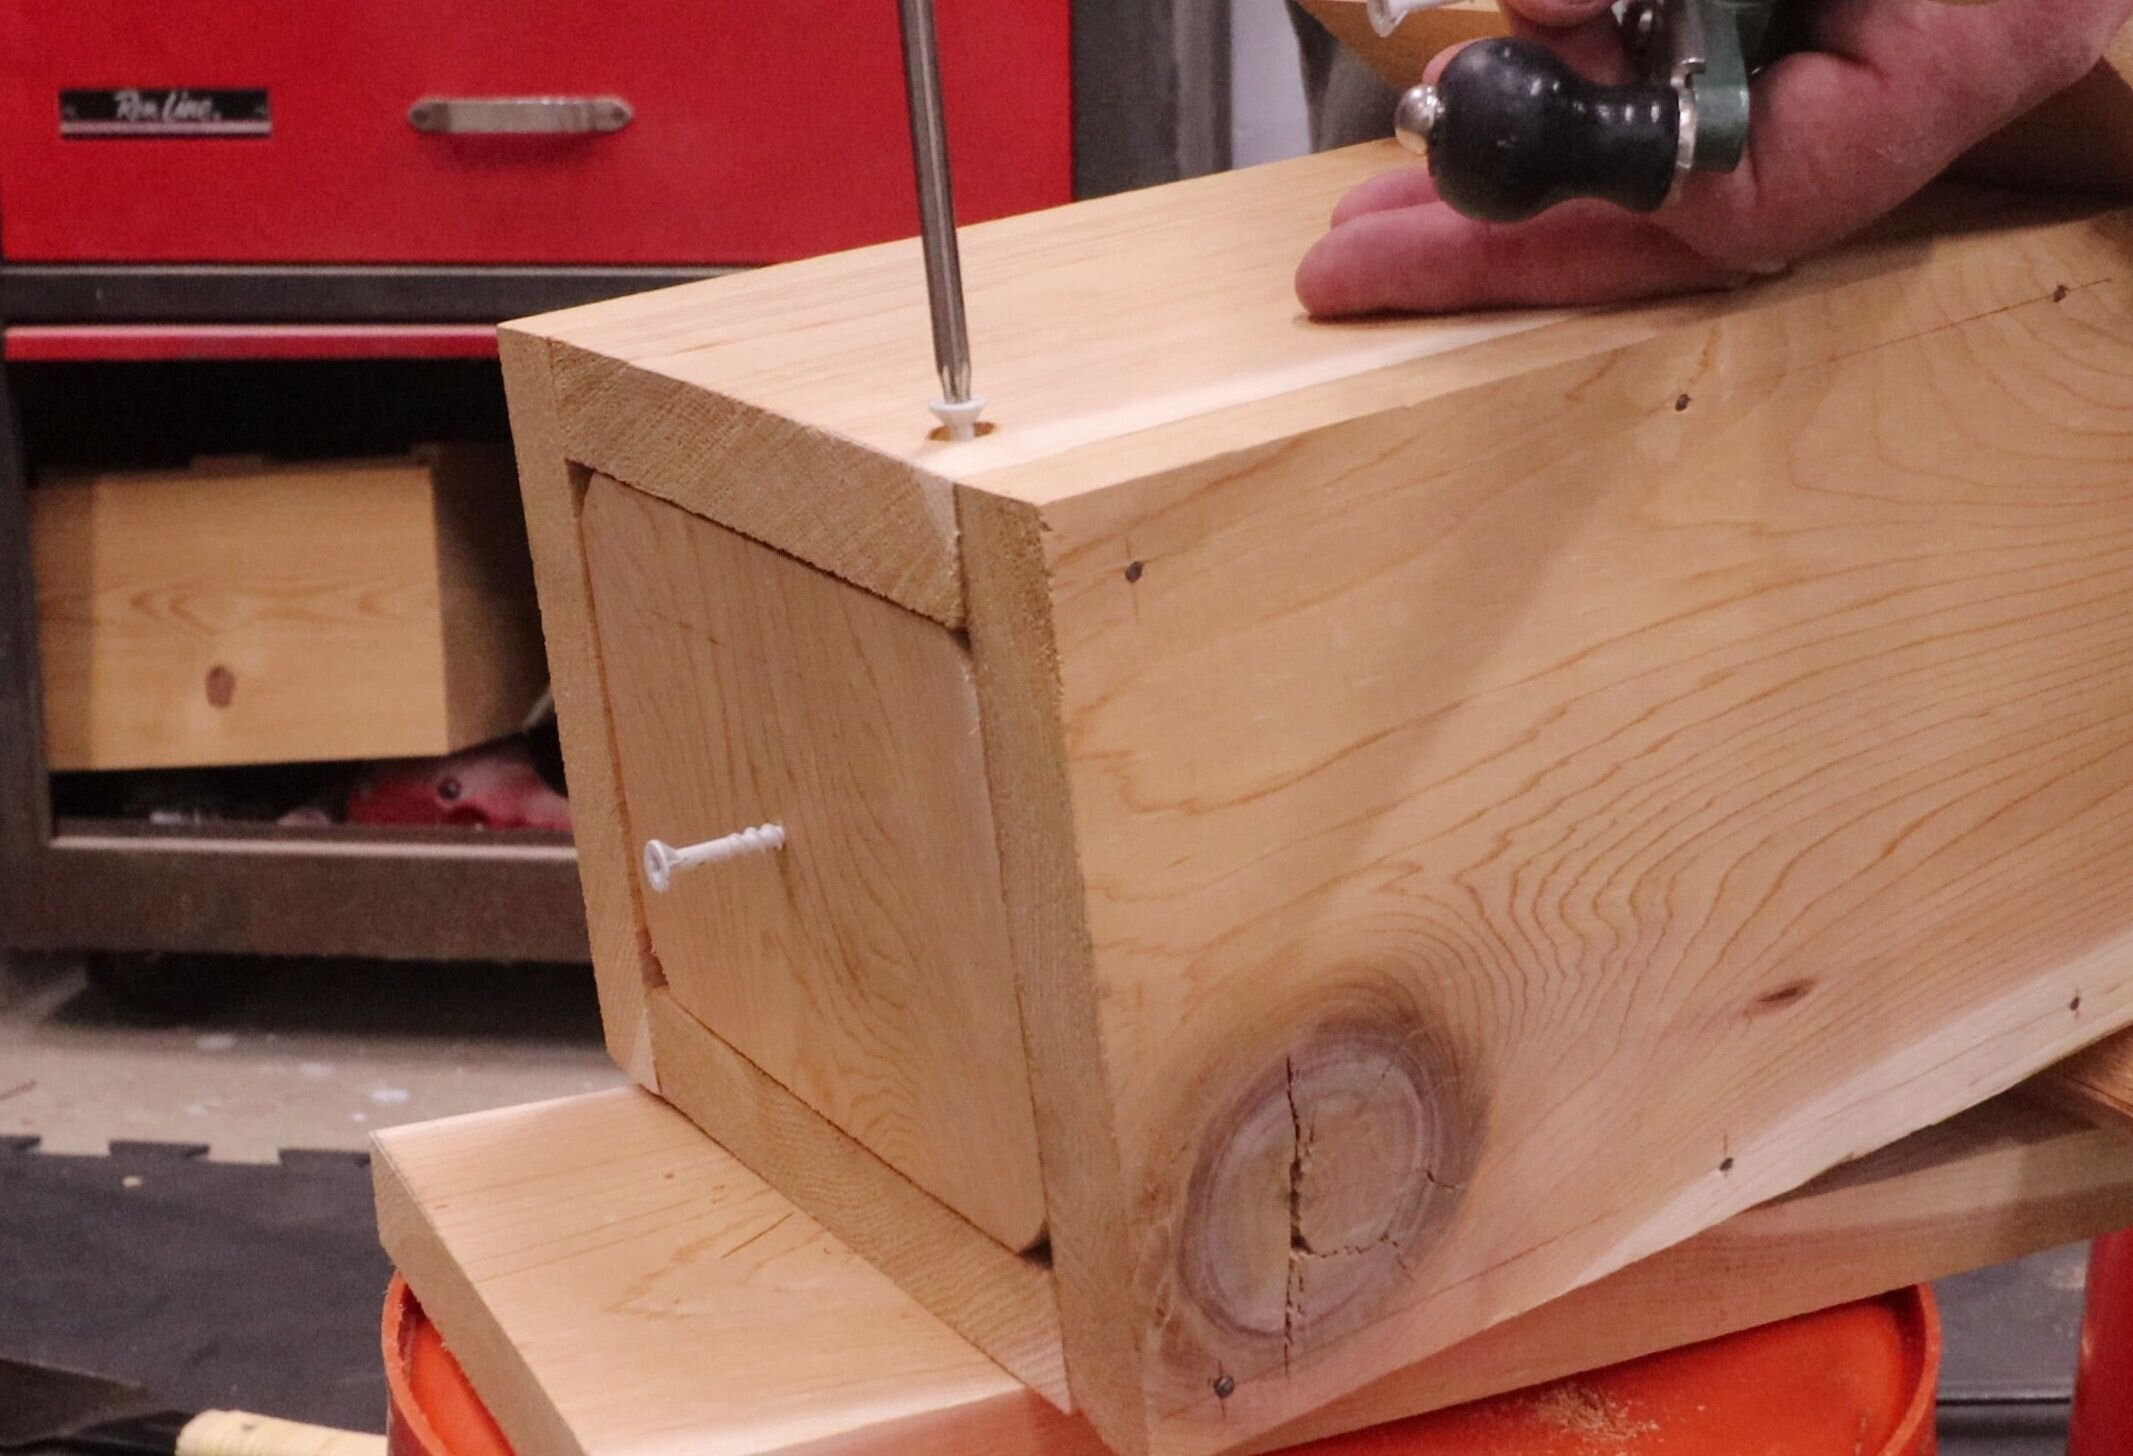
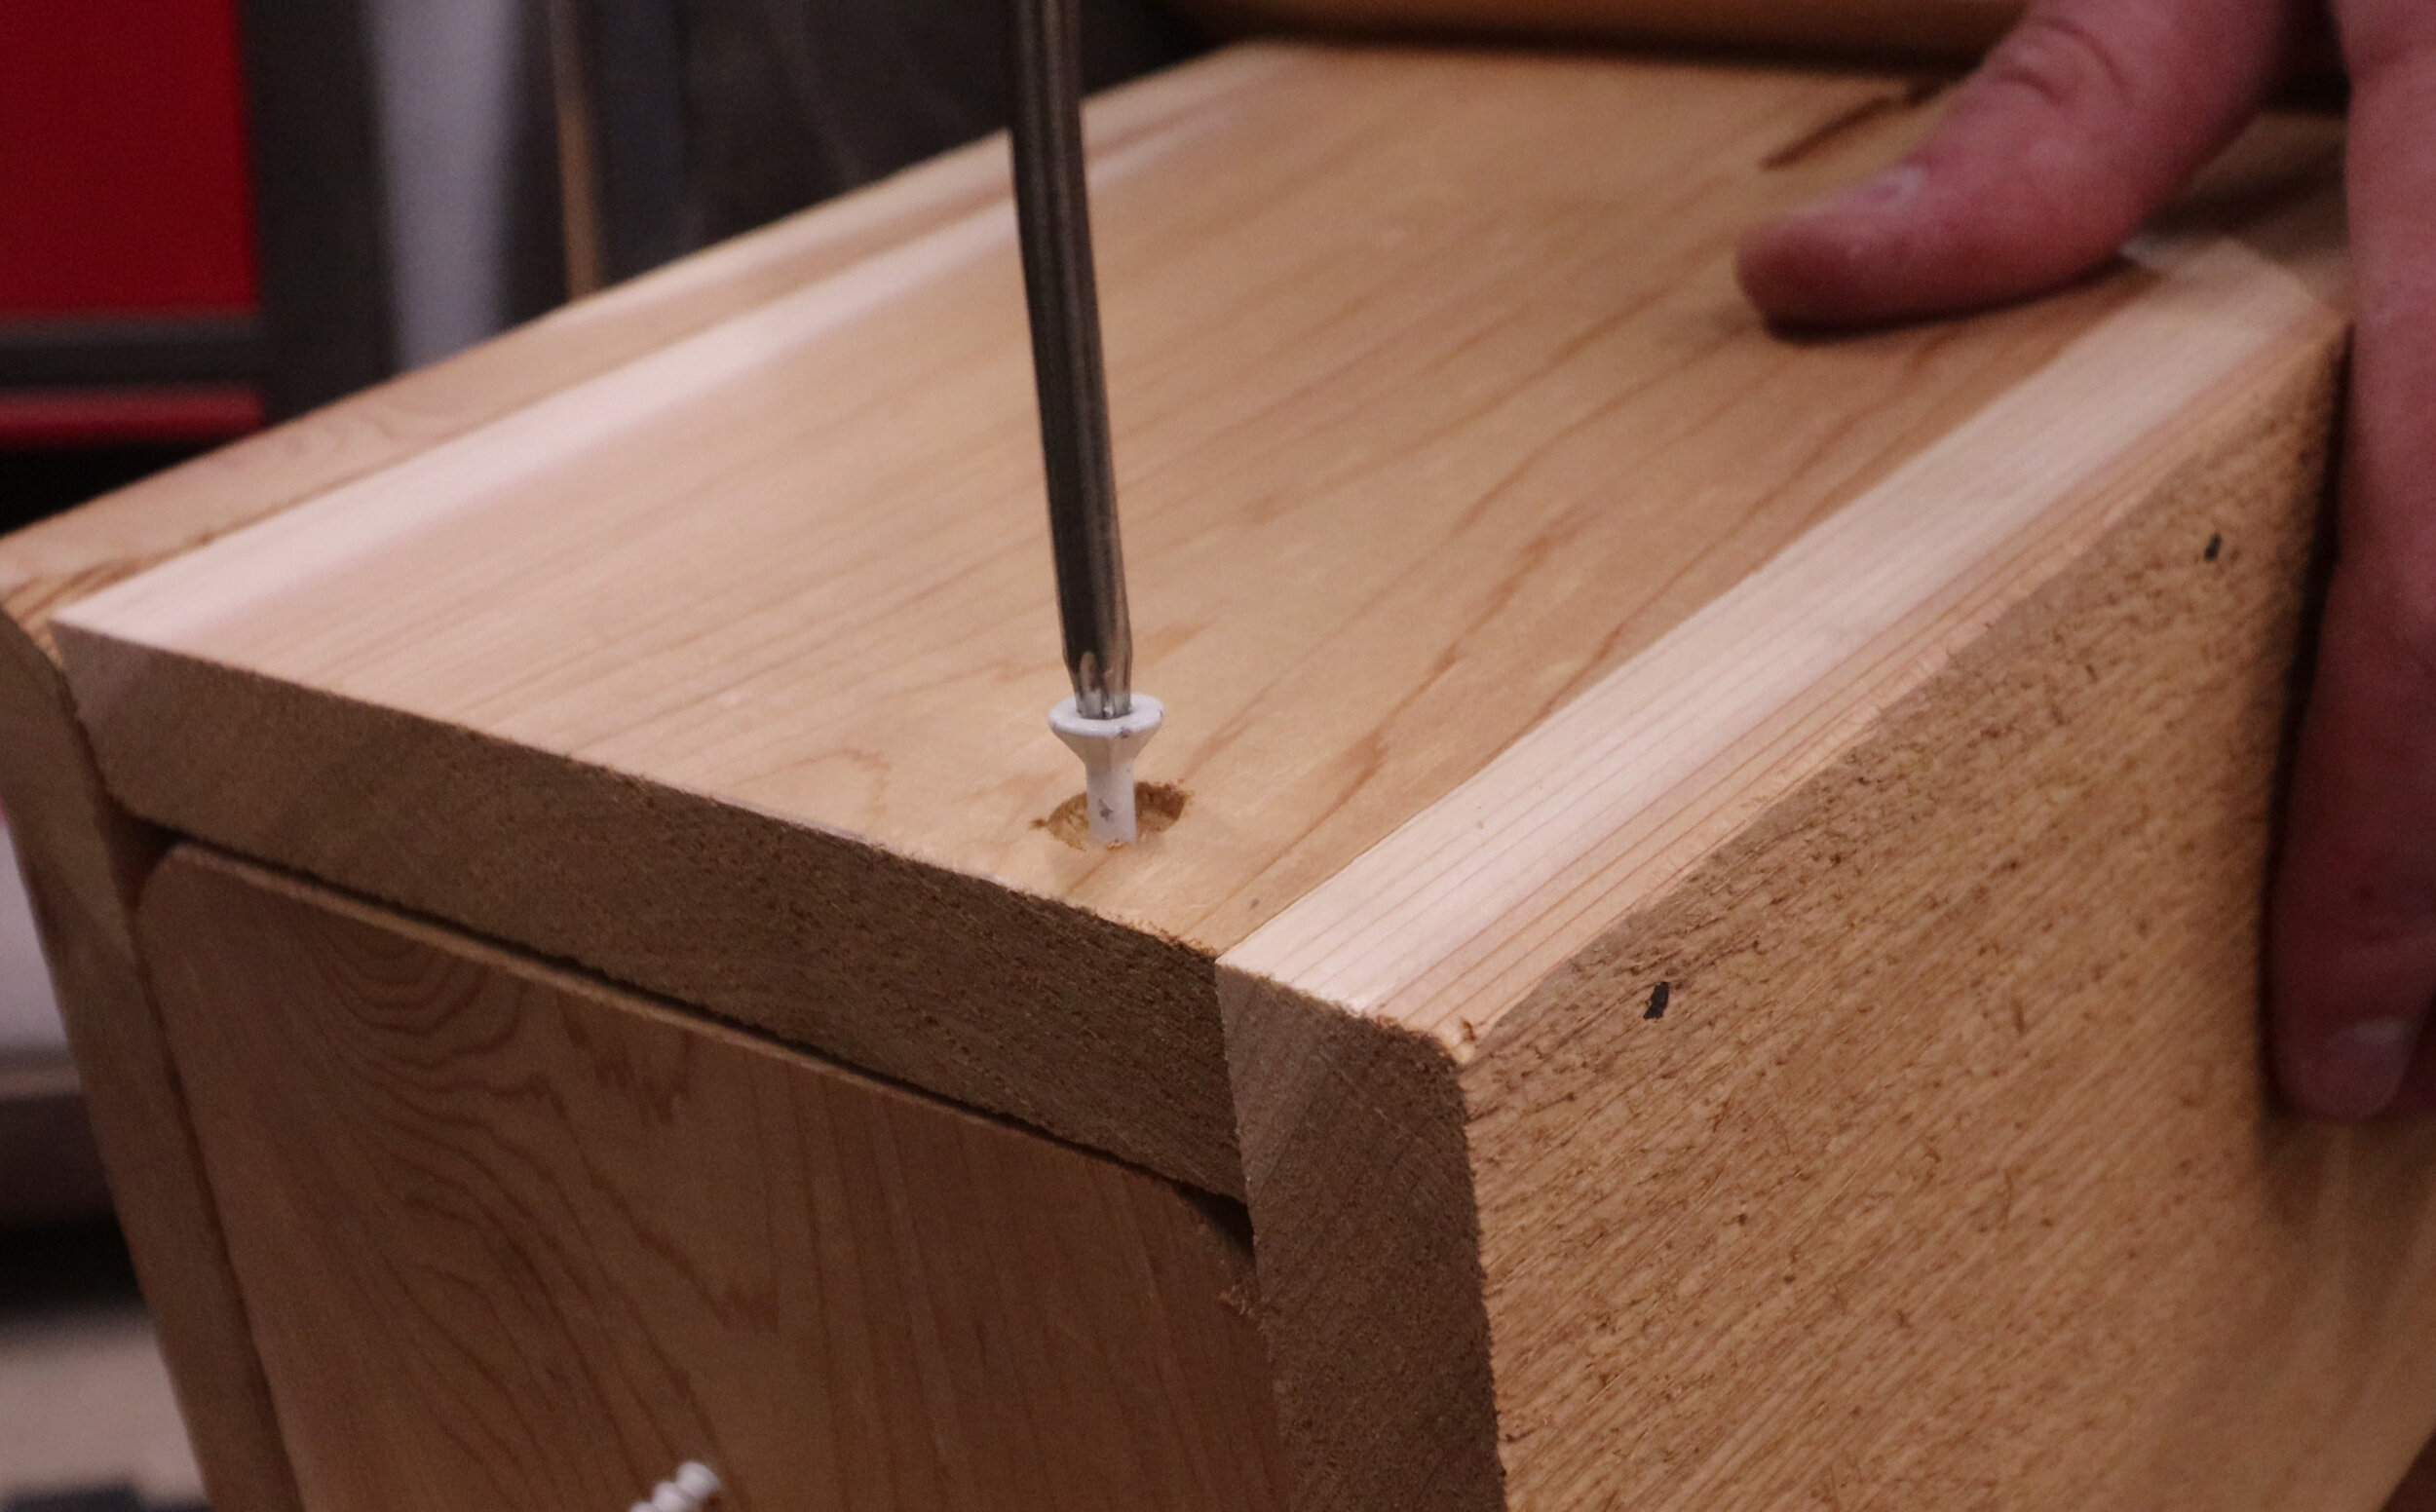
Use the saw to cut off the corners. This will provide drainage for the bottom of the box in case any moisture accumulates. Drill a hole through the center of this piece for one of the exterior screws. This screw is driven in only part way and provides a grip for easy removal of the piece later on for cleaning the birdhouse.
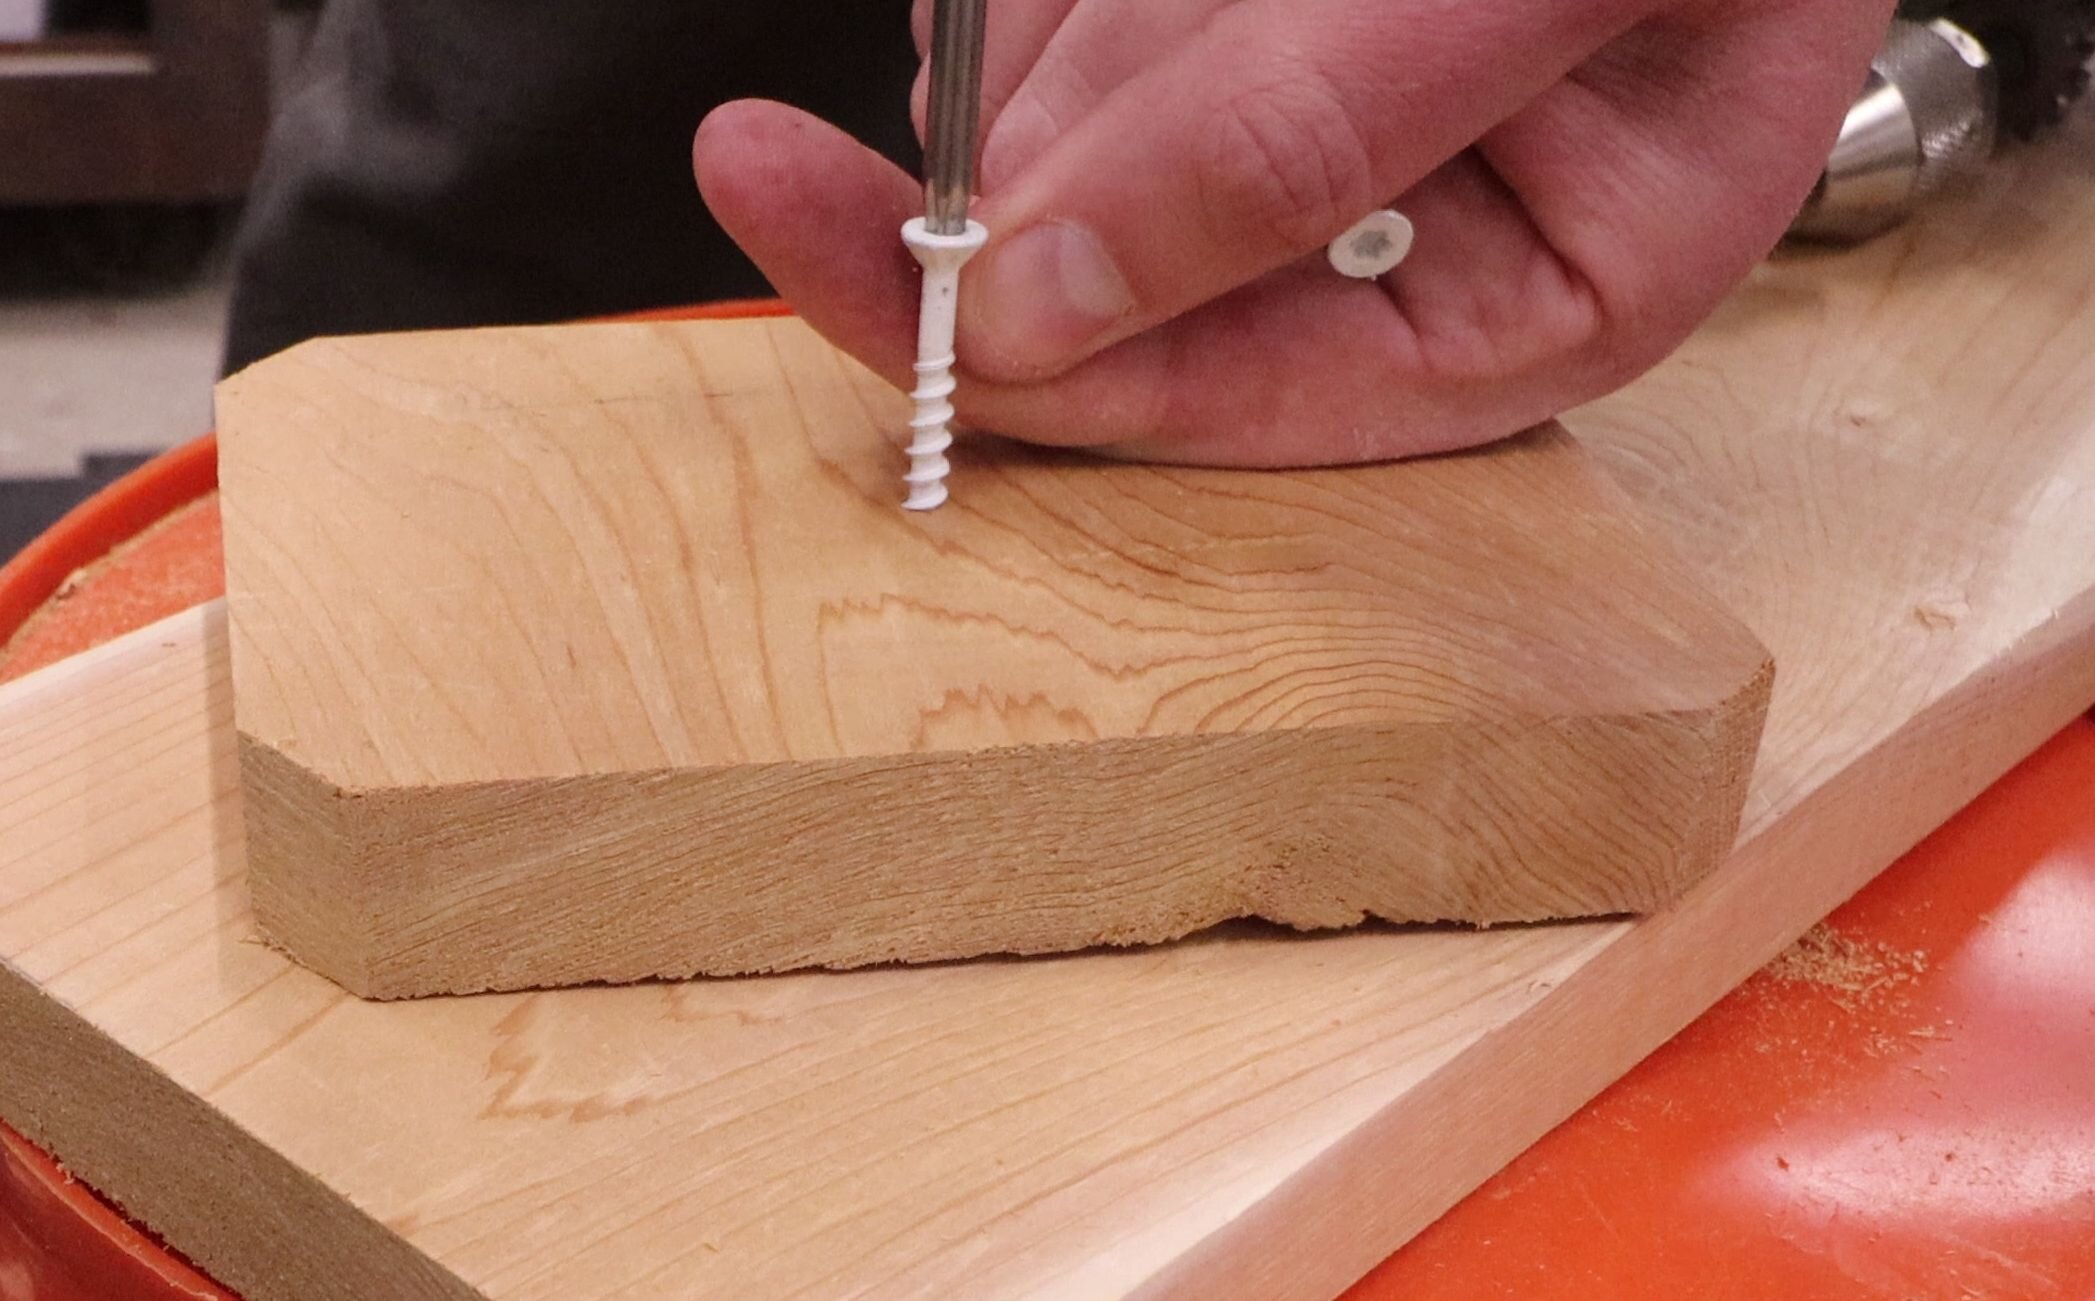
The bottom piece is fastened to the rest of the birdhouse with two exterior screws at opposite corners of the bottom, which can be backed out part way and left in the birdhouse when it’s time for cleaning.
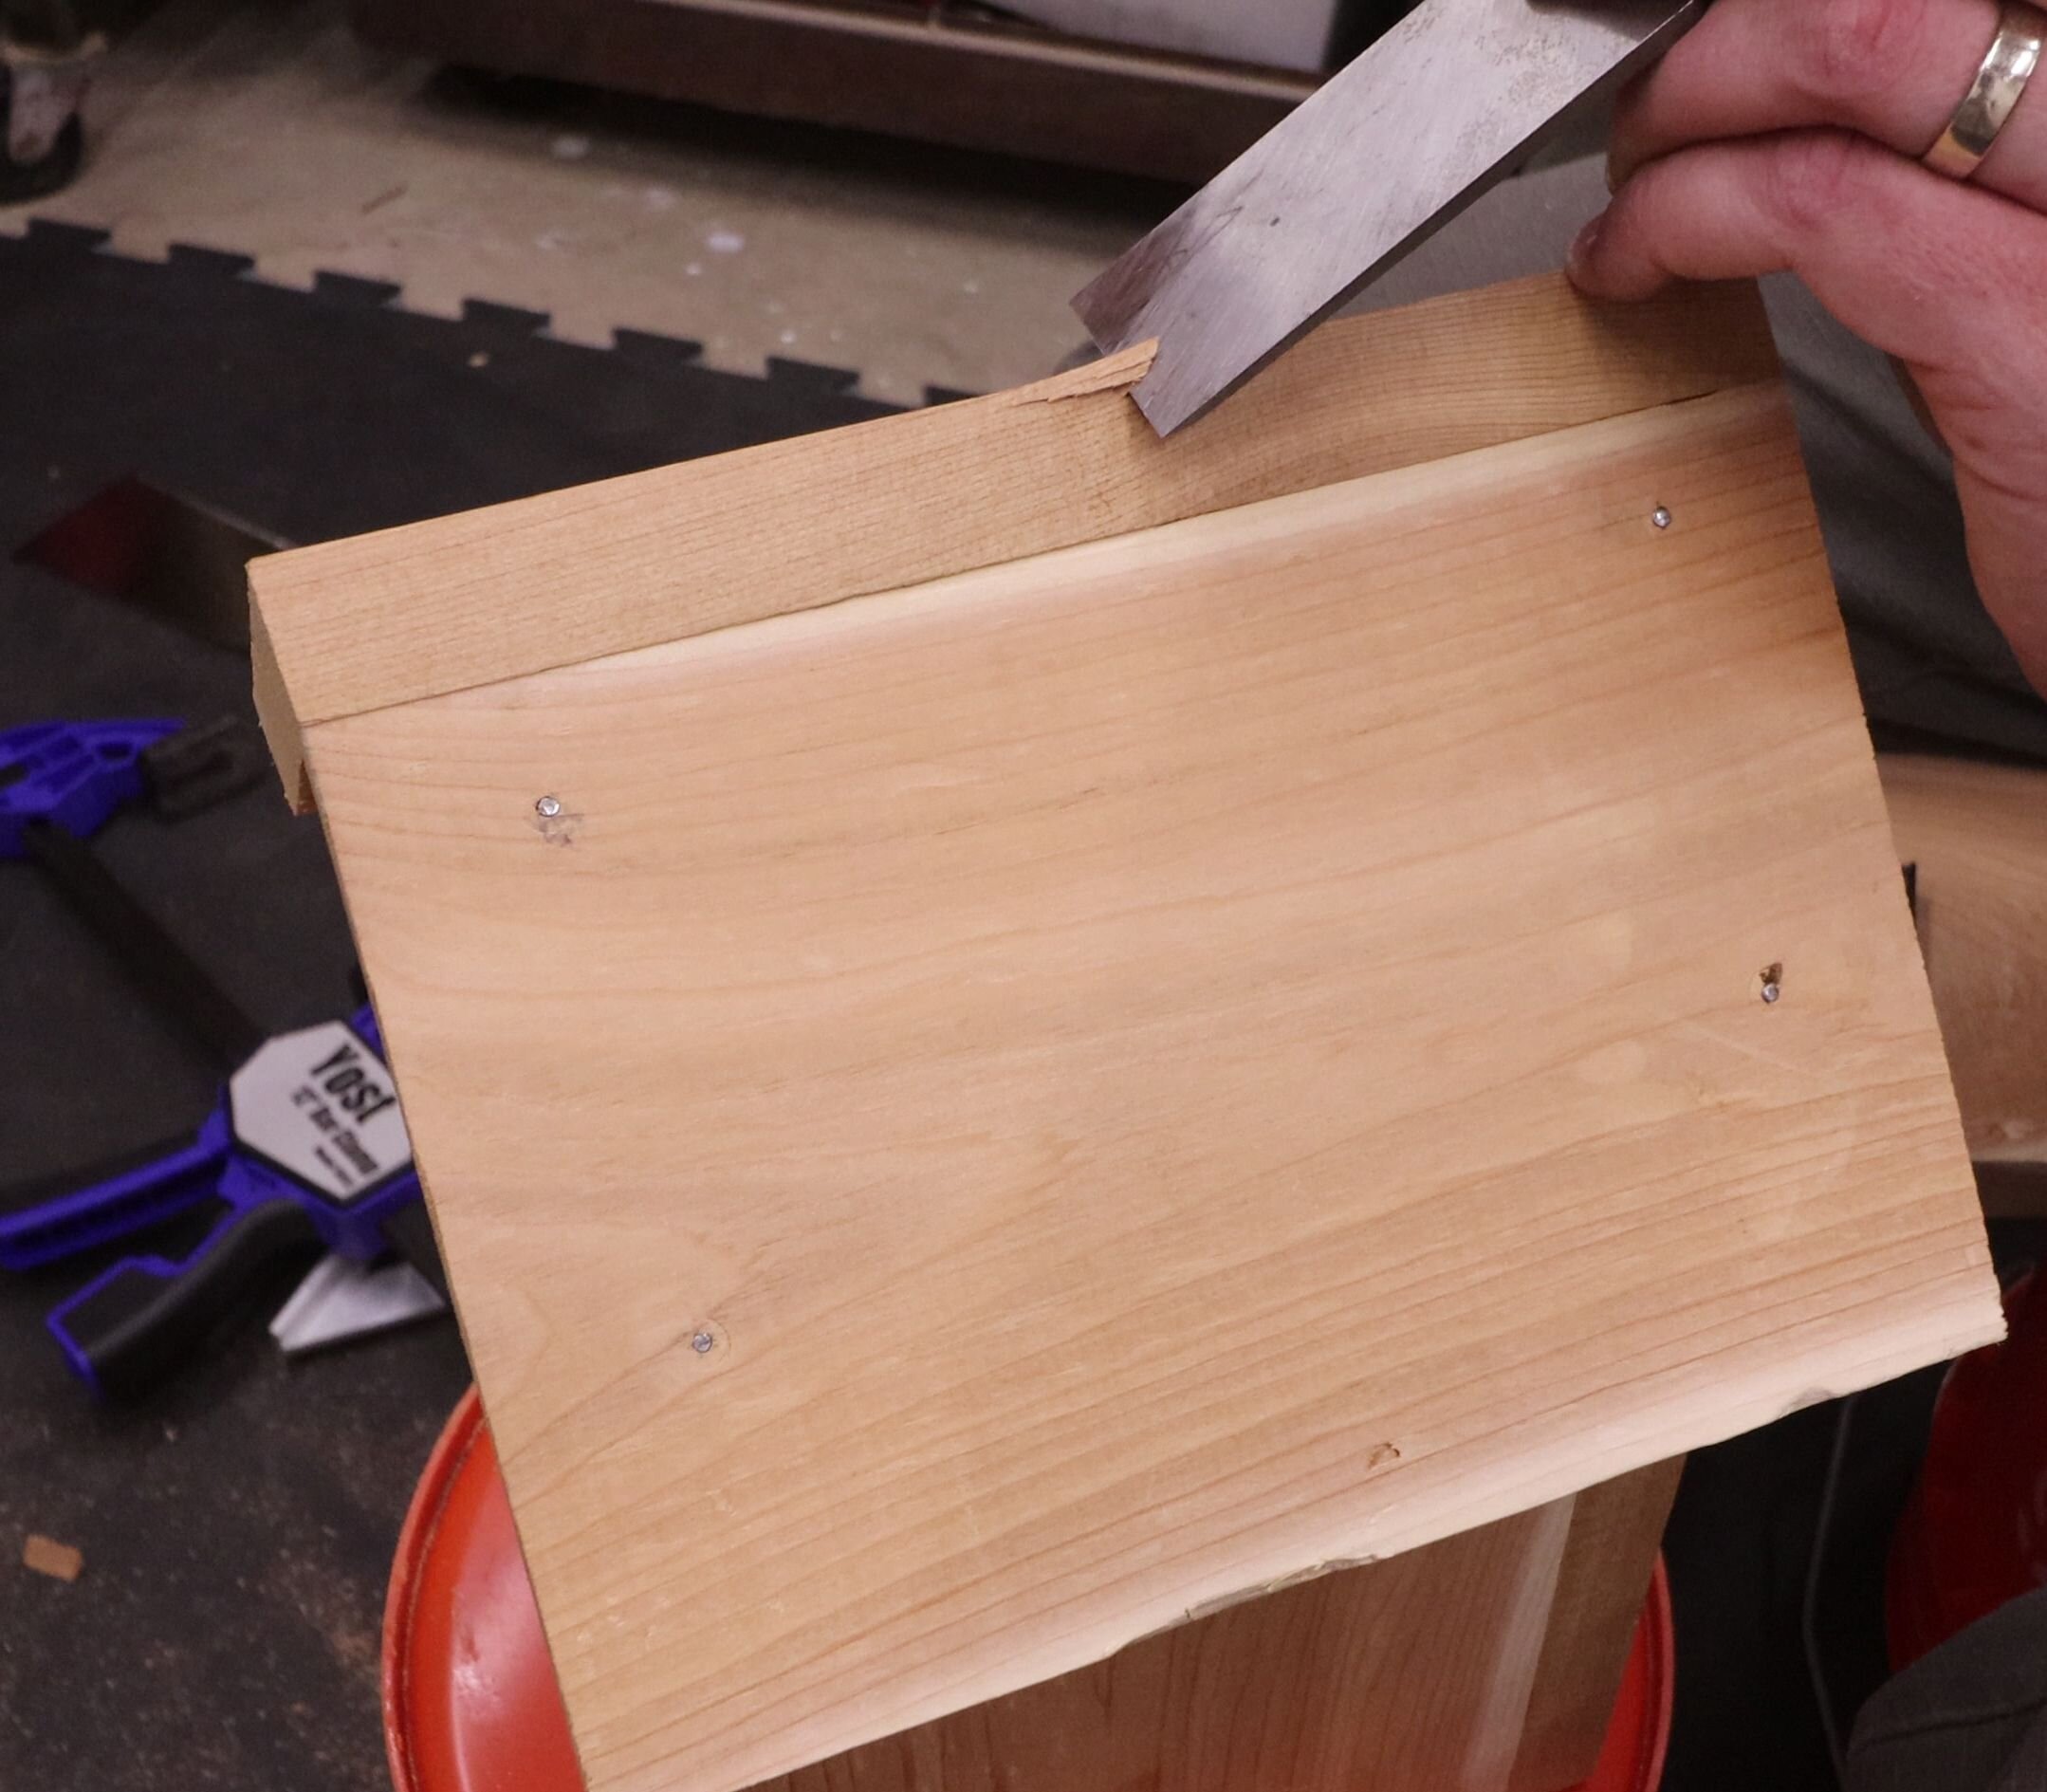
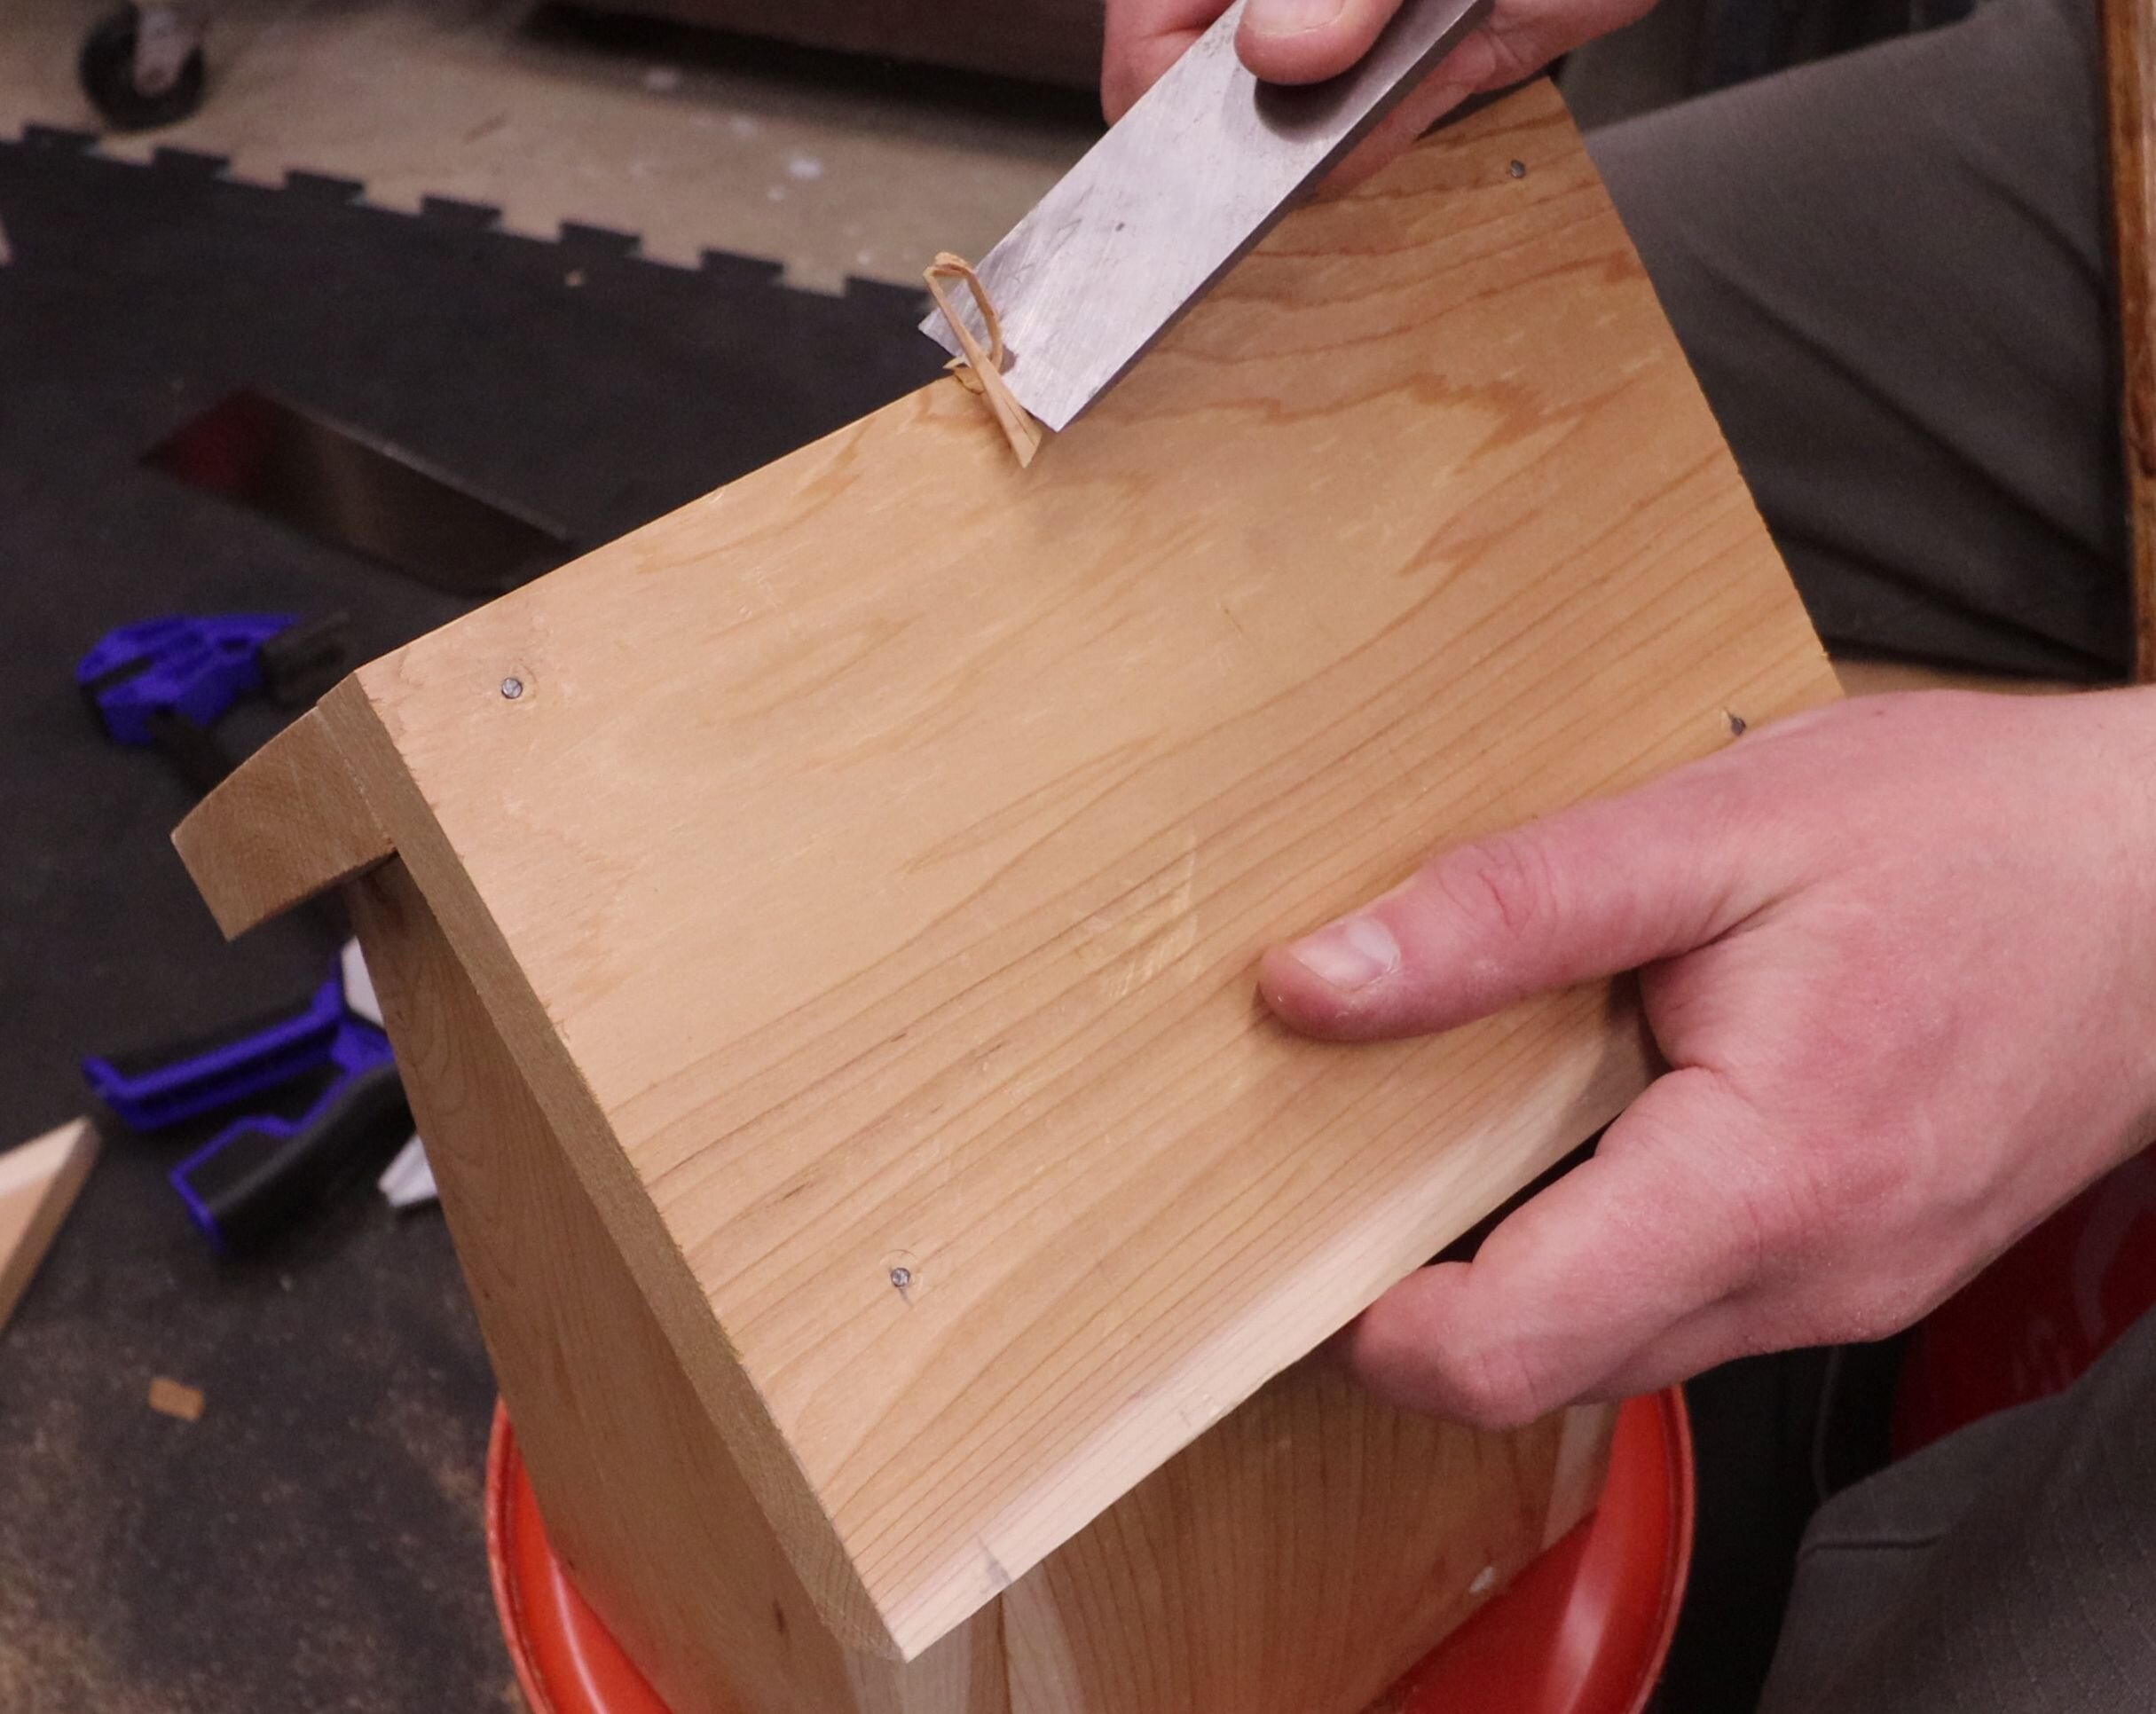
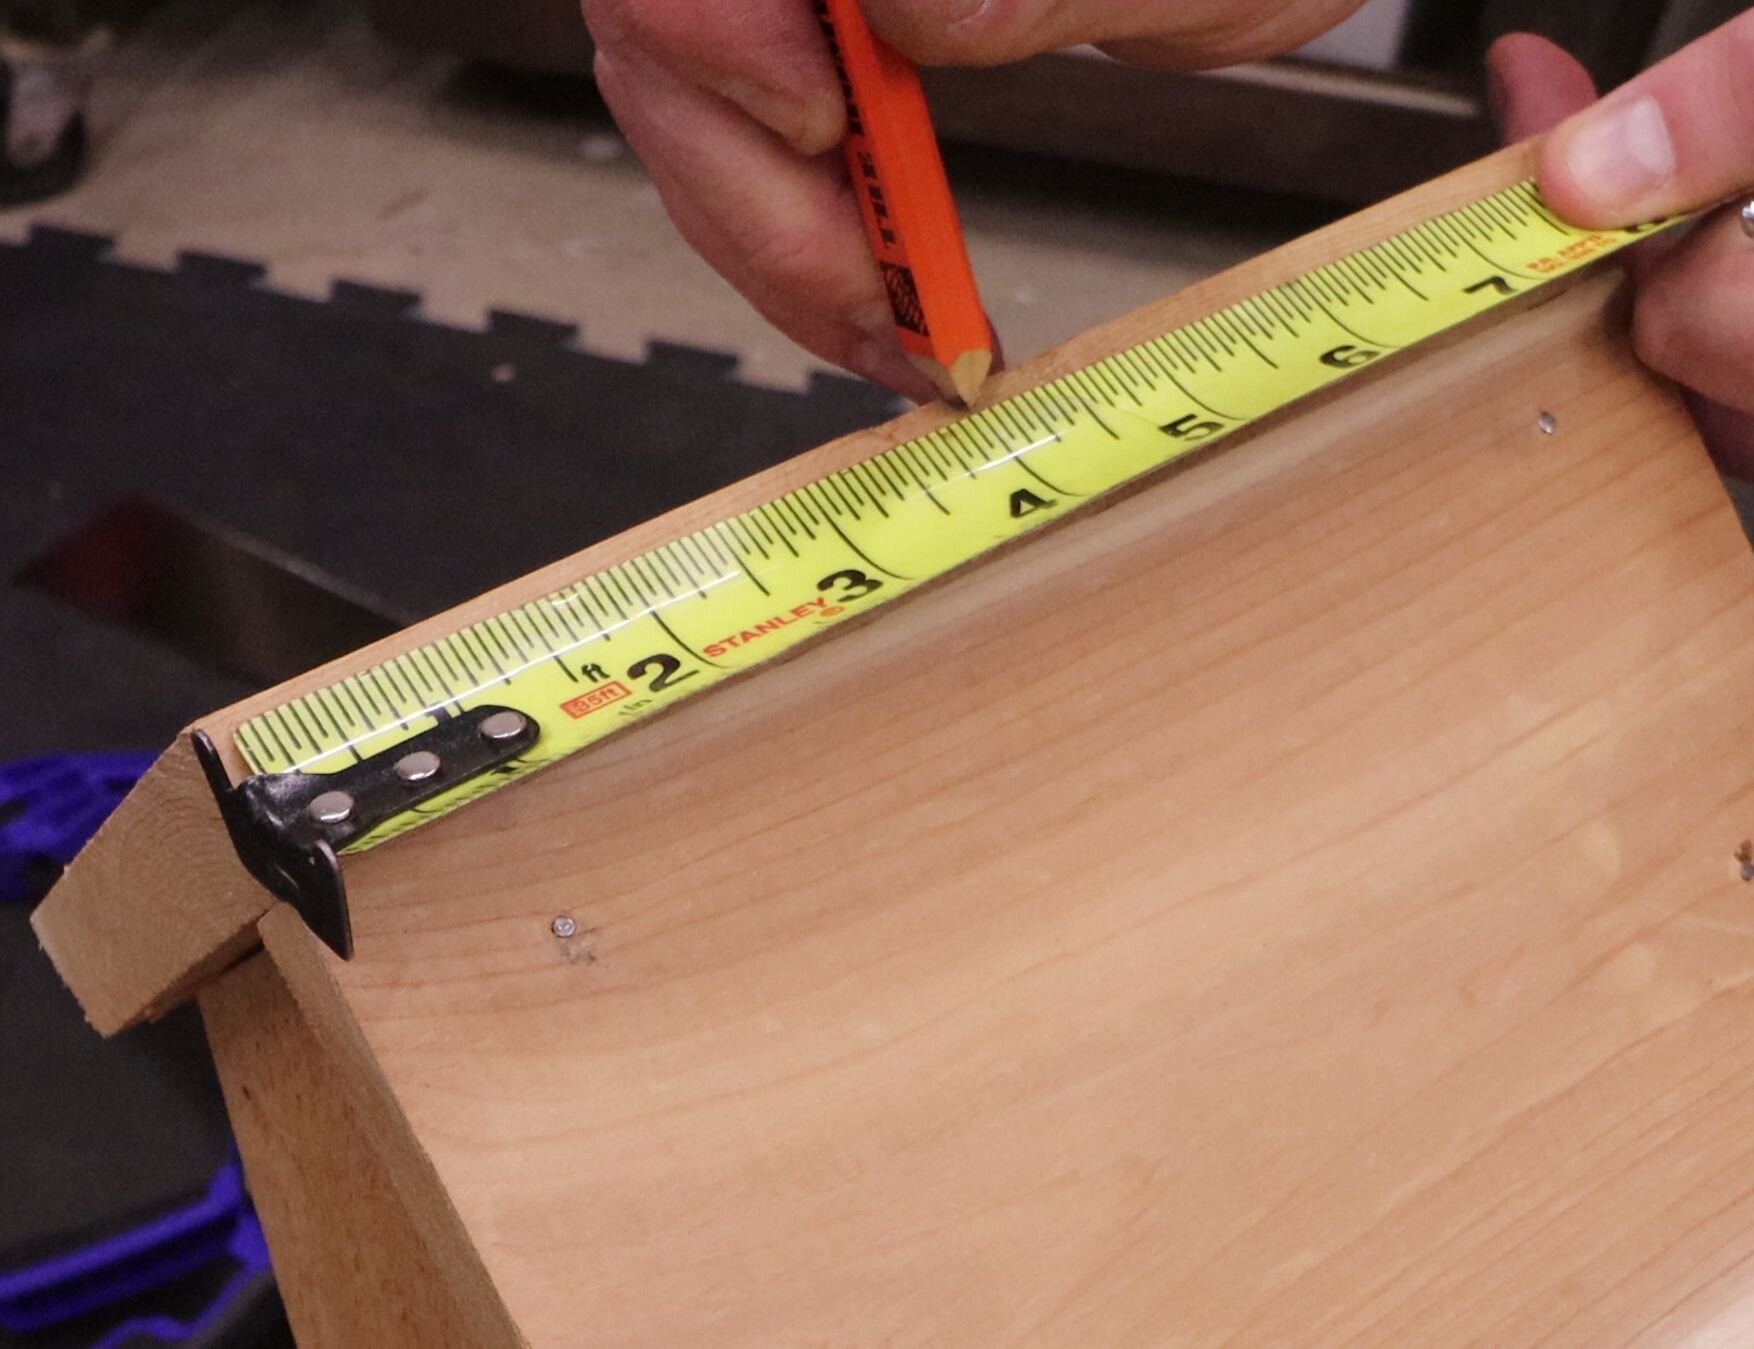
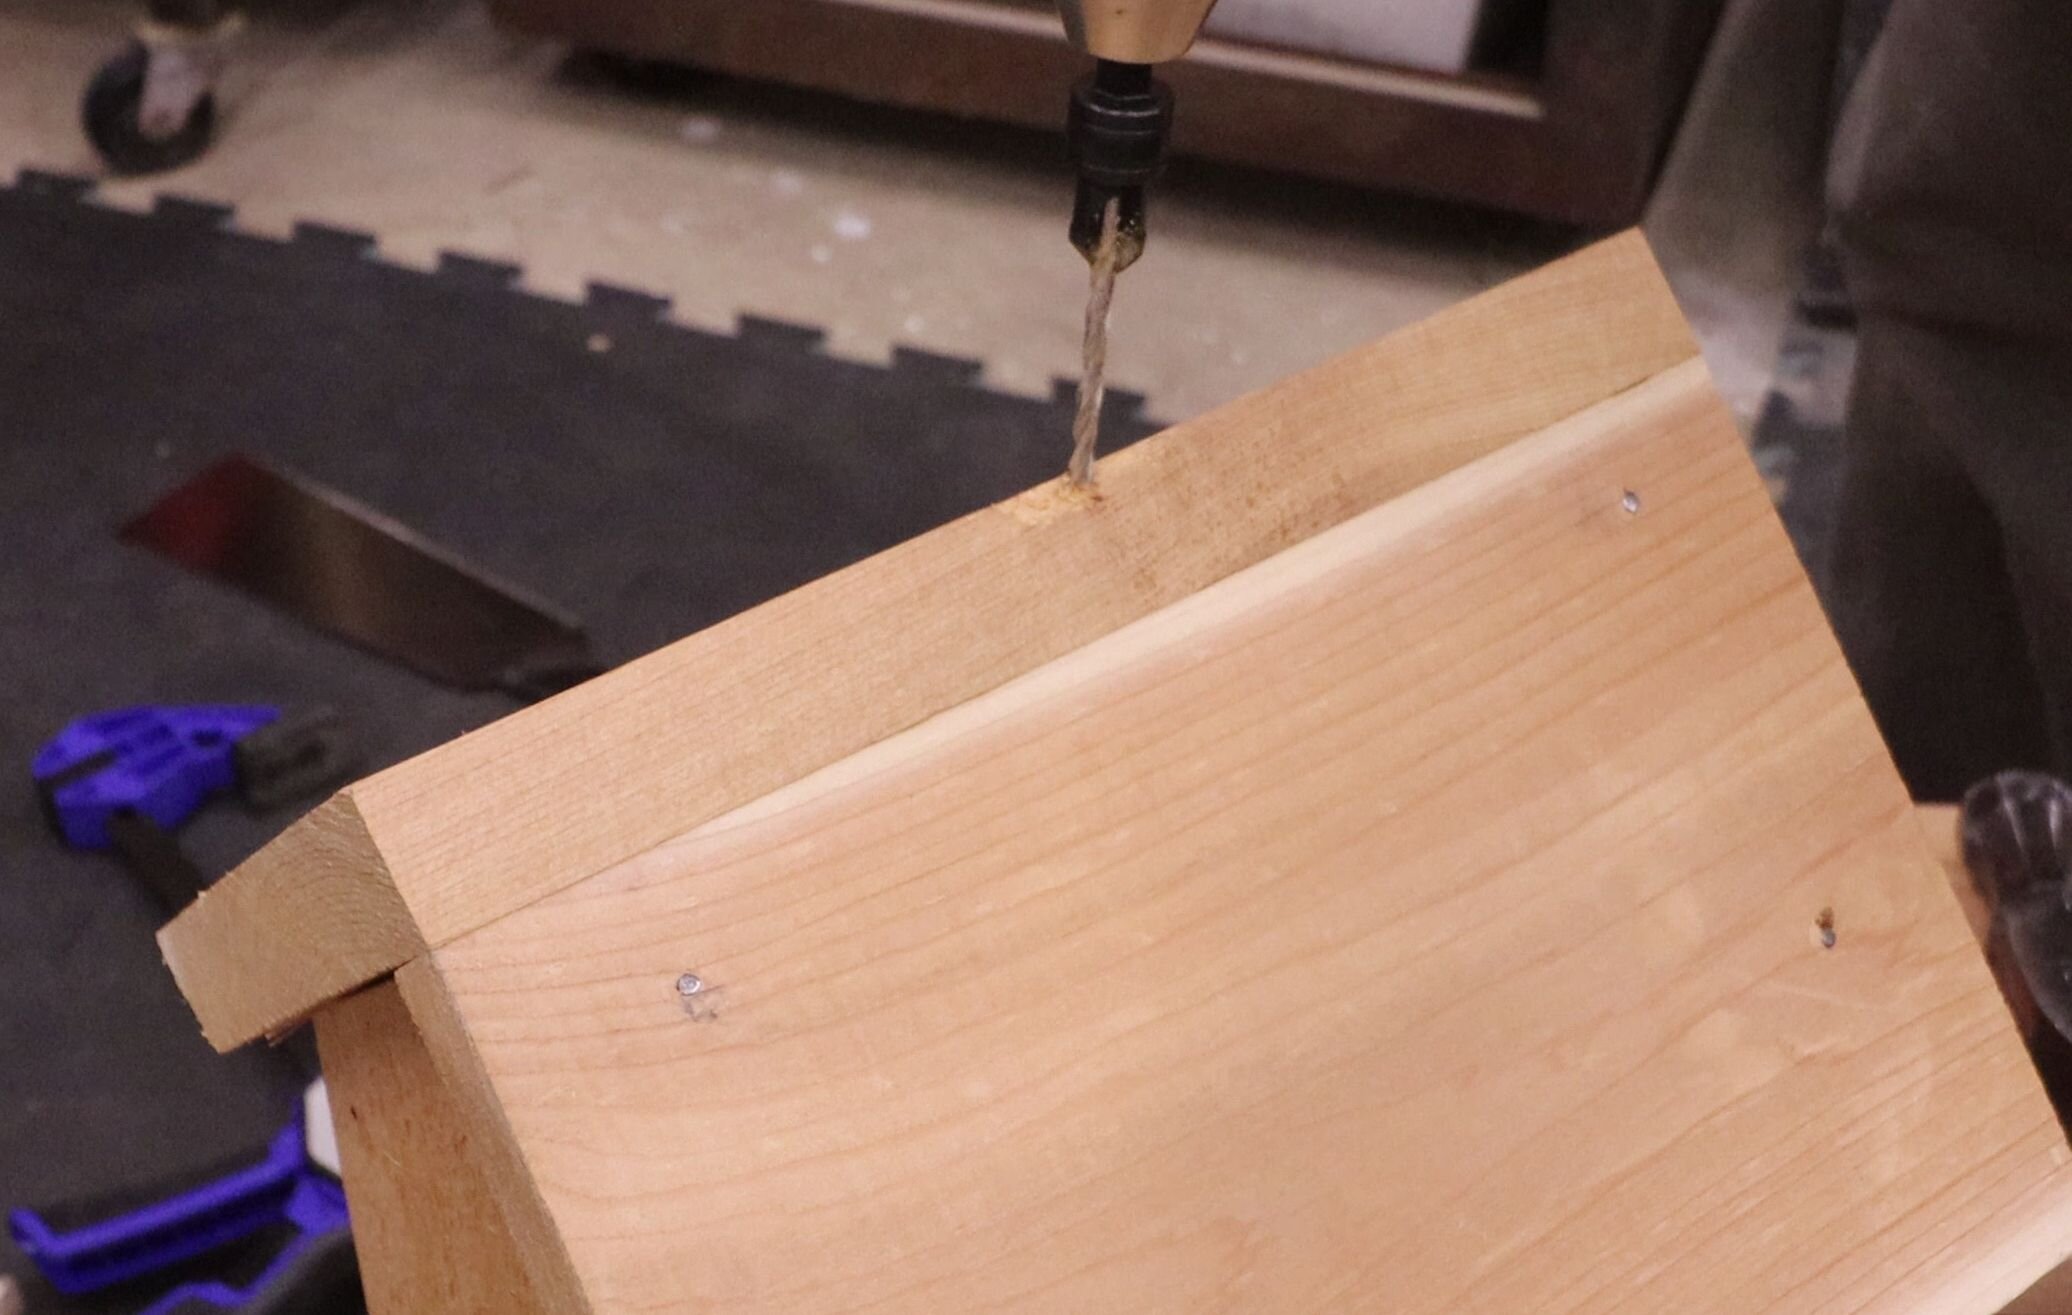
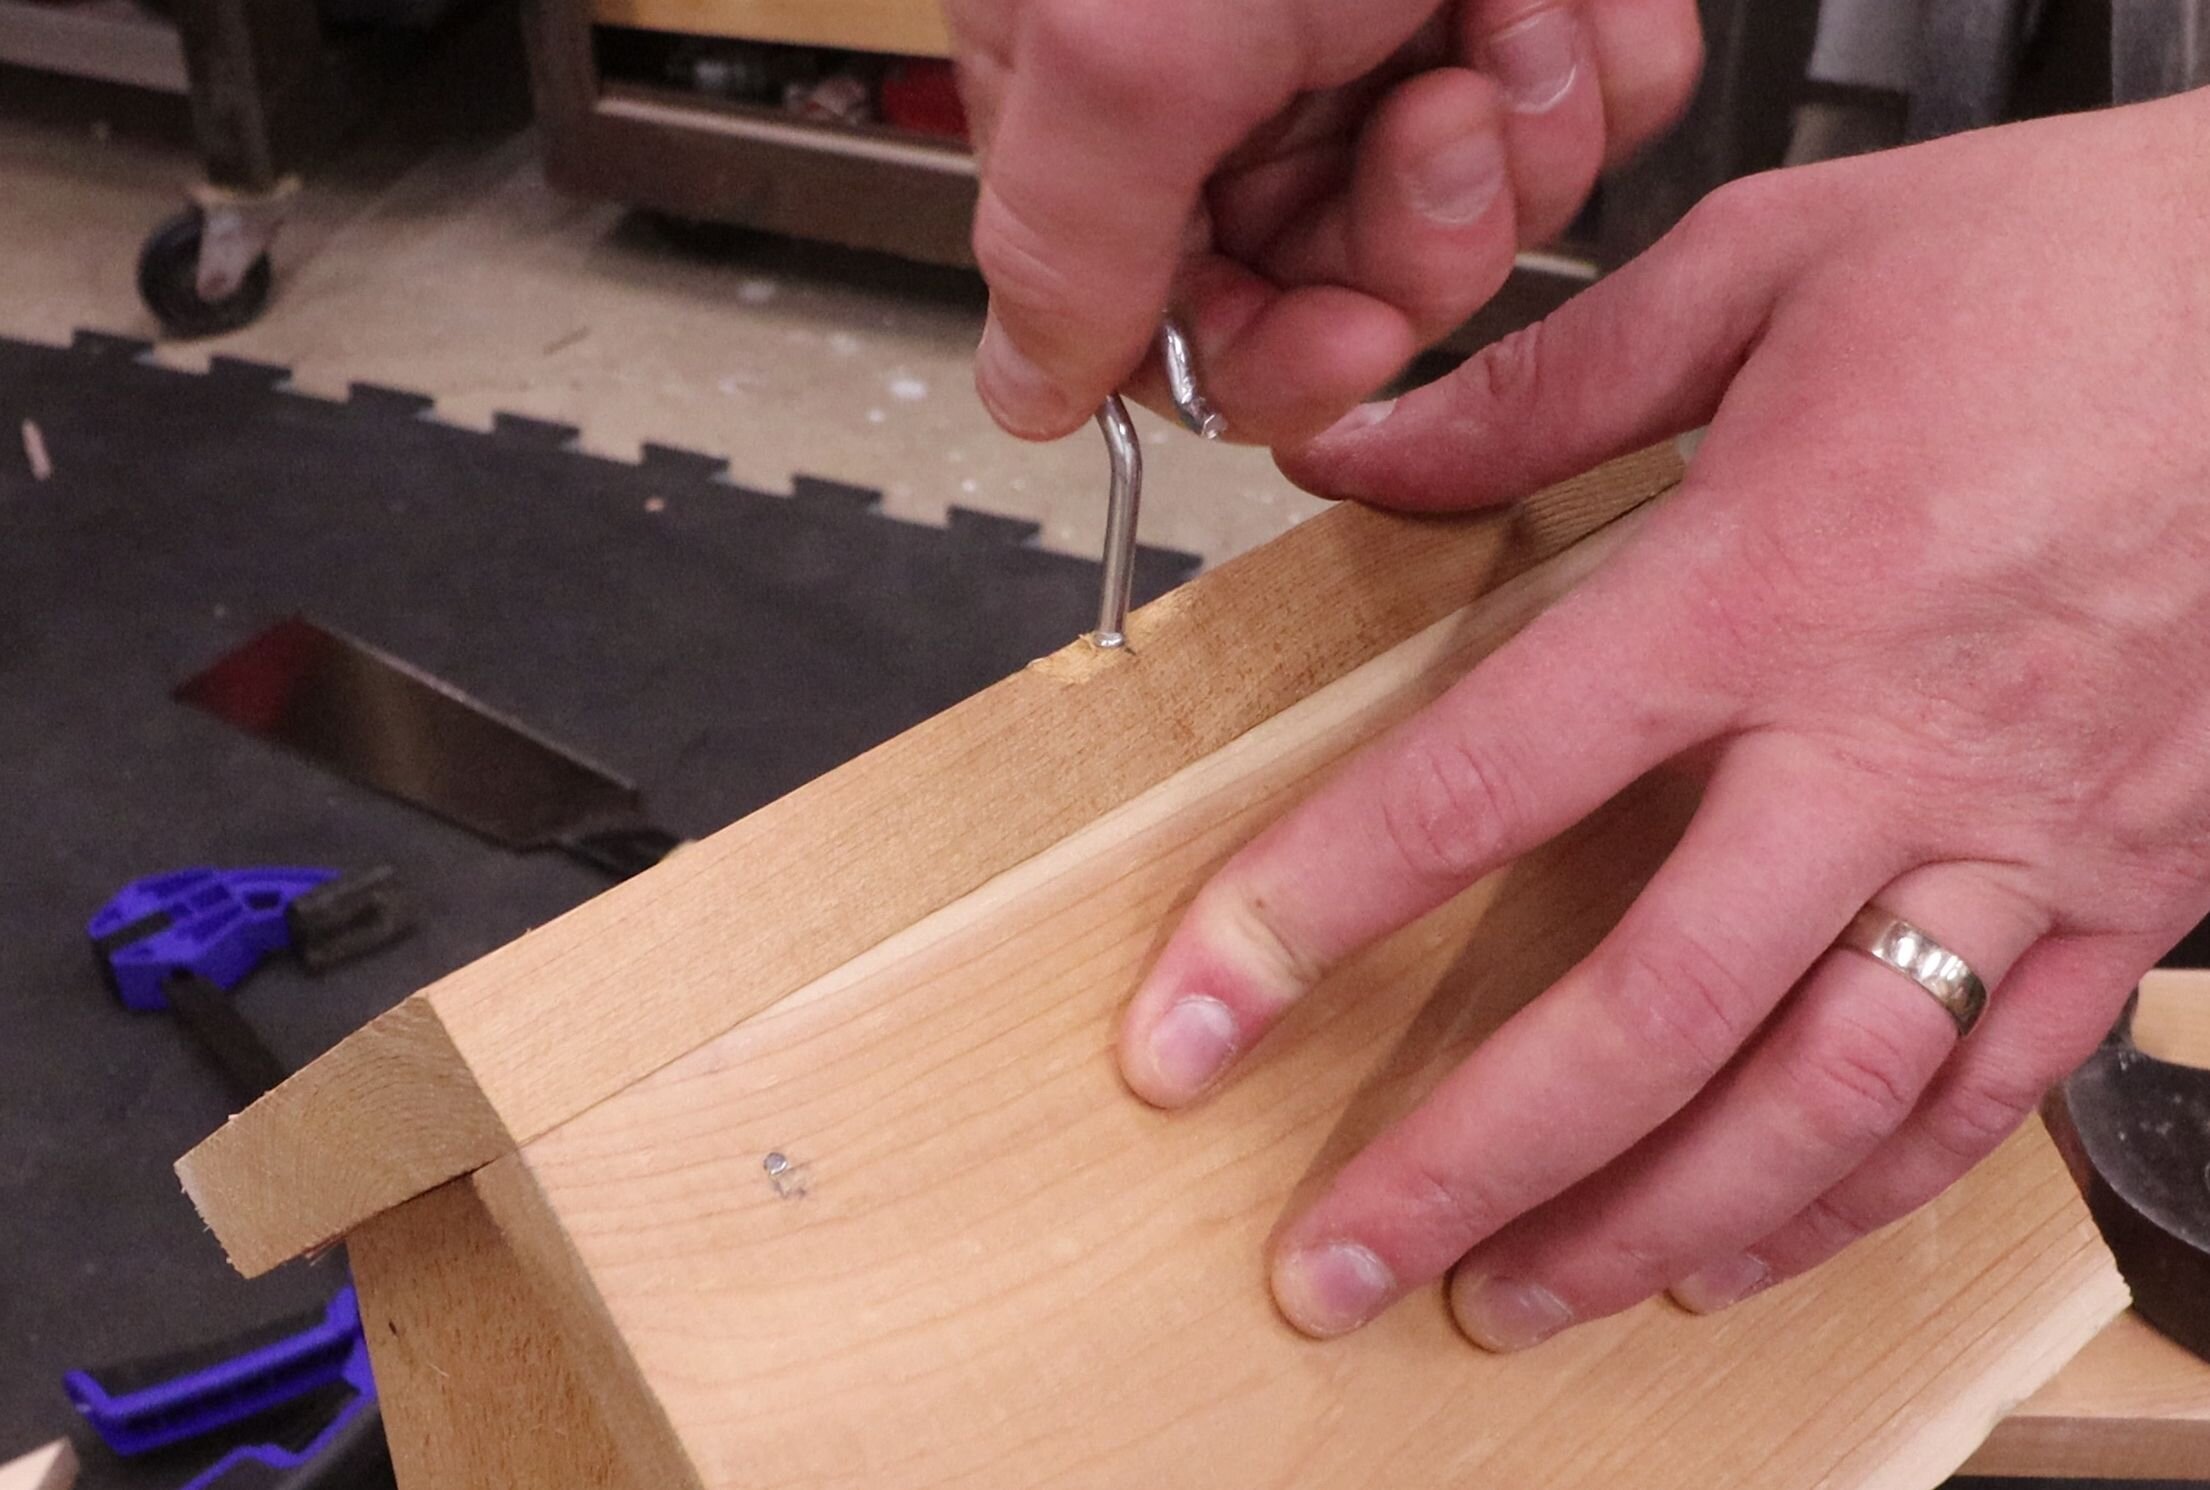
Take a chisel and cut out a small flat on the roof. This only needs to be about 1/2" long and centered on the roof. Mark the center of the roof and pre-drill a hole for the hanging hook. Screw the hanging hook in to thread the hole, then take it out if you plan on painting in the next step.
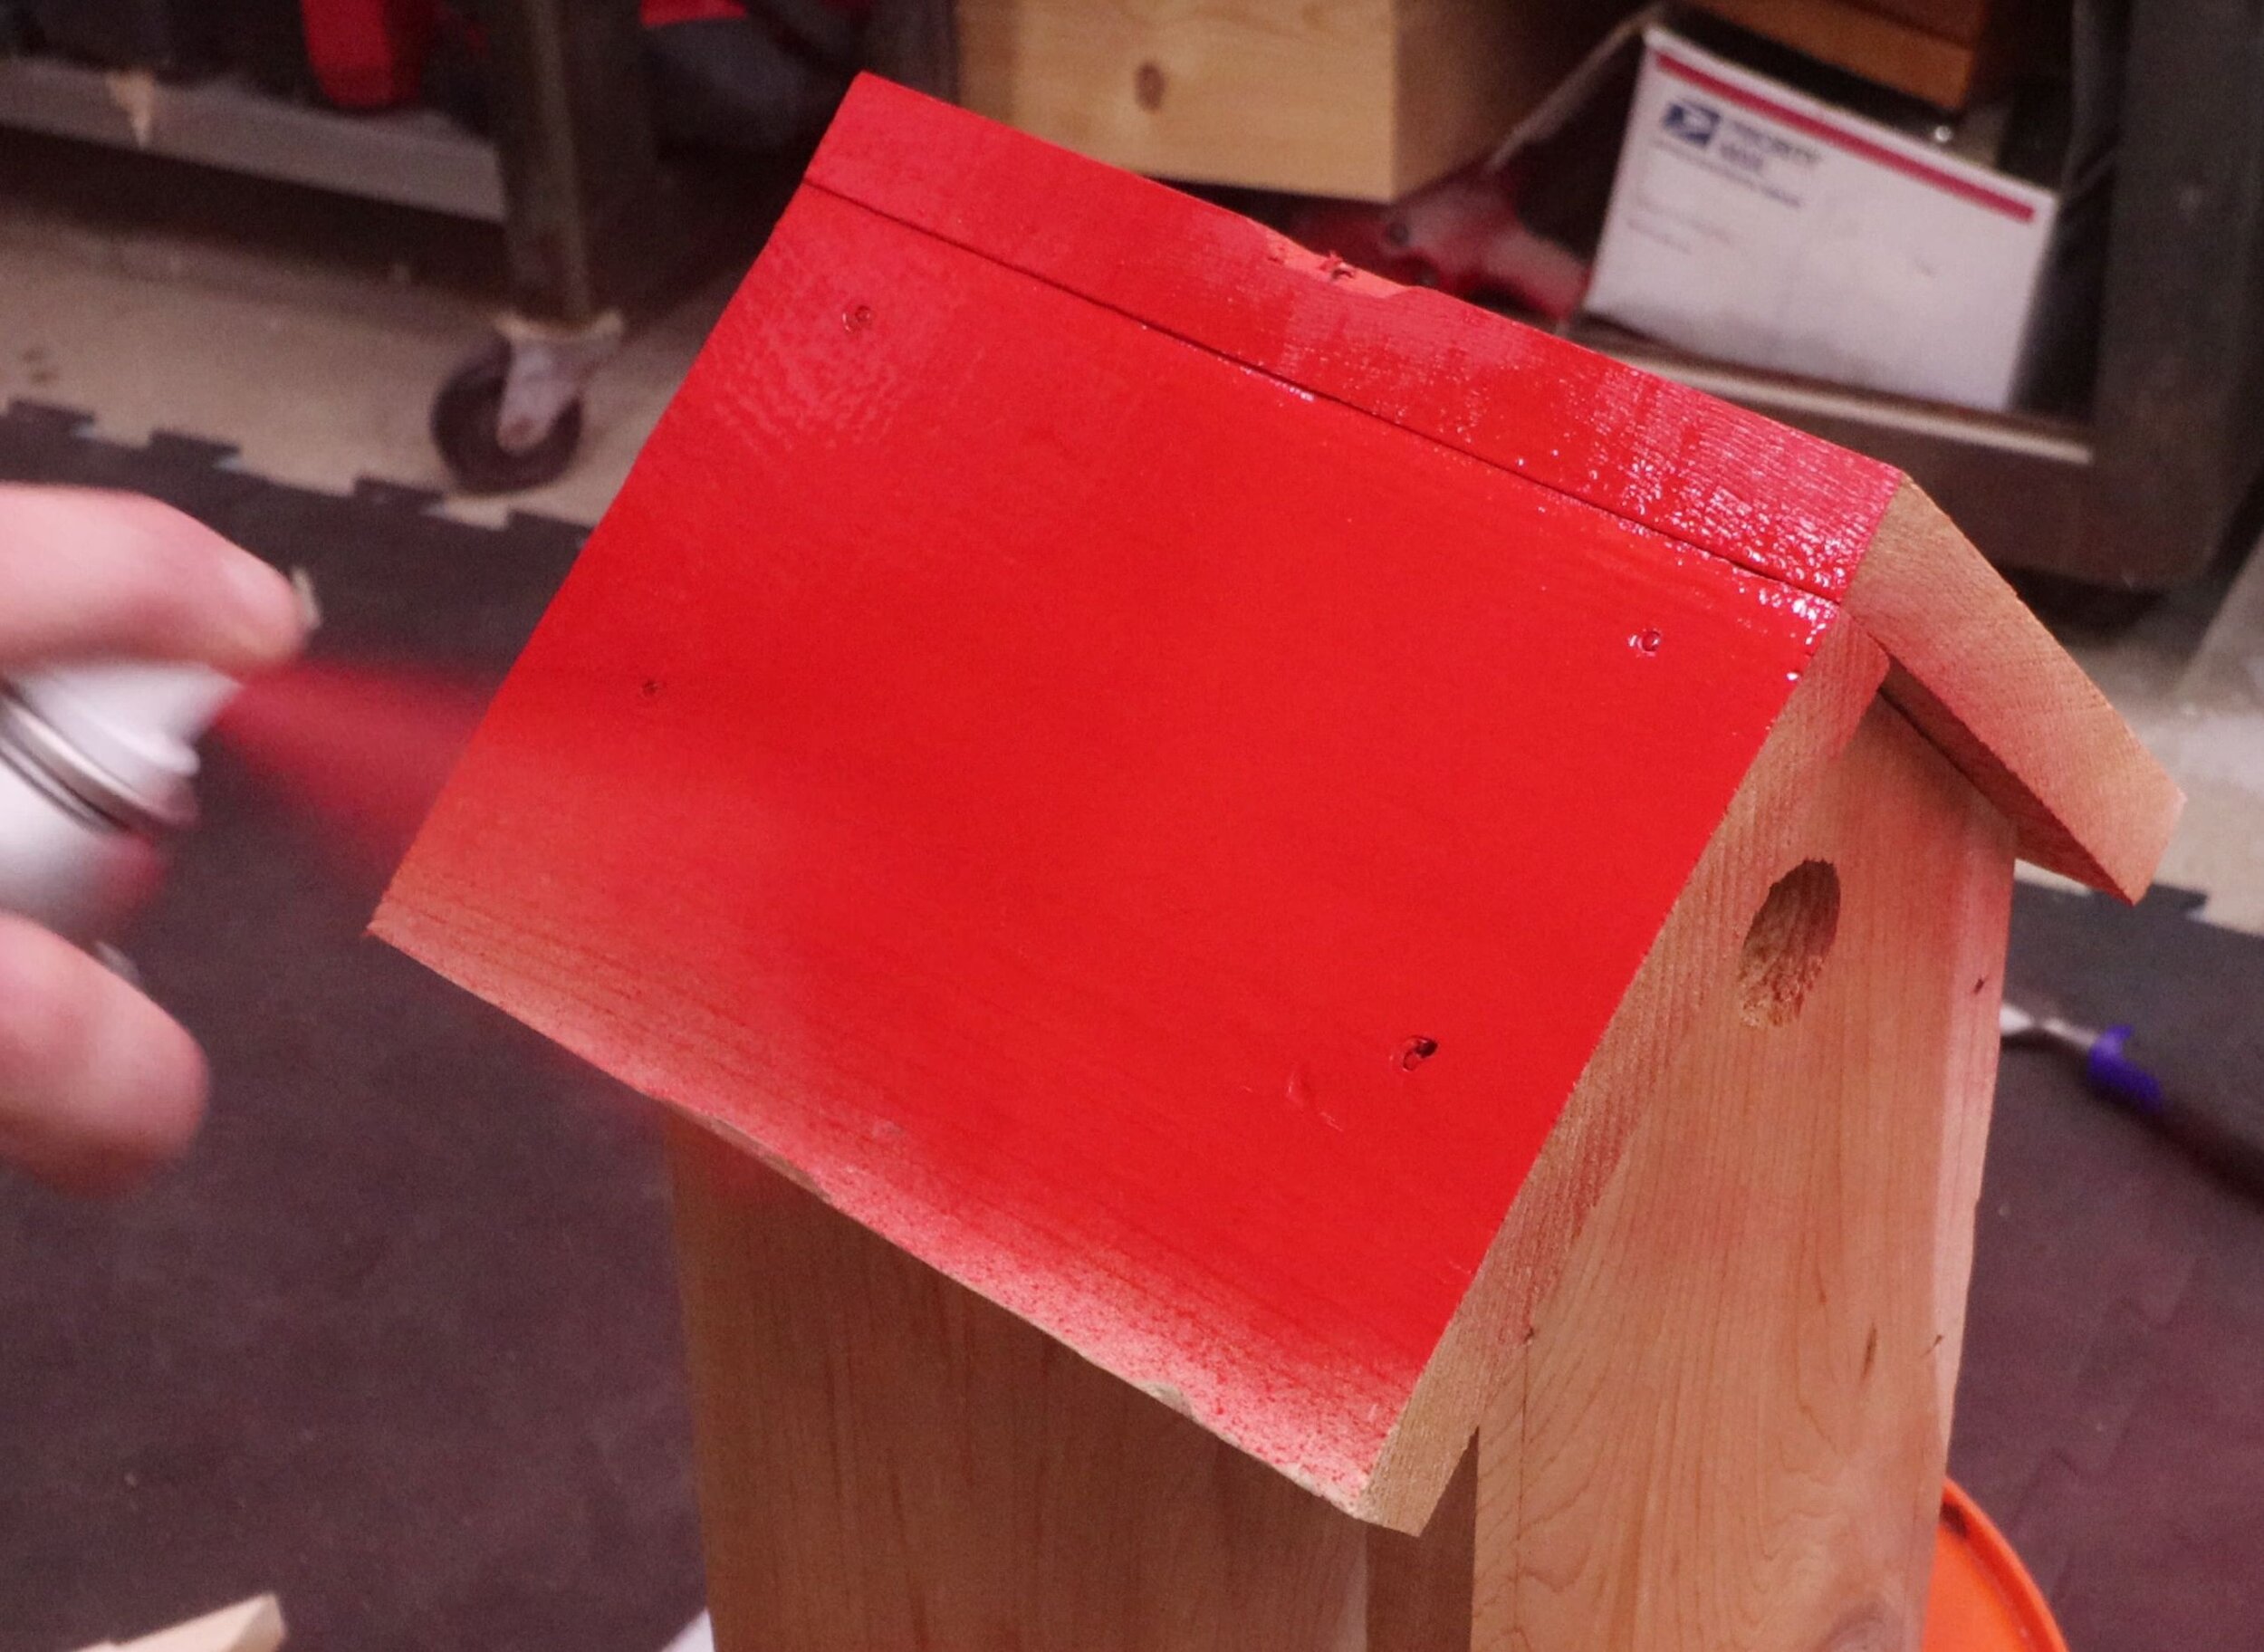
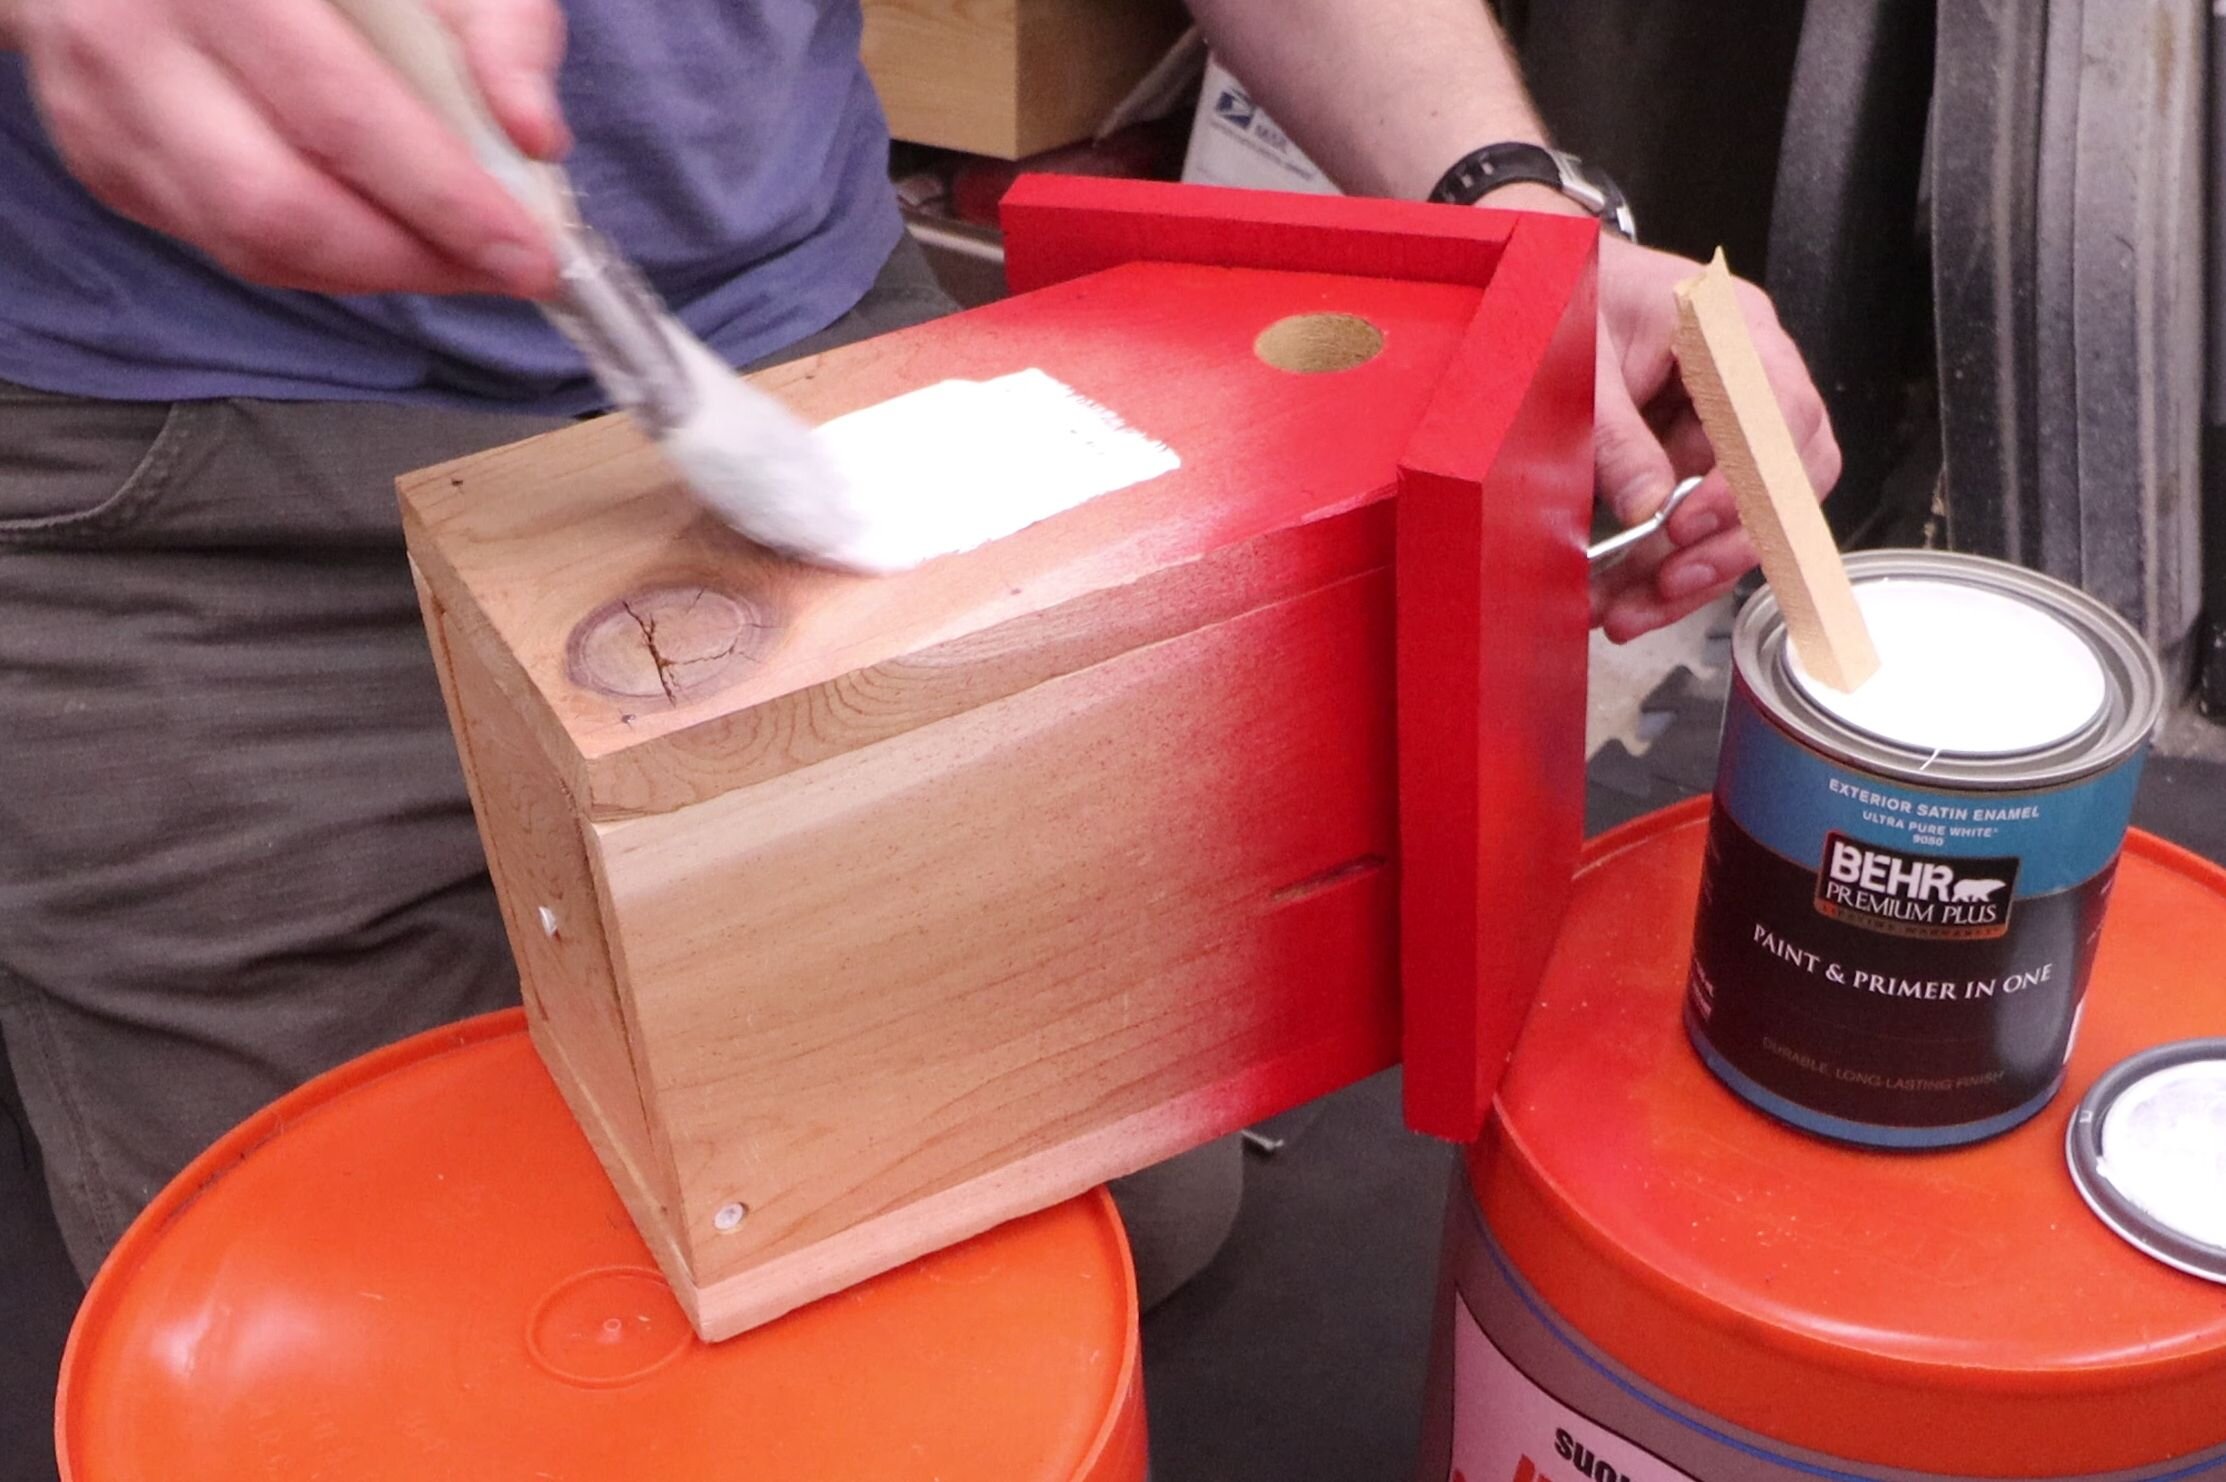
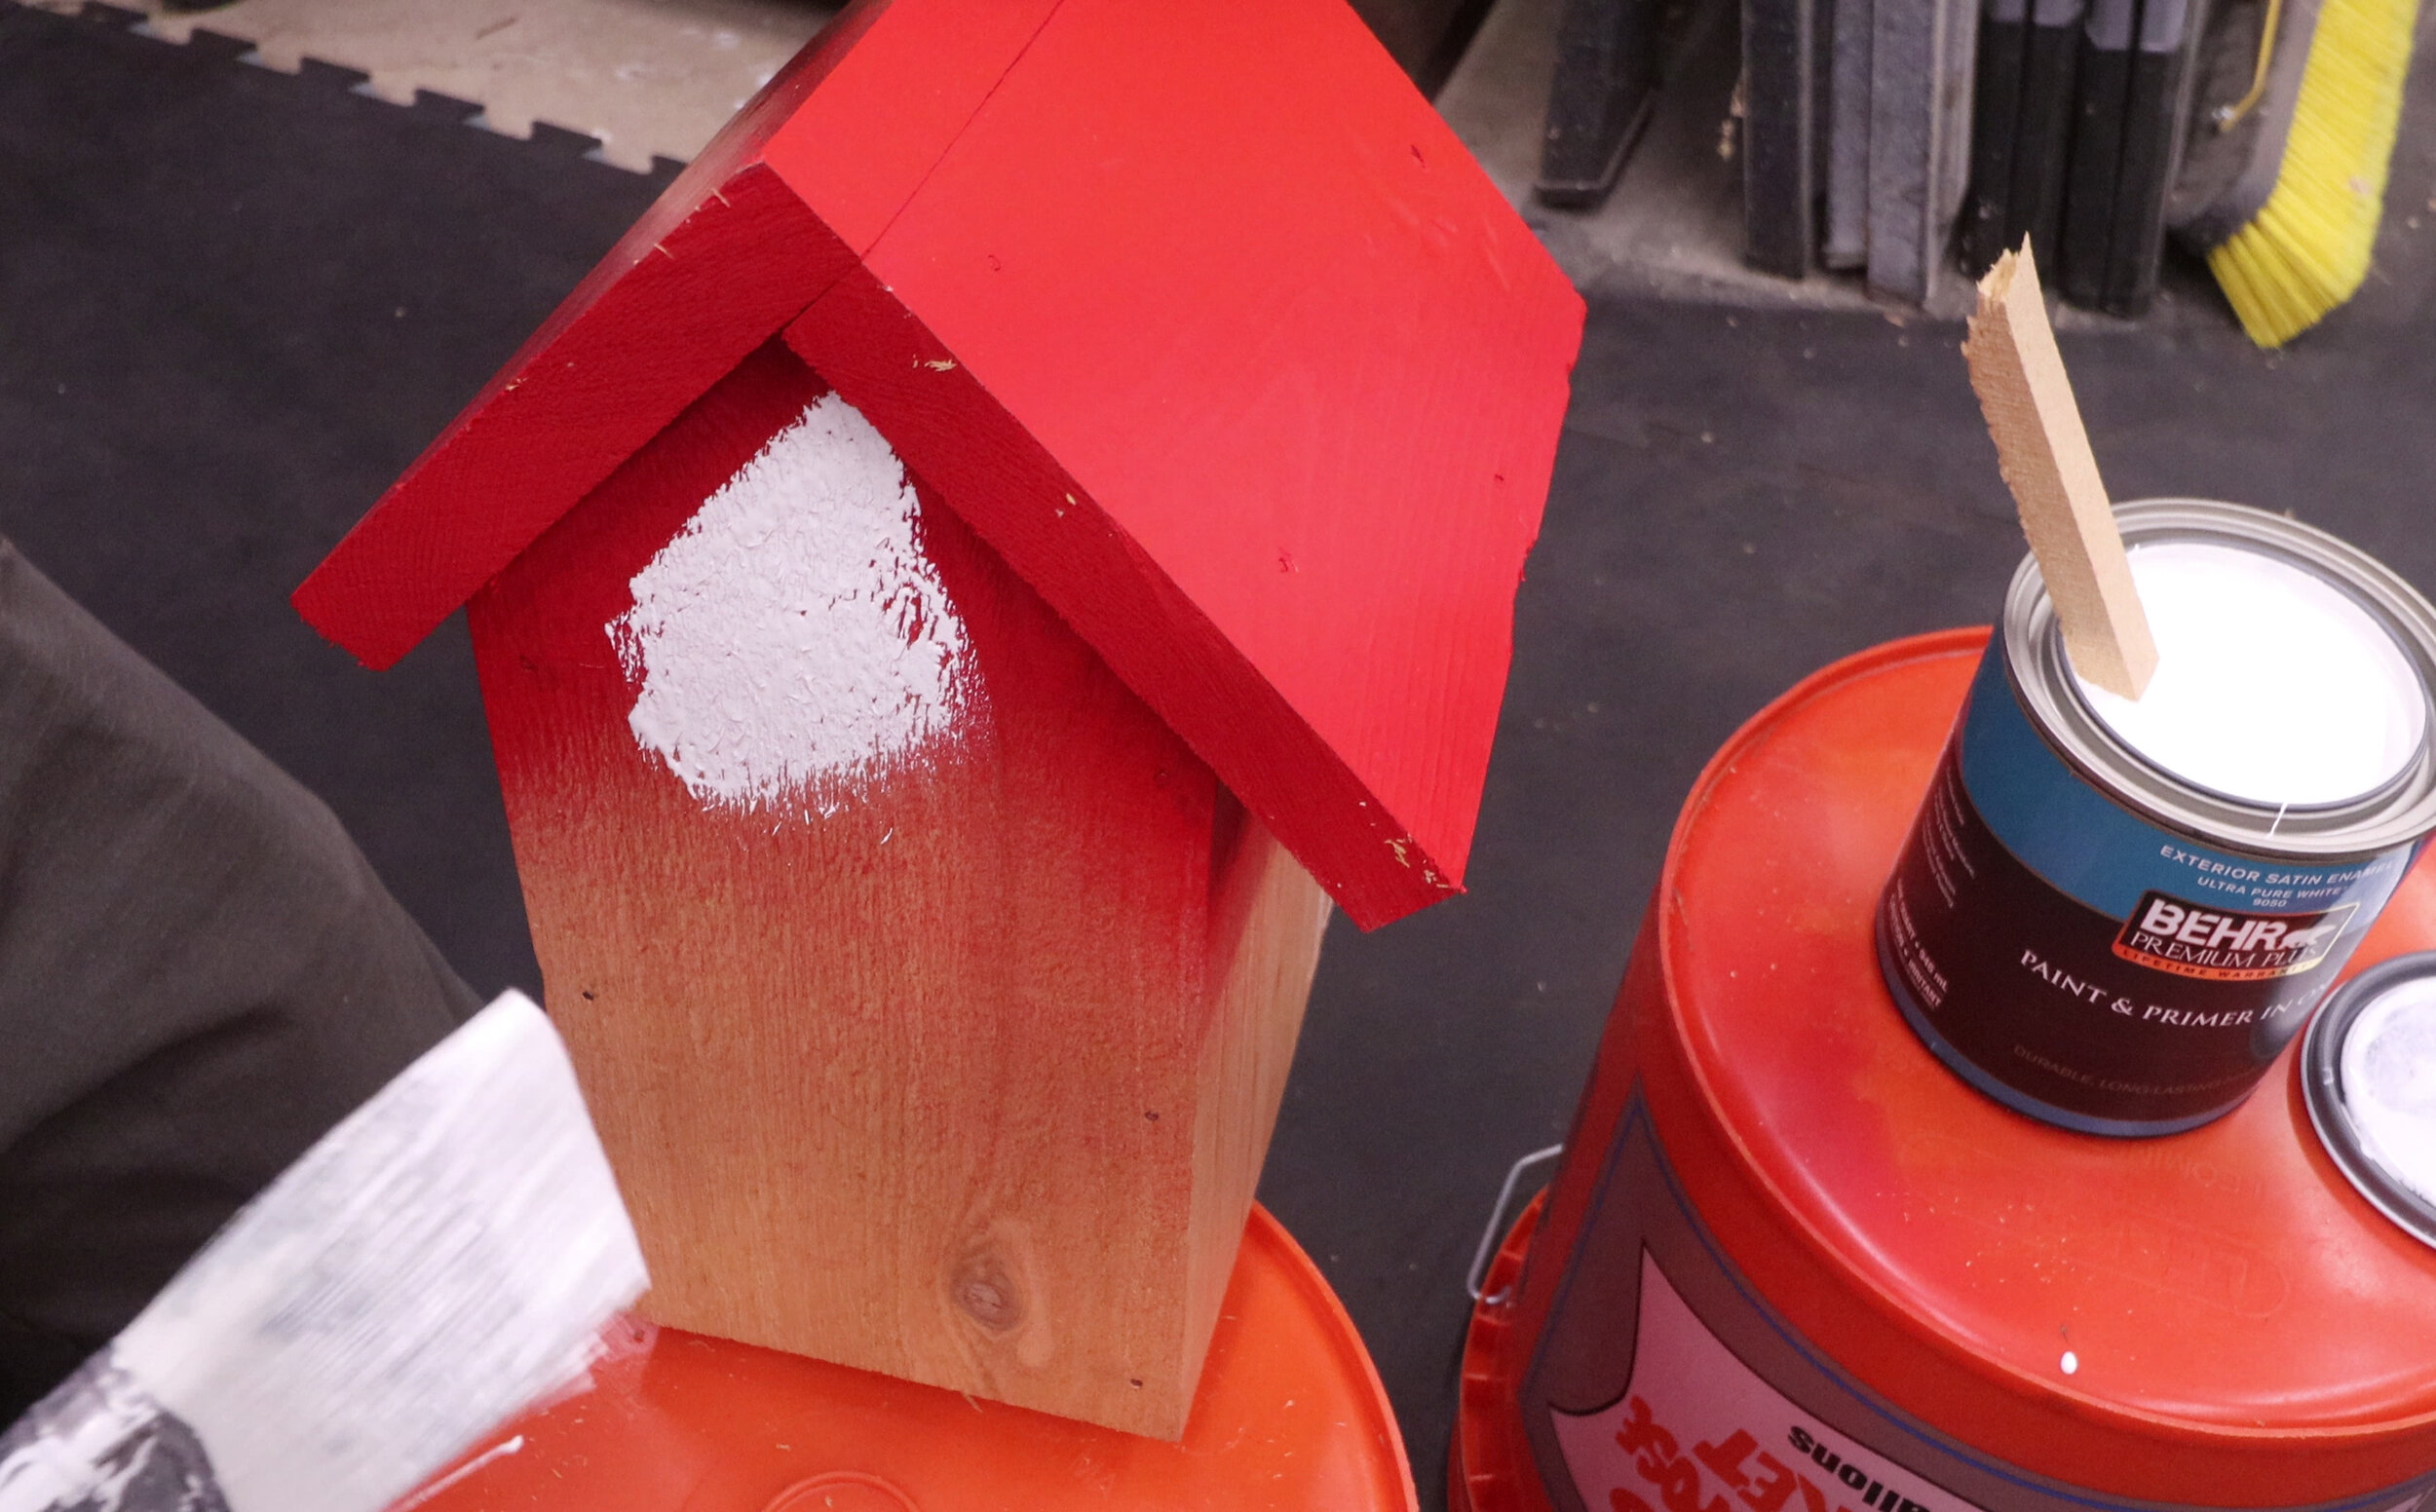
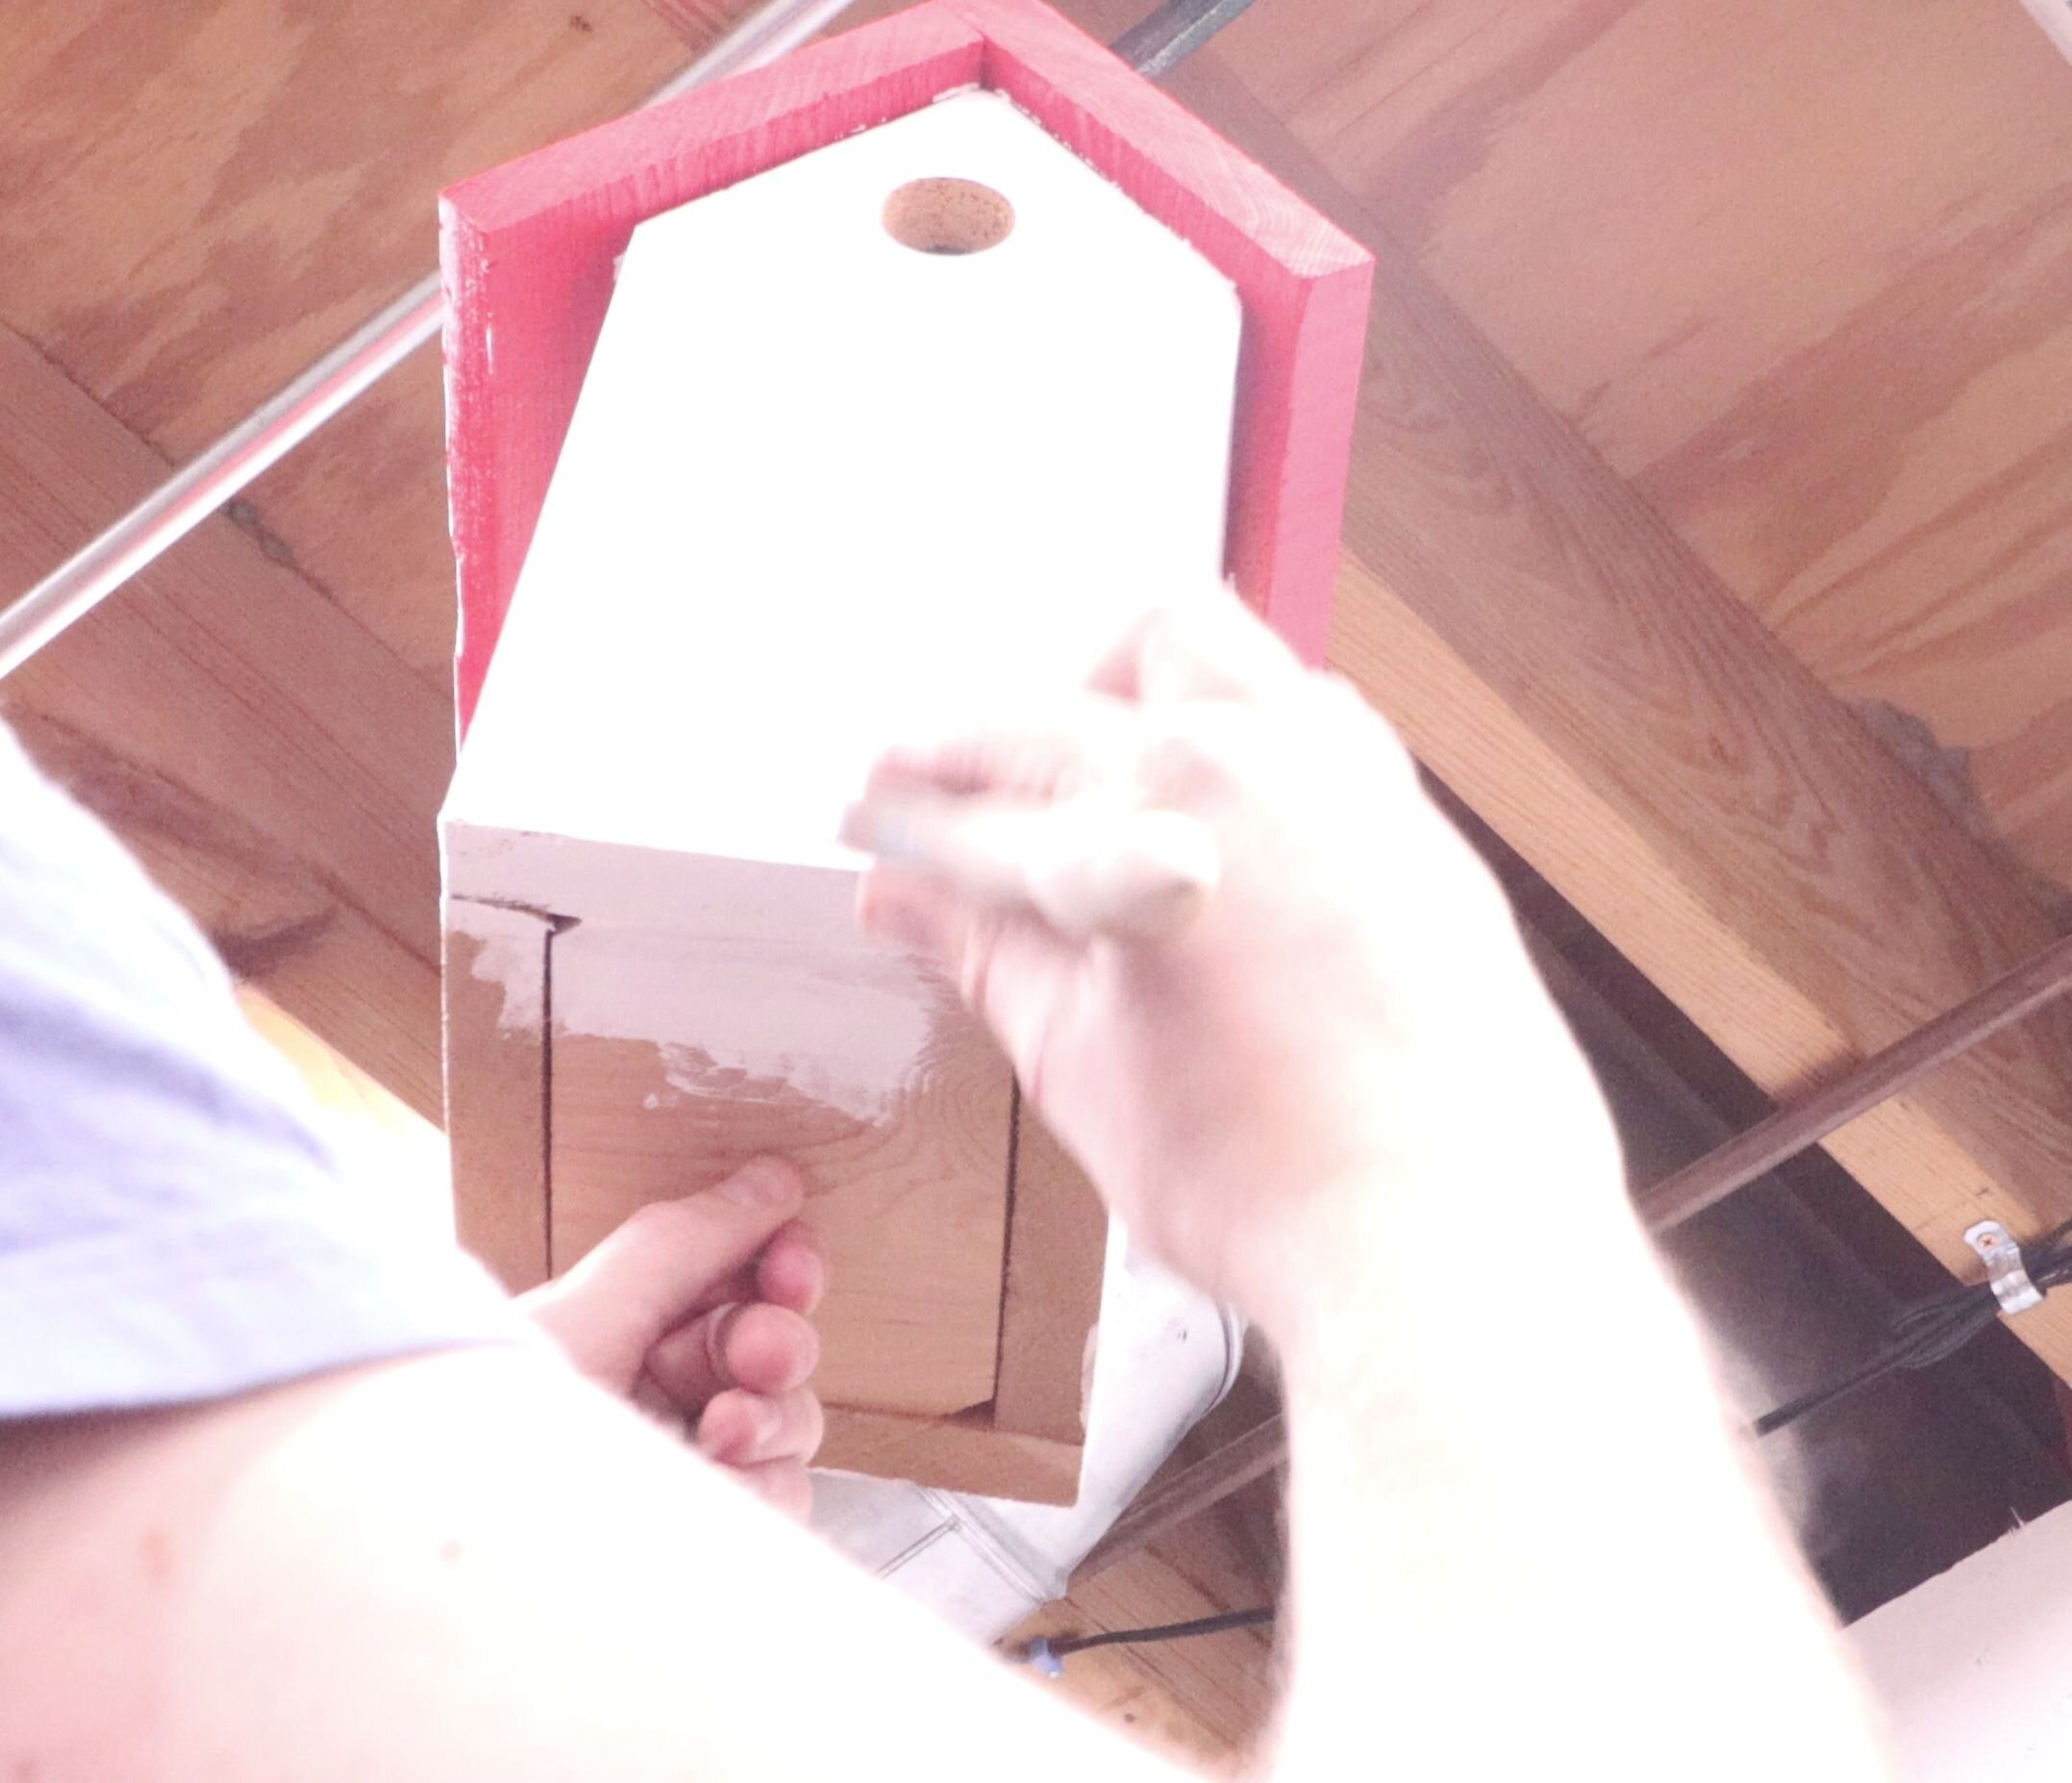
I chose exterior-rated paint for the birdhouse to give it some more longevity. I did an apple red for the roof and bright white for the walls. Three coats for each should suffice. Don't forget to paint the bottom edges of the wall pieces. The removable bottom piece doesn't really need to be painted.
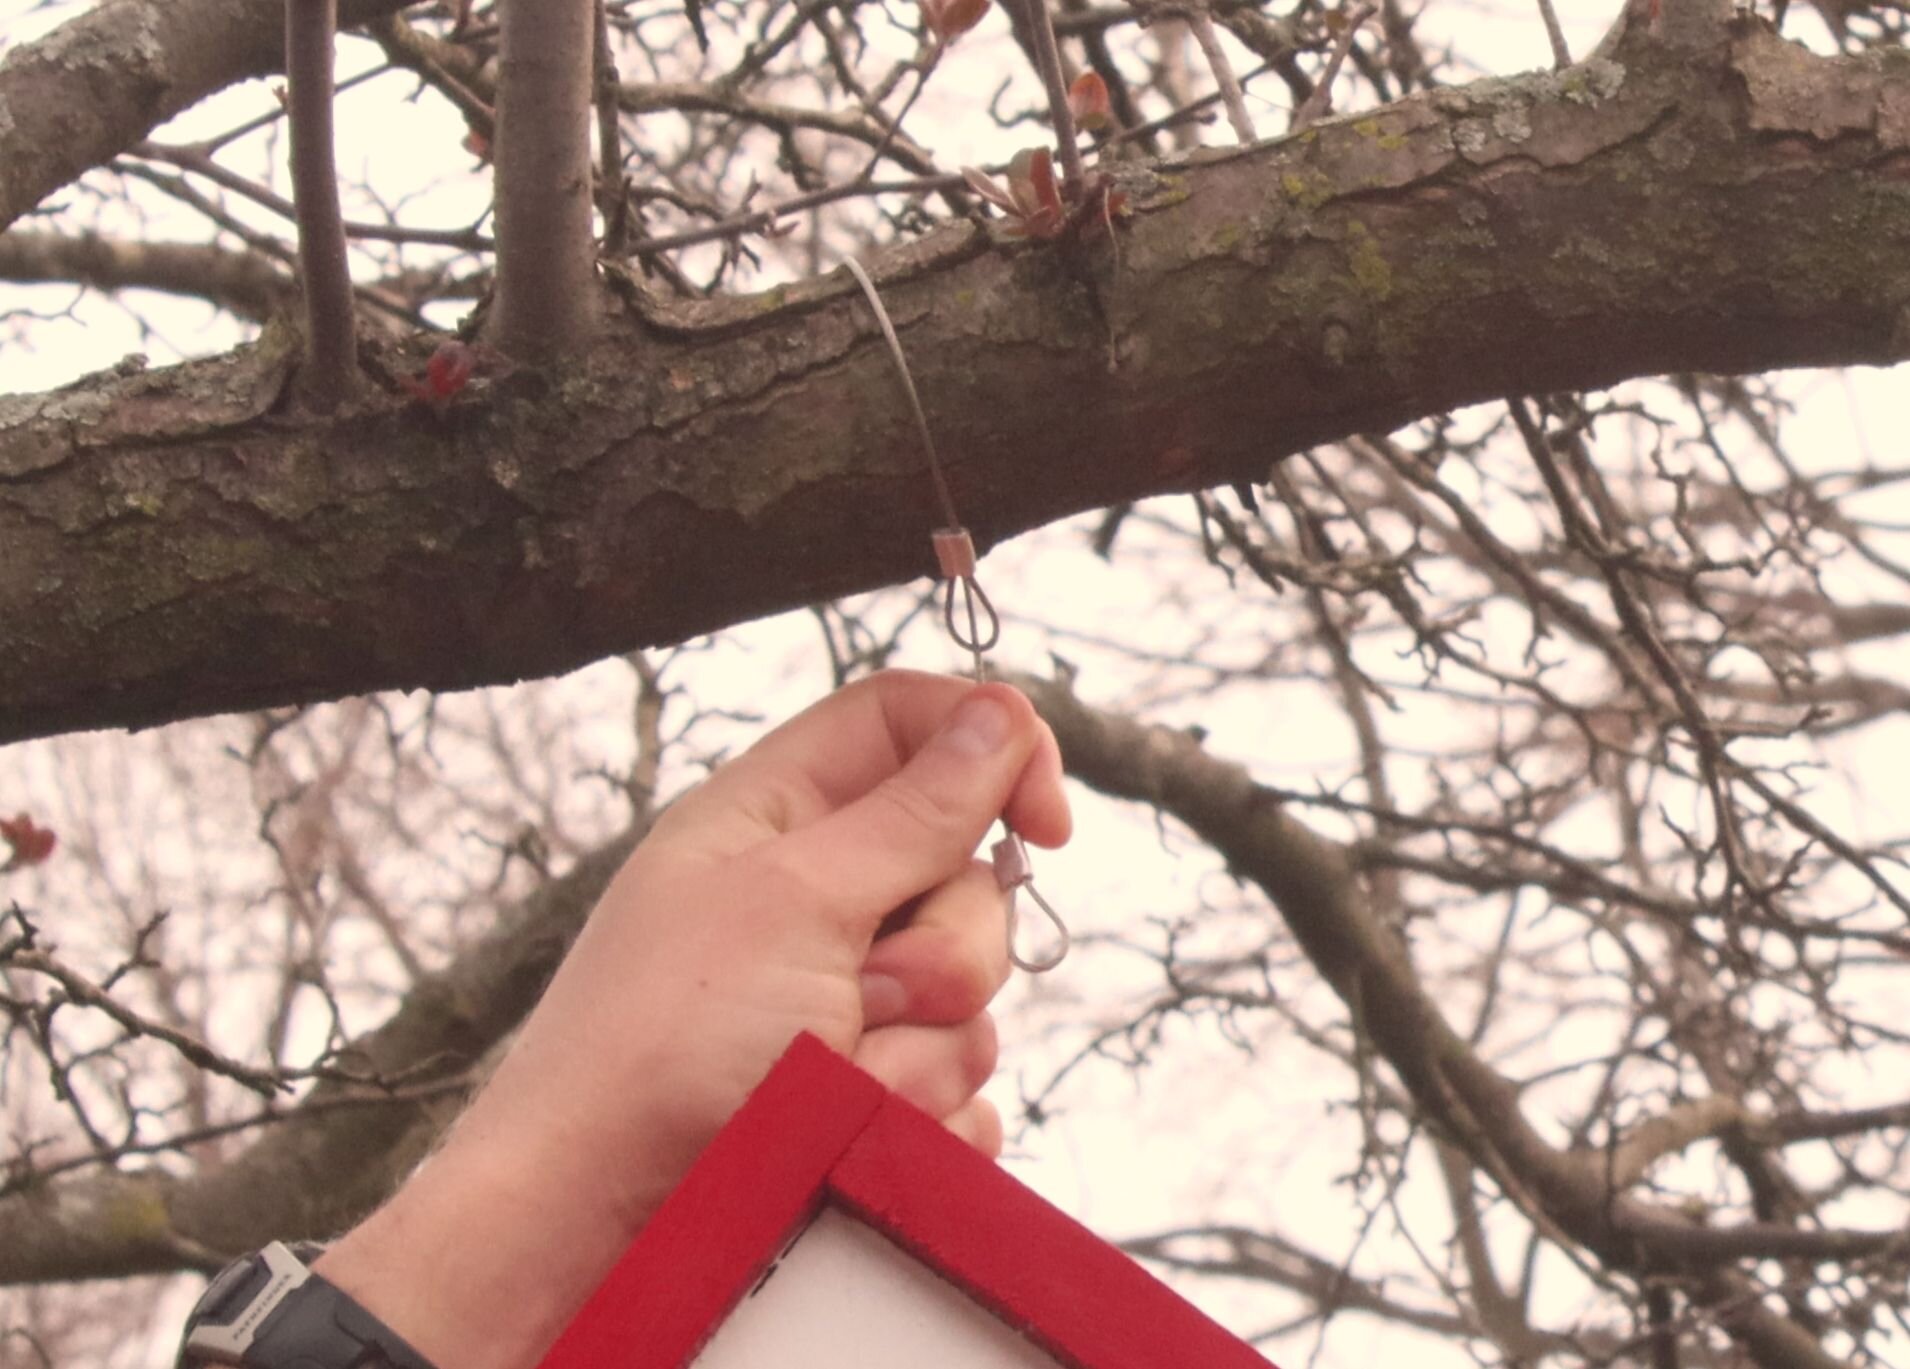
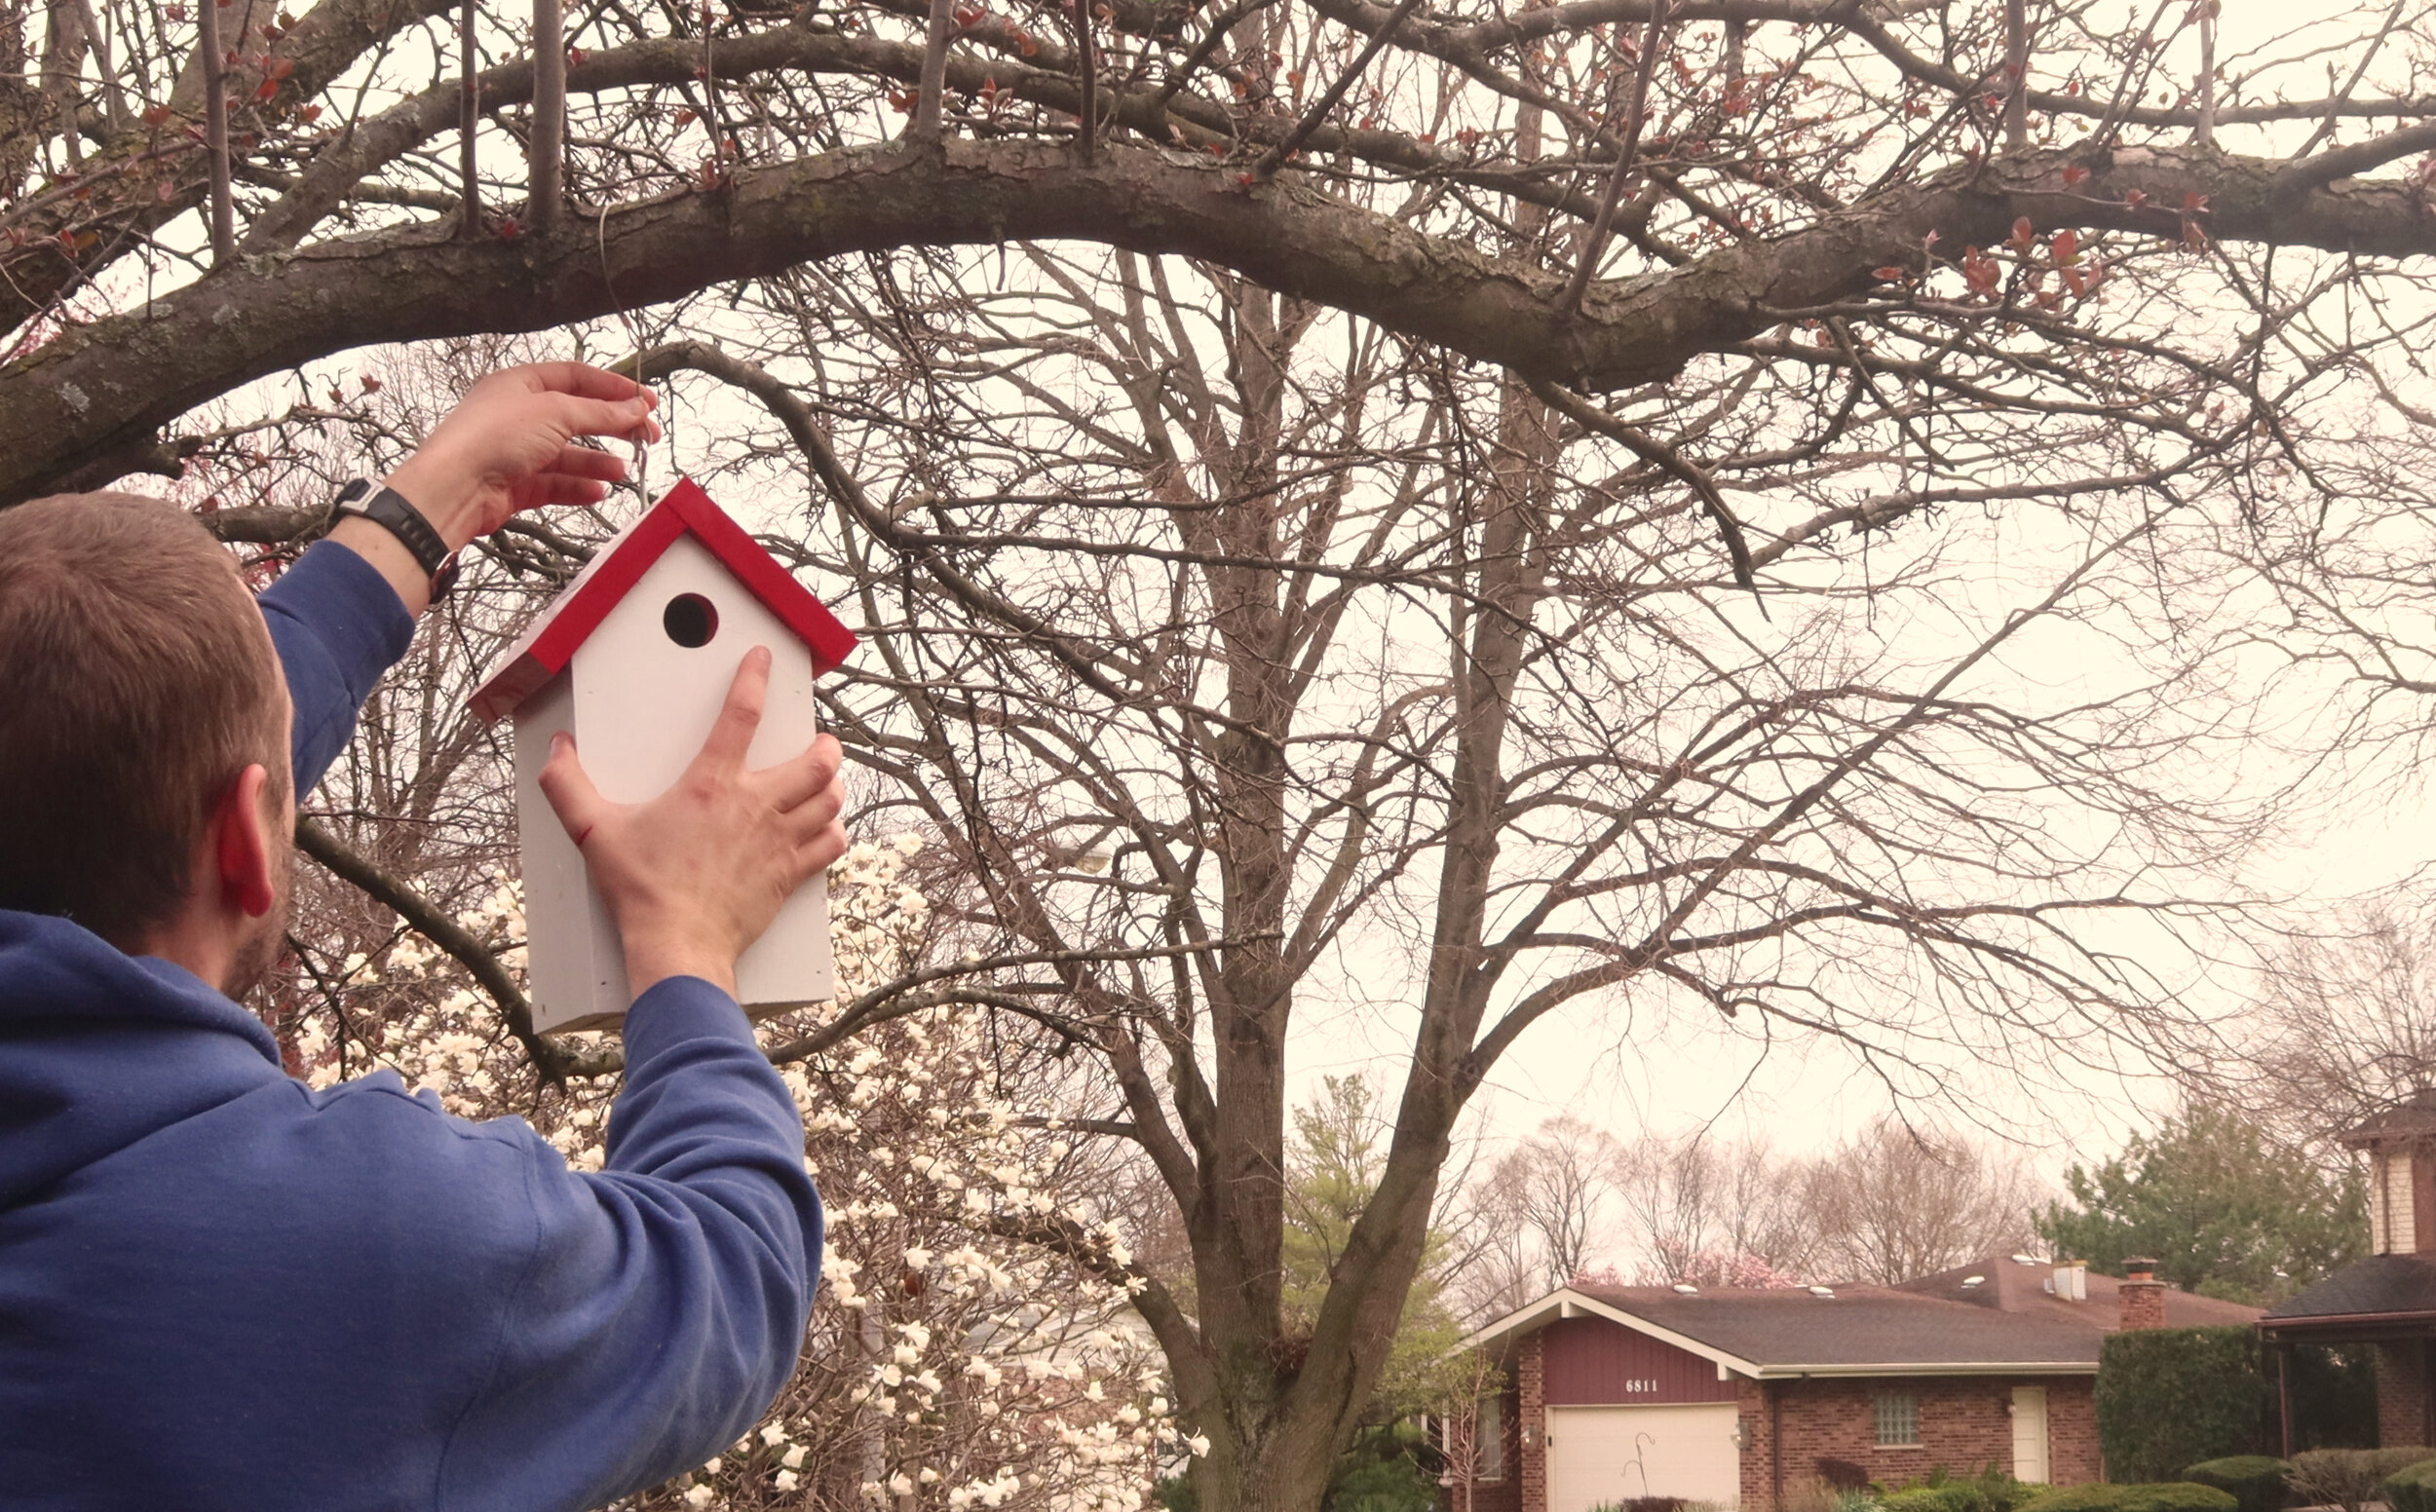
To hang the birdhouses, I made up some lengths of stainless steel wire with loops at the end (see Steps 2 & 3 of this Instructable for information on how to do this). The wire loops through itself, and the birdhouse is hooked into the bottom loop. These looped wires are nice because they’re easily removed, they’re not anchored to the tree, and they’re loose enough to allow the tree to grow in girth over time without constricting the branch.
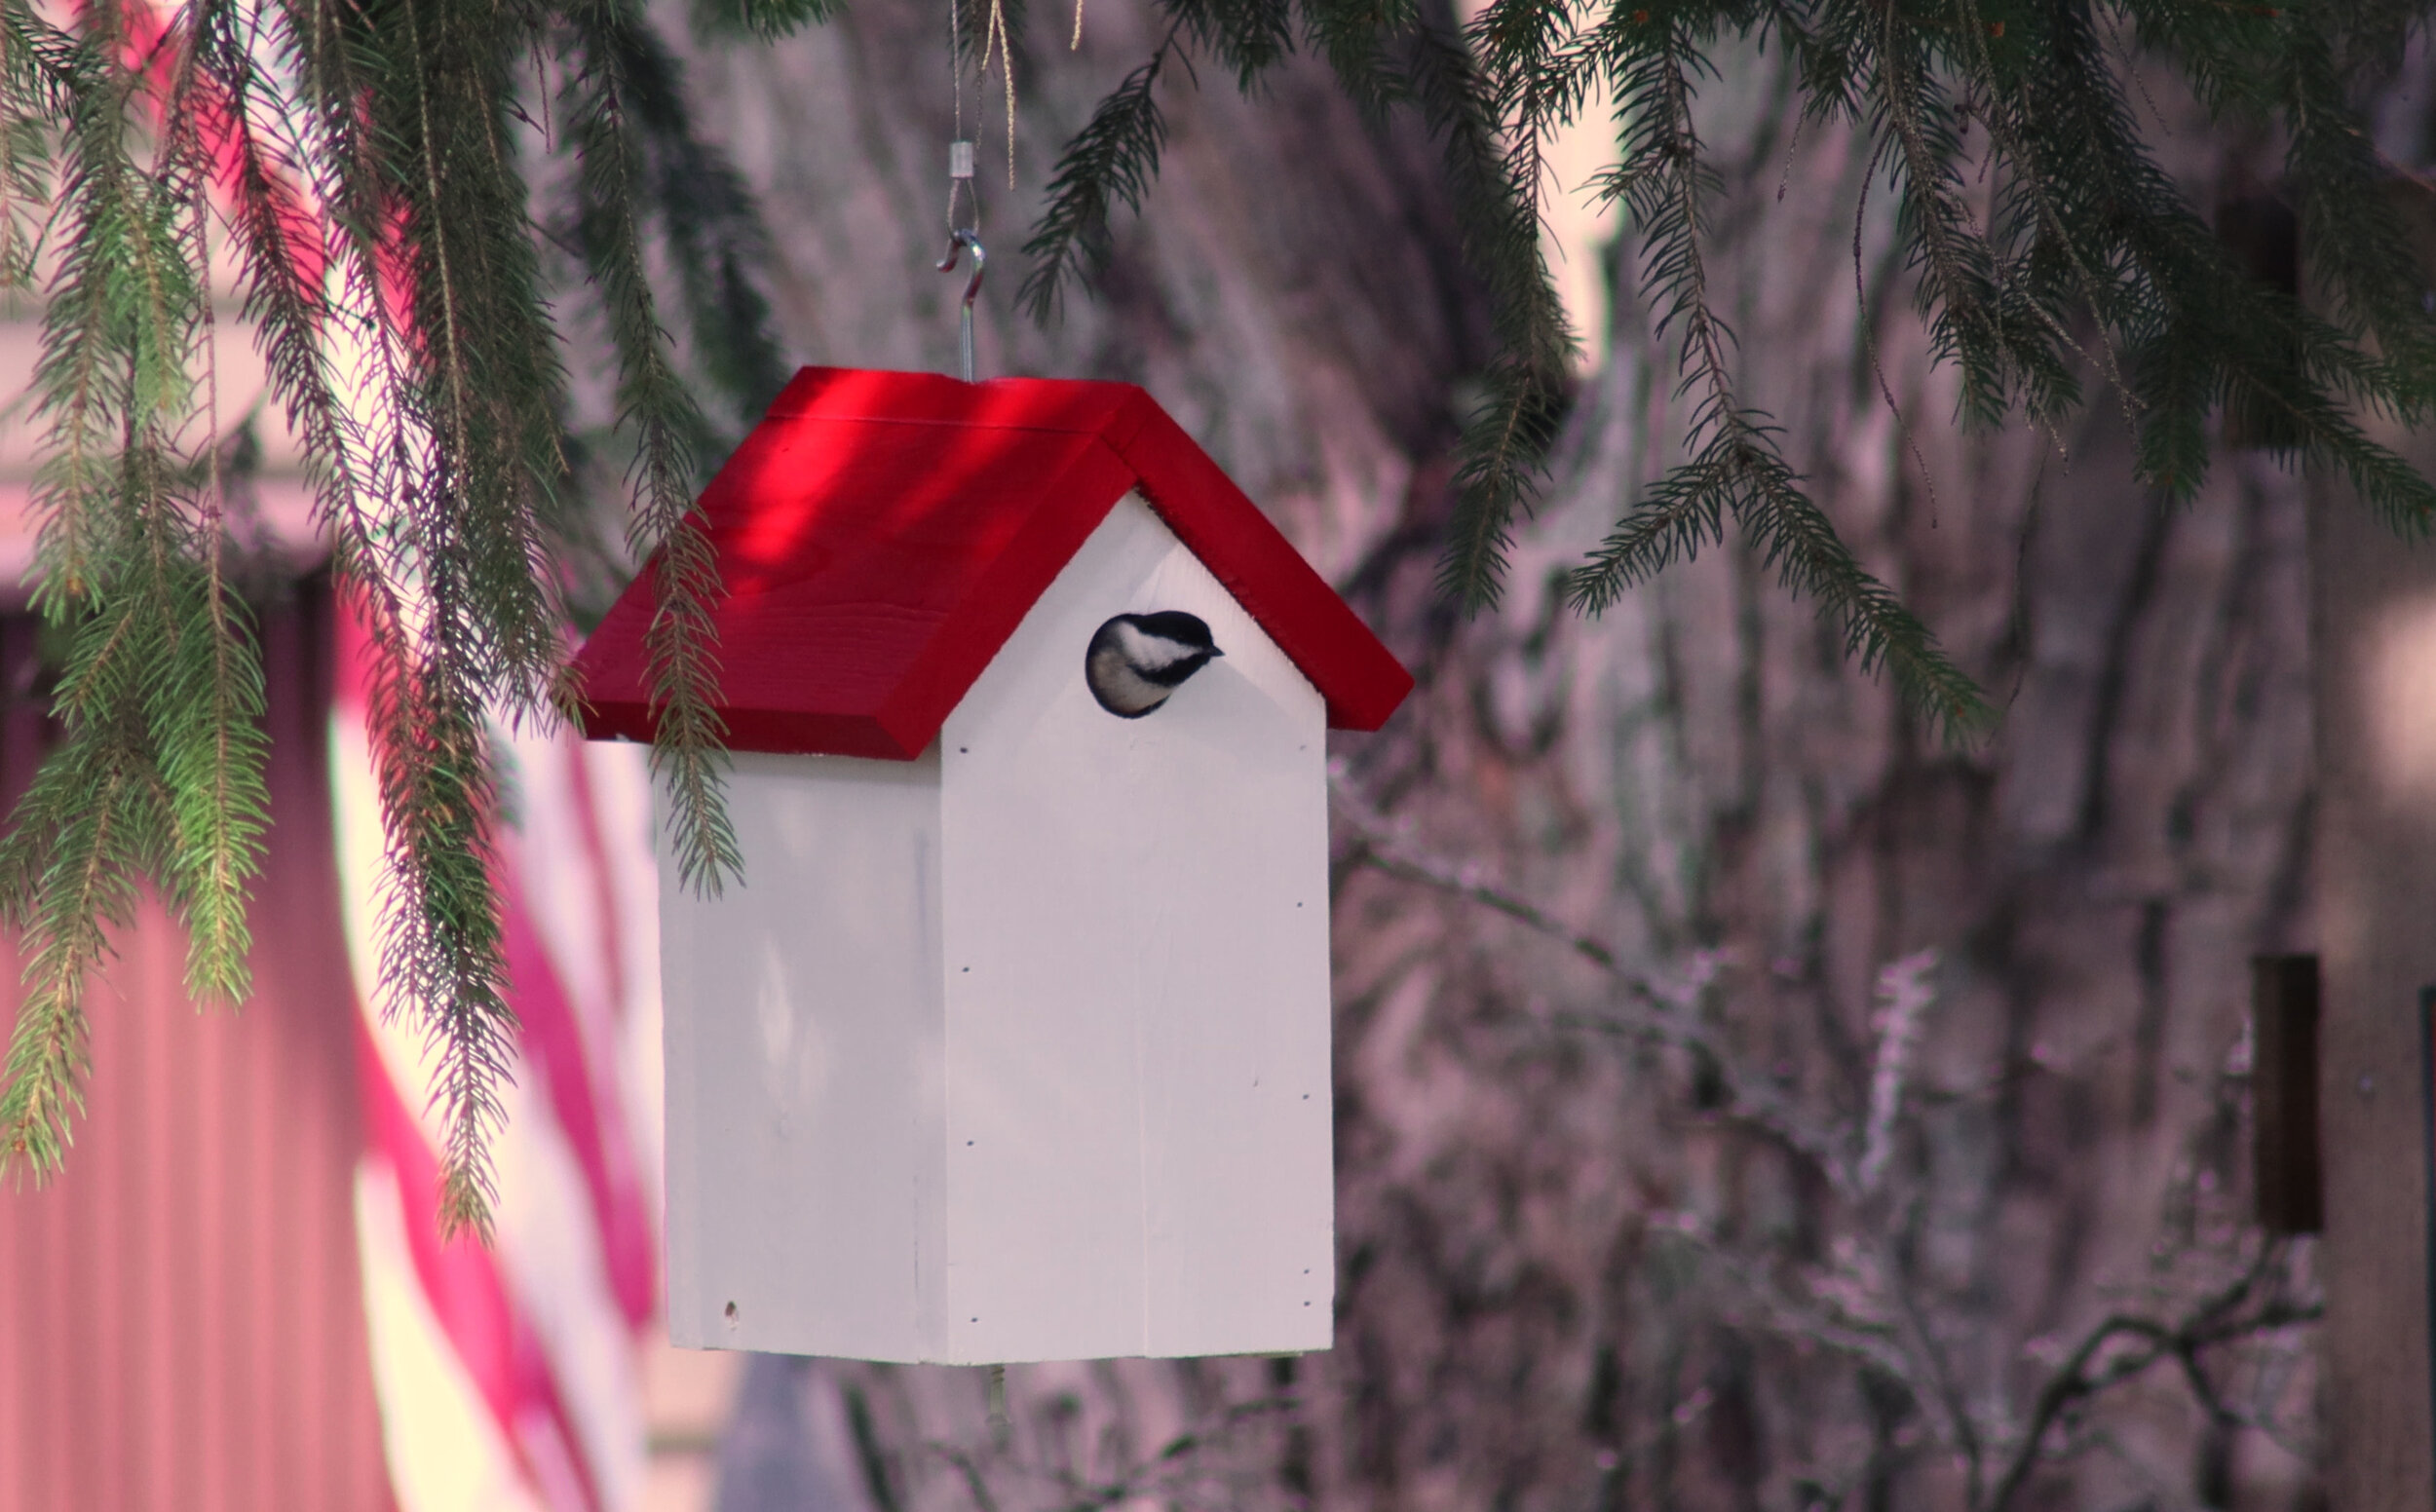
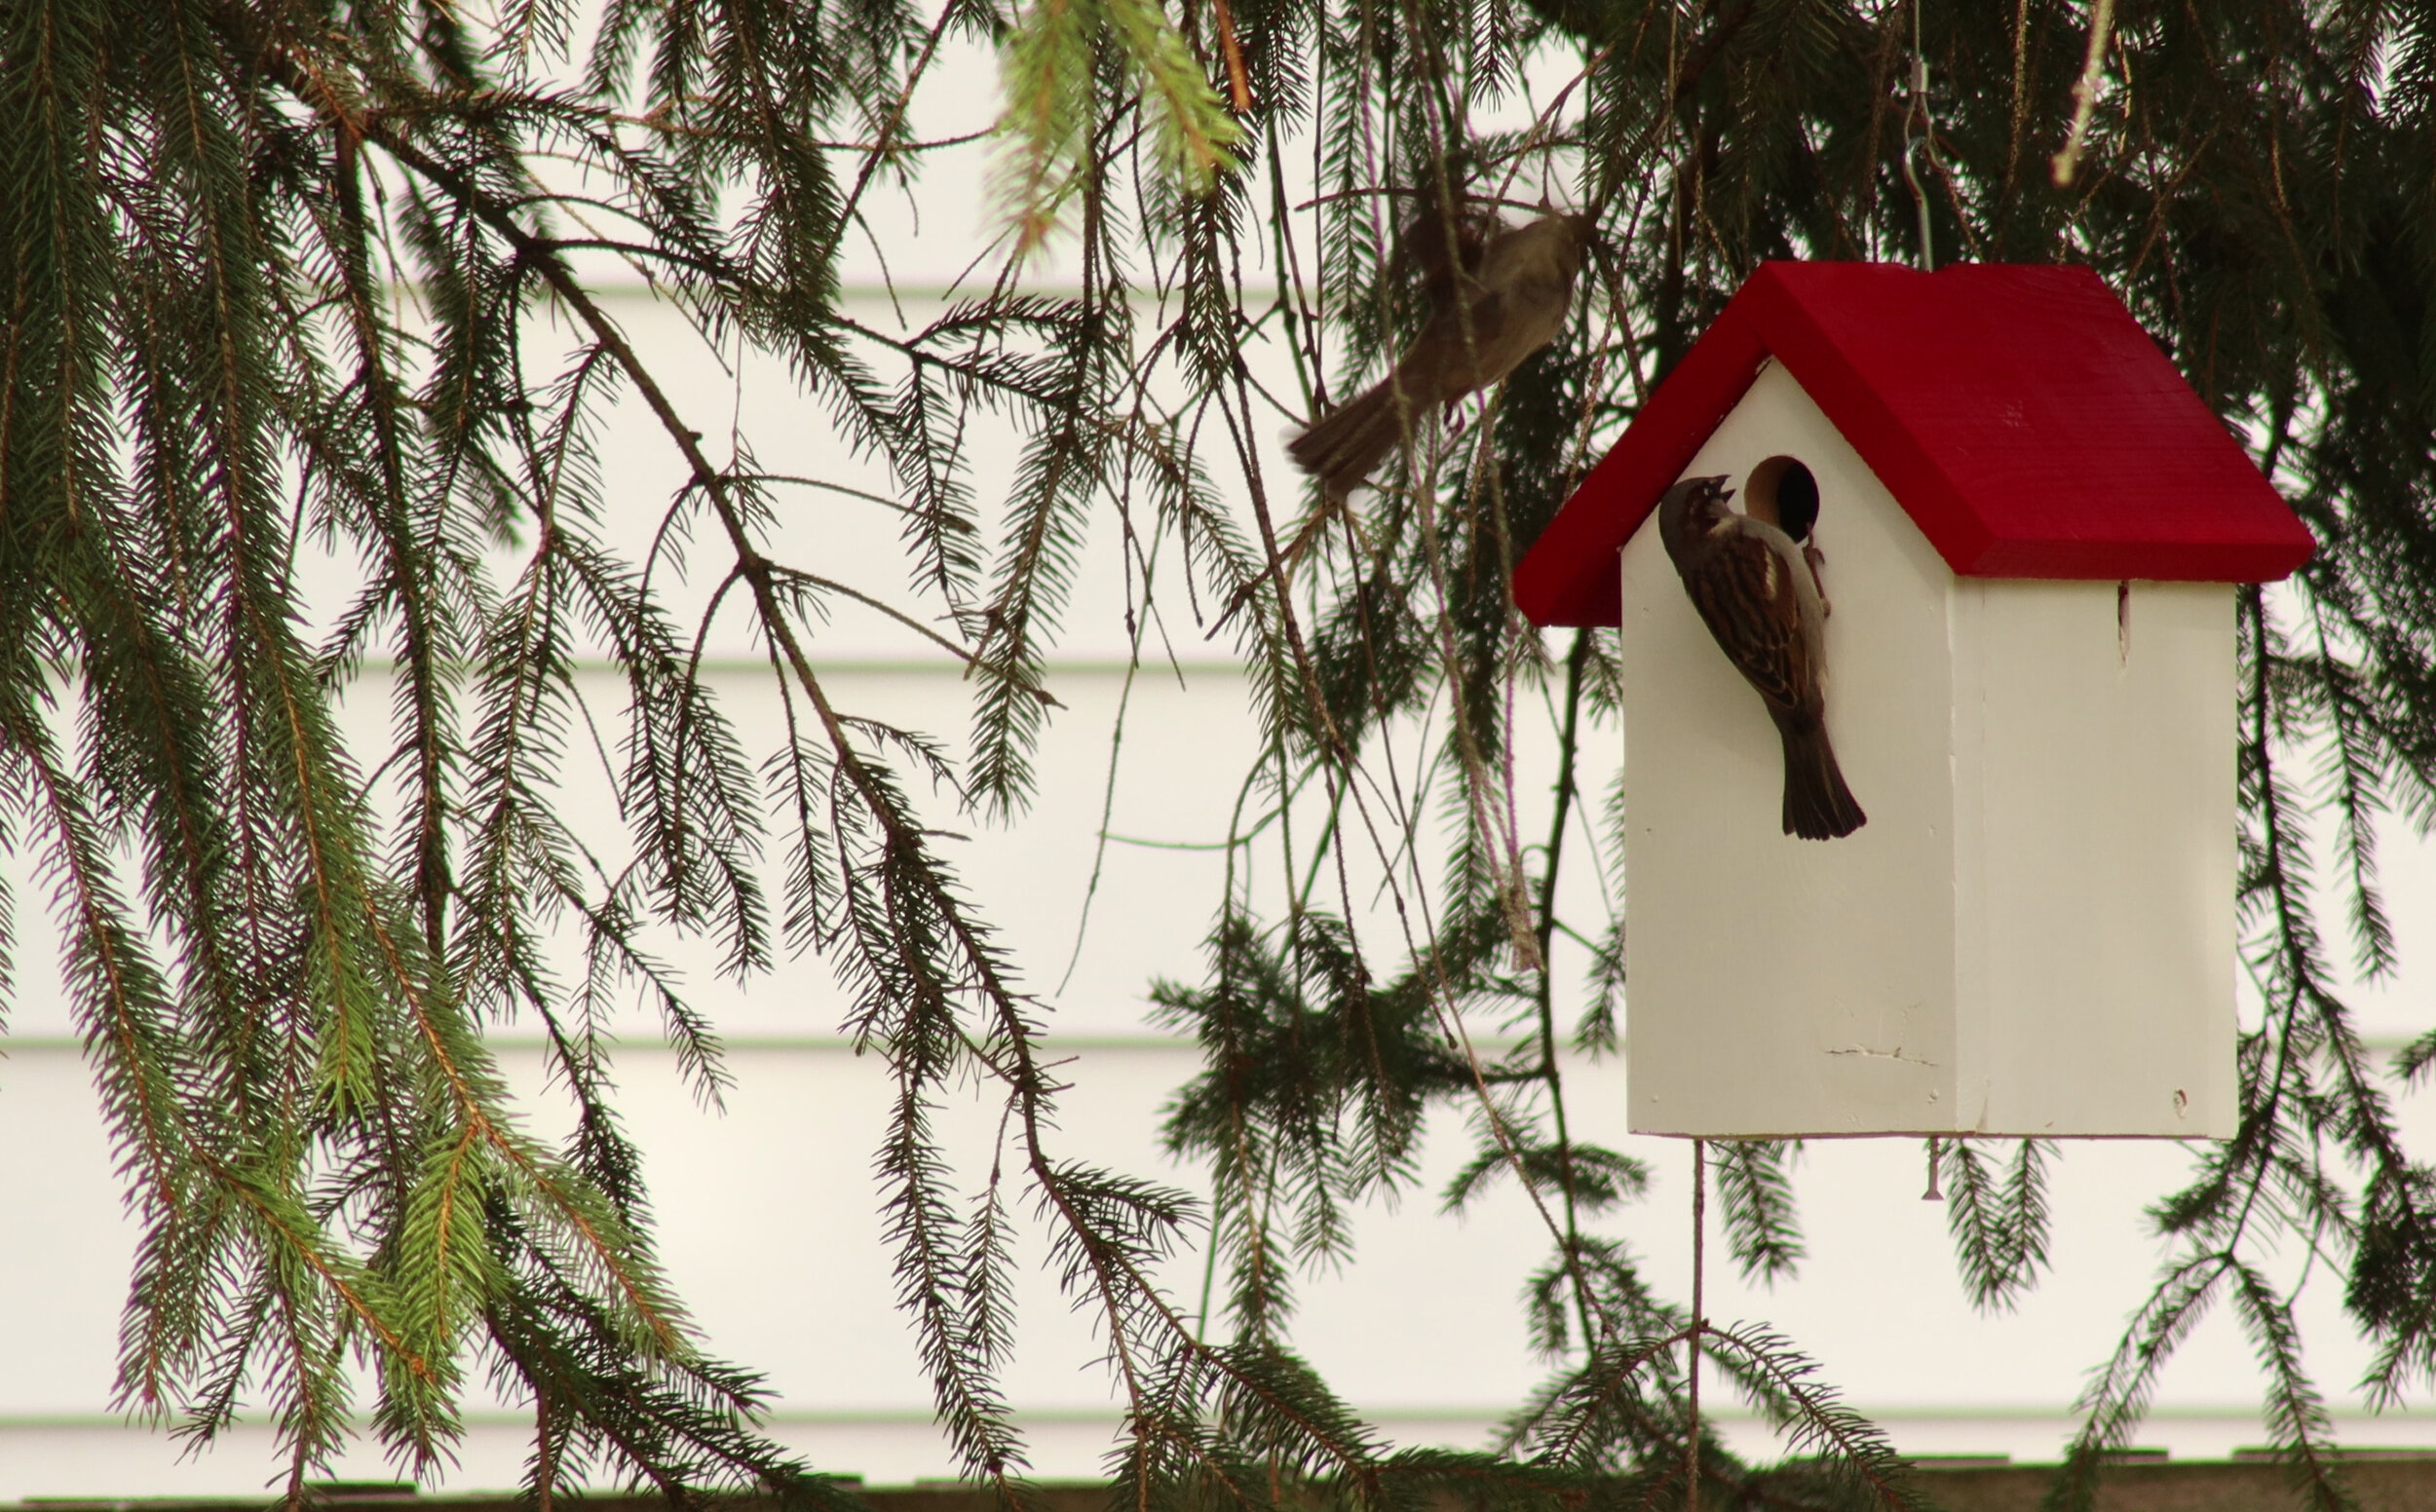
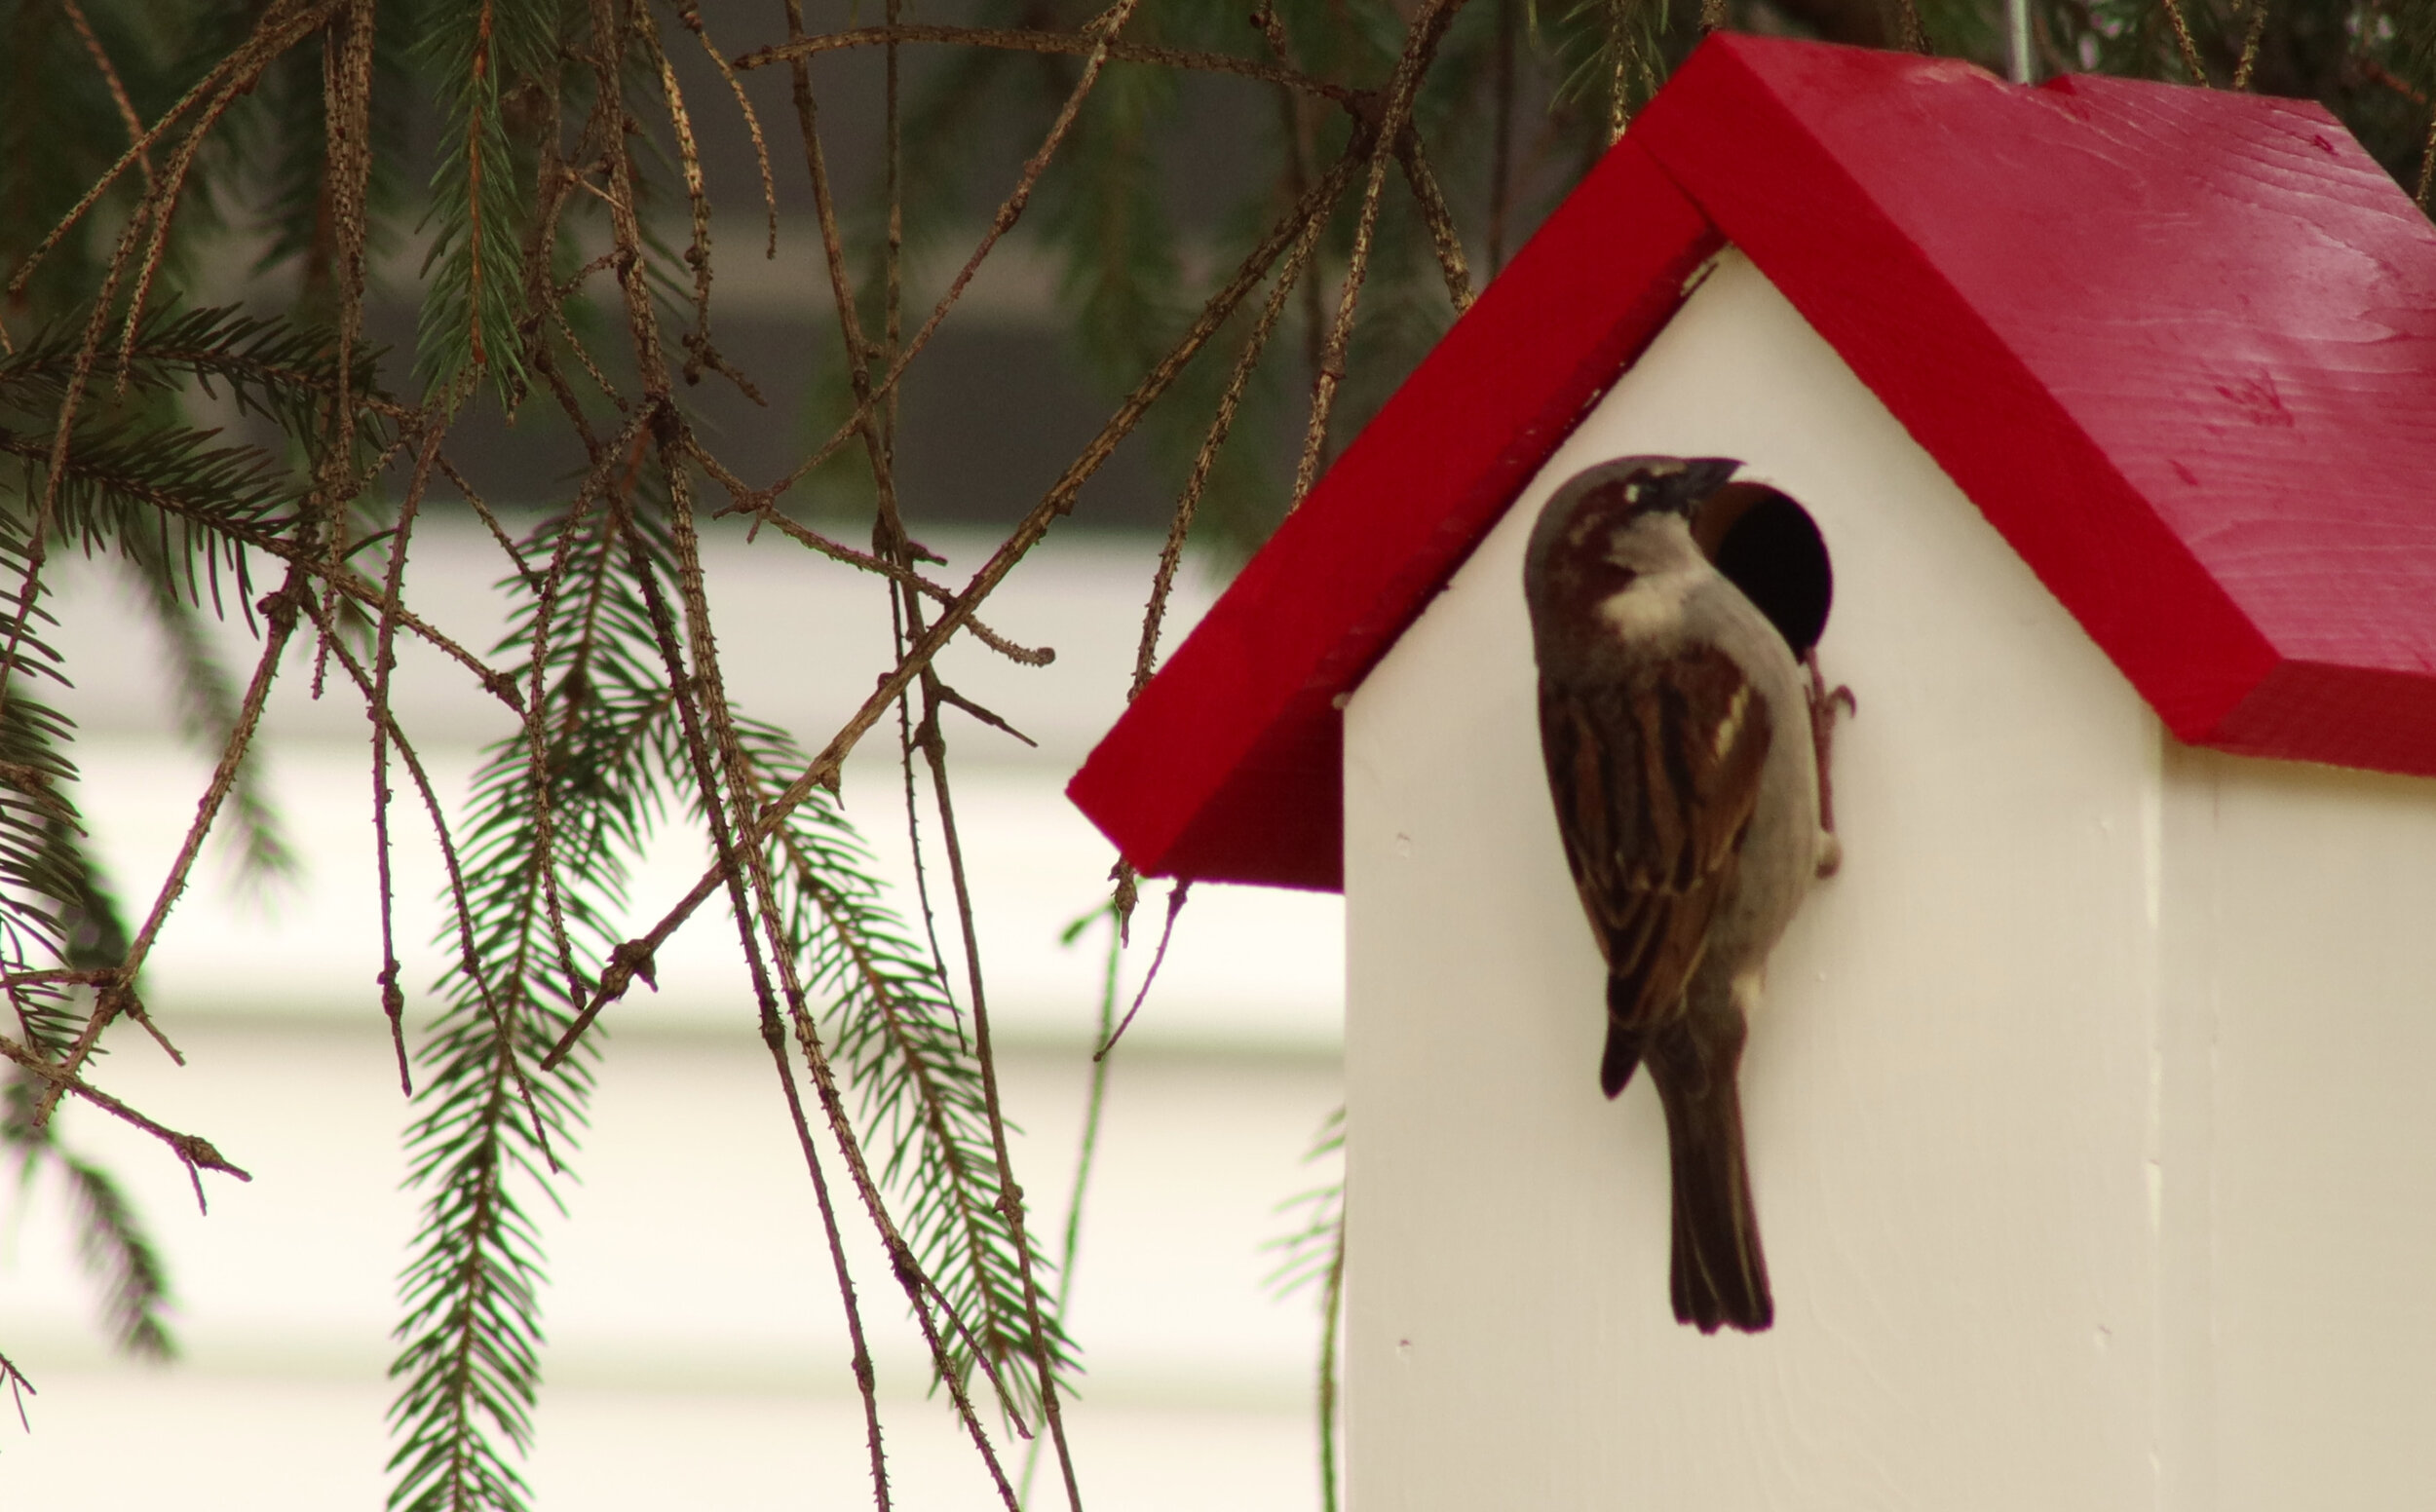
I was very pleasantly surprised. I hung these in the morning, and had some birds setting up shop within a couple of hours!
It's very cool to be sitting at my couch and see chickadees flying in and out of the birdhouse we put by the front window. I look forward to this small entertainment as the year progresses :-)
If you enjoyed this article, I have tons more on my YouTube channel as well!
———————————————————
Below is a listing of the supplies and tools you will need to build this. I have supplied Amazon Affiliate links to the products I used. As an Amazon Associate I earn from qualifying purchases.
Supplies:
I’ve tried to keep the tools and materials list for this project as basic as possible, and also tried to use only hand tools. Materials for this project come out to between $10-15 per birdhouse if buying wood new.
1x6 board, at least 60" long, cedar preferred (can make 3 birdhouses with two 8-ft boards)
Exterior-grade paint, if you choose to paint the bird houses. I went with red for the roof and white for the rest of the house.
Tools:
Bit brace
Two buckets
1/16” drill bit
Drill bit with attached countersink (alternatively, you can use separate drill and countersink bits if you don’t have a combo bit)
Also, although not necessary, having a clamp or two will make some things easier

