Adding Dust Collection for Contractor Table Saw
My Delta Model 10 Contractor's Saw, like most contractor’s table saws, does not include a built-in dust collection system, so I have to custom make one.
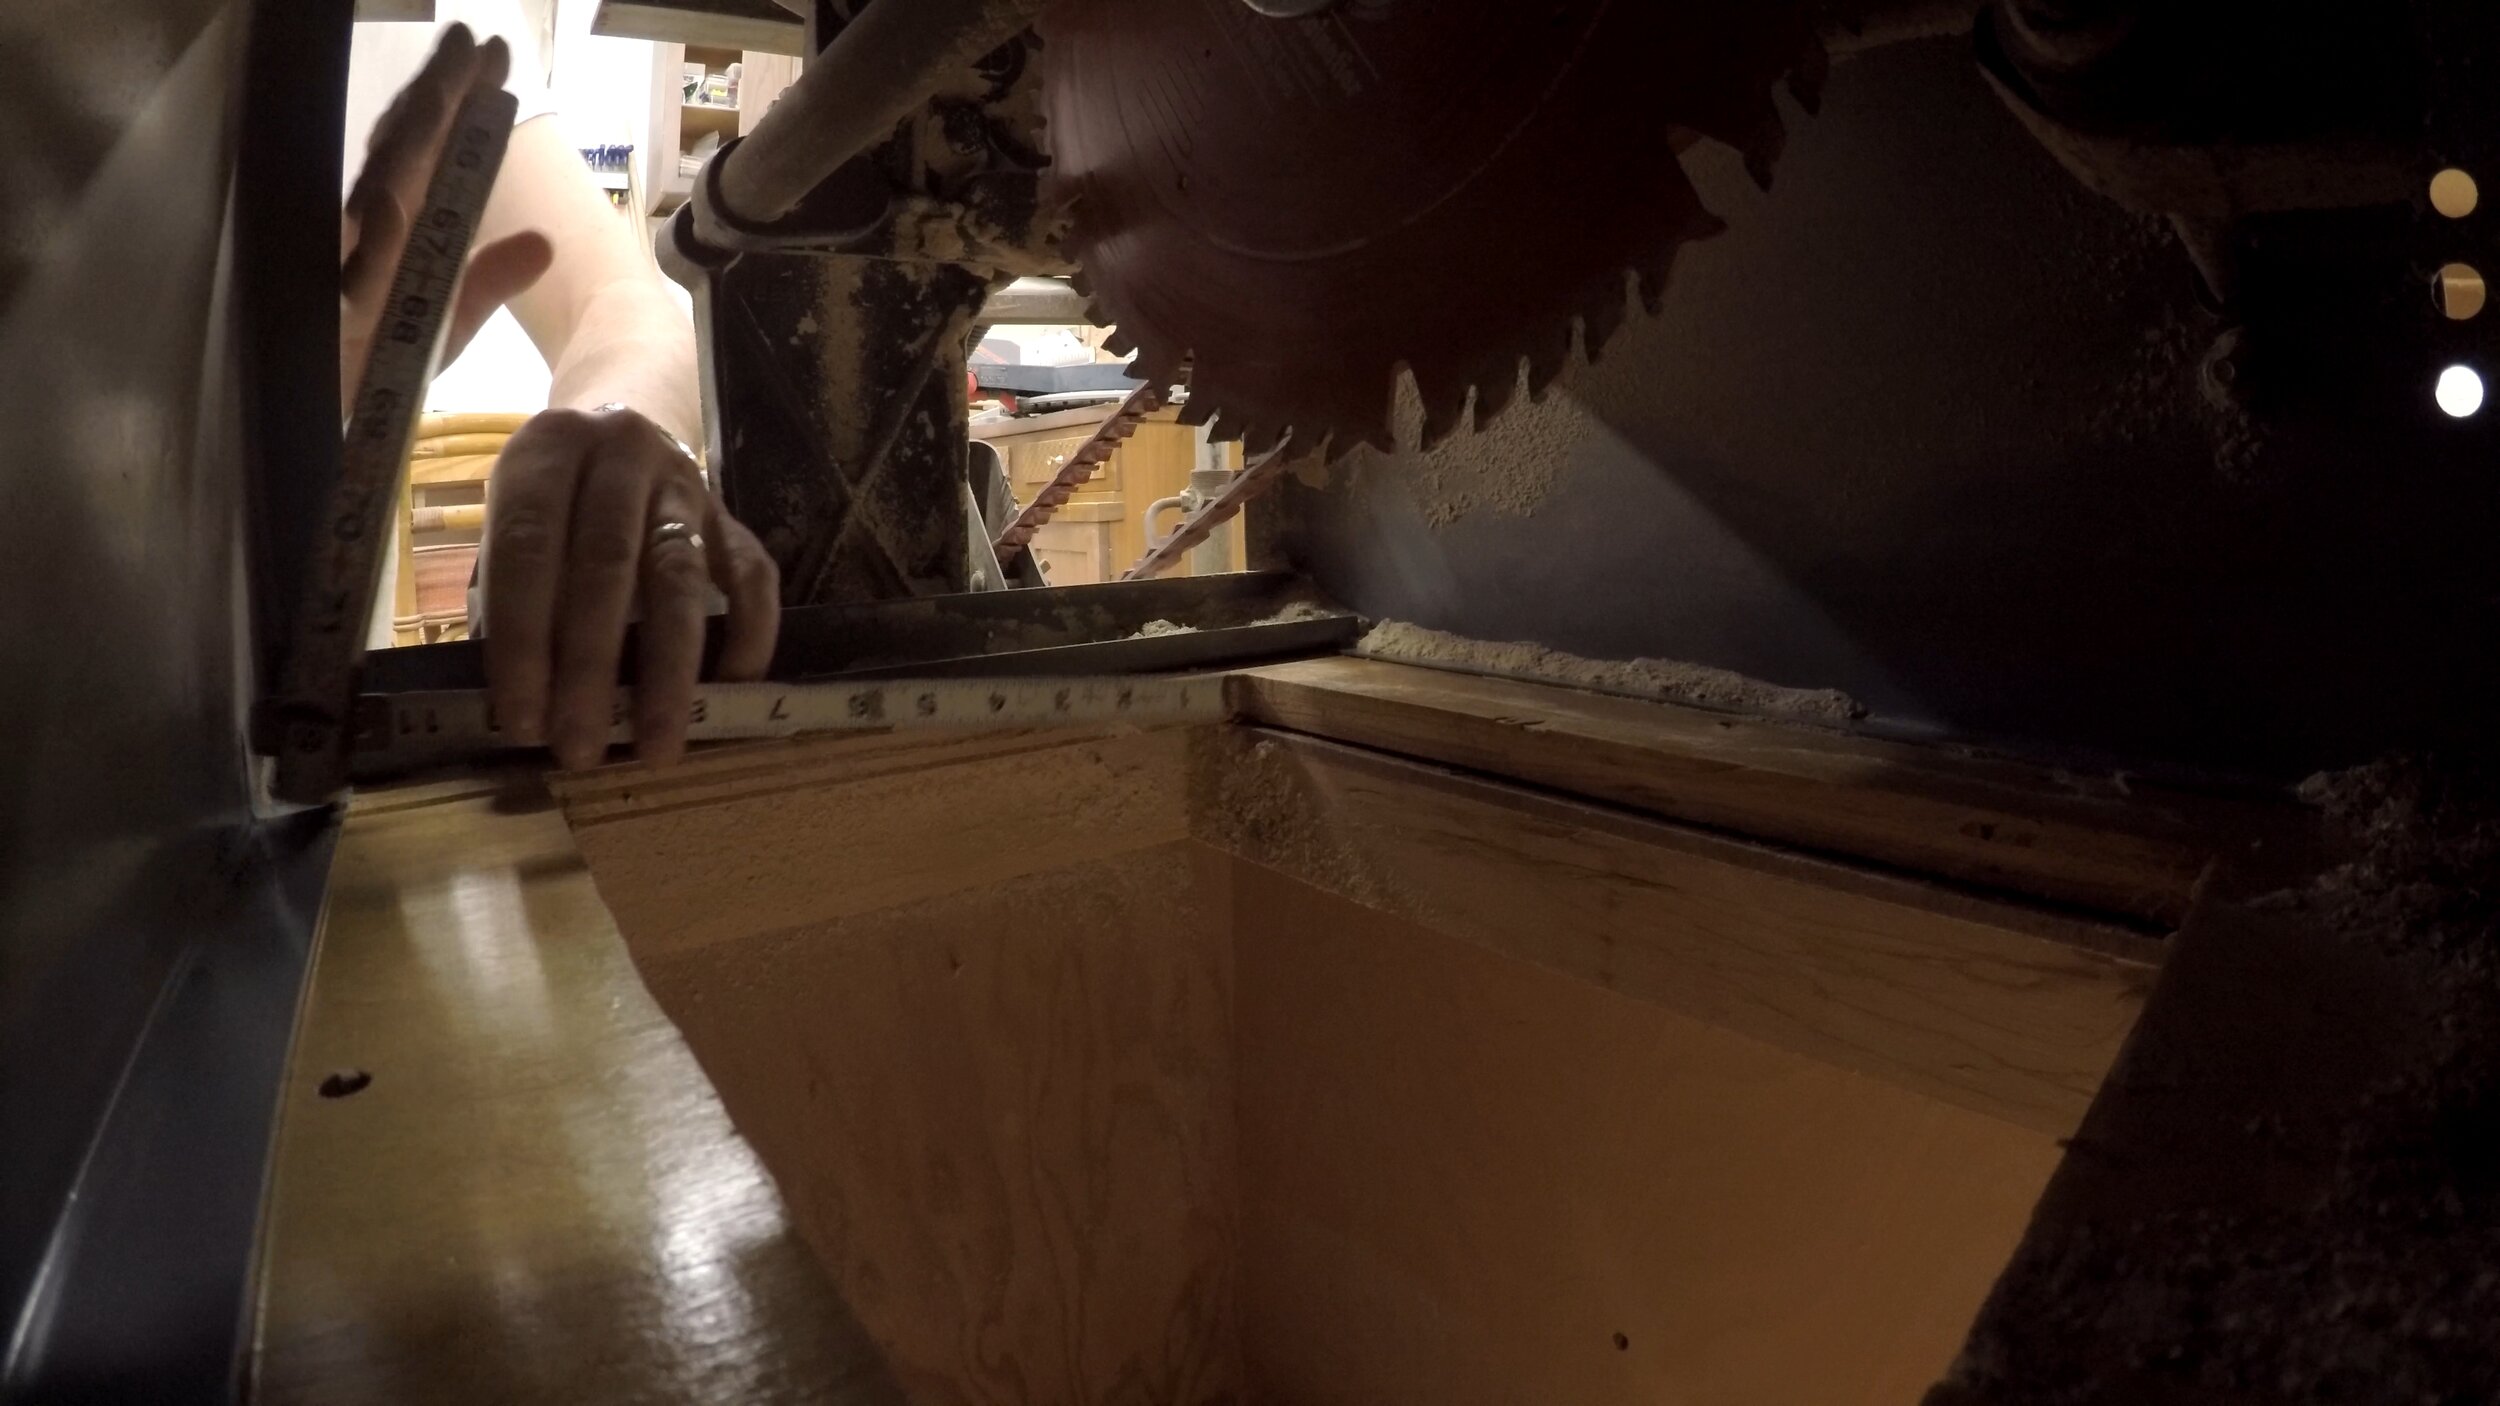
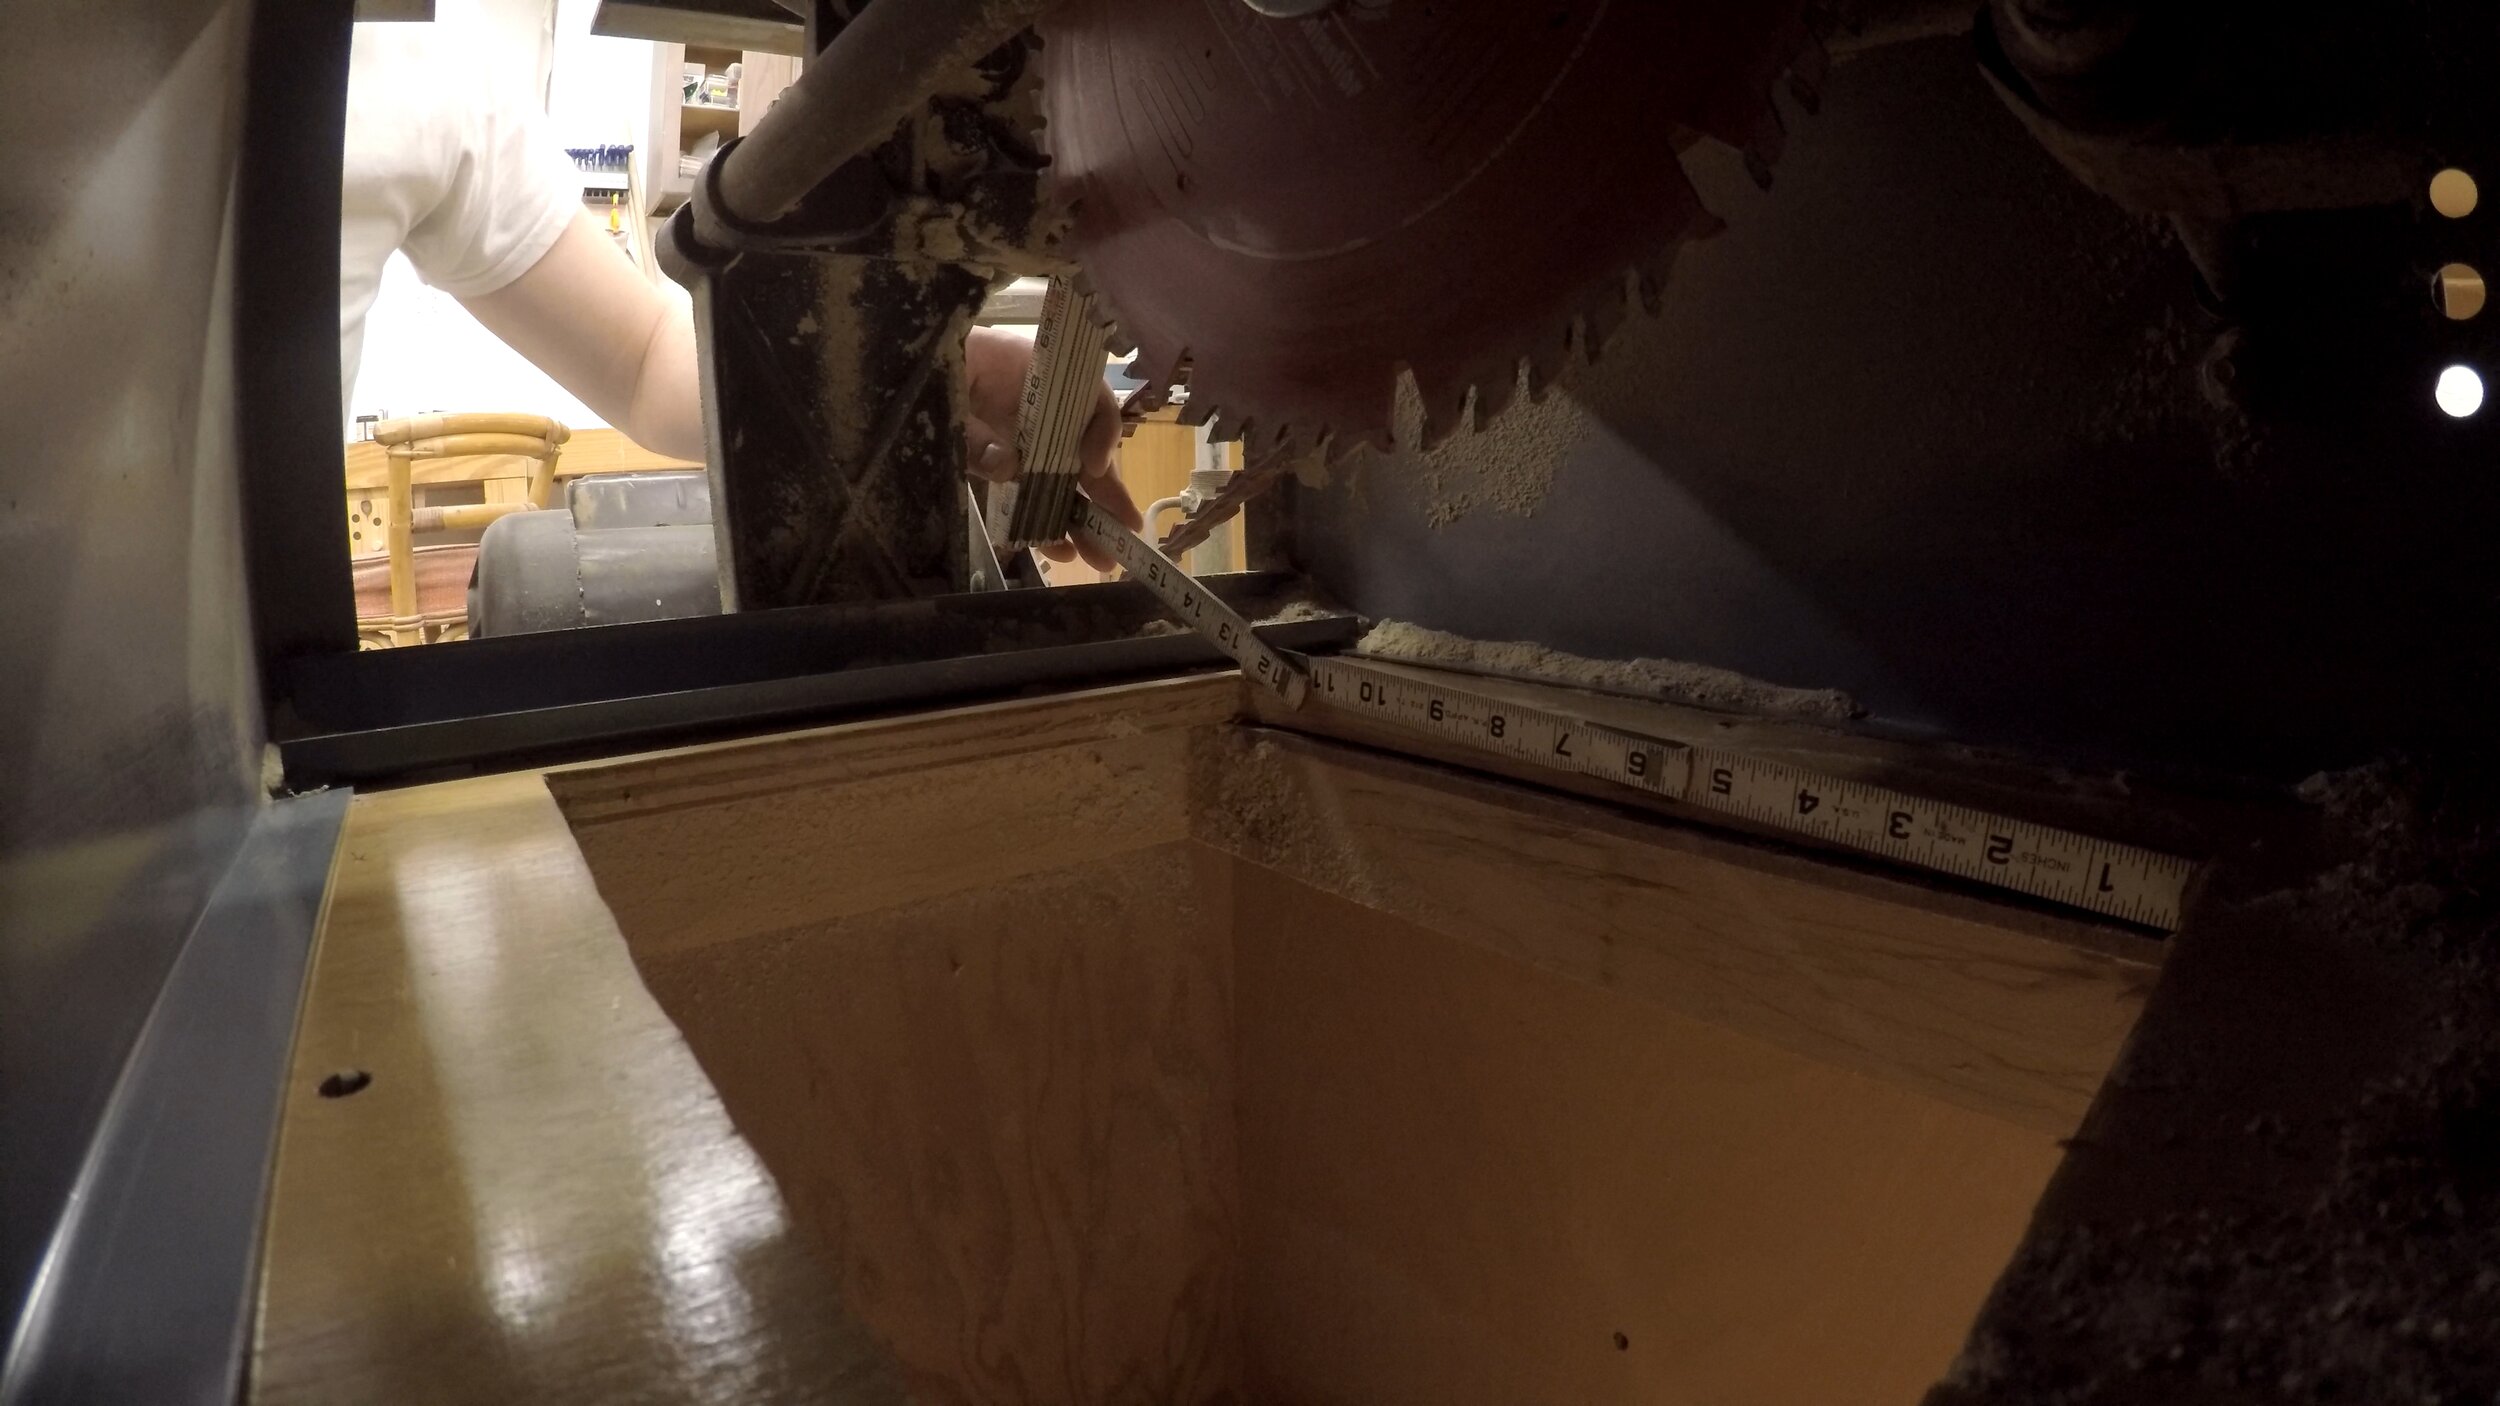
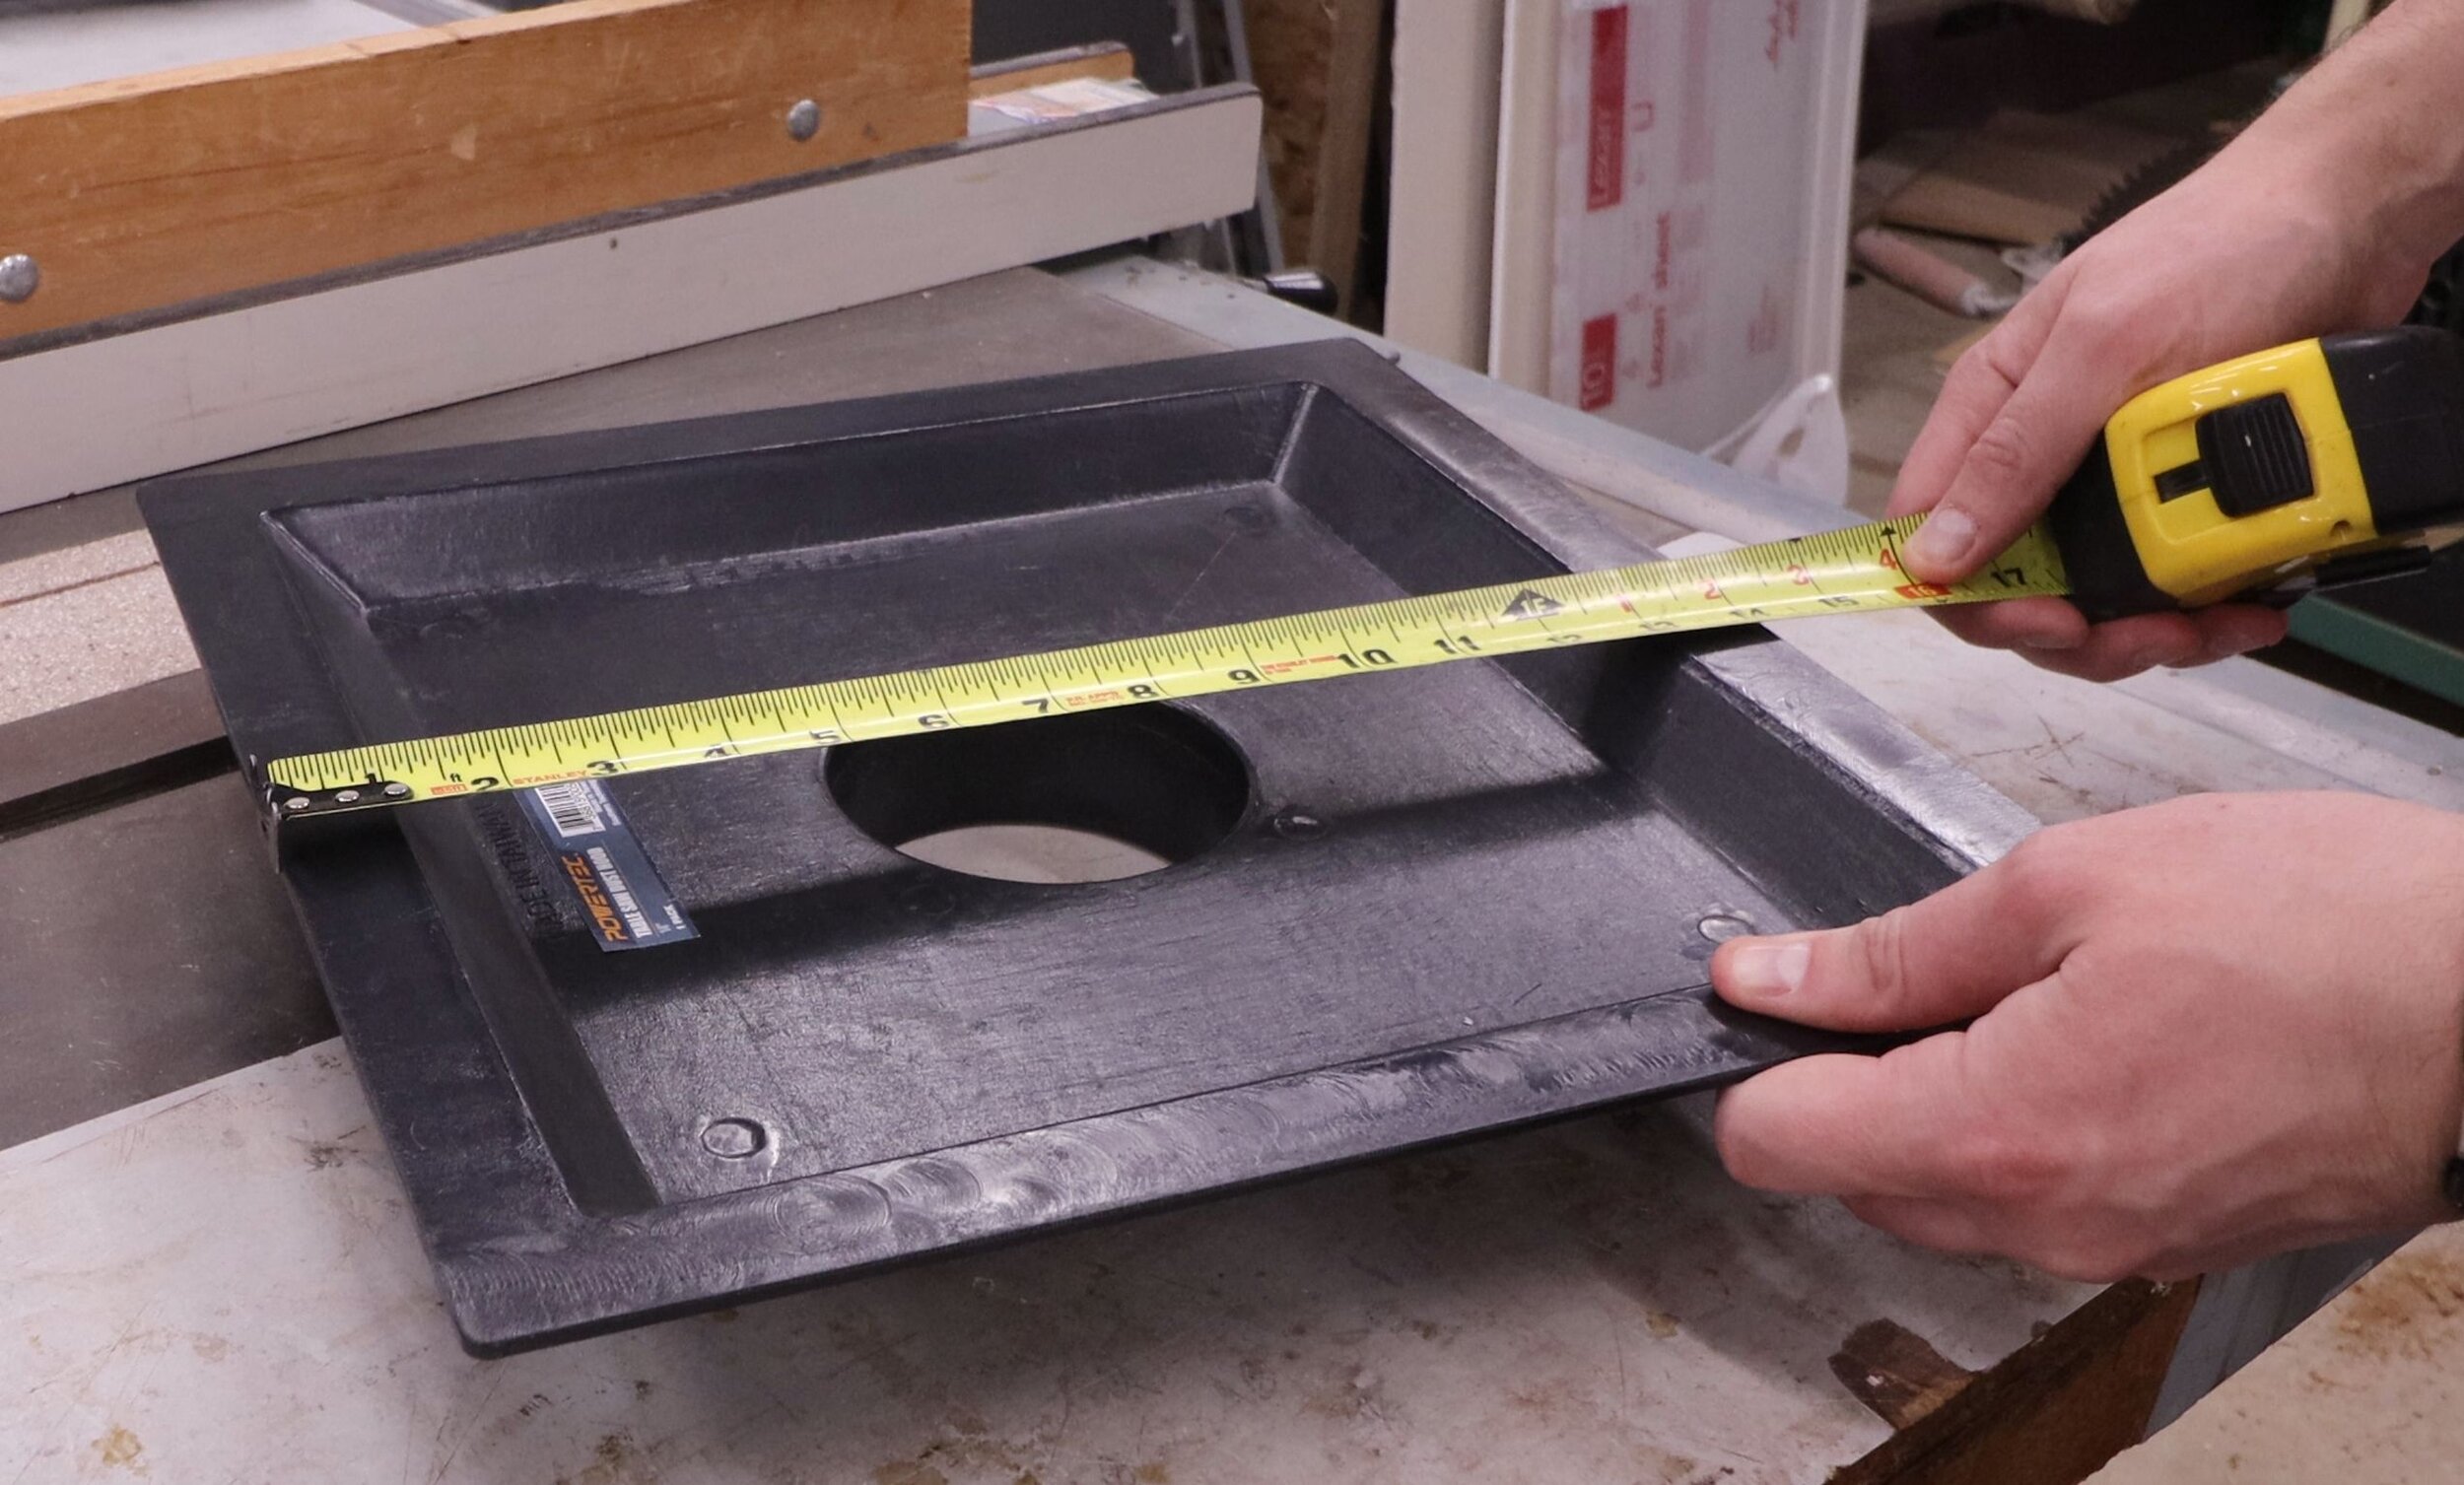
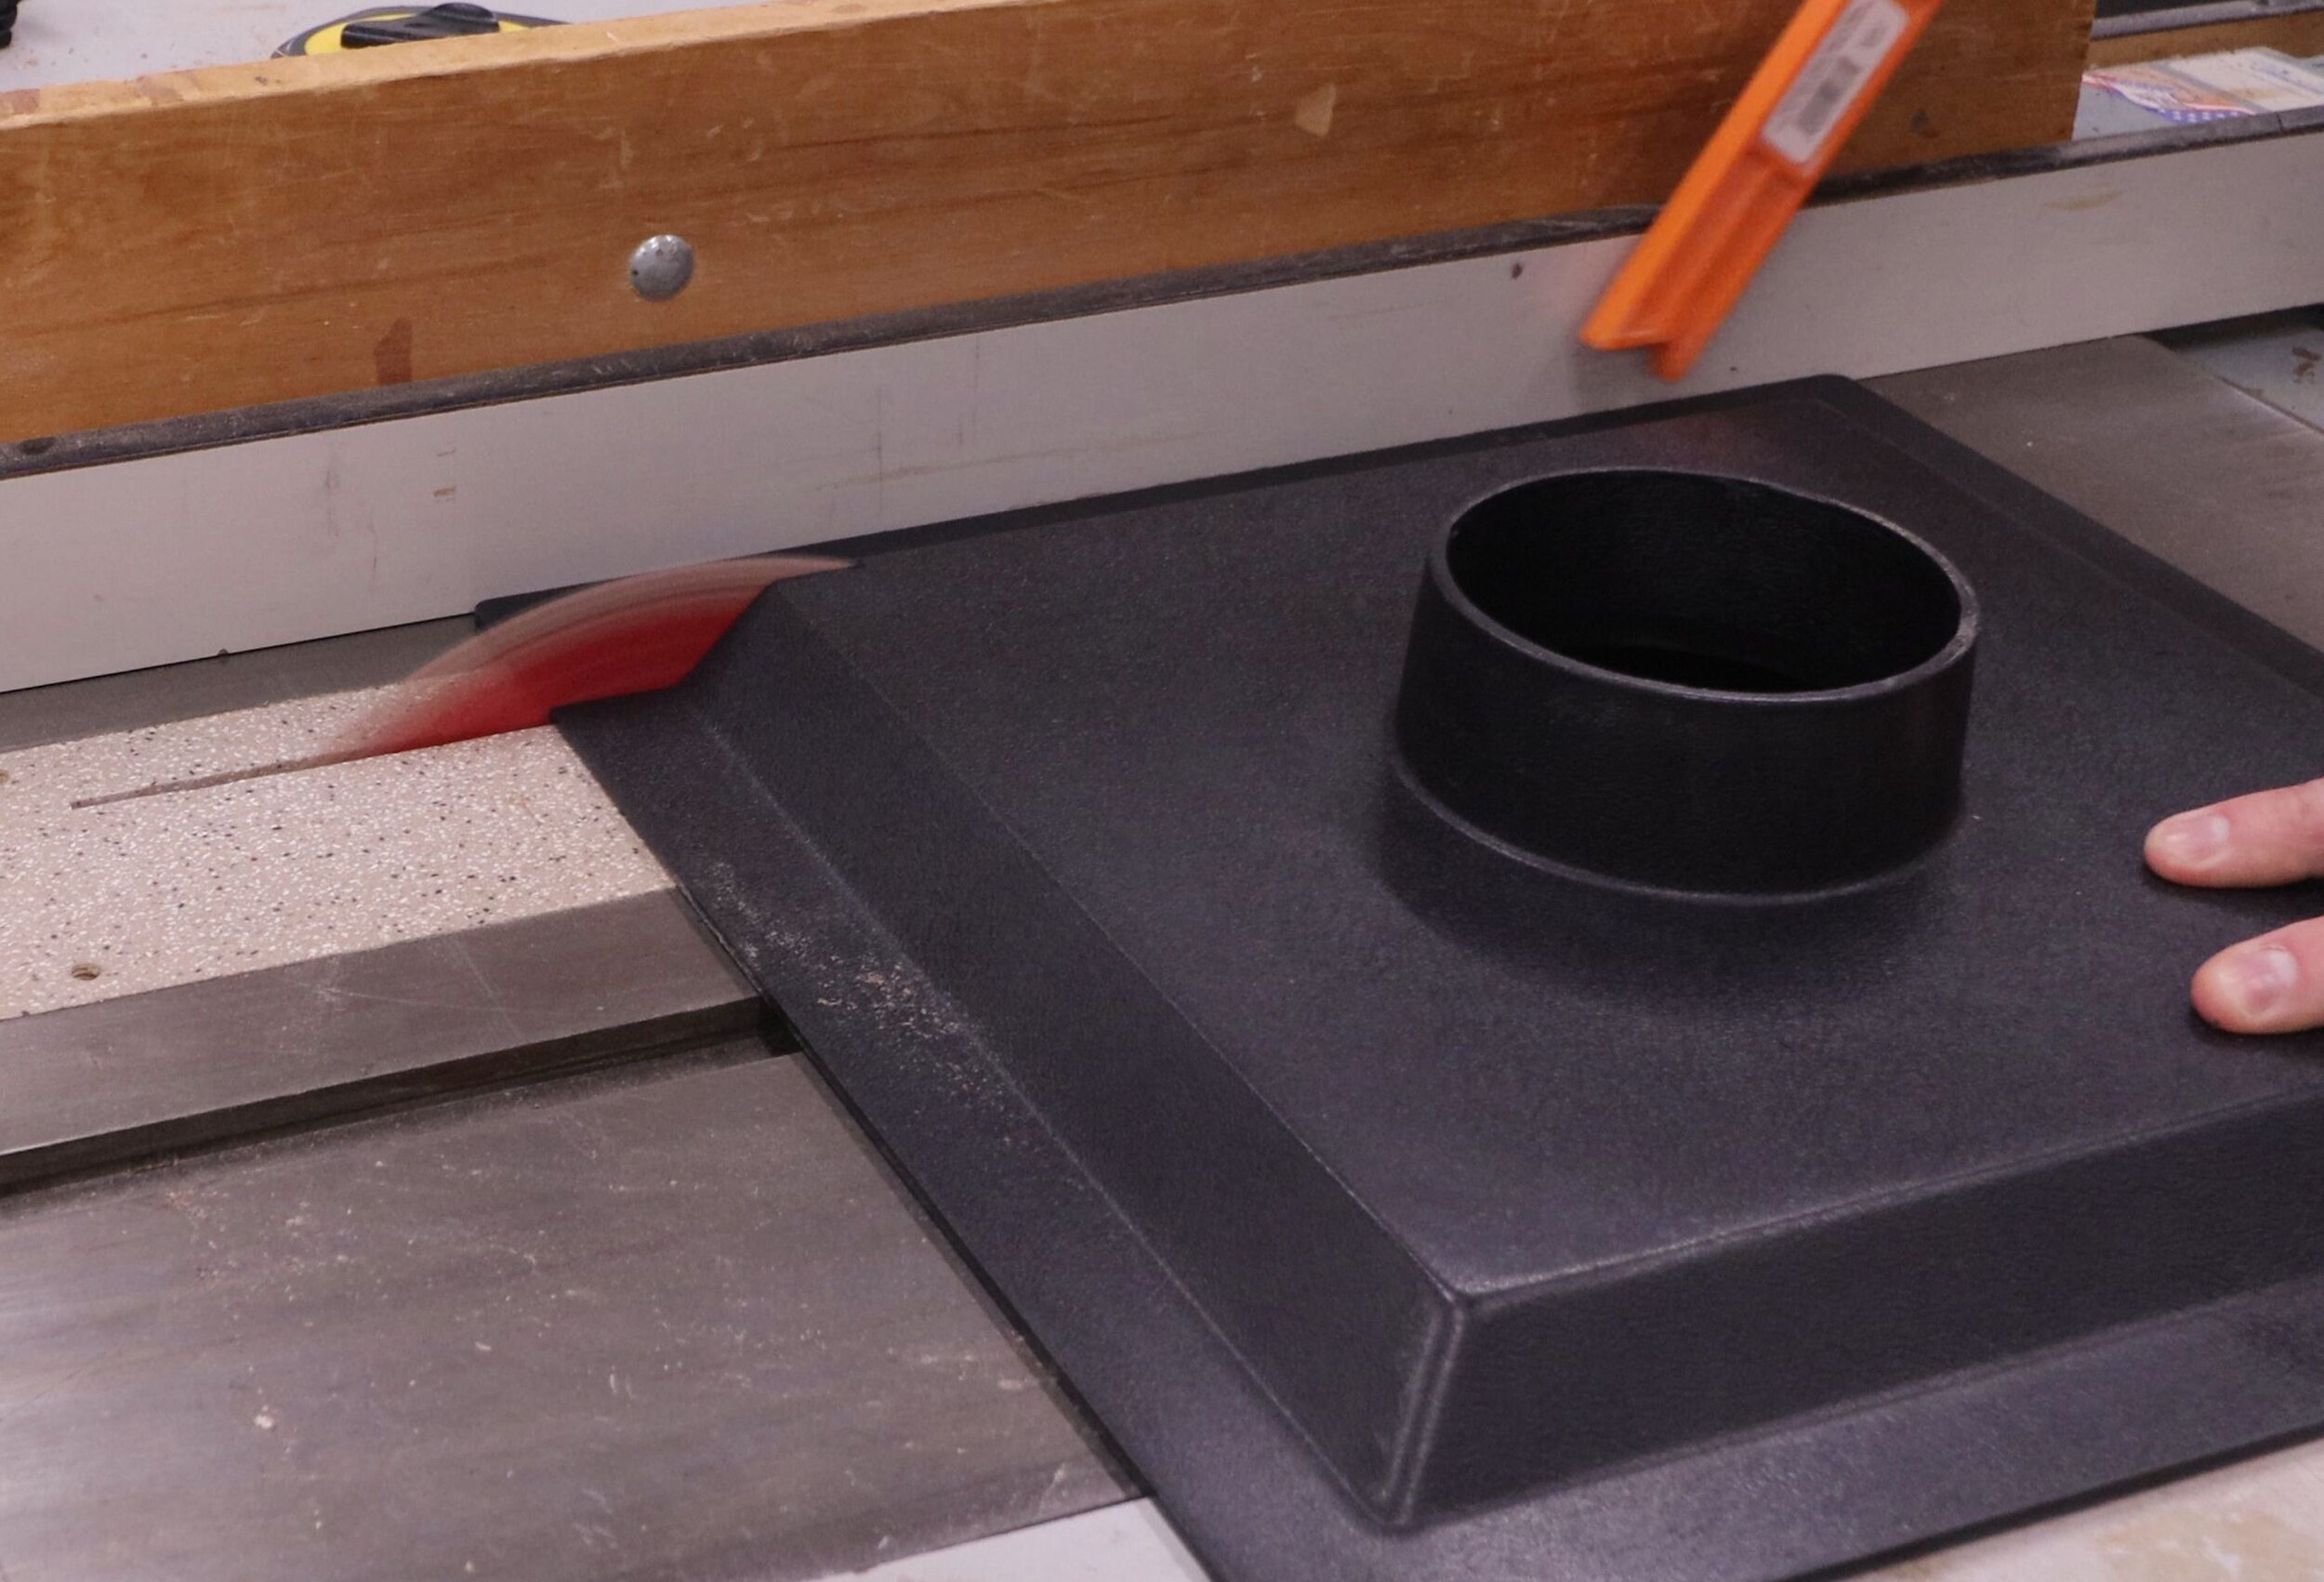
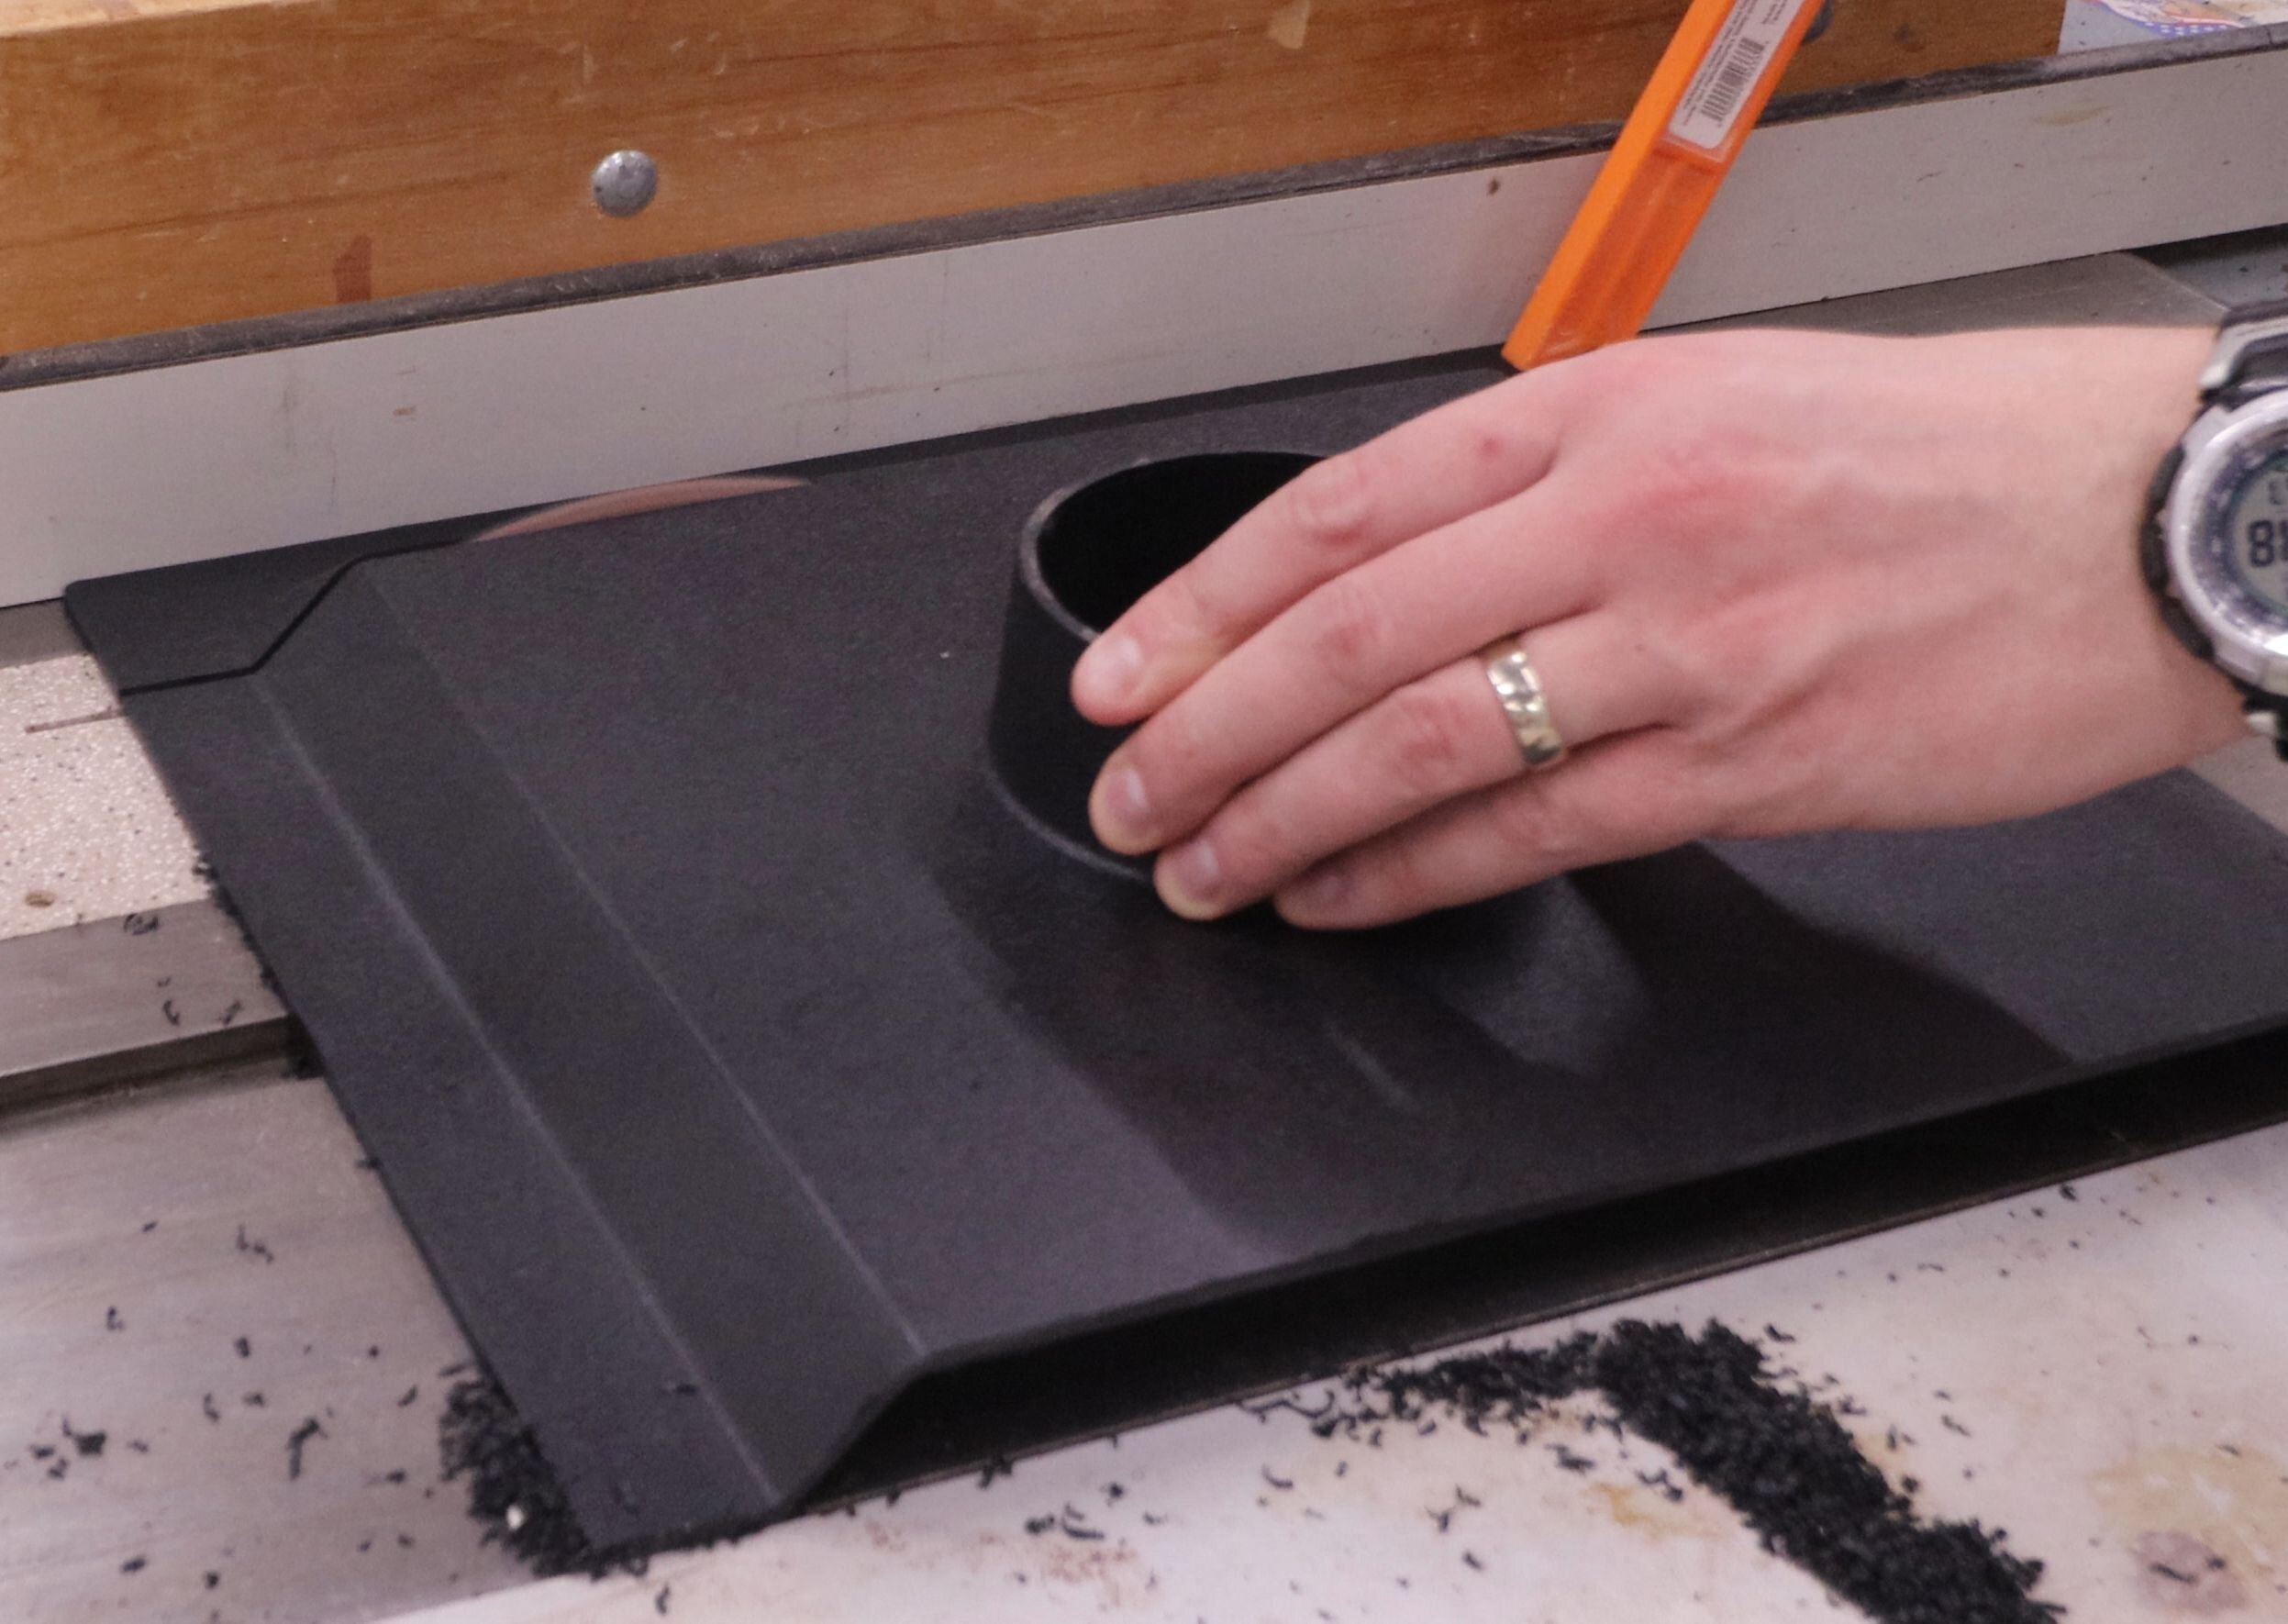
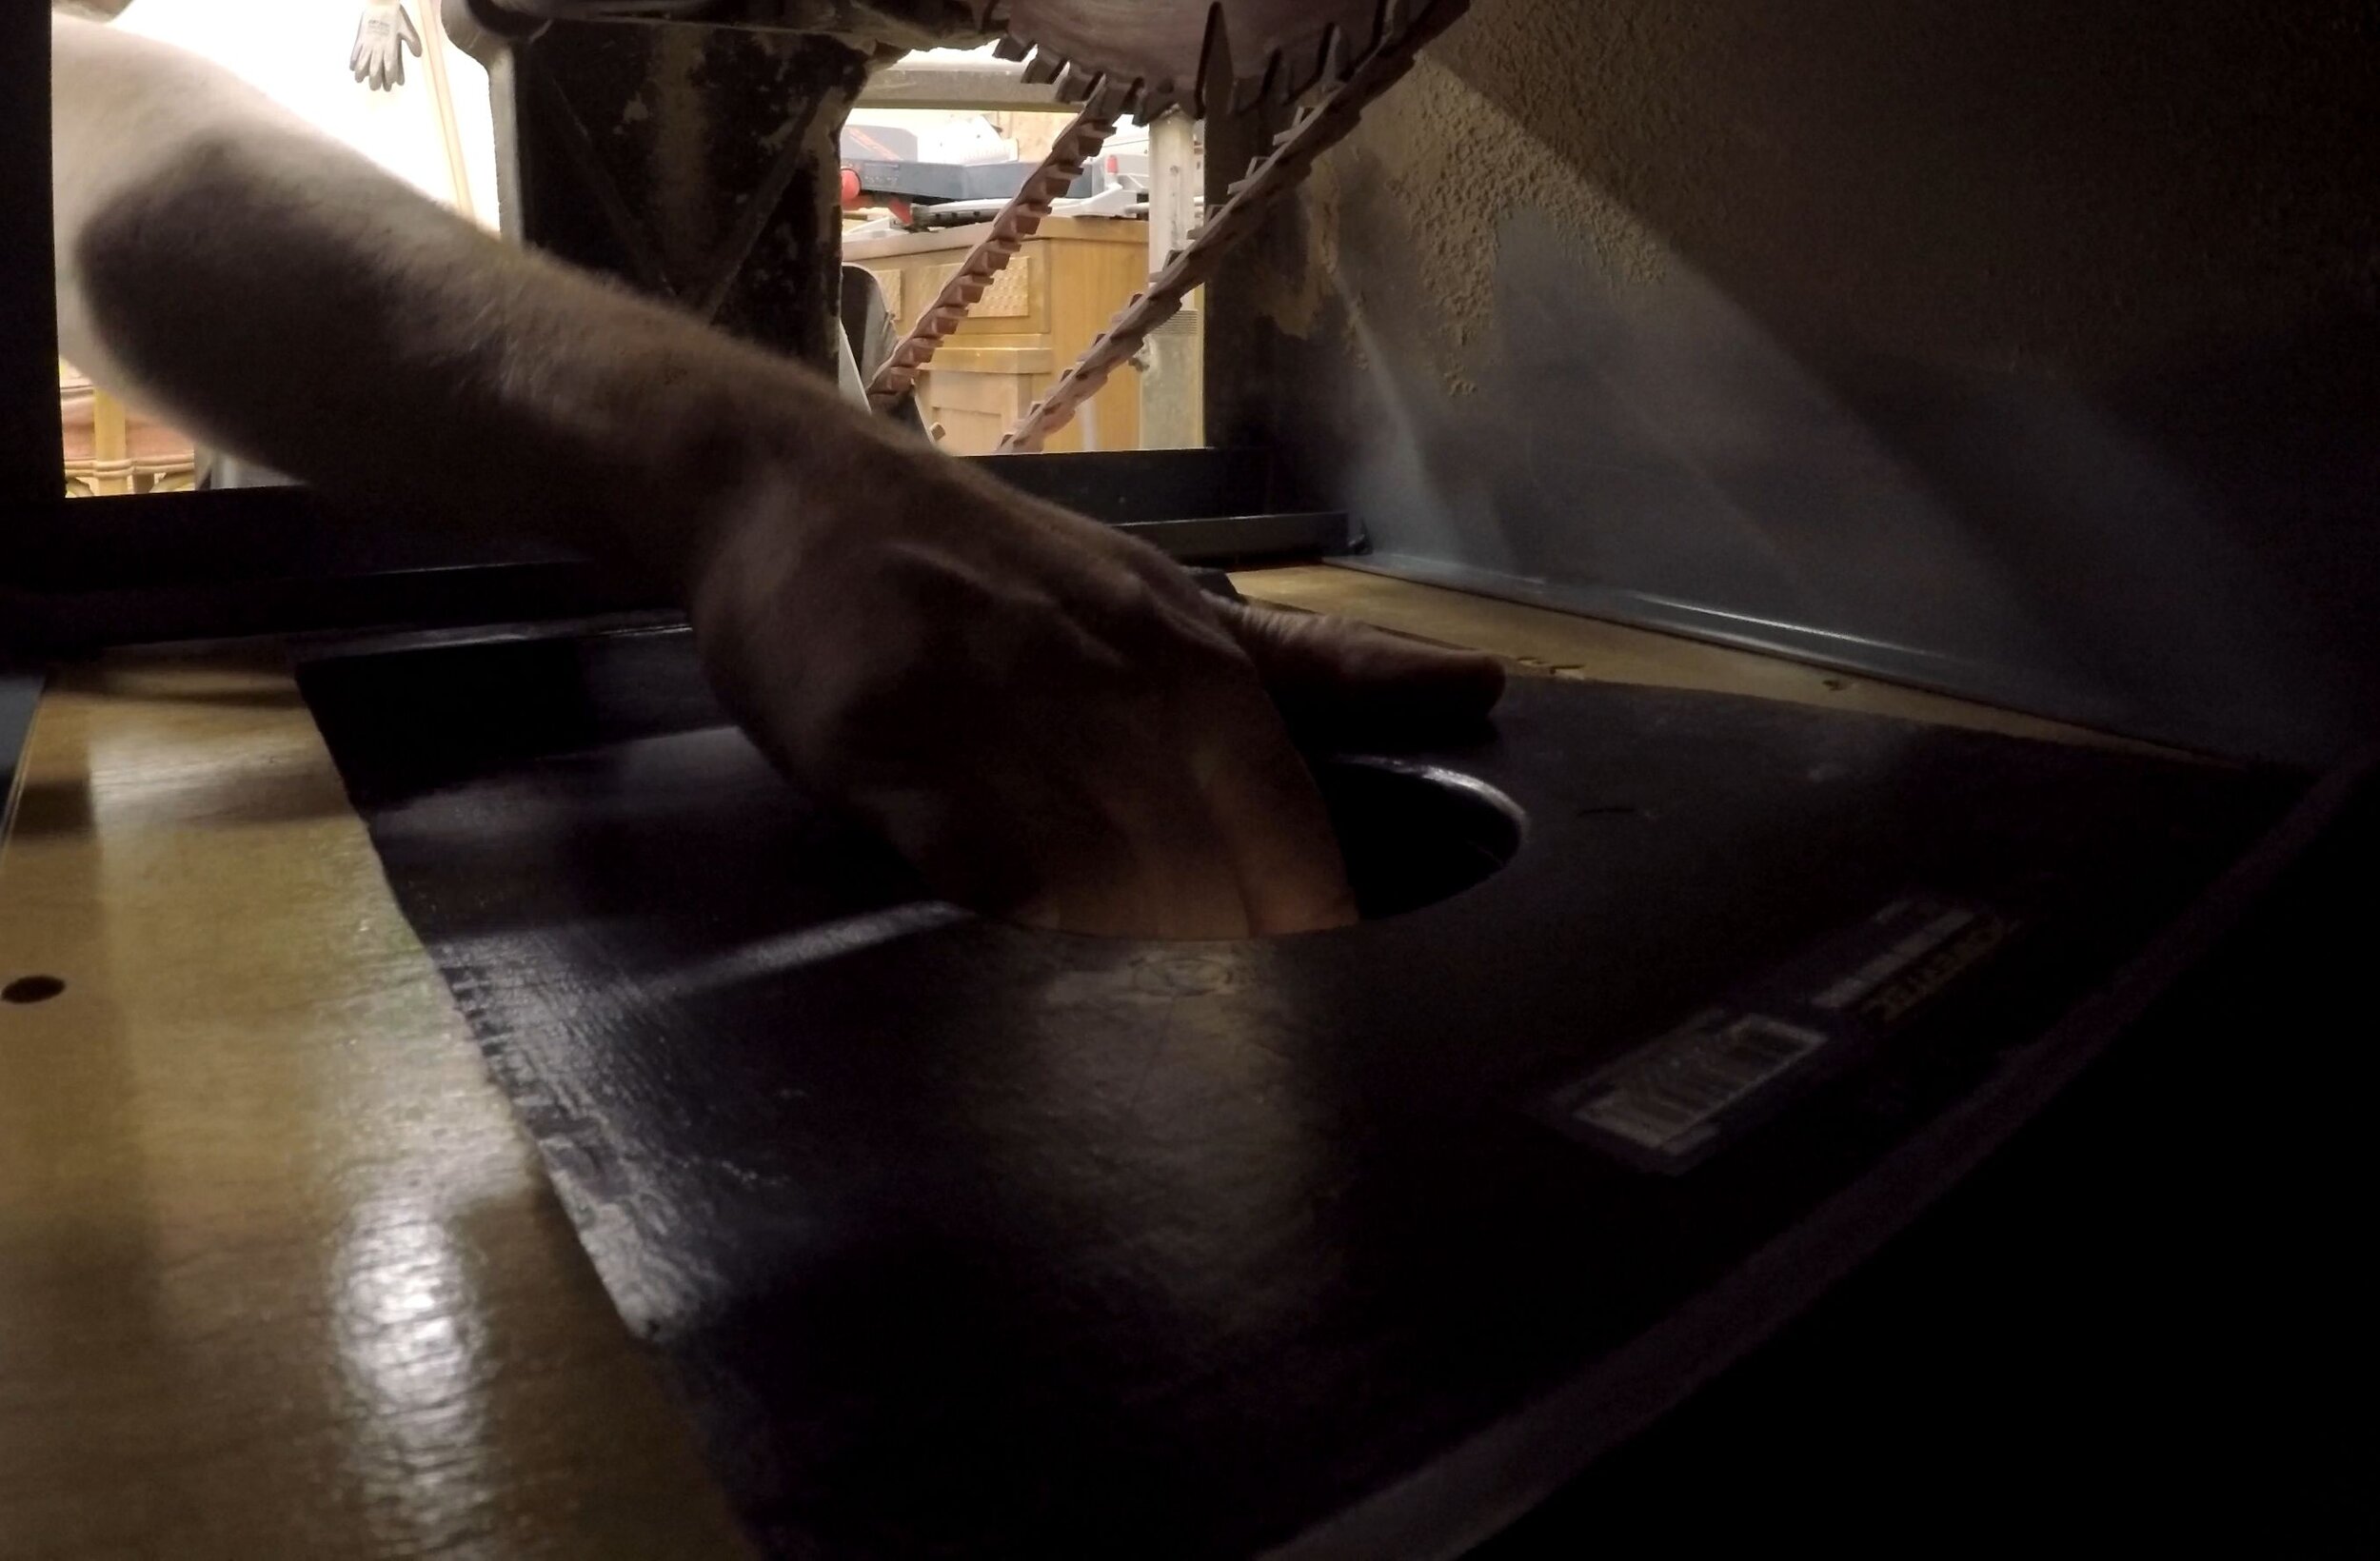
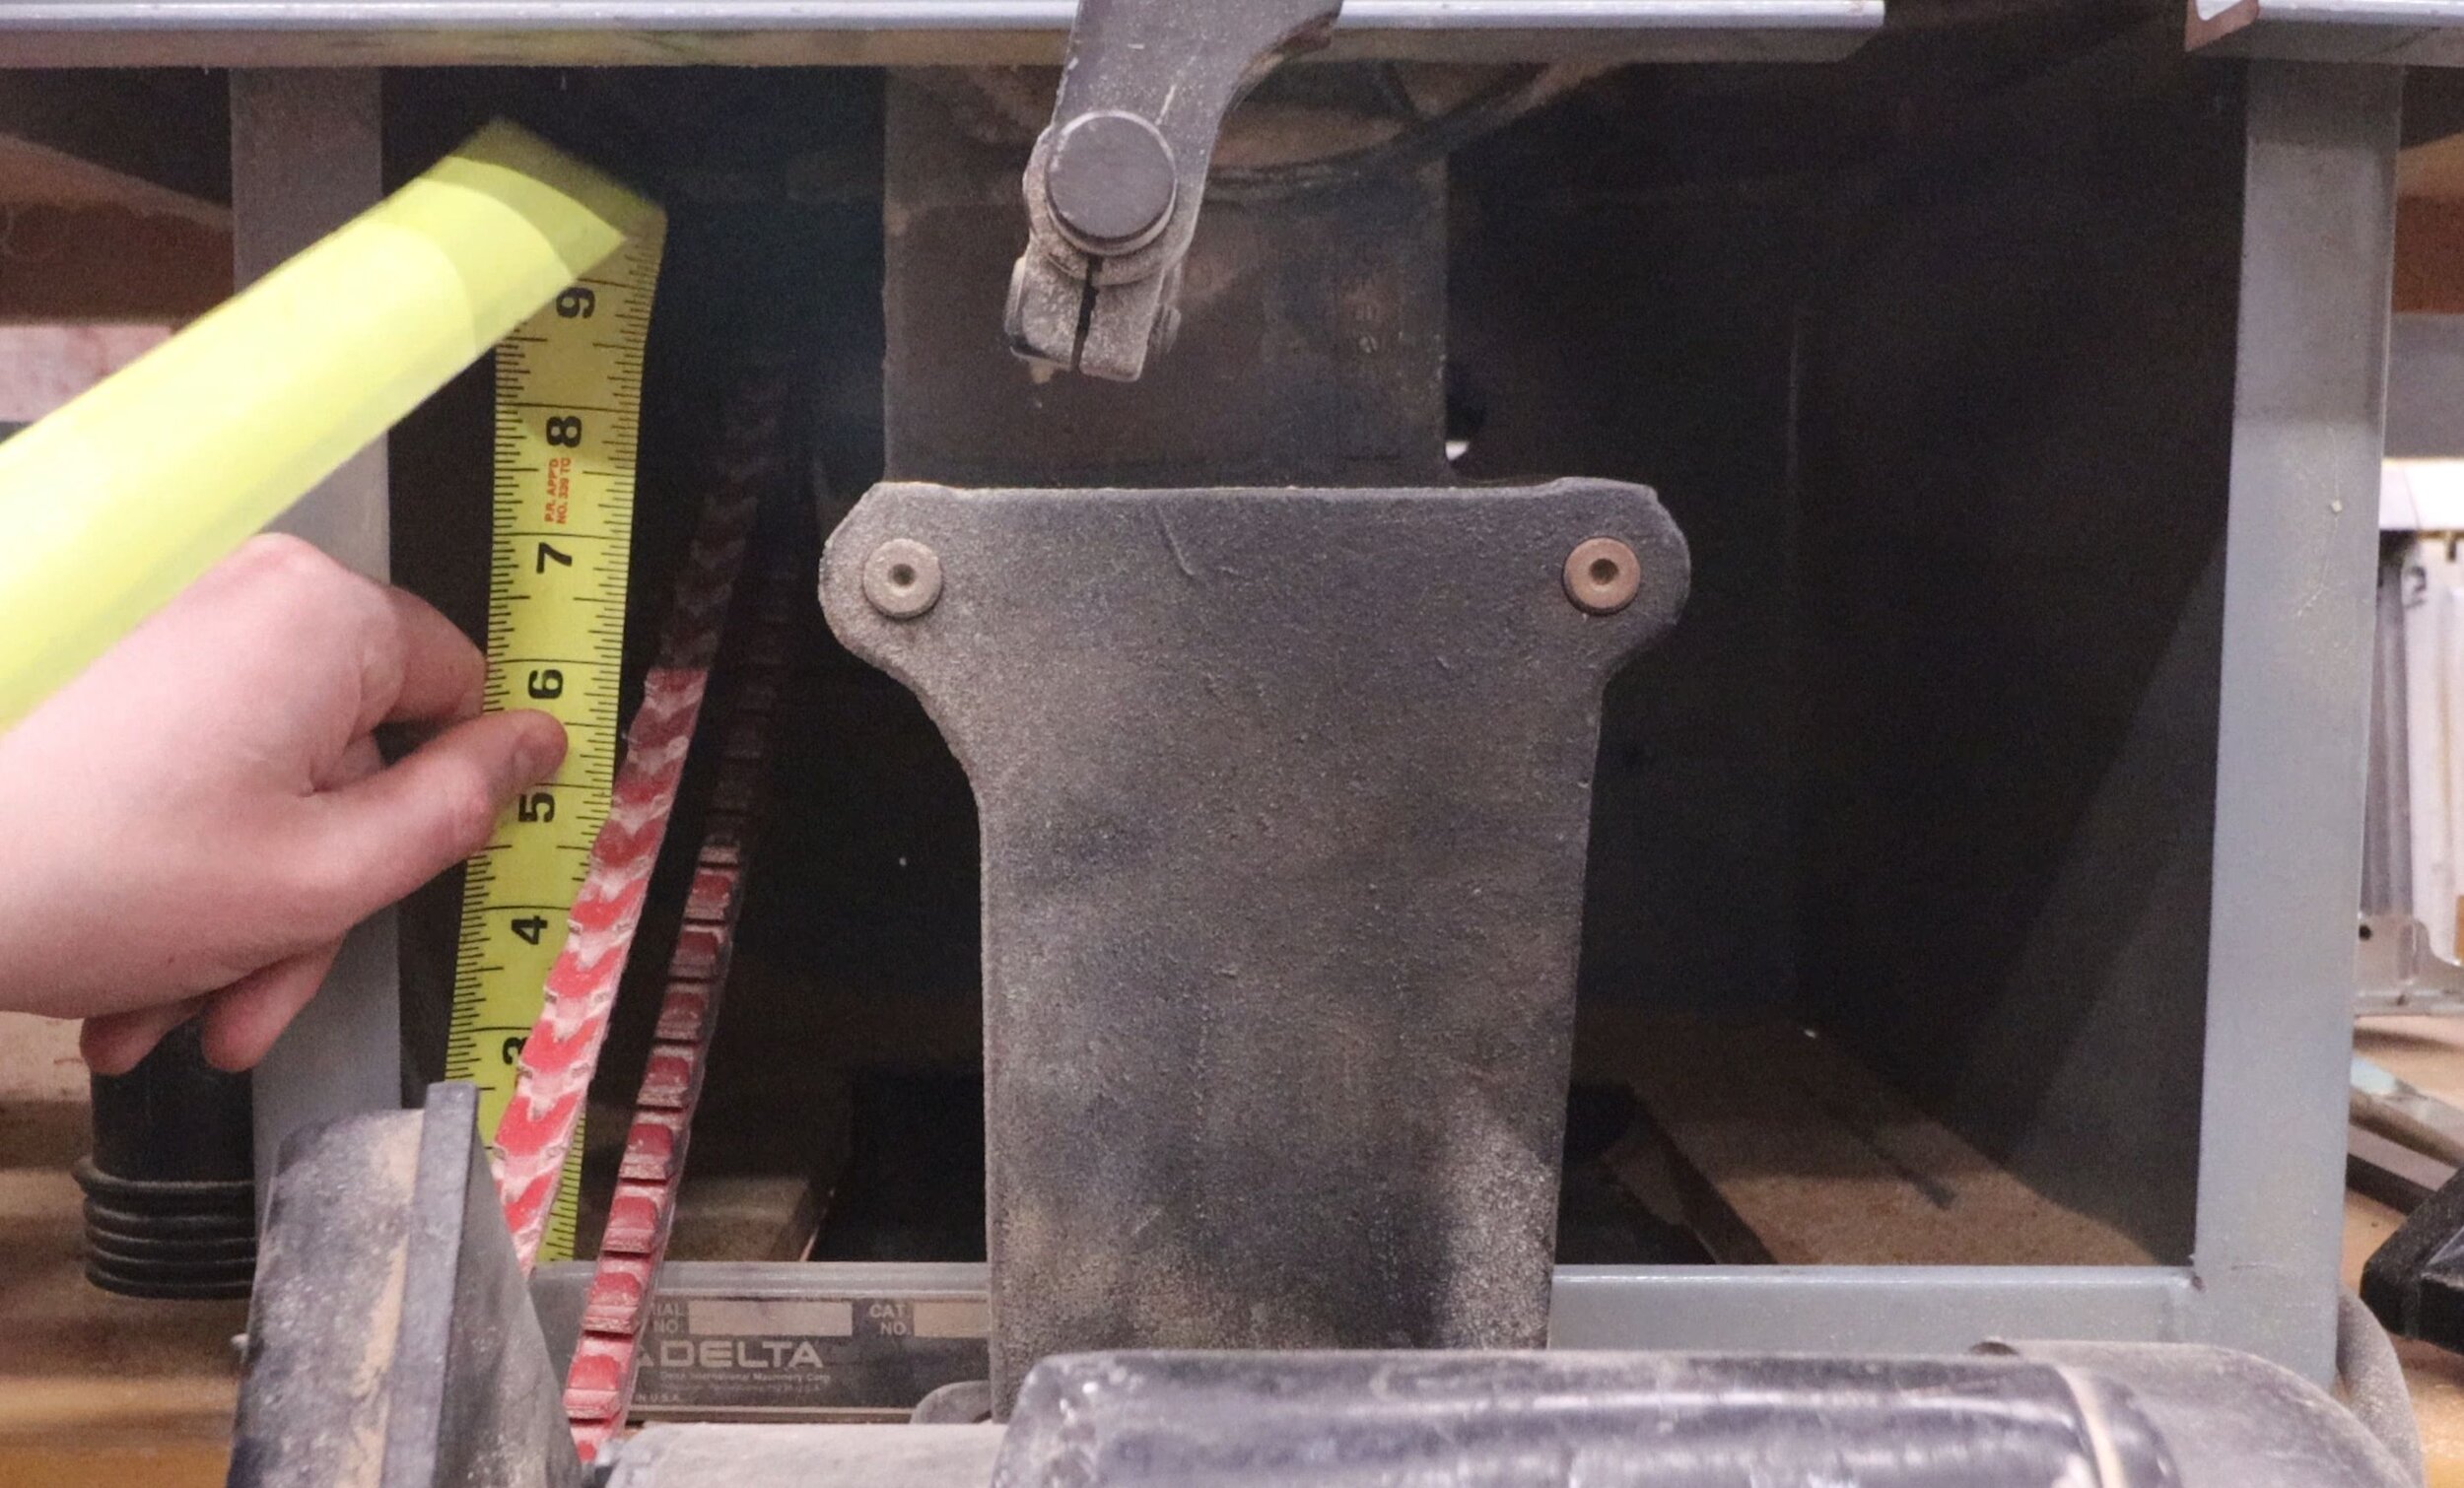
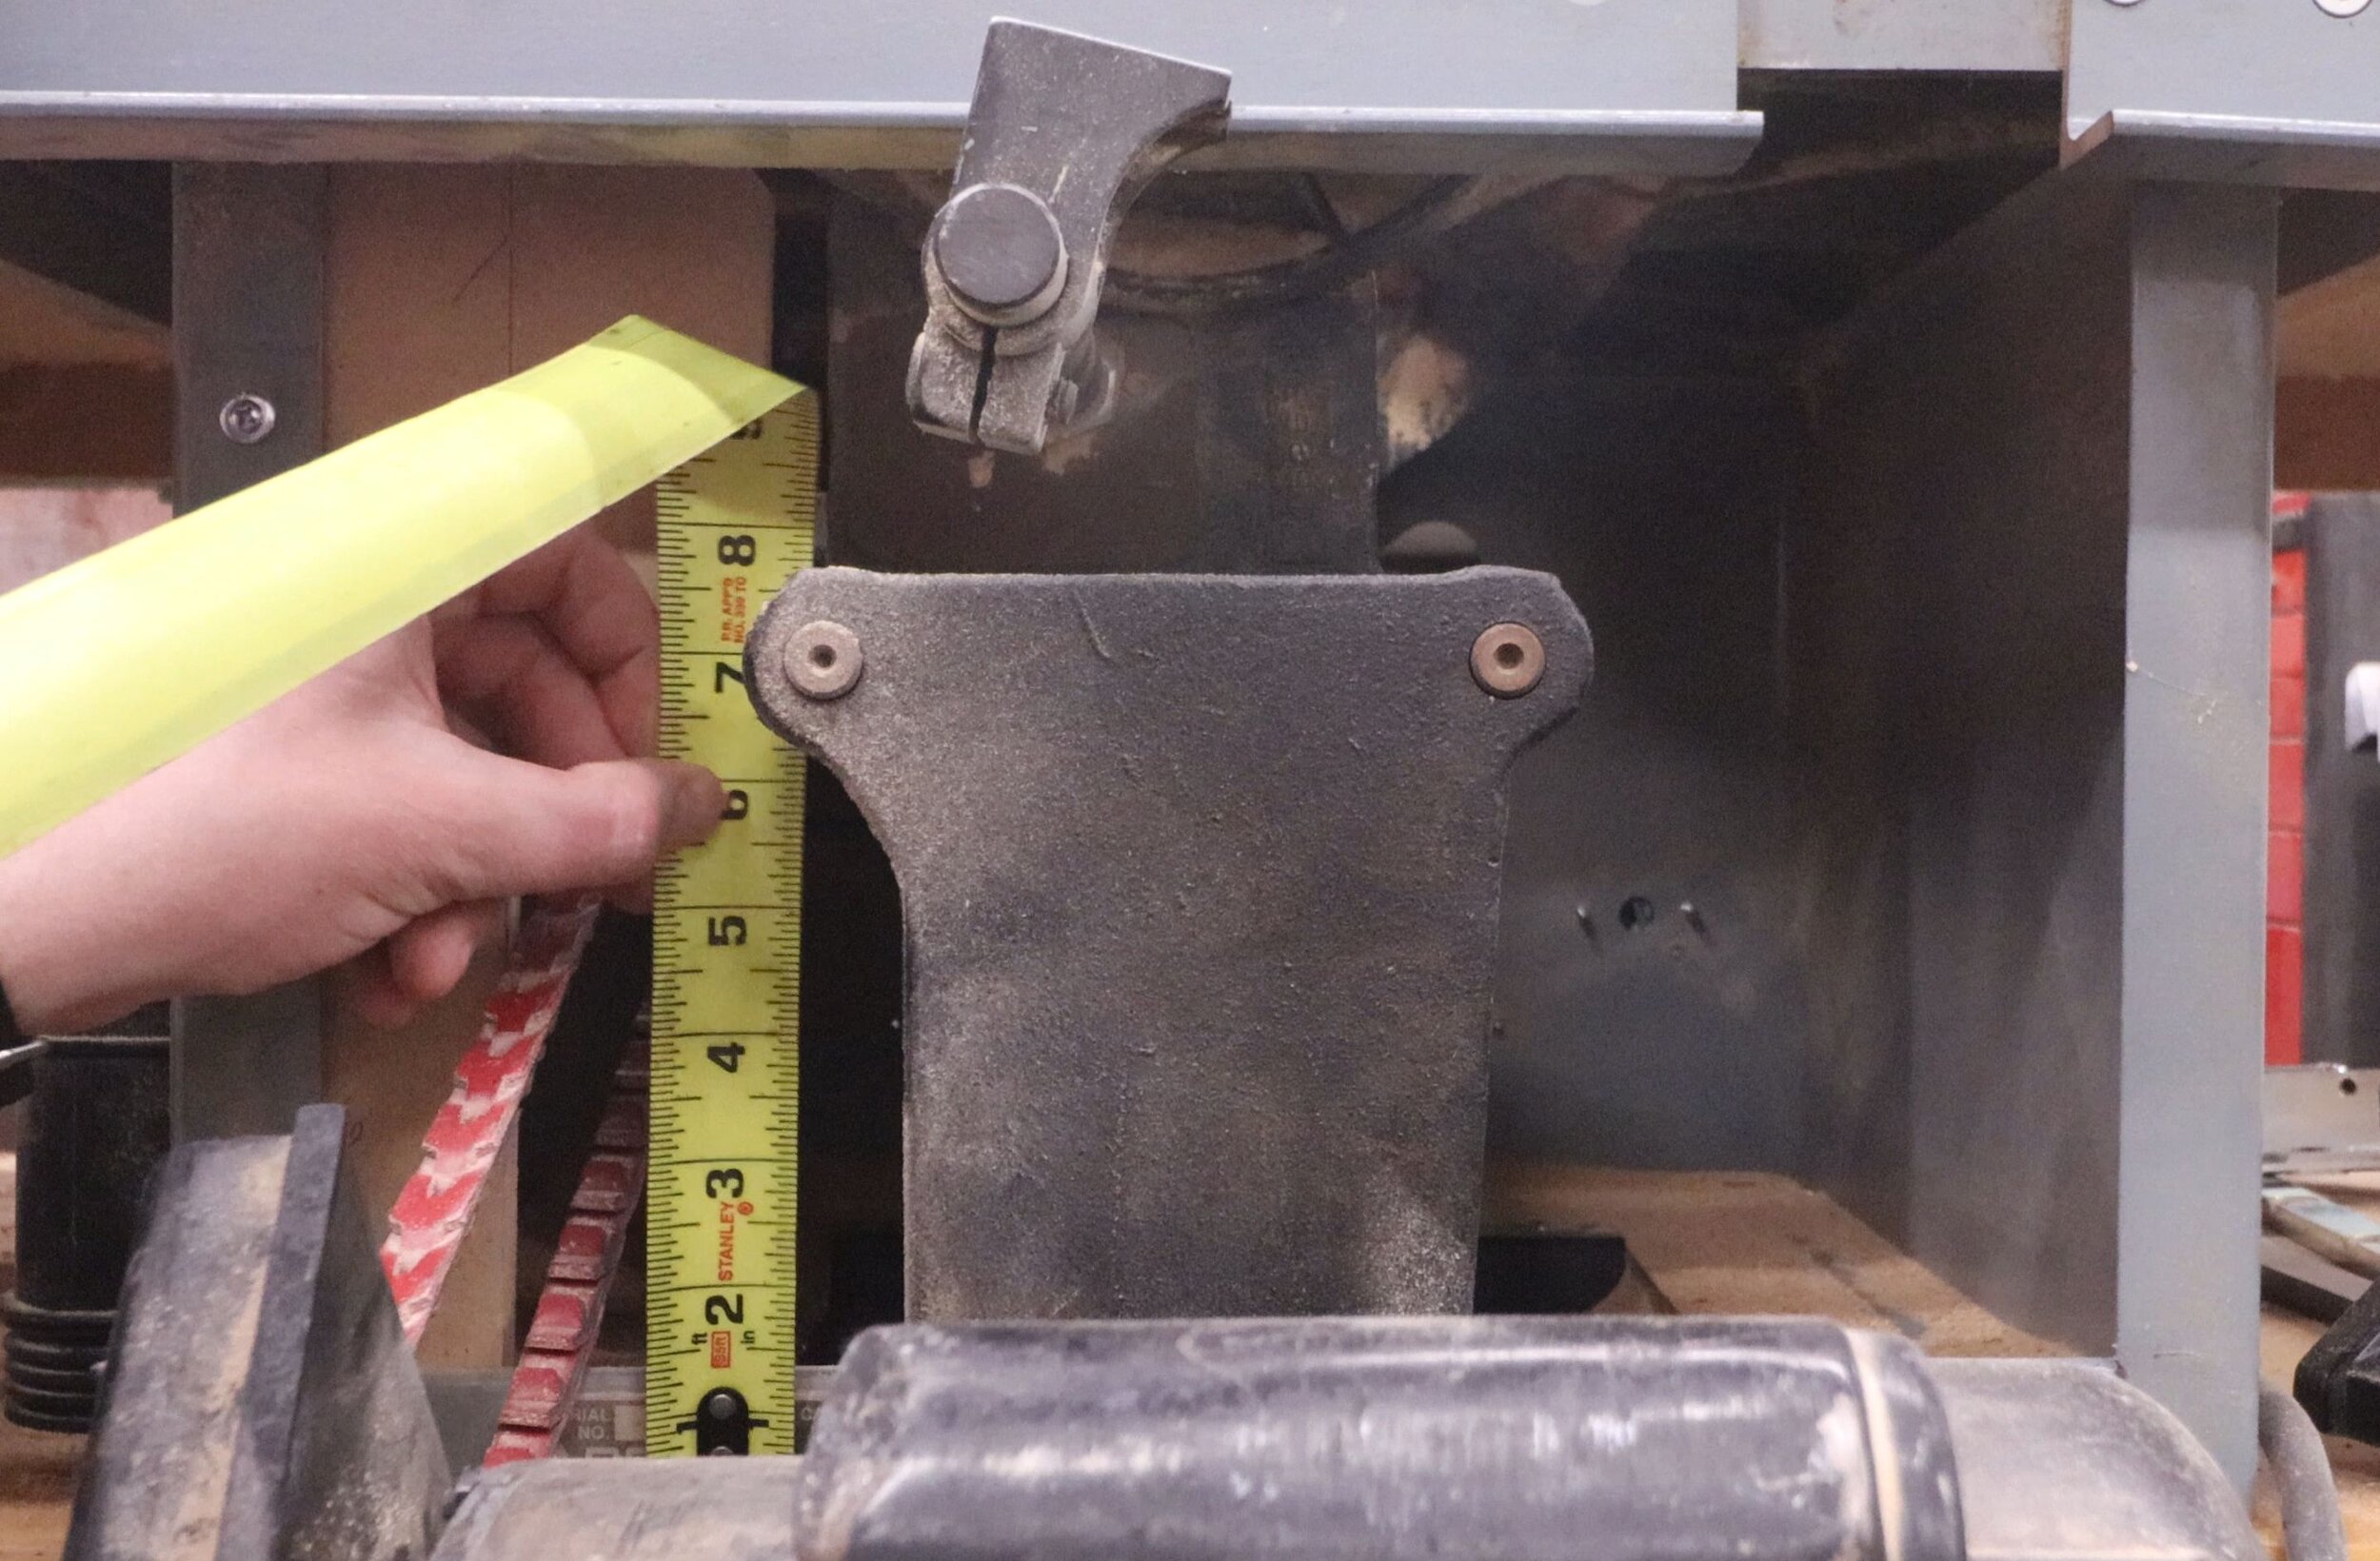
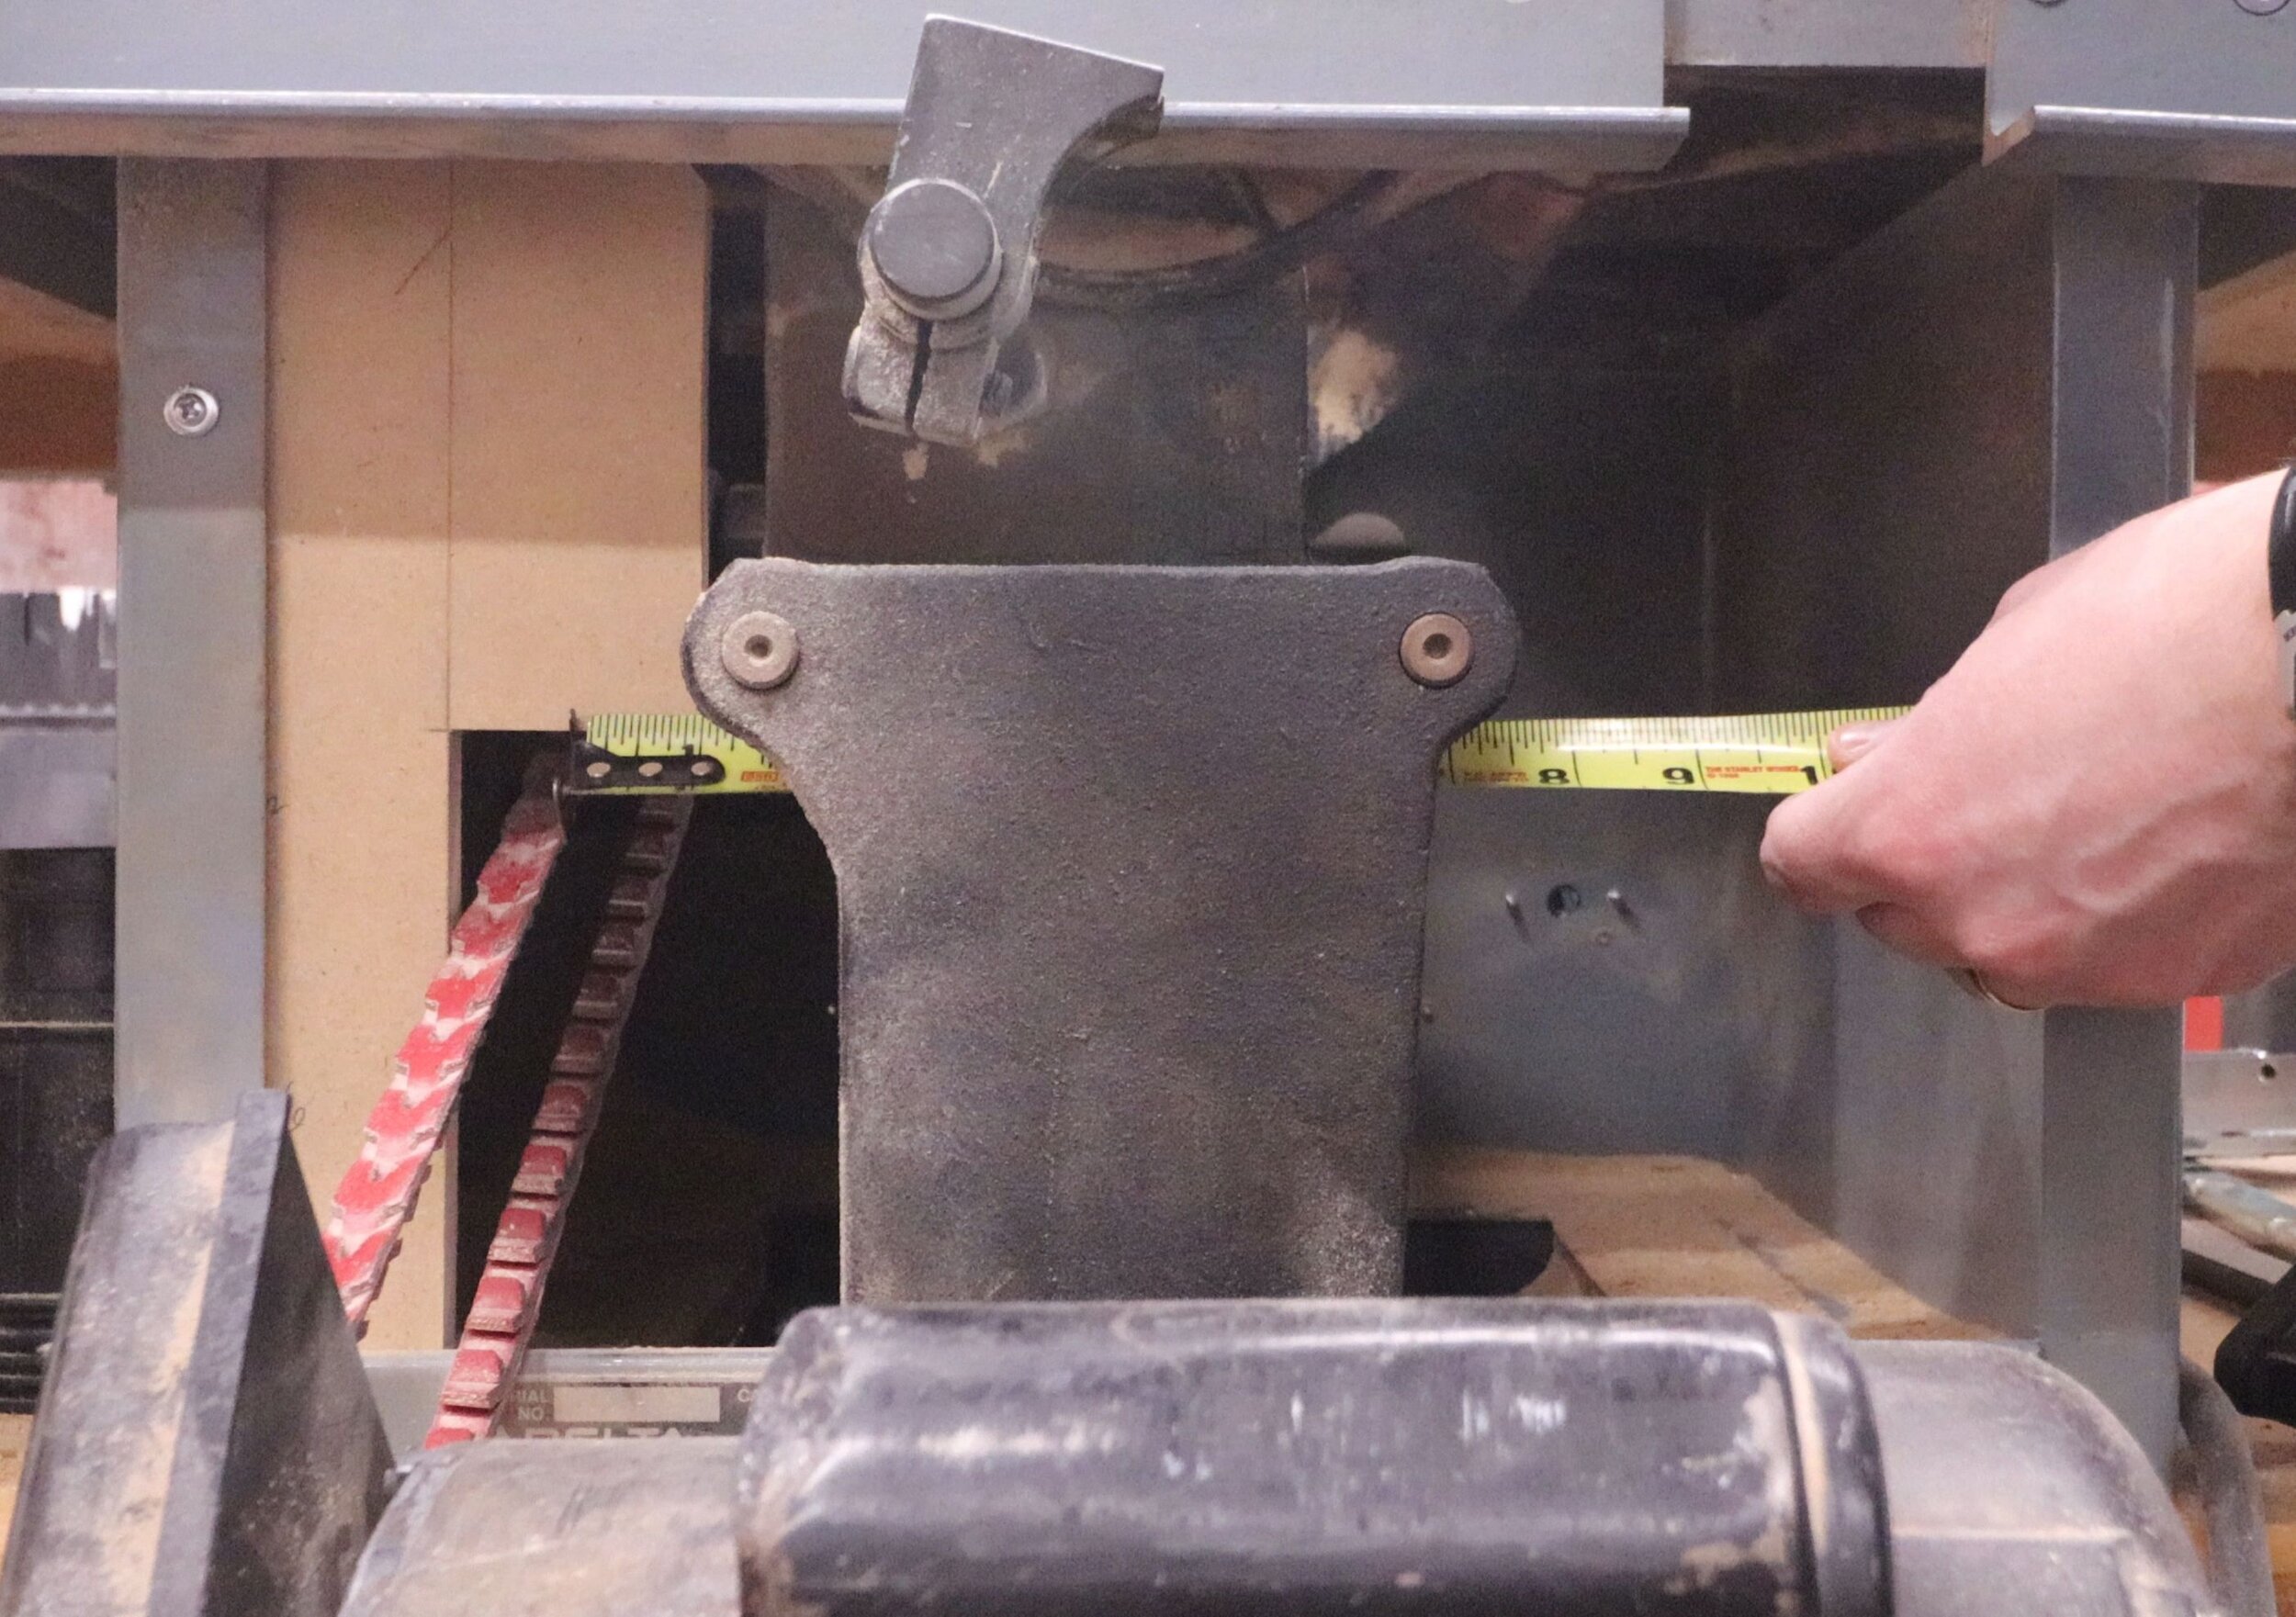
My dad built the rolling cart for this saw many years ago, and he left an opening below the saw for the dust to fall through. I'll be filling this hole with a dust collection hood, which needs to be trimmed to fit the opening. This is as simple as measuring the opening and trimming the plastic dust hood to fit.
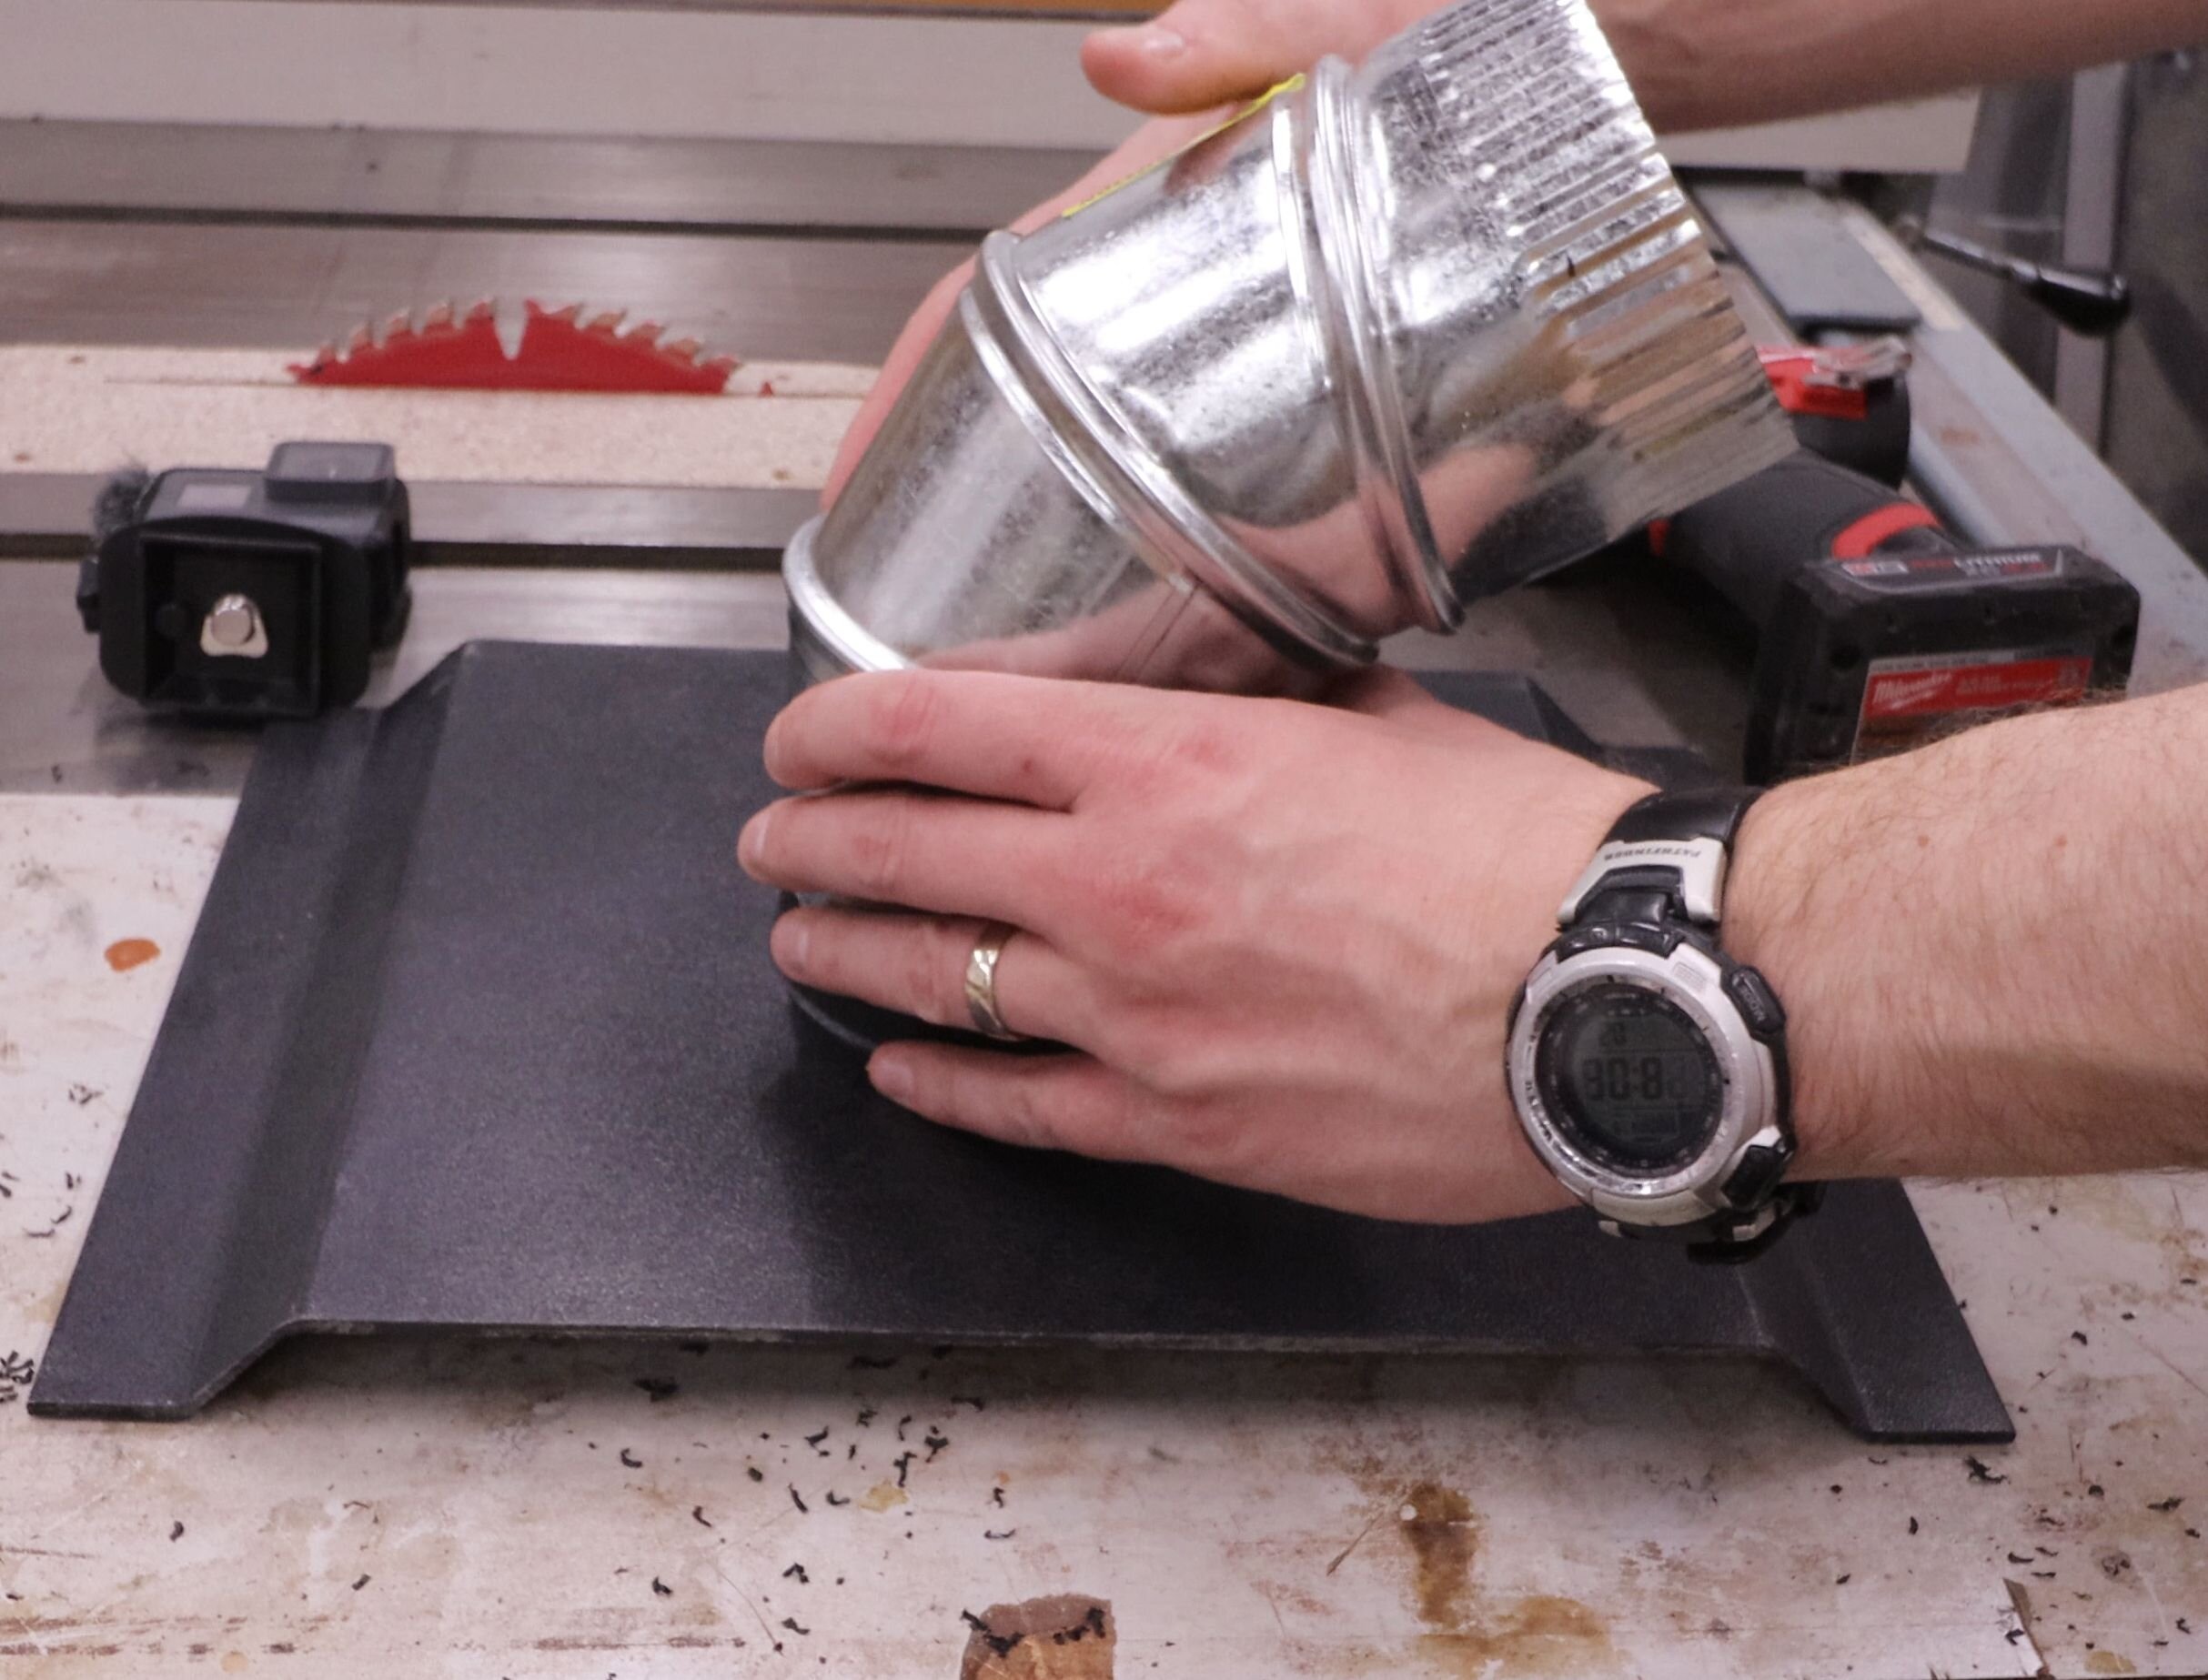
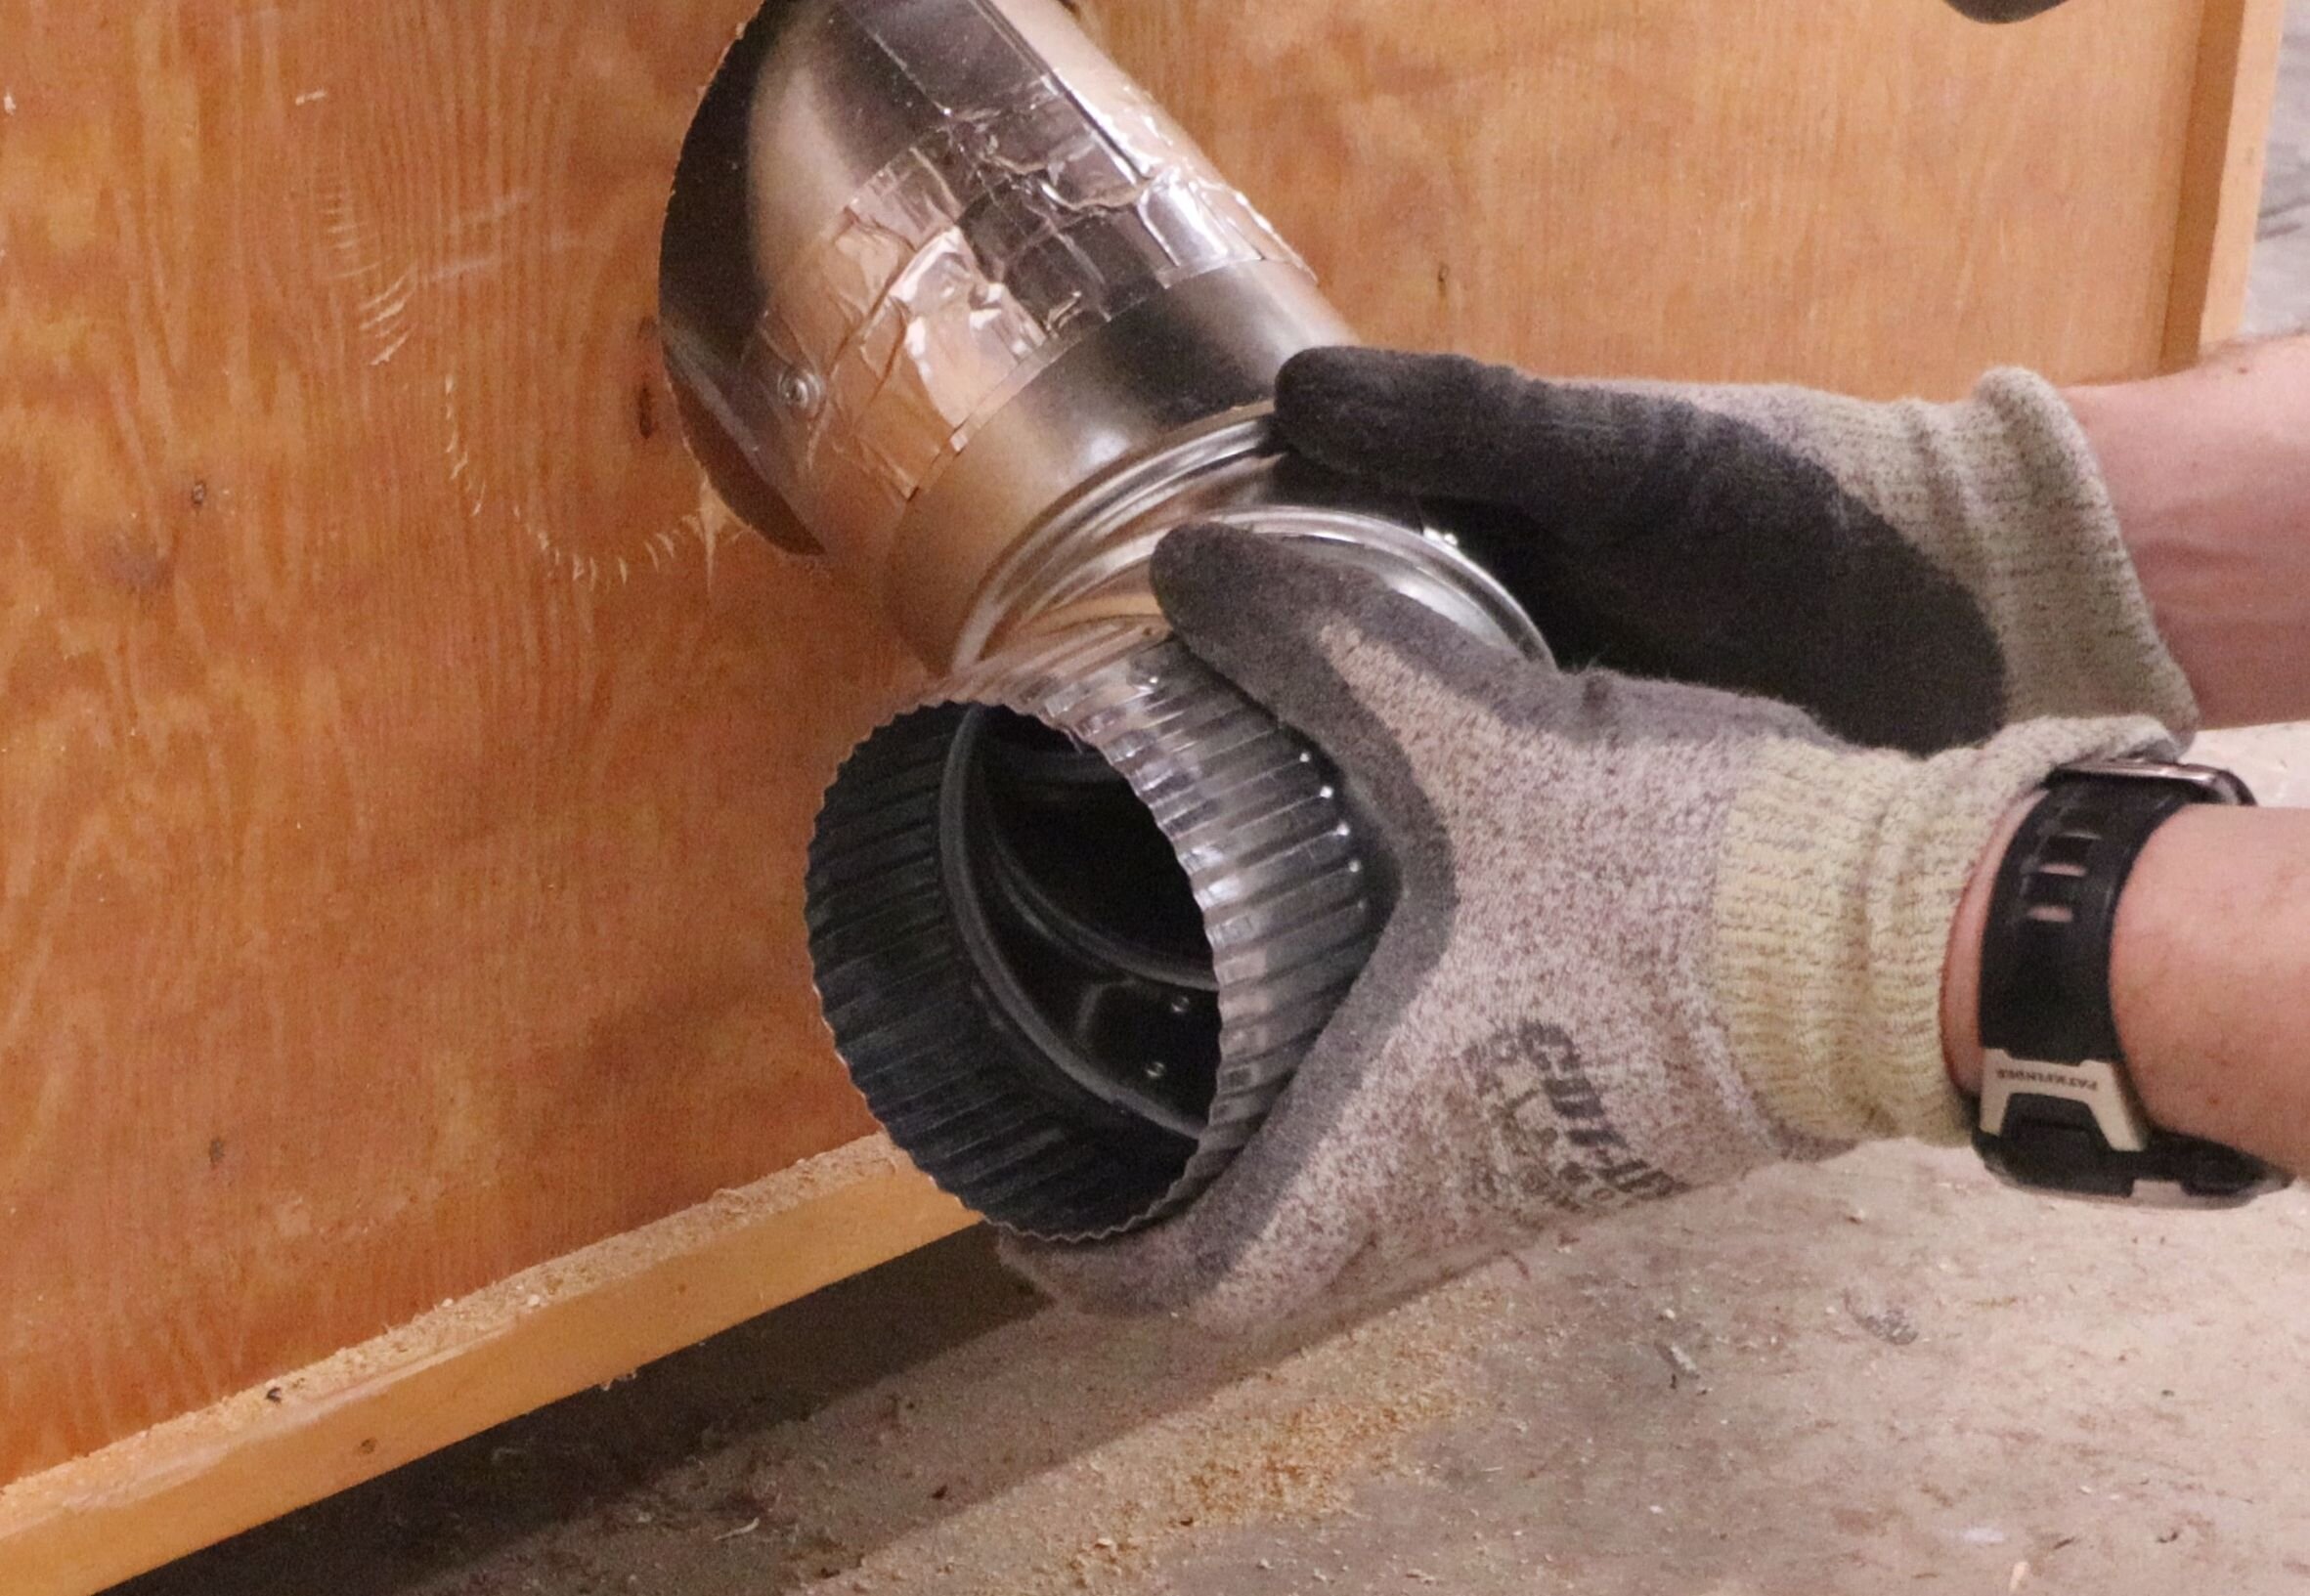
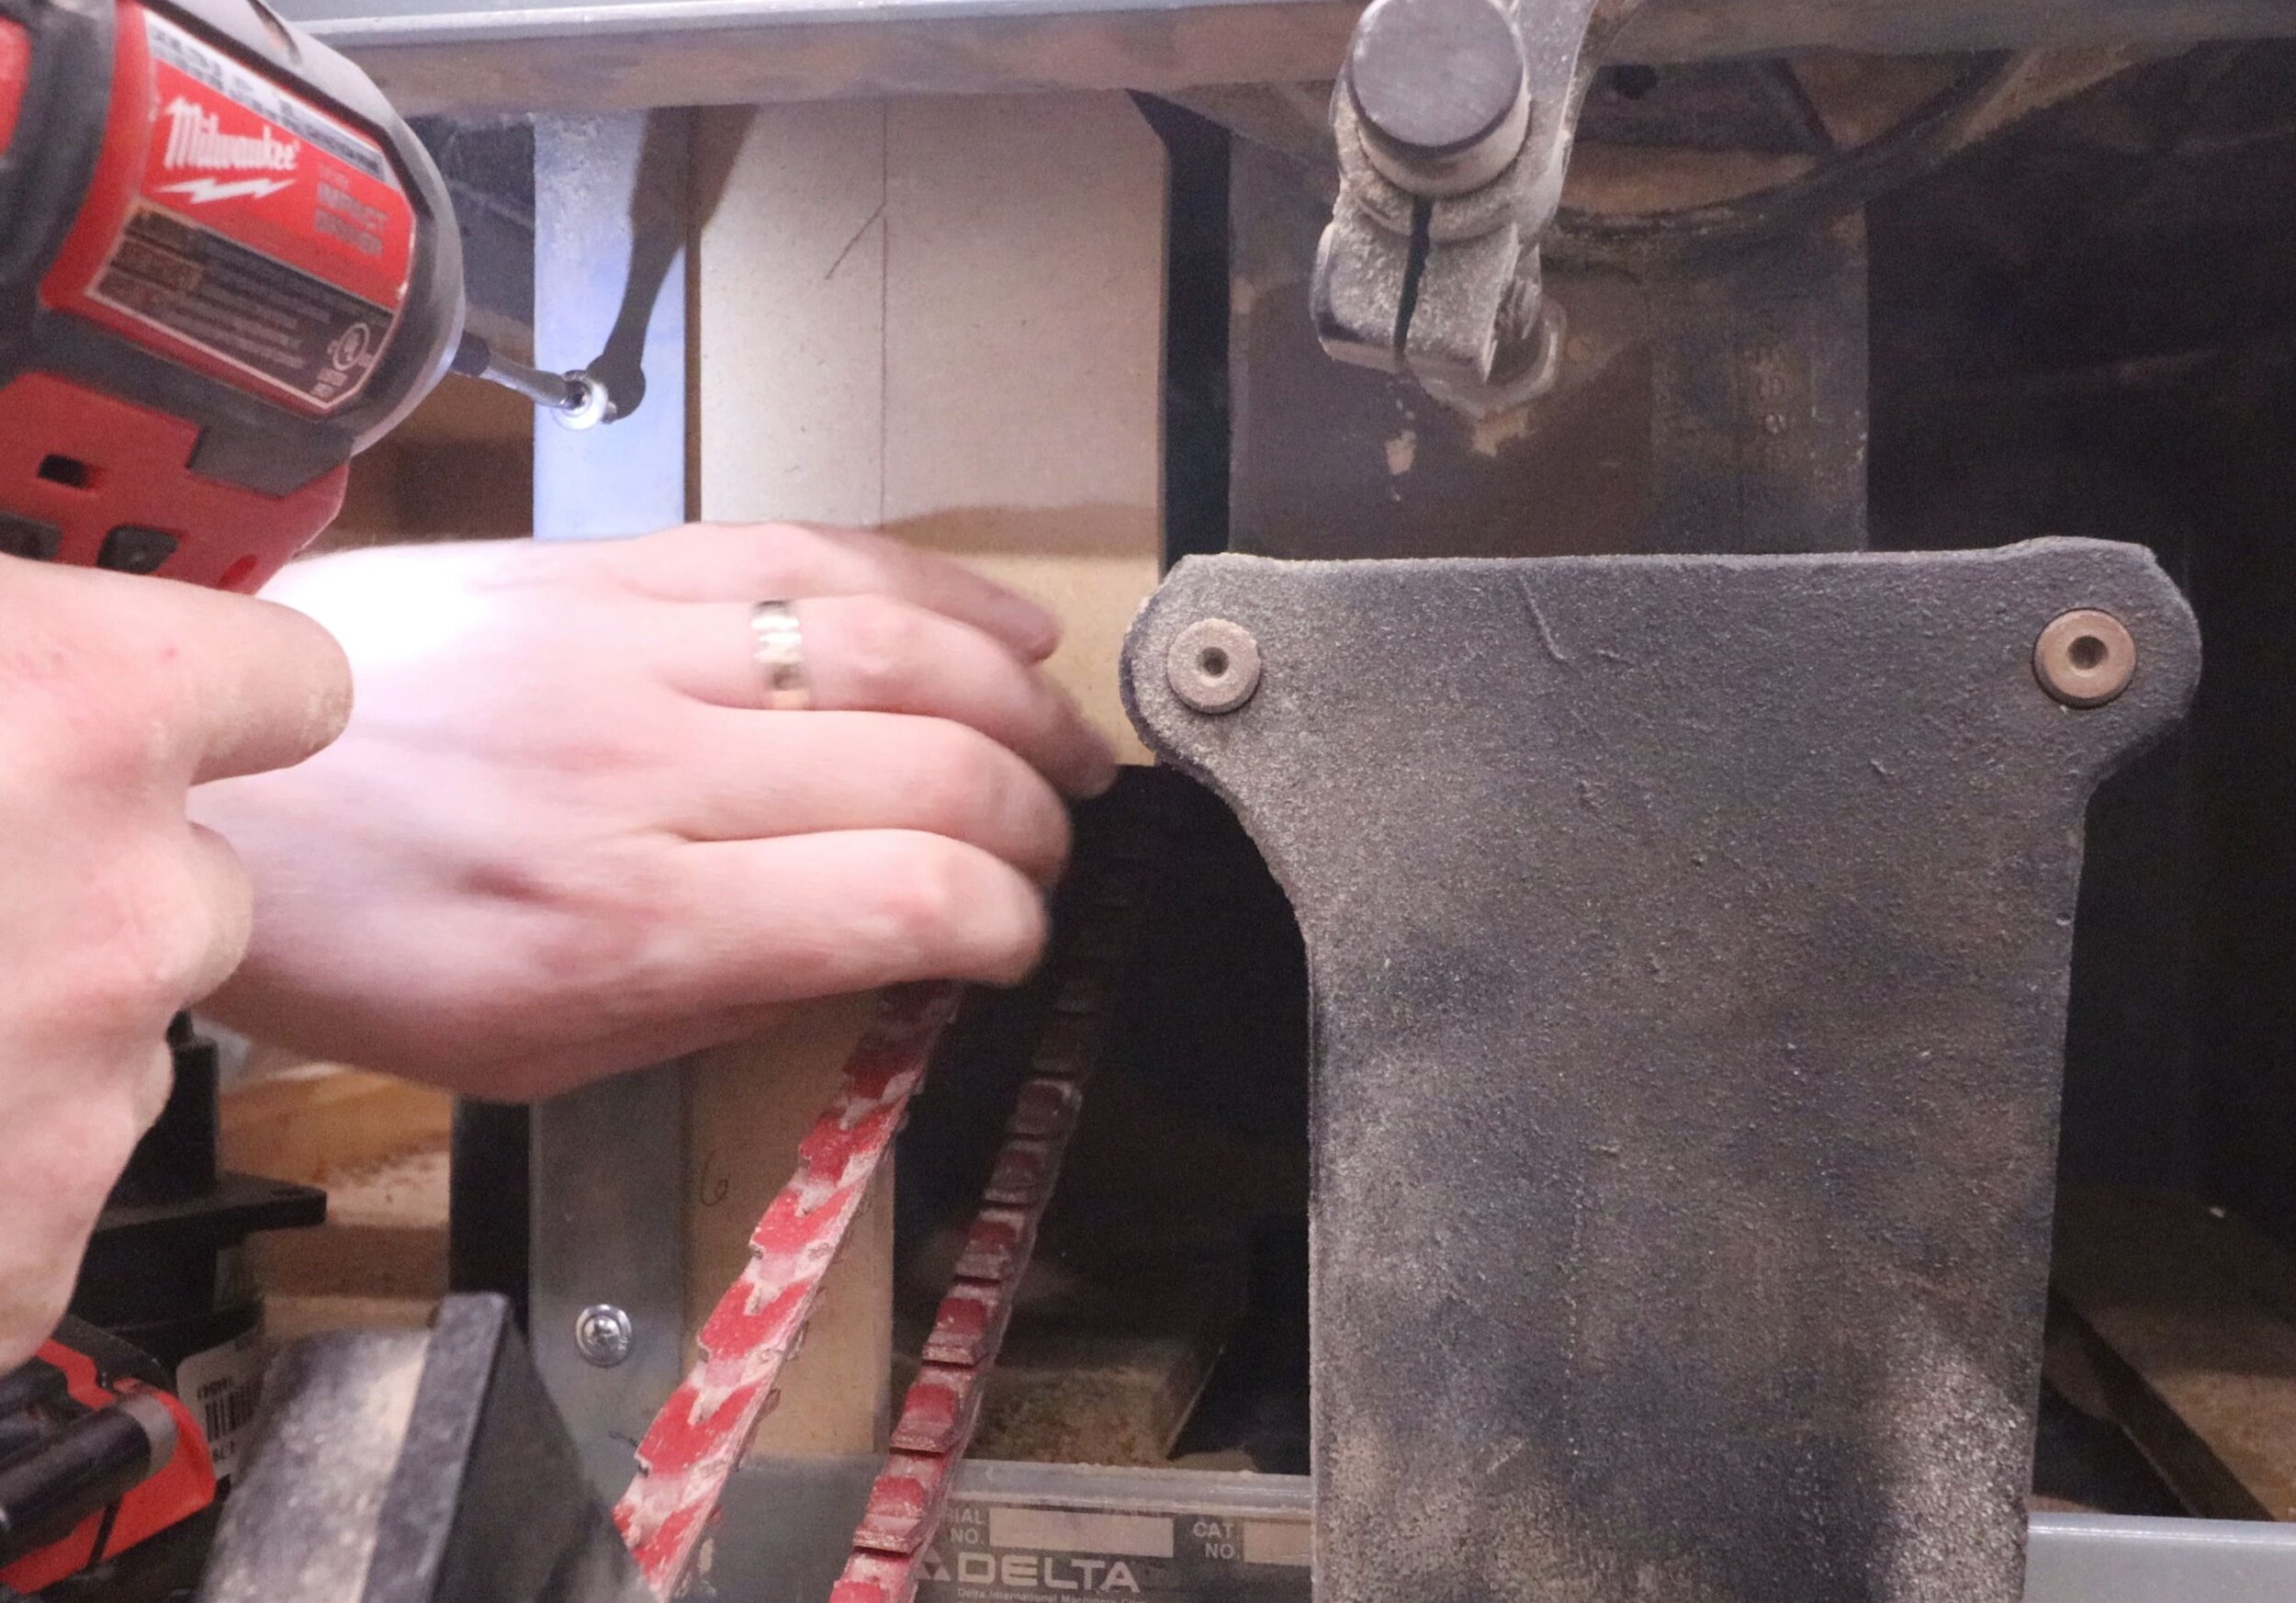
With the hood trimmed, I attach and fasten an articulating 4” (100 mm) elbow to the hood. For this, I use sheet metal screws. I also adjusted the elbow such that it pointed down at about a 45-degree angle.
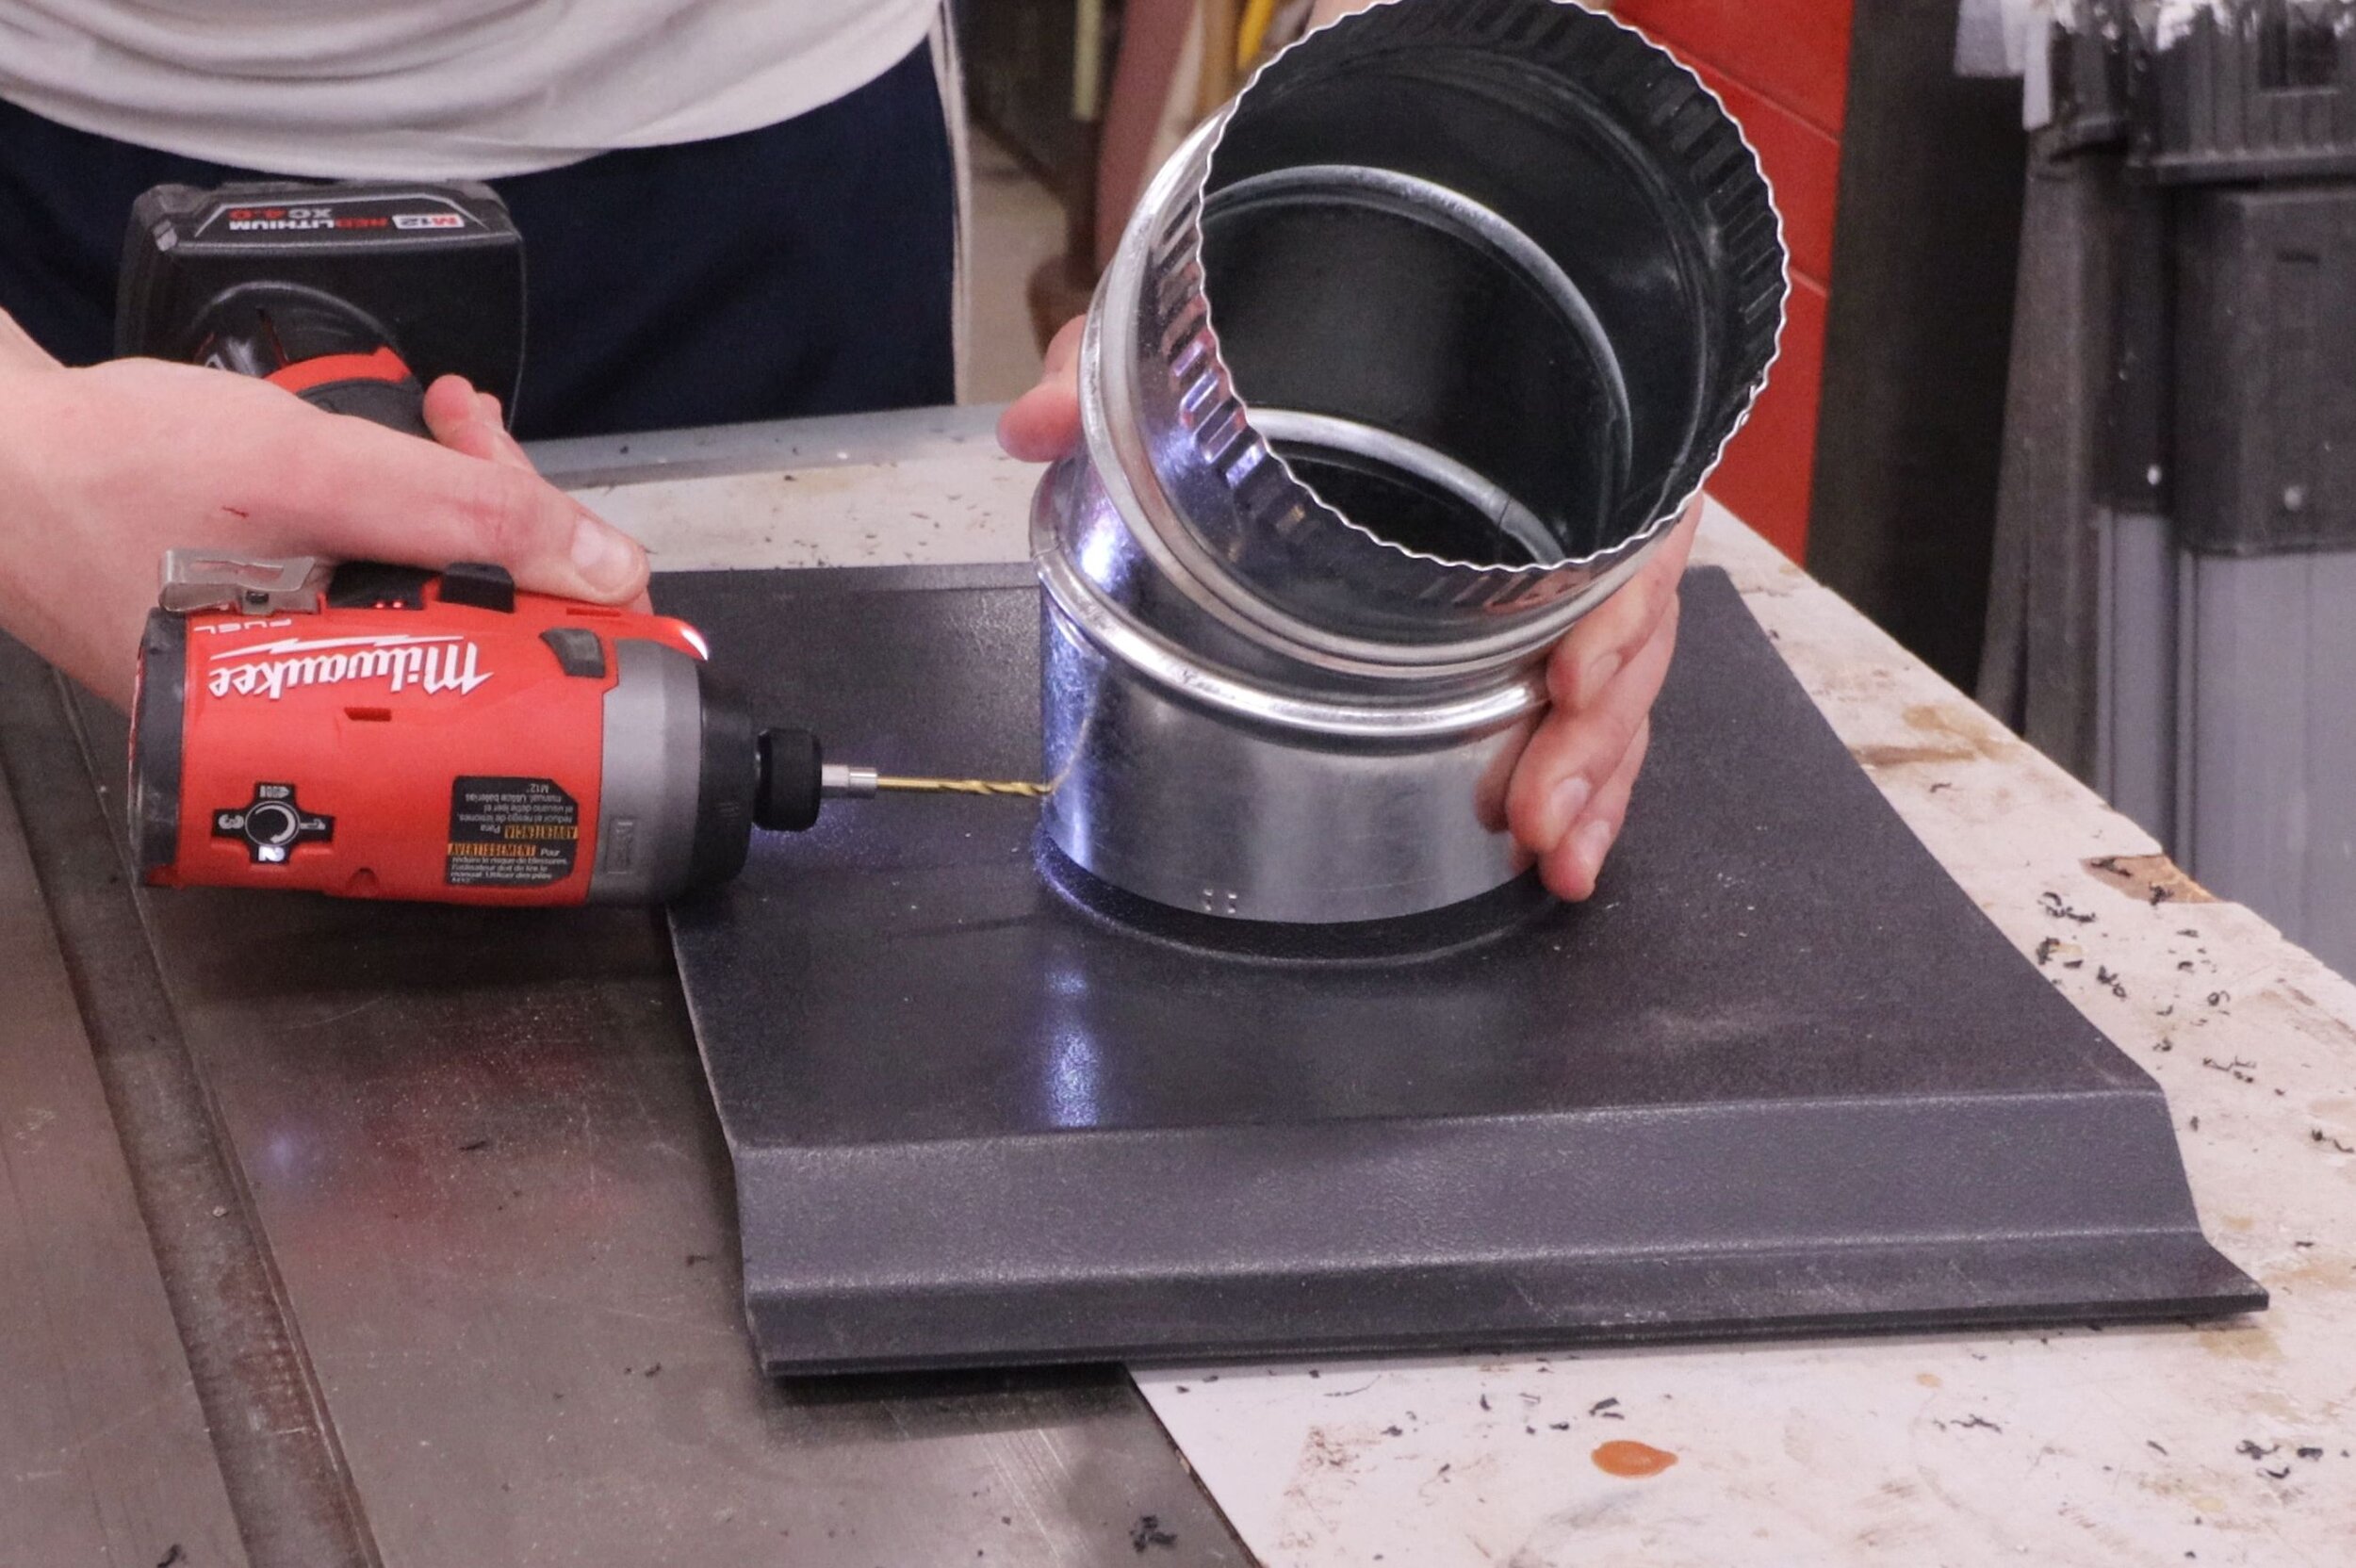
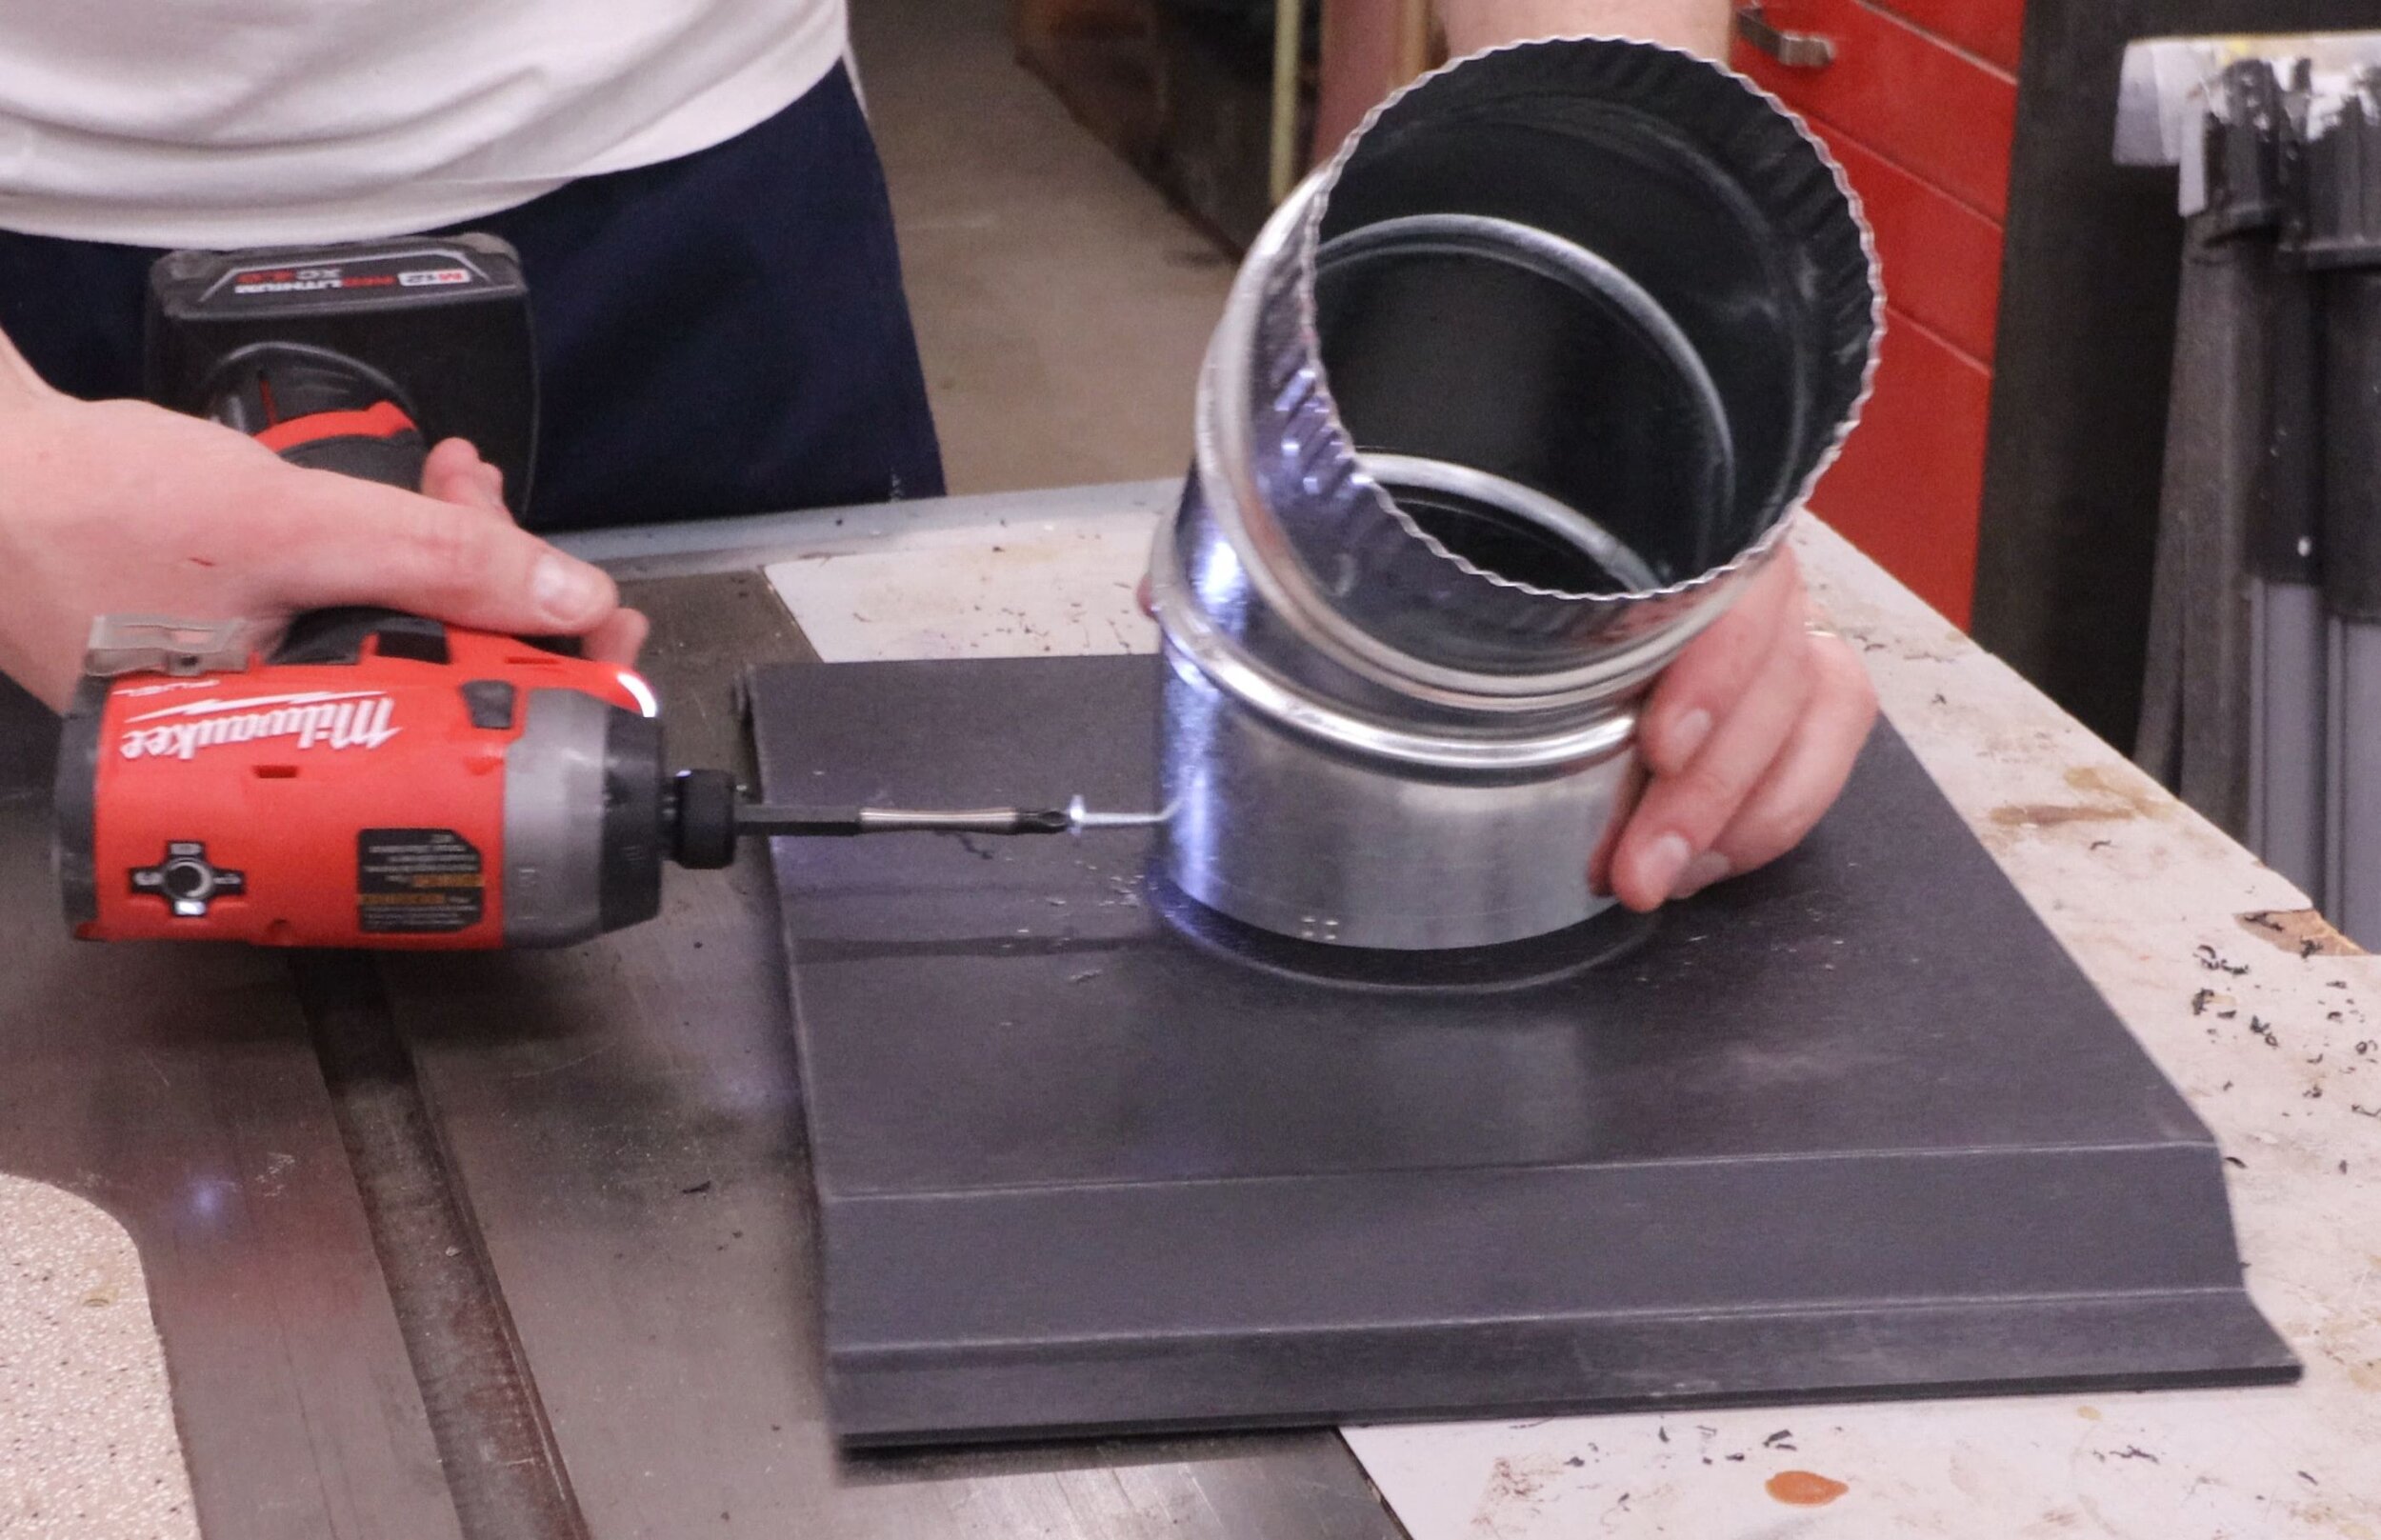
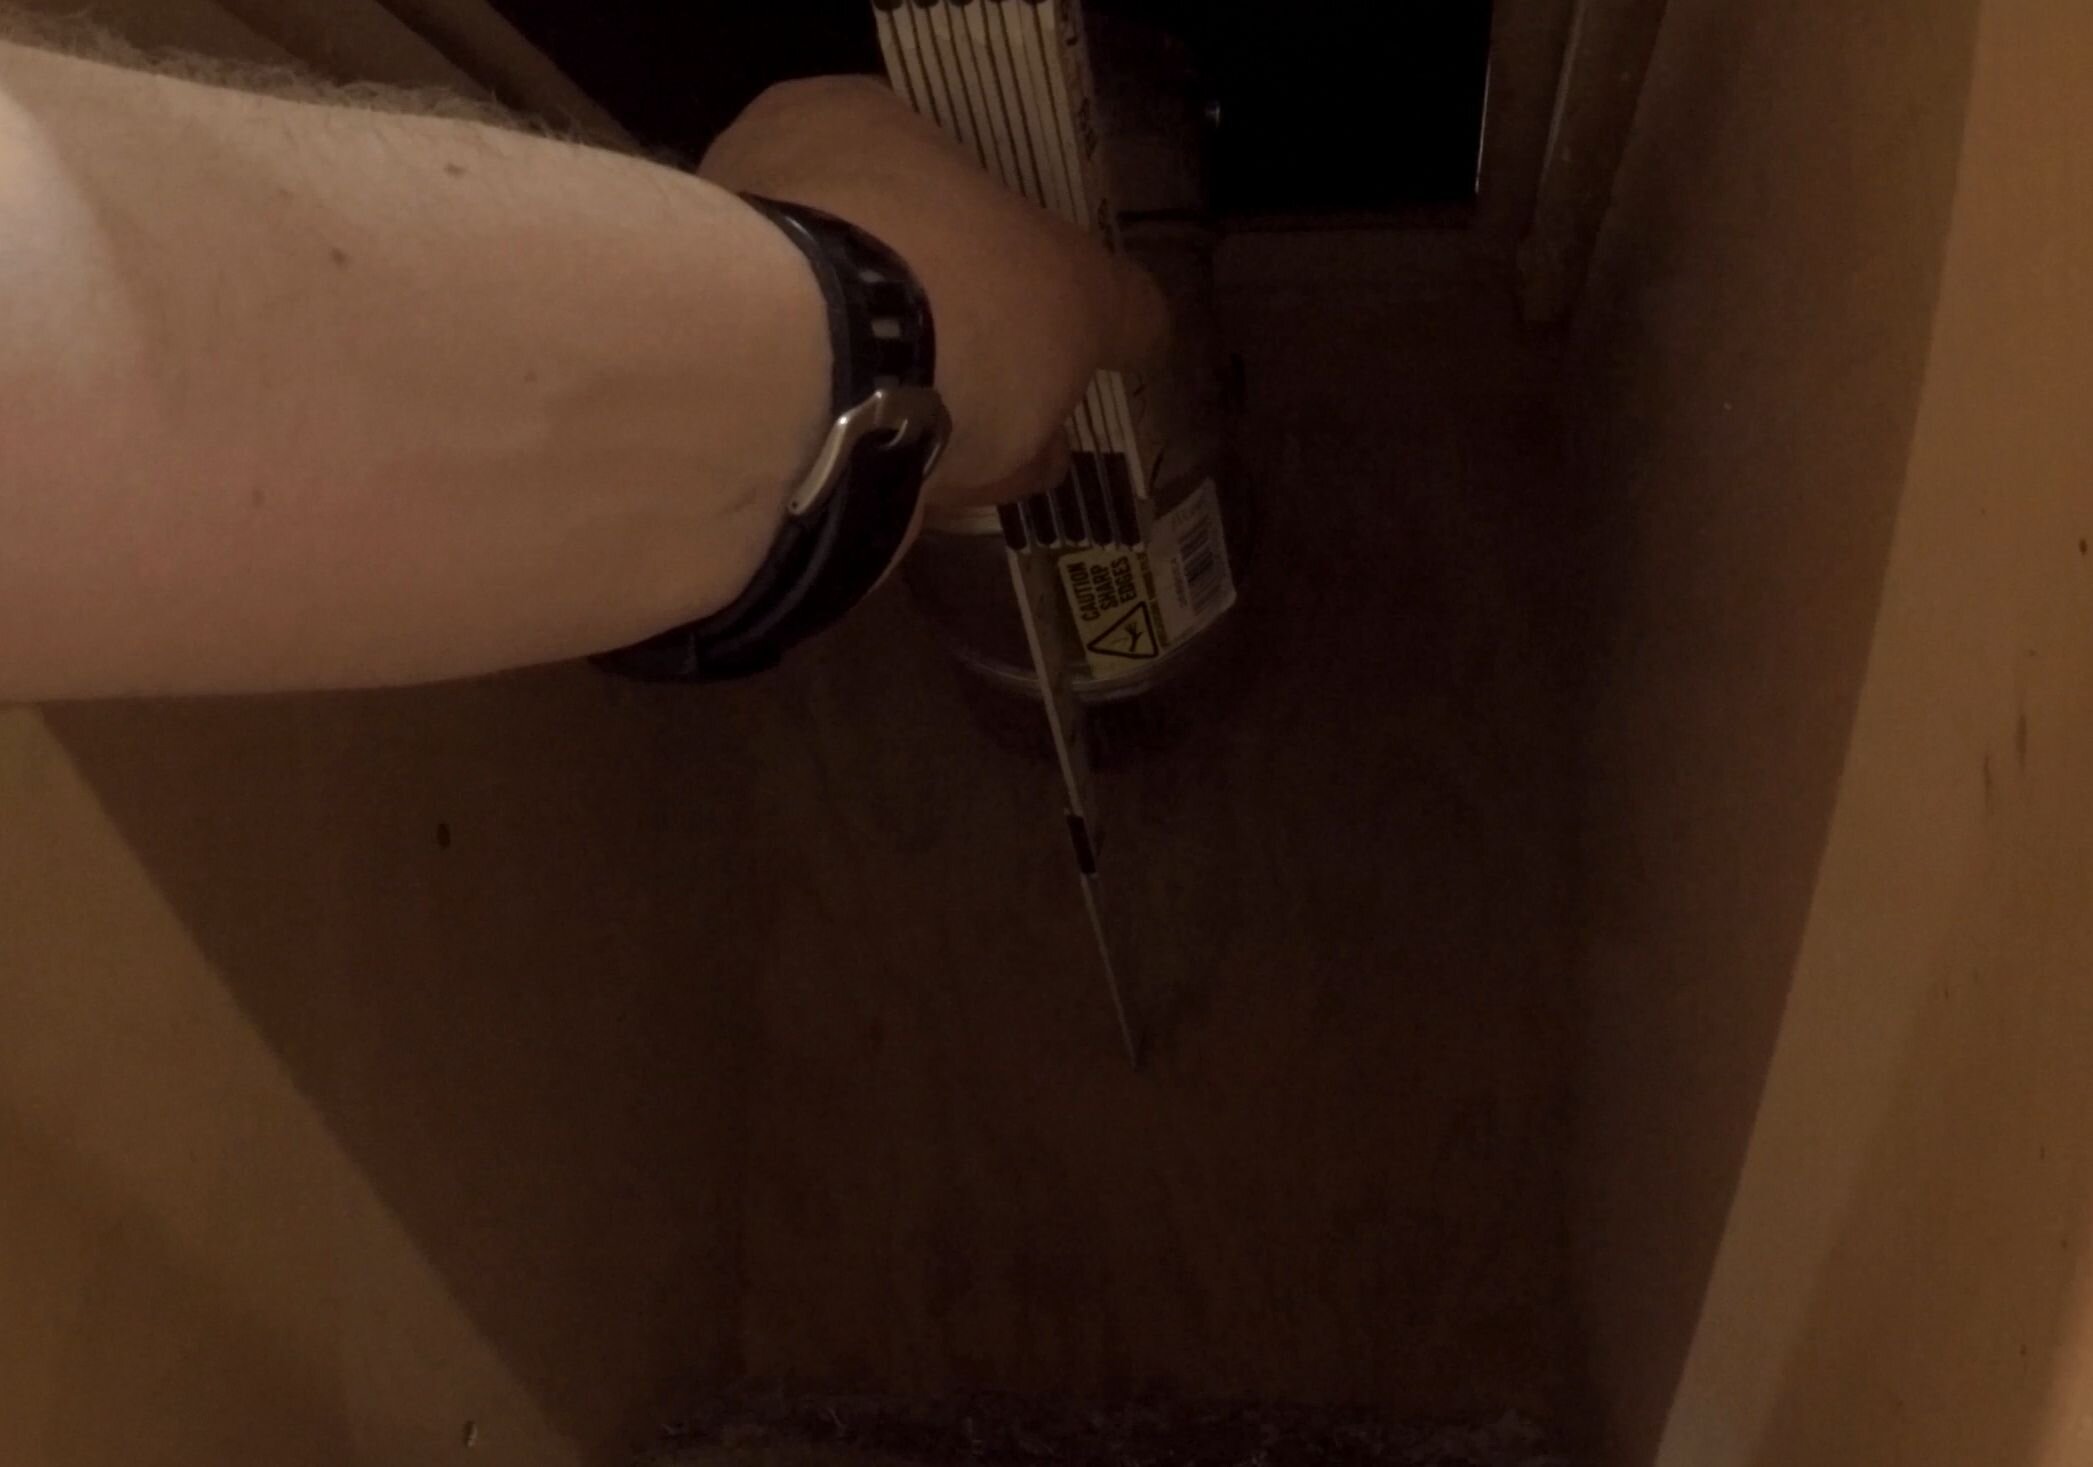
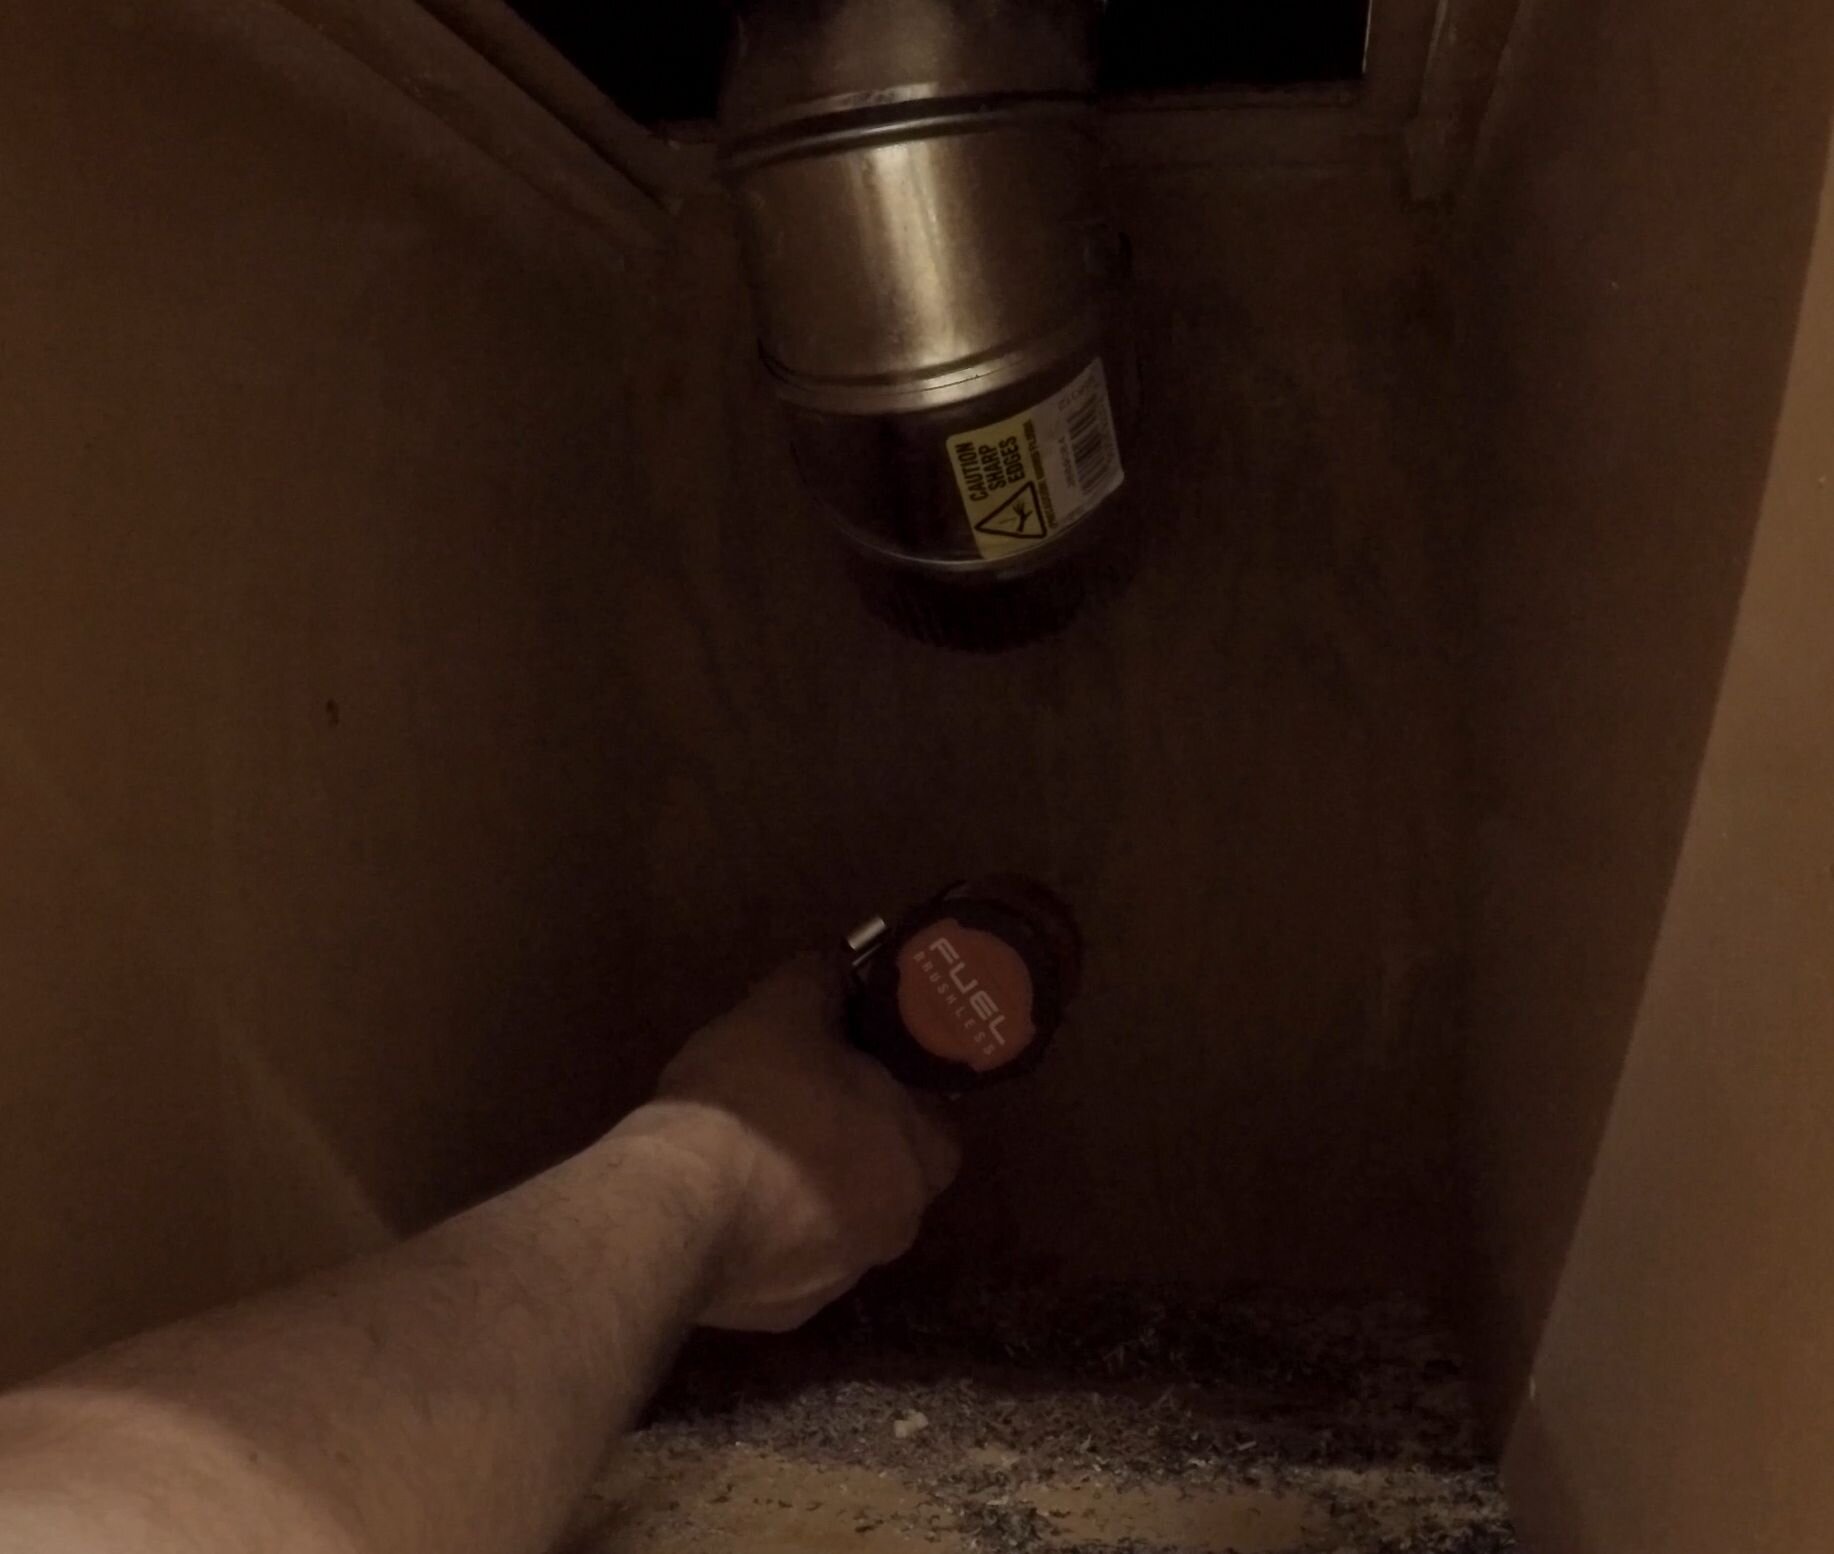
With the elbow attached, I put the hood in the bottom opening of the table saw. Using a straight edge, I measure down where the elbow intersects the back panel of the cabinet and drill a locating hole through.
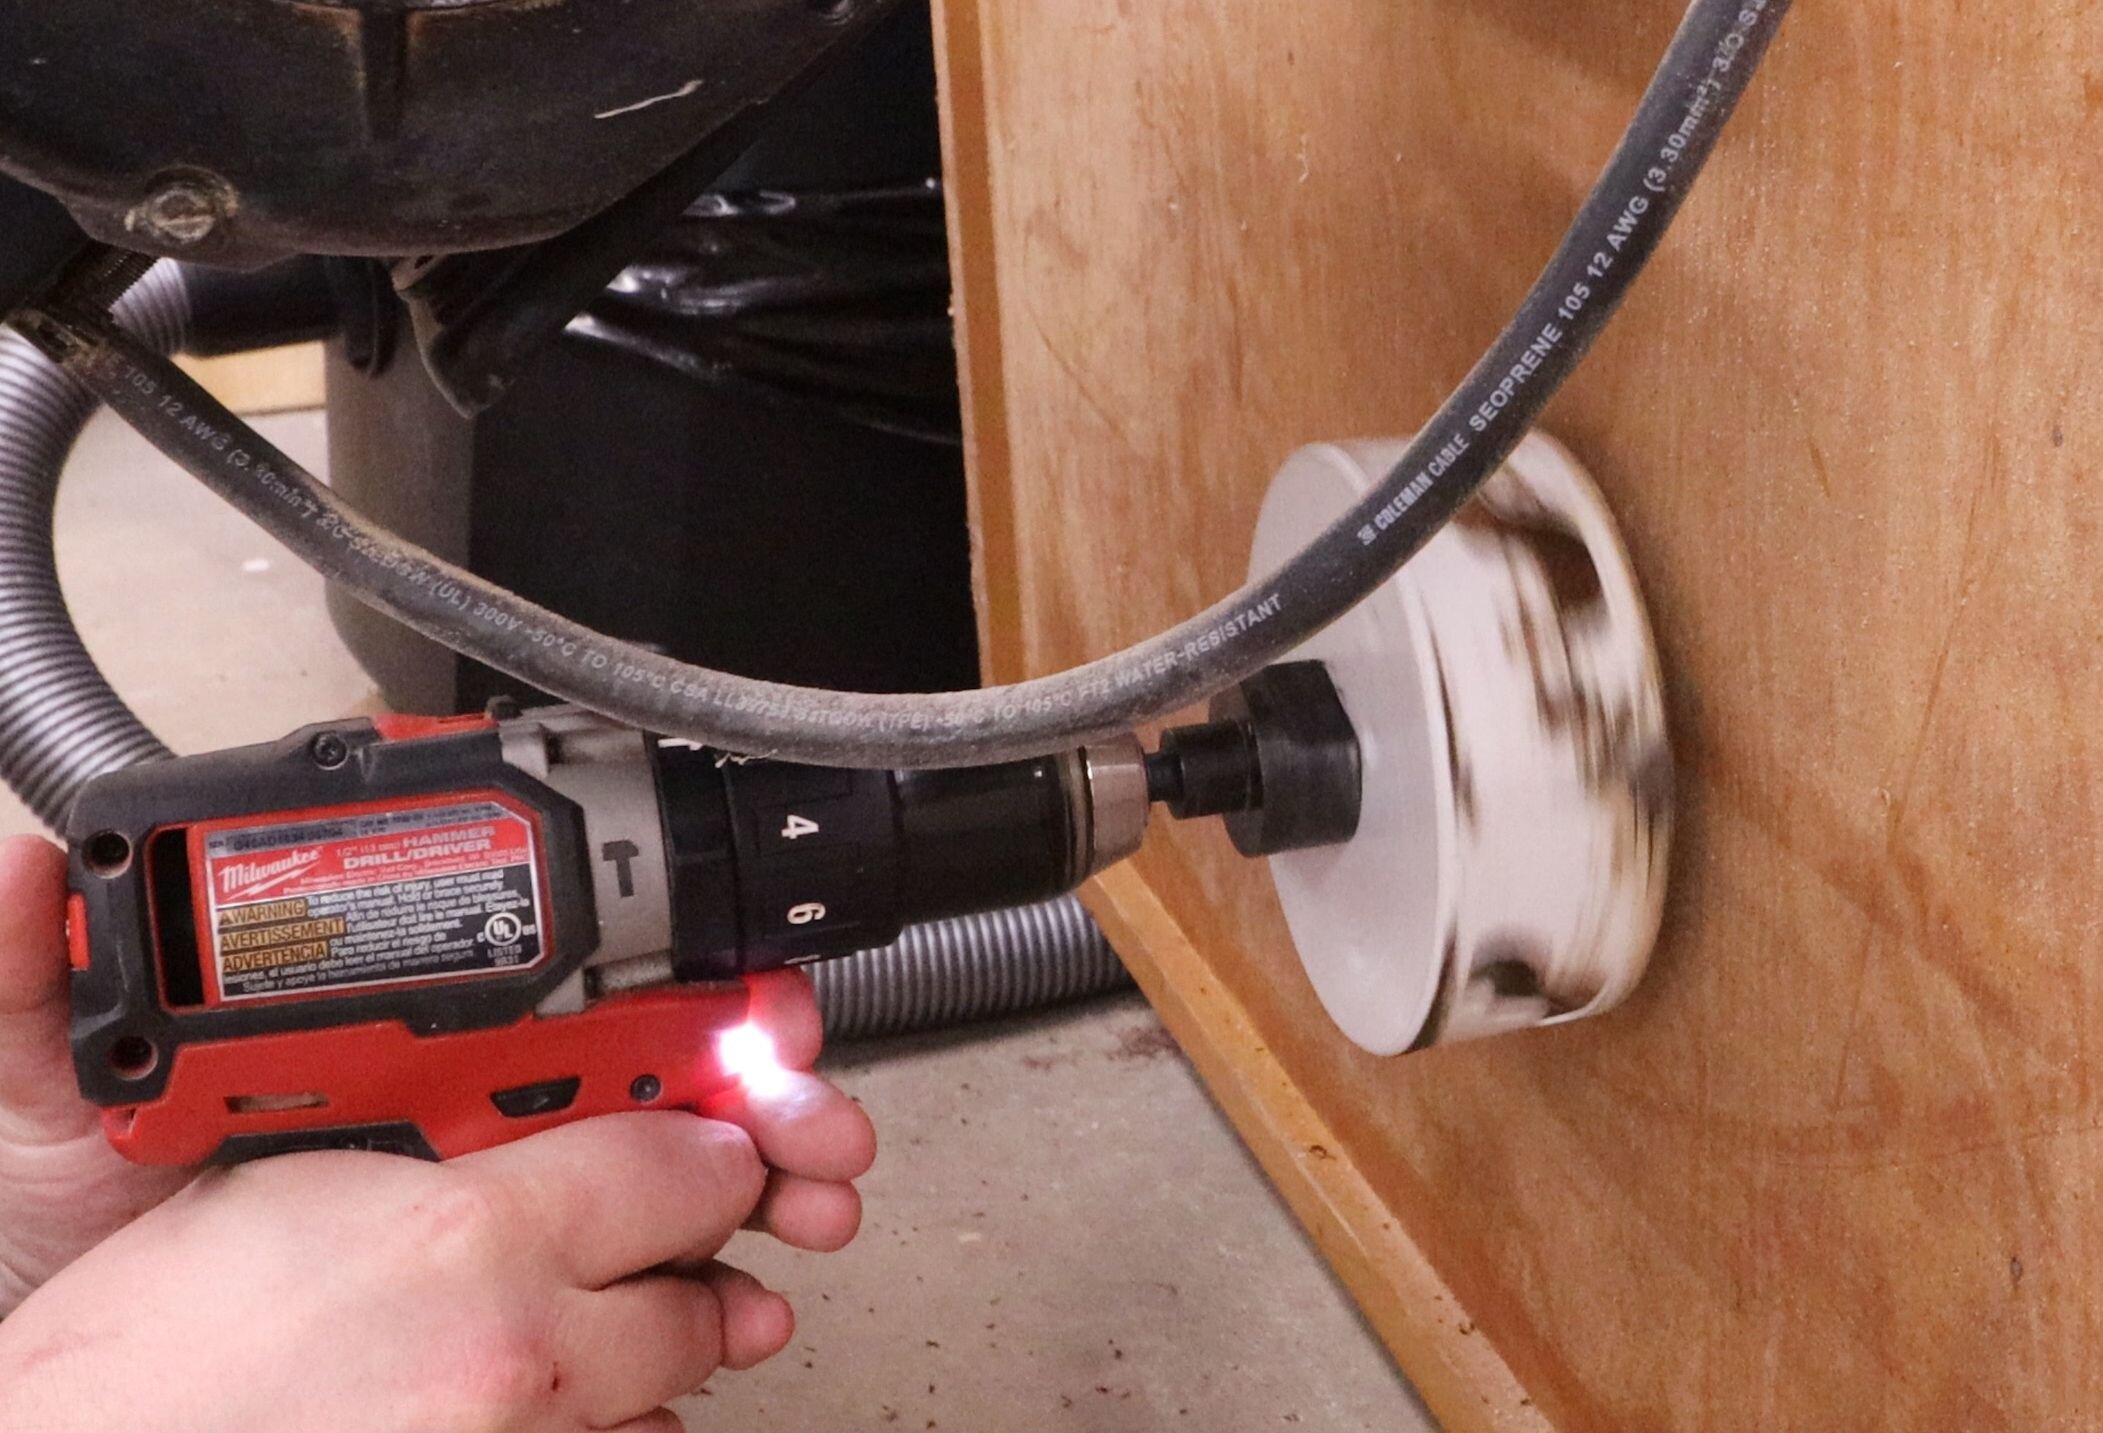
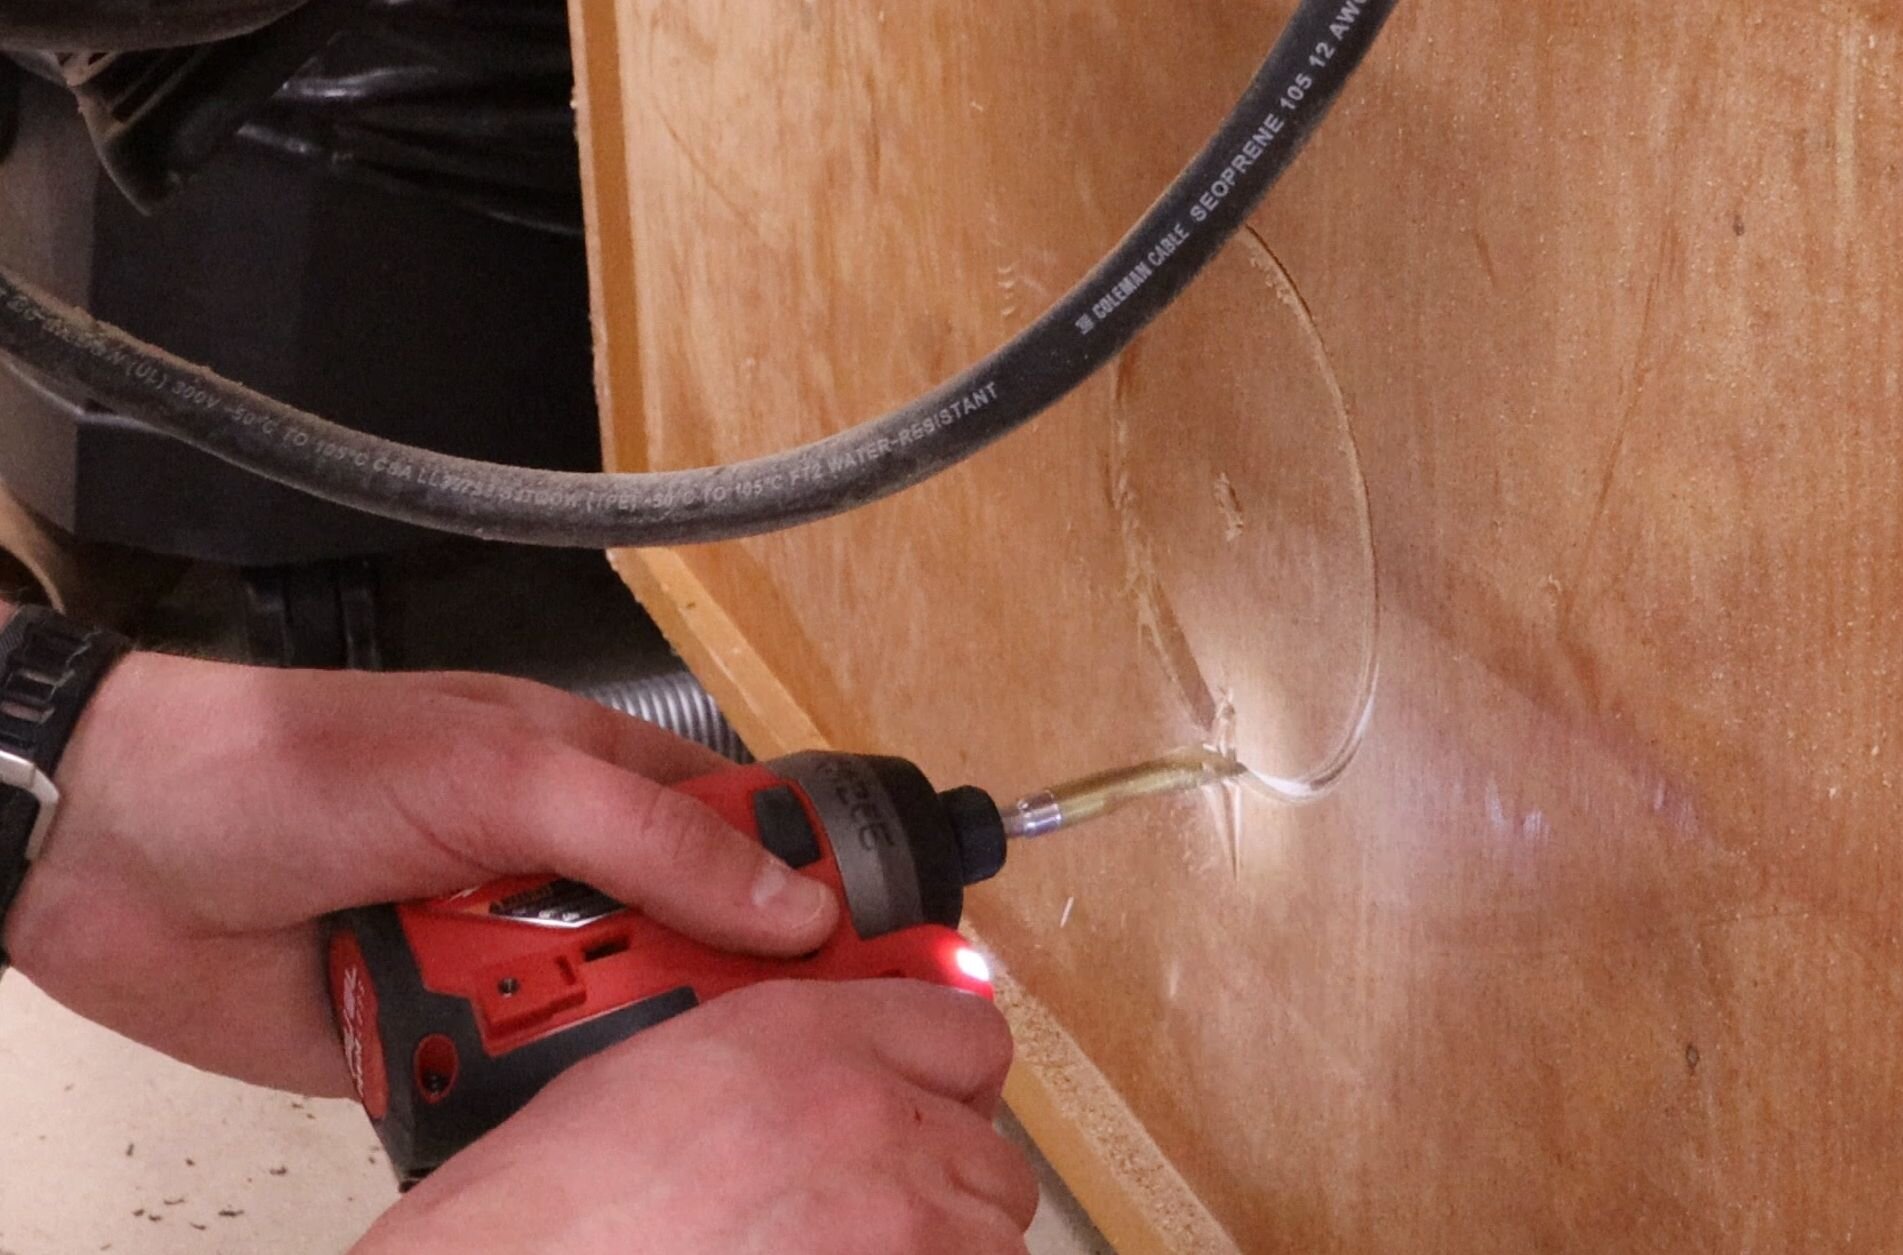
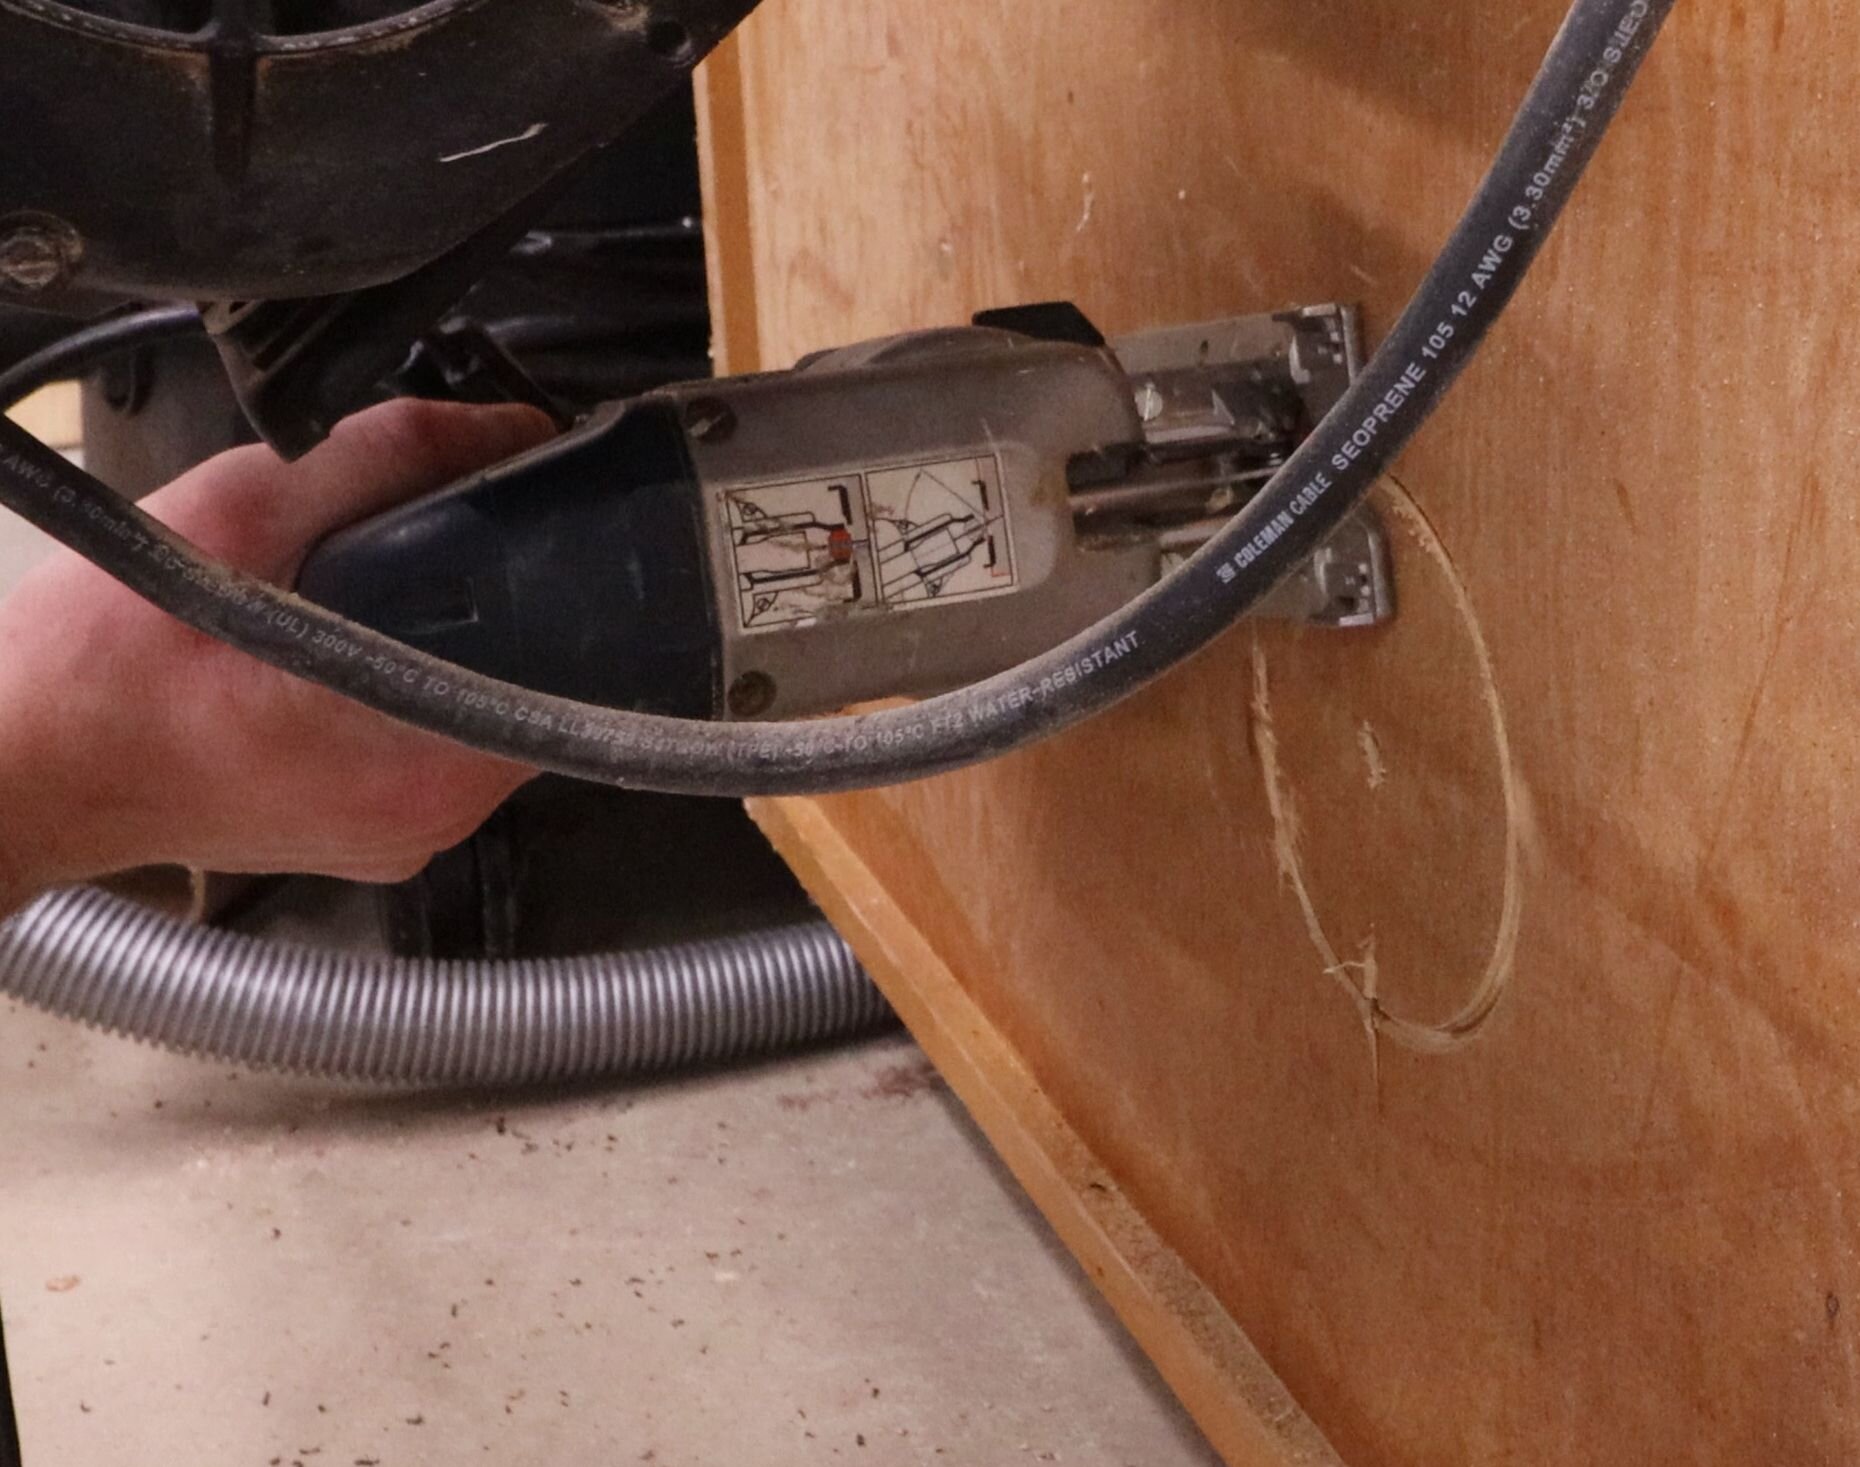
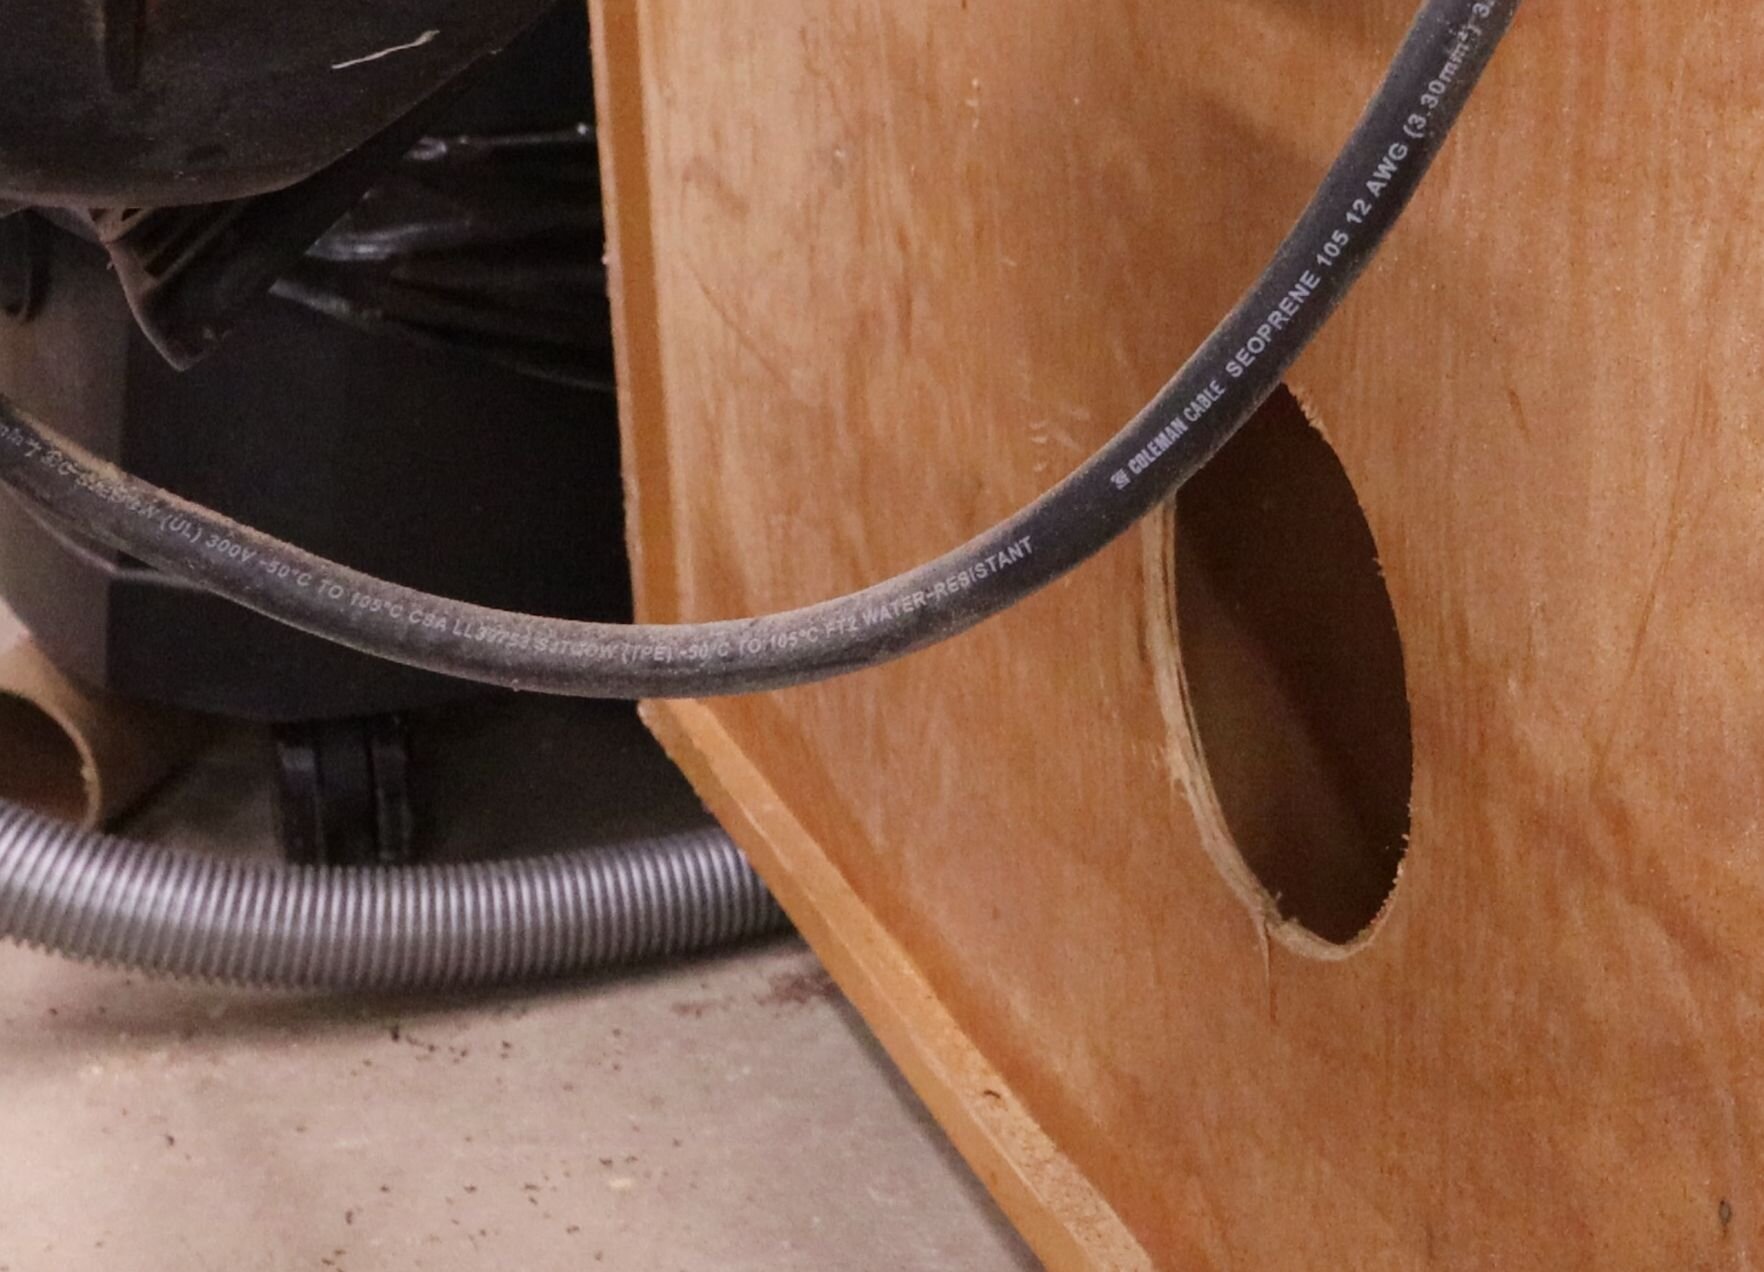
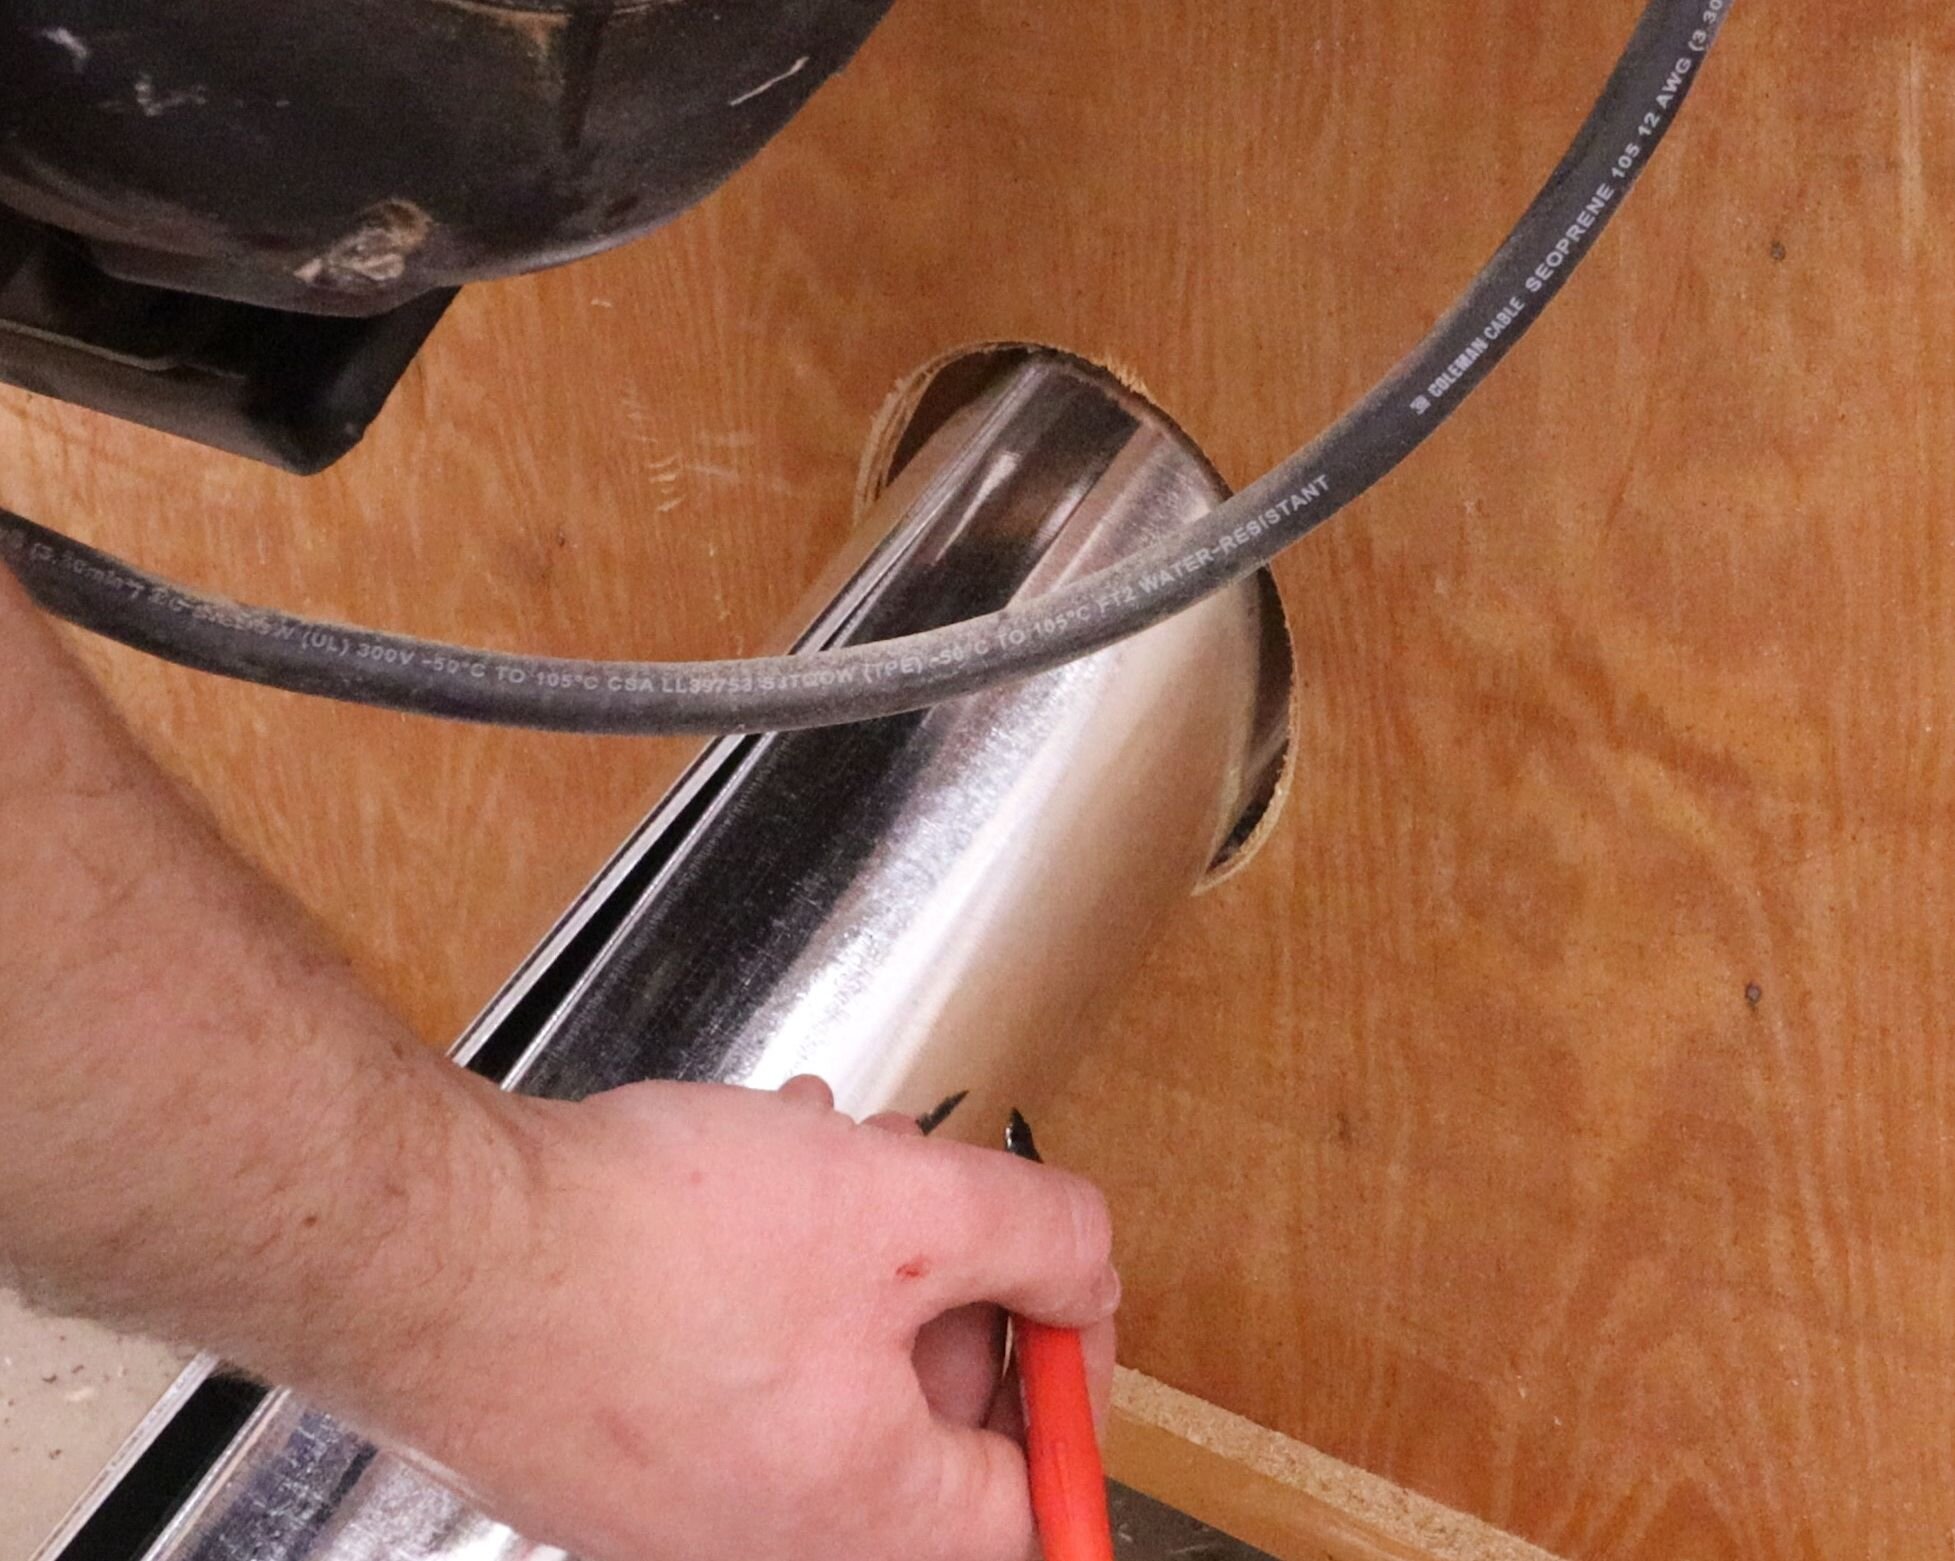
I then tried to cut out a 5” (125 mm) diameter hole through using a hole saw, but I had previously dulled this saw beyond usability by cutting through some shingles. So instead I used the hole saw to mark the 5” diameter hole, and then finished the cut with a jigsaw.
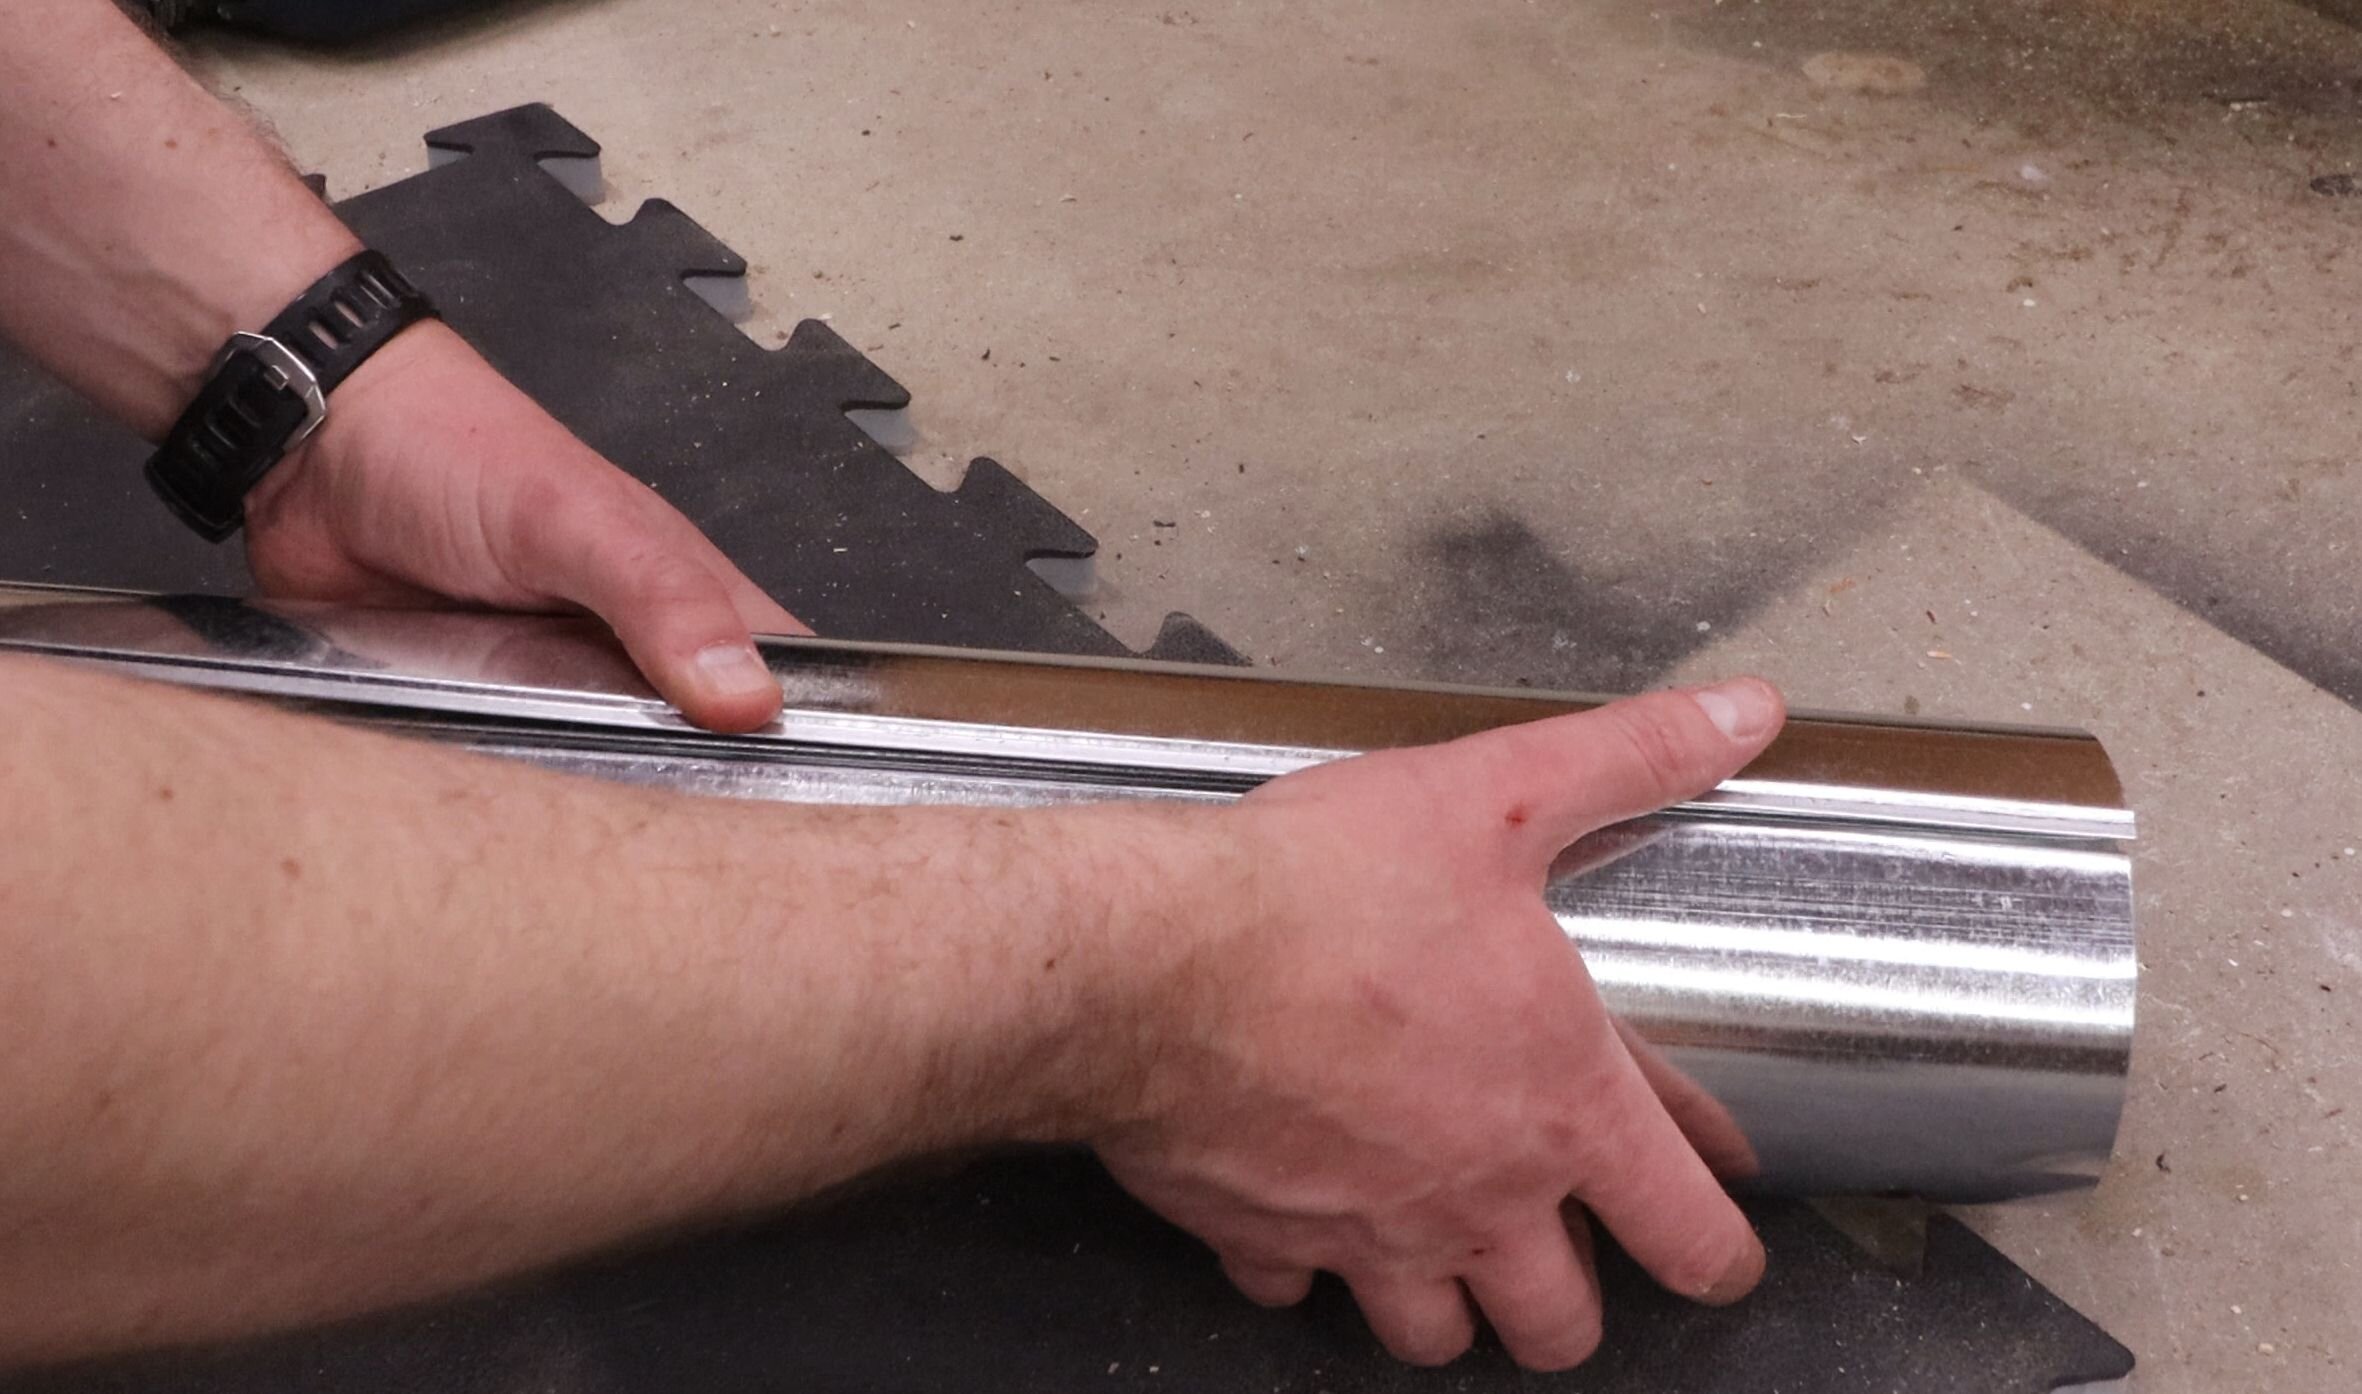
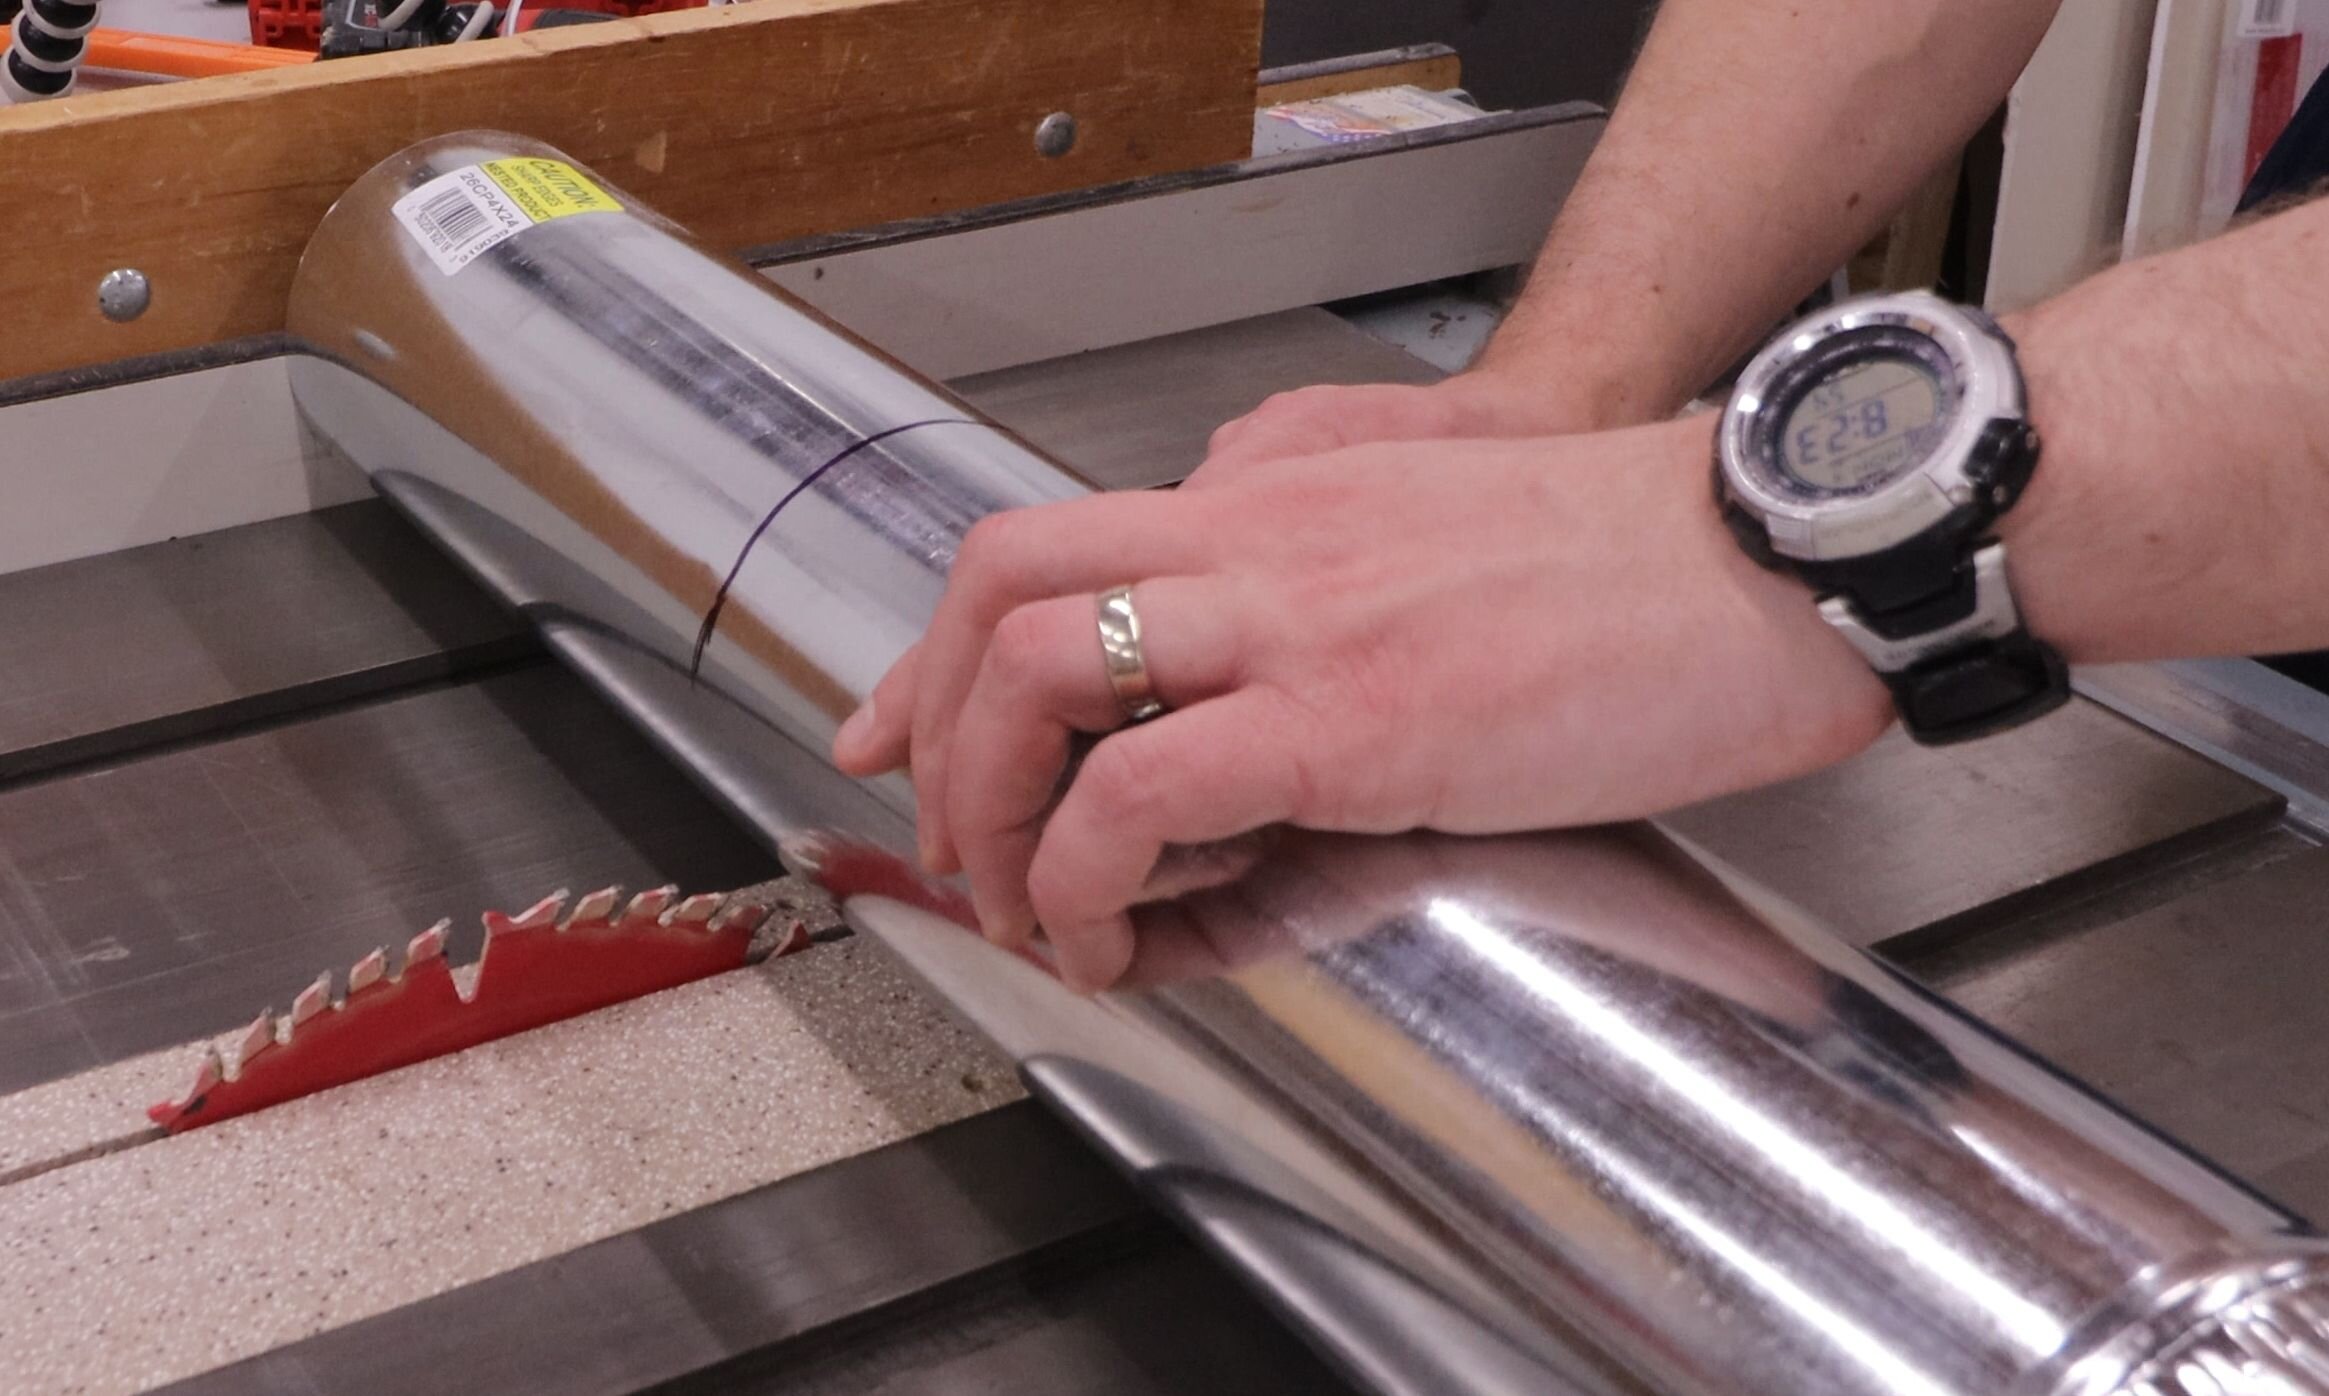
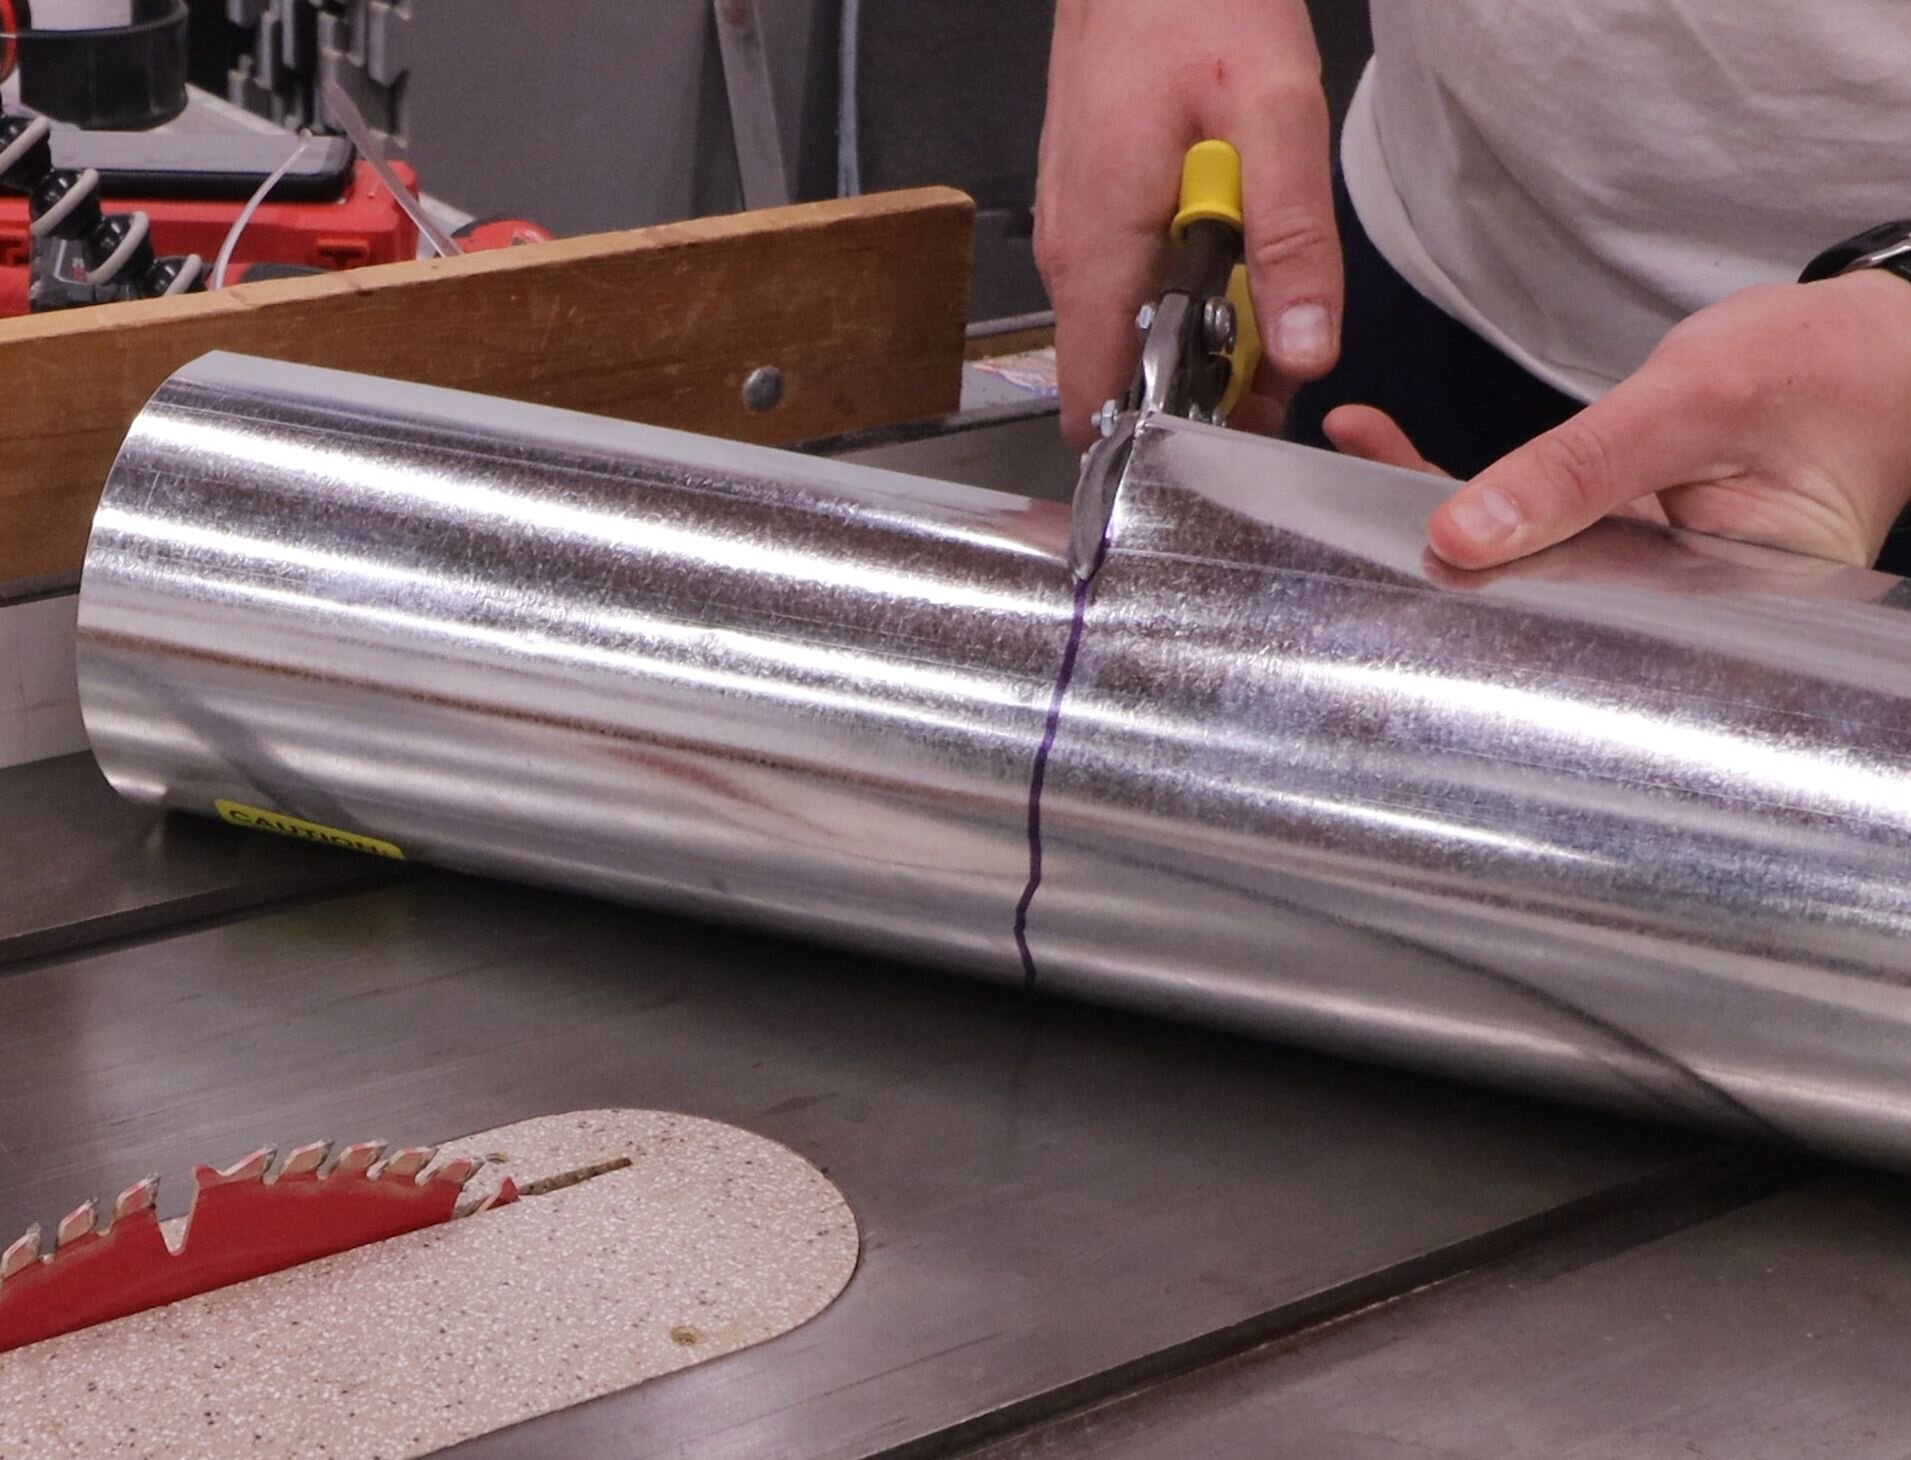
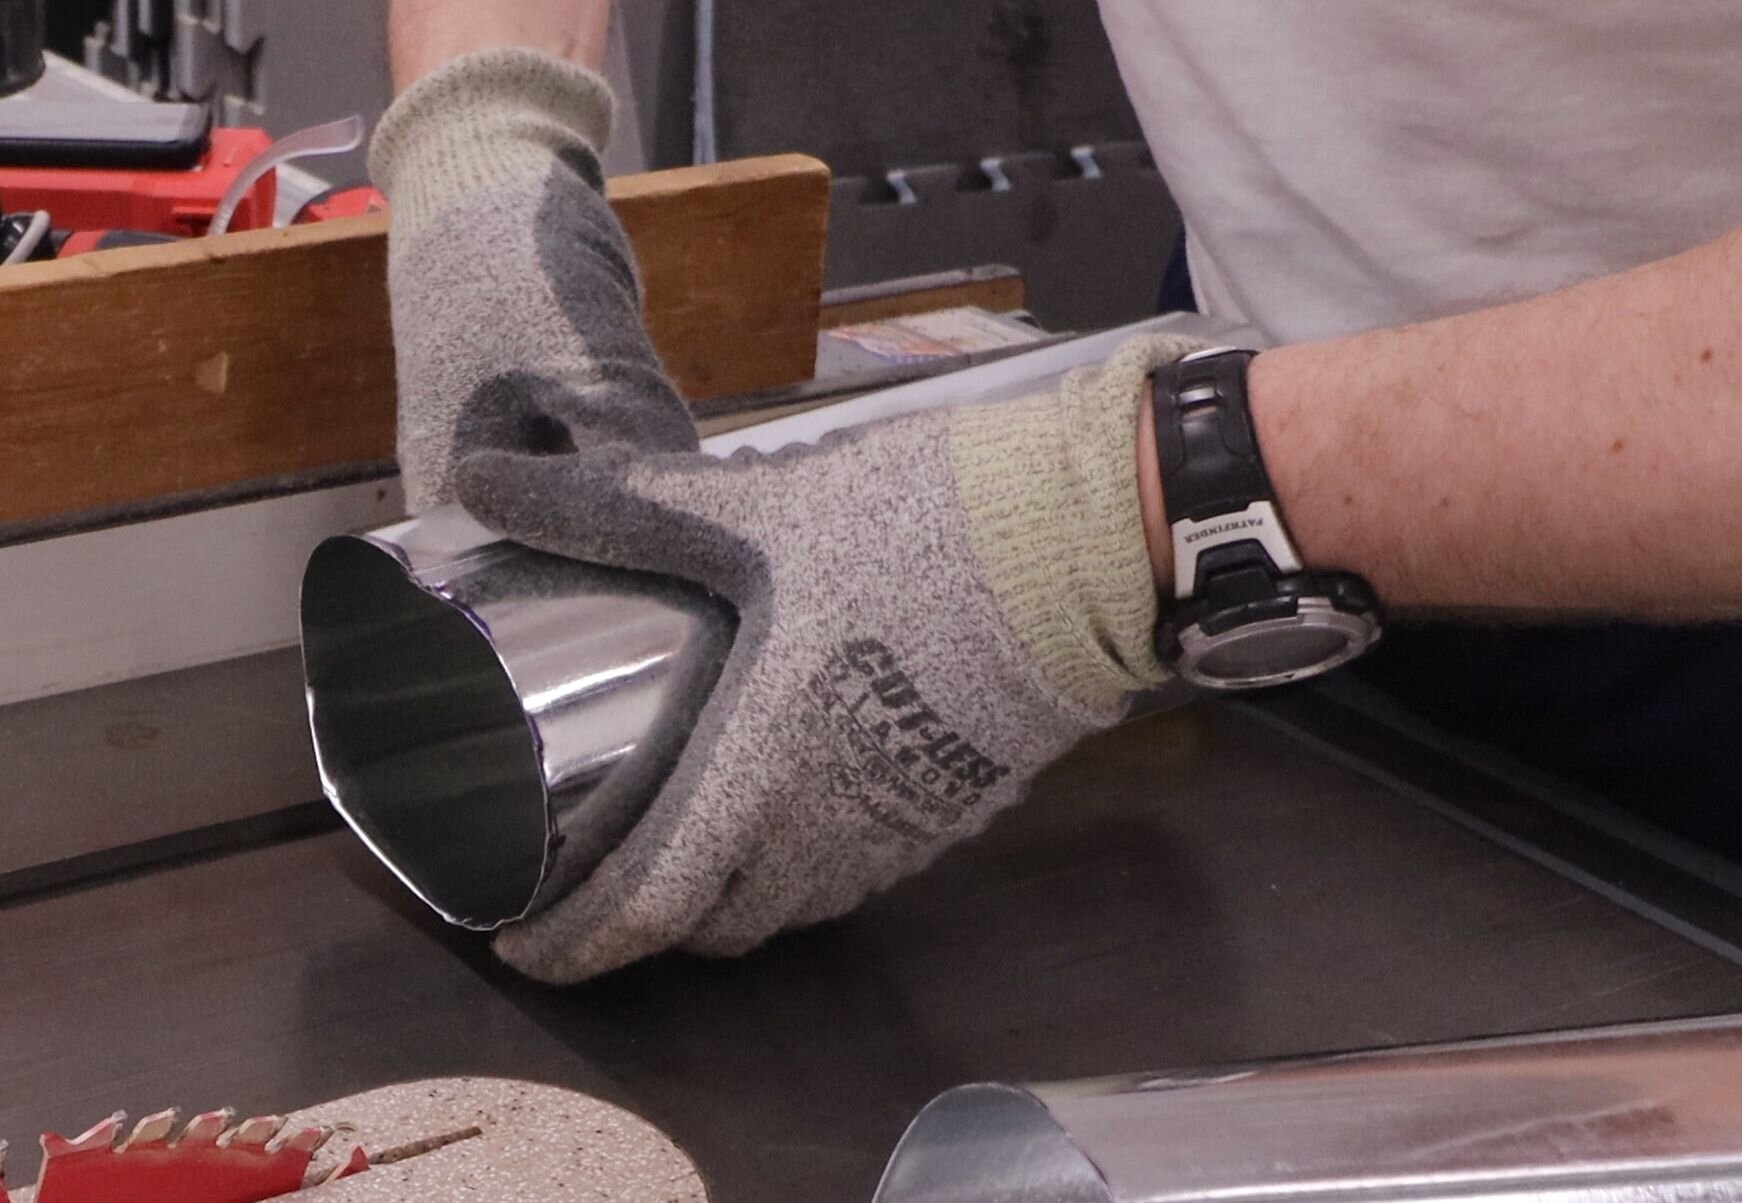
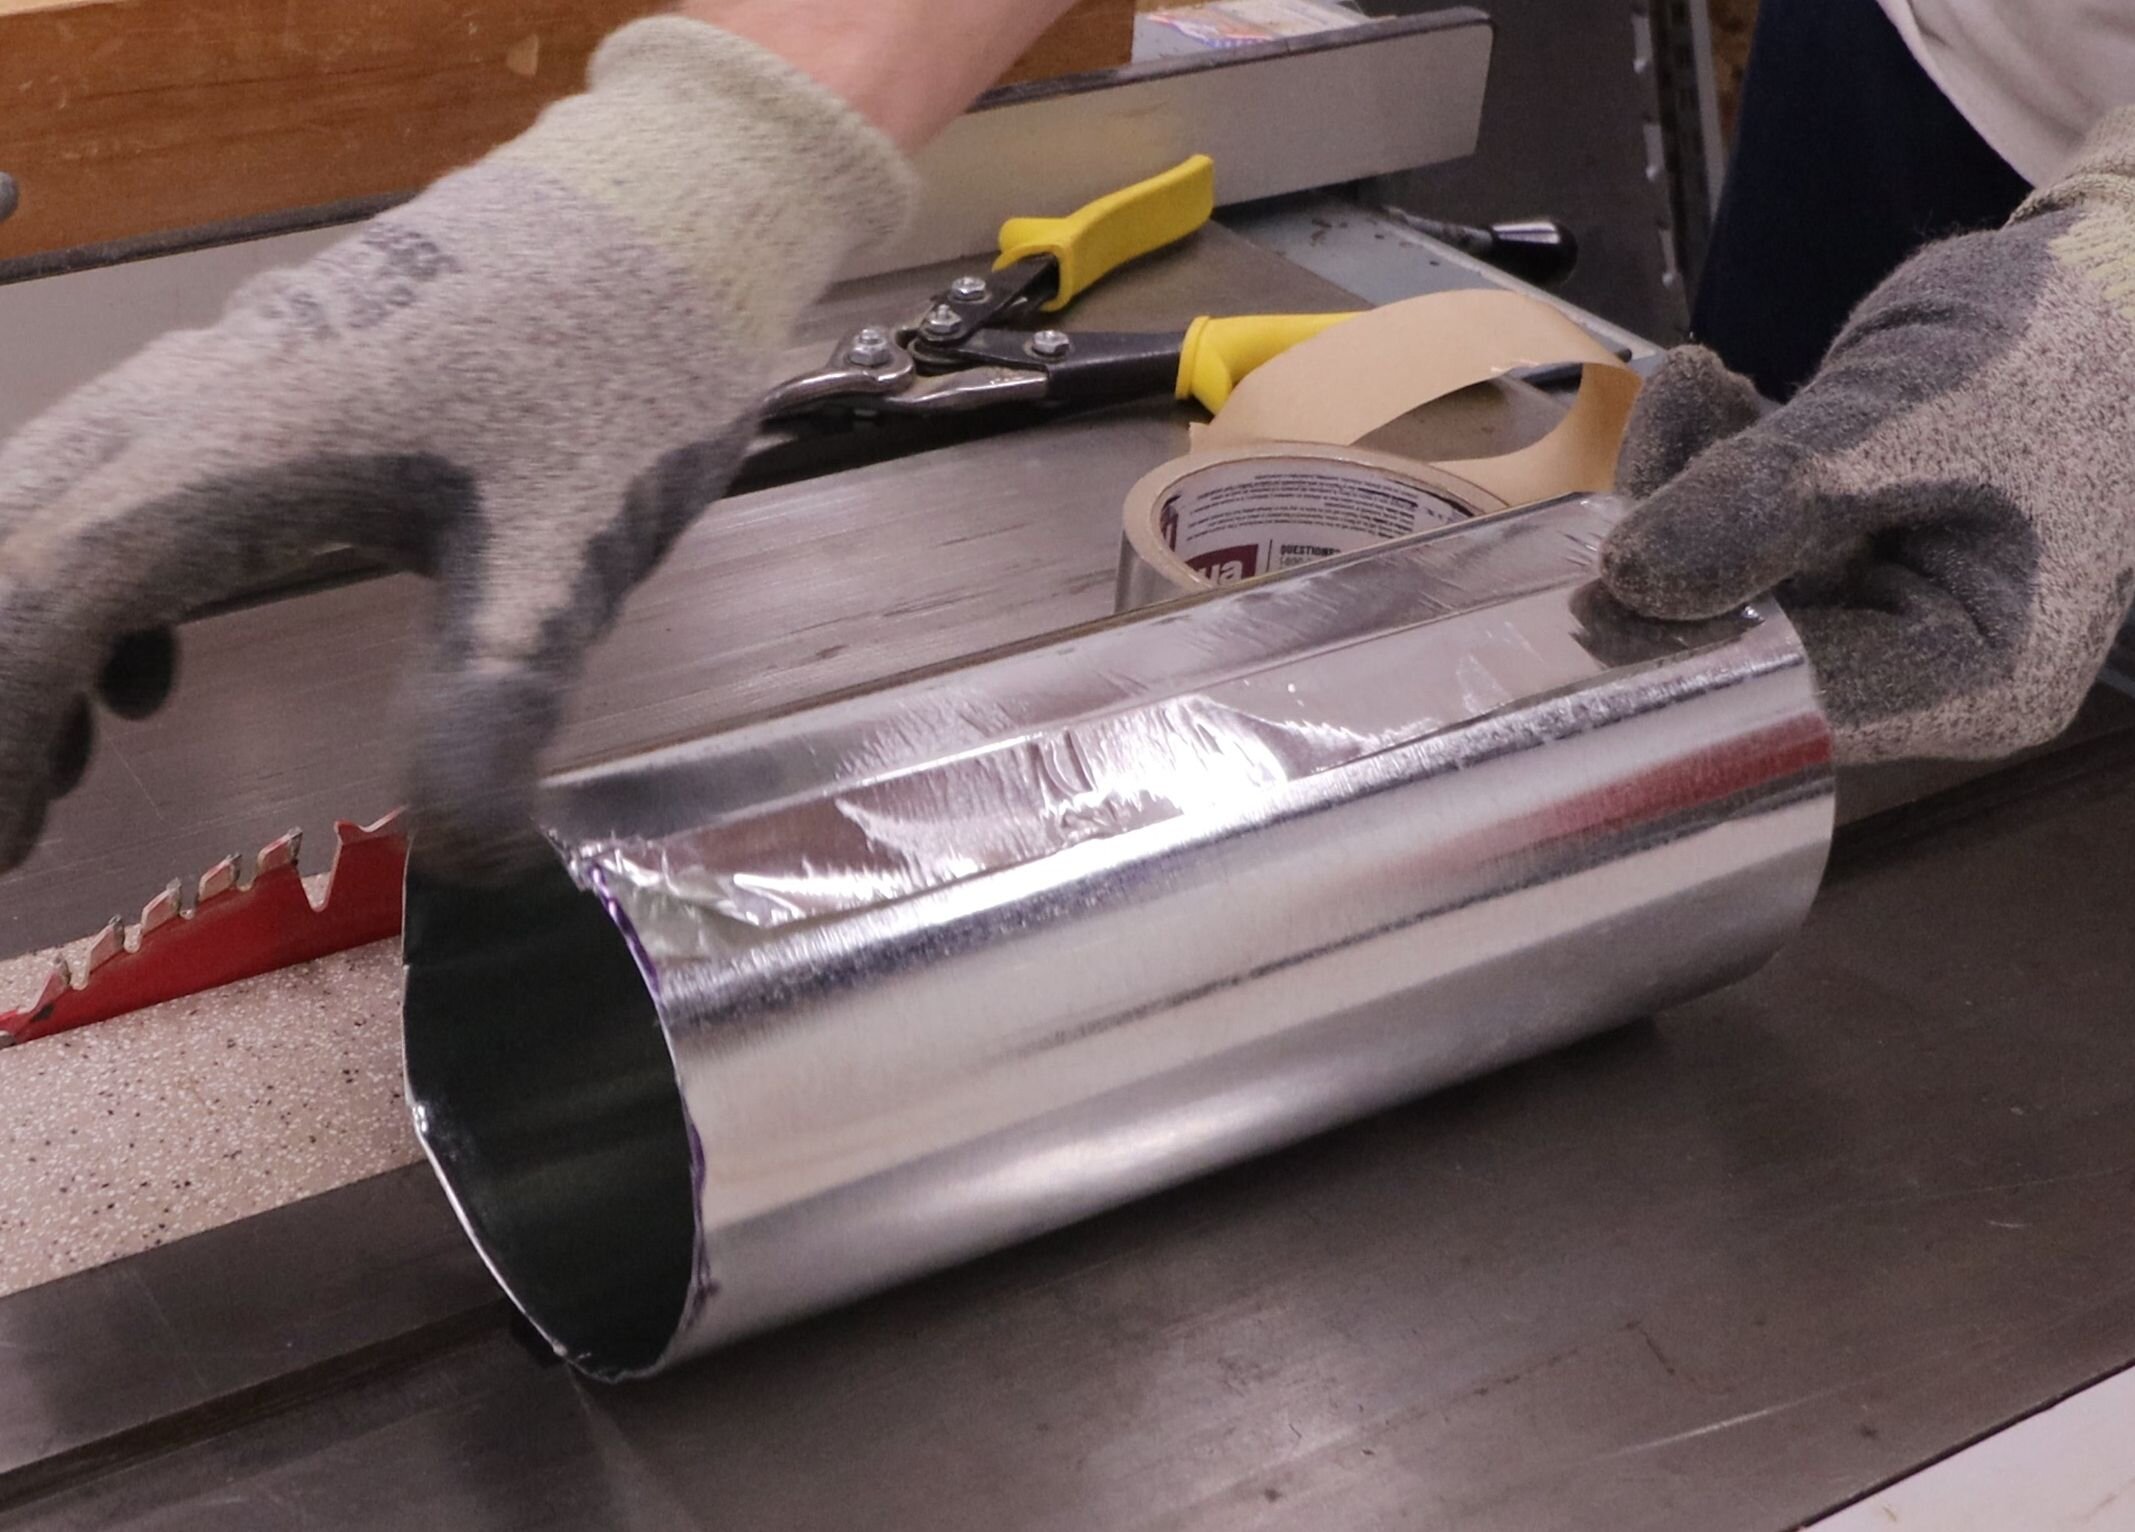
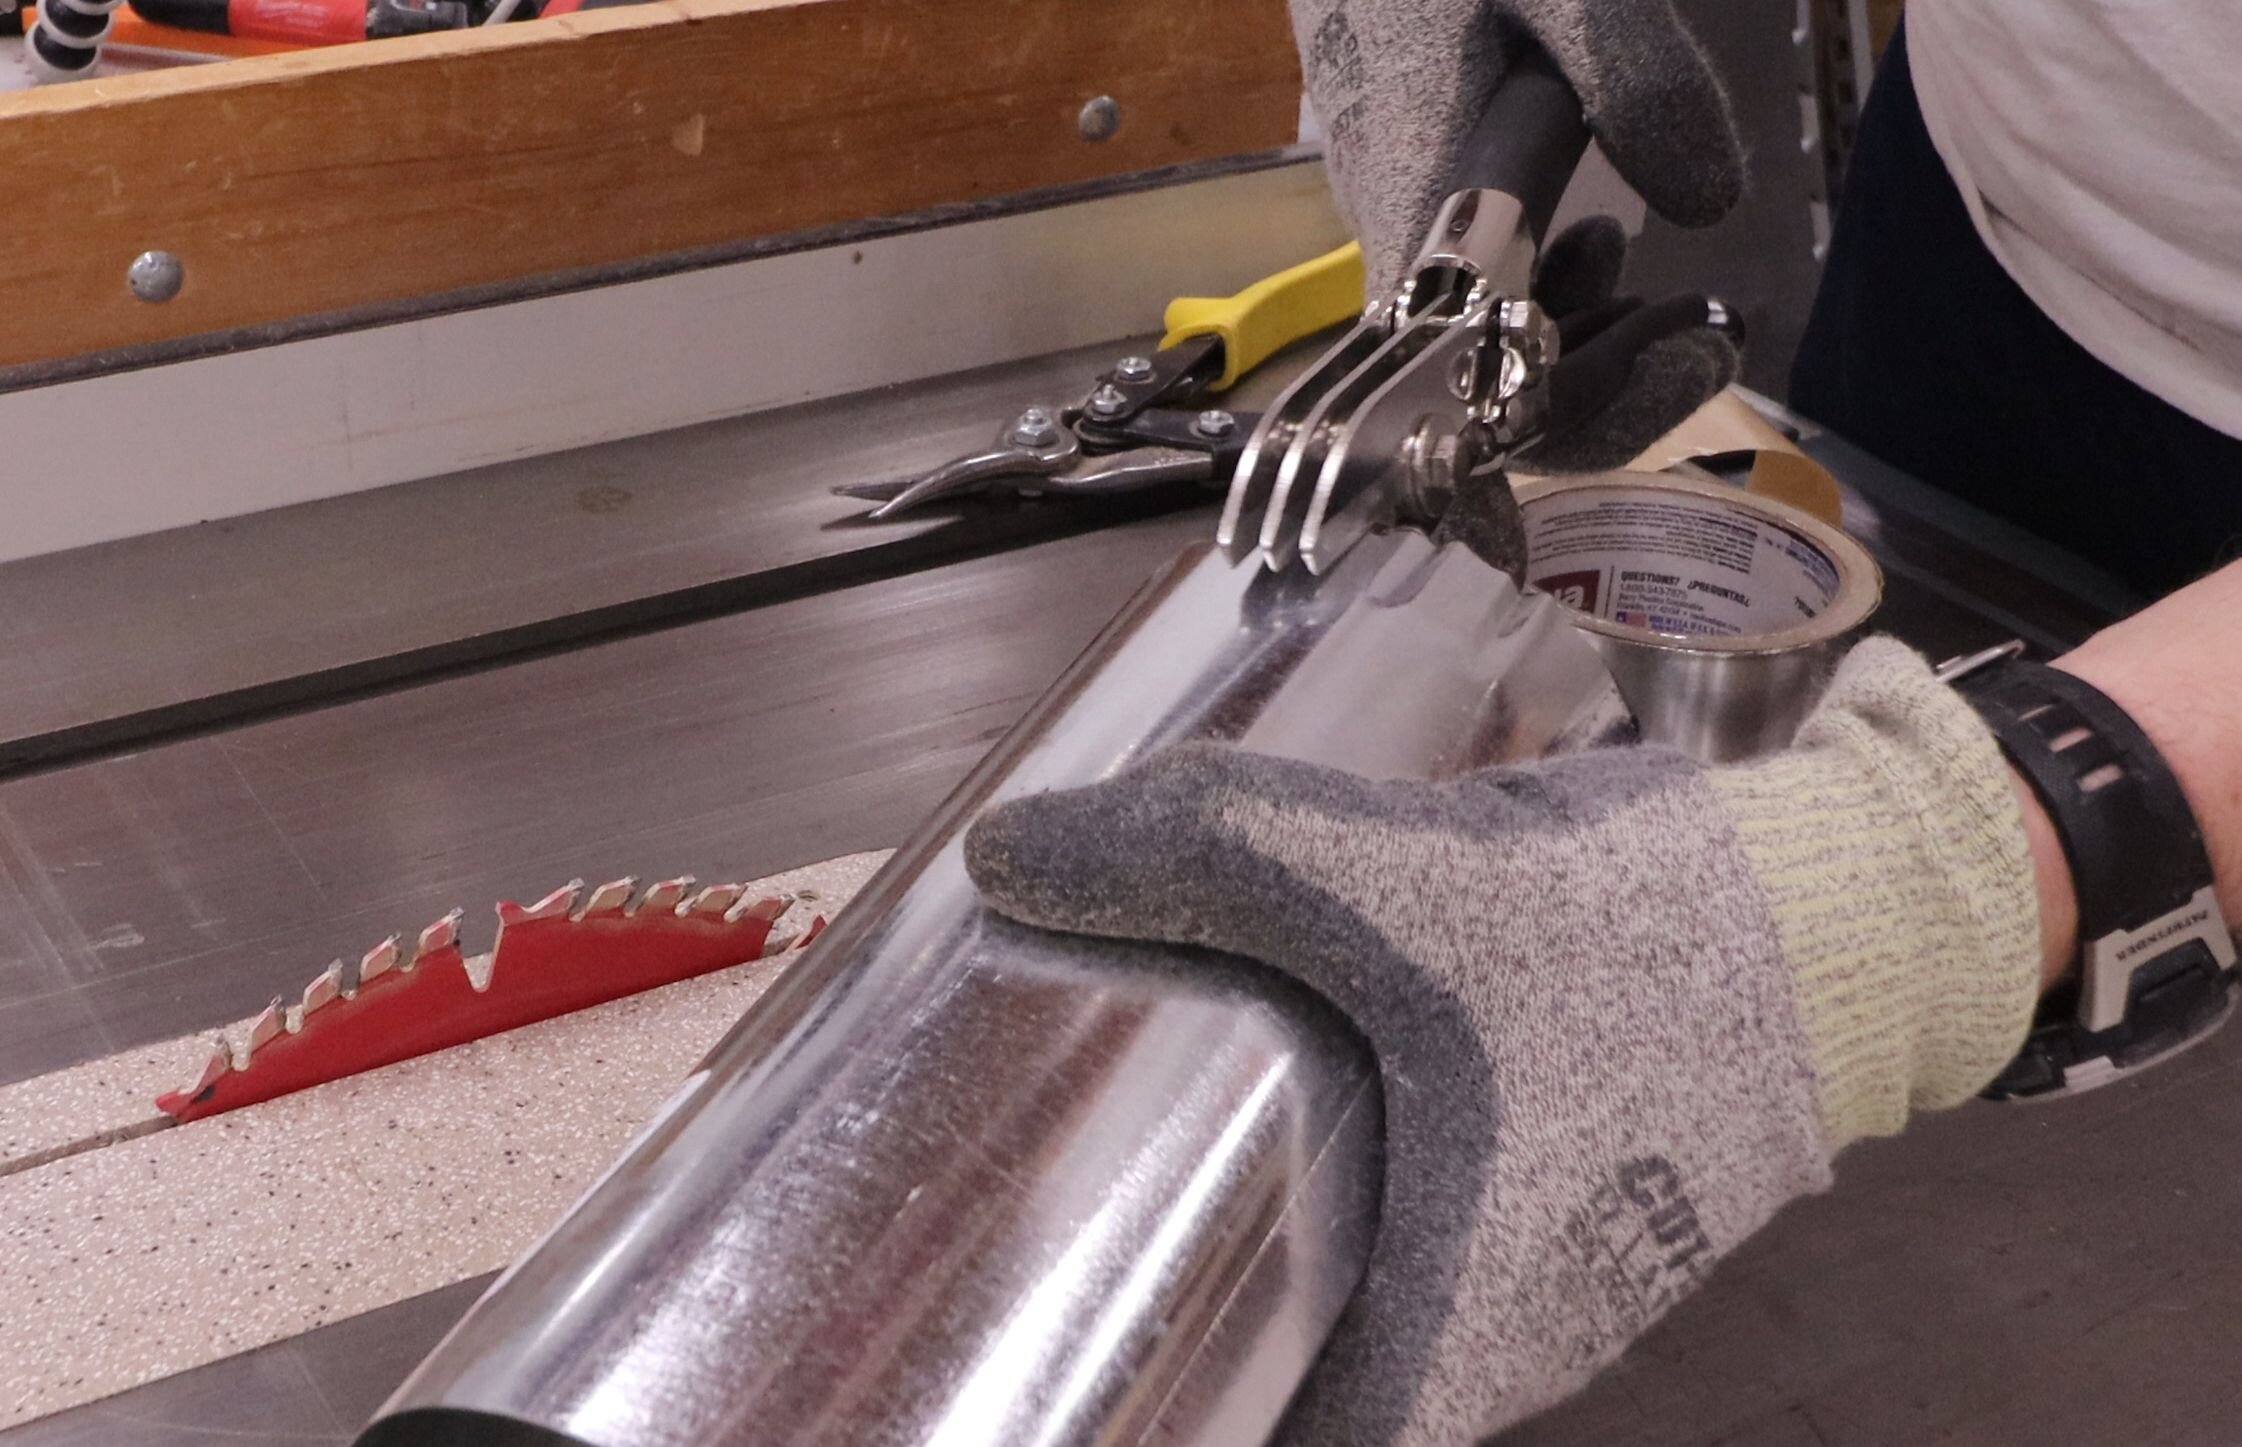
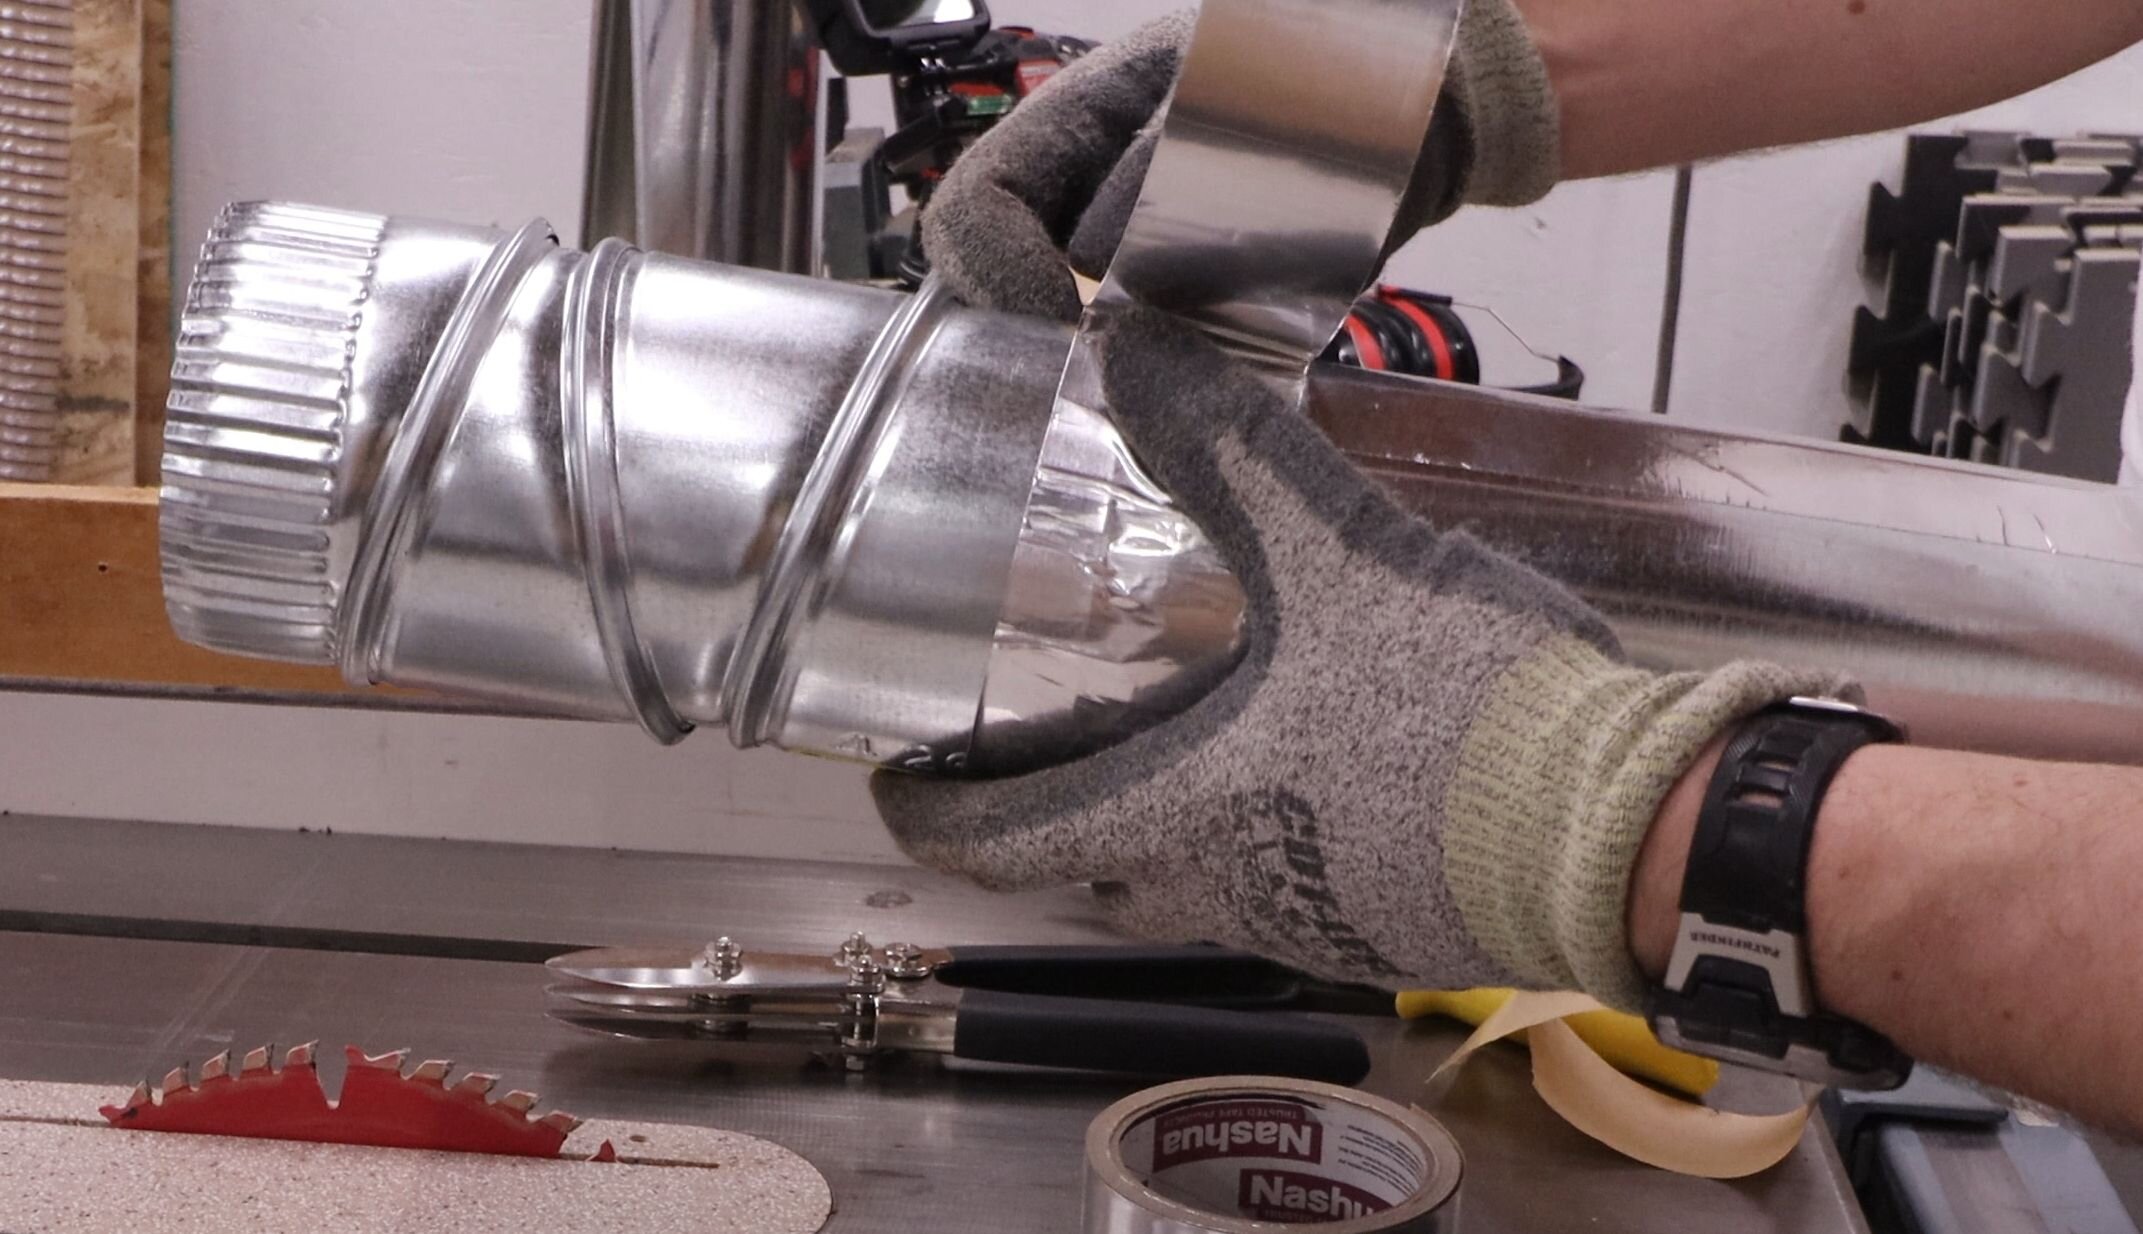
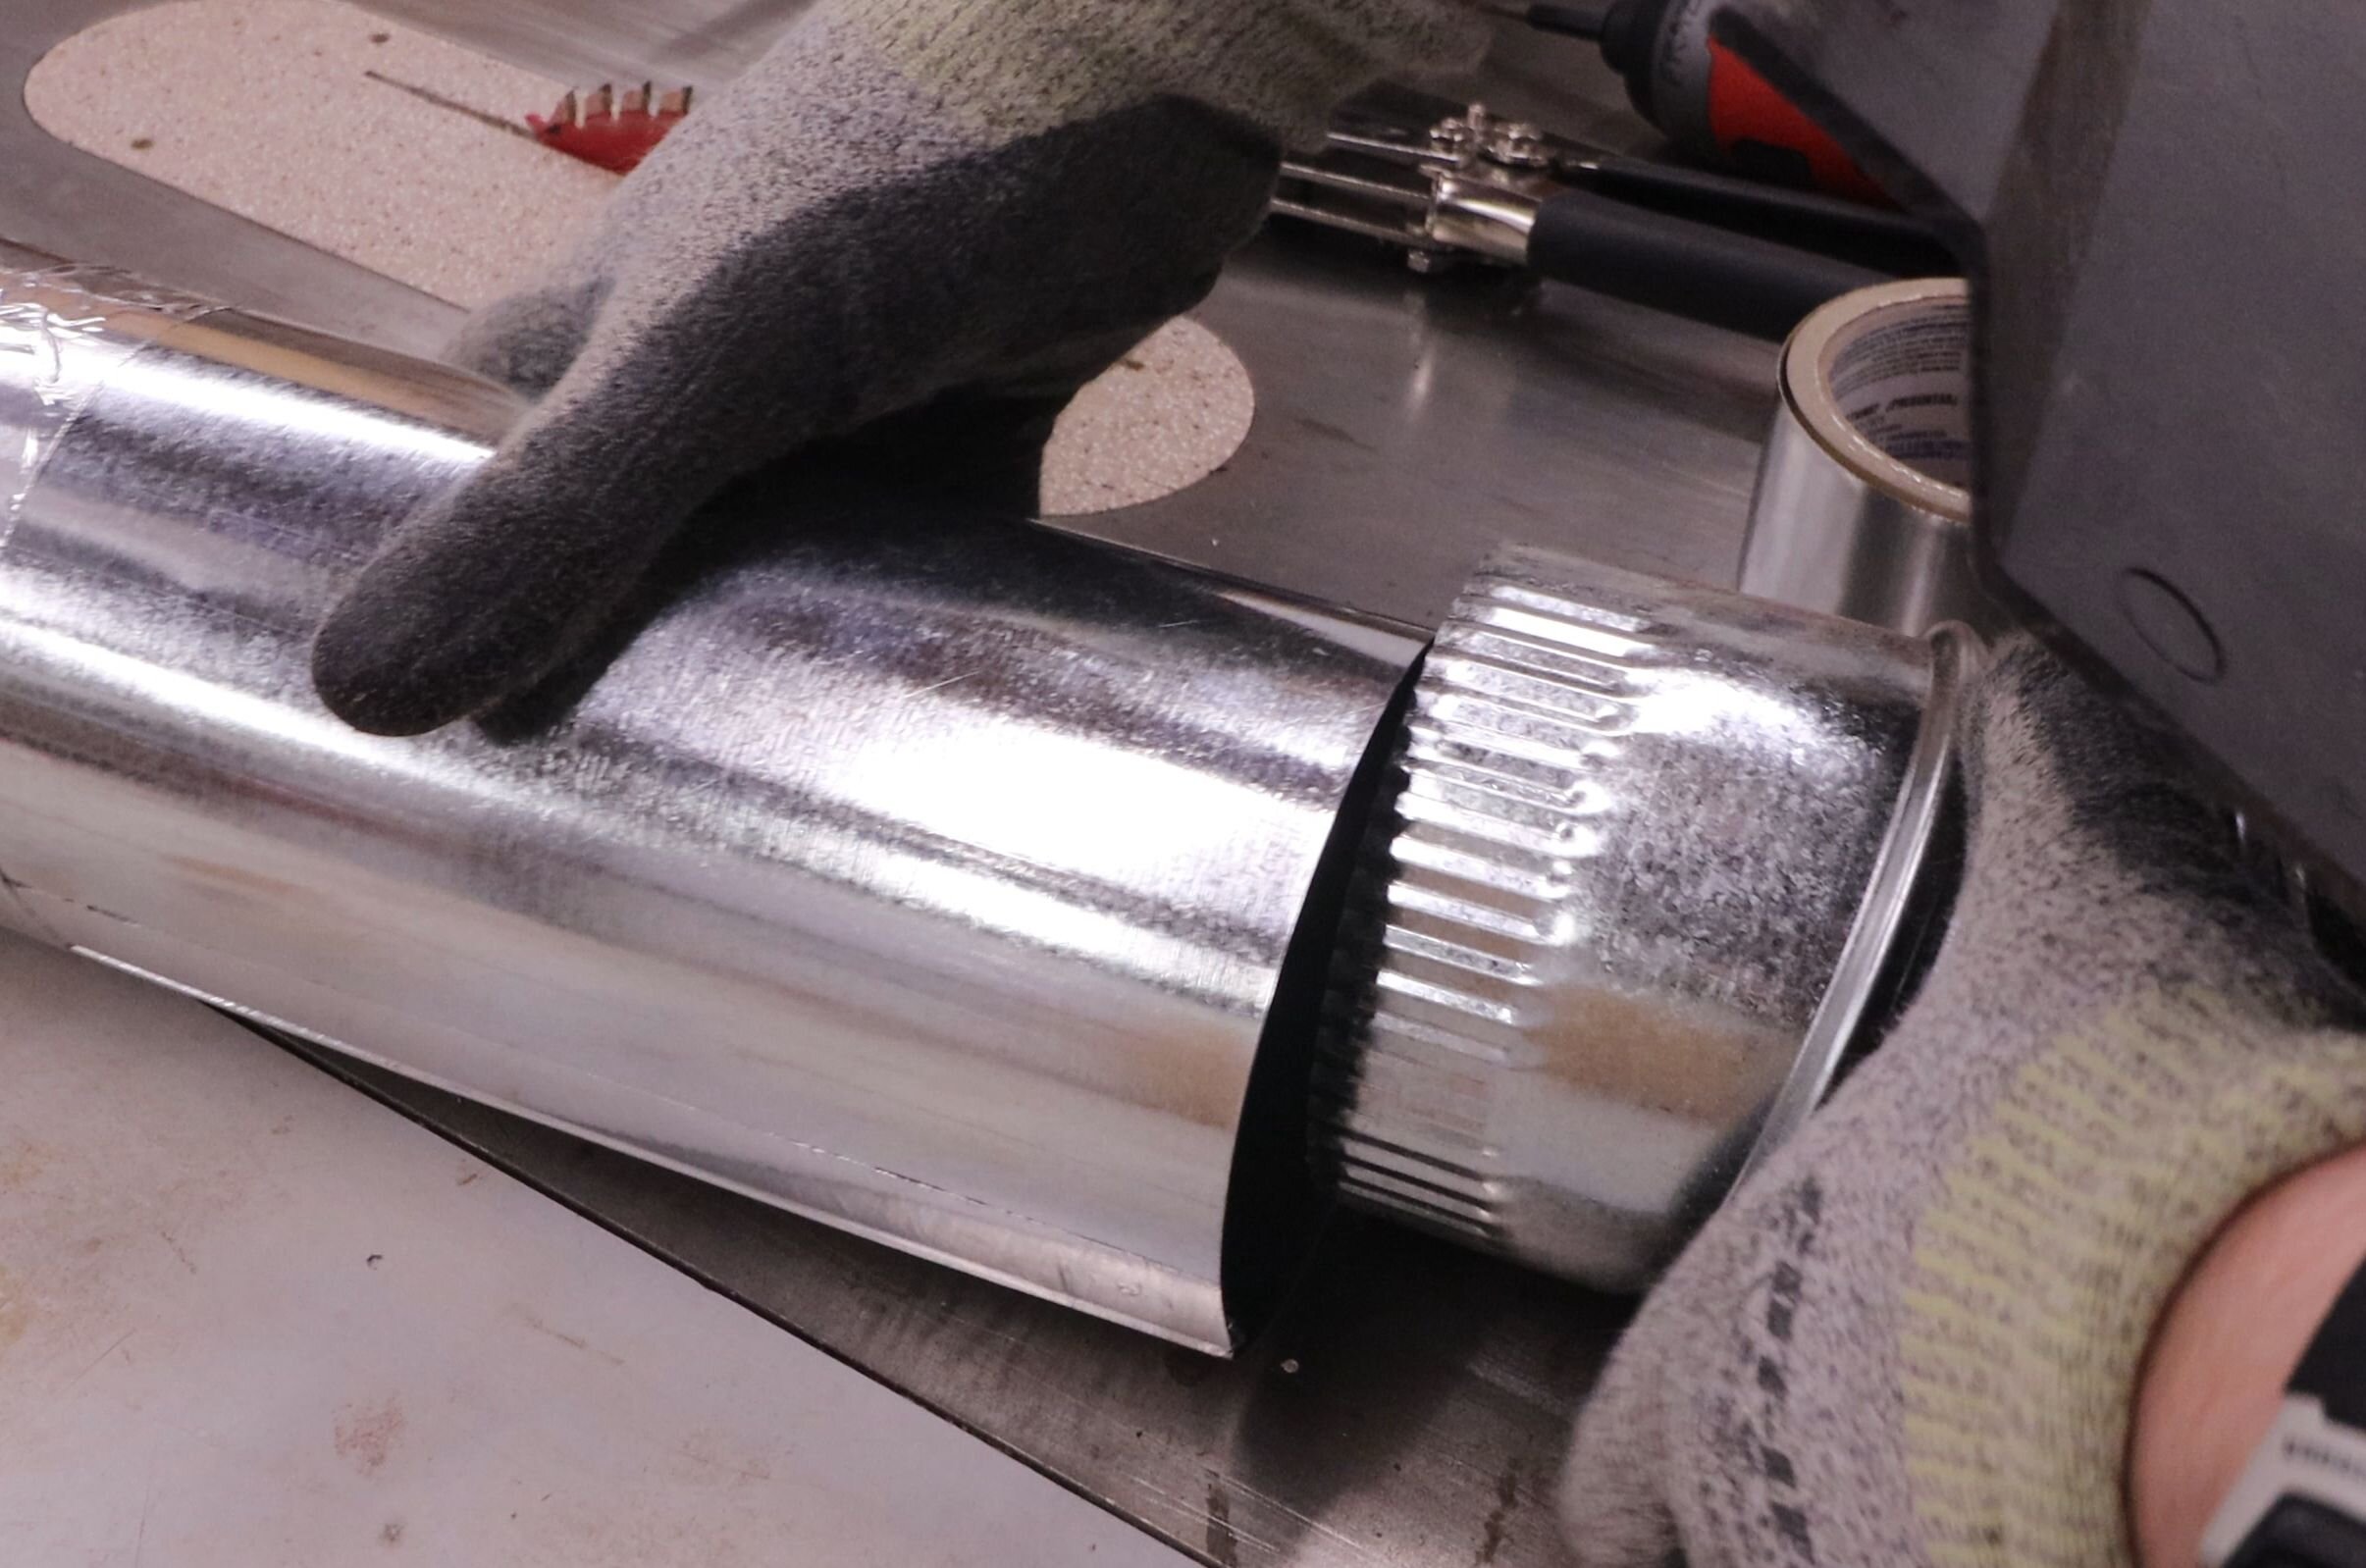
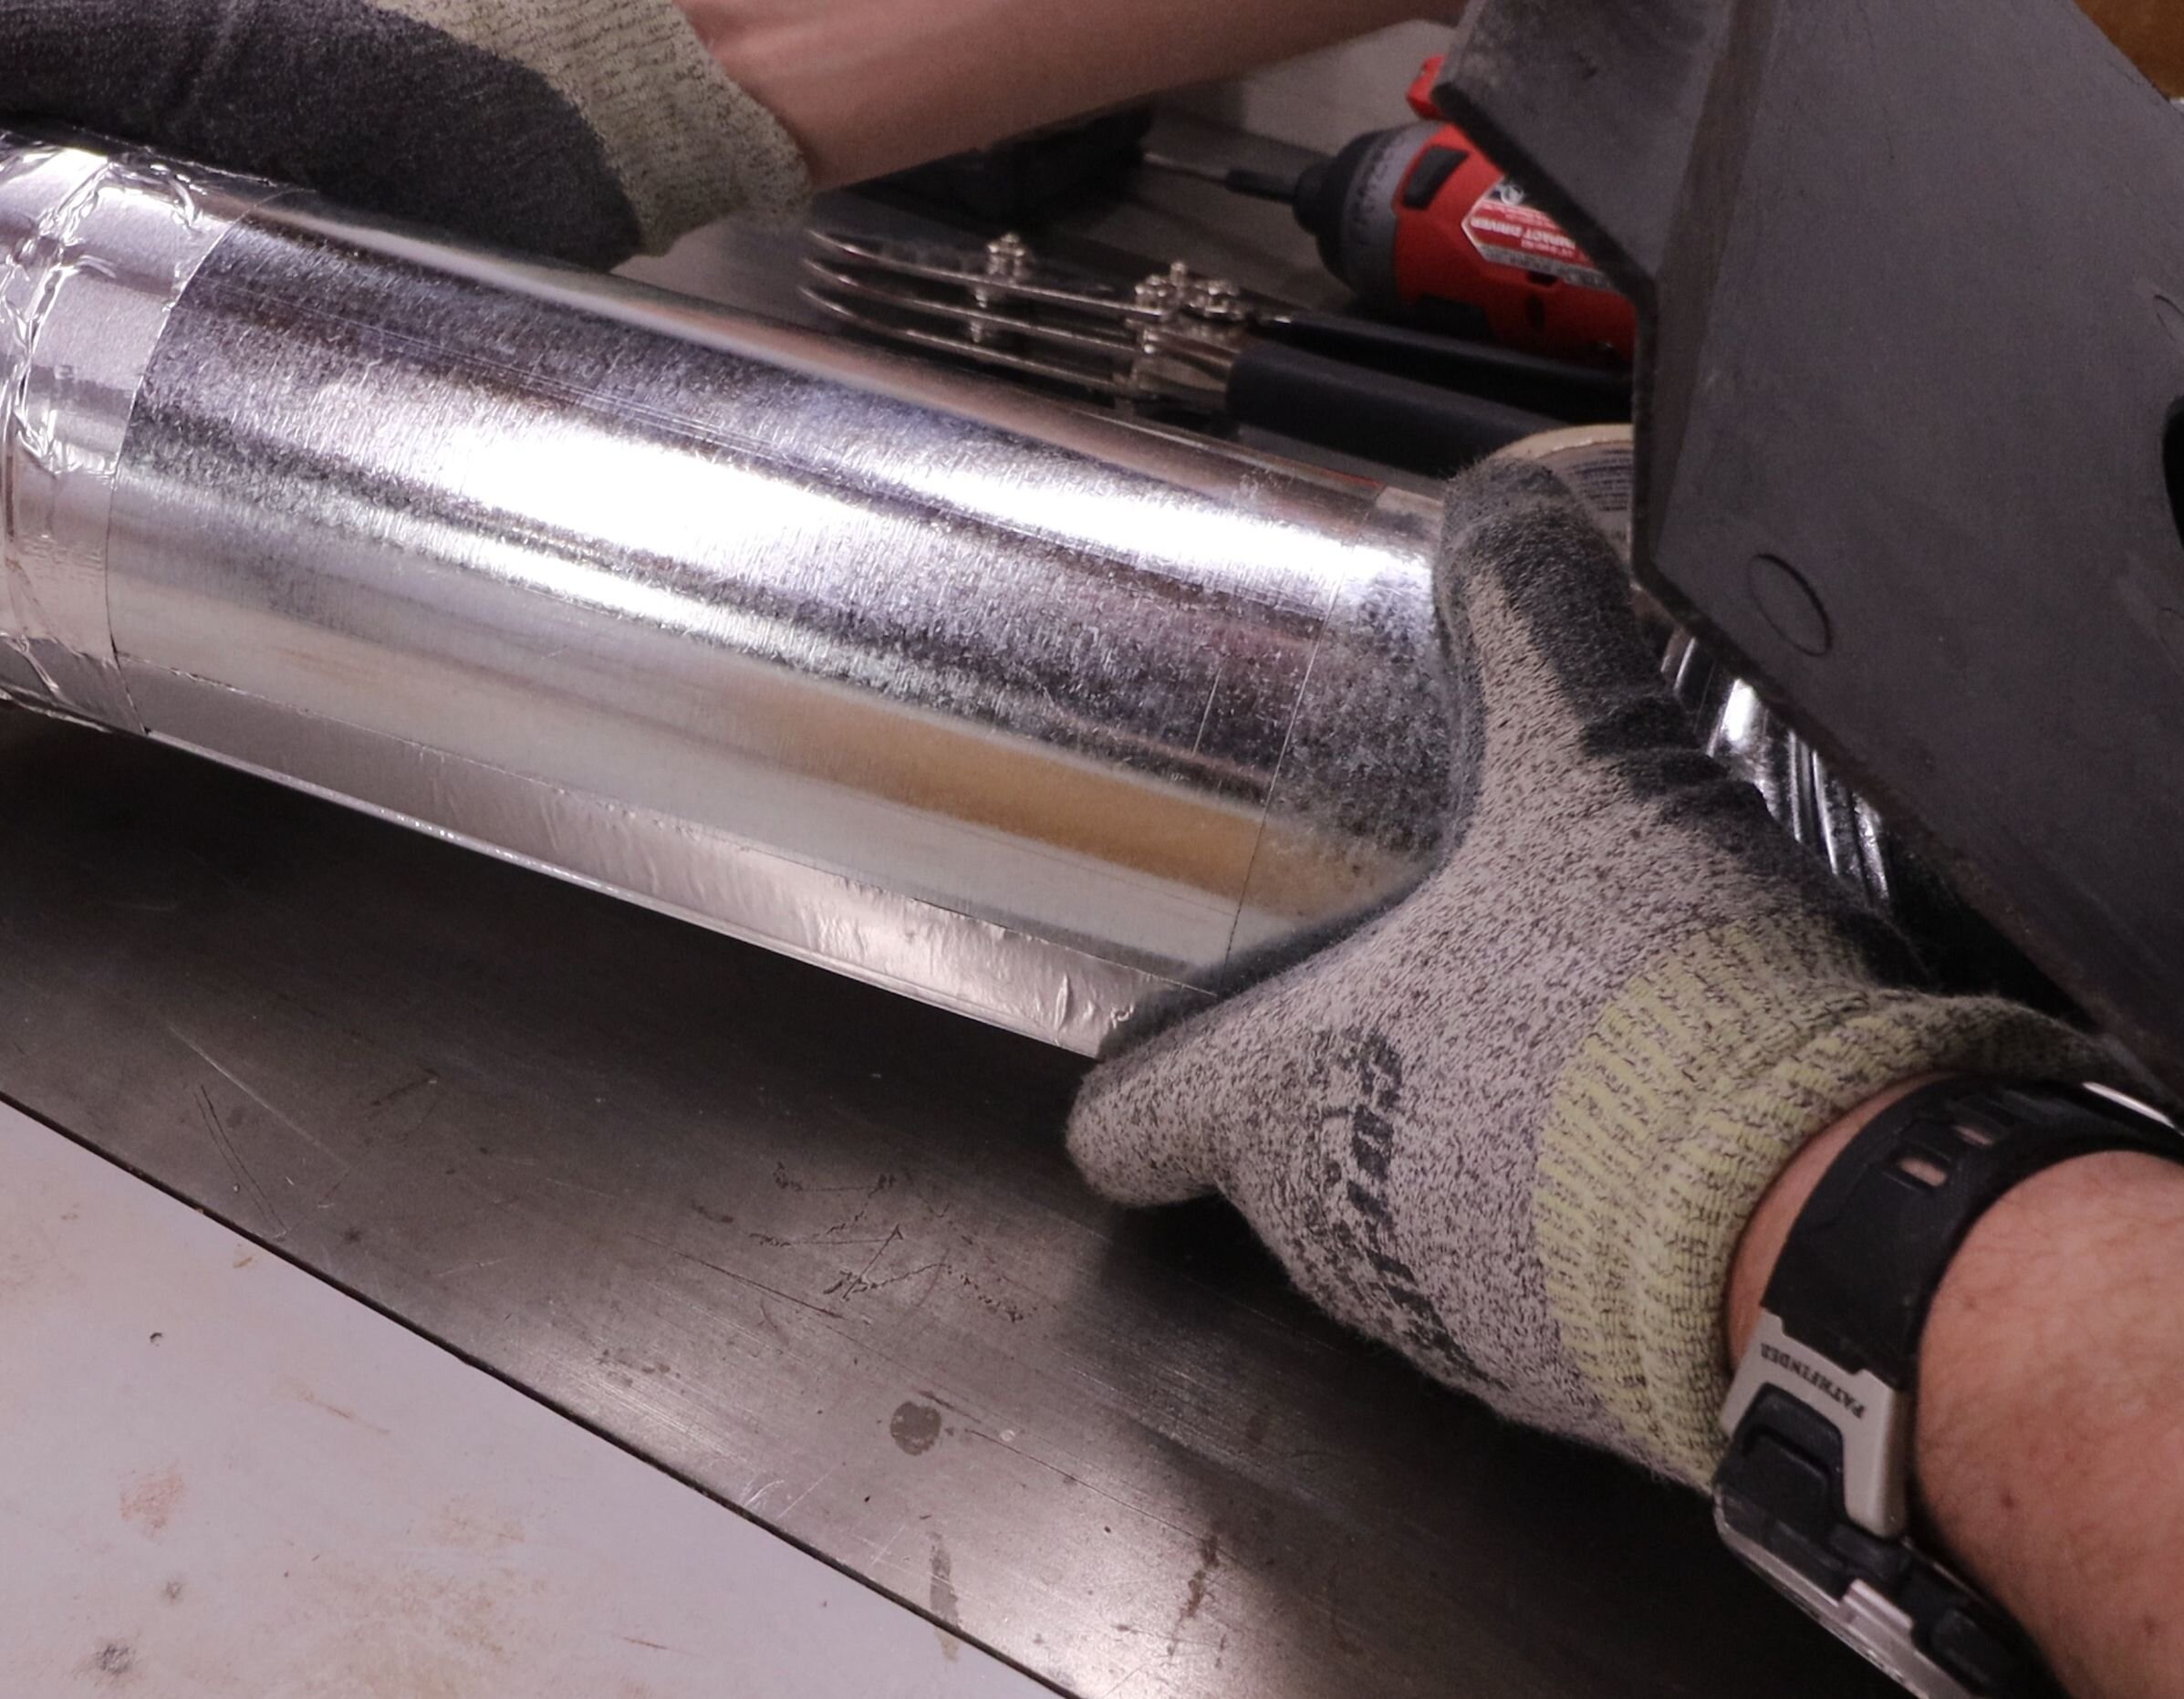
Next I temporarily put together a section of 4” (100 mm) straight duct and inserted it through the hole. The end of the duct sleeved over the elbow at the bottom of the hood. I then marked the length of this piece with a marker and cut it using snips.
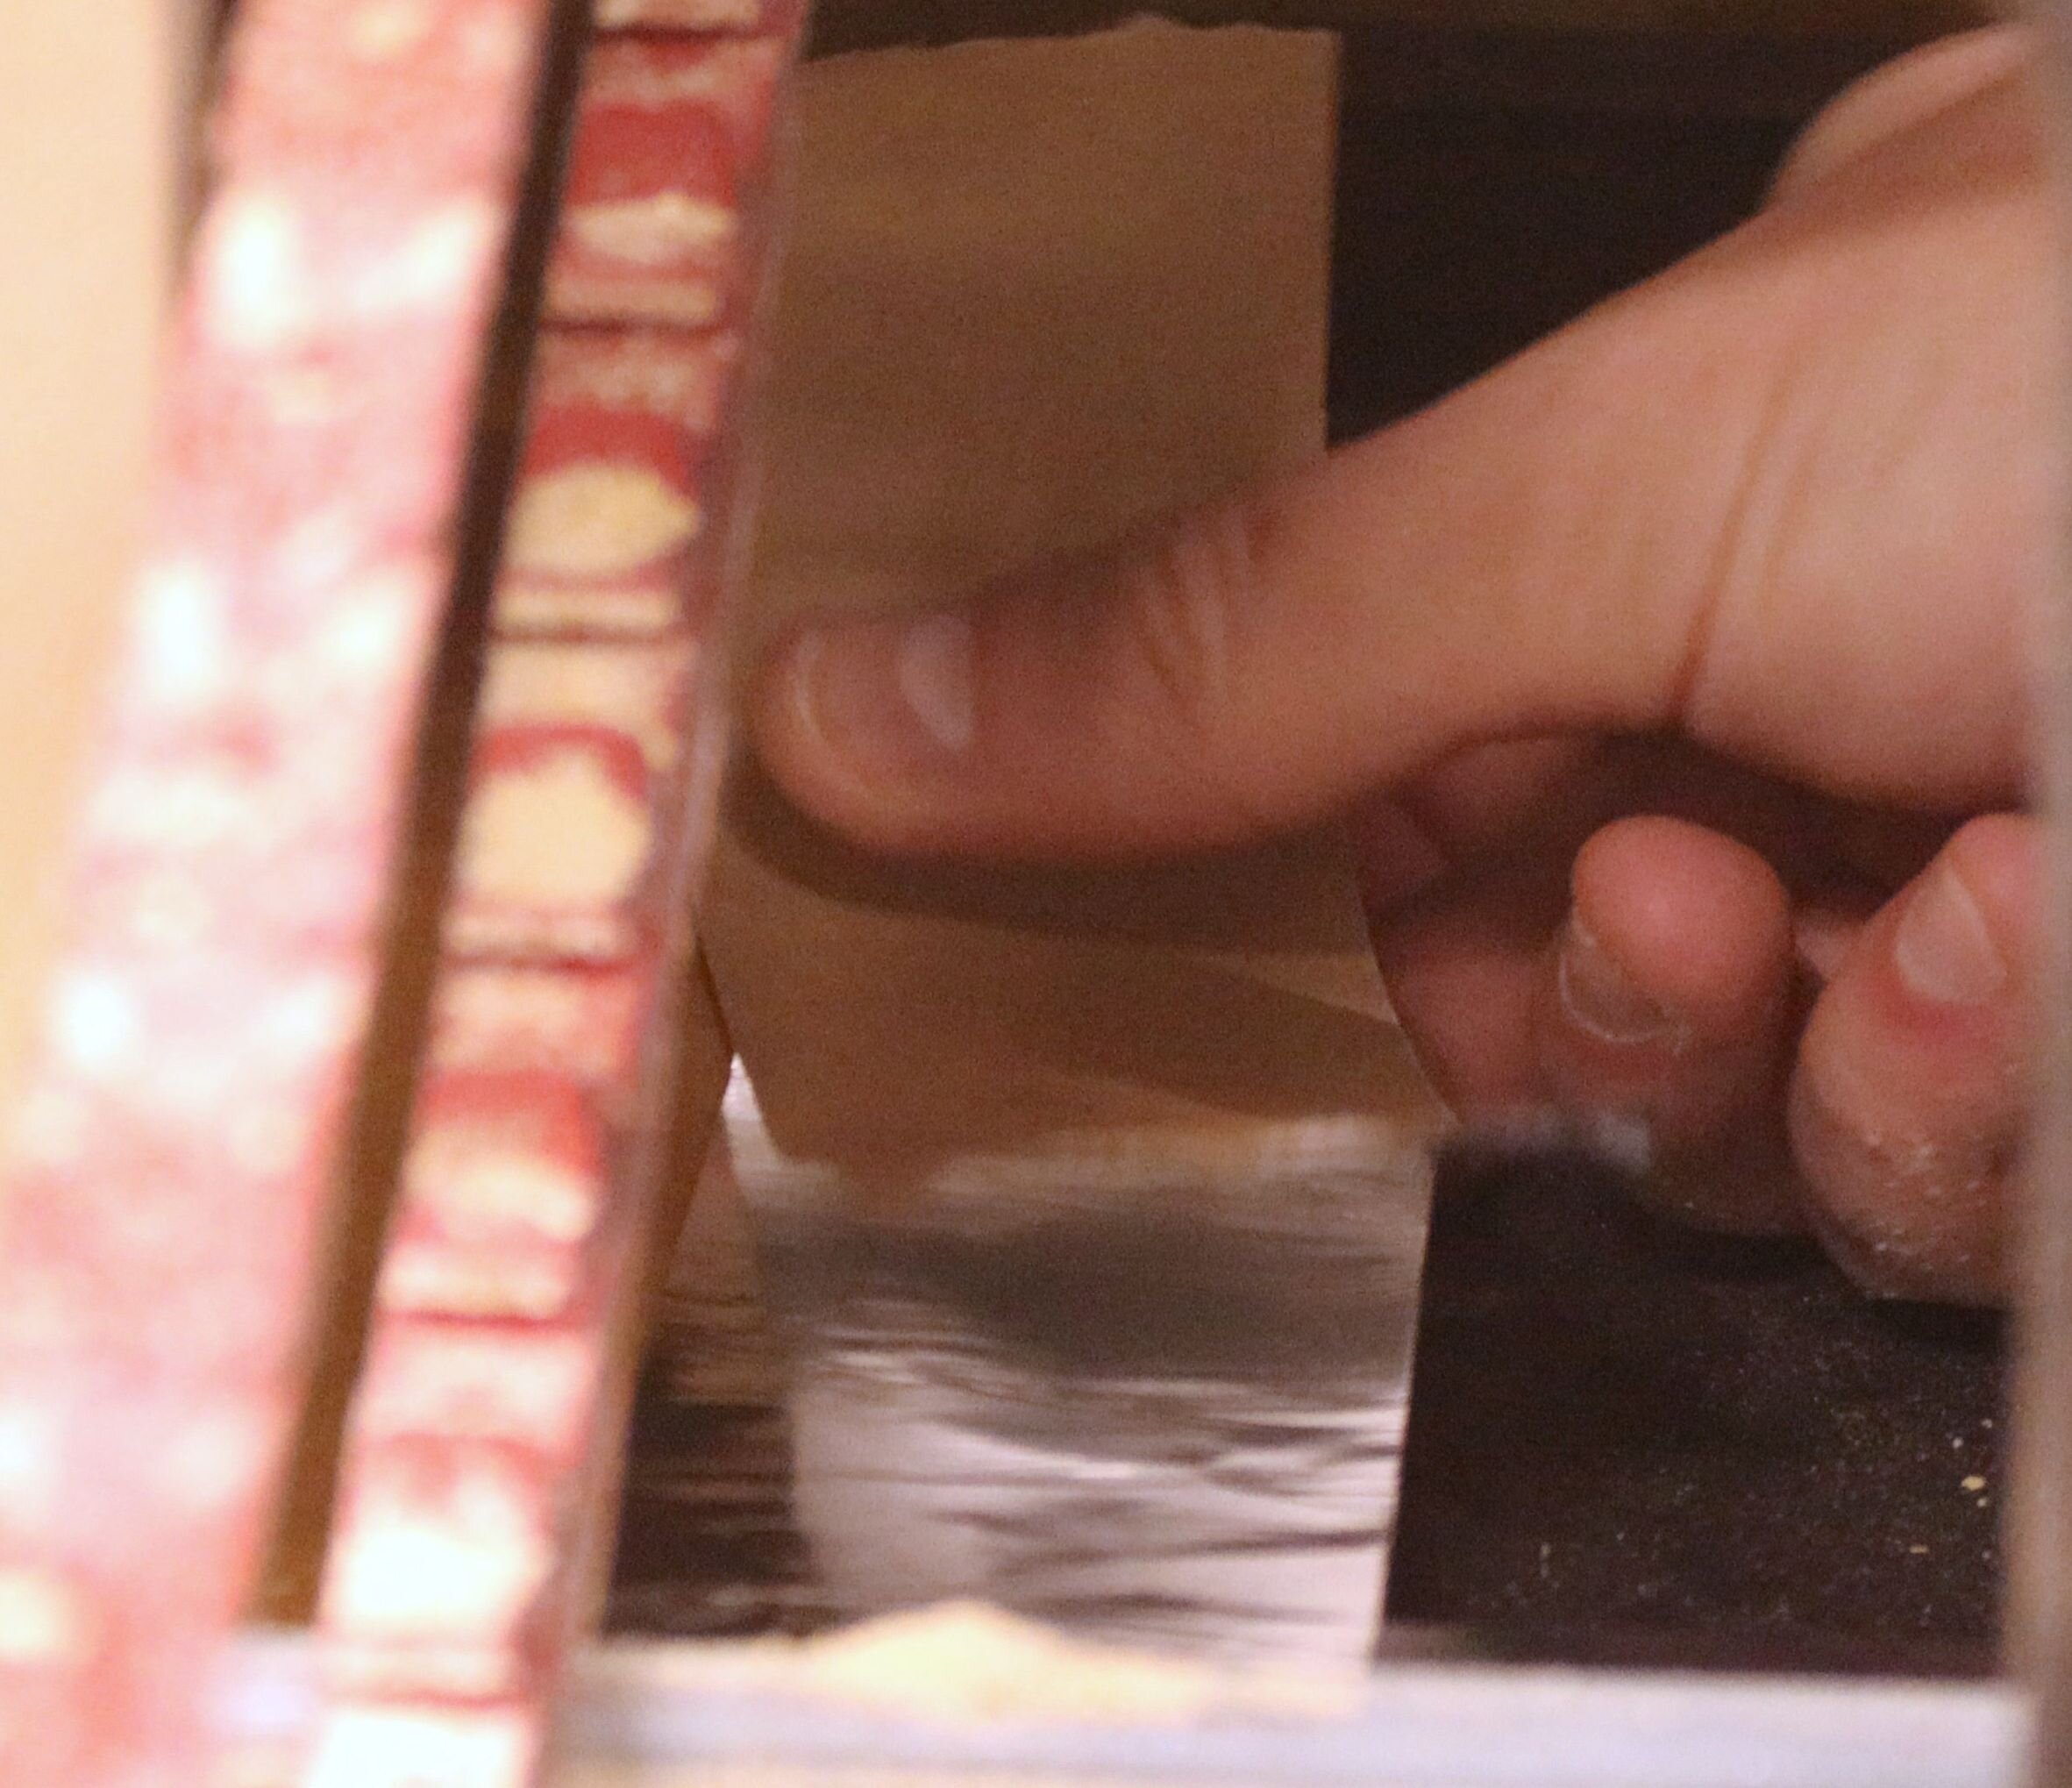
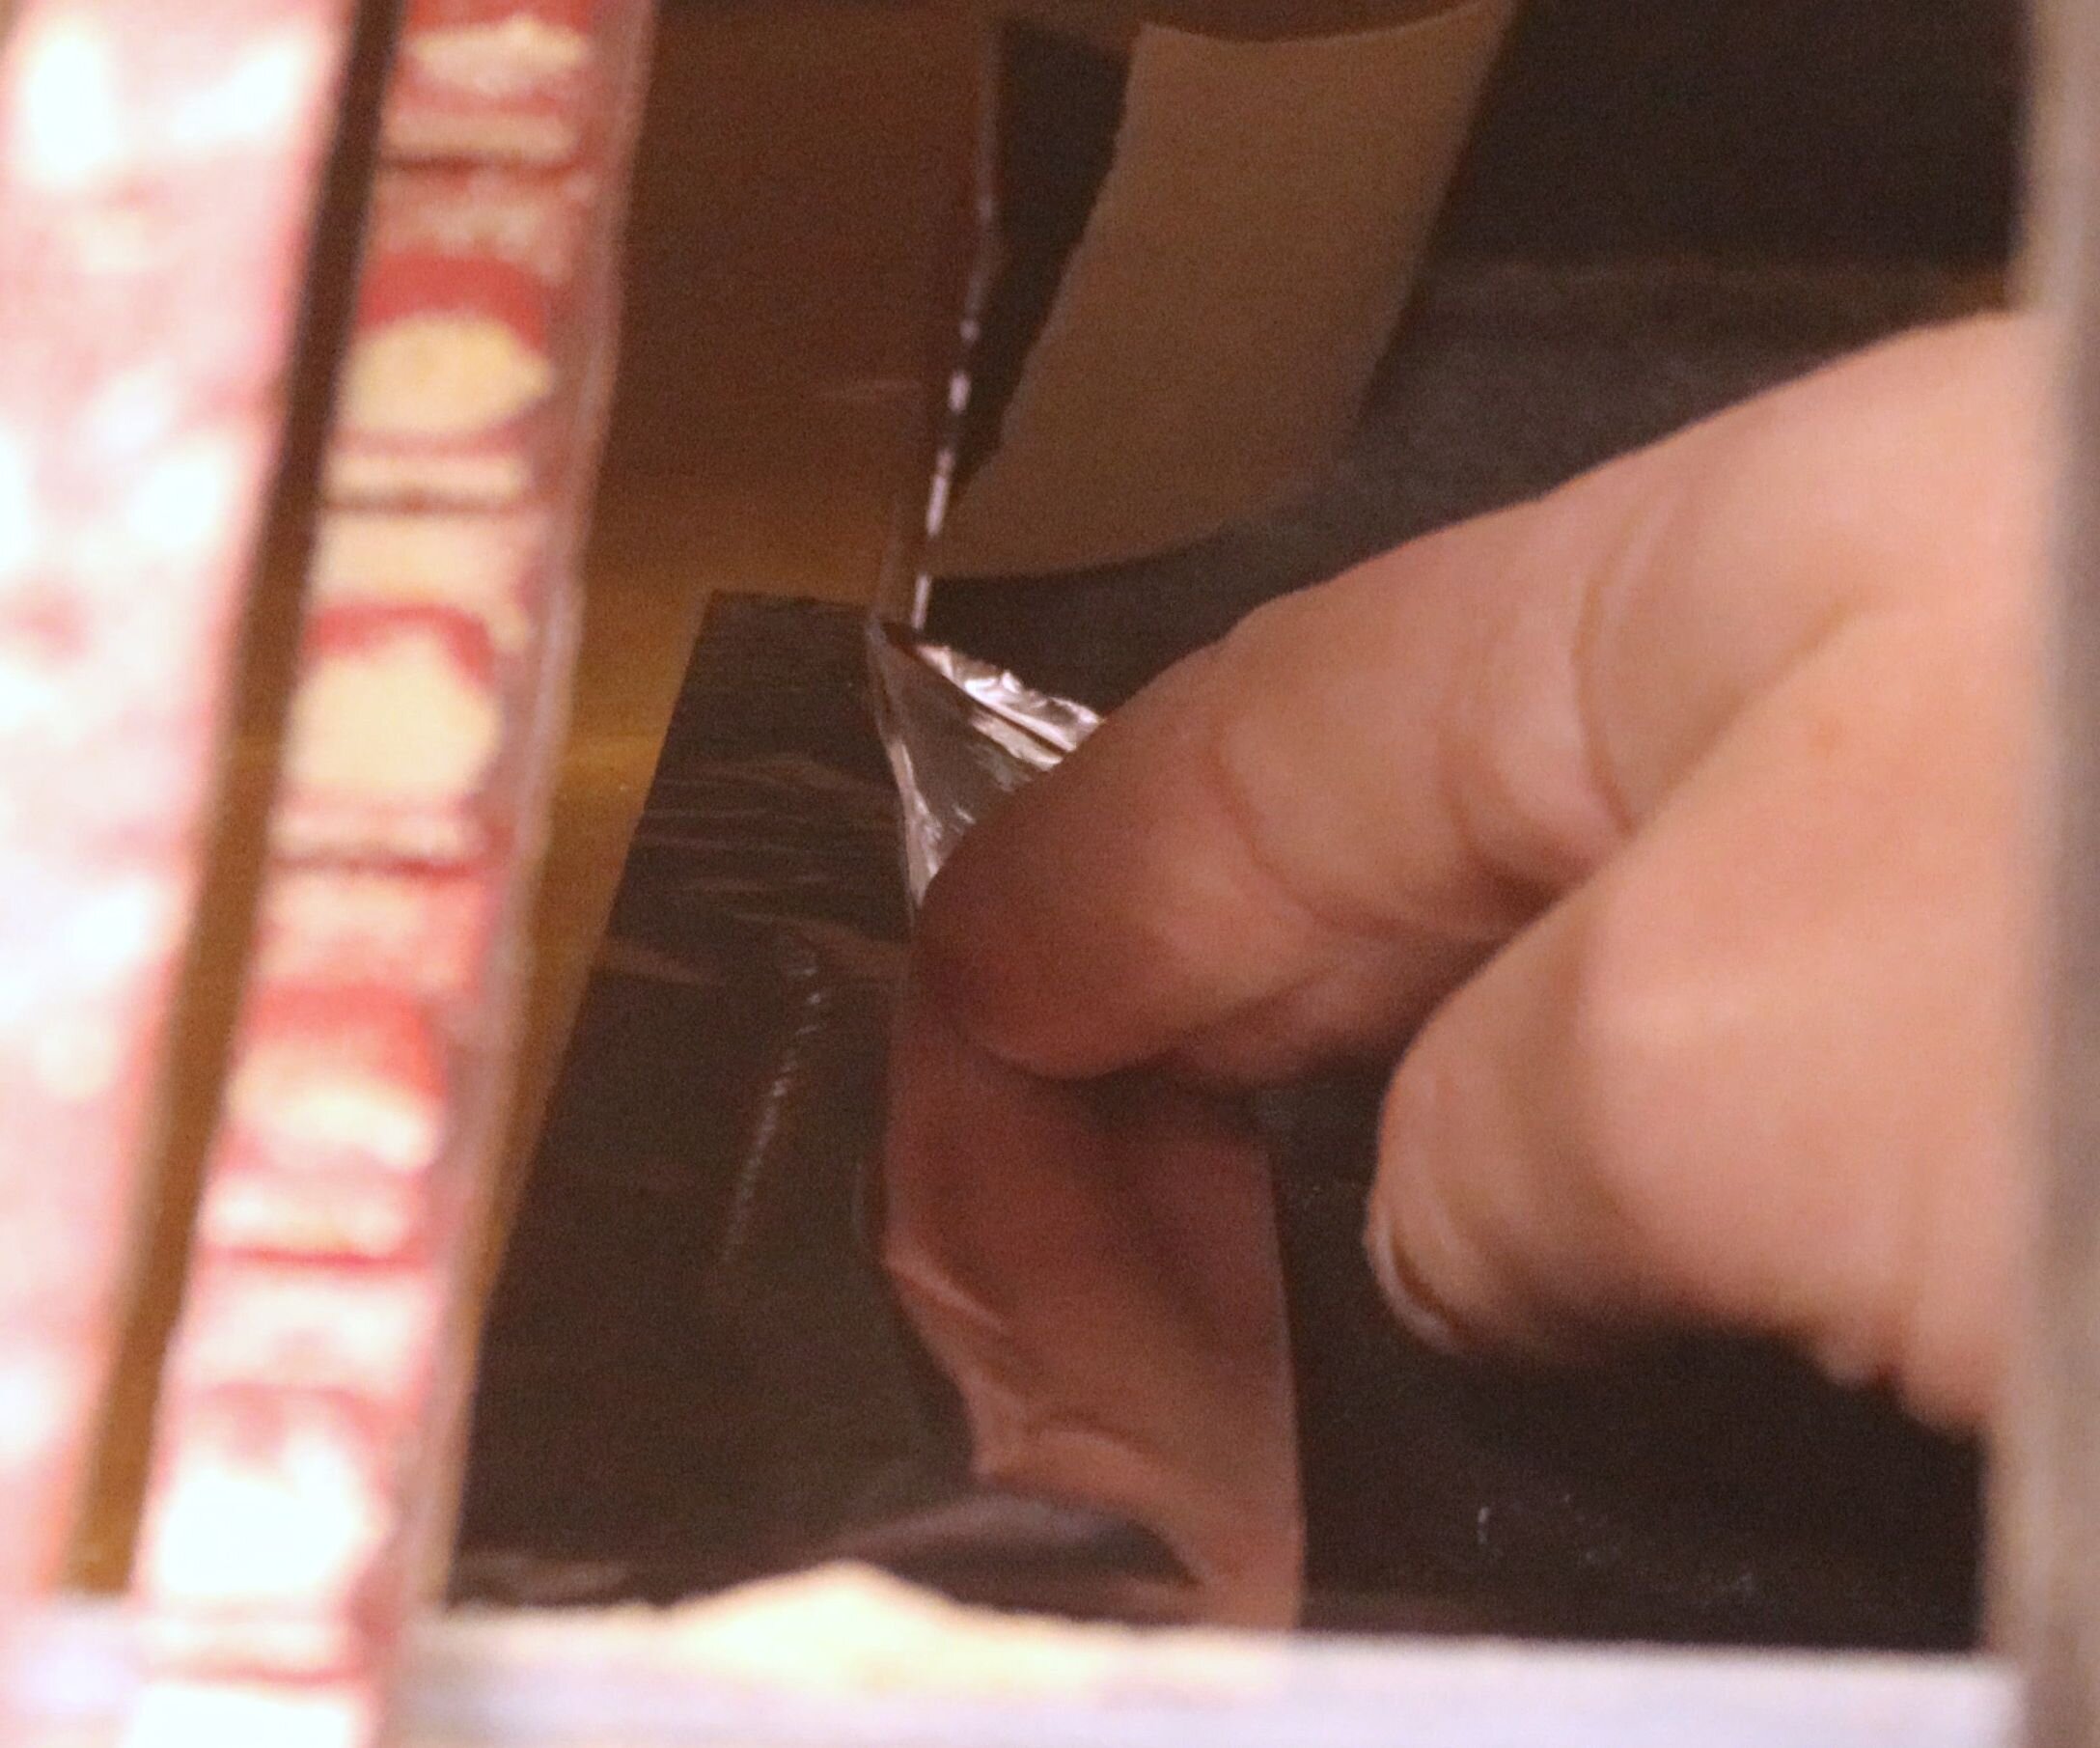
With the duct cut, I closed it up and taped the seam with duct tape.
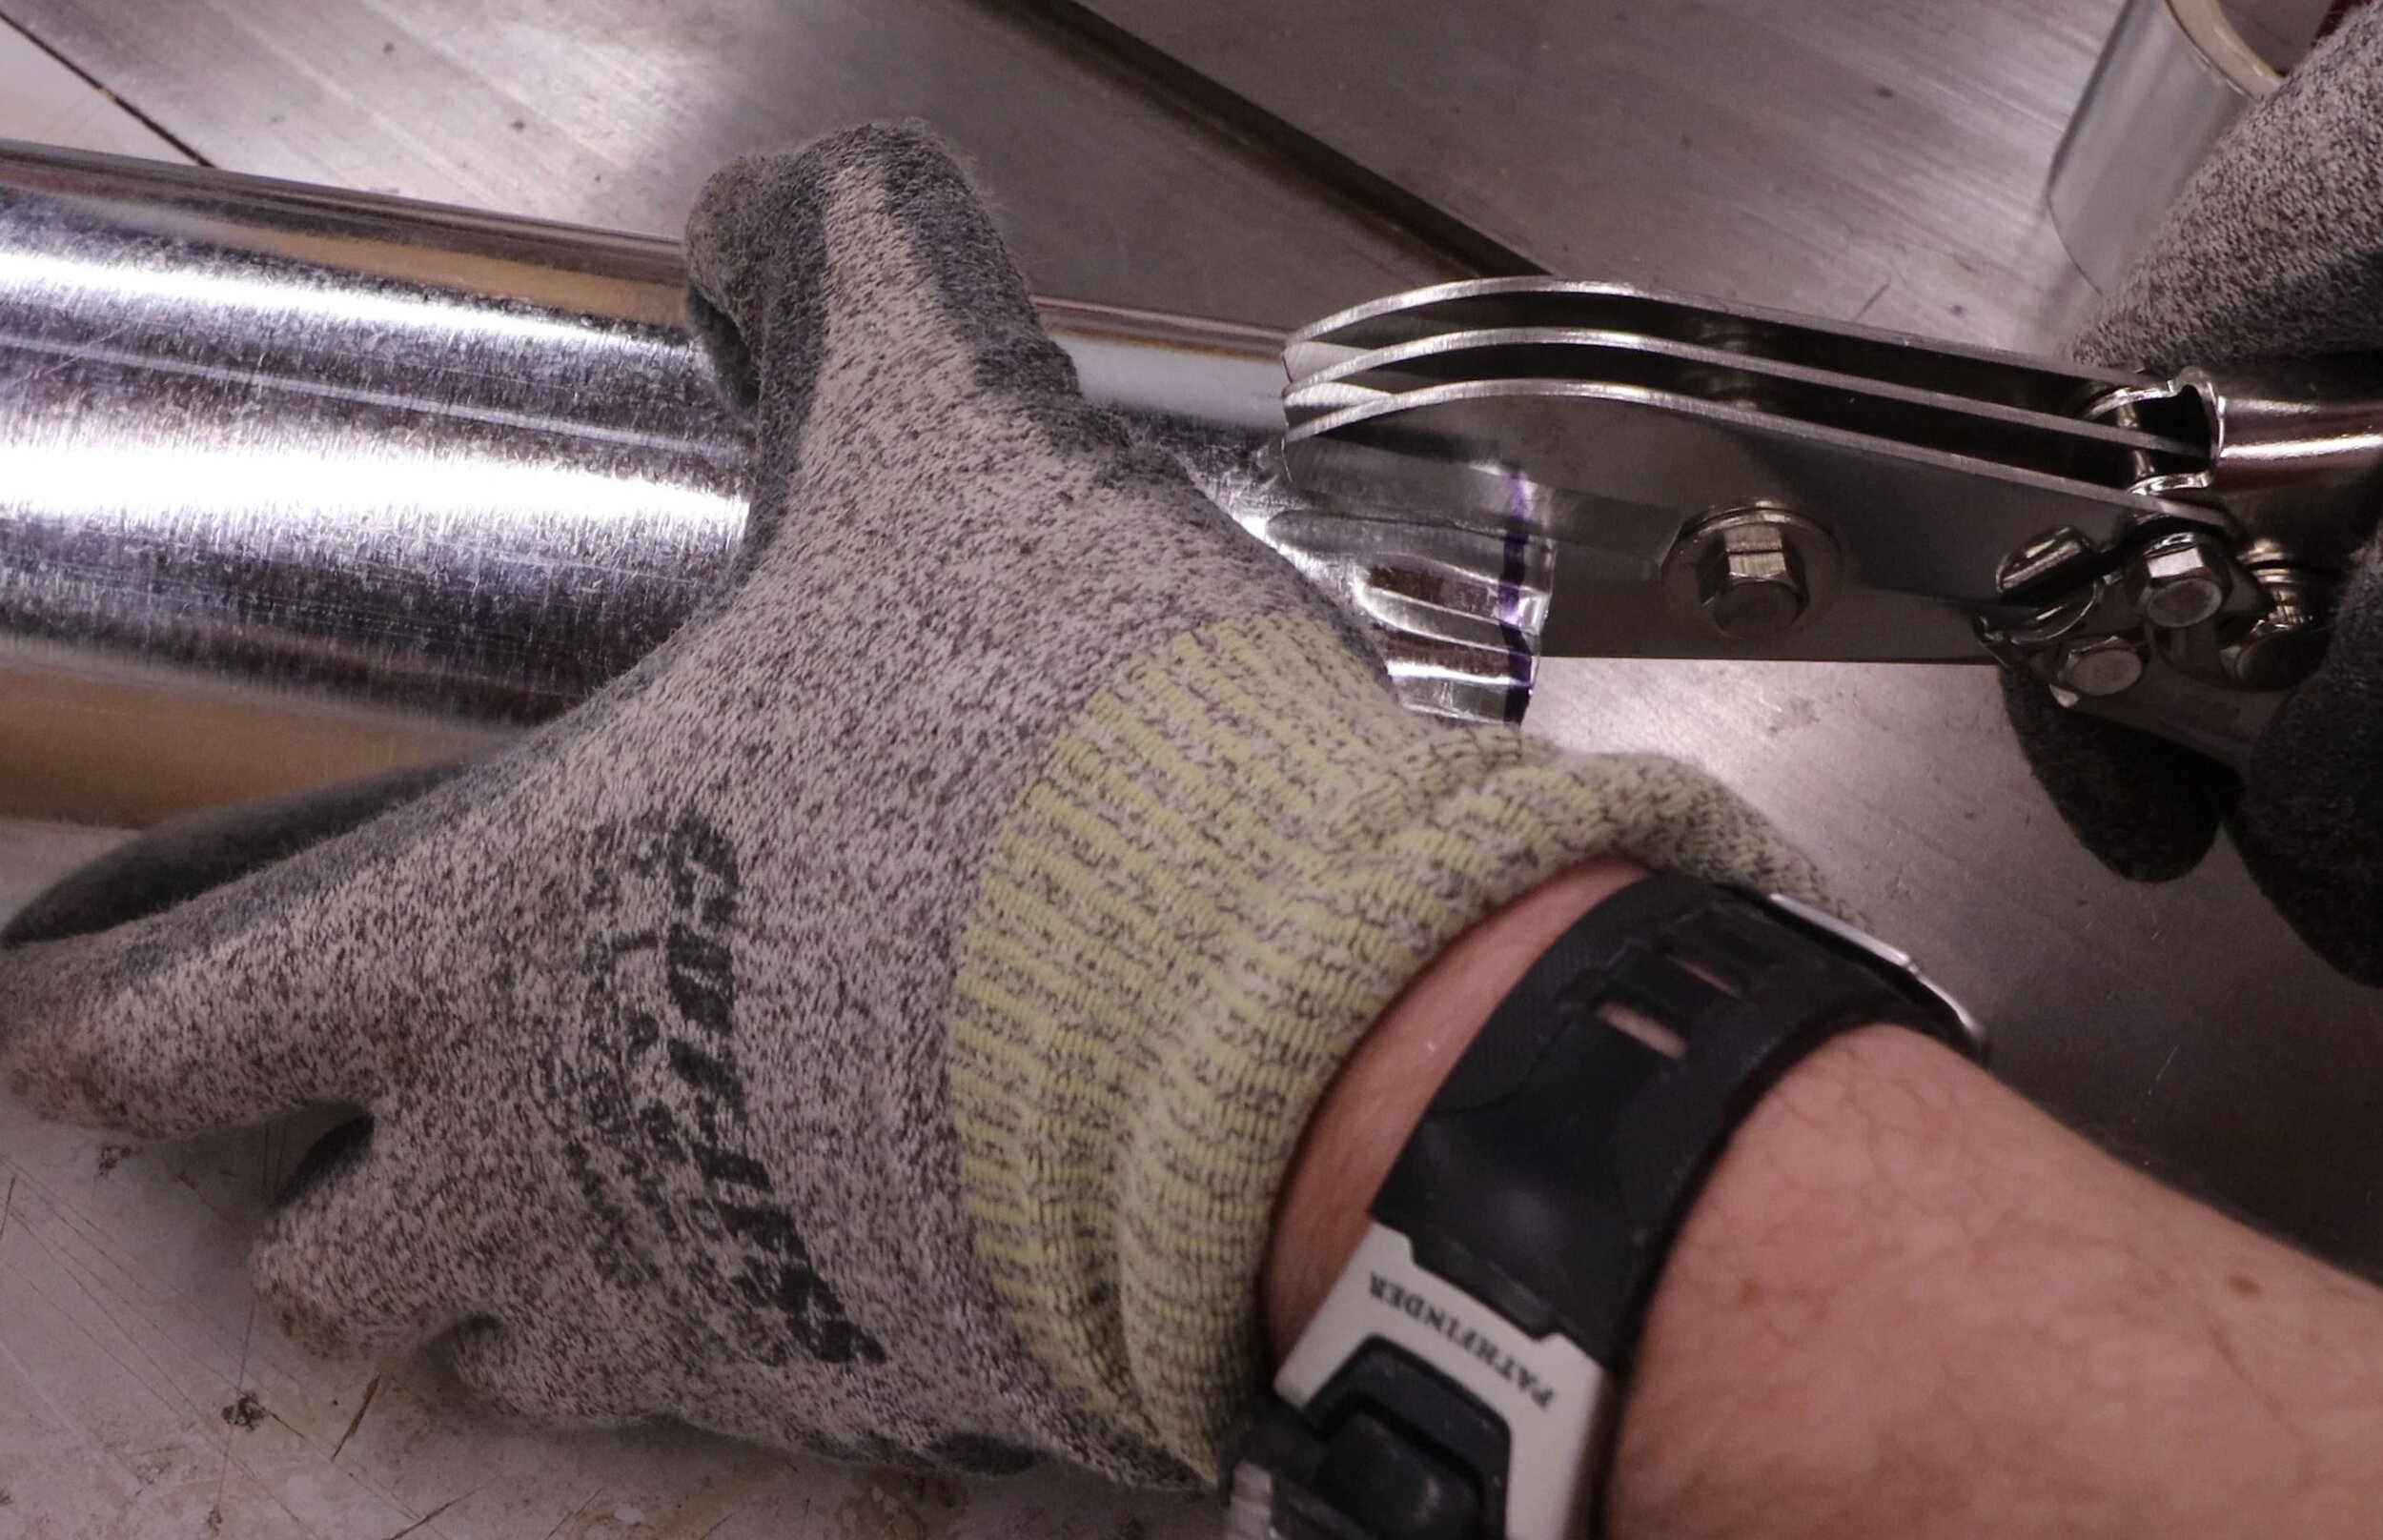
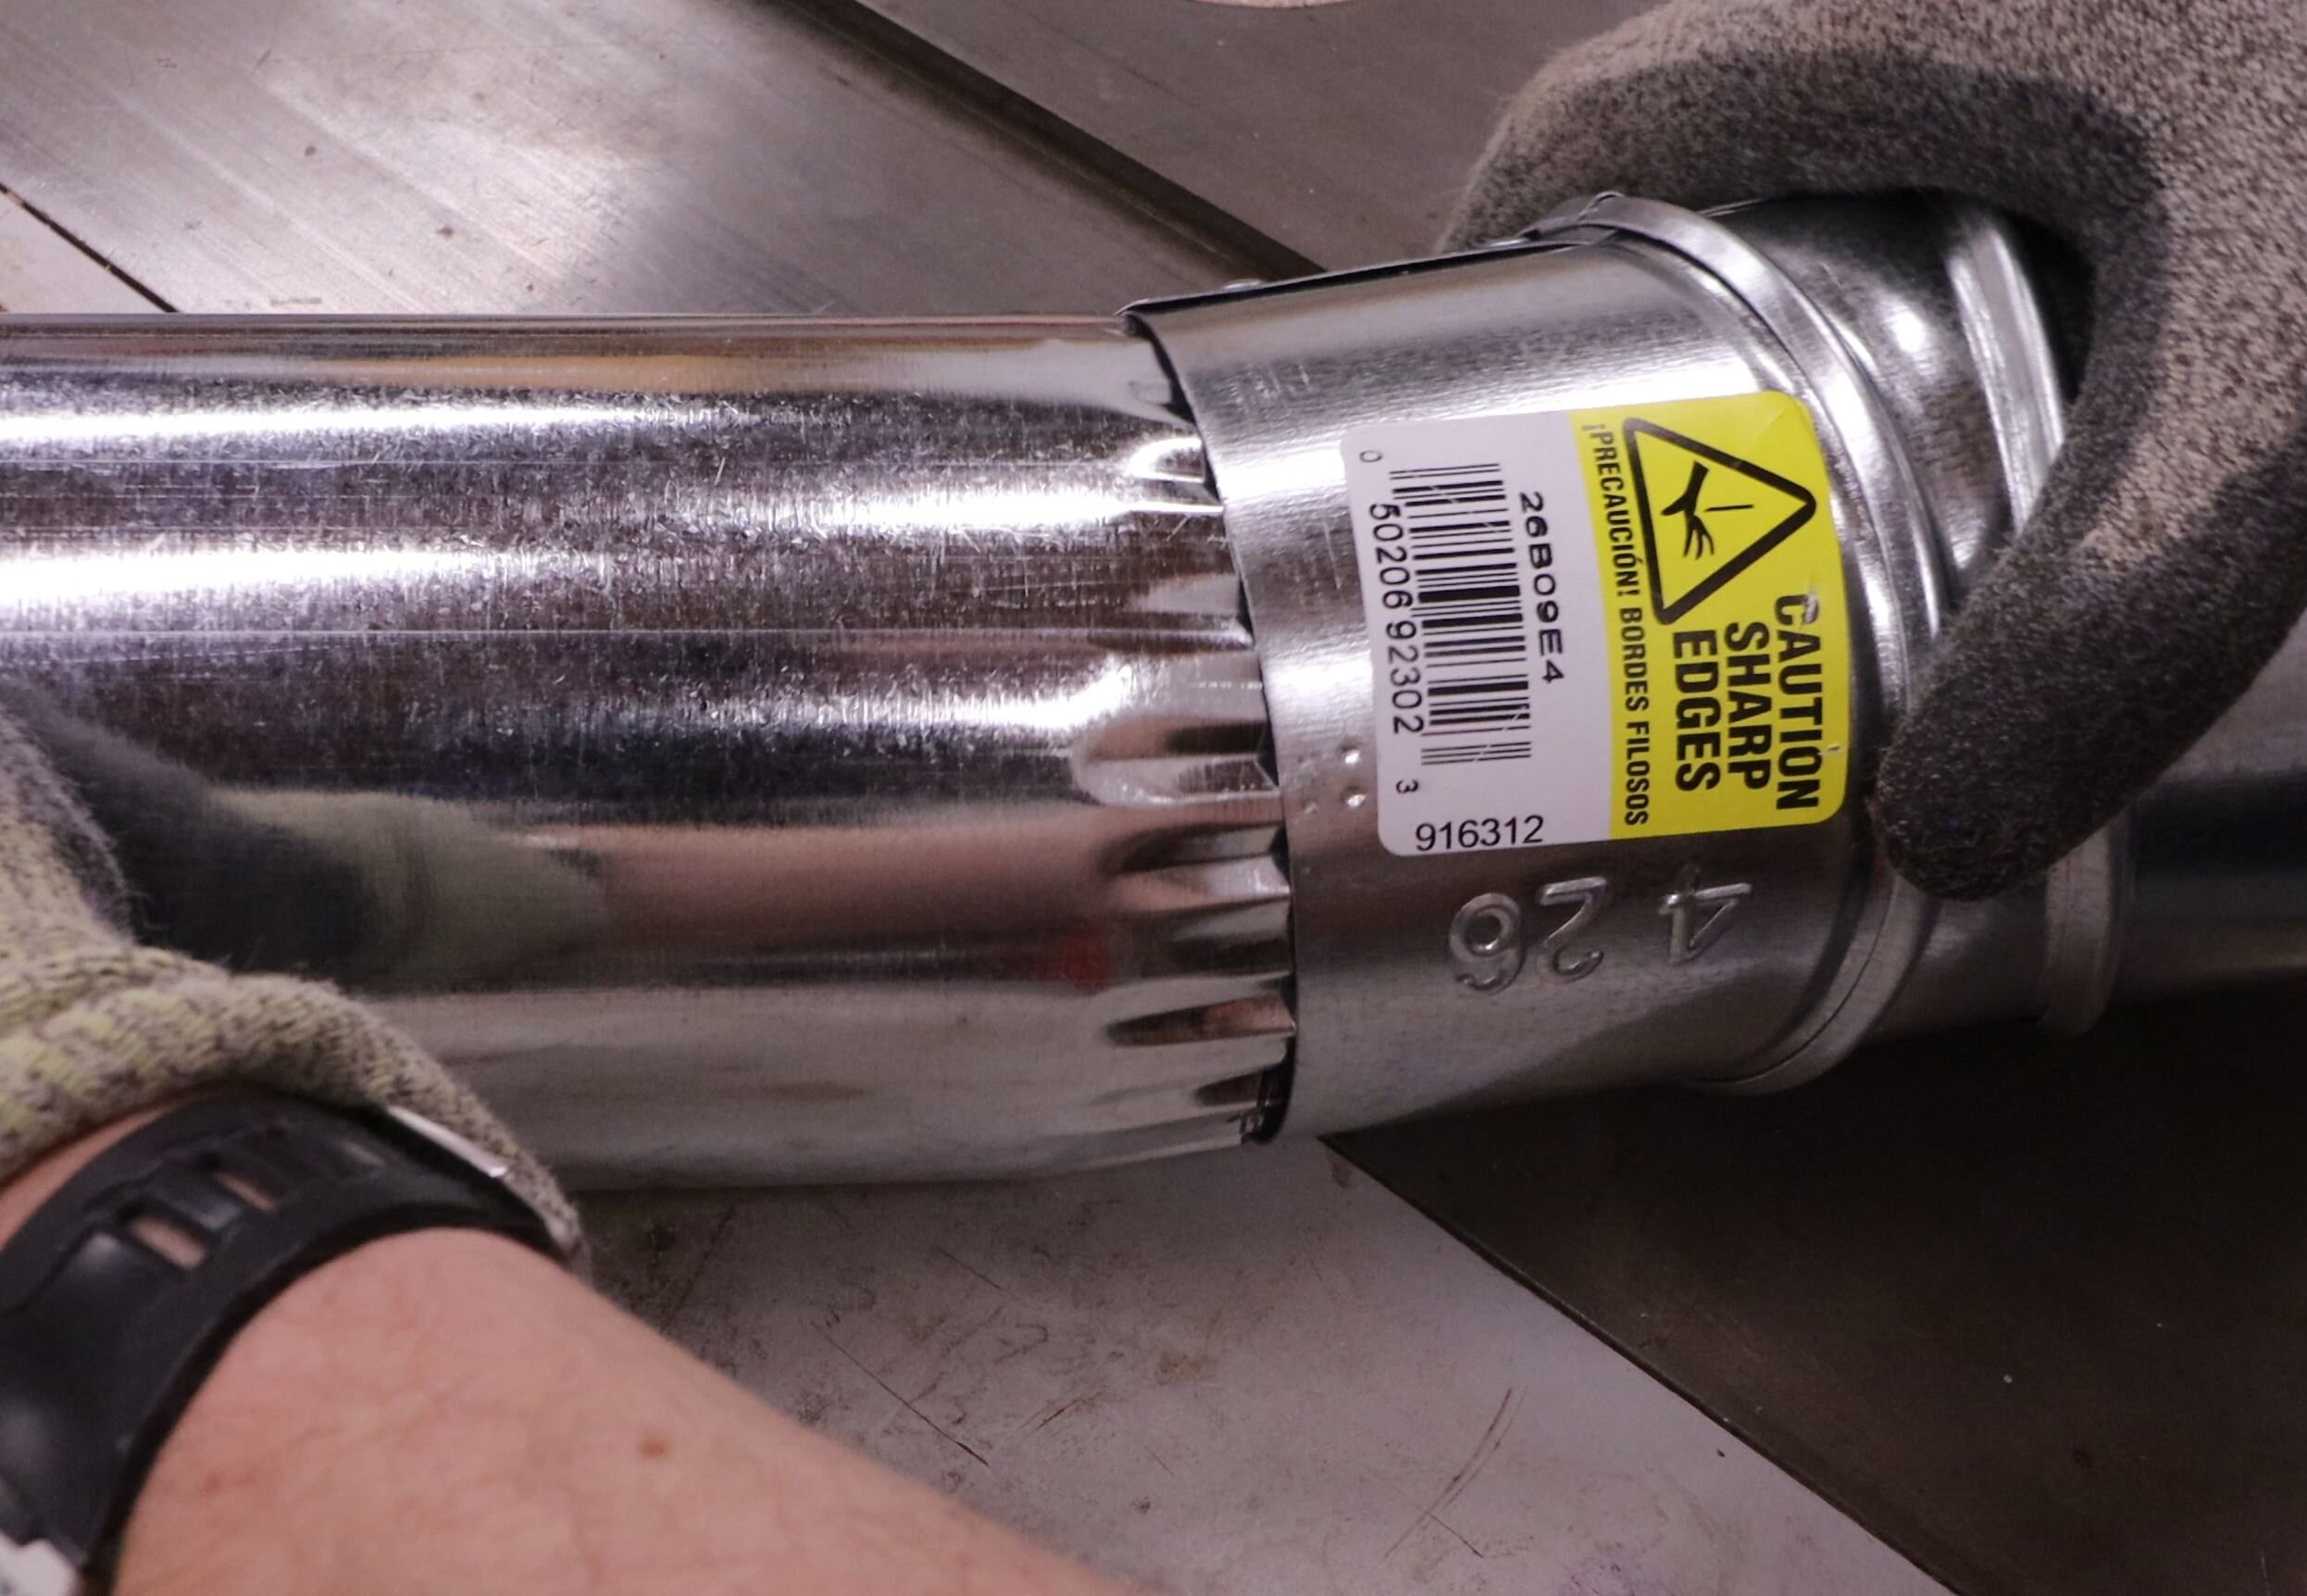
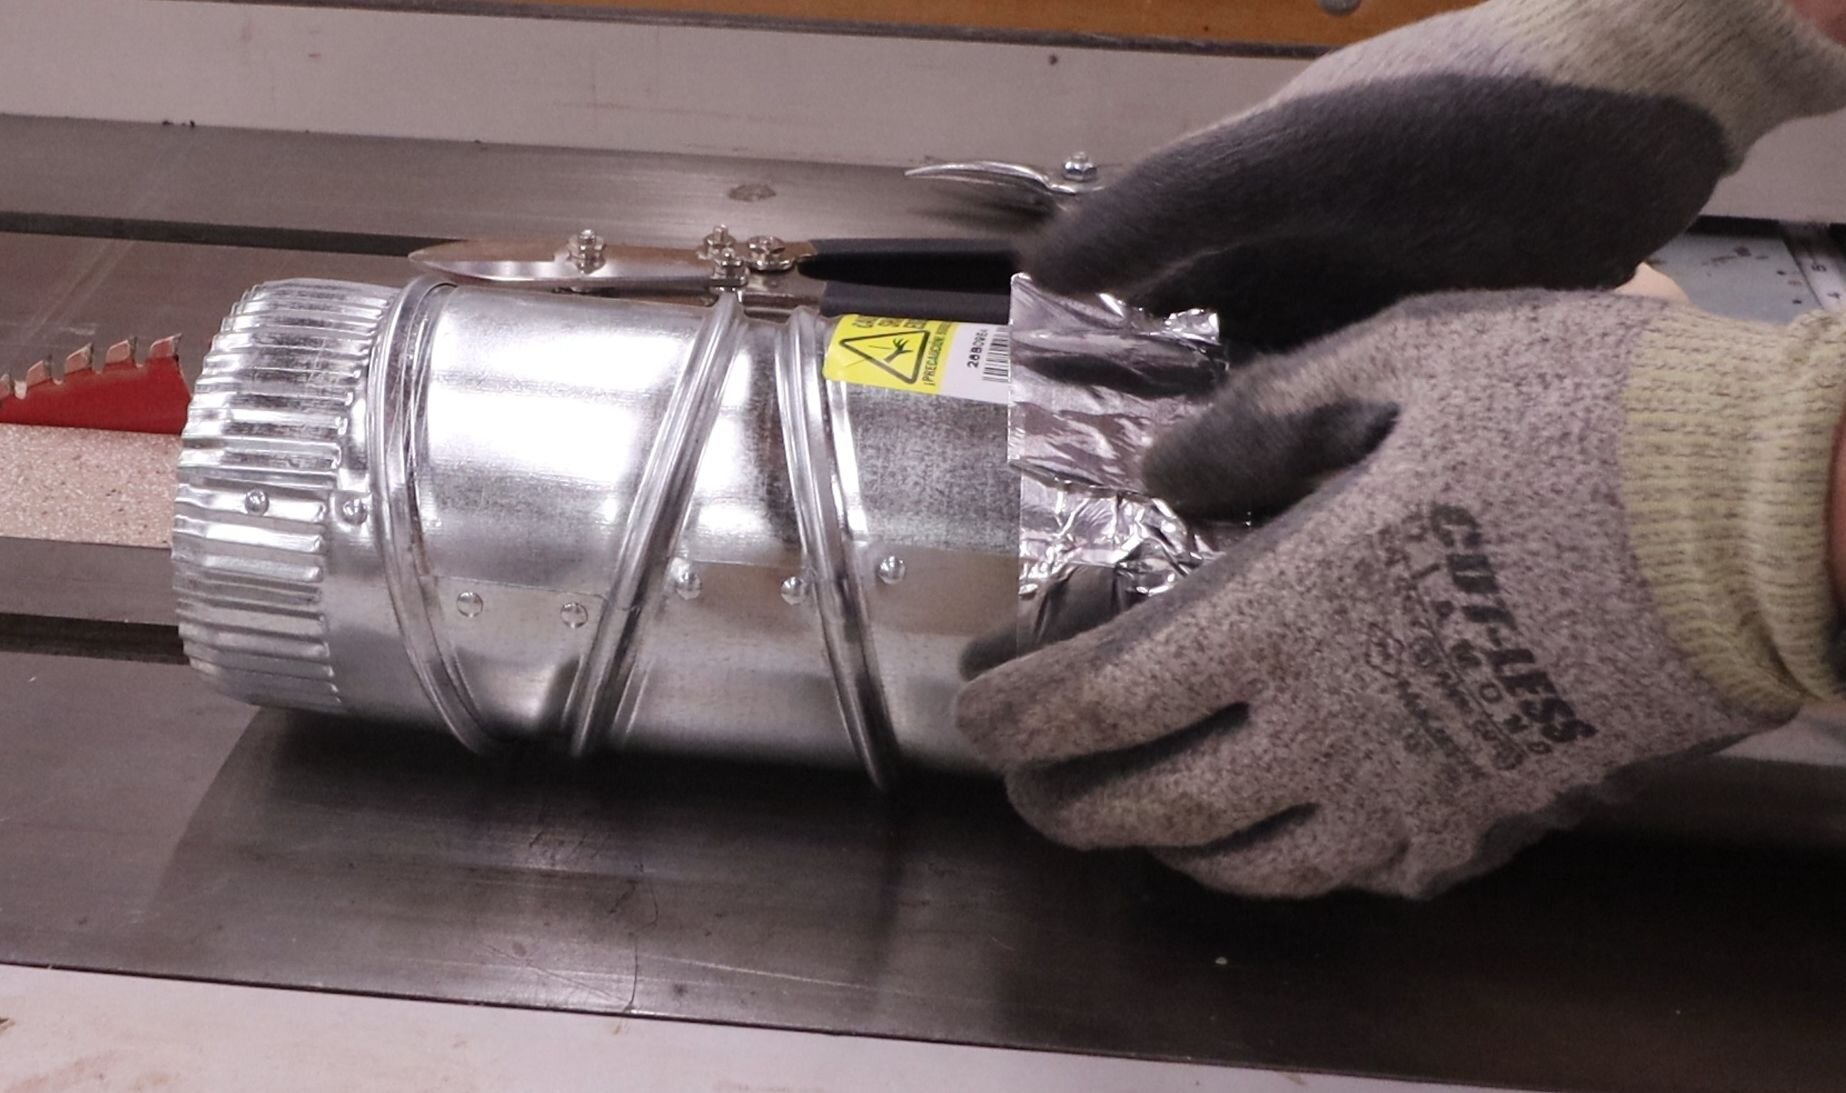
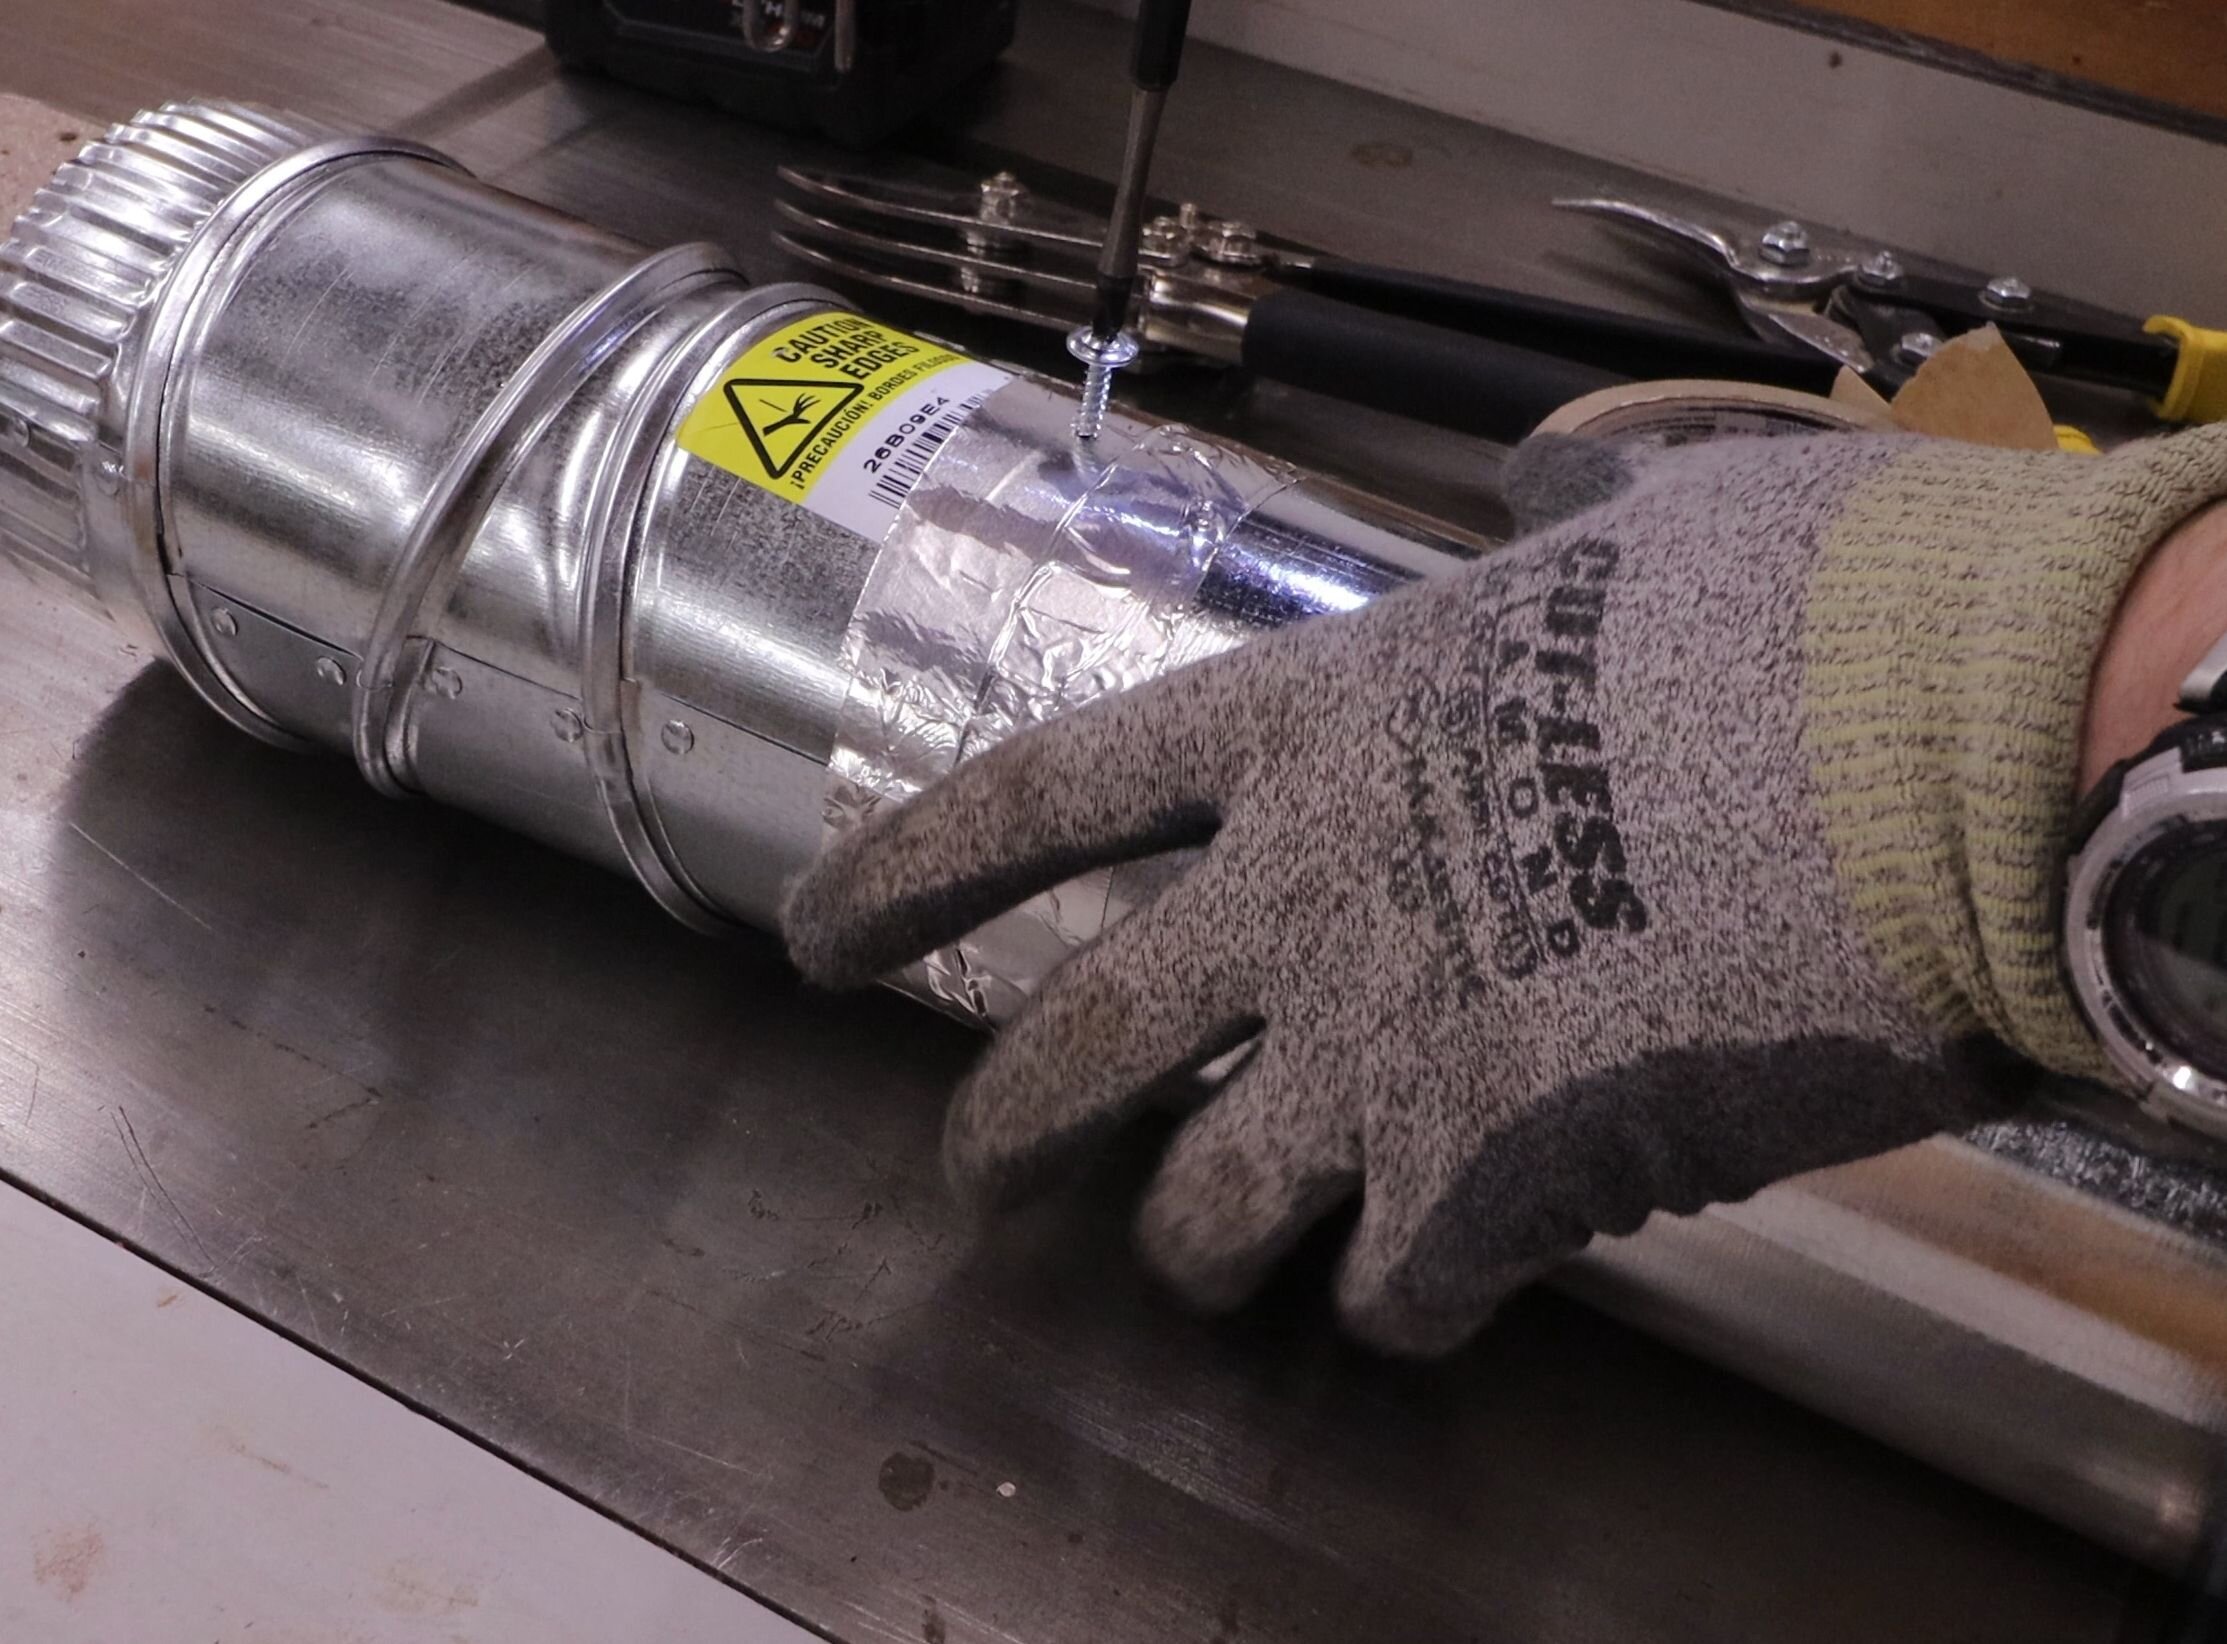
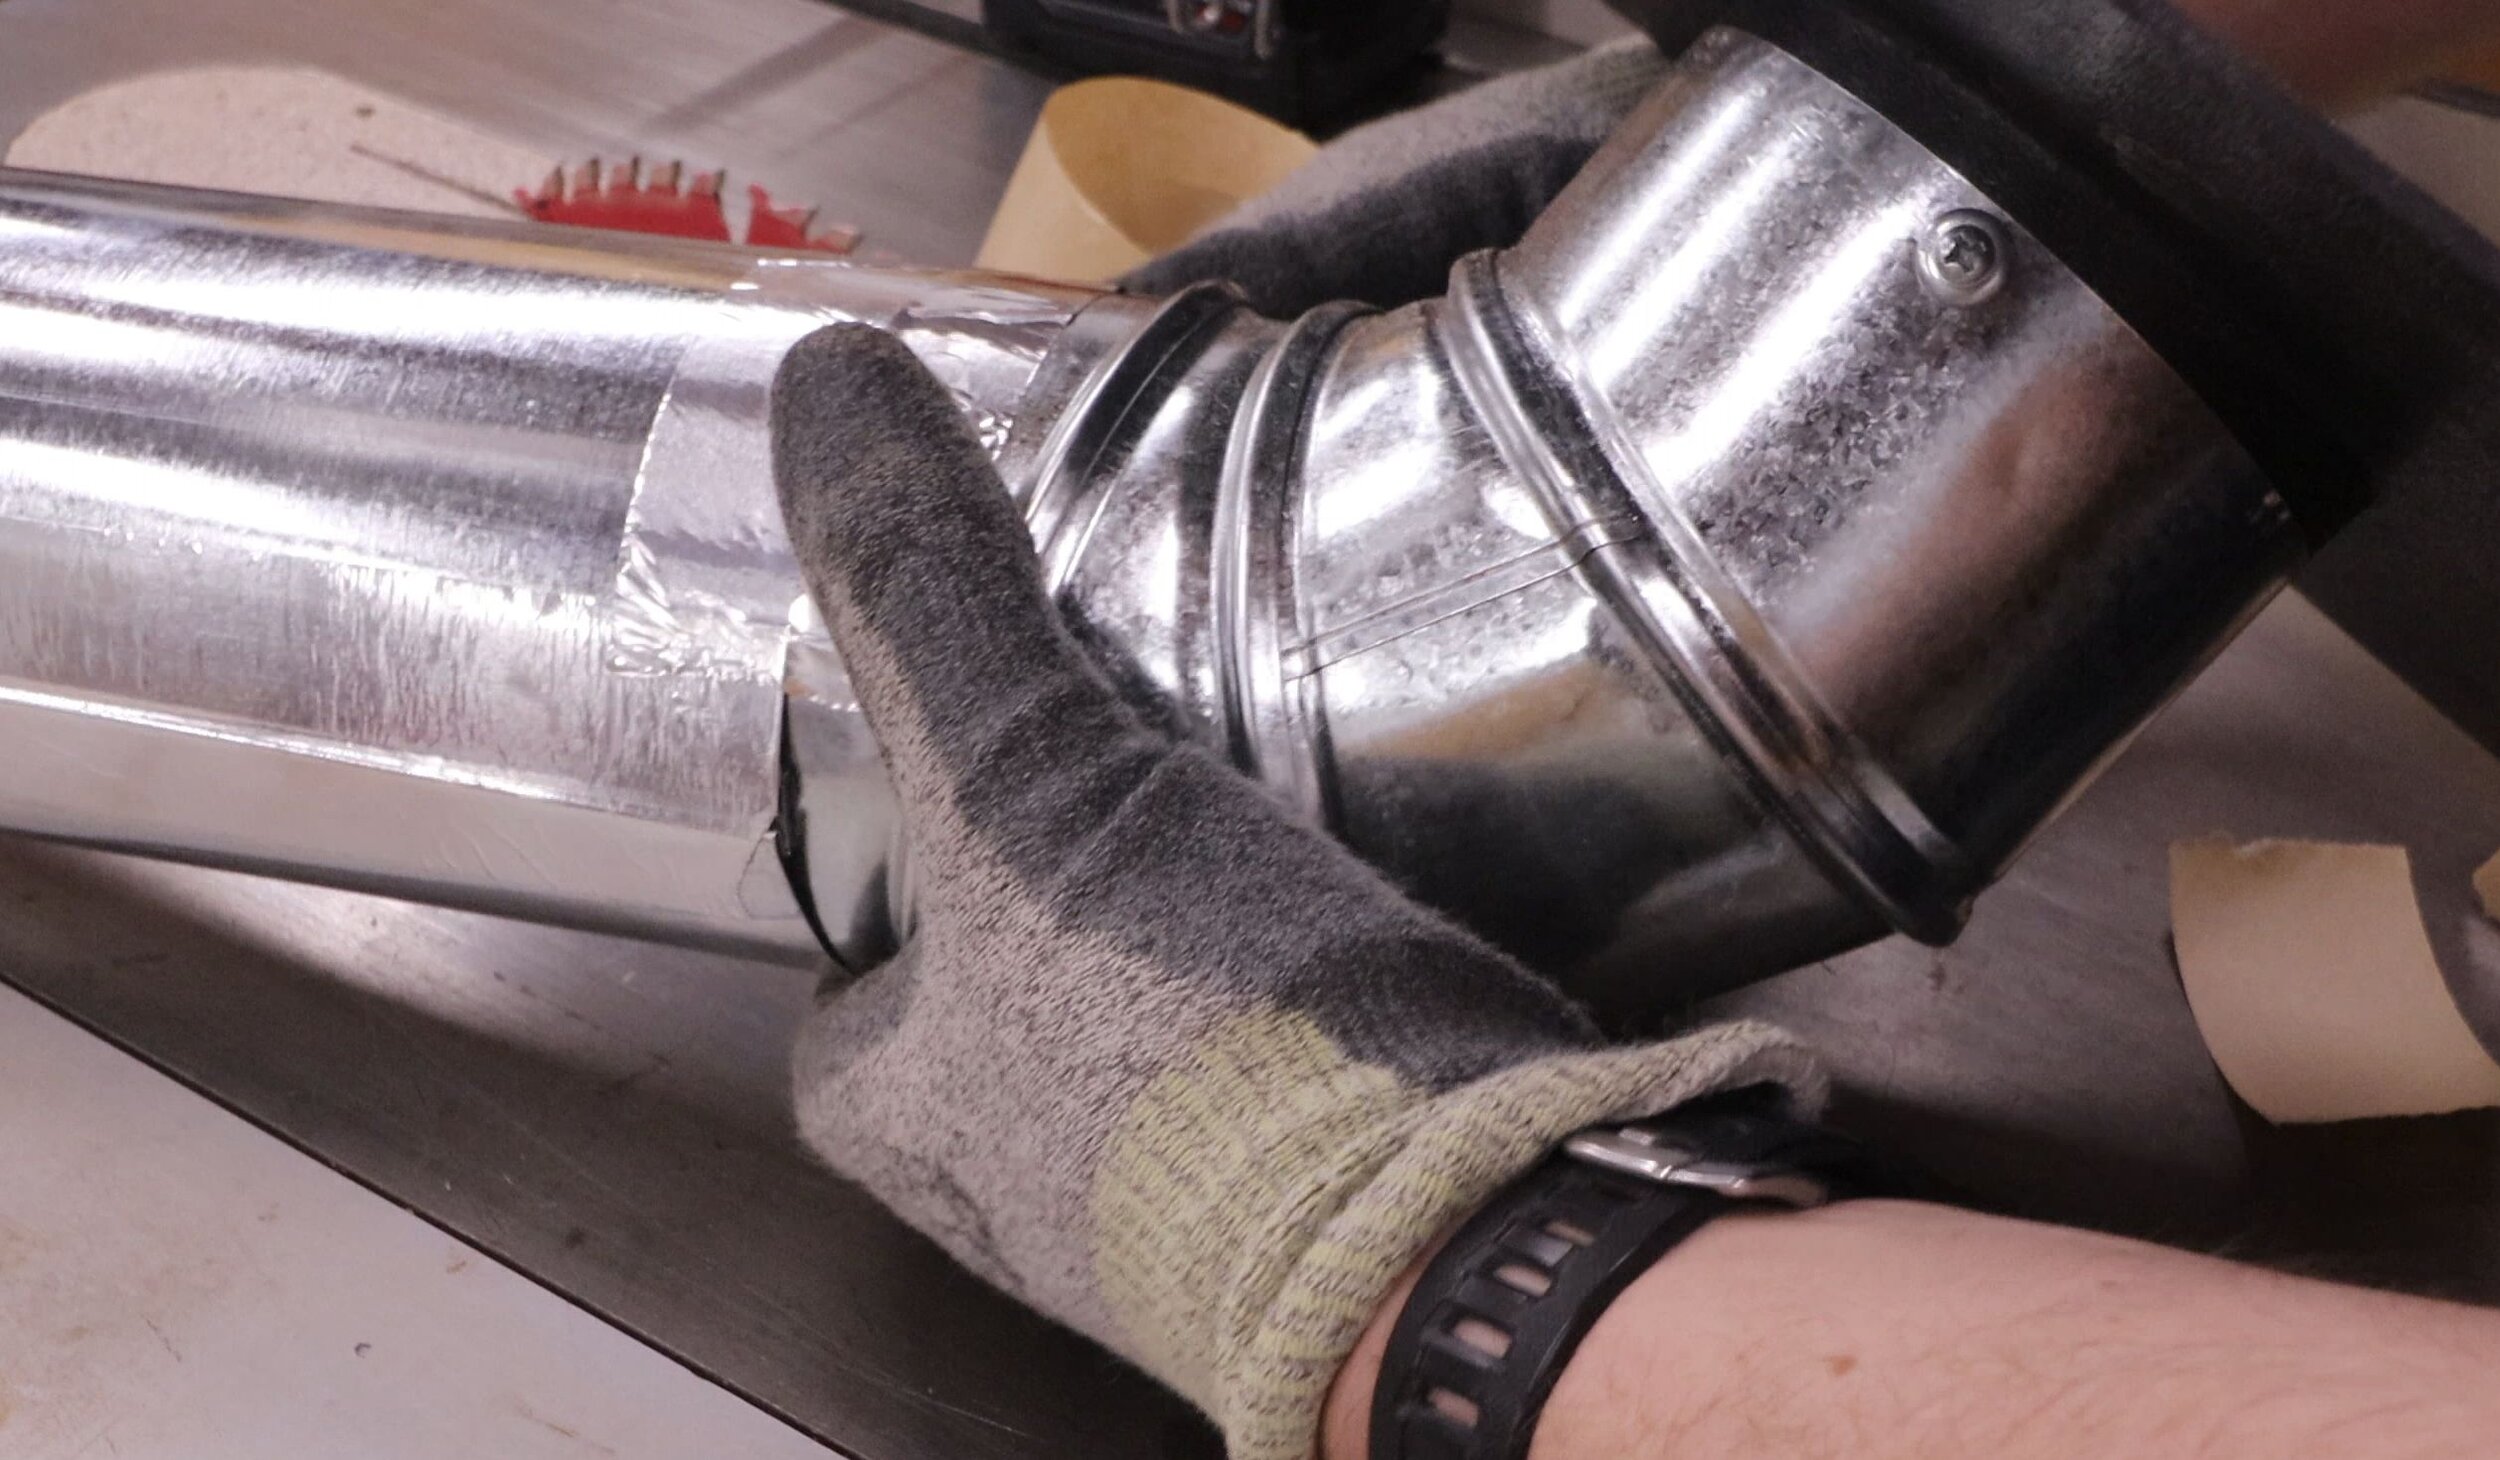
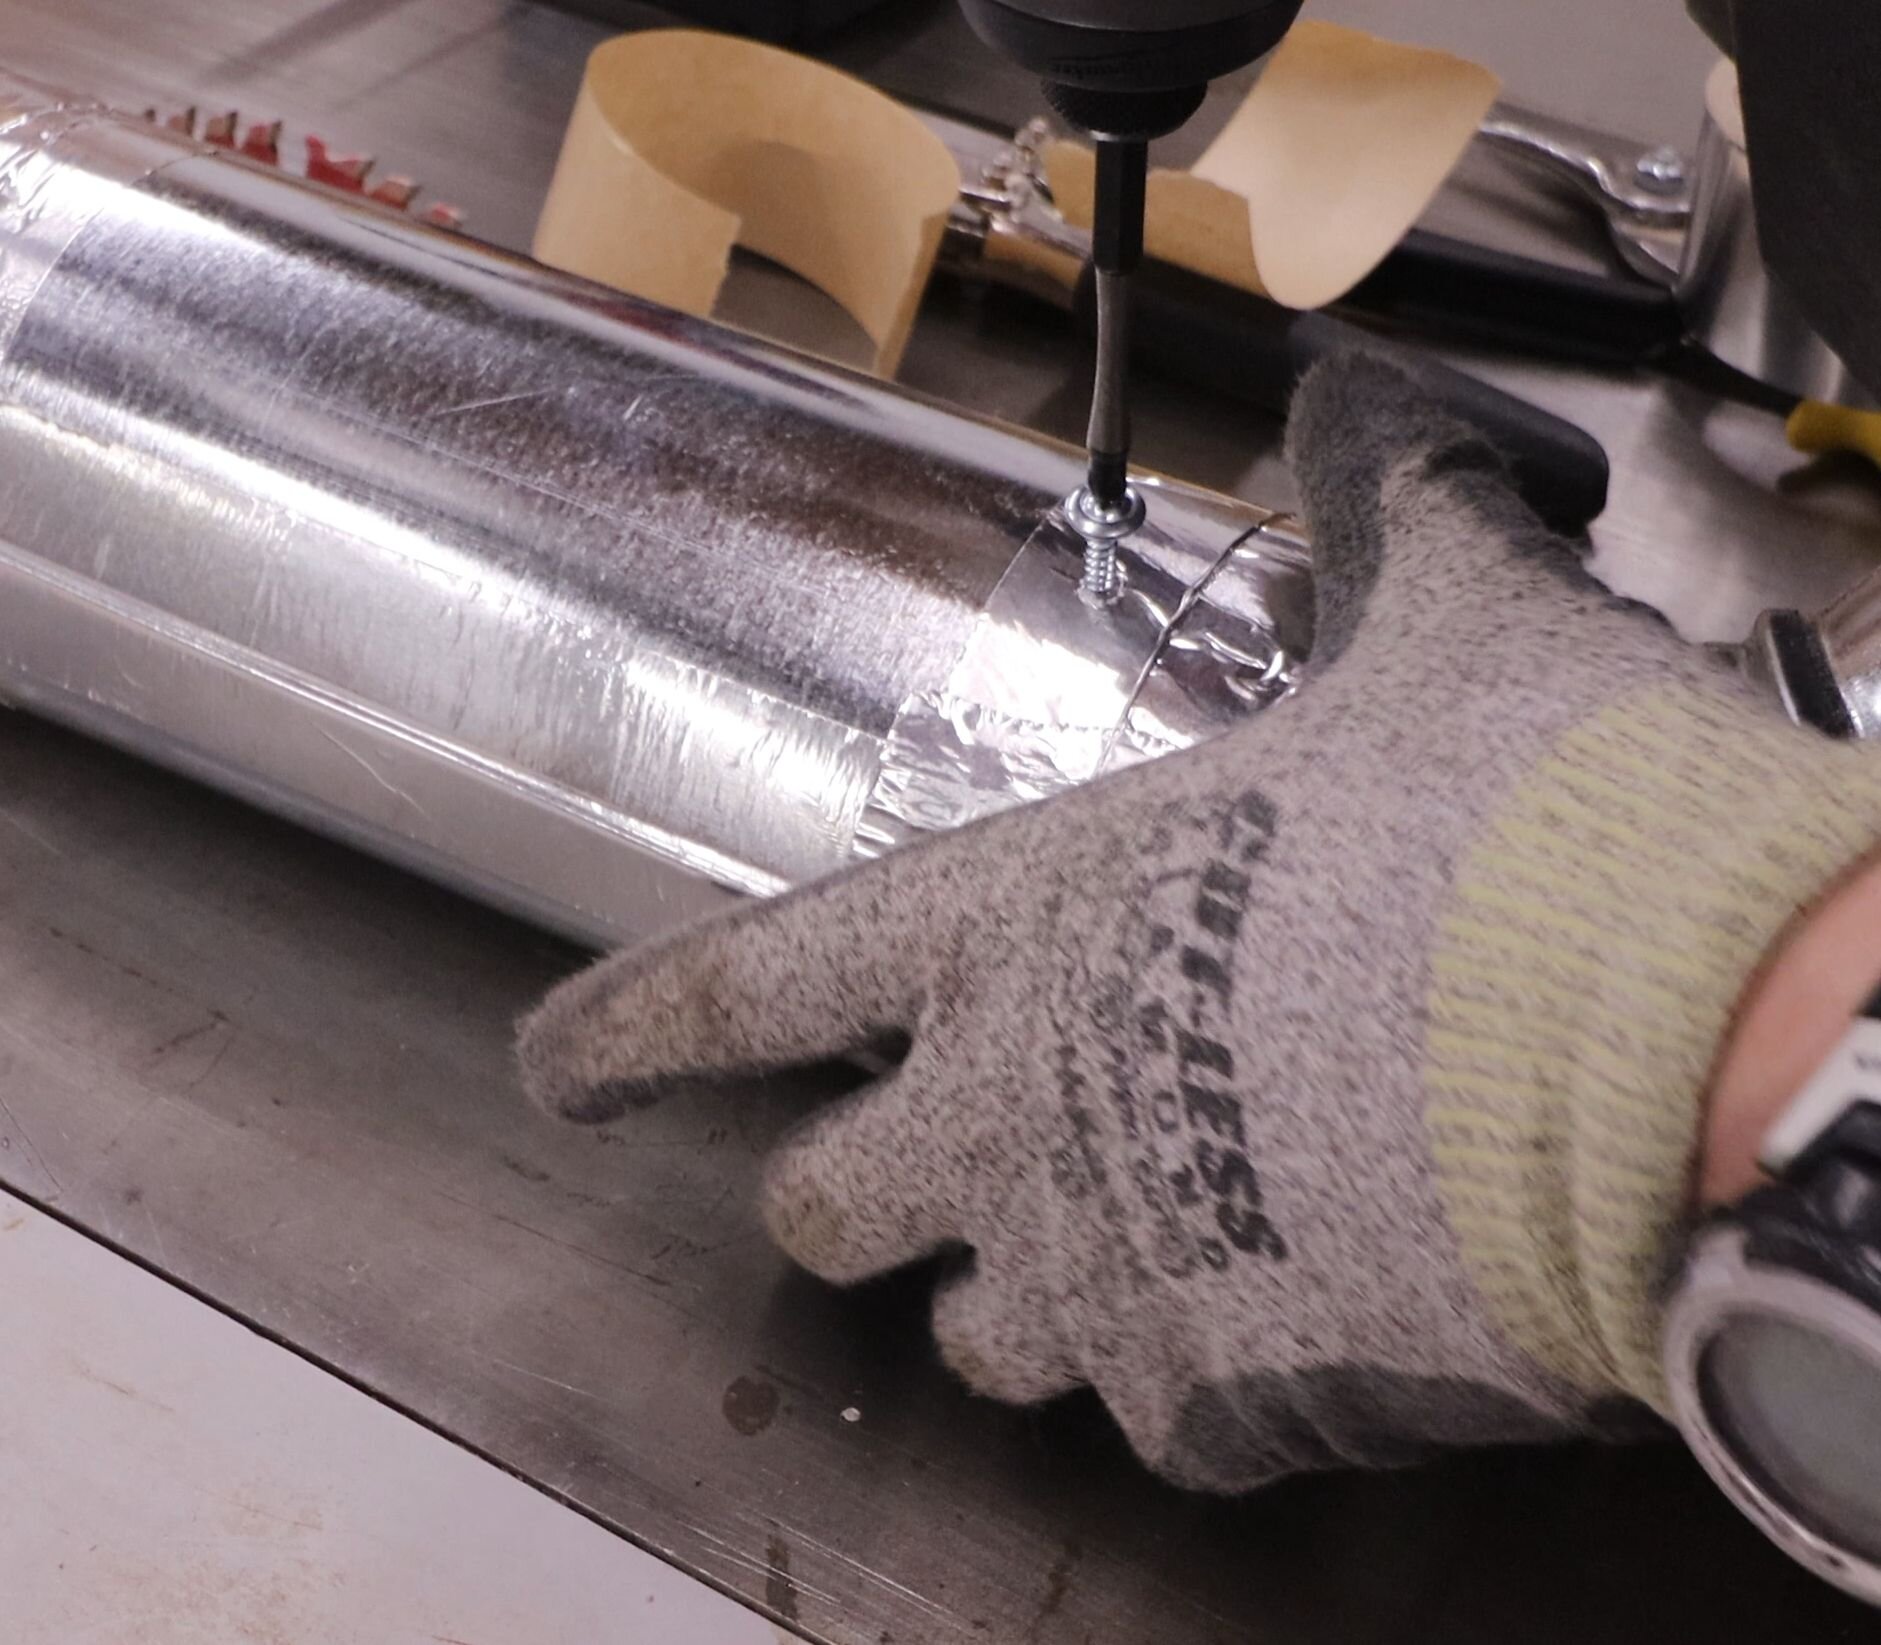
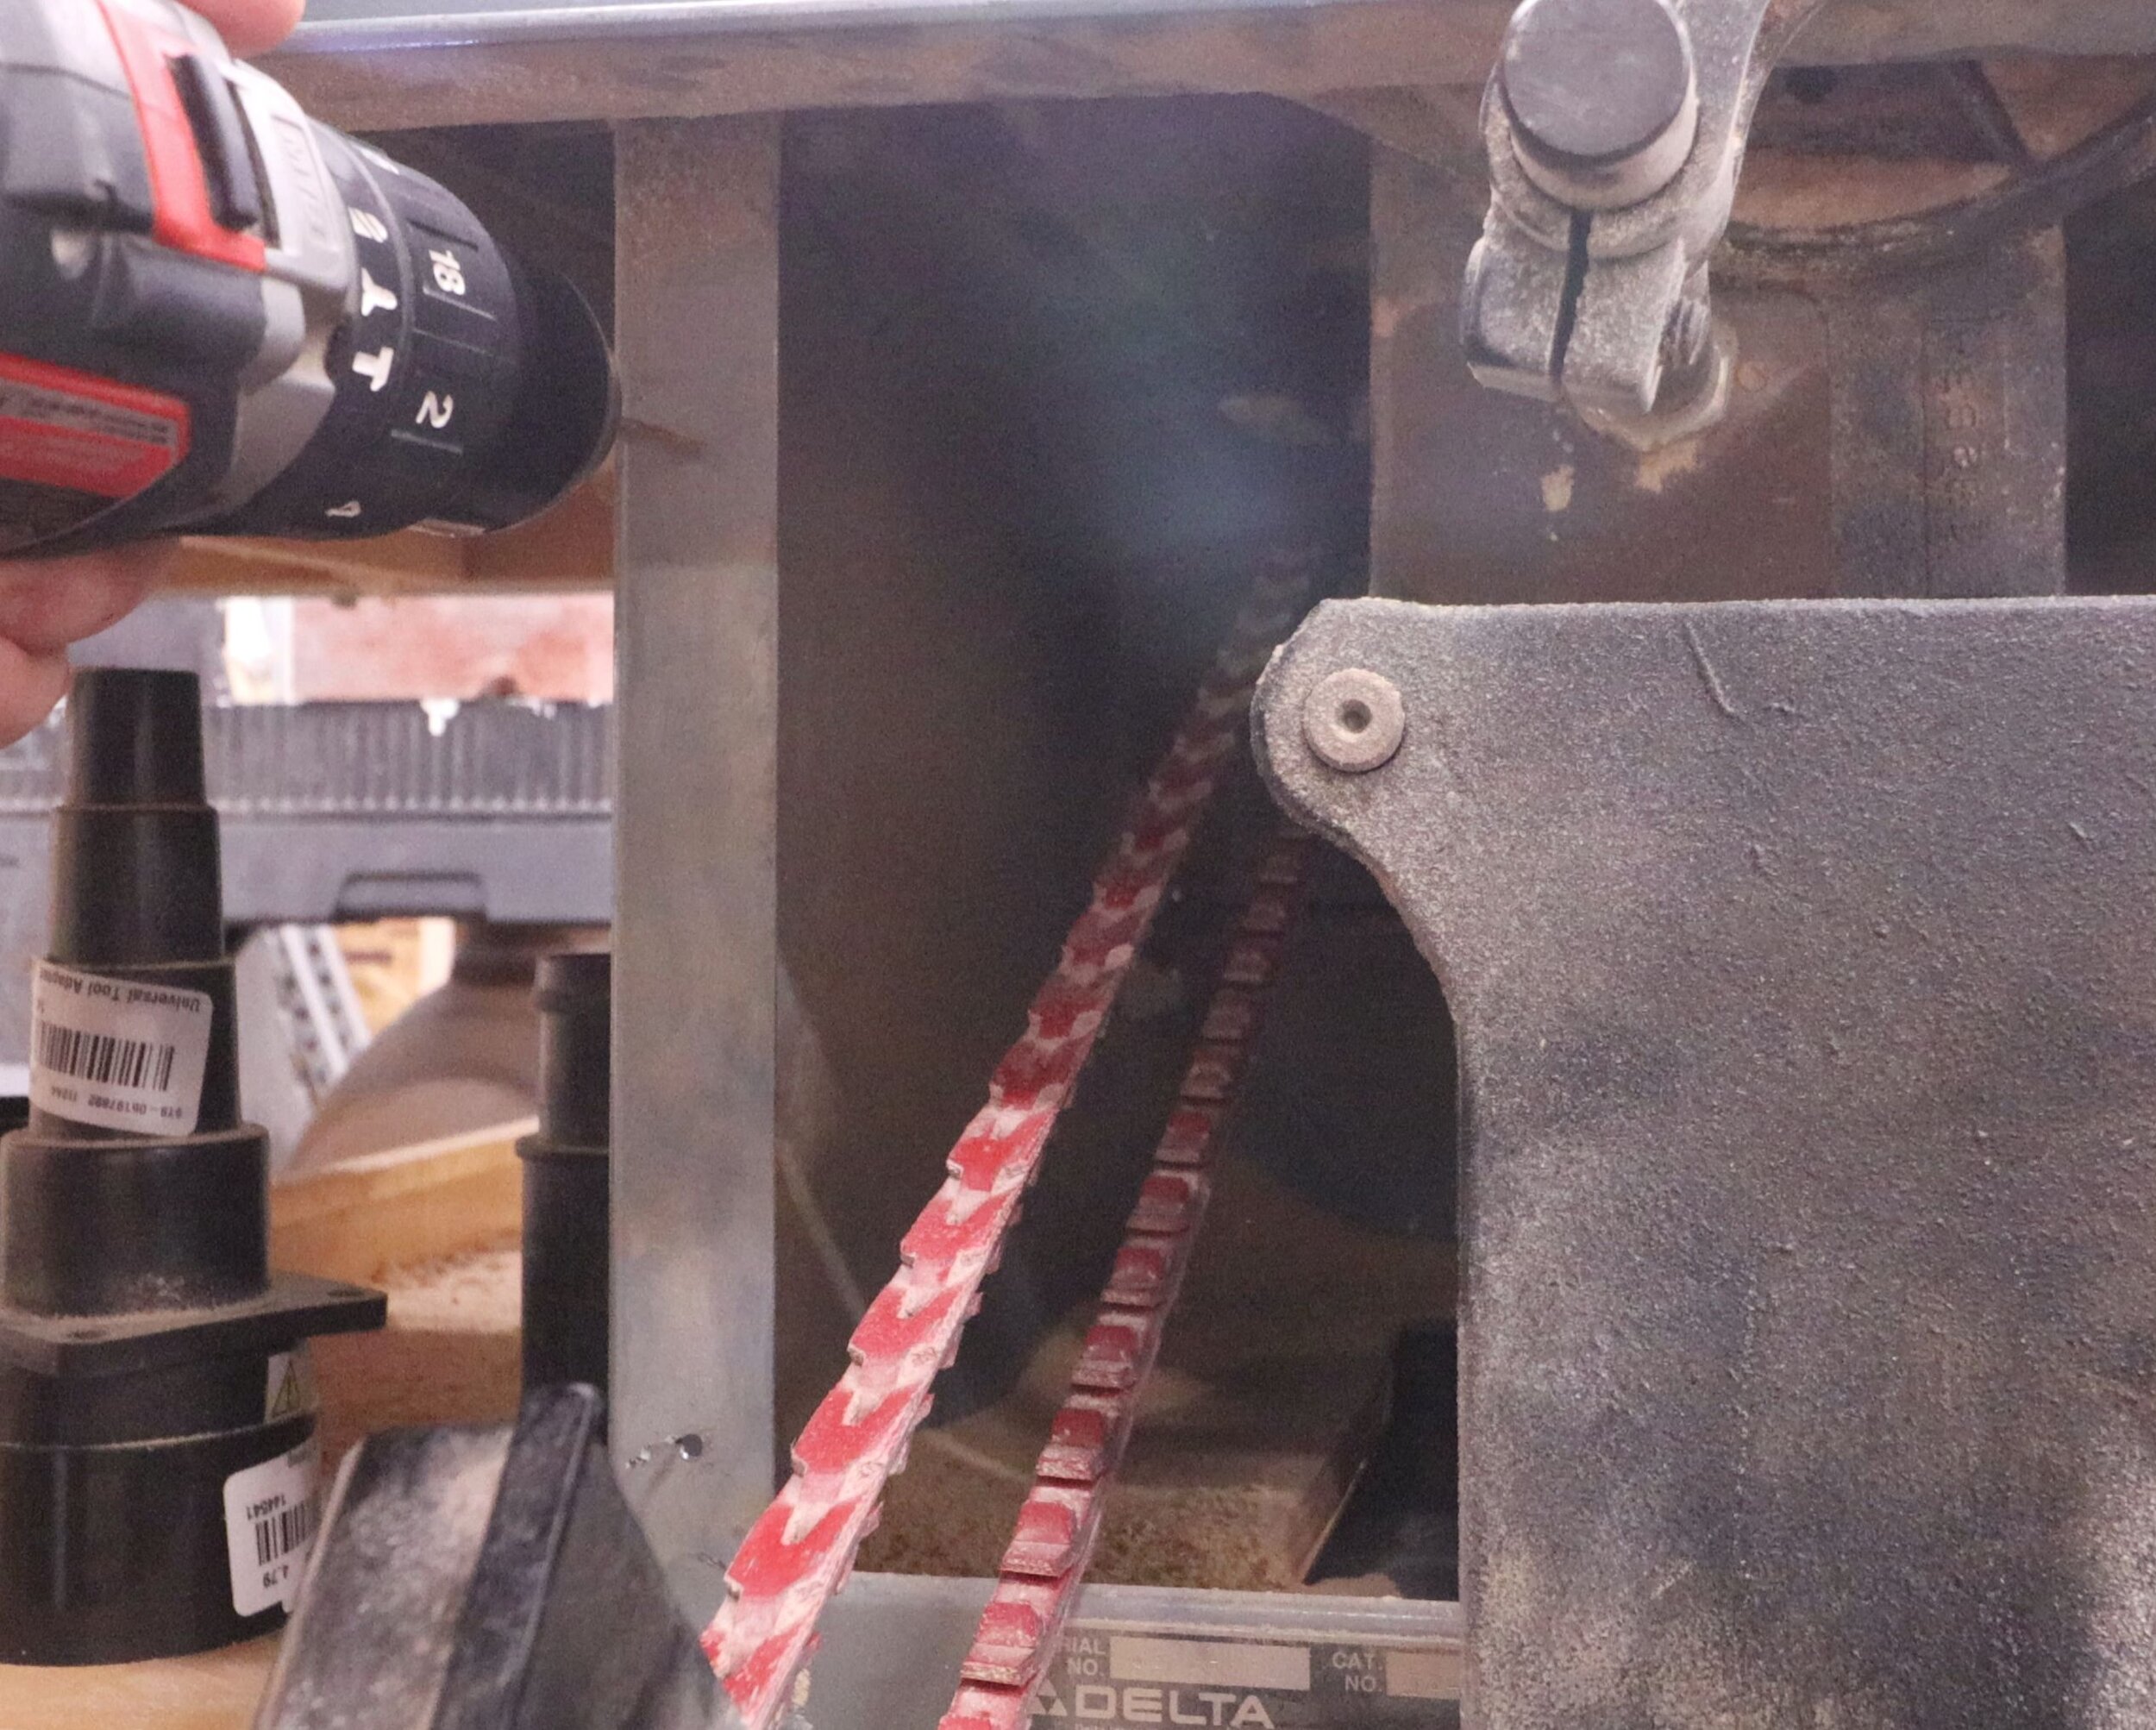
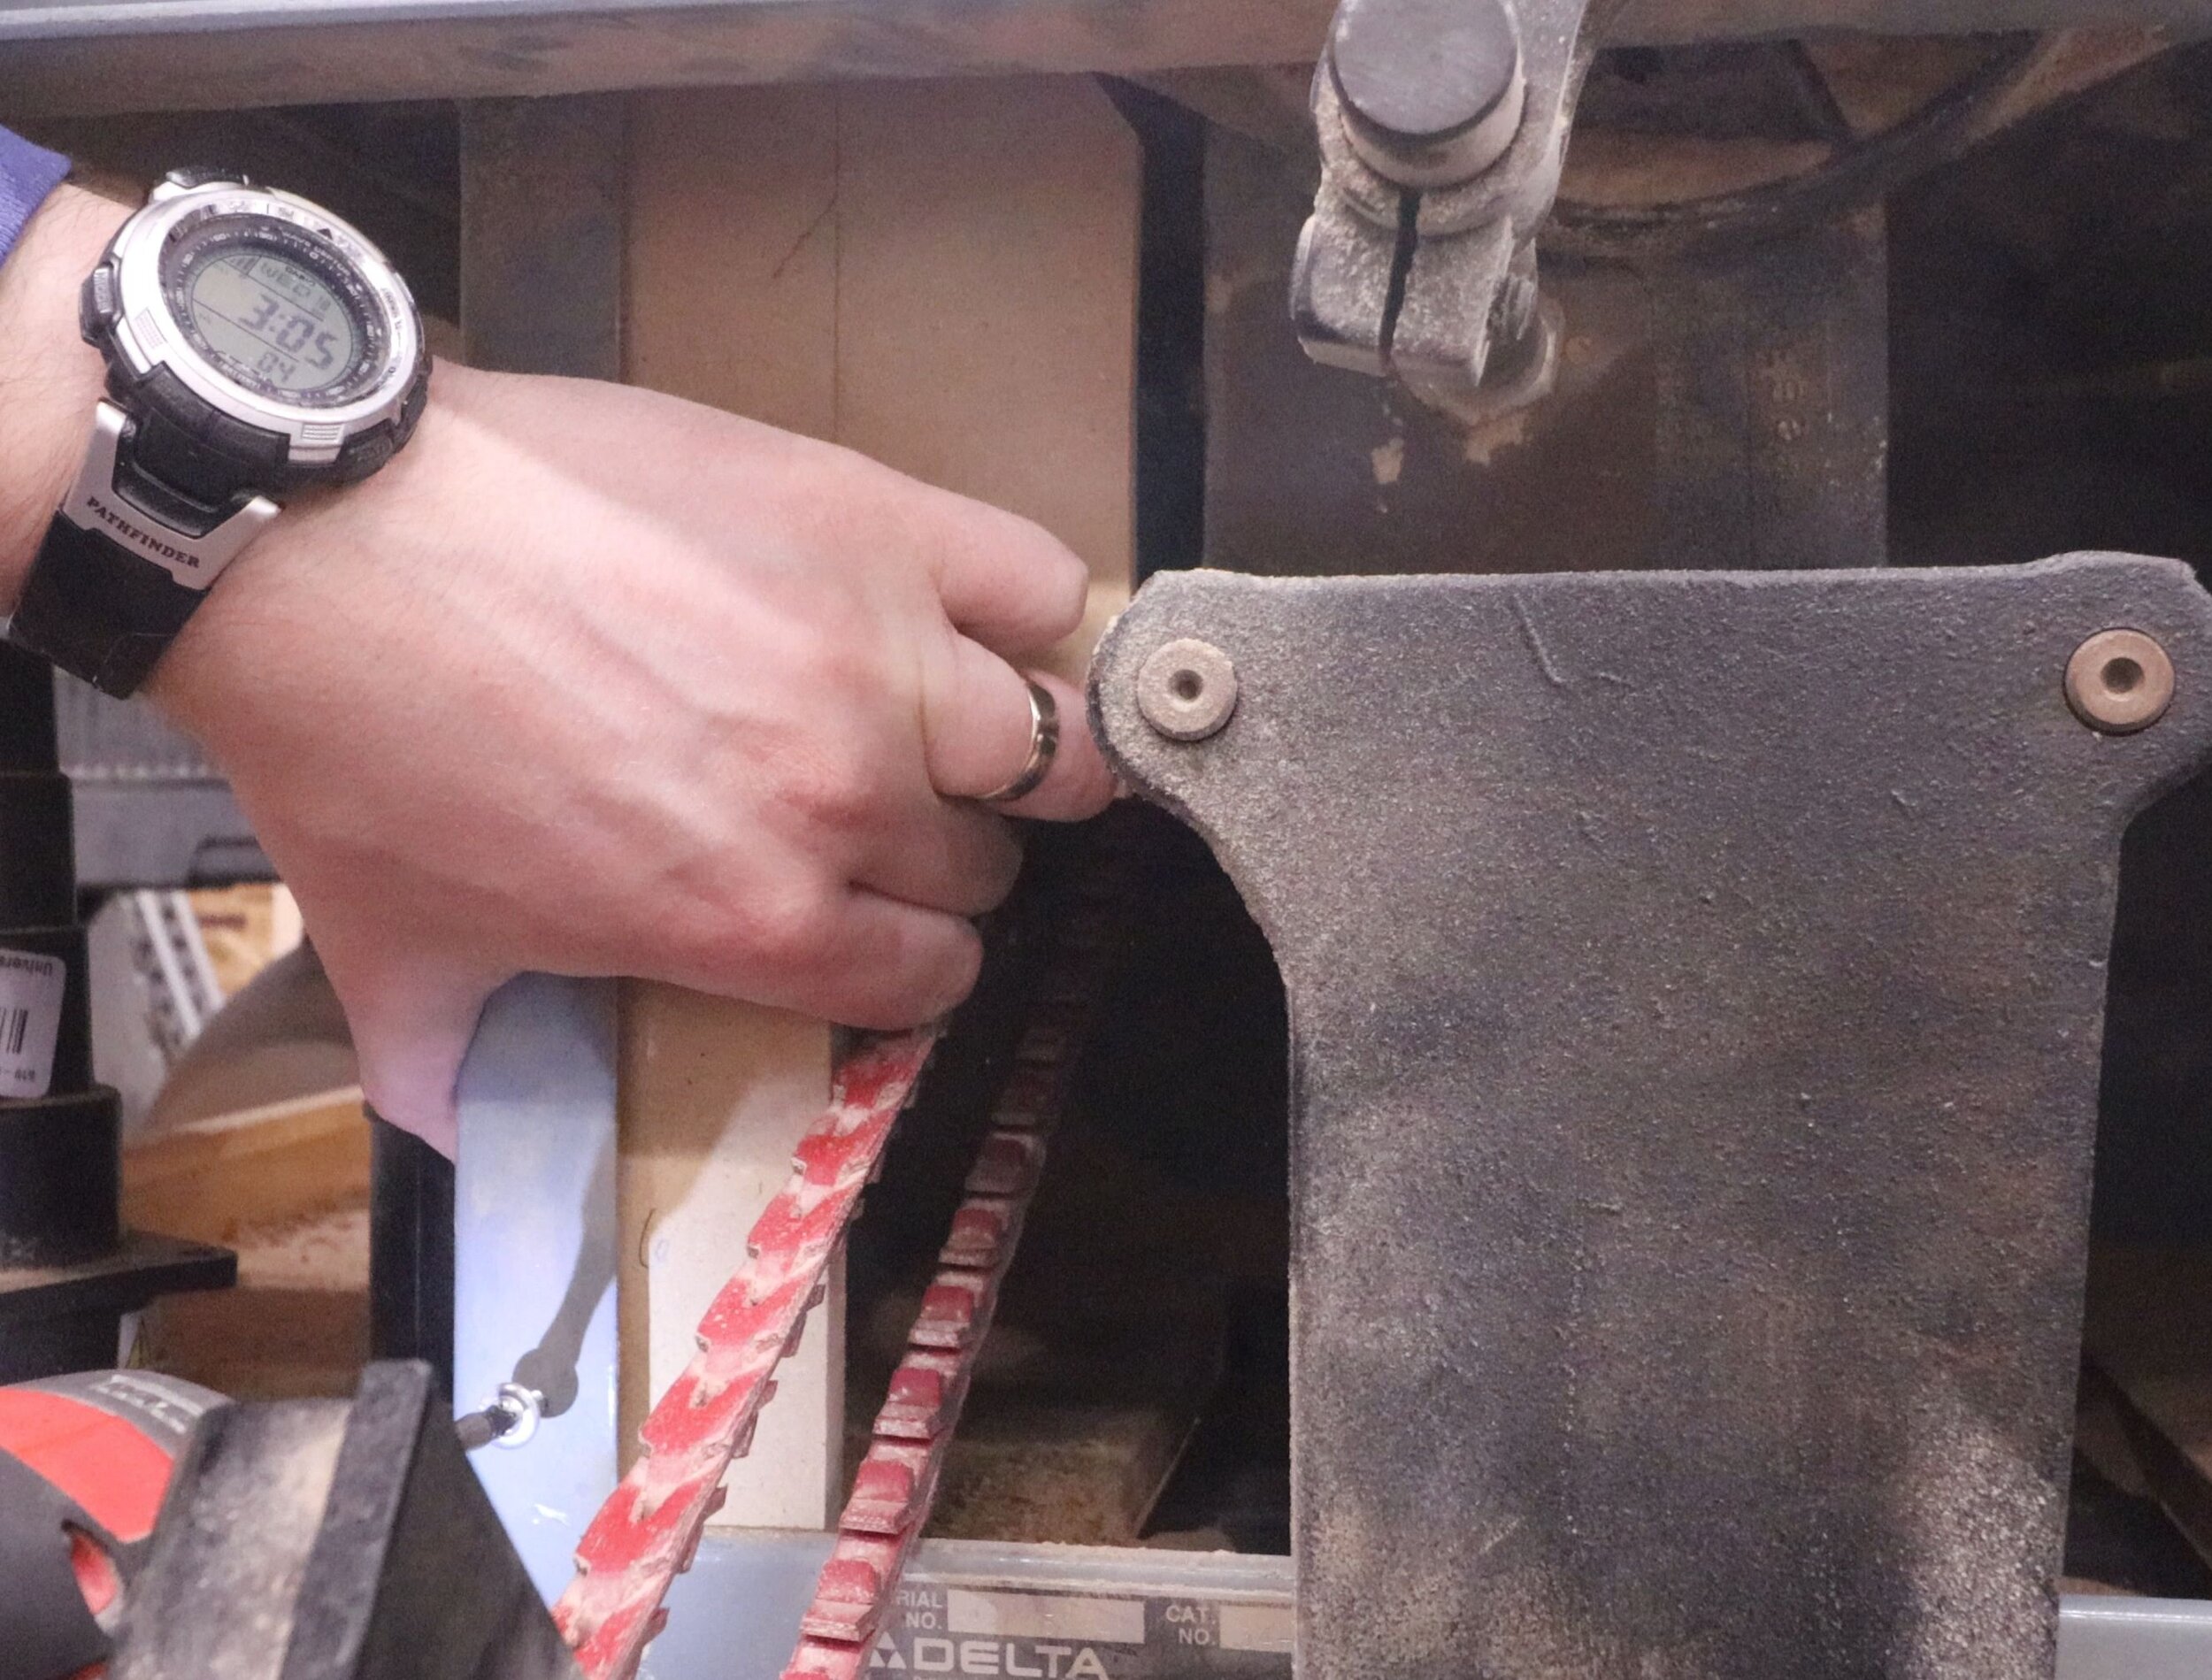
Since this duct does not have a factory-crimped end, I formed a new one with a crimping tool. I then sleeved this inside another articulating elbow, taped, and screwed the joints together.
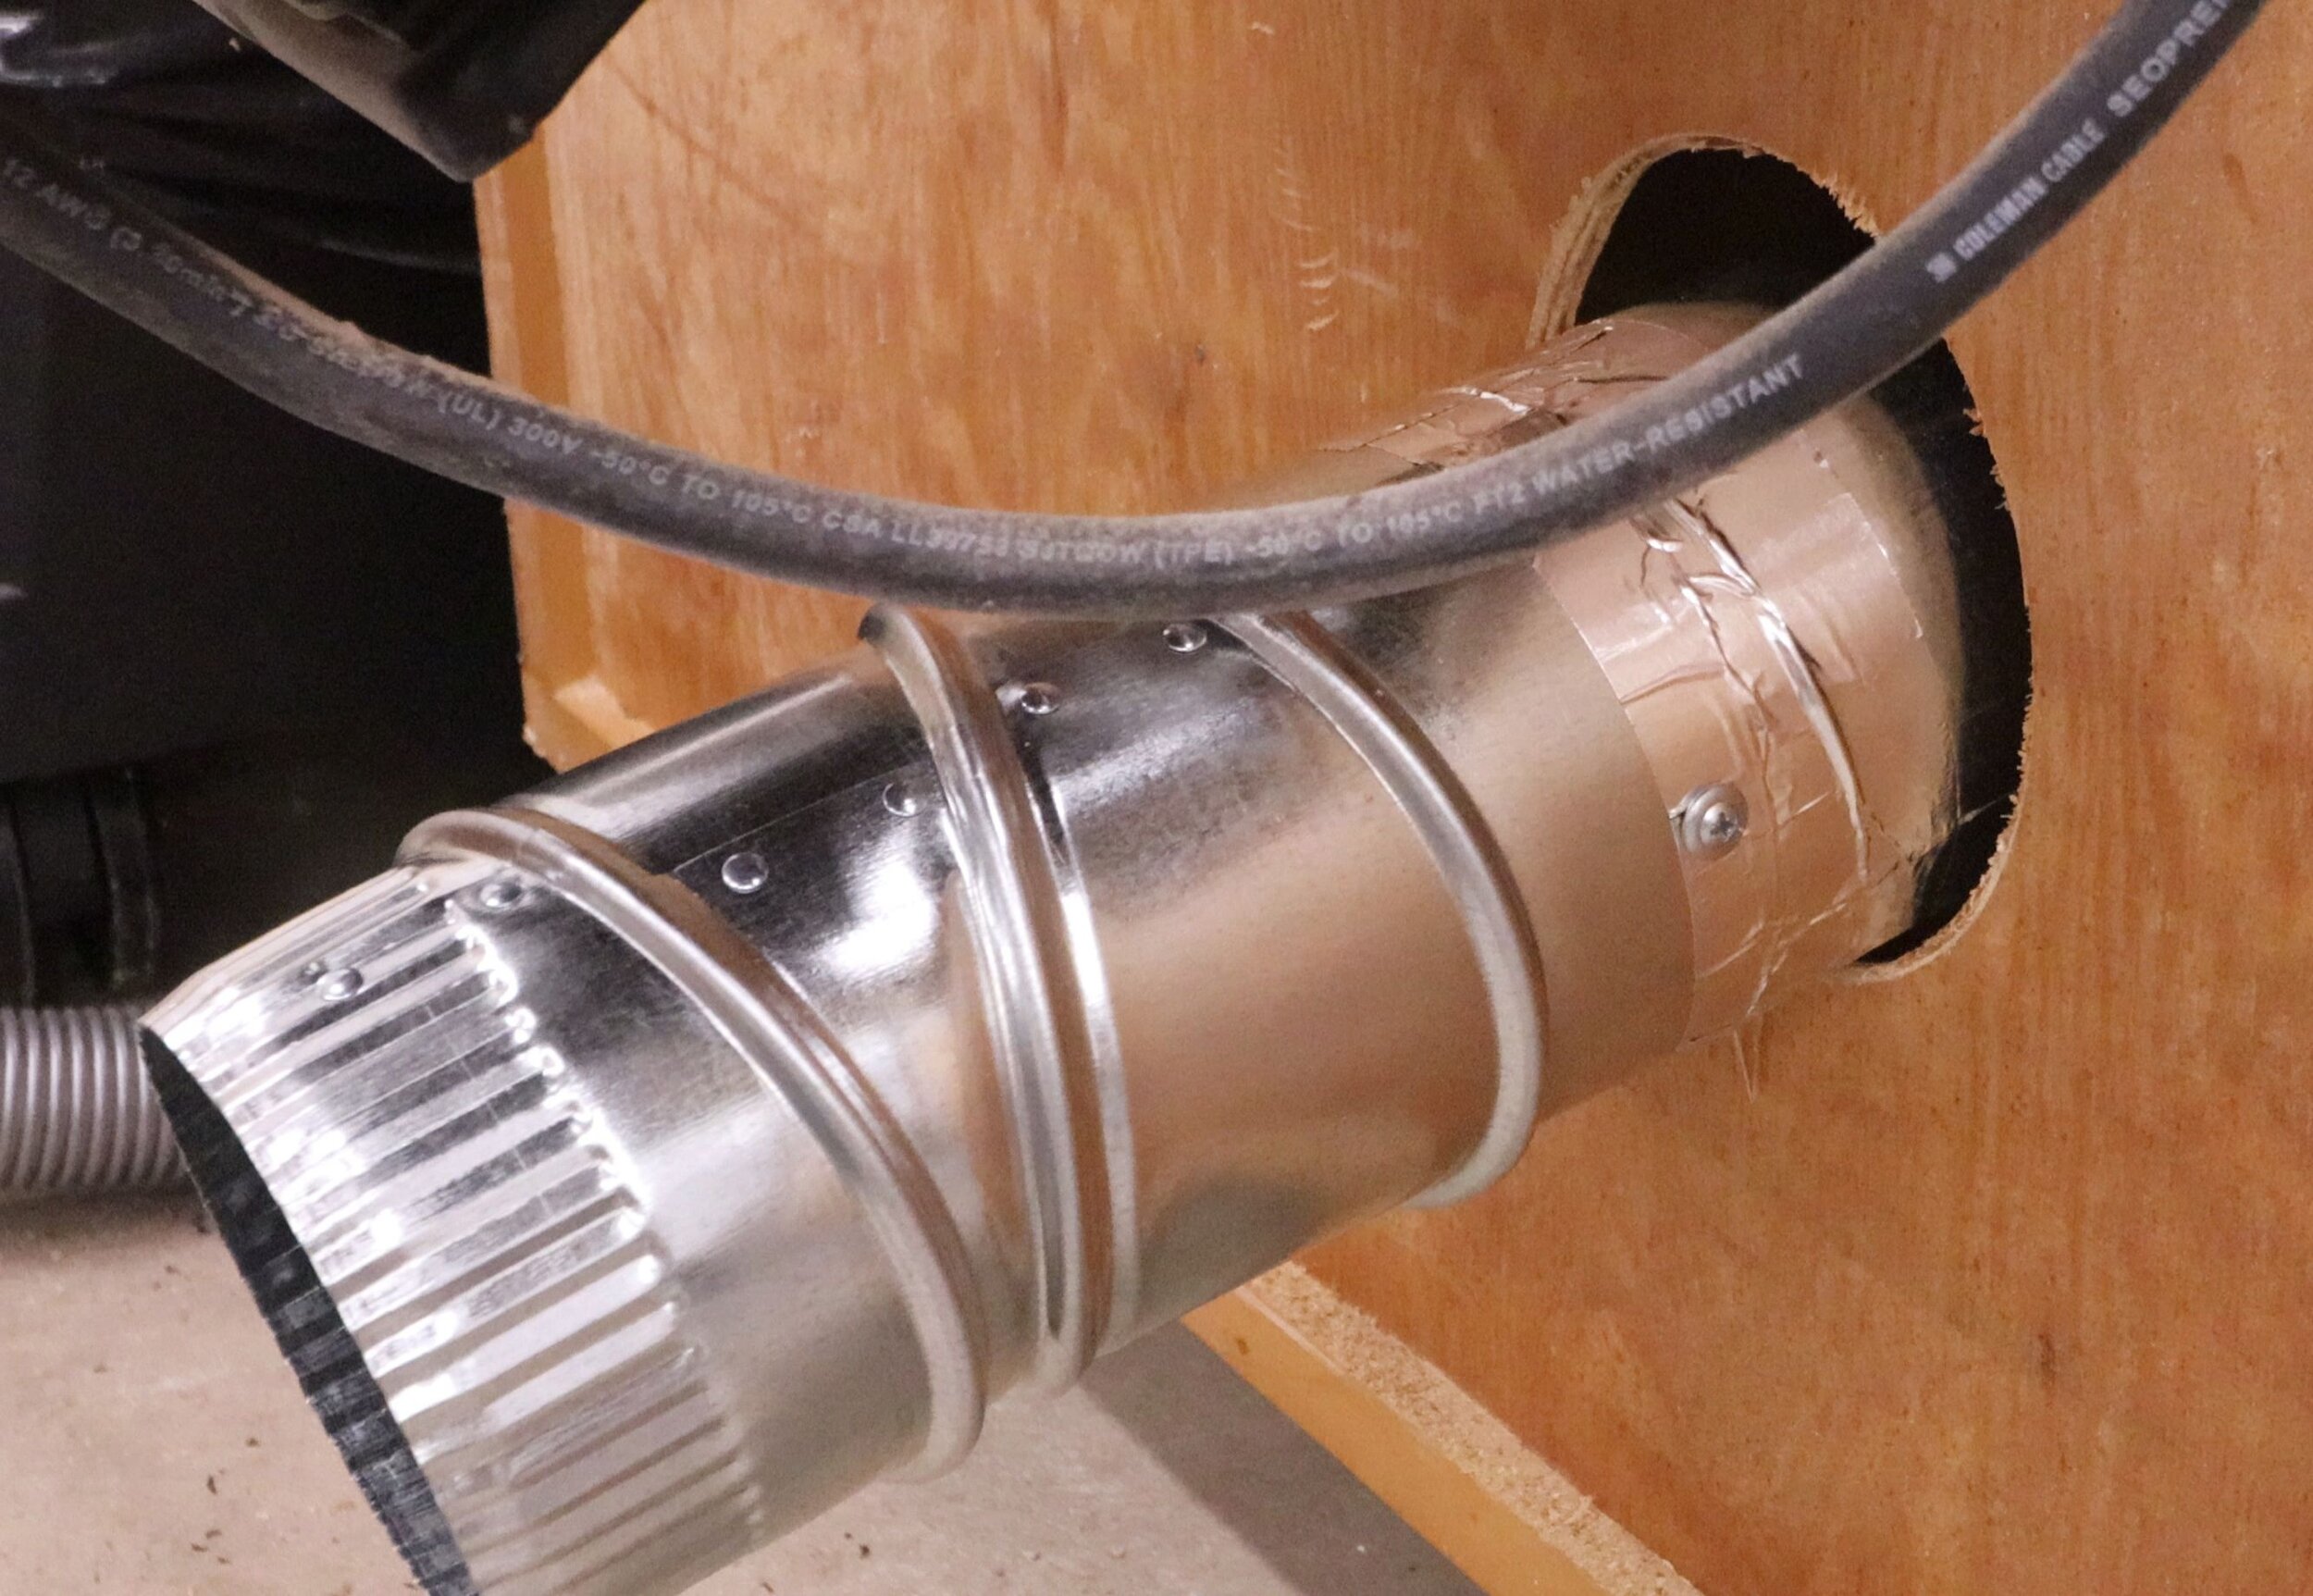
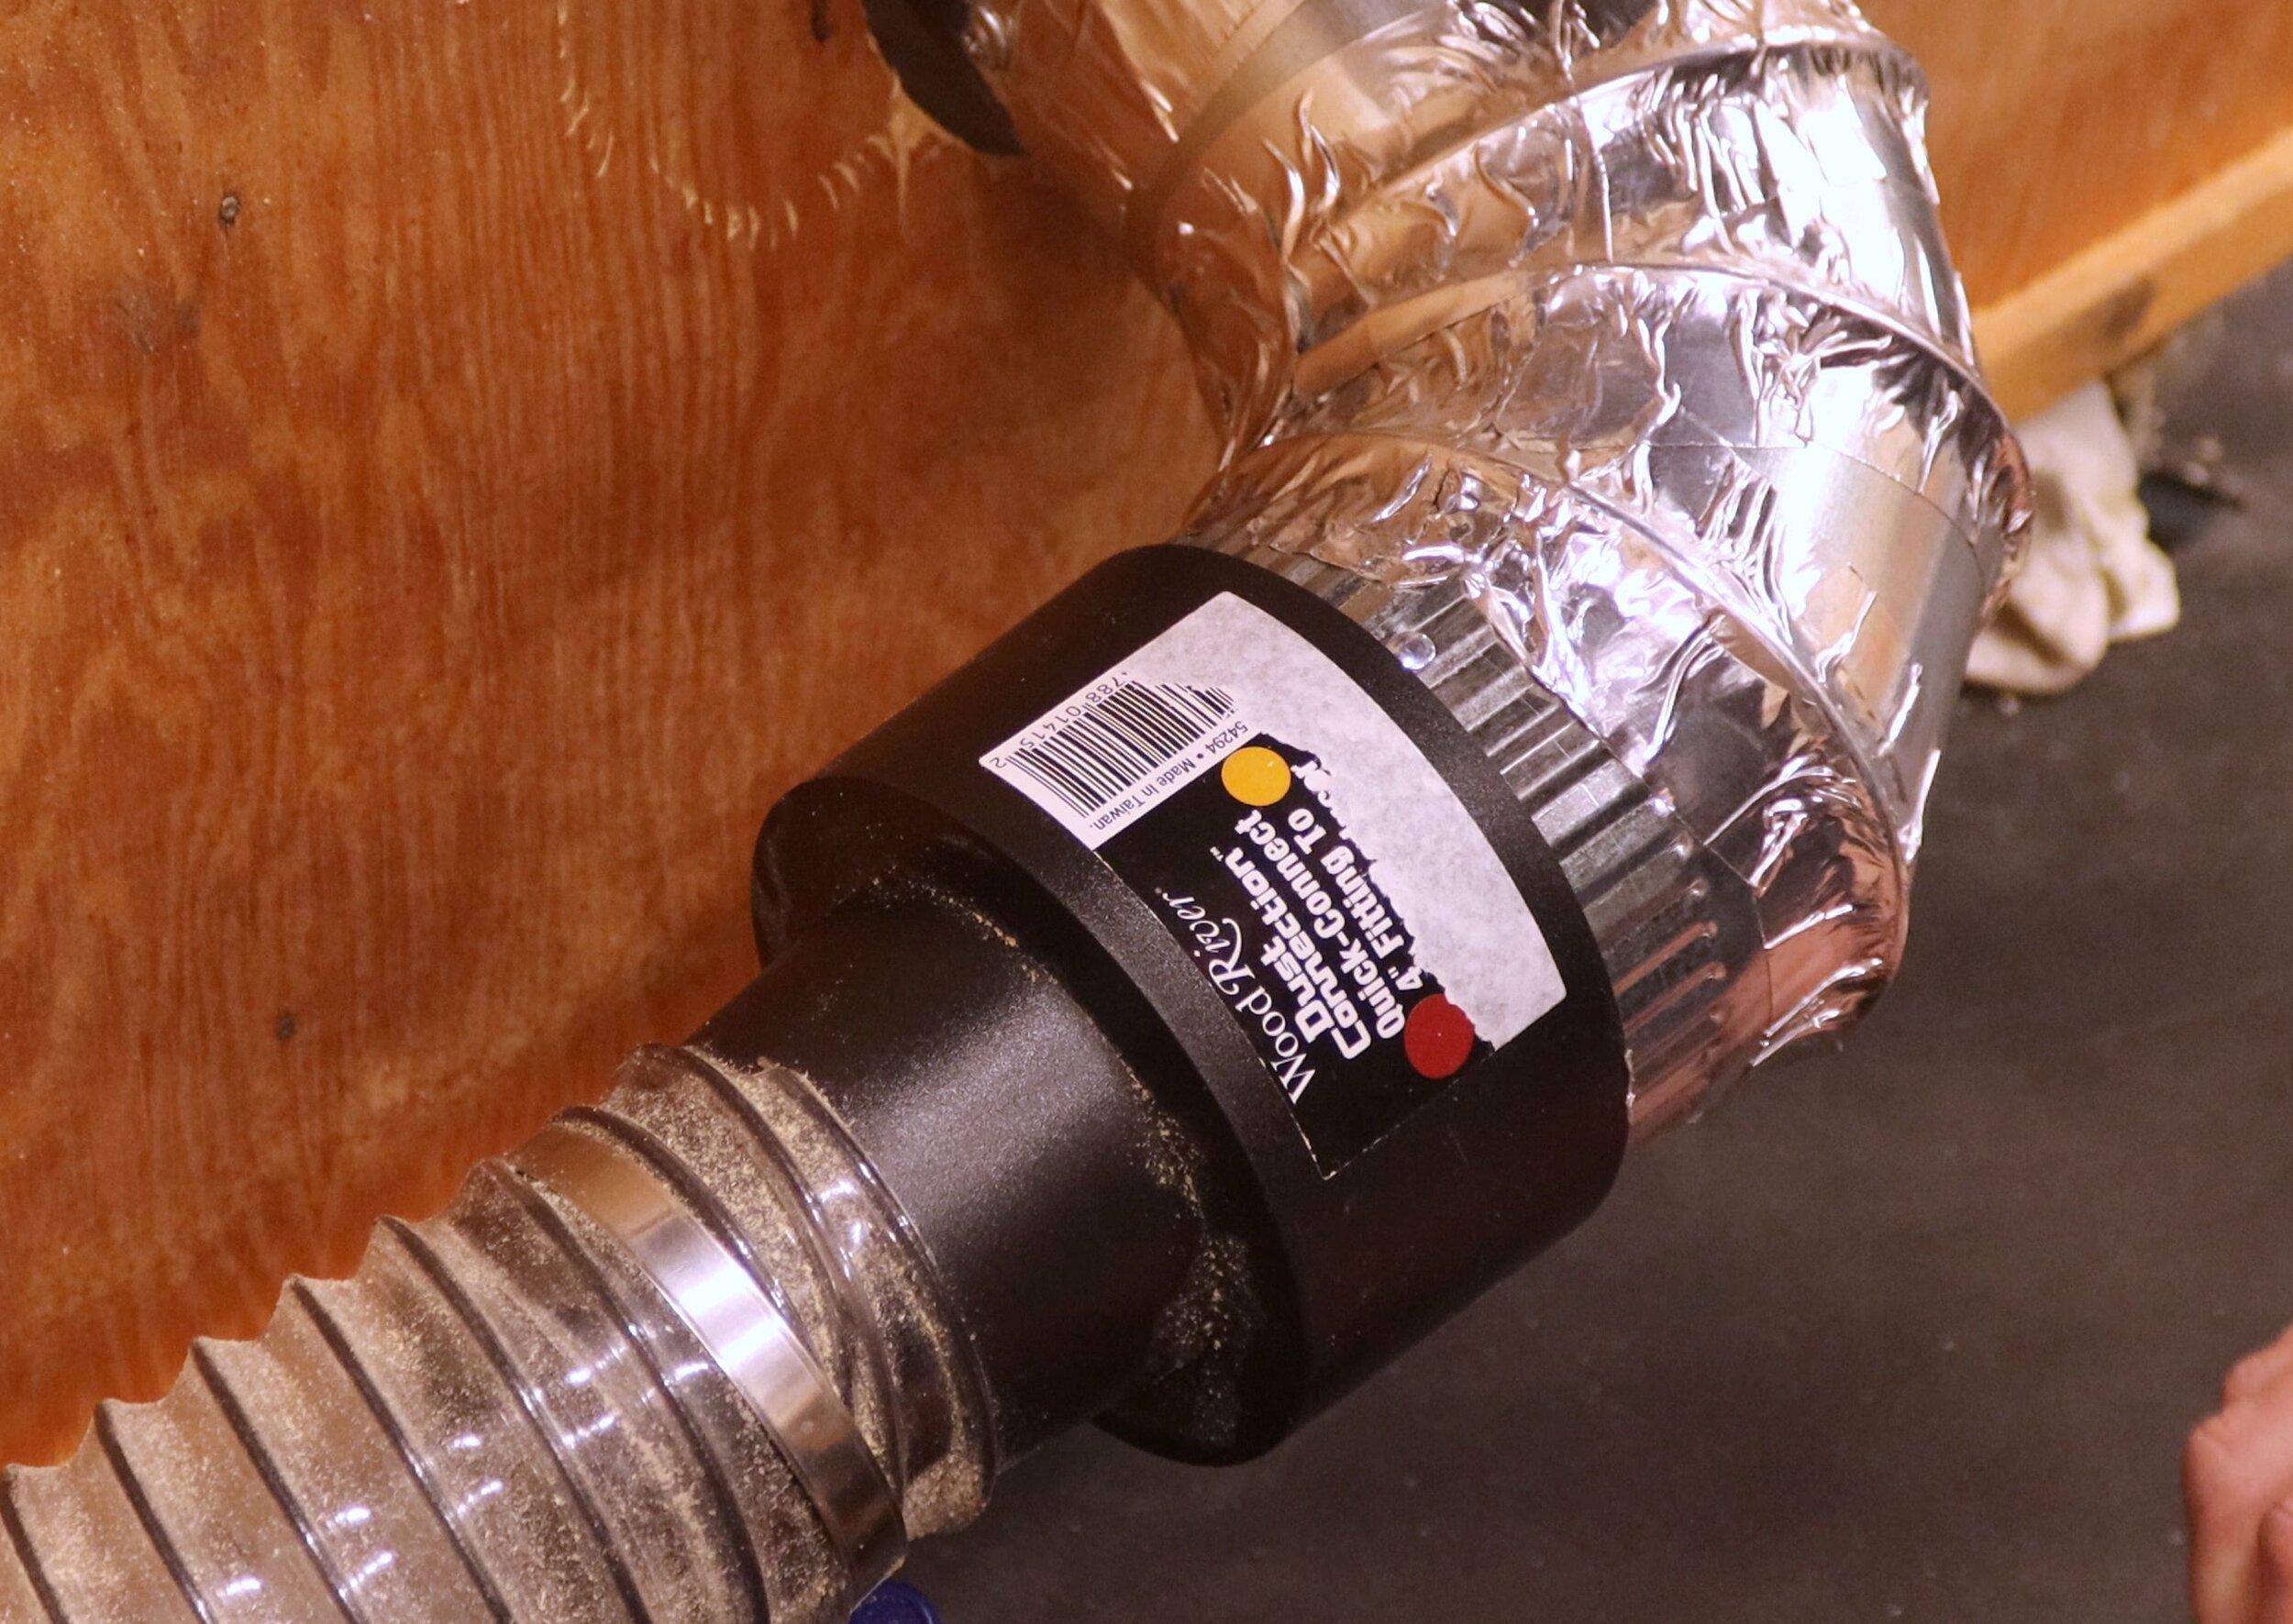
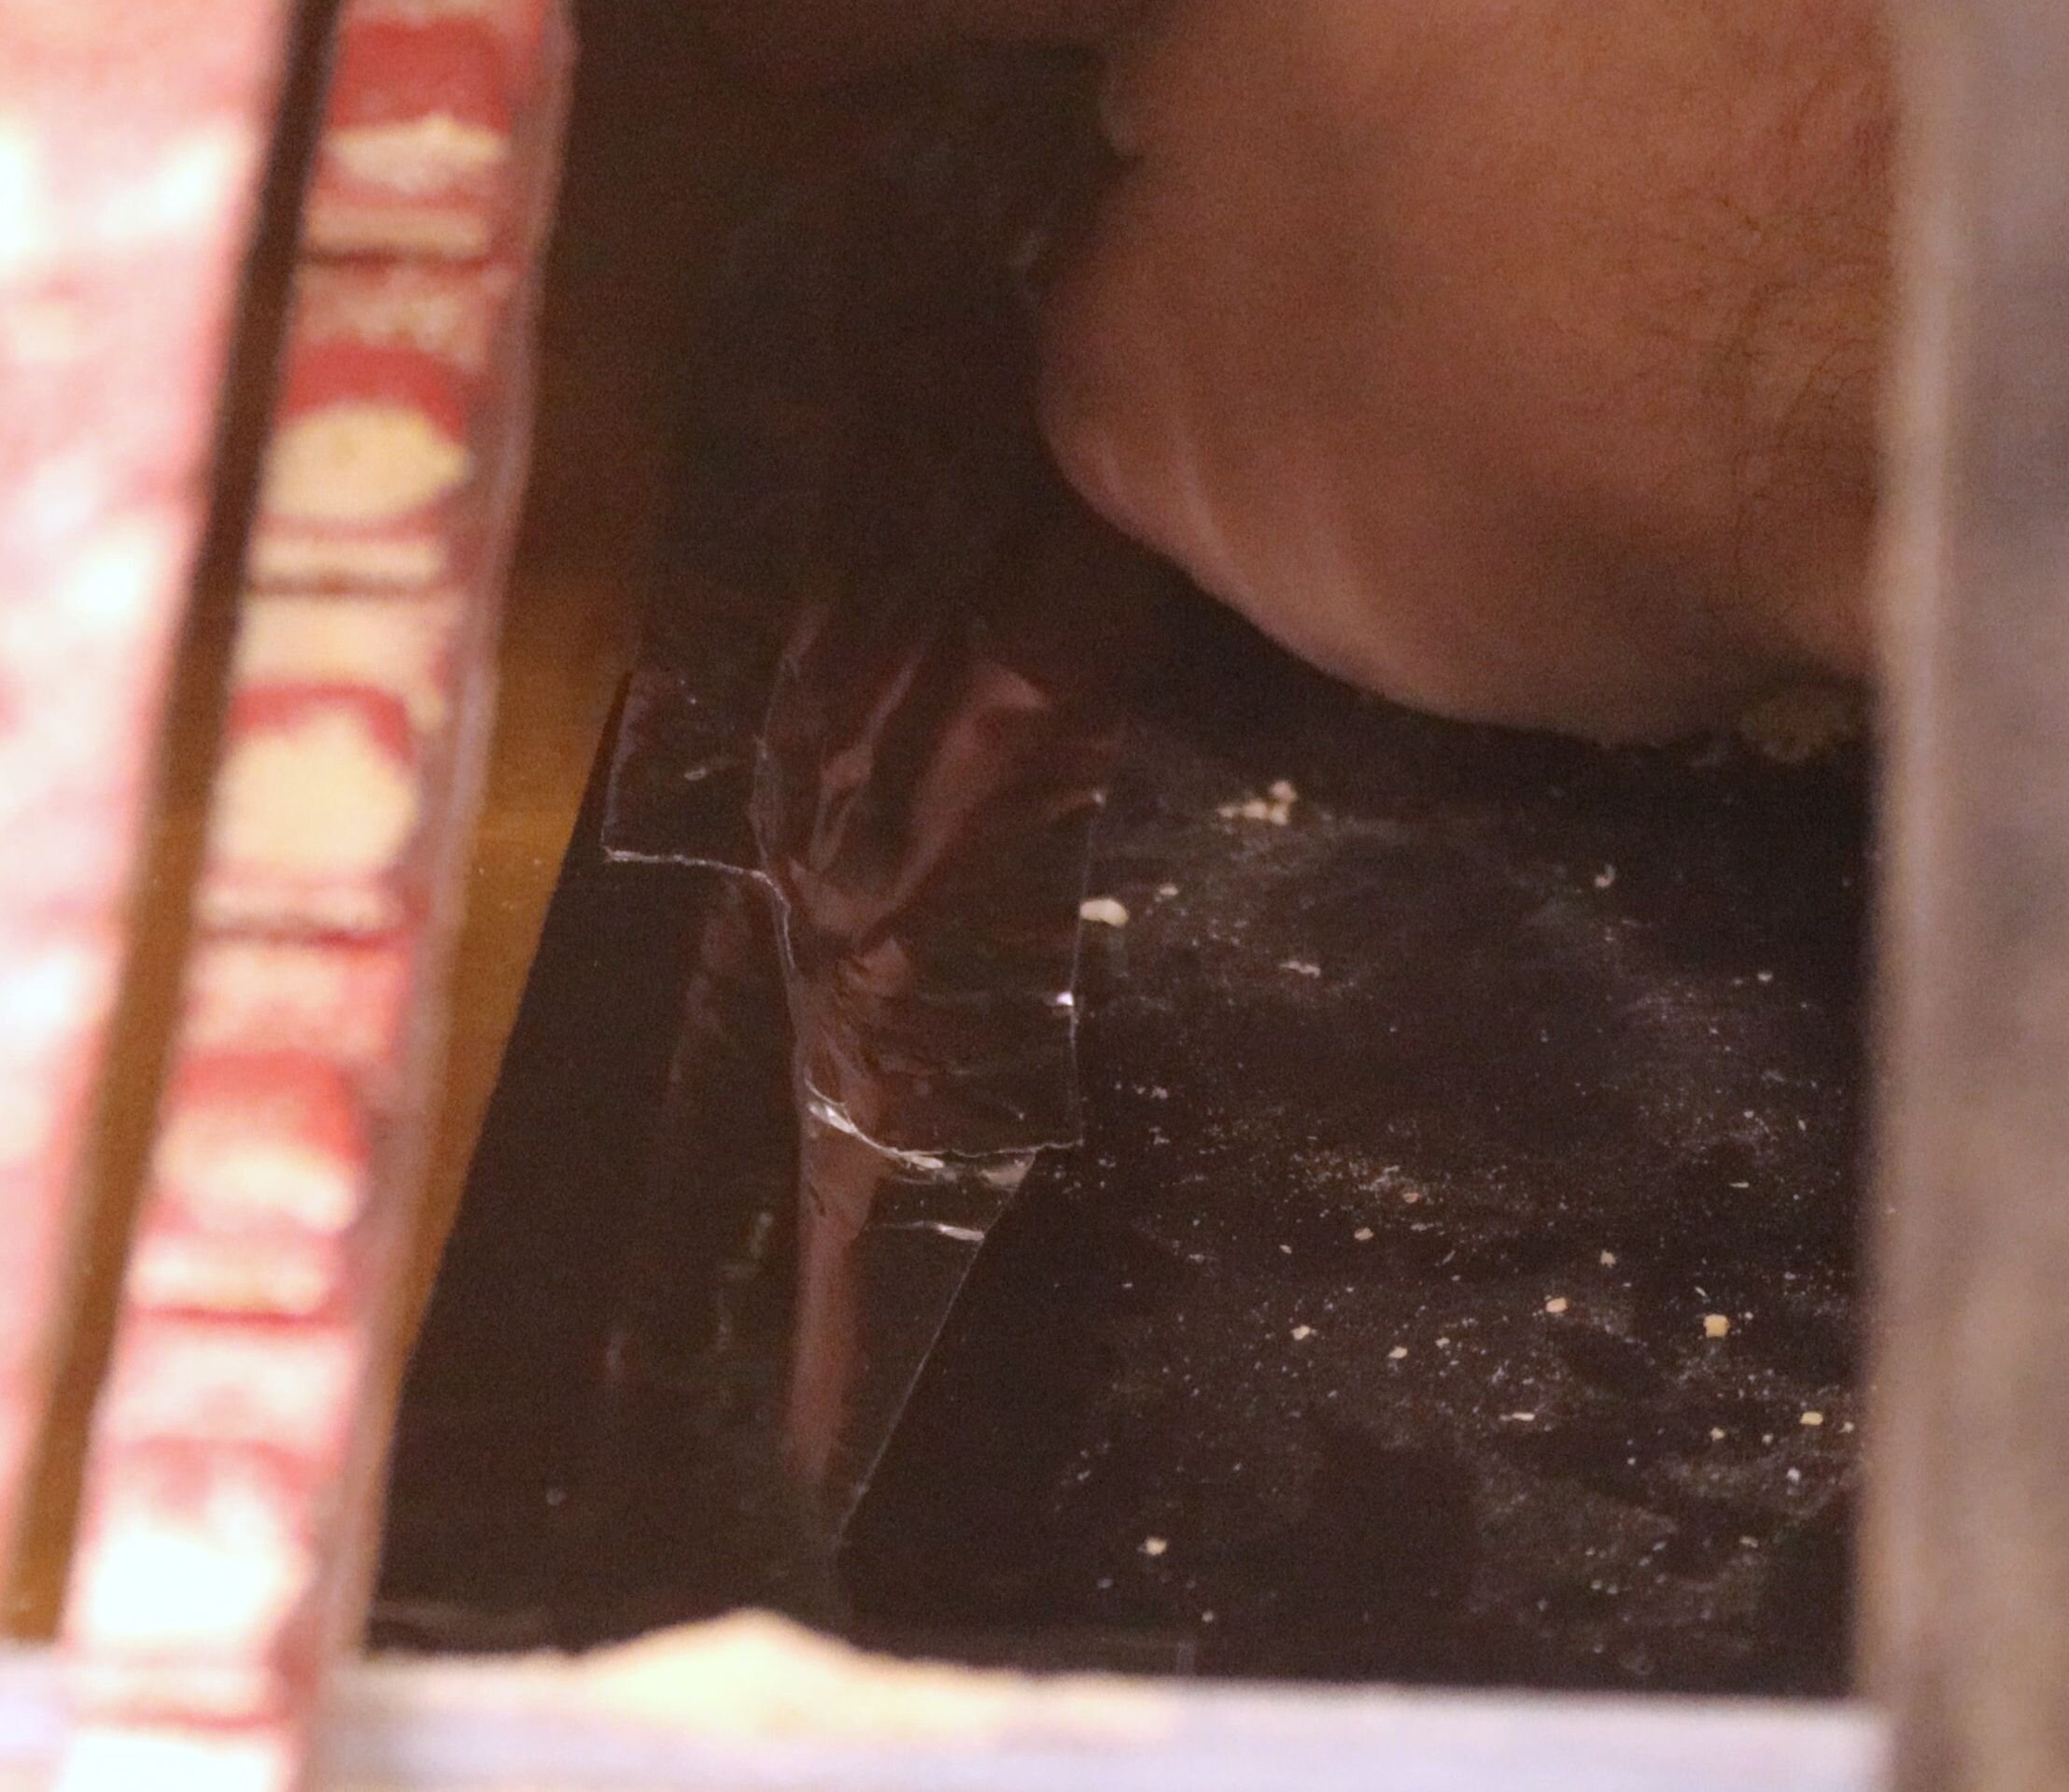
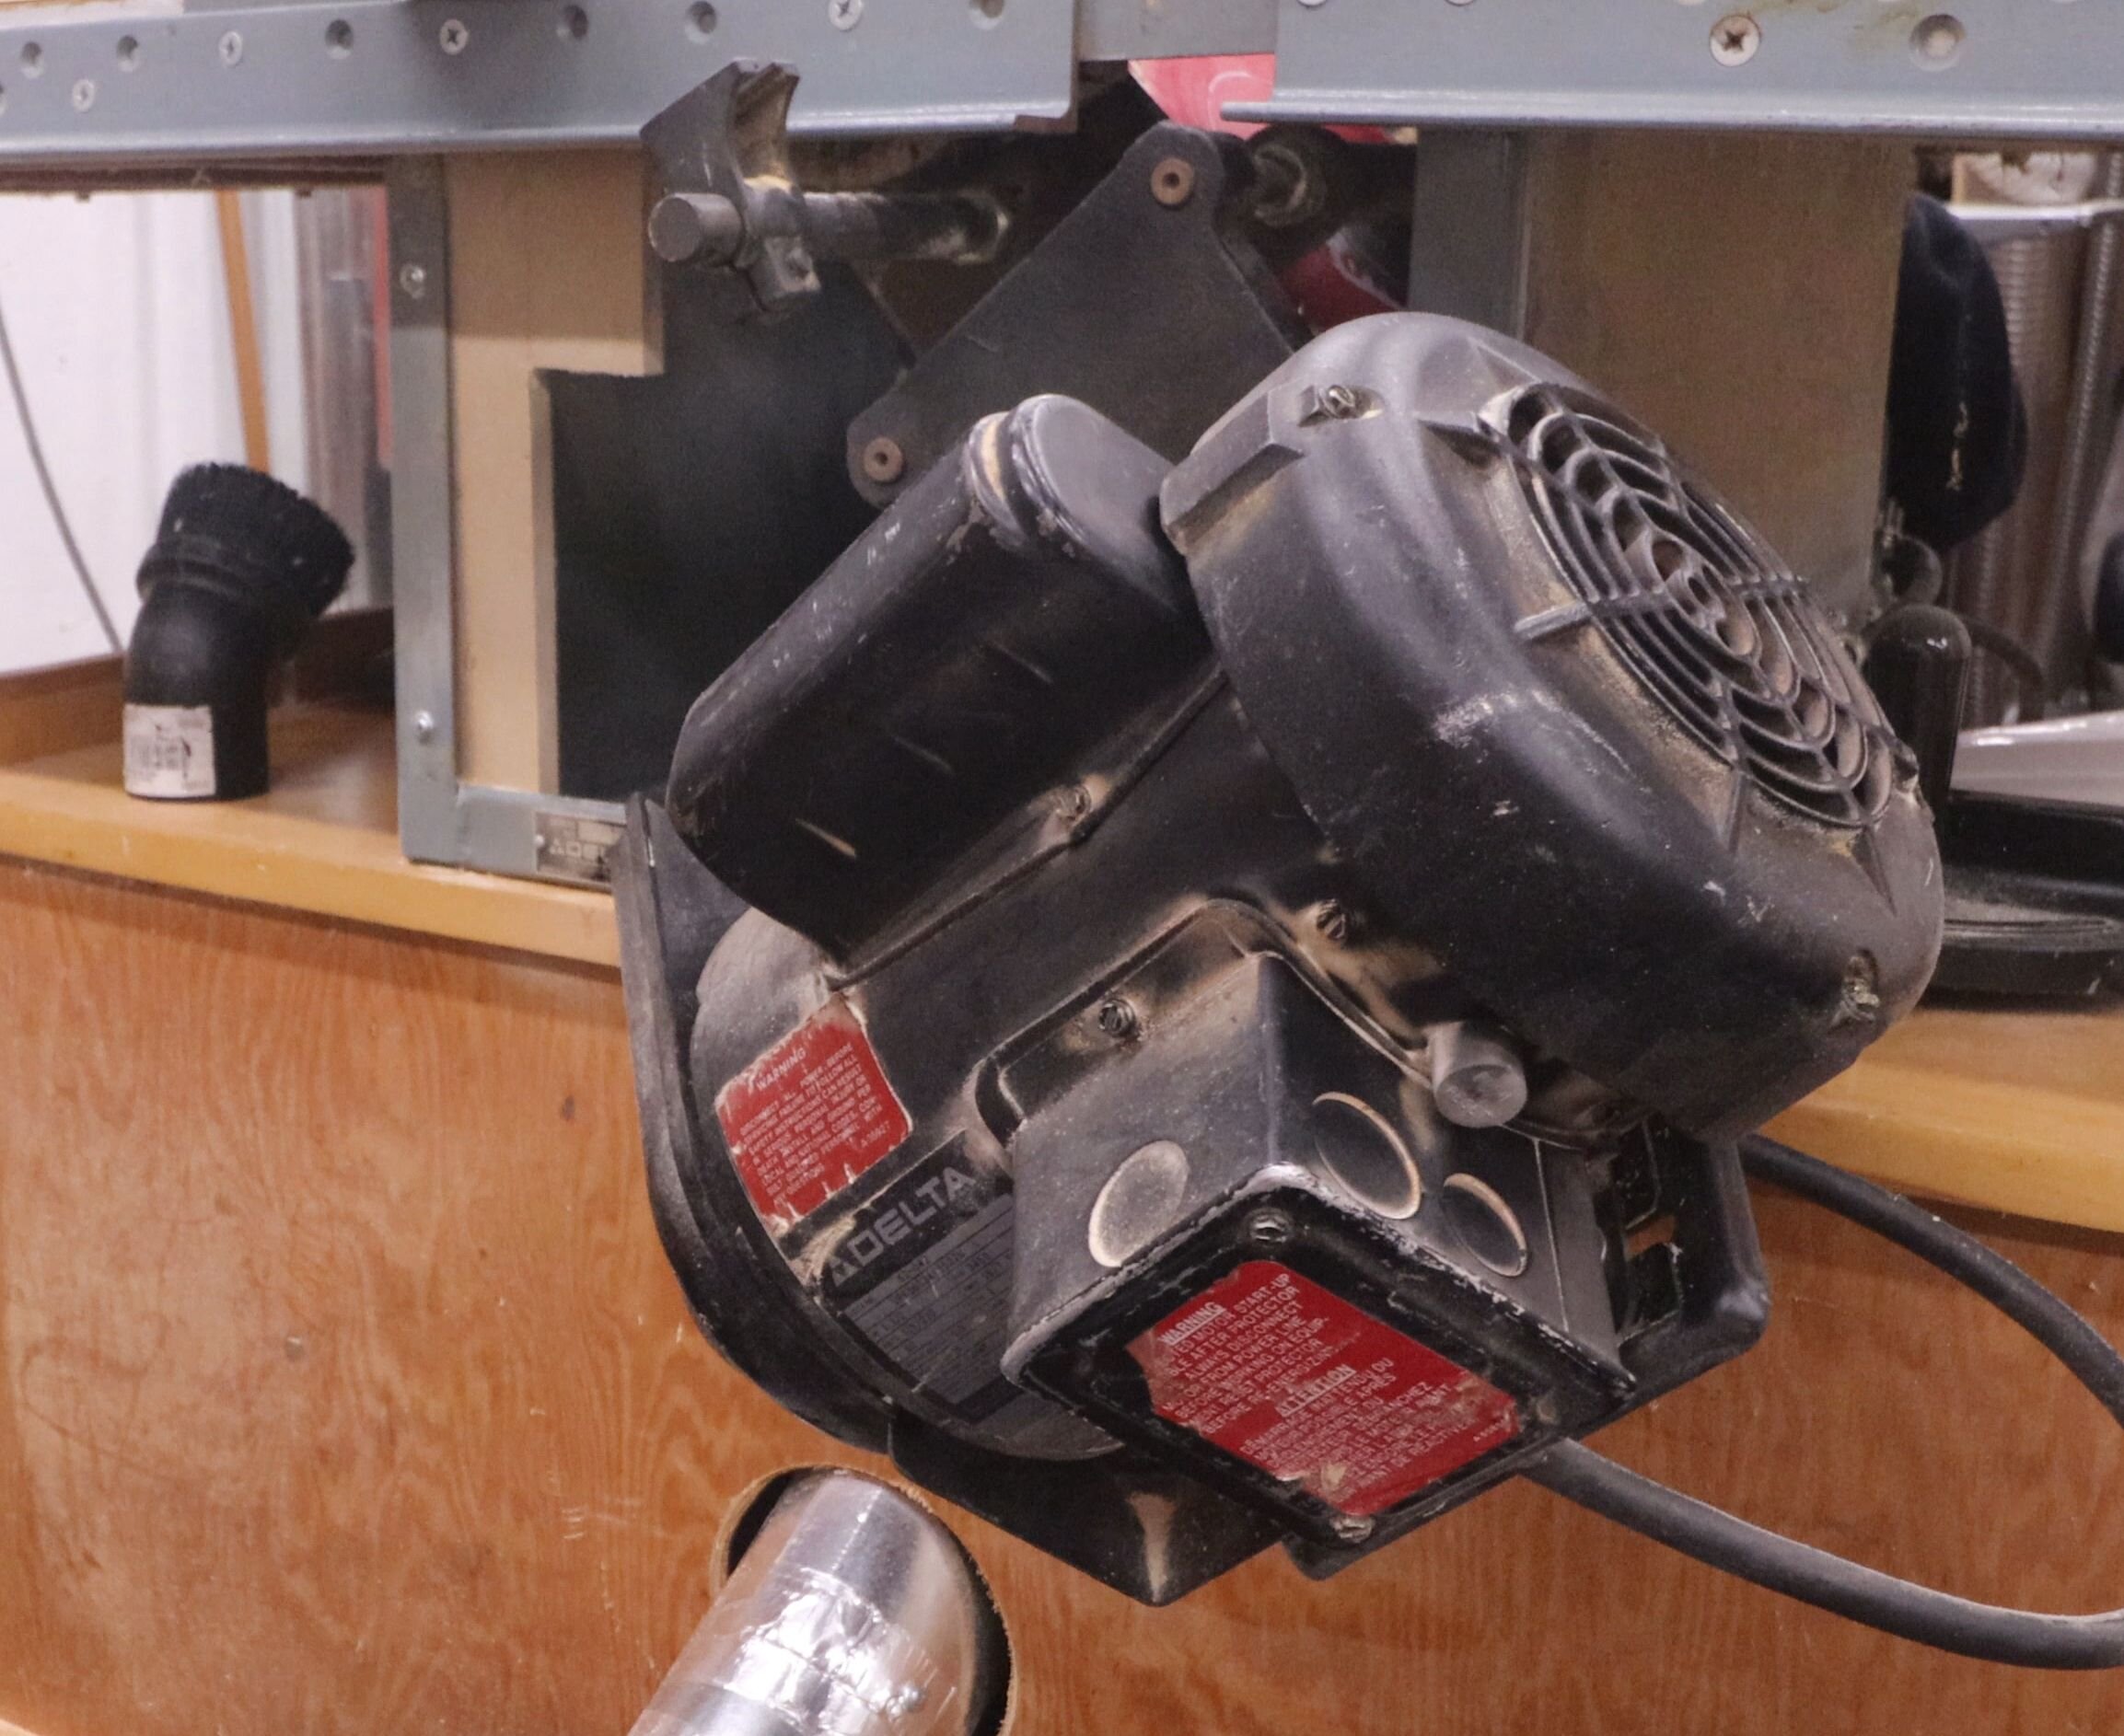
With this assembly all together, I threaded the exit duct through the exit hole and inserted the hood in the opening in the bottom of the saw. I then adjusted the articulating elbow to point in the direction of my dust collection hose, then attached the adapter for my shop vac.
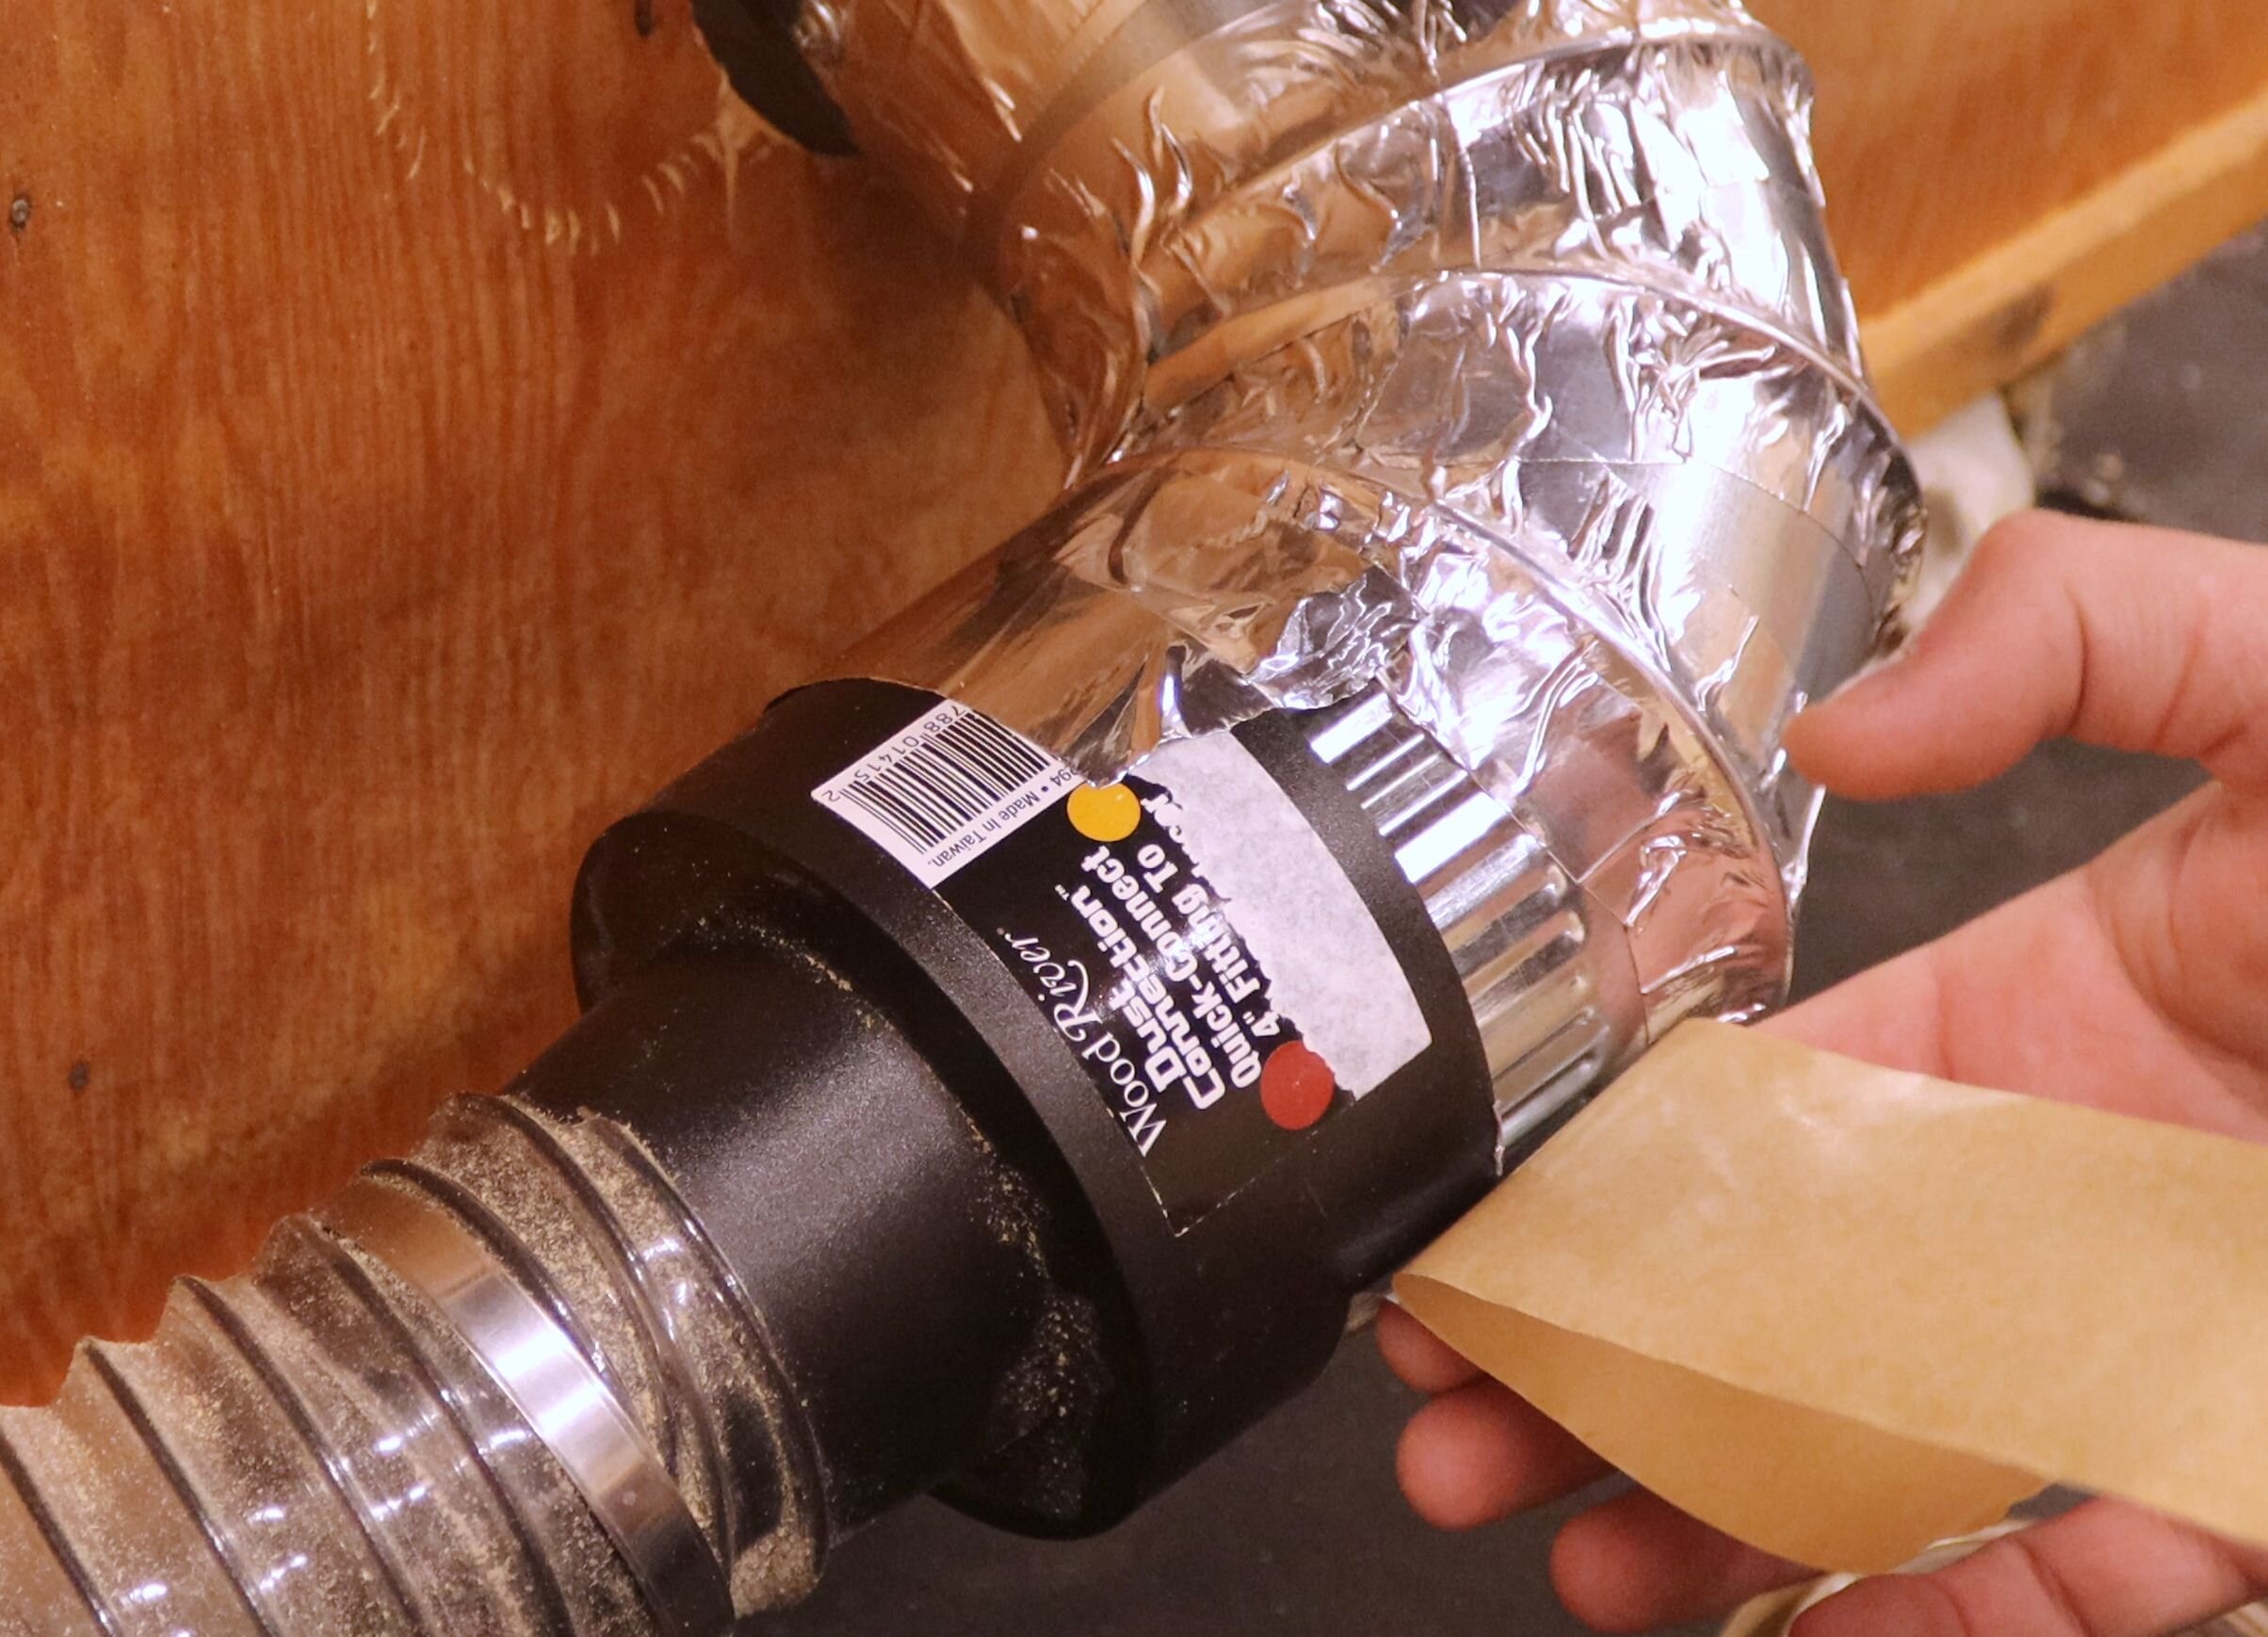
I should mention that I taped all of the seams and connections for the duct pieces to minimize airflow loss.
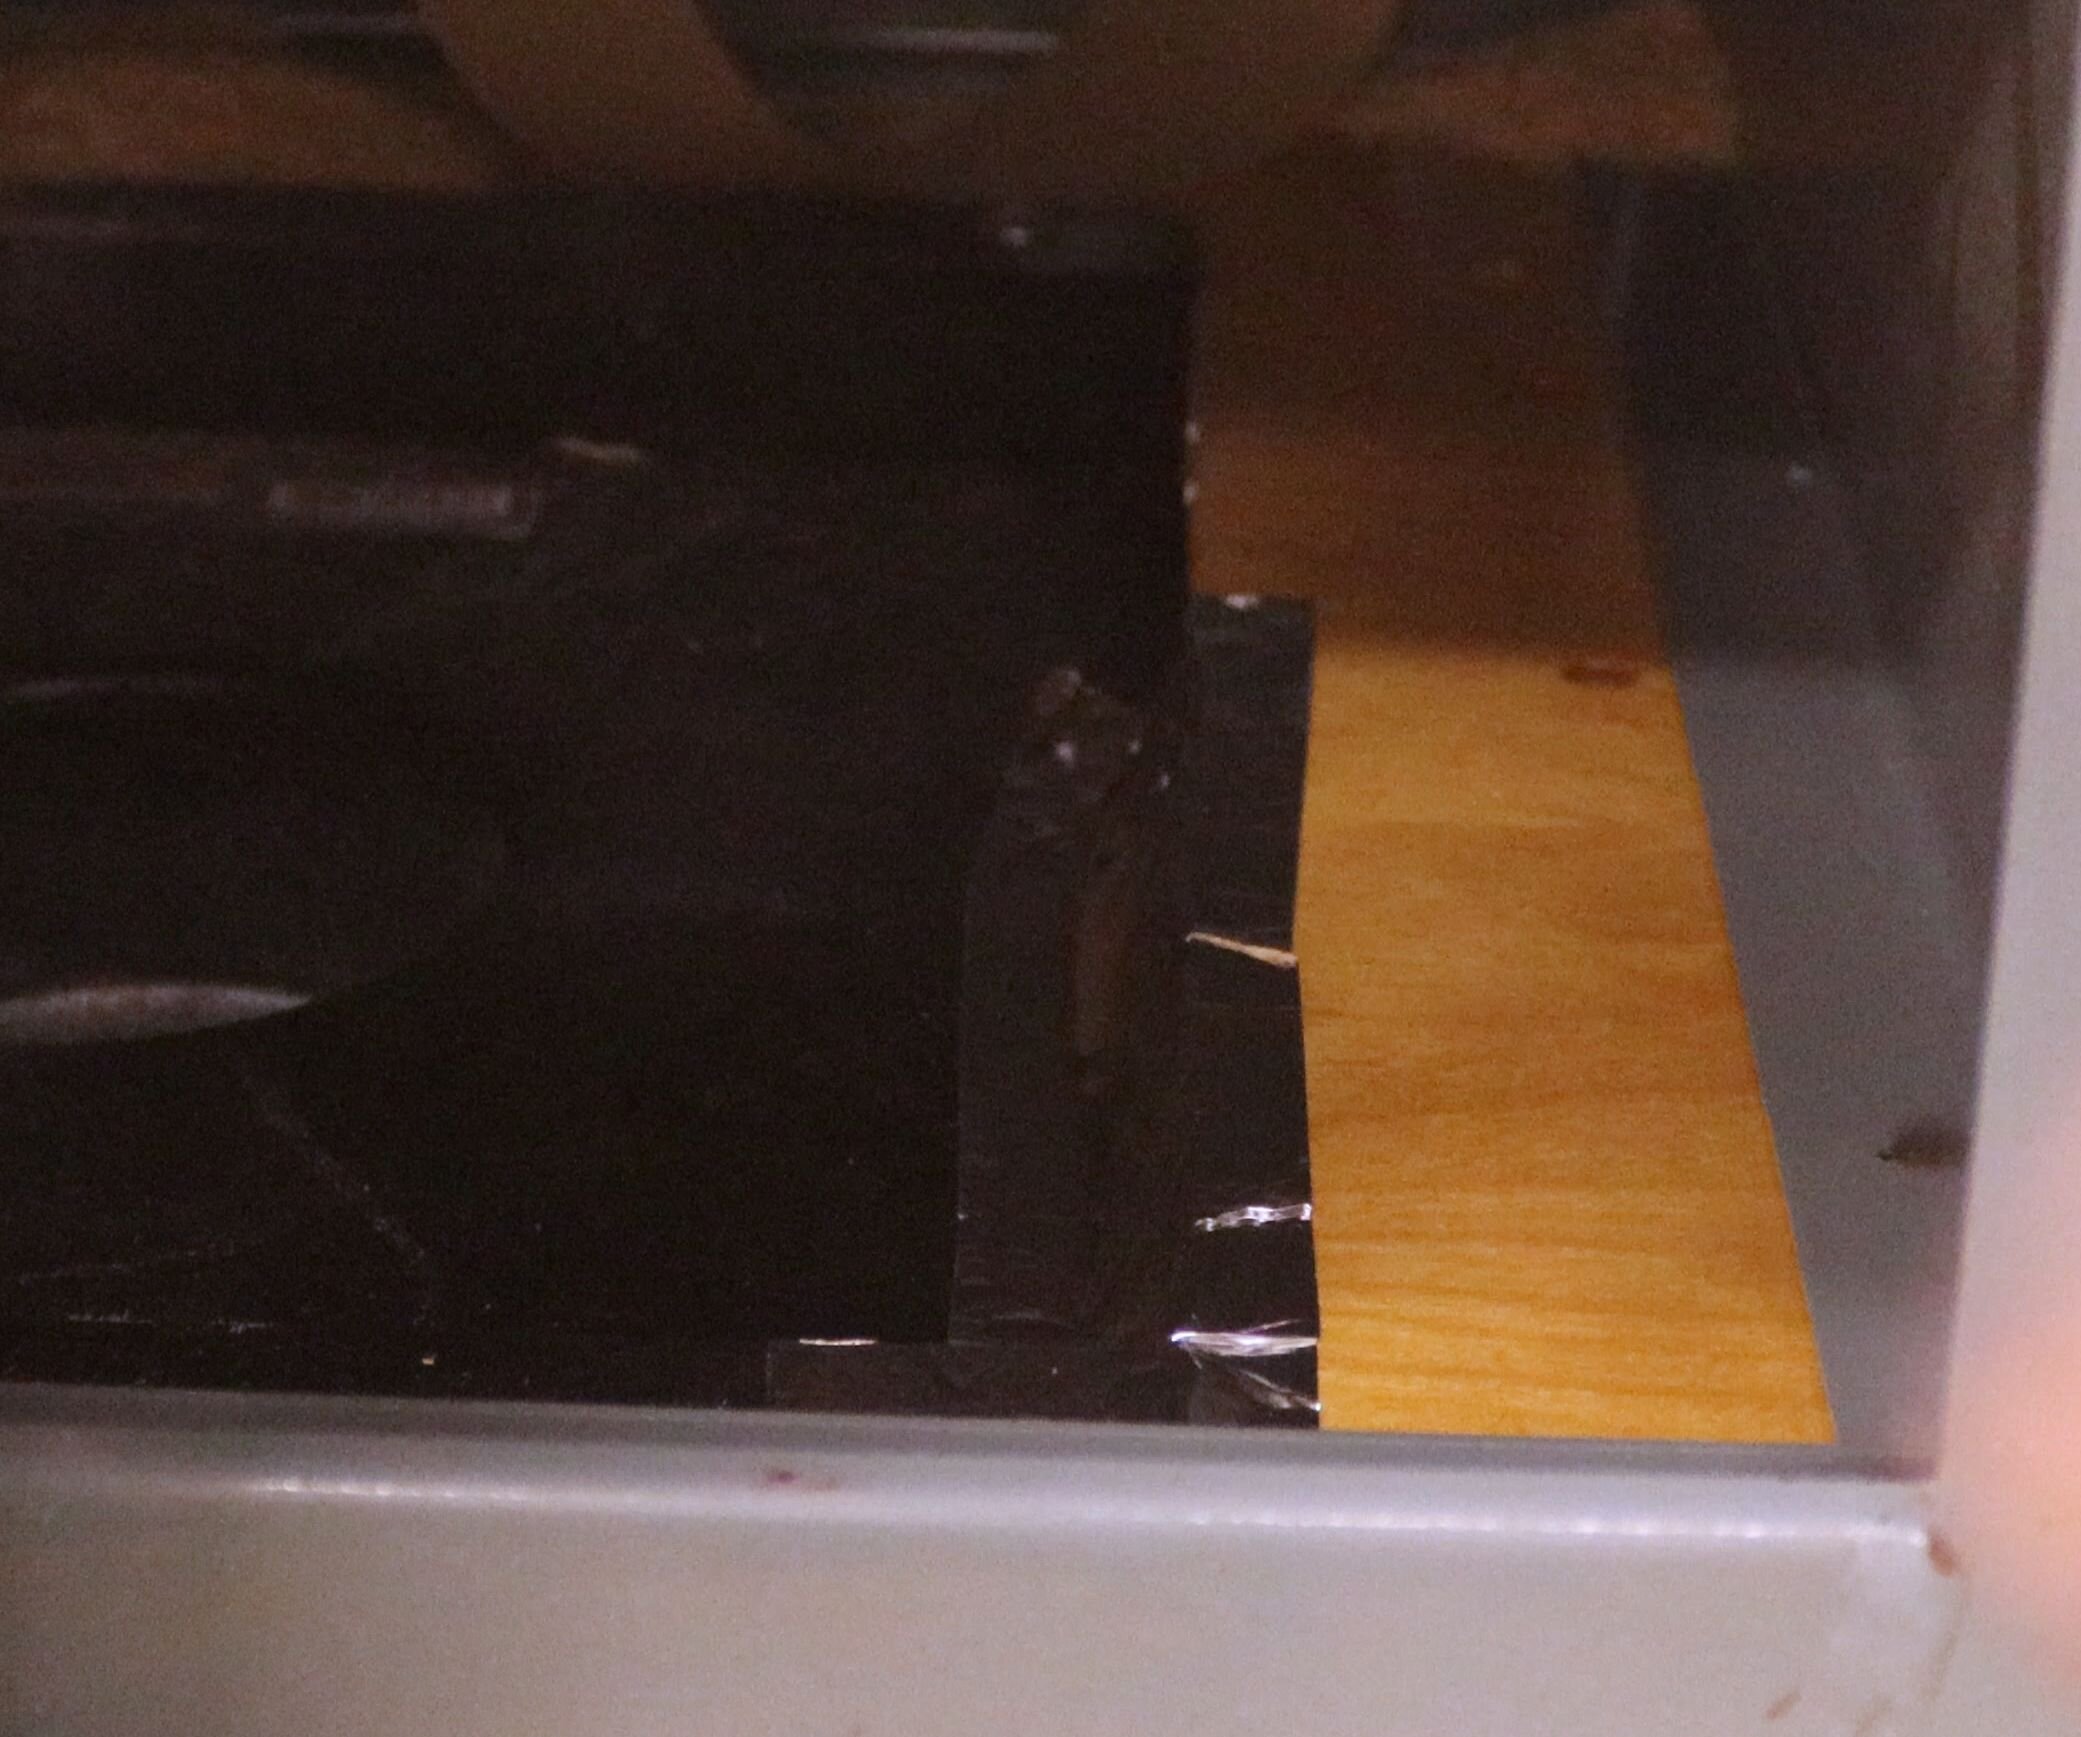
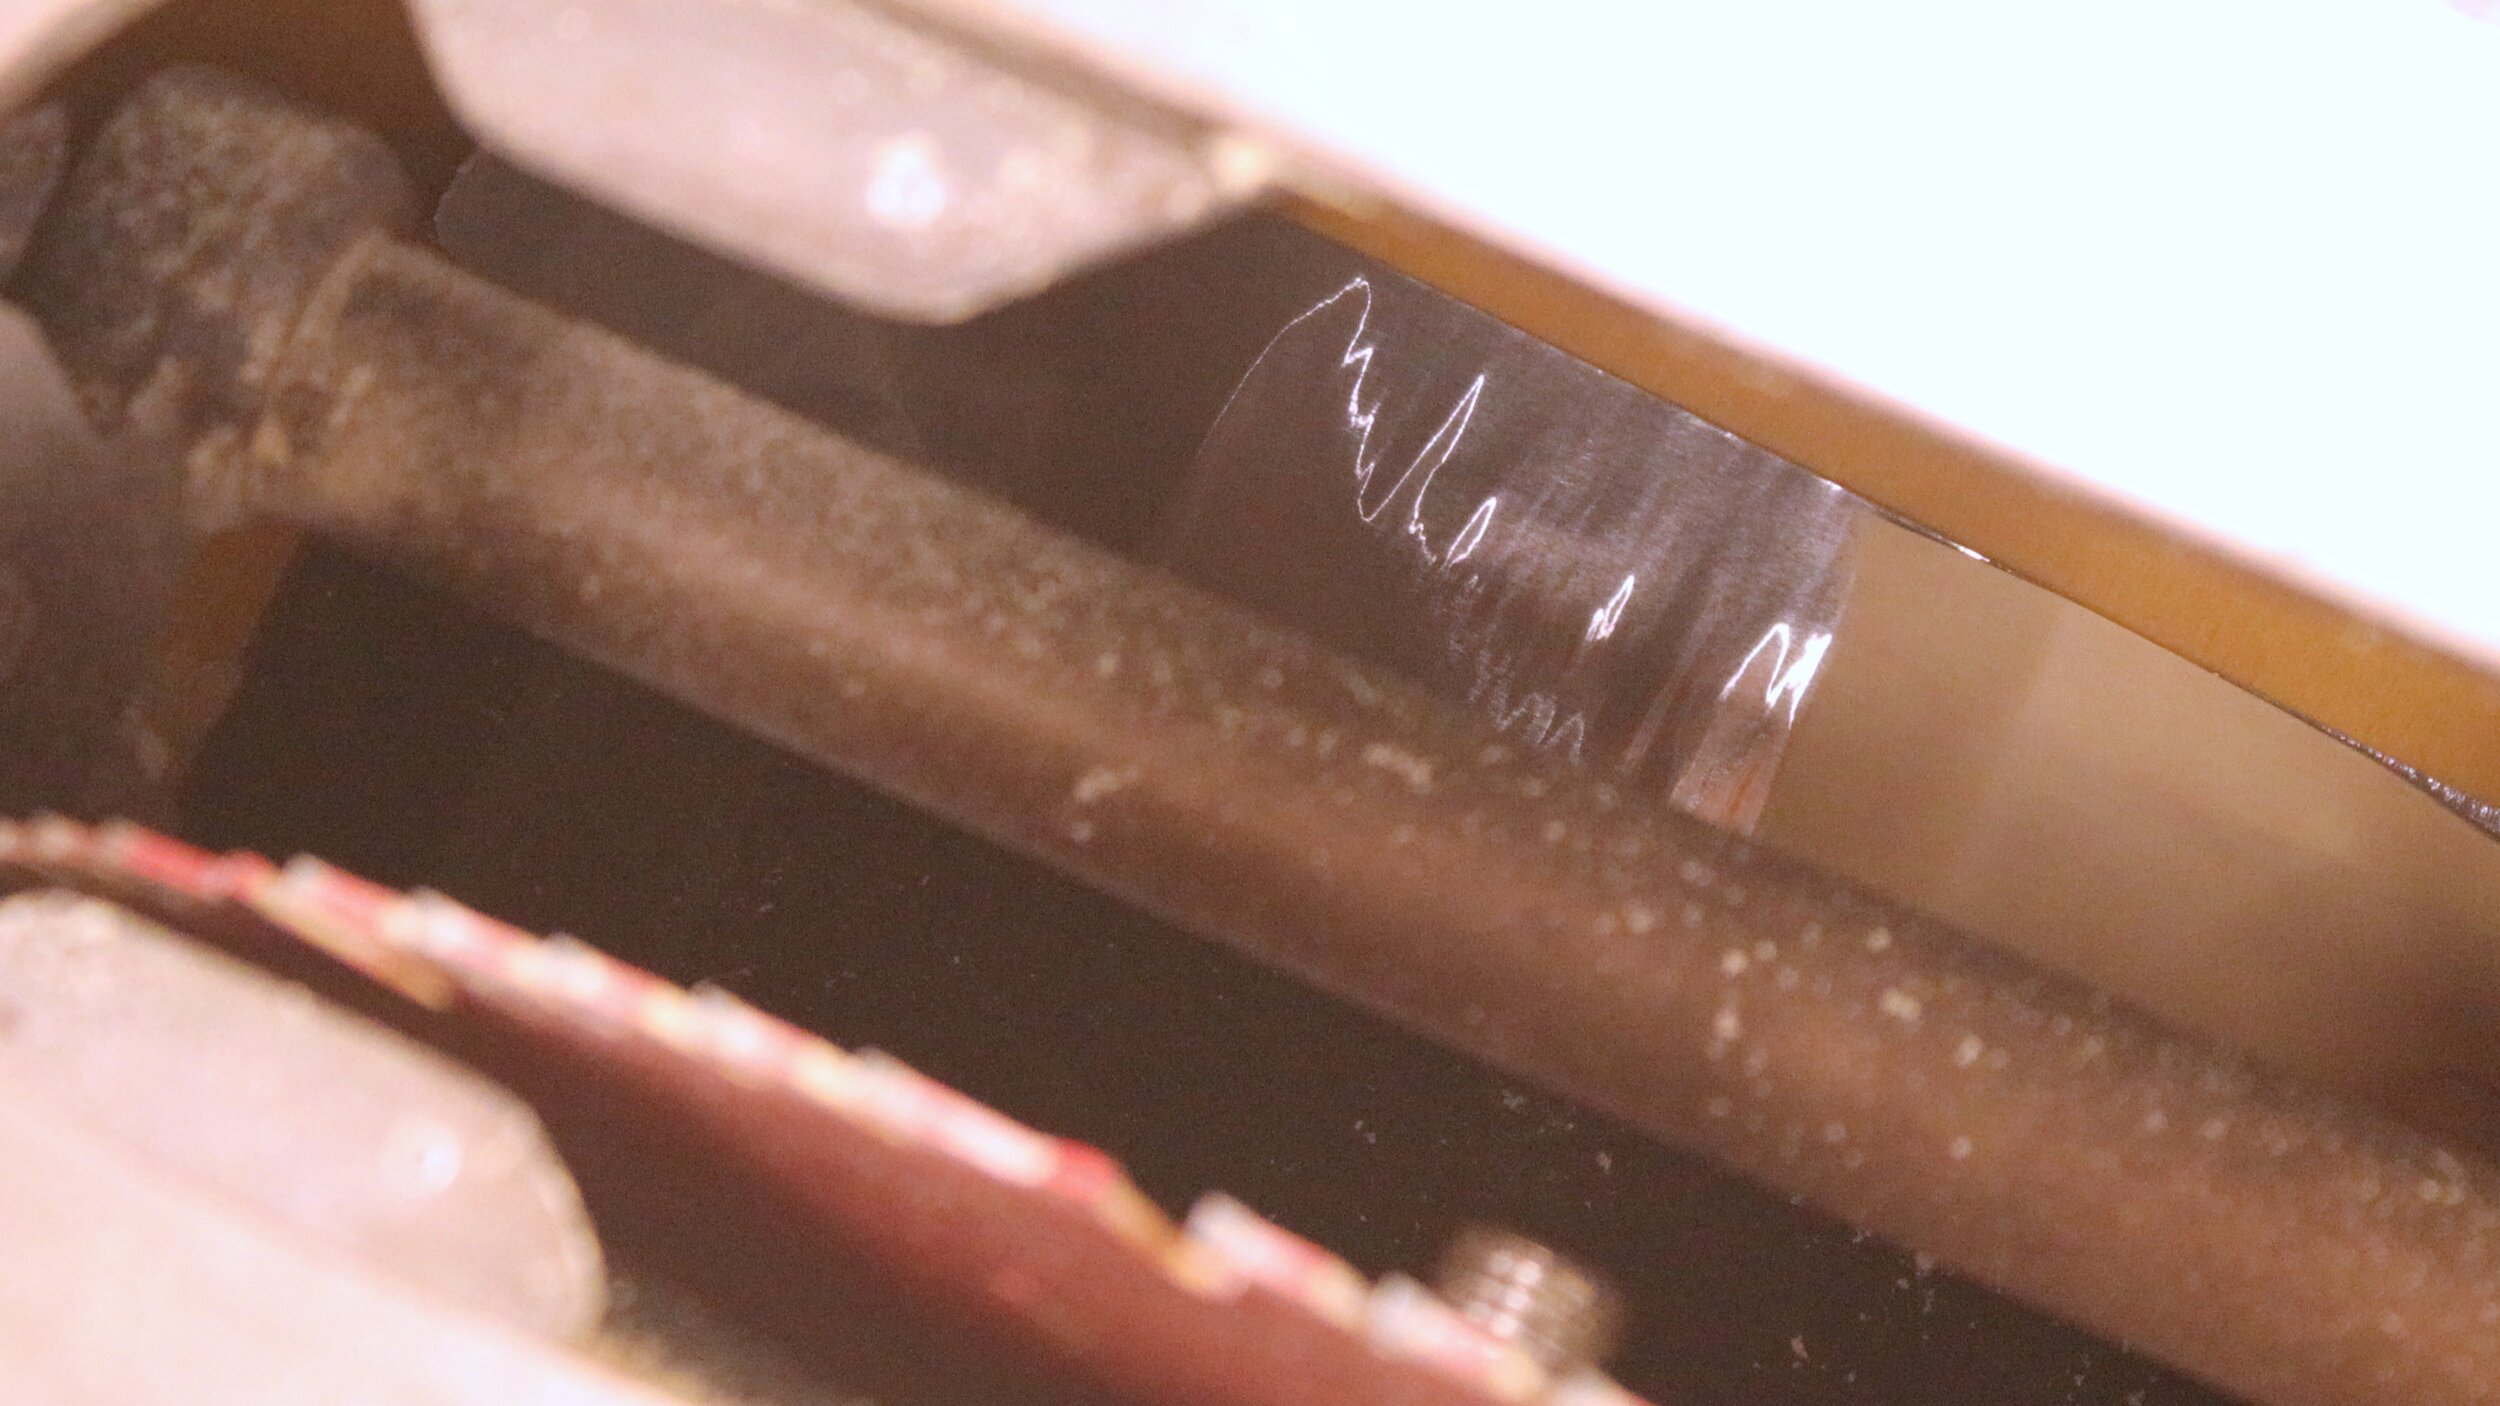
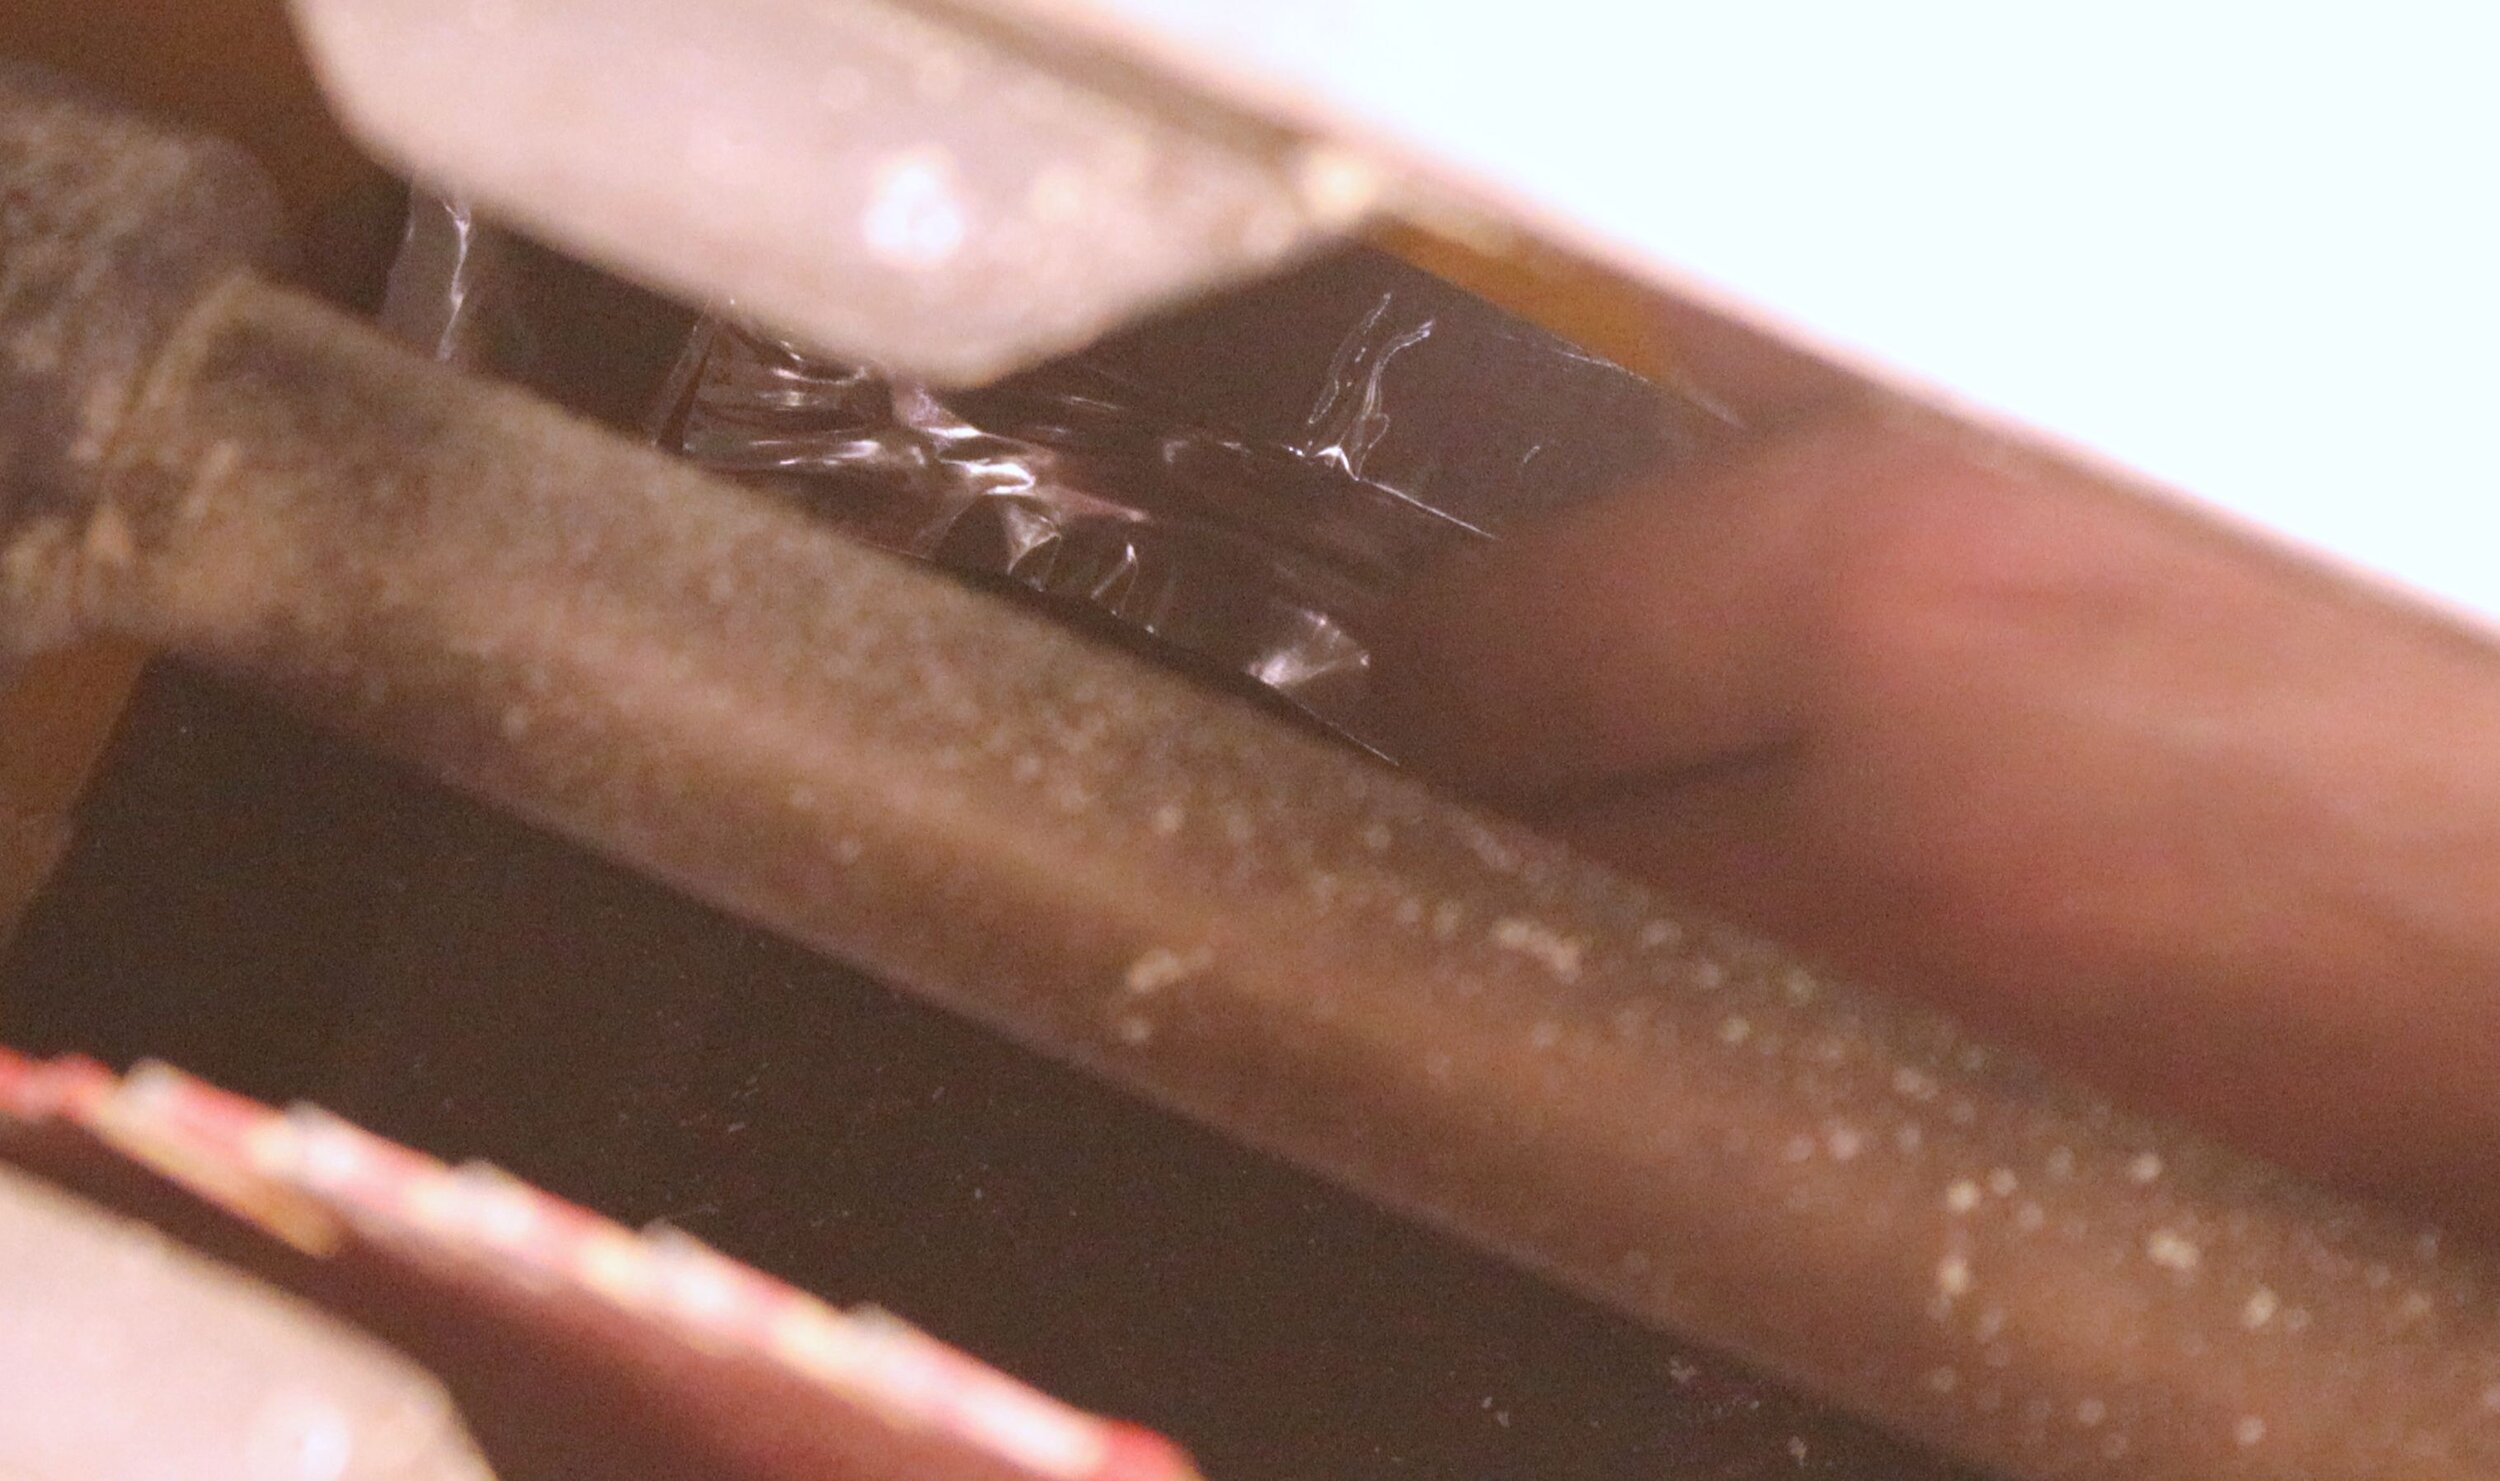
Since the fit of the bottom opening around the hood isn’t airtight, I added duct tape to seal the gap and minimize air loss (and dust falling into the cabinet).
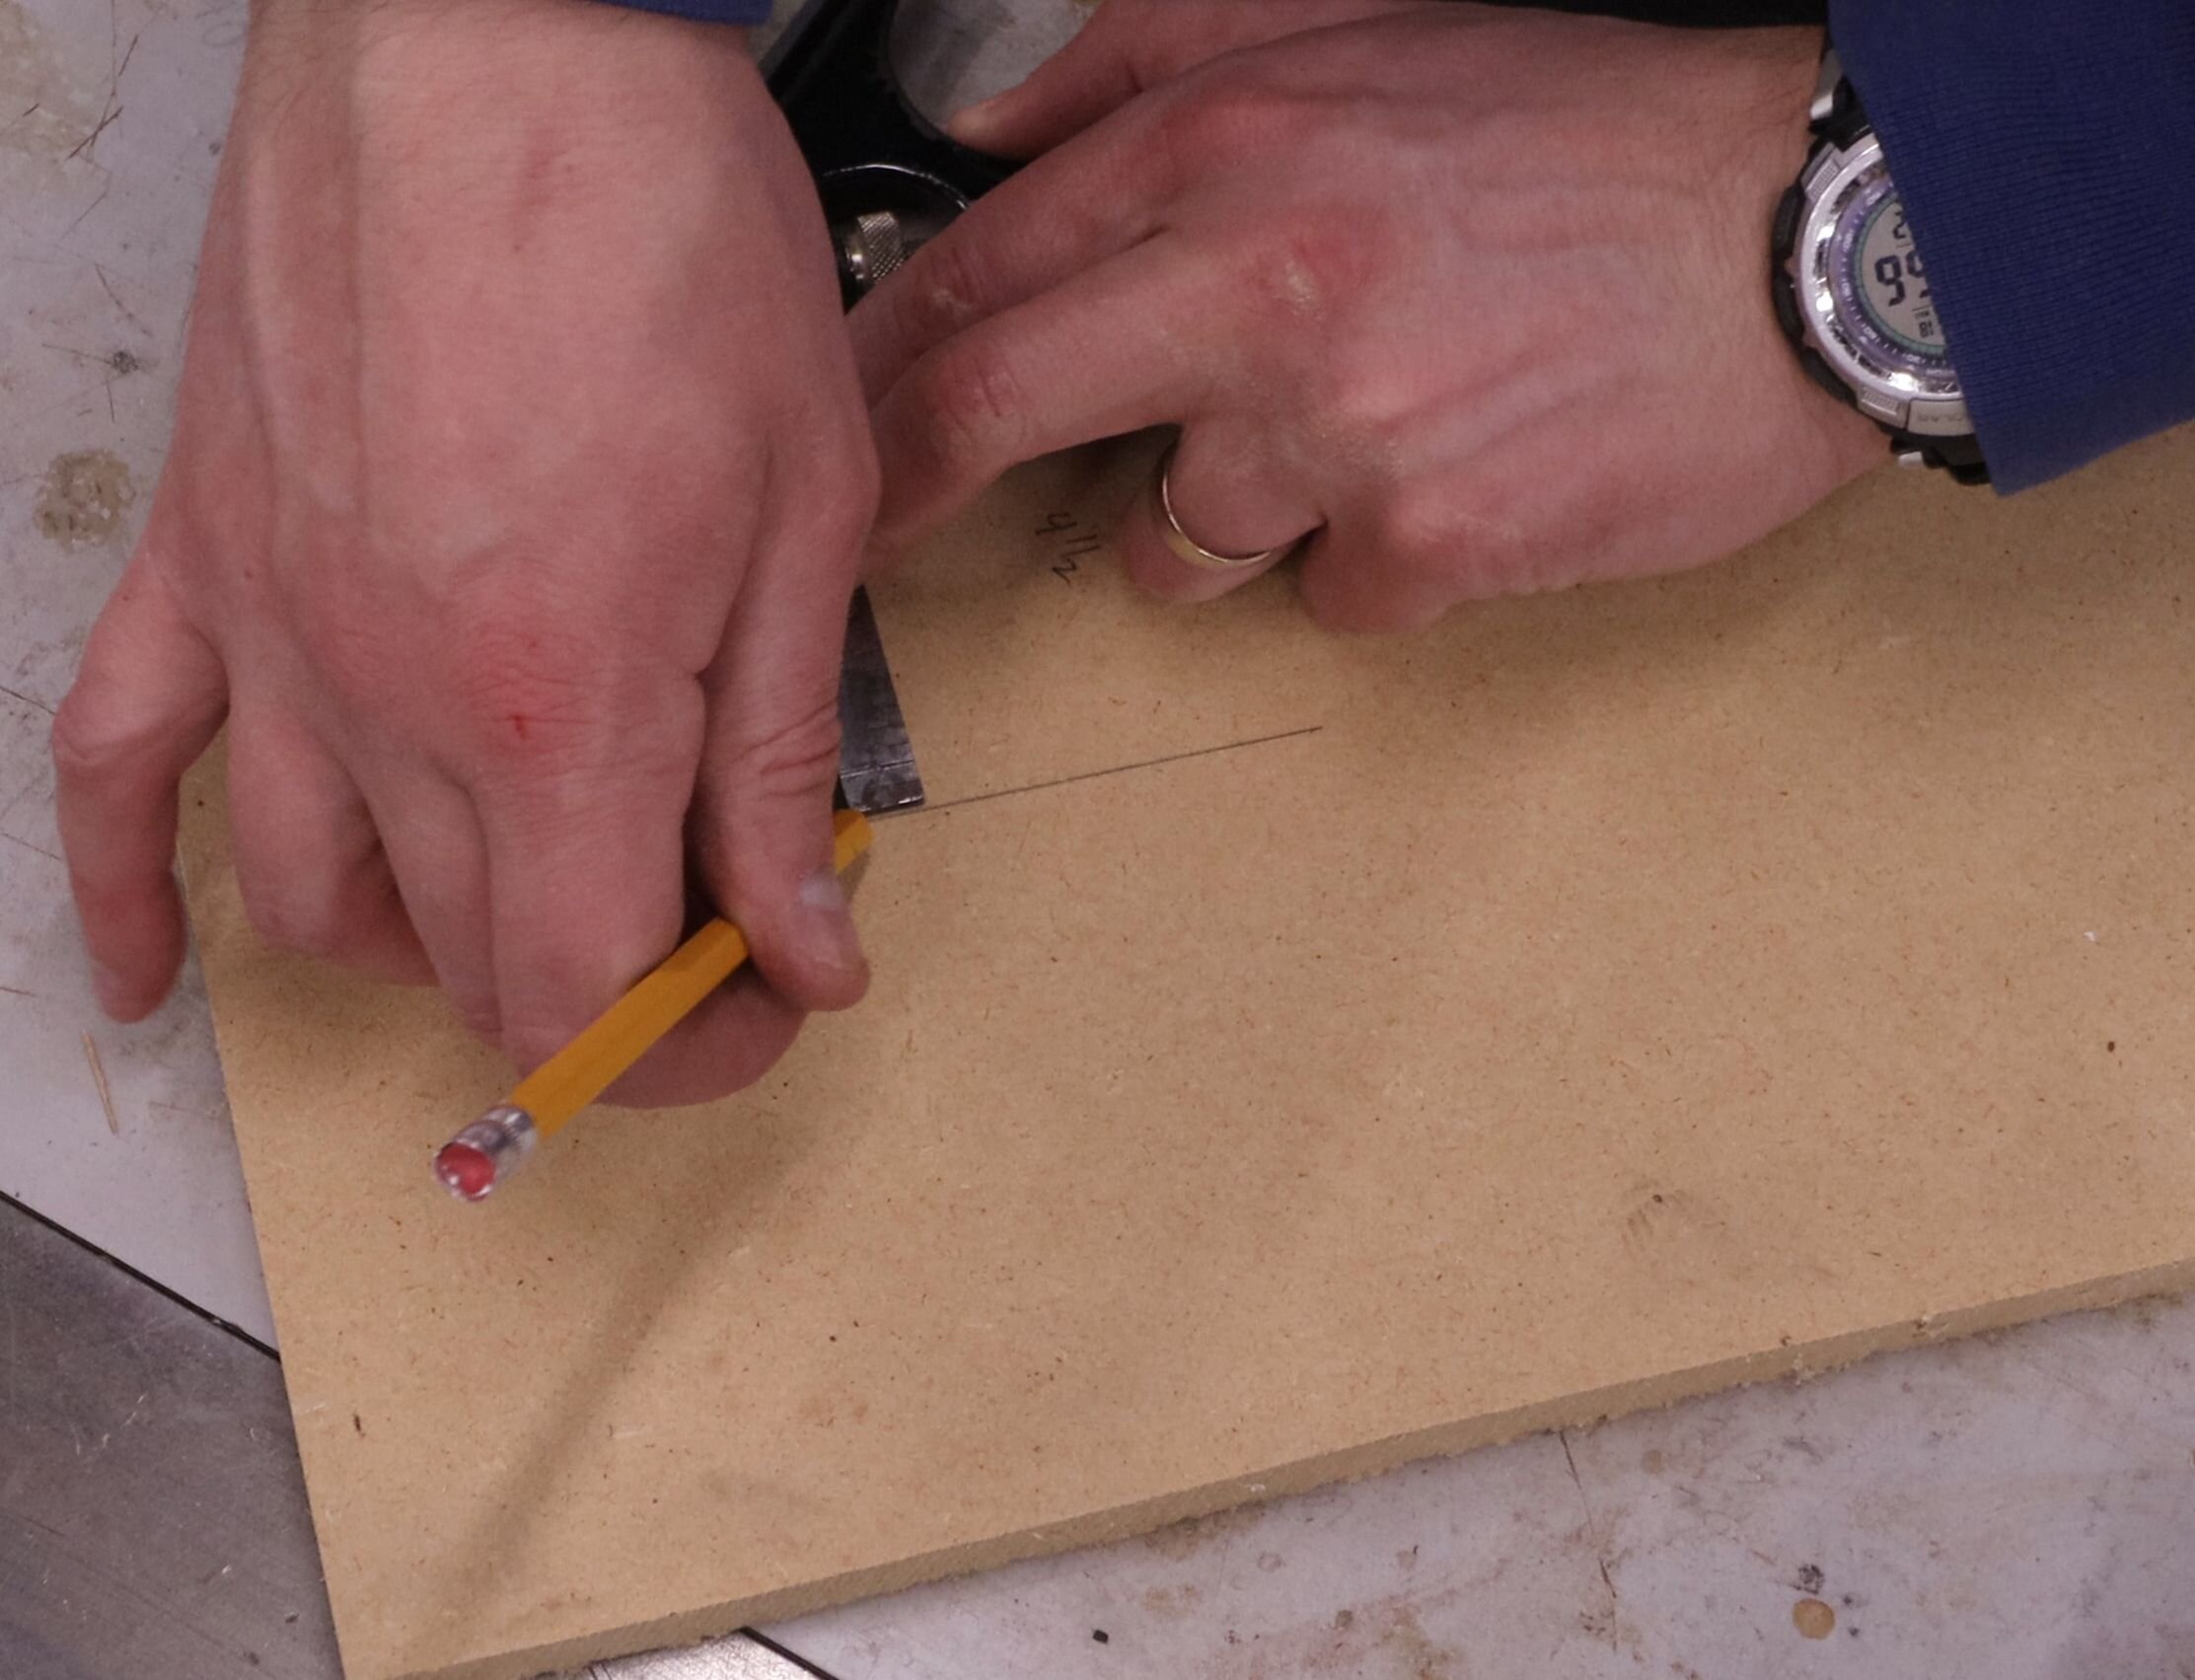
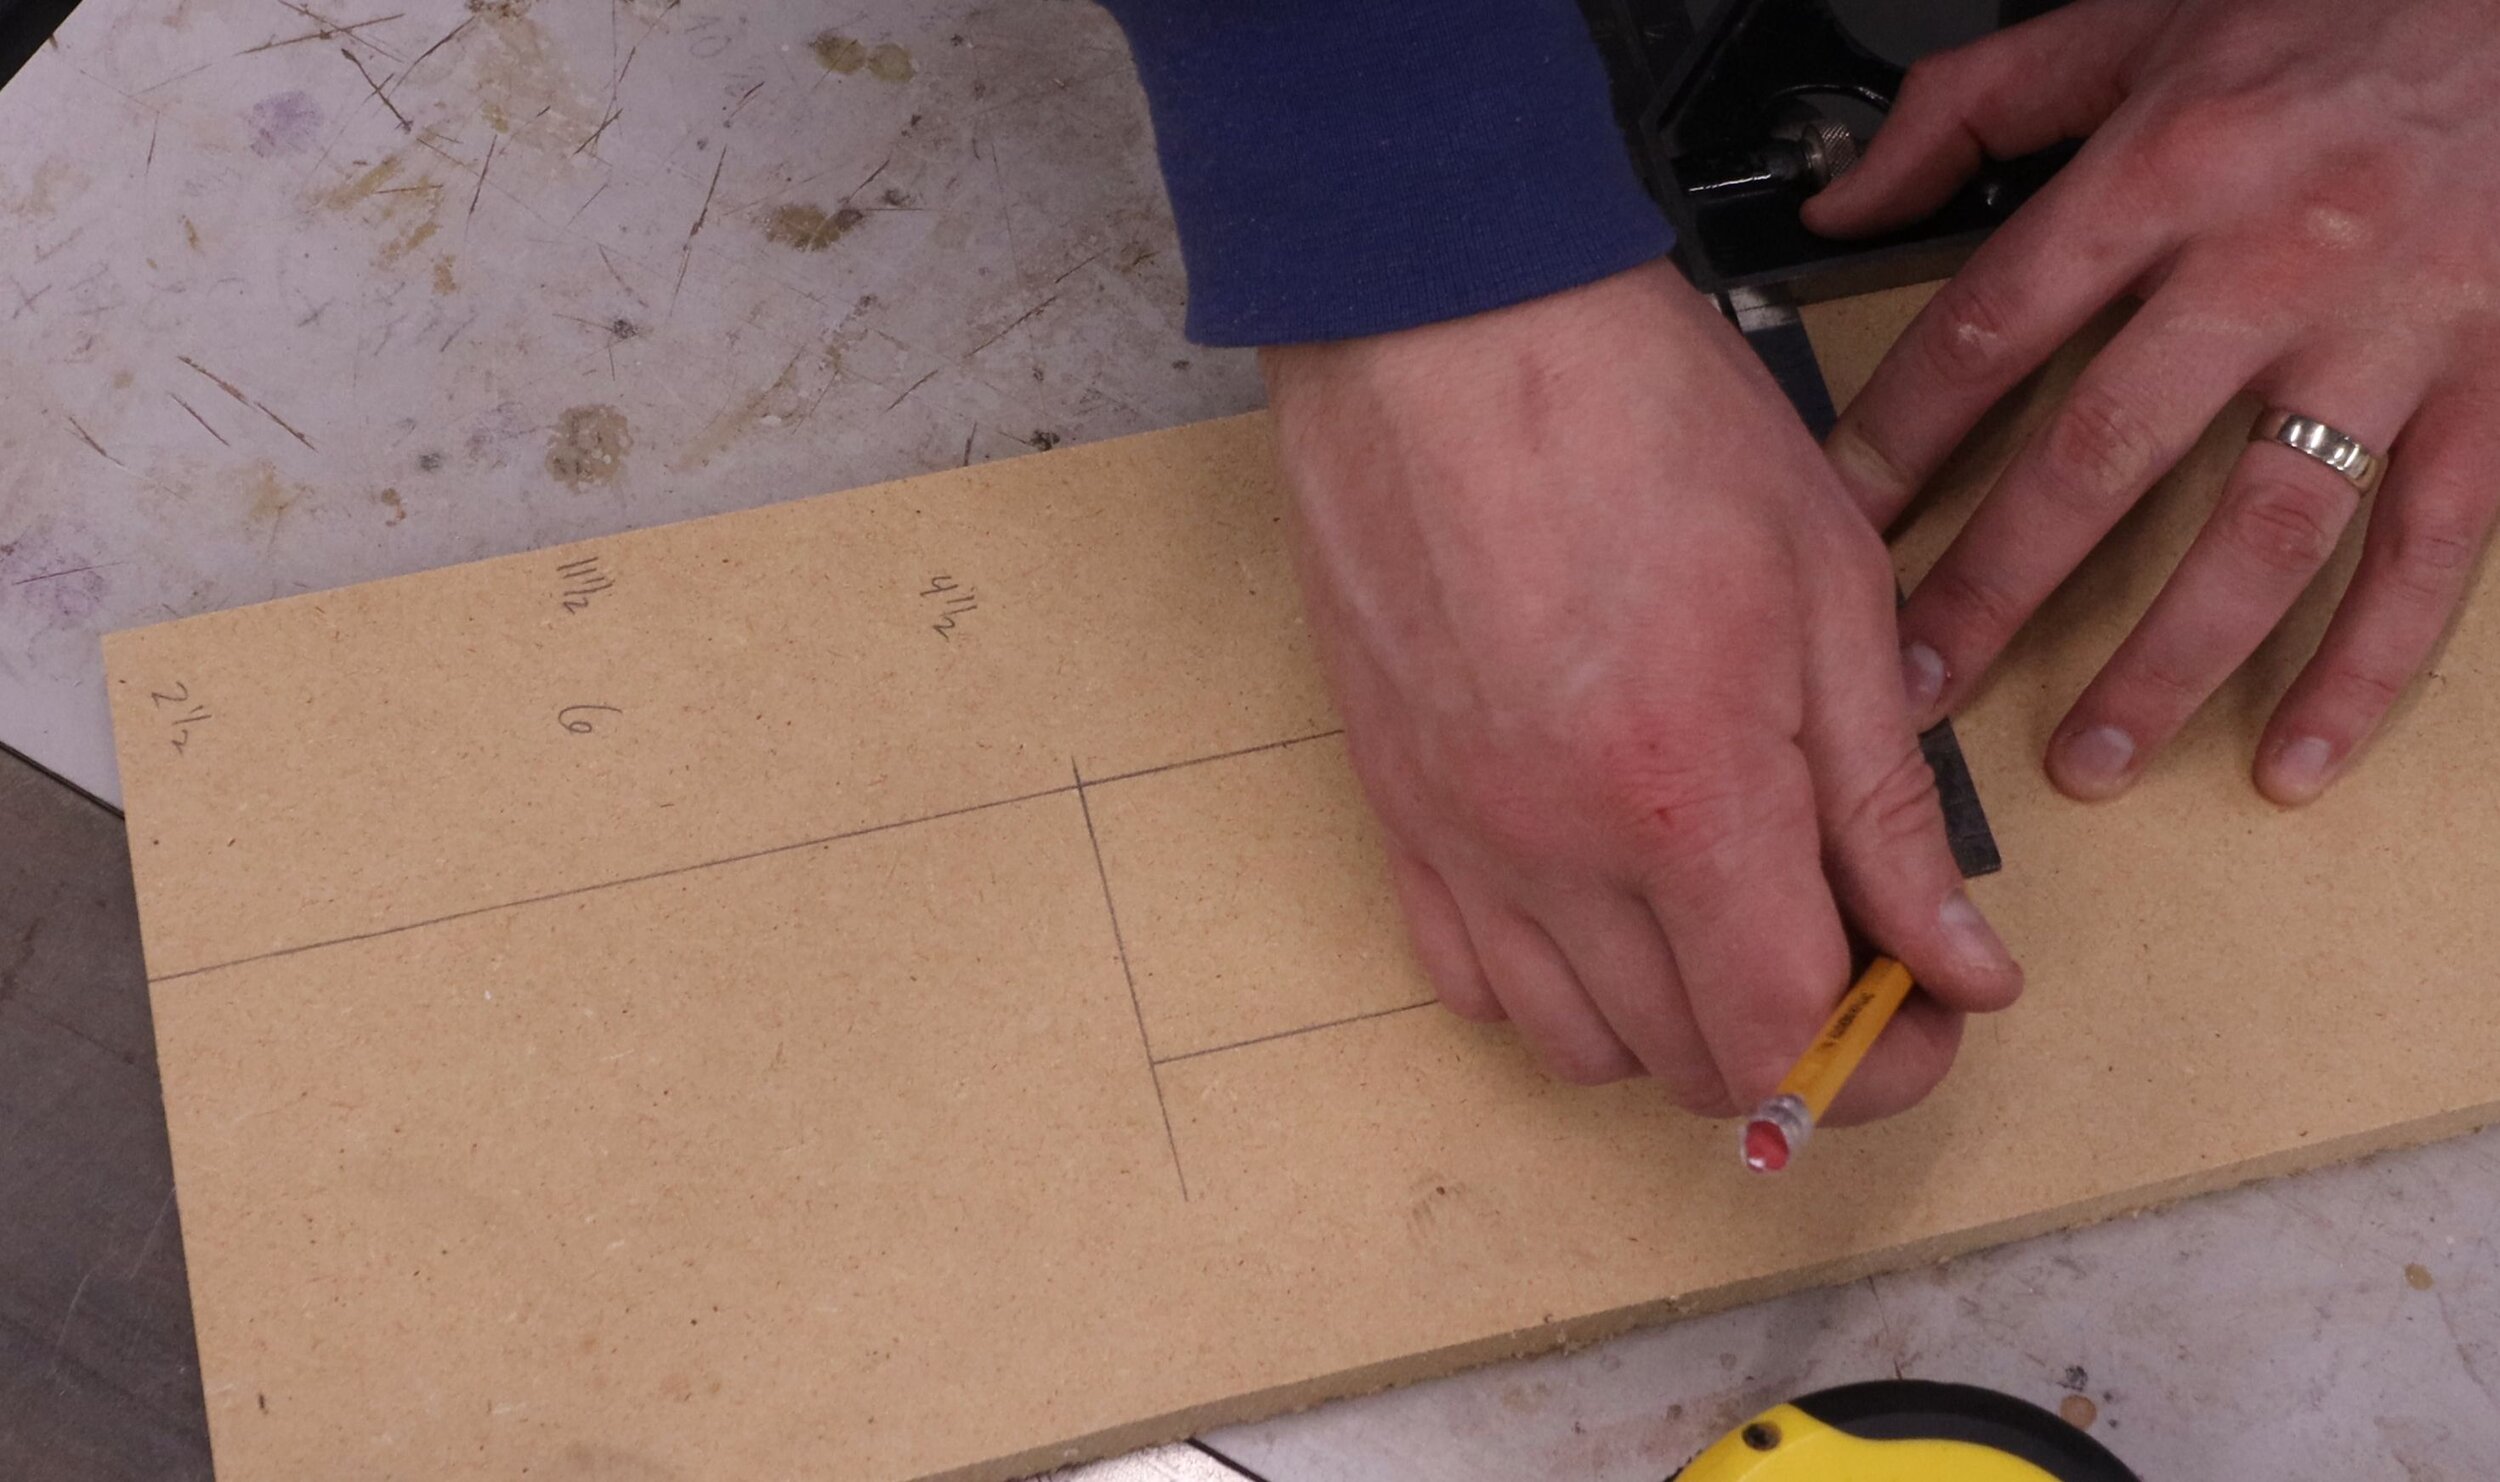
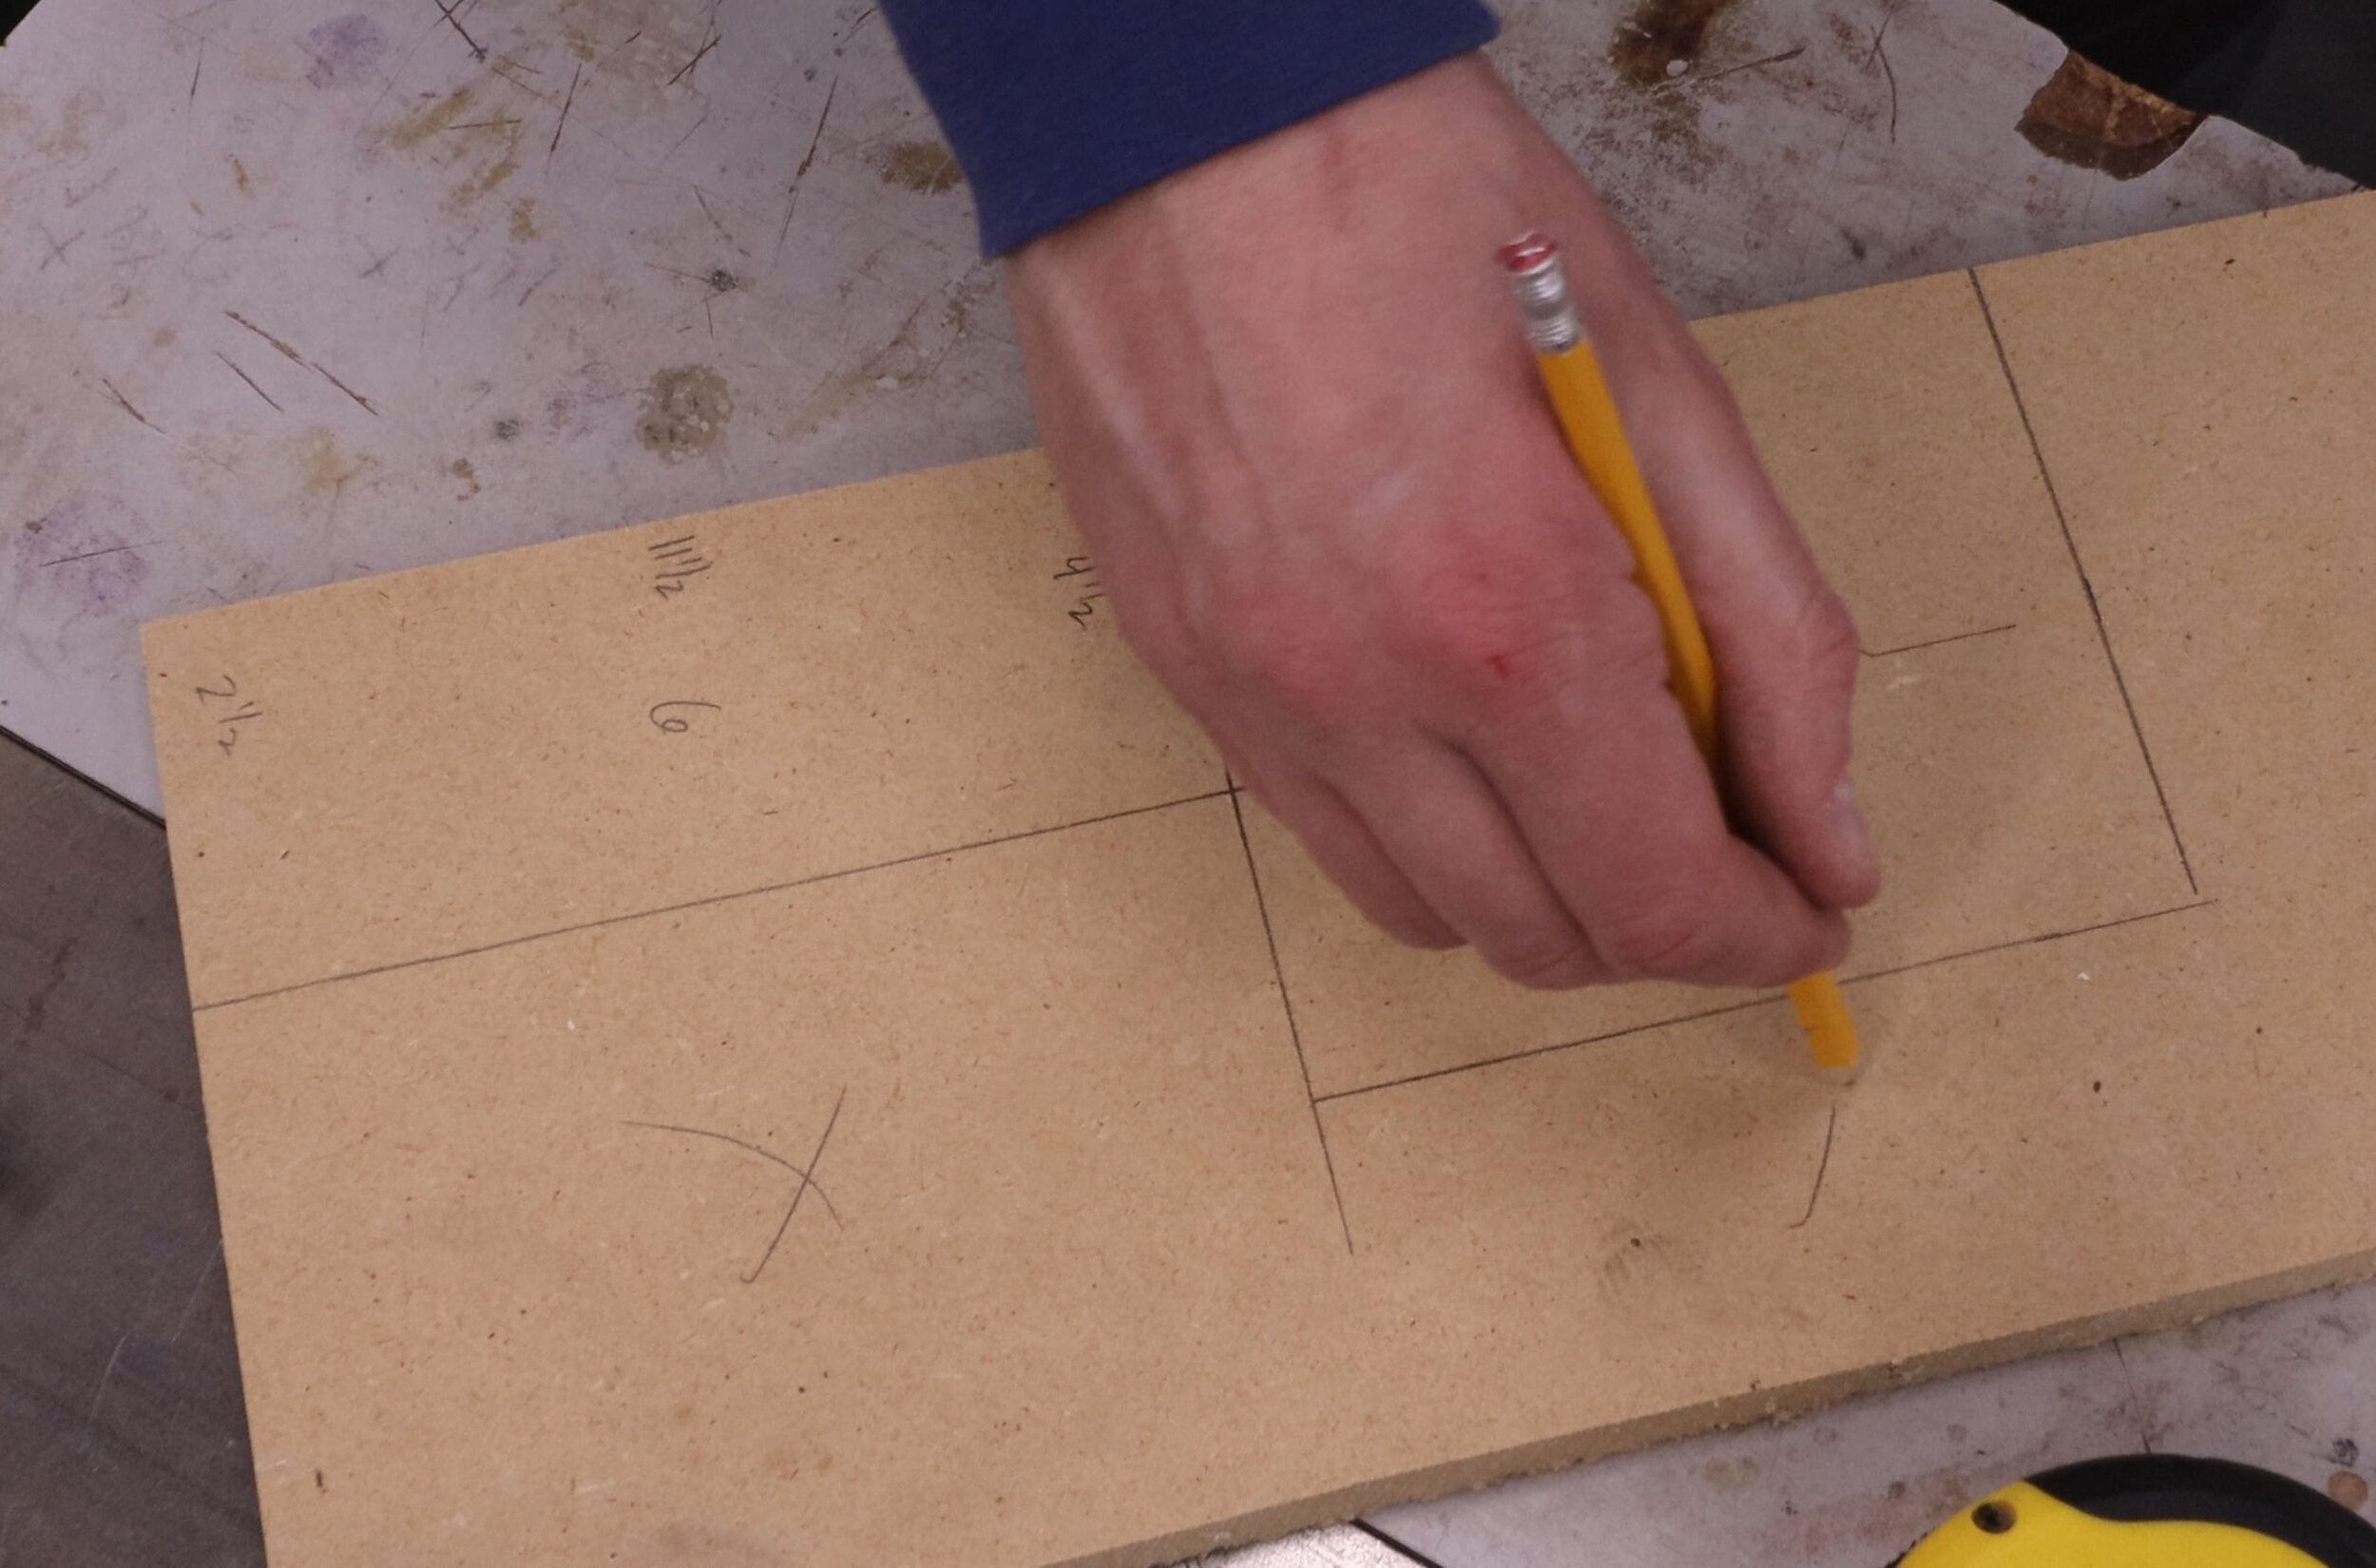
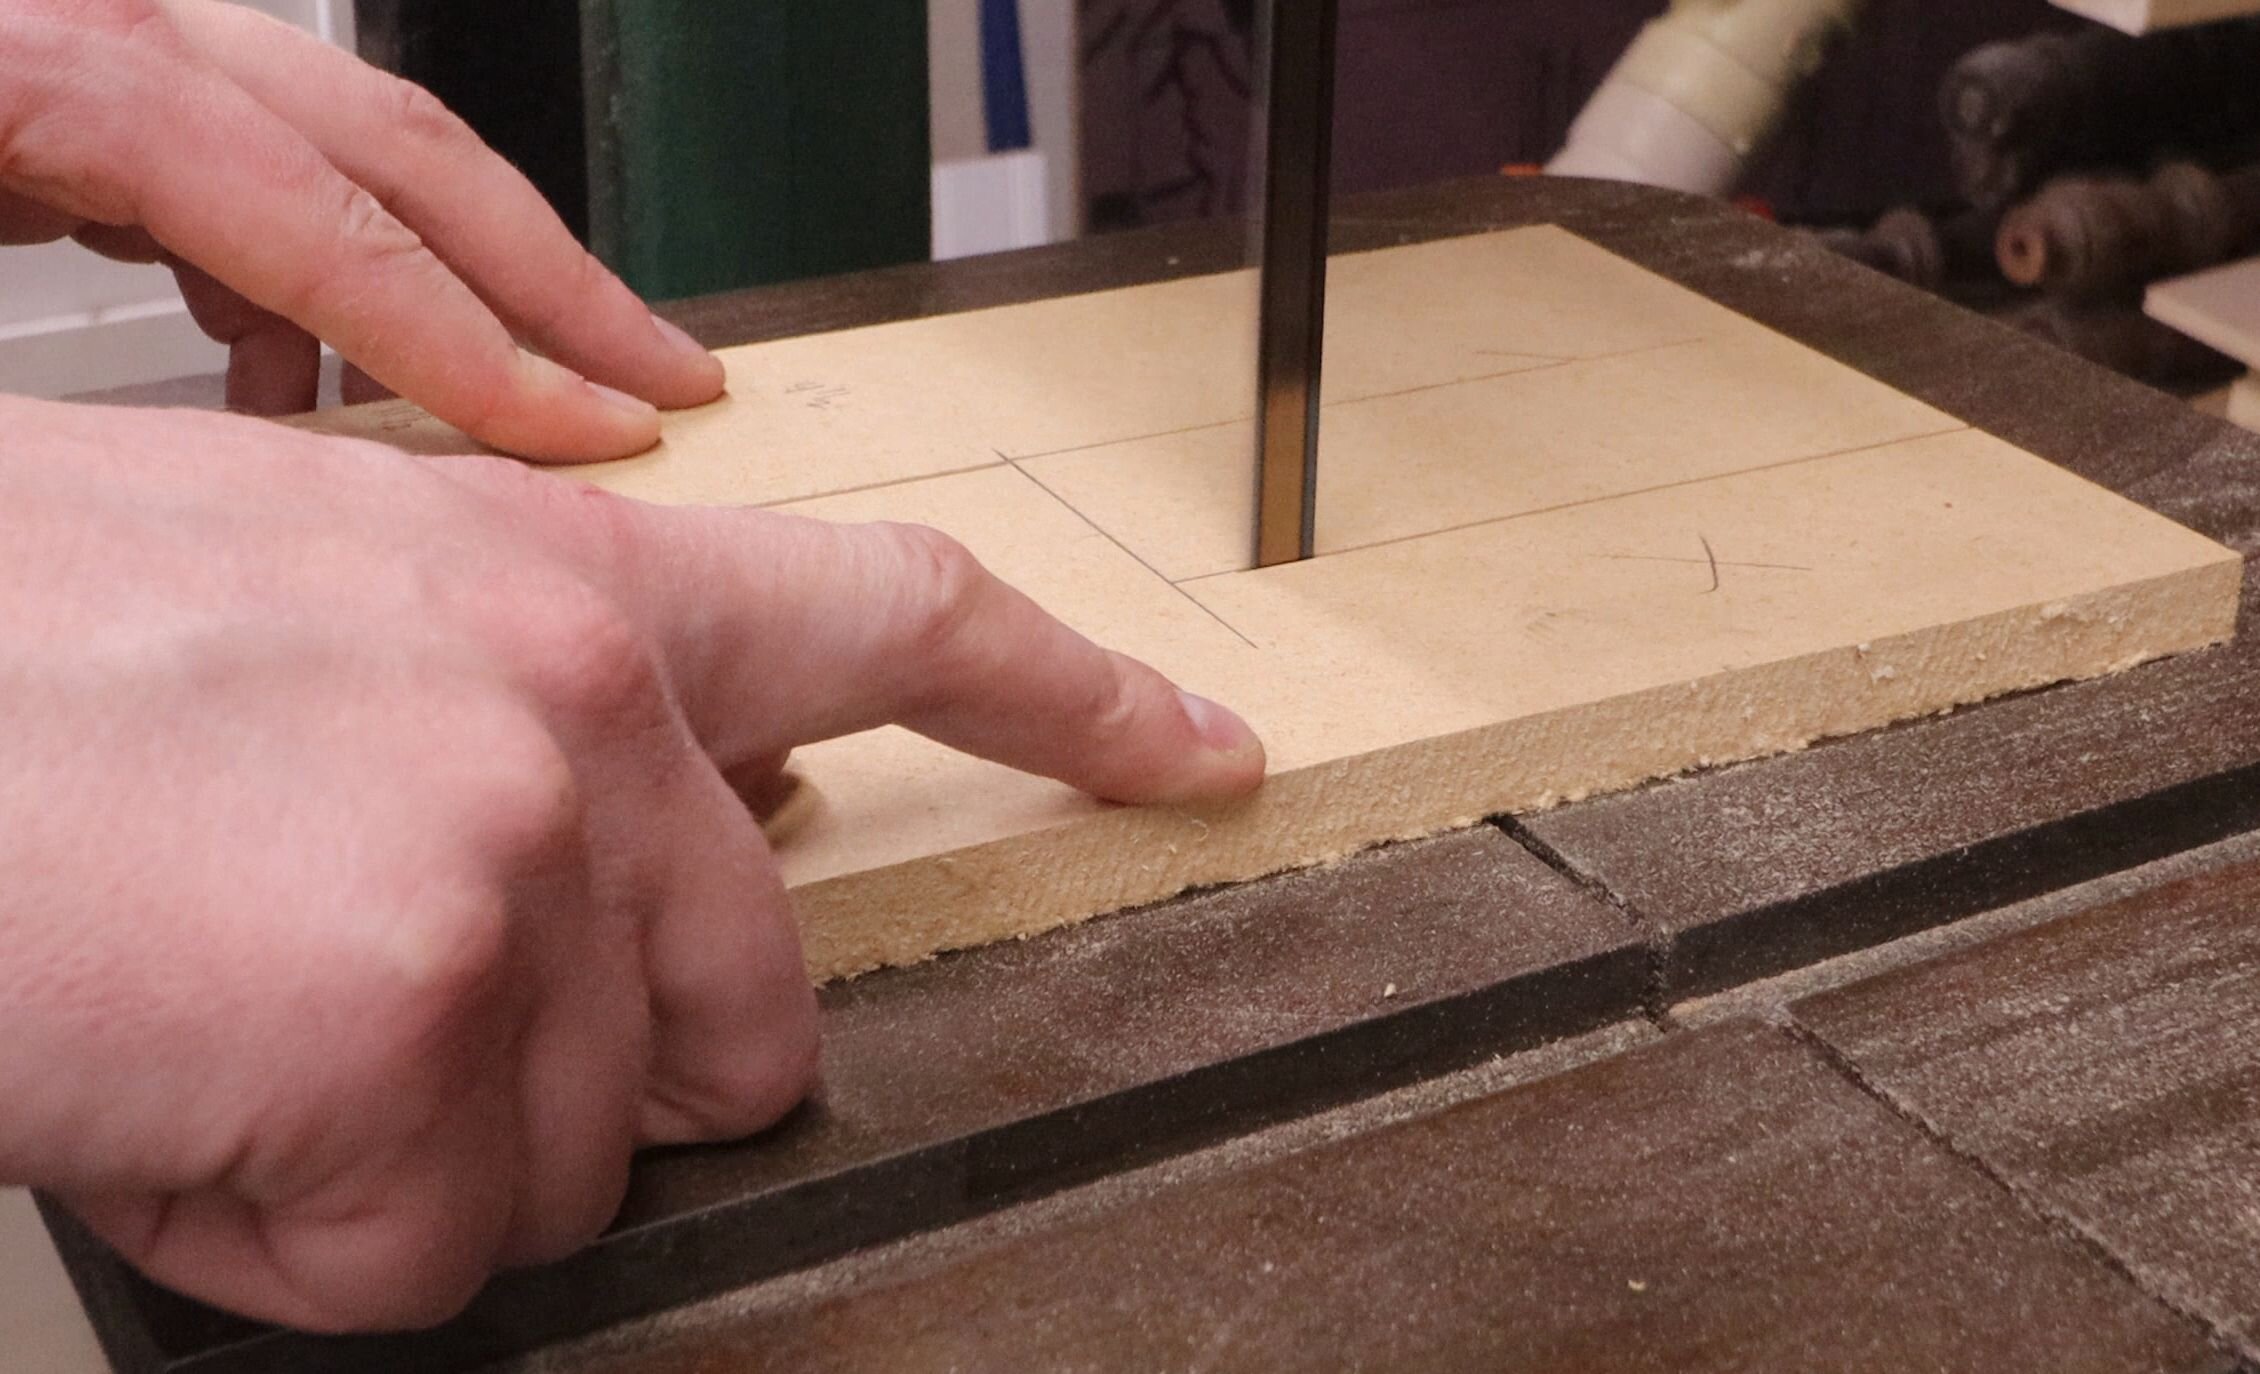
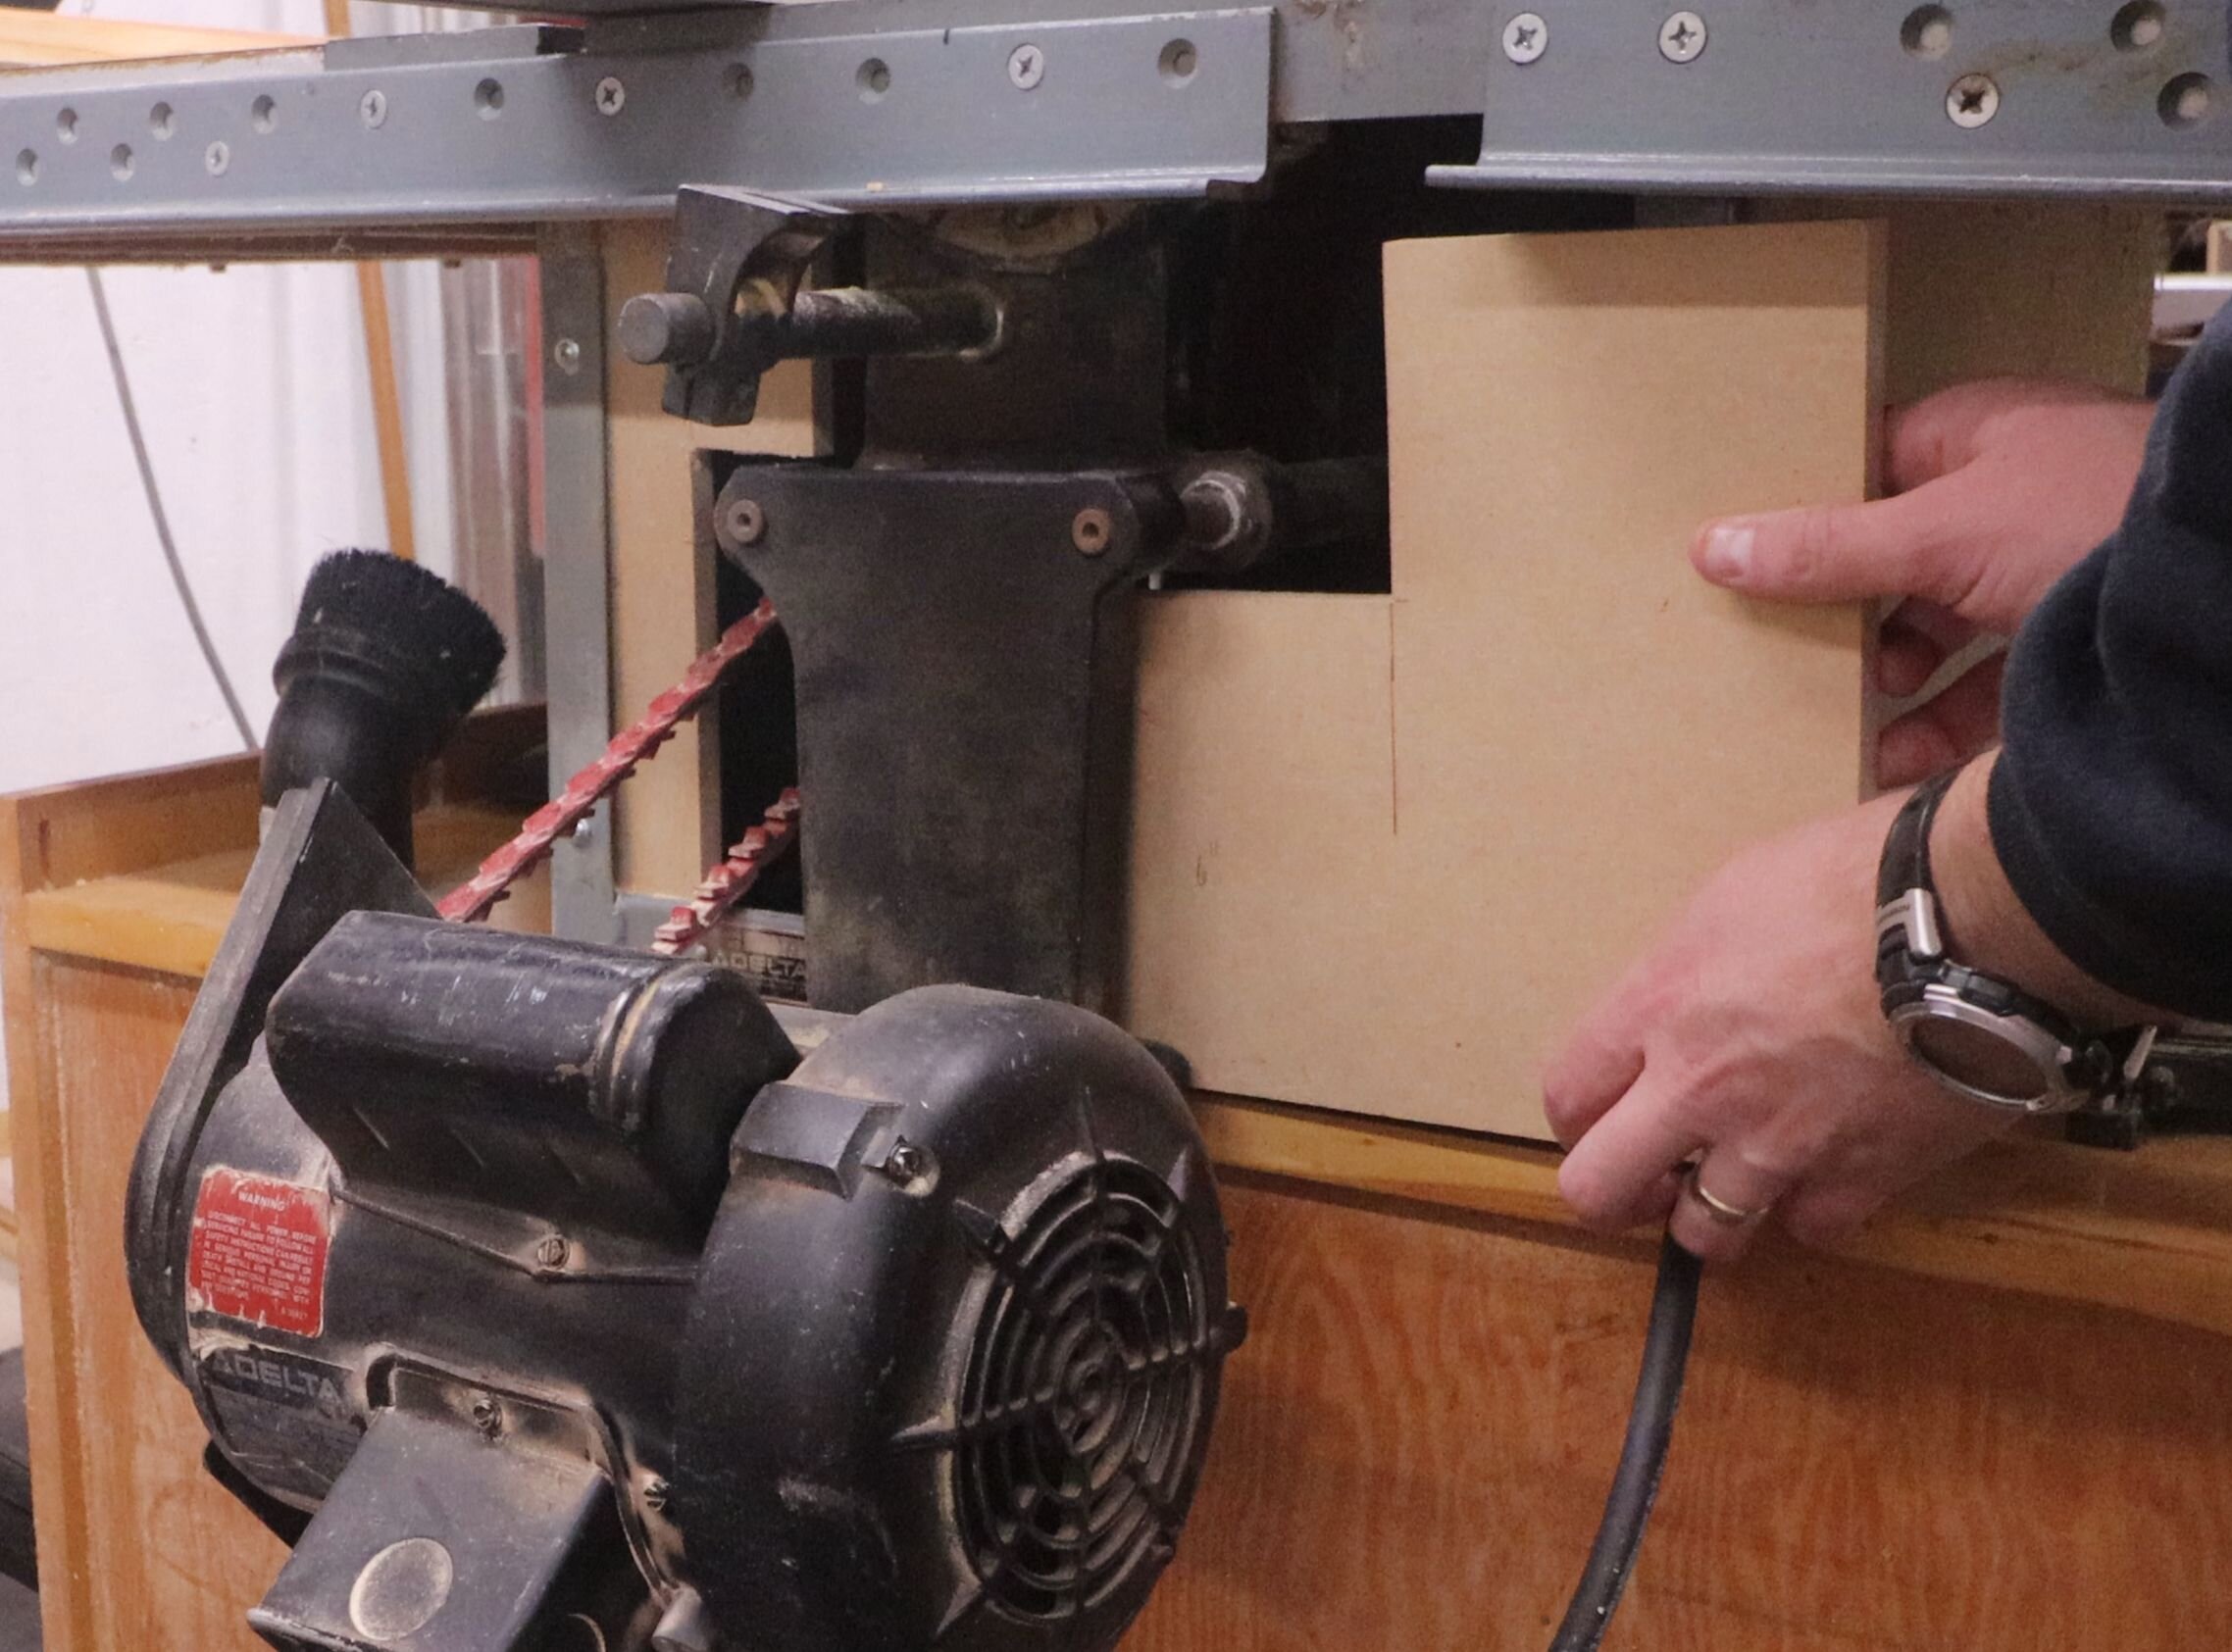
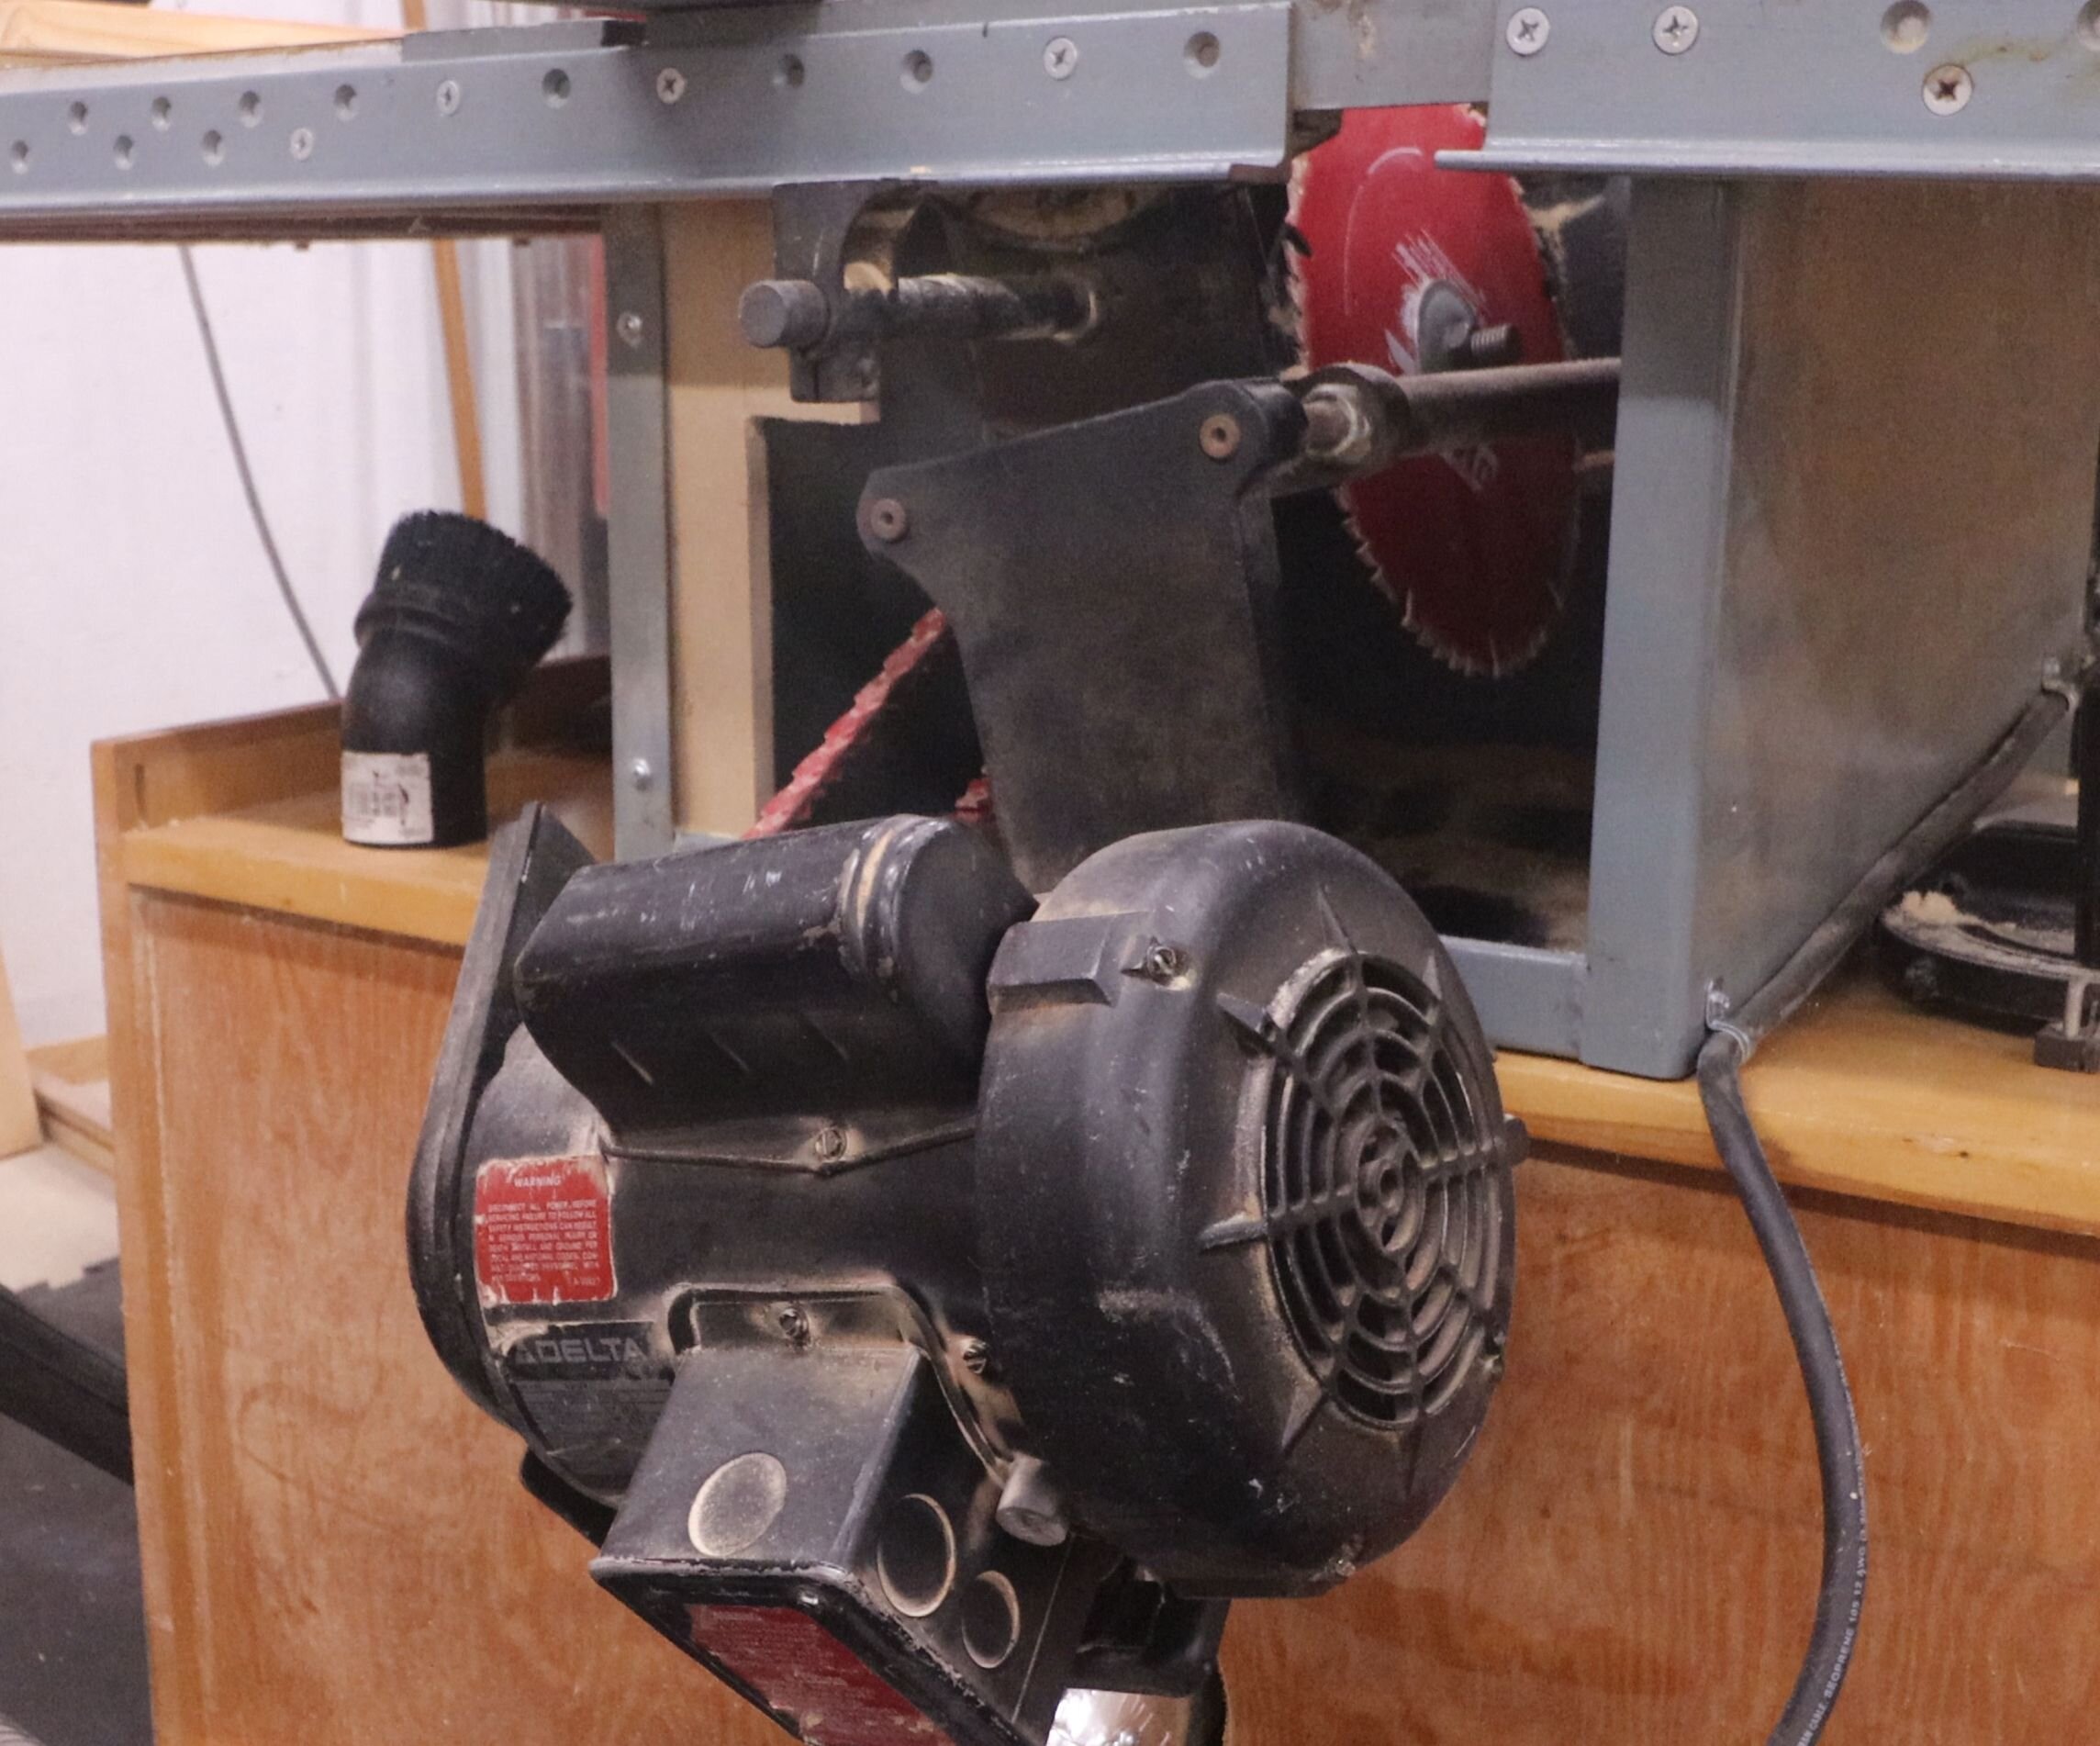
The back of this saw has a large, gaping opening where the motor mount sticks through, and this needs to be as closed off as possible for proper dust collection. This is as simple as measuring the openings and cutting covers to fill the space. I used some scrap ½” (12 mm) MDF for this, and cut everything out on the band saw.
The cover on the left side is fastened directly to the table saw frame using some screws. The one on the right will be attached with magnets, allowing it to be removed.
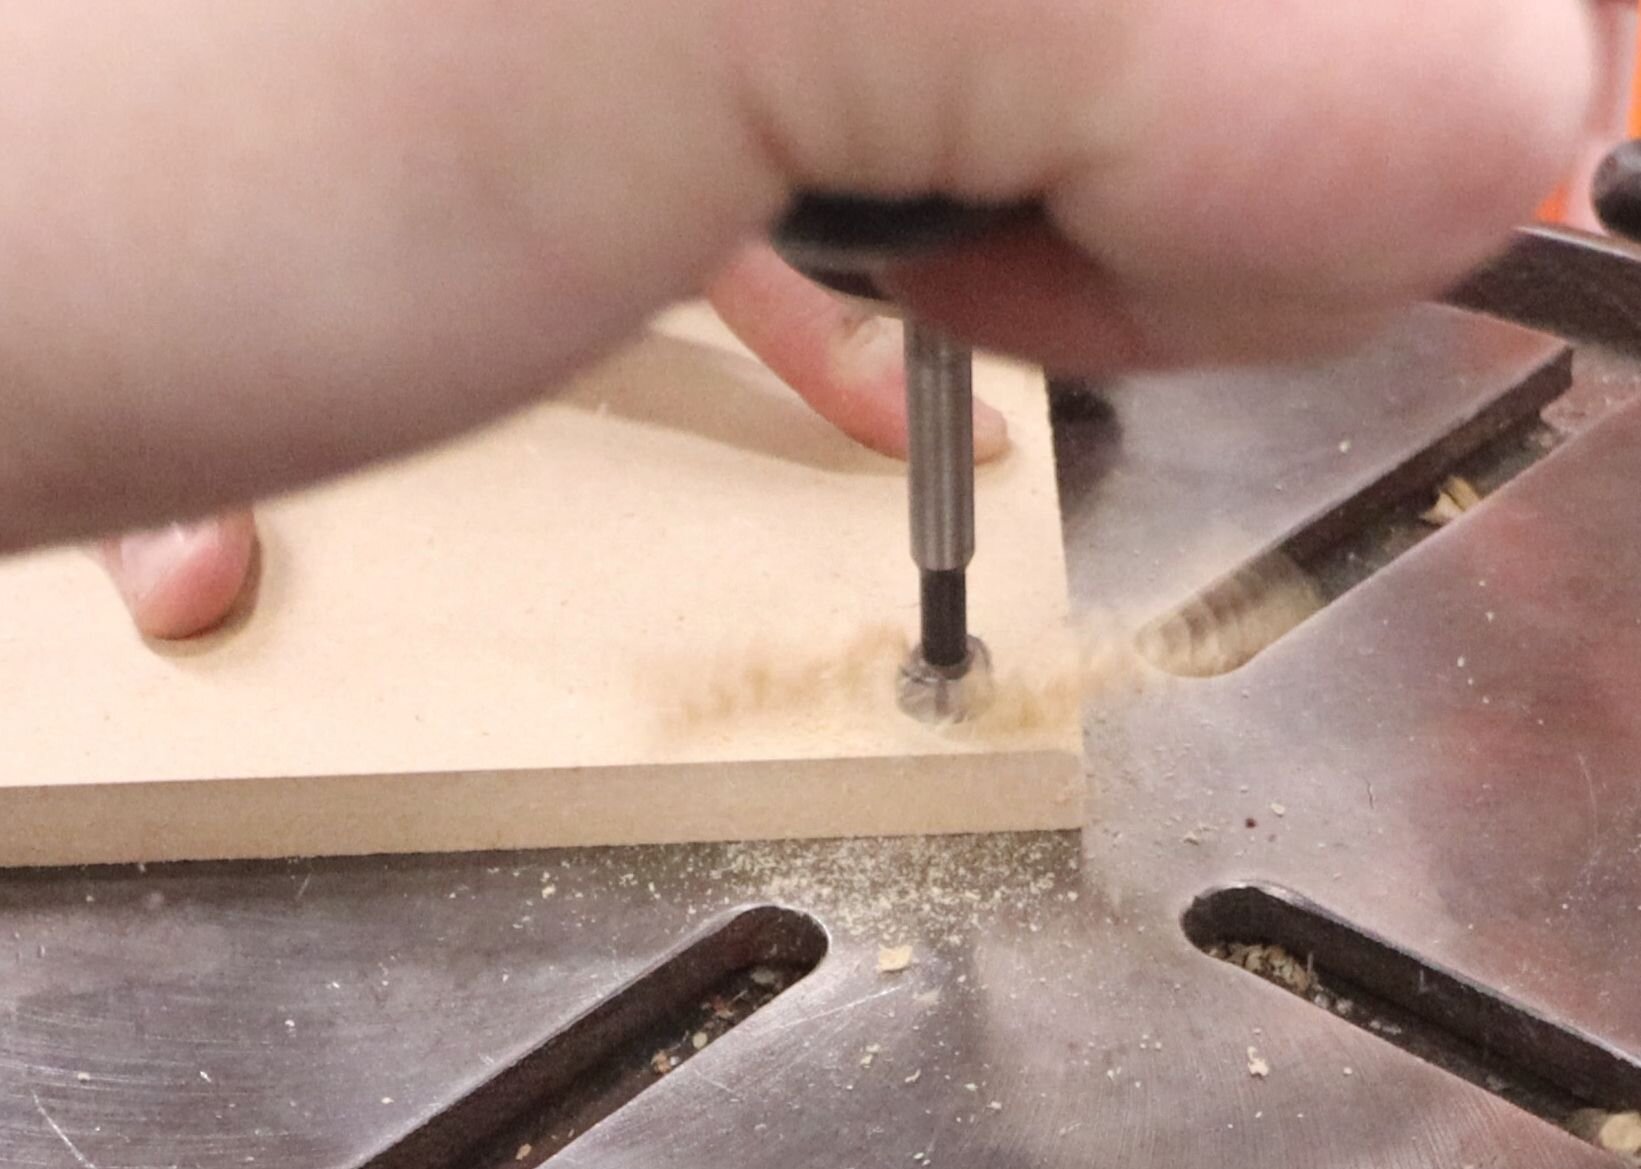
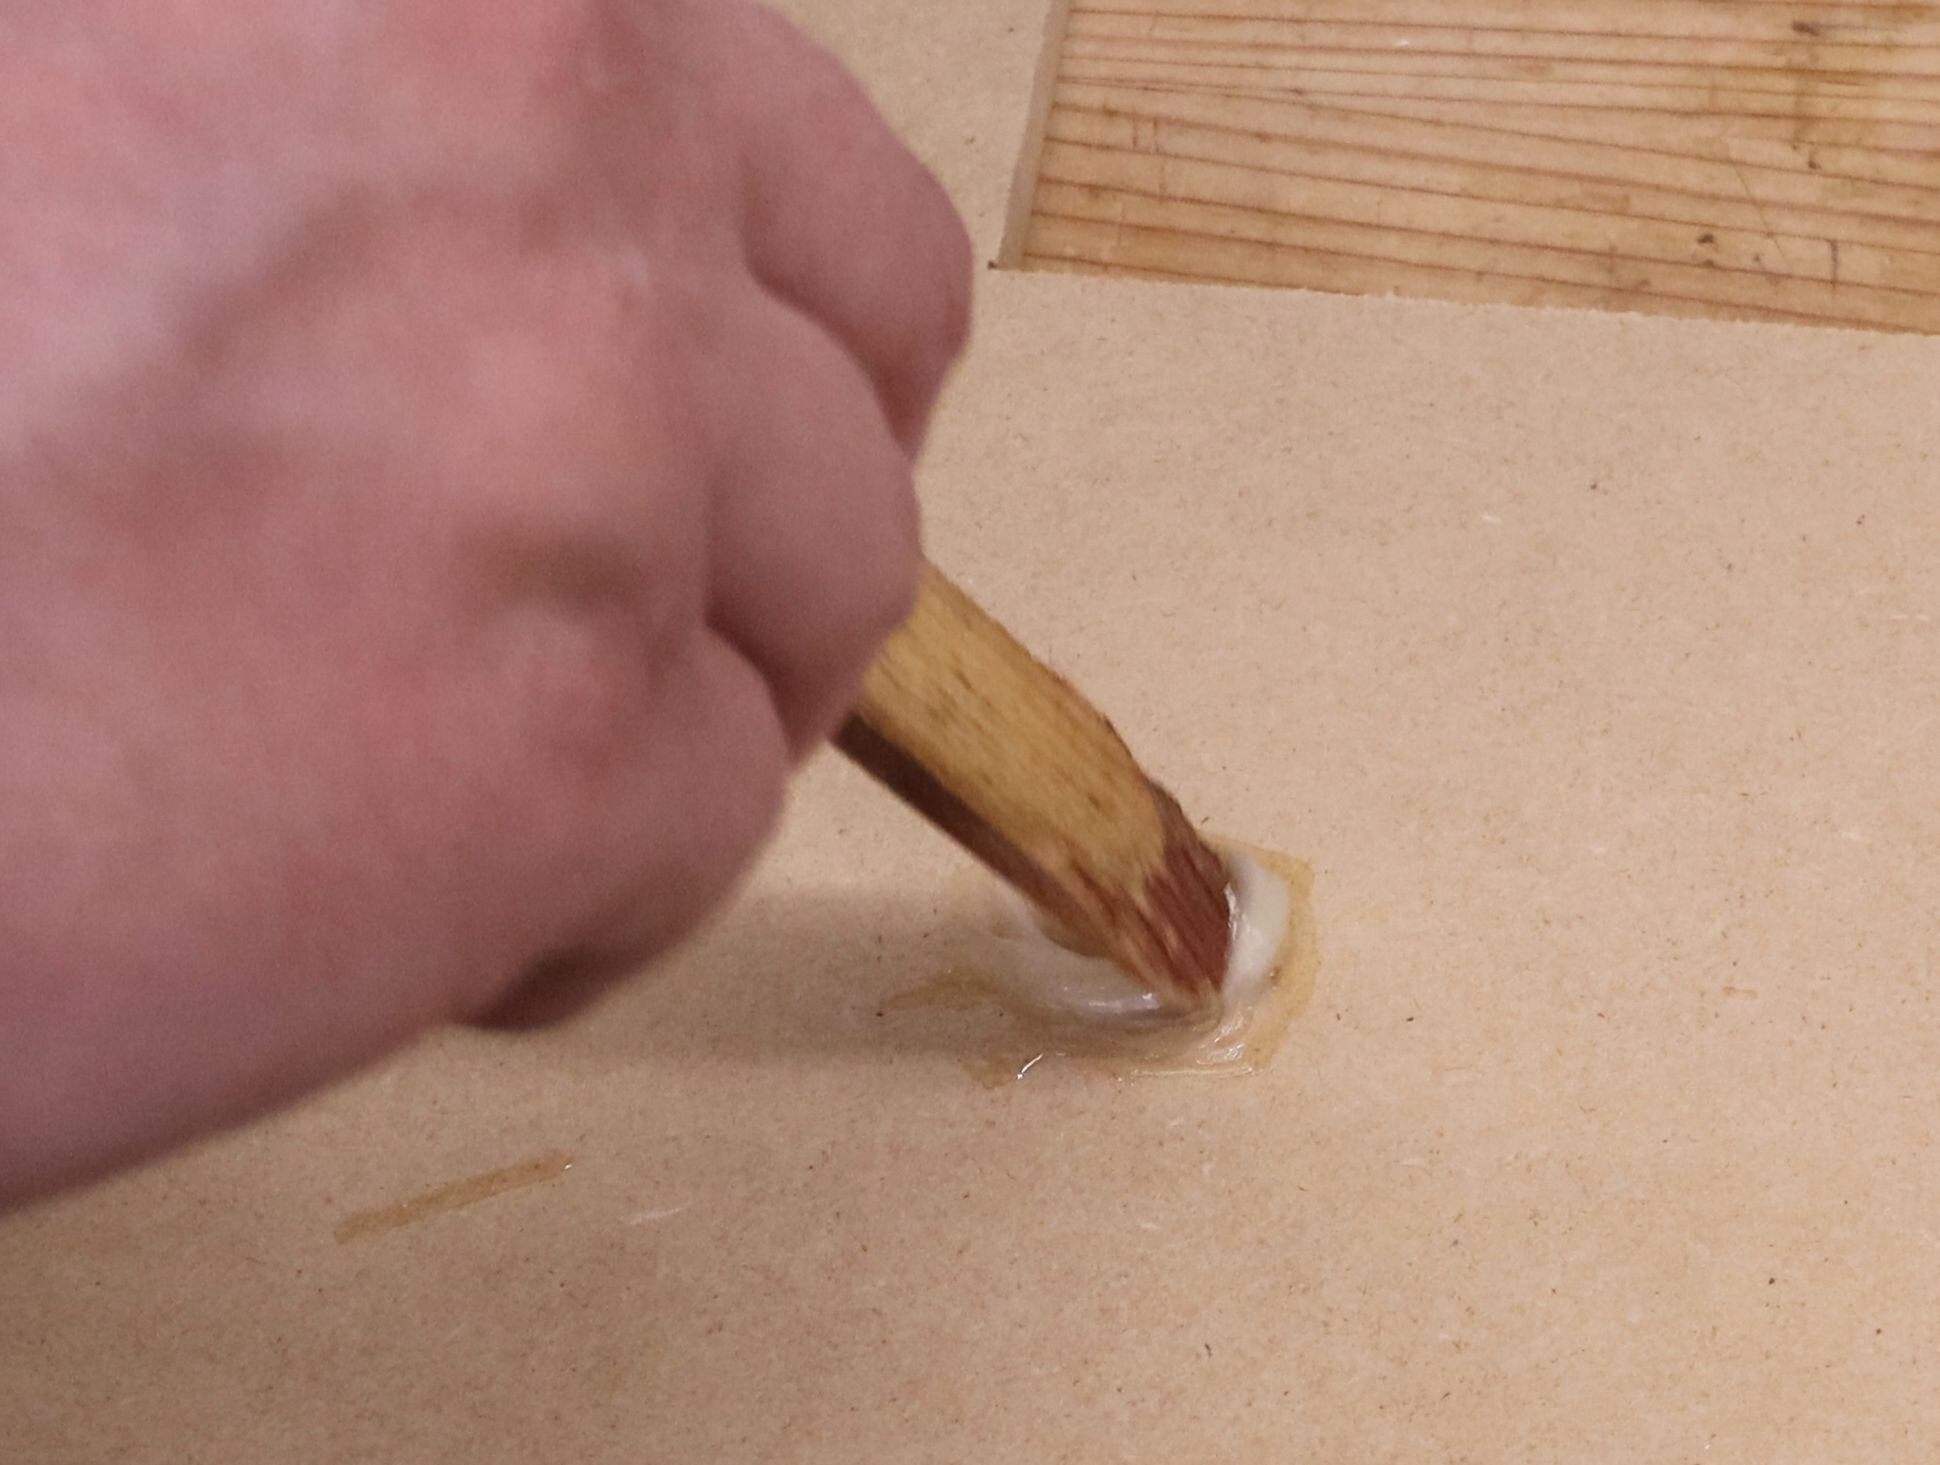
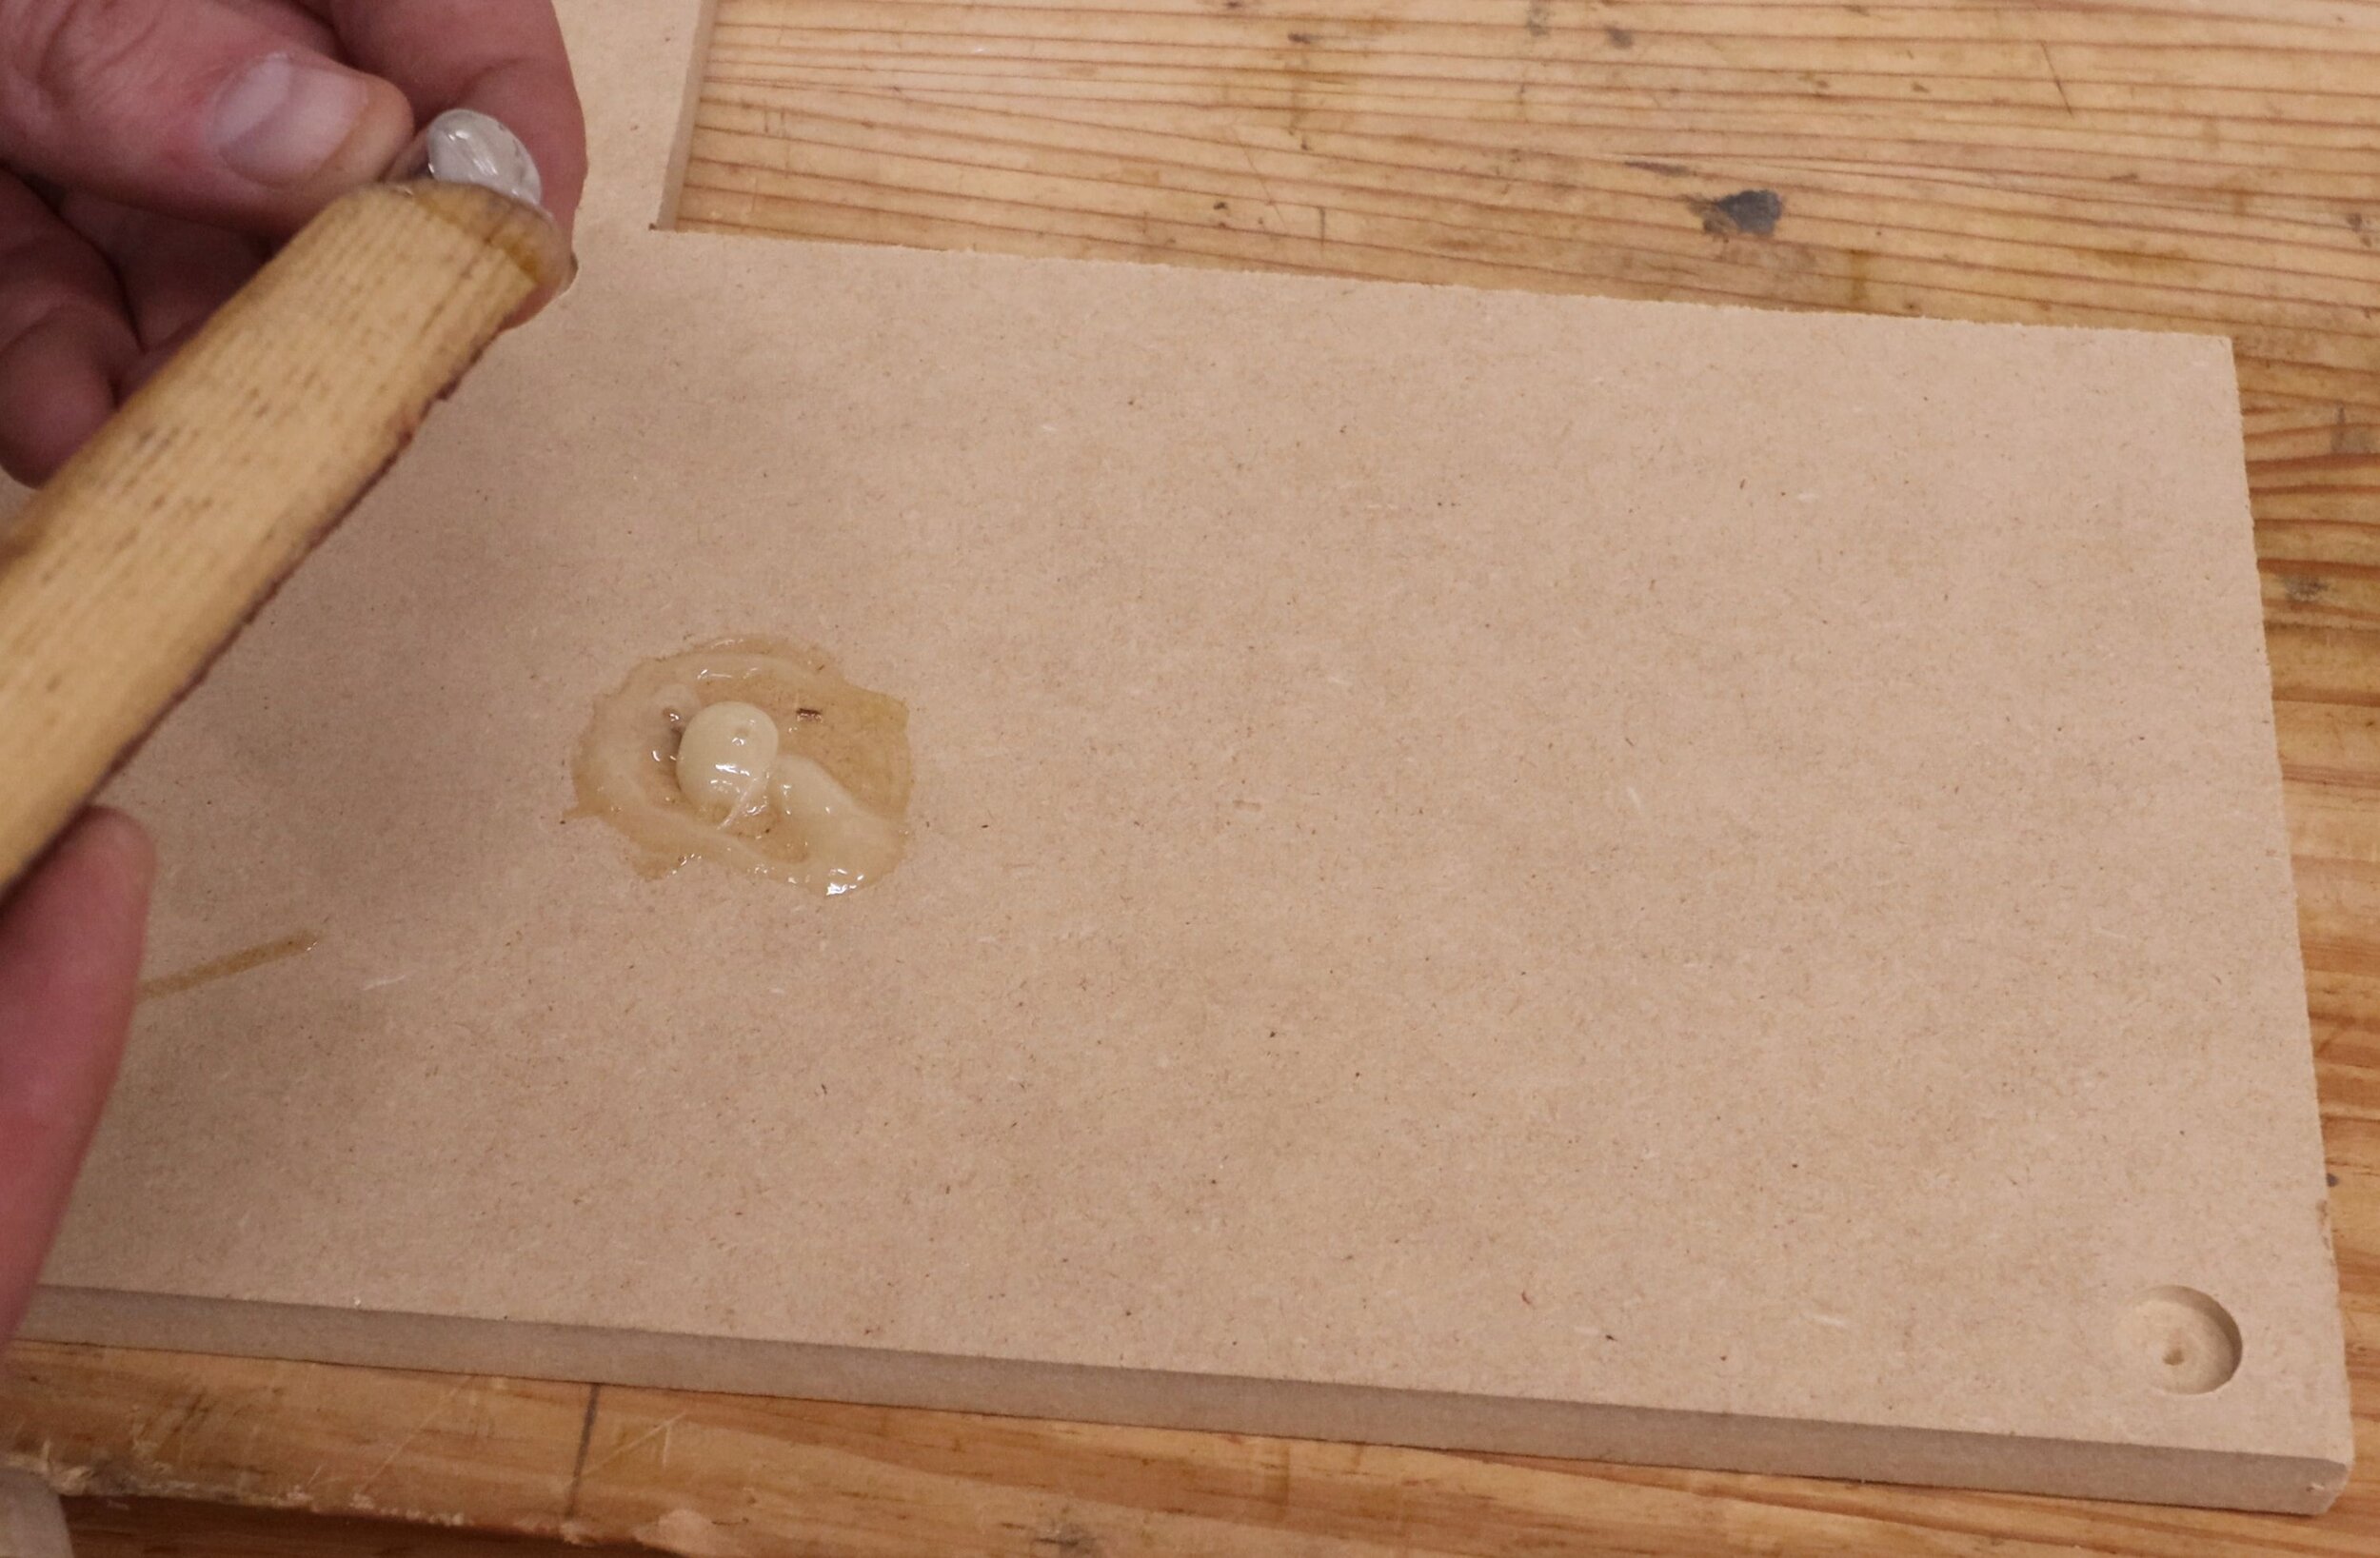
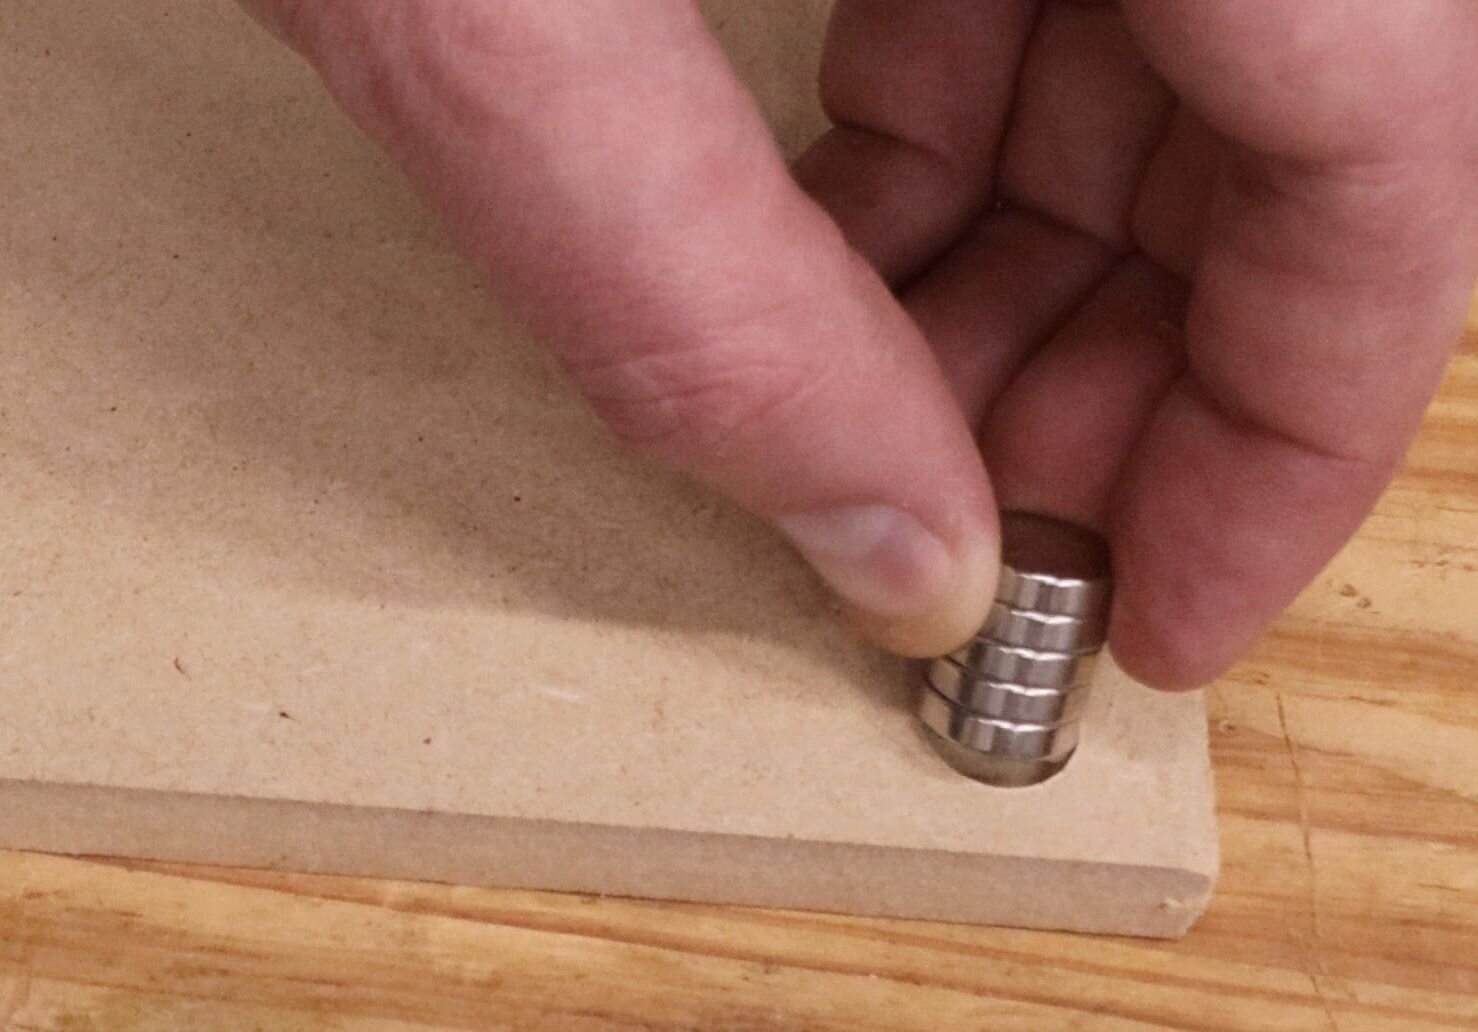
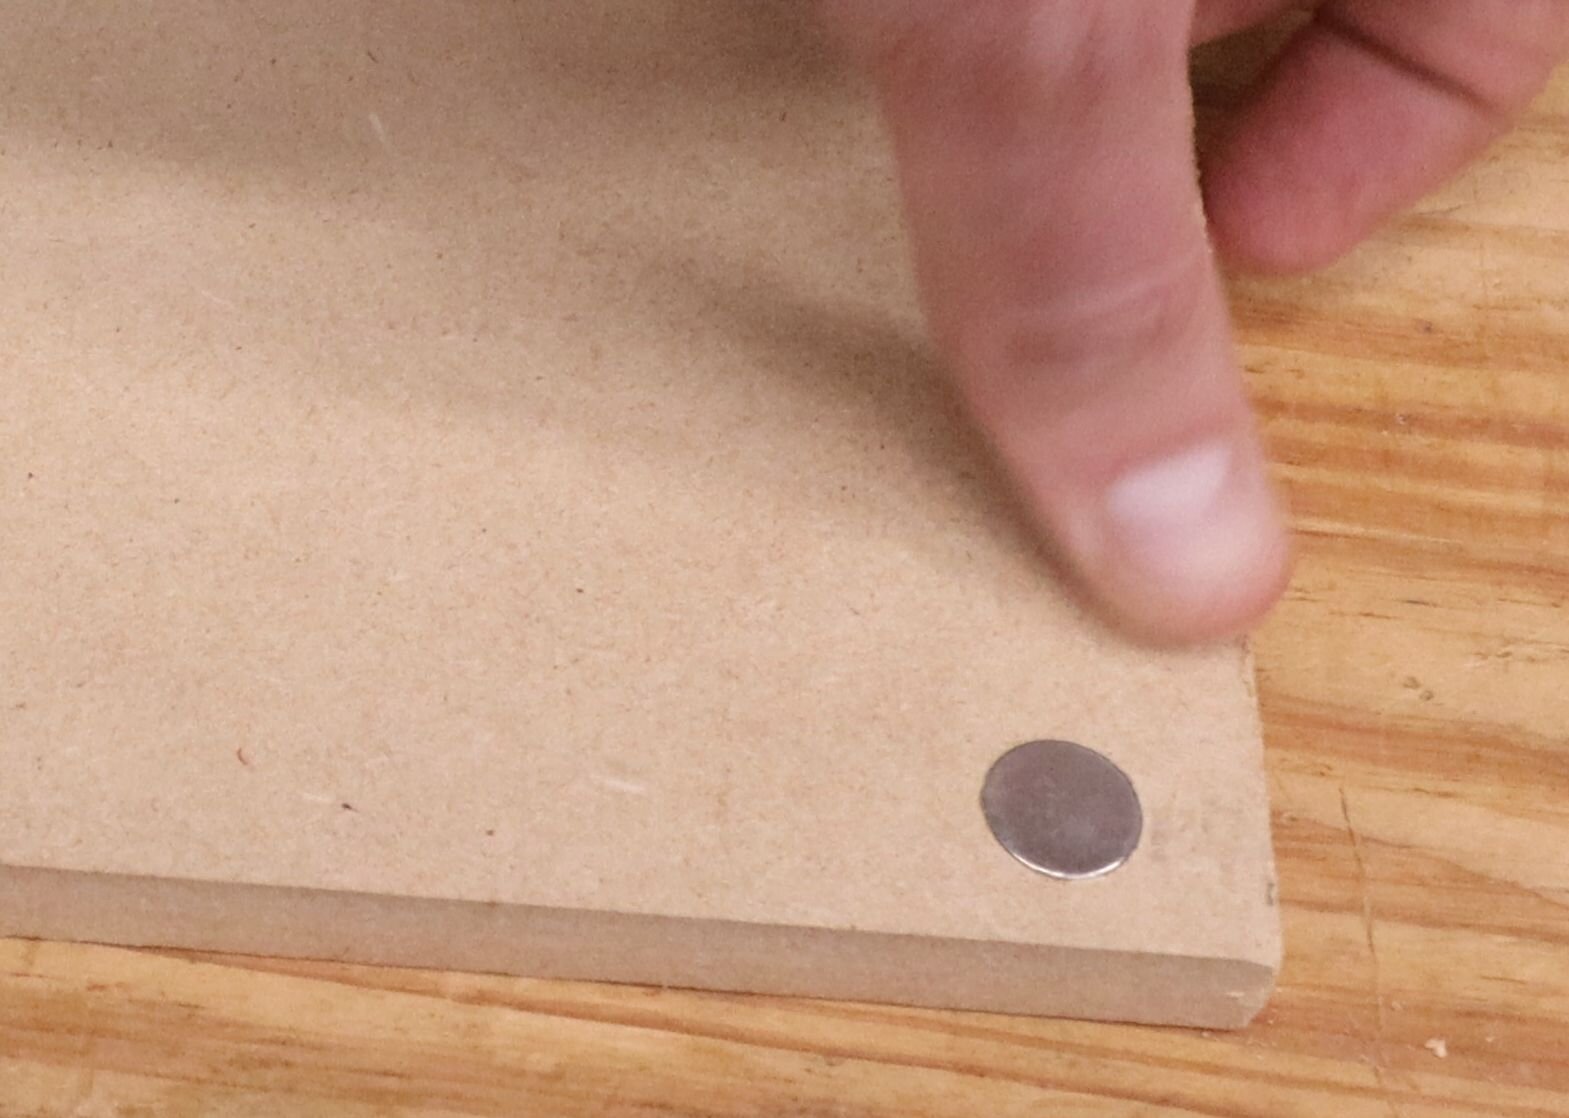
The large panel on the right hand side of the opening needs to be removable to allow the motor to travel for angled cuts. To accommodate this, I drilled for and epoxied in some rare earth magnets. This hold the cover to the steel body of the saw very well, yet make the panel very easy to remove when needed.
With the second cover made and put in place, the dust collection is done! It certainly doesn’t capture all of the dust, but it’s much better than it was before.
As mentioned, the right cover needs to be removed when making non-90-degree cuts, since the whole motor assembly swings to the side when making this cut. Since I make 90-degree cuts 95% of the time, I can deal with the dust for the other 5% of the time.
I hope this was instructive, and thanks for viewing!
If you enjoyed this article, subscribe to my YouTube channel for more!
—————————————————————————————
Below is a listing of the supplies and tools you will need to build this. I have supplied Amazon Affiliate links to the products I used. As an Amazon Associate I earn from qualifying purchases.
Supplies:
4" (100 mm) round duct, 2 ft (600 mm) long
(2) 4" (100 mm) articulating duct elbows

