
Wall-Mount Tape Measure Rack
This project is a quick wall-mount rack for my tape measures. I'm always looking around my workshop trying to remember where I left one, so having them all at-hand above my workbench is very handy. The project uses a couple scrap parts from around my shop, and it's easy for a beginner to build using only hand tools.
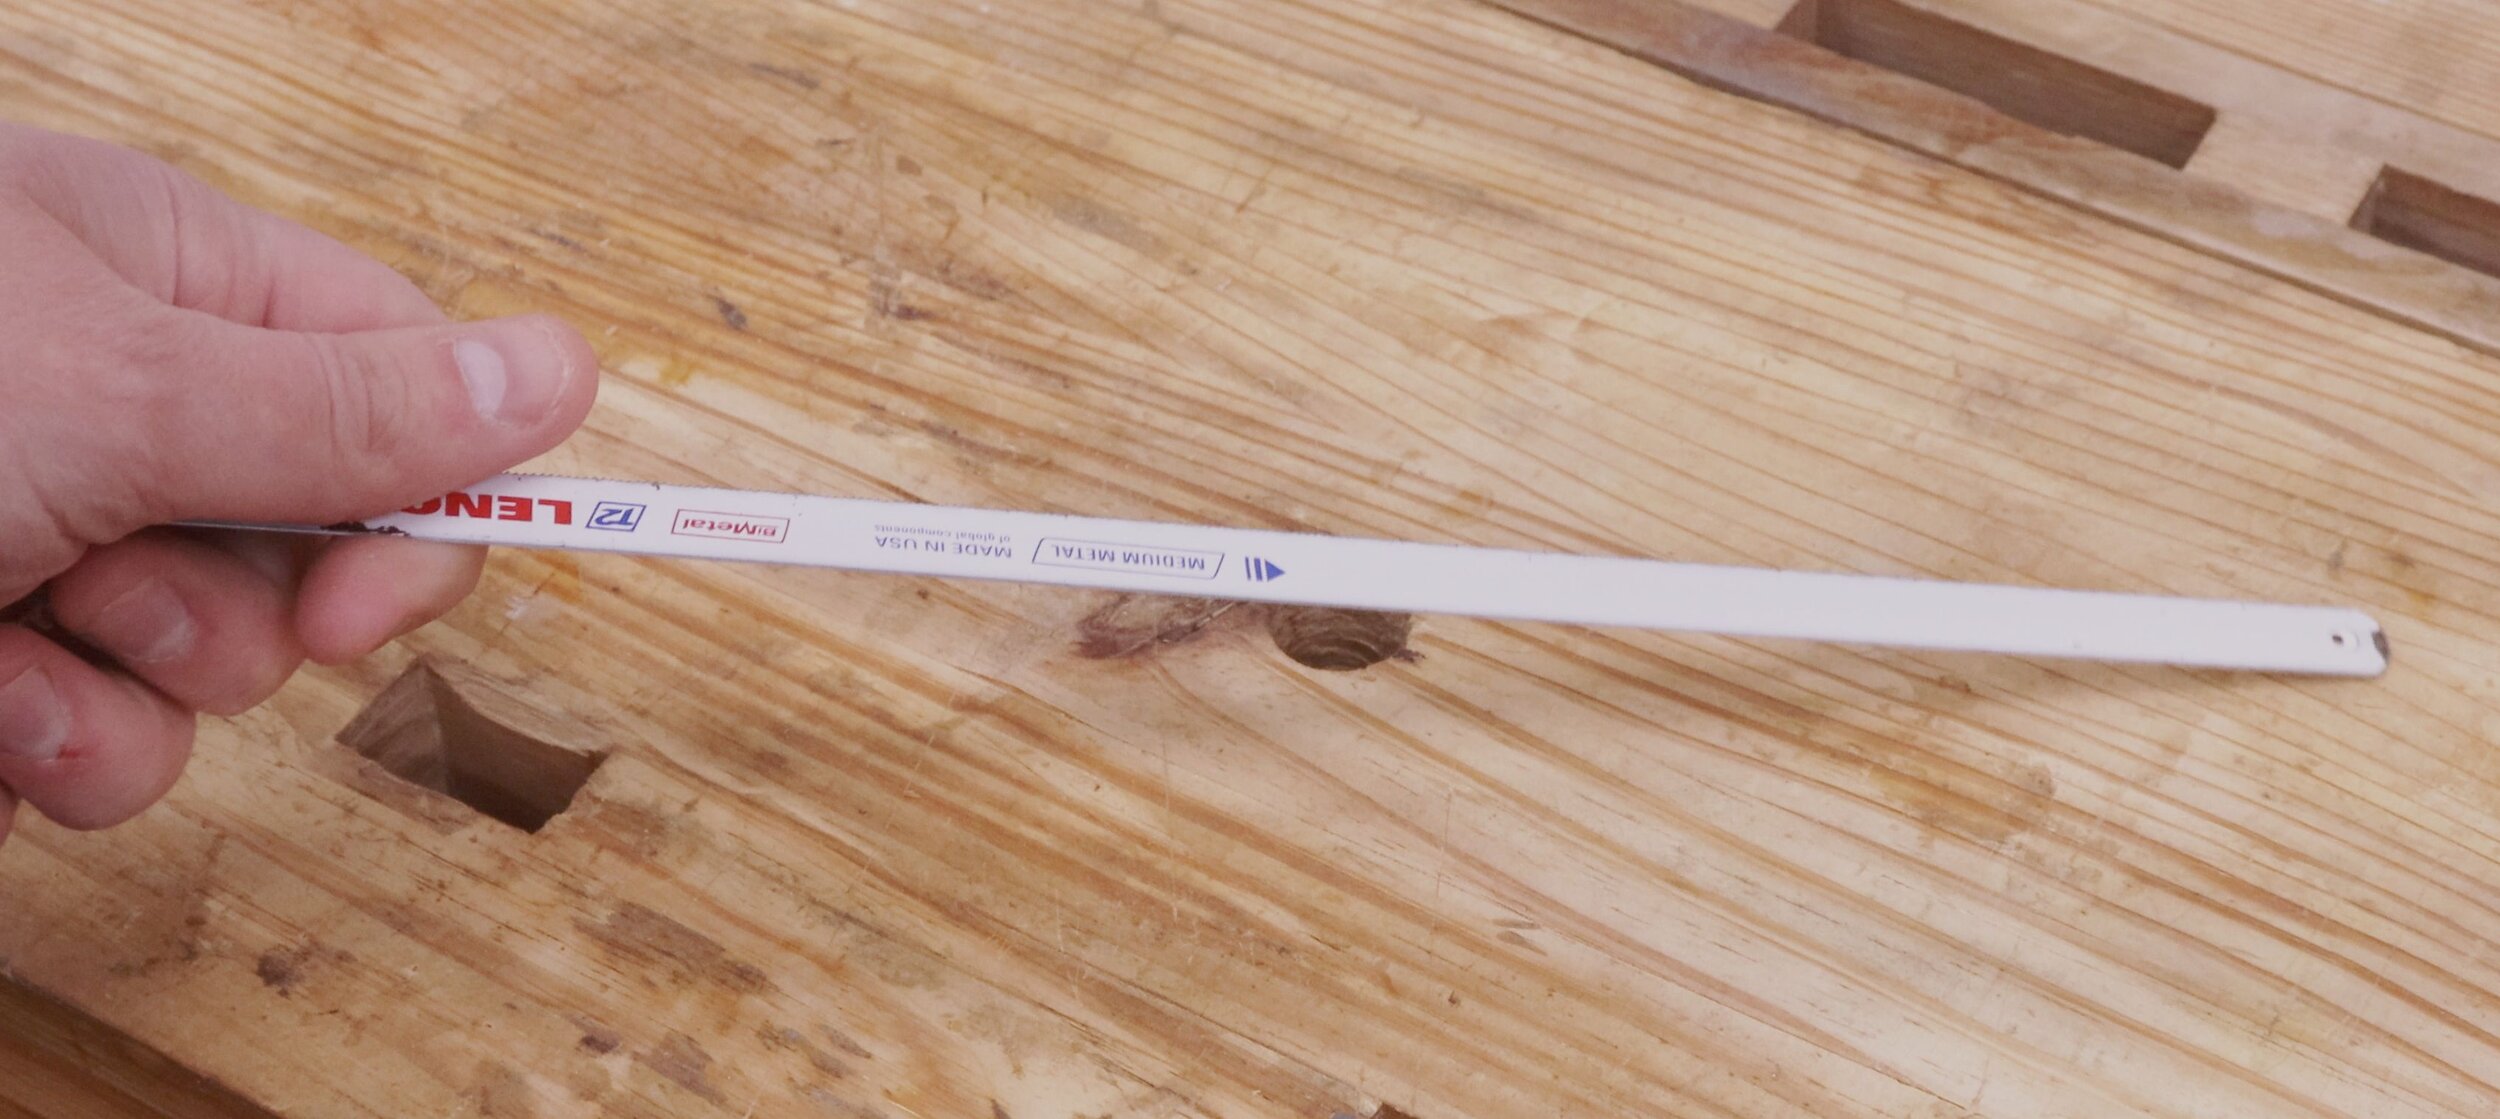
For materials, all you'll need is a couple screws, a piece of 5/16" (7mm) thick wood, and an old hacksaw blade.
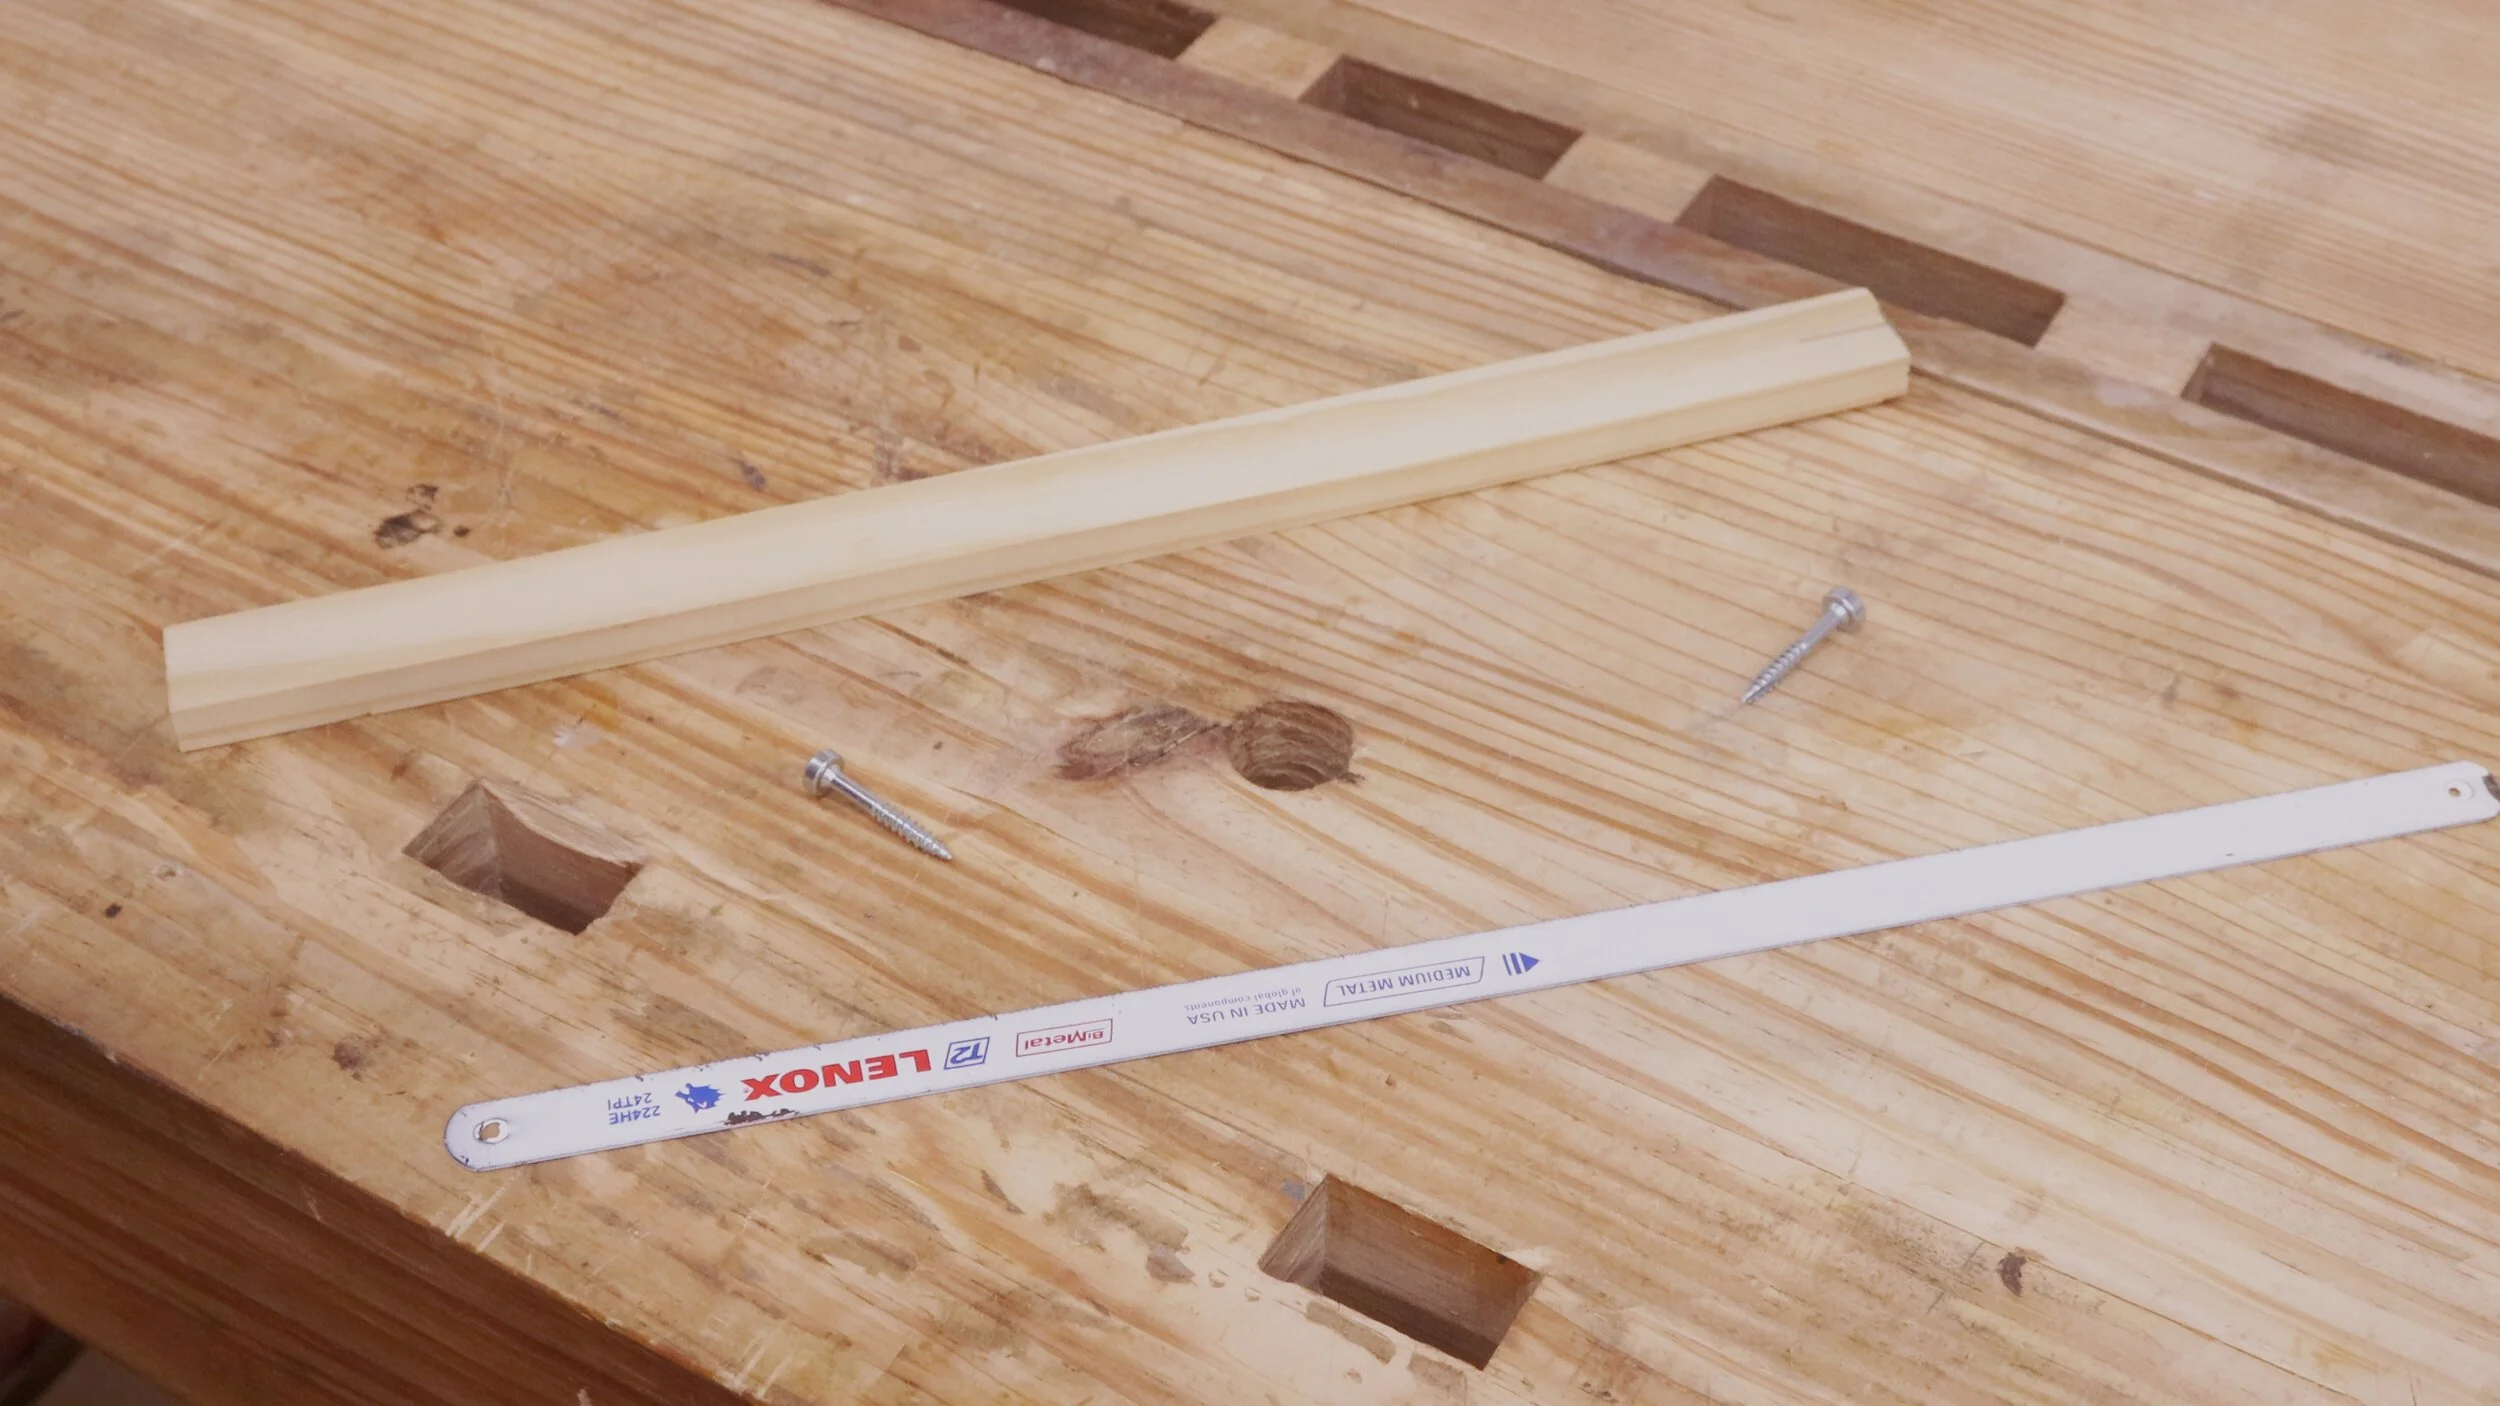
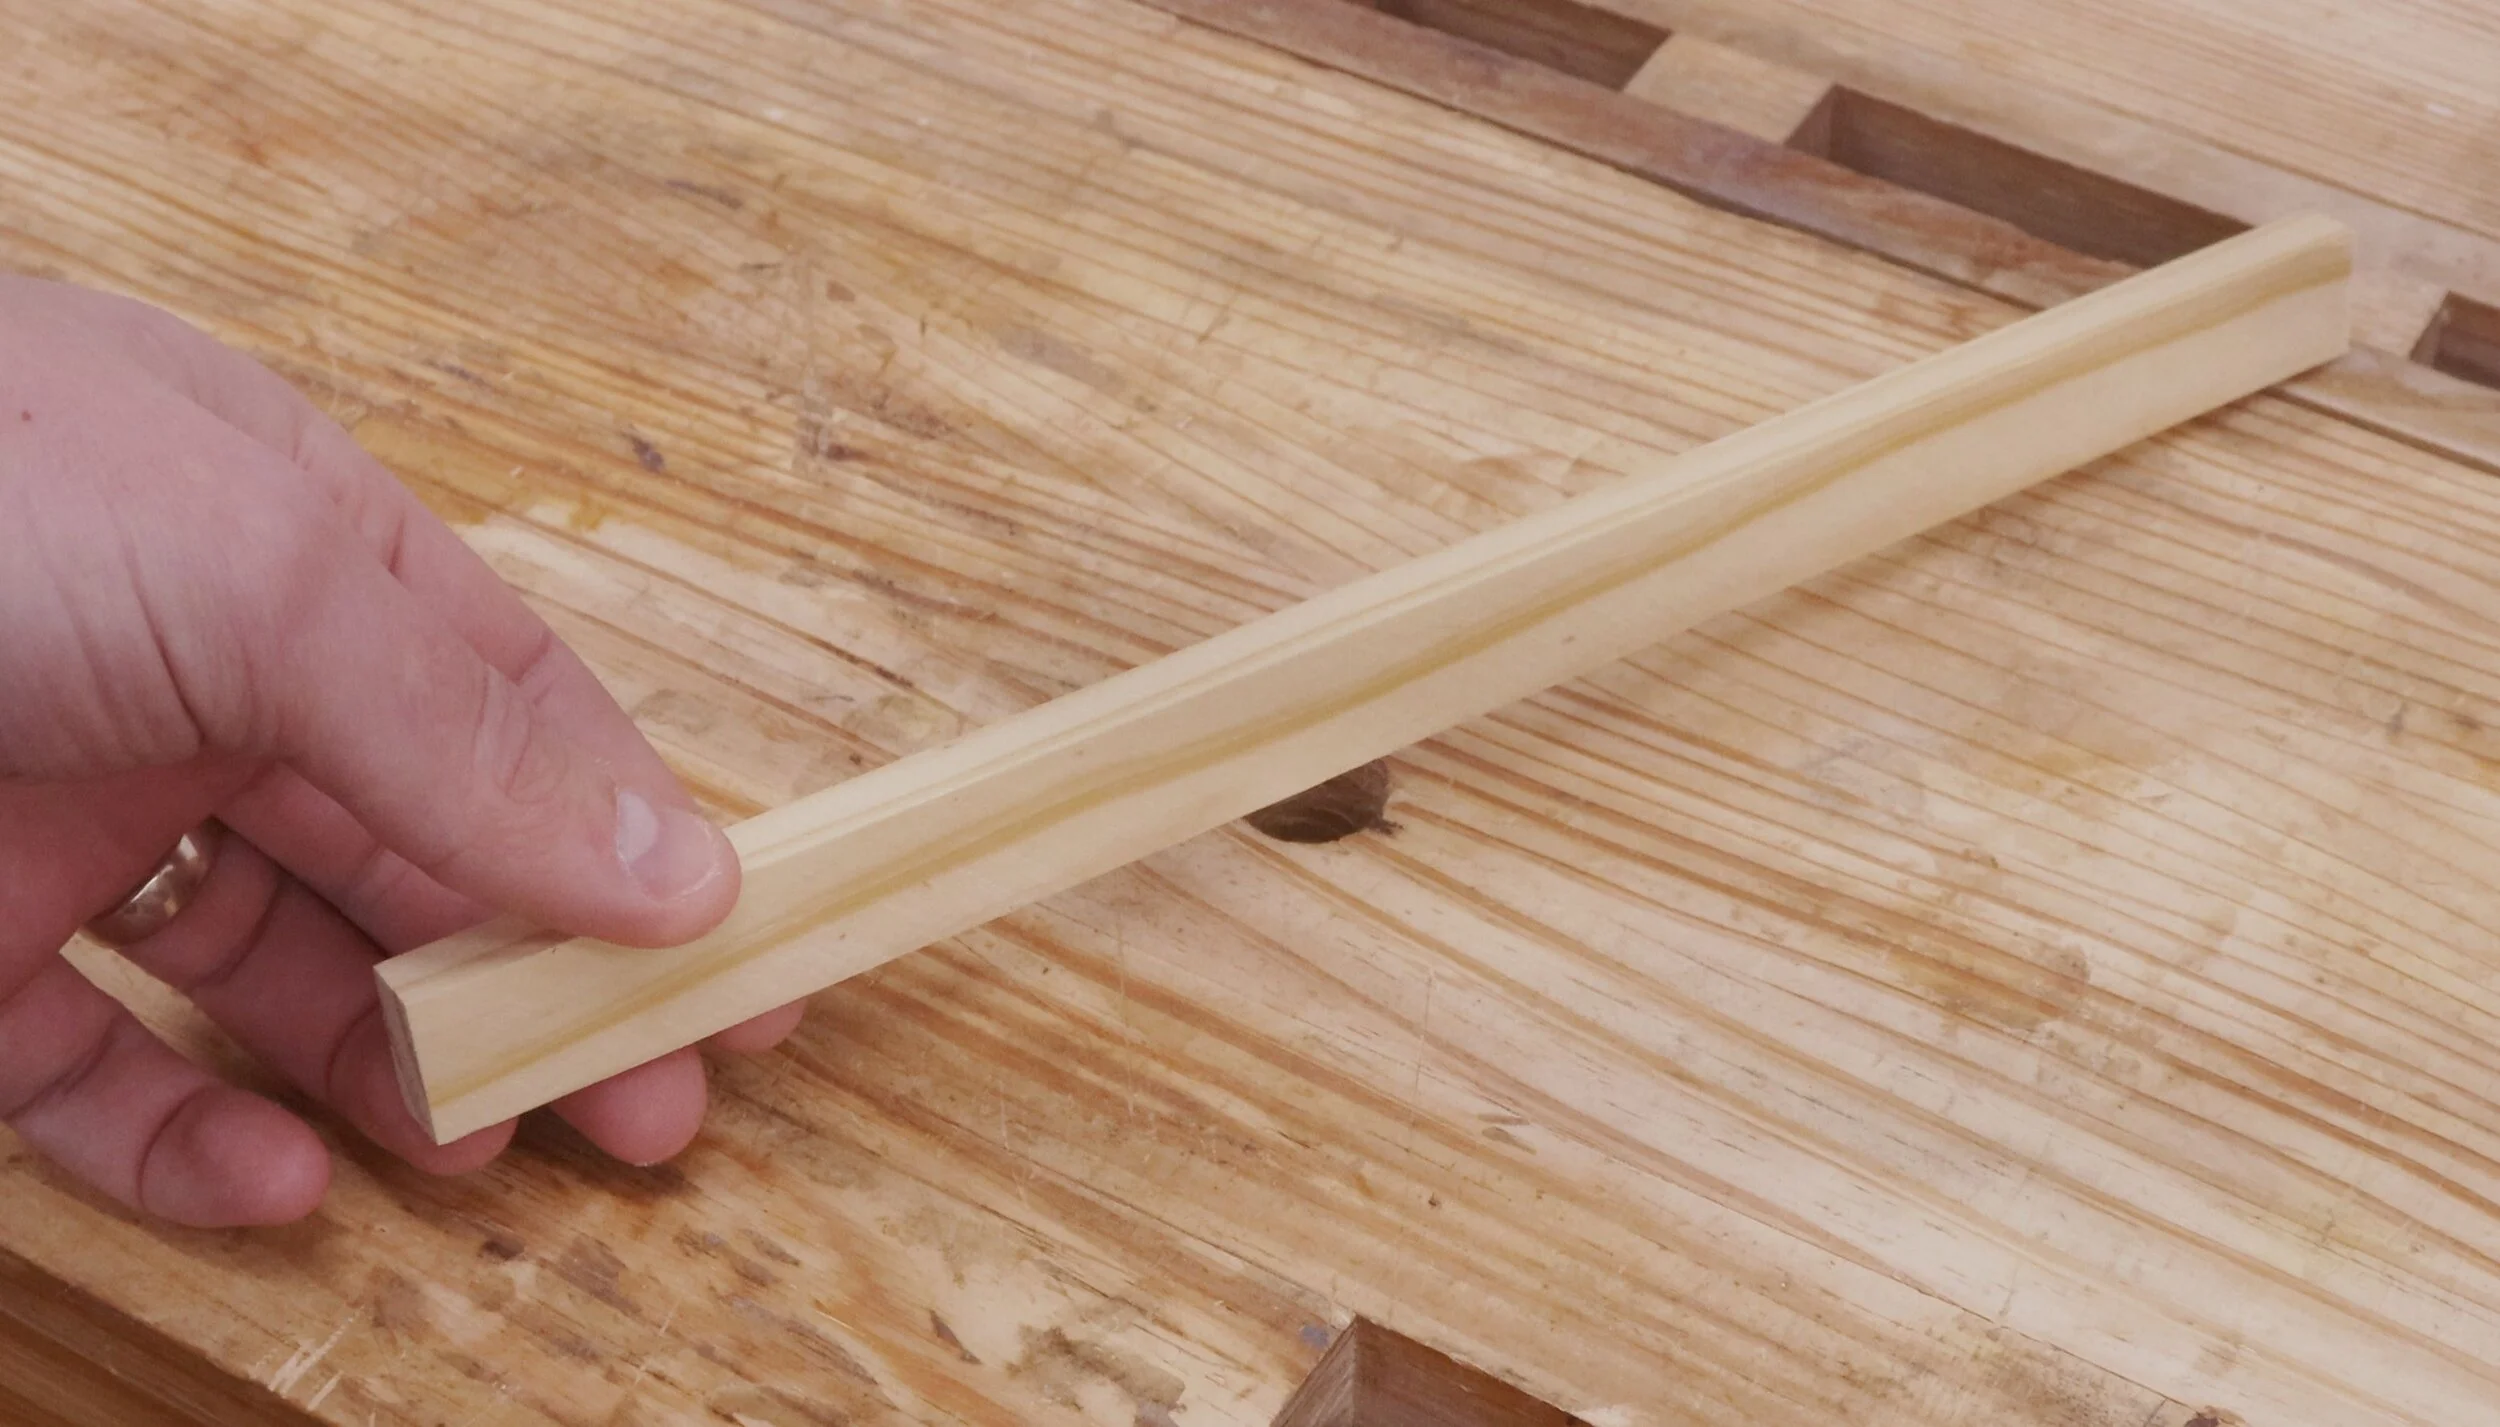
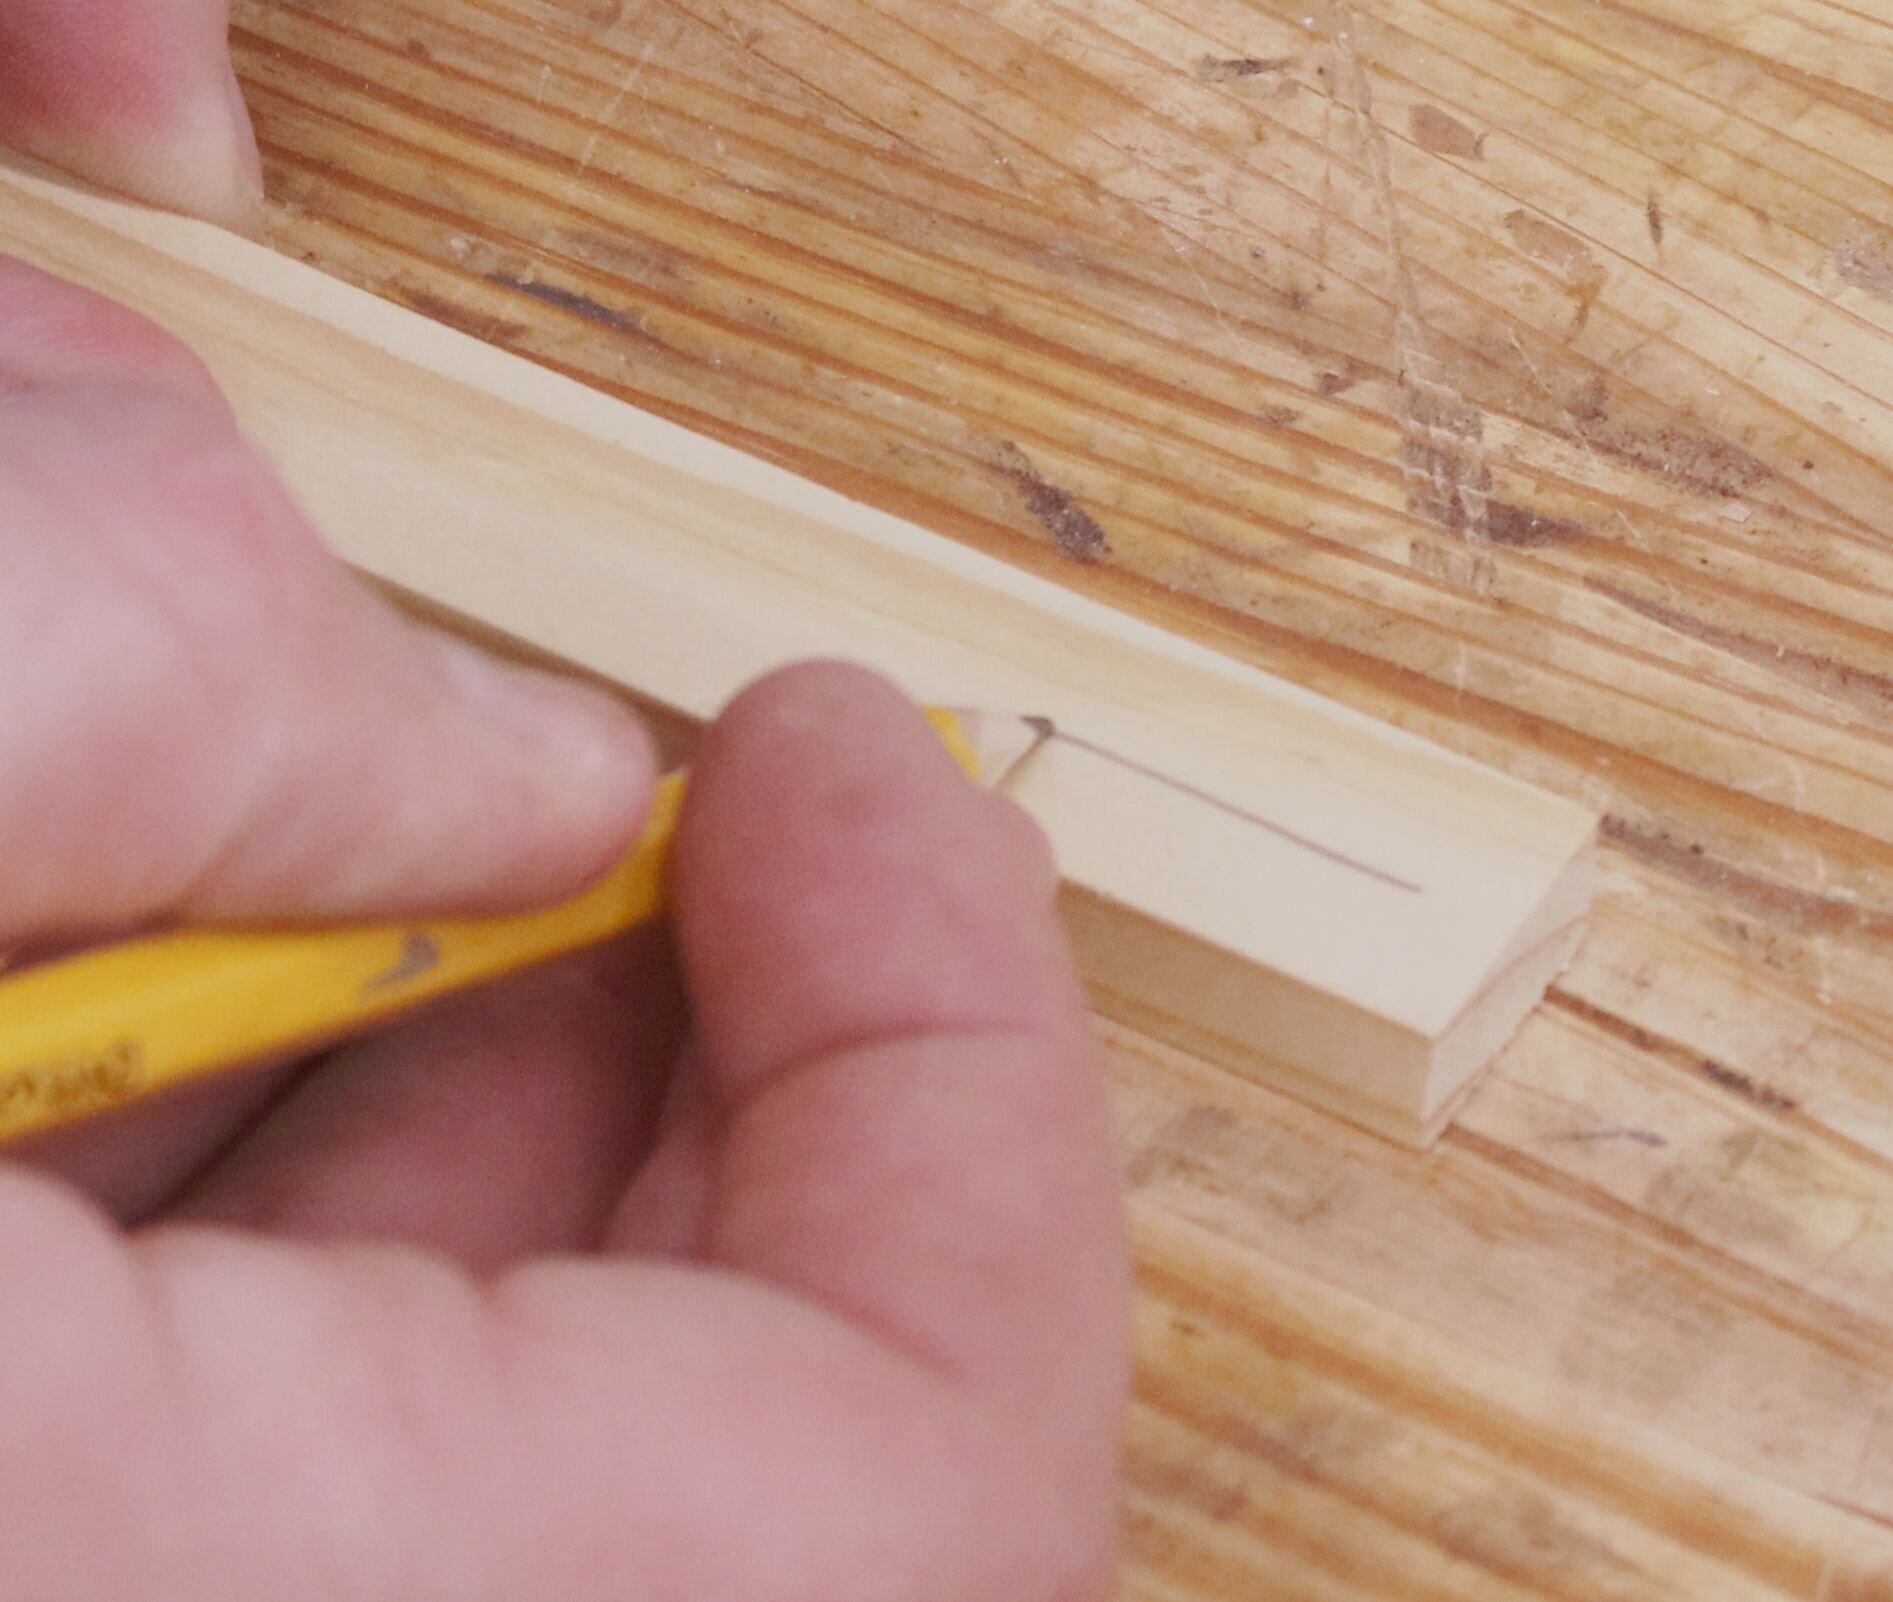
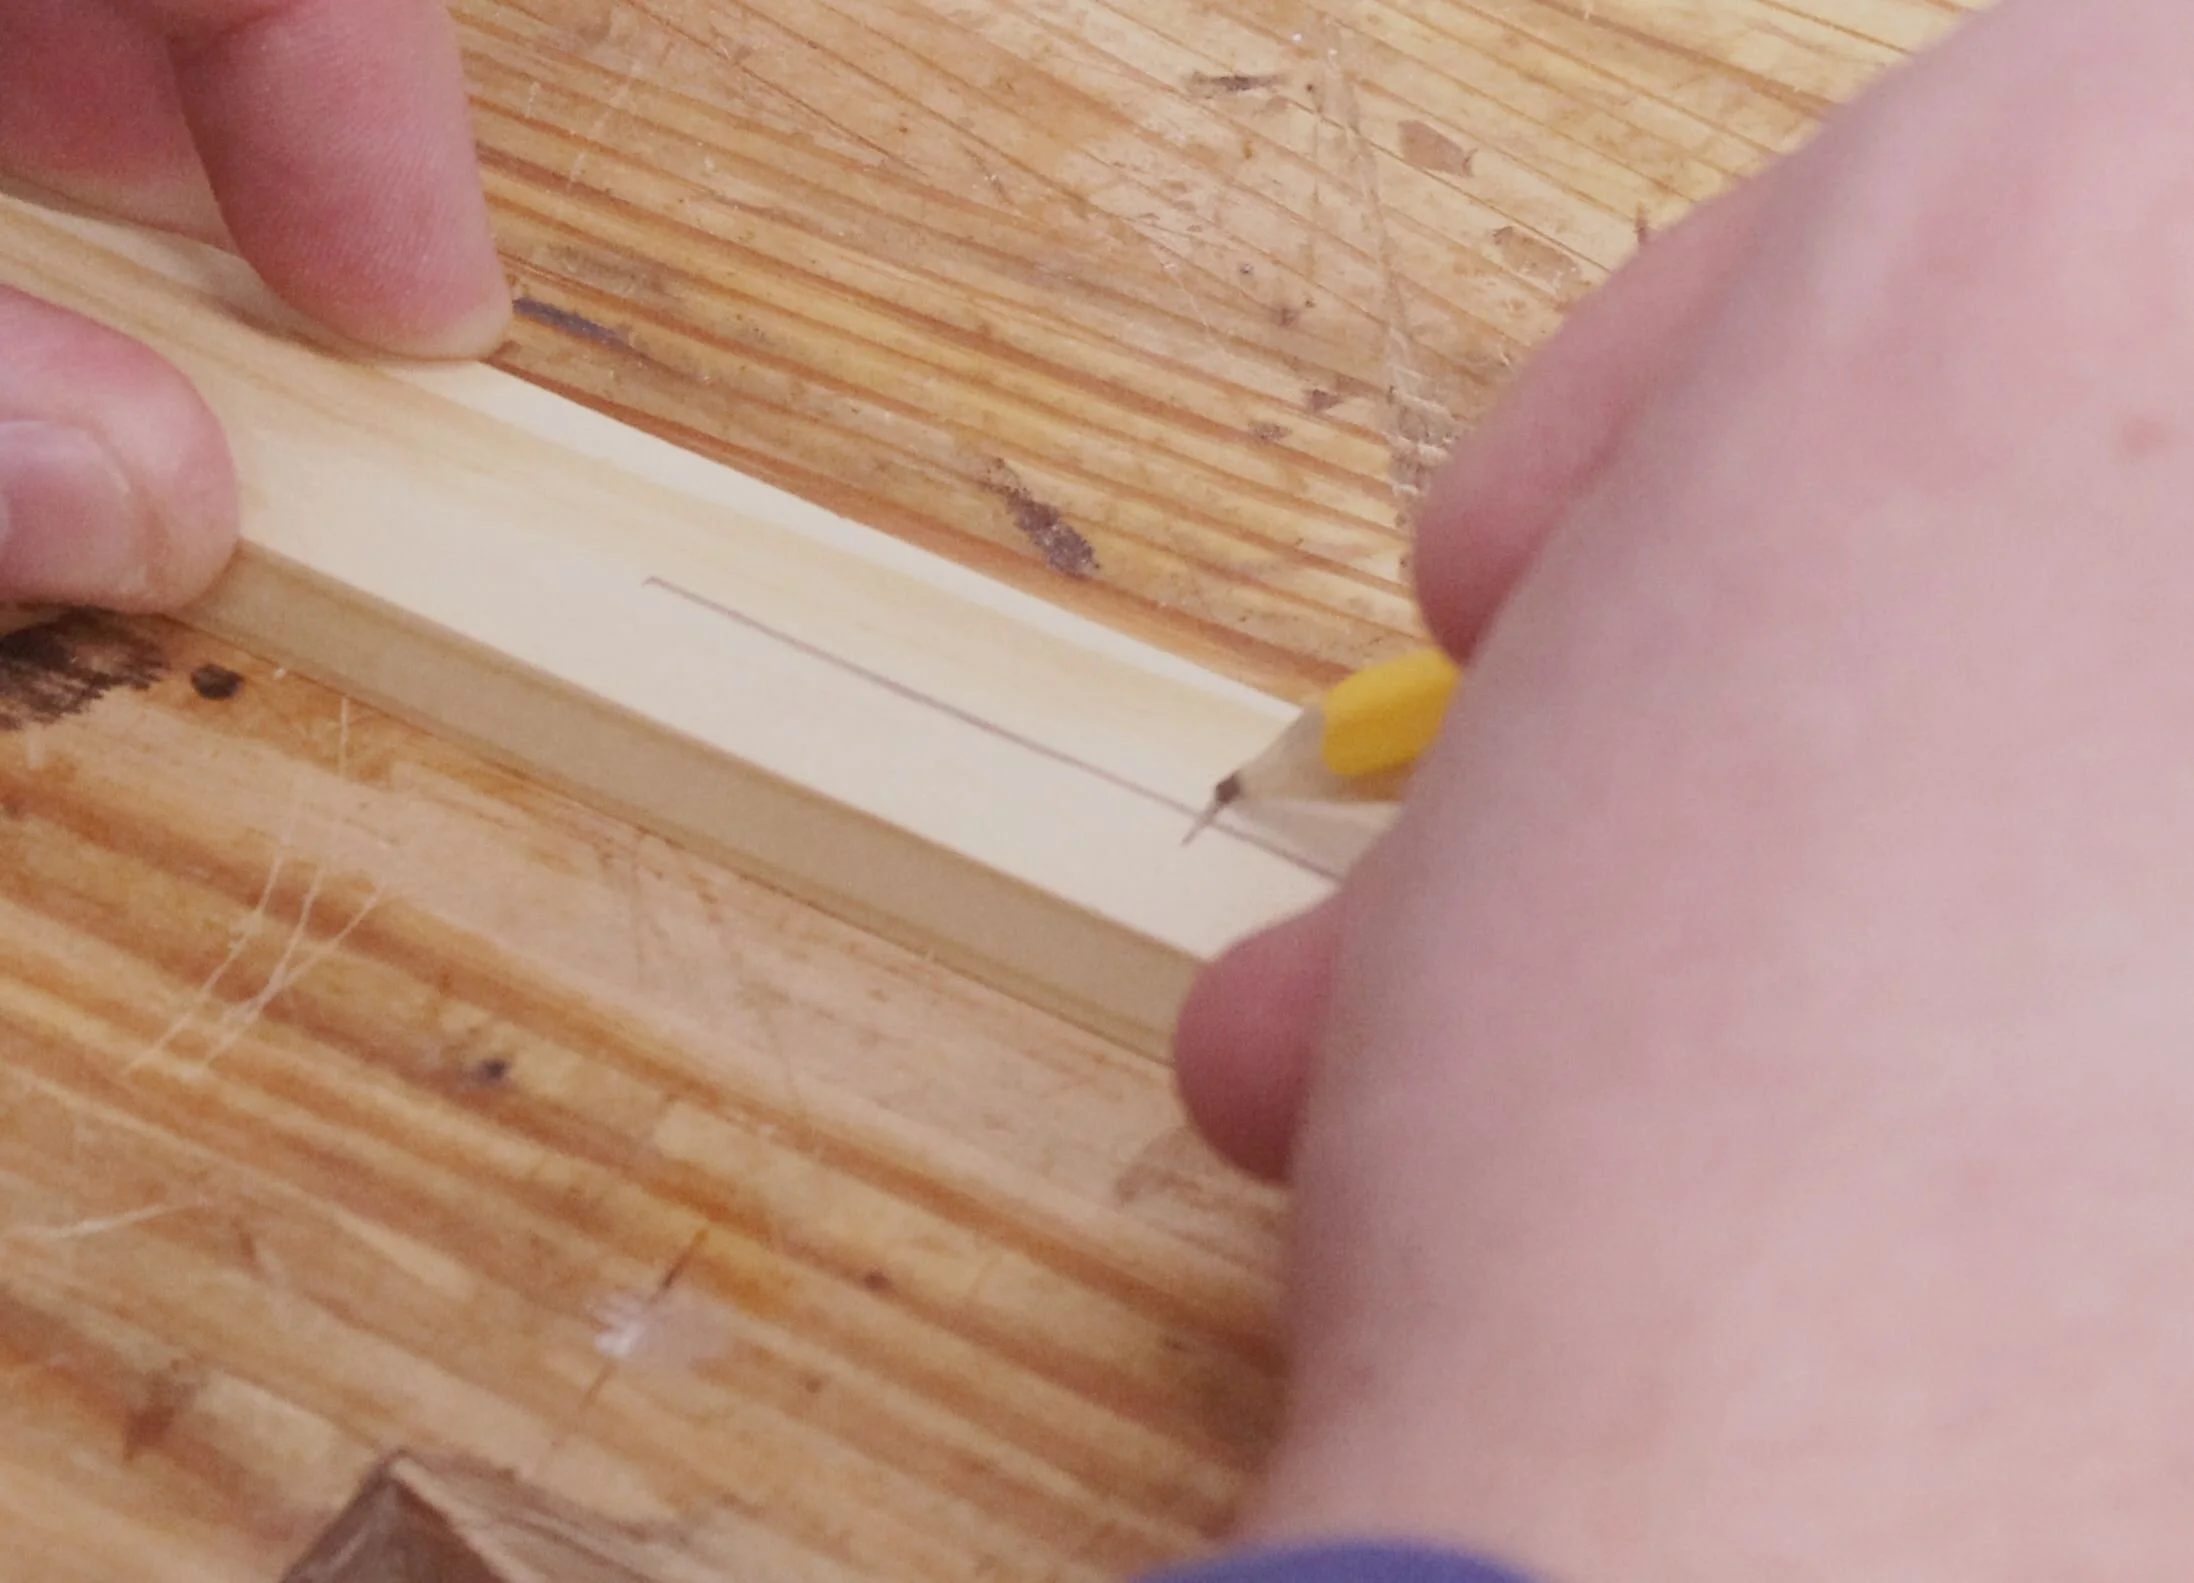
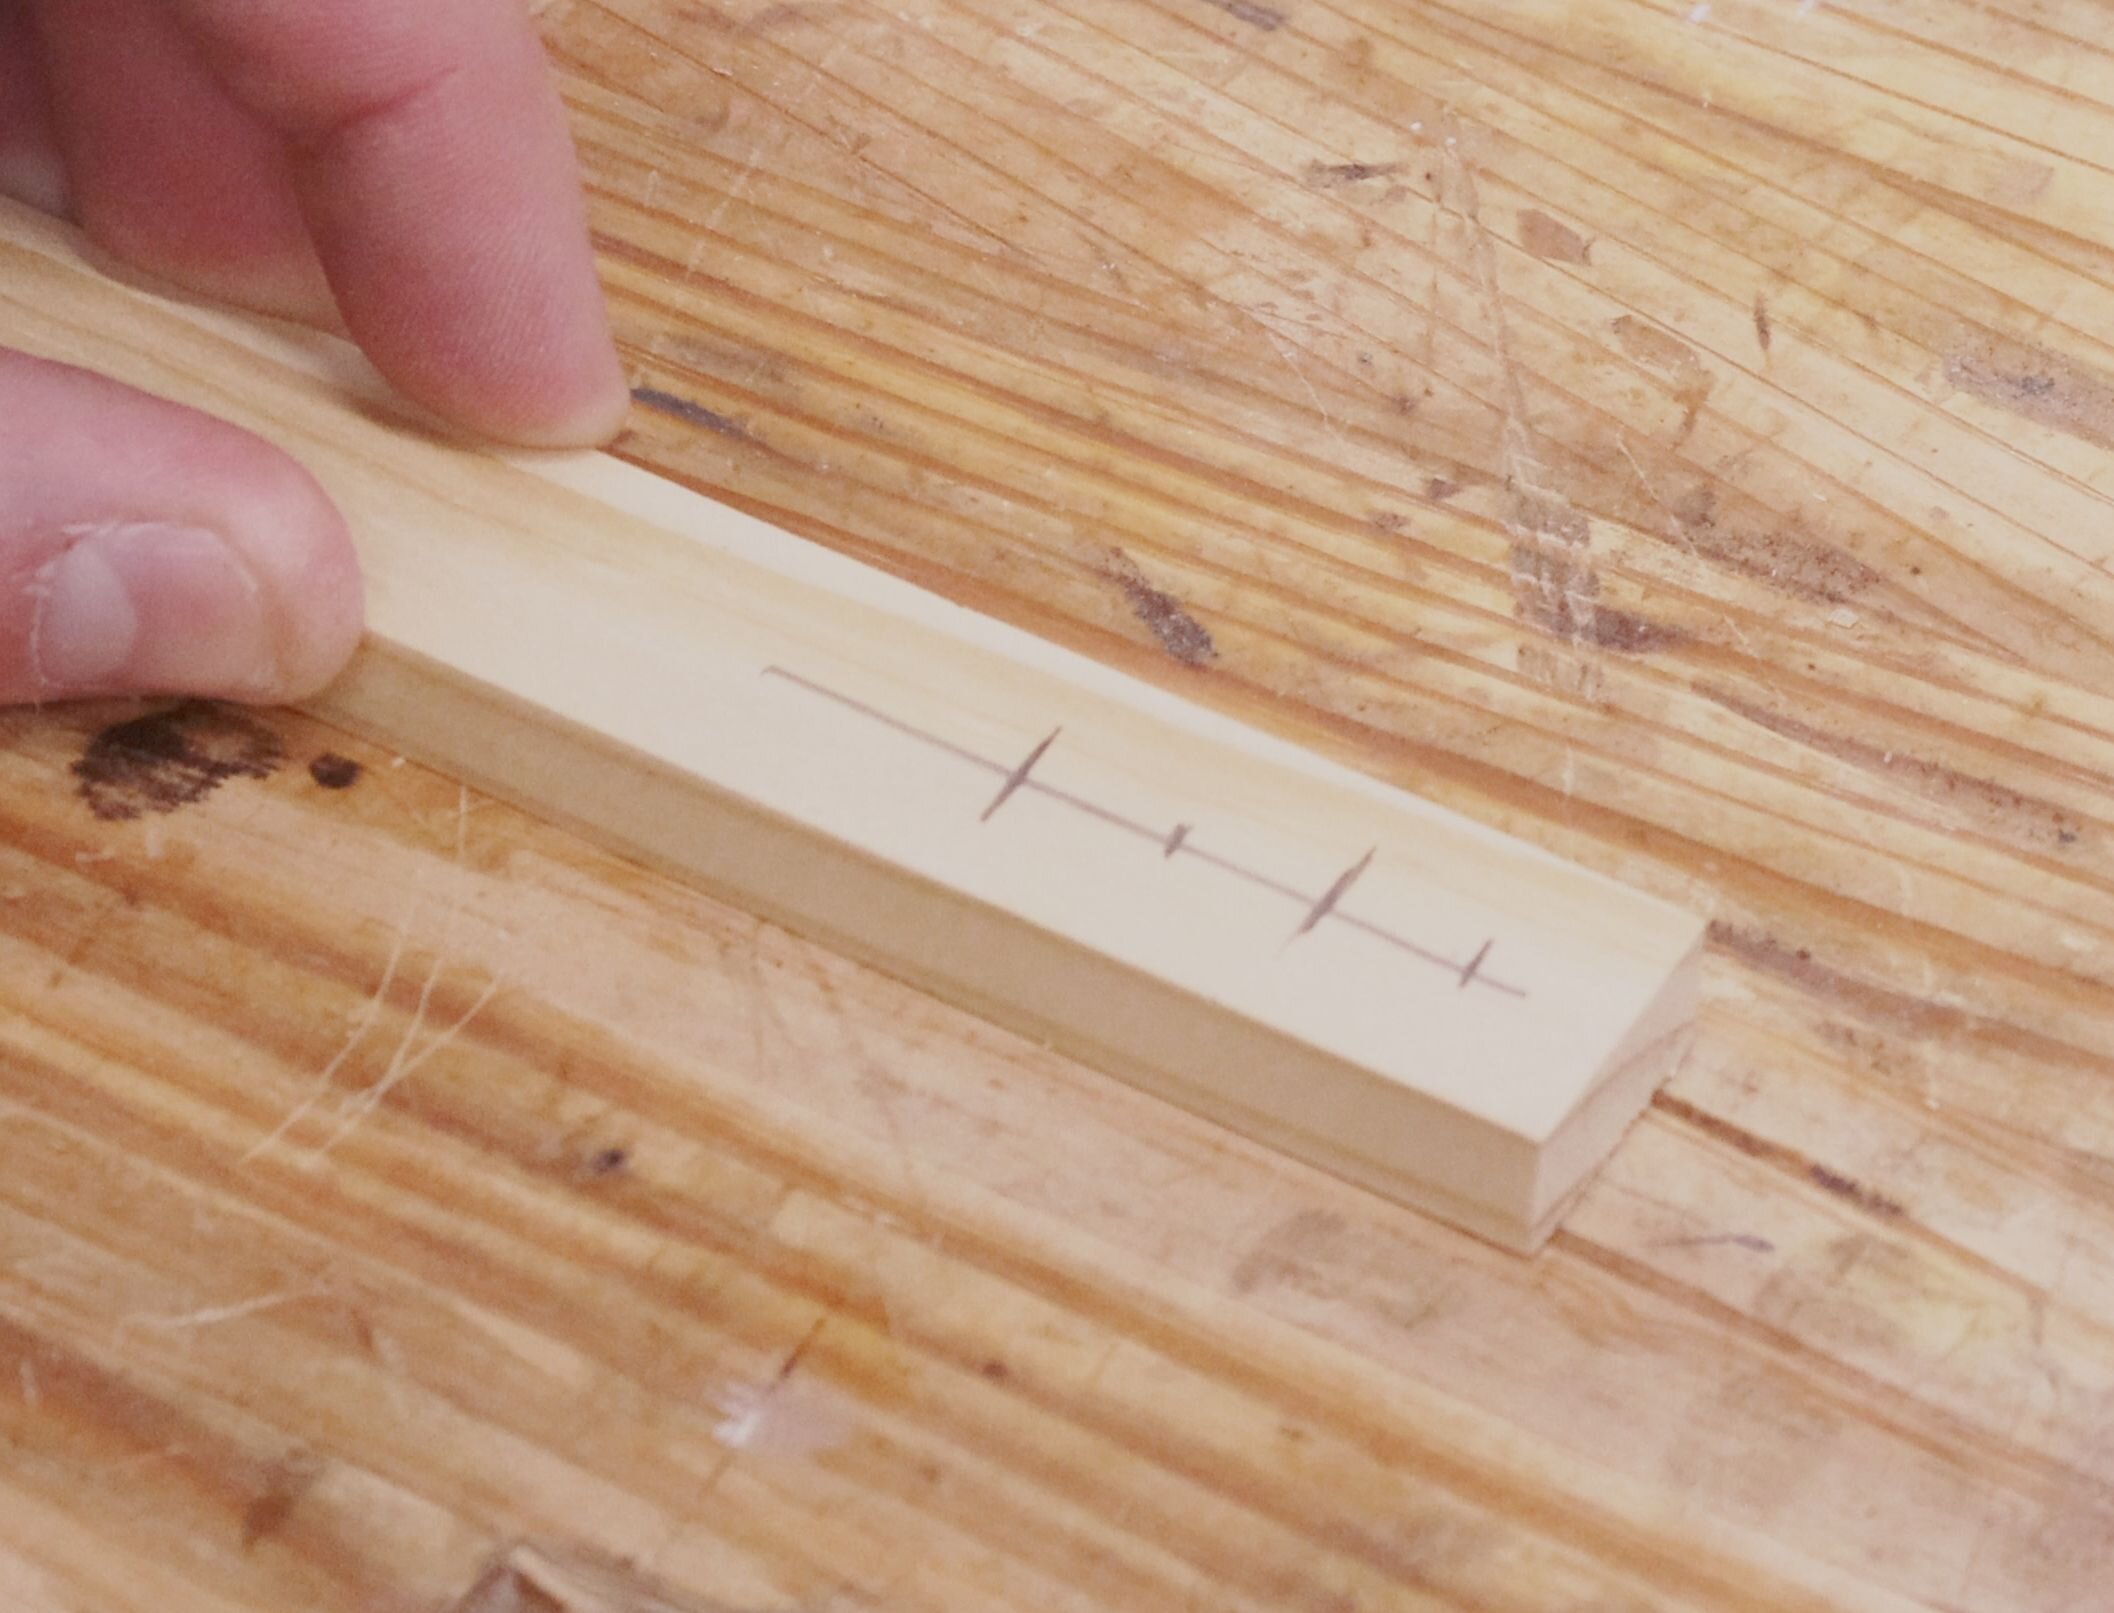
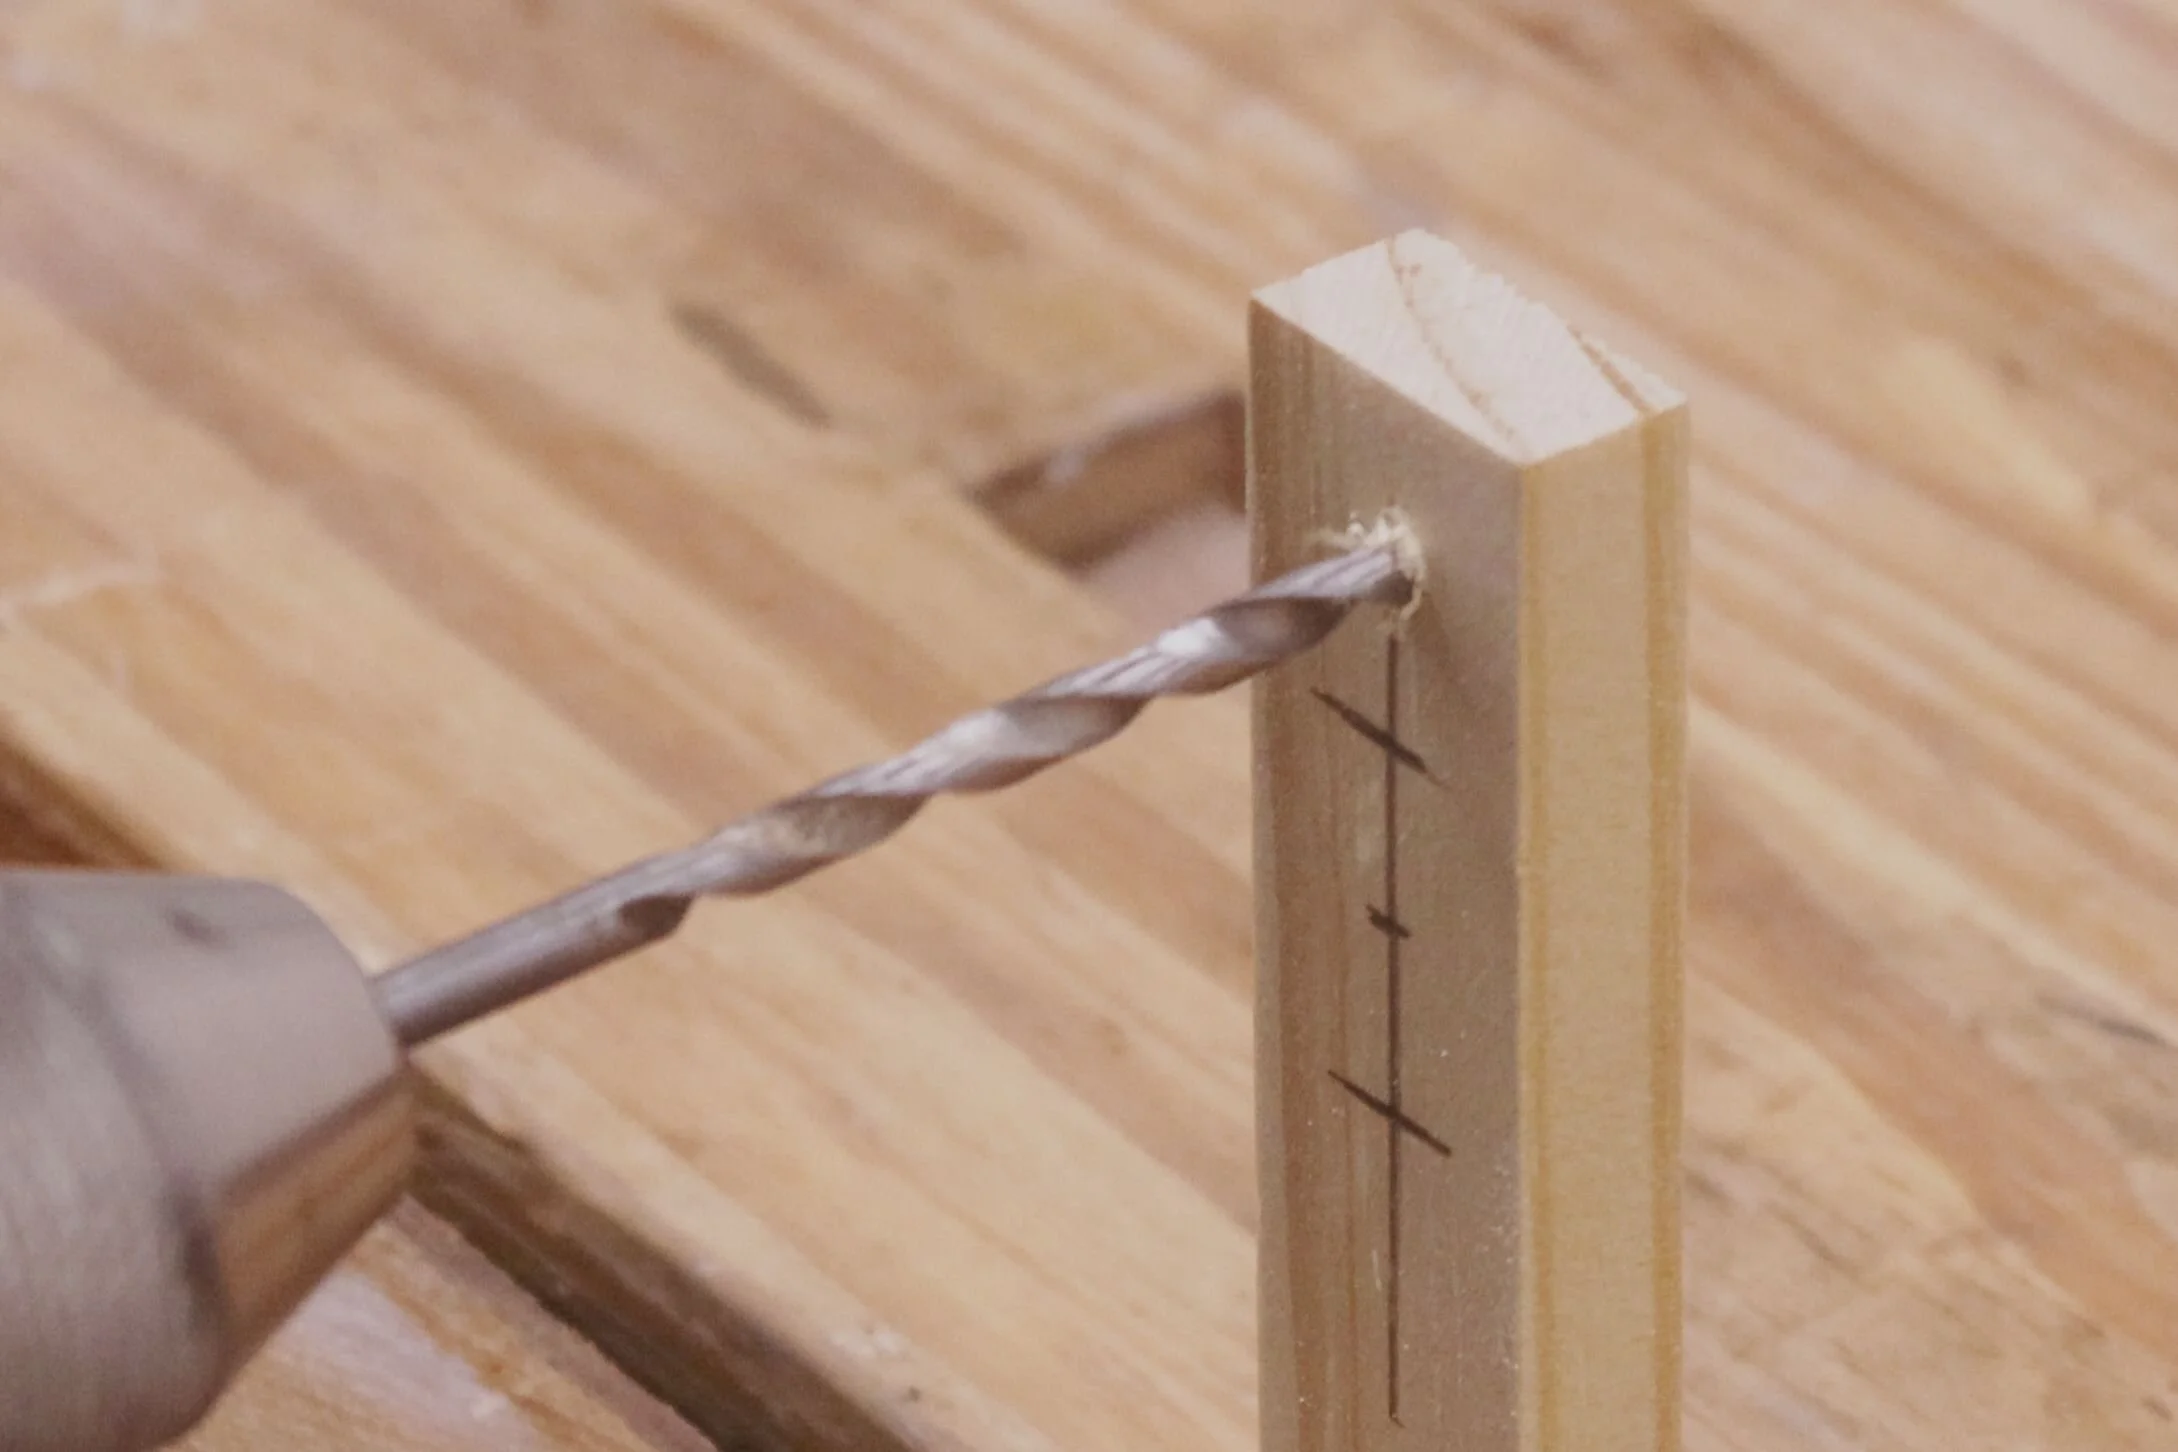
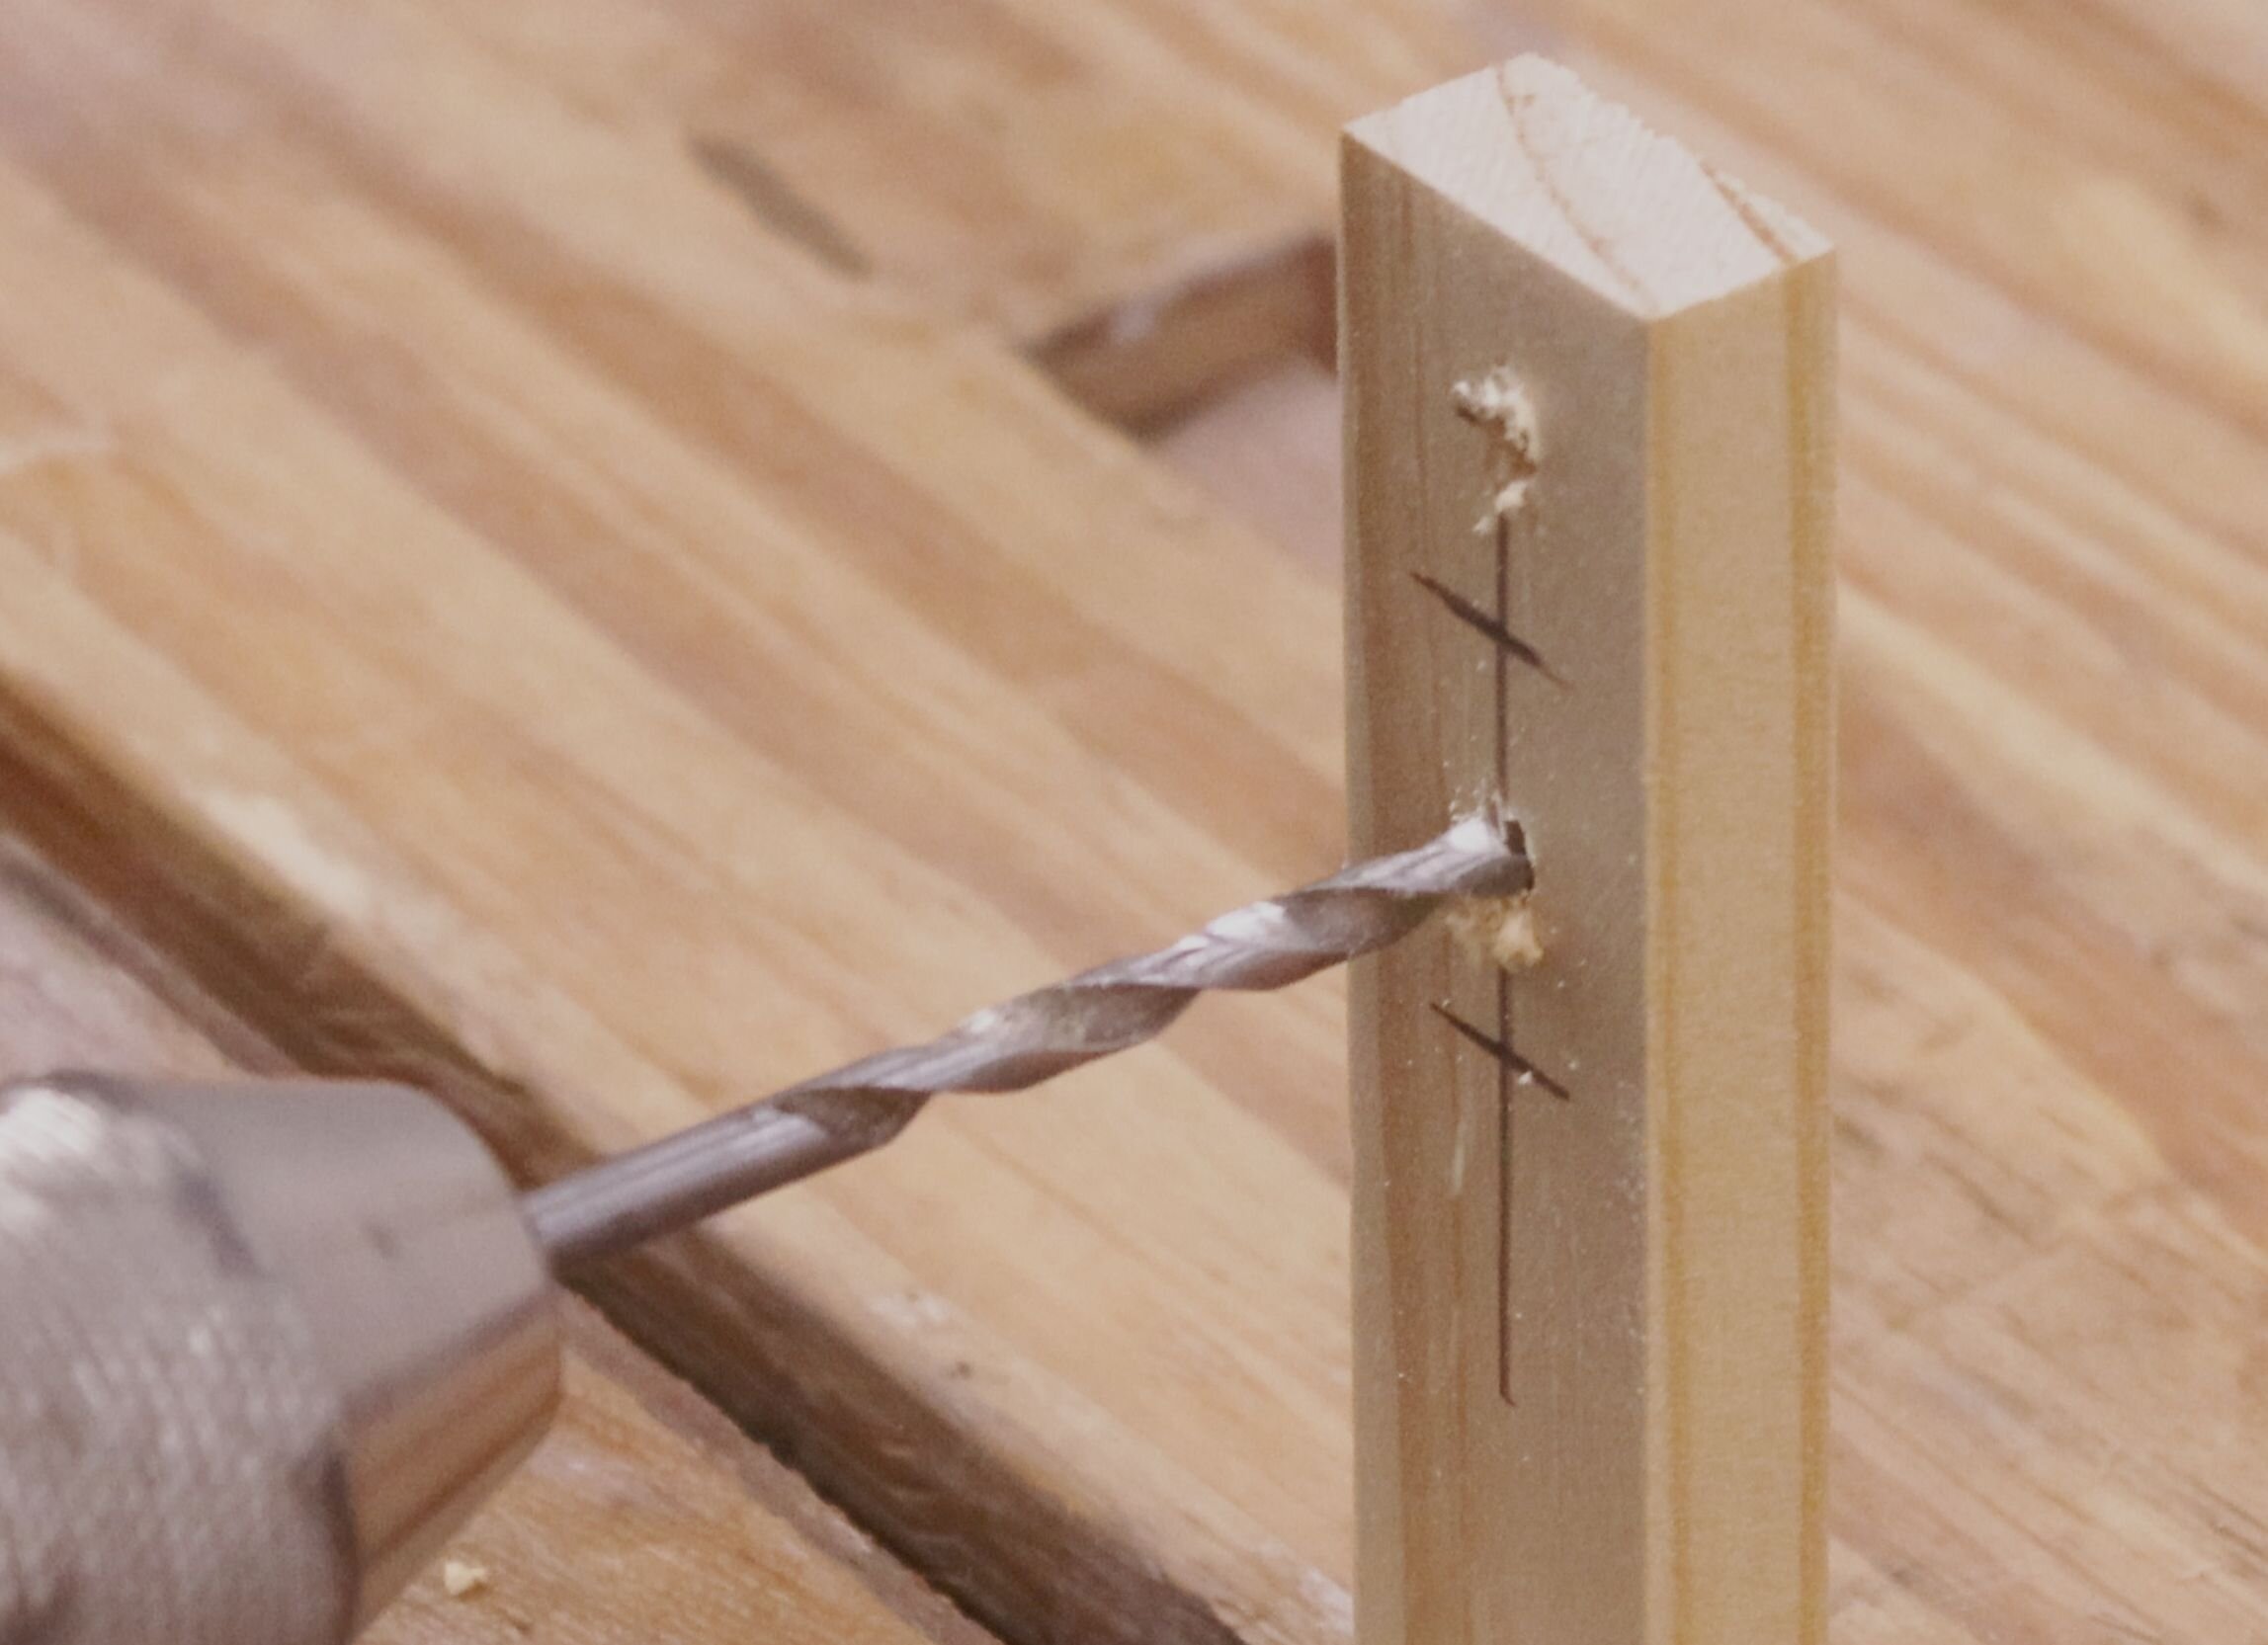
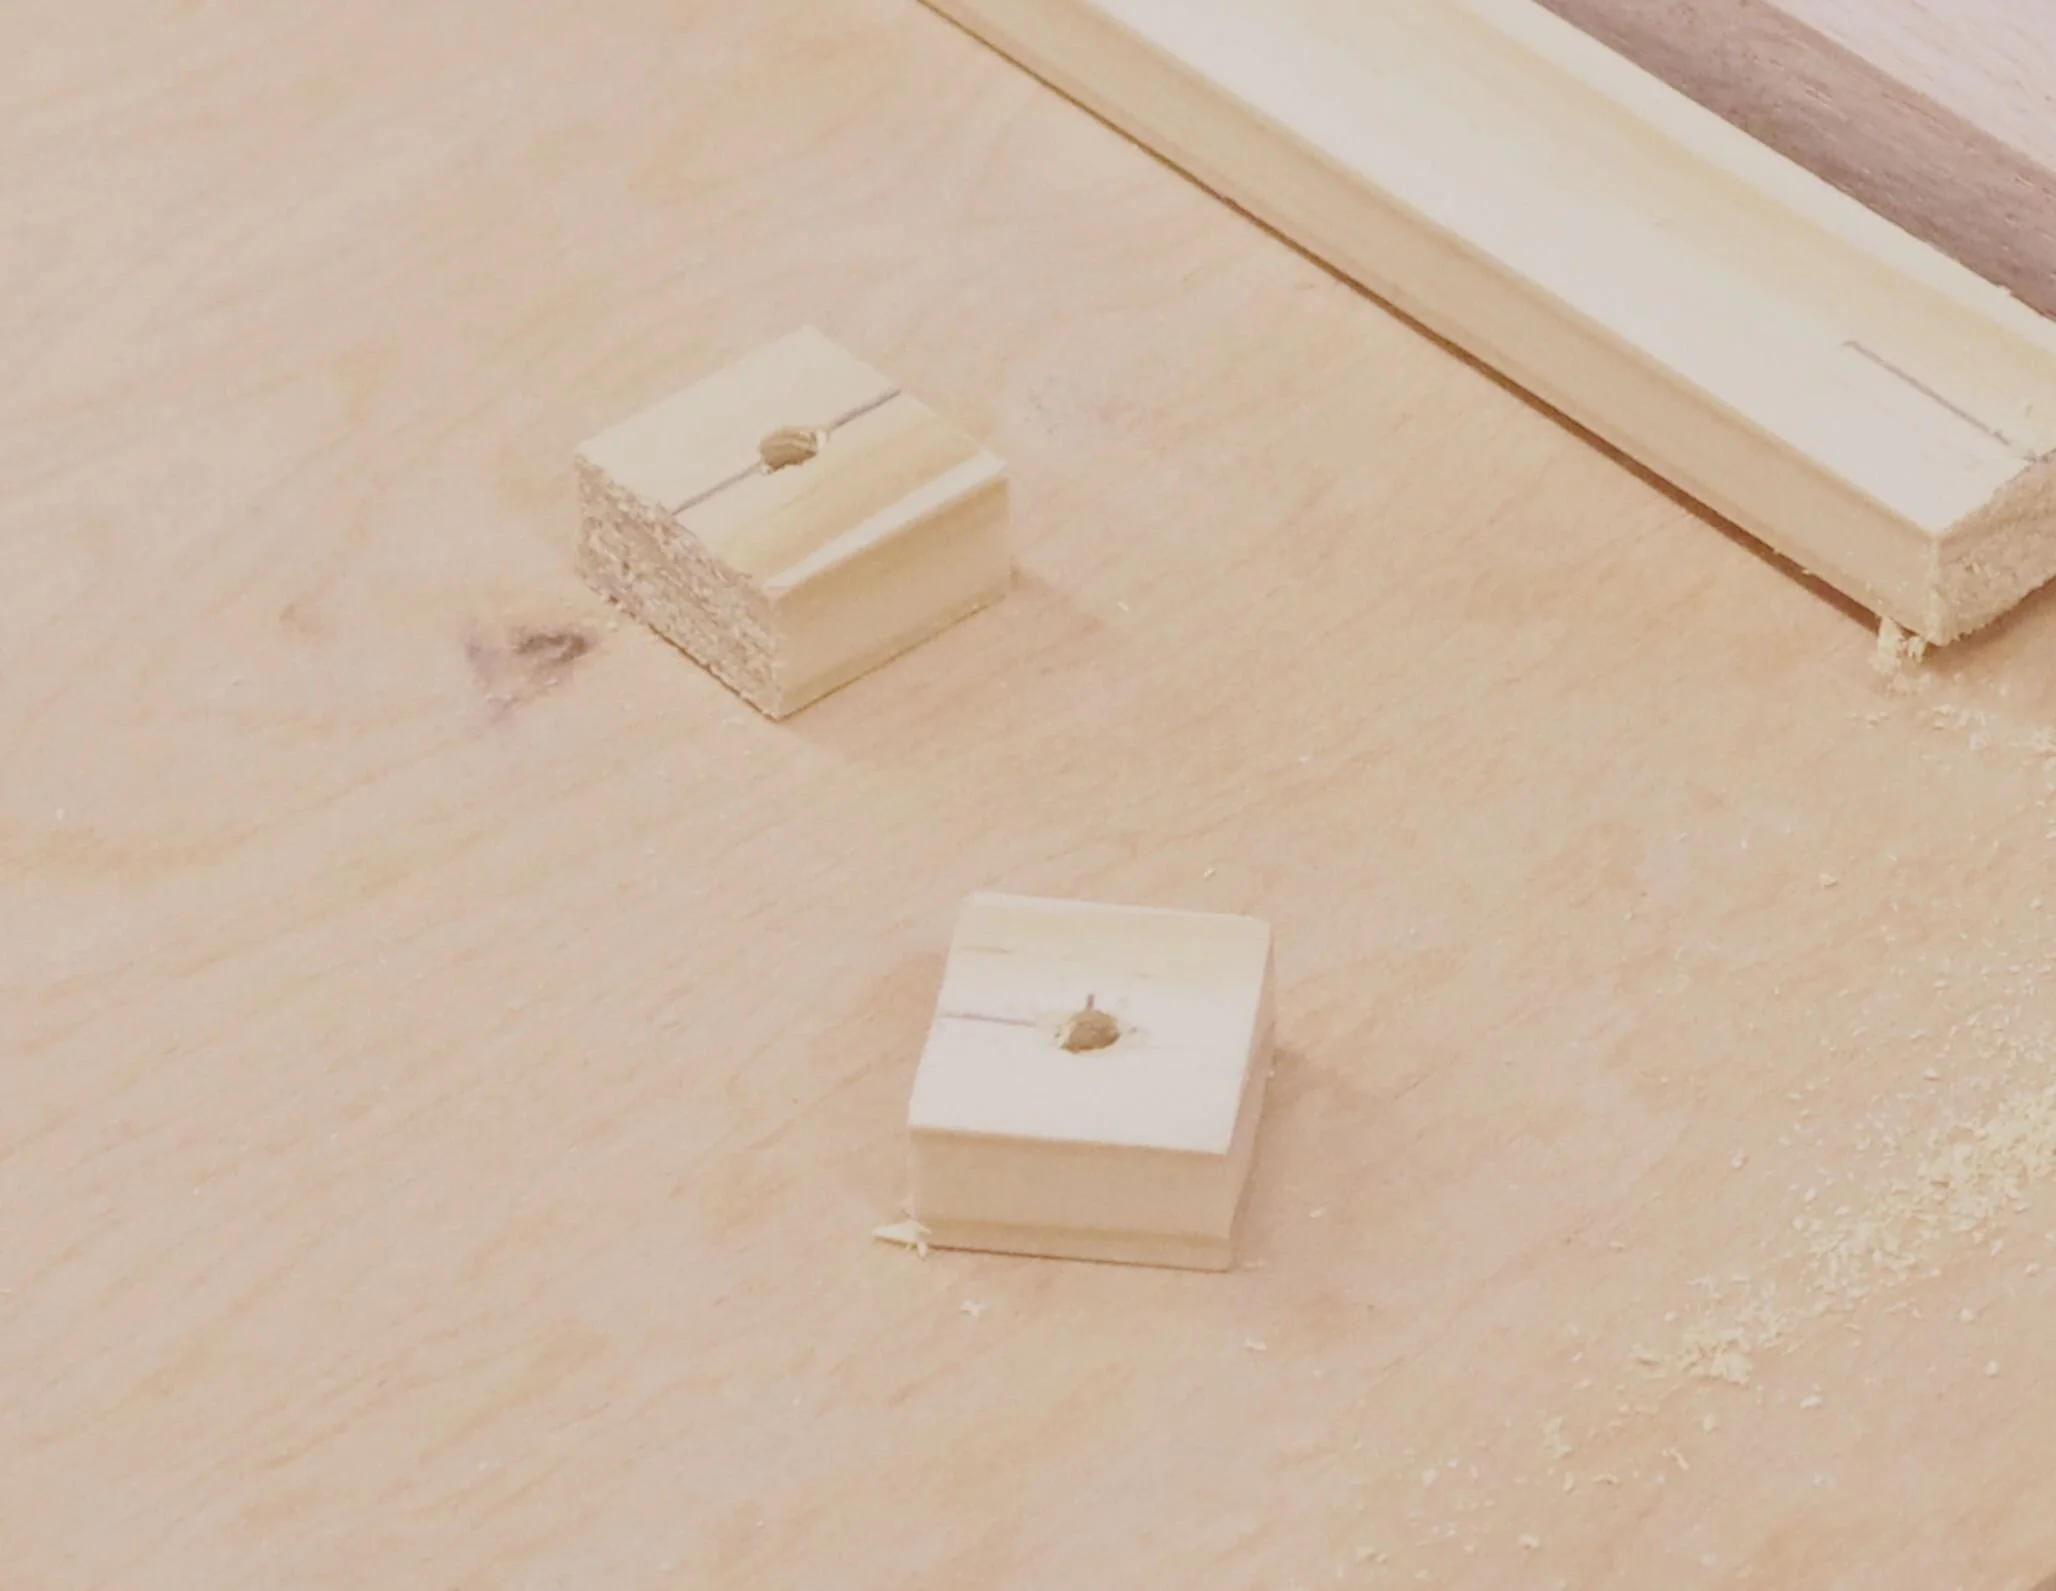
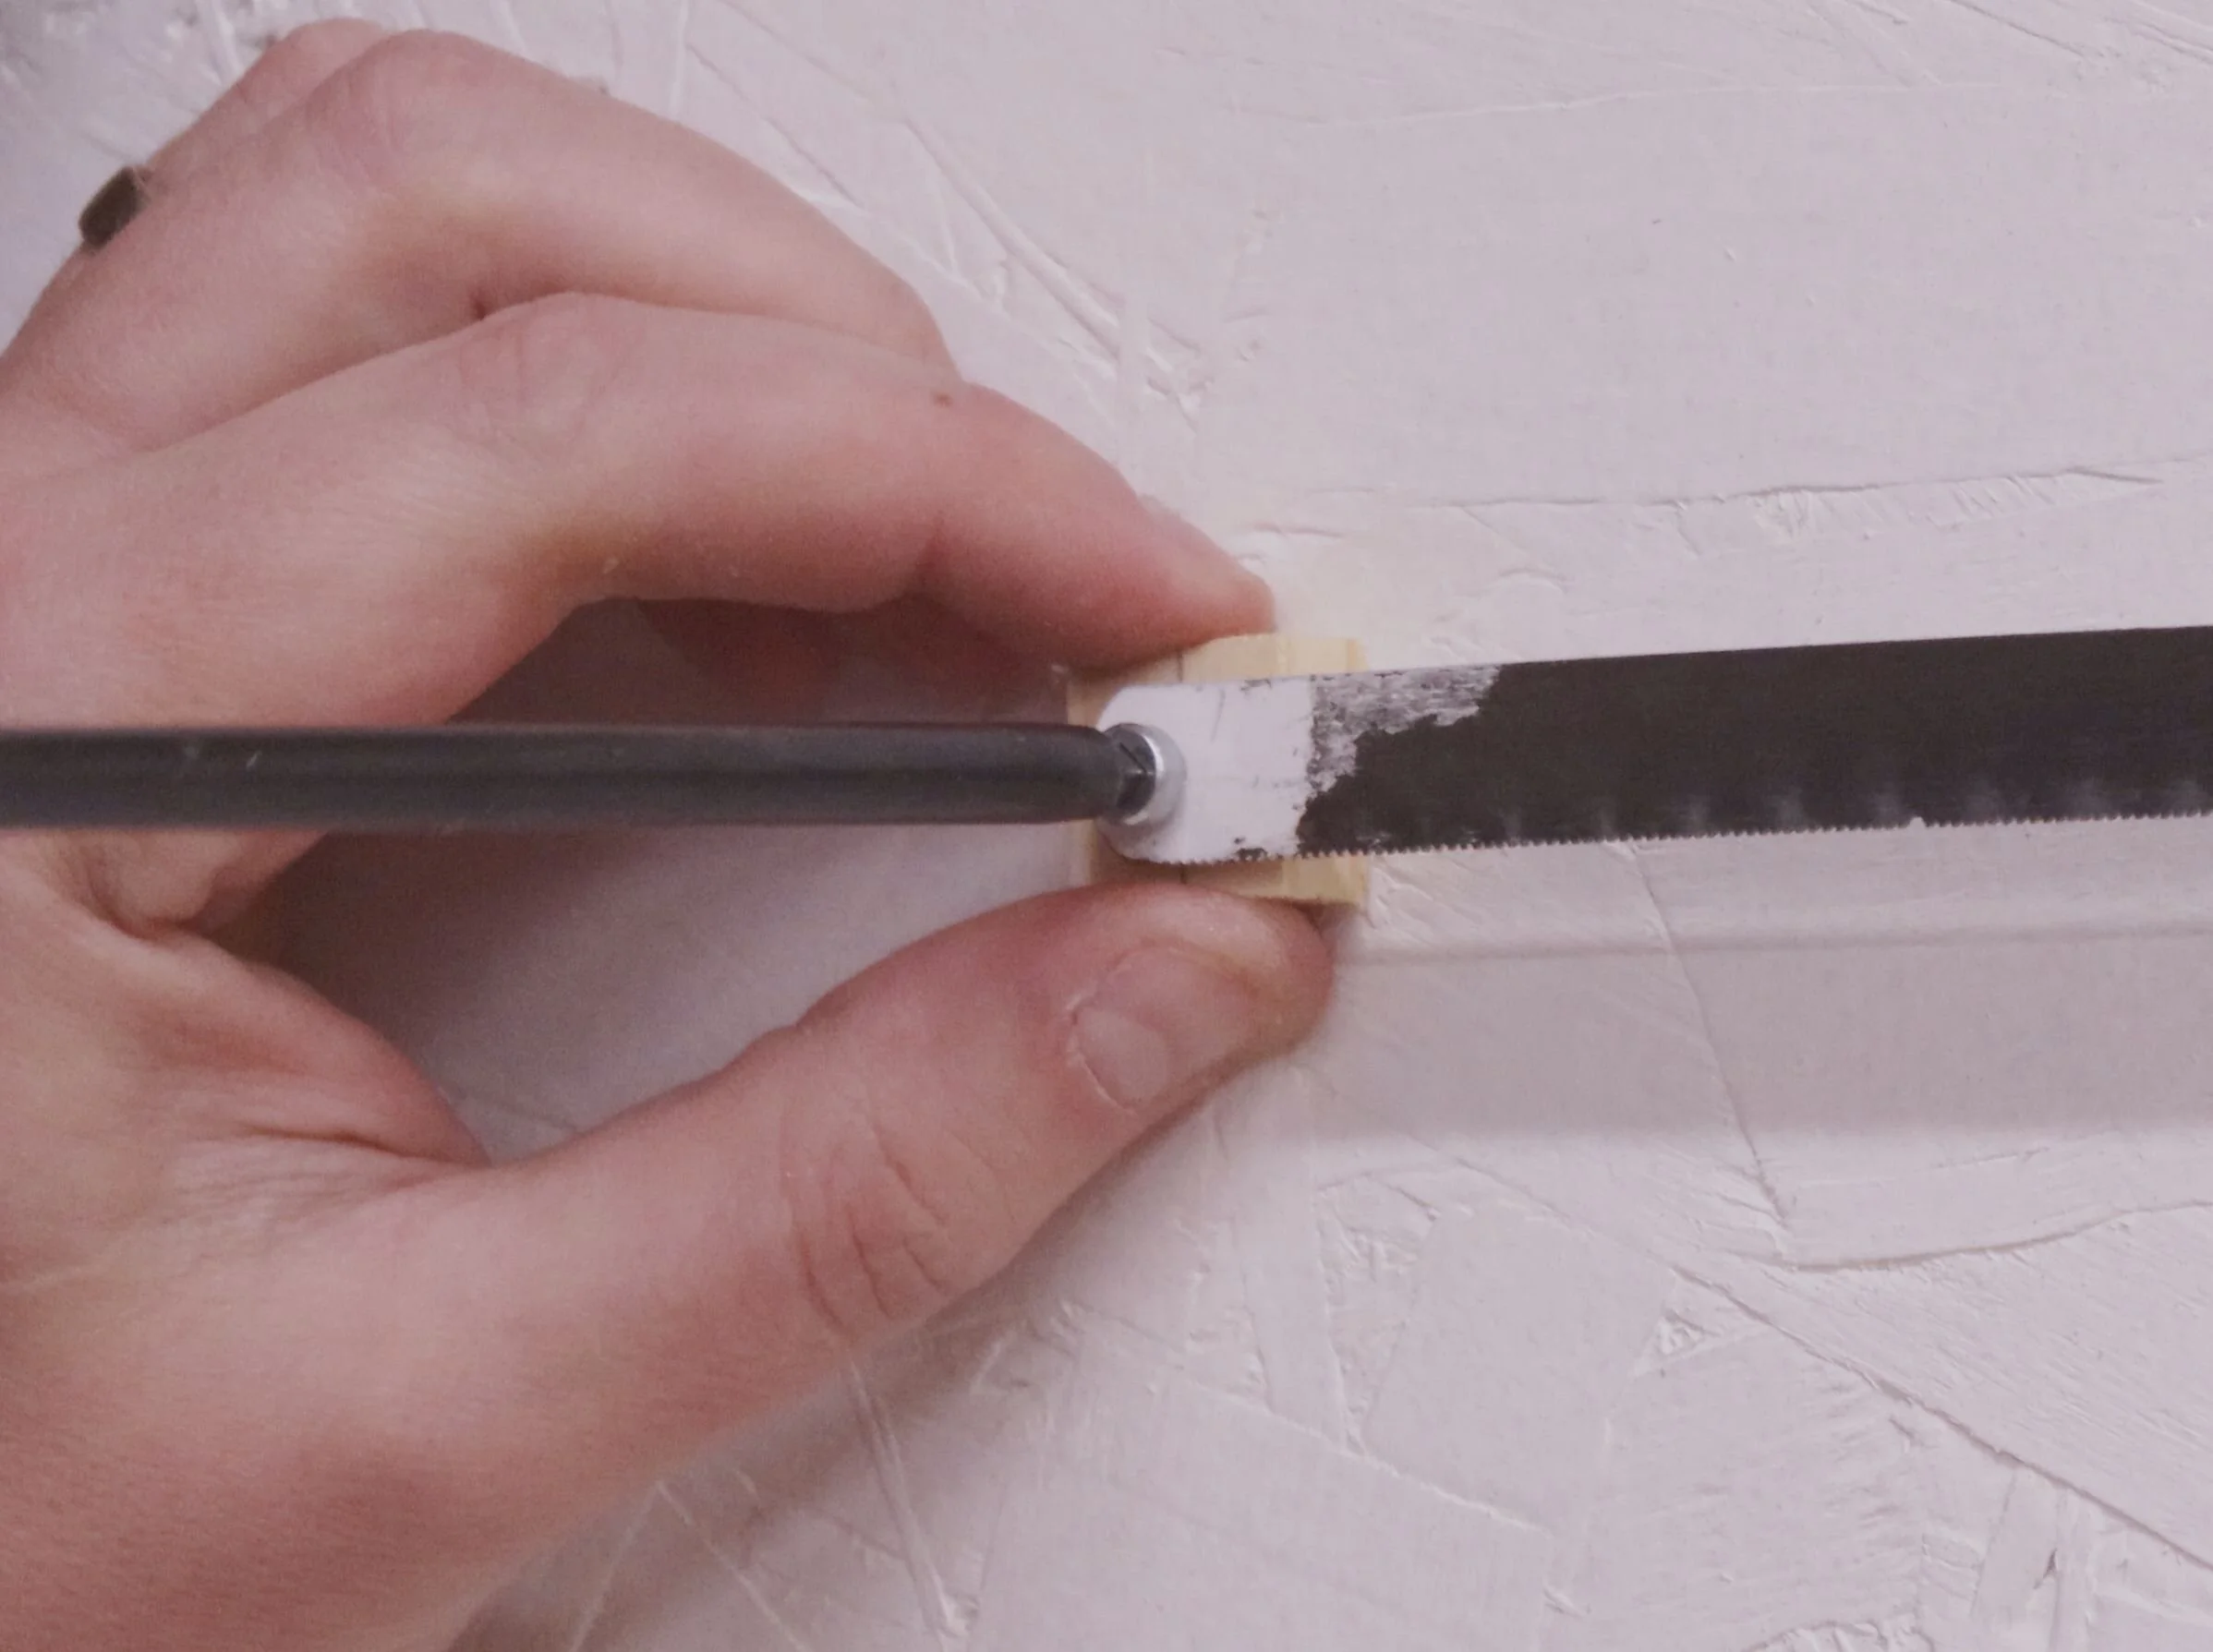
Start off by marking the two spacer pieces on the ends of the hacksaw blade. These will have a hole in the center, and they are about 3/4" (19mm) square. With the pieces marked, drill through the wood with a drill bit large enough for the screw to pass through.
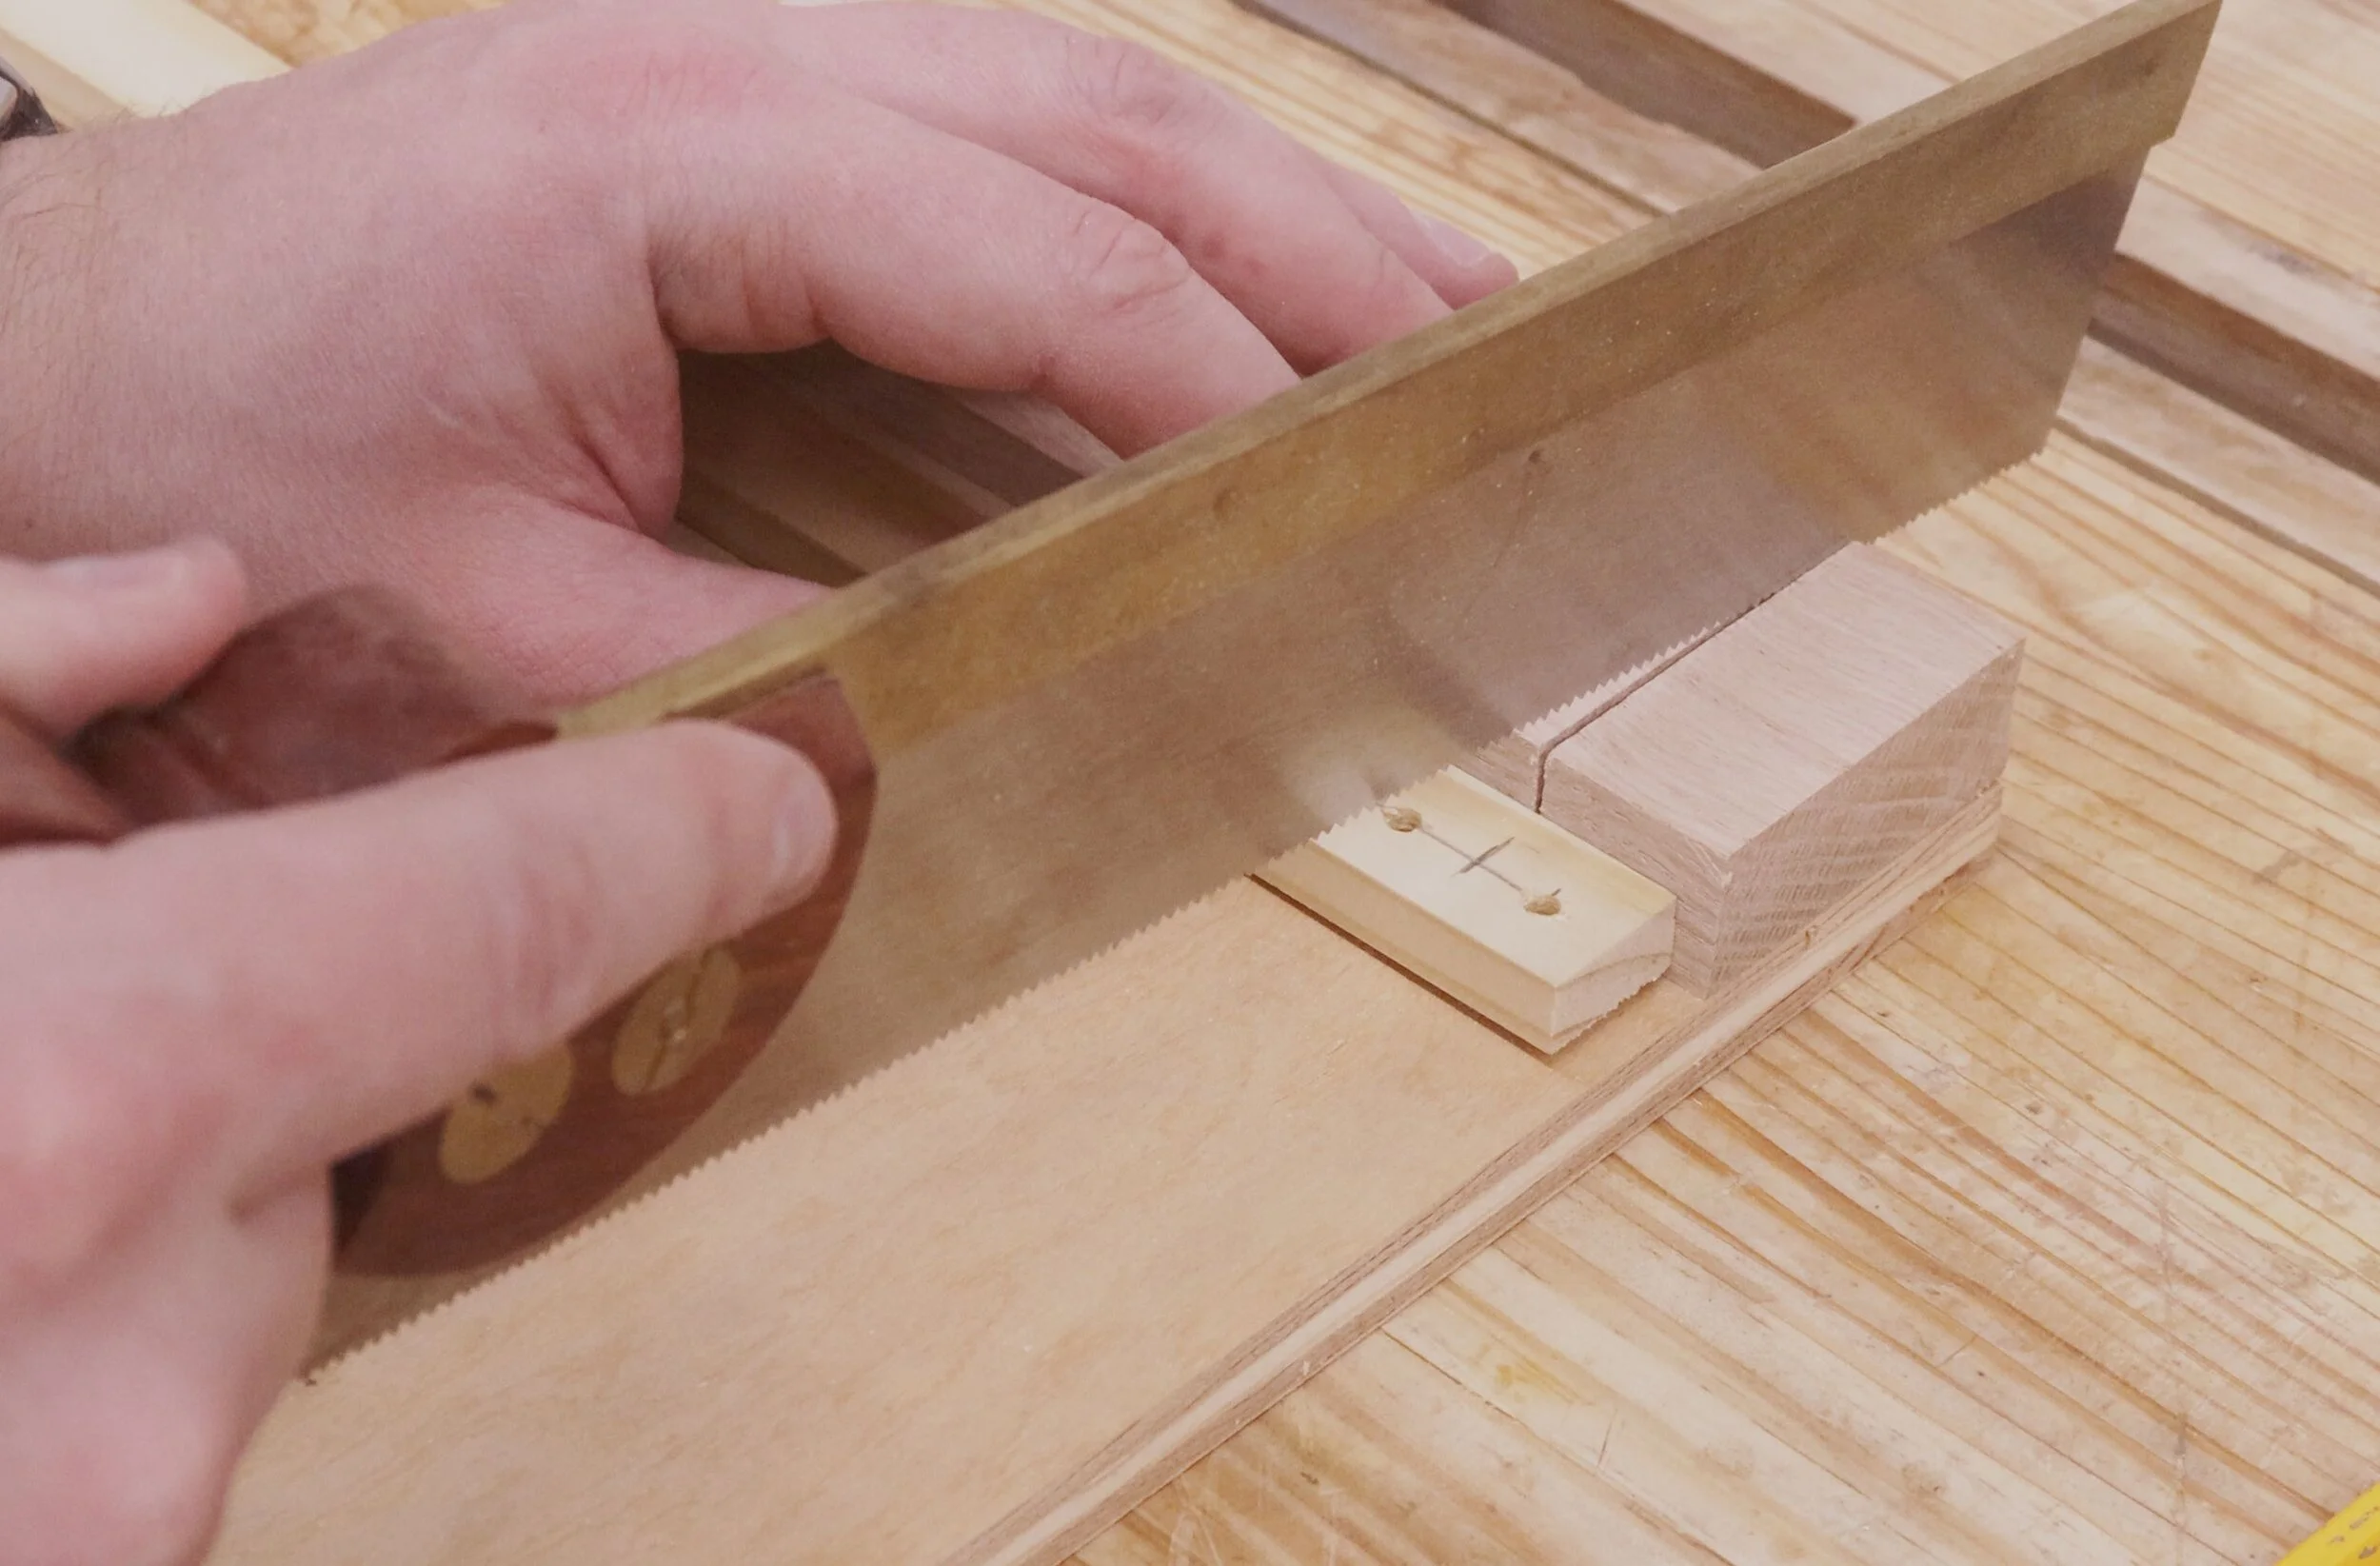
Next cut these spacer pieces off. I used a homemade bench hook with a 90-degree miter guide to do this.

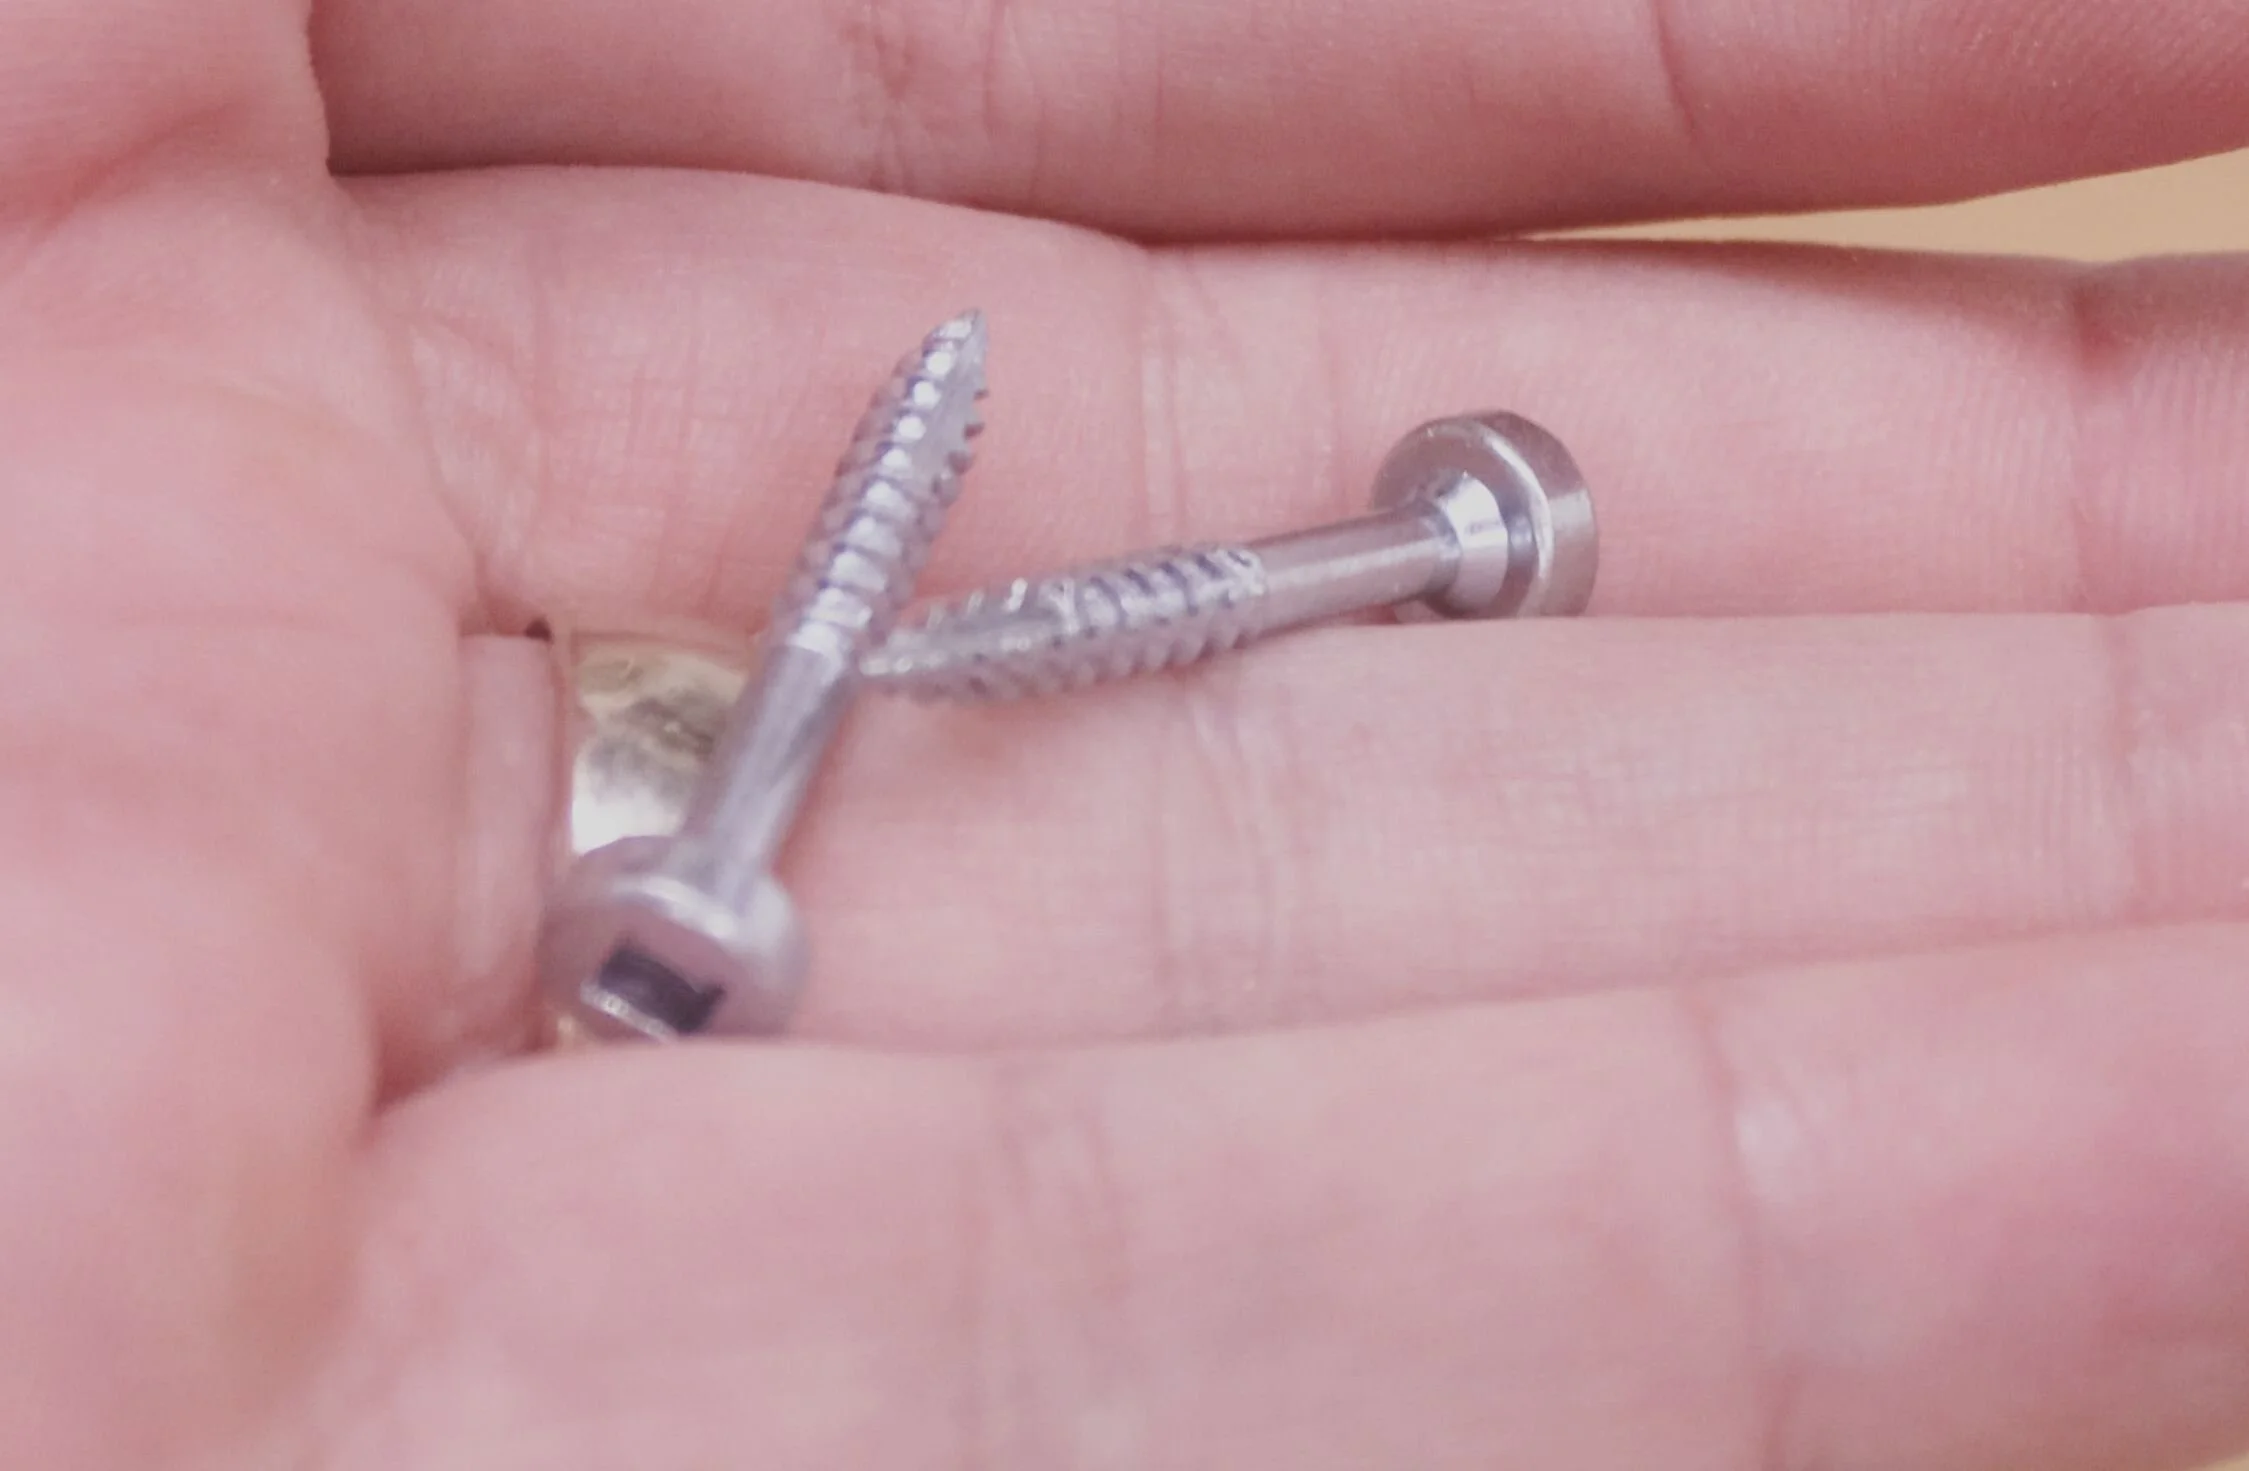
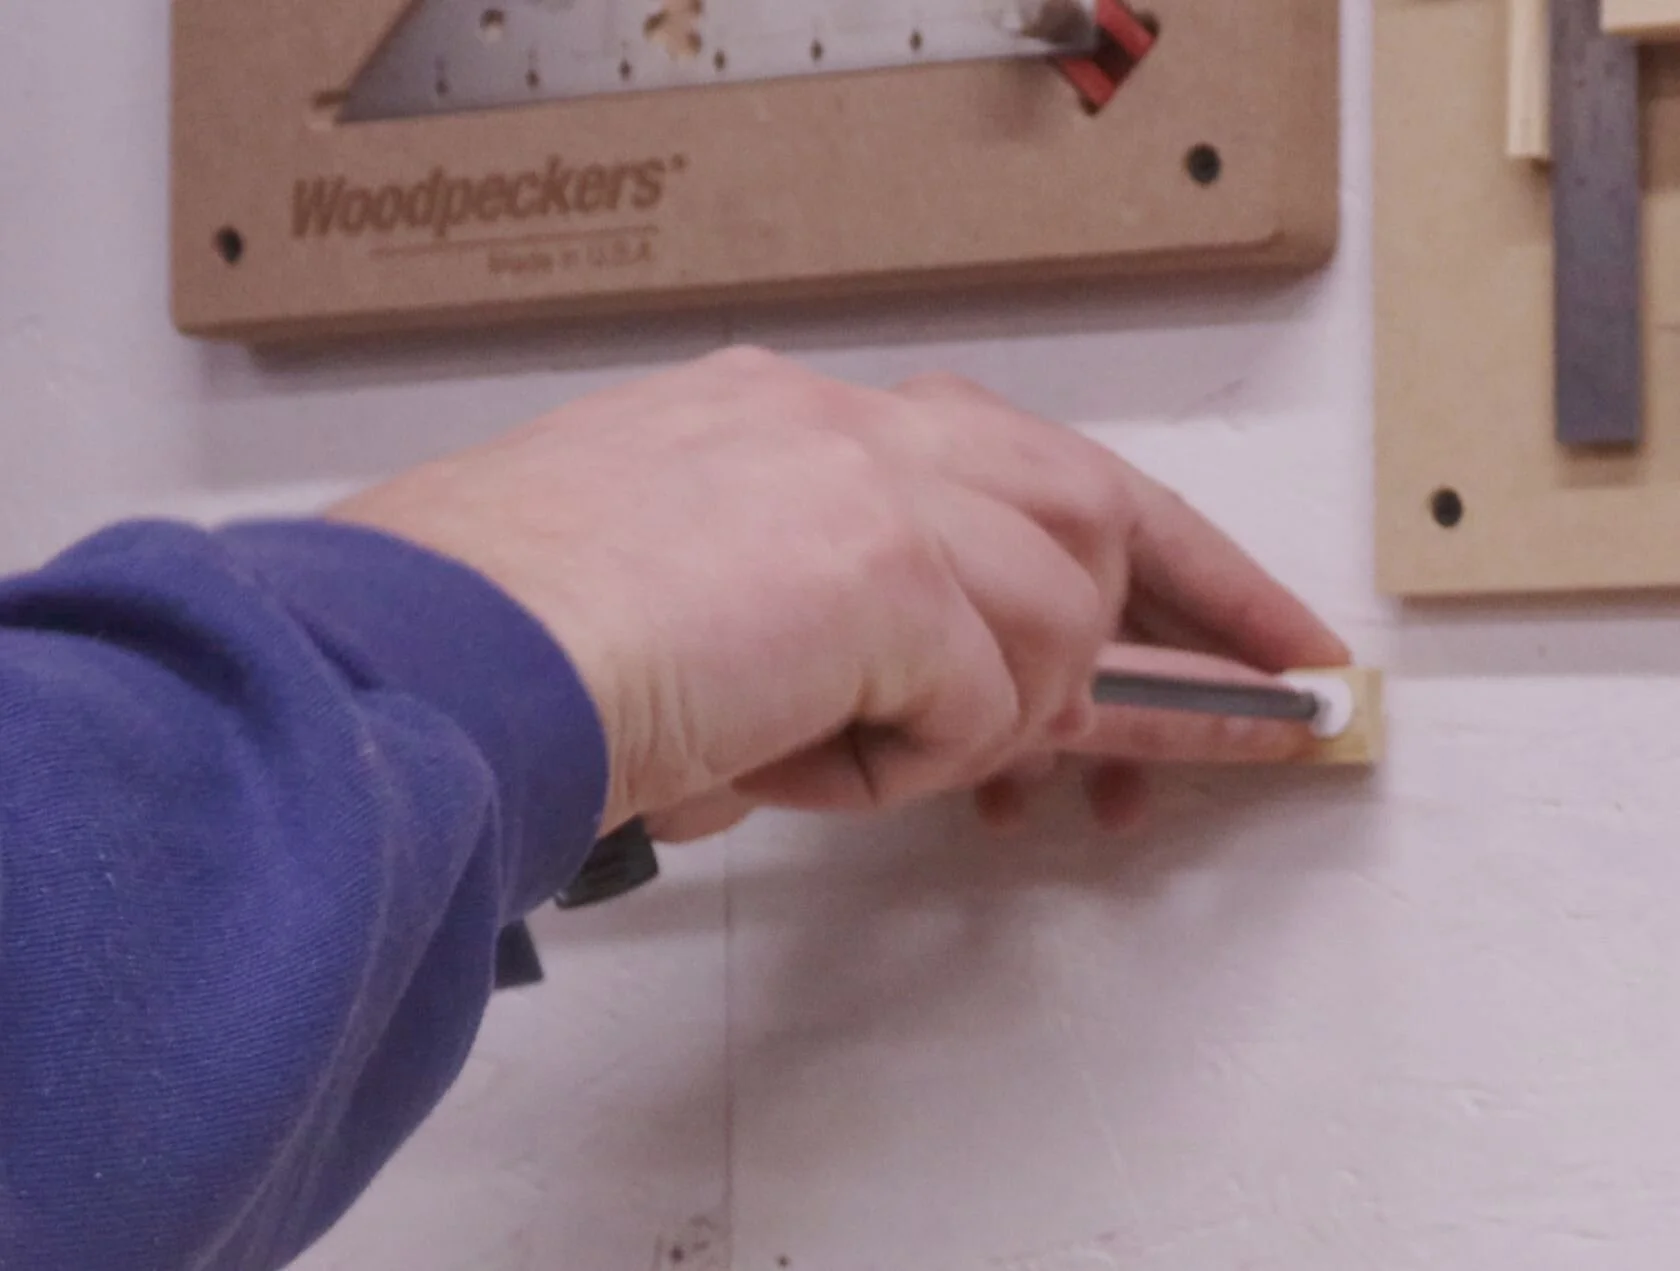
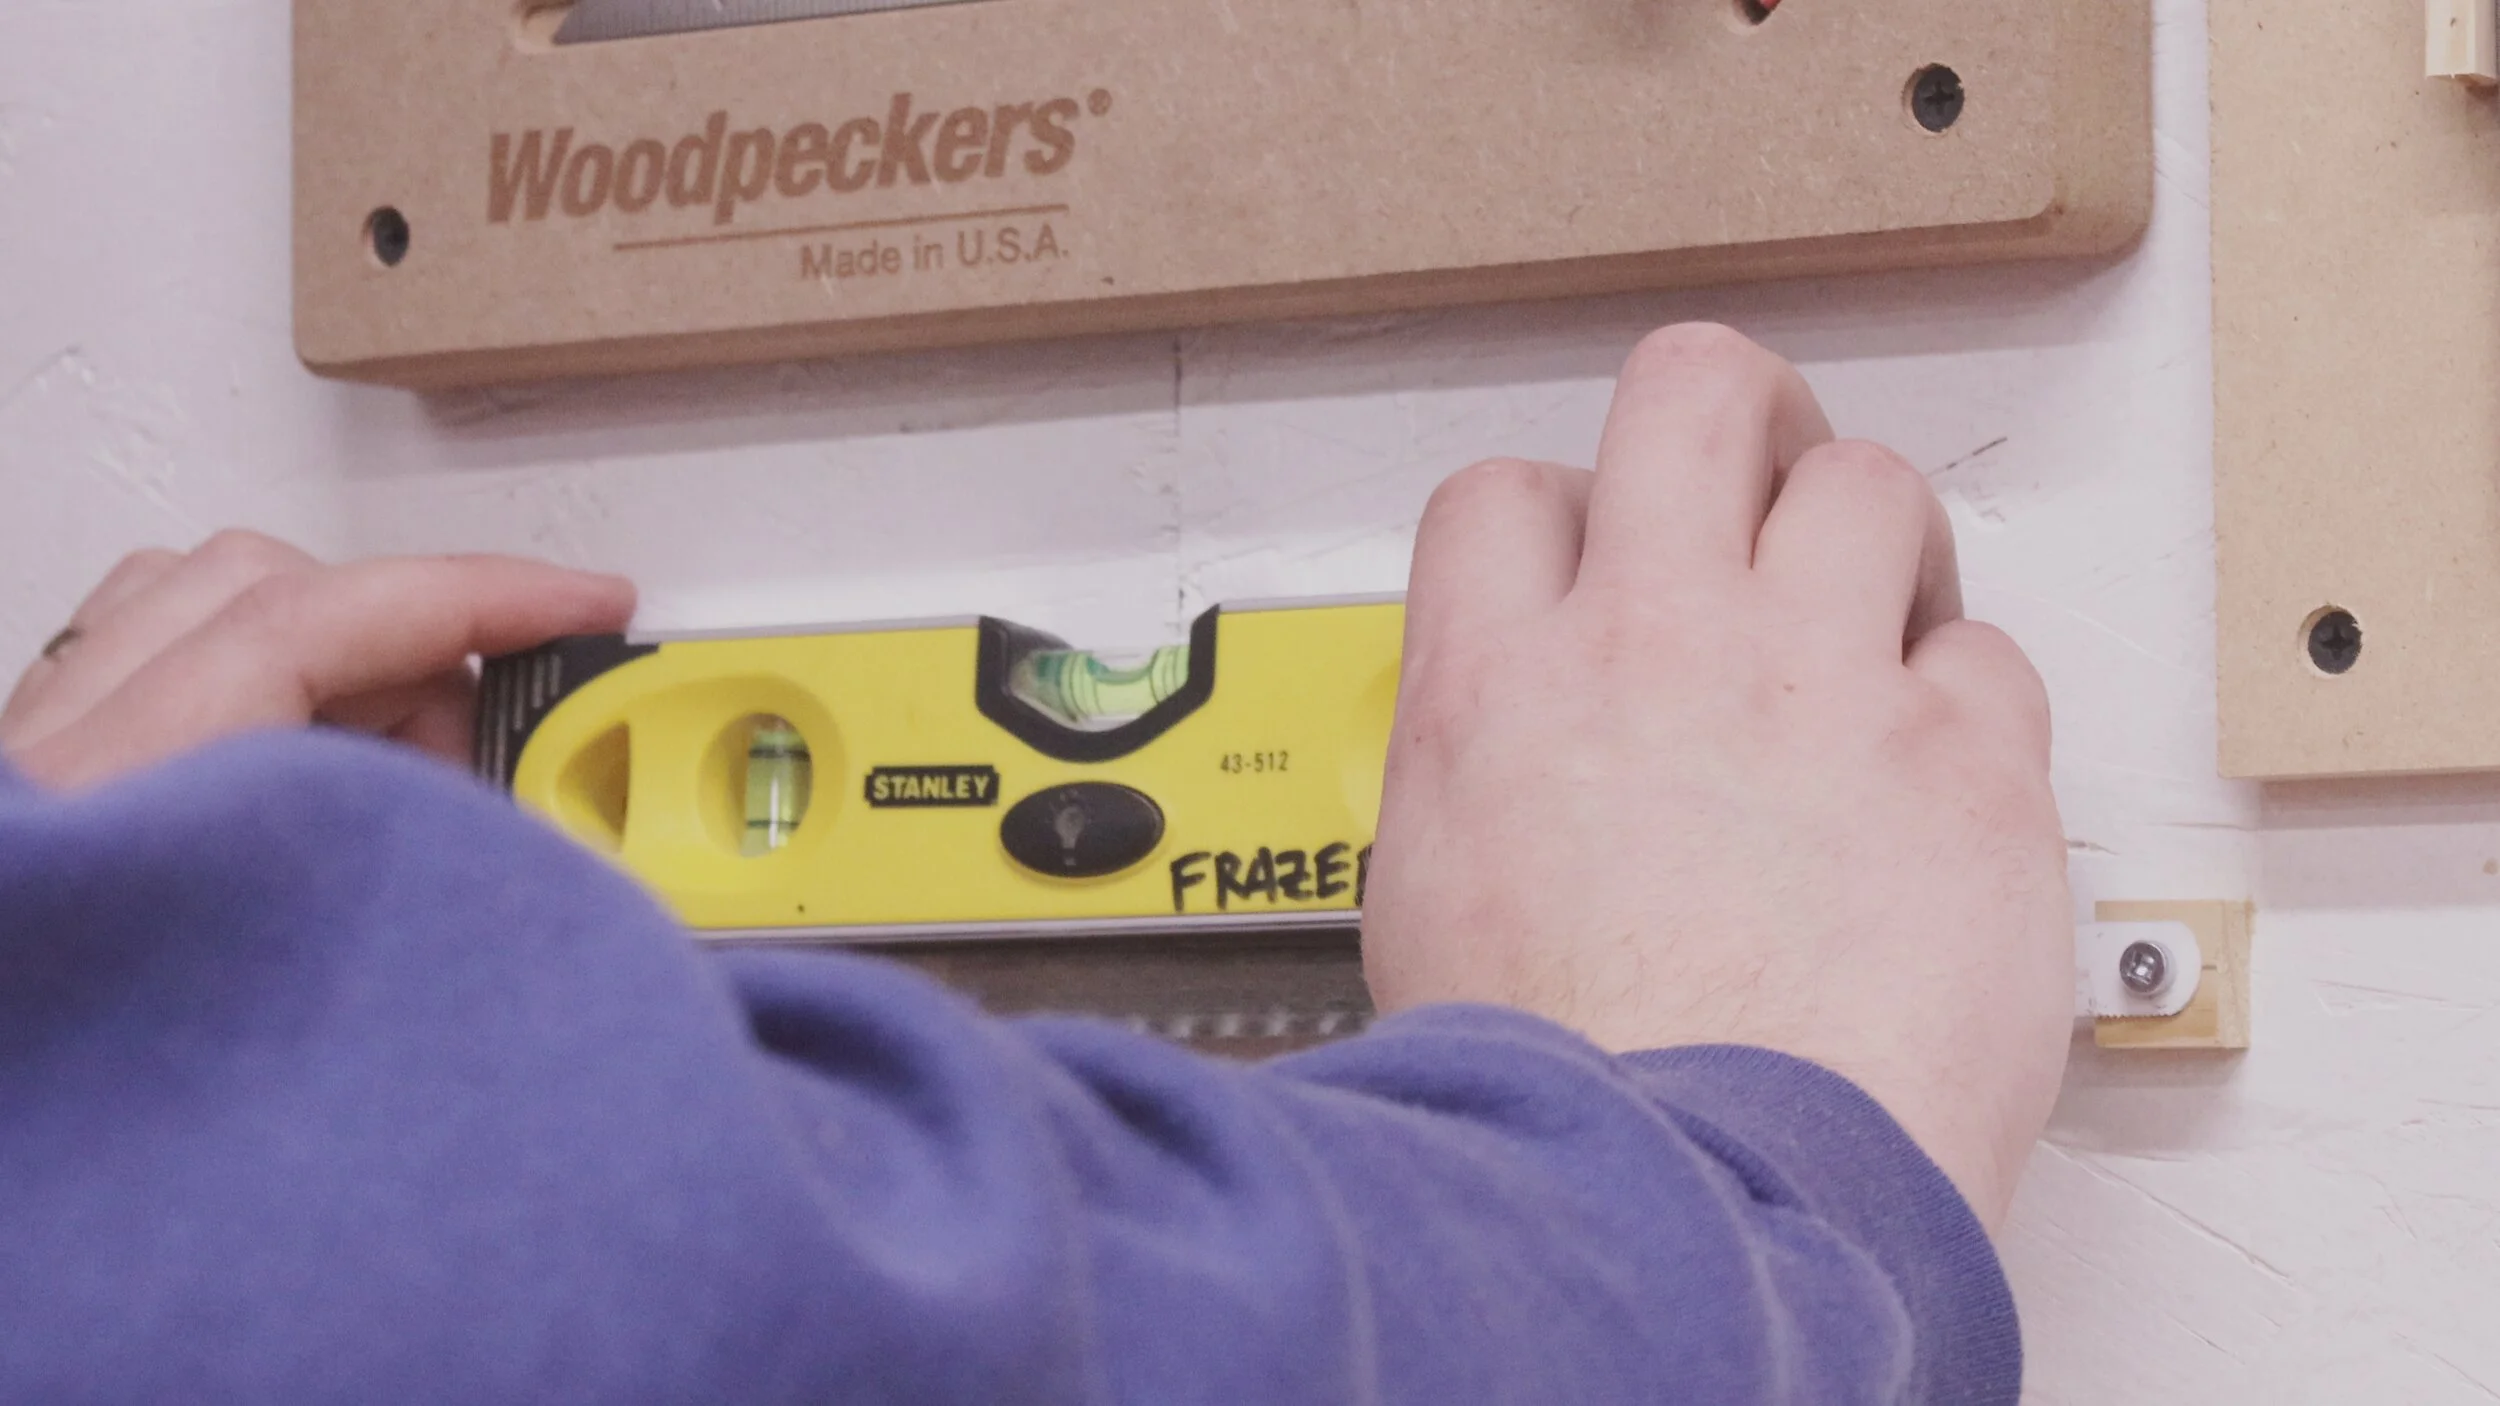
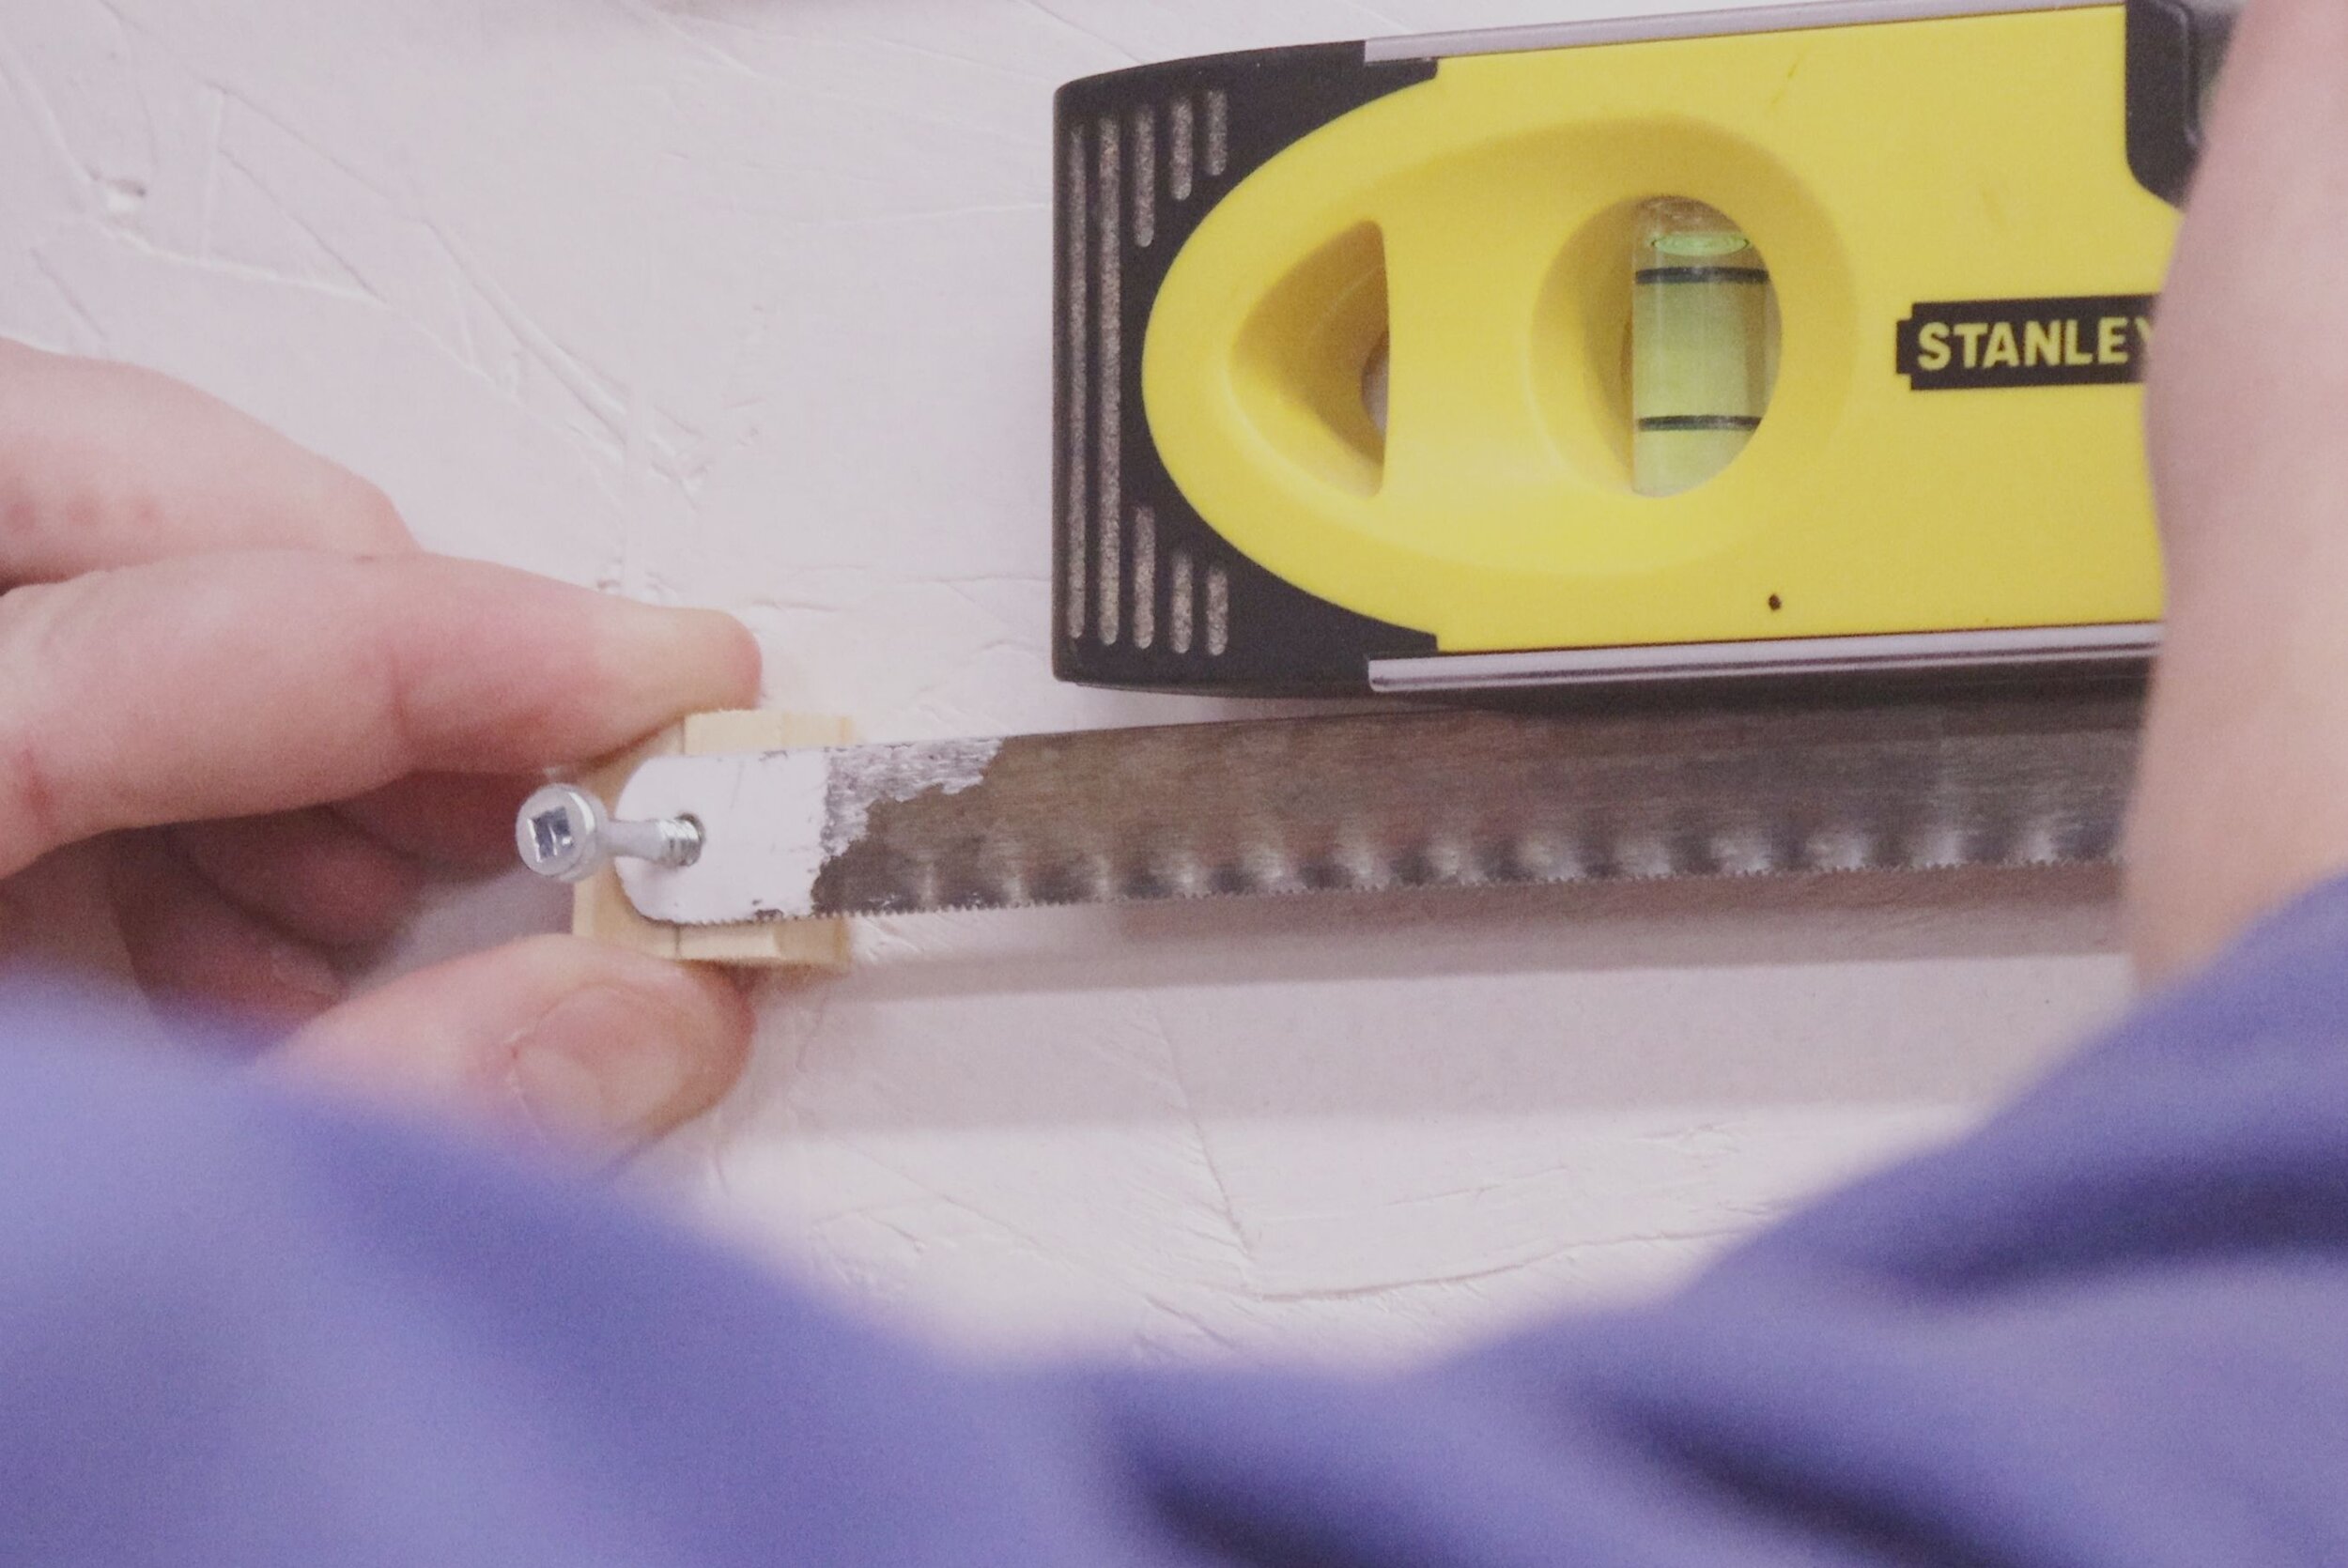
Passing one screw through the end of the hacksaw blade and then through the spacer block, screw one end into the wall. Next check the blade for level. Then screw in the spacer on the other side of the blade, being sure to keep things level and the blade as taut as you can manage.
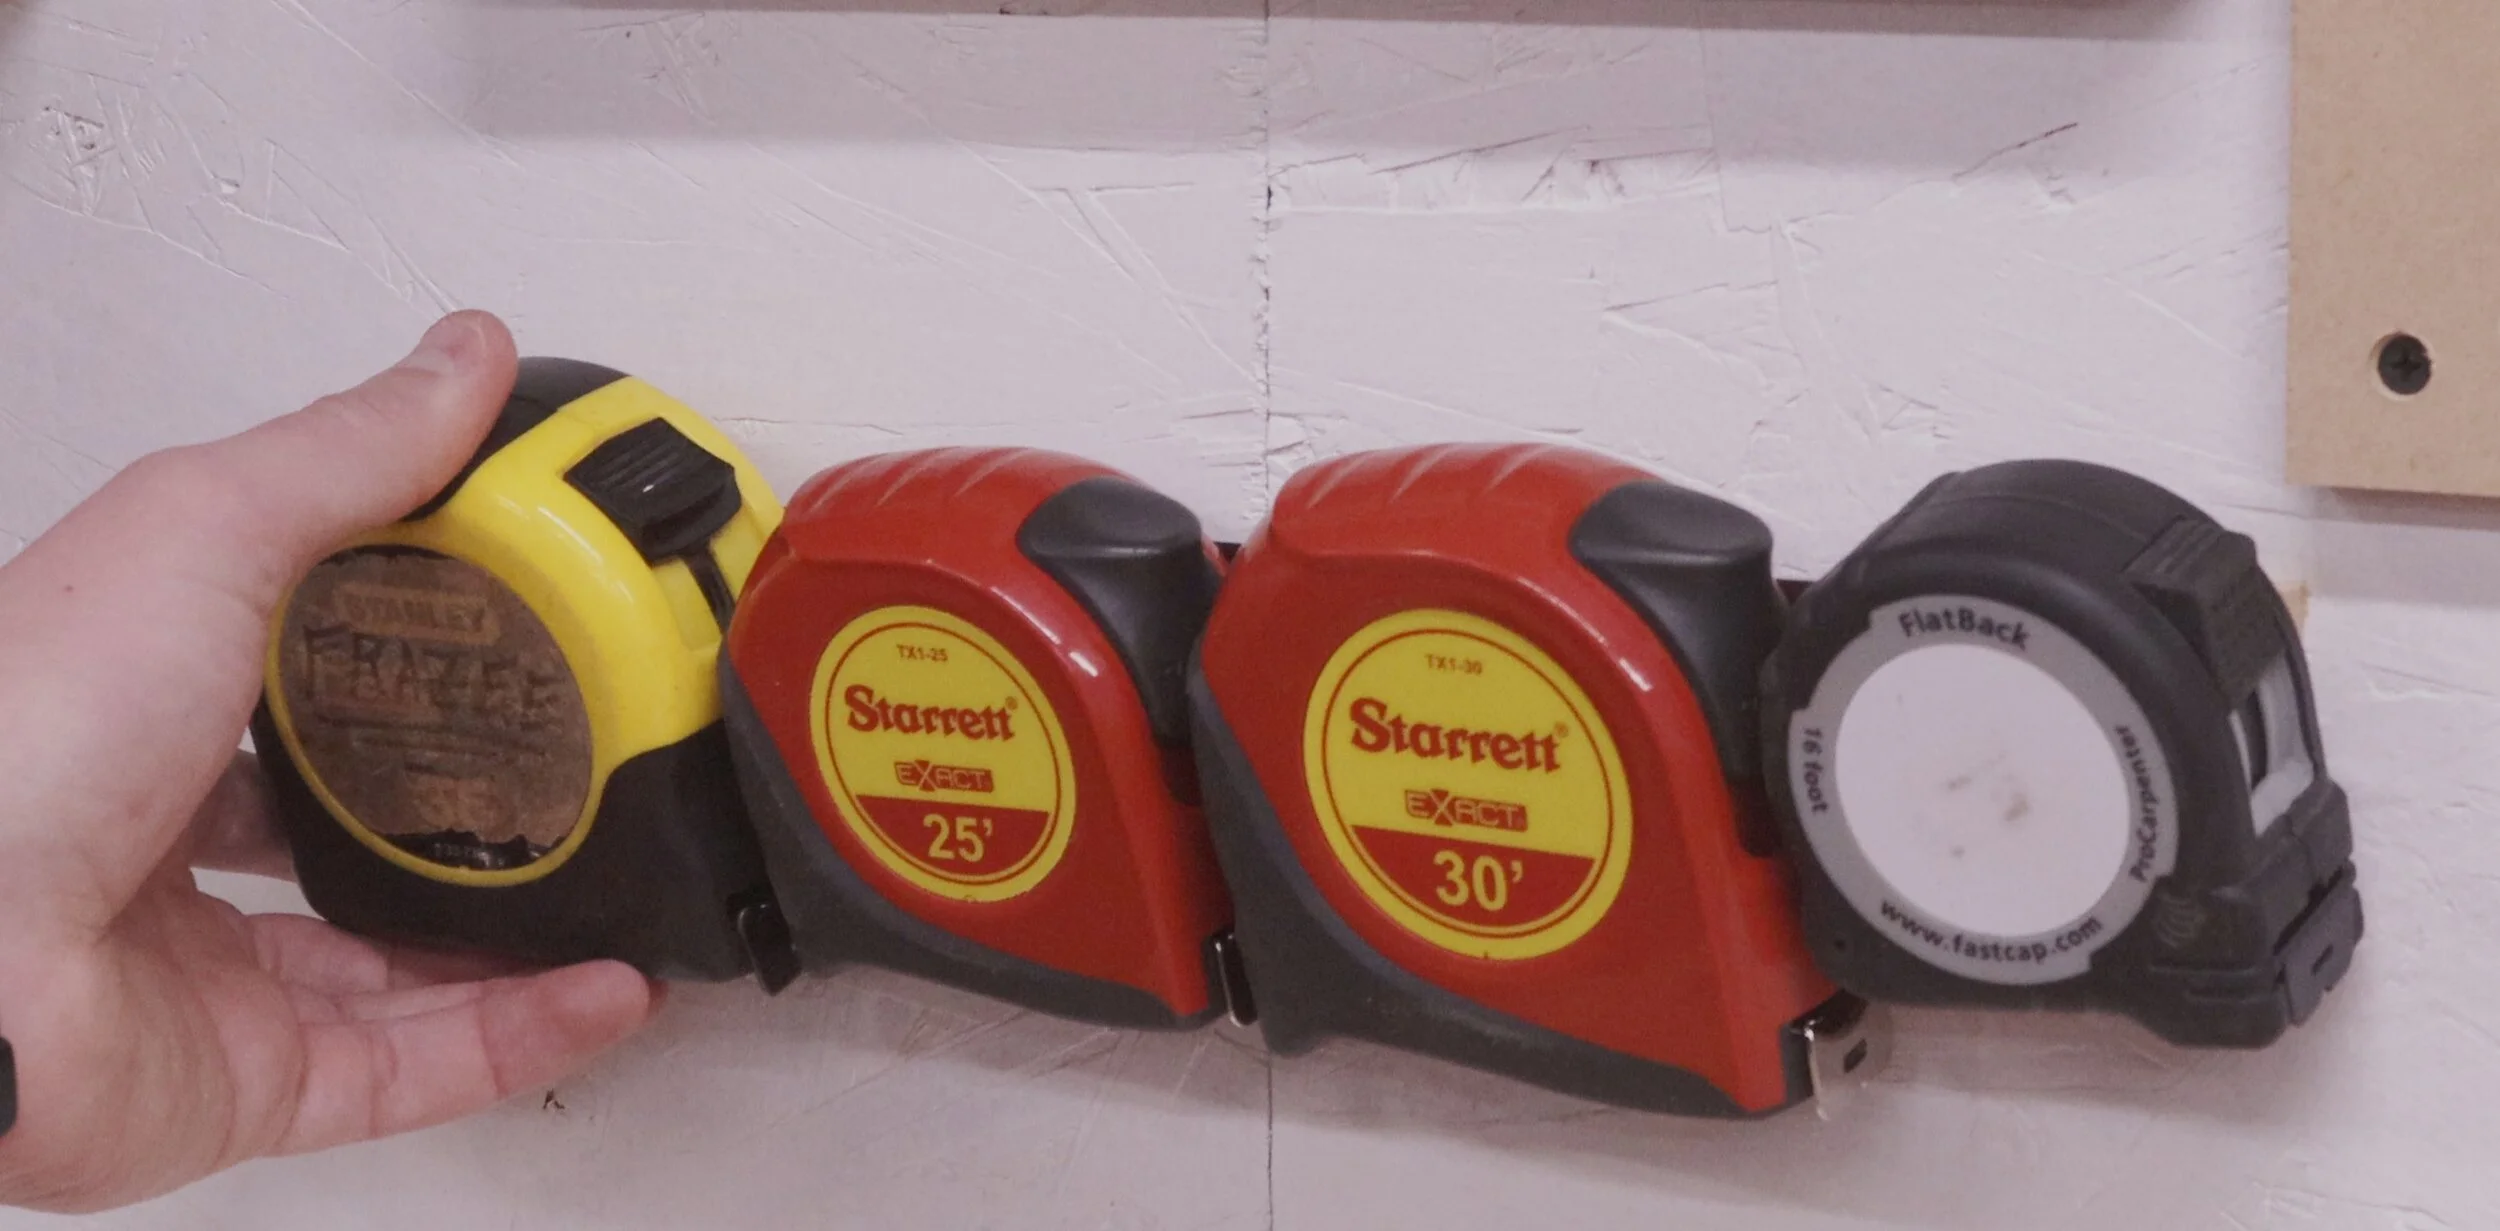
After this, your tape measure rack is done! All that's left to do is slide the belt hook of the tape measures over the hacksaw blade, and you're all set.
I hope this was instructive, and thanks for viewing!
If you enjoyed this article, subscribe to my YouTube channel for more!