
AR500 Steel Plate Gong Shooting Target Stand
I love target shooting. In addition to it being tons of fun, it's good for keeping you sharp for hunting season. In the past I've seen AR500 gong target stands that use EMT conduit as supports, but I wanted something a little more robust than that. After finding a piece of scrap 2" square tubing at the dump, I figured this would be a great starter for my own target stand, so I bought the rest of the components and proceeded to assemble everything.
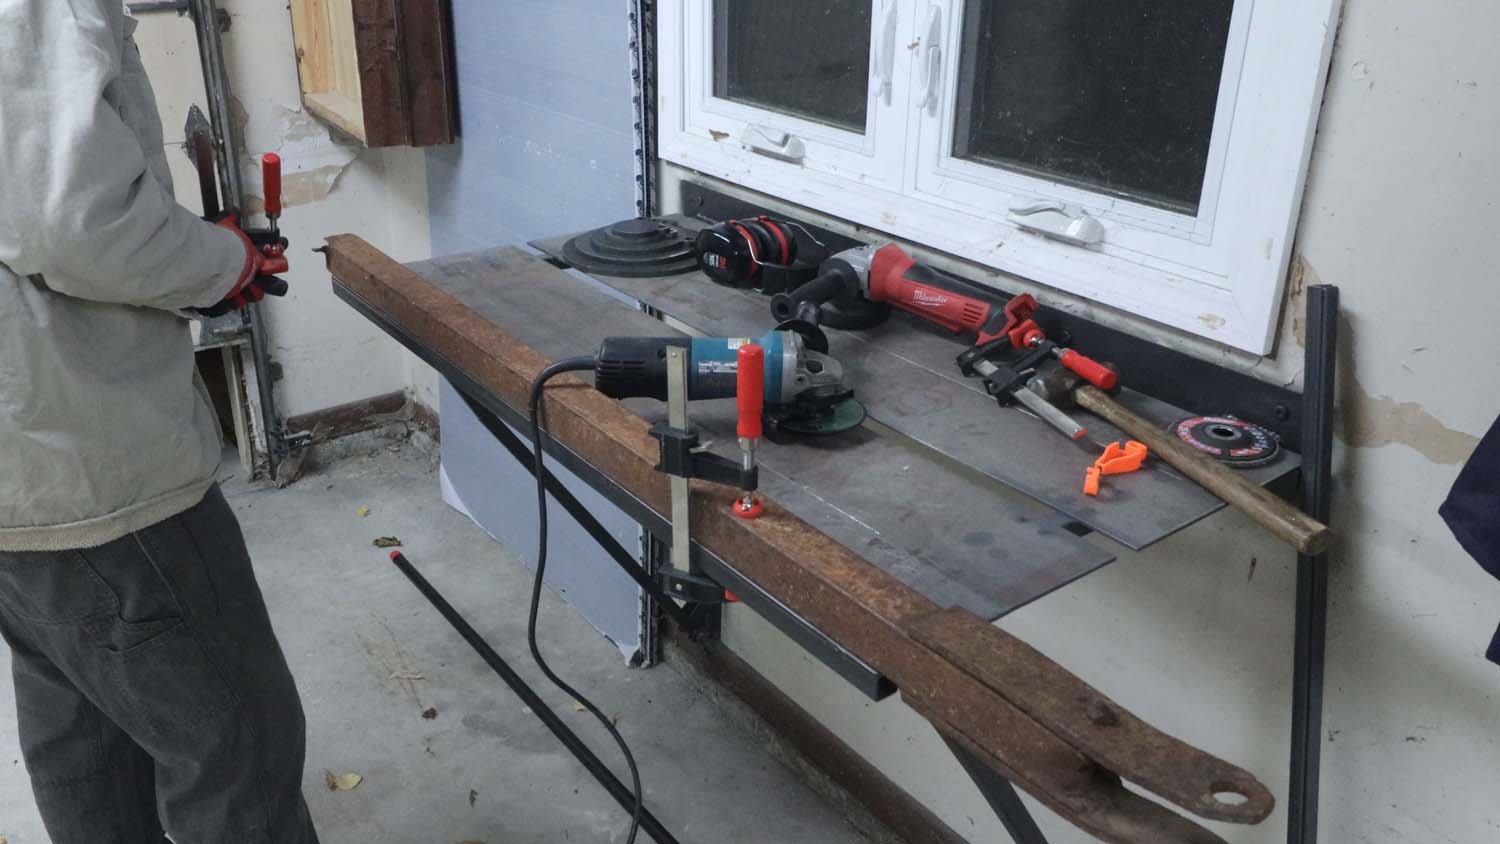
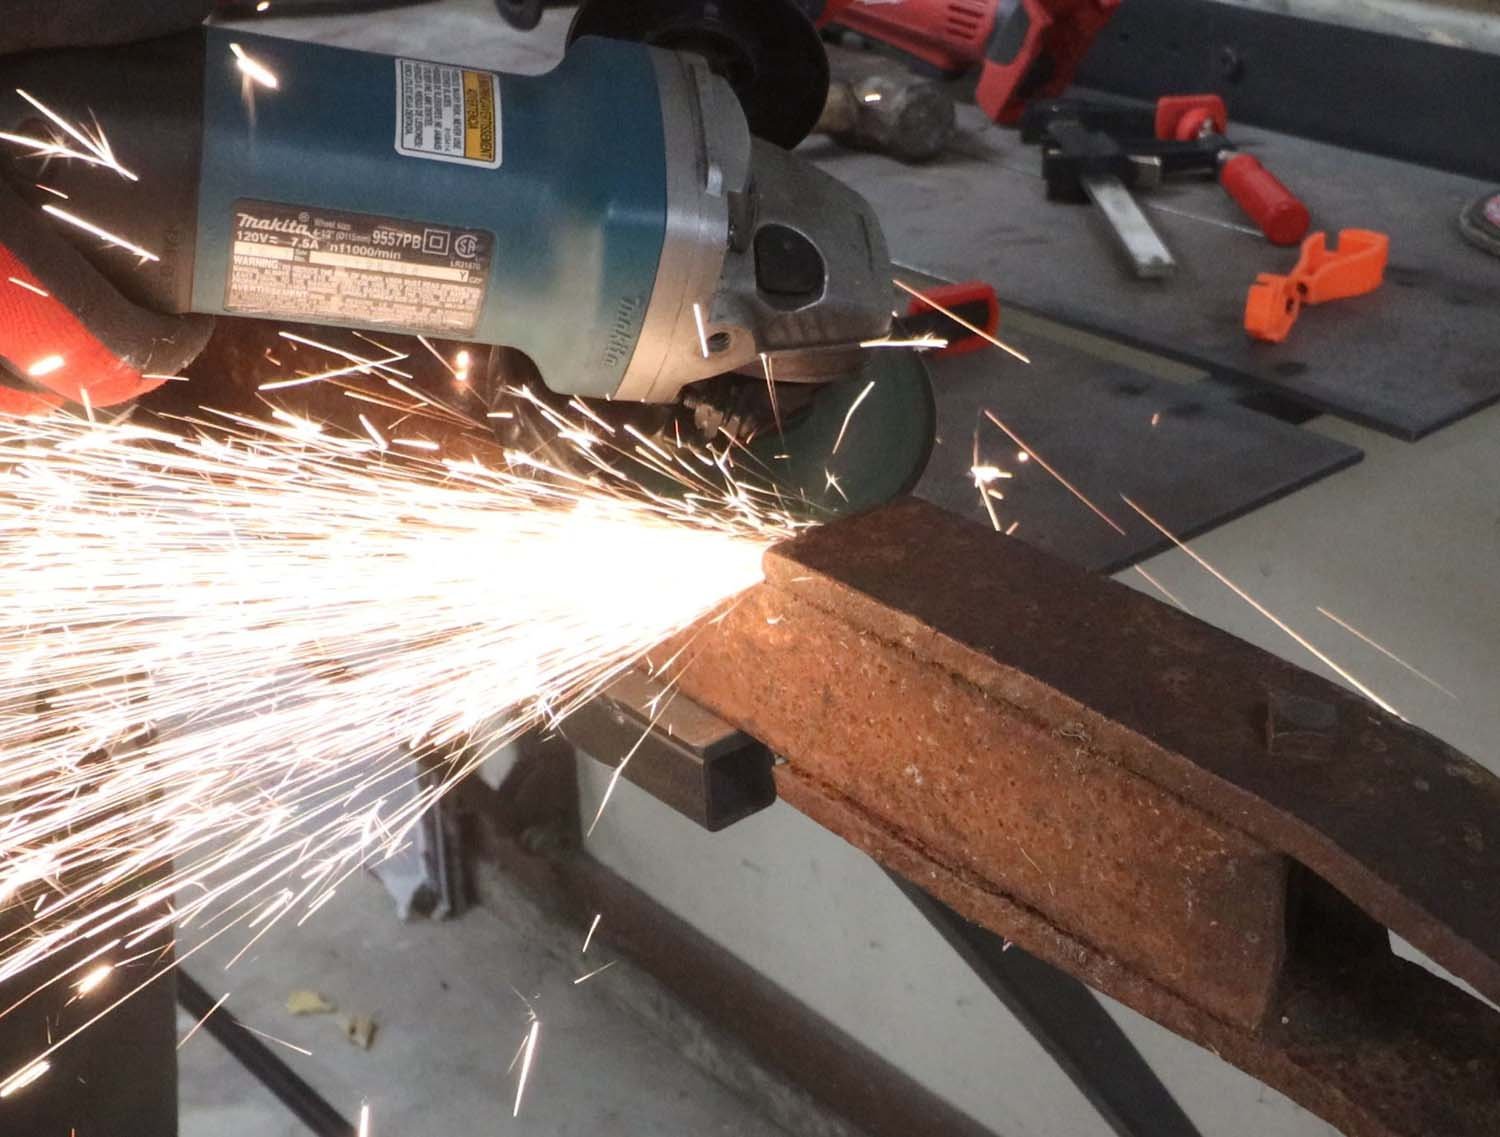
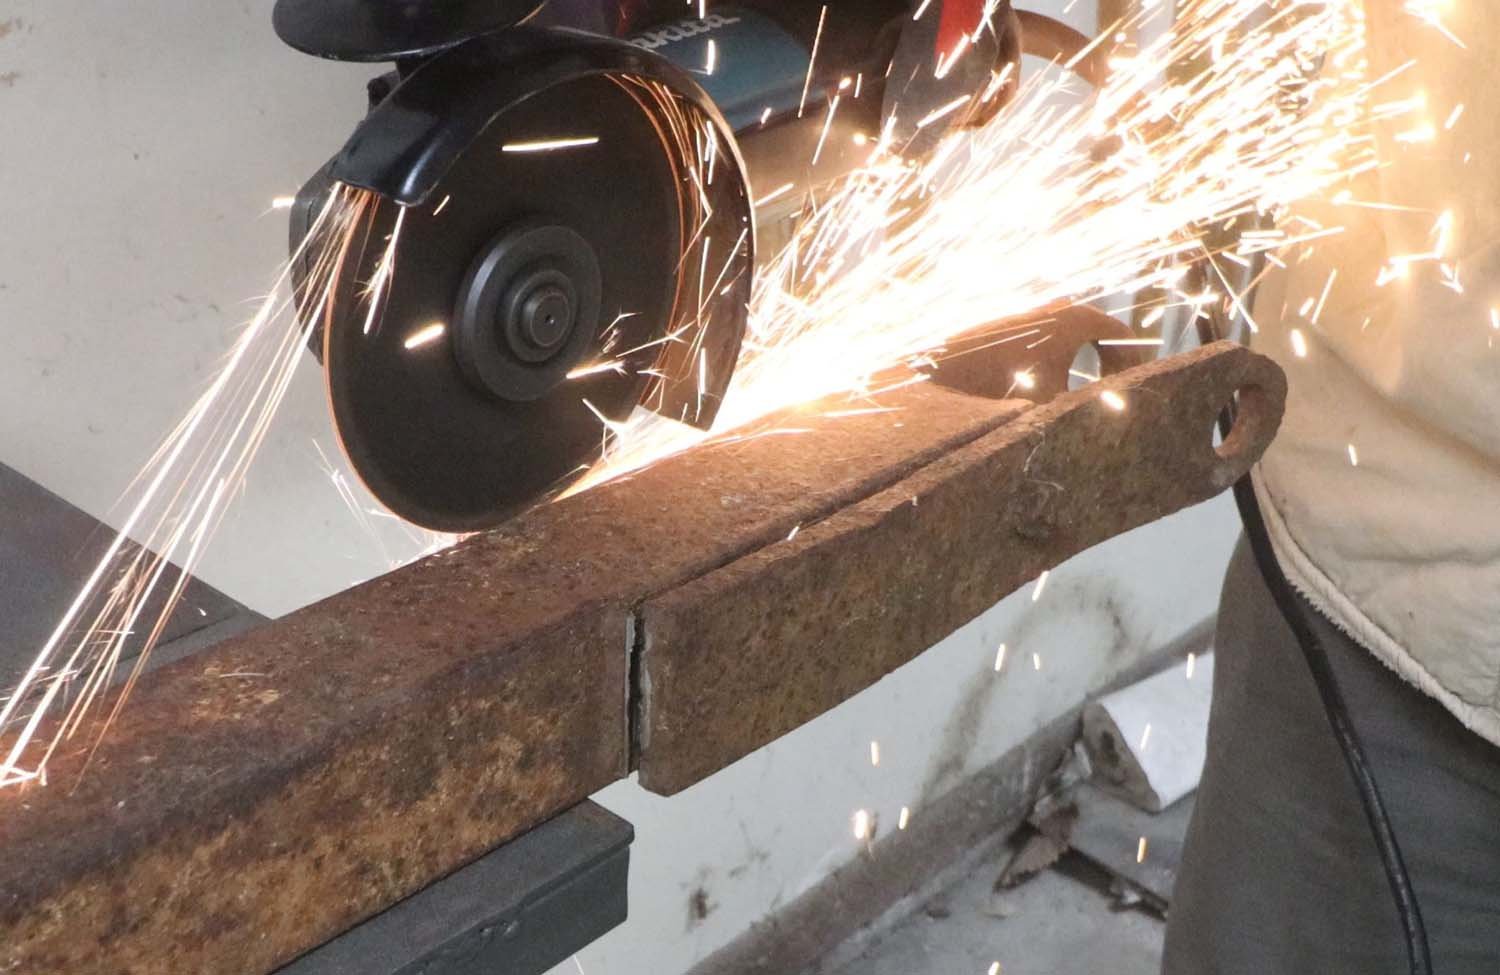
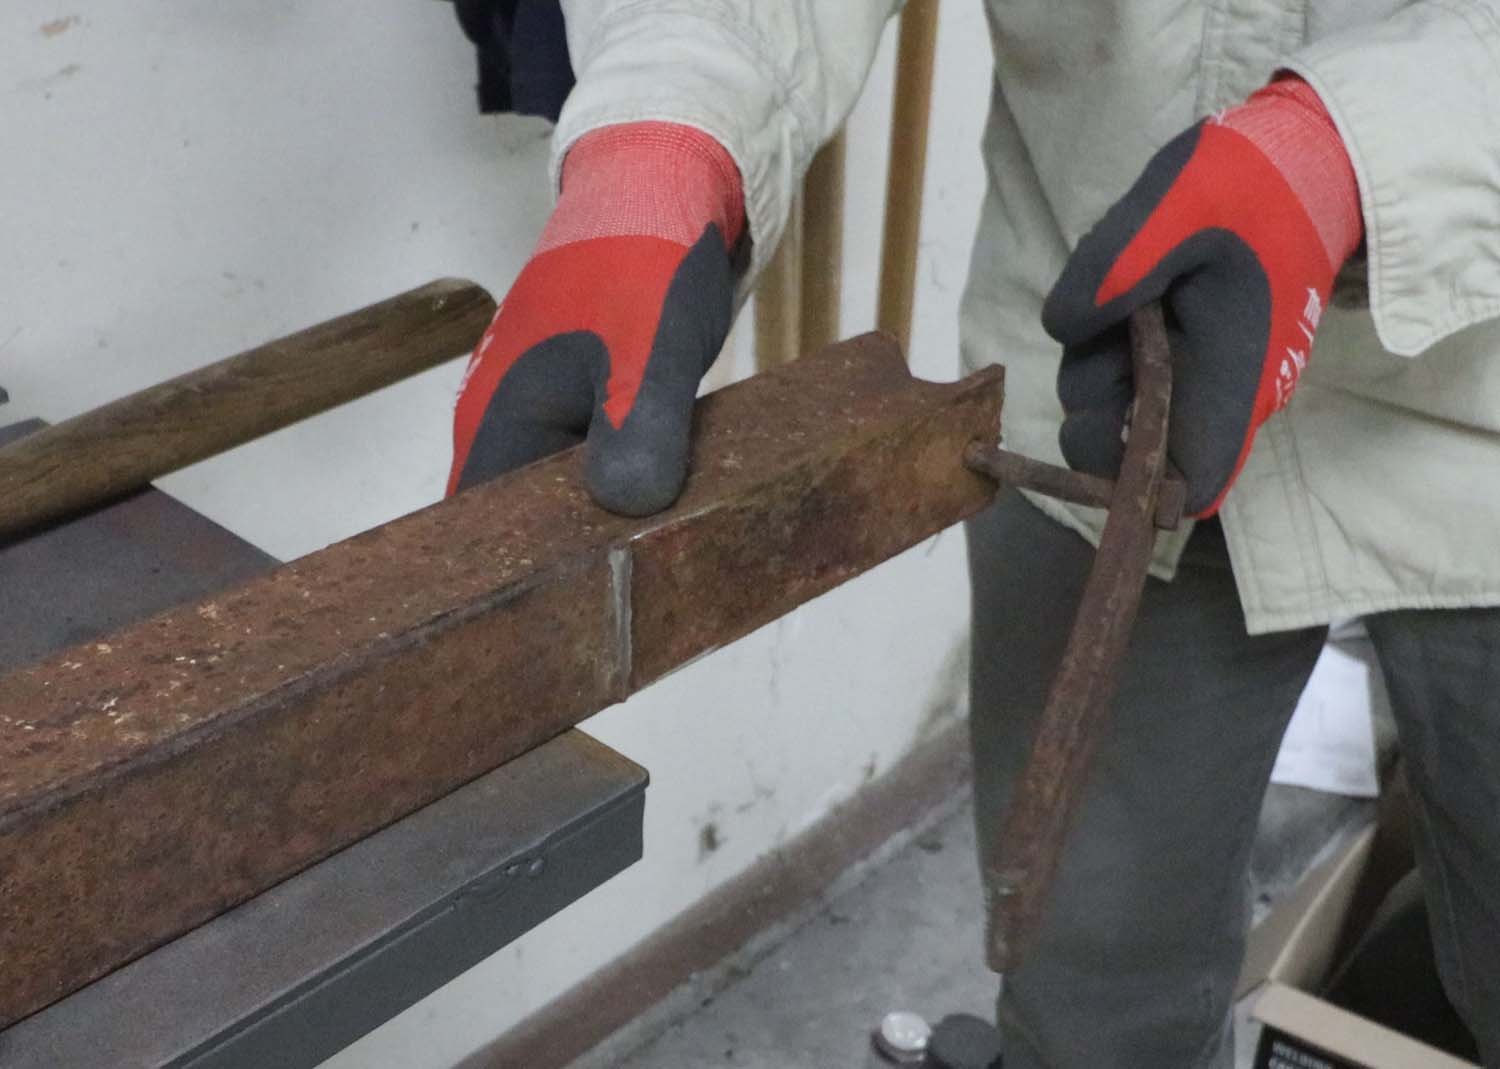
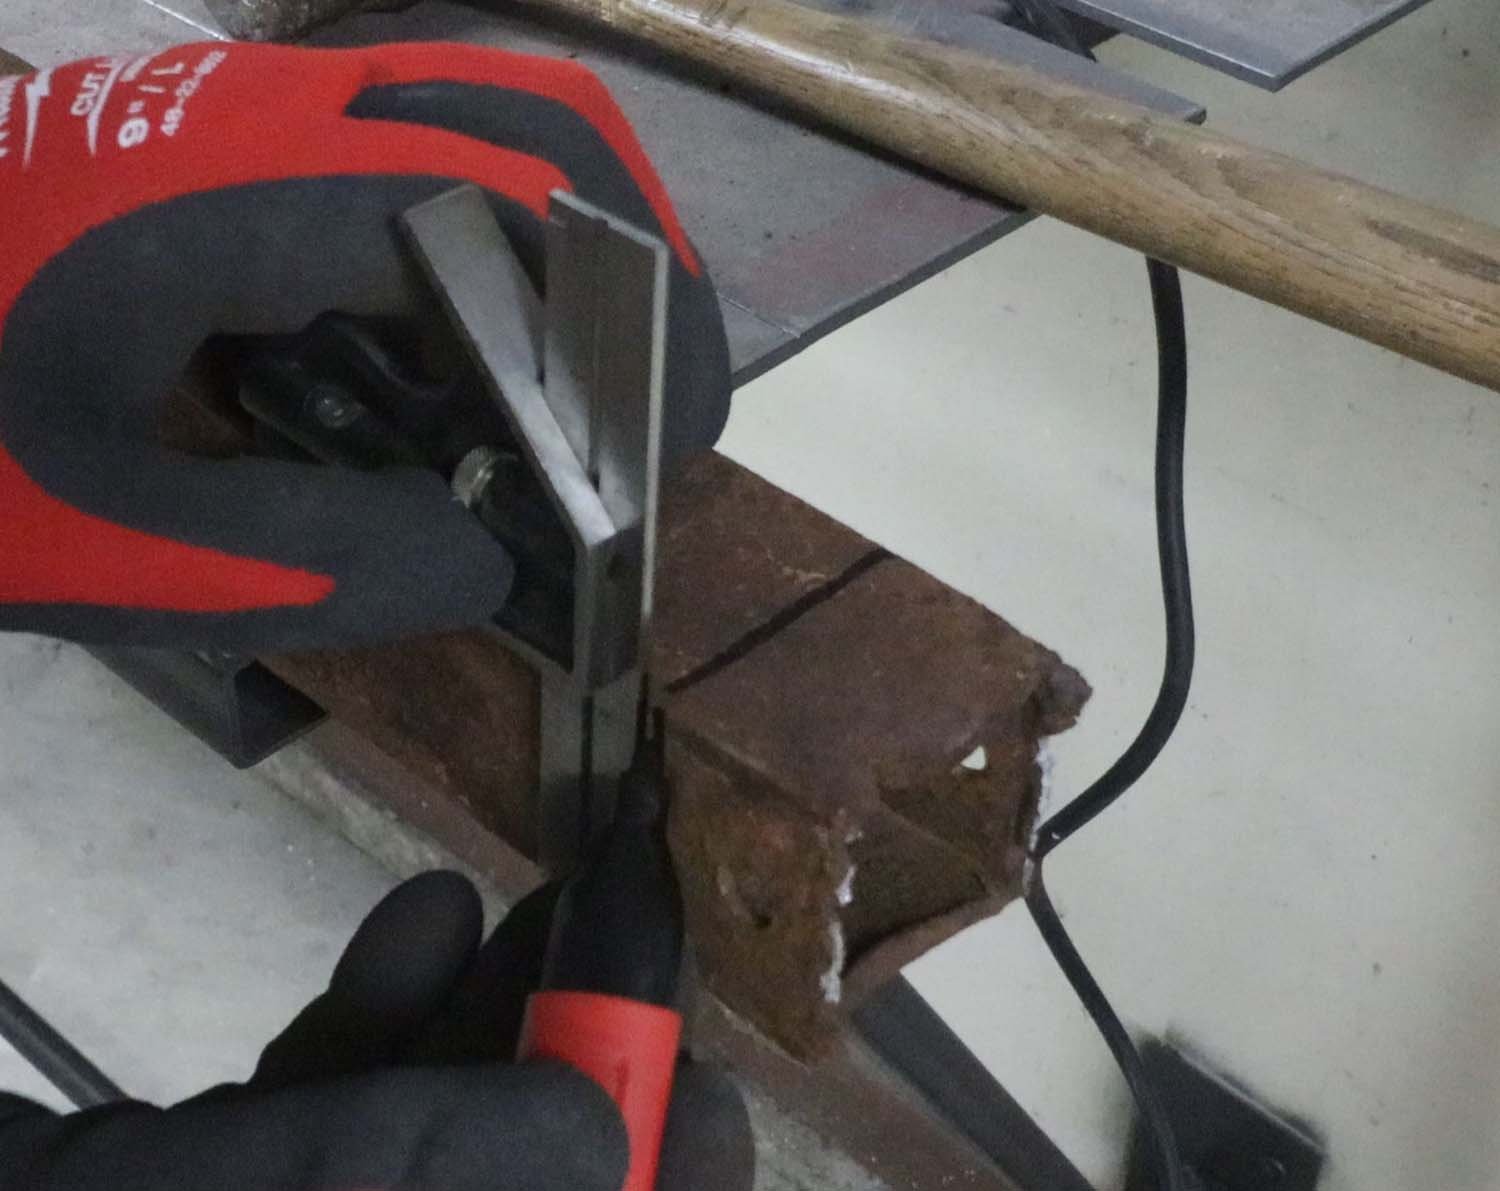
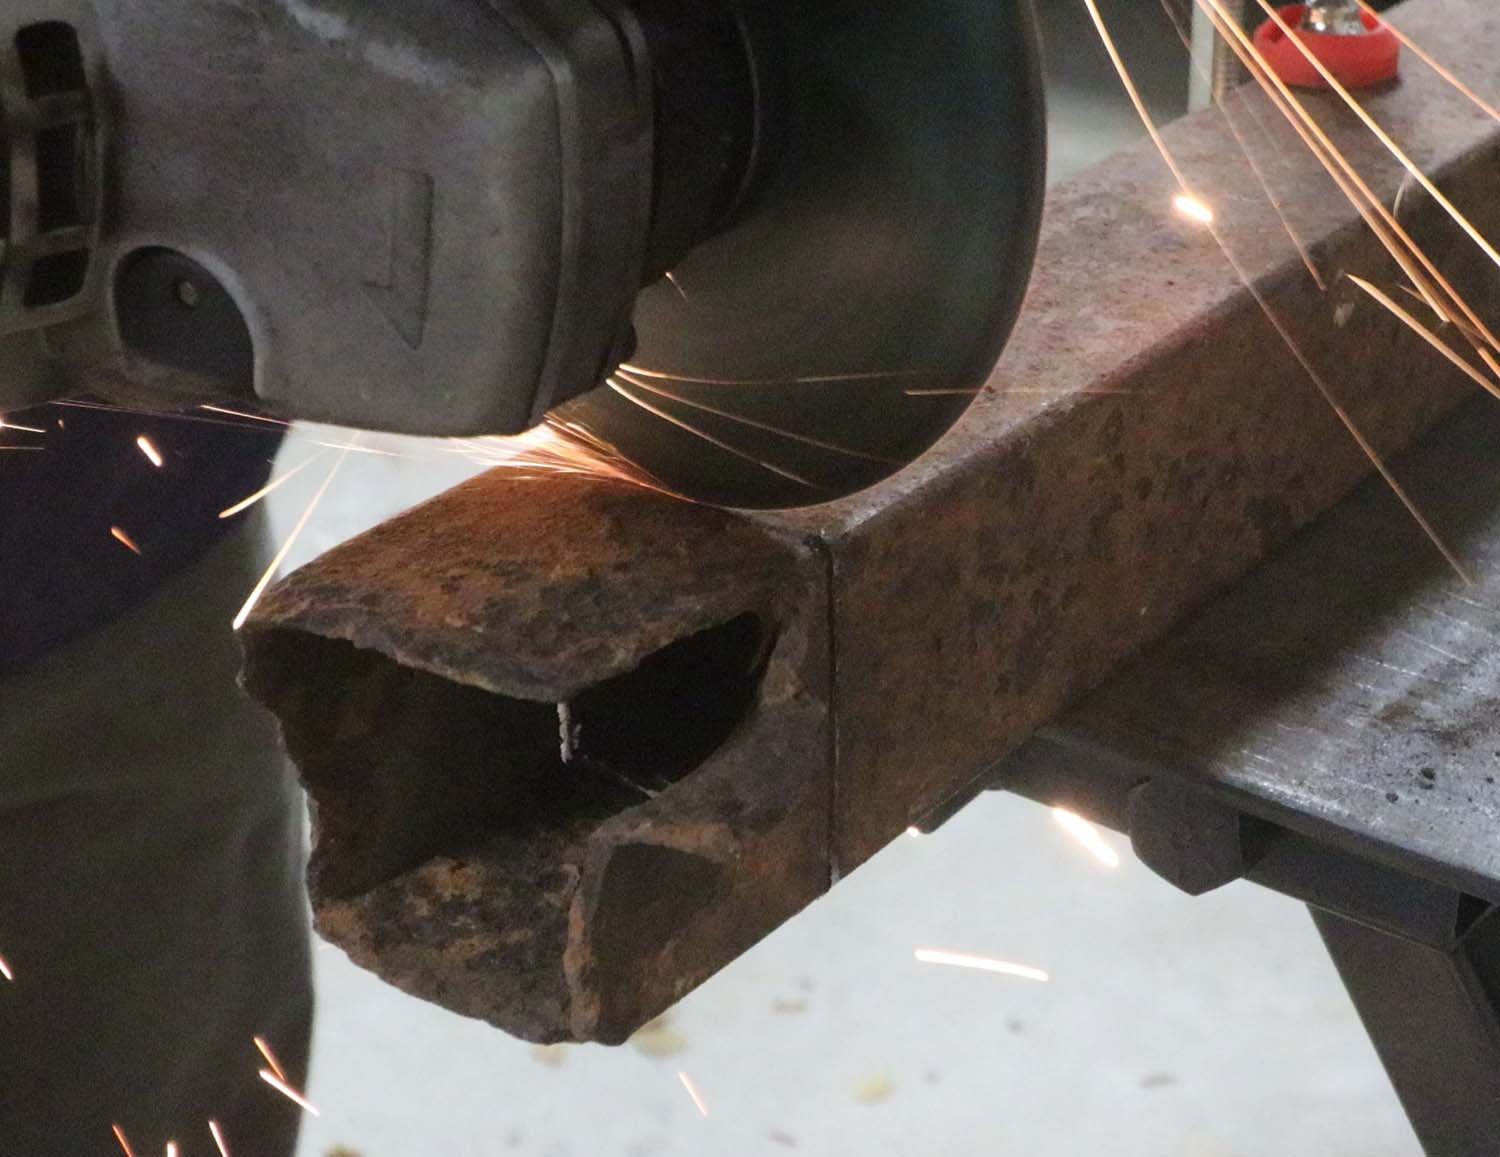
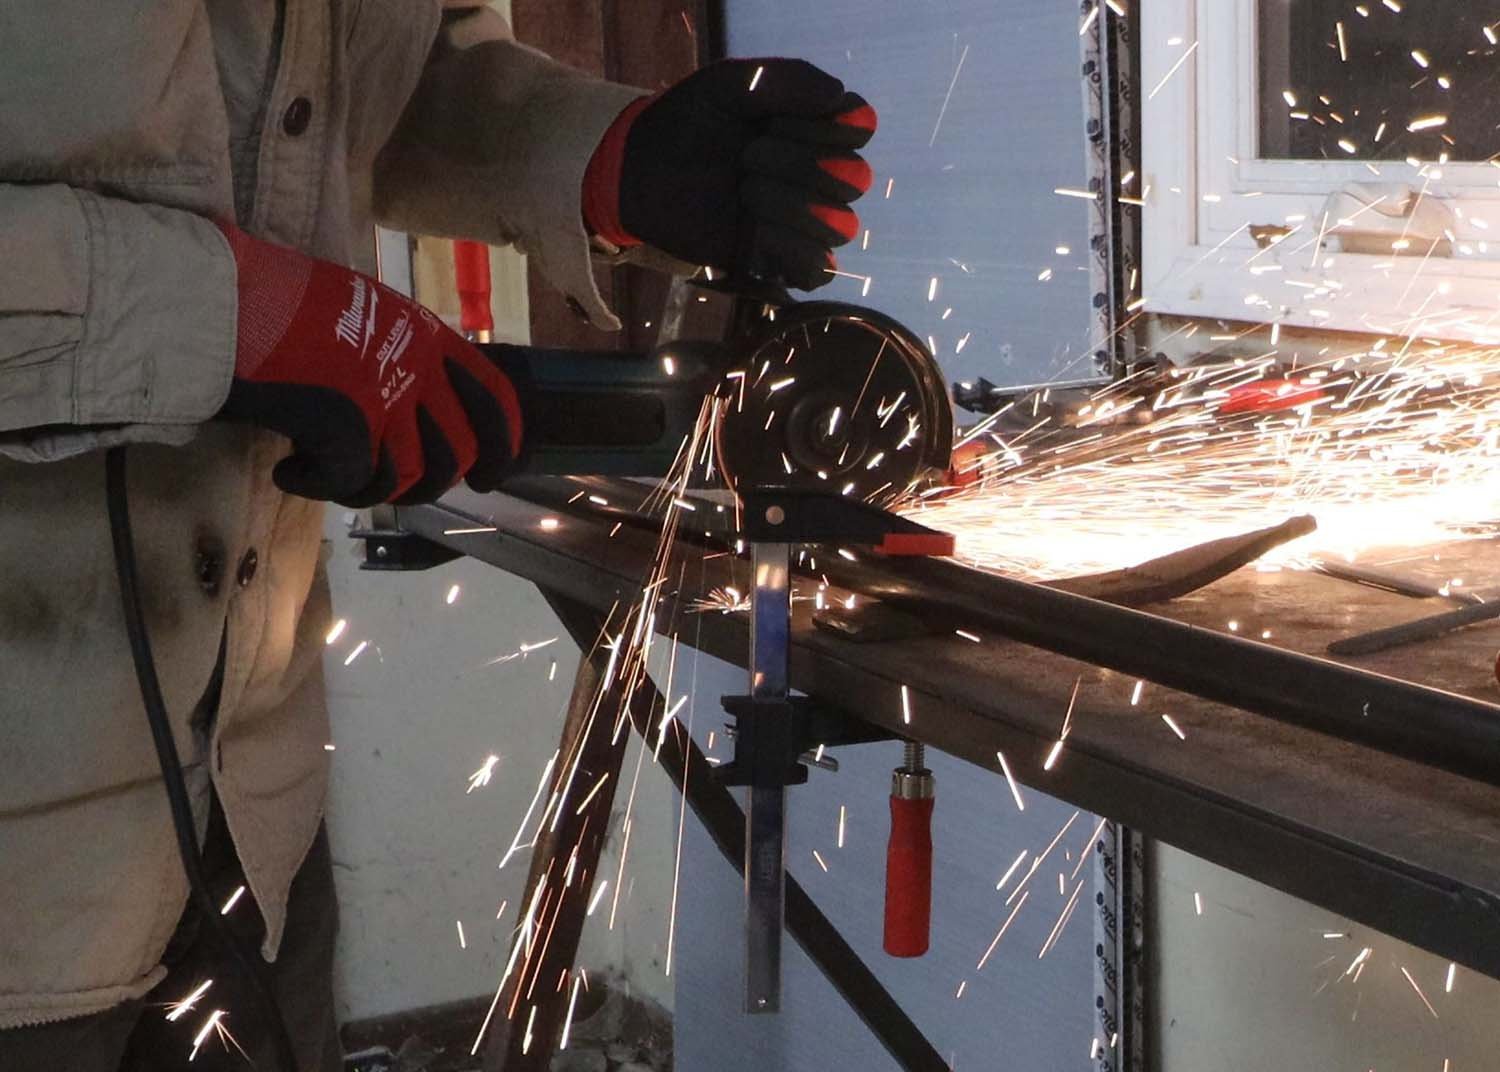
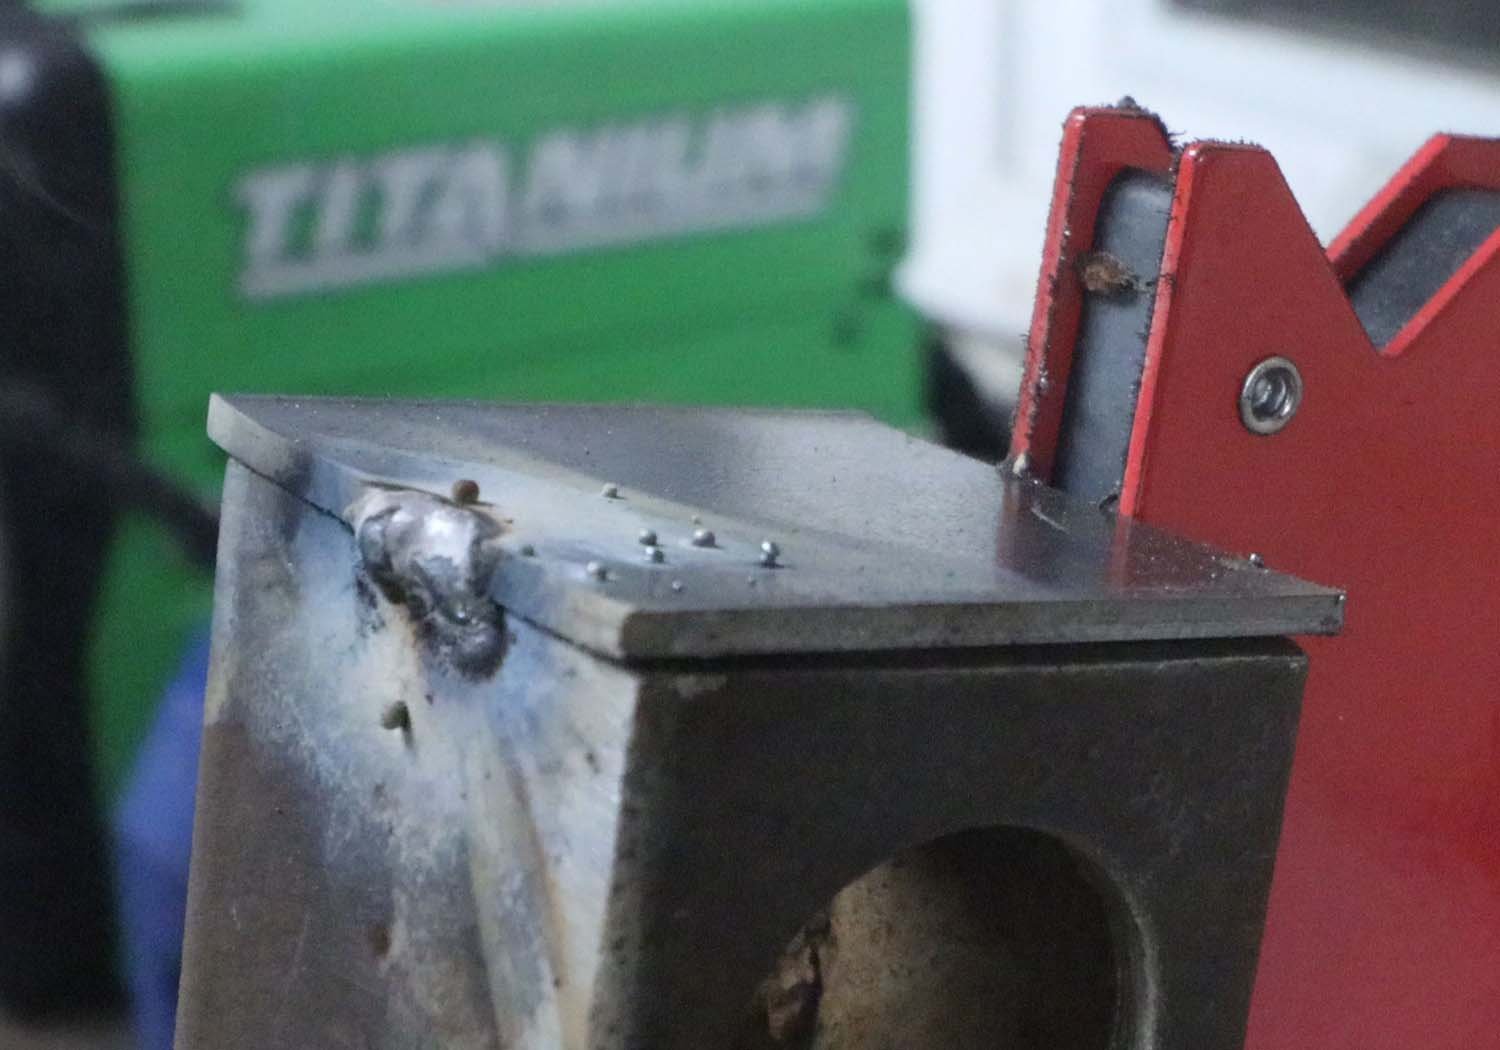
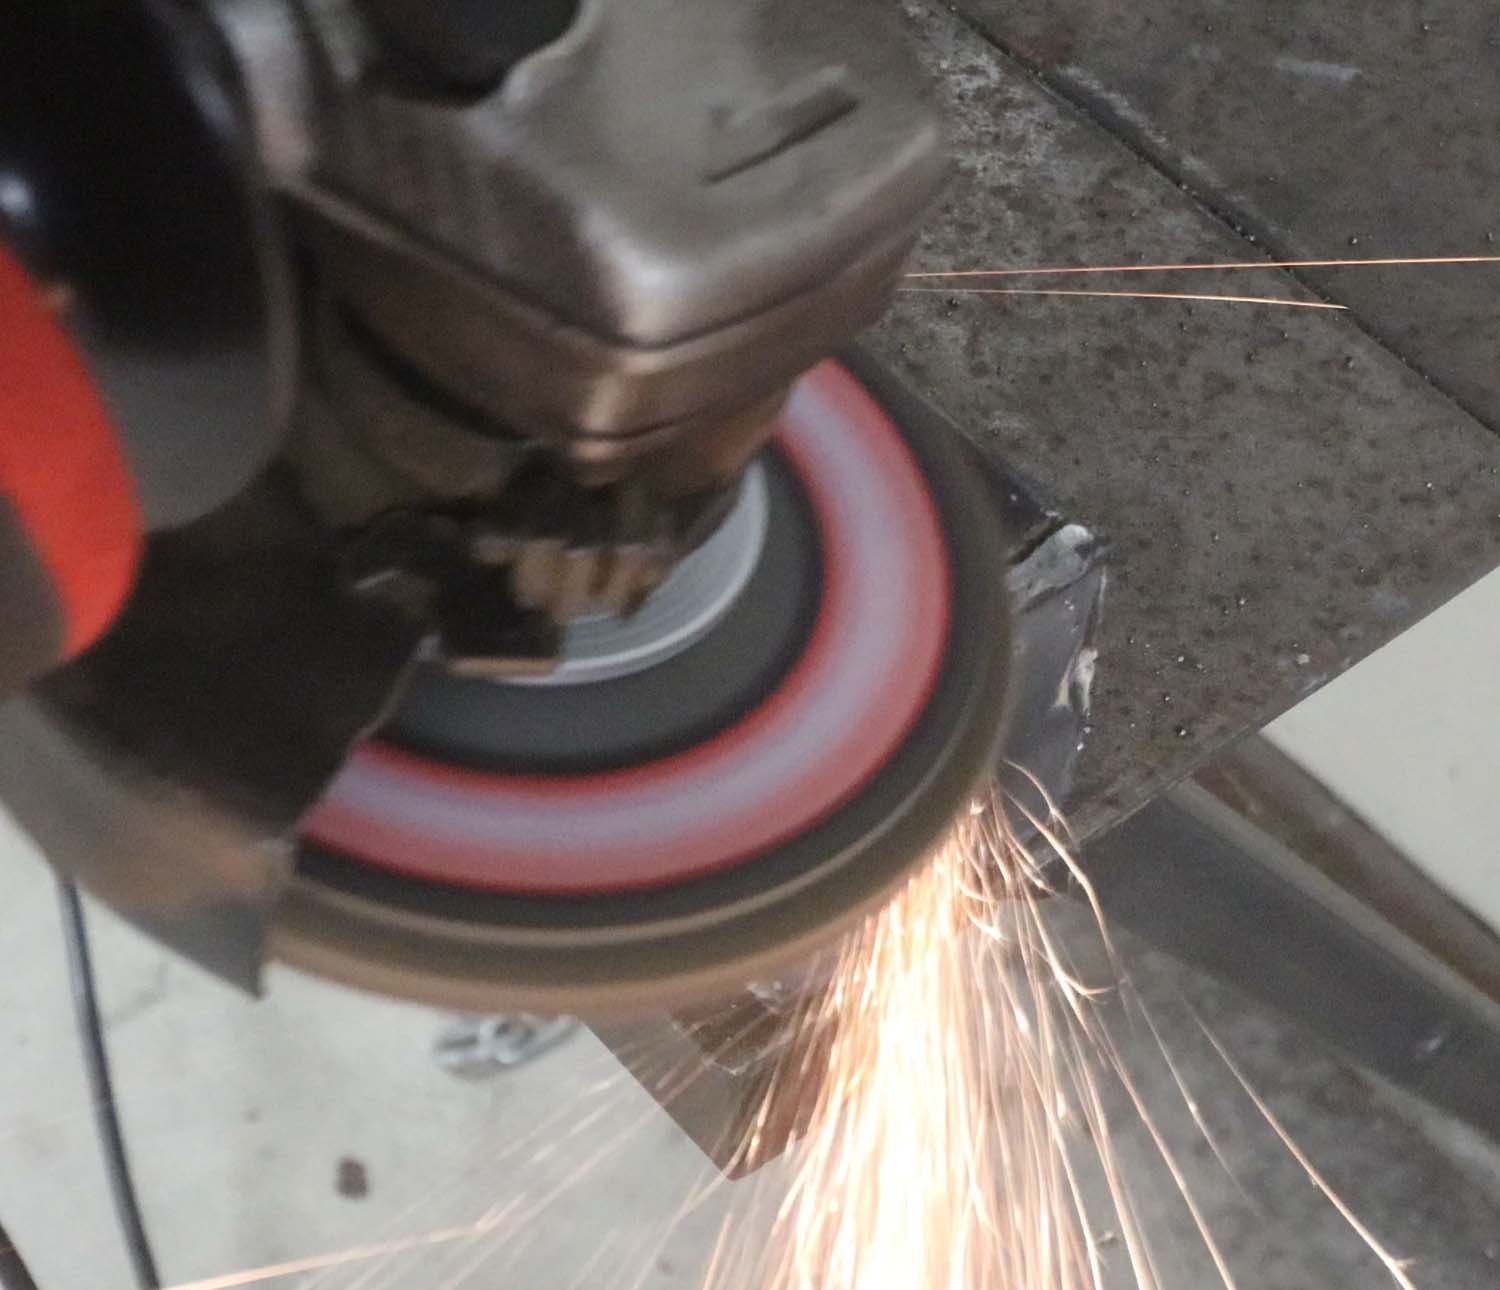
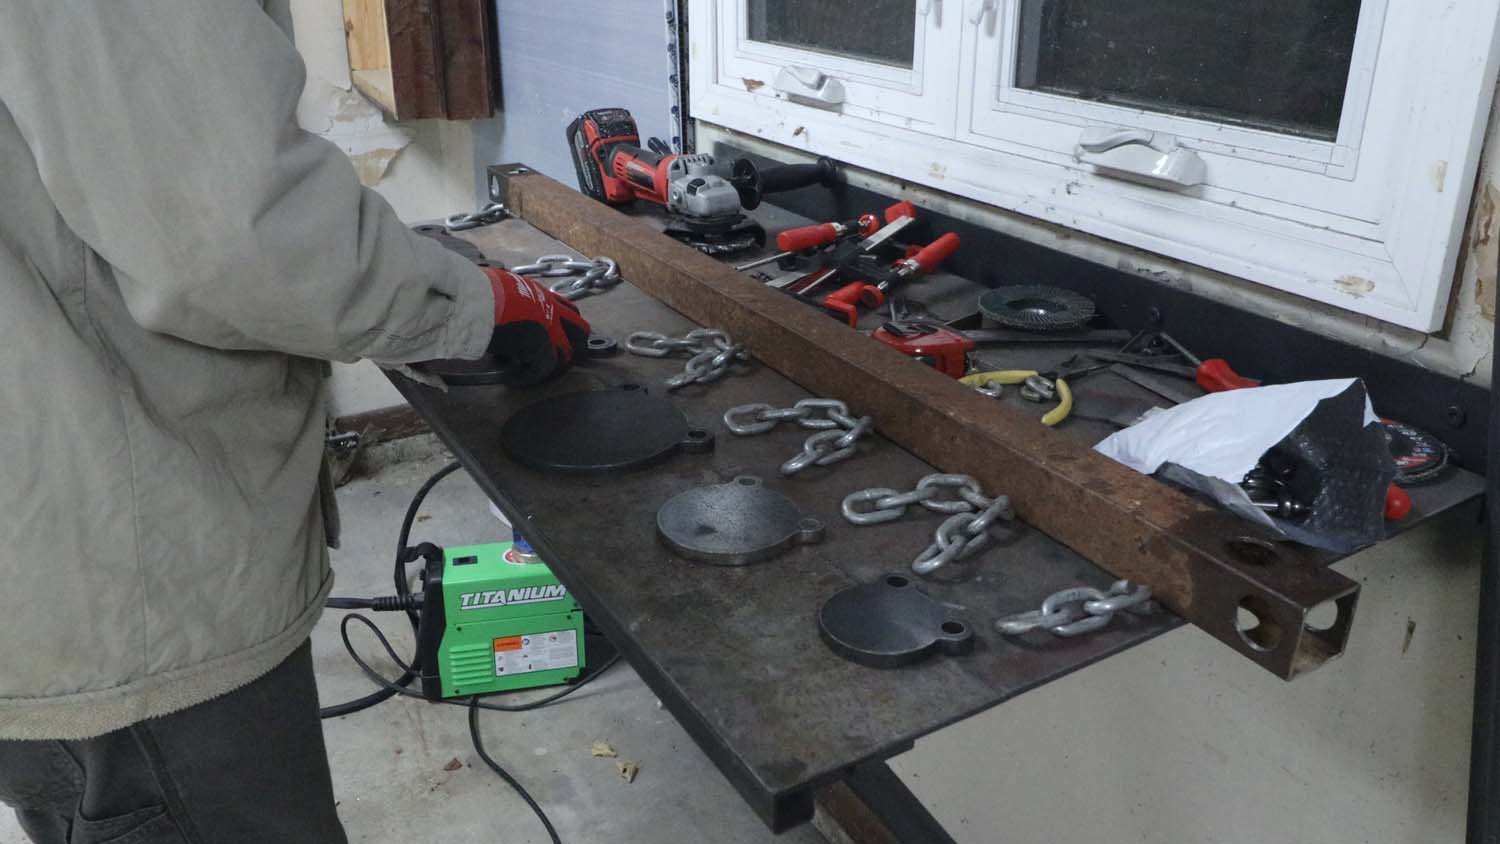
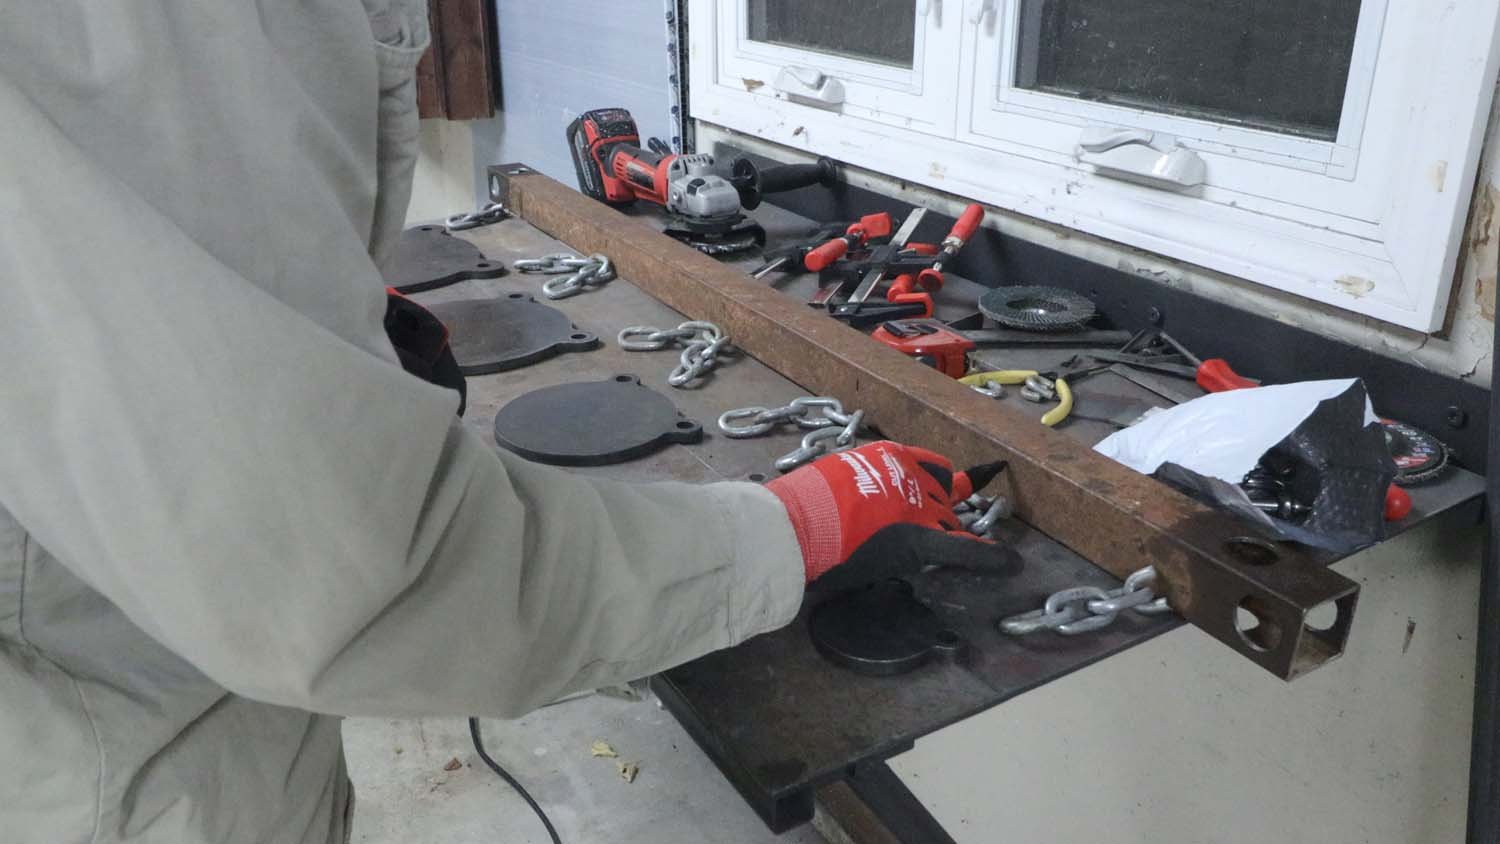
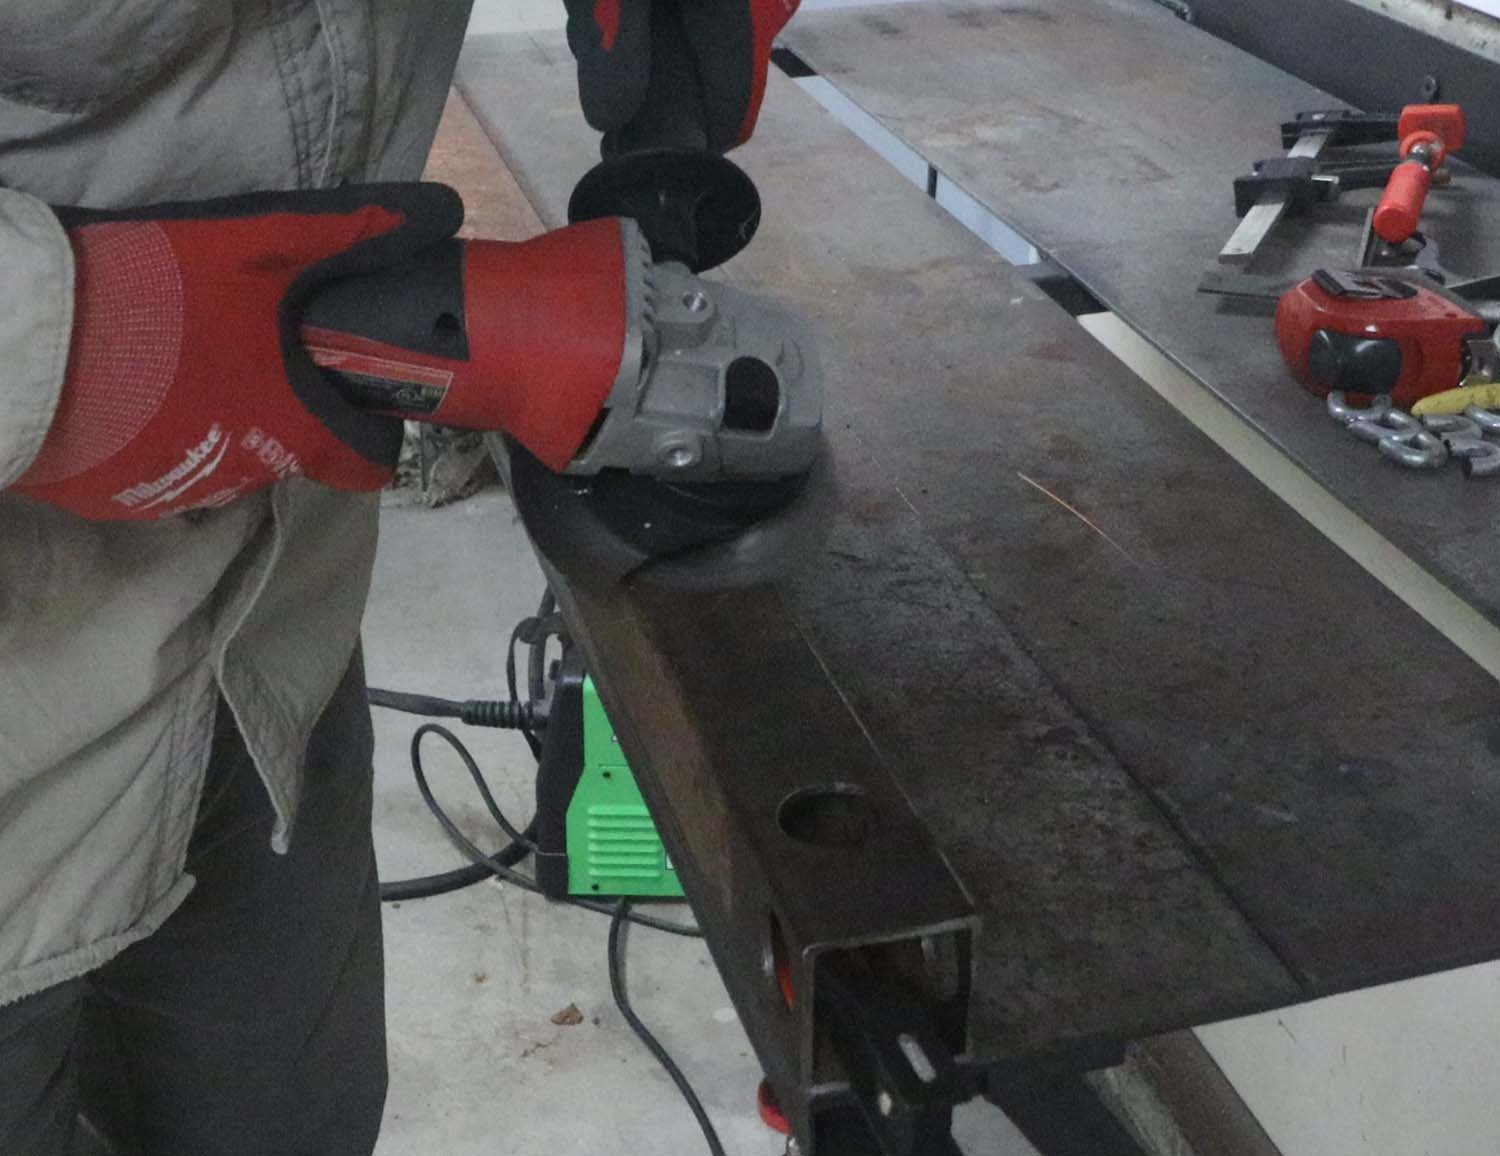
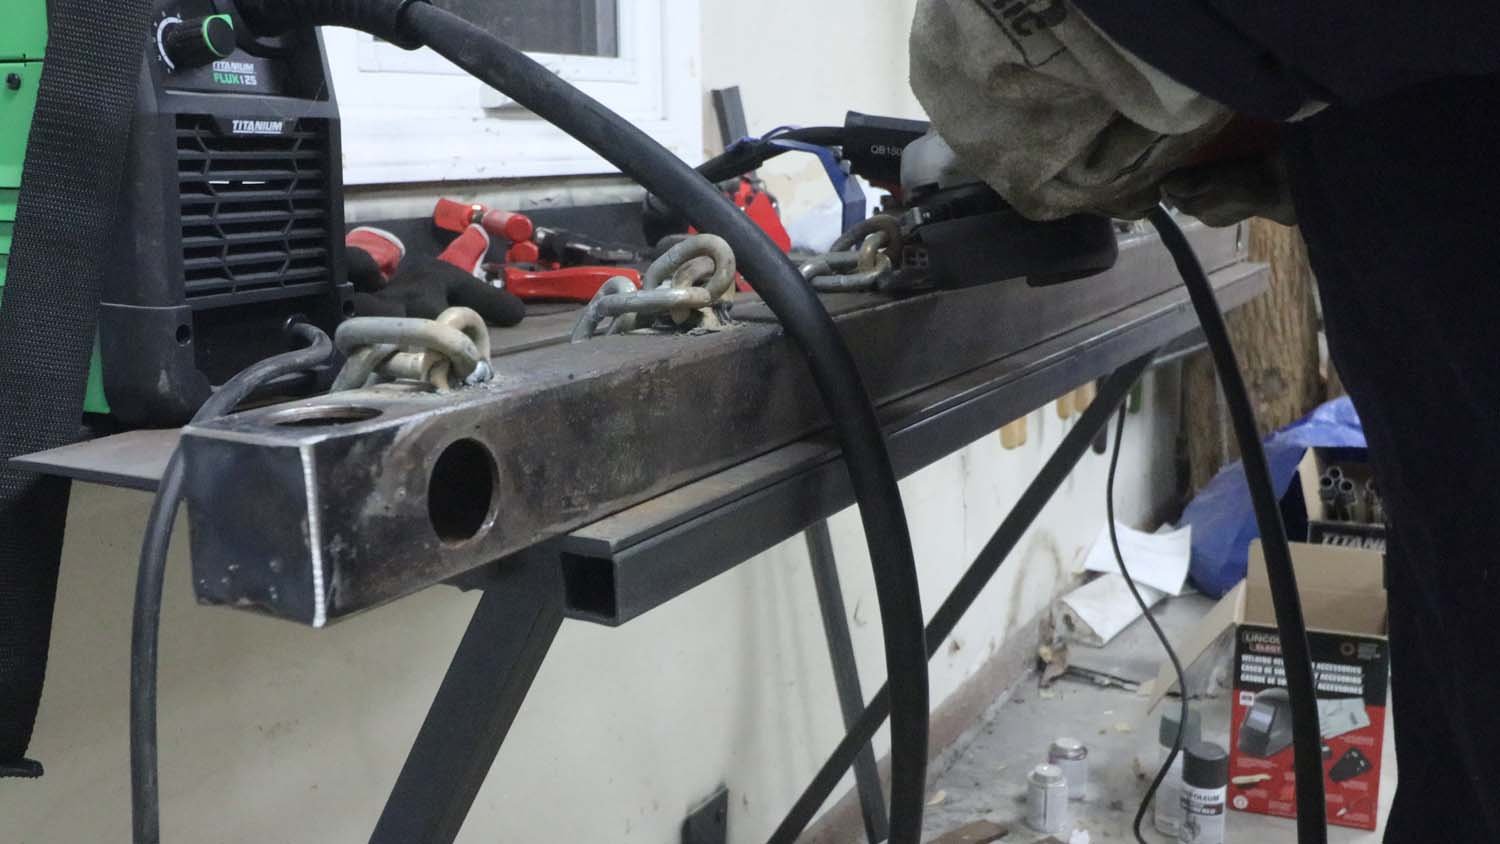
I picked up this piece of scrap, which looks like it used to be used on a trailer, at the dump near my family's property. It's a piece of 2" (50 mm) square tube with about 1/8" (3 mm) walls, maybe 4ft (1.2m) long, and it happens to be the perfect size for this target stand. I started by taking off the steel plates on the end of the piece. These look like they were used as the hitch, and they're not necessary for the target stand. They're held on with some welds, which I ground off with a cutoff wheel.
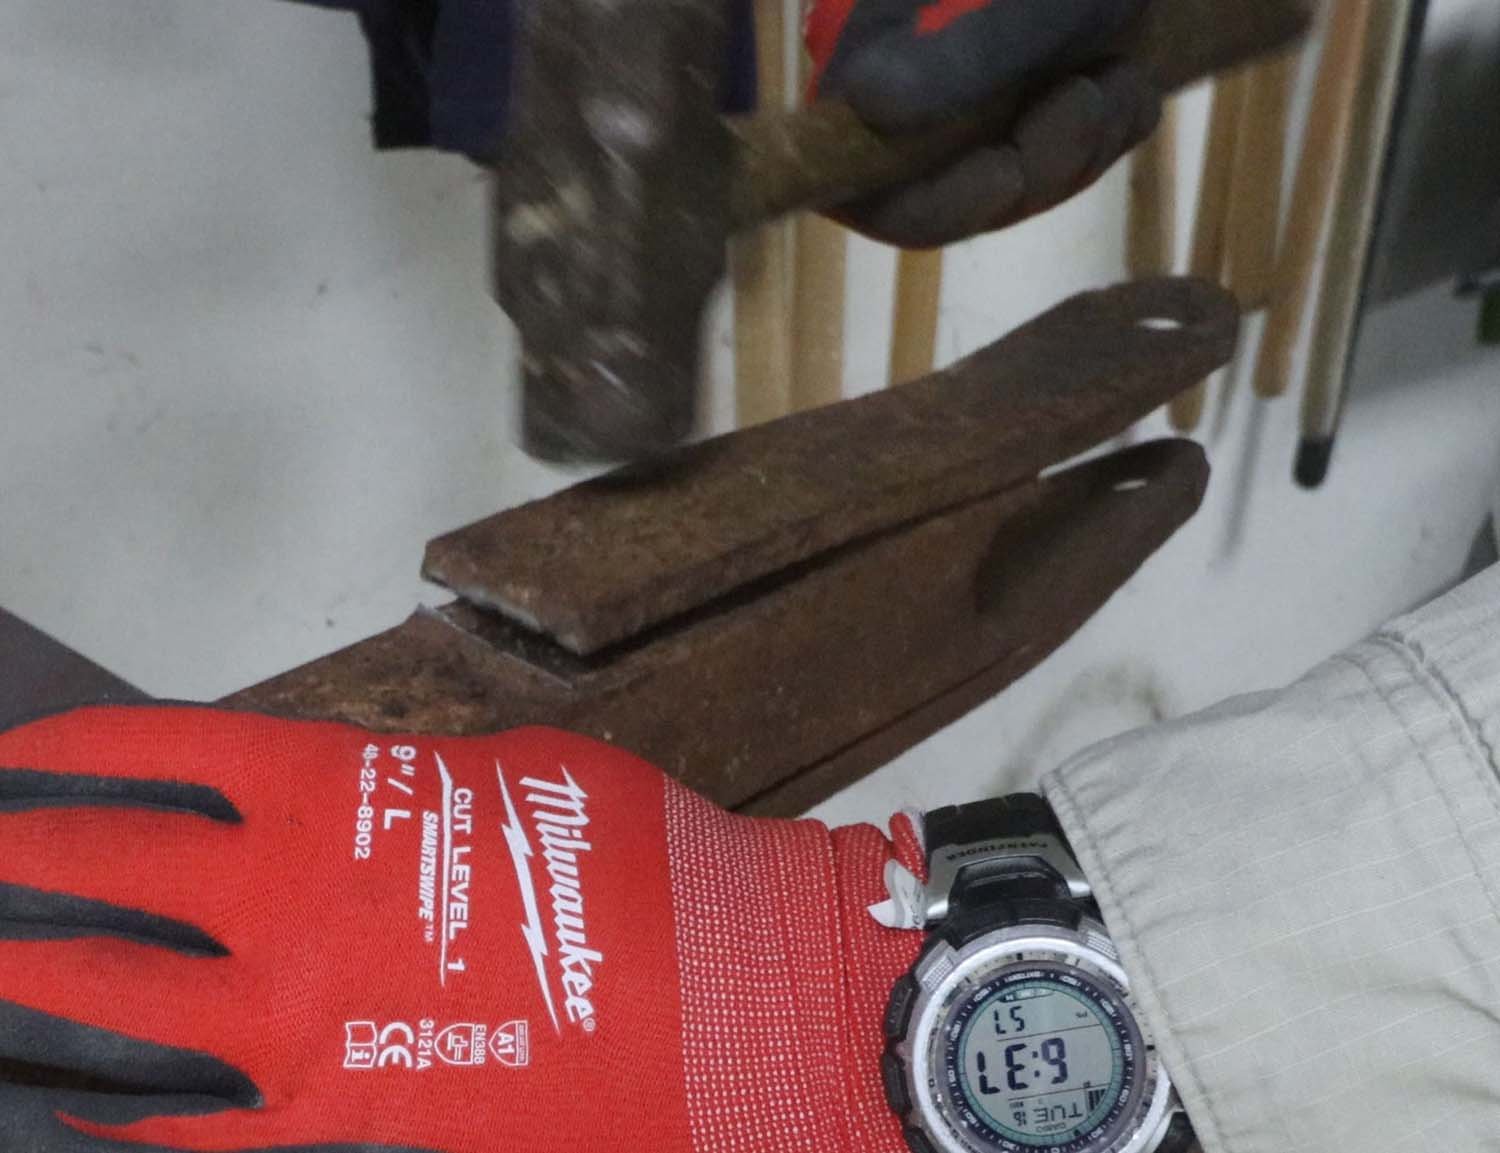
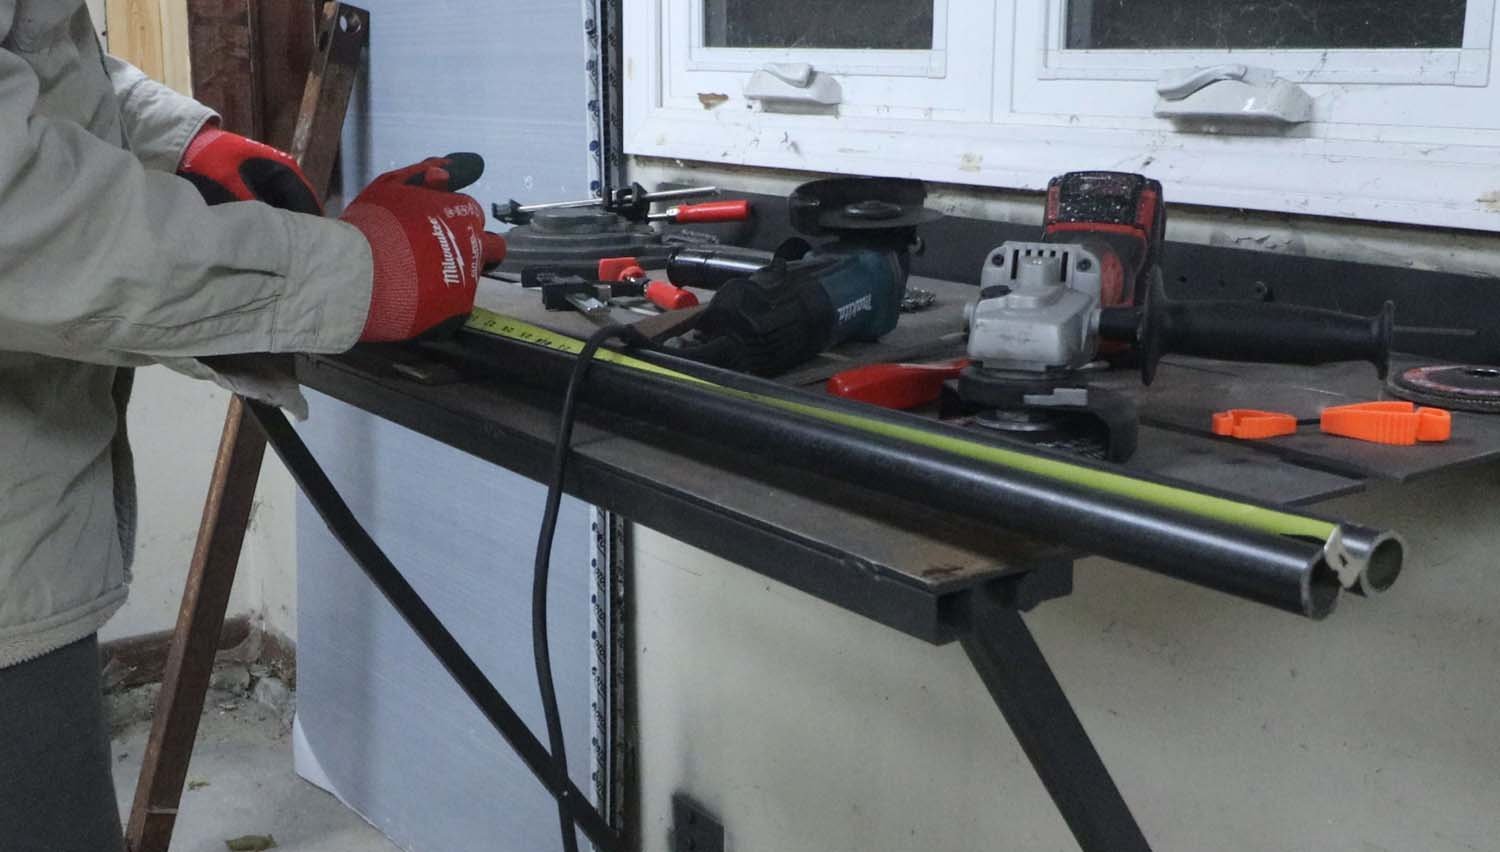
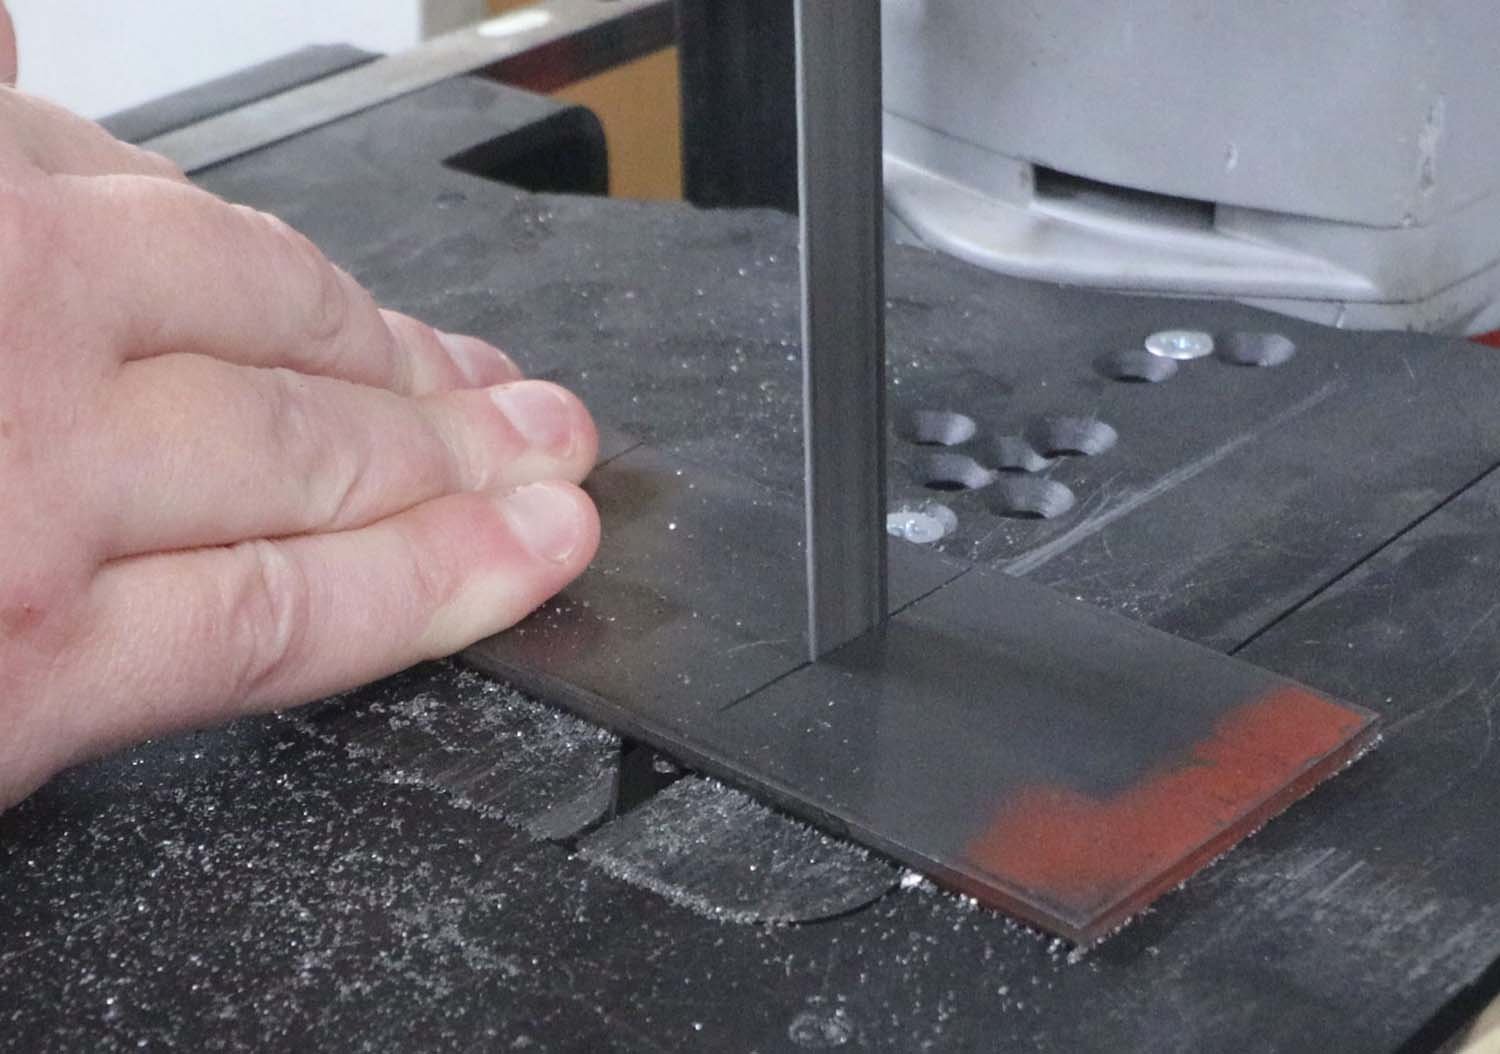
With the plates off, I cut the ends of the tube off back to non-mangled metal and squared the ends.
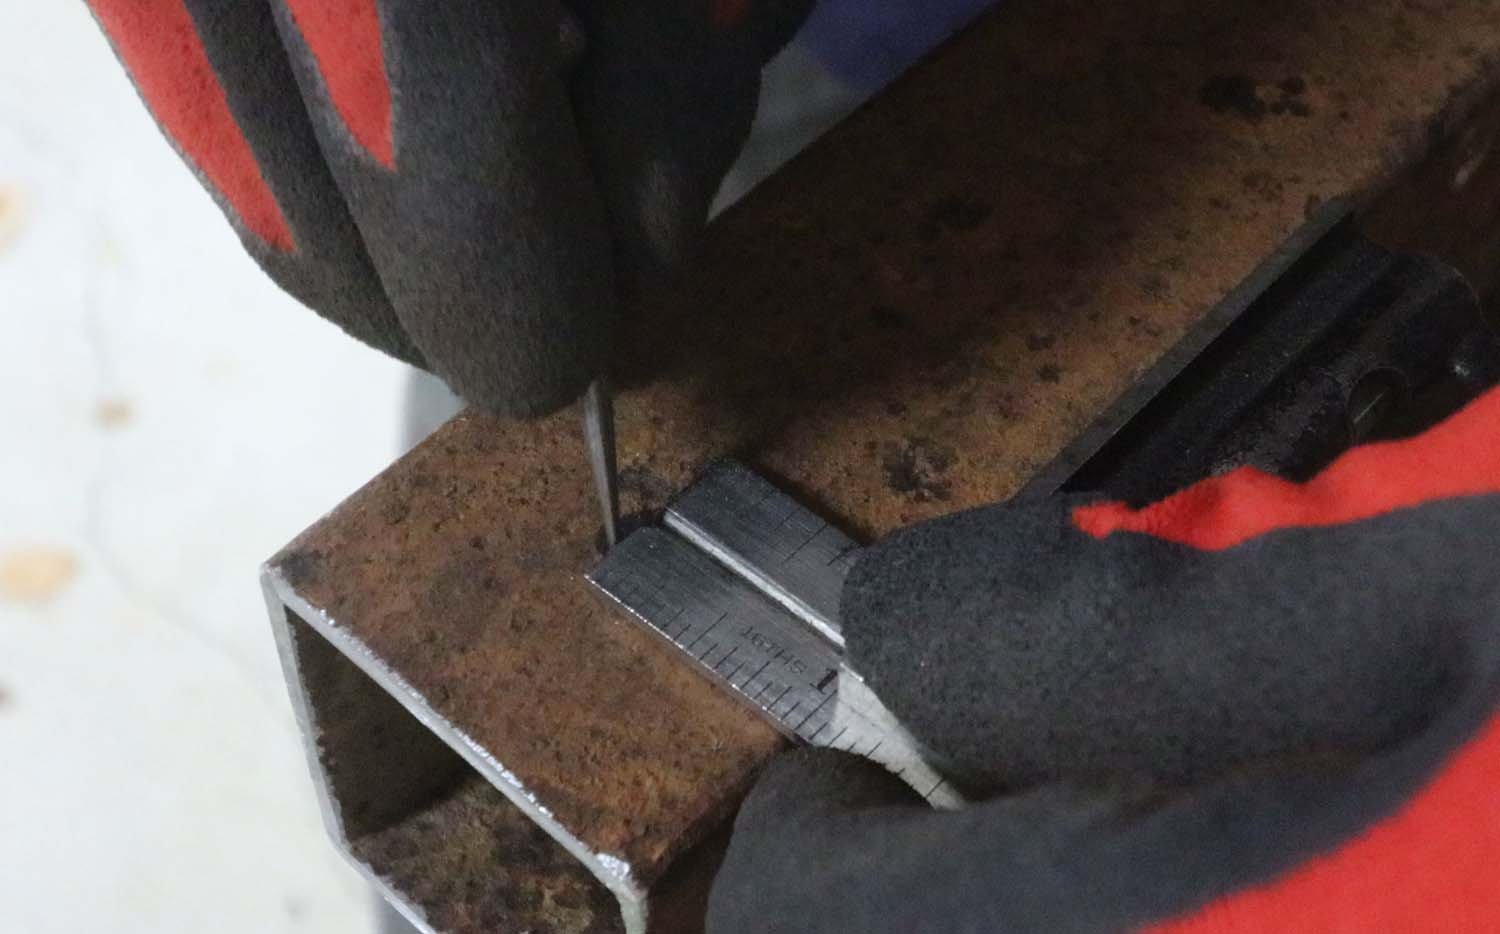
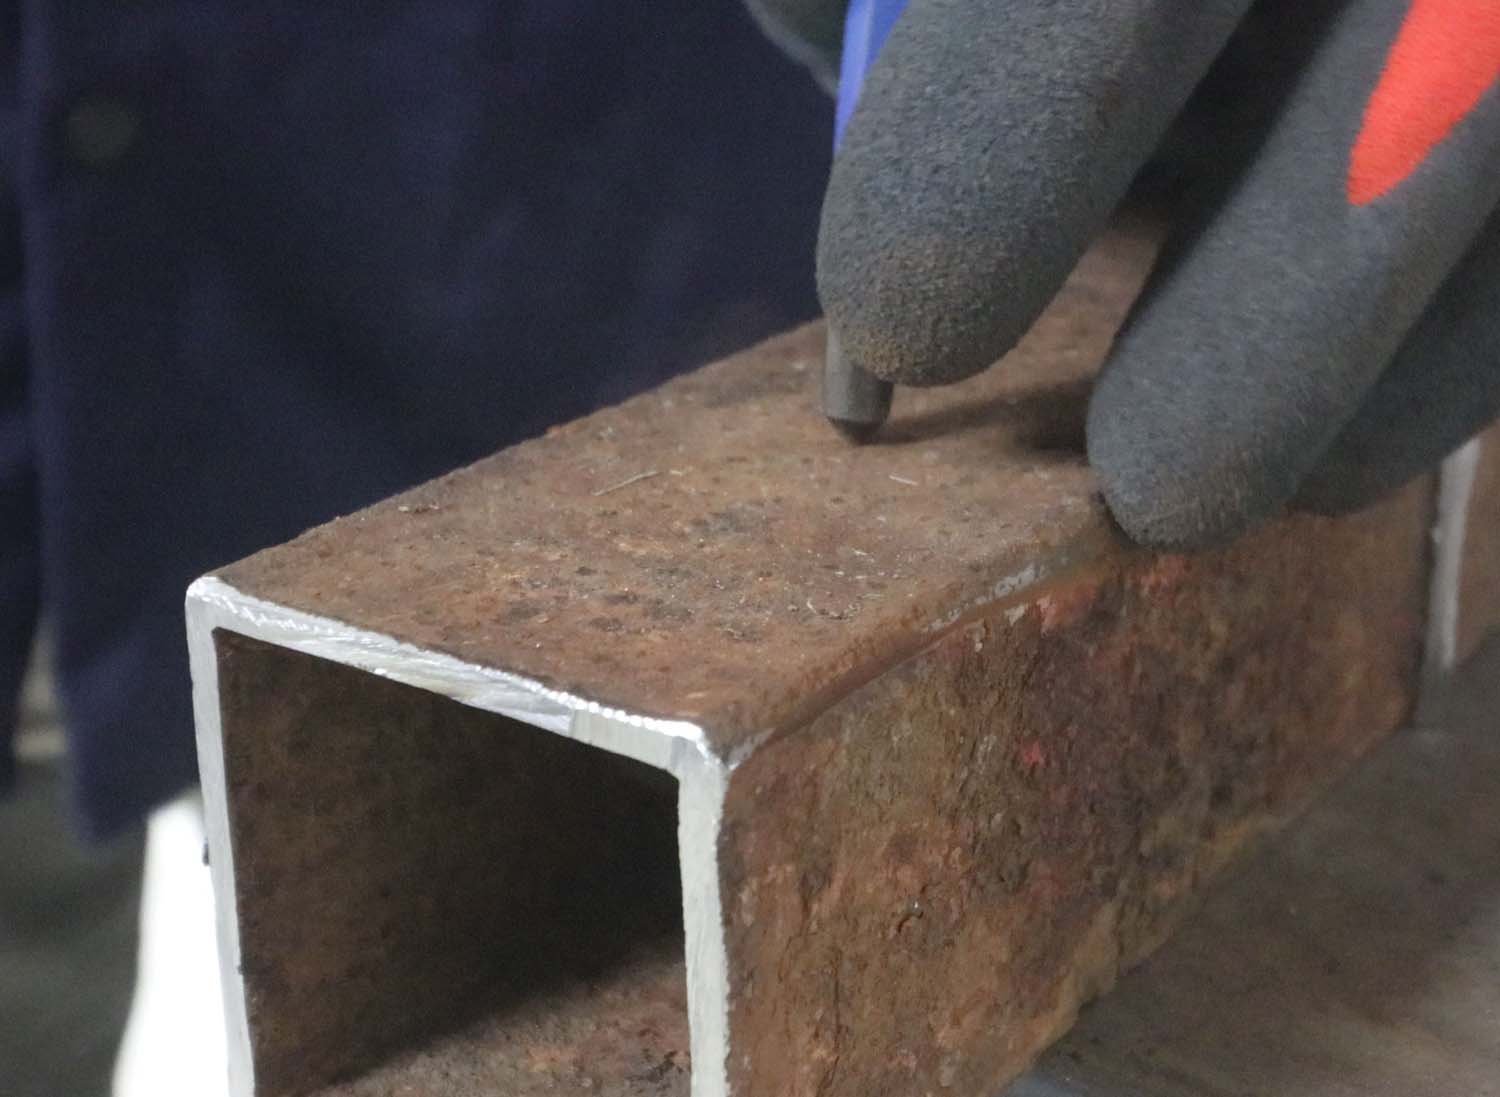
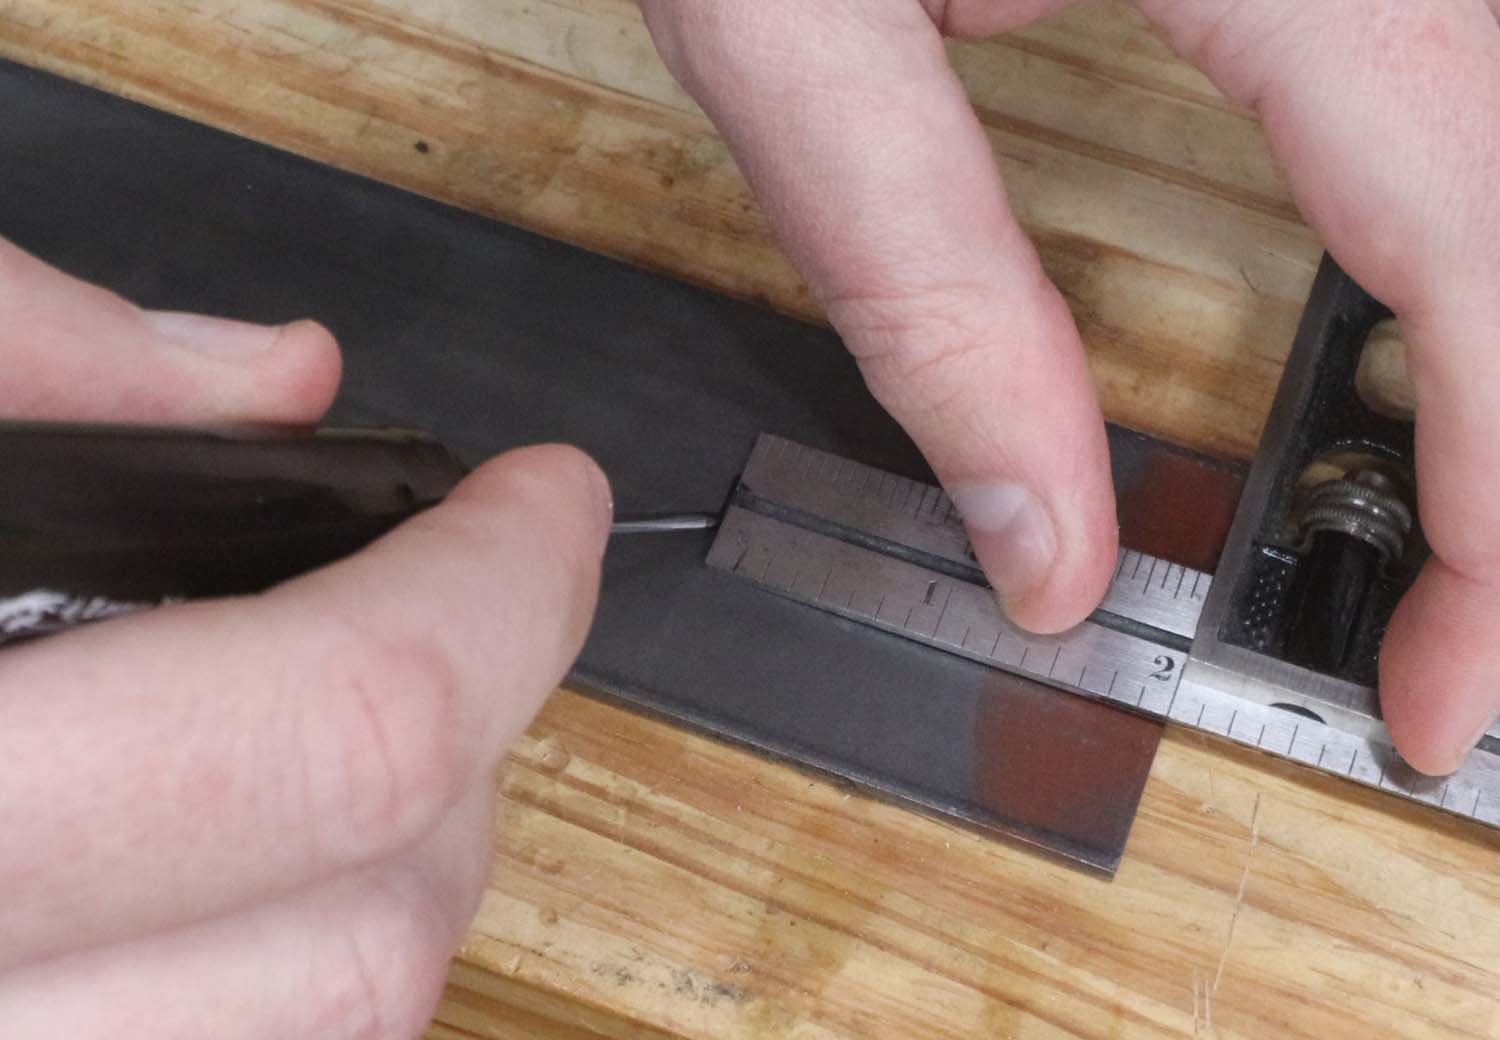
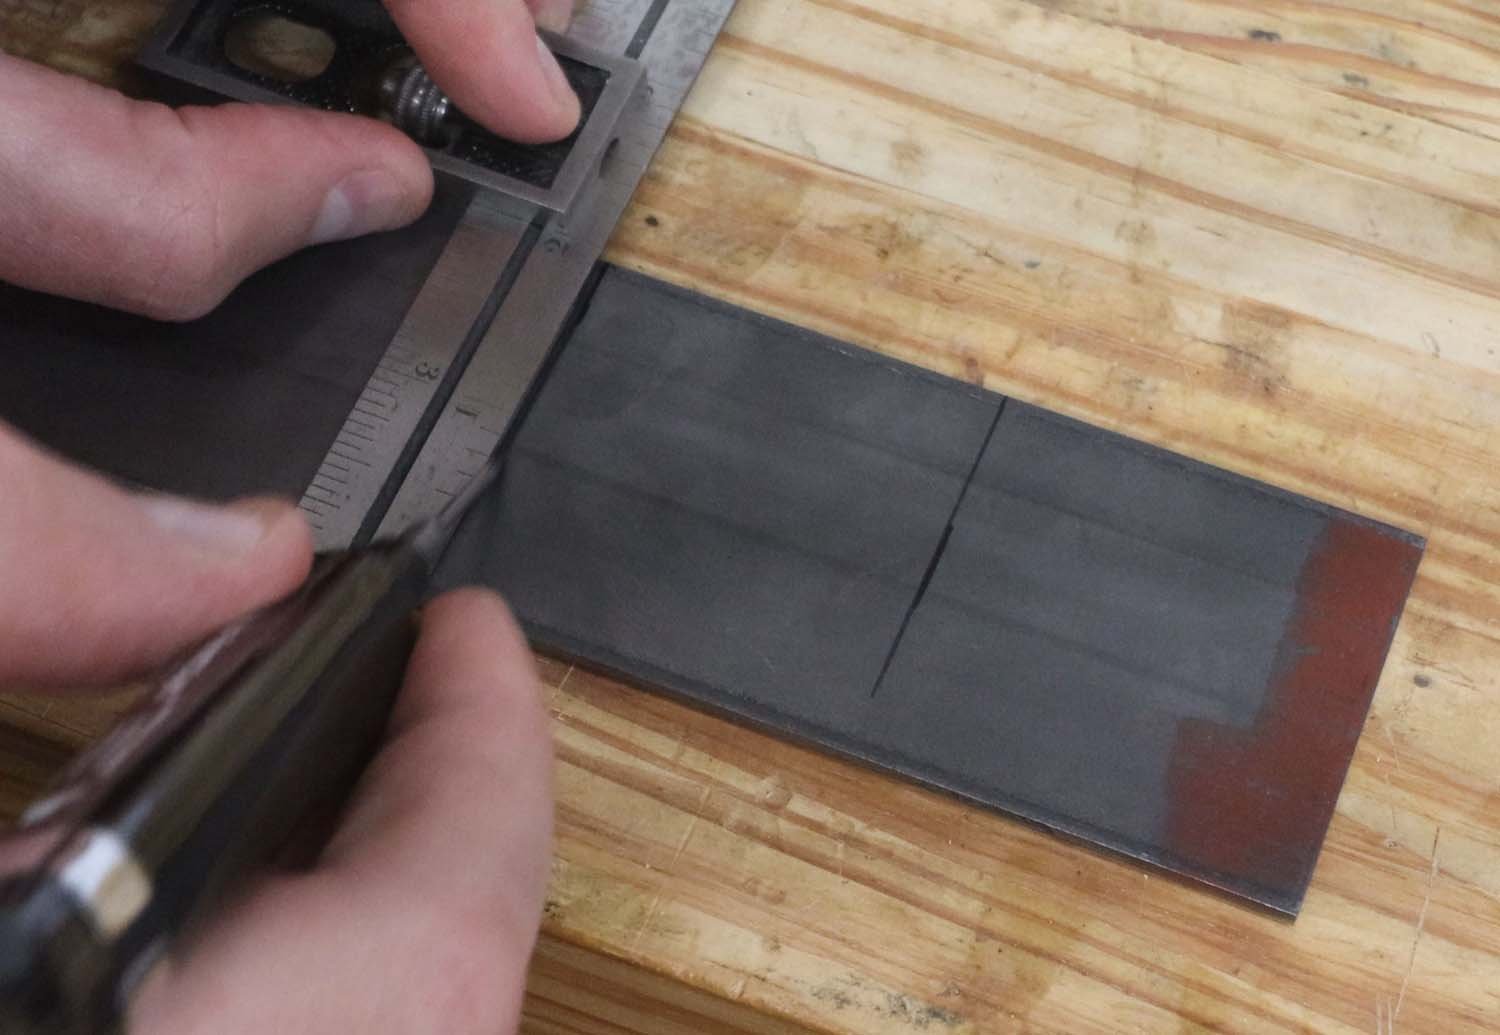
The square tube will have two legs at each end, the legs being at 90 degrees to each other. I marked for holes to drill through the tube. The legs are made of 3/4" black iron pipe, which is about 1" (25 mm) outer diameter, so I space the legs about 1-1/4" (32 mm) apart.
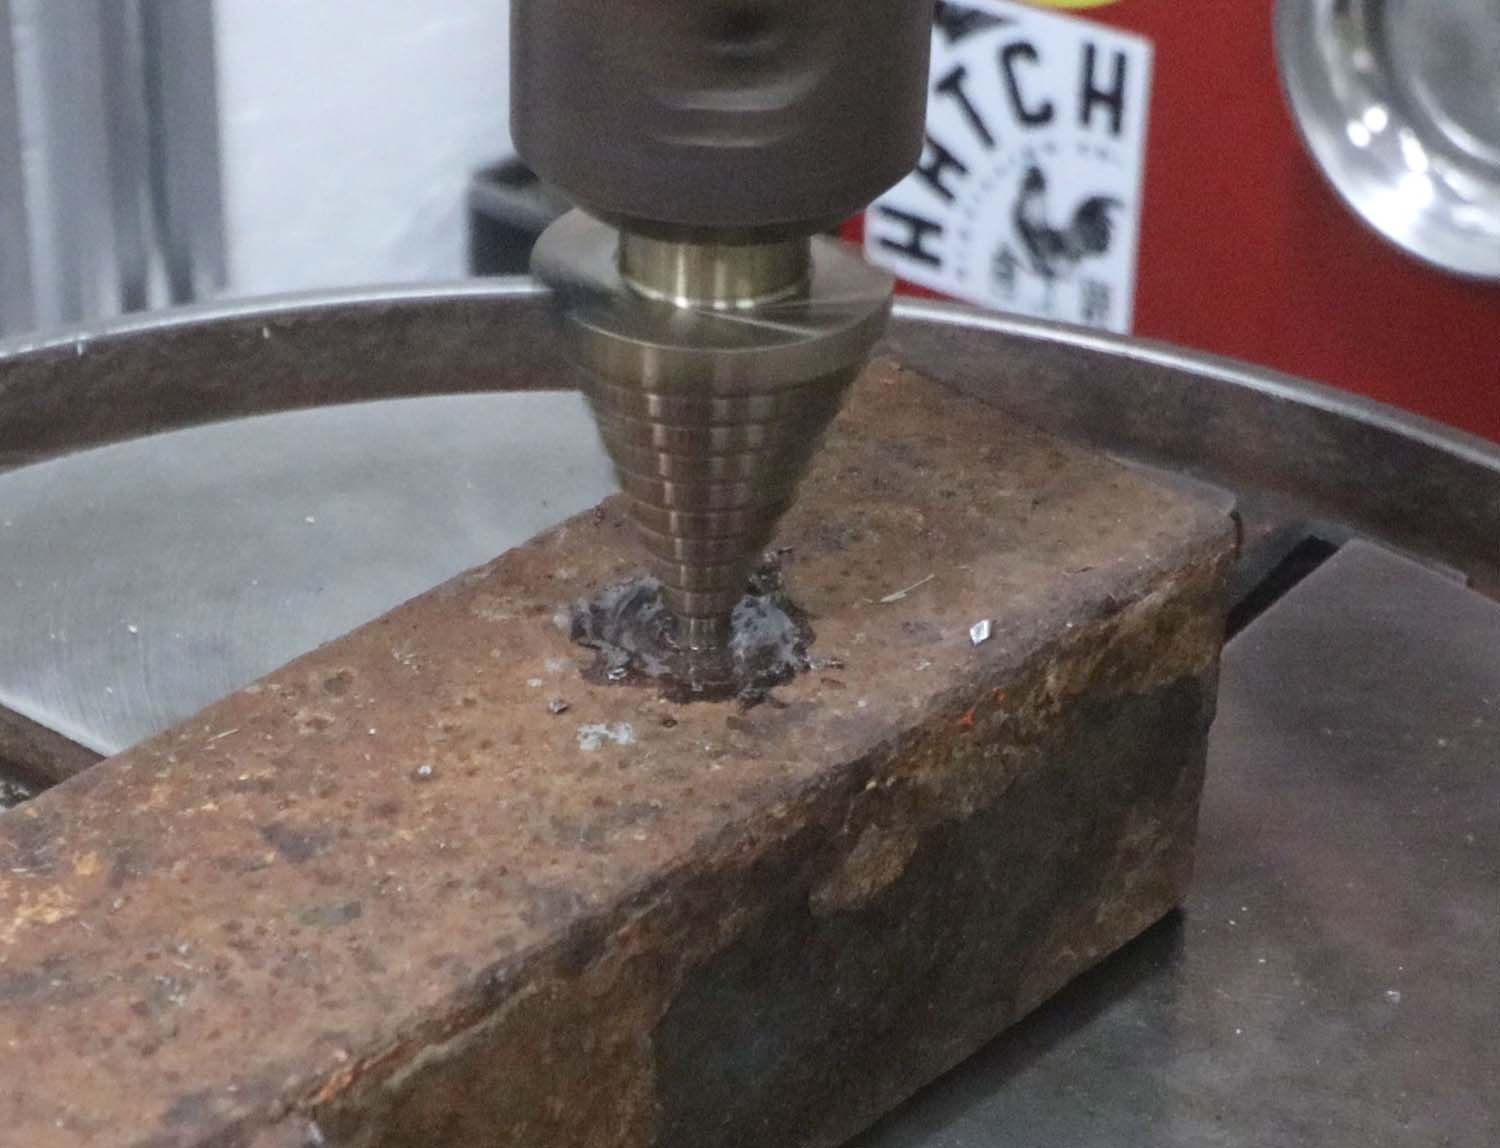
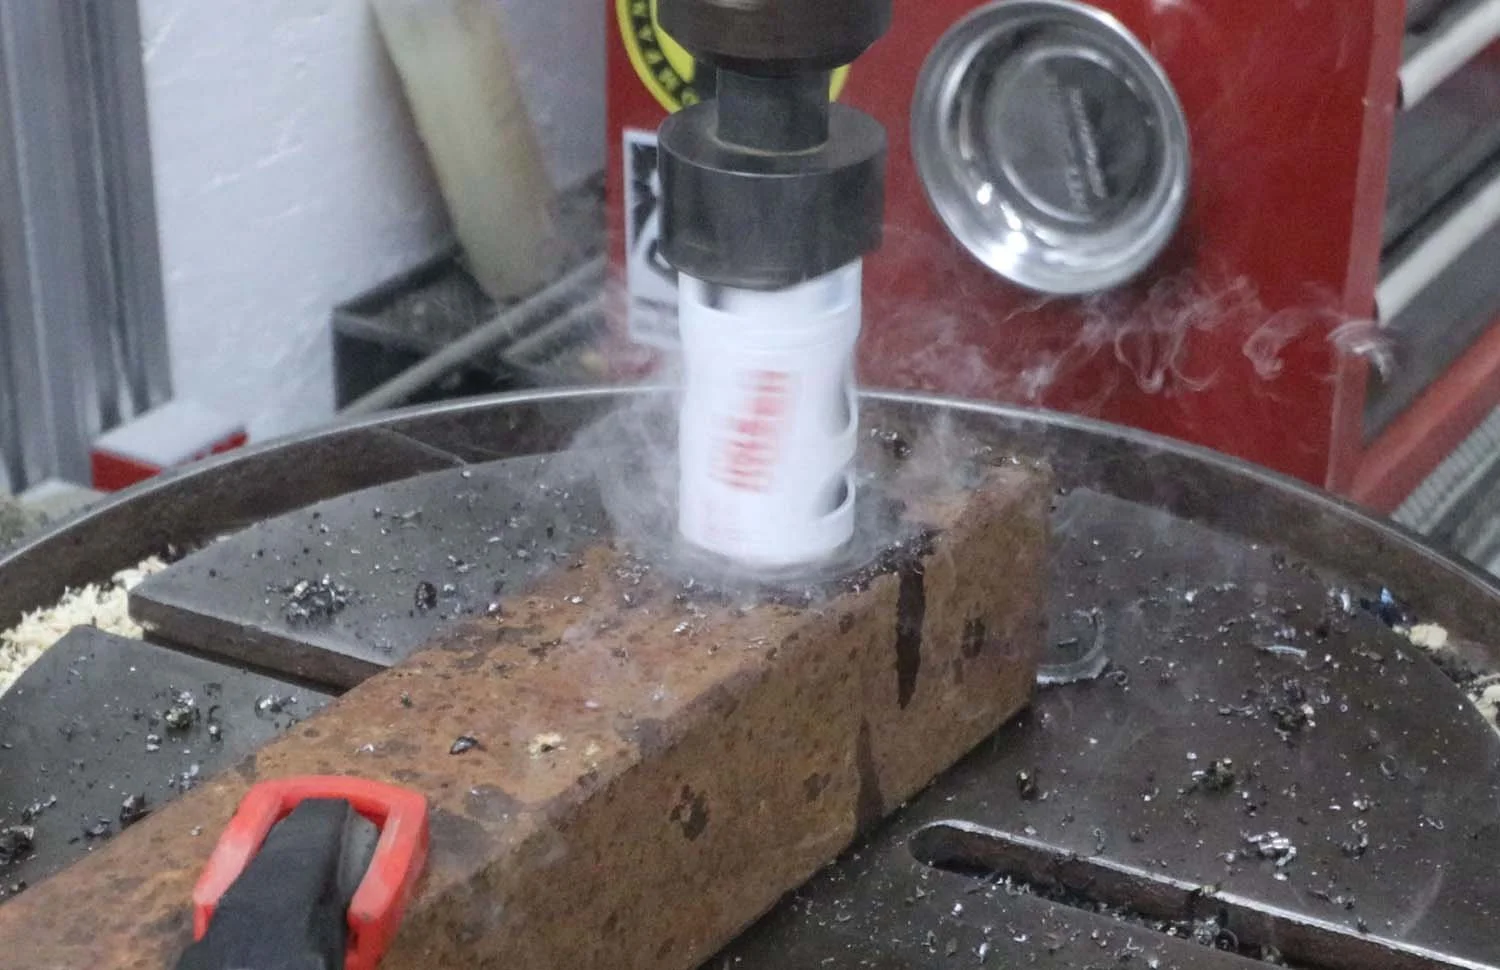
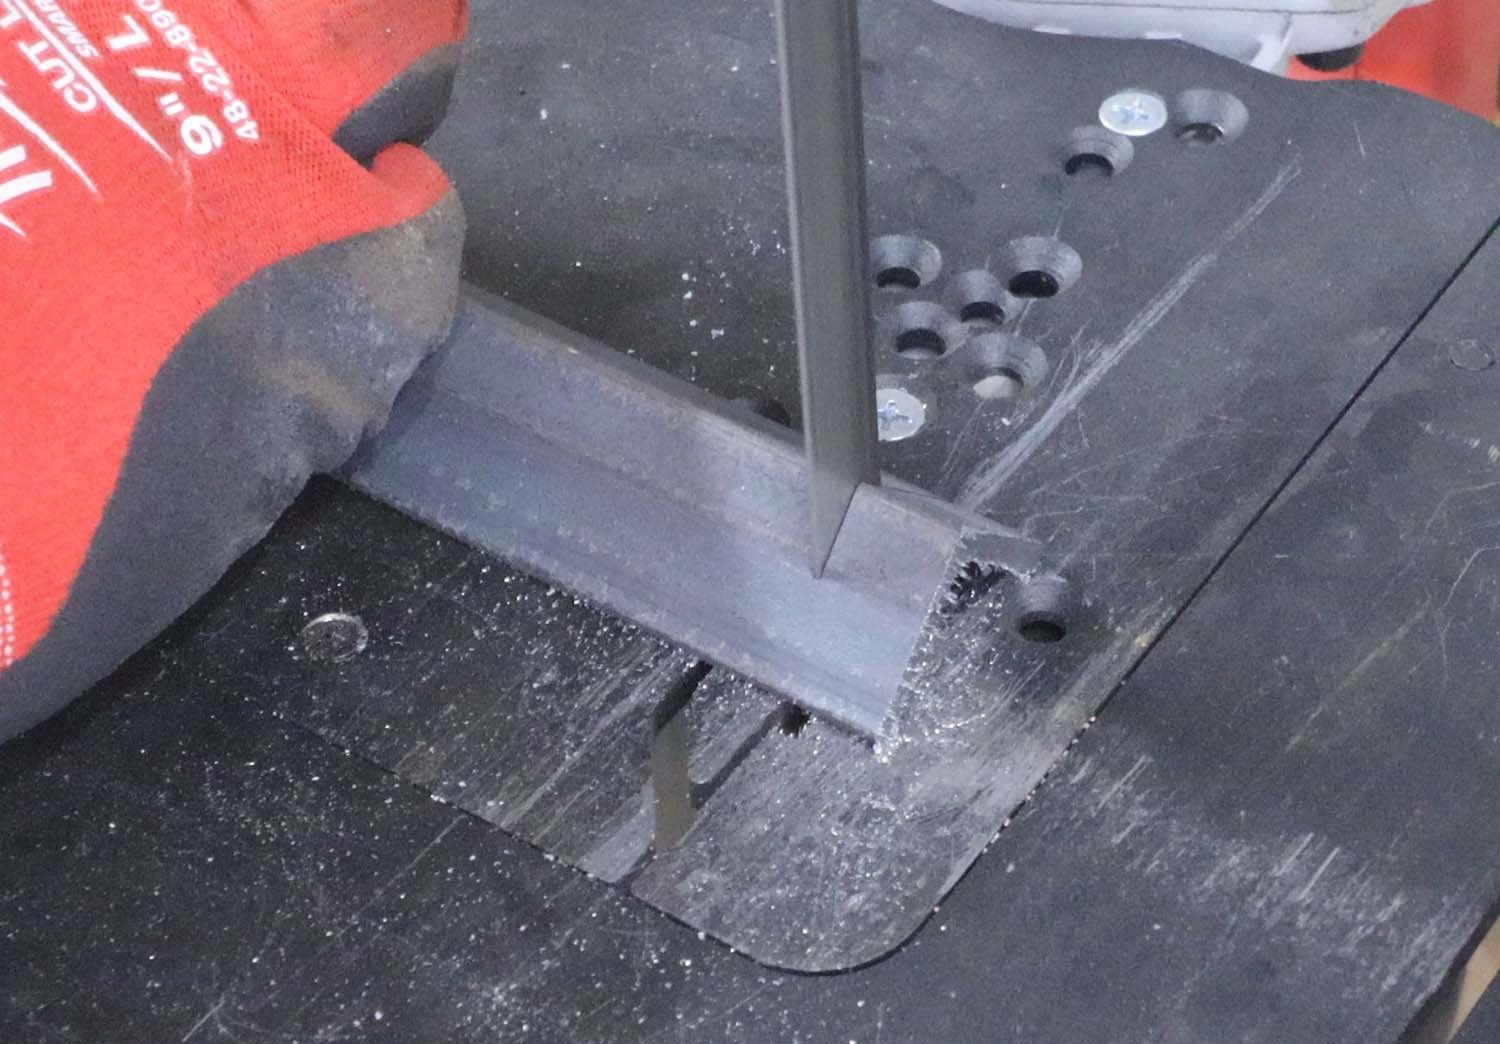
I drilled the first couple of holes with a stepped drill bit, enlarging the hole to 1-1/8" (28 mm) diameter. Then I remembered I have a 1-1/8" hole saw, which is much more efficient at cutting these holes than a stepped drill, so I used that for the remainder.
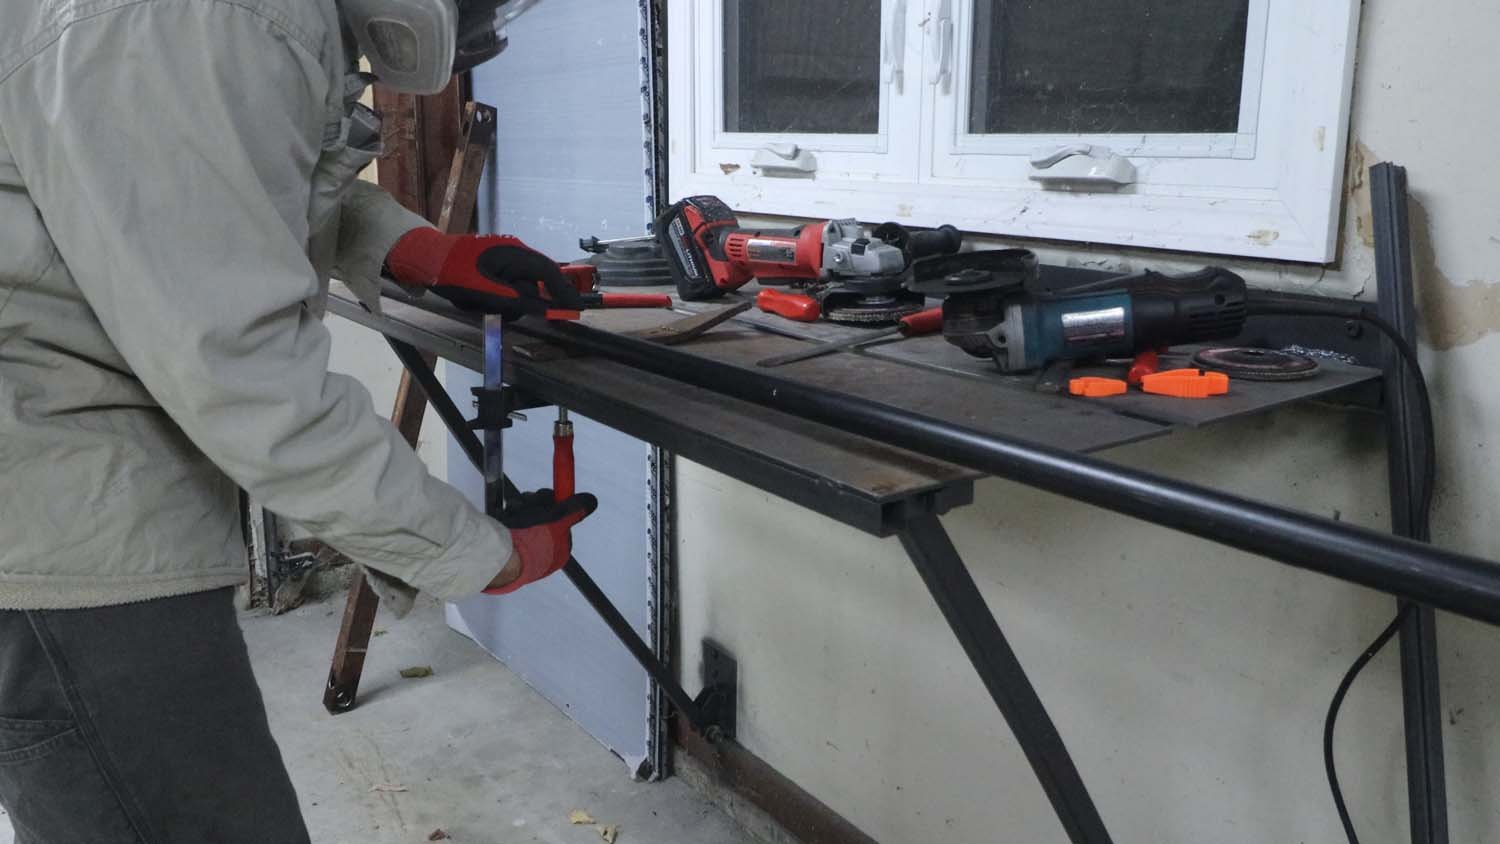
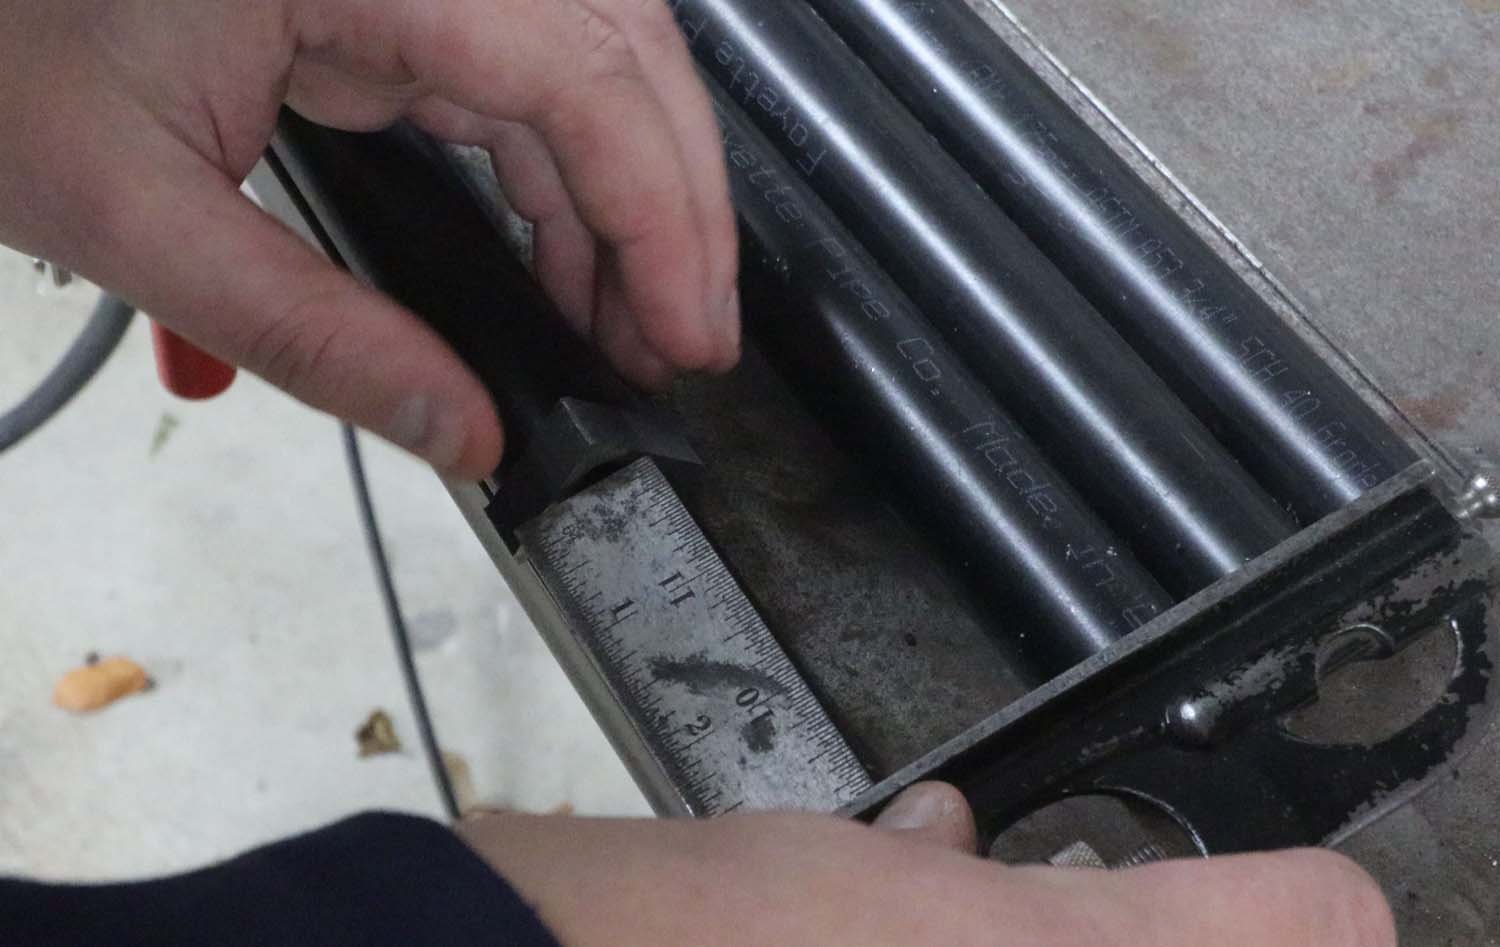
With the holes drilled, I moved on to making the legs. I picked up a 10-ft (3-m) length of 3/4" nominal diameter black iron pipe at the home center, and I'm cutting it into fourths for the legs. In other words, I made four 2'-6" (750 mm) long legs.

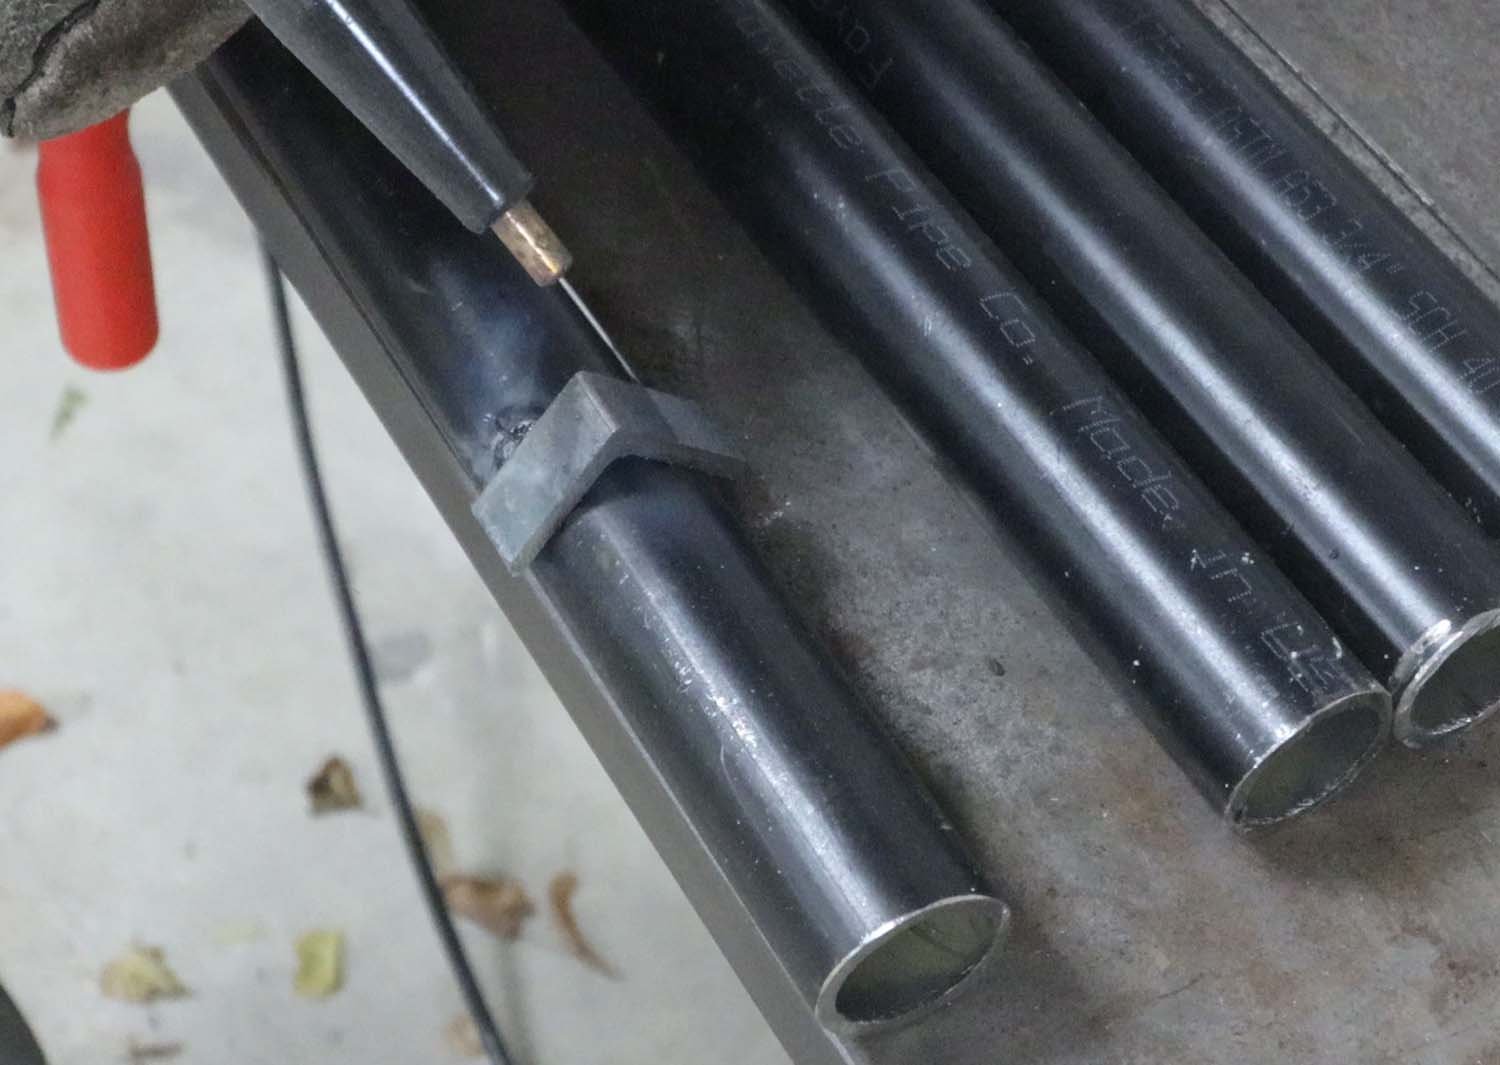
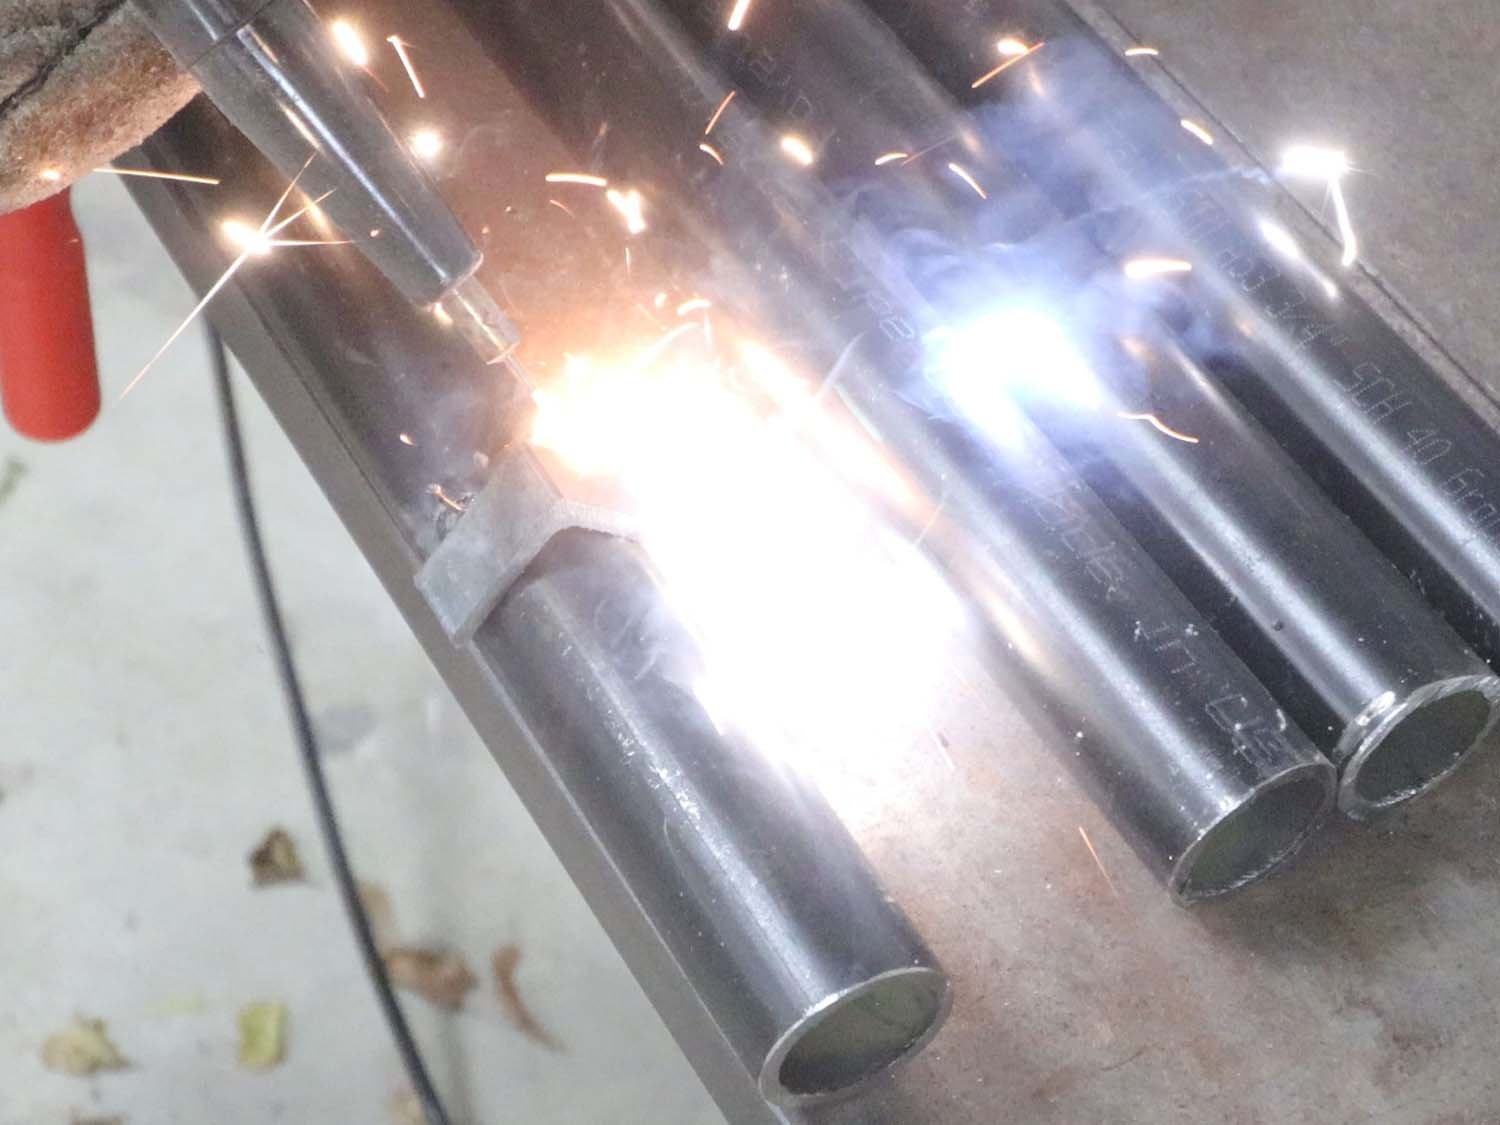
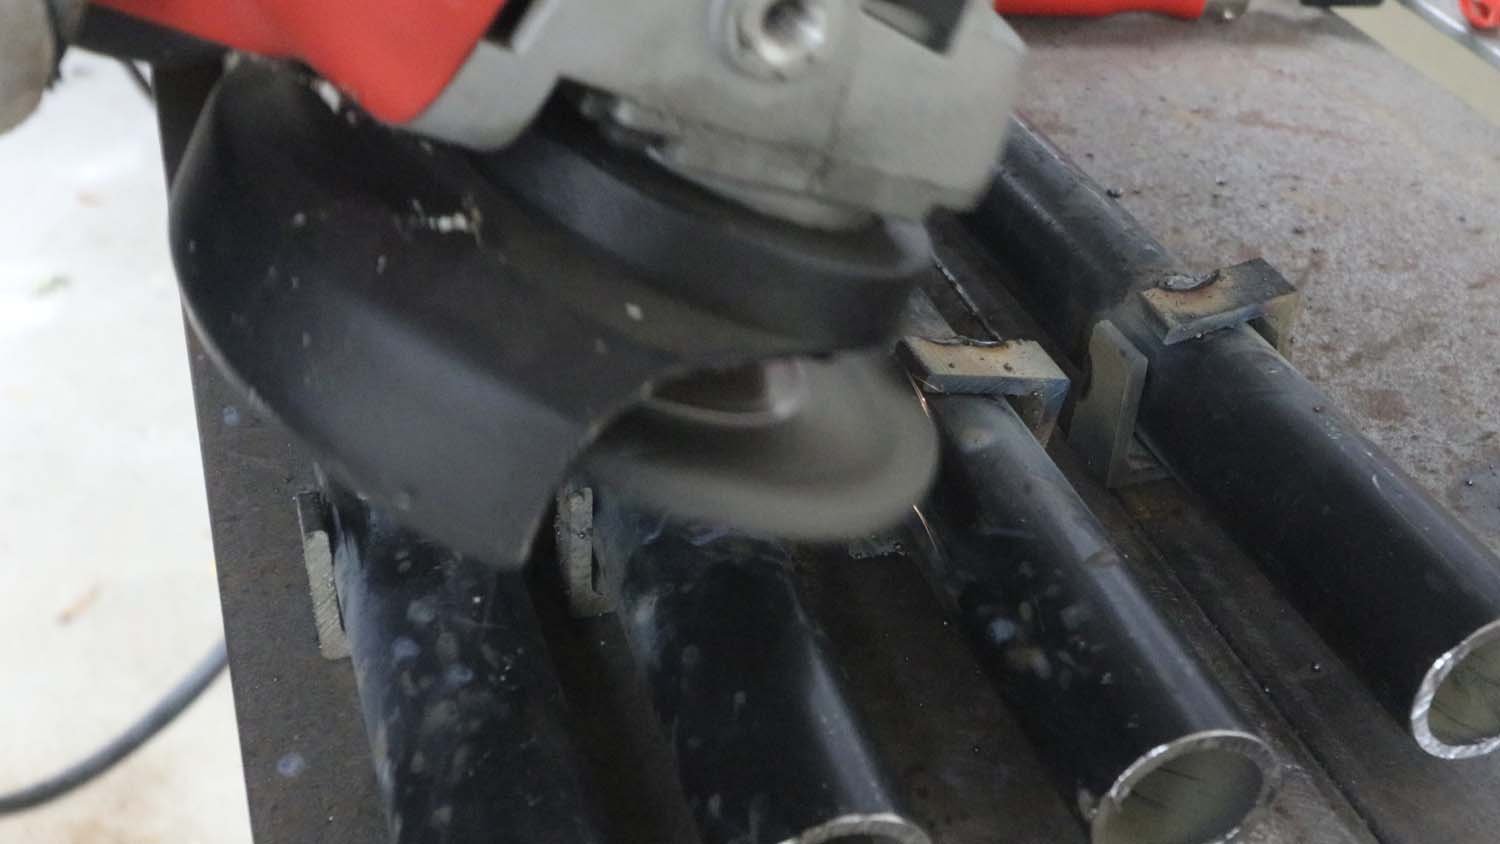
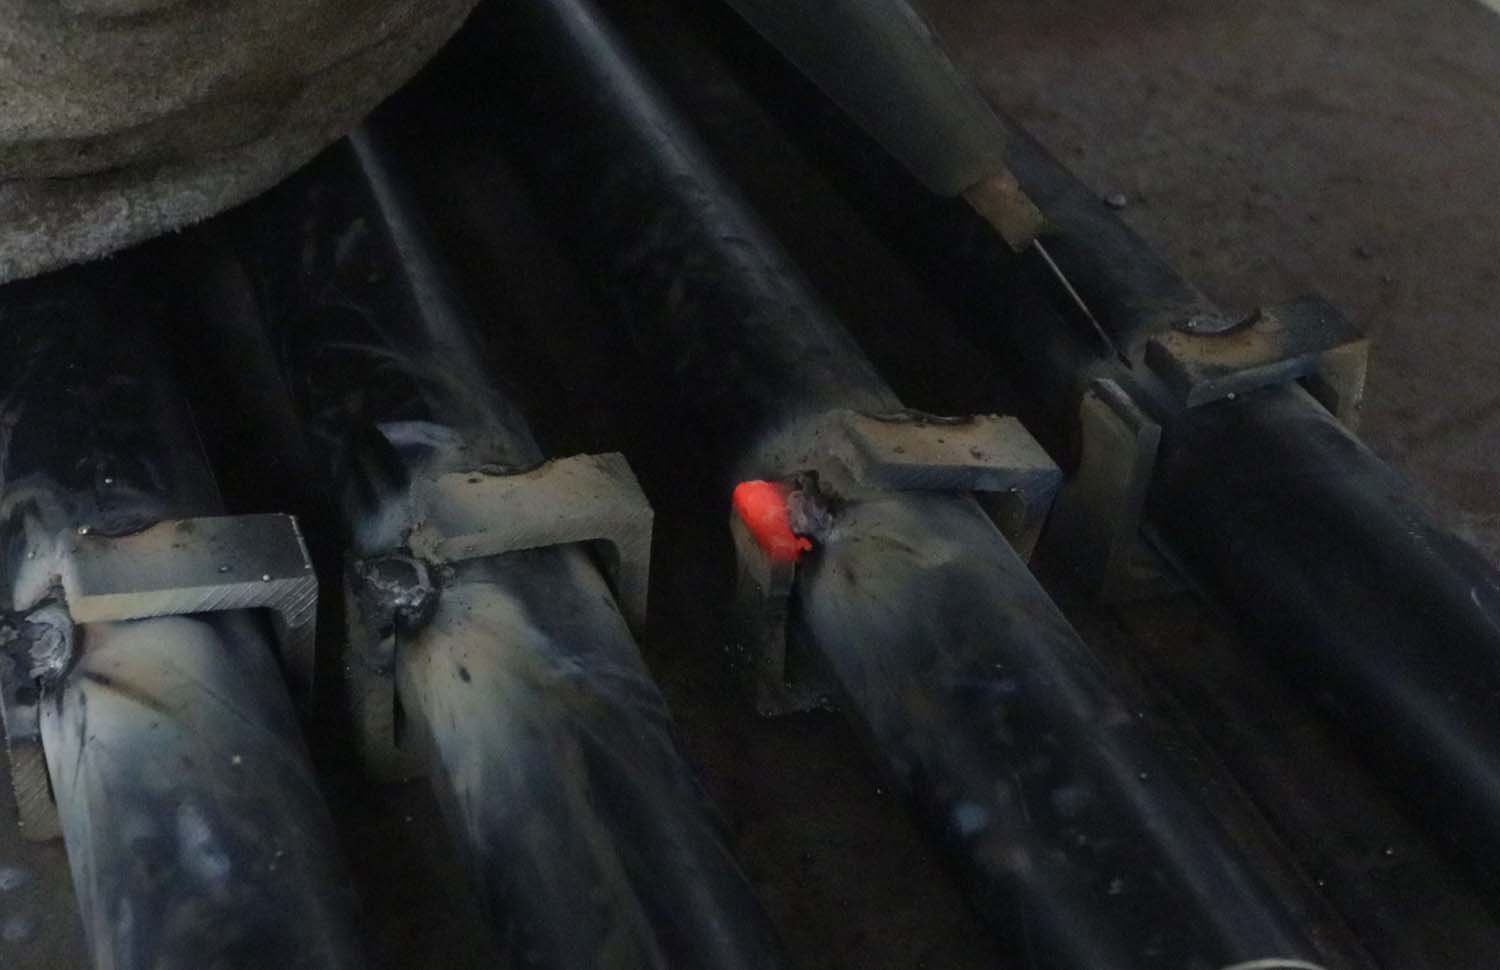
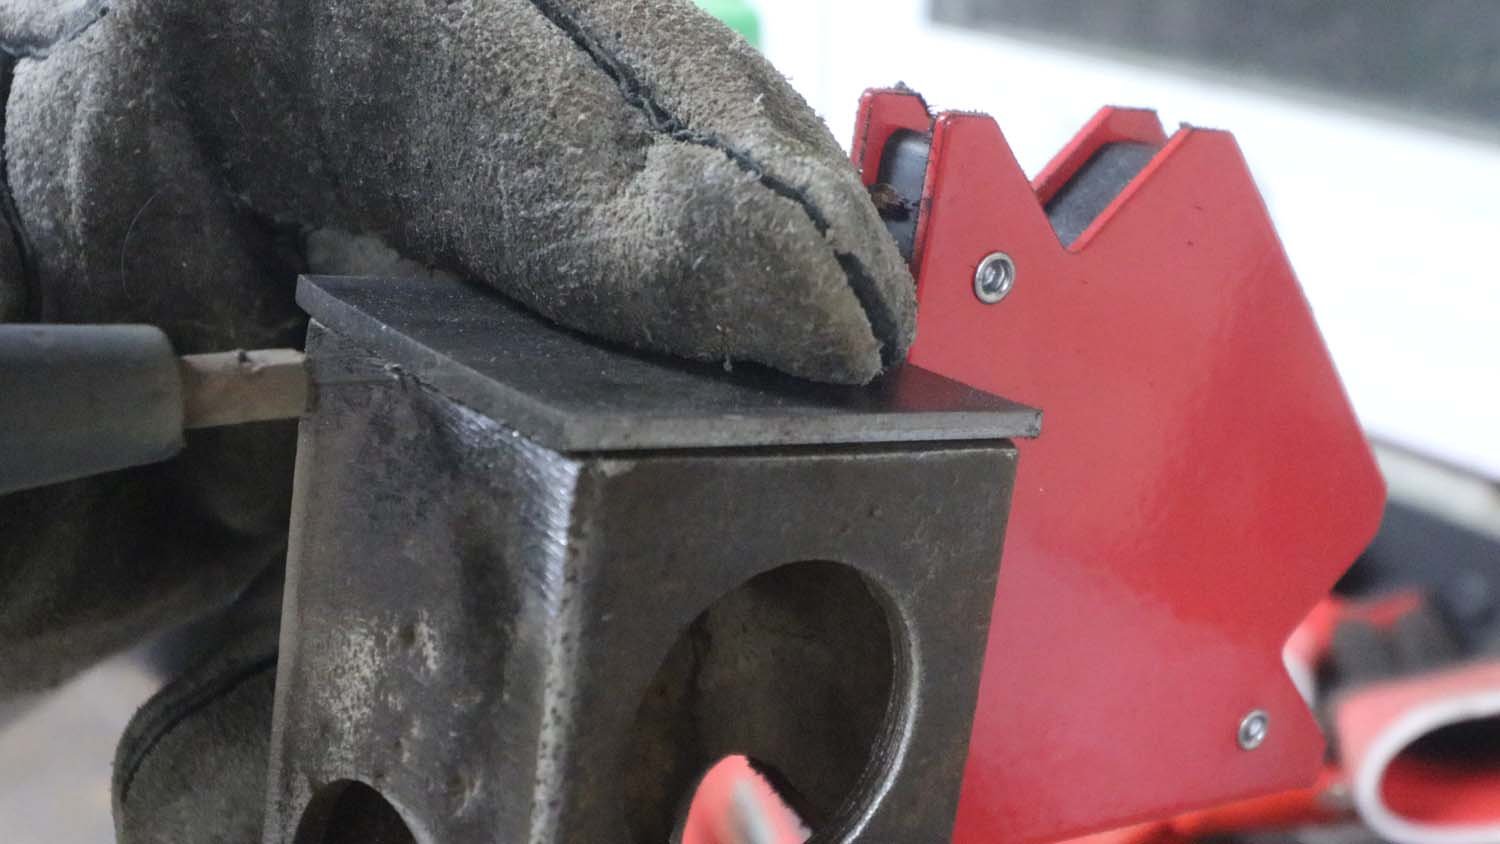
To keep the legs from slipping entirely through the holes, they need a stop. Some short pieces of 1" (25 mm) angle iron will do the trick. To give enough "stick-through" for the legs, I placed these stops 3" (75 mm) down from the top of the leg, which will have about 1" (25 mm) sticking out the top of the square tube when inserted.
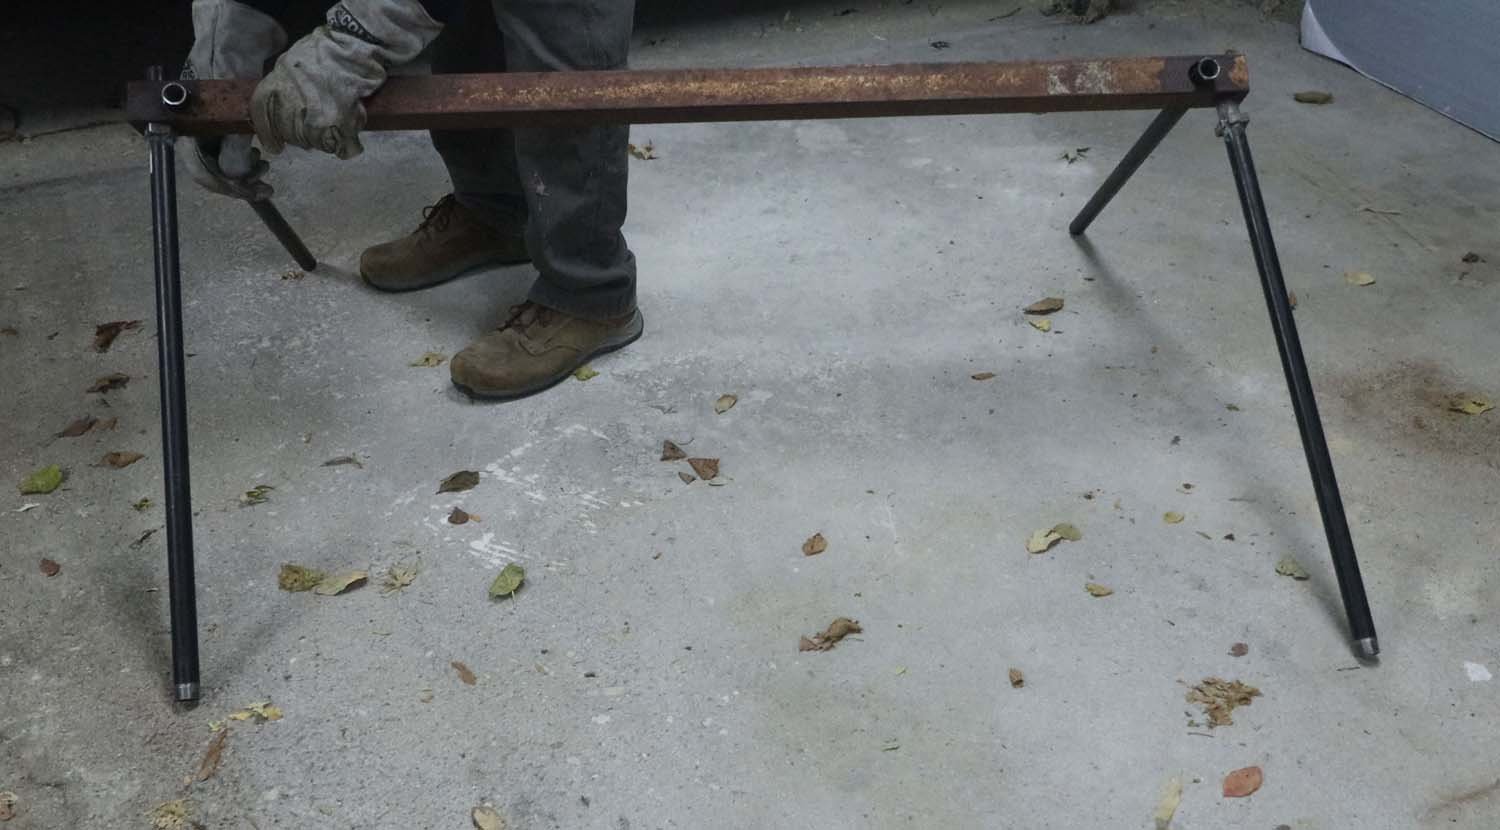
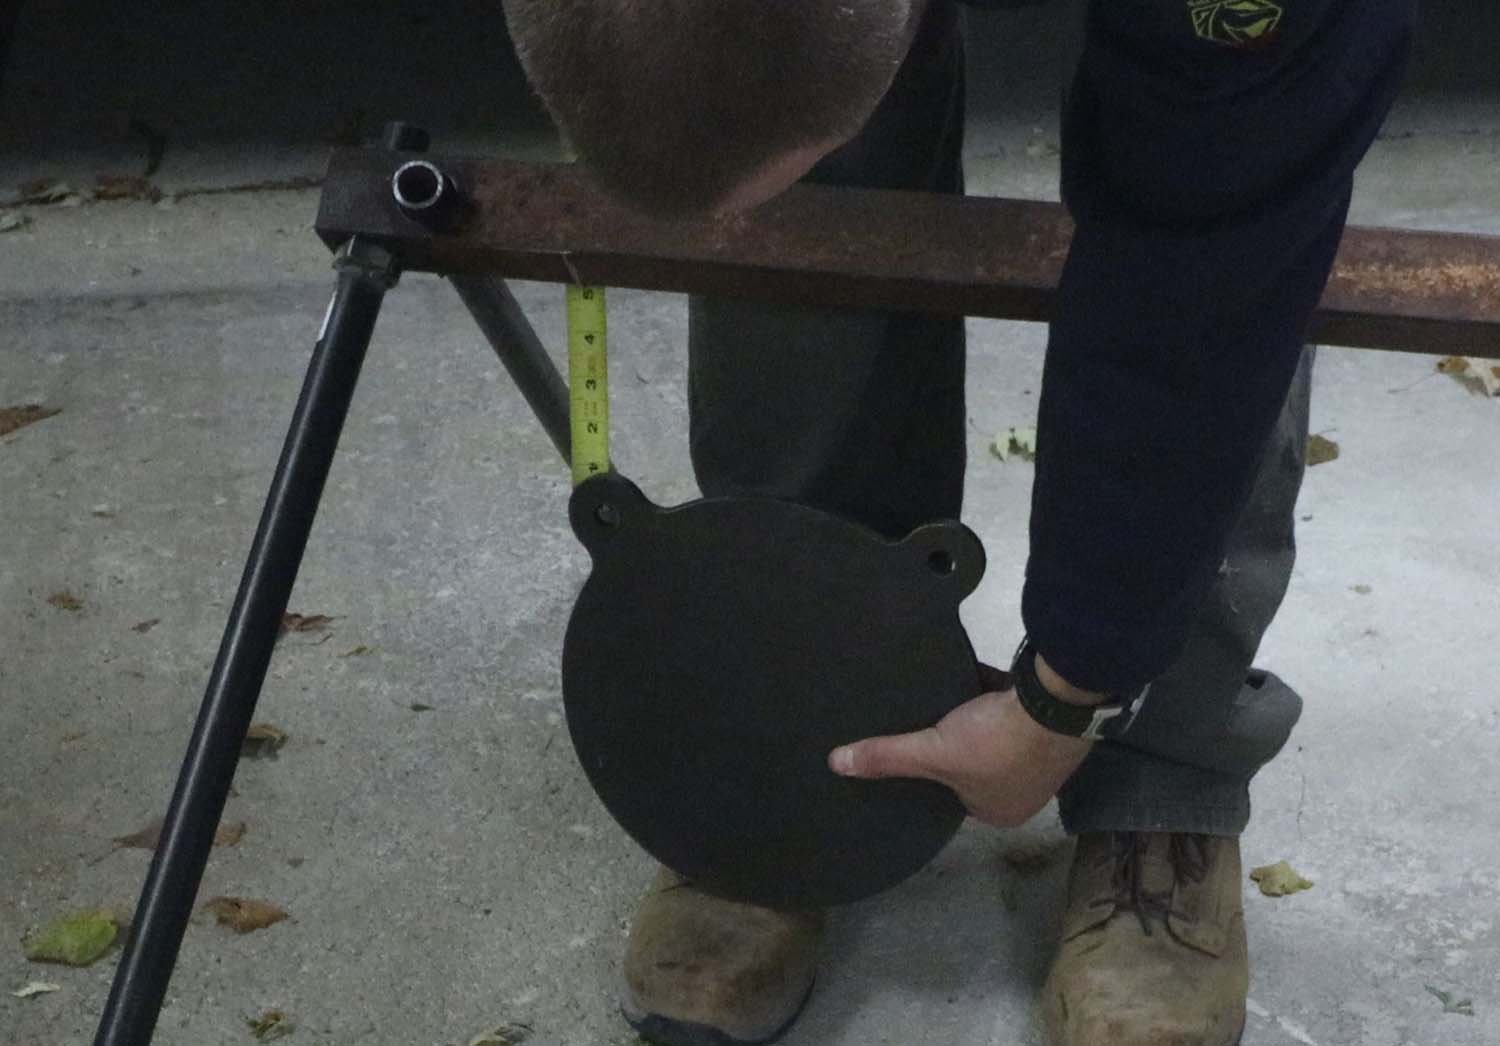
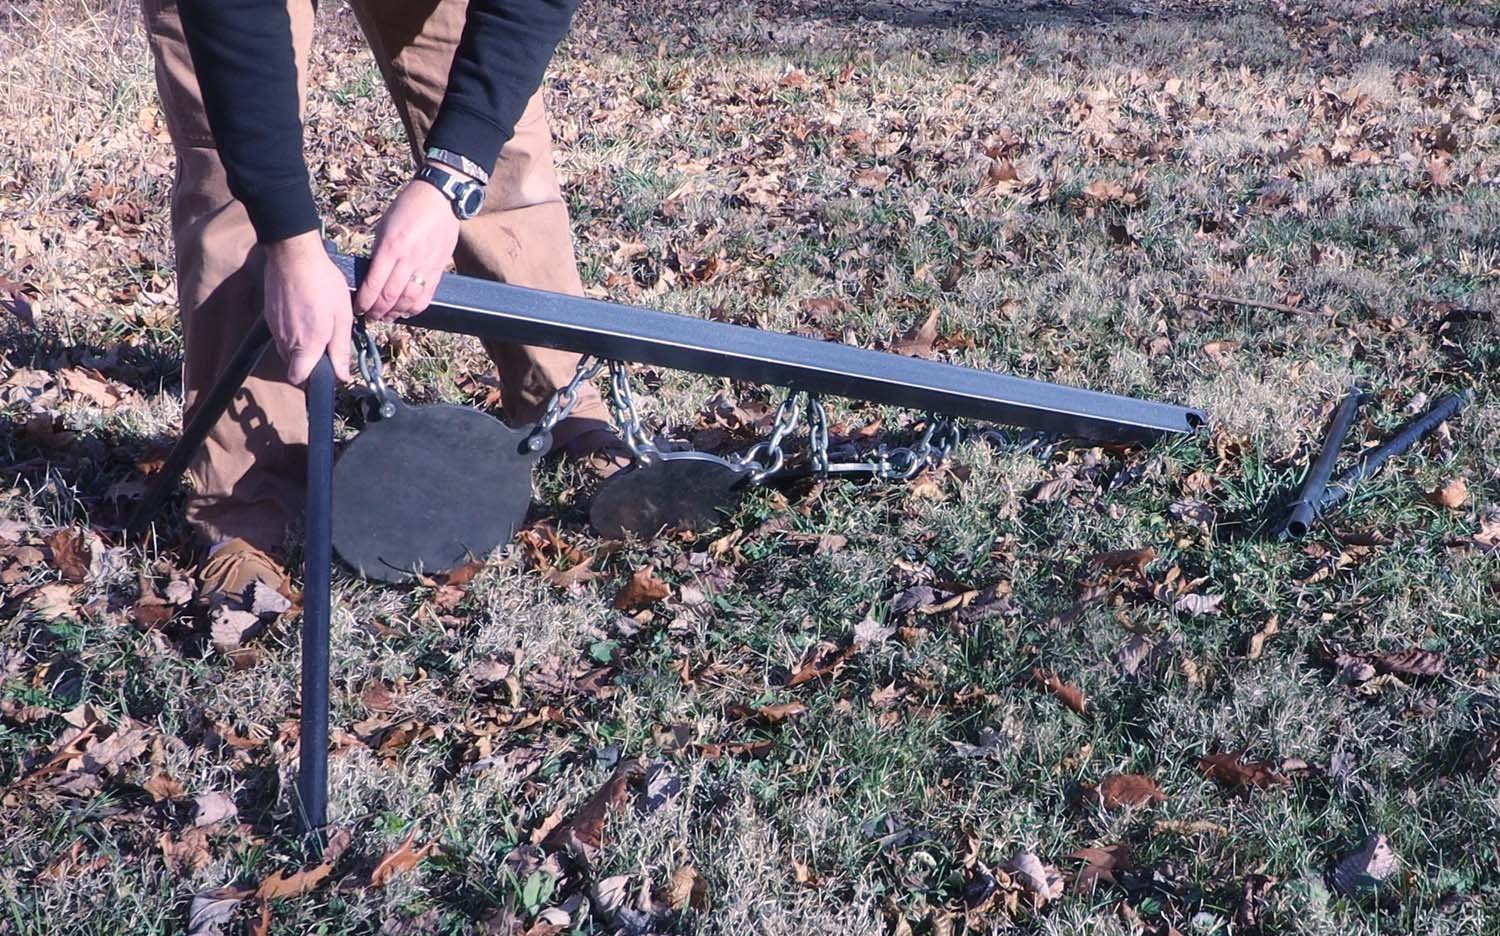
With things roughed out, I did a quick test fit to see how it all looks. Now that the legs are done, I measured to see how much chain I need for hanging the targets. Looks like 4" (100 mm) is about right.
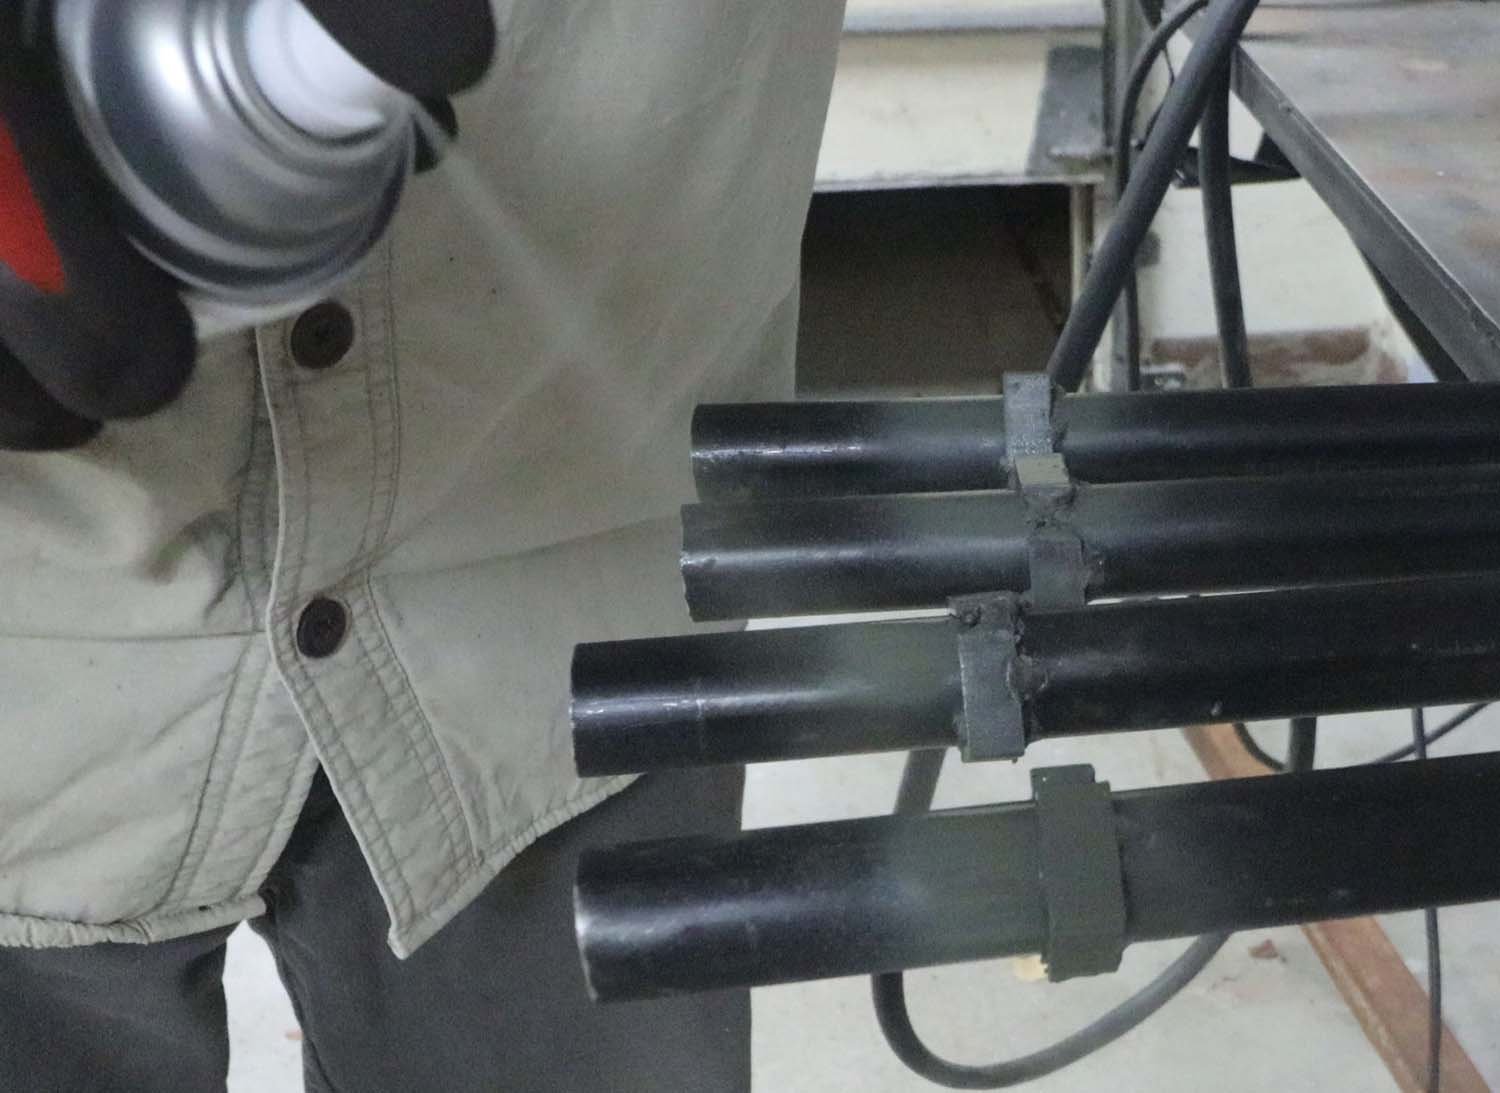
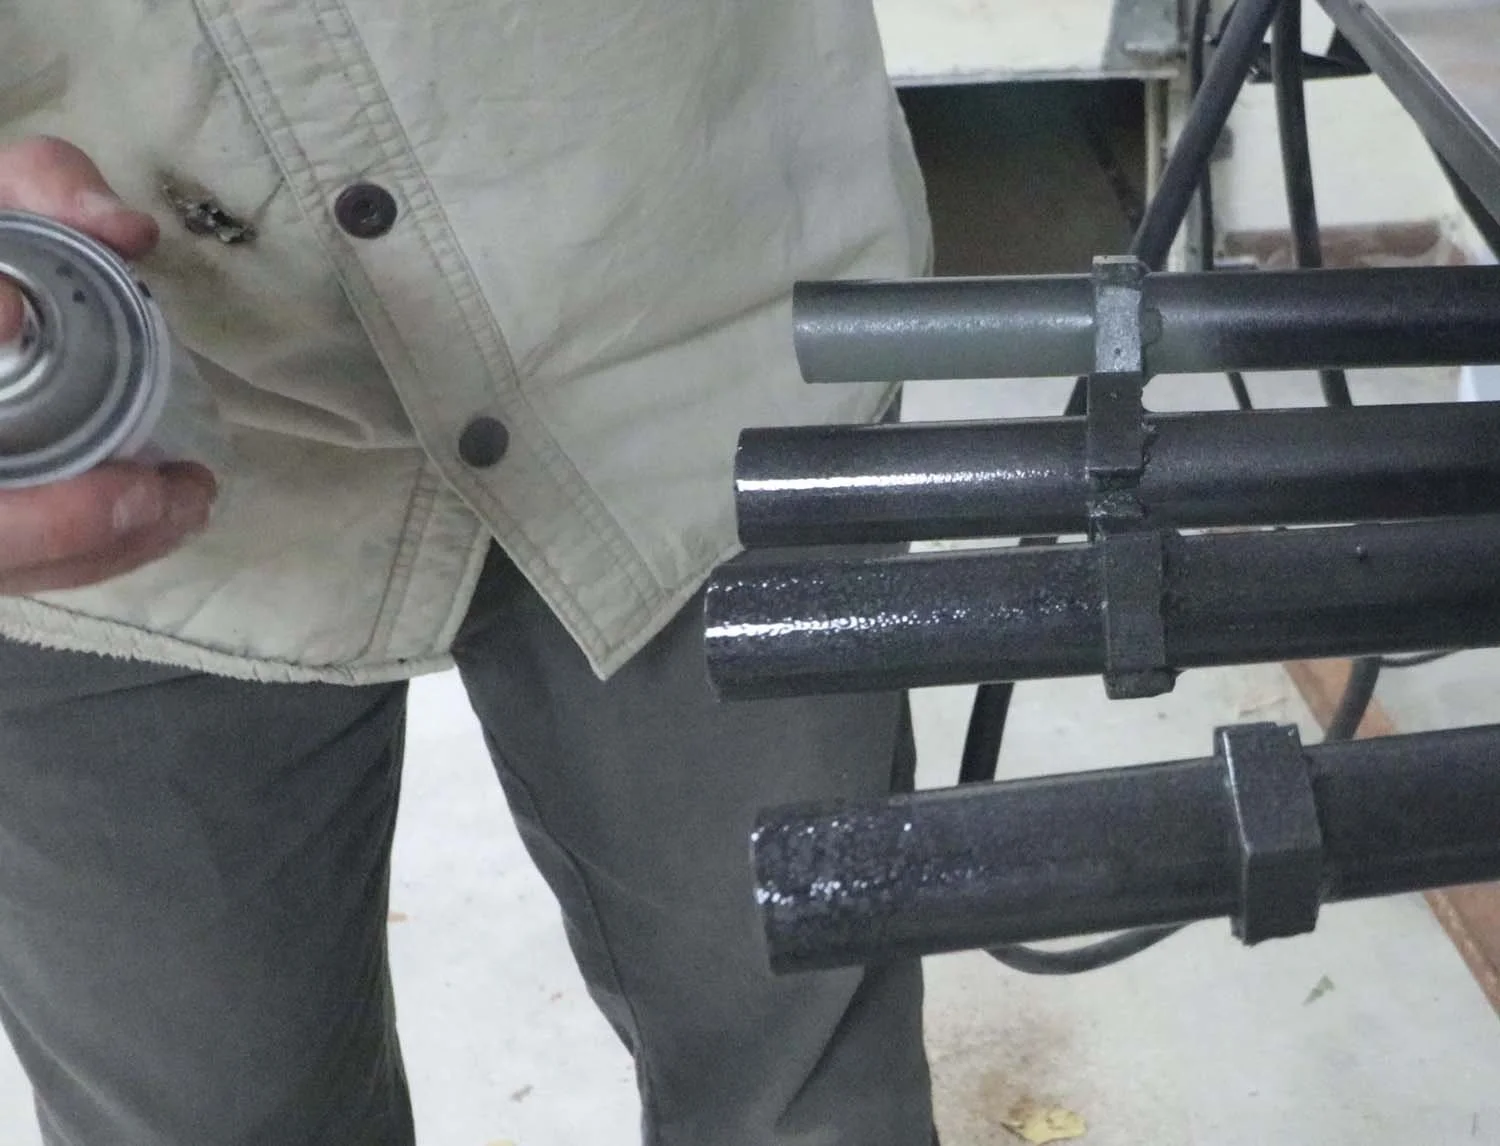
I then sprayed a coat of primer on the legs, and then followed up with a couple coats of black paint to finish.
Next, I started by cutting a couple of end caps for the square tube from a piece of 1/8" (3mm) thick bar stock I had. I tacked these on the ends of the tube, and then followed up with welds all around. After welding, I ground the welds smooth.
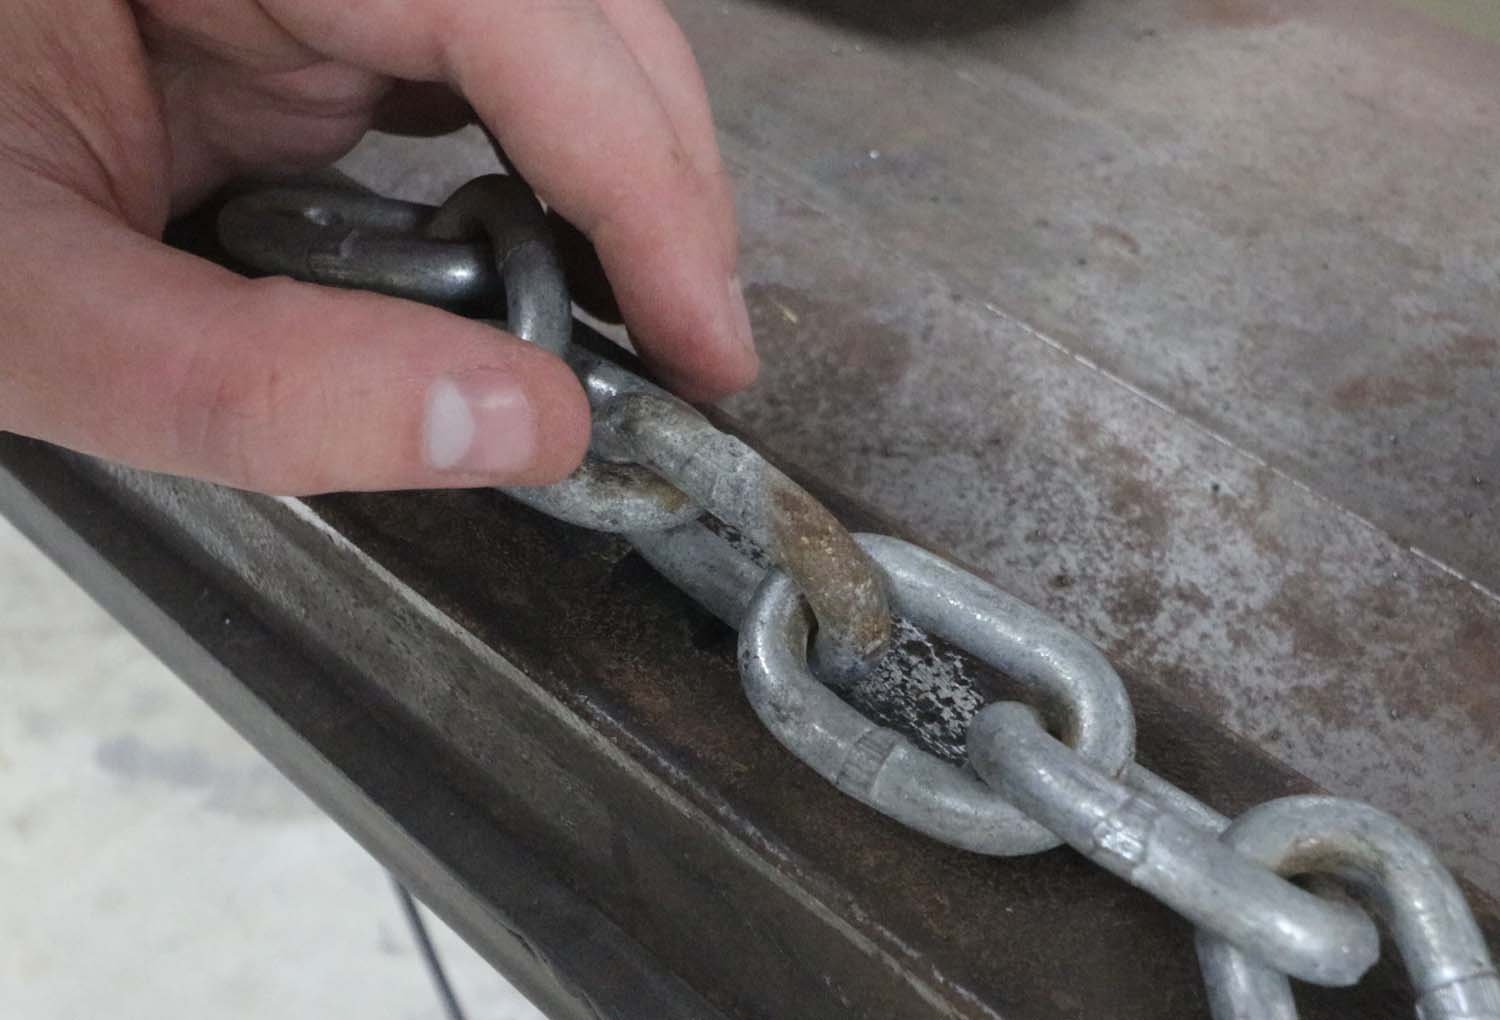
For hanging the targets, I used some chain that I've had sitting around for a few years, cutting it to length with a cutoff wheel. A set of bolt cutters might have been quicker, but I don't actually own any.

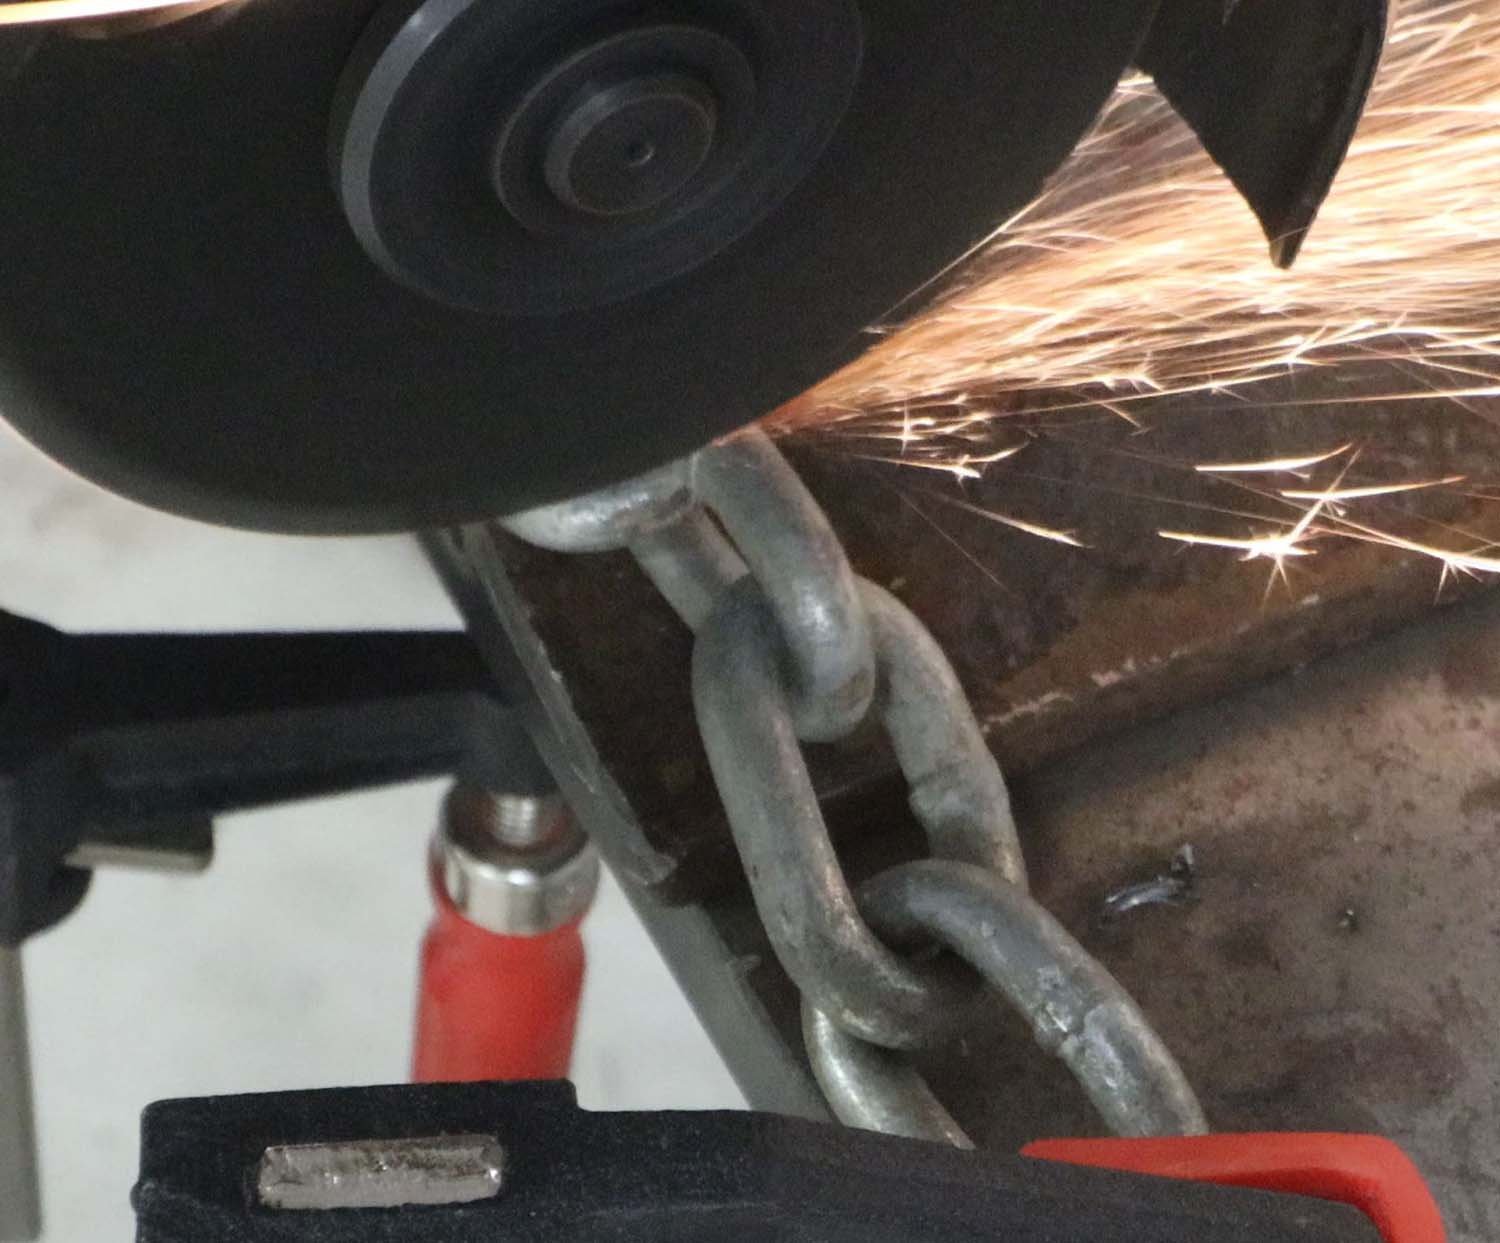
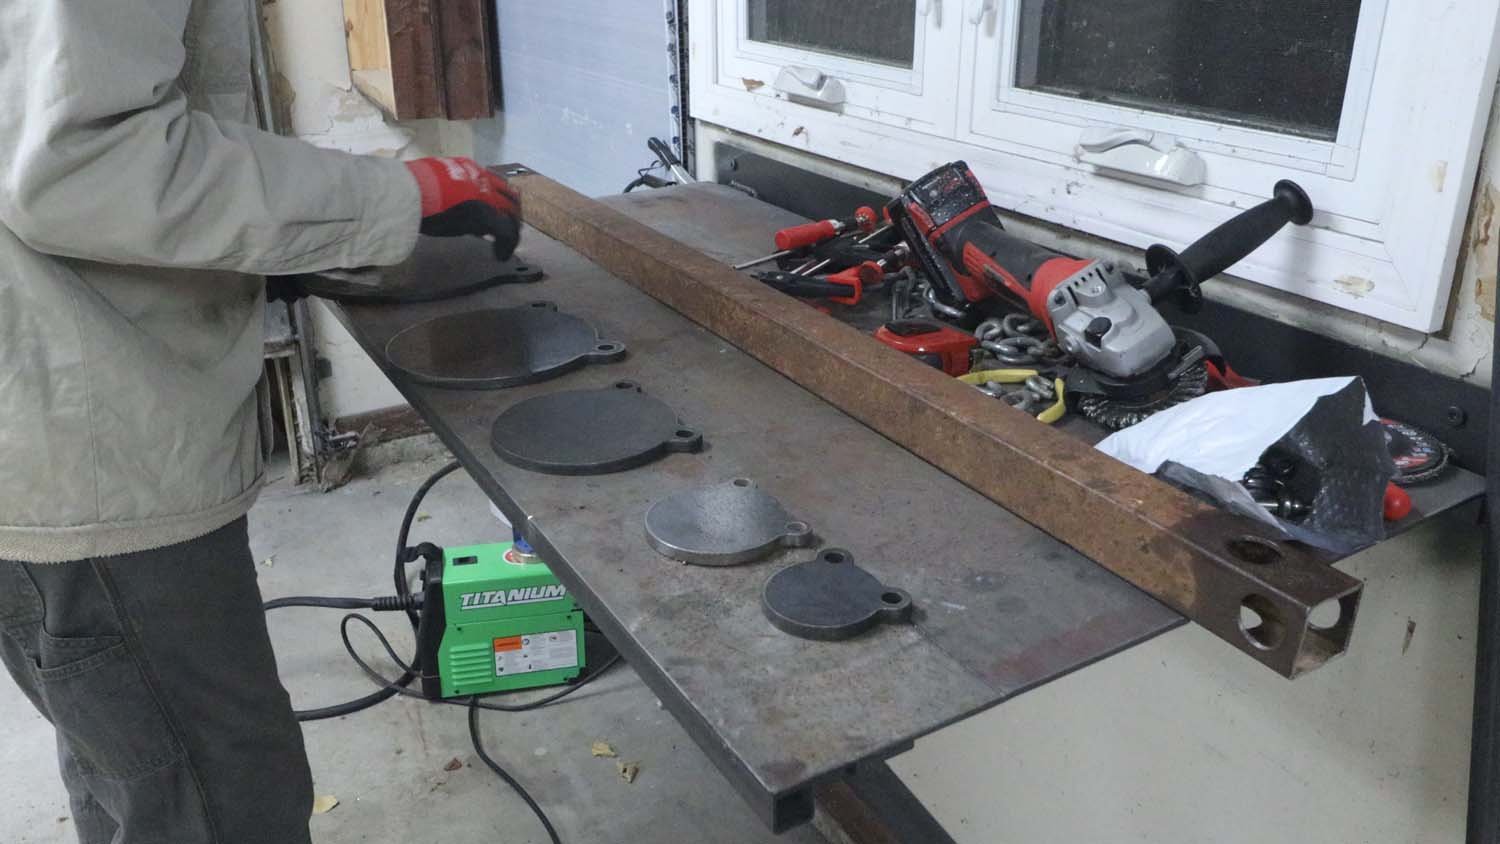
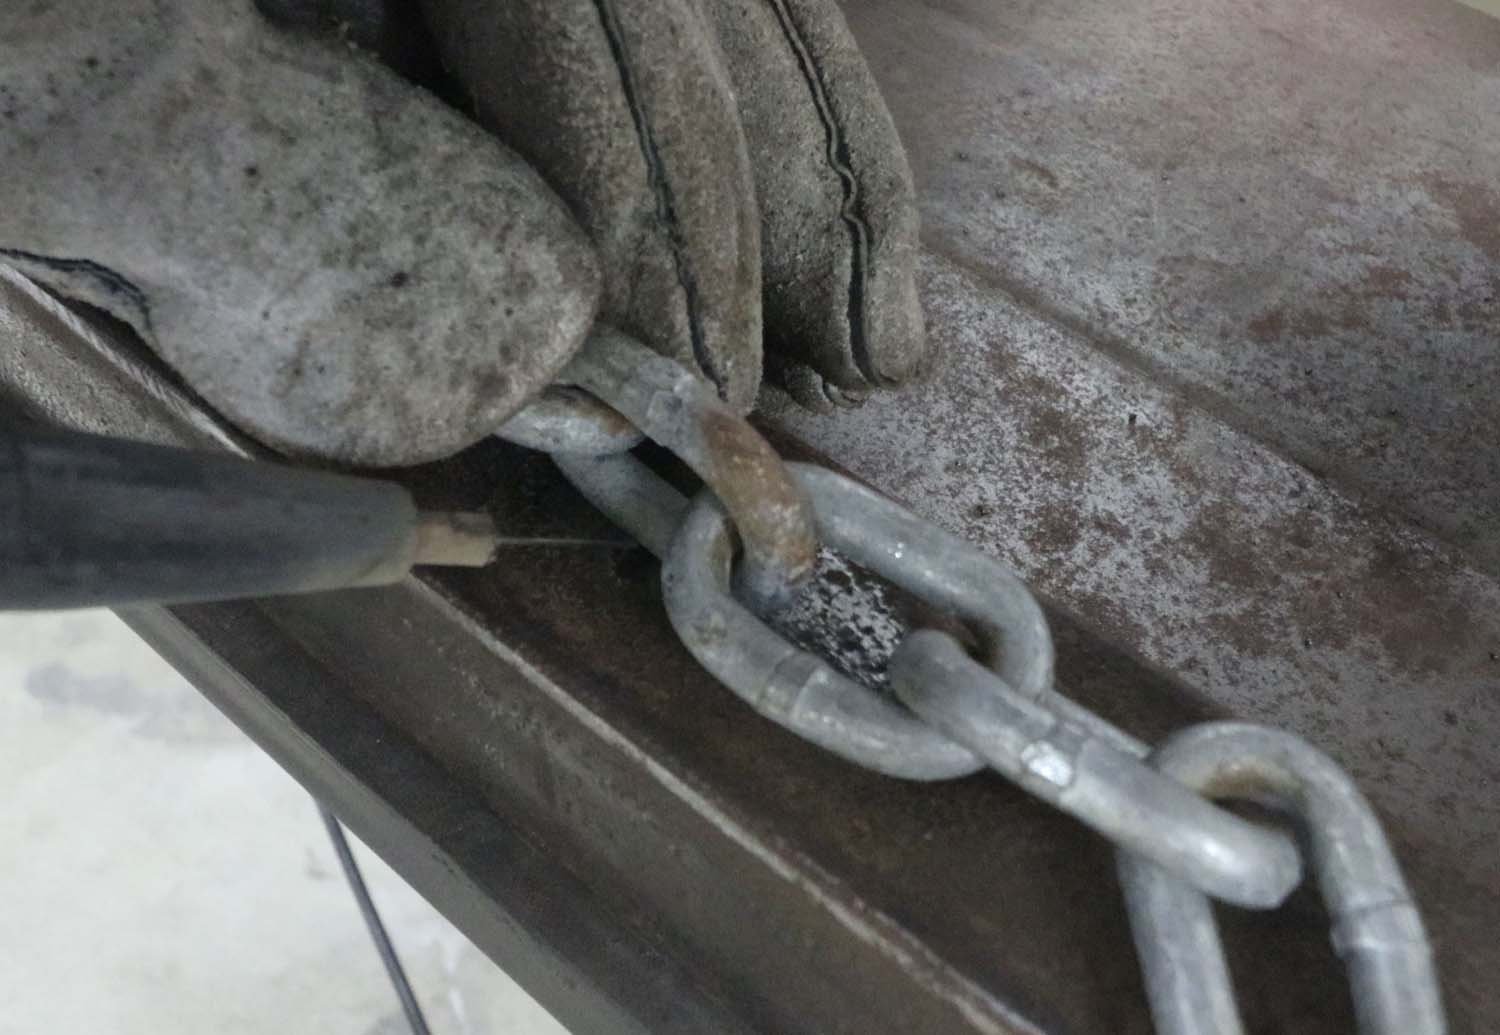
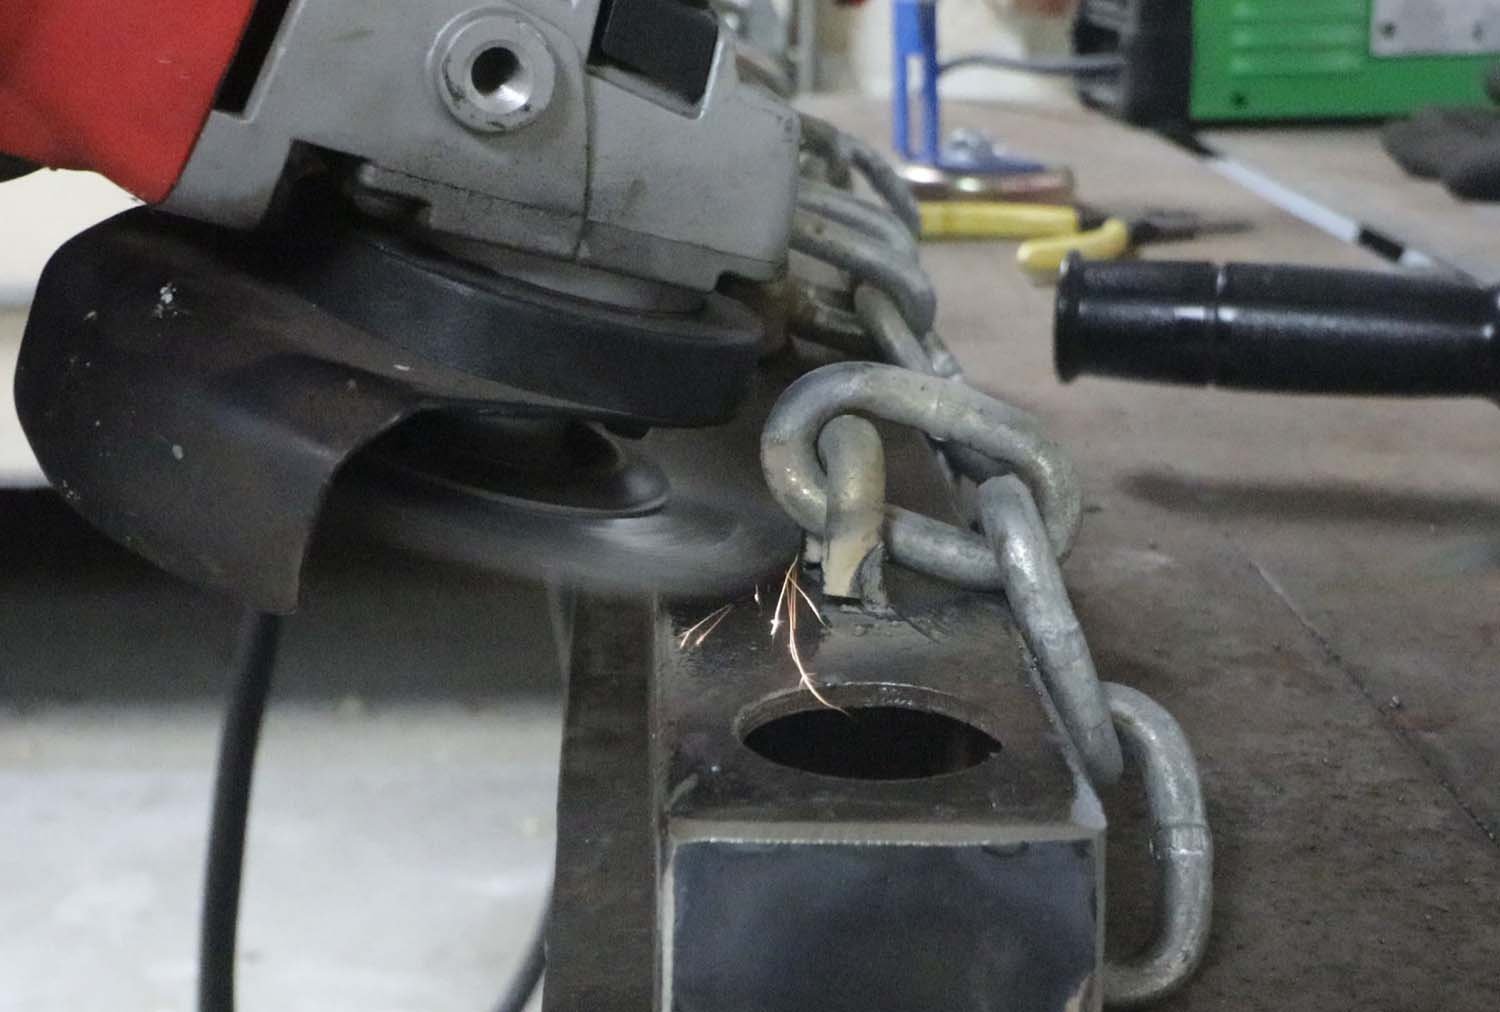
With the chain cut, I laid out the targets on the tube steel and spaced things out evenly. Then I marked for the locations where the chain would be attached to the tube, and proceeded to clean everything up with a flap disk and wire wheel to remove the rust.
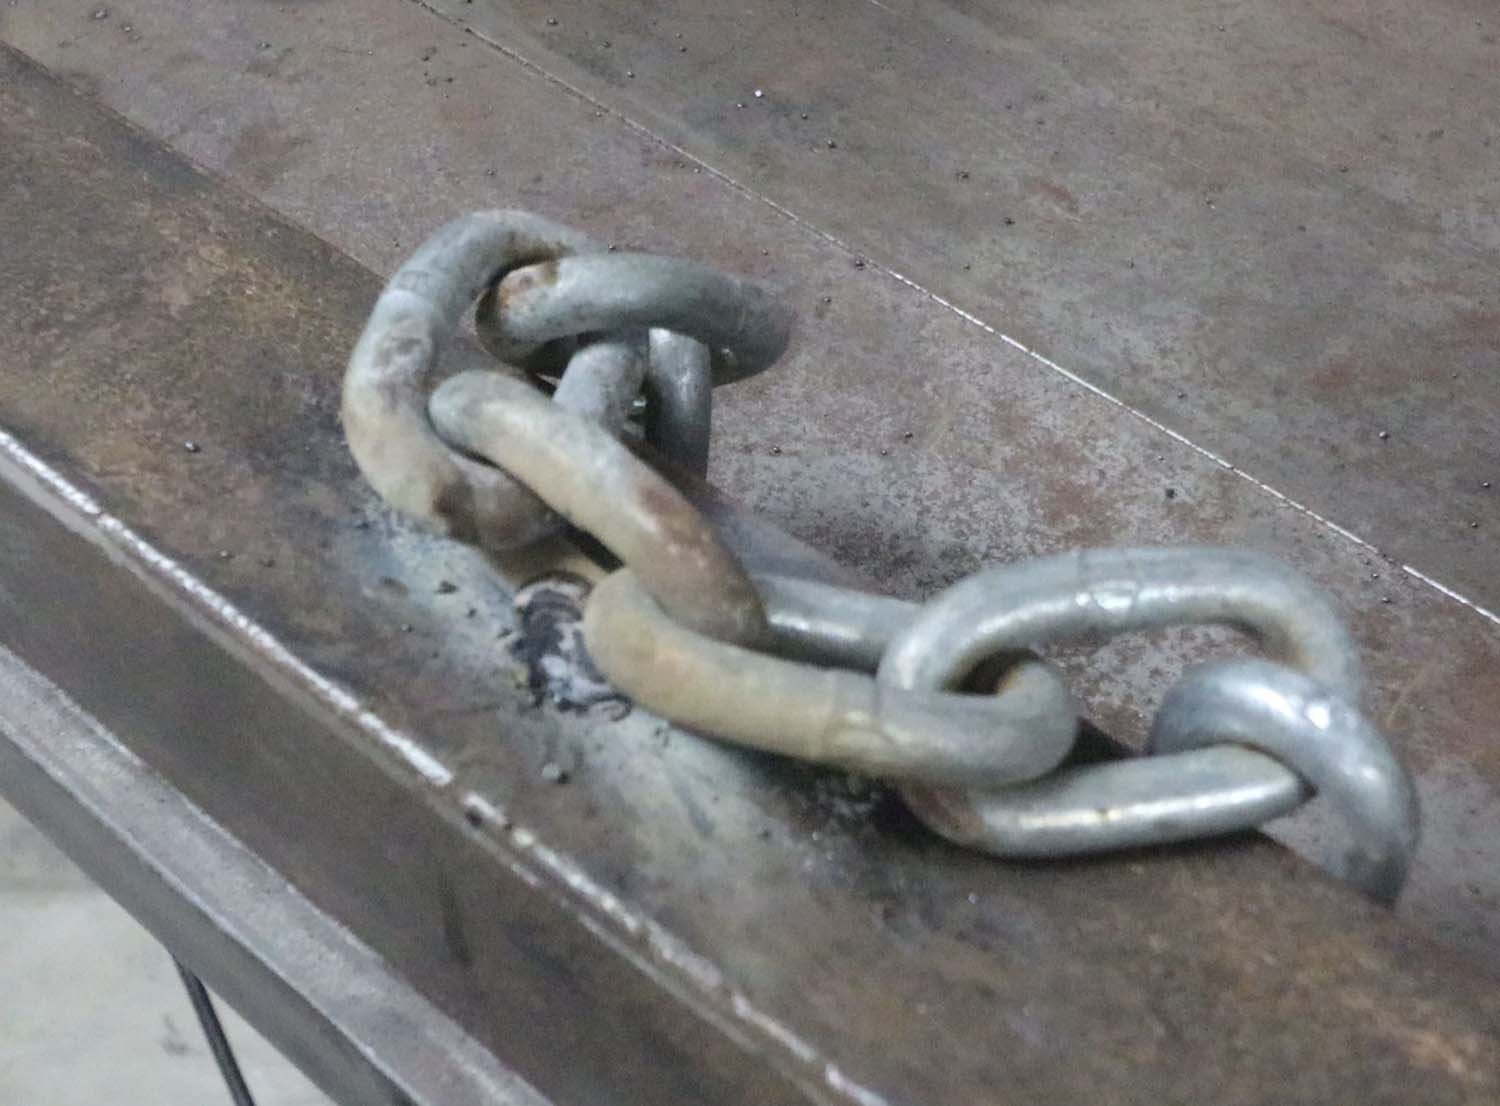
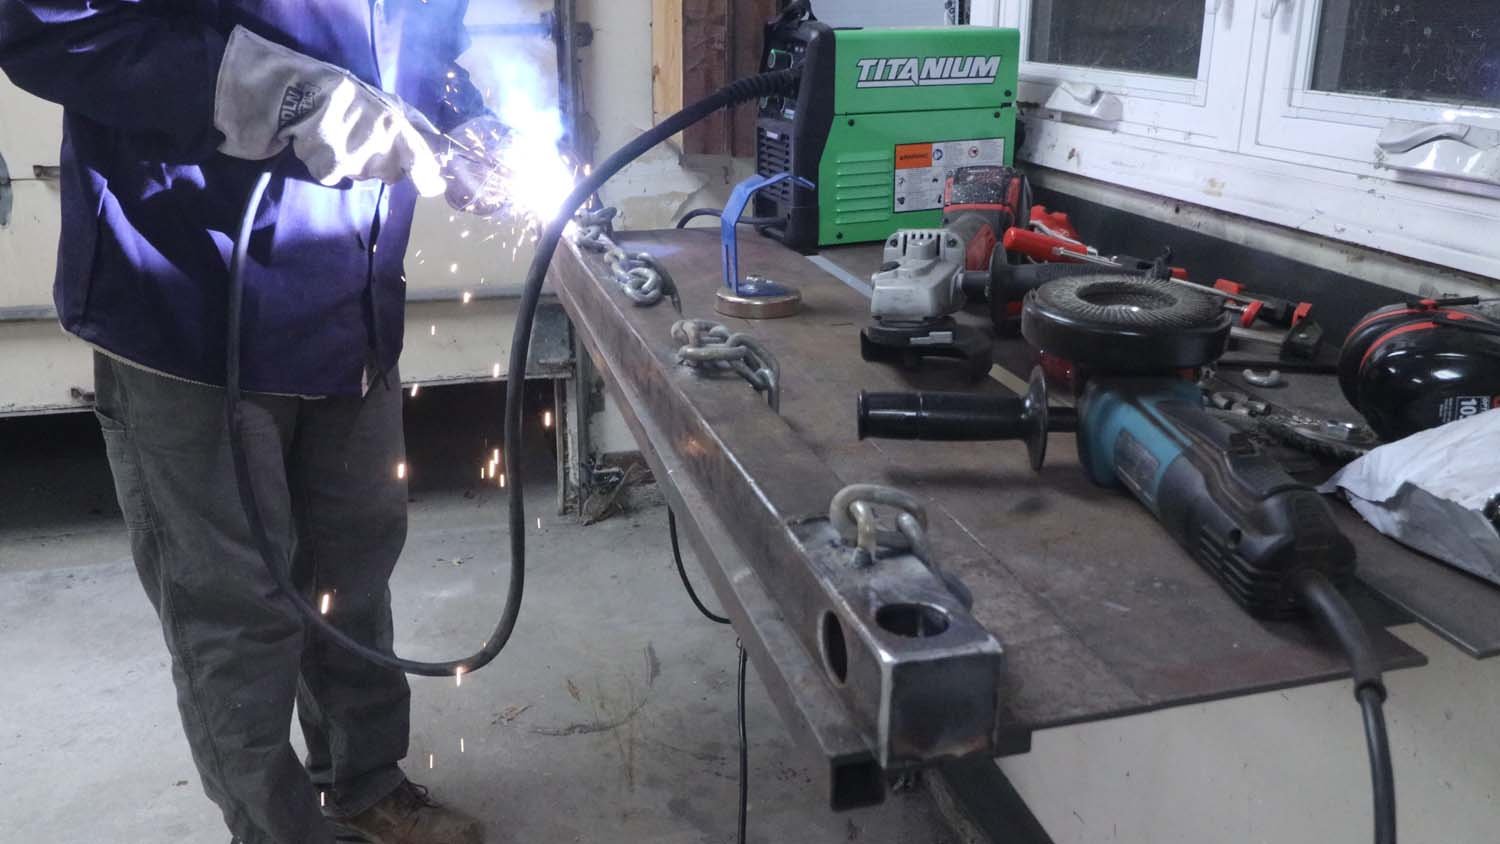
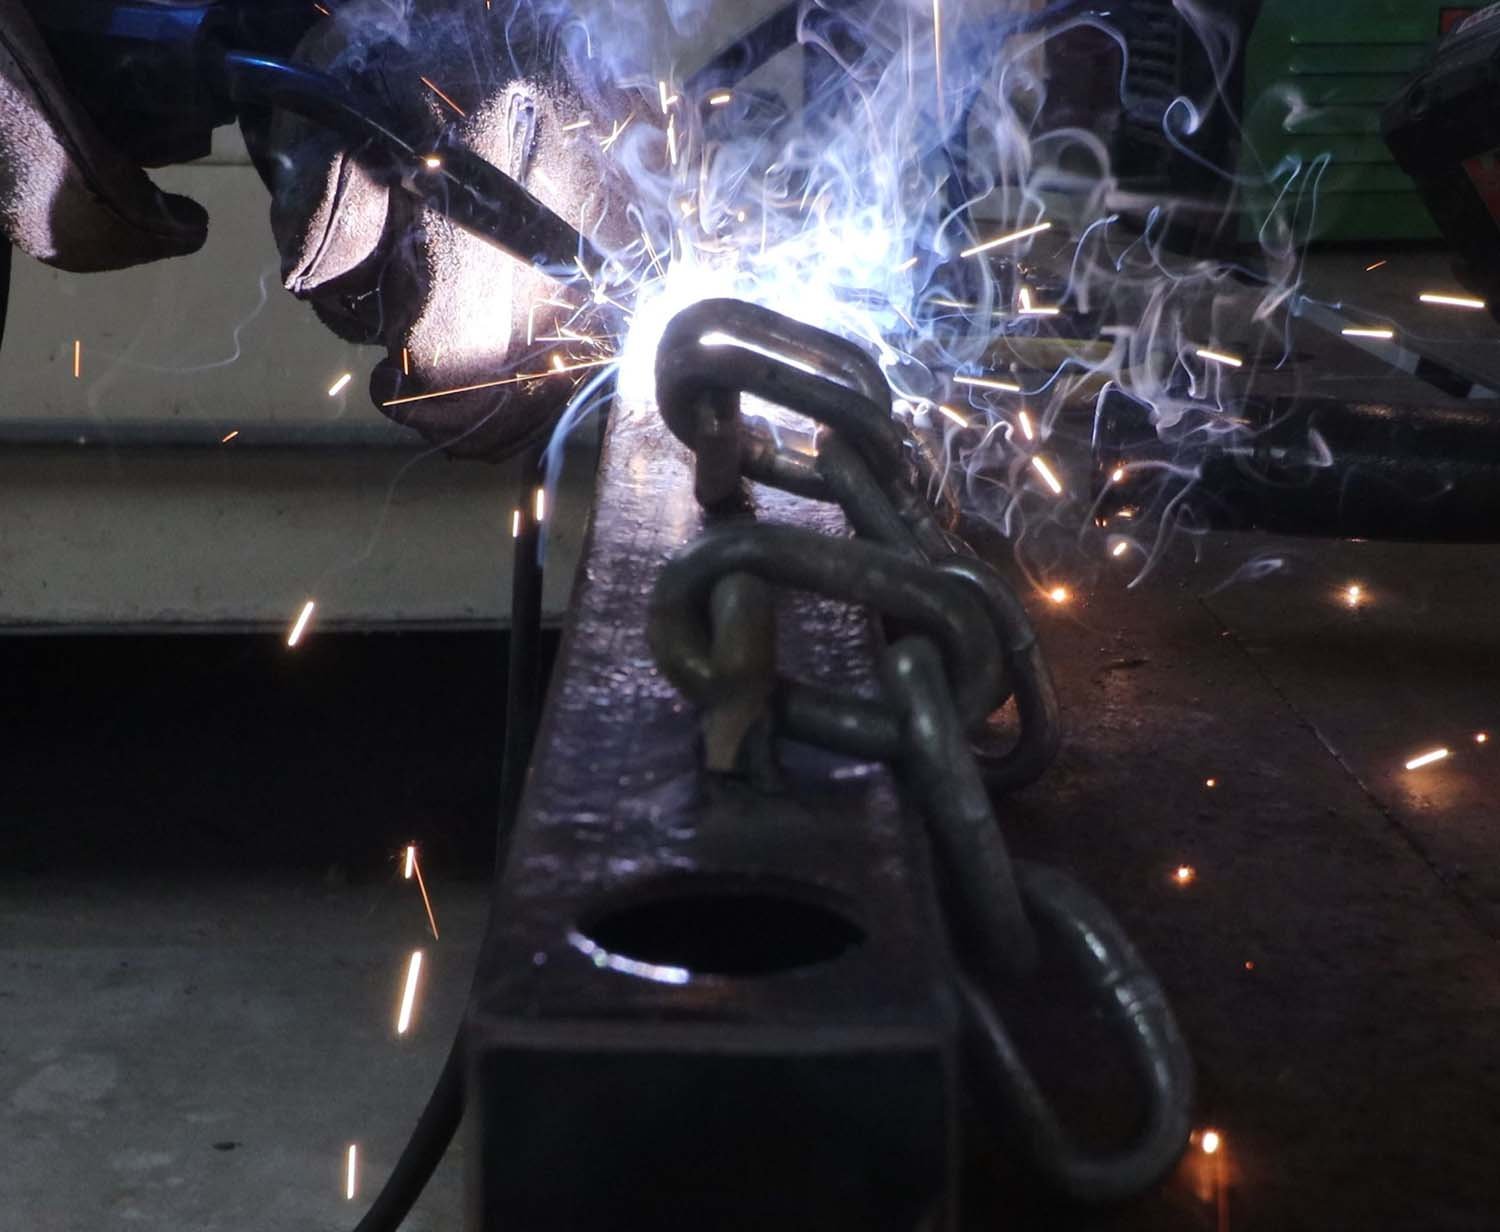
After that, I welded the chains to the tube.
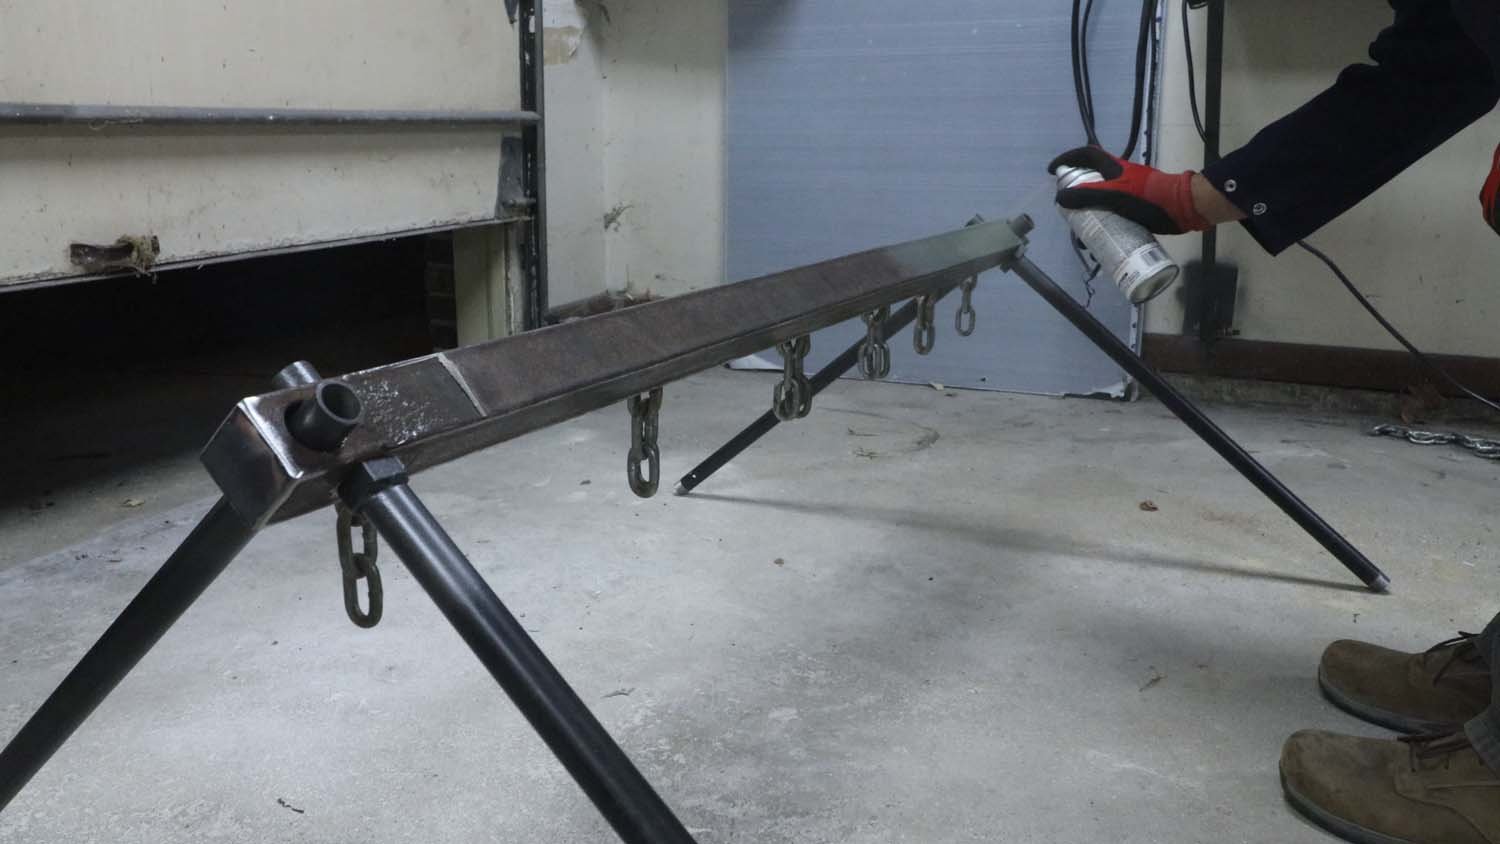
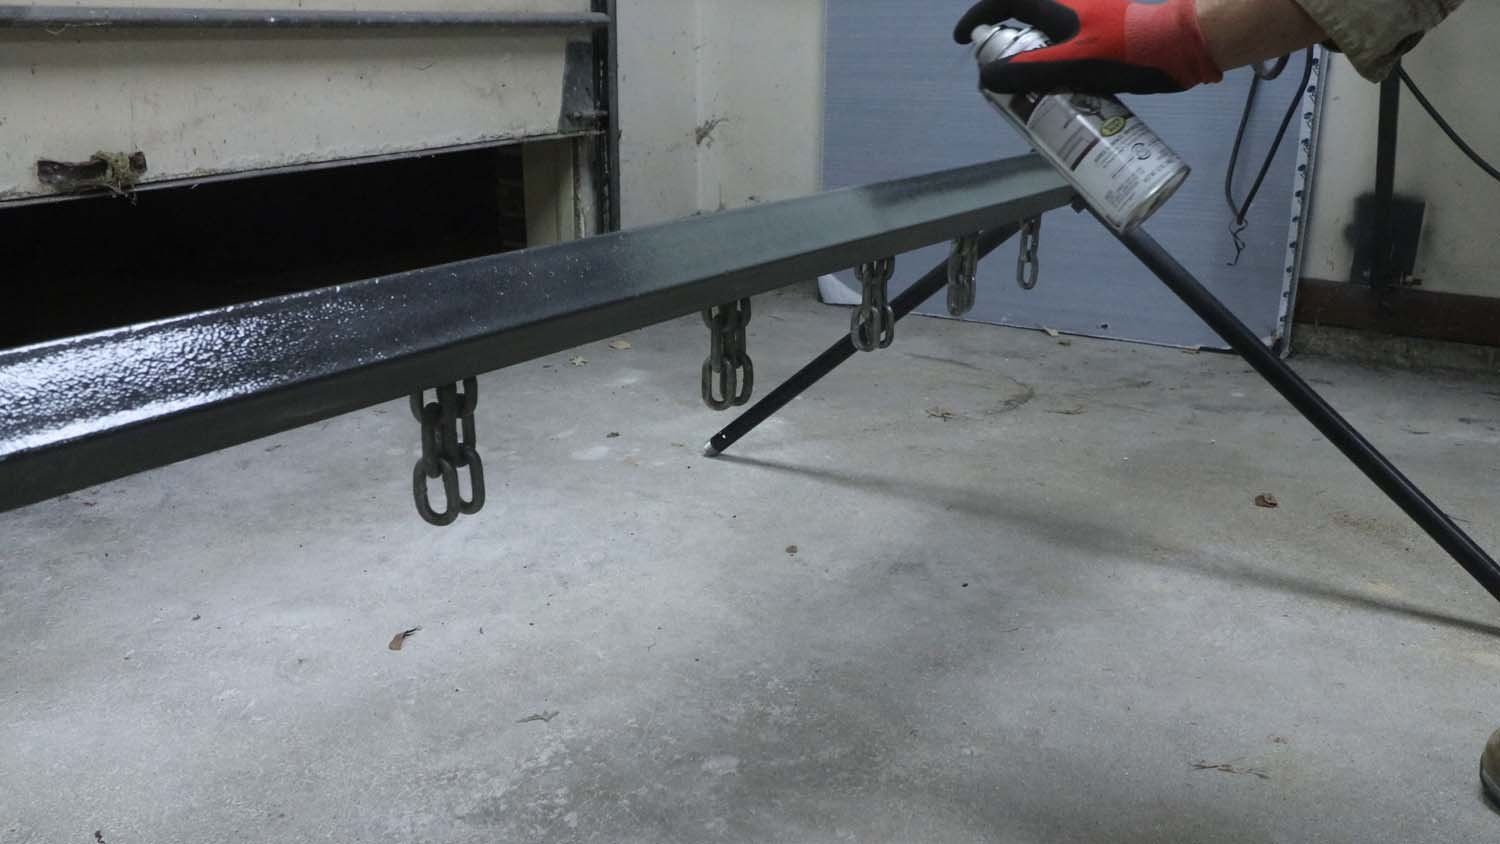
The chains were the last bit of welding I had to do, so after a final cleaning and degreasing, I applied a couple coats each of primer and black paint.
To attach the targets to the chains, I'm using some bolted-pin shackles. These will make it easy to change out the targets if I ever need to, not that I expect that to be necessary.
With everything all finished, all that's left to do is test it out. I brought this up with me when I went deer hunting this year, and gave it a go on the last day of the season before I left.
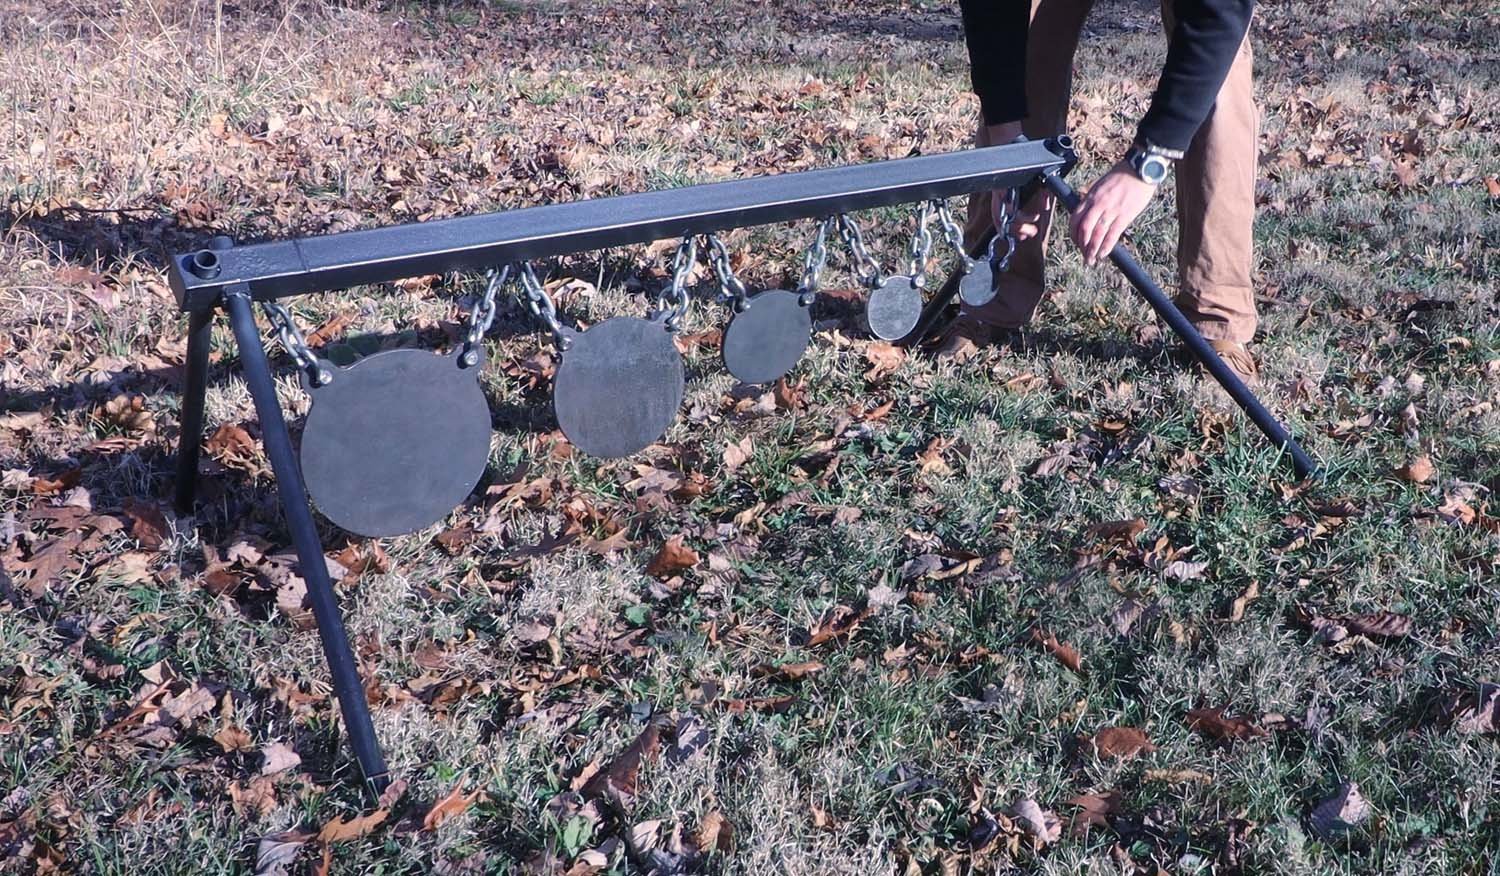

I'm looking forward to using this for many years to come. I hope you enjoyed this article, and thanks for following along.
If you enjoyed this article, subscribe to my YouTube channel for more!
—————————————————————————————
Below is a listing of the supplies you will need. I have supplied Amazon Affiliate links to the products I used. As an Amazon Associate I earn from qualifying purchases.