
Head-to-Head/Battle Hook and Ring Game
In this Instructable I'll be making a head-to-head hook and ring game, which is a popular bar game around us. This is a simple project that can be made with some leftovers from the end of a project. It's a fun game to play when you're out at your local biergarten, or heck, even just in the back yard on a nice day.
For this project, I used some nice black walnut that I have in my lumber rack, but anything will suffice. I have sized the pieces for this to use regular construction lumber, if you're looking for a really inexpensive option.
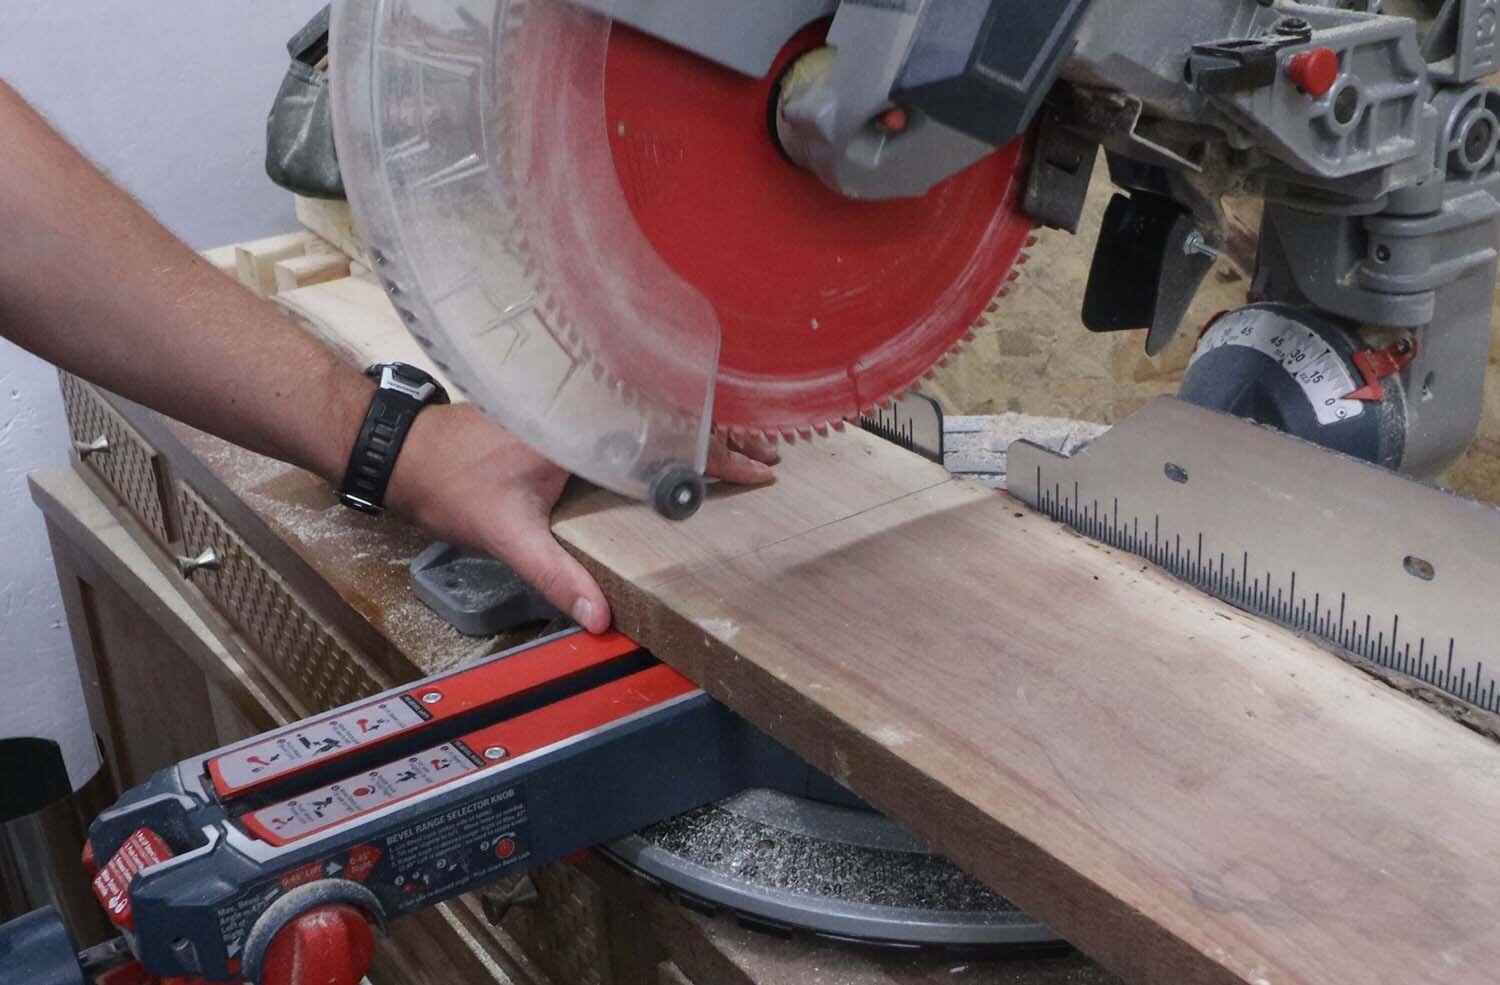
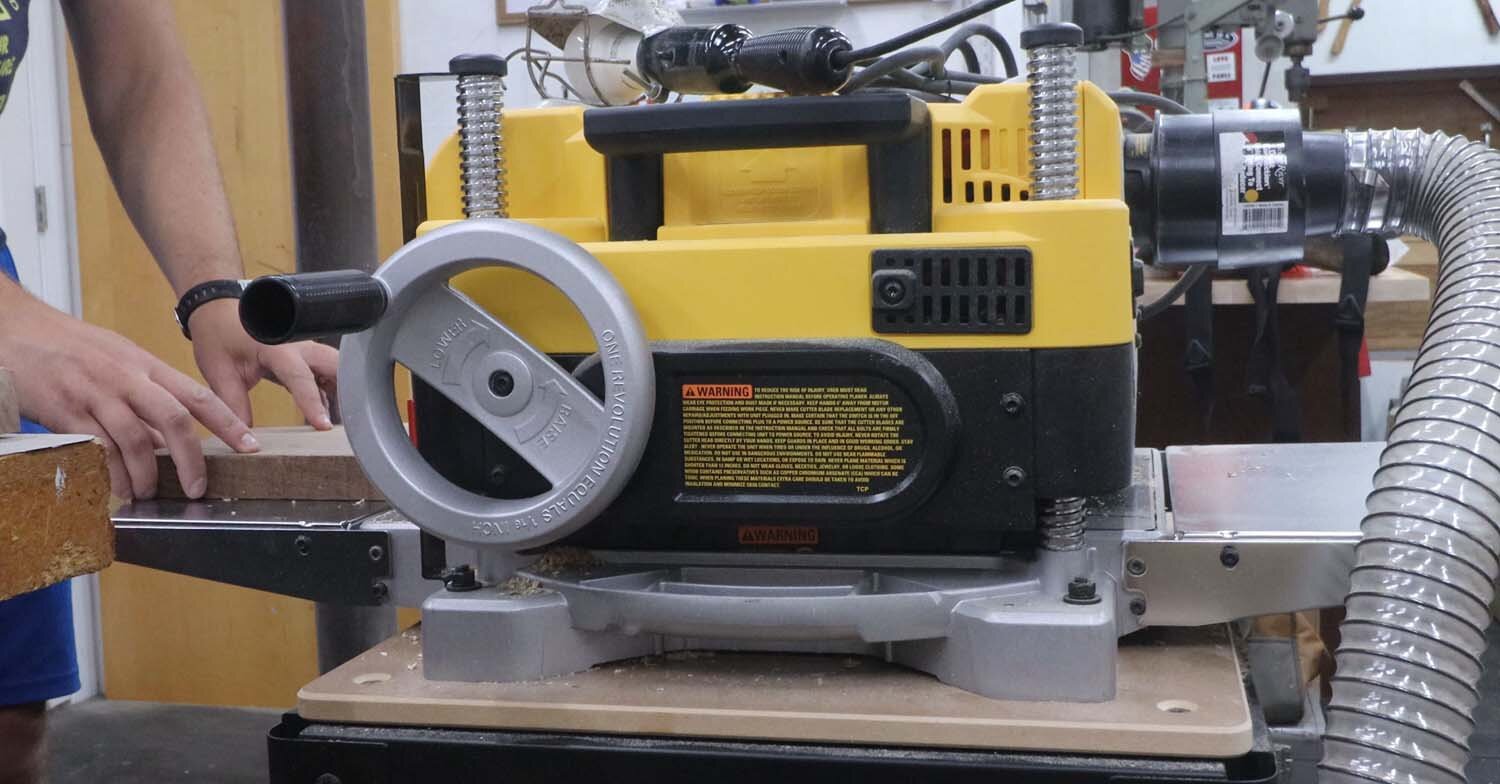
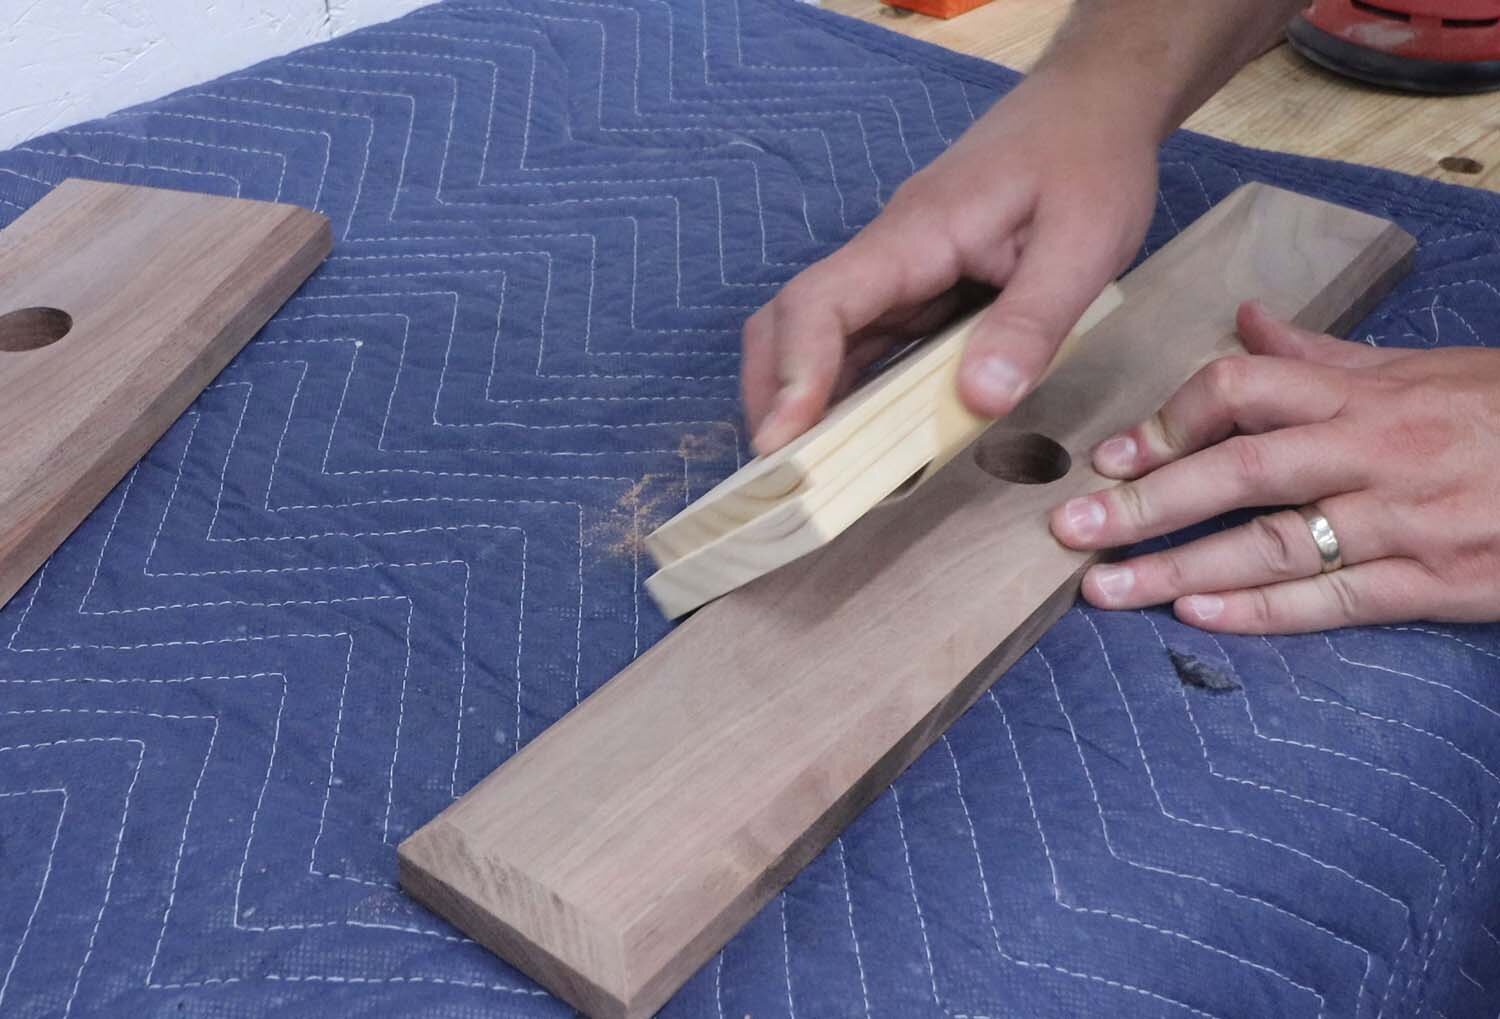
Stock preparation follows the steps you're probably familiar with if you're a woodworker. Cut the pieces to rough length, joint one edge and one face, plane to thickness, saw to width, and cut to final length. The dowel just needs to be cut to the correct length. The sizes of the different pieces are given at the bottom of this article.
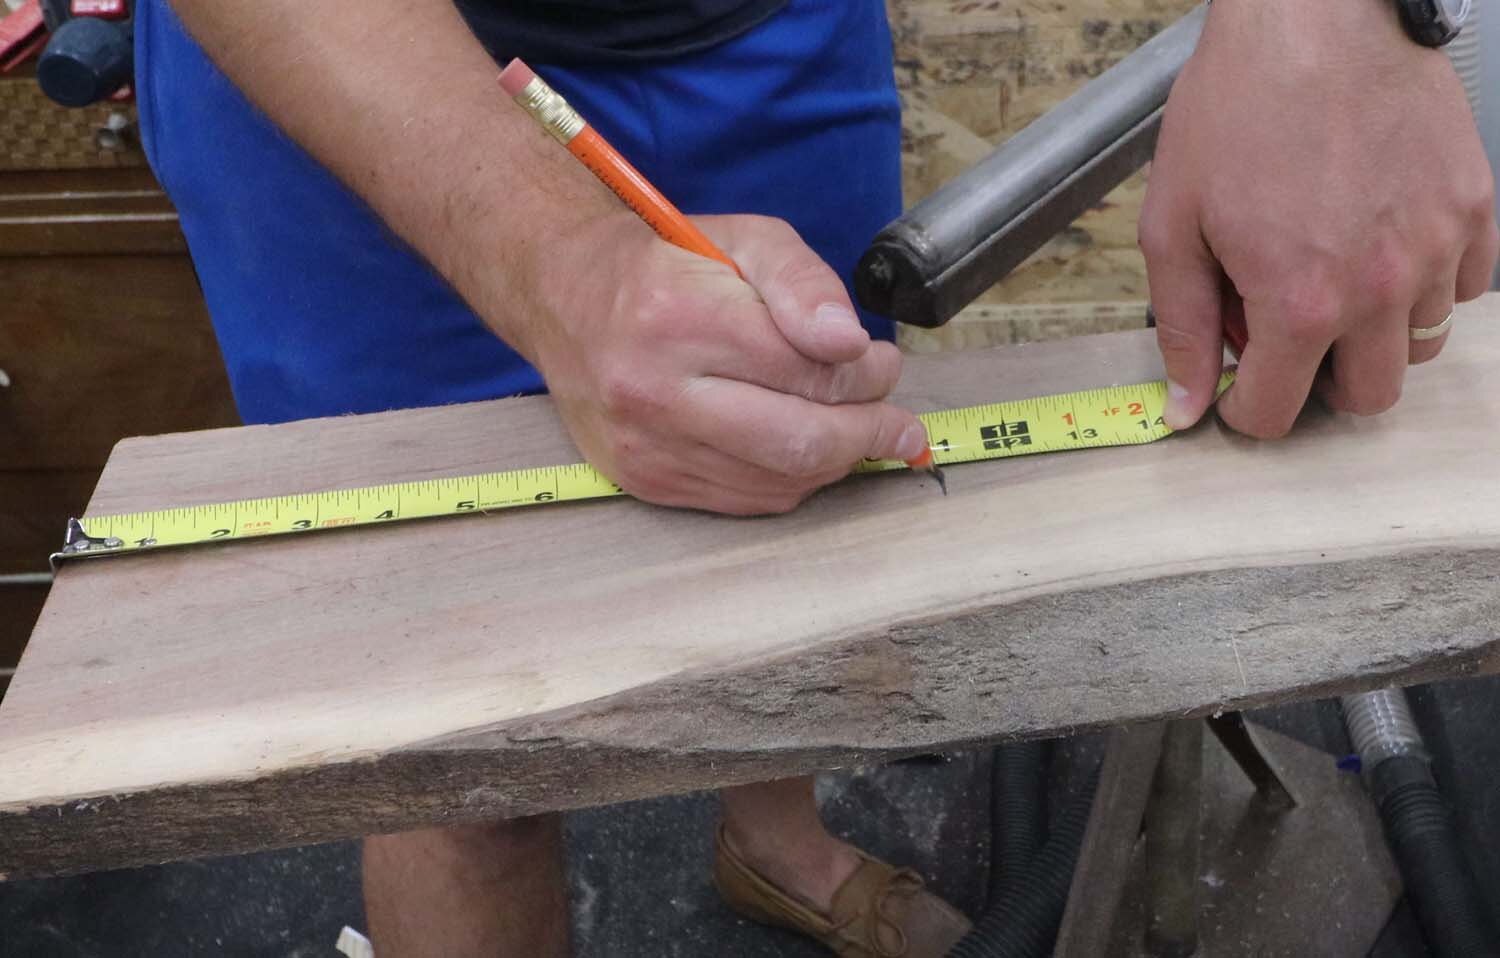
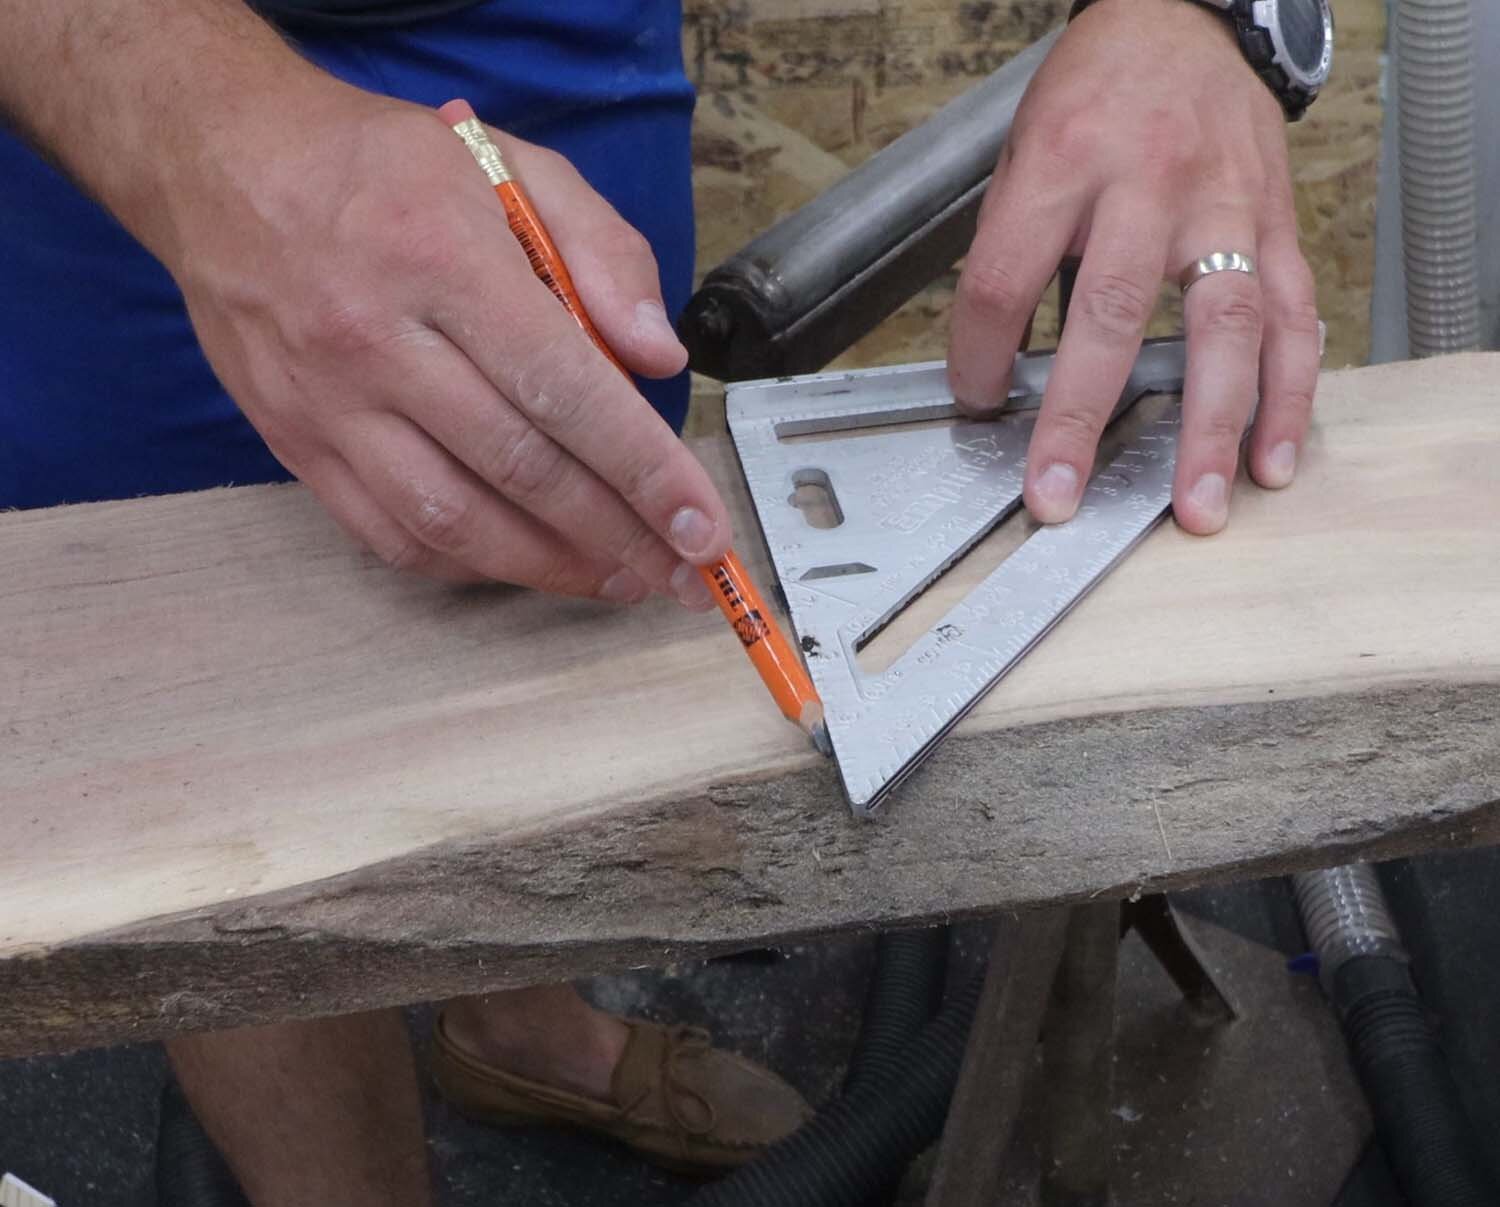
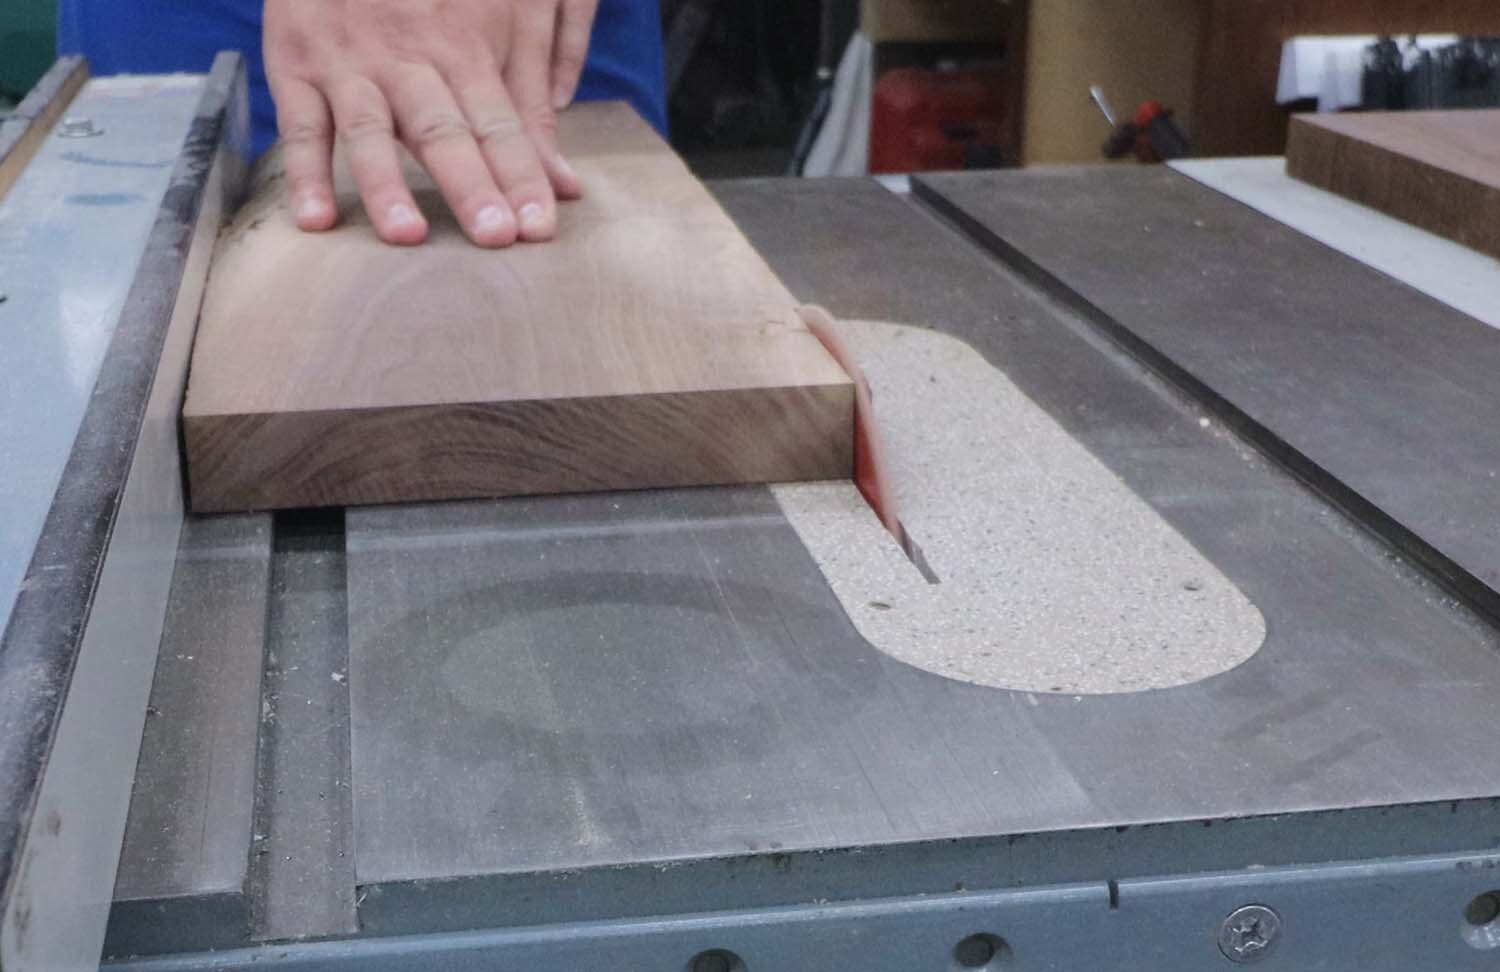
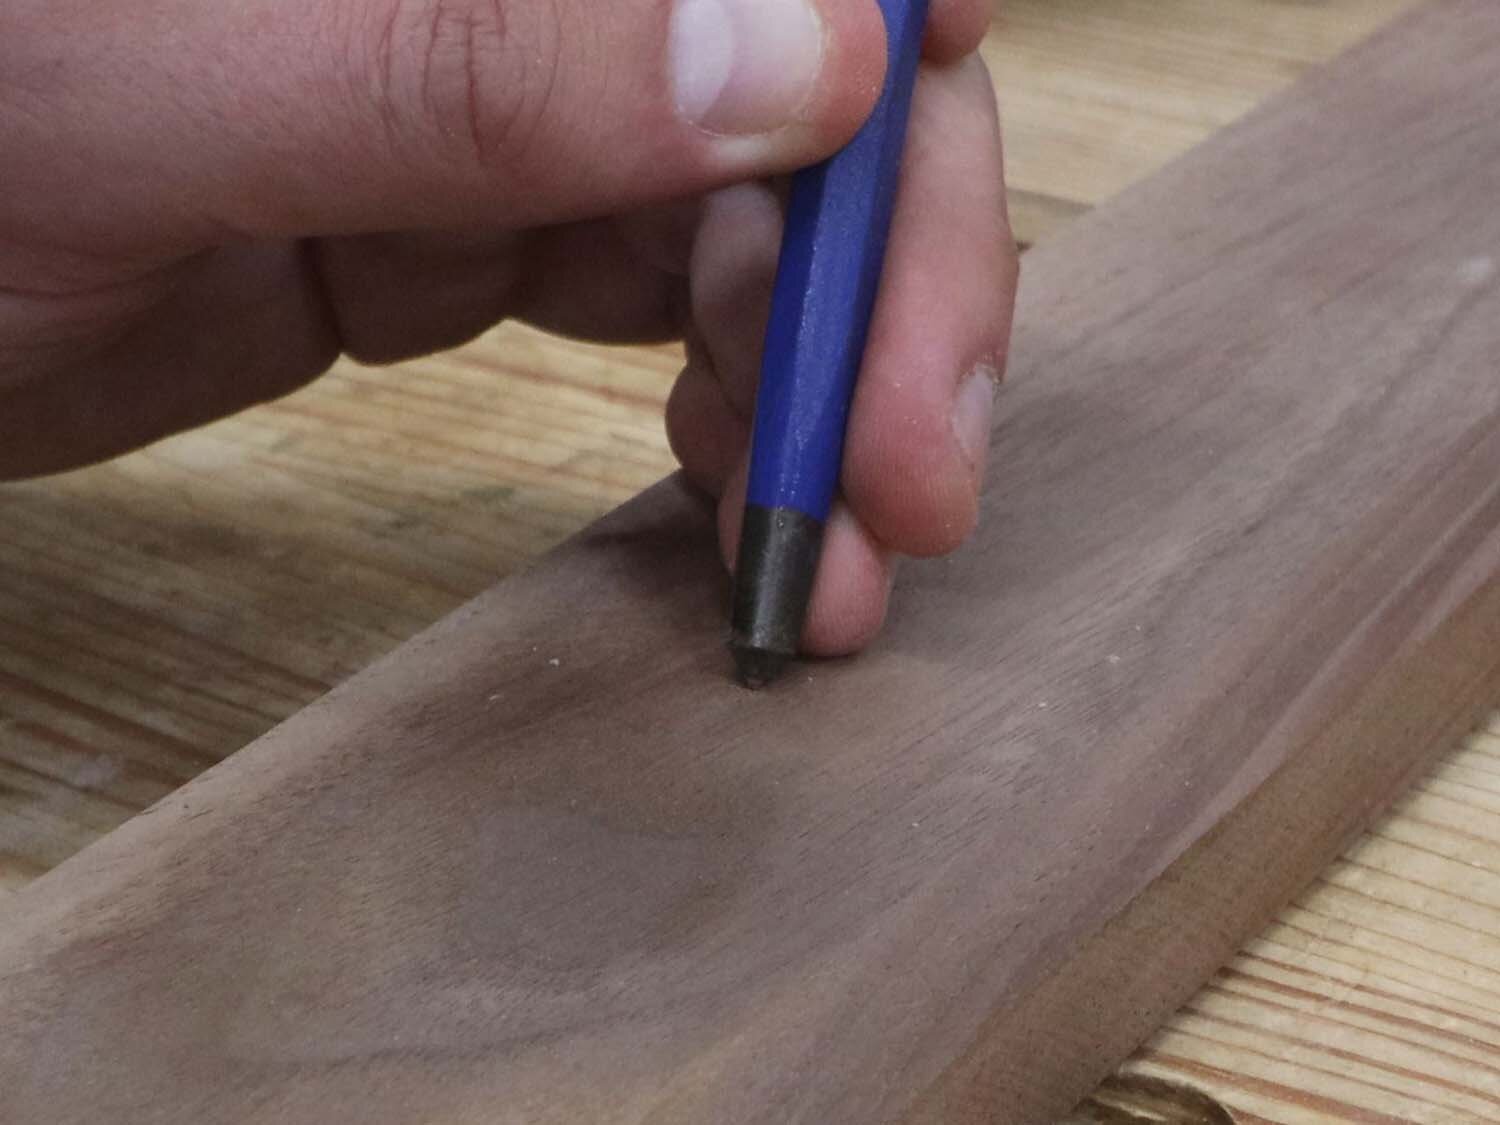
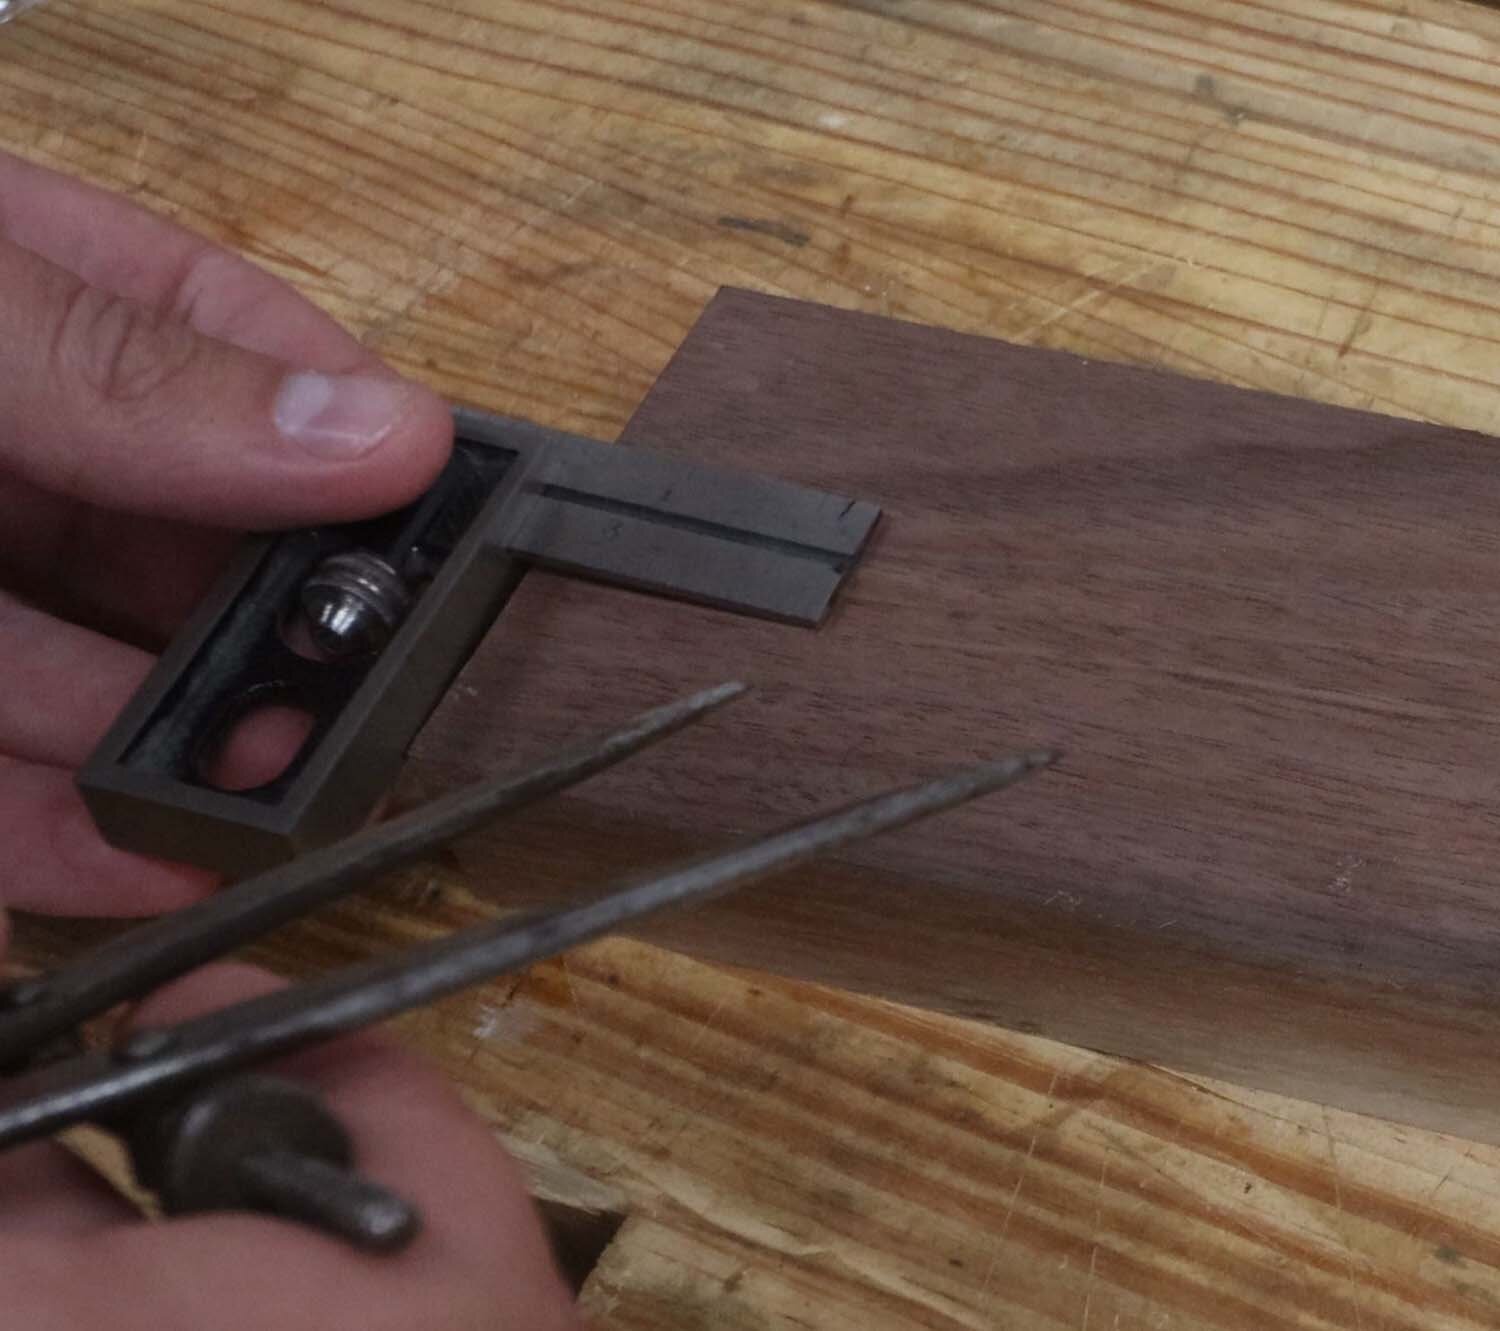
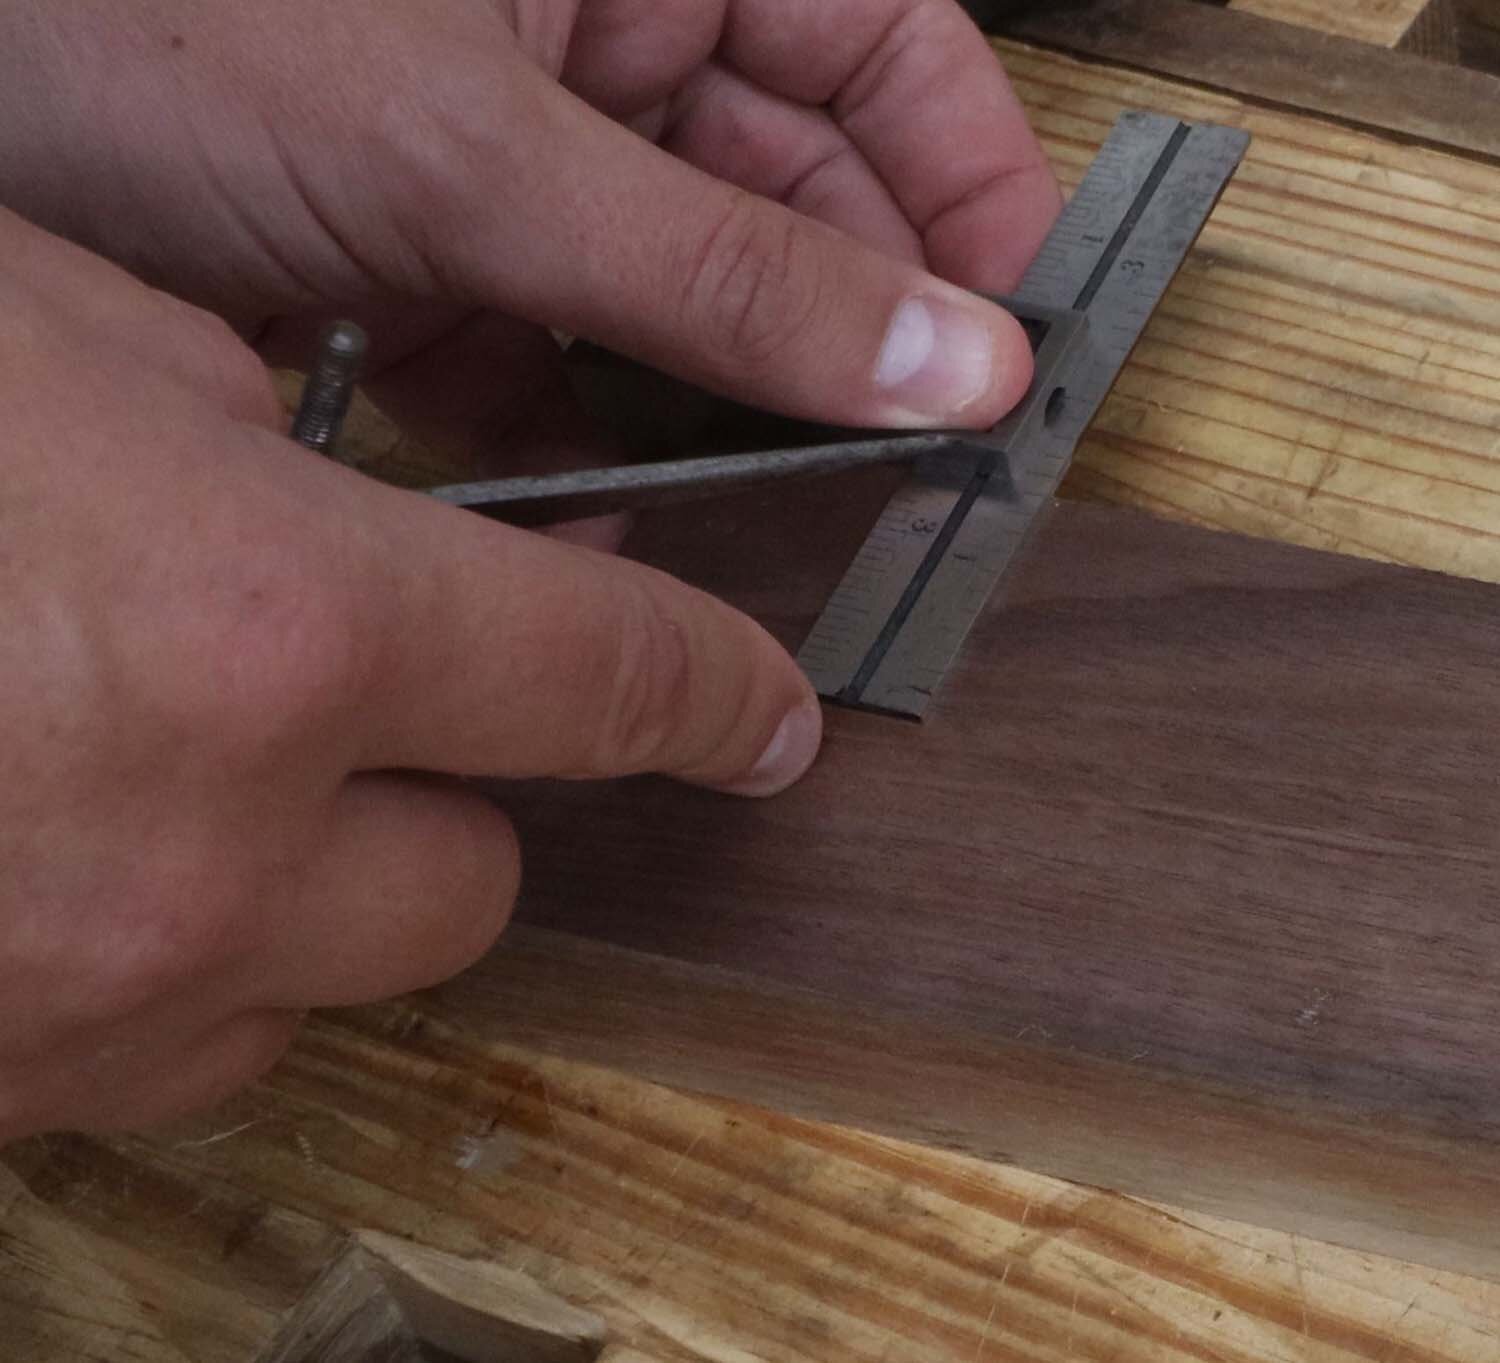
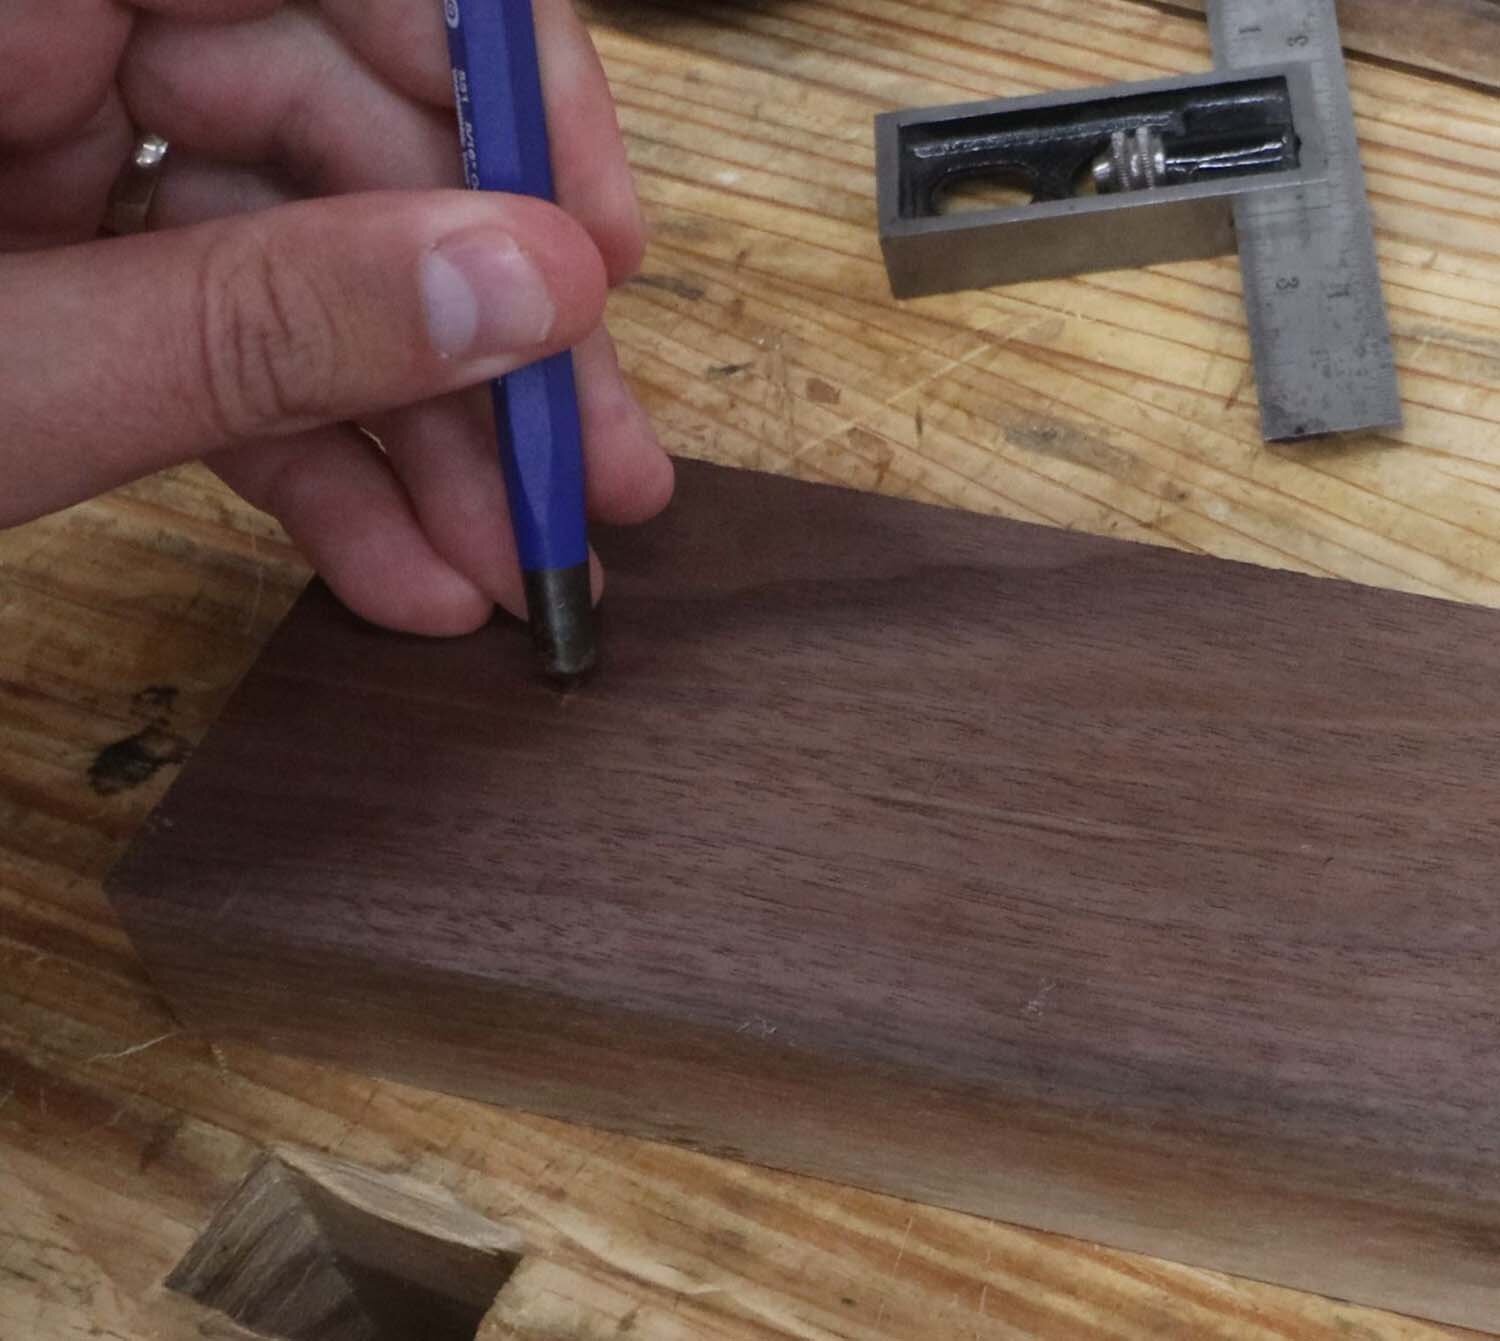
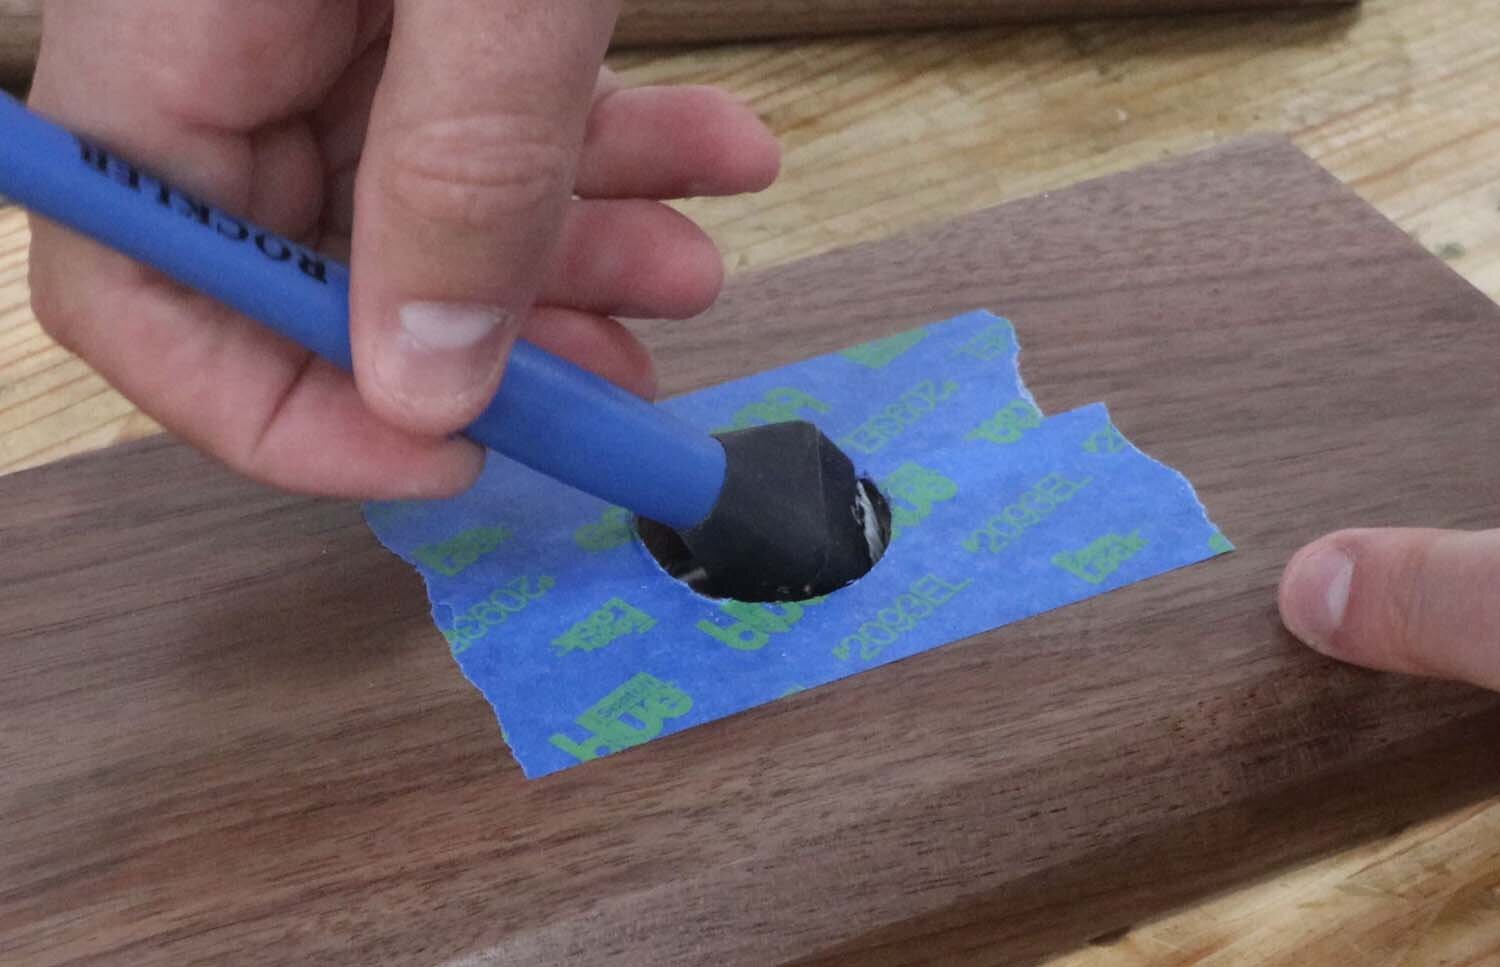
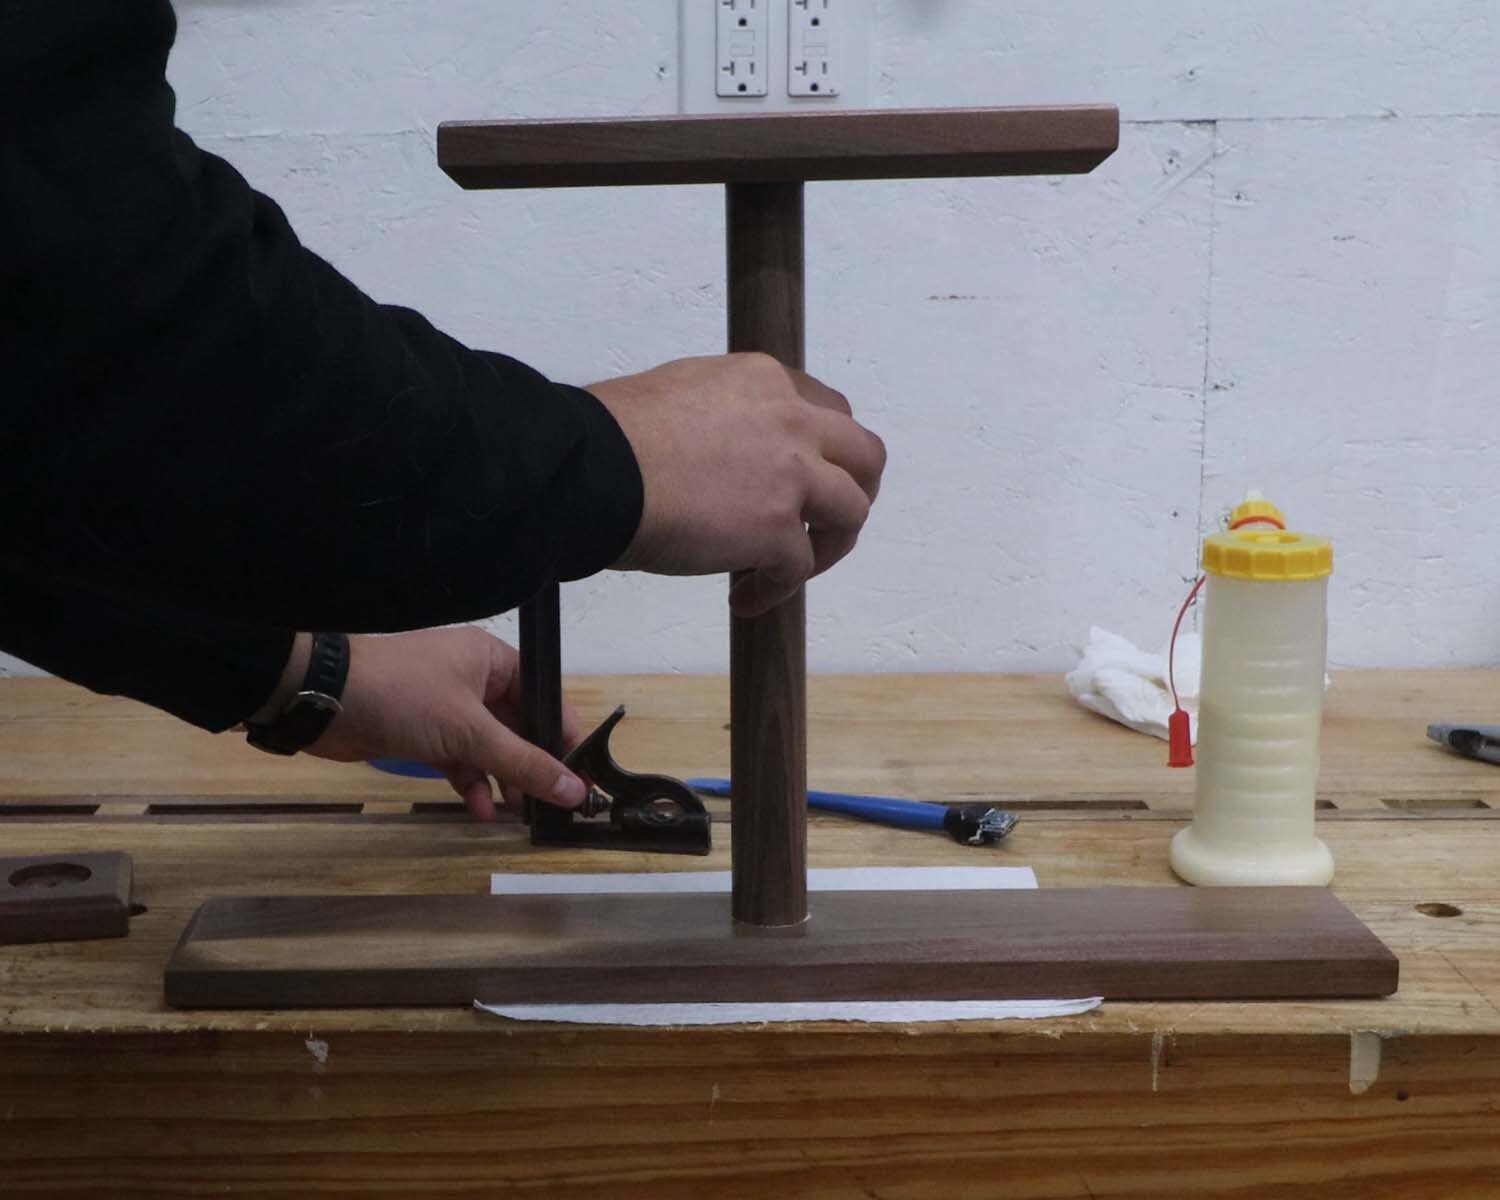
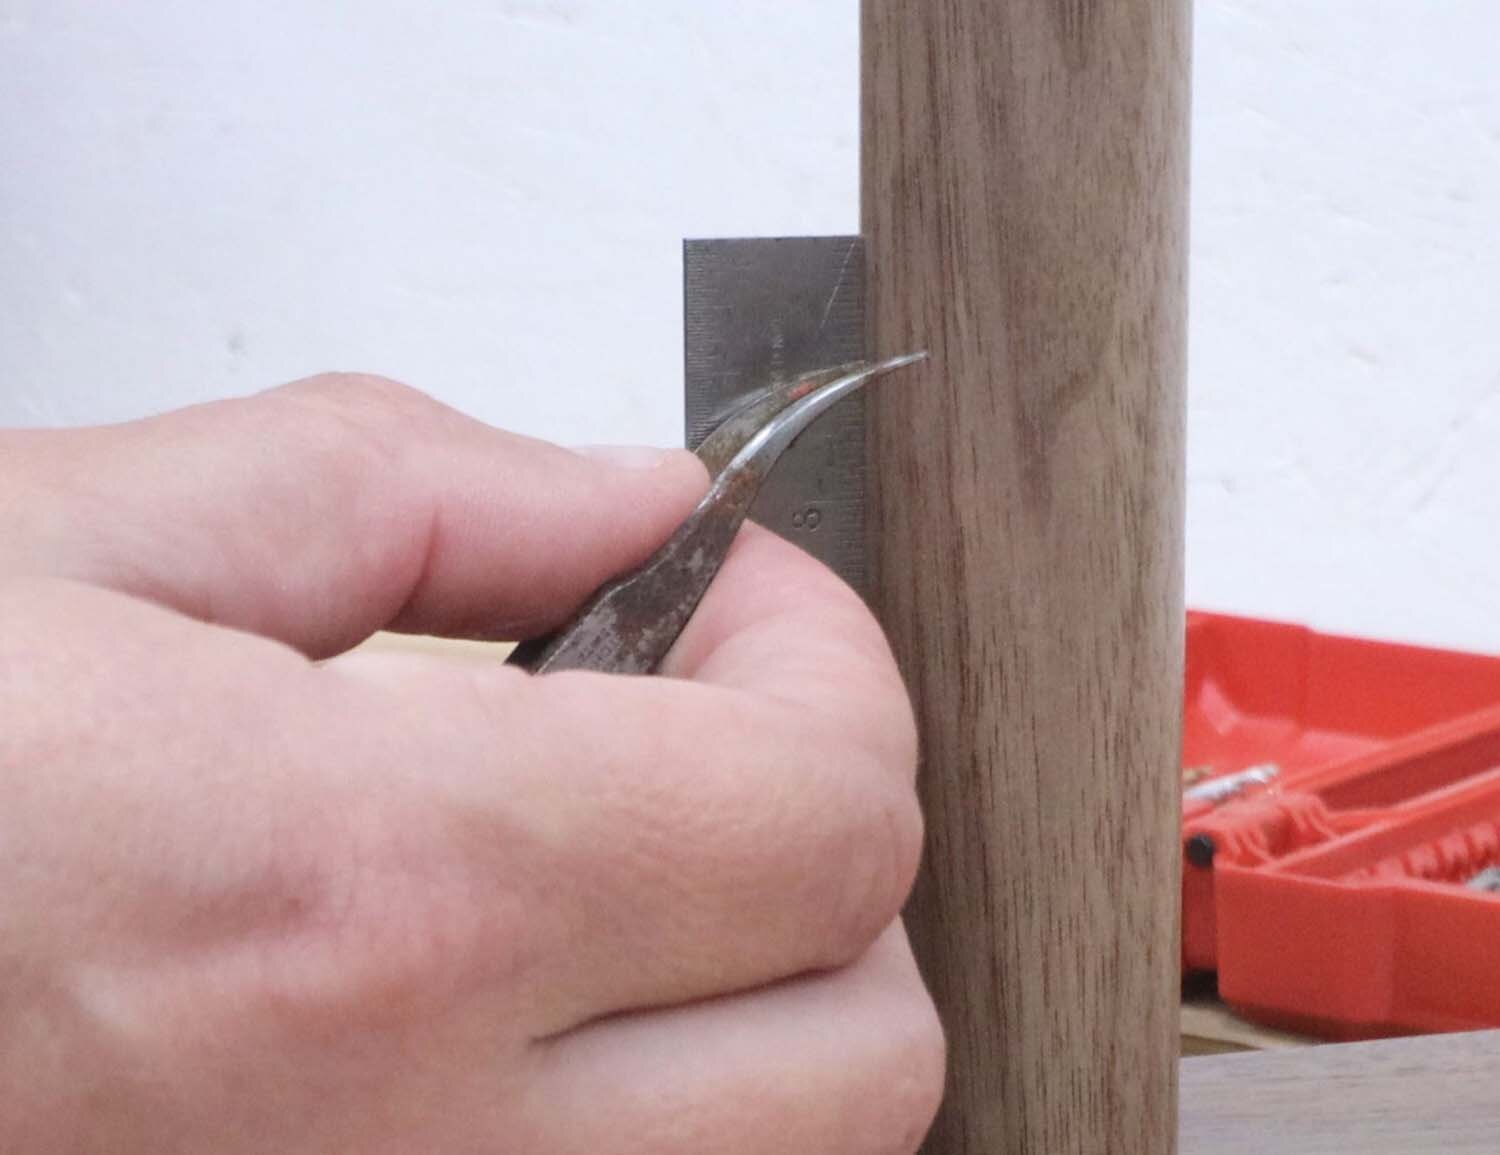
Mark the center of both the top and bottom pieces, which is easily done with a combination square. I like to use a knife when marking since it leaves a very precise mark for a dimension. It's a good idea to use a center punch to mark the starting hole for the Forstner bit so it doesn't walk.
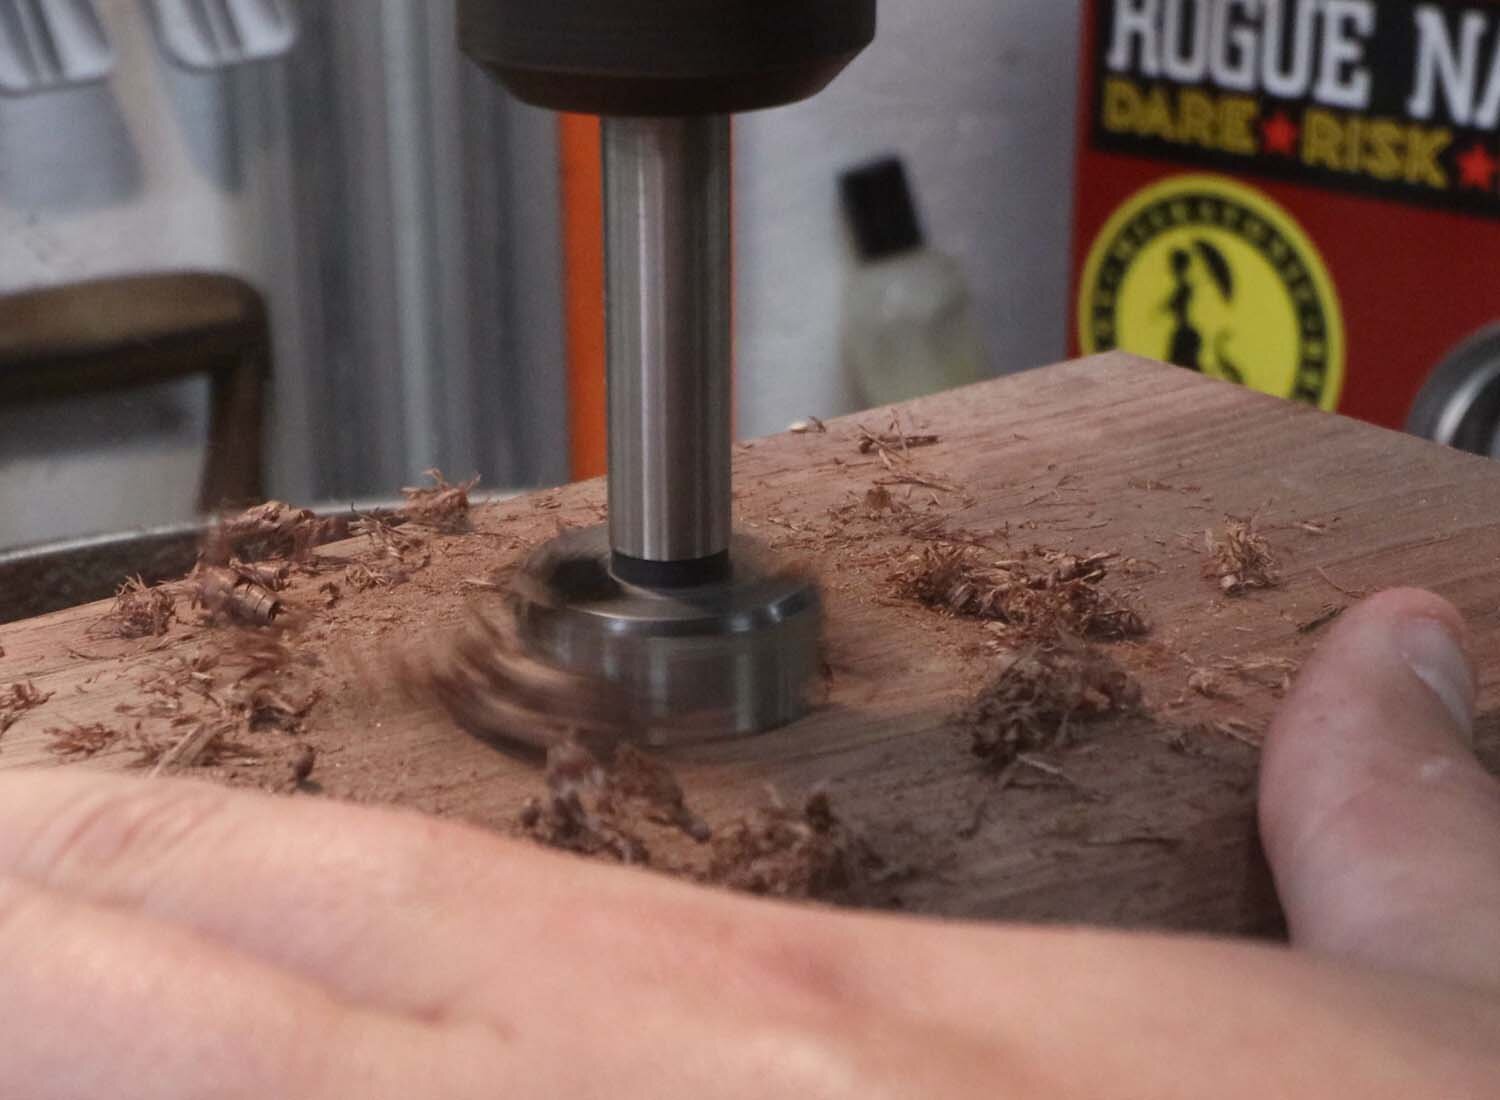
With a 1-1/4" (32 mm) diameter Forstner bit, drill a hole about 3/4" (19 mm) deep in both the top and bottom pieces at the center marks you made.
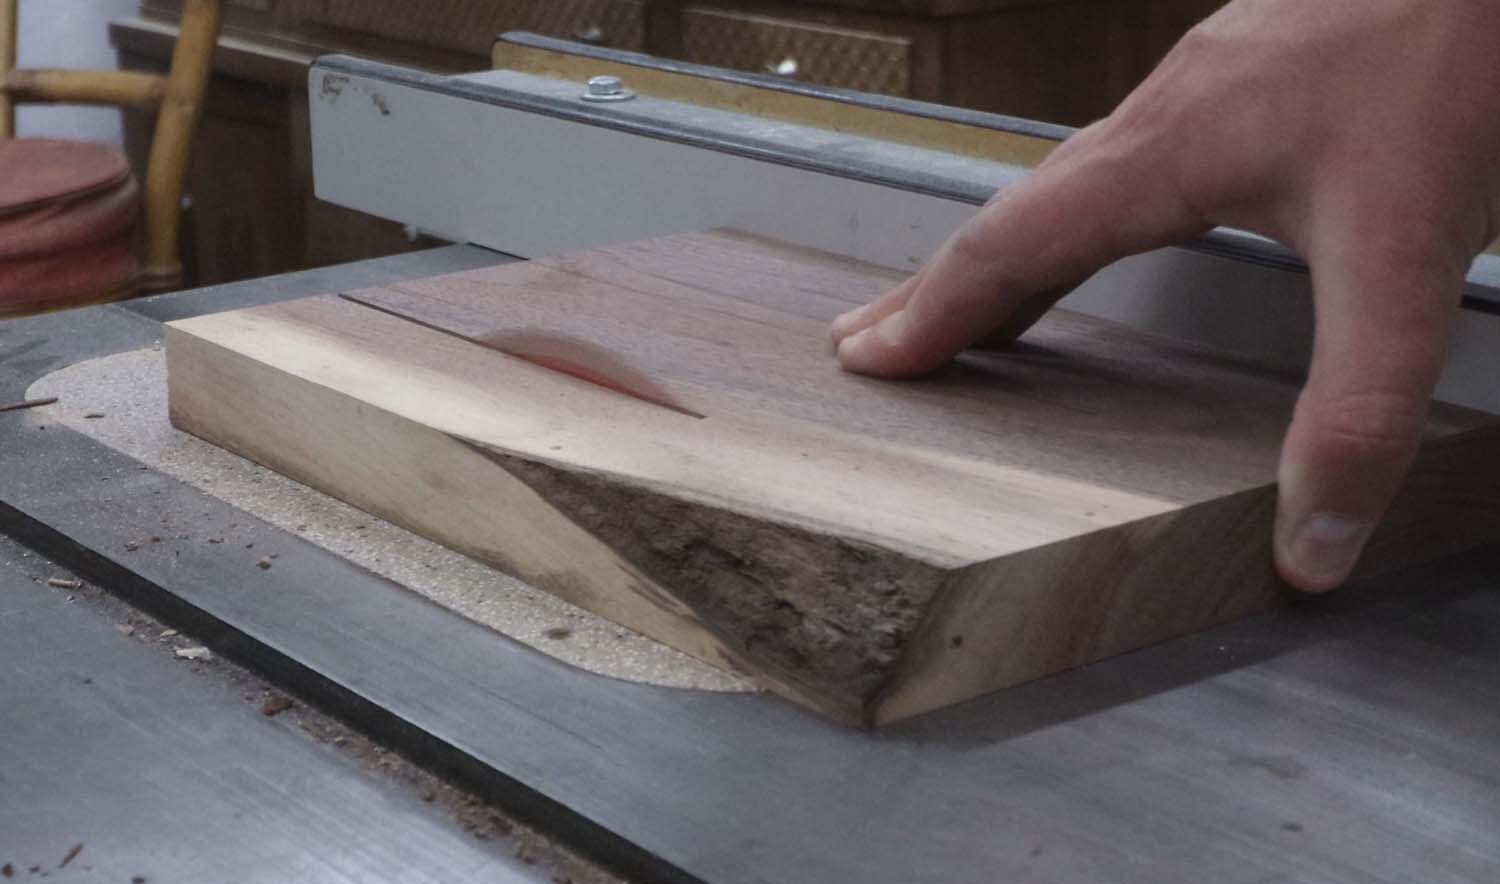
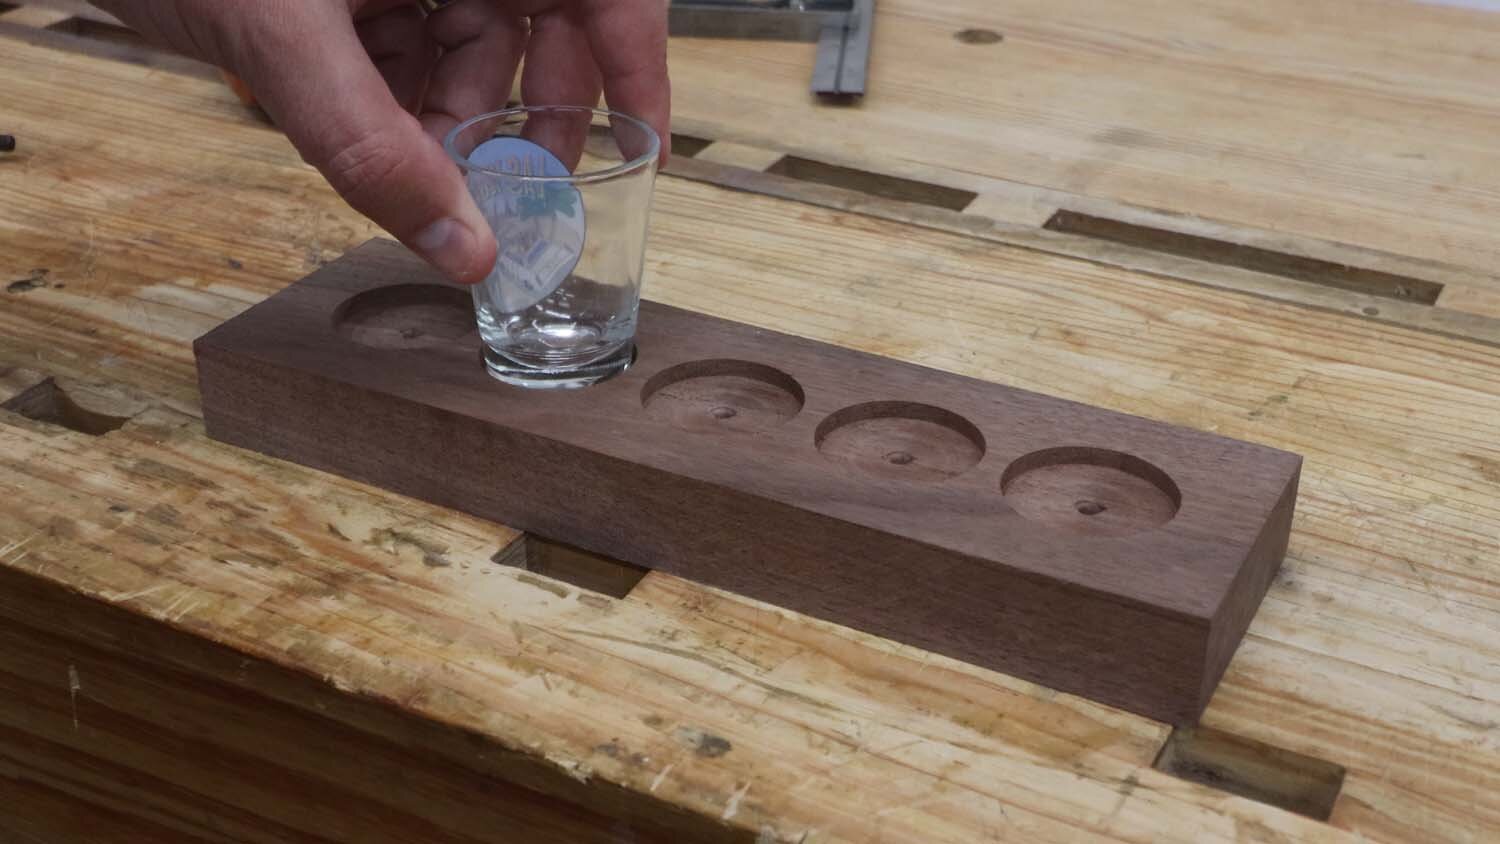
The score board is really an optional piece if you're looking to save time/material, but it does make the game more fun.
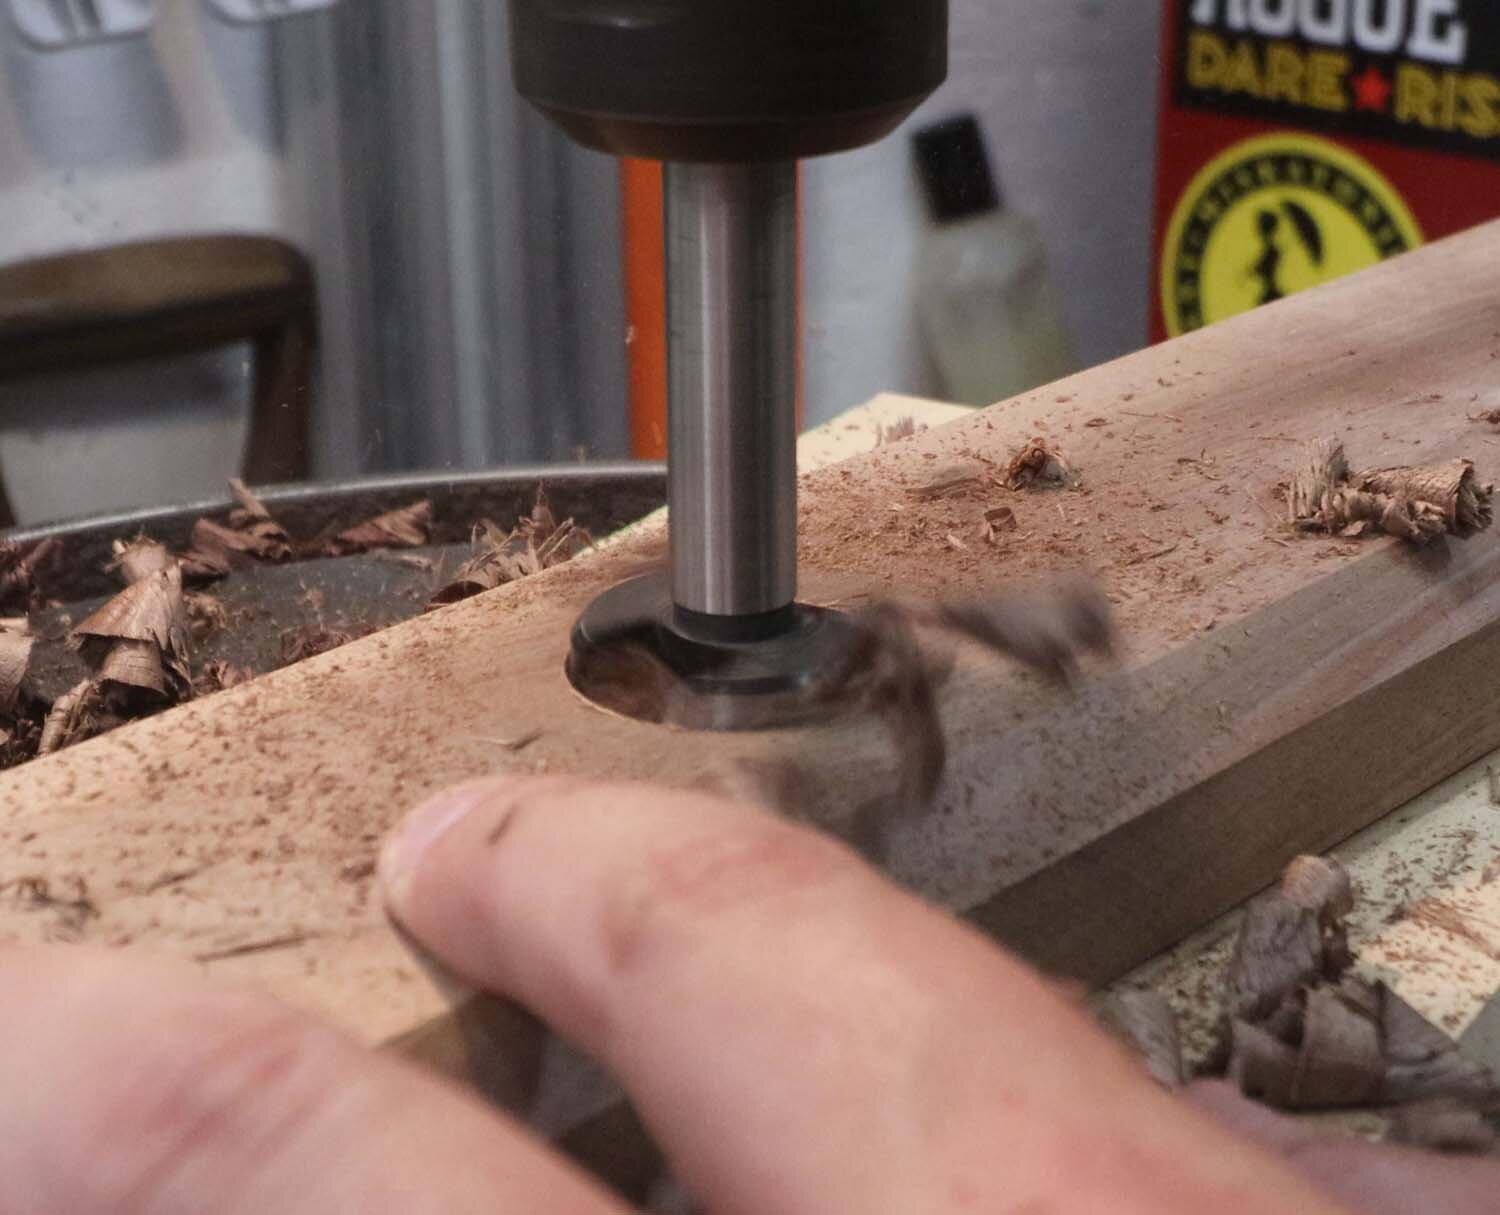
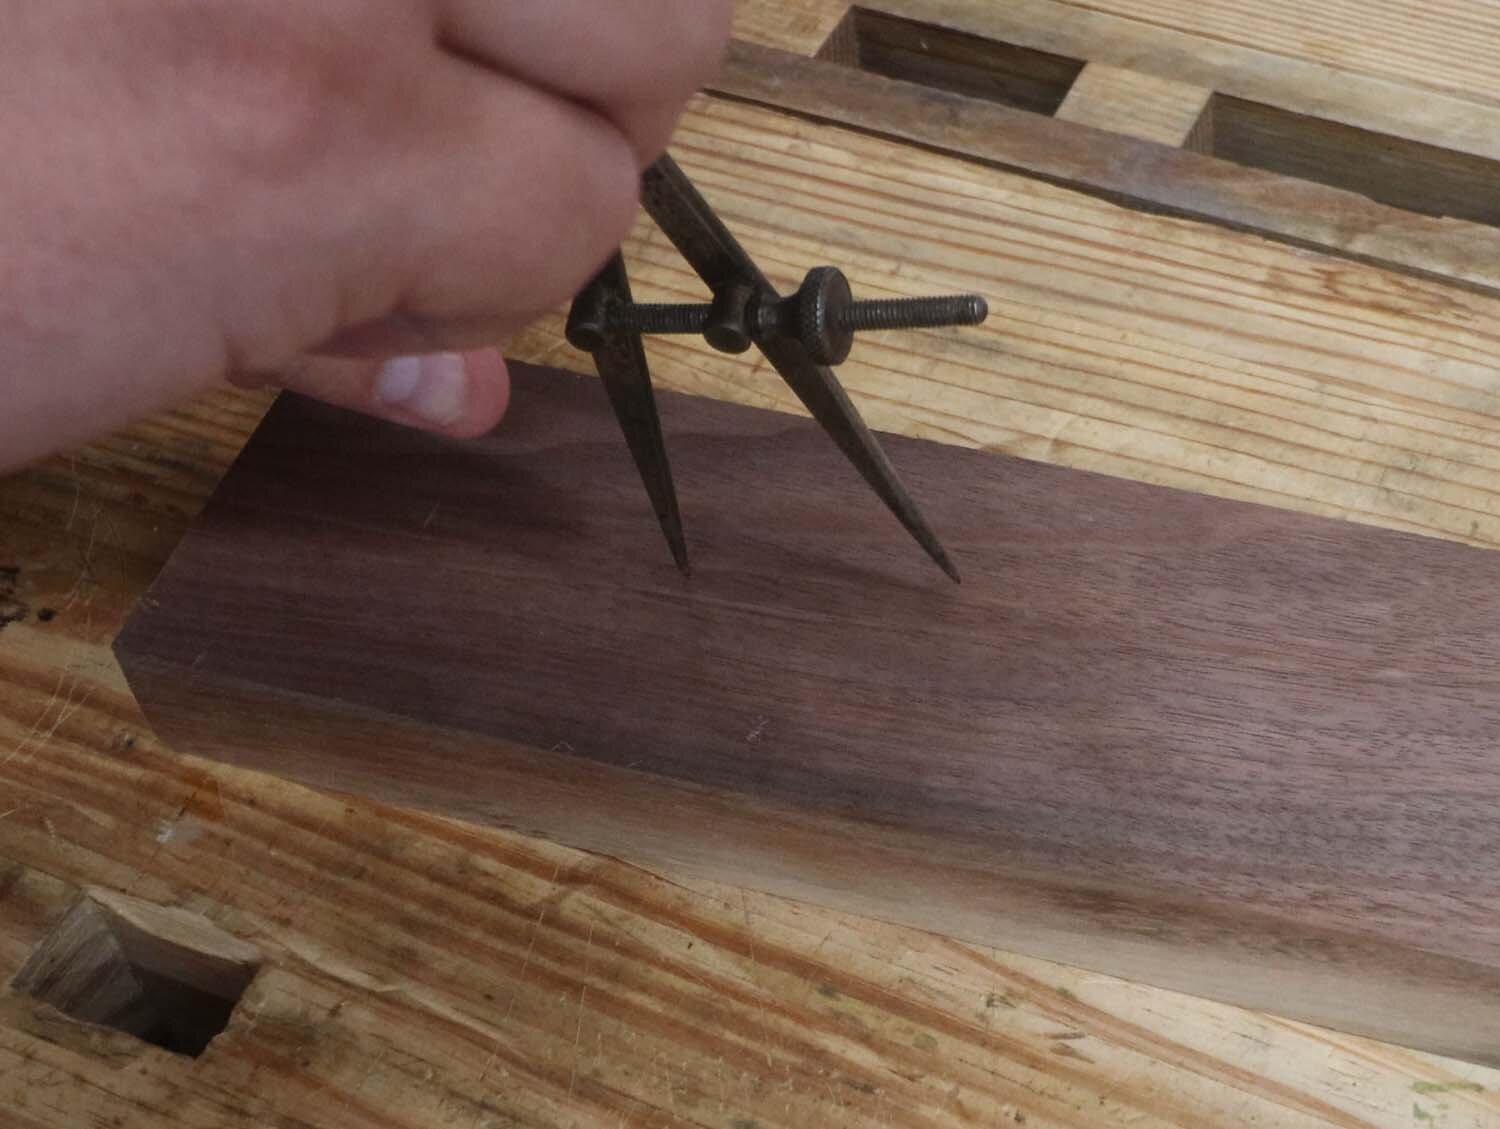
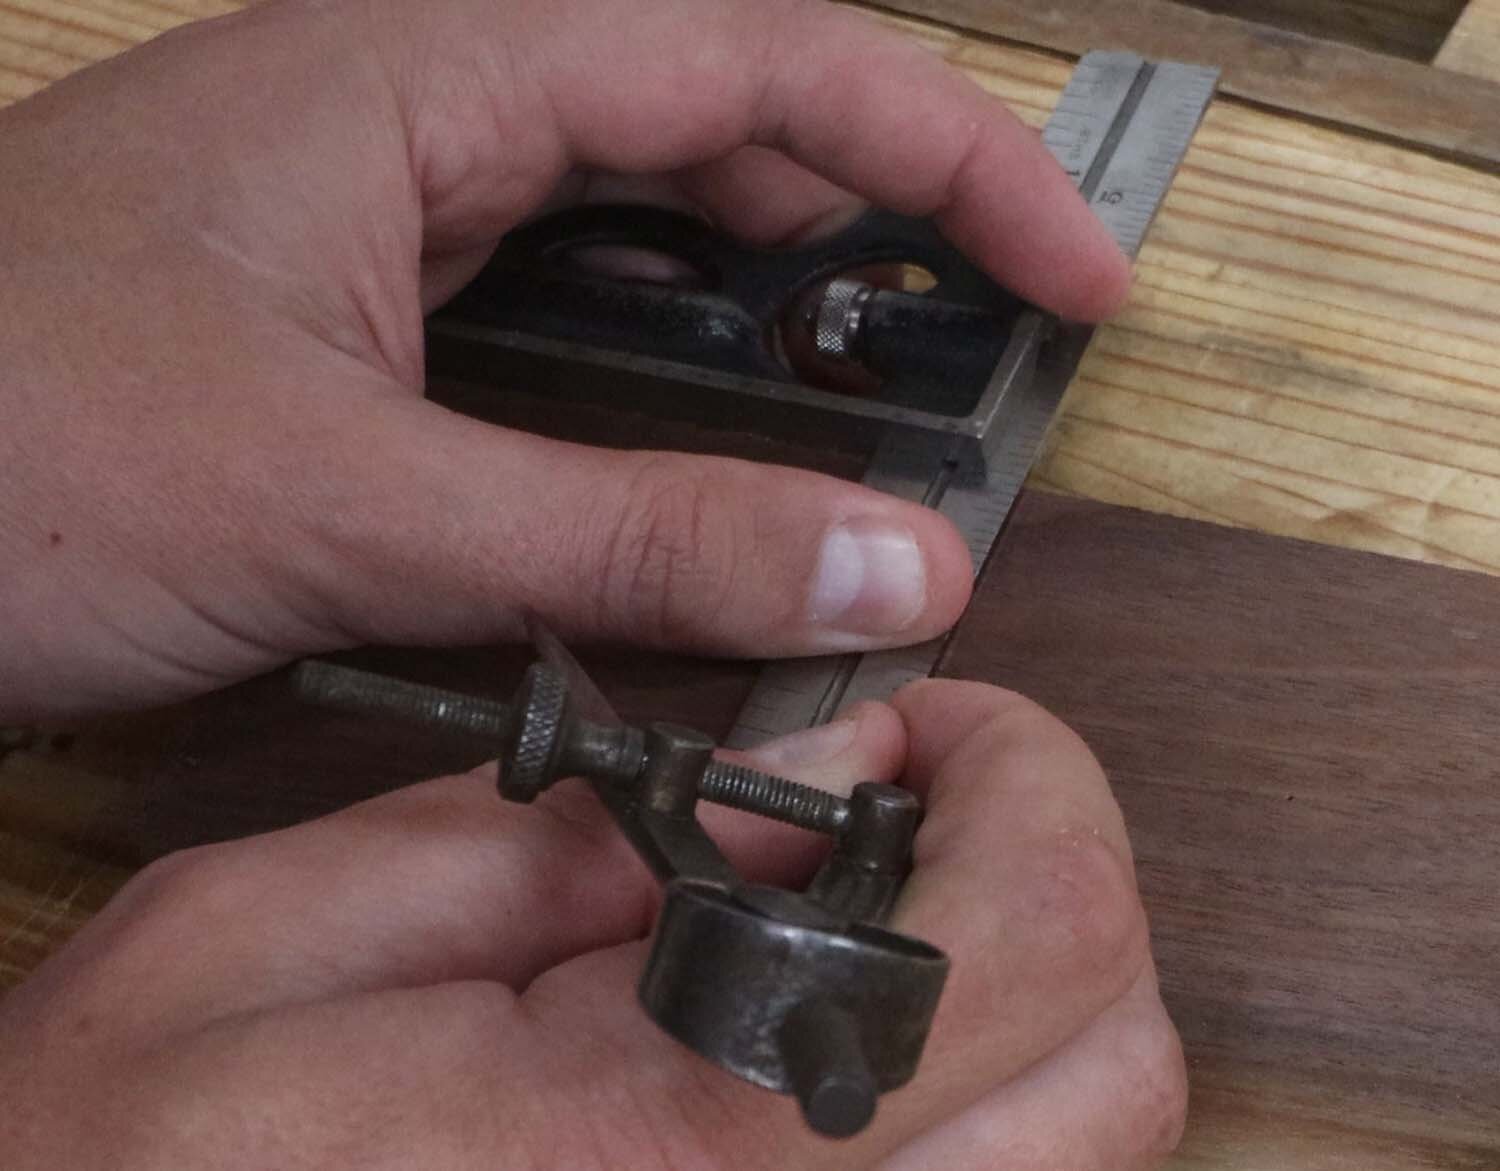
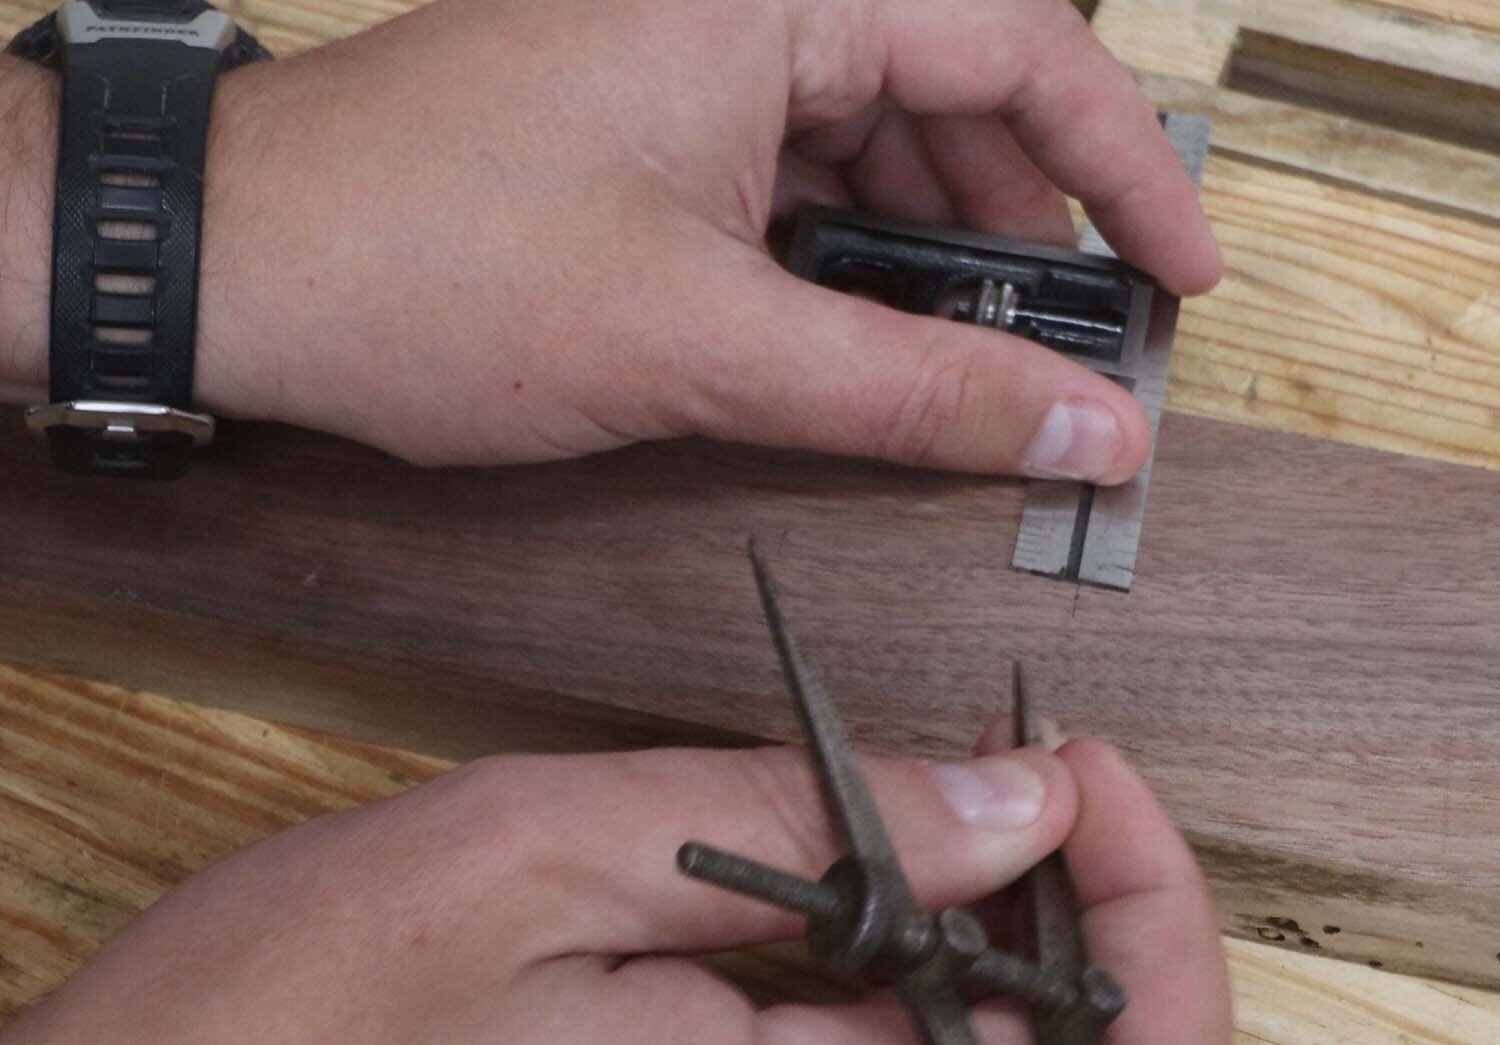
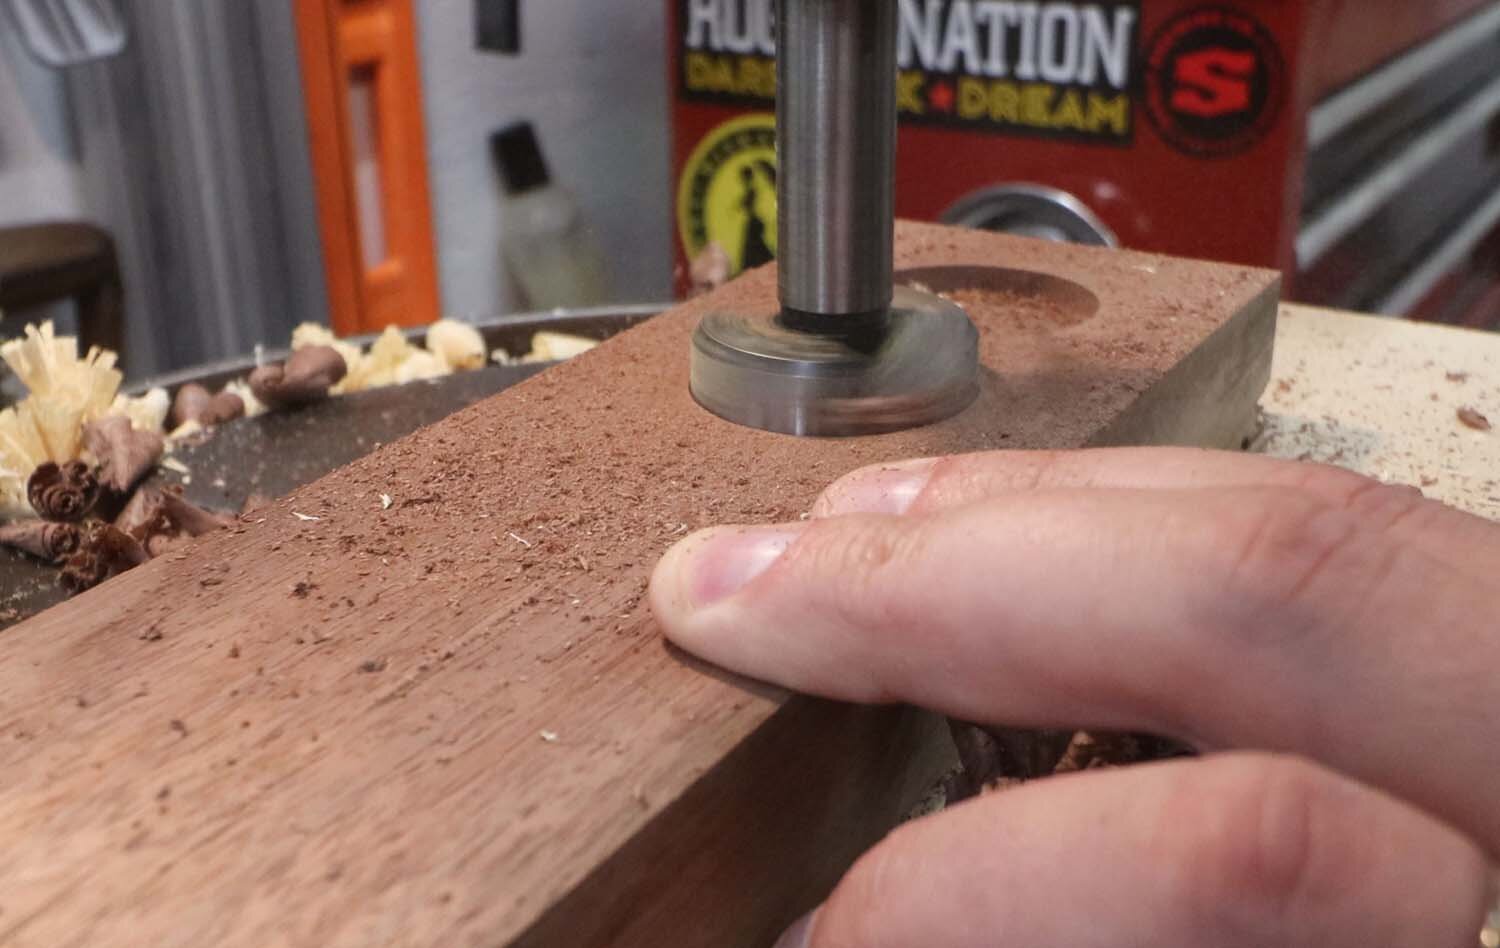
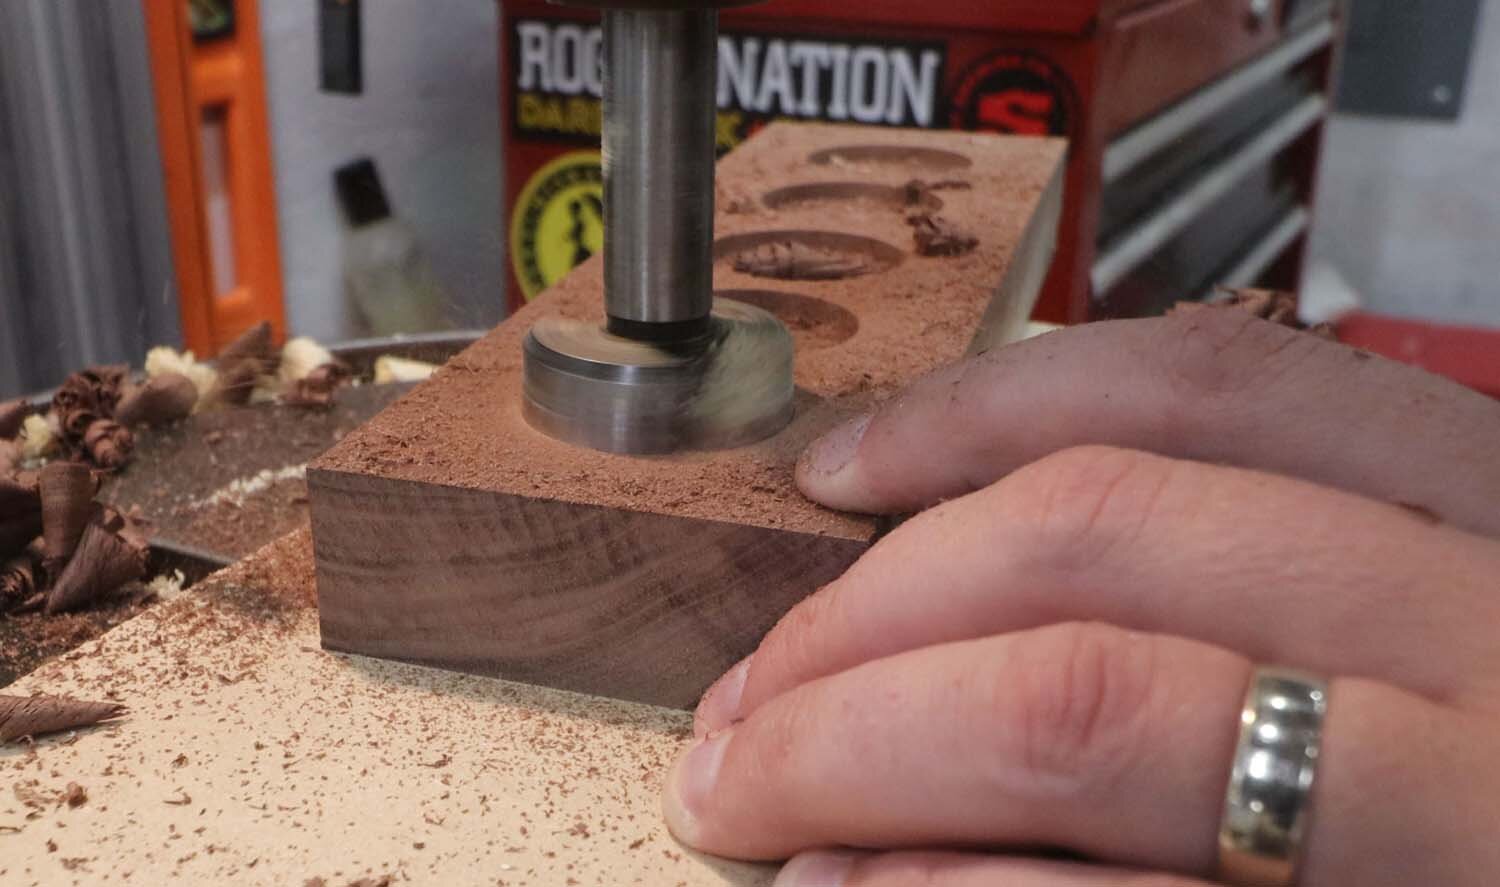
The recesses in the score board are sized such that a standard shot glass fits neatly in them, which happens to be a 1-3/8" (35 mm) diameter hole, drilled about 1/4" (6 mm) deep. I spaced these at 1-1/2" (38 mm) centers. The easiest way to measure these is to mark the first hole at one end at 2" (50 mm) in, and then set a dividers at the 1-1/2" (38 mm) spacing and step them off. Then come back afterwards with a knife and combination square to neaten the marks up.
After that, simply drill the recesses with the 1-3/8" (35 mm) Forstner bit.
This, again, is an optional step, but it makes the game look more finished.
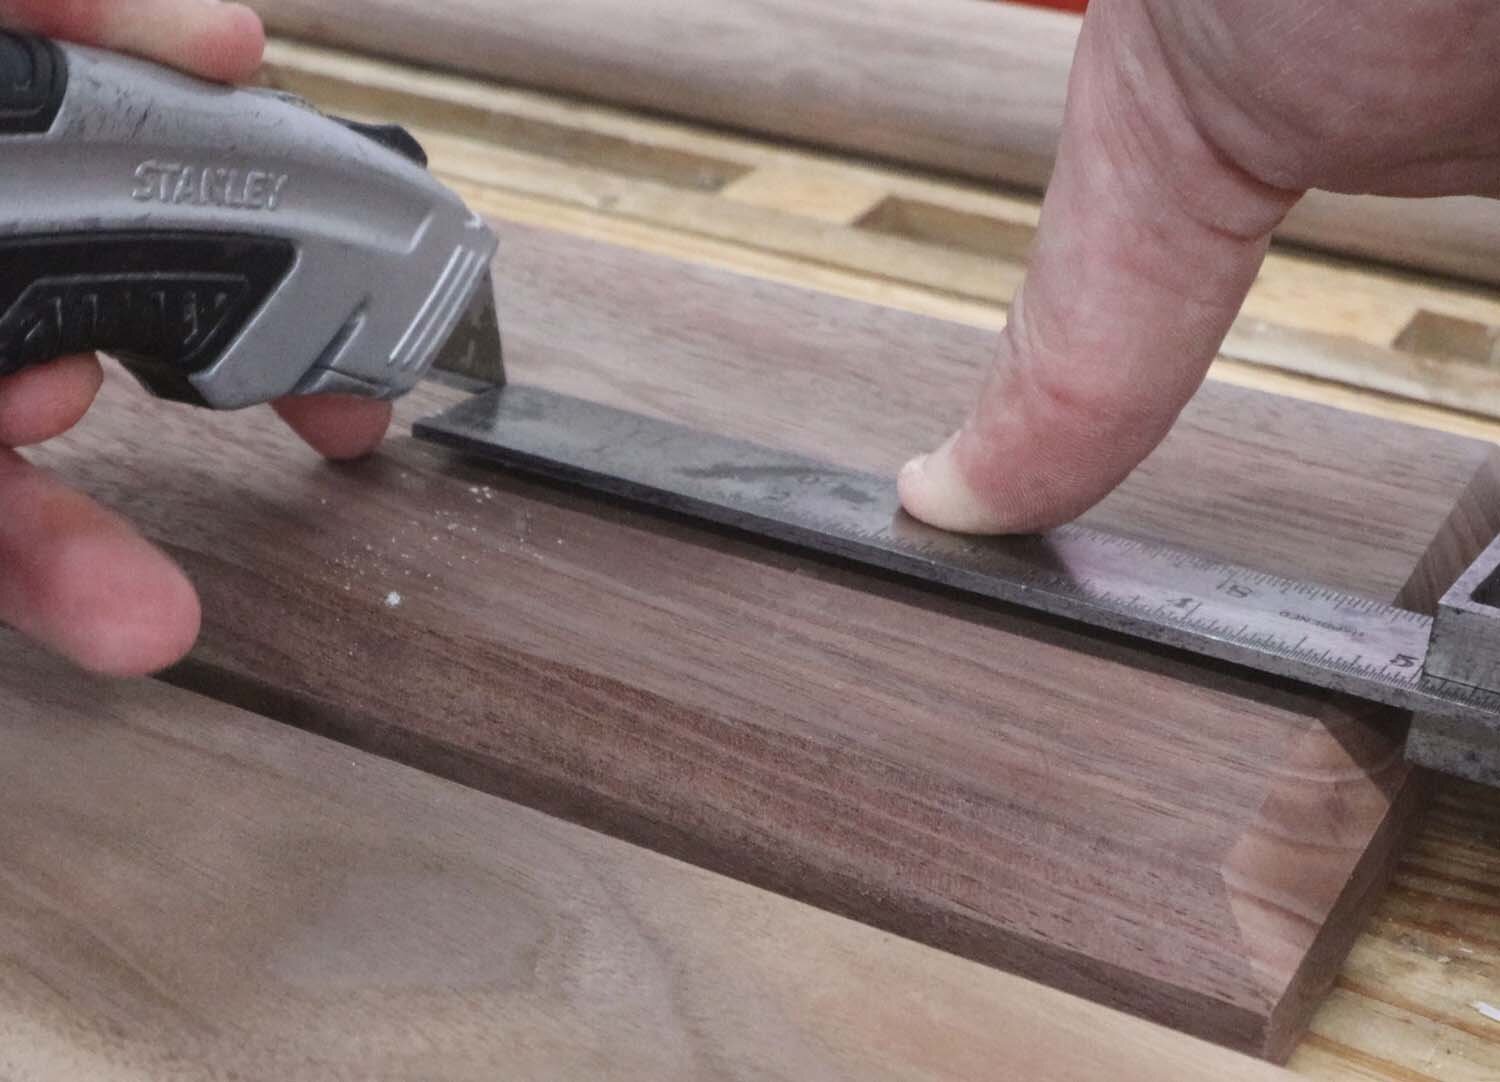
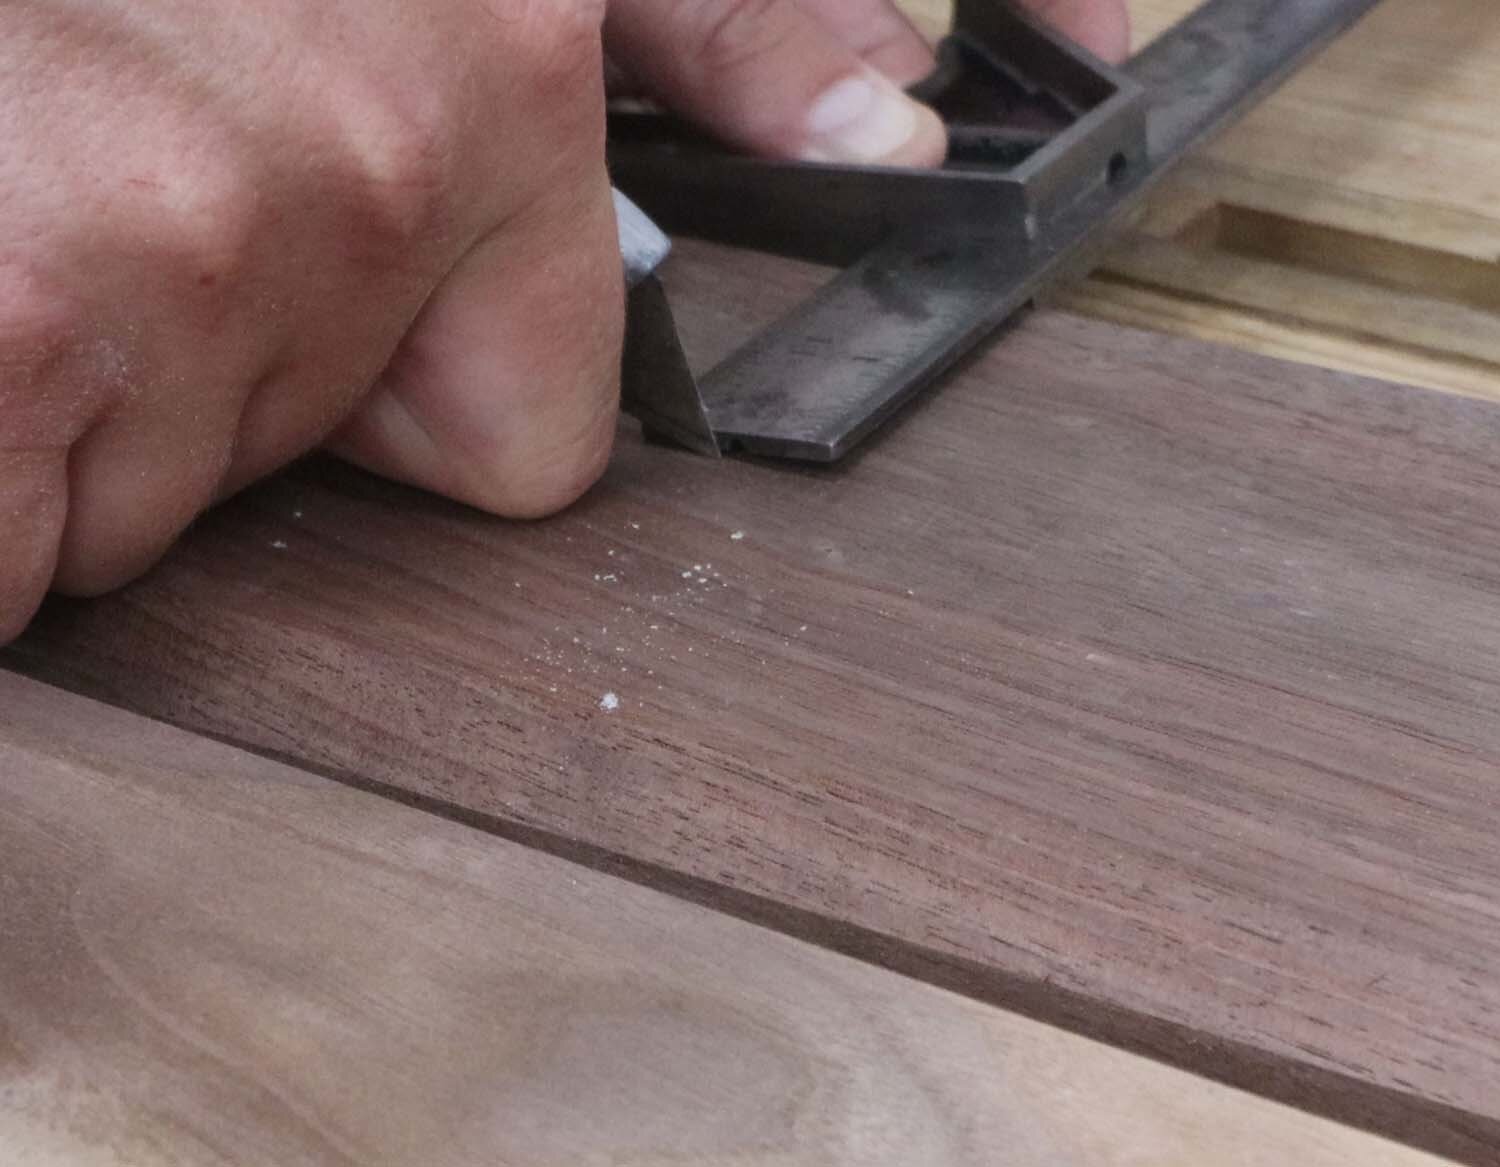
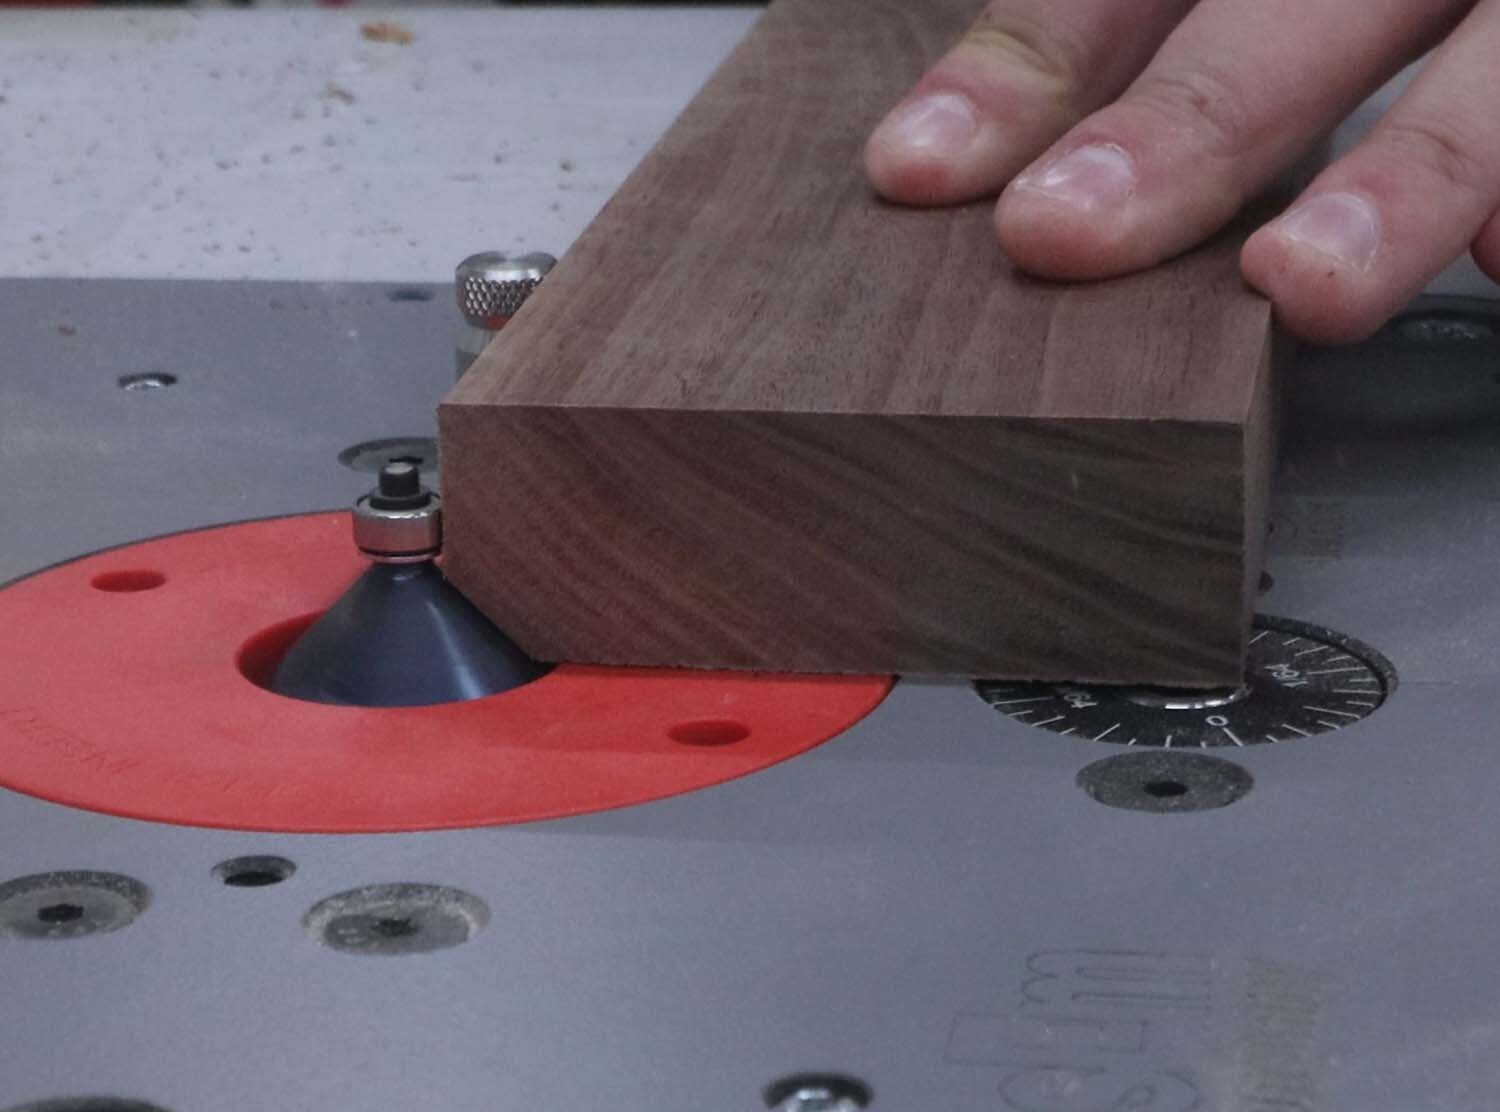
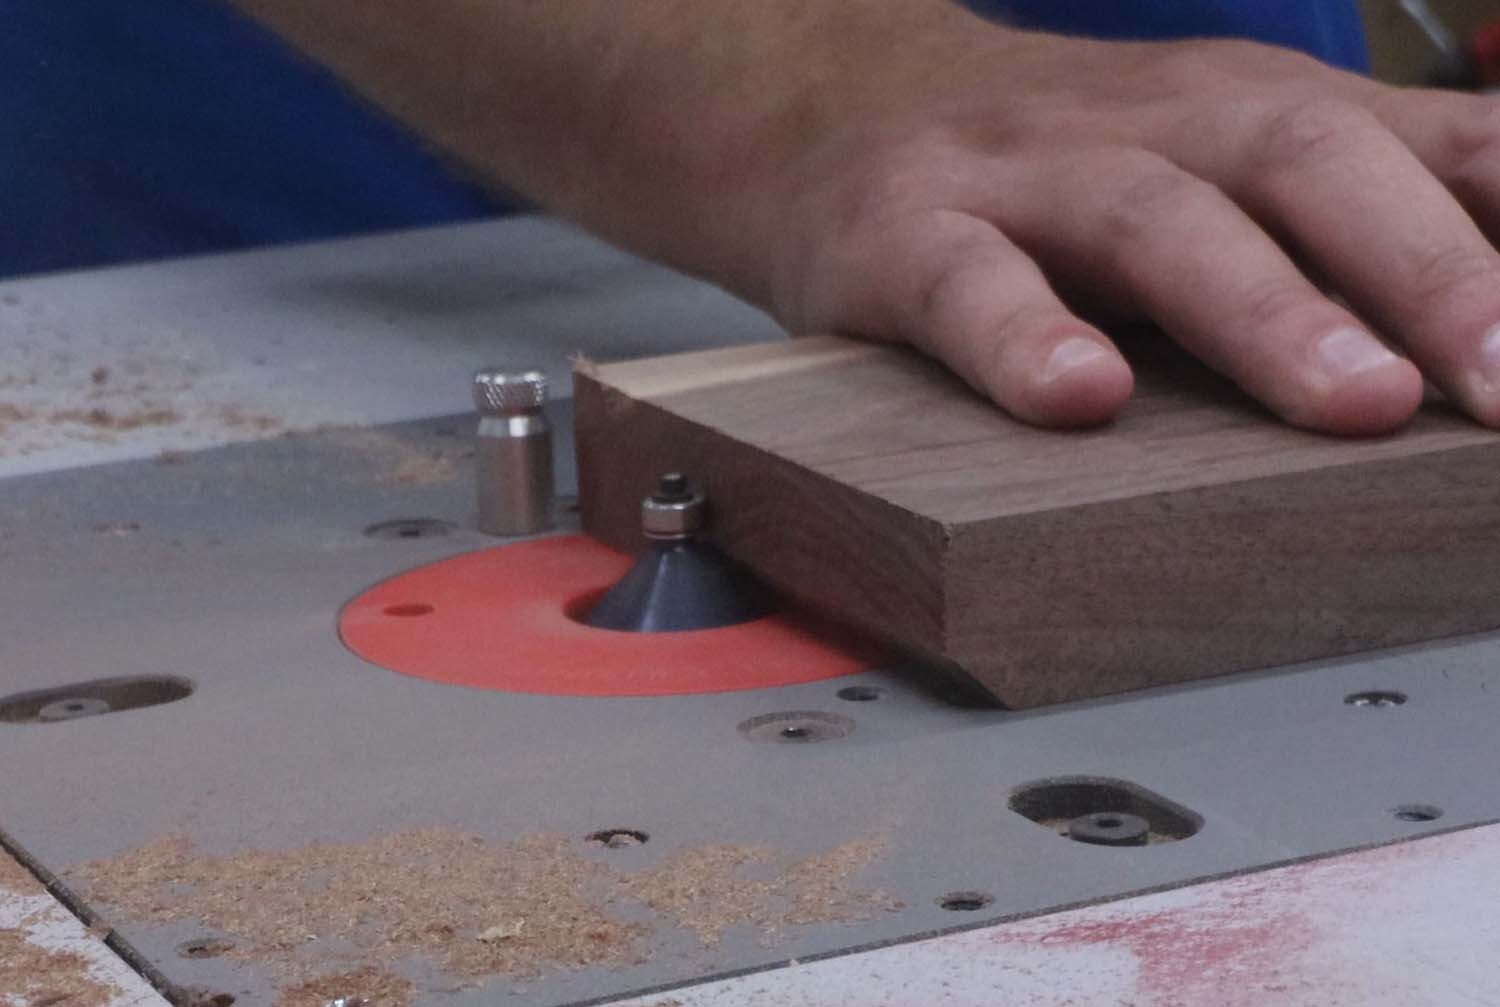
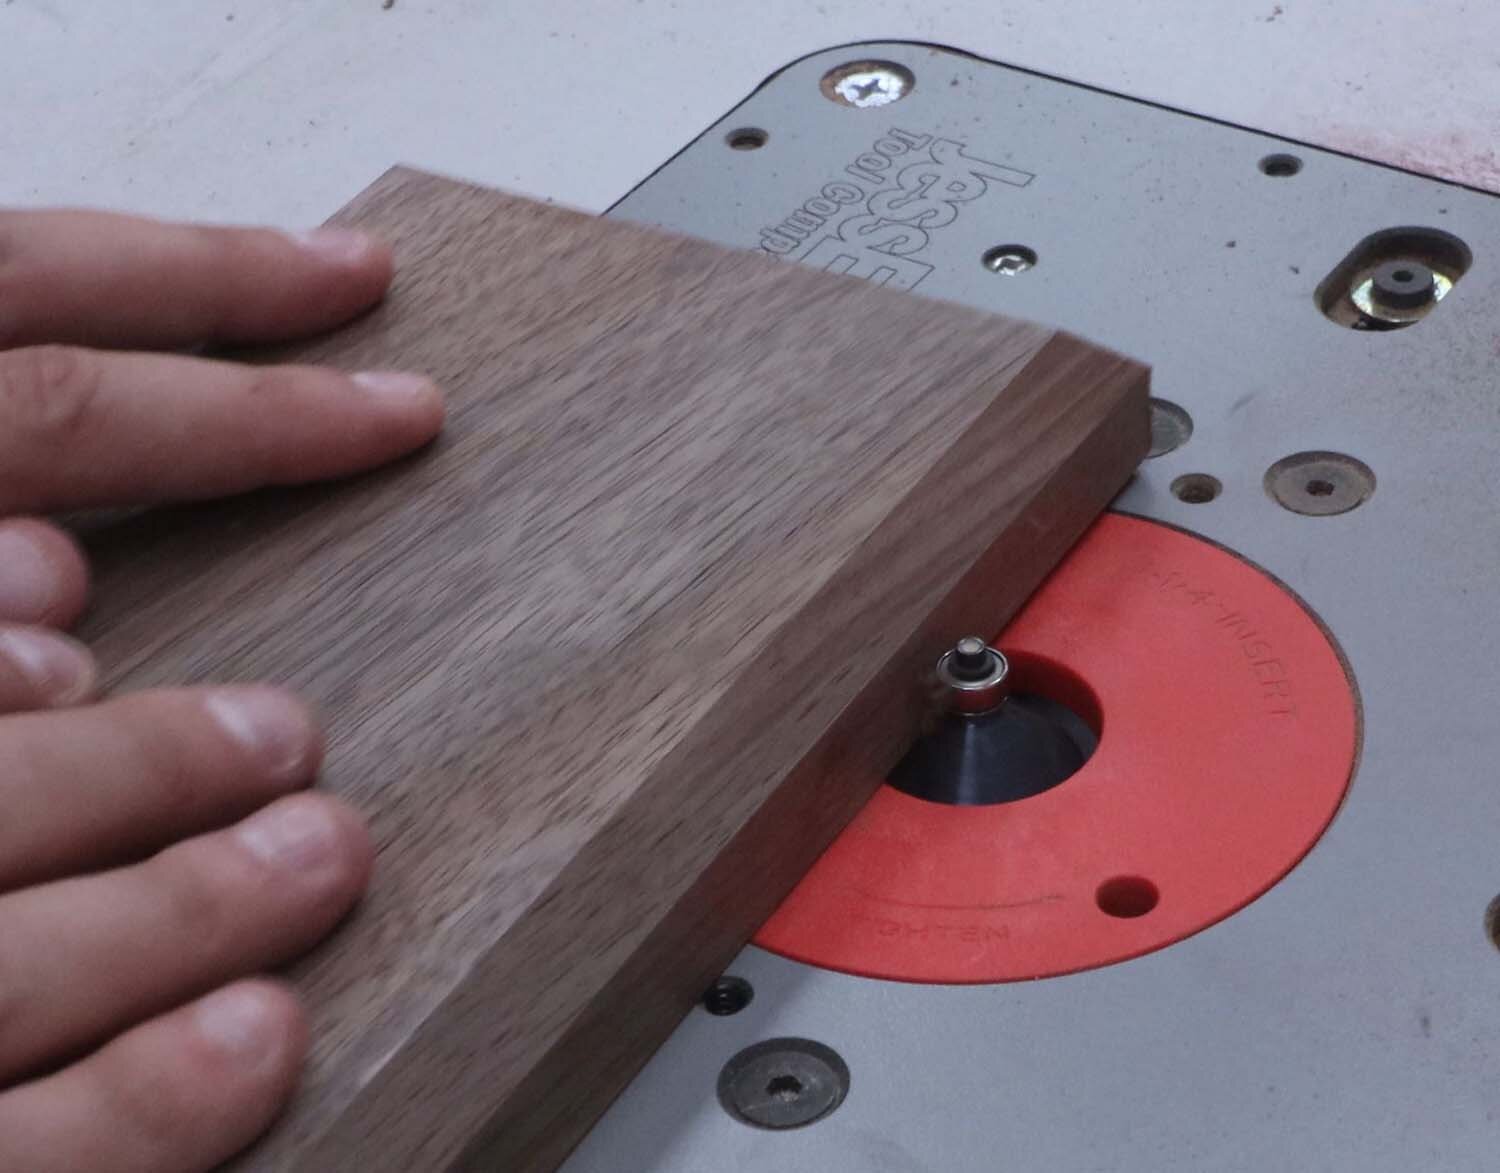
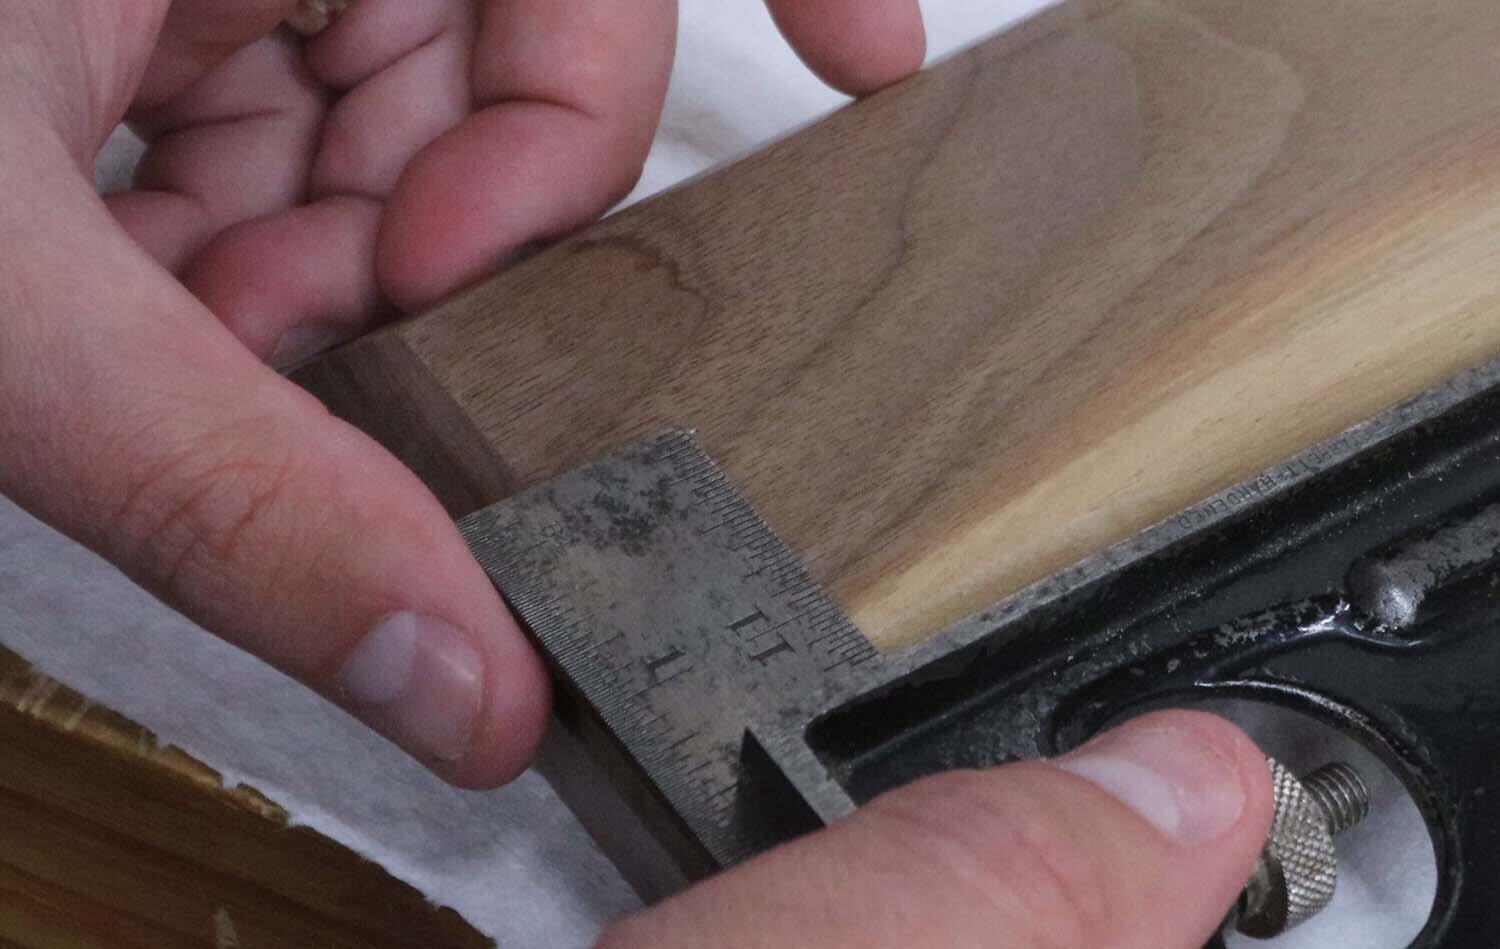
Pick your favorite edge bit and chuck it up in your router and add a decorative edge to the top, bottom, and score board pieces. I went with a simple 45-degree chamfer, maybe 3/8" (10 mm) in dimension.
This is a good time to add a back bevel to the opposite side of the top and bottom pieces, which softens the edge and makes it less likely to splinter. You could also do this while sanding, but it's not as precise.
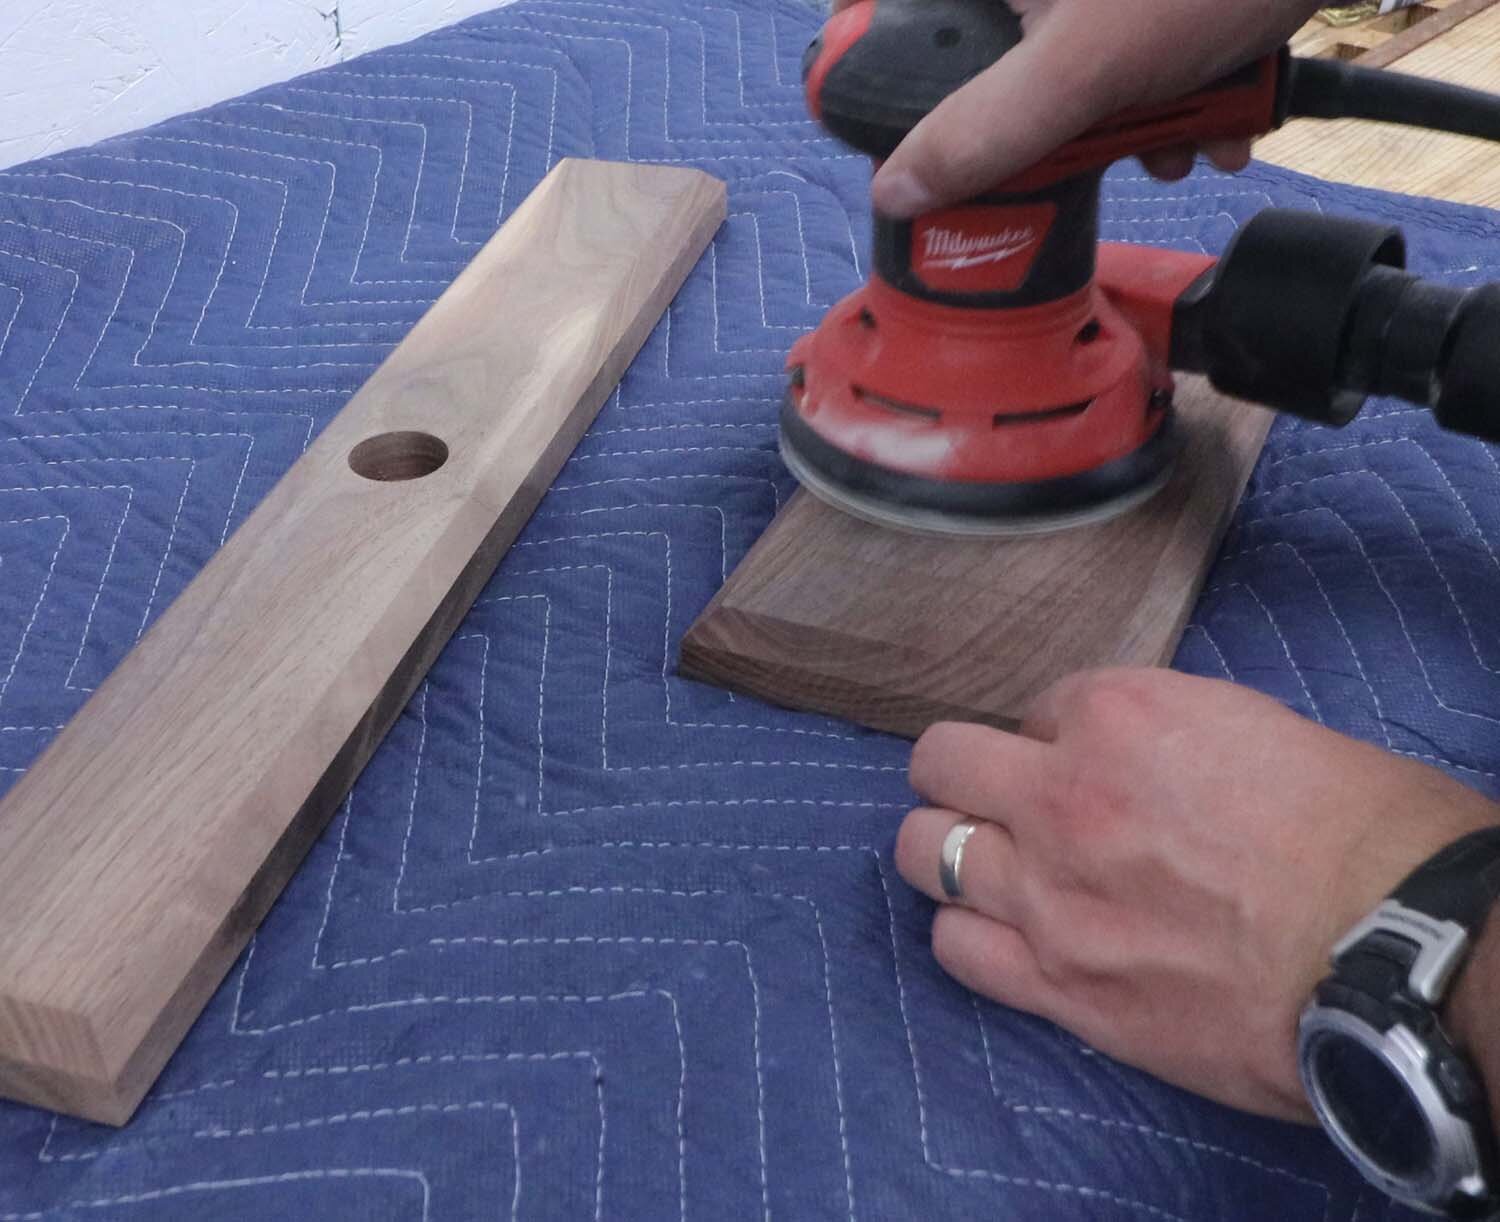
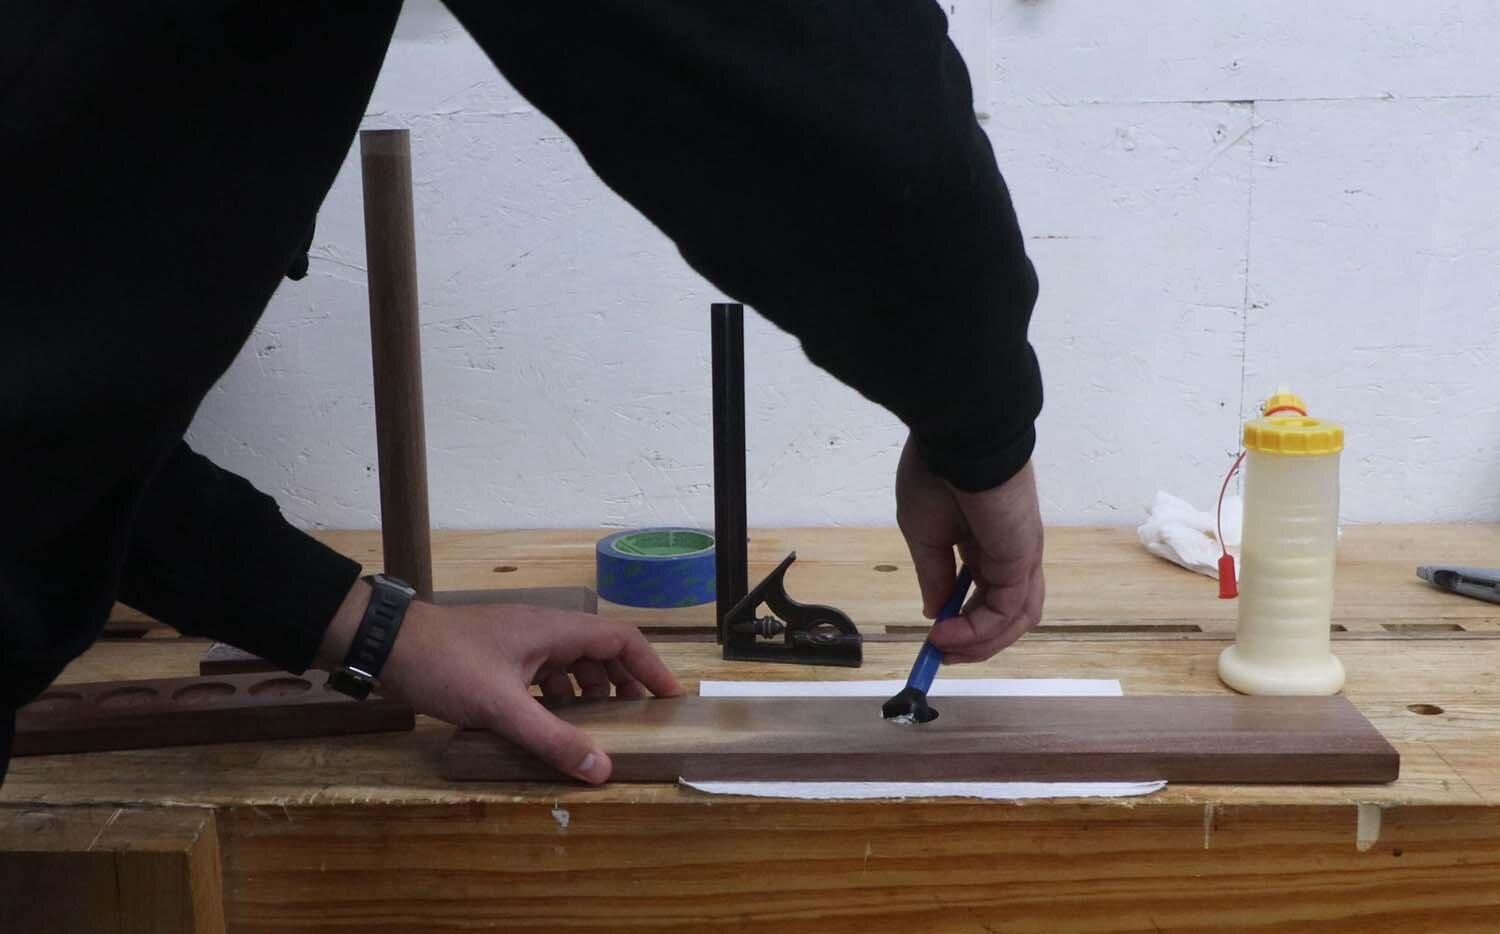
With the pieces all cut to length, holes drilled, and edges treated, it's time to sand and finish. Nothing fancy here, just sand up to the grit recommended by your chosen finish, and apply the finish as directed.
I prefer water-based polyurethane for most projects since it dries quickly and is pretty forgiving. Three coats seems to work well for me.

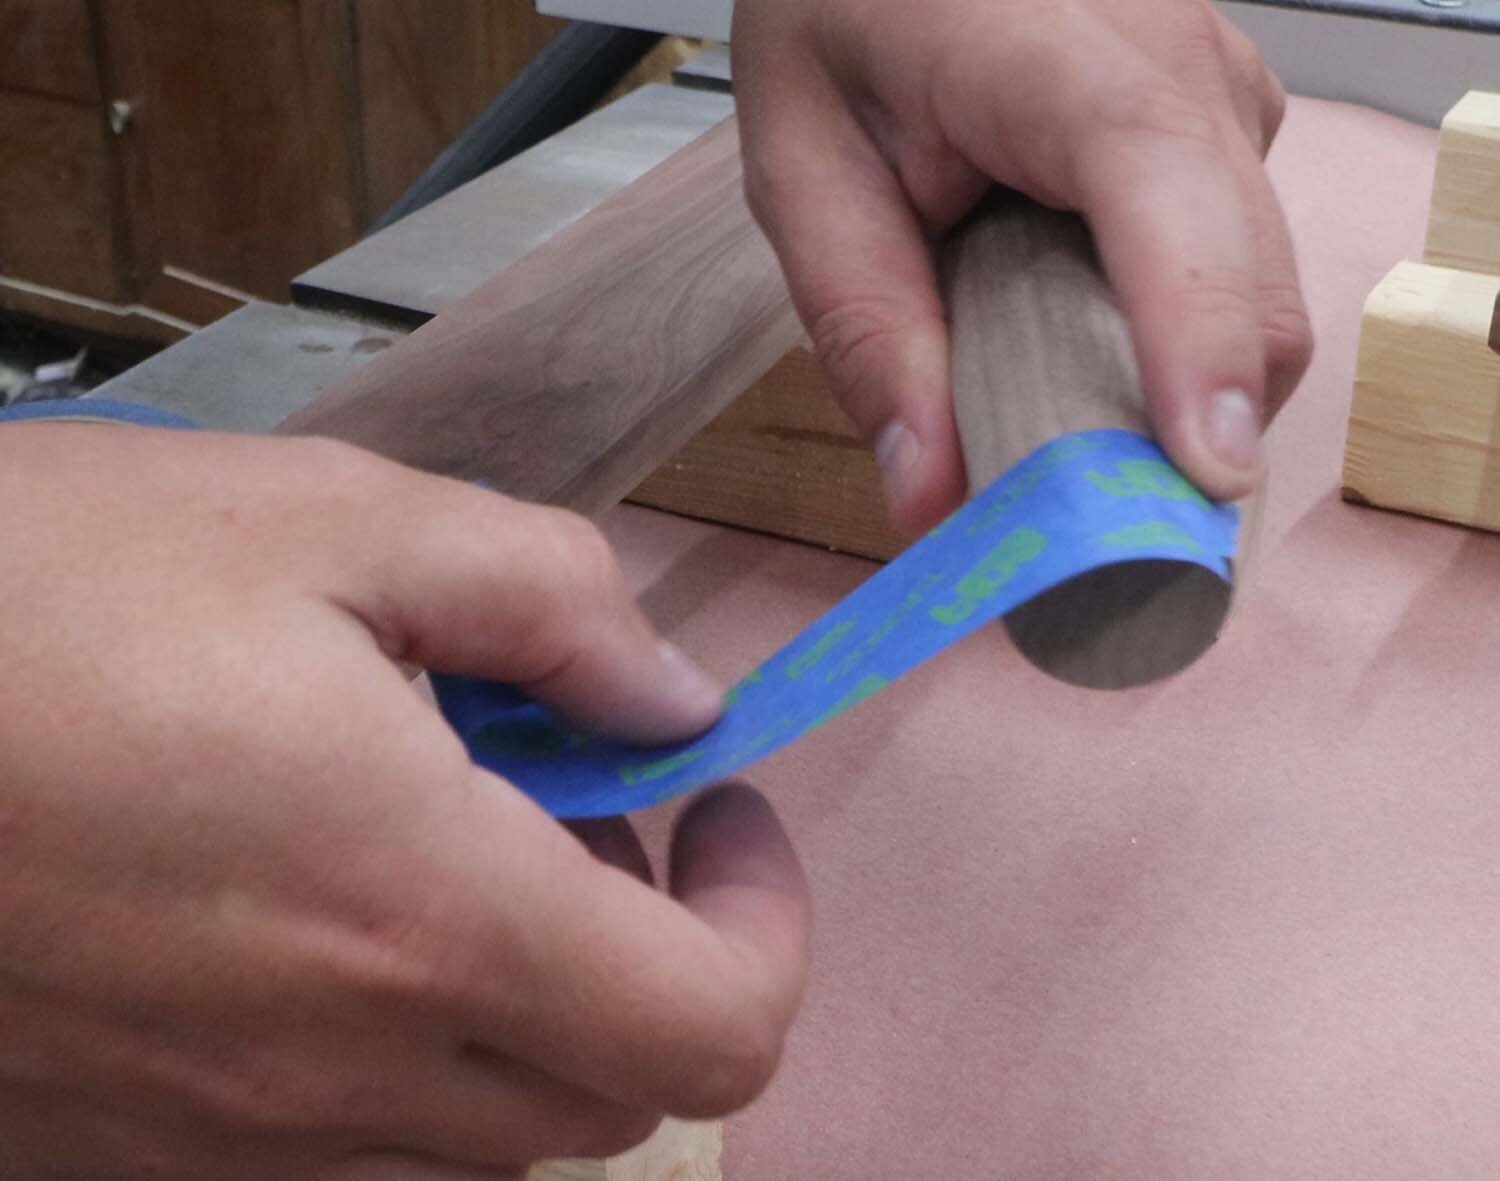
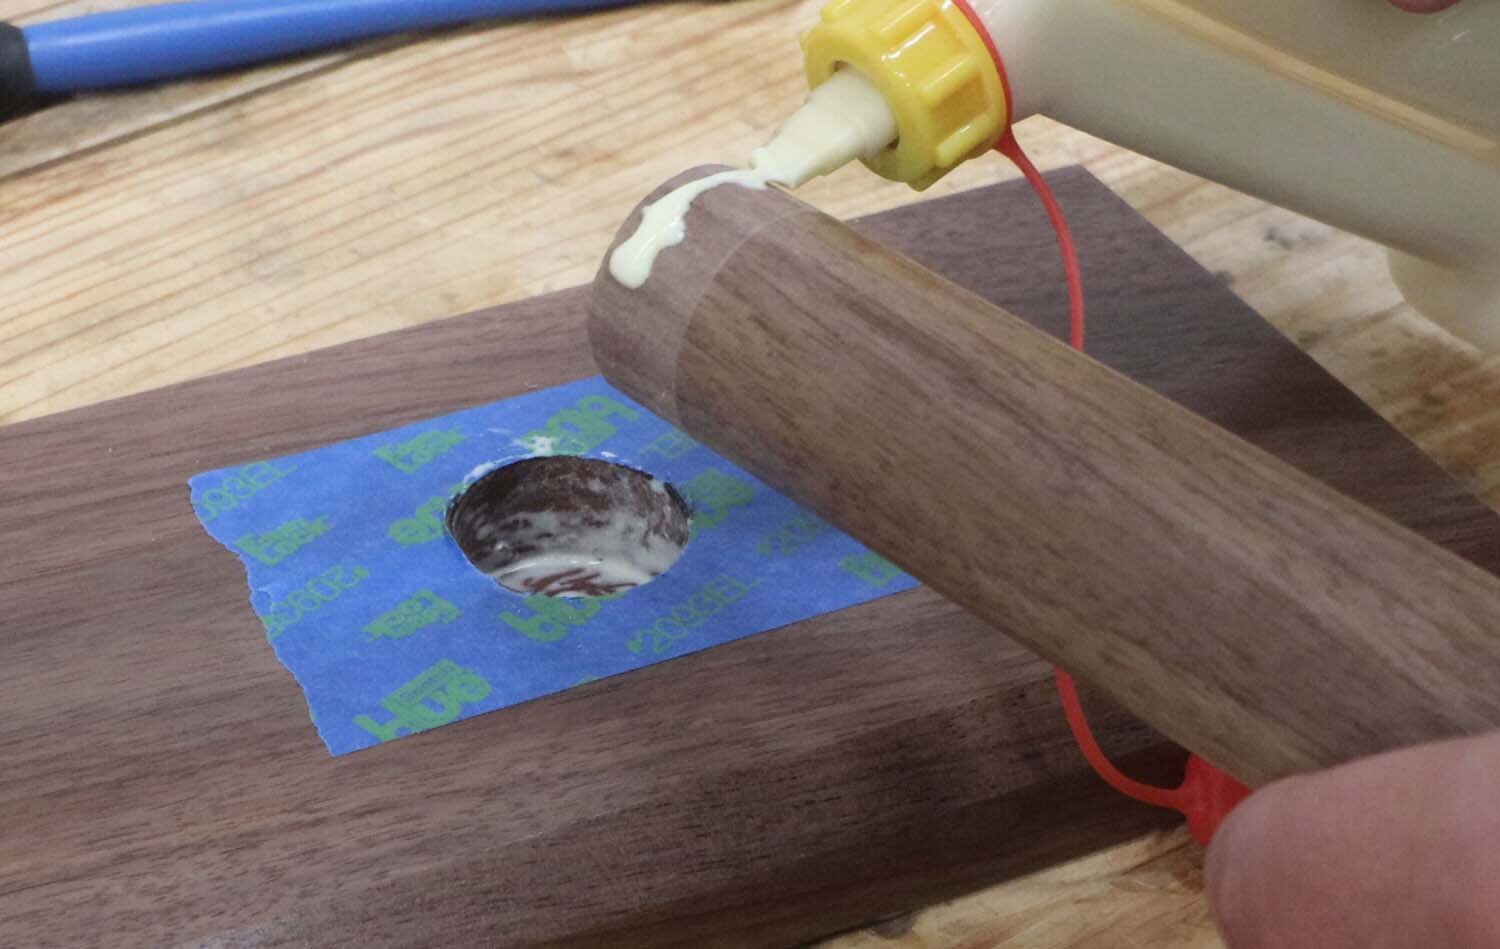
One thing to note, mask off 1/2" (12 mm) of each end of the dowel to keep finish off it. This needs to be glued later, which won't stick to the finish.
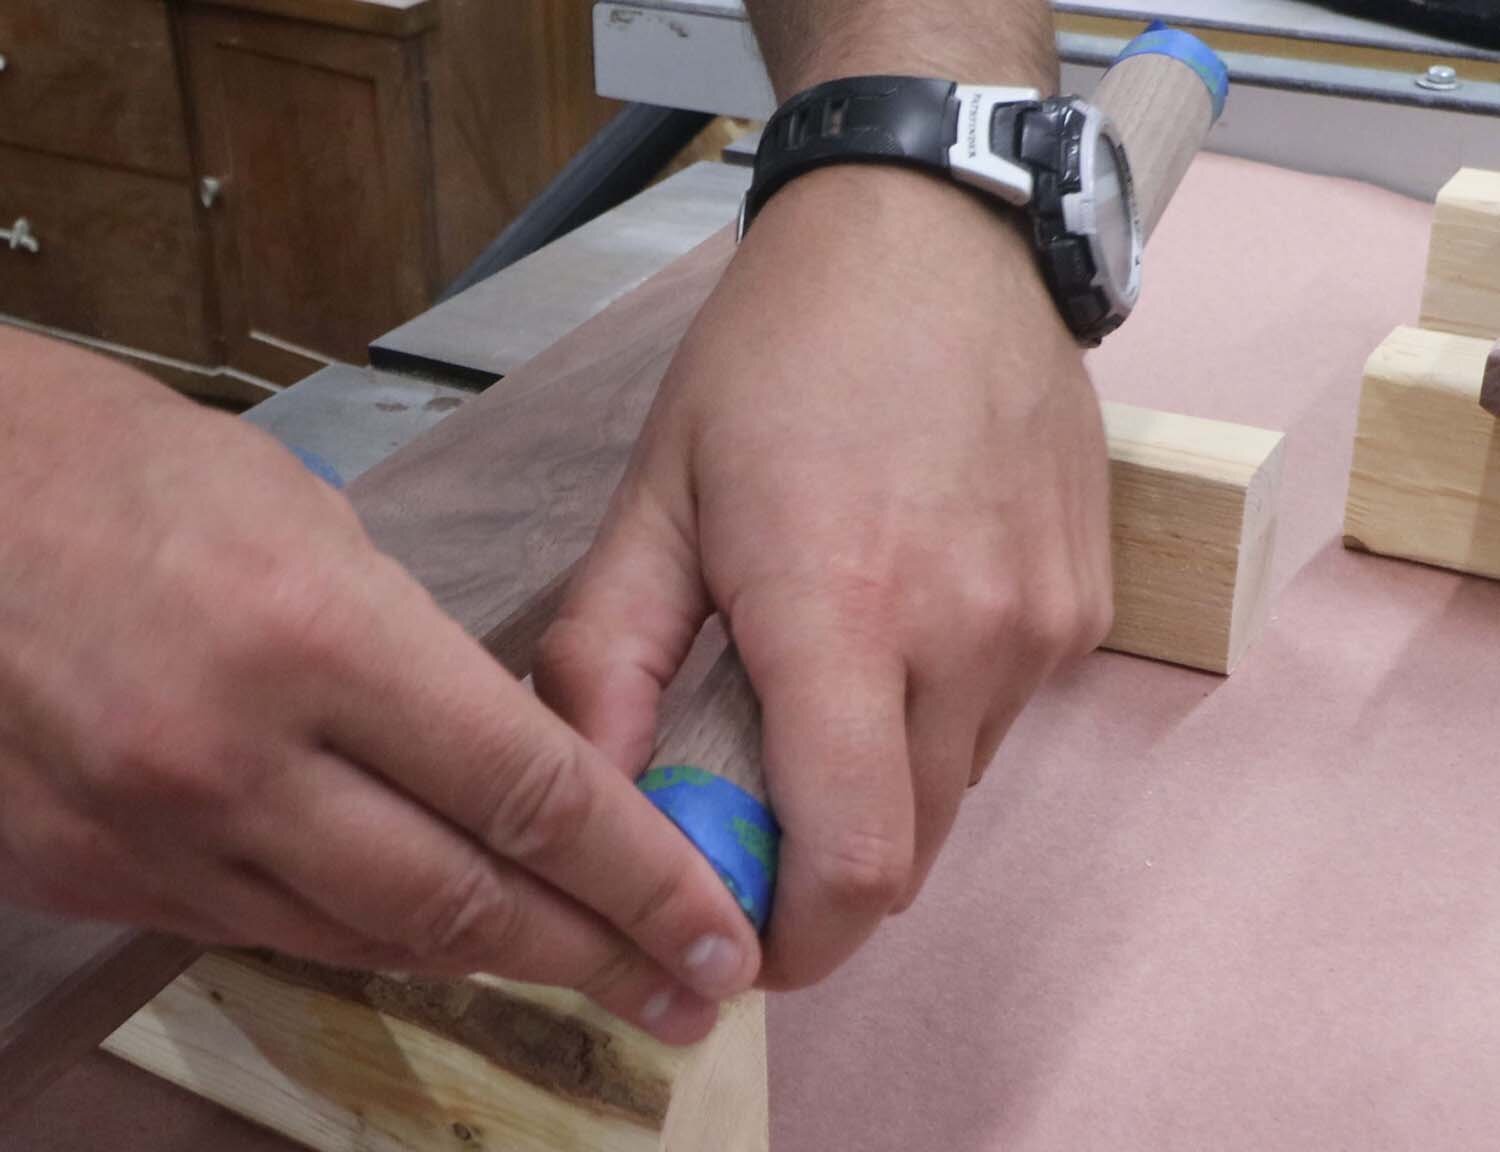
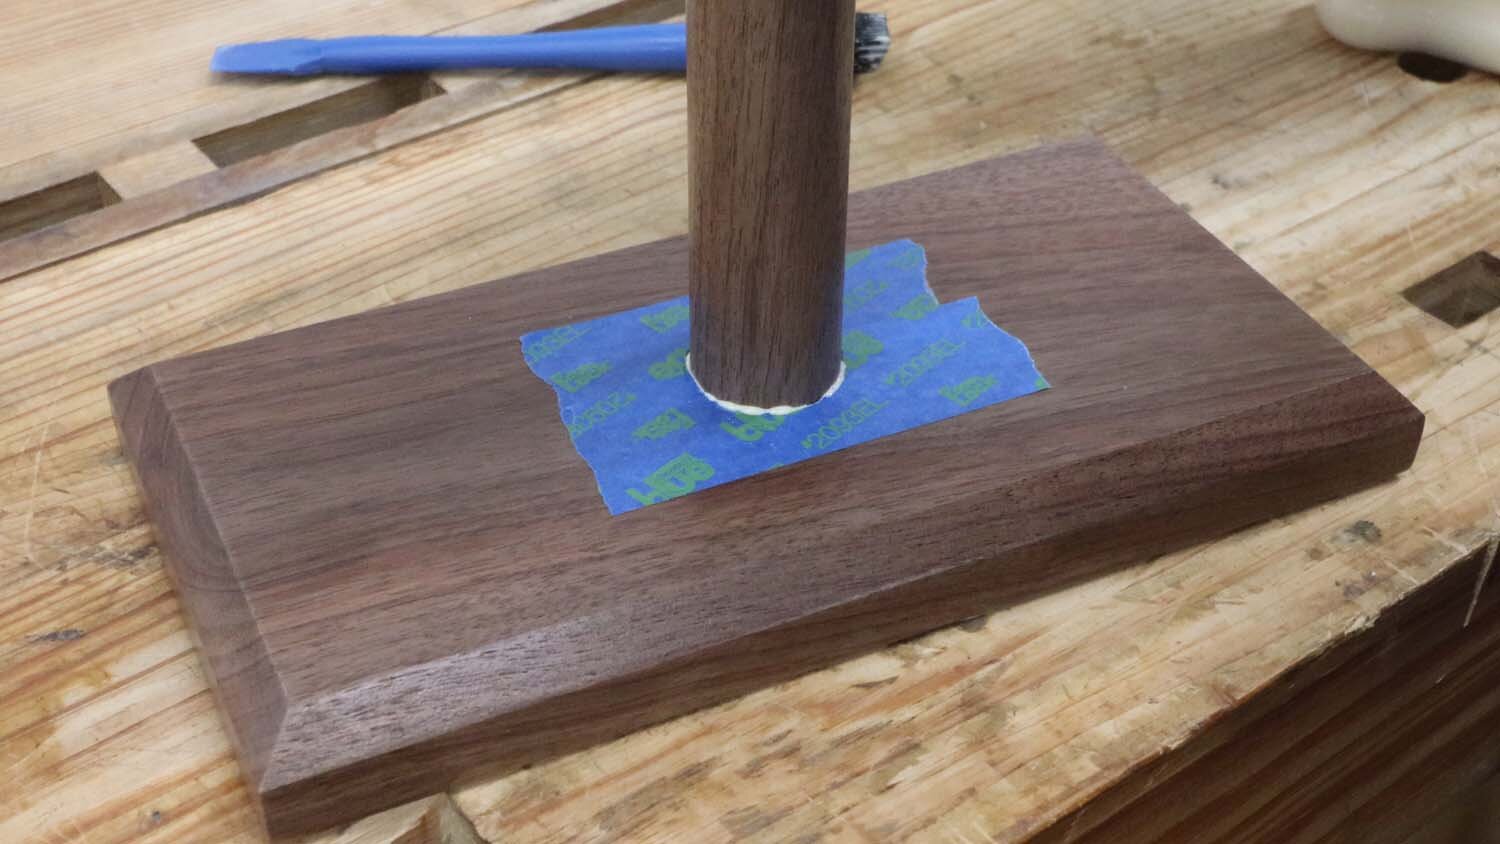
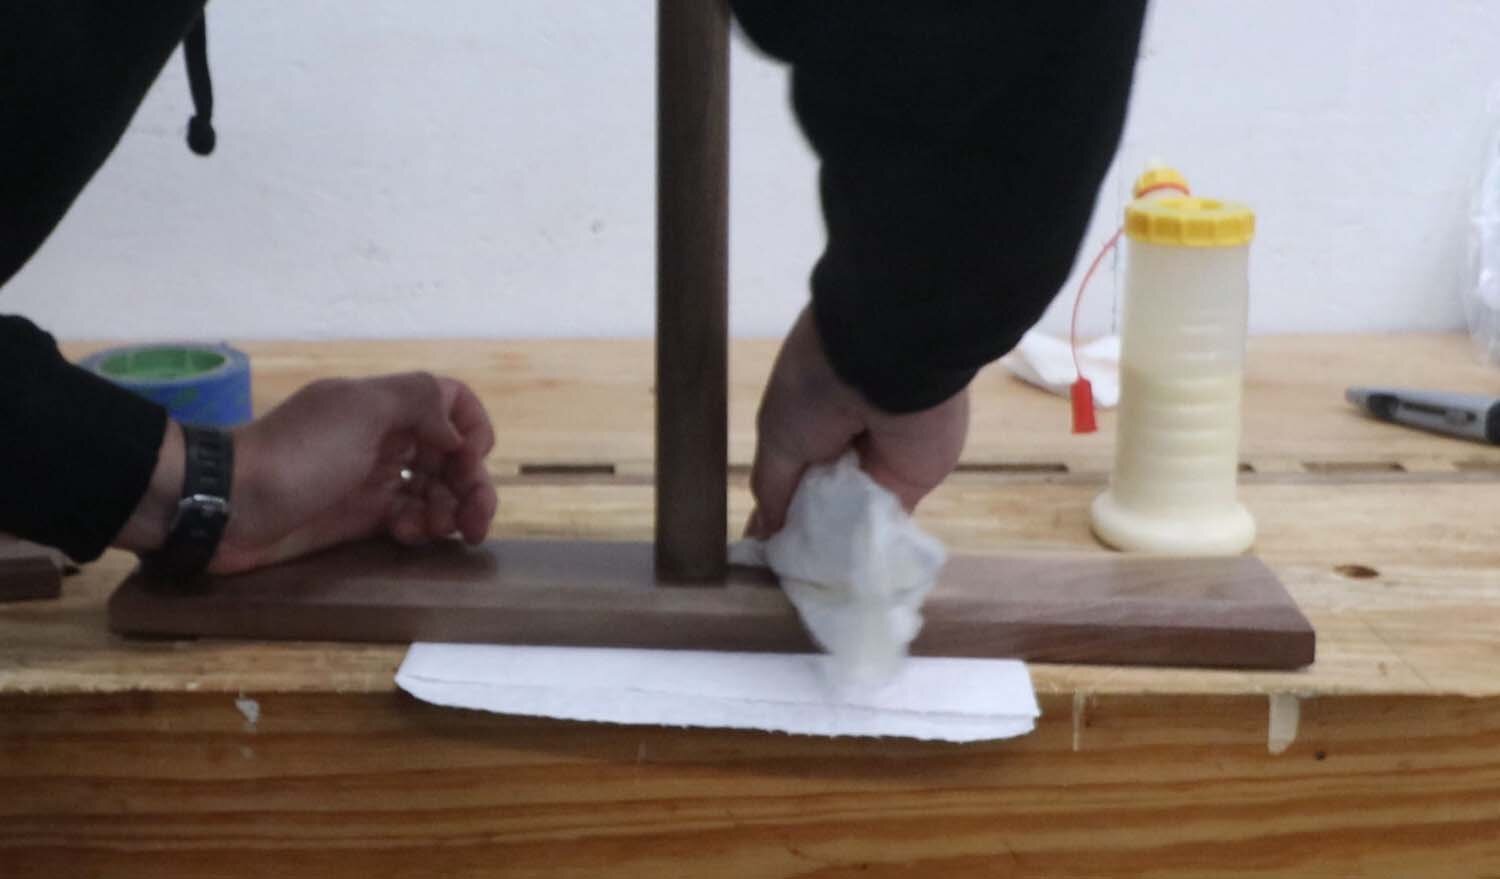
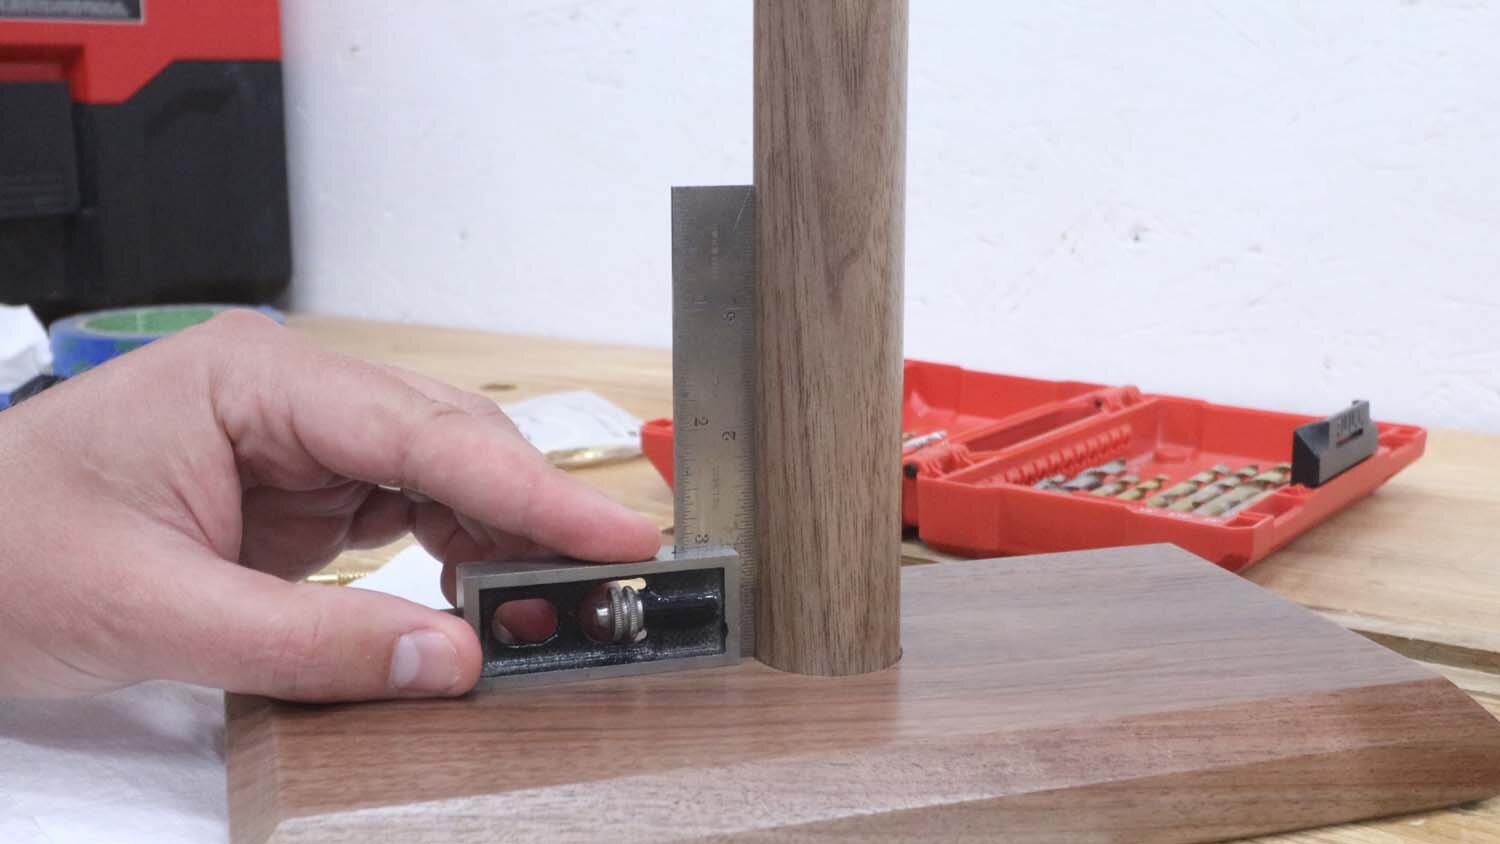
After applying the requisite number of finish coats and letting dry, remove the tape from the ends of the dowel. Squirt some glue in the recess drilled in the bottom piece and spread it around with a brush. Do the same to one end of the dowel, and then insert the dowel until it's seated in the recess. Use a combination square to check that the dowel is square to the bottom piece, and clean up any glue squeeze-out with a damp cloth. Set aside to dry for at least a half hour.
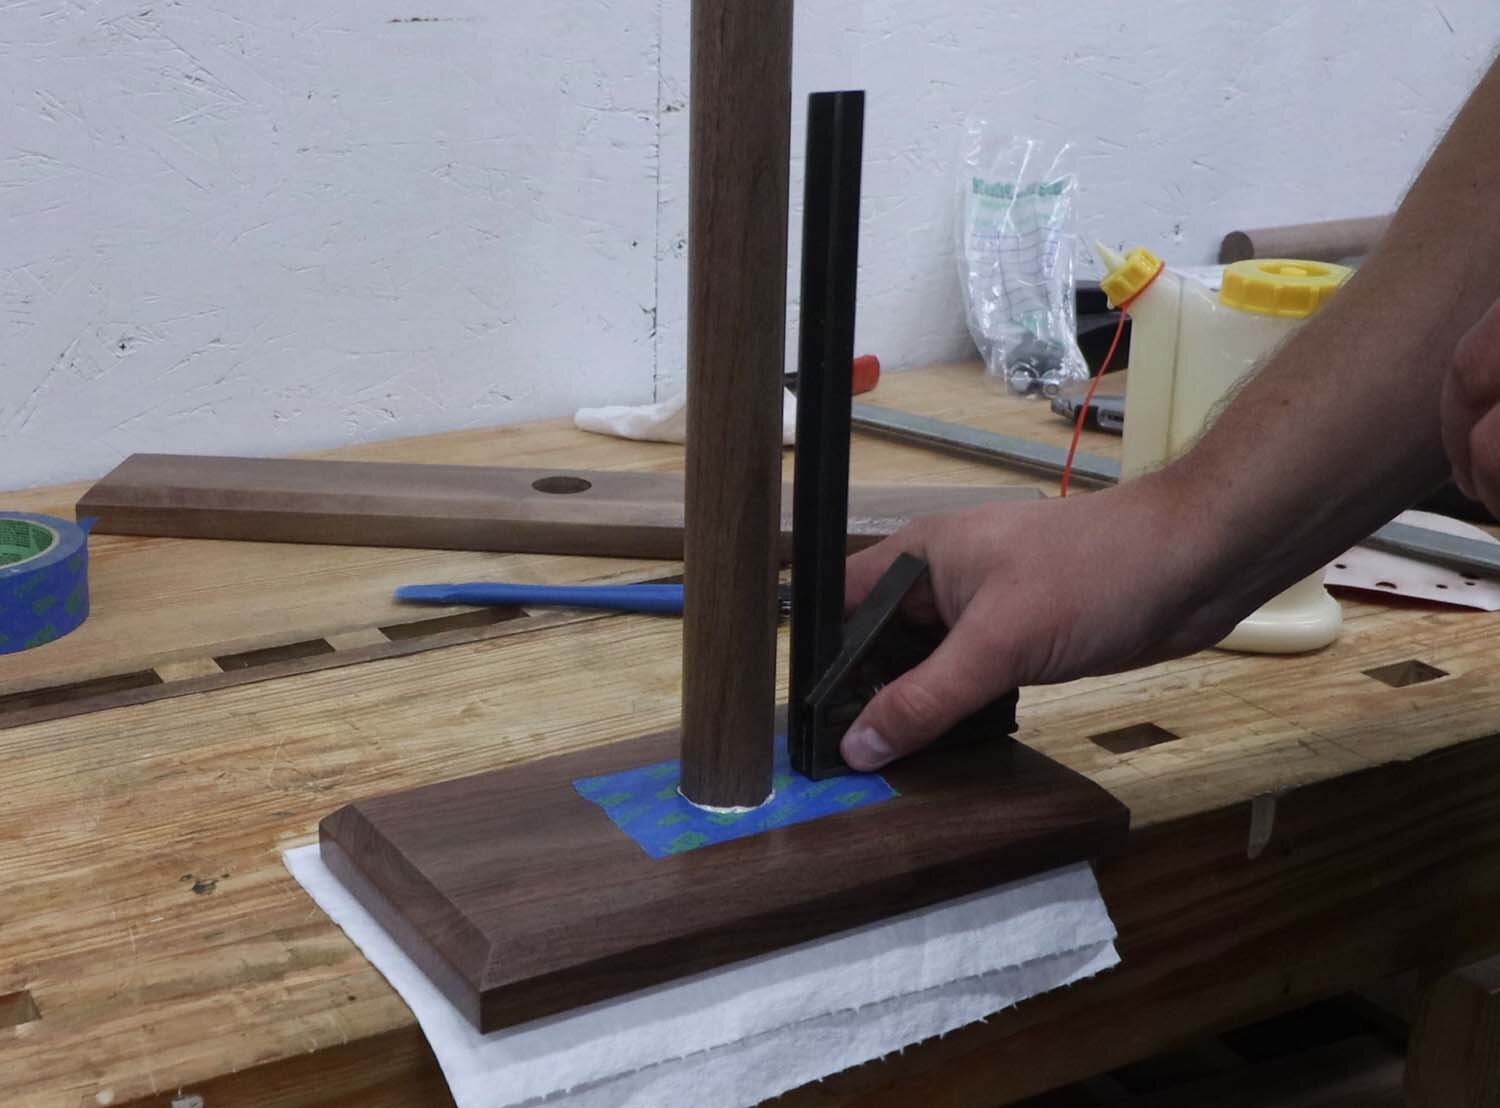
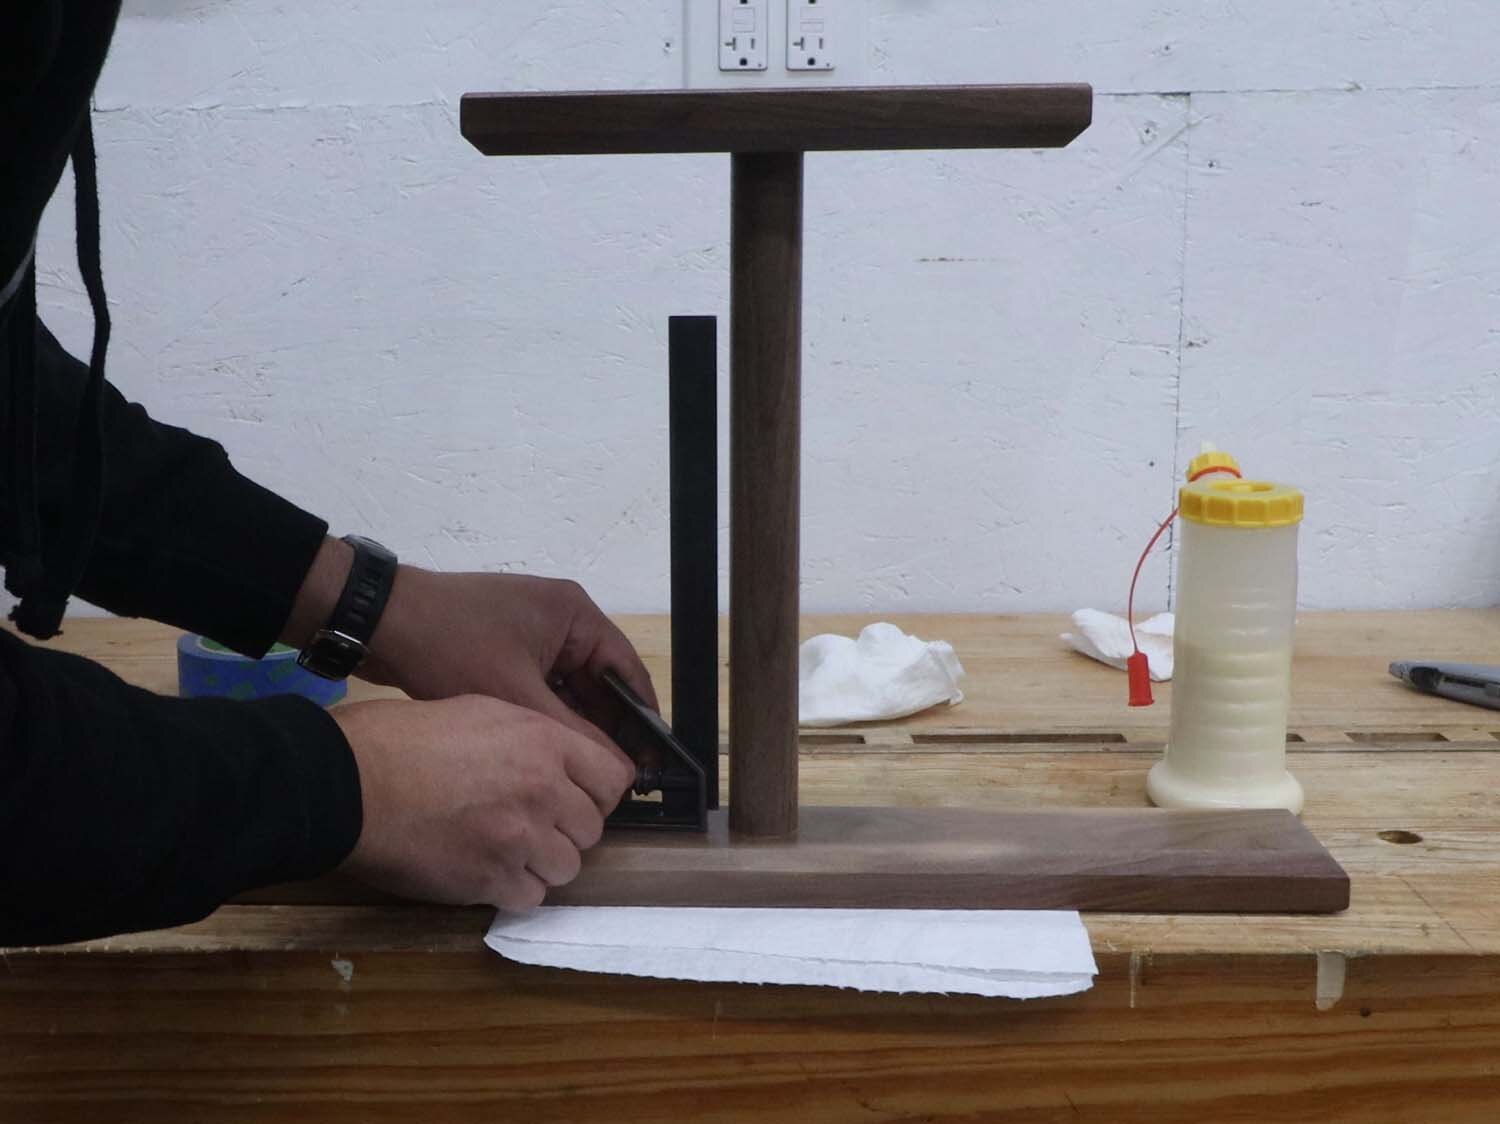
Repeat the steps above with the top piece, and check for square. You'll also have to check that the top and bottom pieces are parallel and not rotated with respect to each other. This is probably most easily done by eye sighting down each piece.
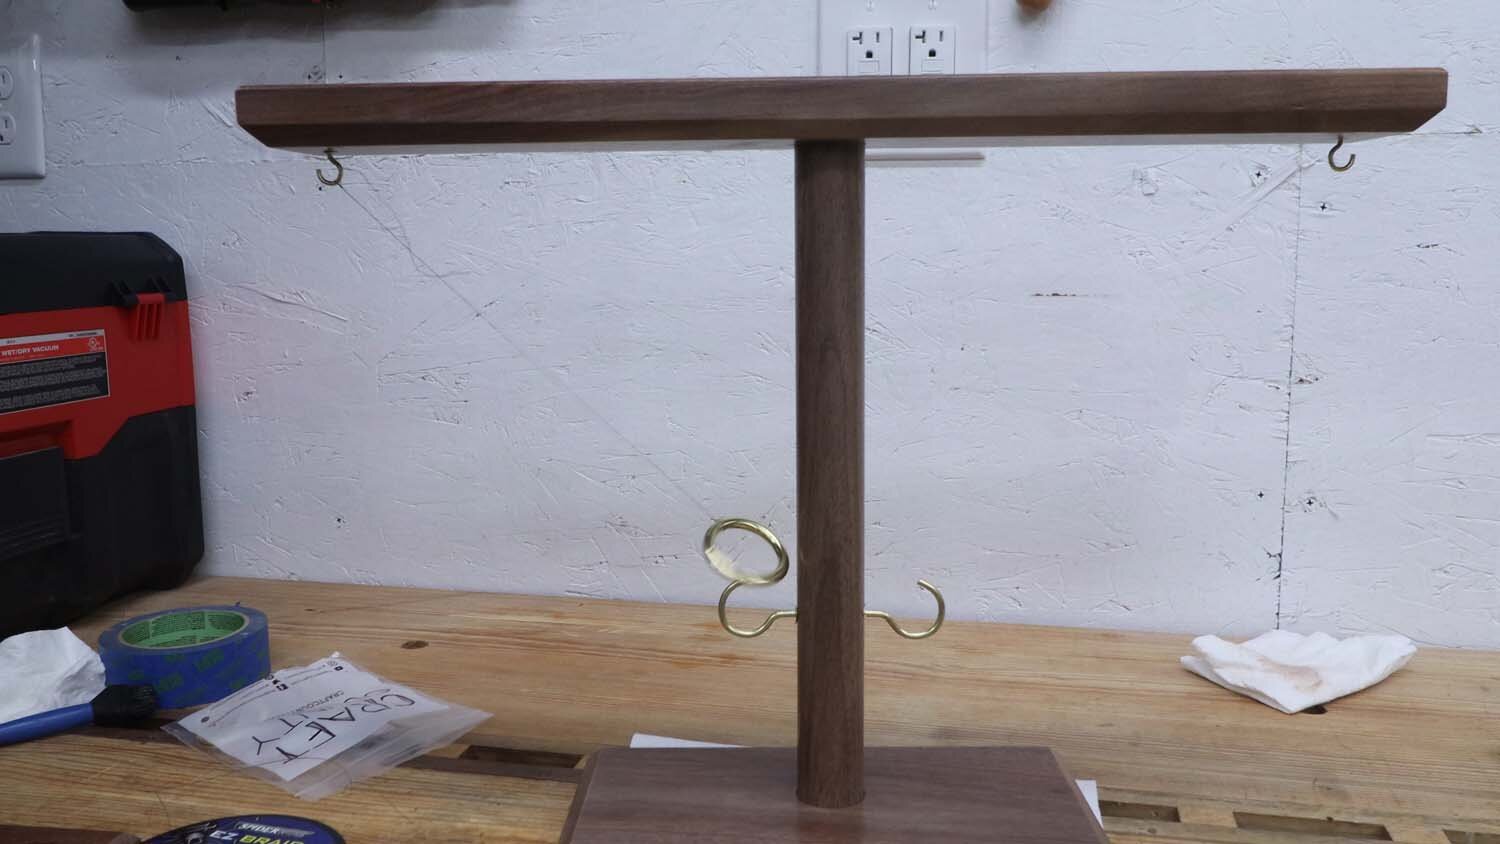
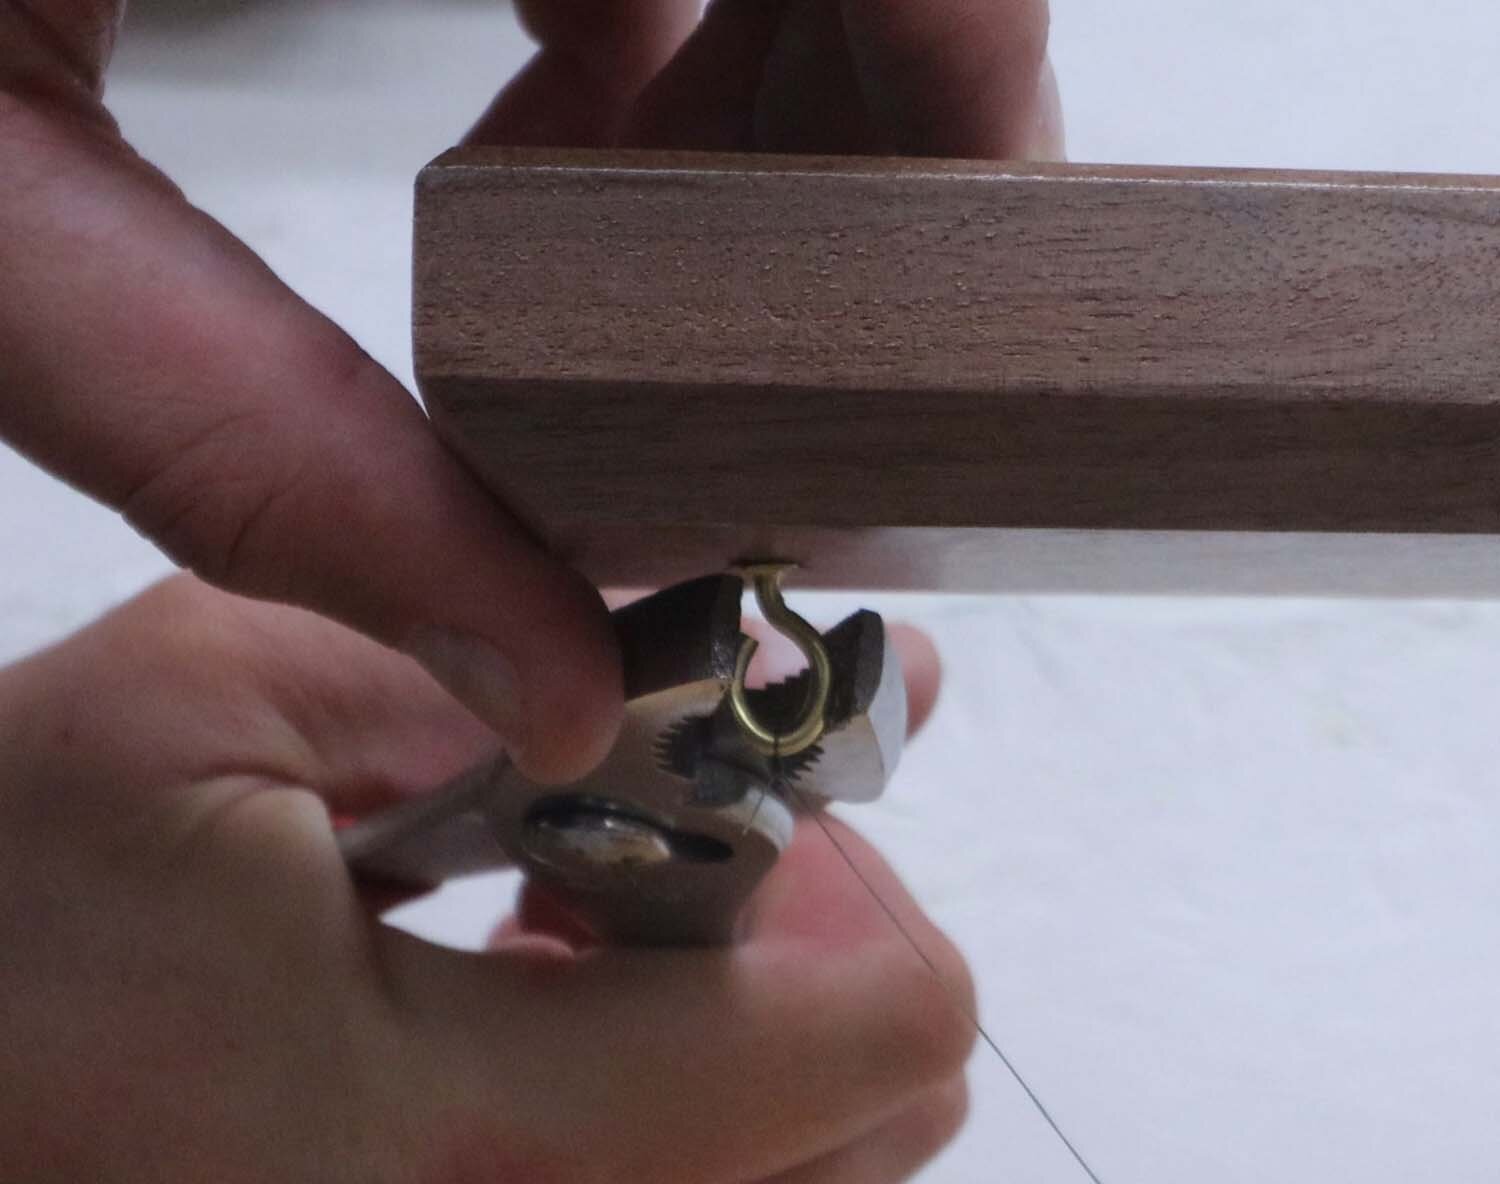
After the glue dries, the last step is to add the hooks and rings.
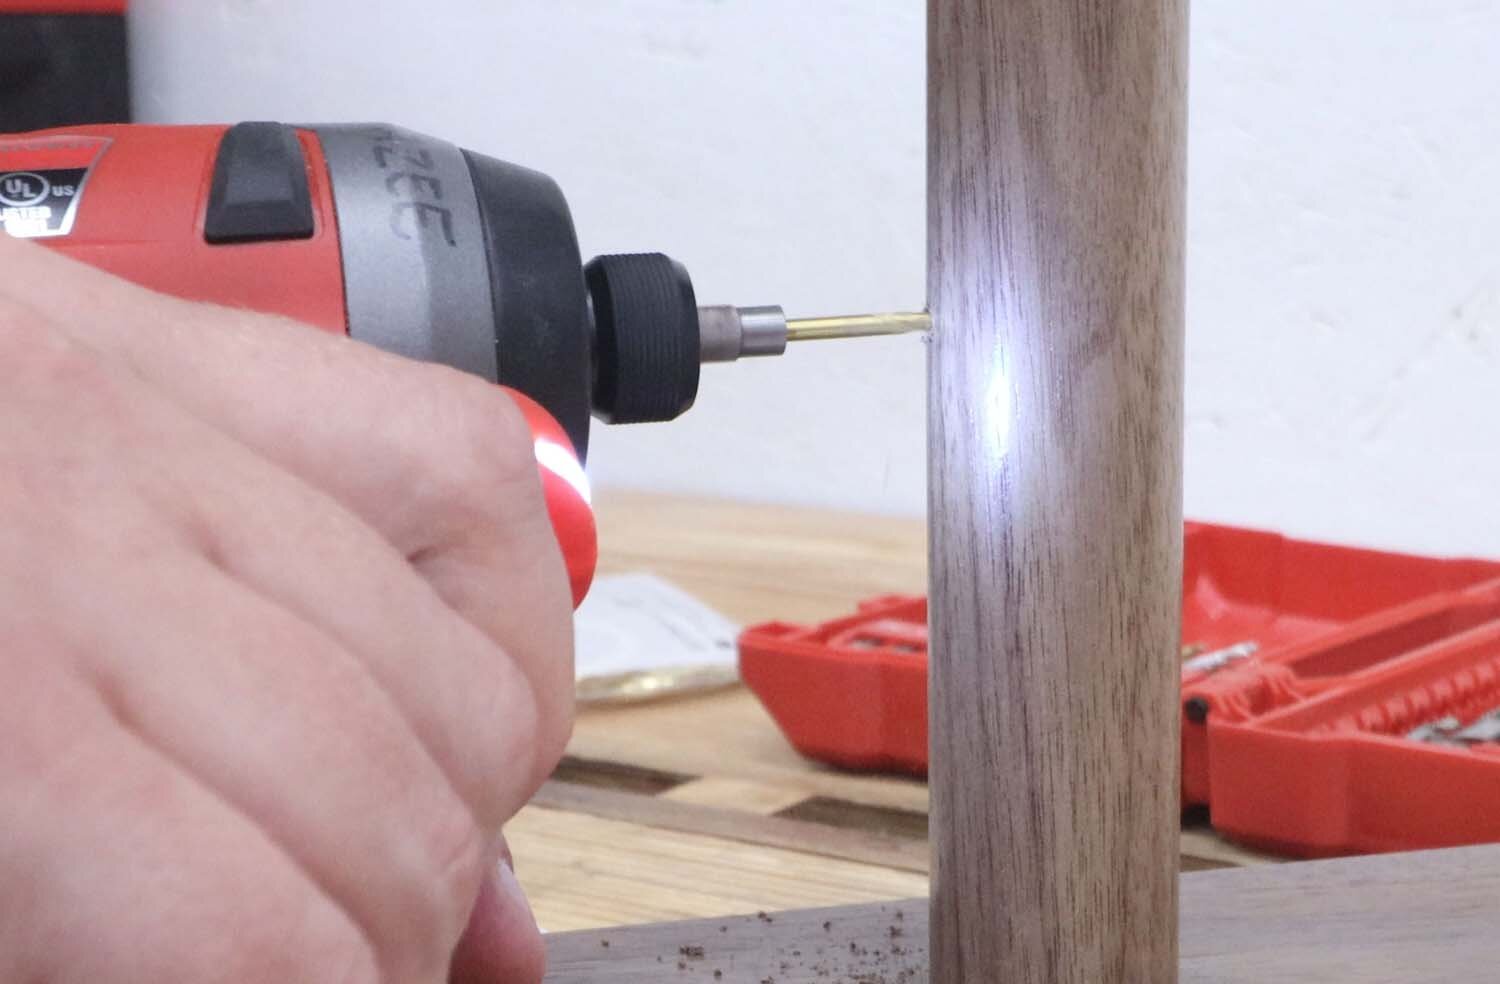
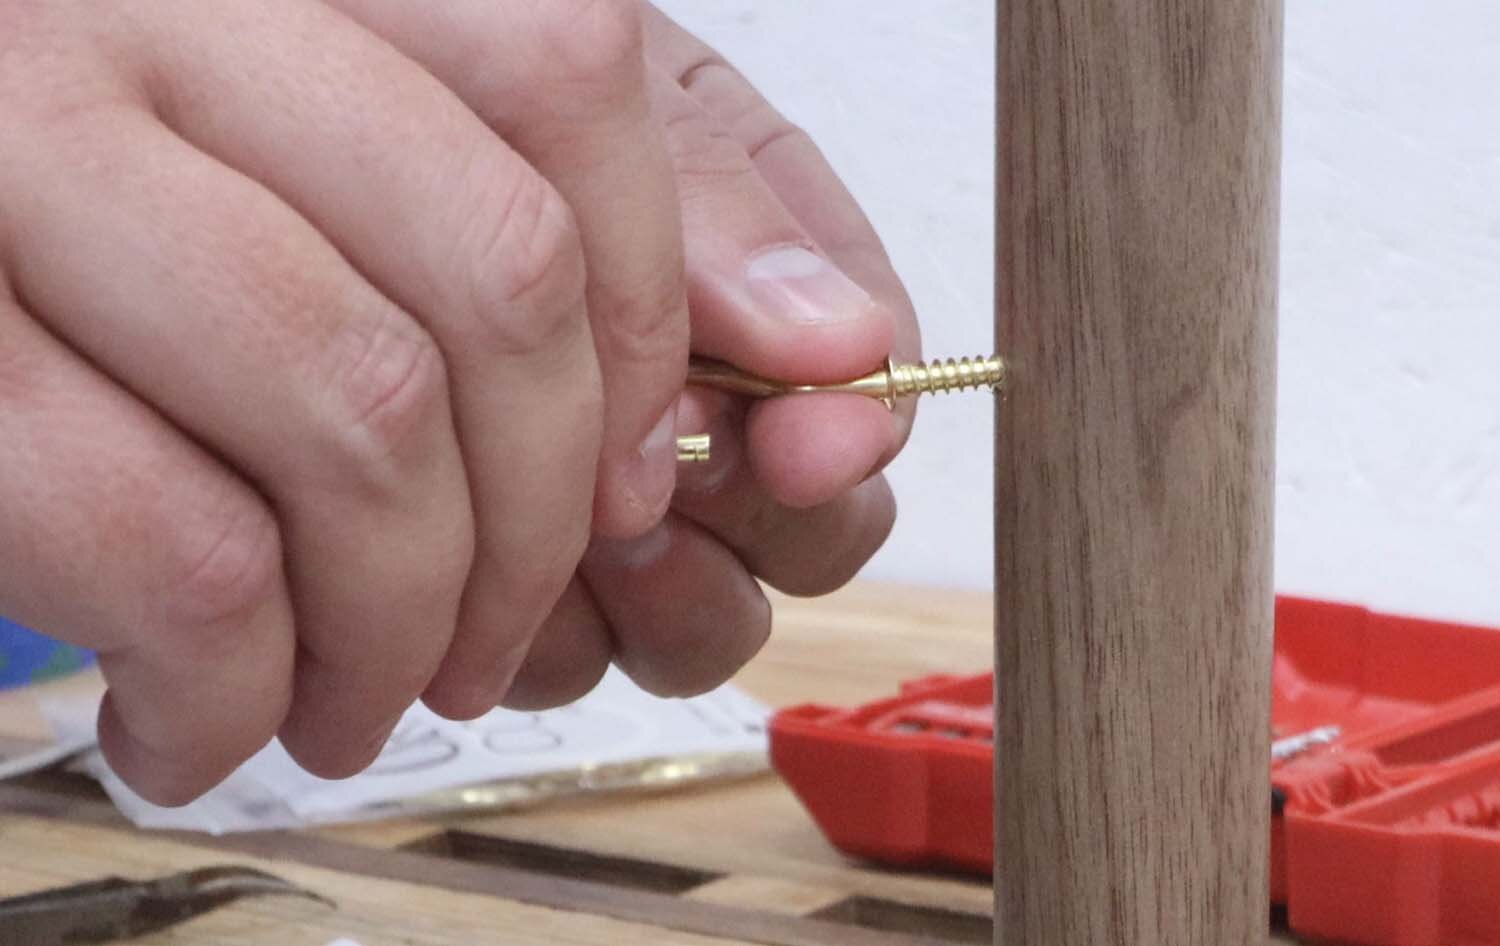
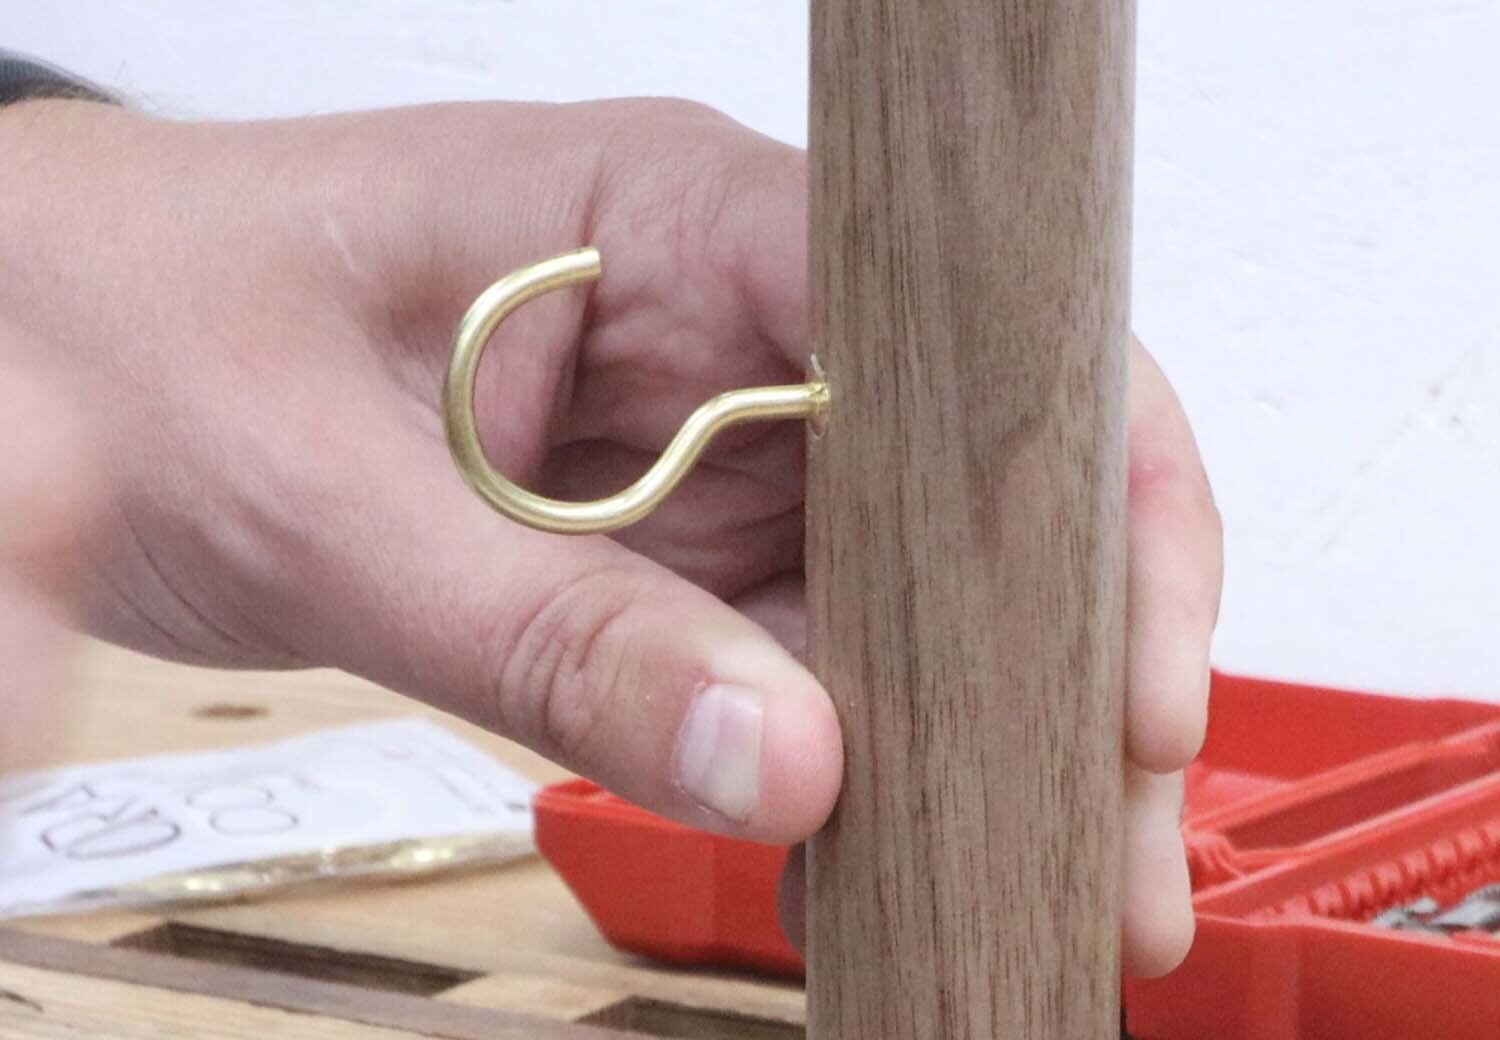
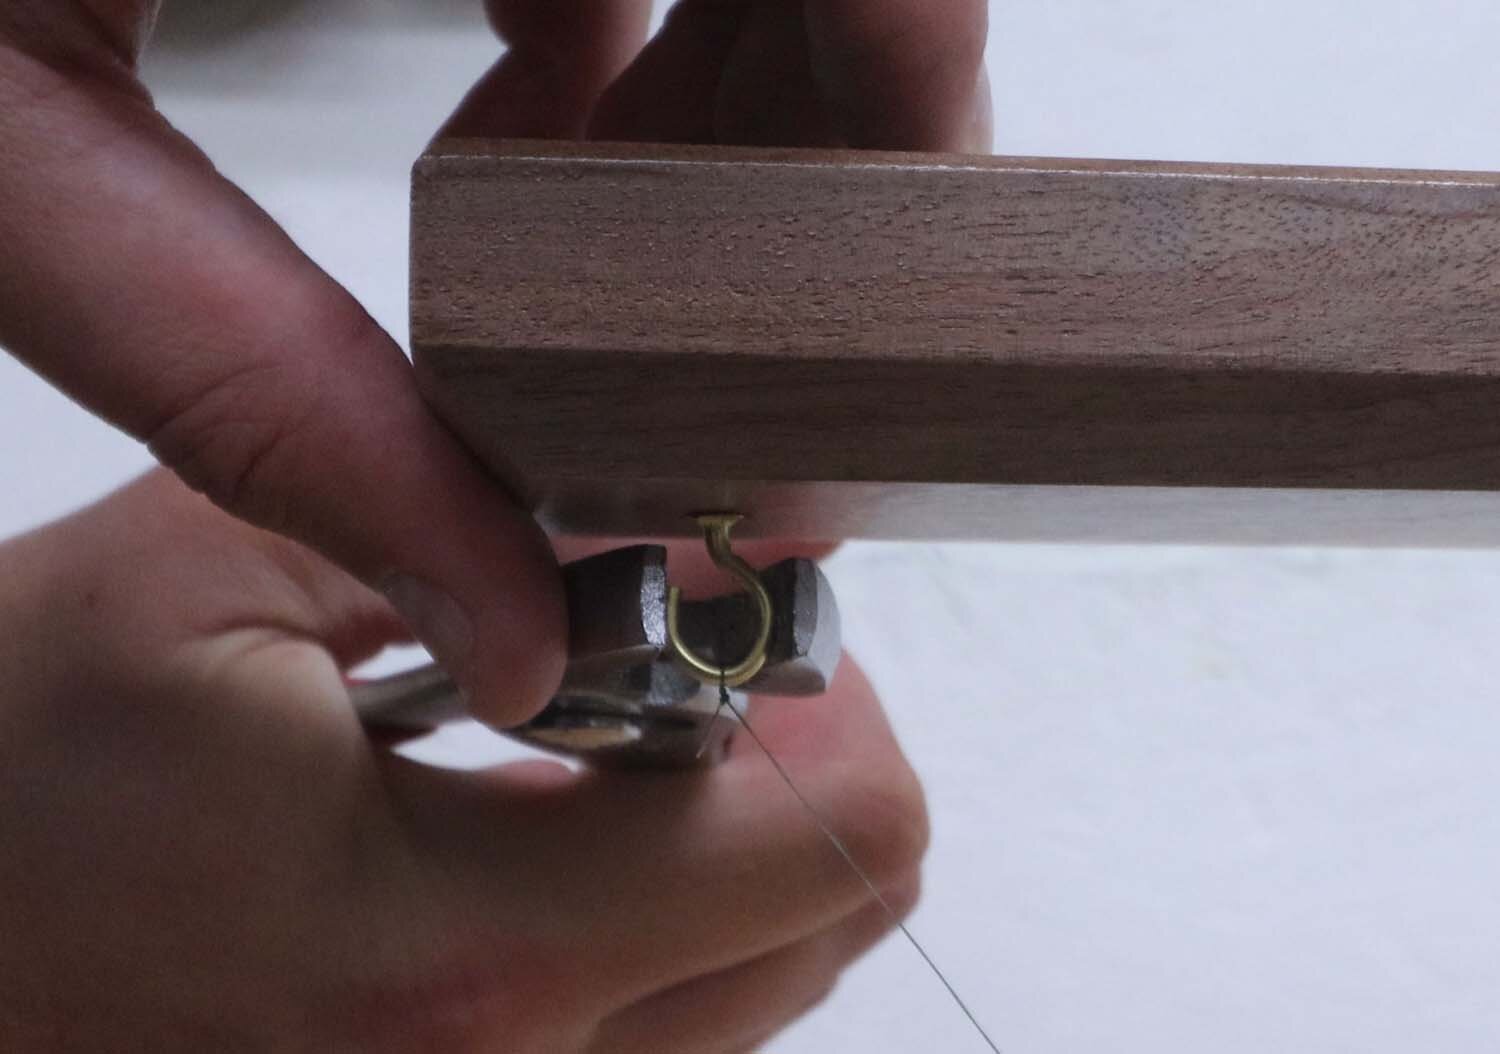
On the underside of the top piece, make a mark 1" (25 mm) in from the end and centered on the board. Pre-drill with a bit slightly smaller than the screw end of the 5/8" (16 mm) screw cup hook, and then screw this hook in. You may have to use a screwdriver to increase your leverage when screwing this in.

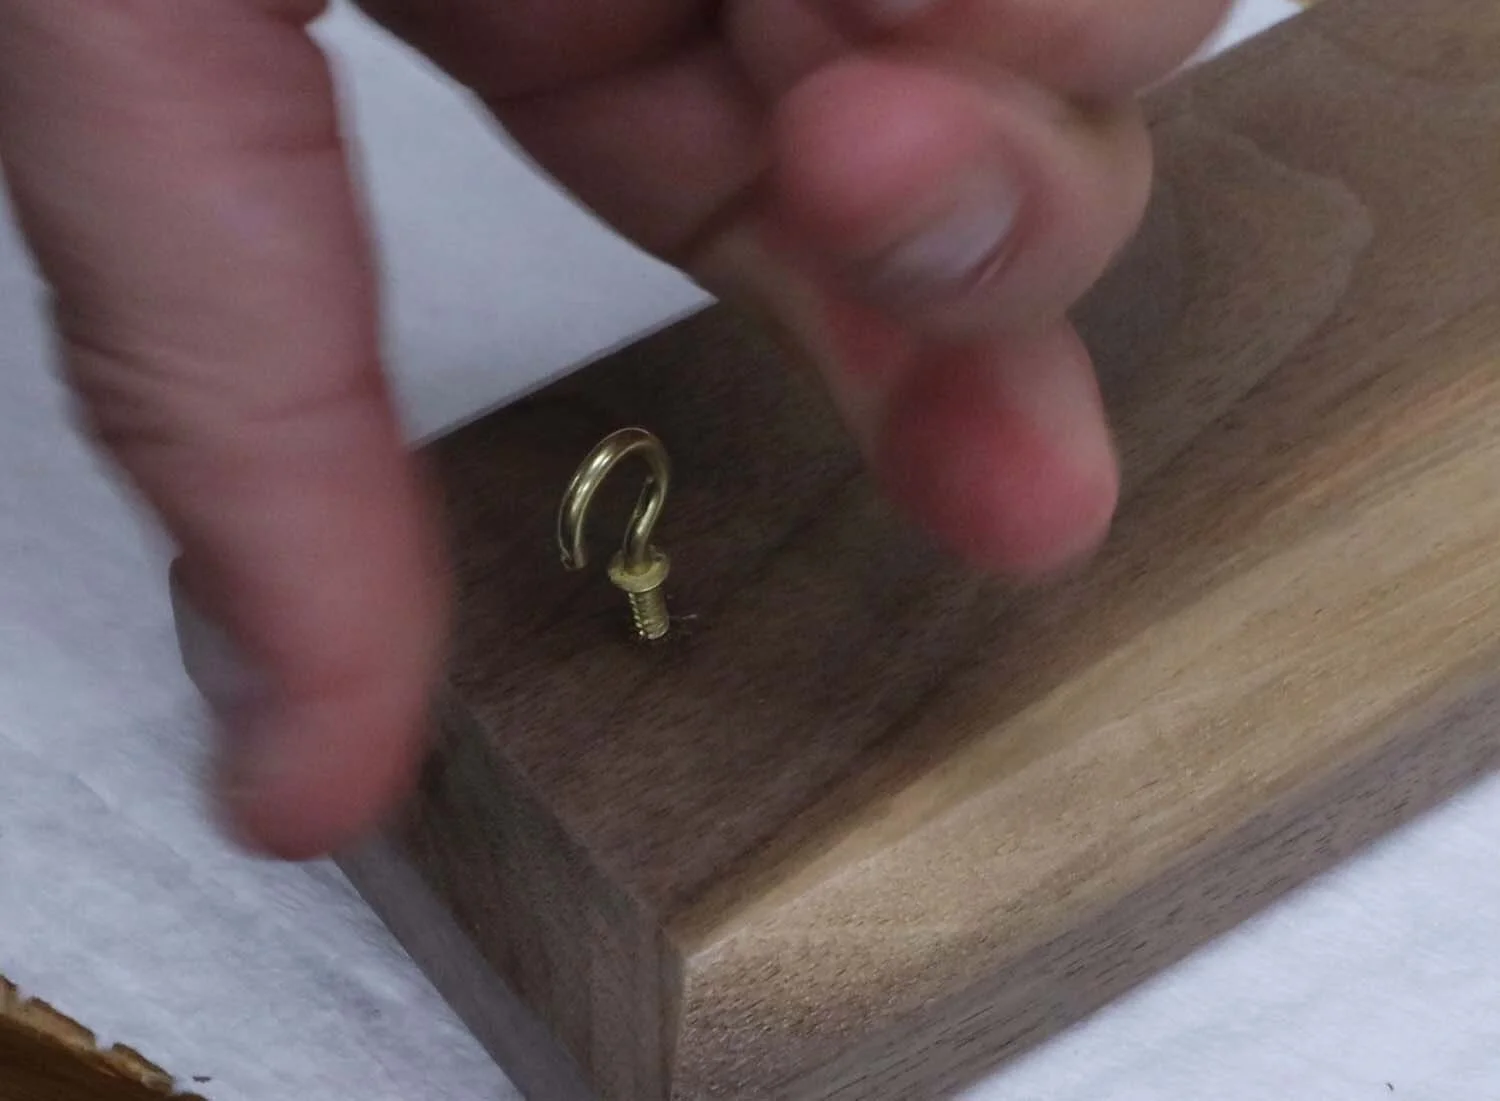
The lower hooks, which catch the rings, are placed at 3-1/2" (90 mm) from the top of the bottom piece. Again, pre-drill with a bit slightly smaller than the screw portion of the 1-1/2" (38 mm) screw cup hooks, and twist them in.
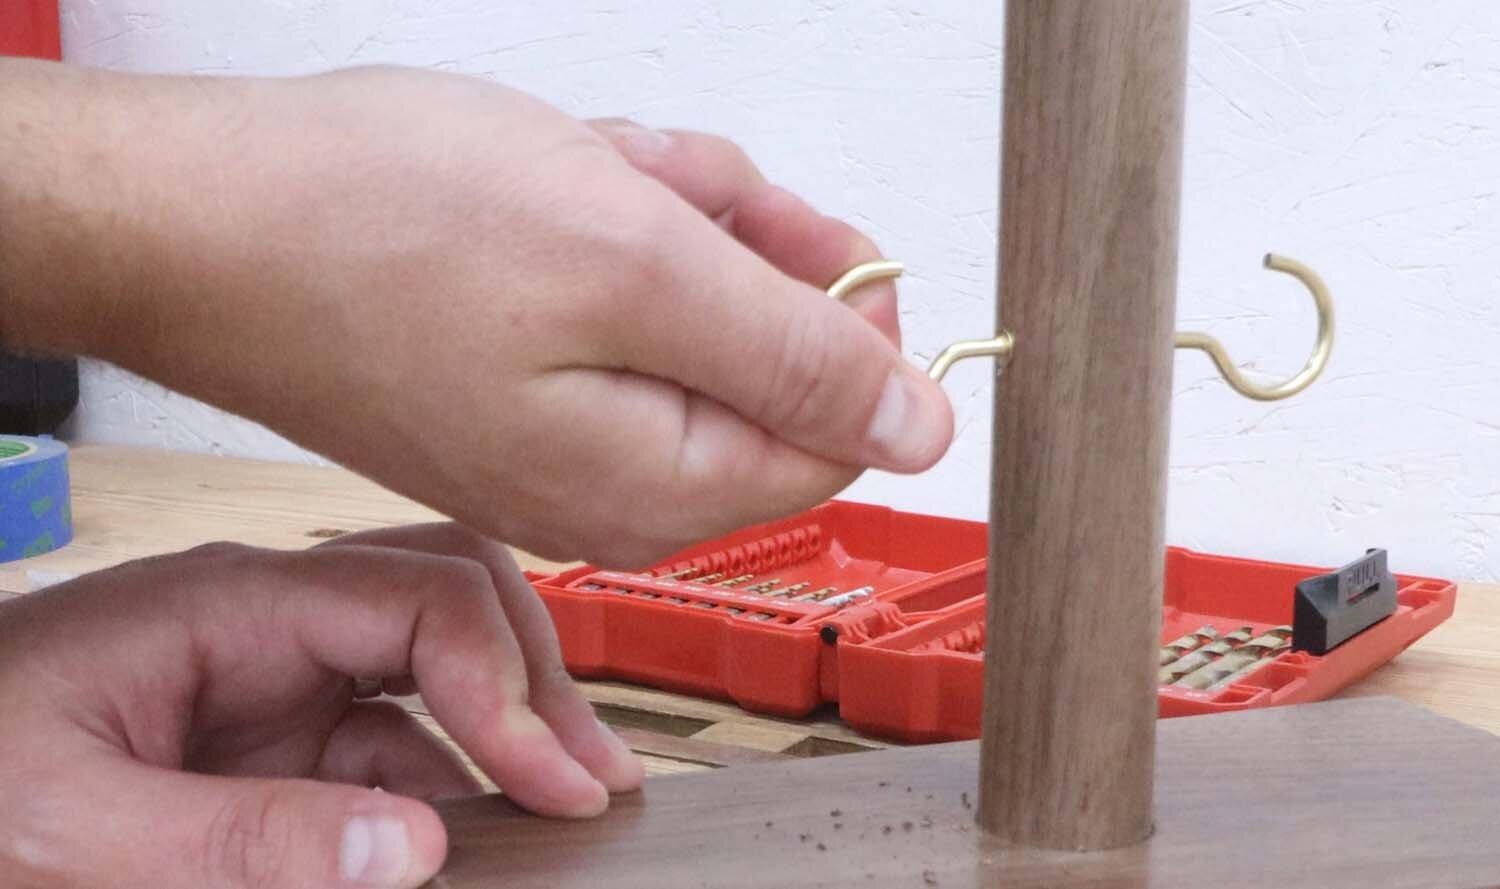
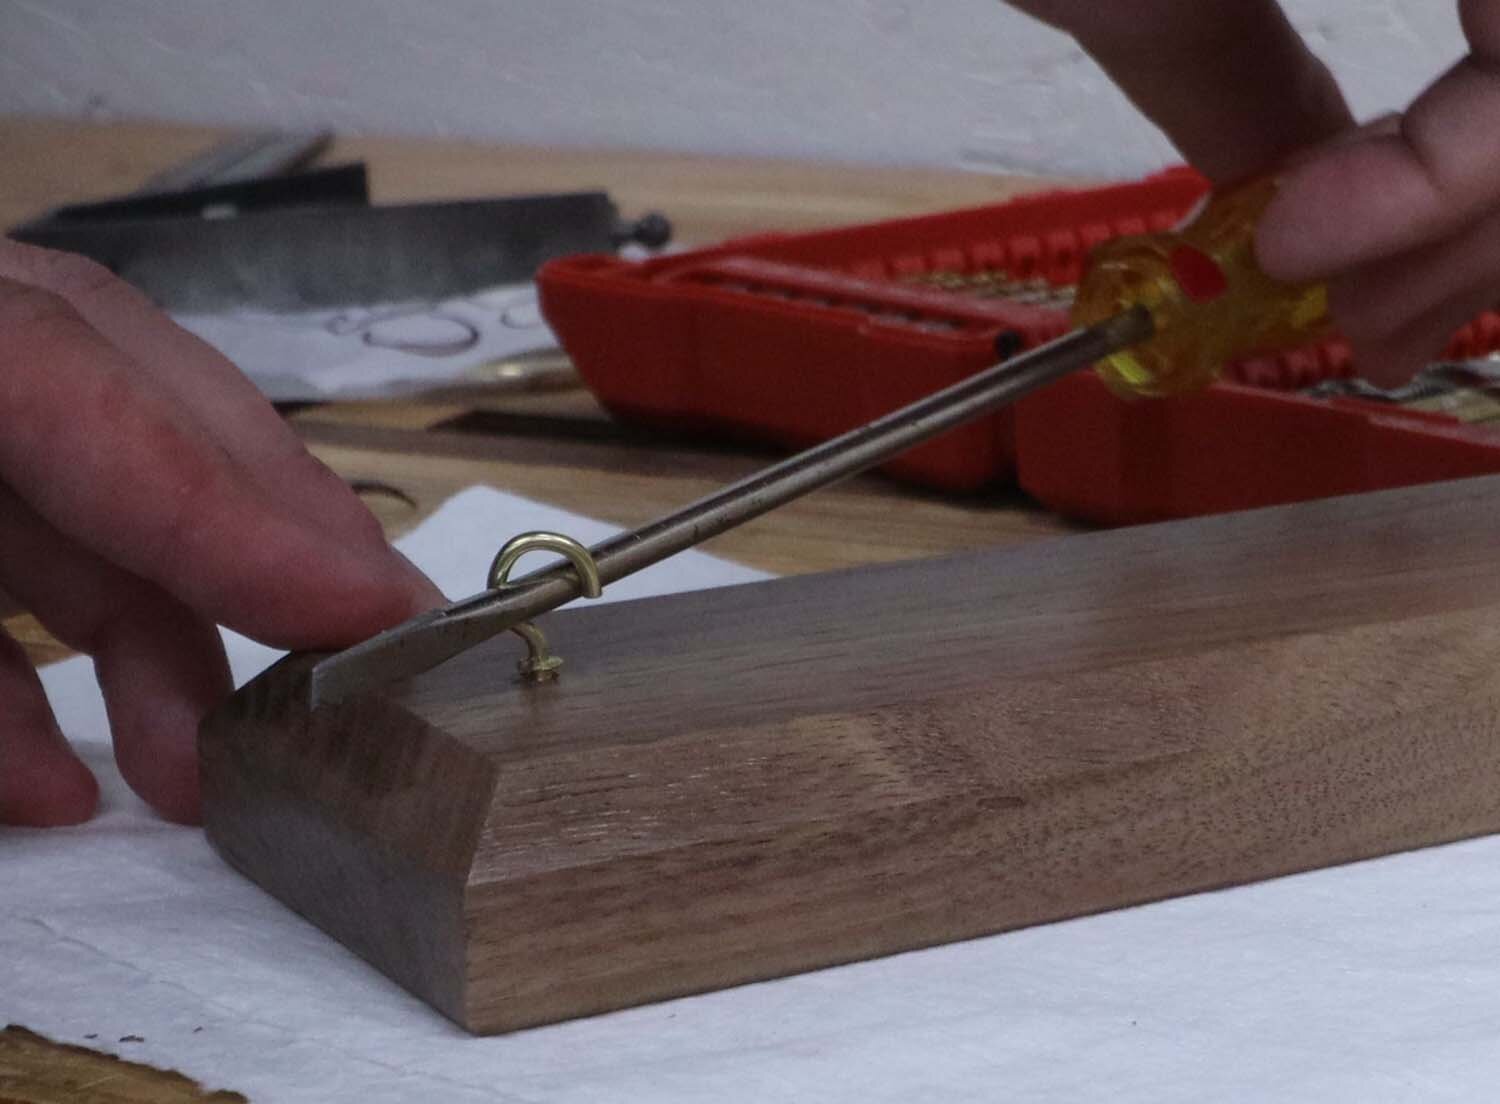
Use your favorite knot to tie some string or fishing line to the two 1-1/4" (32 mm) brass O-rings. Hooking one of the O-rings to the lower hooks, stretch the string up and tie it to the matching upper hook. You want the length of the string to be just enough that the ring can swing and be caught on the hook, but not so long that it overswings and bangs into the dowel, or so short that it can't even get there.
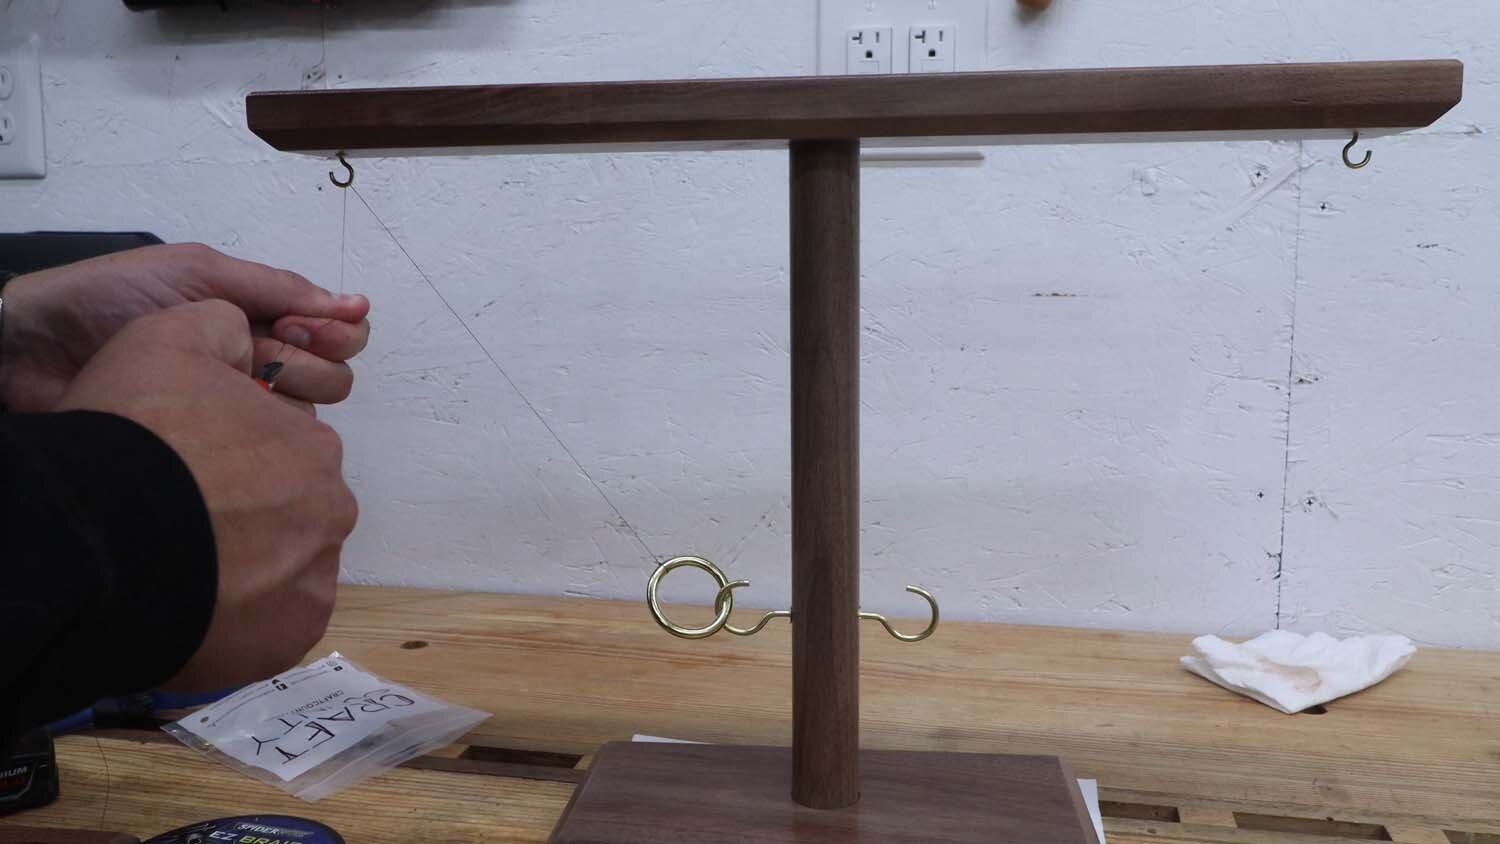
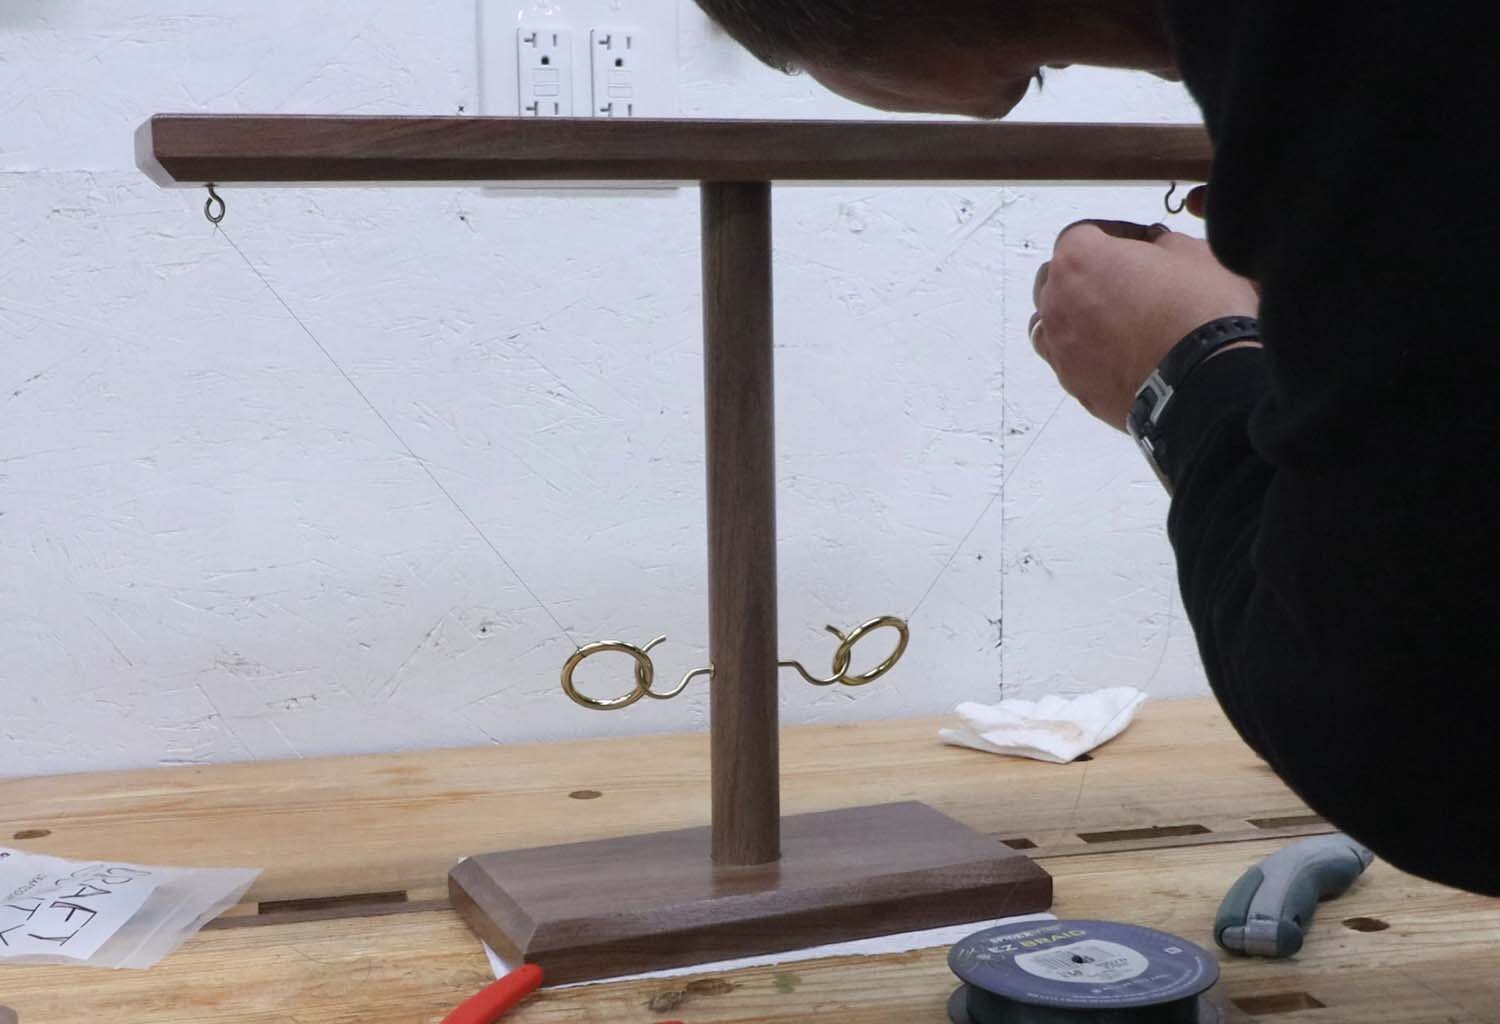
I like to use a pliers to squeeze the upper hooks closed, adding a bit of insurance that the string won't slip off.
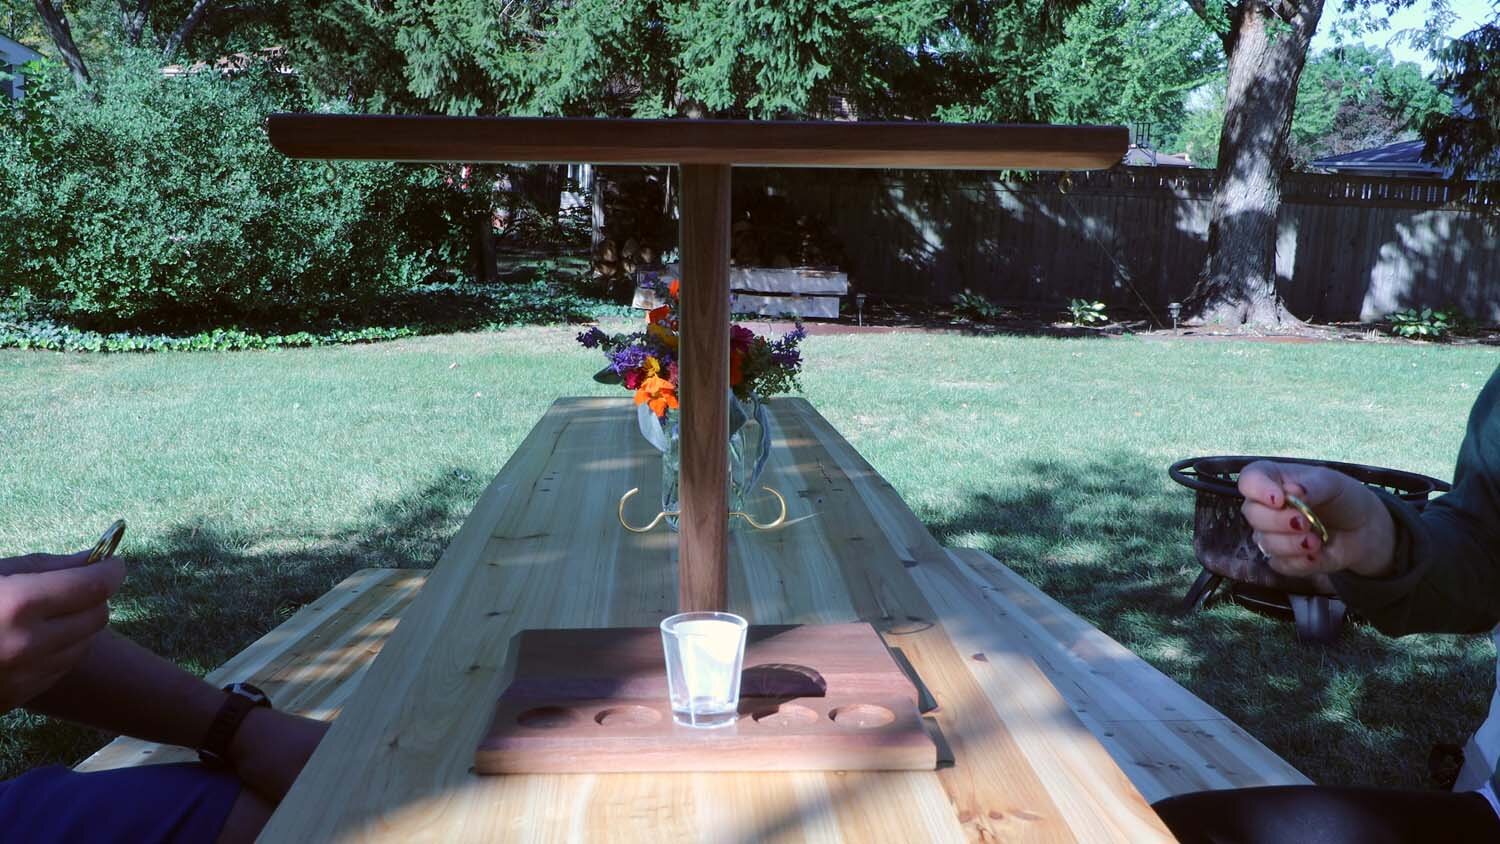
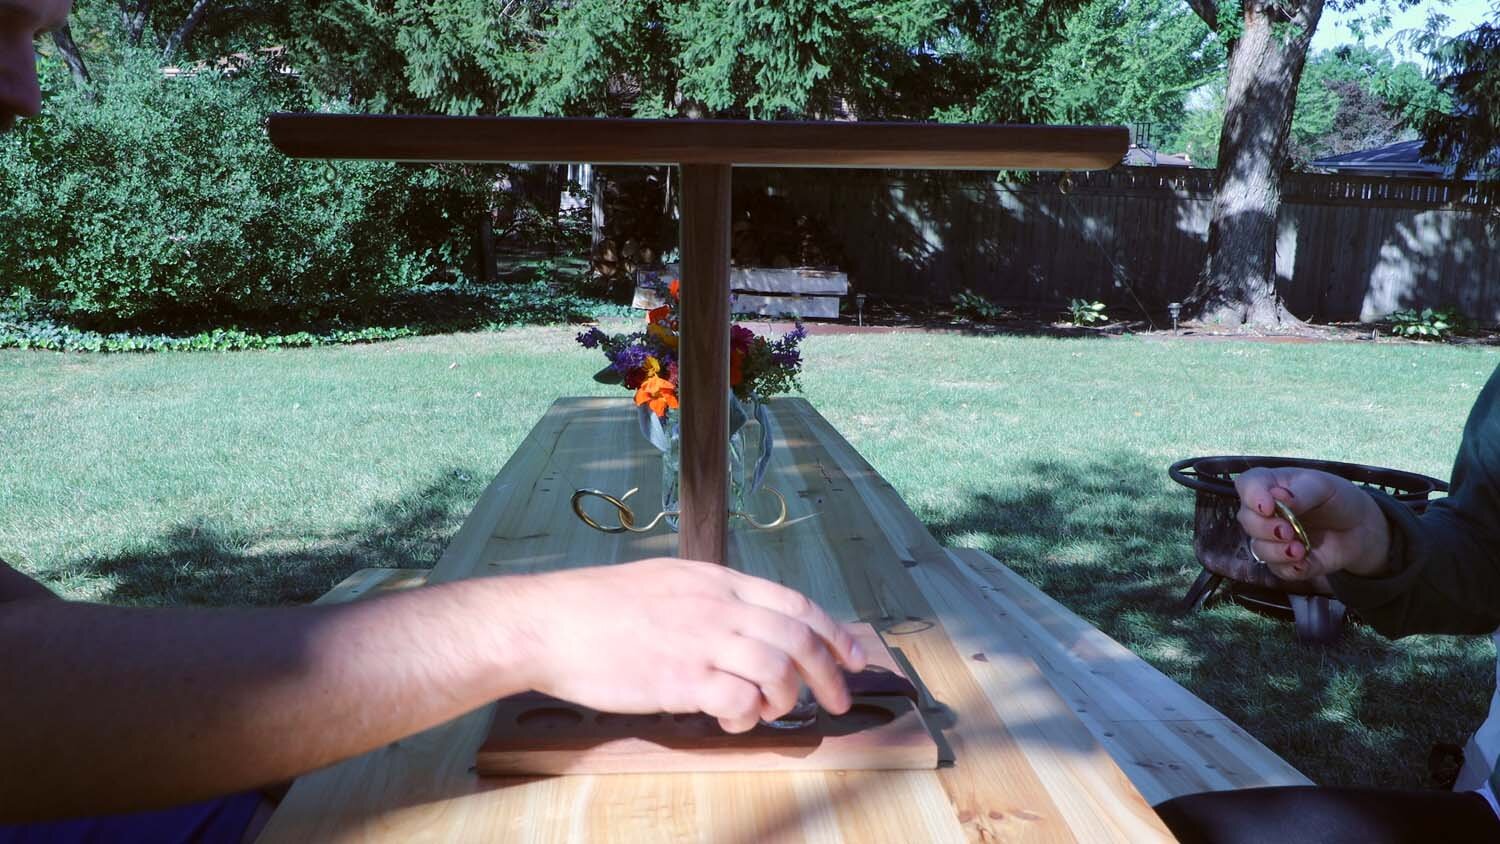
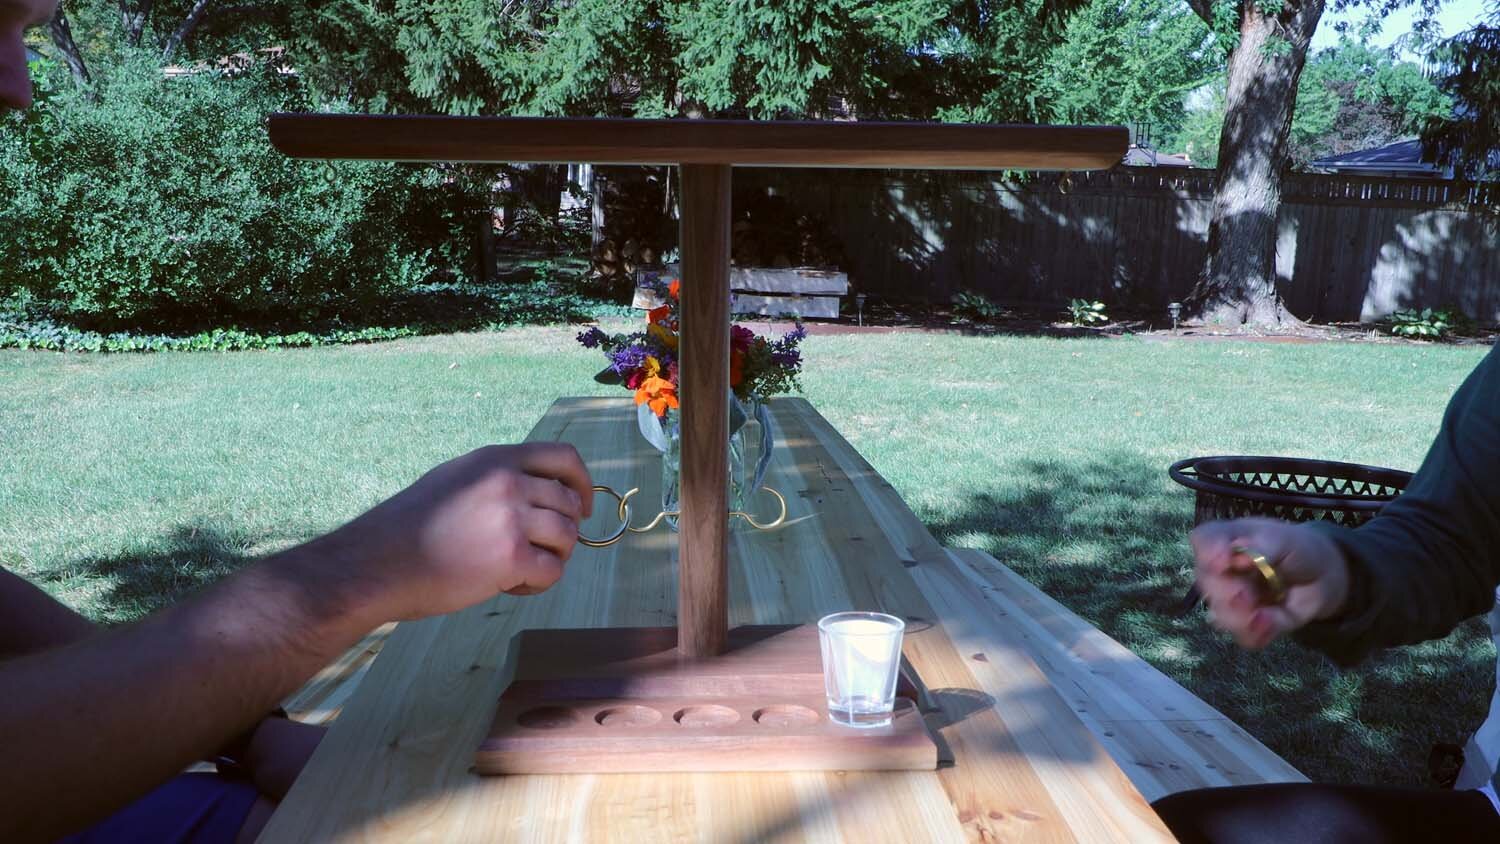
Once the rings are attached, the game is finished!
The game is really simple to play. The two players take turns trying to hook their ring on the dowel, and if they're successful they advance the shot glass one step towards the other player. Once the shot glass is moved off the score board, a player has one, and the loser takes a shot of beer (or something stronger, if that's your jam; or nothing, if you're taking it slow).
Thanks for following along with this one, and I hope you have fun with your new game!
If you enjoyed this article, subscribe to my YouTube channel for more!
—————————————————————————————
Below is a listing of the supplies you will need. I have supplied Amazon Affiliate links to the products I used. As an Amazon Associate I earn from qualifying purchases.
Supplies:
1" x 3" x 20" (25 x 75 x 500) (top piece)
1" x 3" x 10" (25 x 75 x 150) with (5) 1-3/8" x 1/4" (35 mm x 6 mm) deep recesses drilled (score board)
1" x 5" x 10" (25 x 125 x 150) (bottom piece)
1-1/4" (32 mm) dowel, 14" (350 mm) long (post)