
Fold-Down Welding Table for Small Workspaces
I've been recently getting into welding after picking up an inexpensive flux-core welder and need a welding table to make projects easier. We have limited space in our small two-car garage, so a welding table that folds down against the wall is a must. I designed this folding welding table to take up minimal space when stored and to be easily made using commonly available steel pieces that you can pick up at any steel supplier. I have plans for this welding table available.
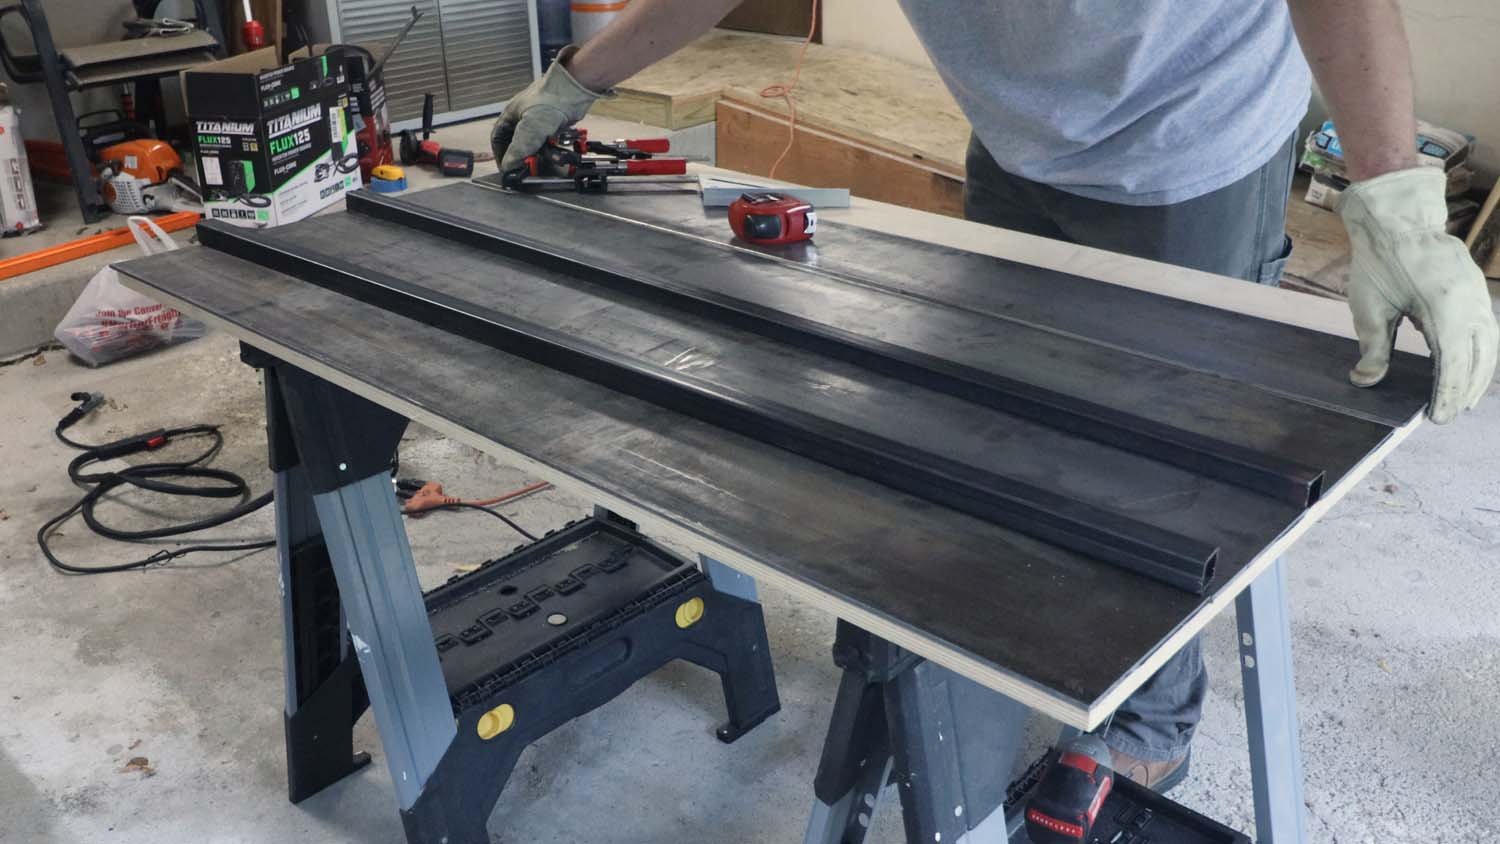
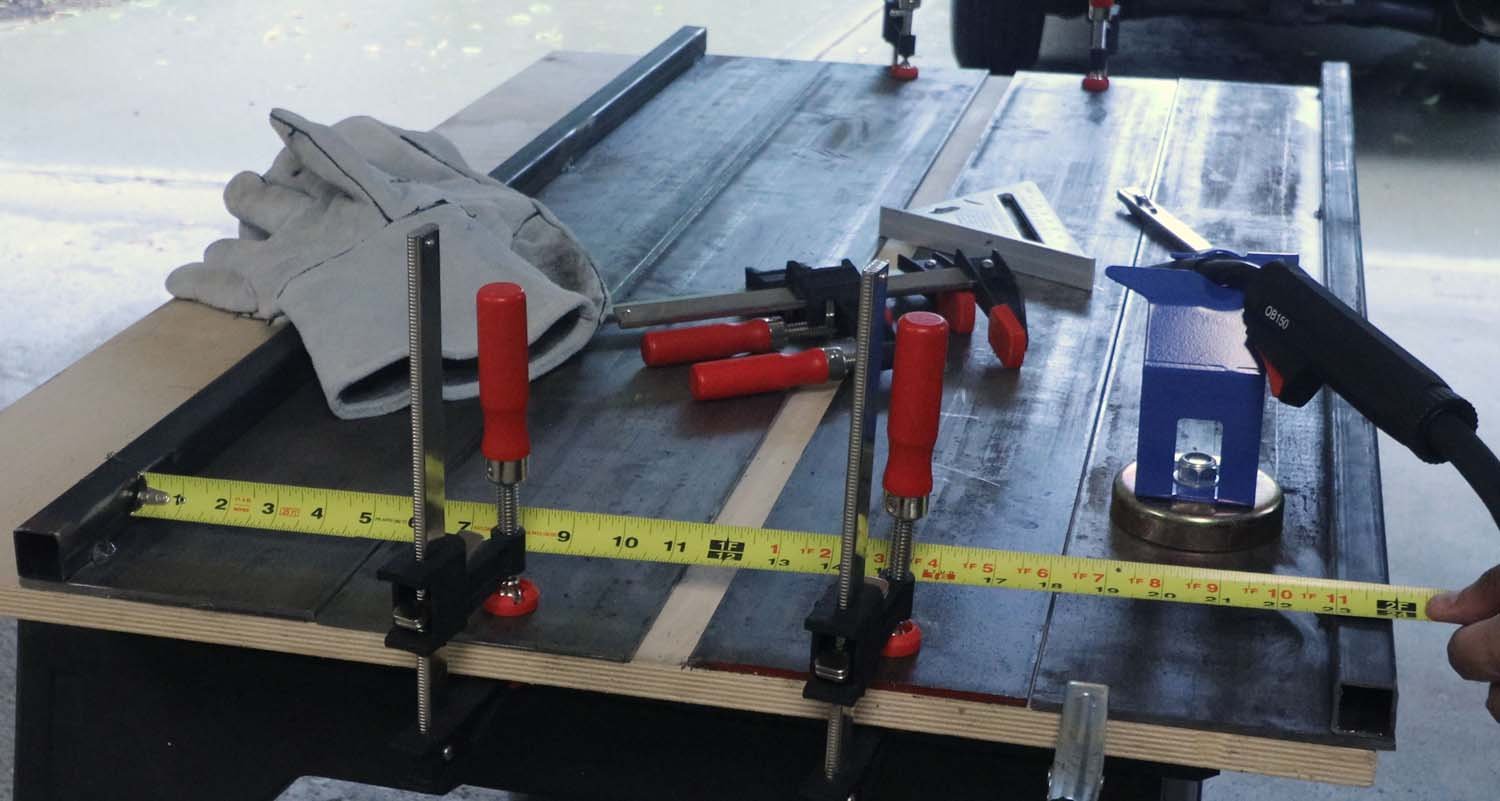
We have a small two-car garage that barely fits both of our cars, so having something that folds flat to the wall is a must. To build this, I'm using 3/16" thick bar stock for a table top, stiffened by a 1" square tube frame, which I got at my local steel shop. This window in my garage is a perfect place for the table due to the natural lighting.
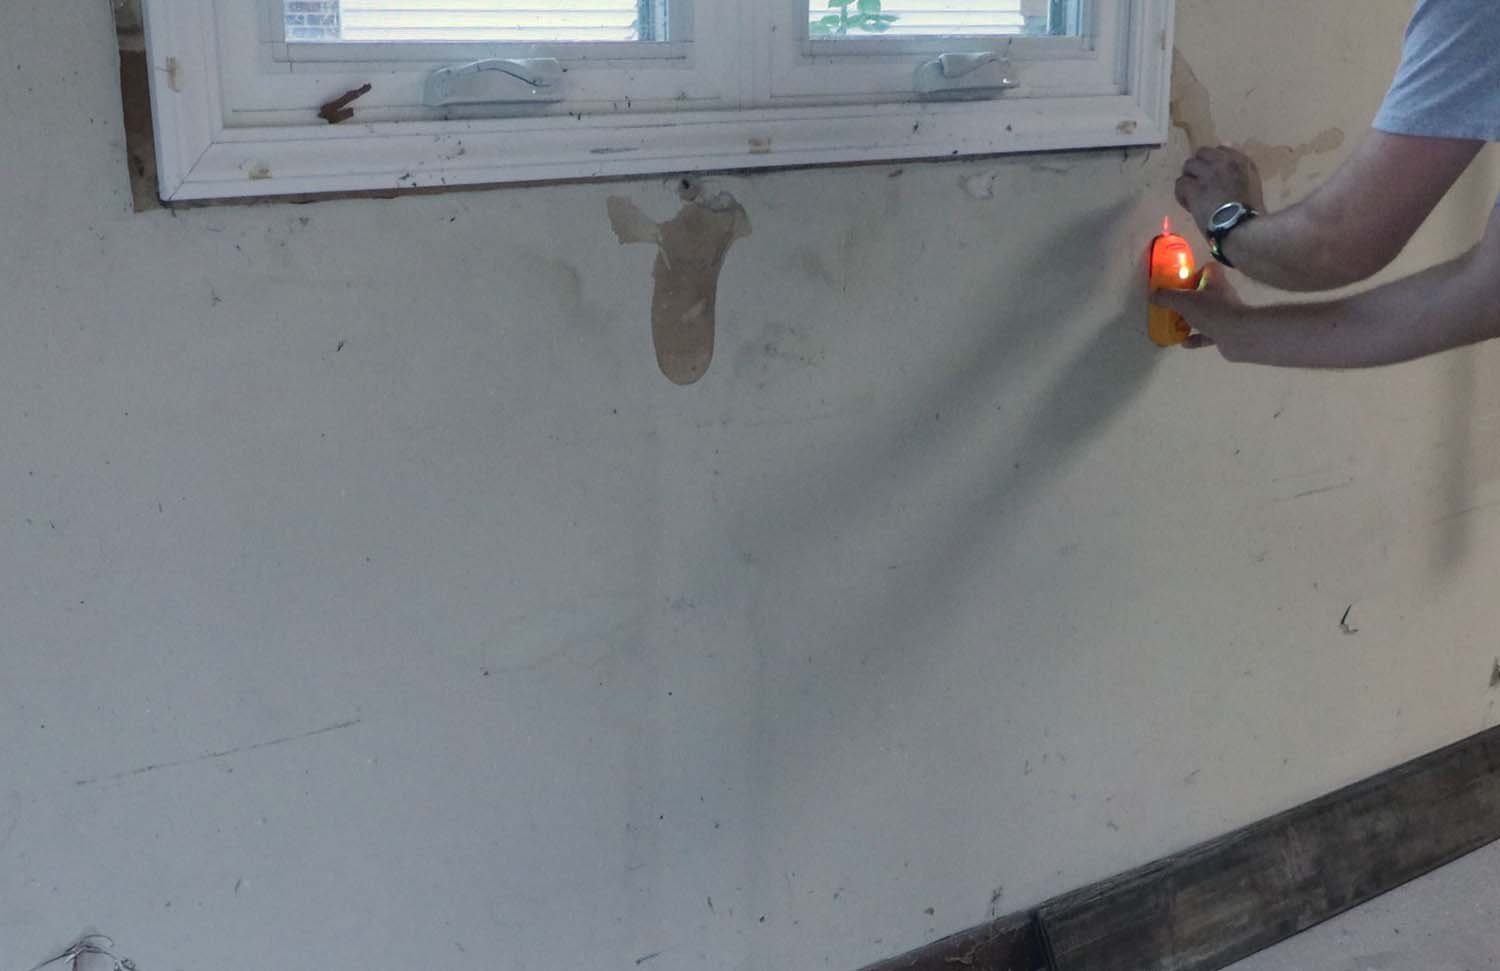
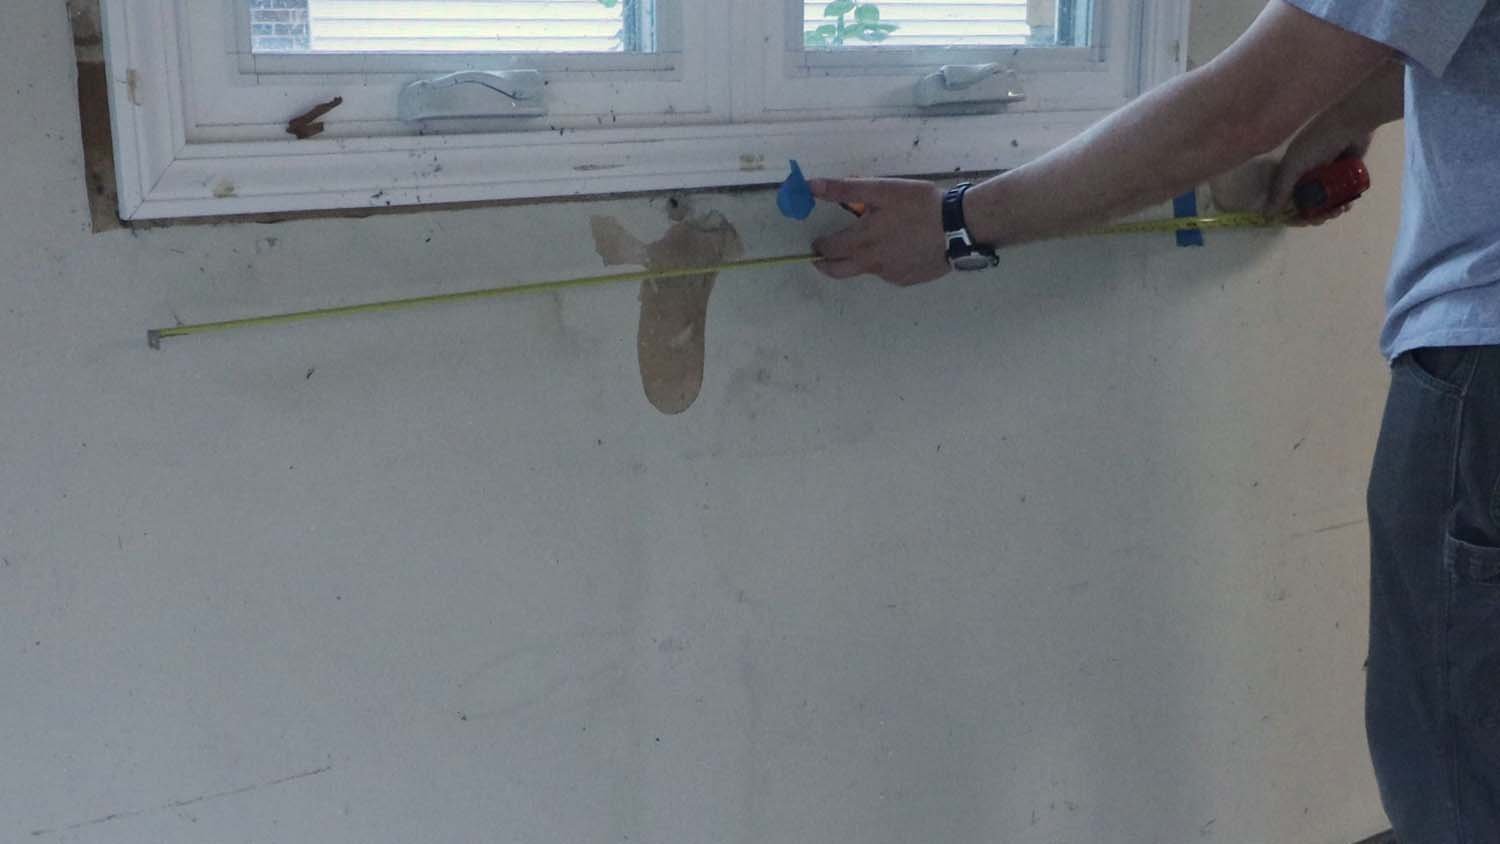
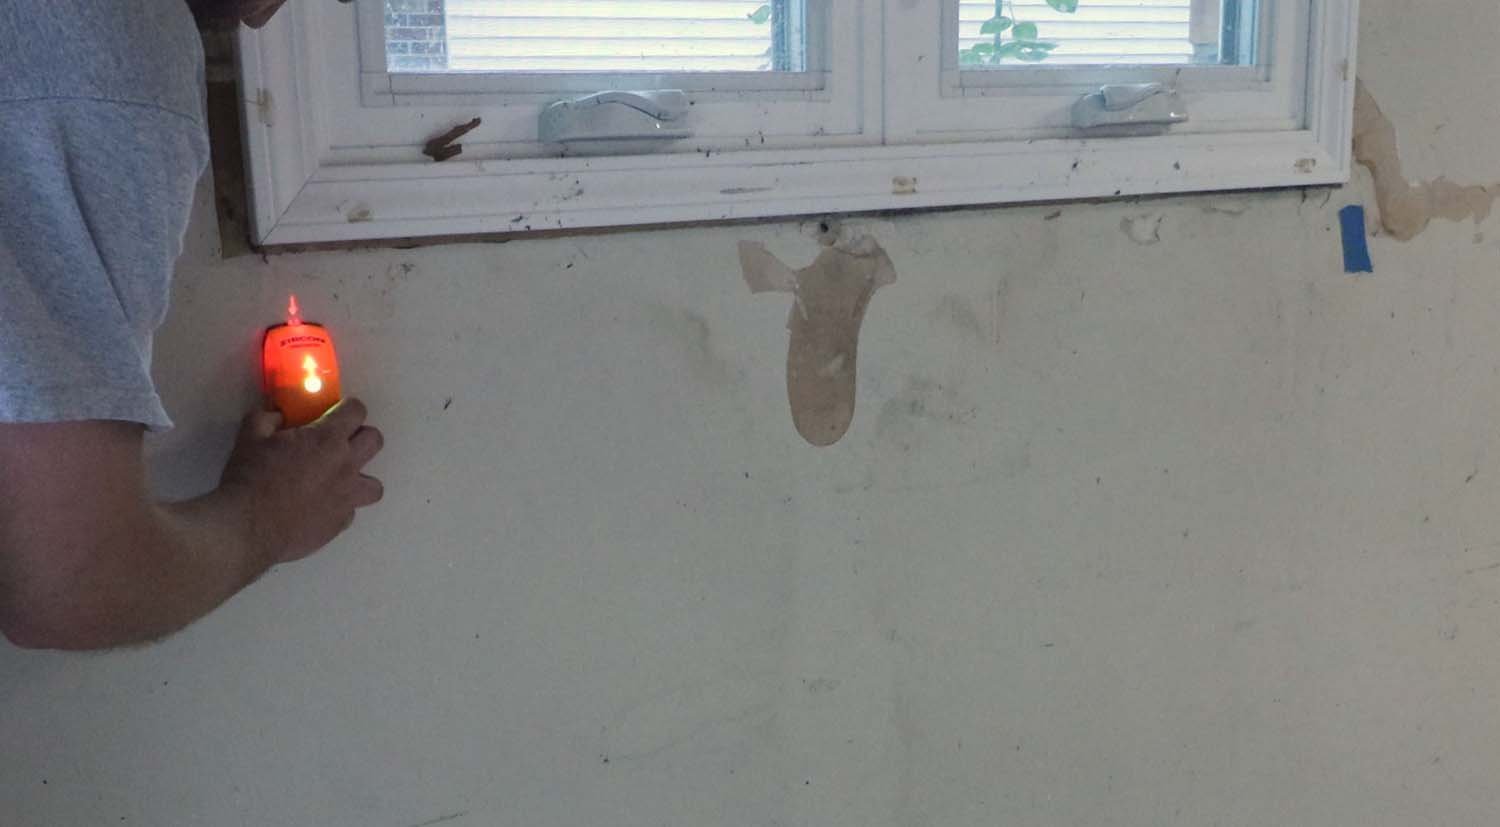
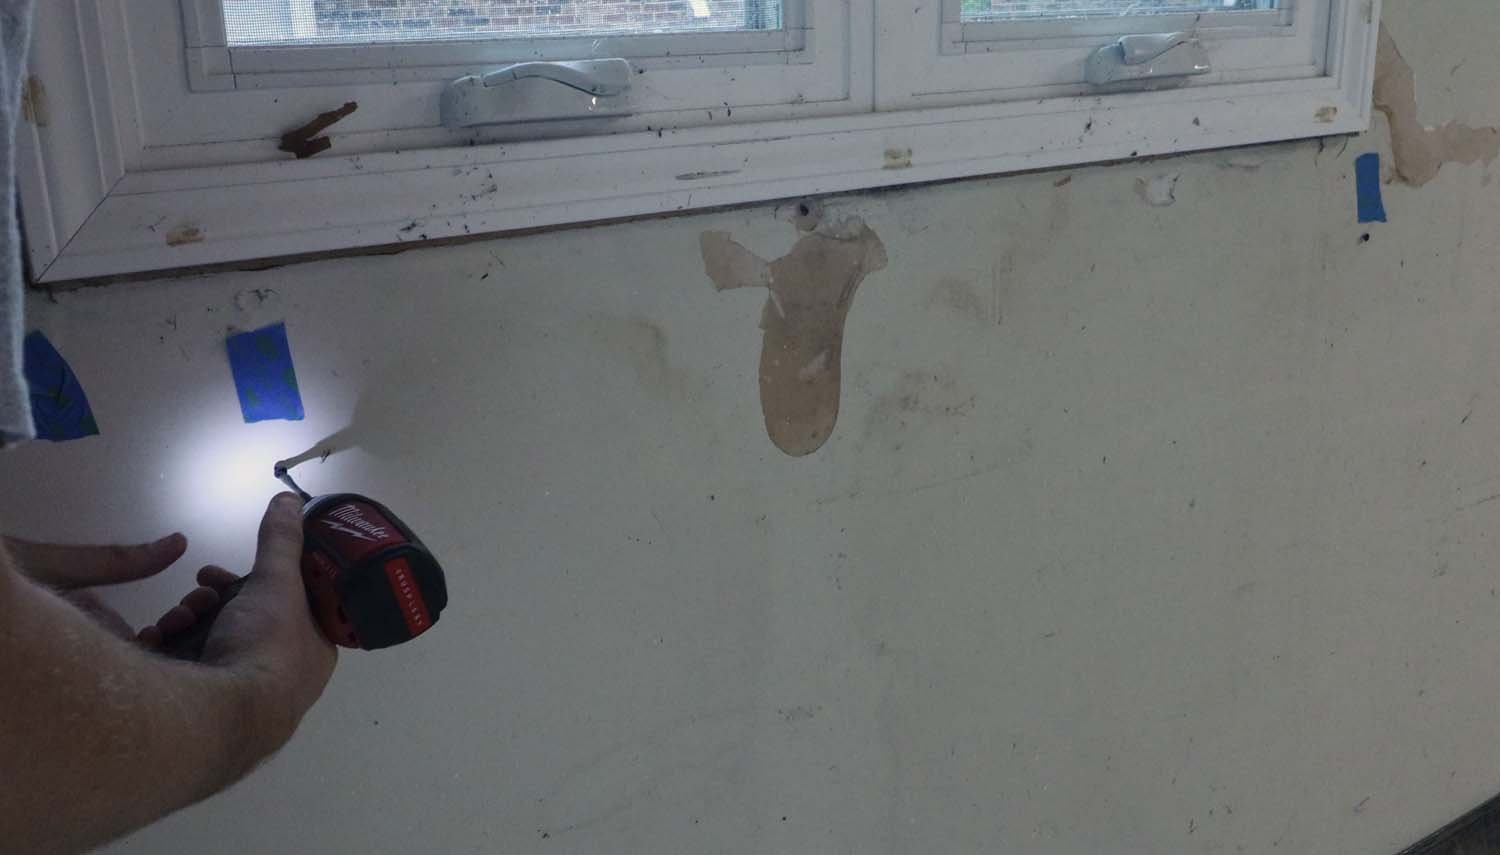
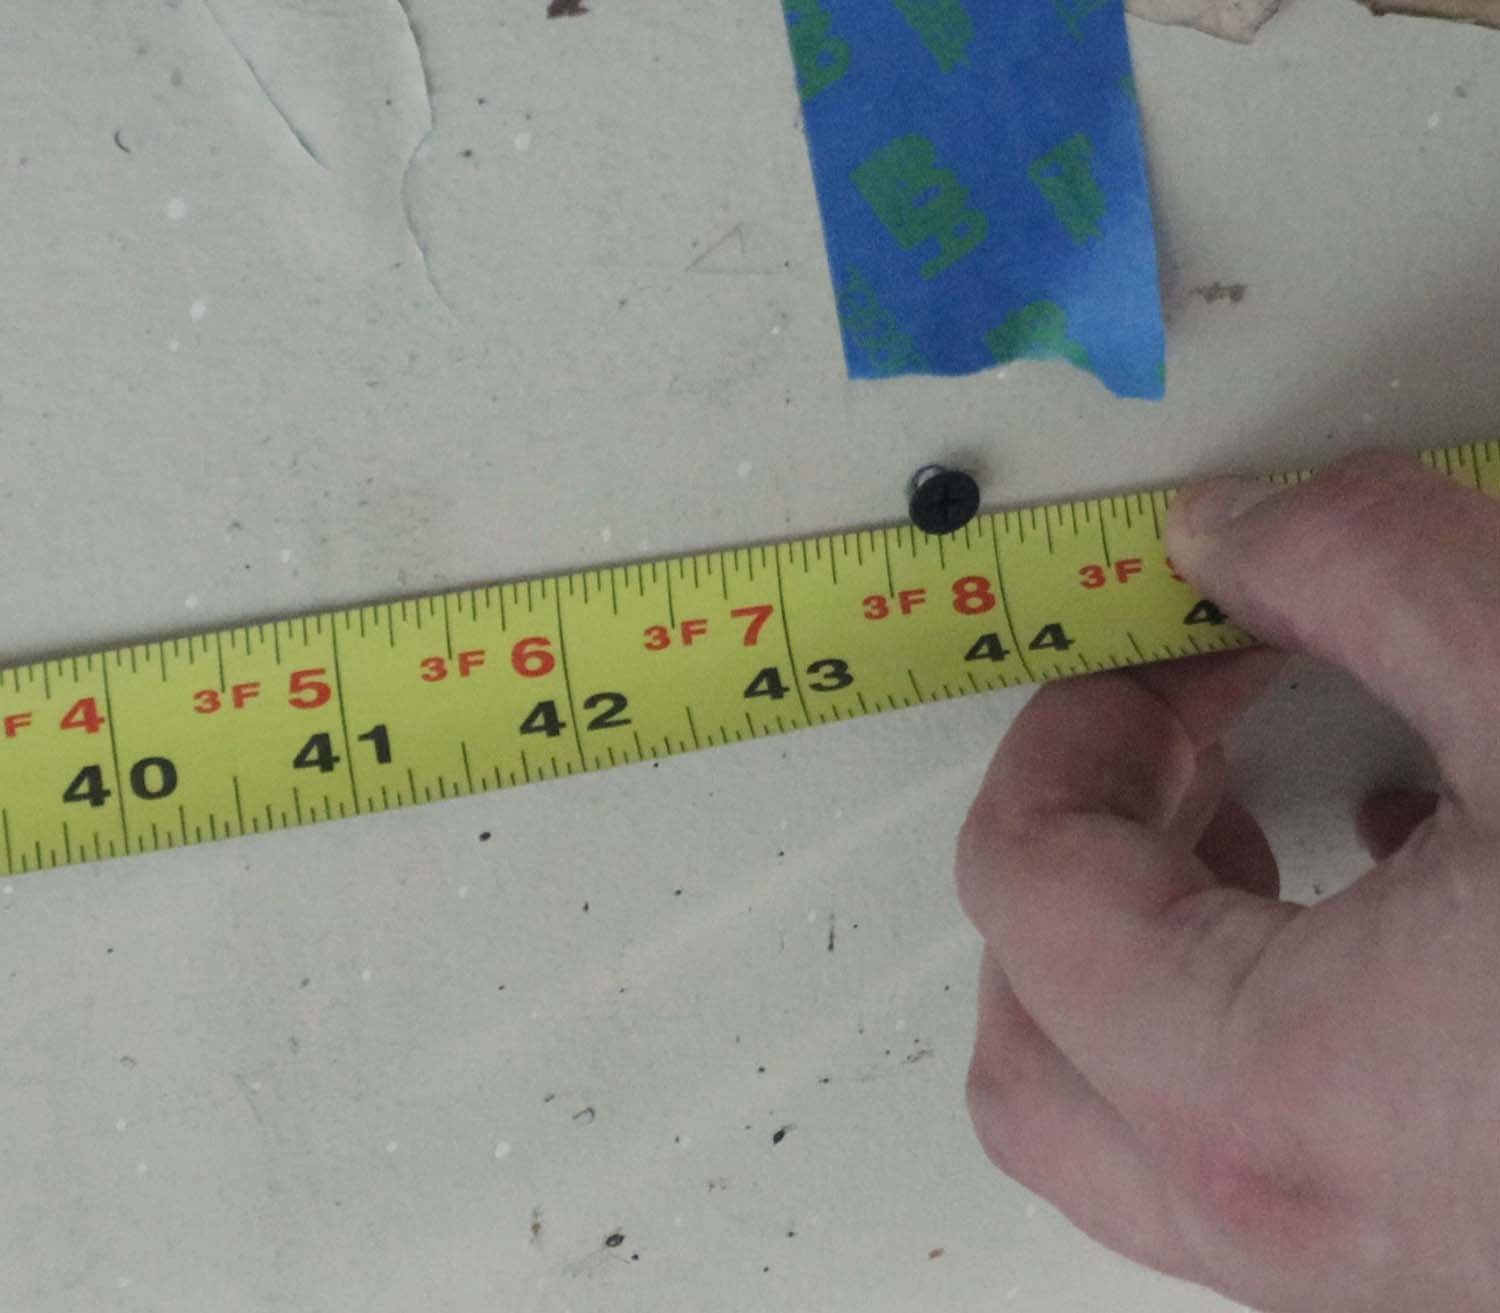
I start by finding studs on either side of the window, trying to find two that are slightly less than 48" apart. Since this table is 48" long overall, and the legs will fold within the footprint, the studs that support the legs need to fit within that 48". I find the studs with a stud finder (surprise!) and mark them with pieces of masking tape. I then follow up with a couple of drywall screws to ensure I hit a stud, and measure the distance between them.
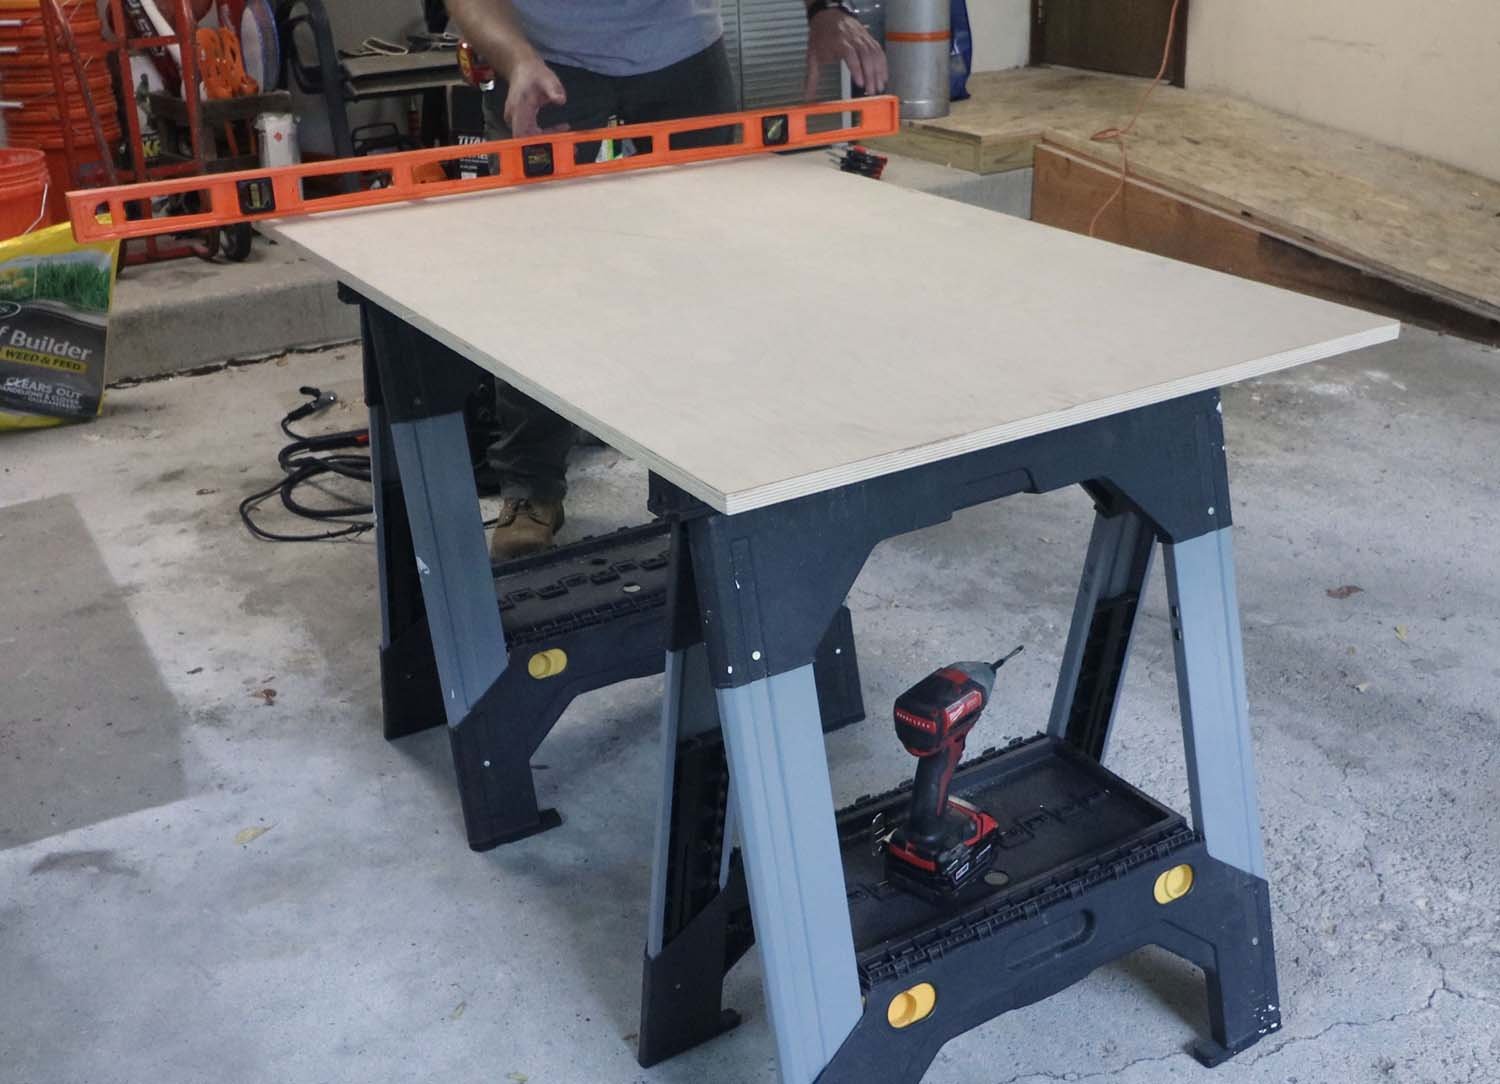
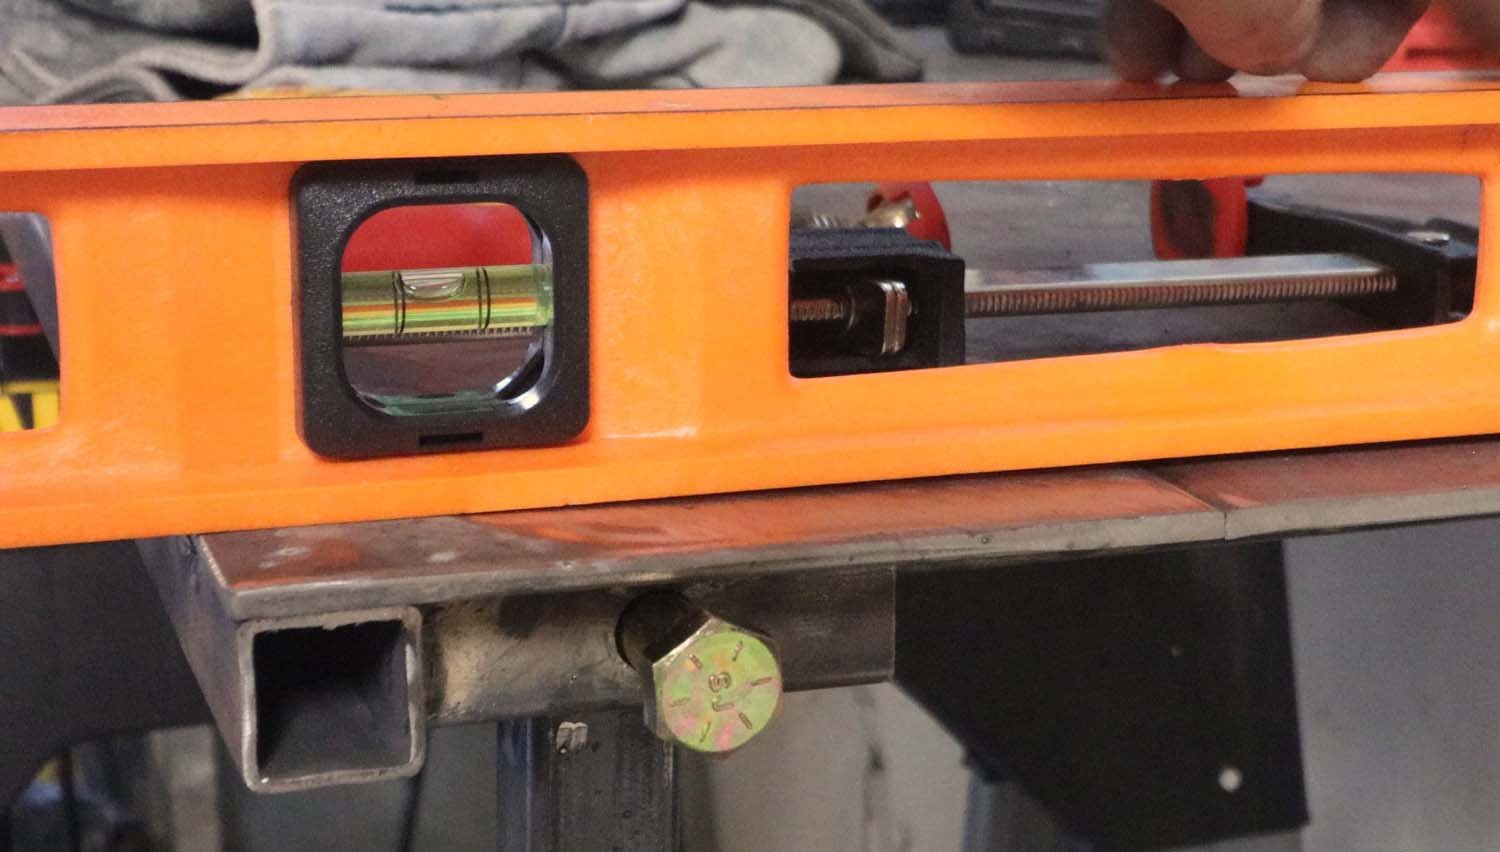
I used a piece of very flat 3/4" Baltic birch plywood to build off of, and checked that the plywood is level prior to beginning. It doesn't need to be perfectly level in both directions, but it does in one direction. This way, even if the plywood is tilted slightly, the surface is still flat and will result in a flat tabletop.
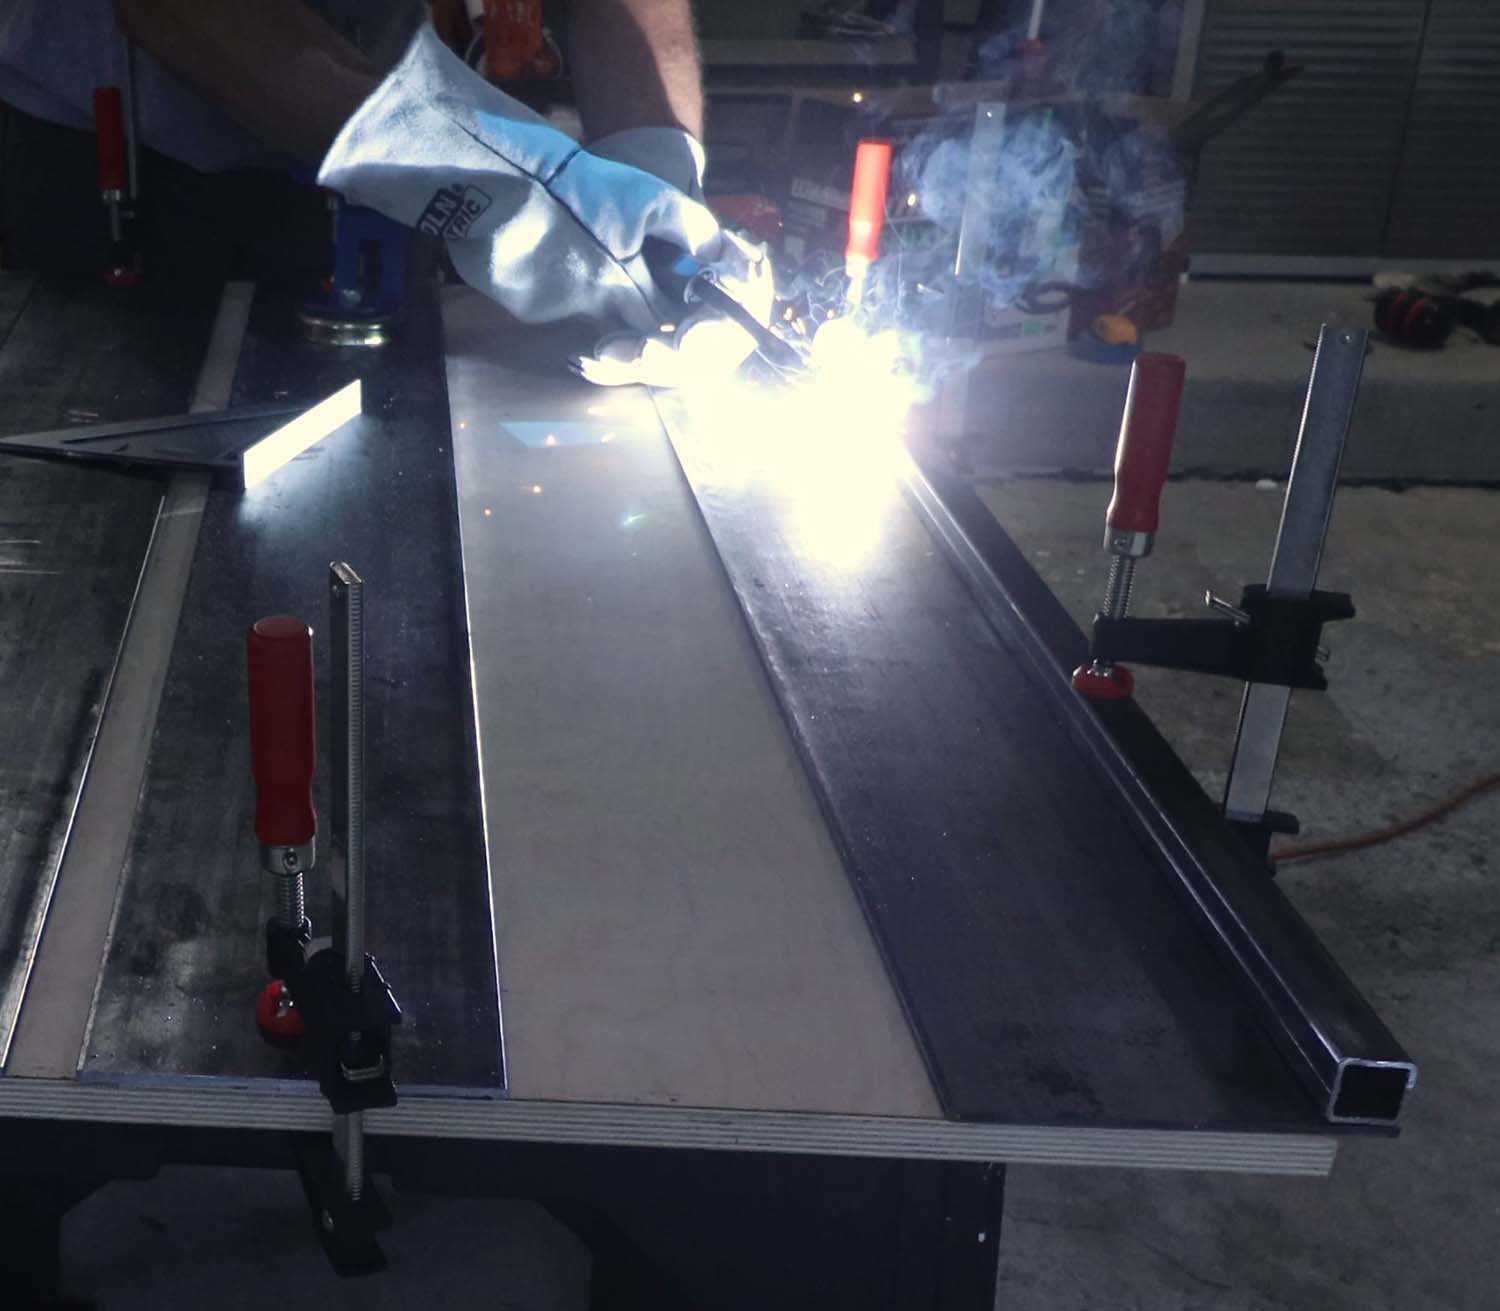
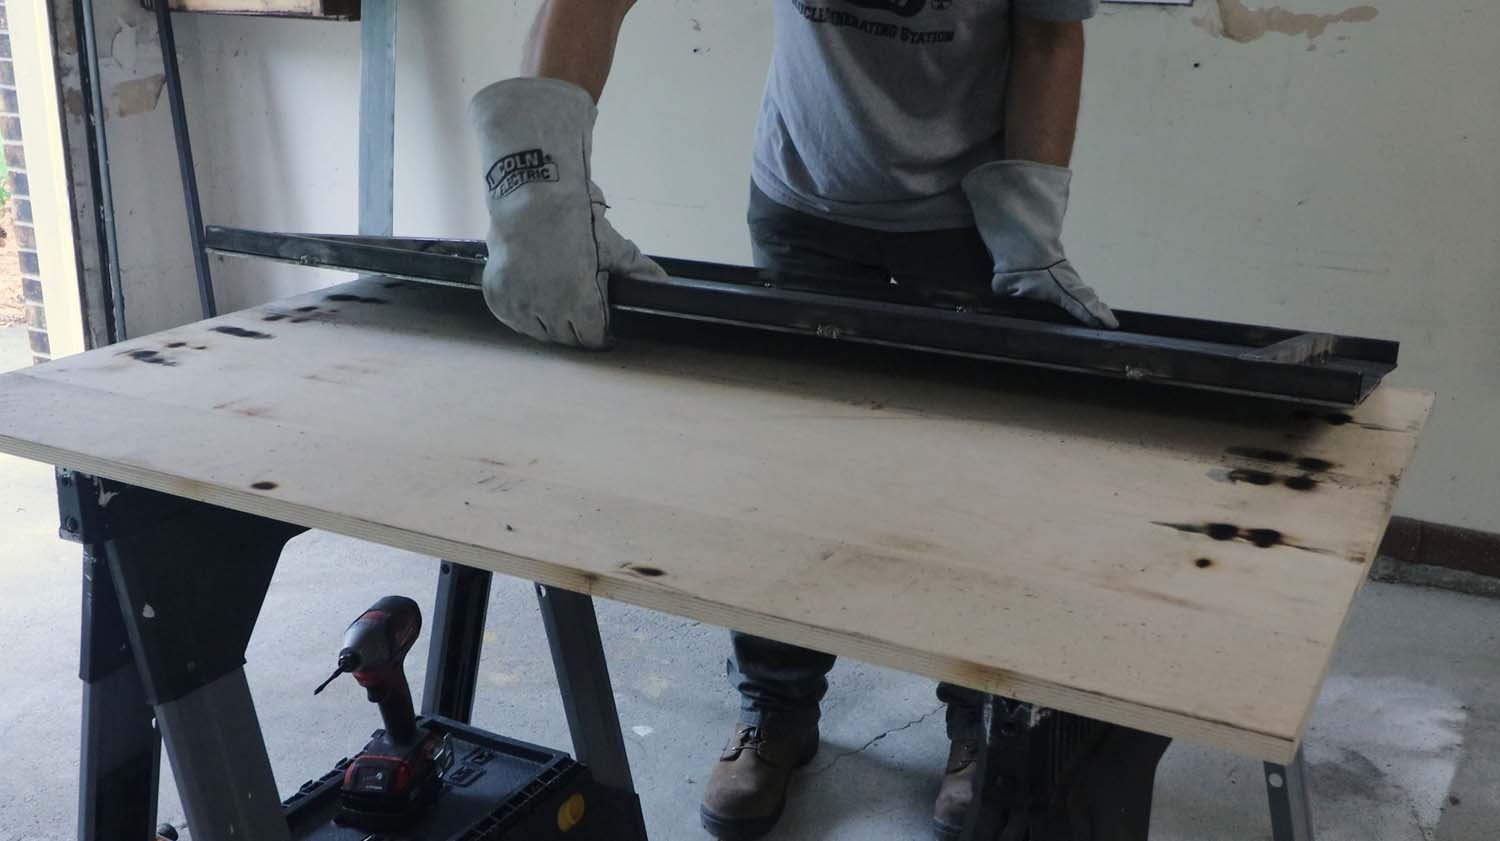
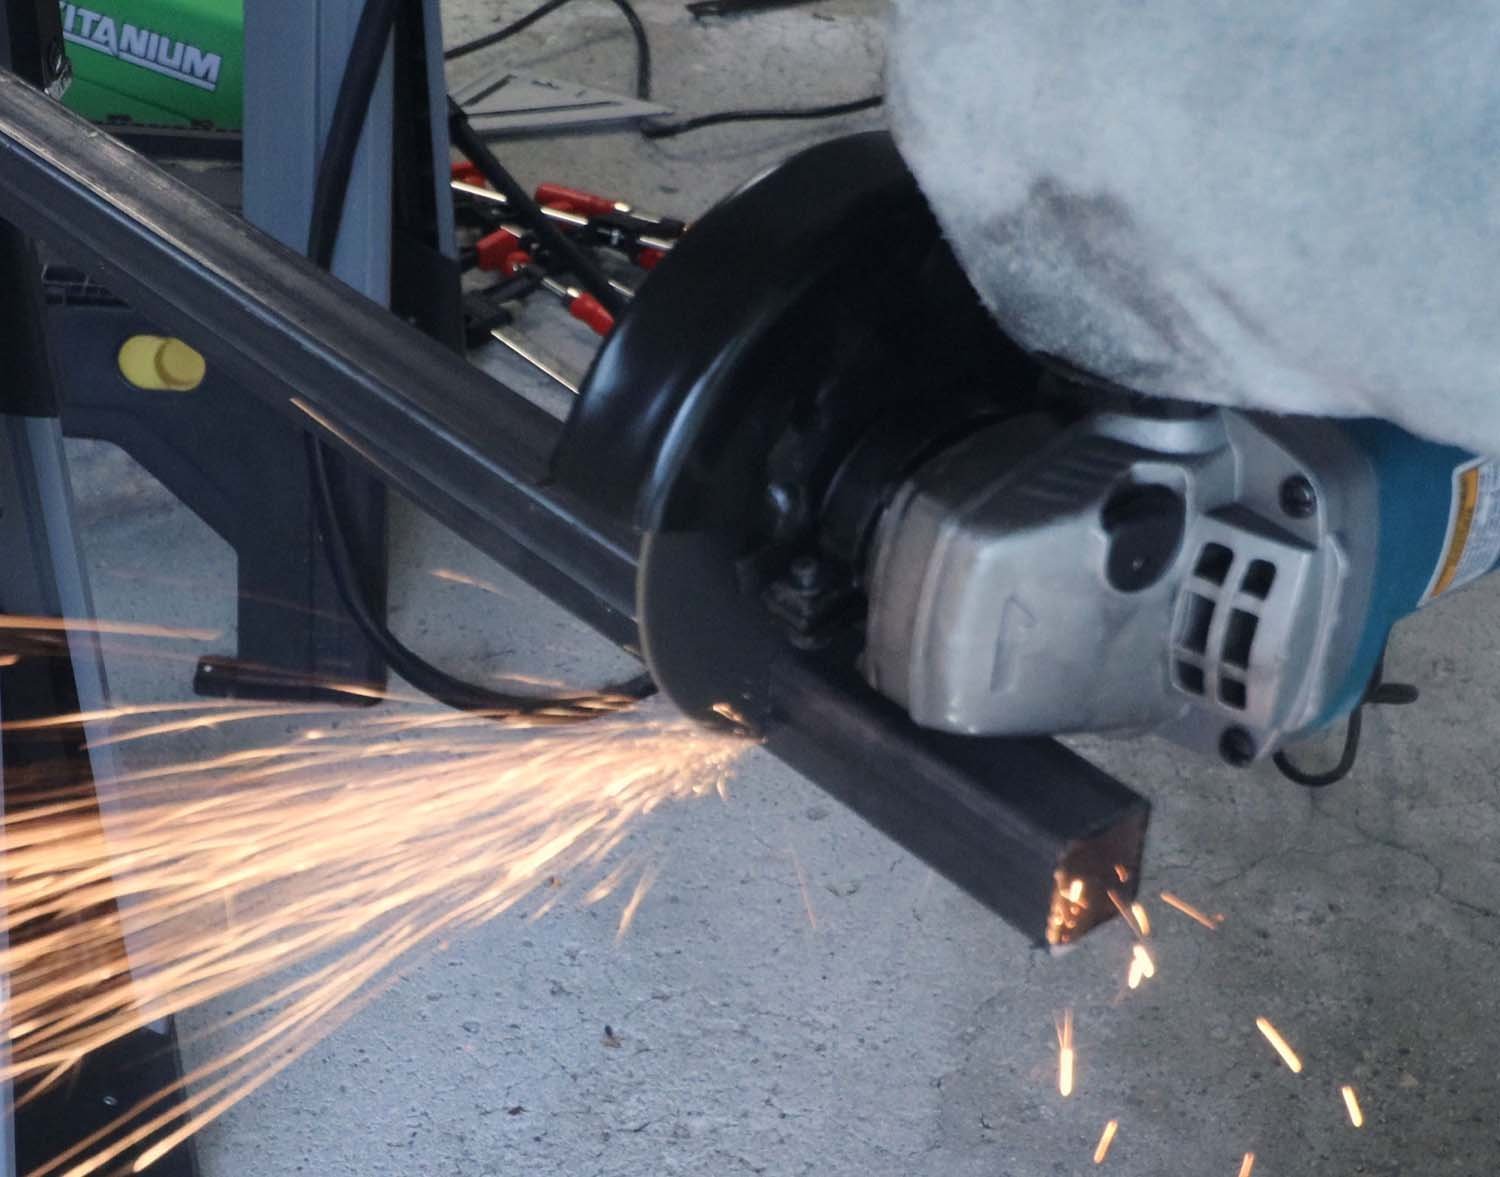
I cut two pieces of the 1" square tube at 48" long for the table skirting on the long side. To provide space for a clamp to fit, I used one of the square tube pieces as a spacer in the middle of the table, and then clamped everything down to keep it from moving.
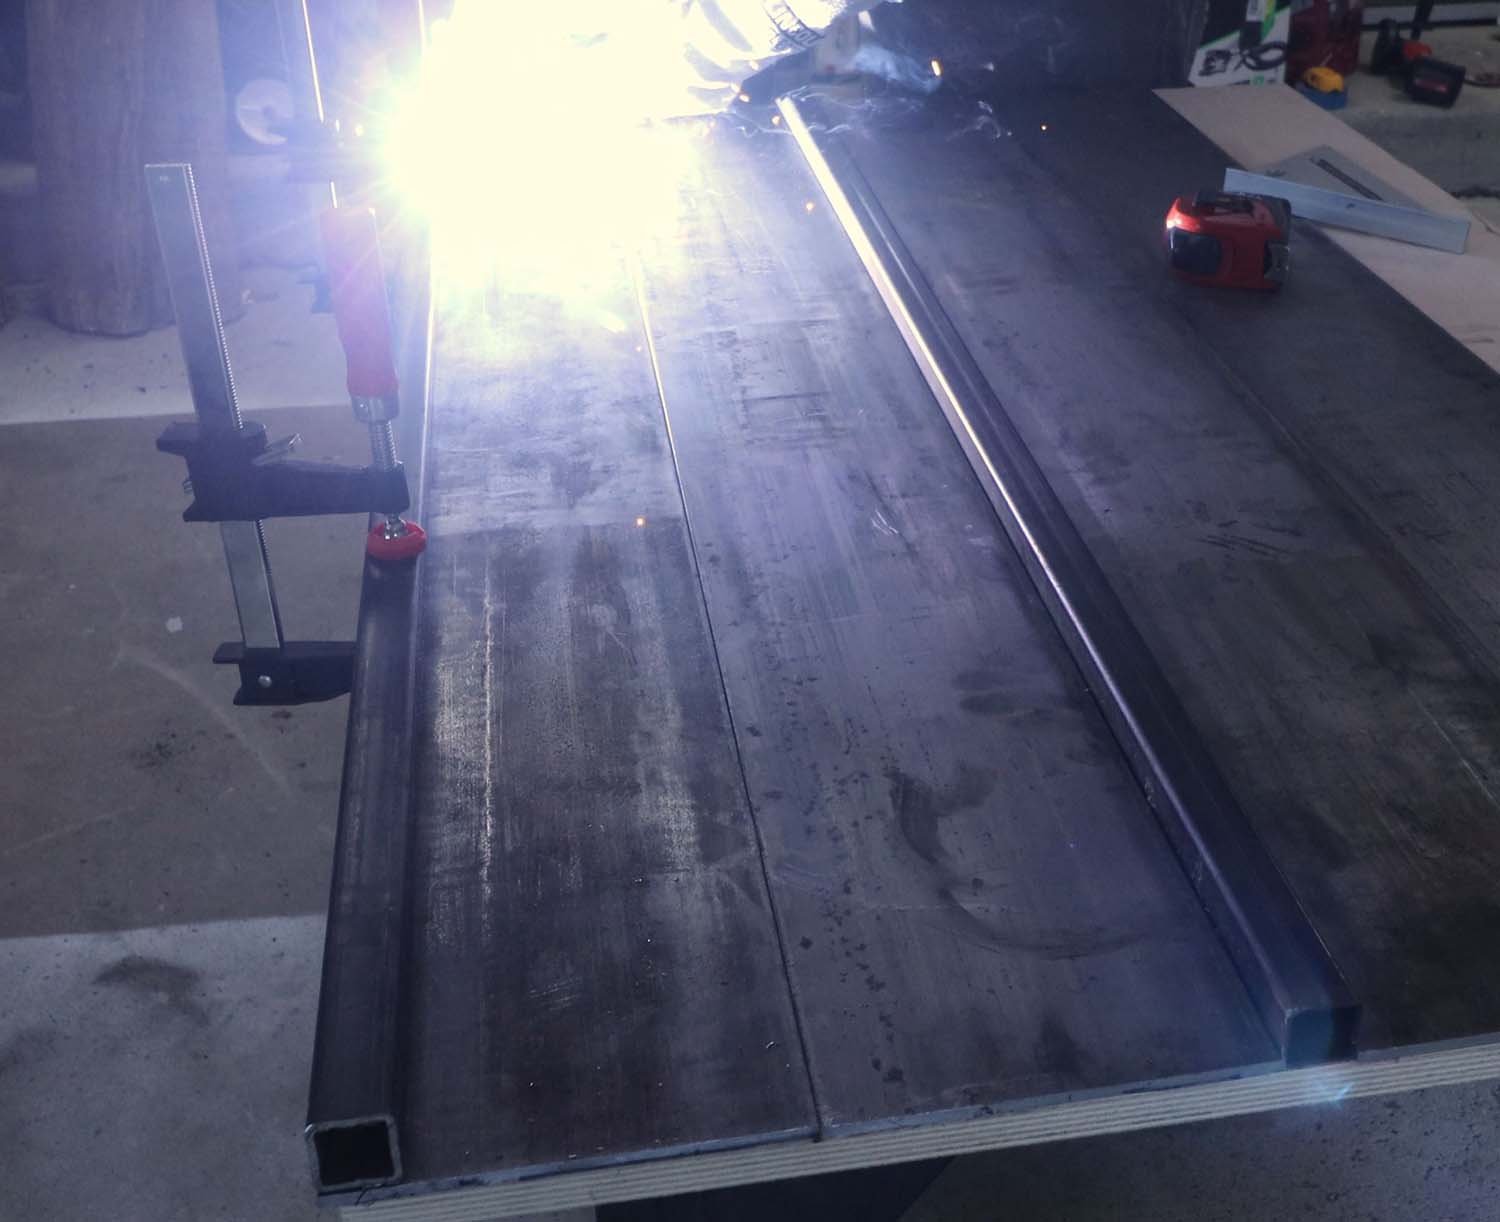
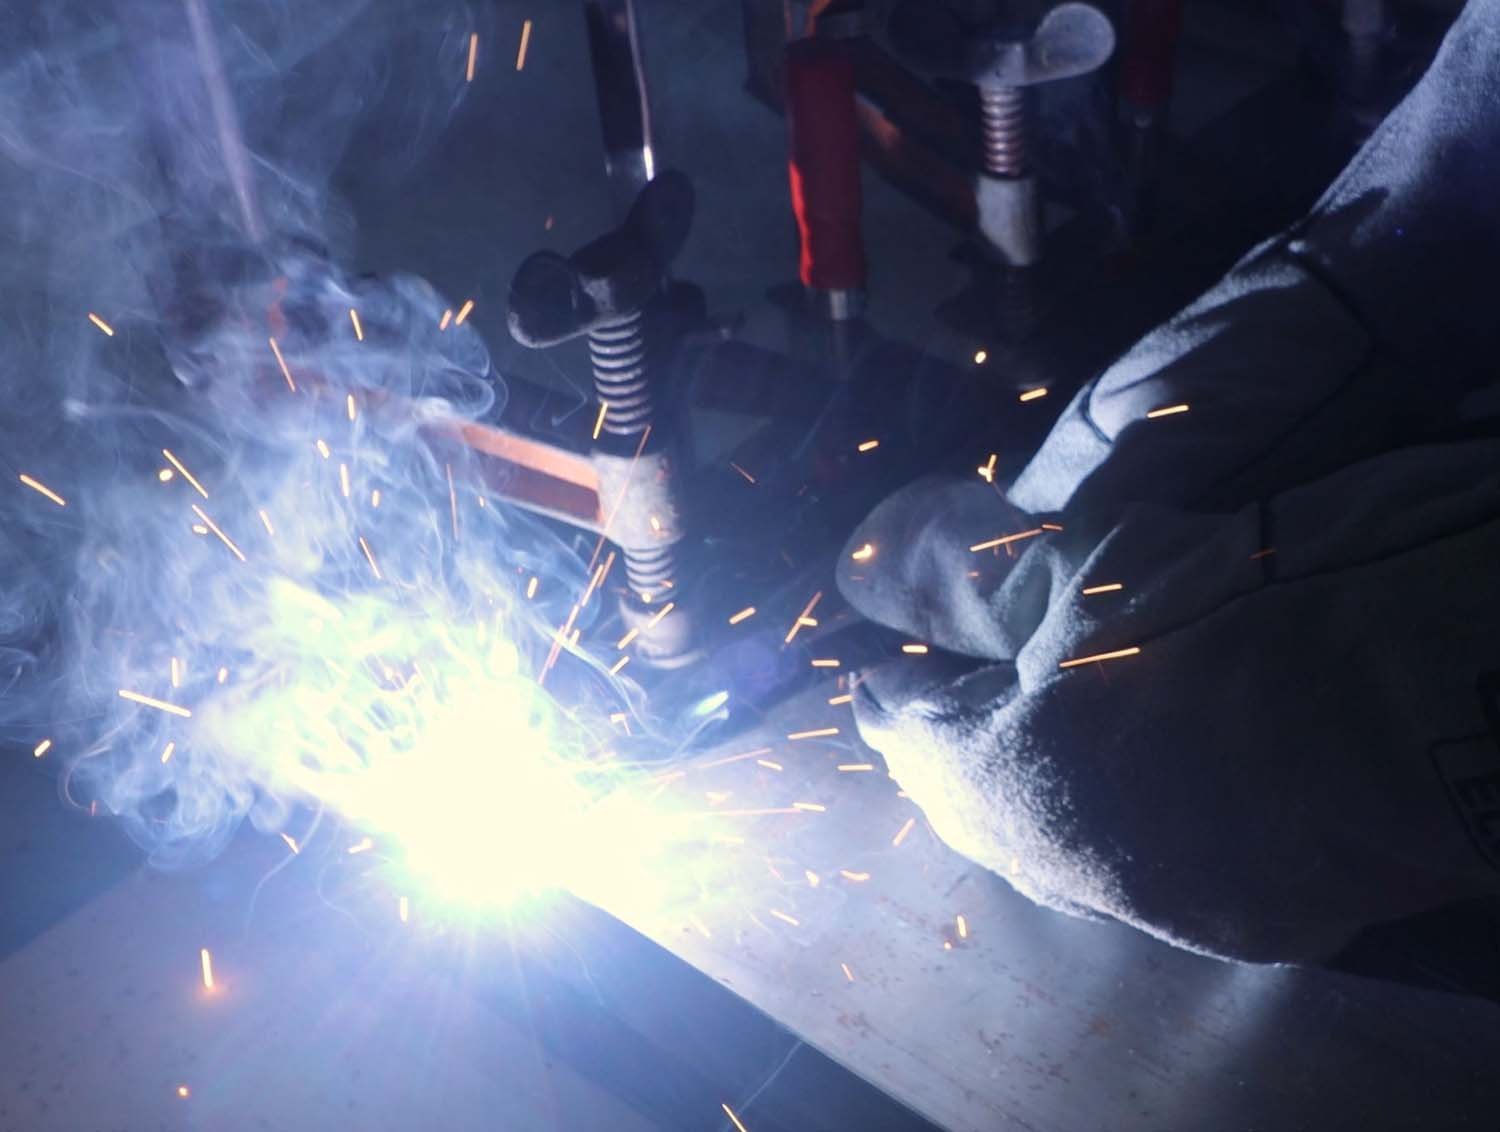
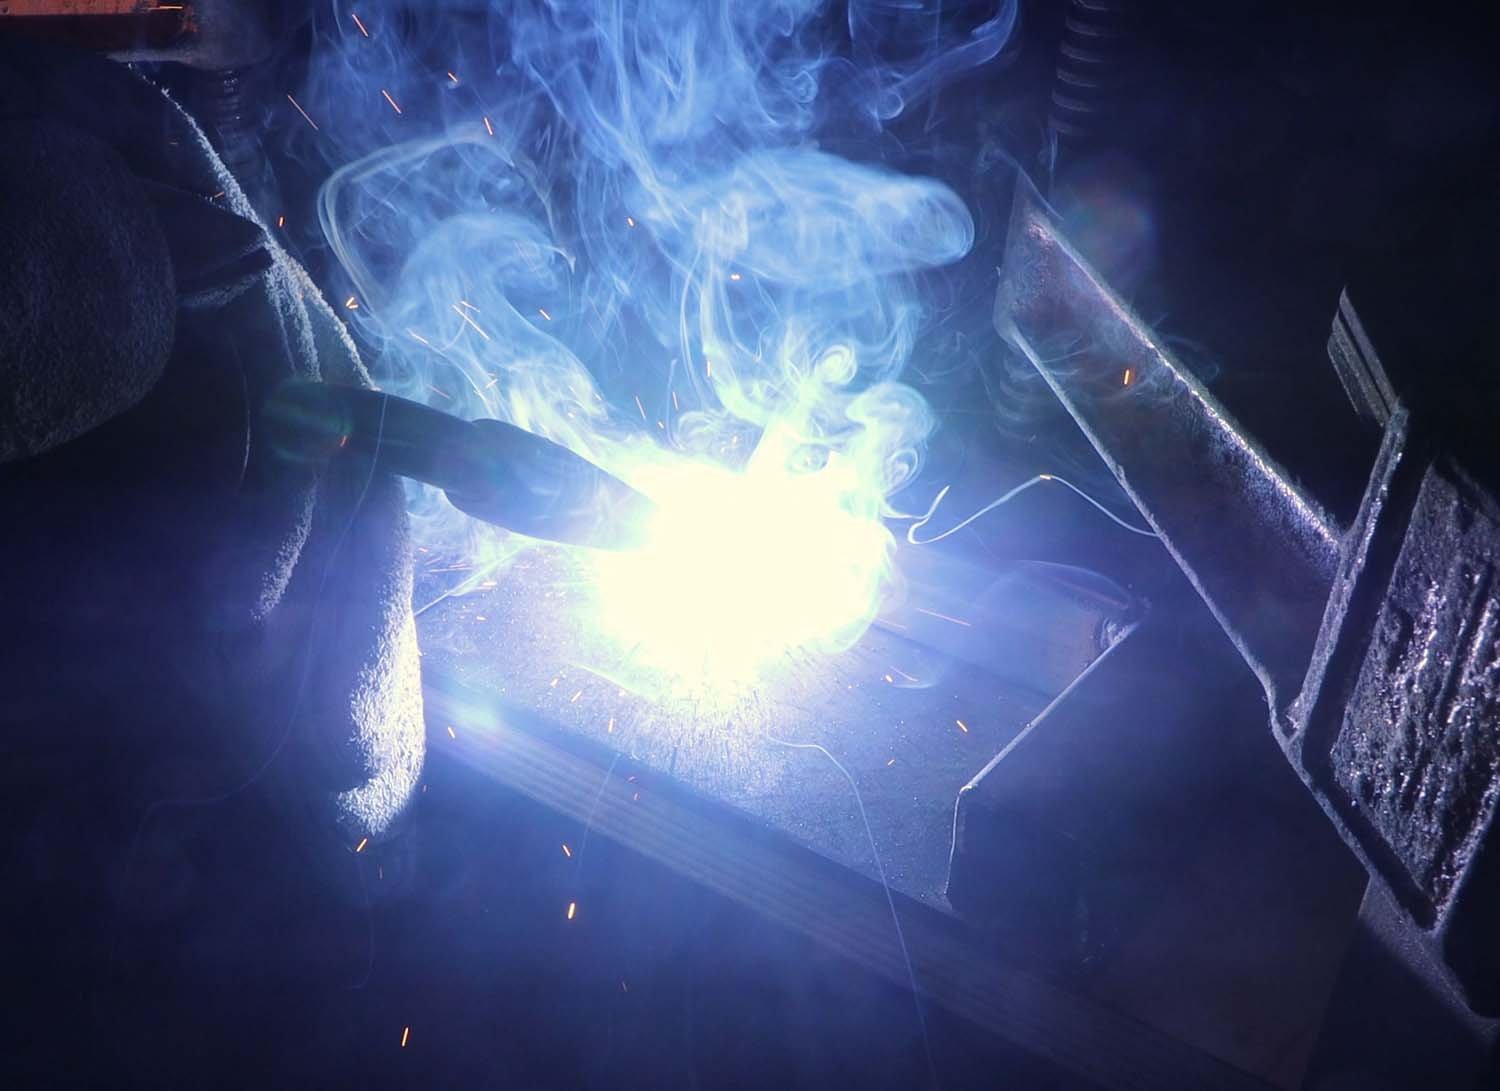
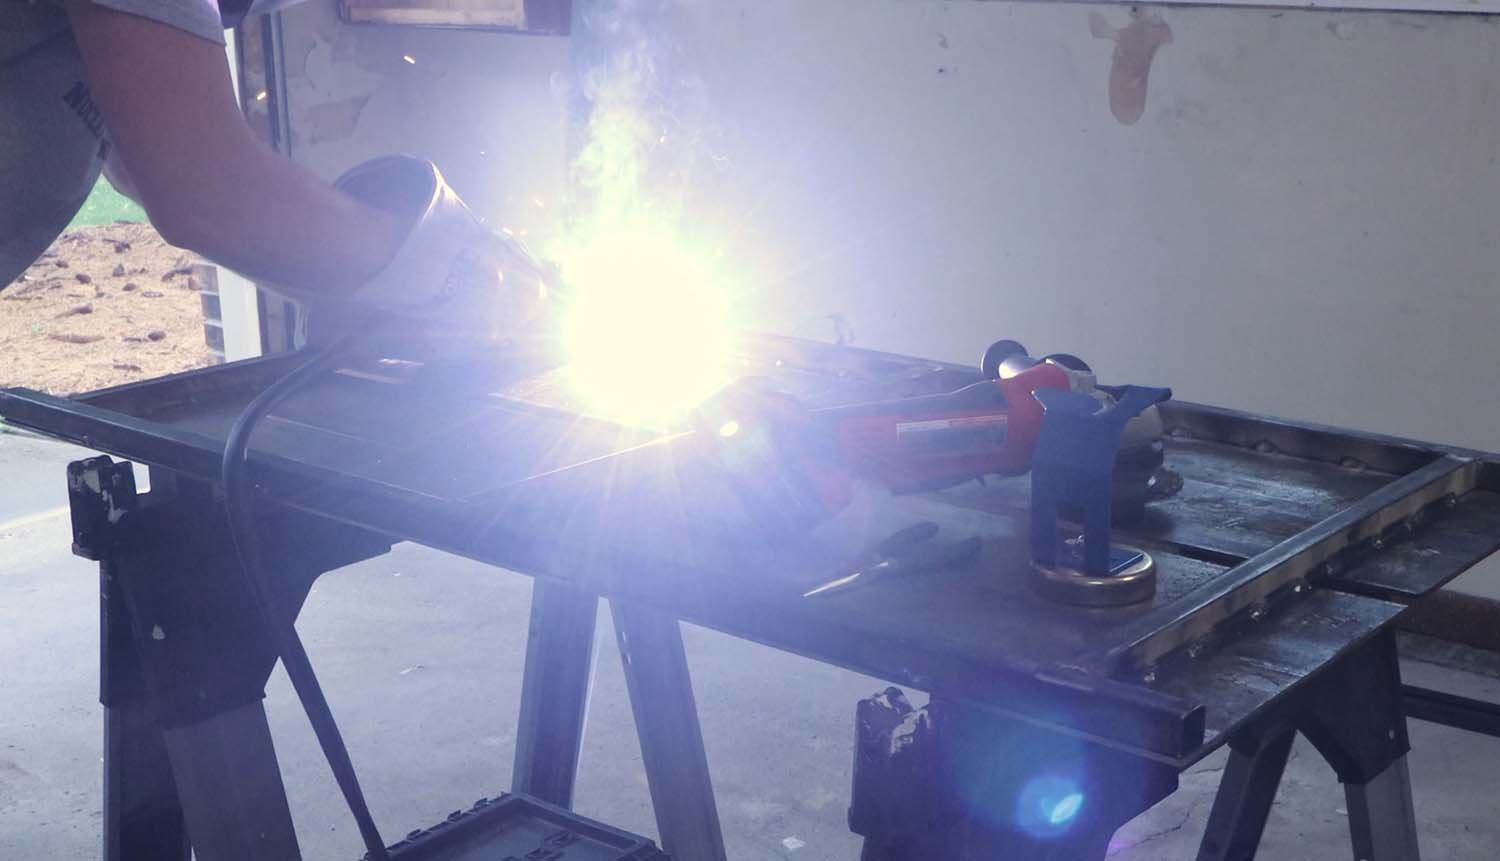
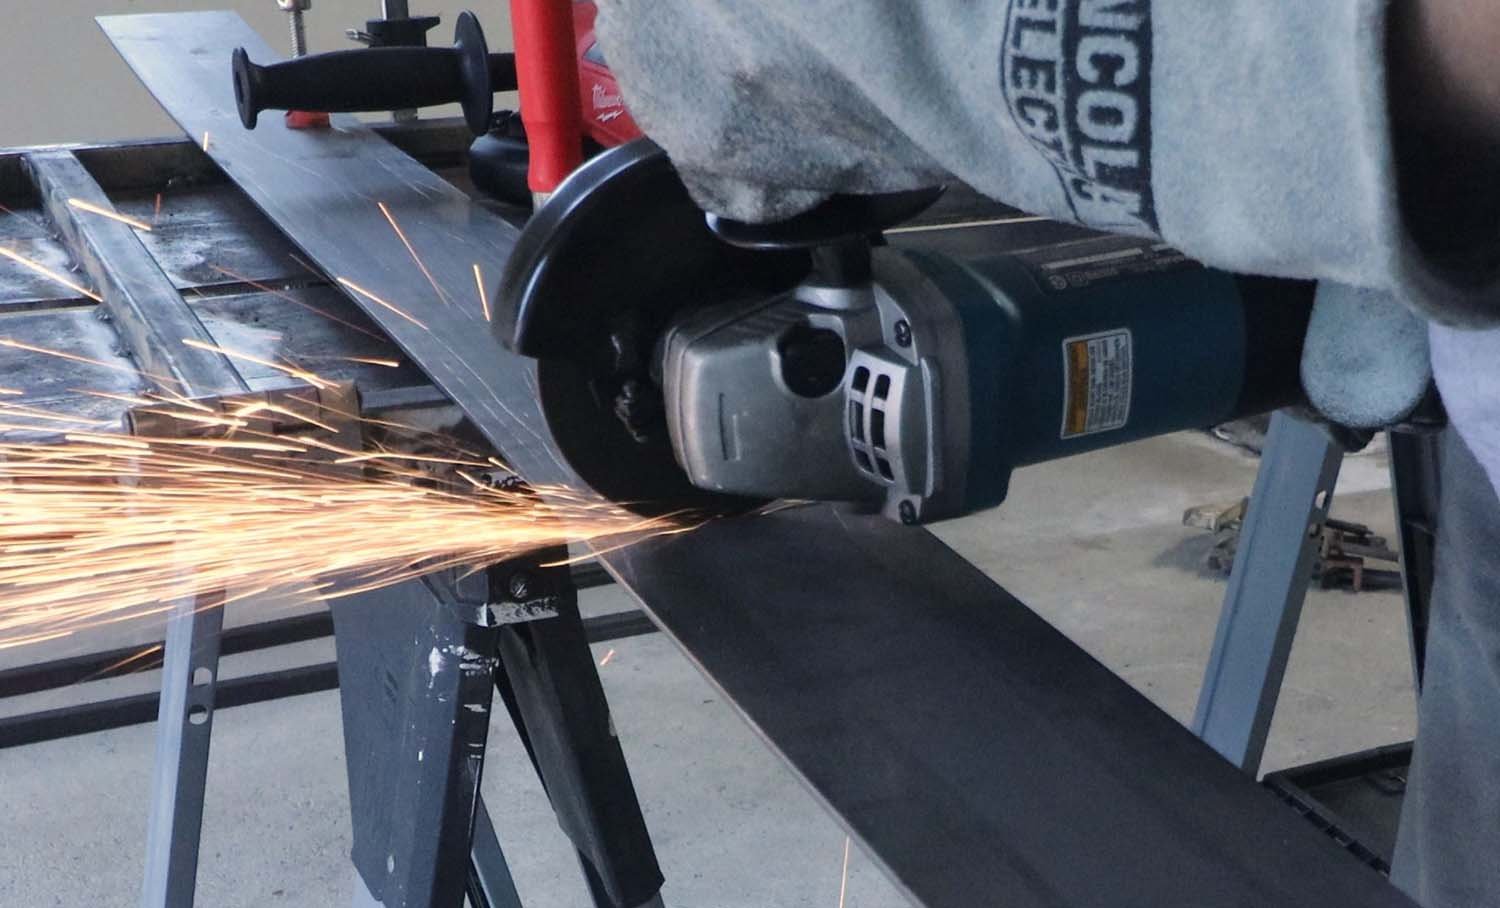
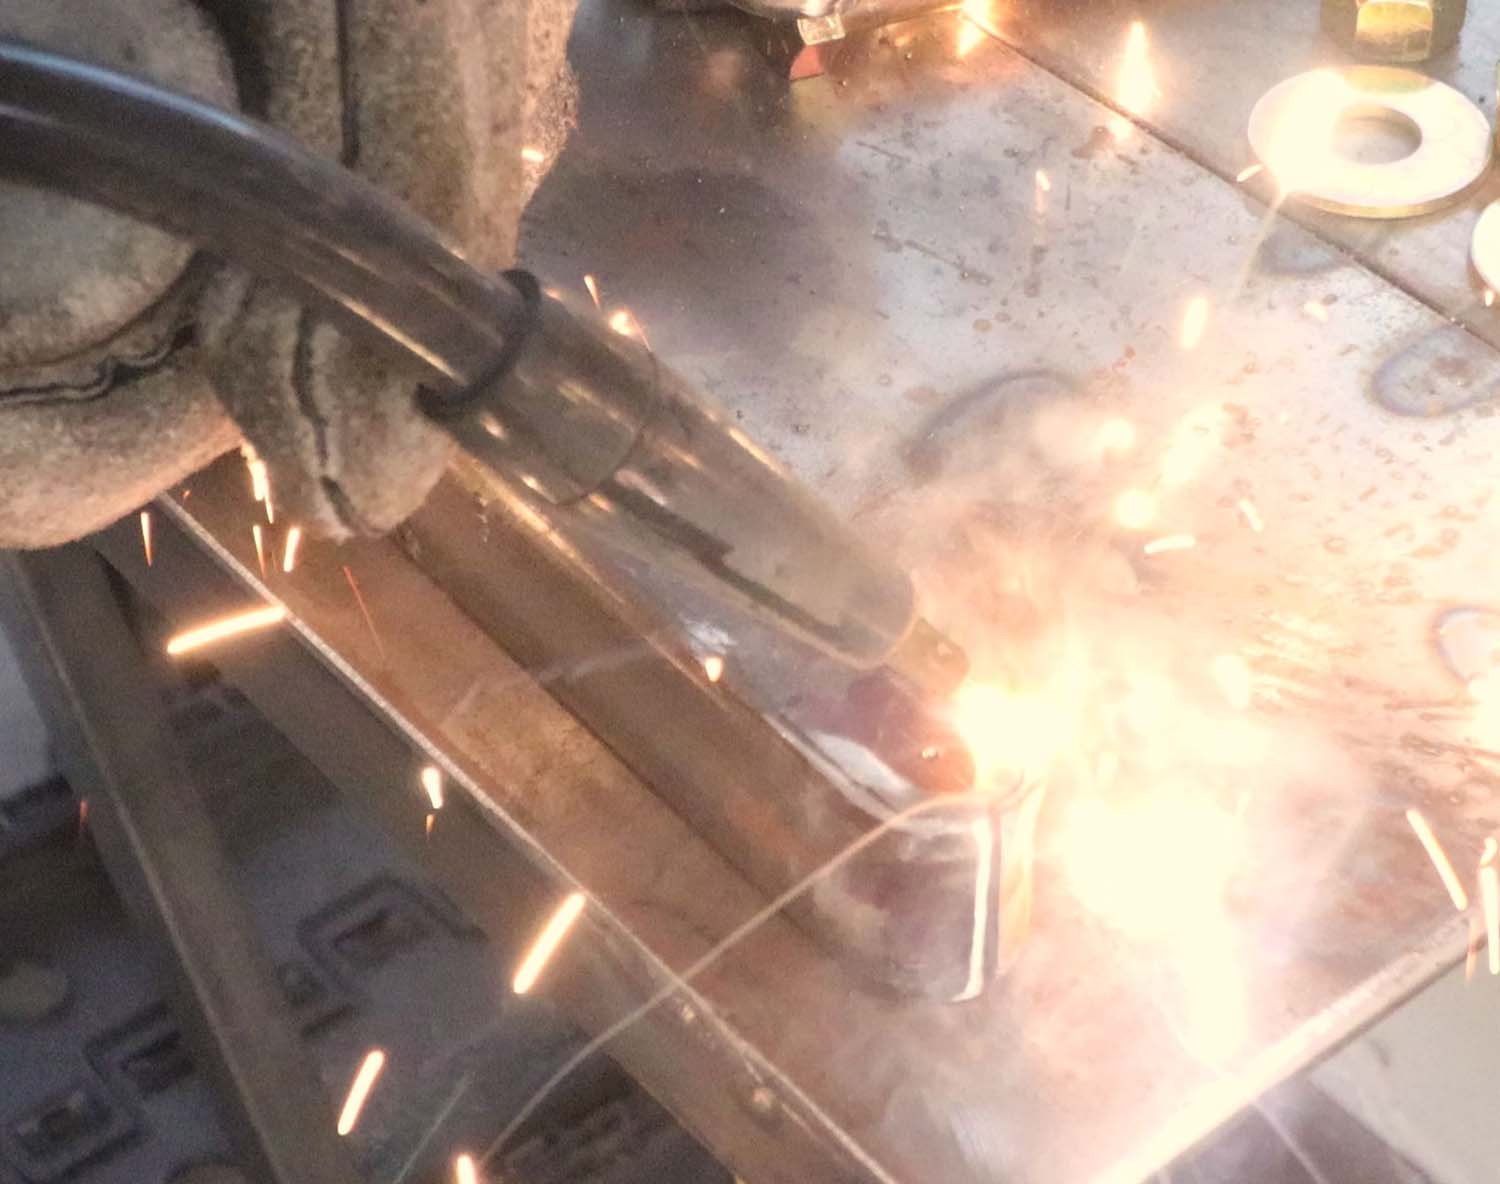
After that, I proceeded to weld the 48" long pieces to the front and back of the table, placing welds about 1" long every 6".


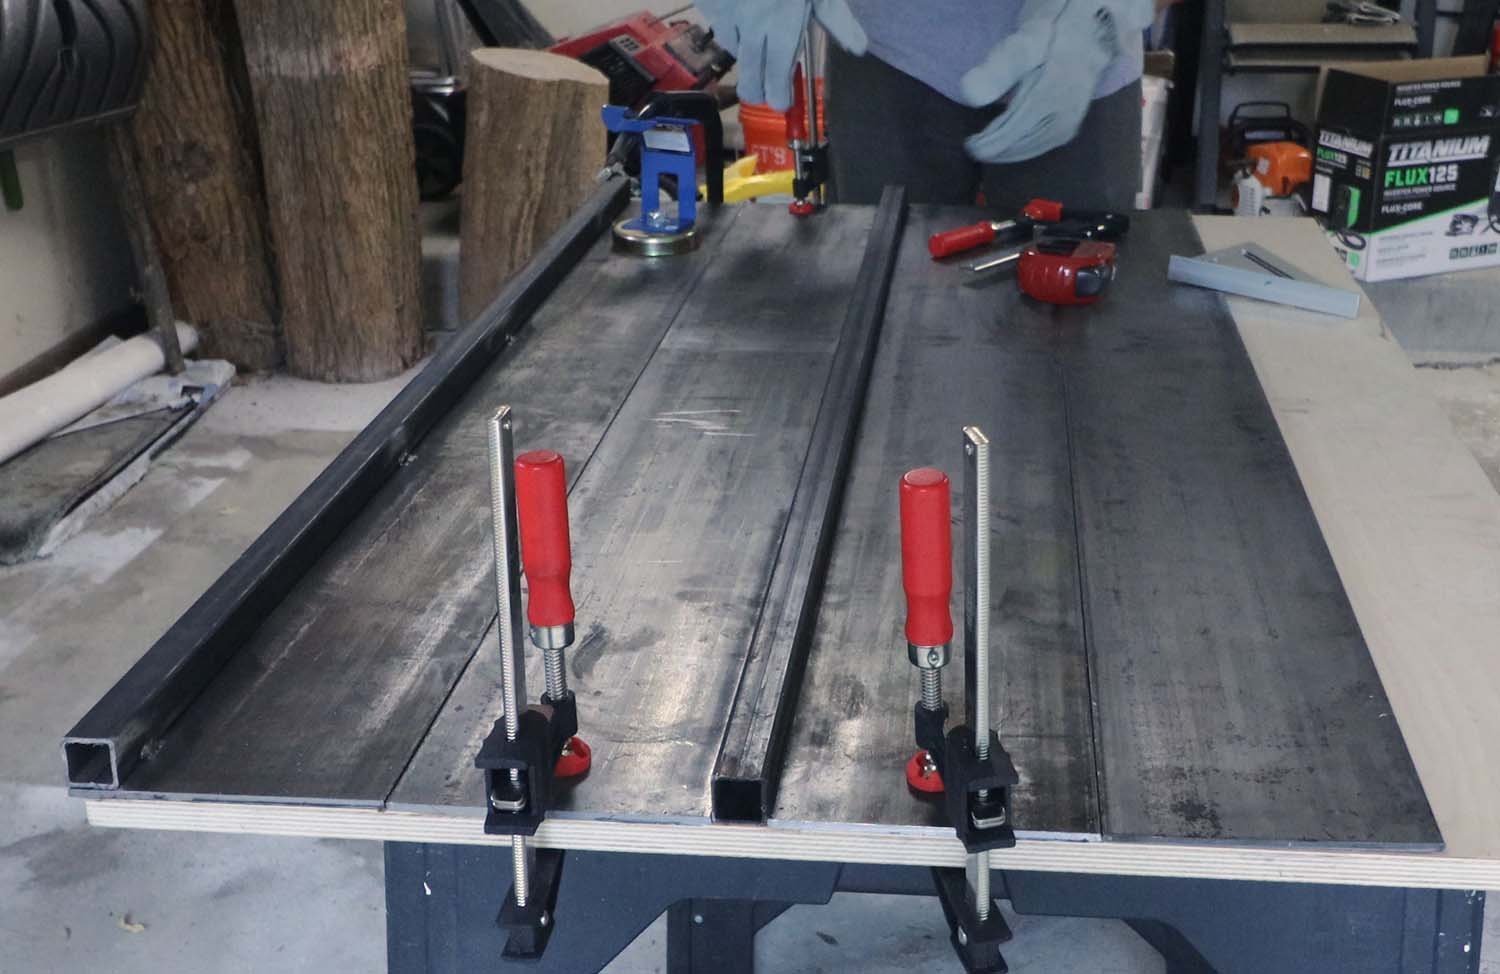

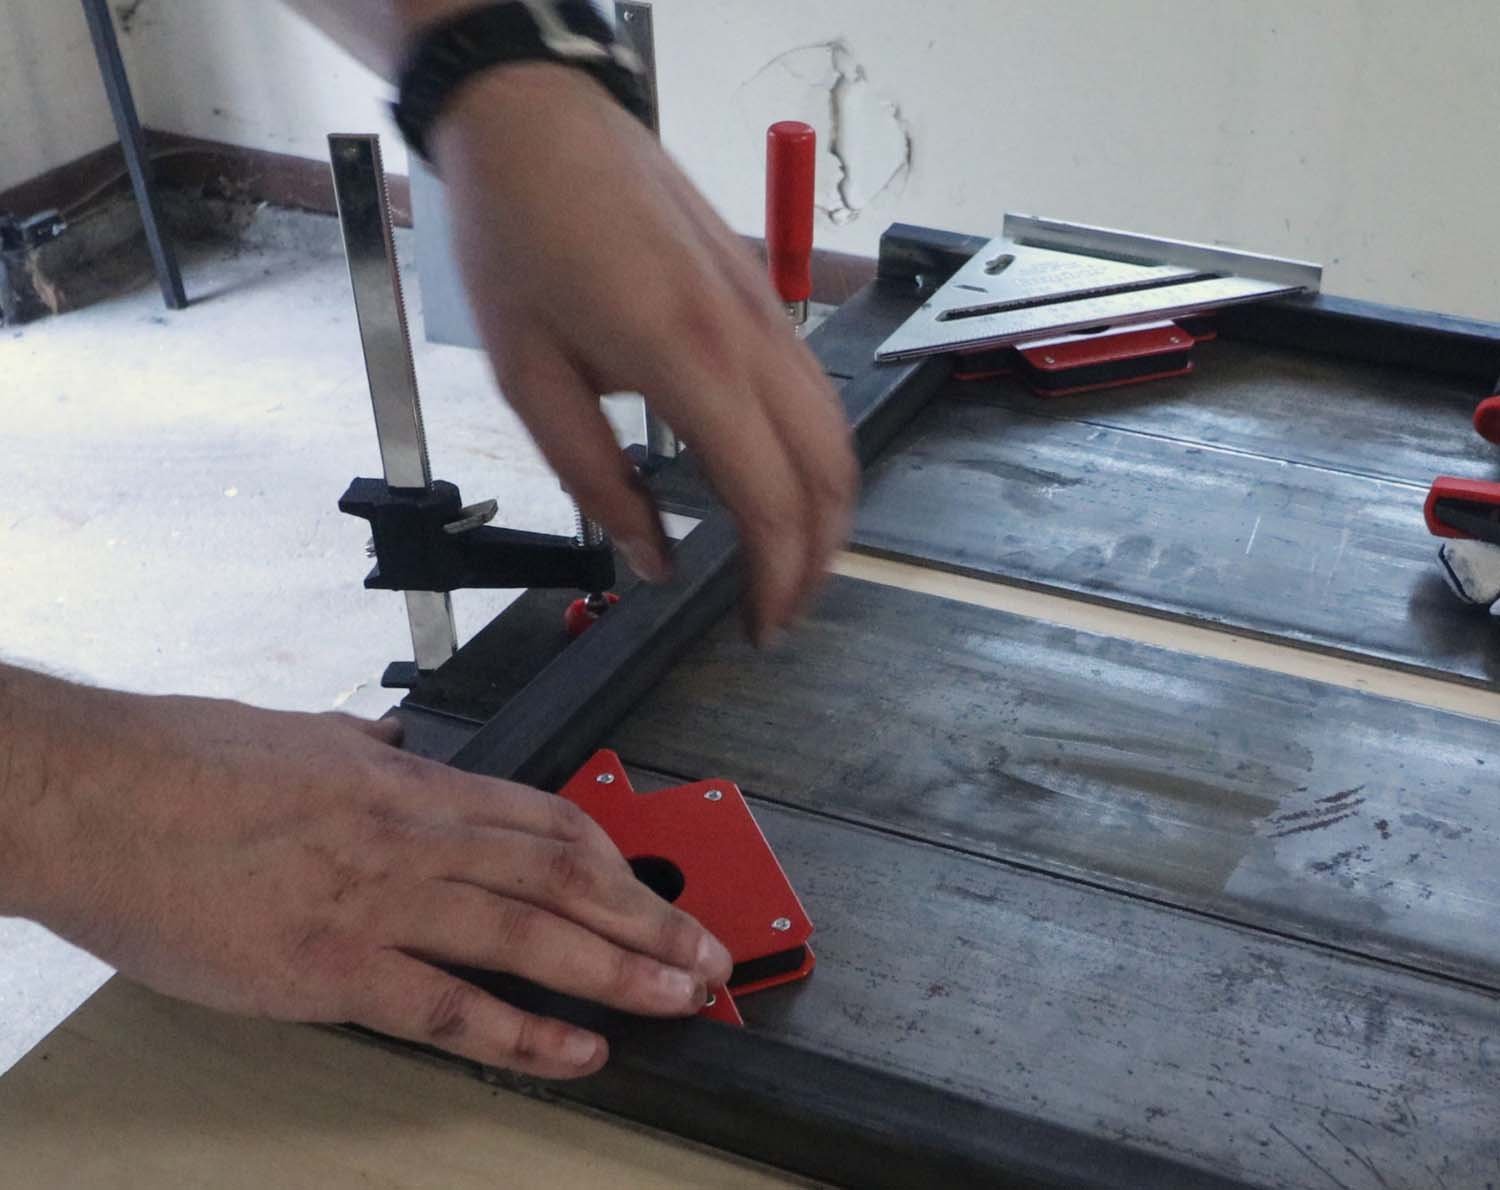
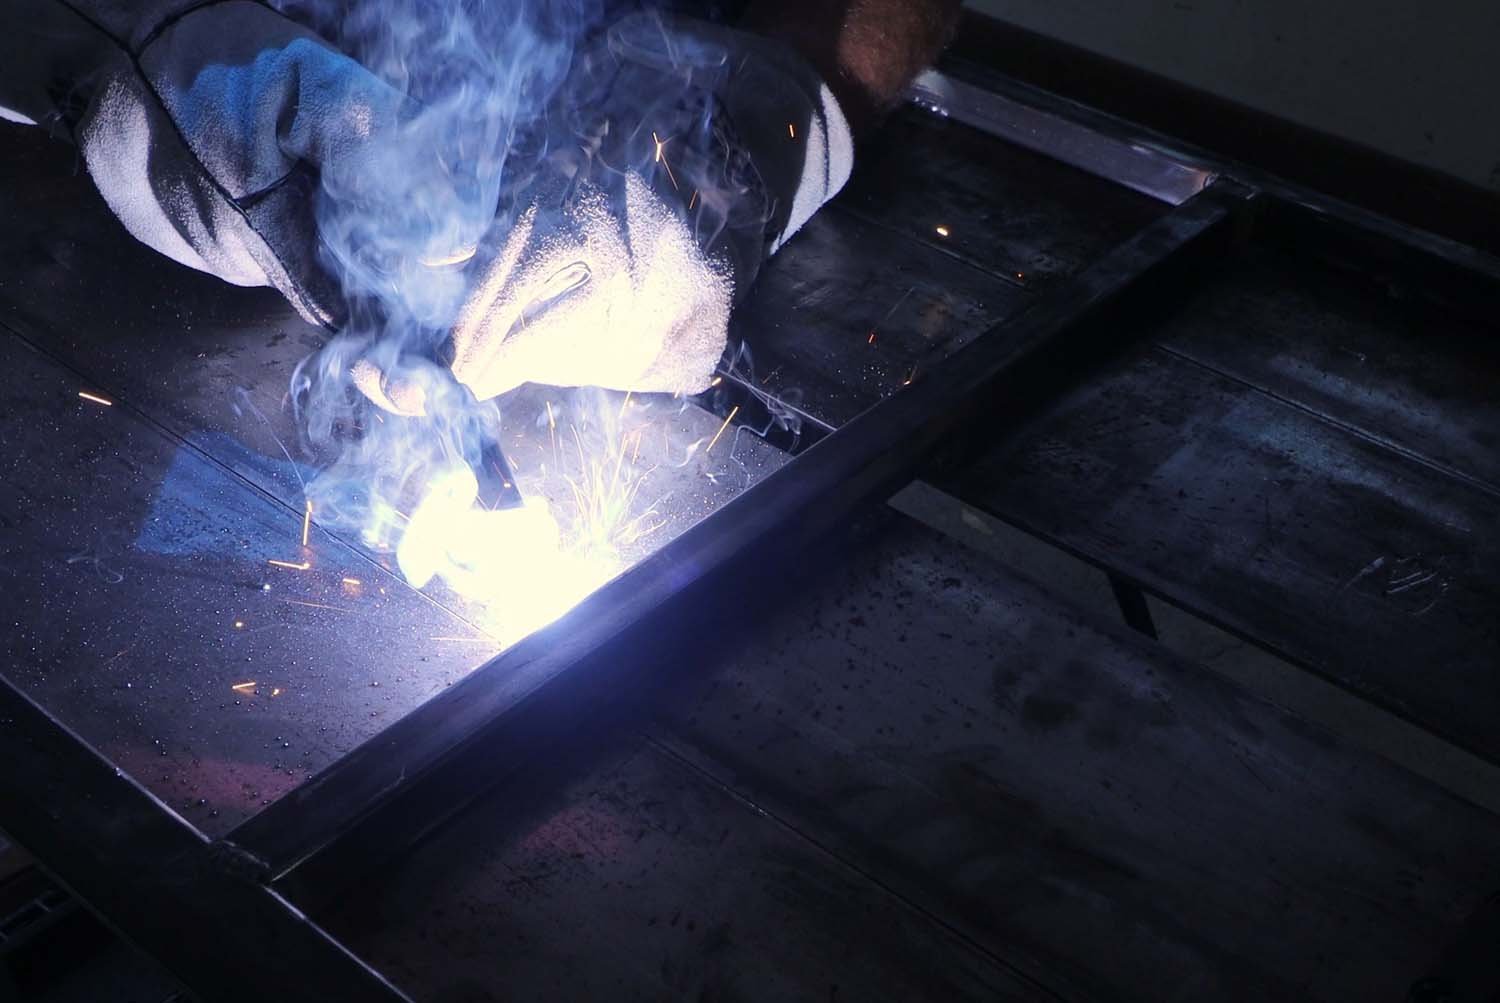
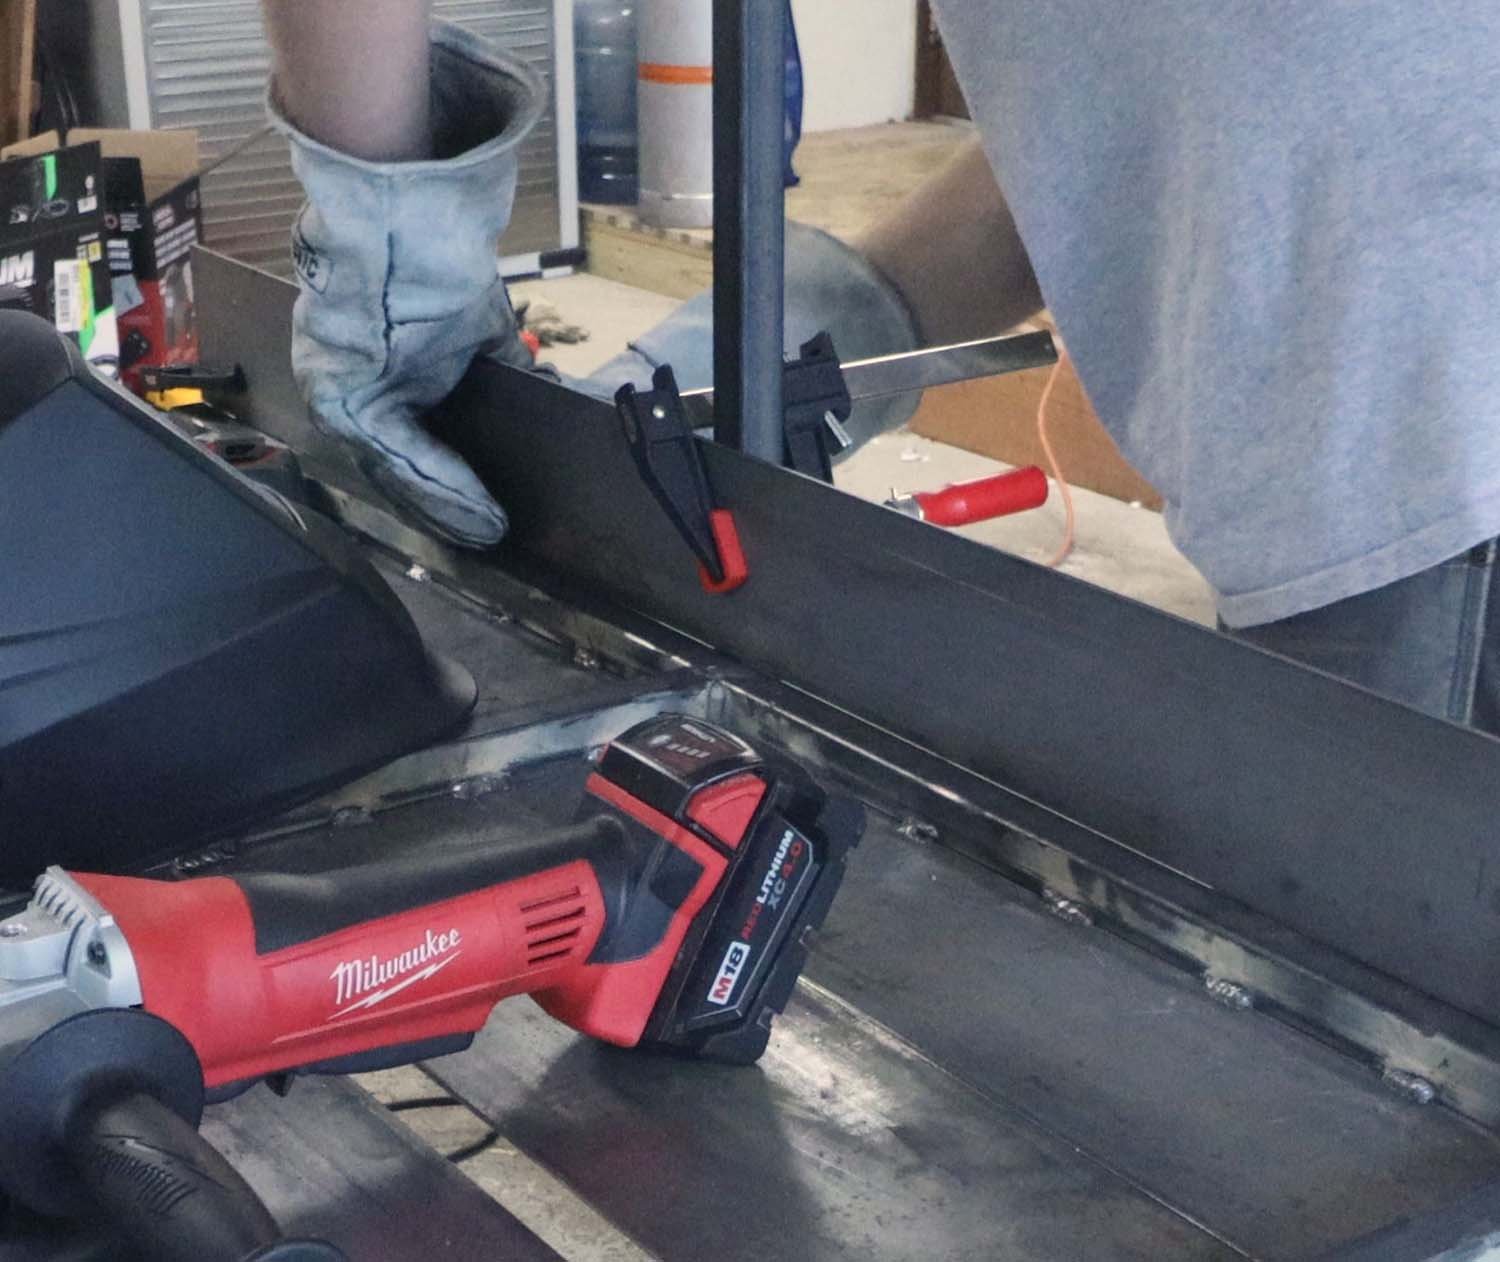
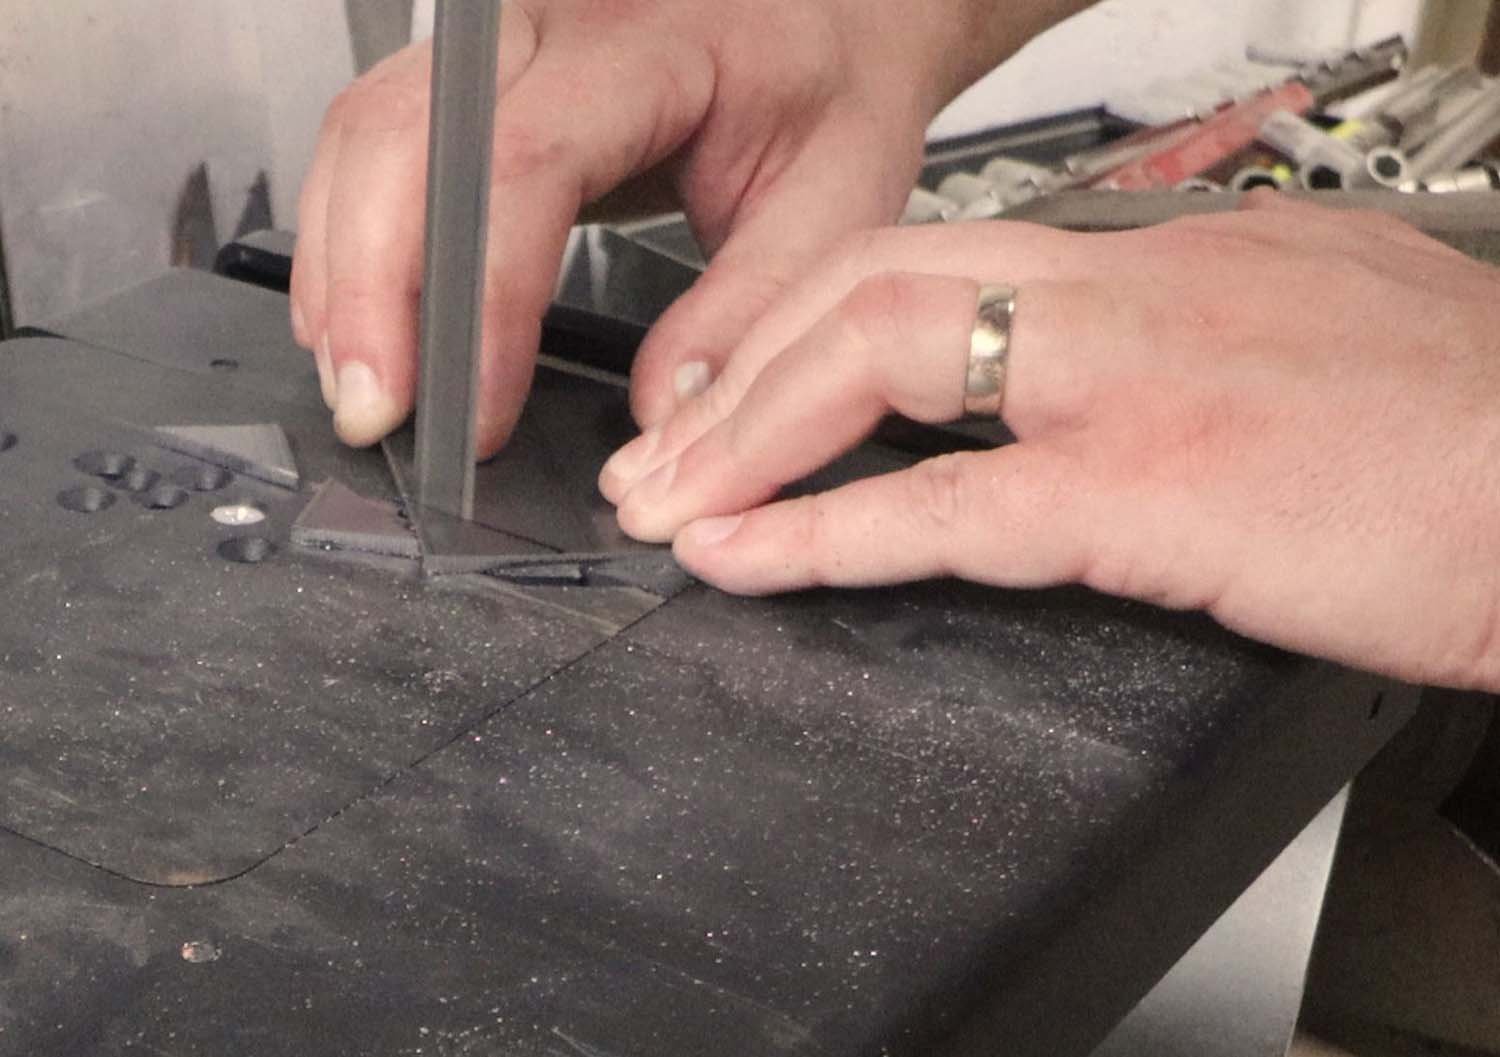
The tube steel cross pieces at either end are spaced such that the legs are in line with the studs I previously found. I marked for the cross pieces, and then measured the space between the pieces I previously welded on. After cutting more of the 1" square tube to length, I used square welding magnets and a try square to align the cross pieces perpendicular to the long pieces and clamped them in place. Next, I welded the cross pieces in place at either end of the table.

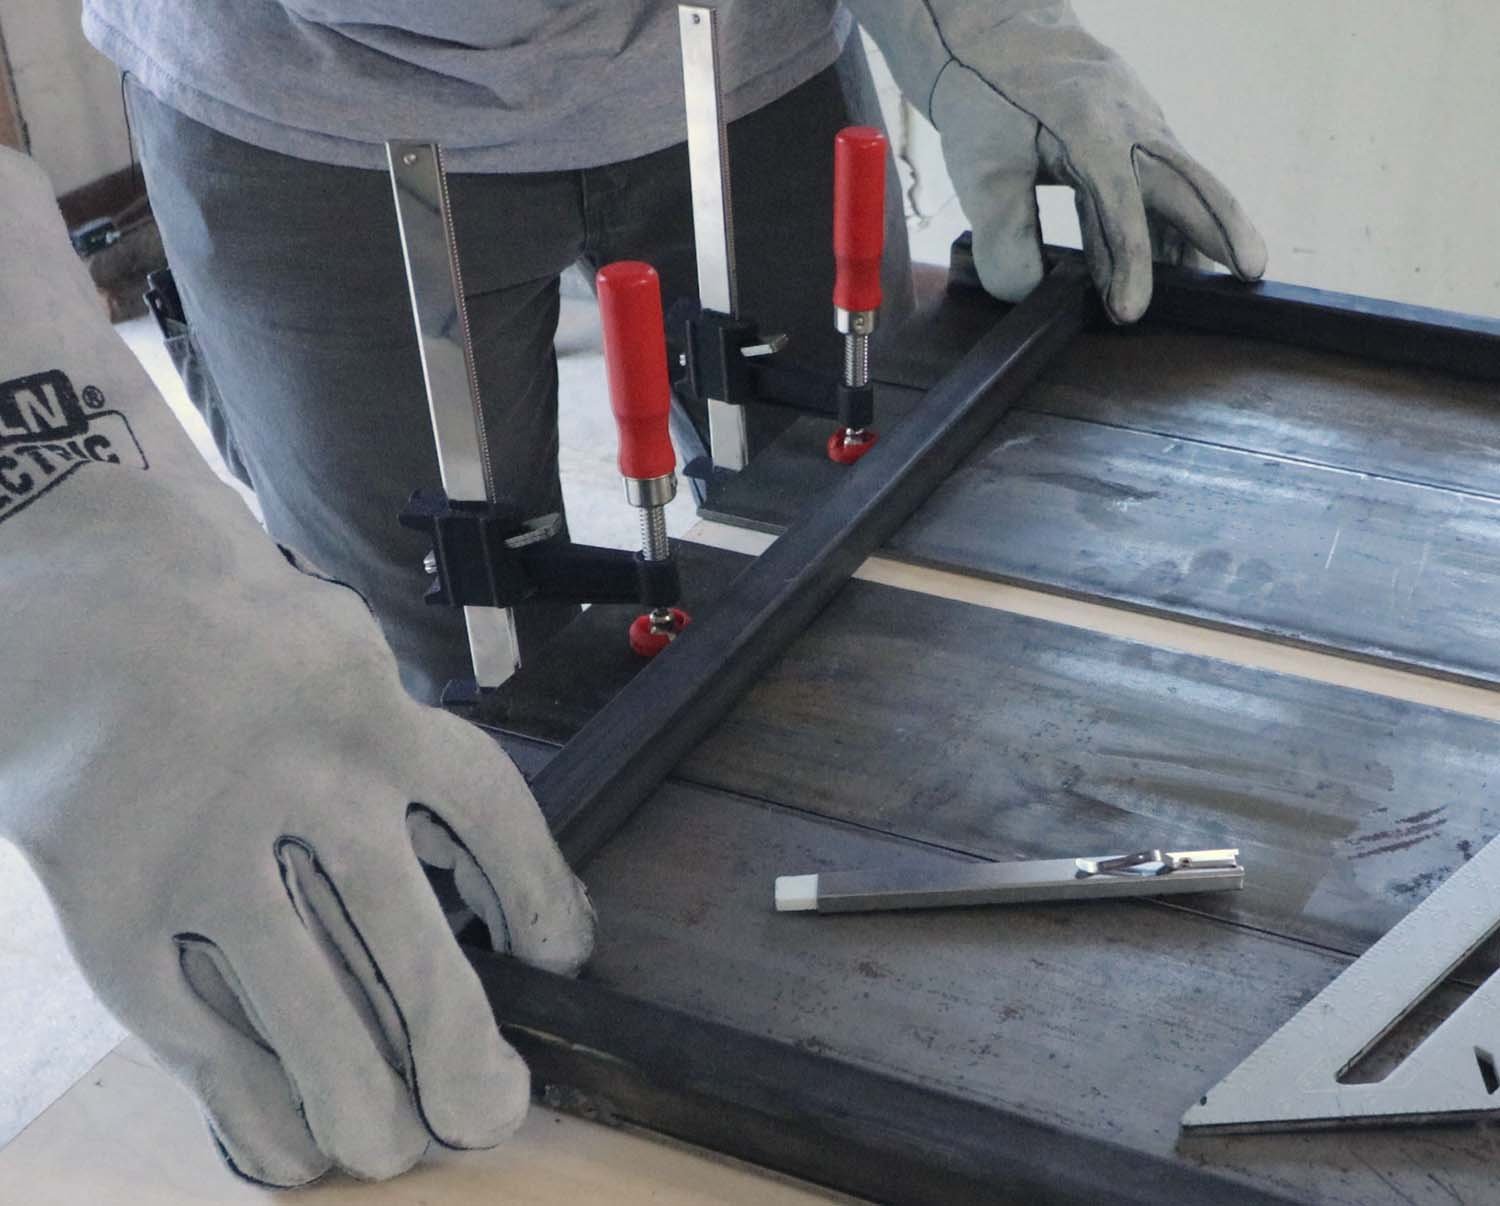


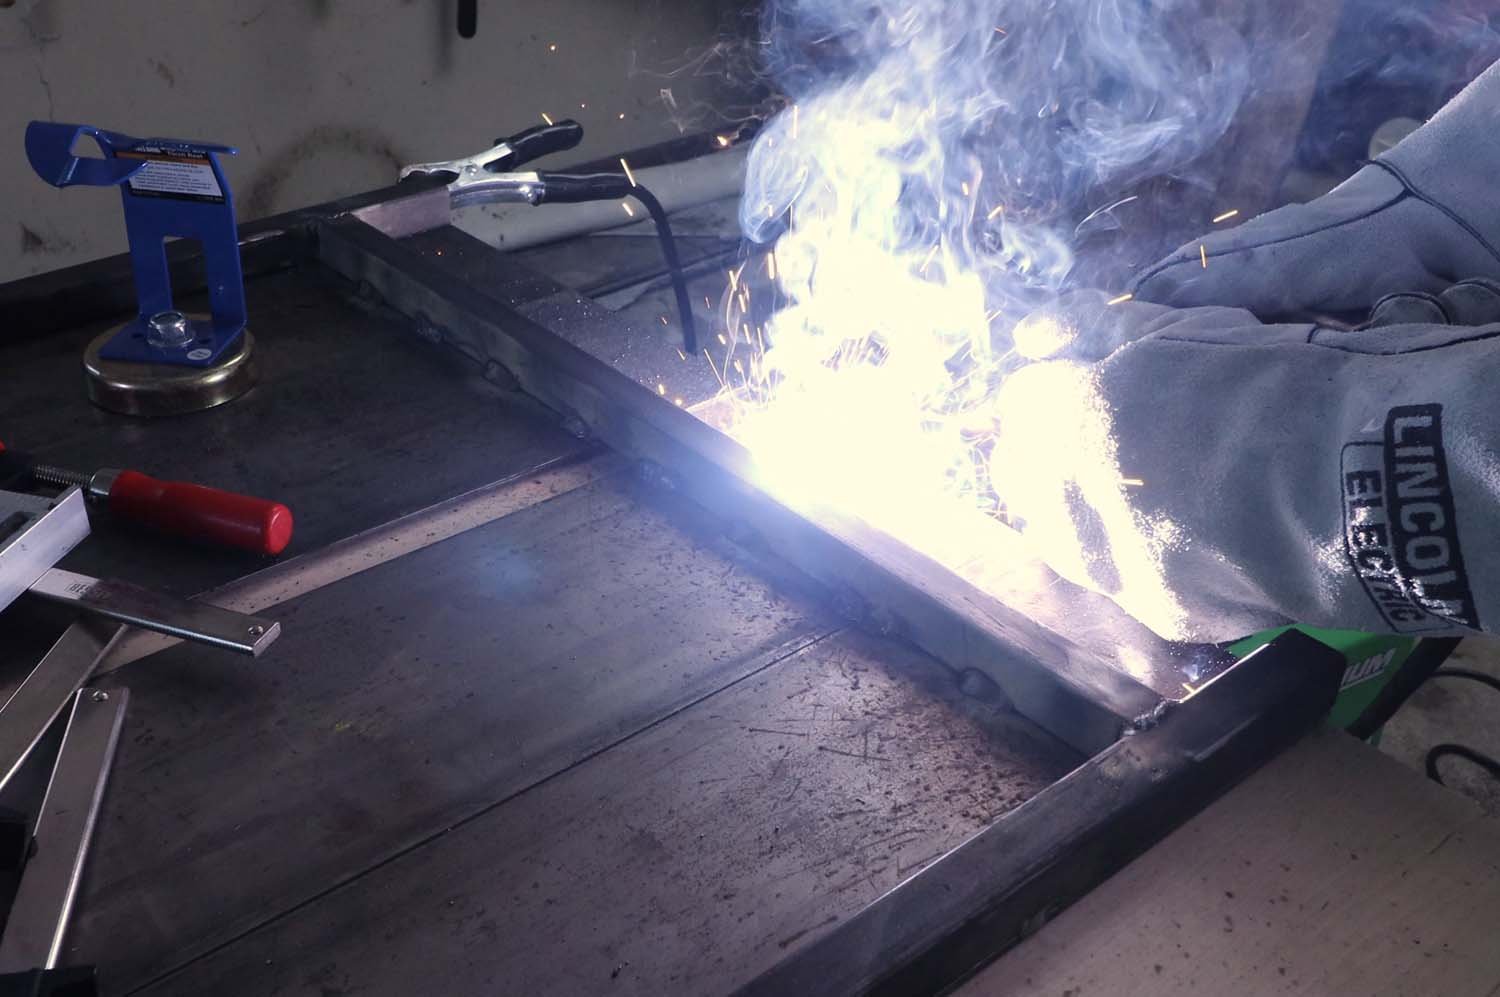
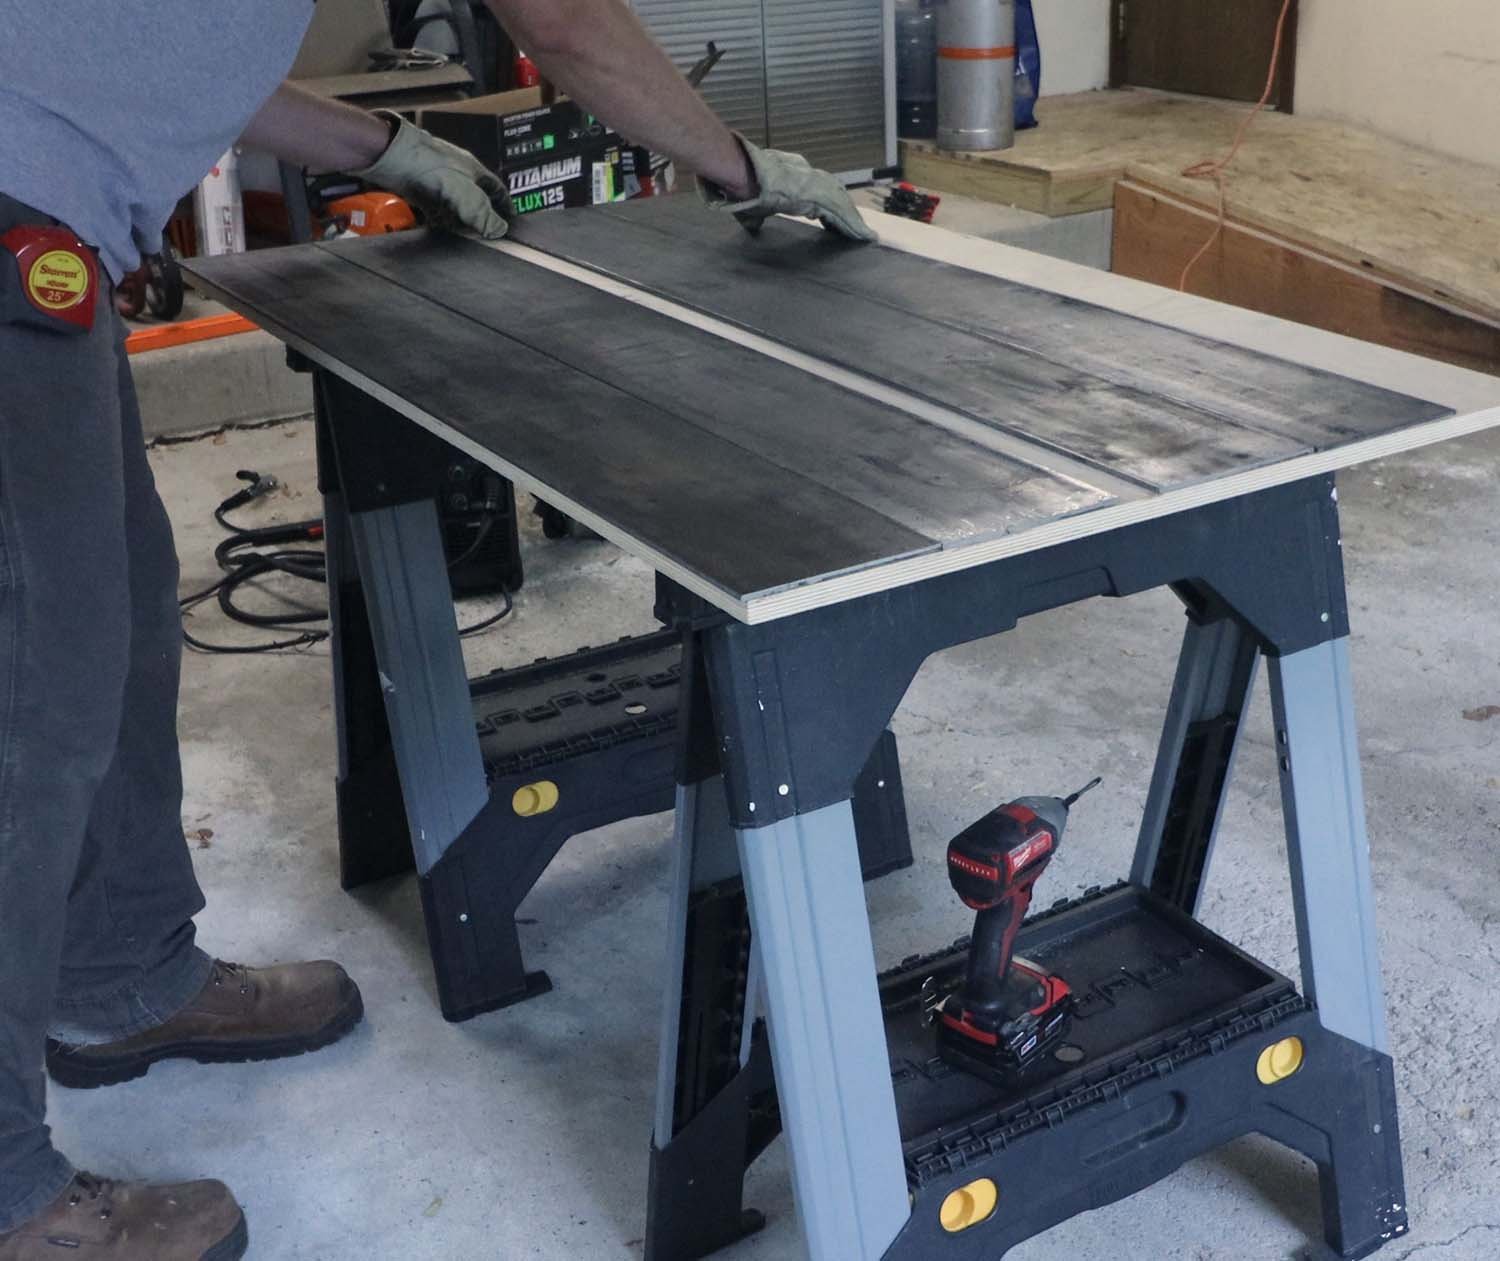
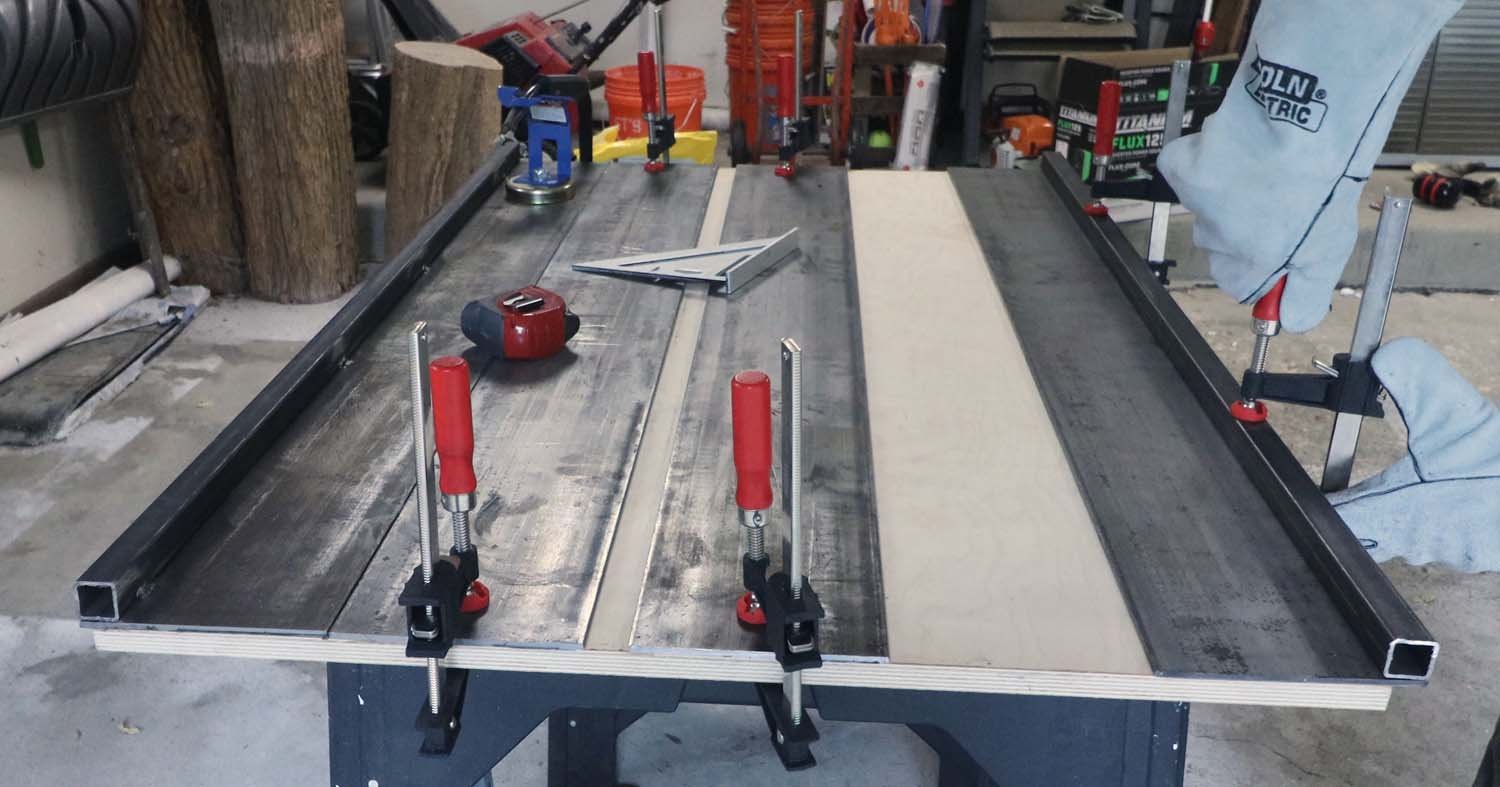
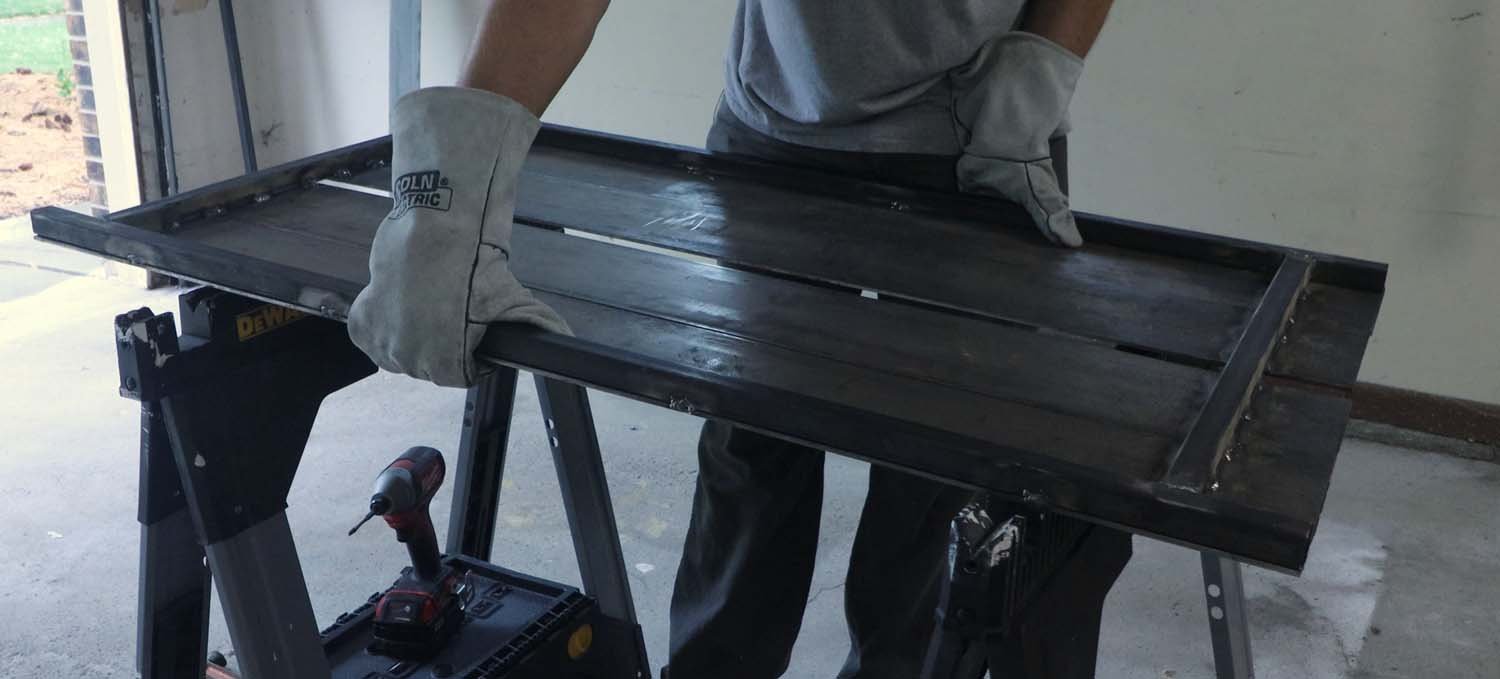
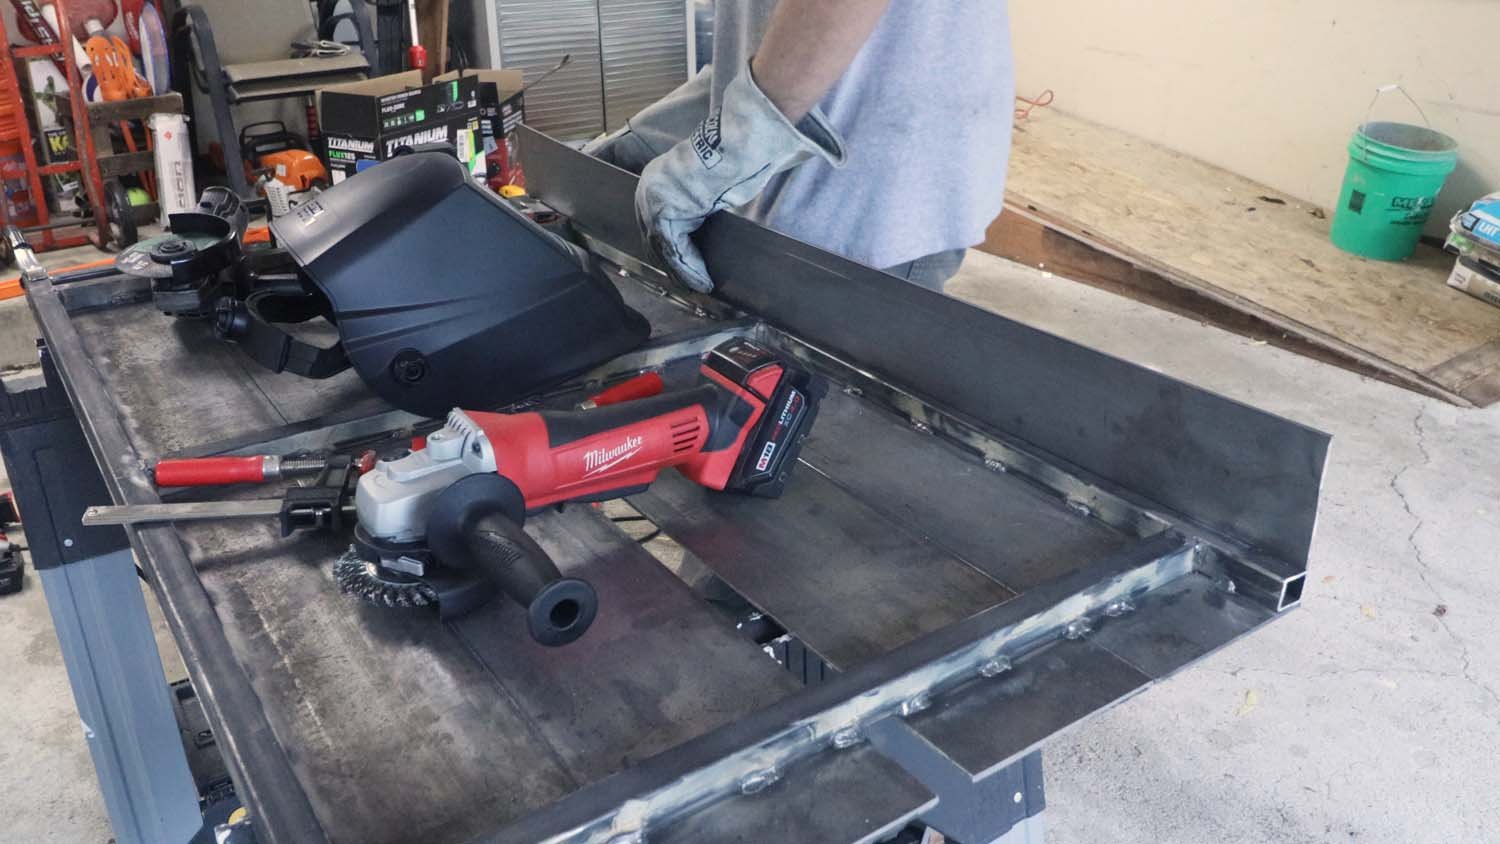
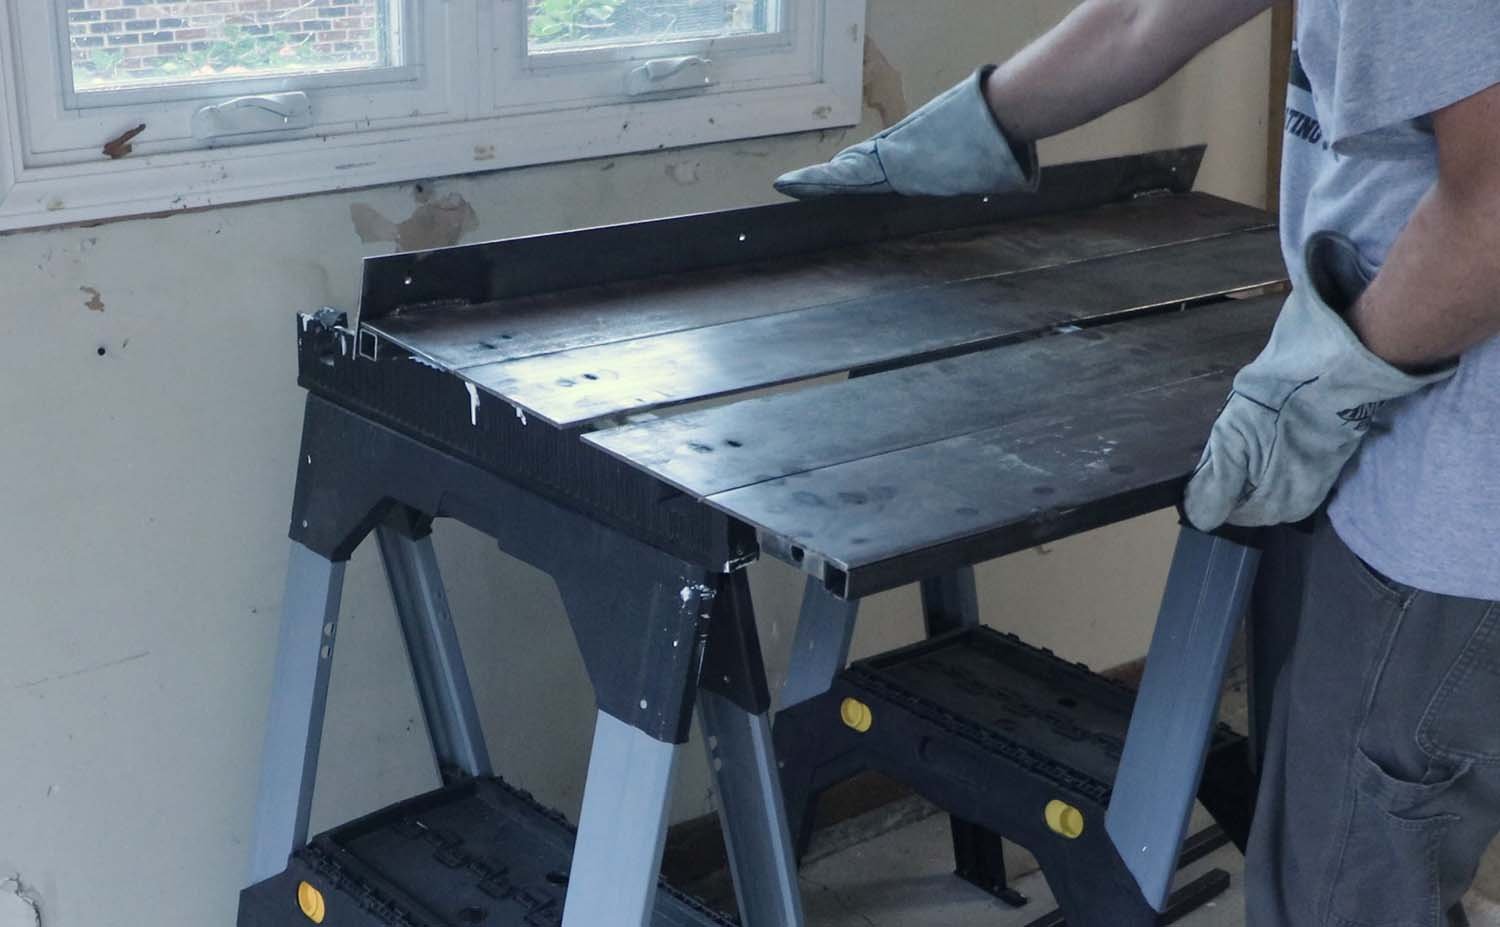
Since I have the main part of the frame attached, I removed the plywood before I ruin it any further and just put the steel table up on the saw horses. Enough of the table is welded up that I'm not particularly worried about it getting too far out of flat from here on out. That done, I added another cross piece at the middle of the table.
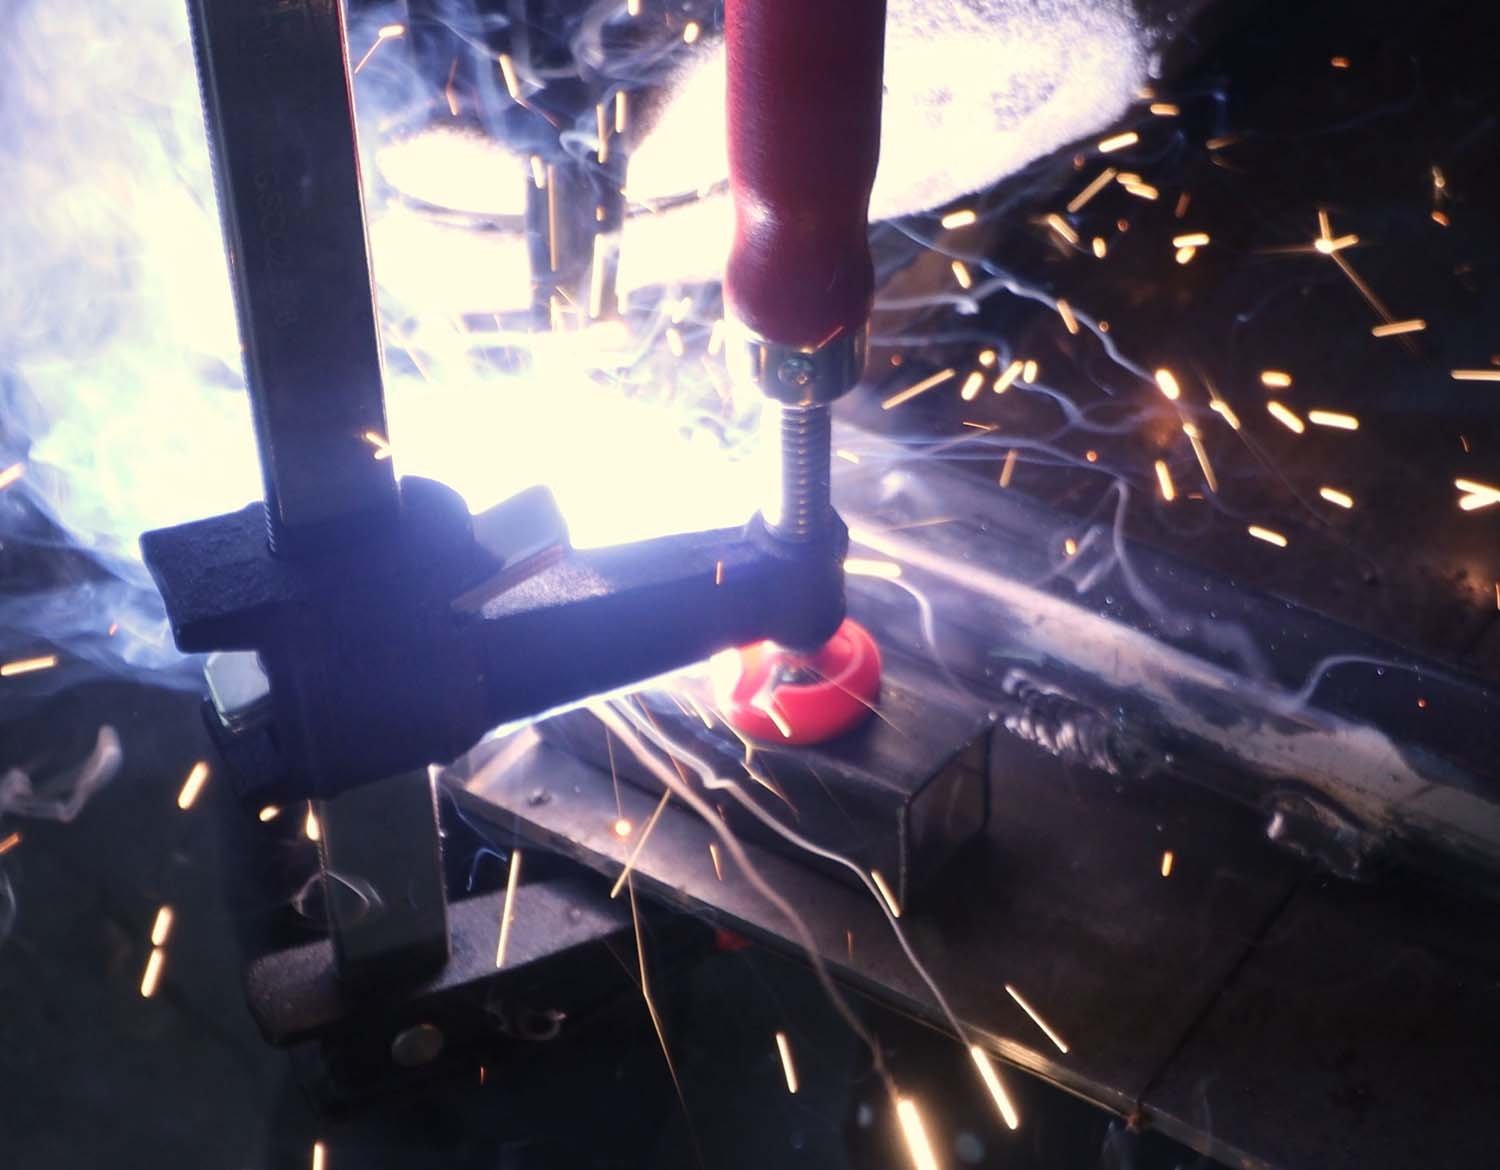
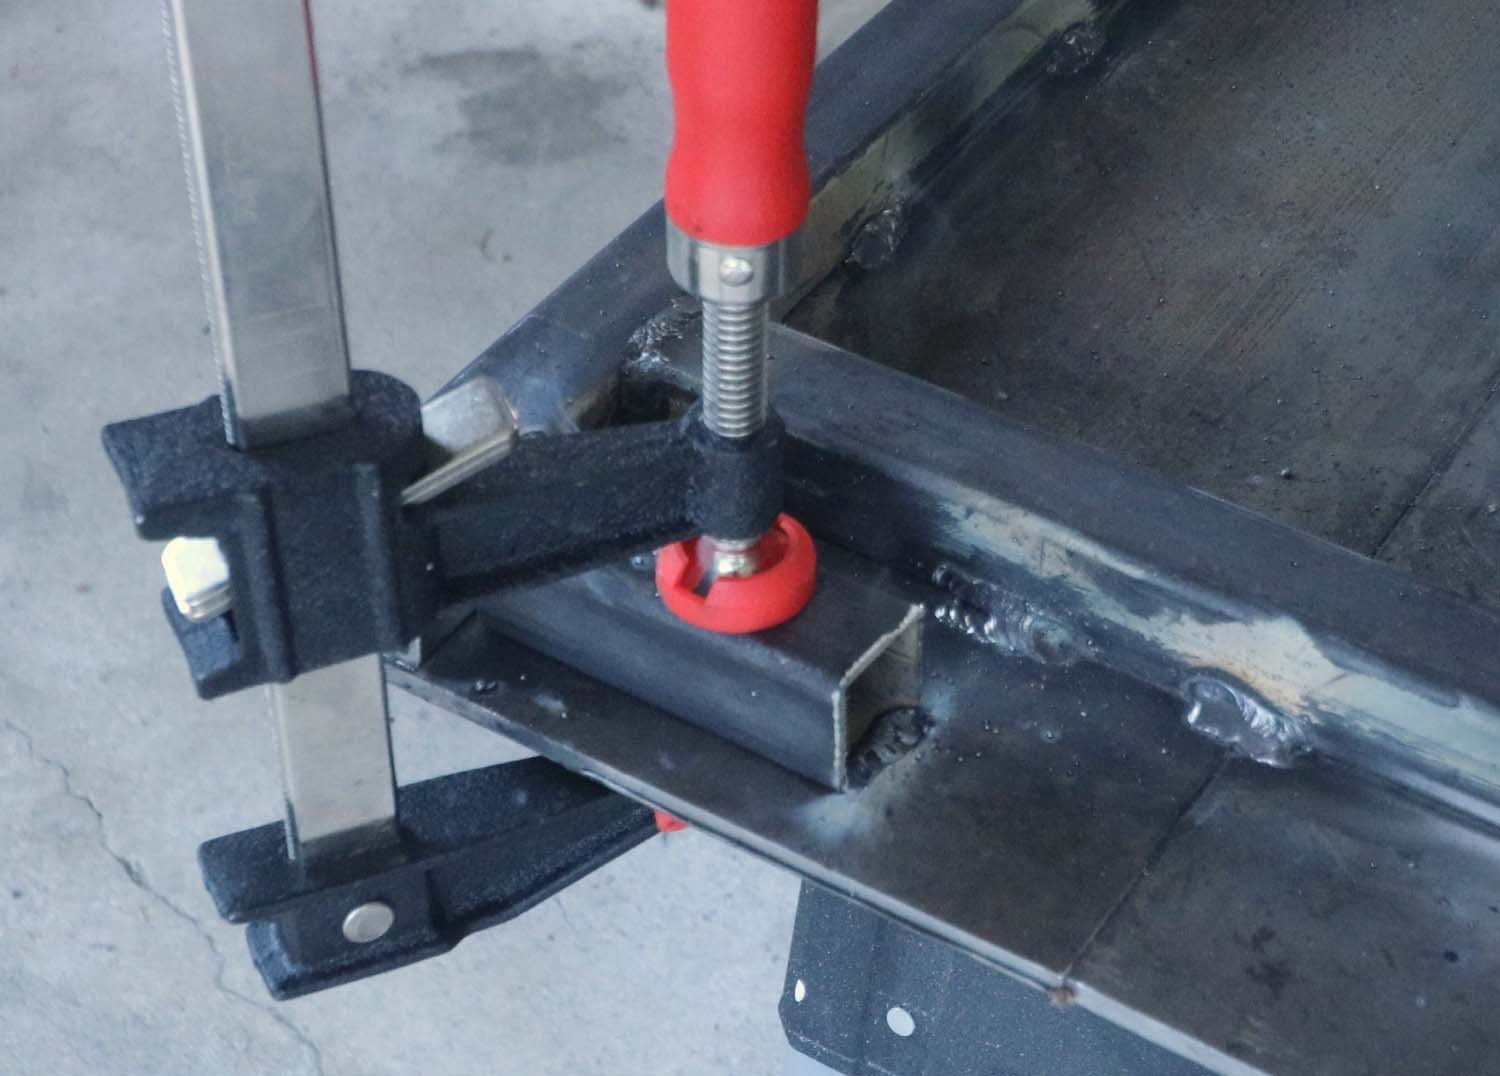
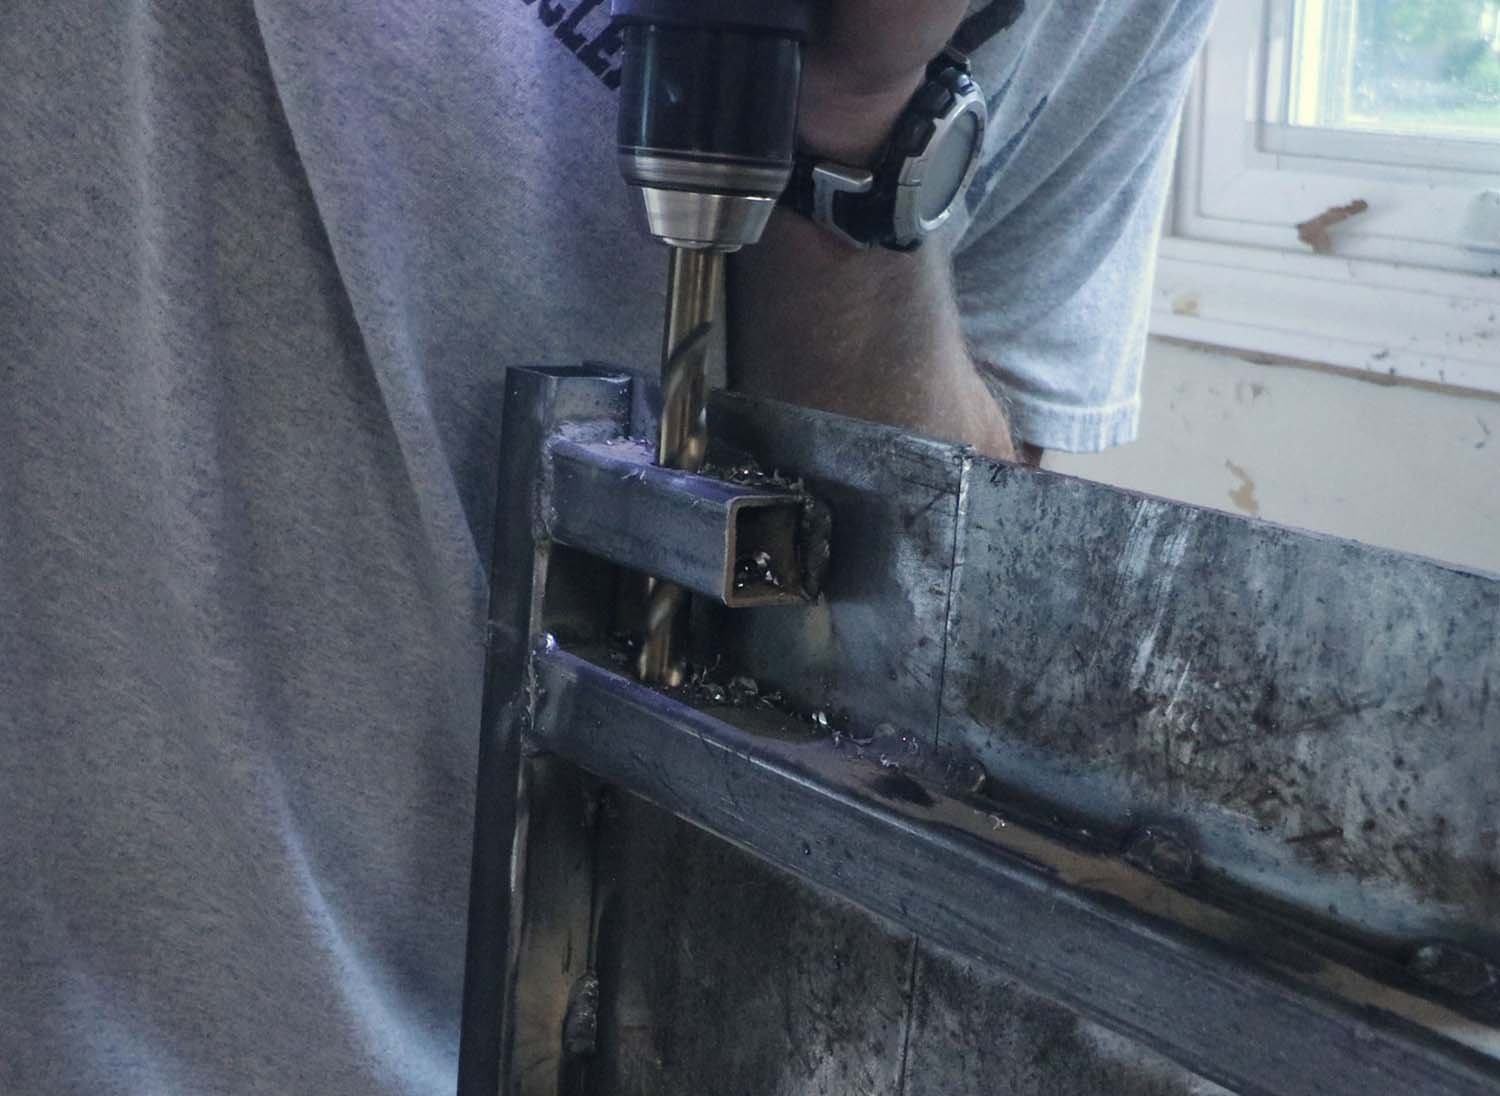
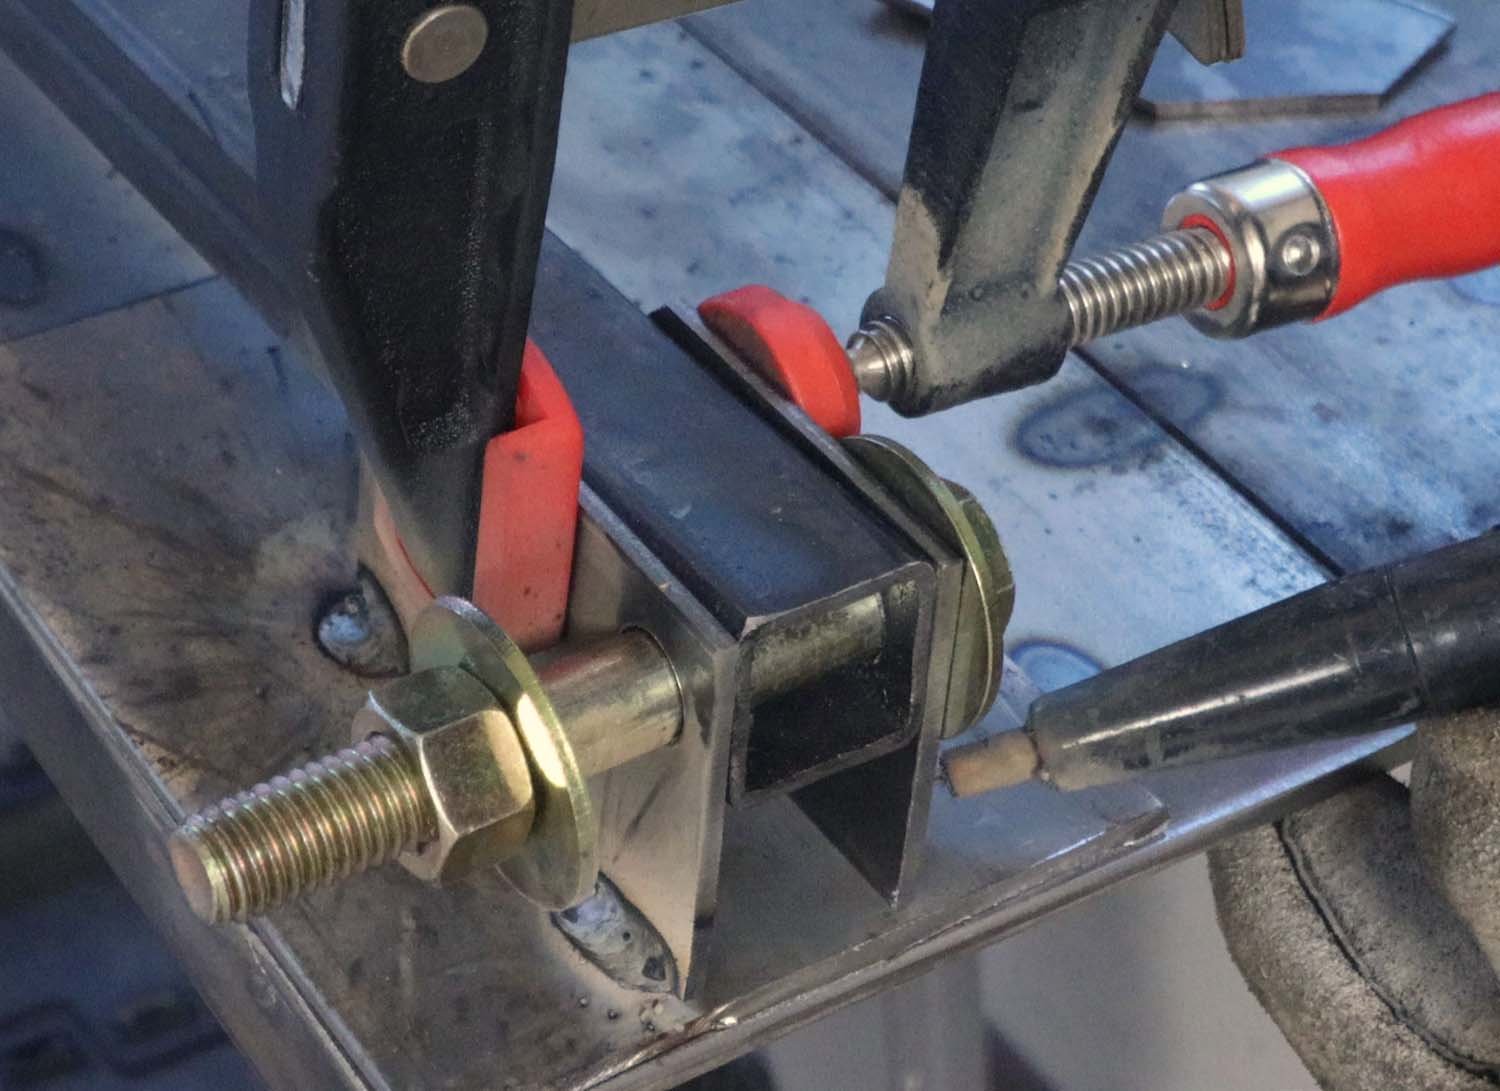
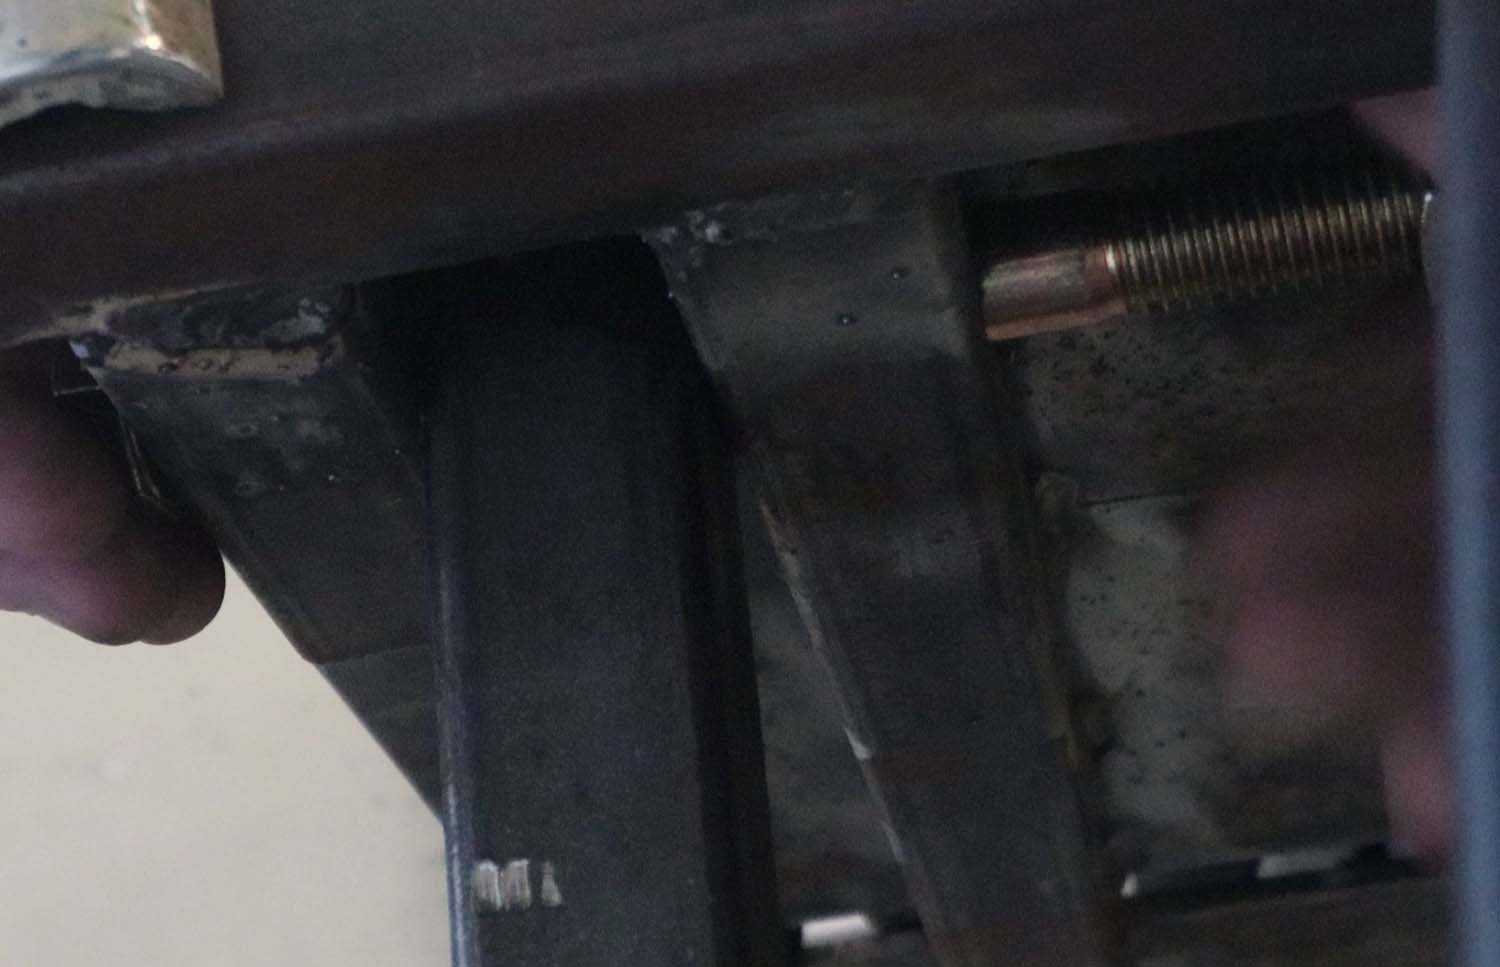
Now is time to attach the pieces that the legs will use to pivot against. These are short pieces of the 1" tube spaced 1" from the cross pieces just welded on. If you build one of these for yourself, you may want to drill the pivot hole before welding everything up as that will be easier that what I end up doing later on.

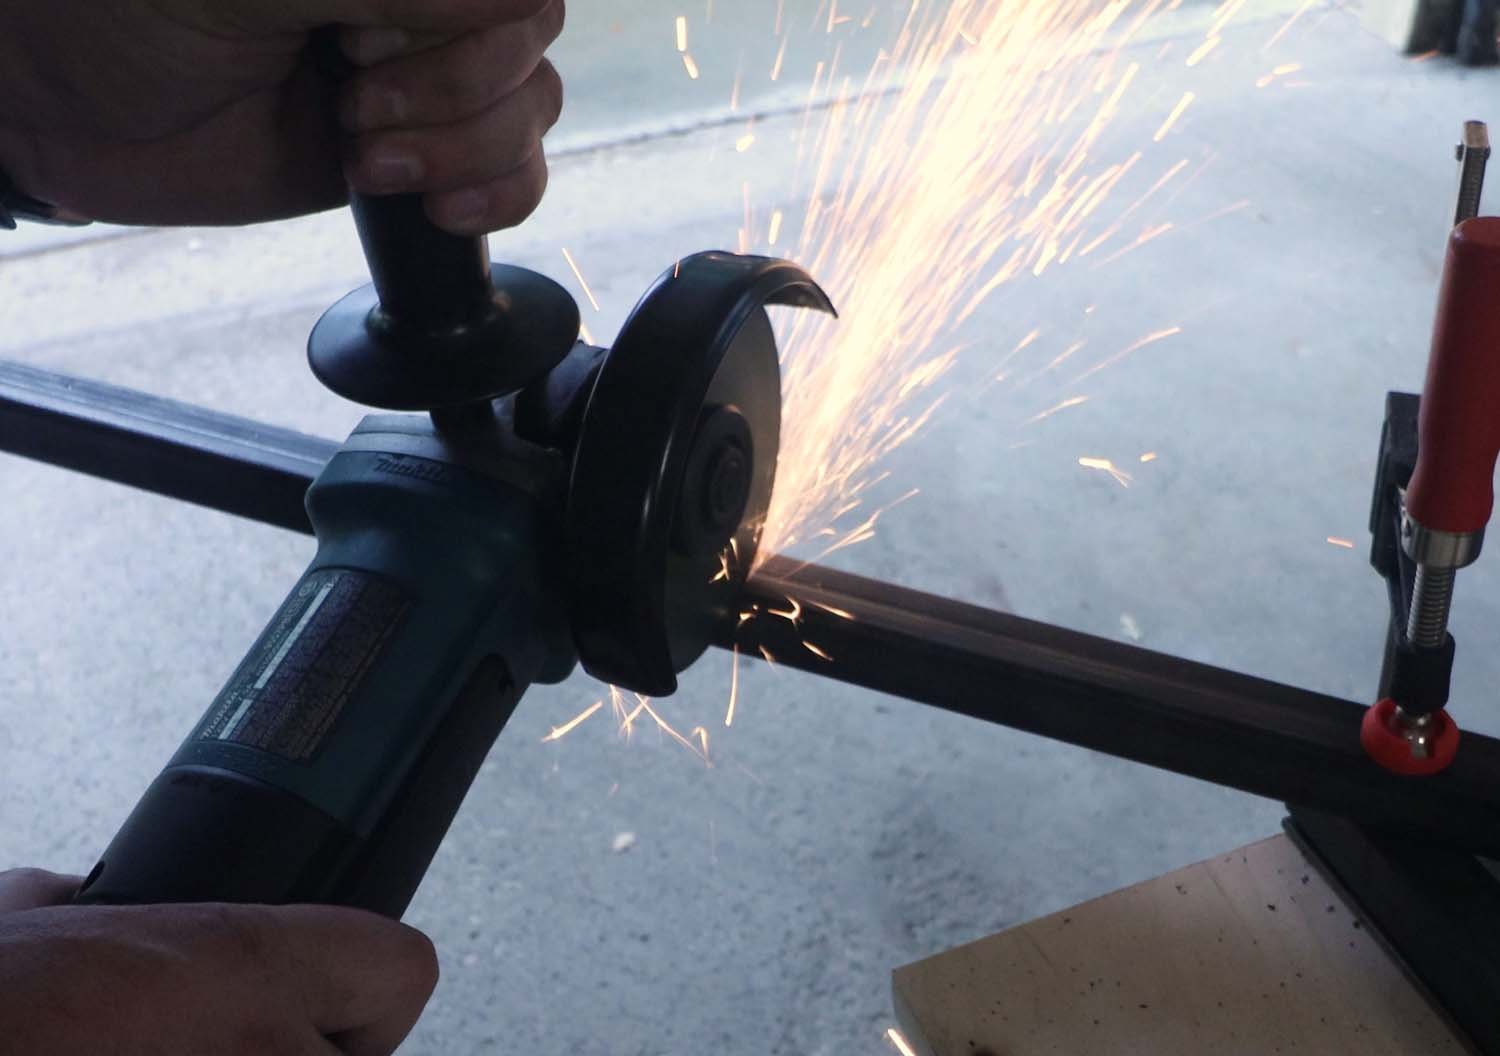
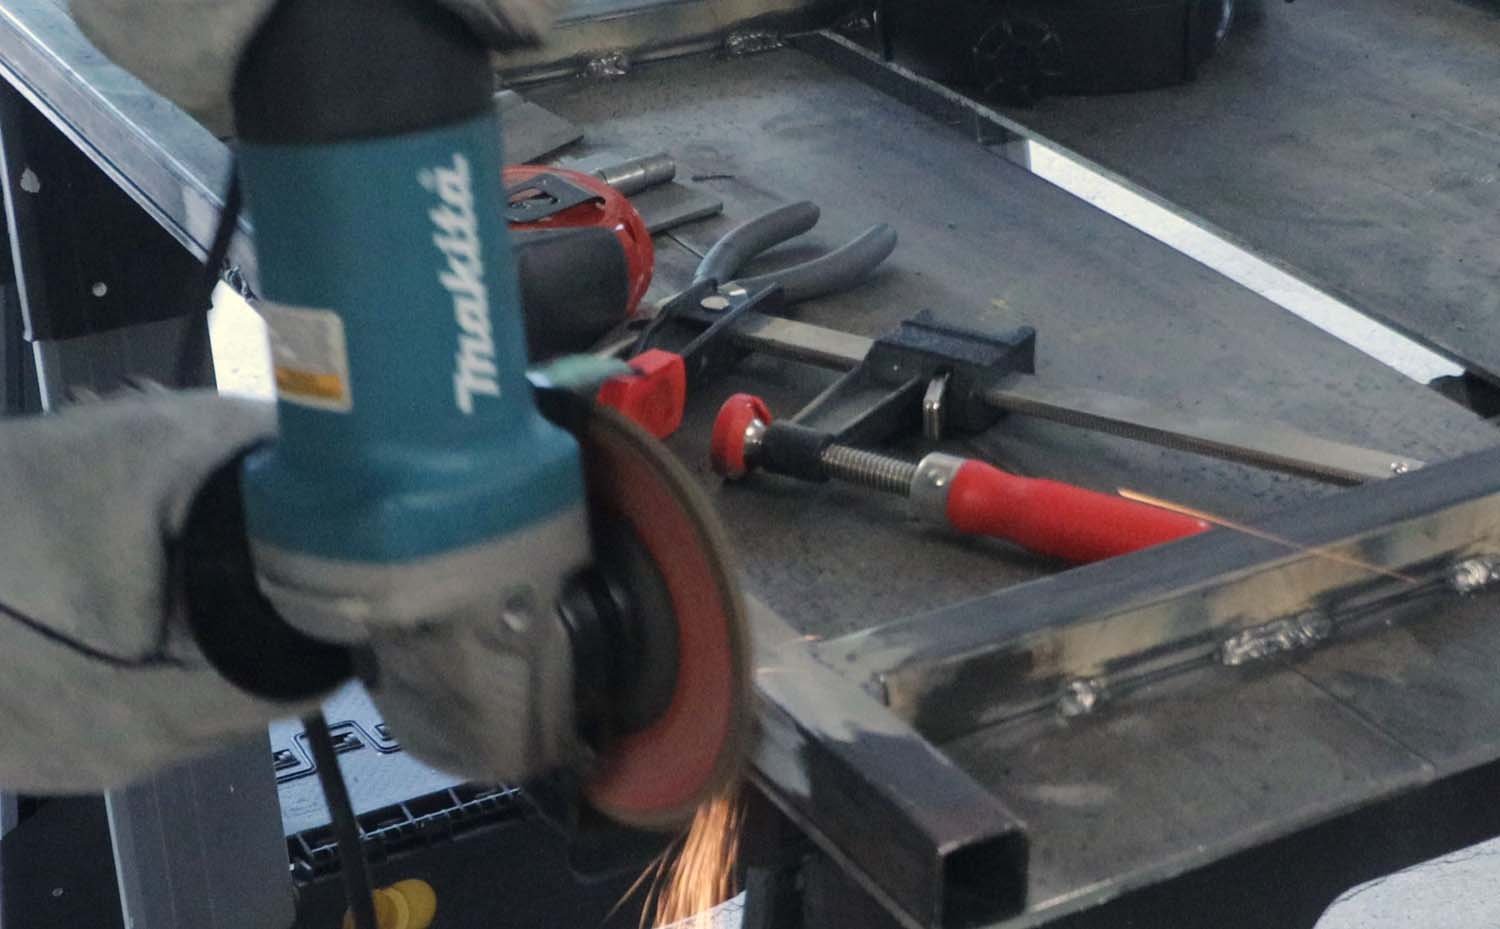
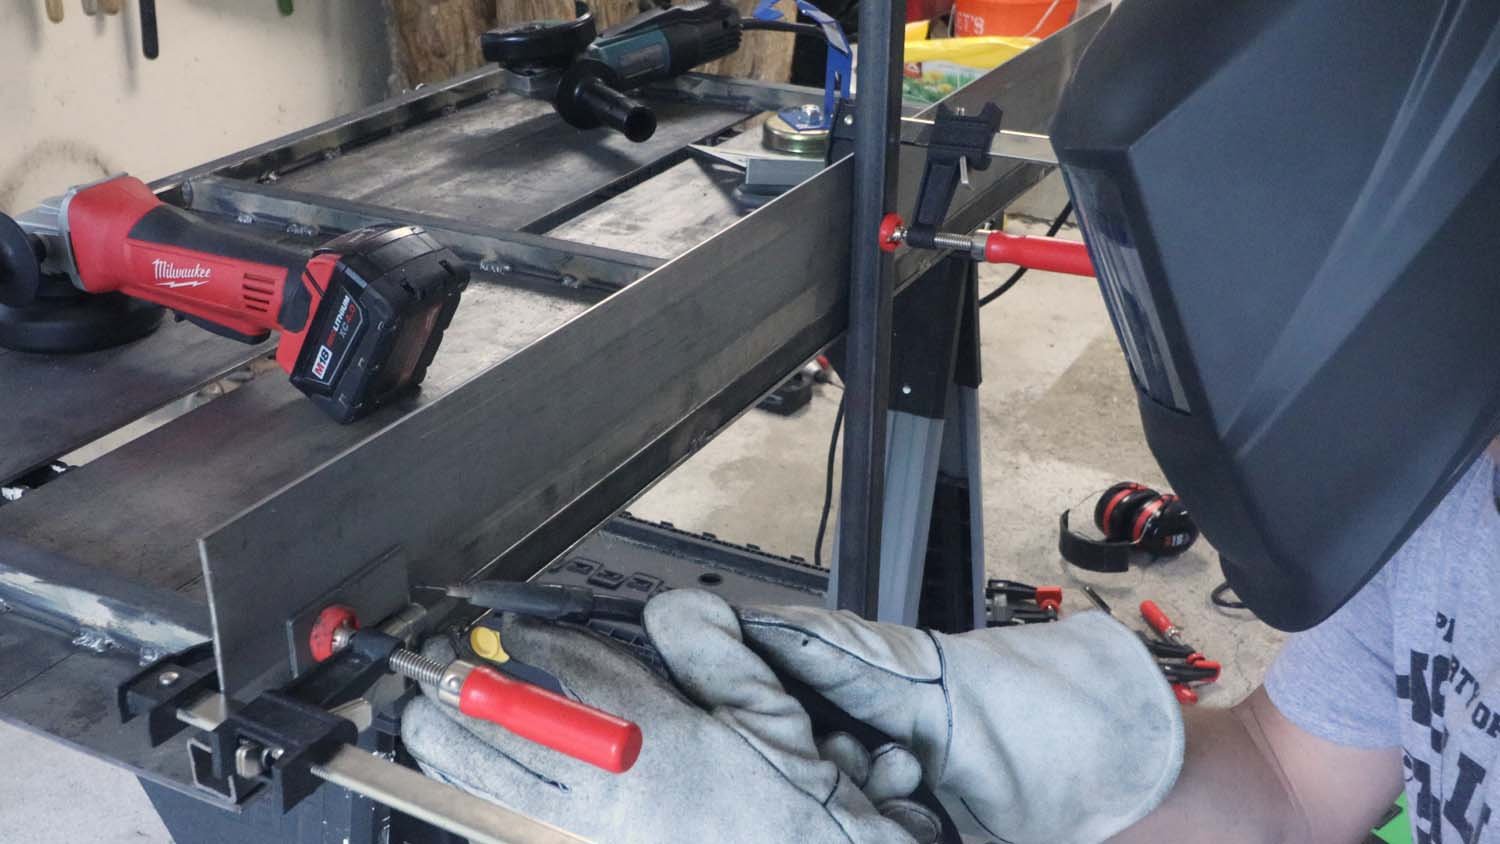
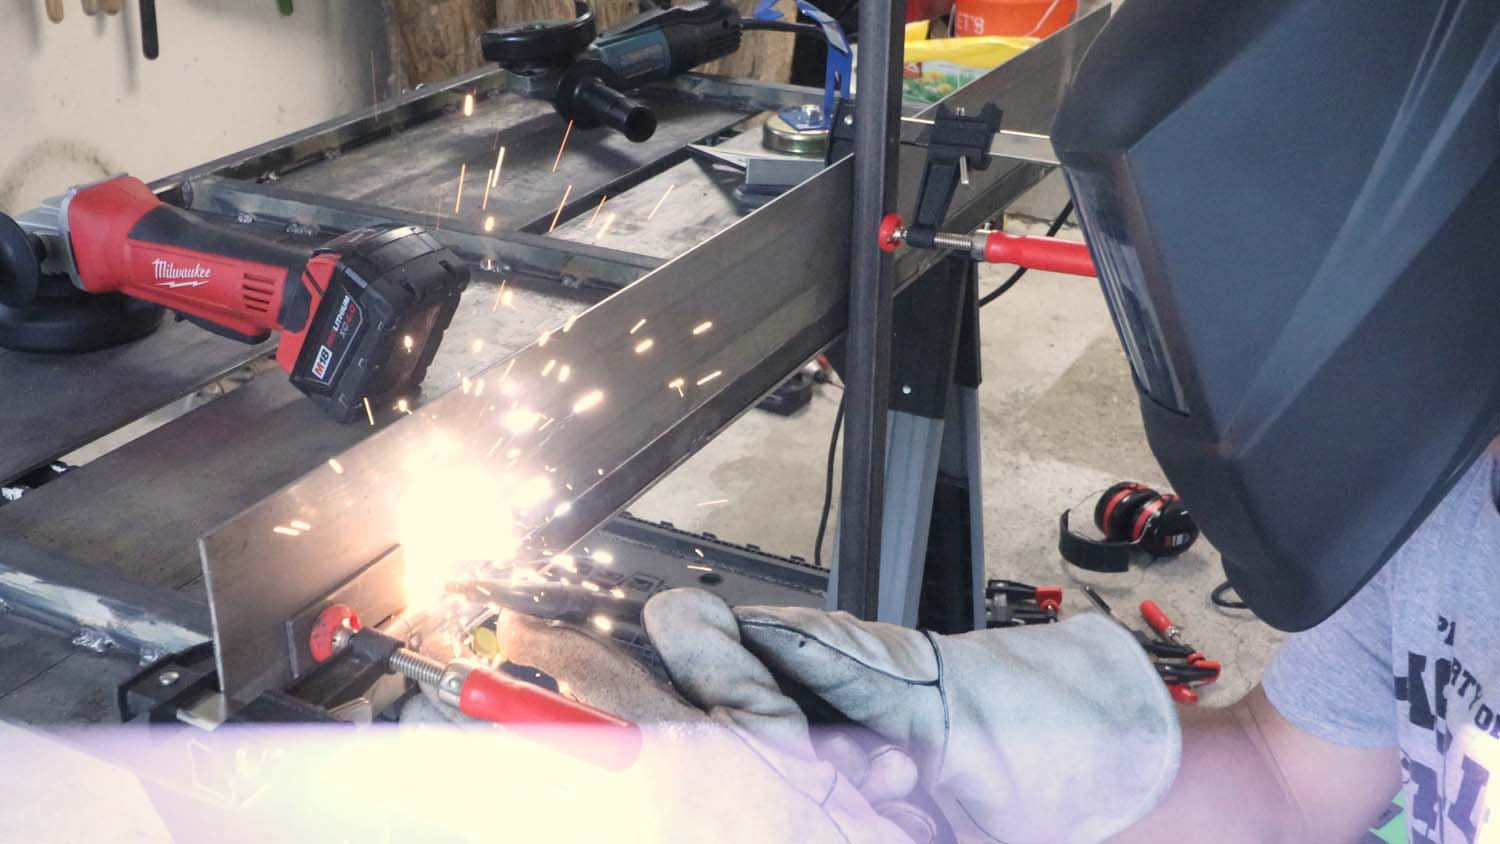
With the frame complete, I added the weld-on hinges to the table. These are the most important components as these are what allow the table to fold down against the wall. After cleaning up the faying surfaces with a flap disk, I clamped the hinge in place and welded it down.
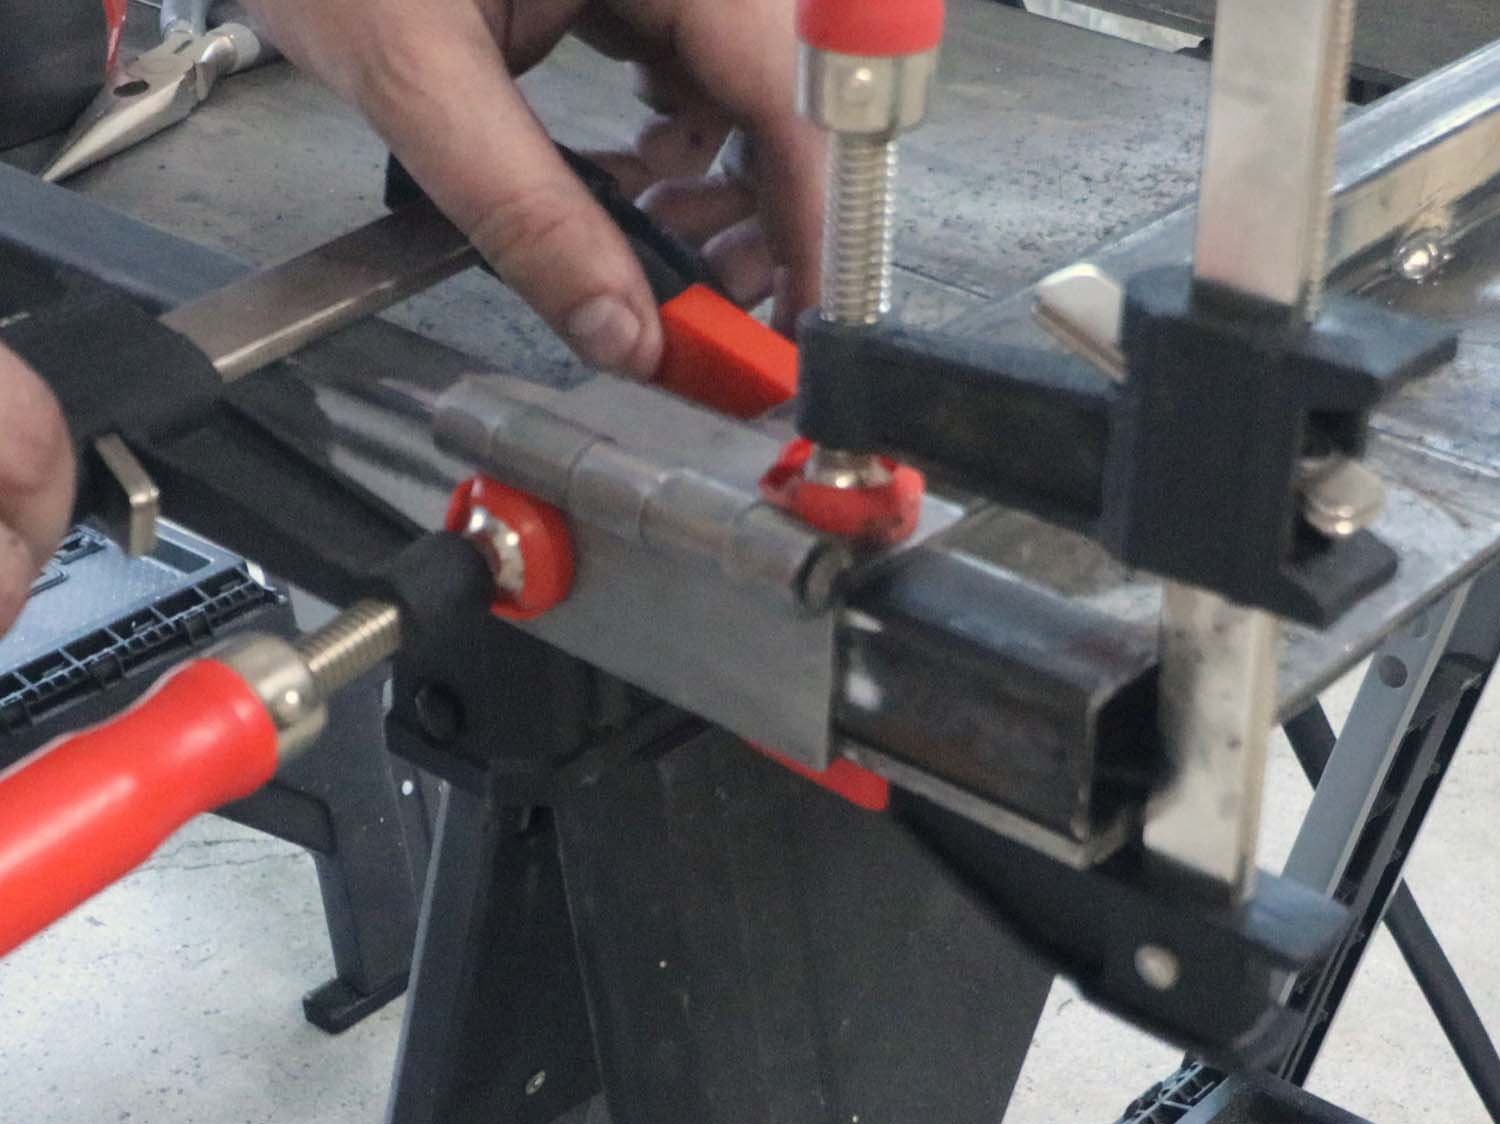
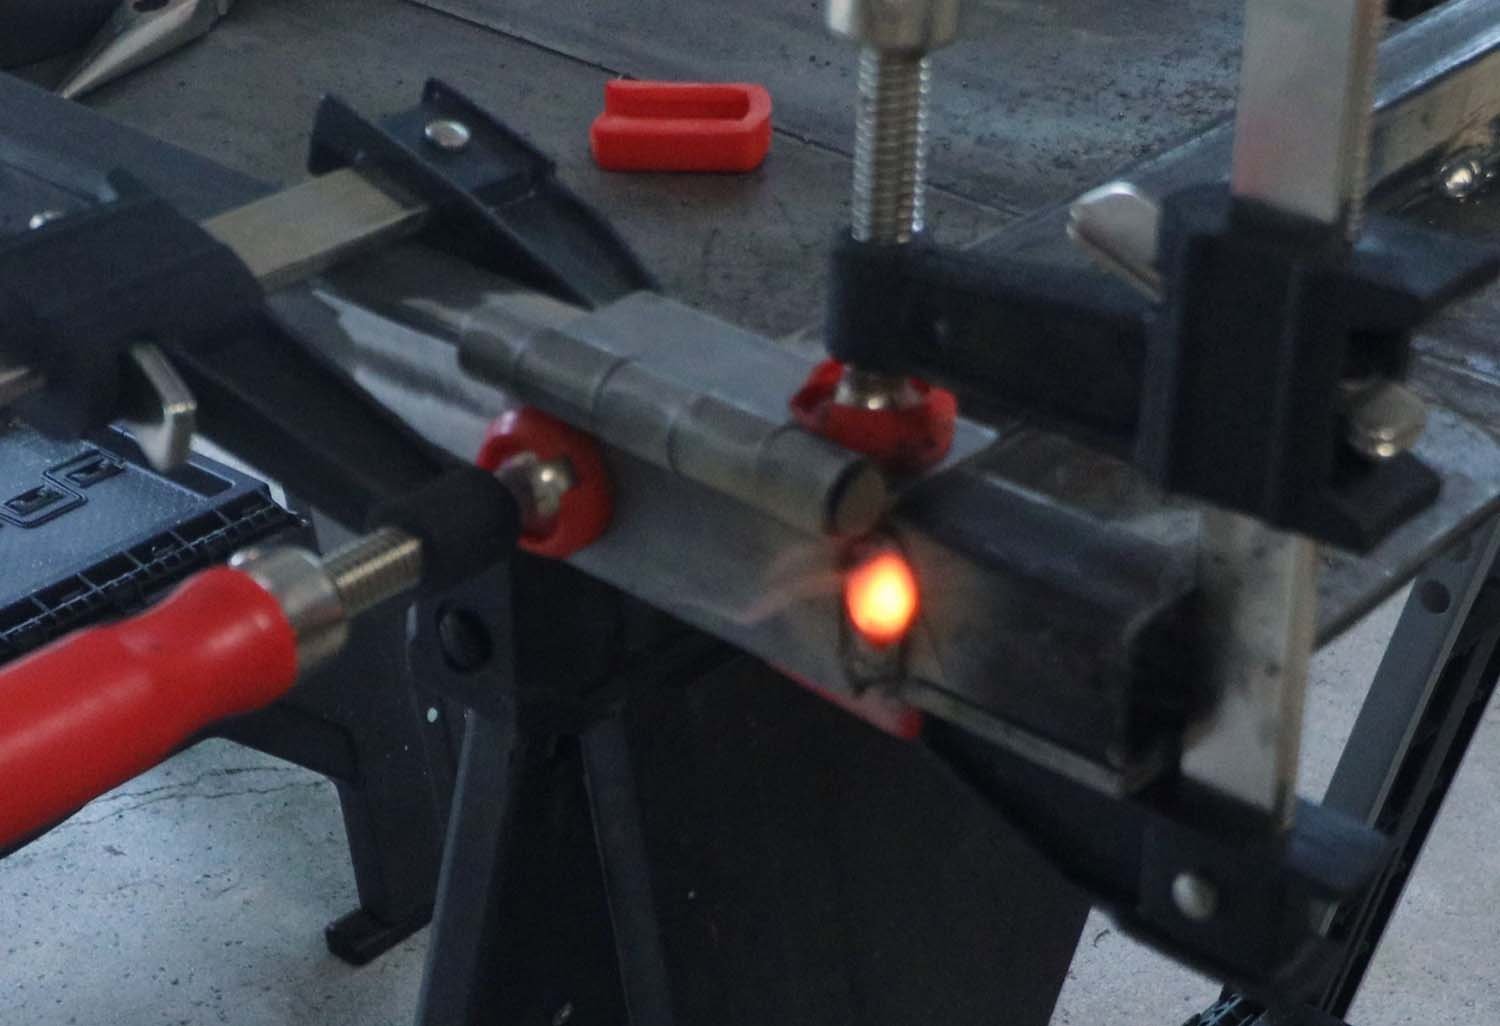
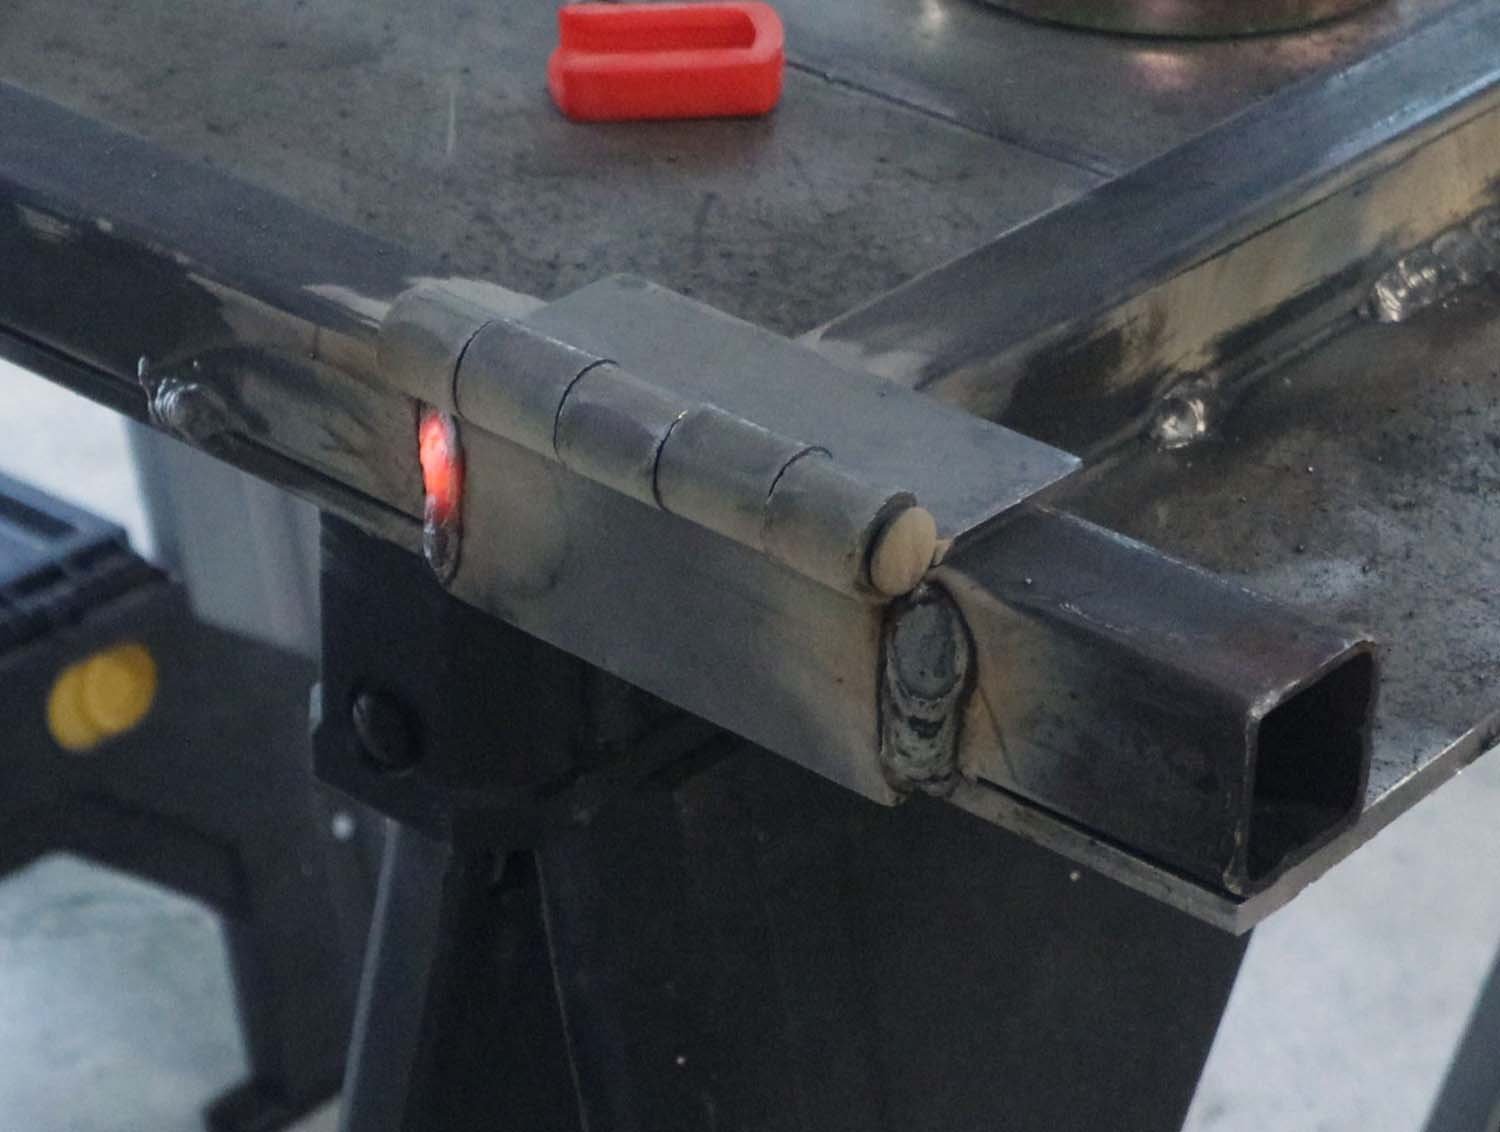
This piece of 1/8" bar will act like a backsplash for the table, as well as serve as the mounting place for the hinges. I used a piece of the 1" tube to keep the bar coplanar to the back of the table, then welded the hinges to the bar.

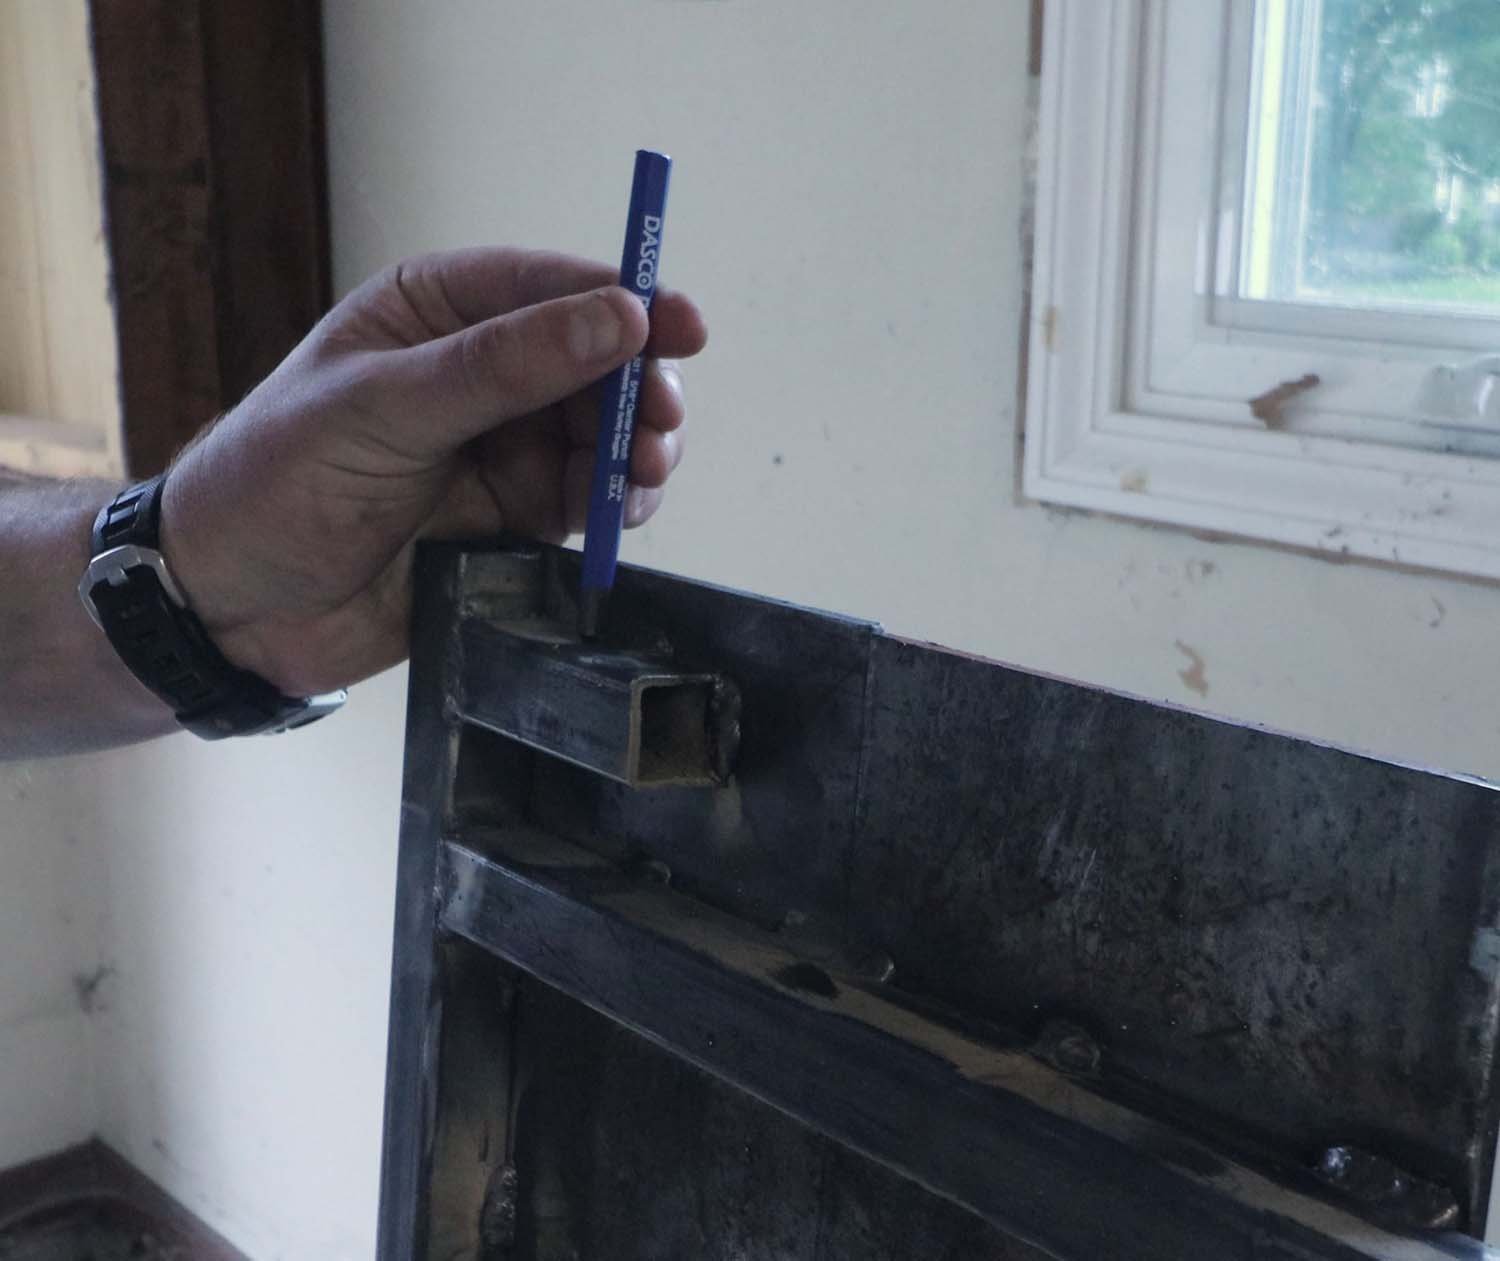
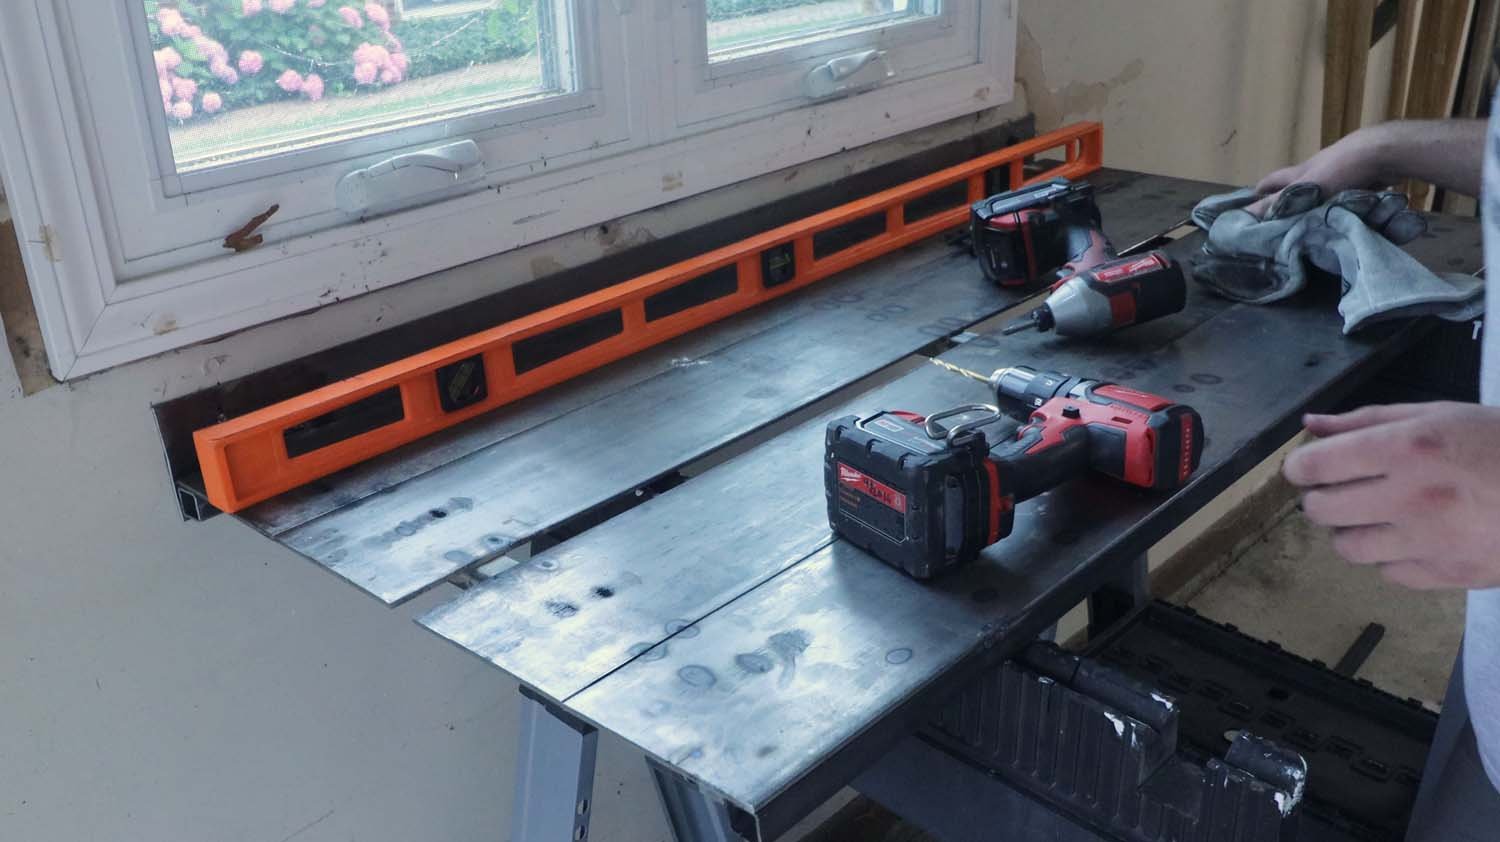
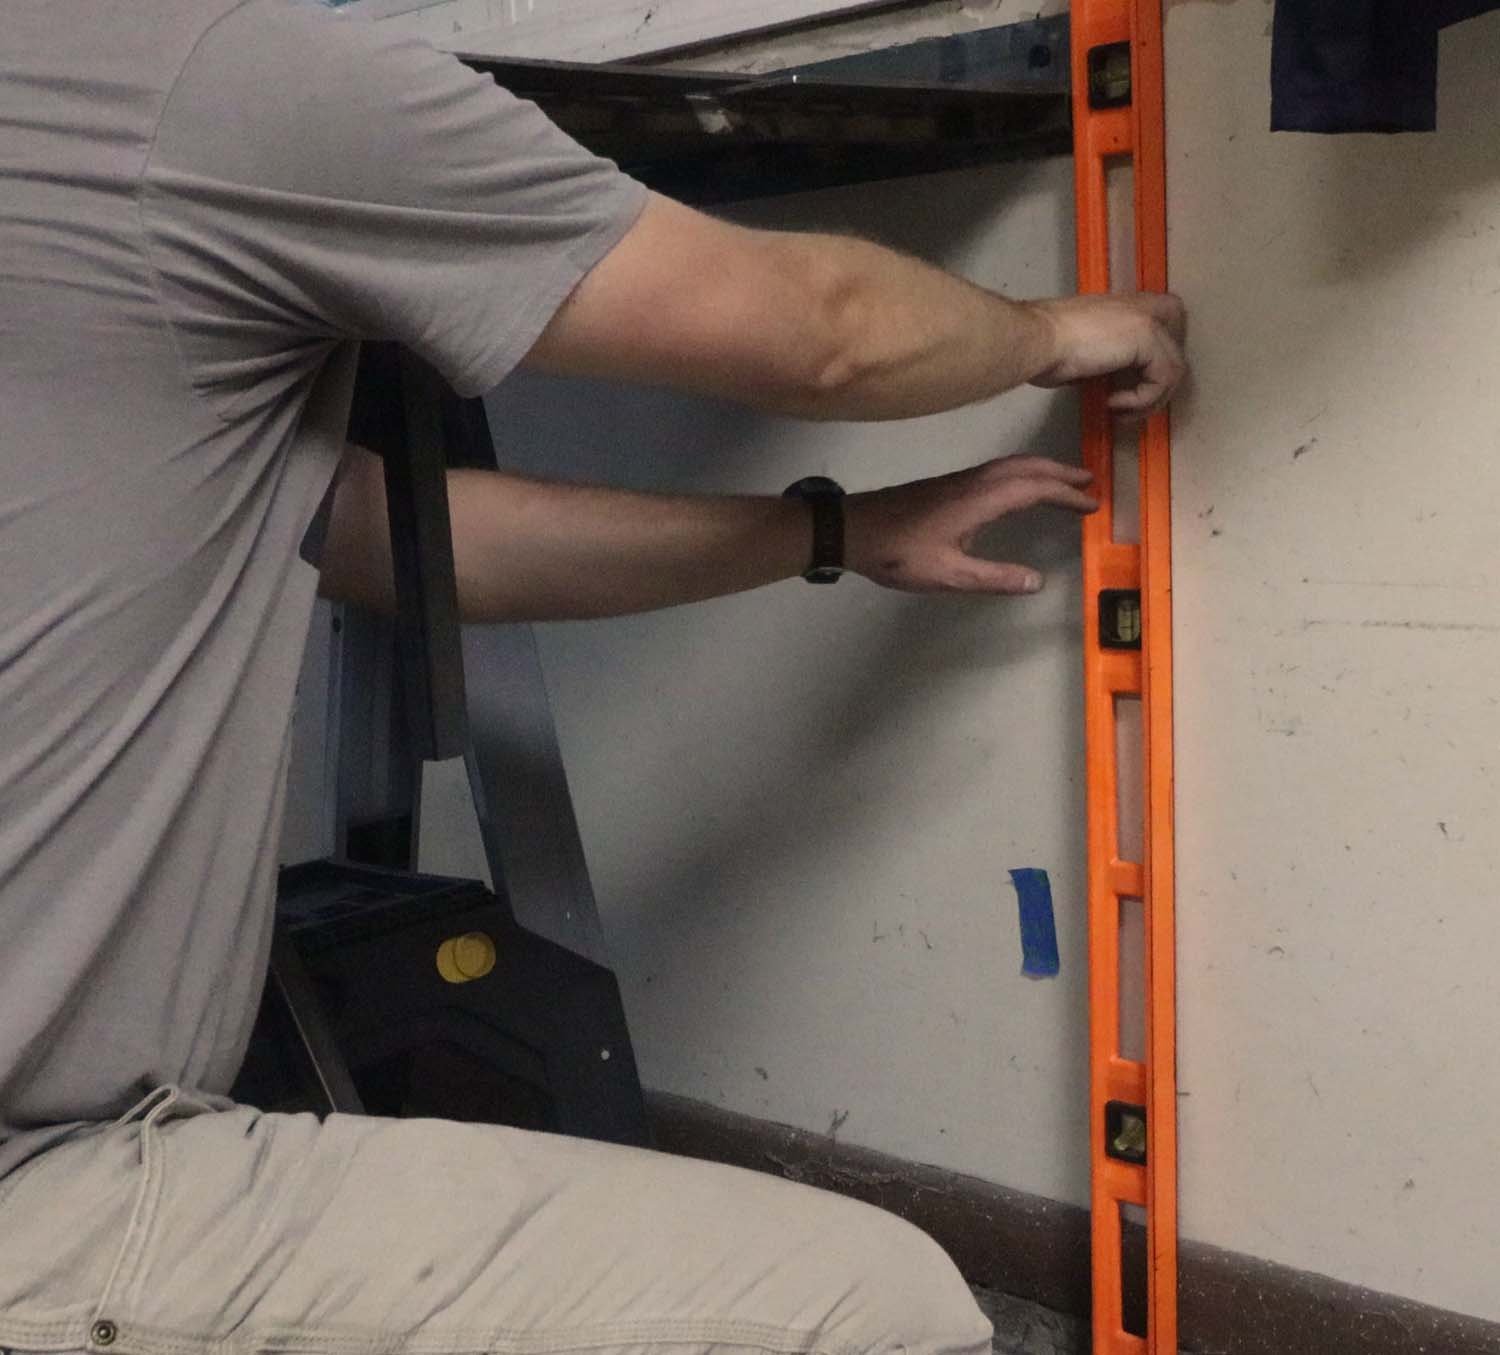
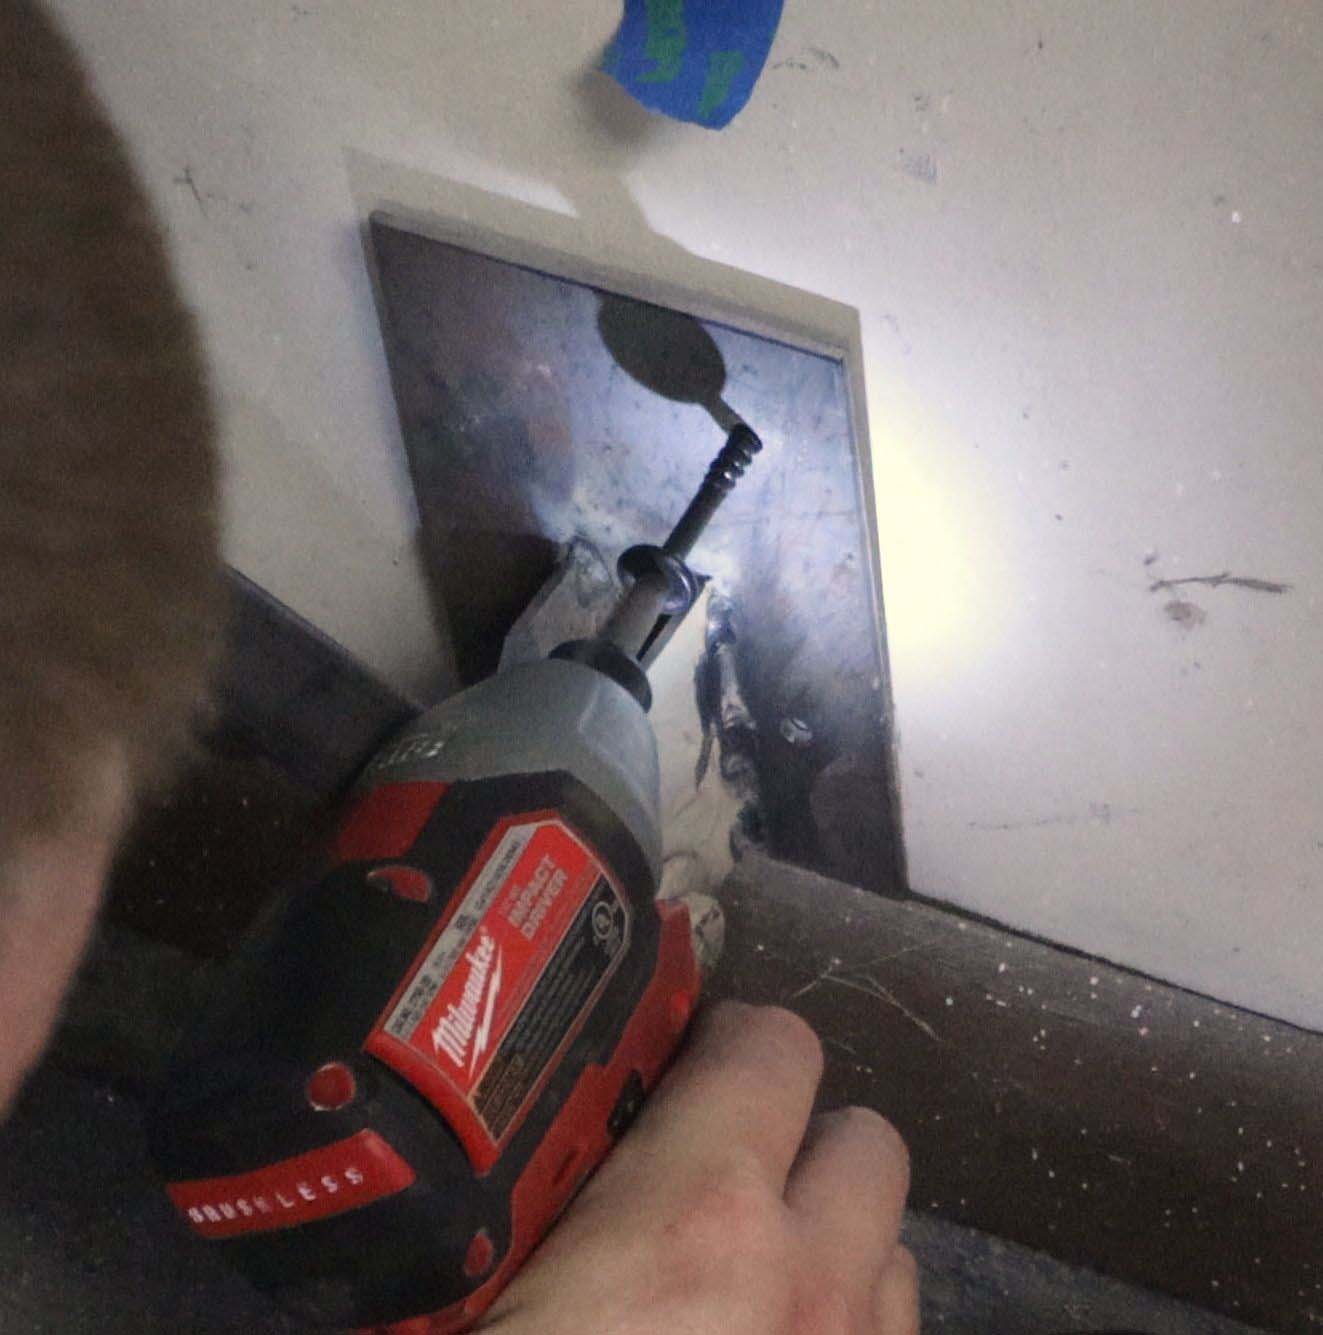
I then drilled some holes for mounting the table to the wall. I put holes at each of the studs at the hinge locations, and then an additional two for the intermediate studs between. The locations of the holes coincide with the stud locations I found before.

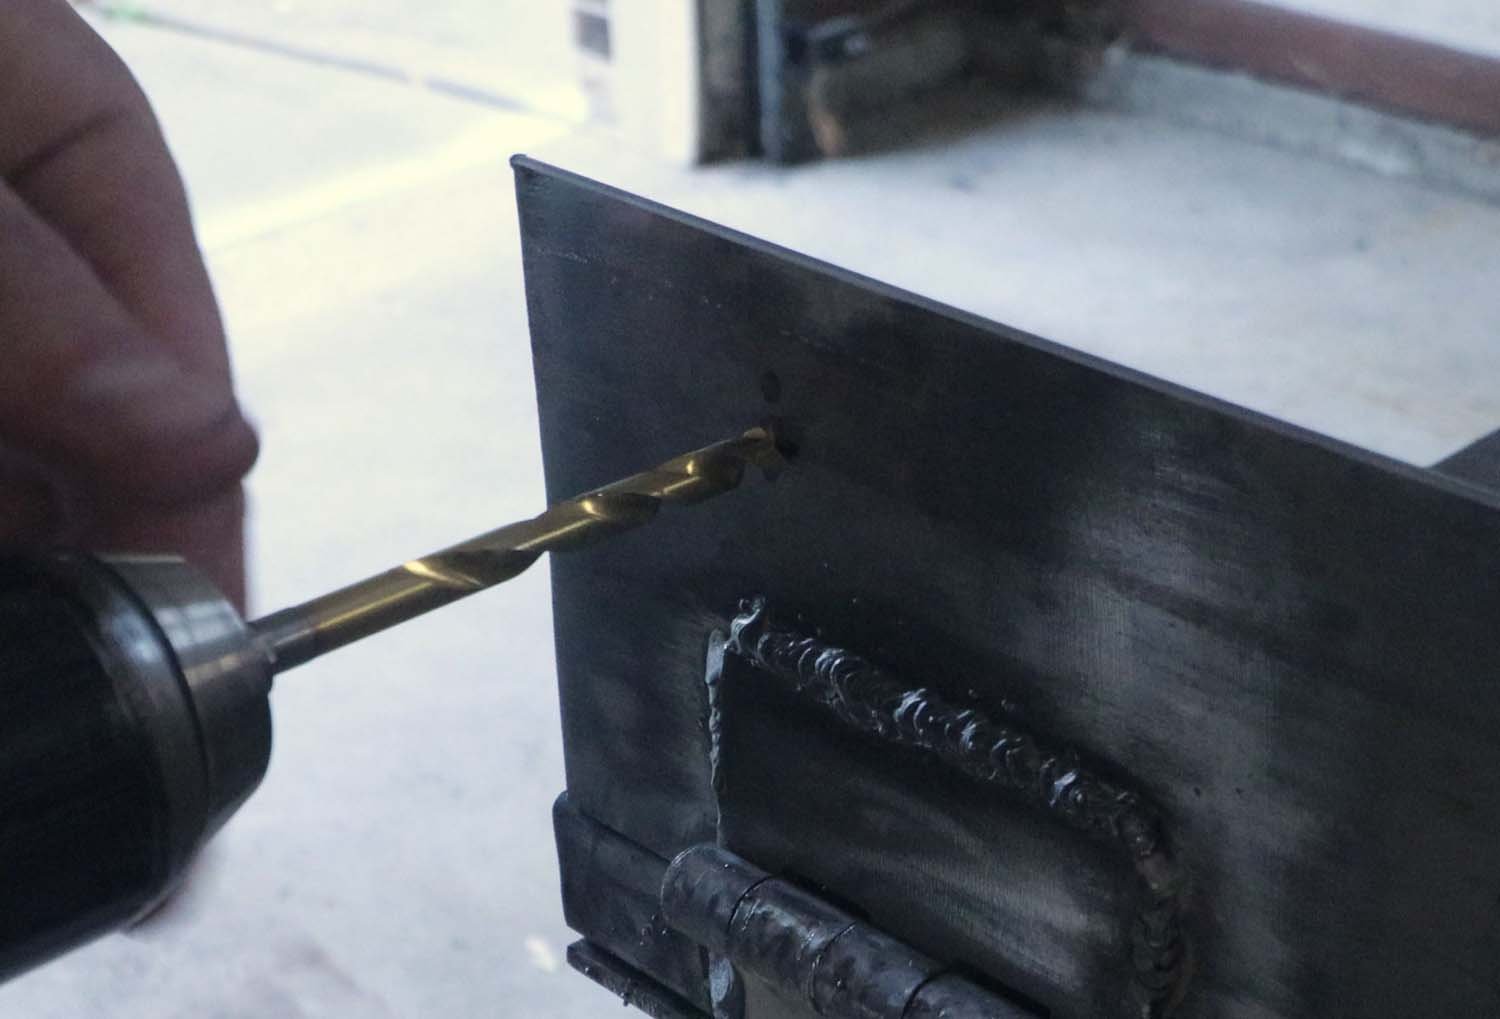
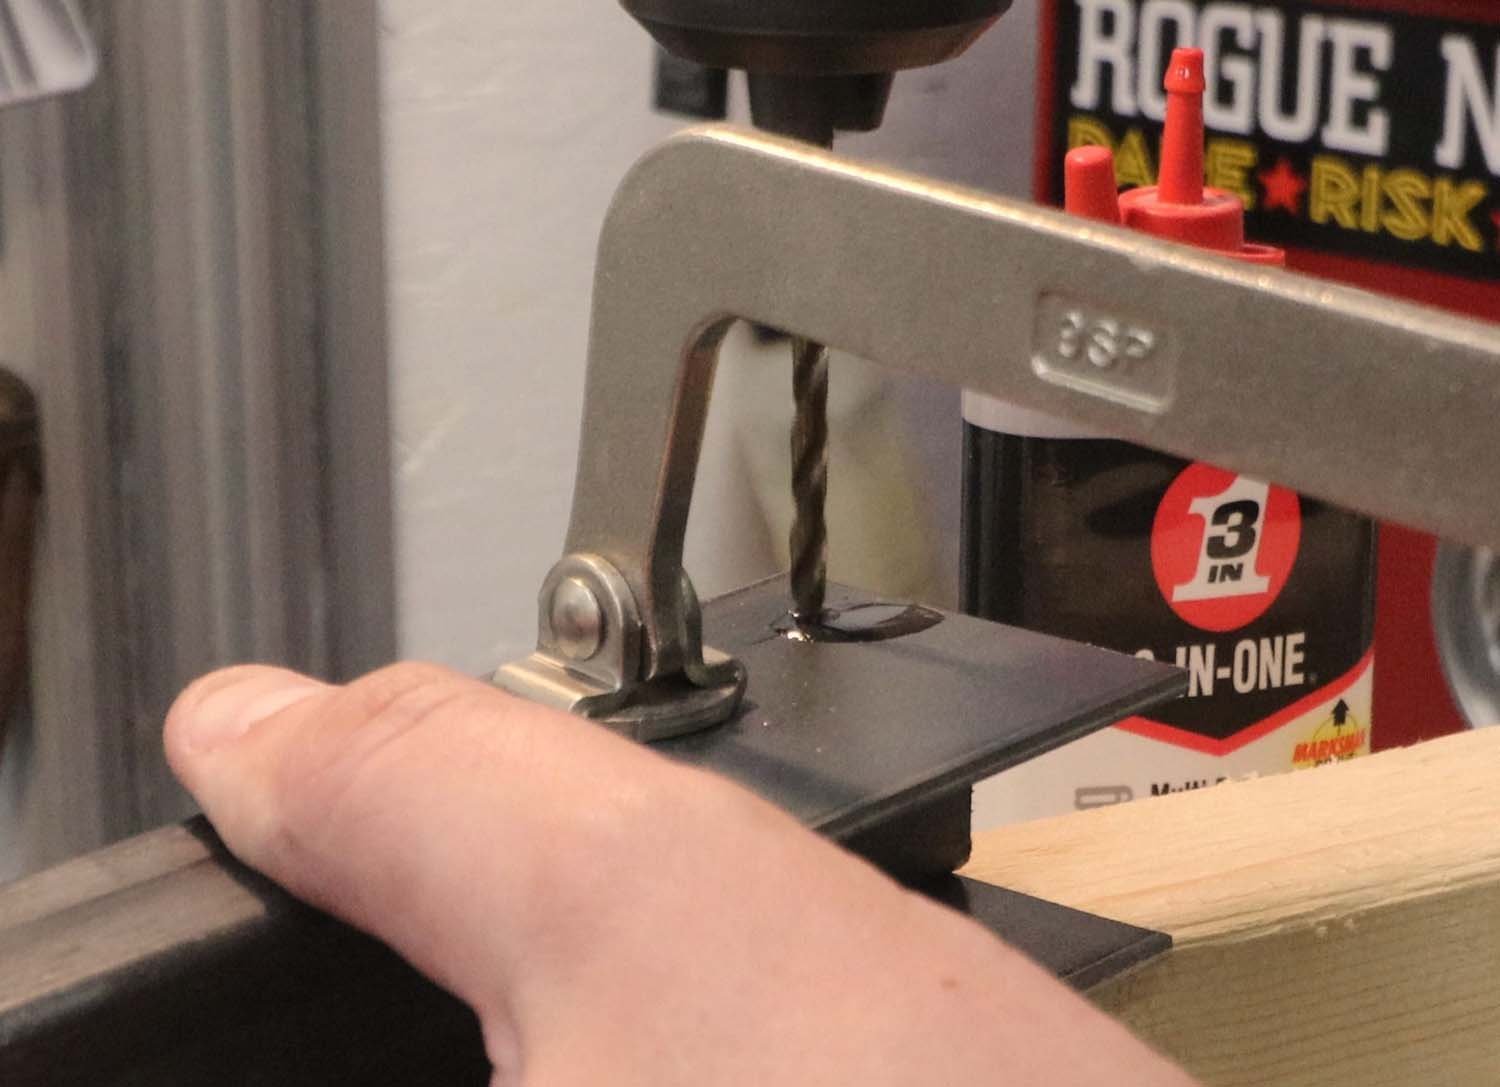
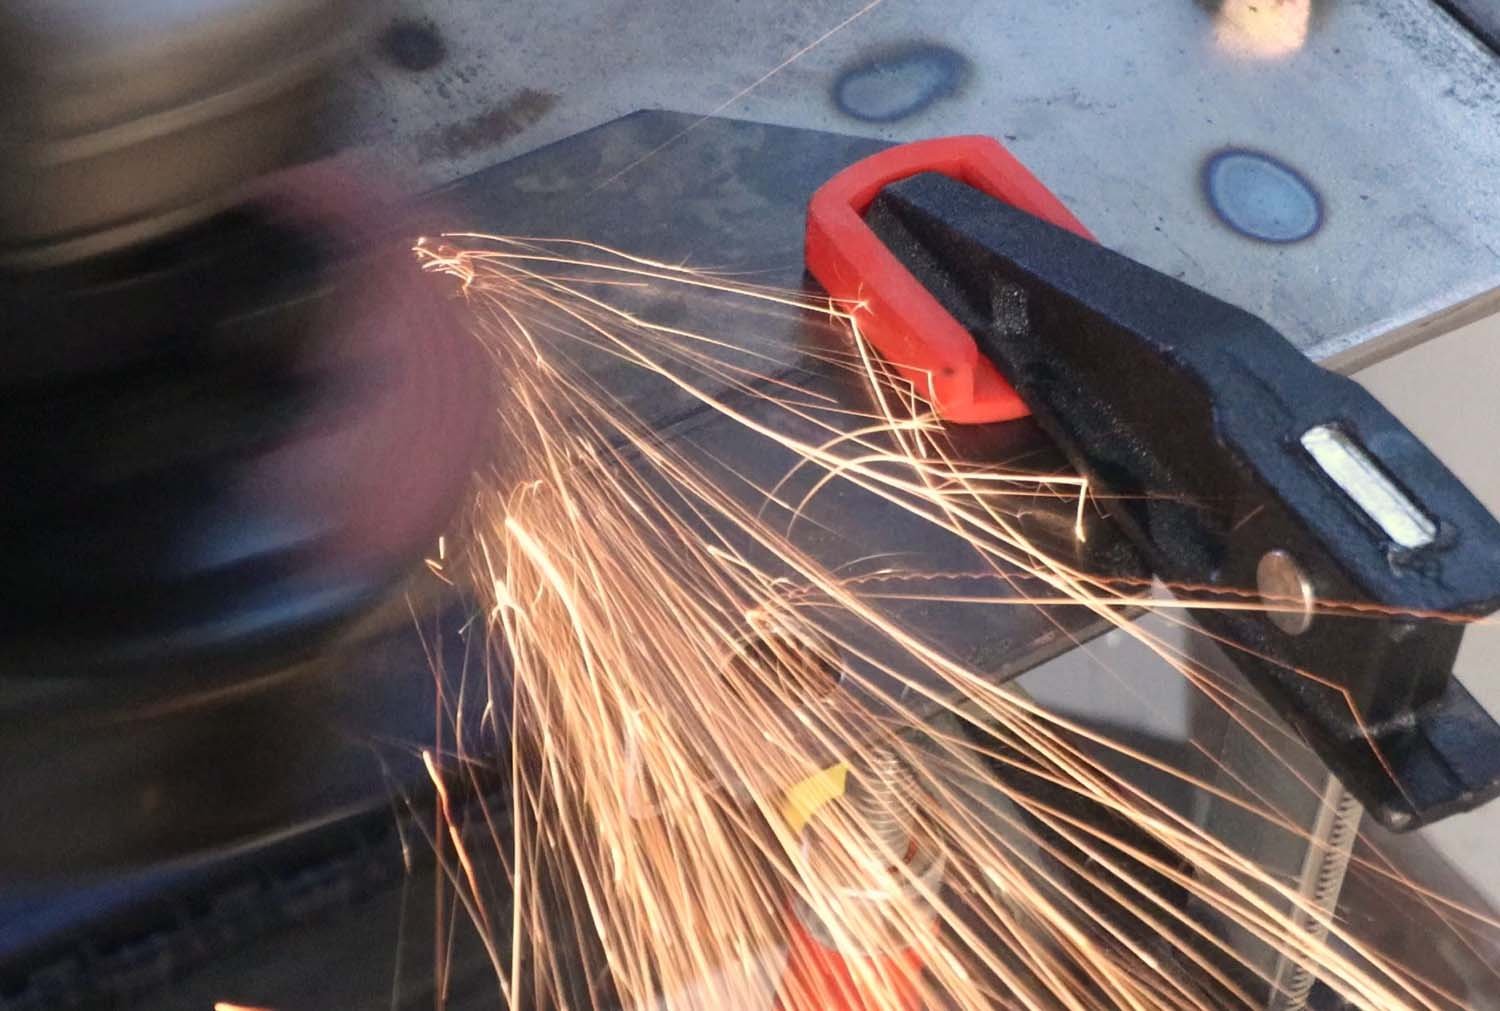
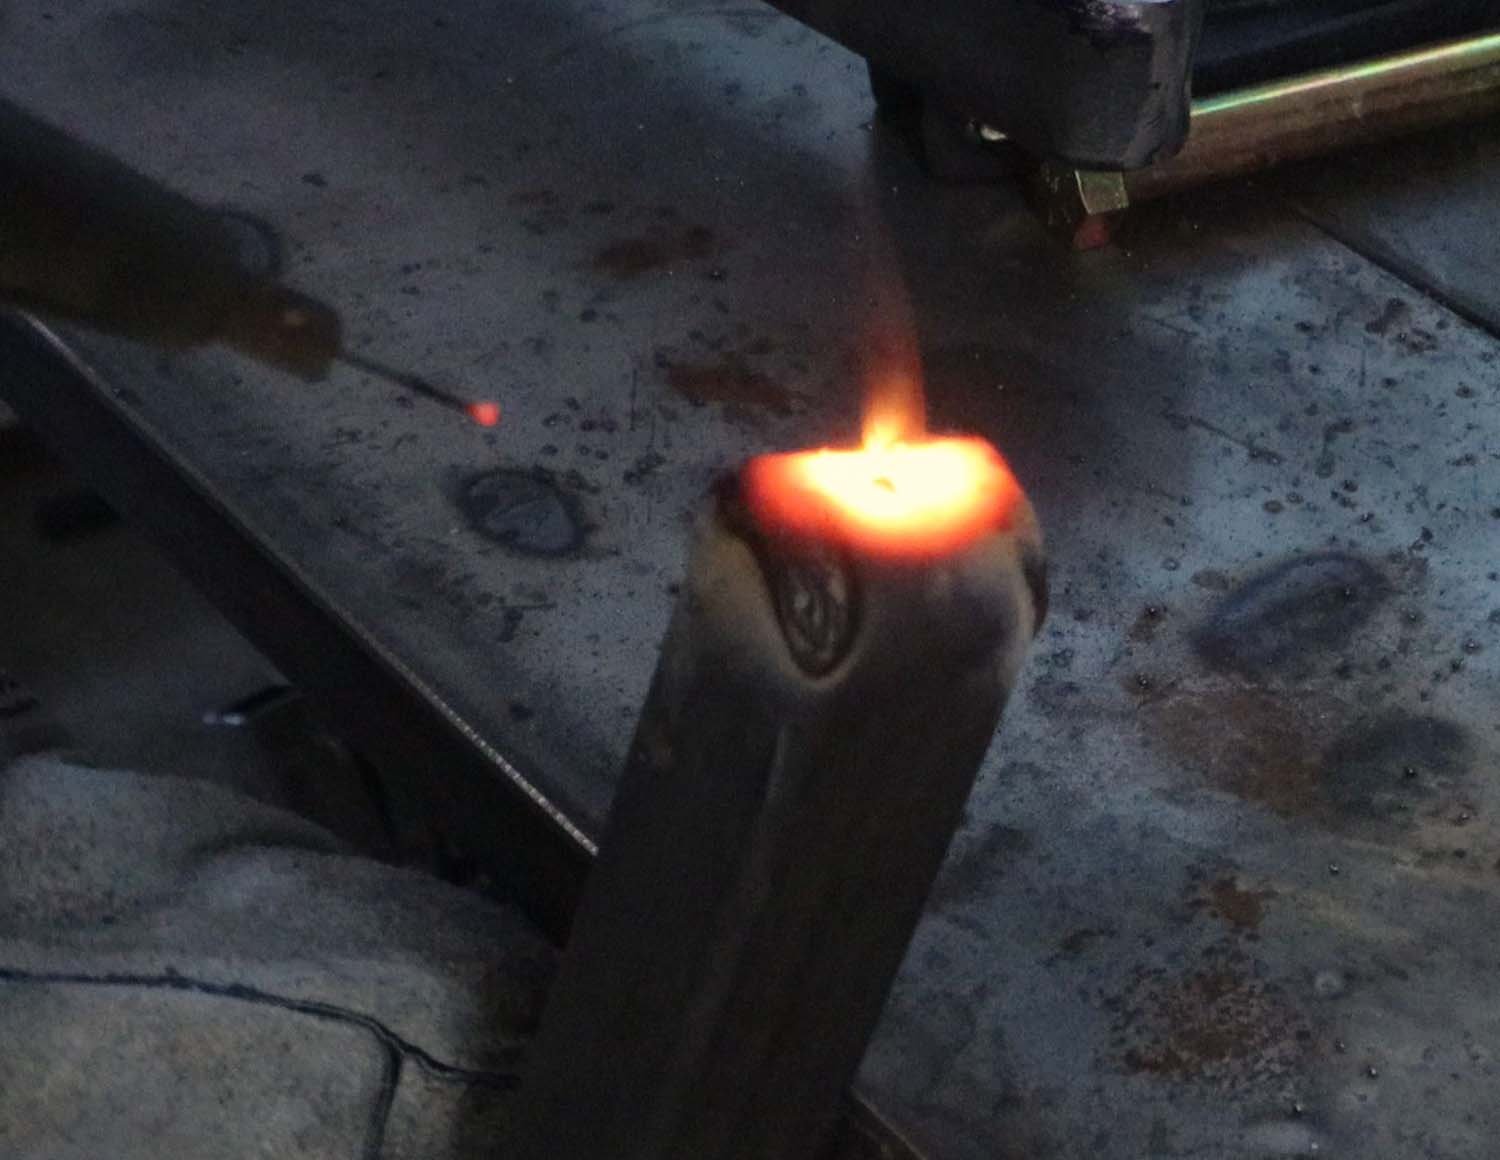
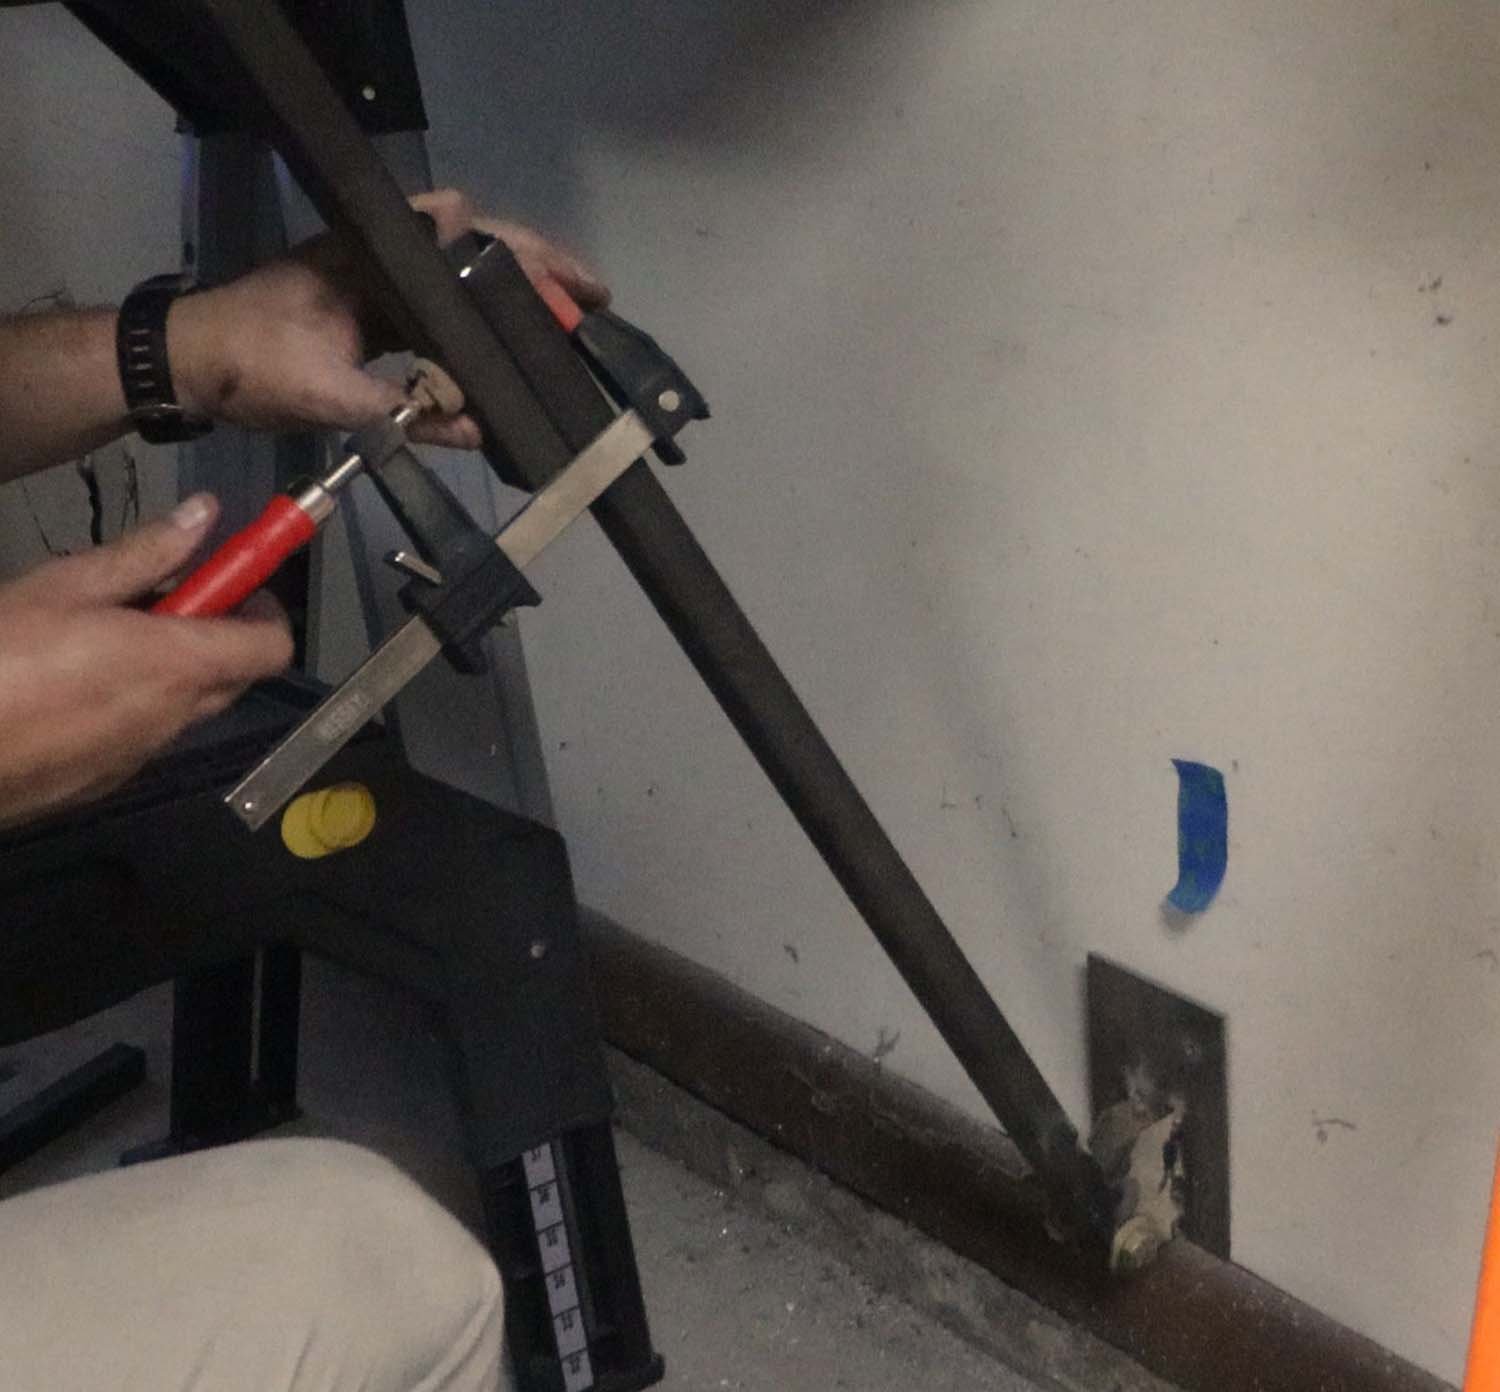
Now for the step that is probably better done before assembly - drilling the pivot holes for the legs. As you'll see, I was fighting to keep the drill bit straight while applying the requisite pressure to the drill to keep things going. A drill press would make pretty quick work of this, and also be more accurate. If going this route, just use one of the bolts to align everything when you weld it up.
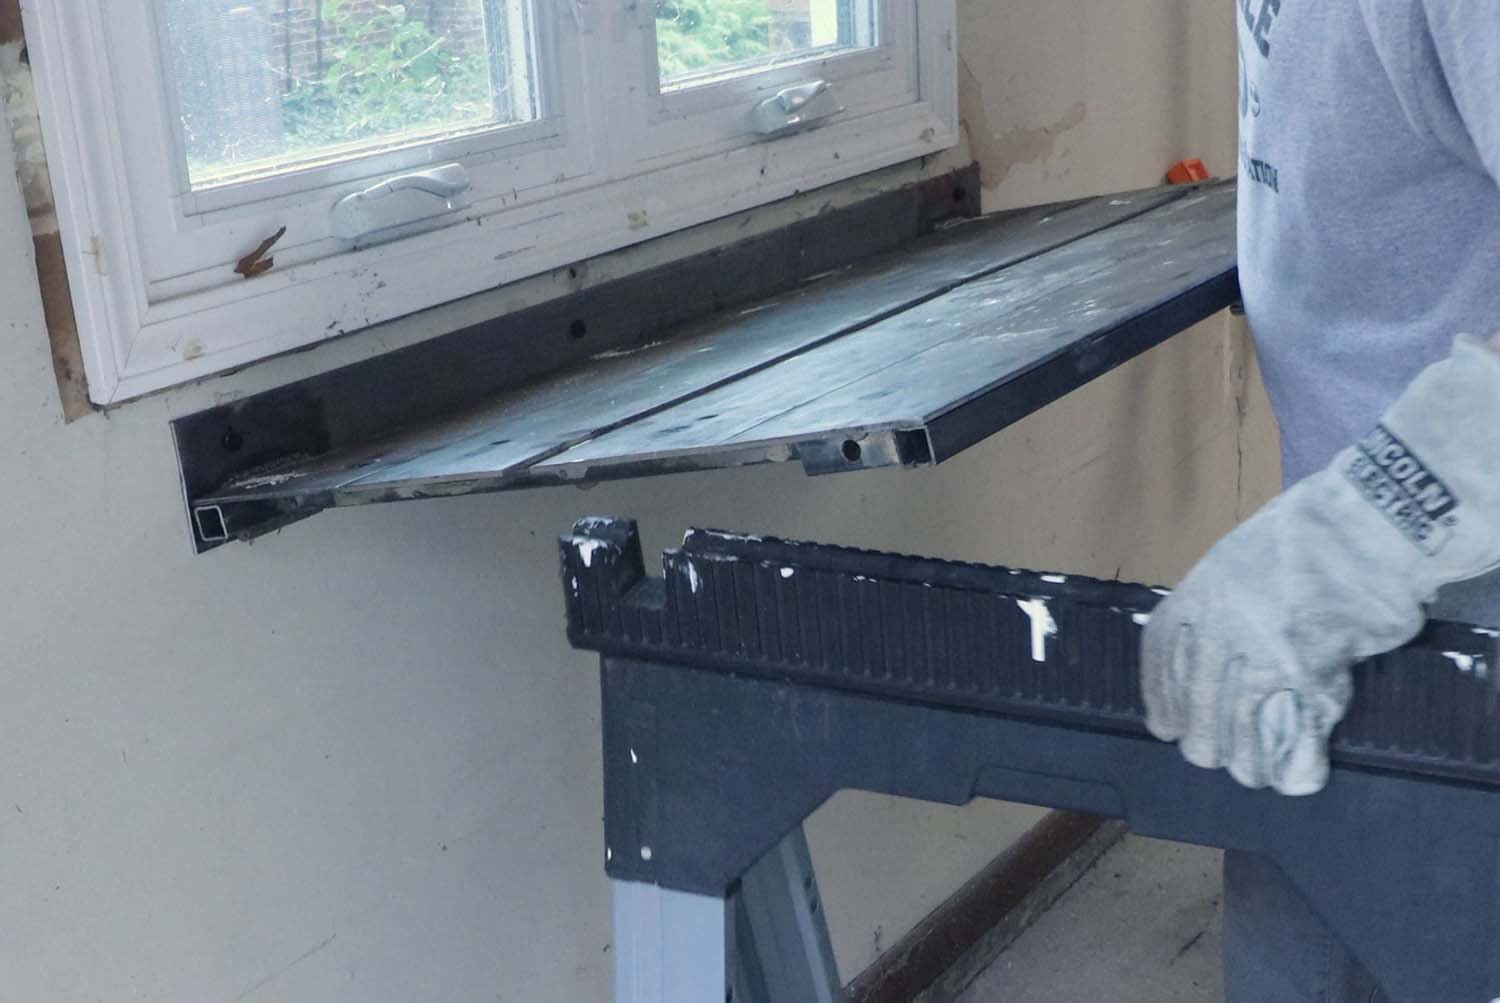
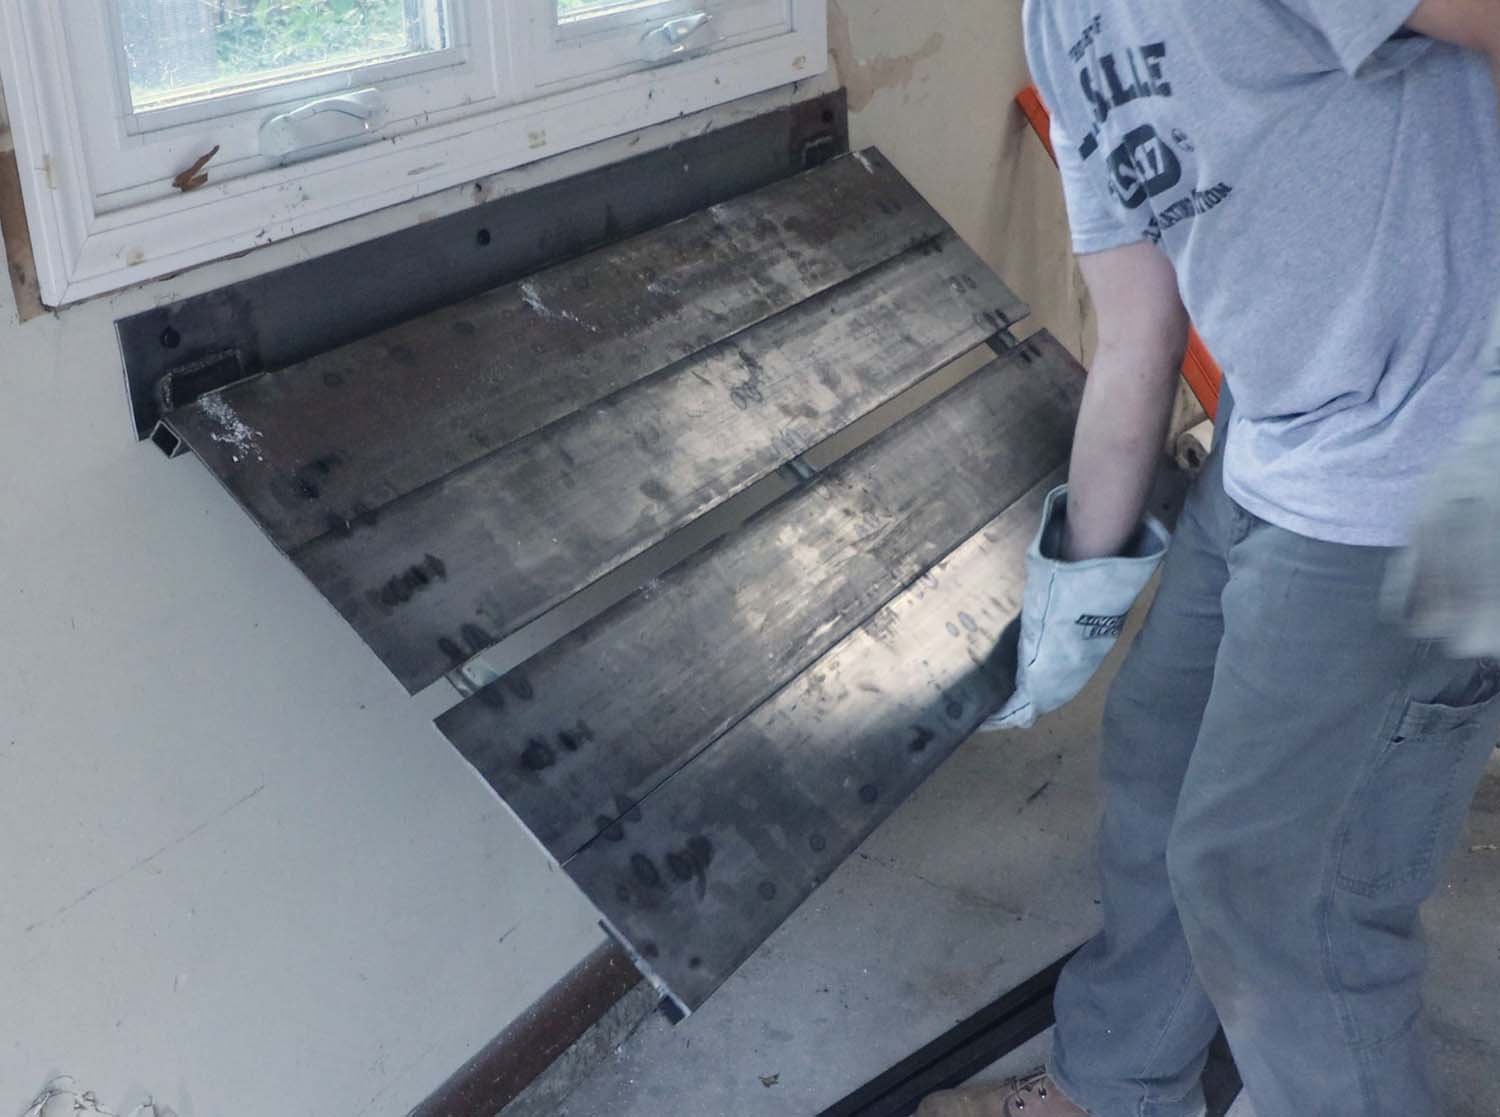
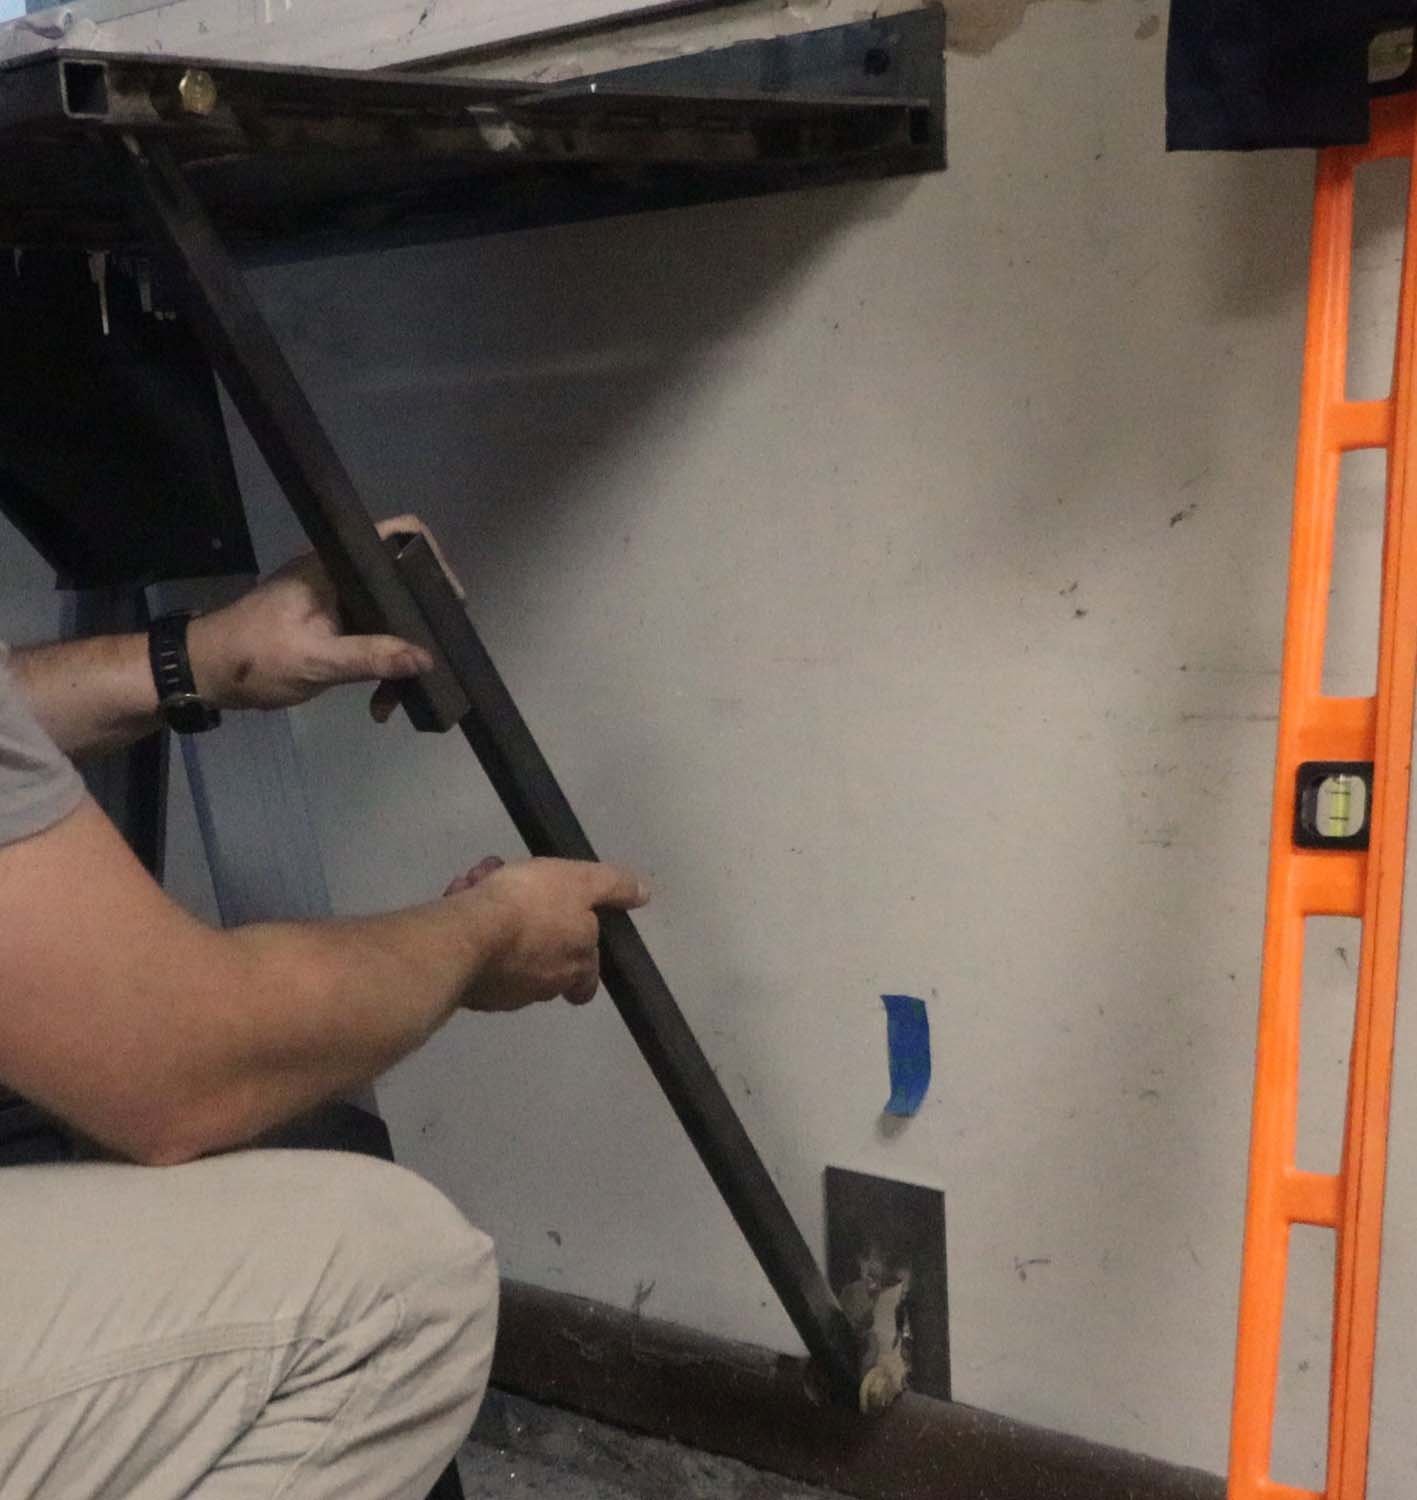
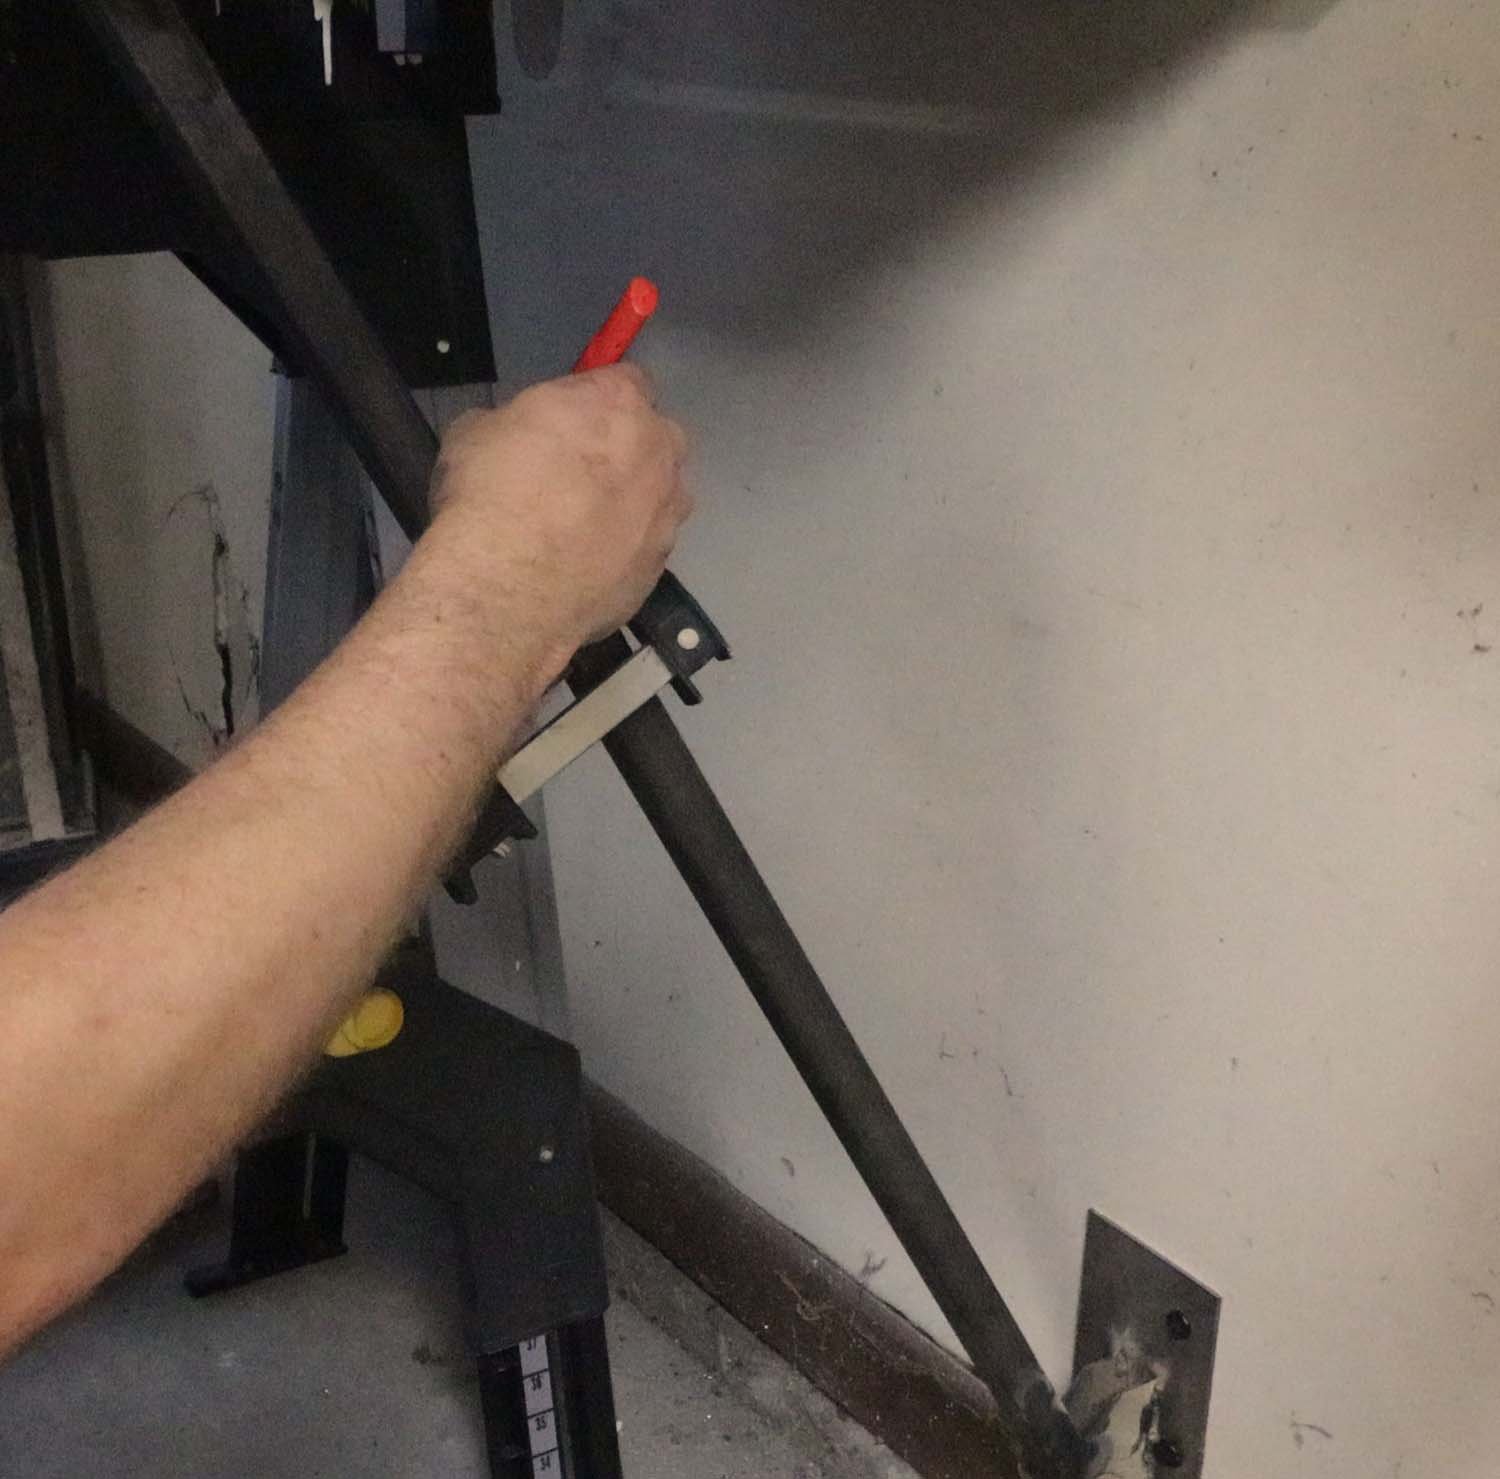
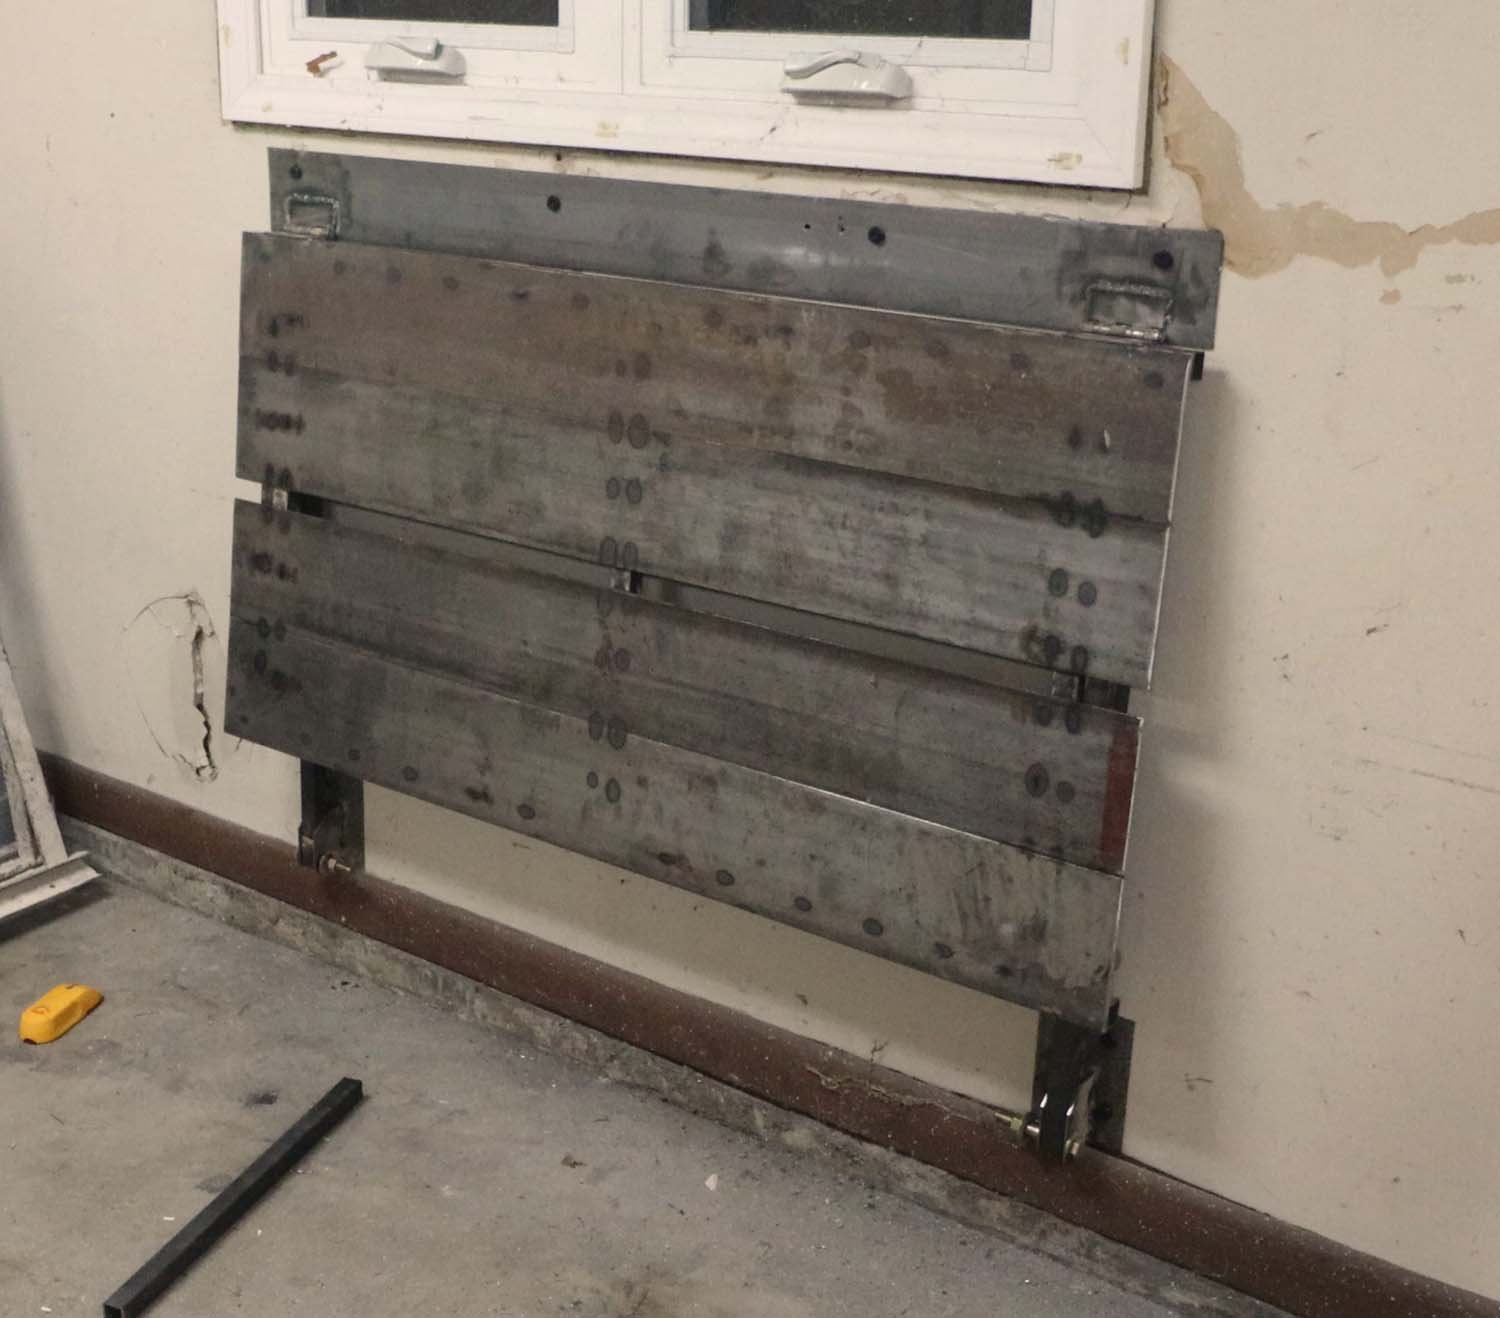
I used my saw horses to lift the table top up to a comfortable working height for me and lined up the holes previously drilled in the back plate with the wall studs. With one end fastened to the wall, I leveled the table before fastening the remaining screws through the backsplash into the wall. It folds down!

Now is time to start making the legs. The wall-mounted legs will tuck behind the table, so they can be no longer than the distance from the bottom of the wall to the underside of the table.
I made up some brackets to catch the bottom of the legs, which will allow the legs to pivot. These consist of a 1/6" x 6" base plate (which gets fastened to the wall) and two 1/8" x 2" bars where the legs pivot. The gussets get a corner clipped off them to reduce the chance of them snagging on something.

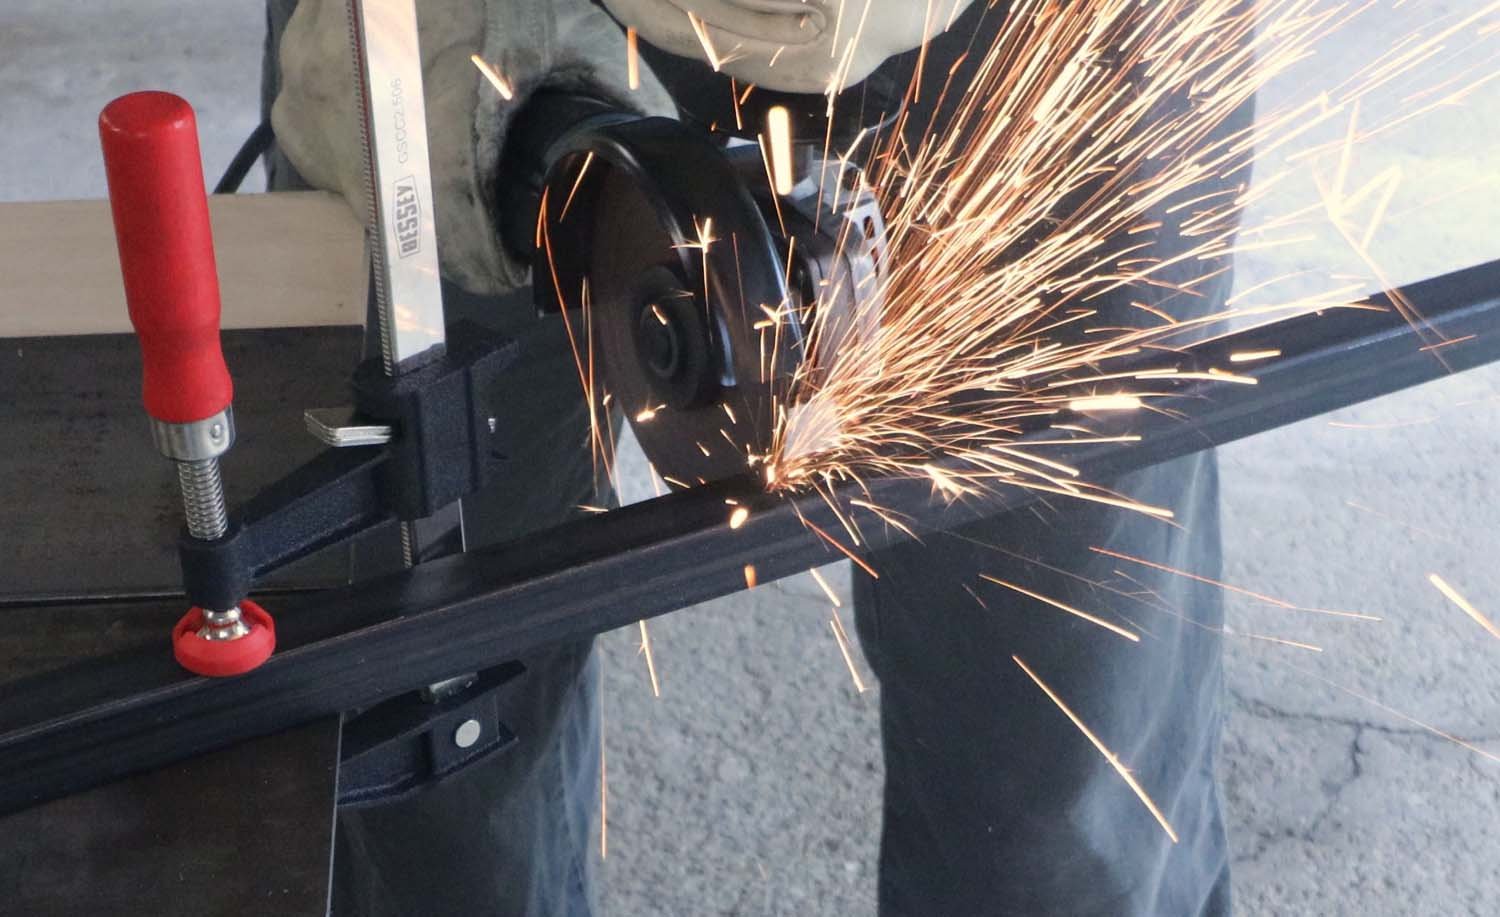
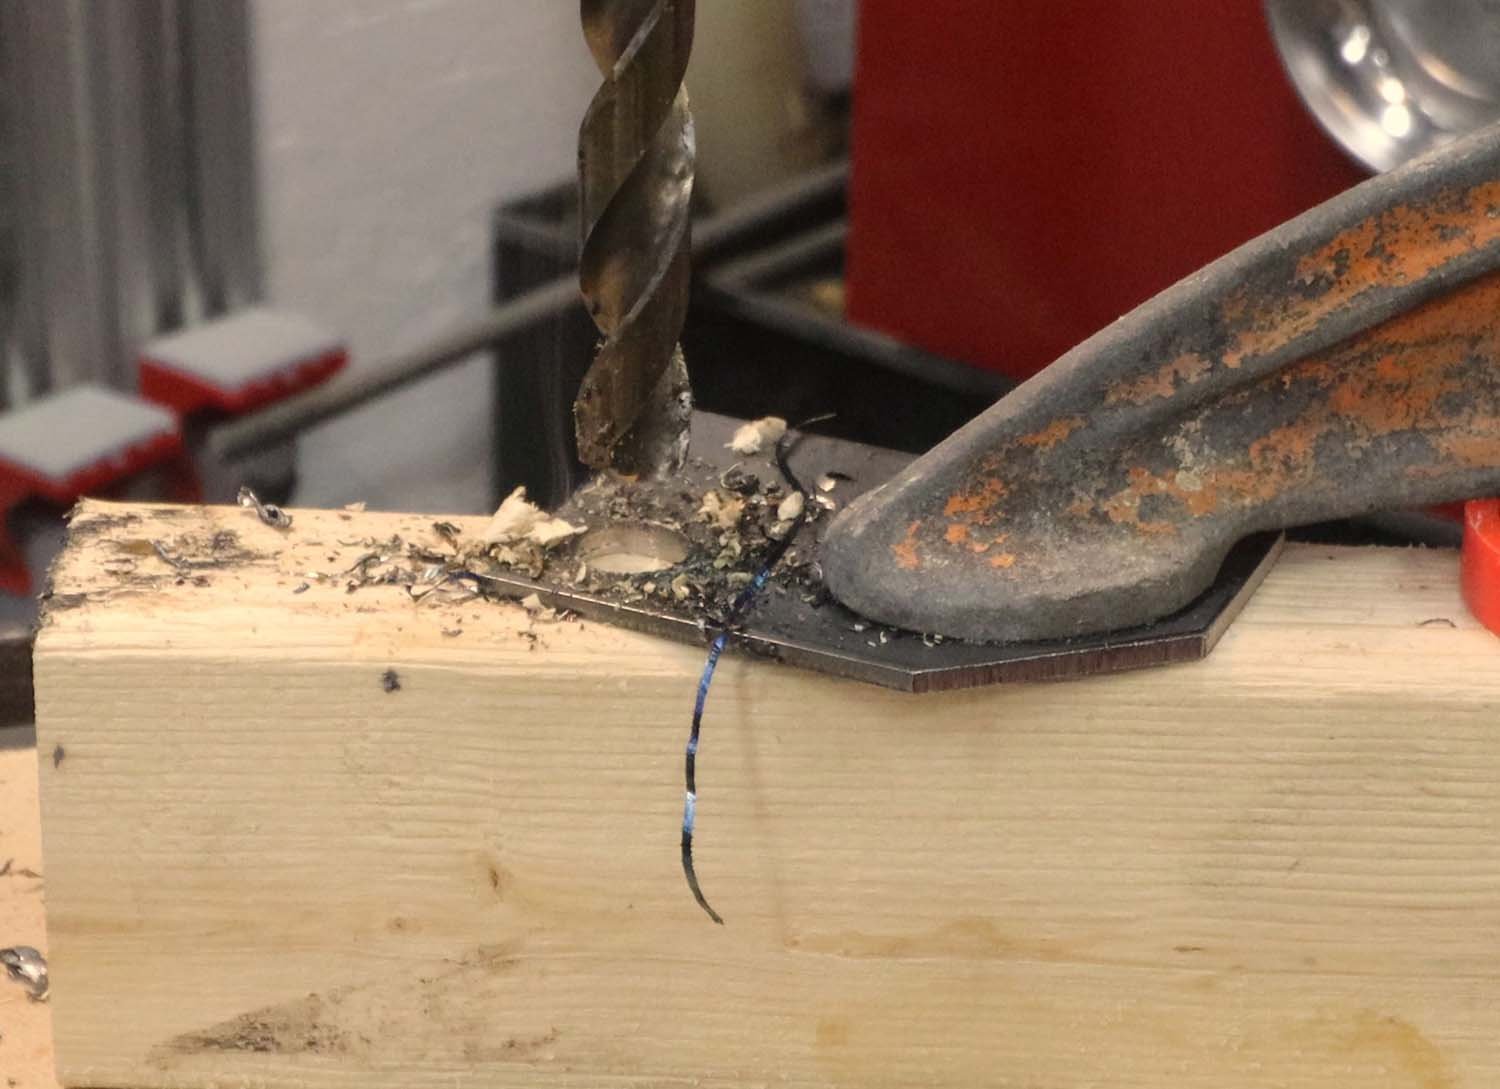
I clamped the gussets to one of the legs and marked the hole for the pivot, then tried gang-drilling the thing together. That didn't work, so I ended up drilling everything separately. While I used a twist drill for this, a stepped drill would have been more efficient in this case.
A quick sanding with a flap disc removes the burr created by drilling. With the pivot bolt inserted through all the parts, I welded the gussets to the base plate.
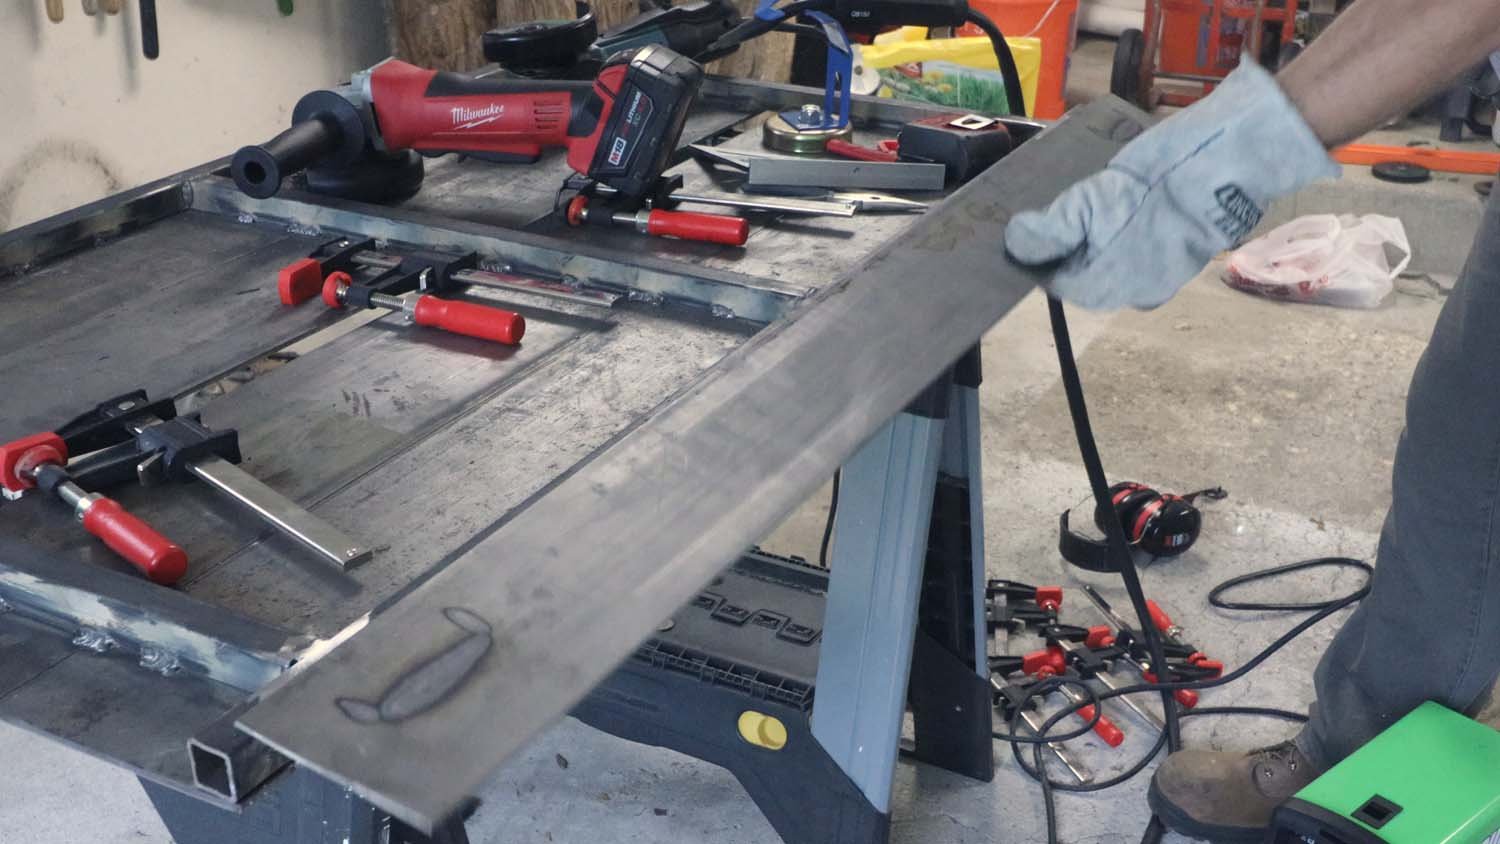
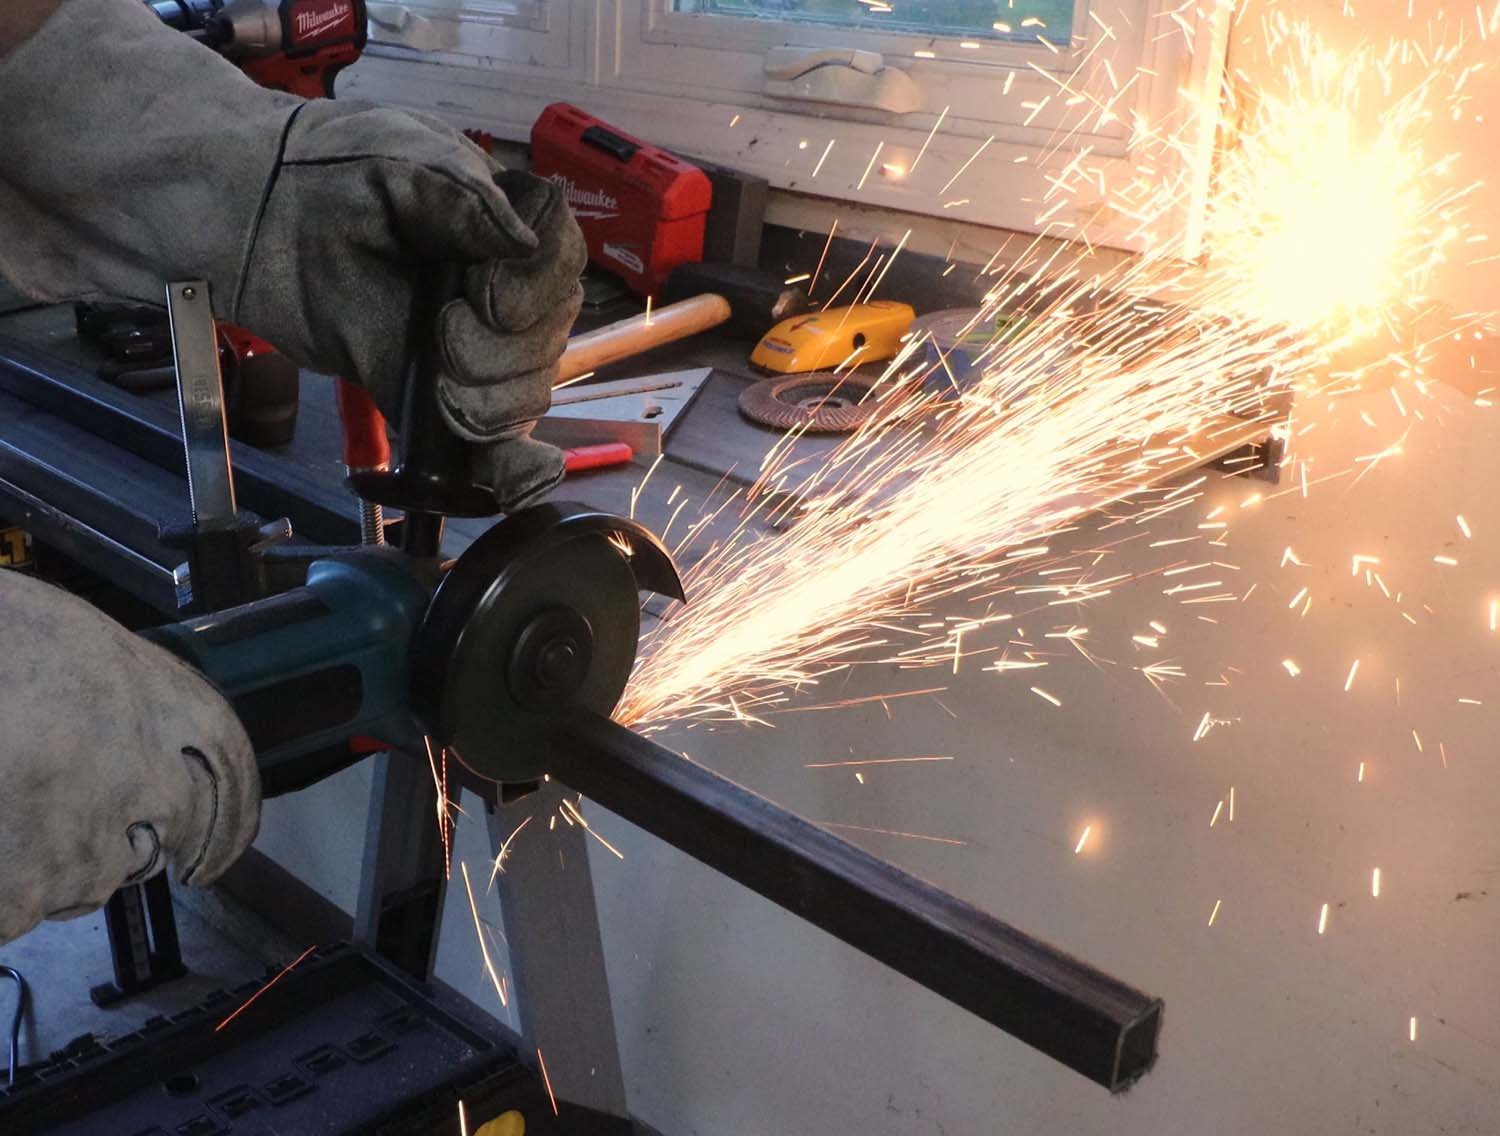
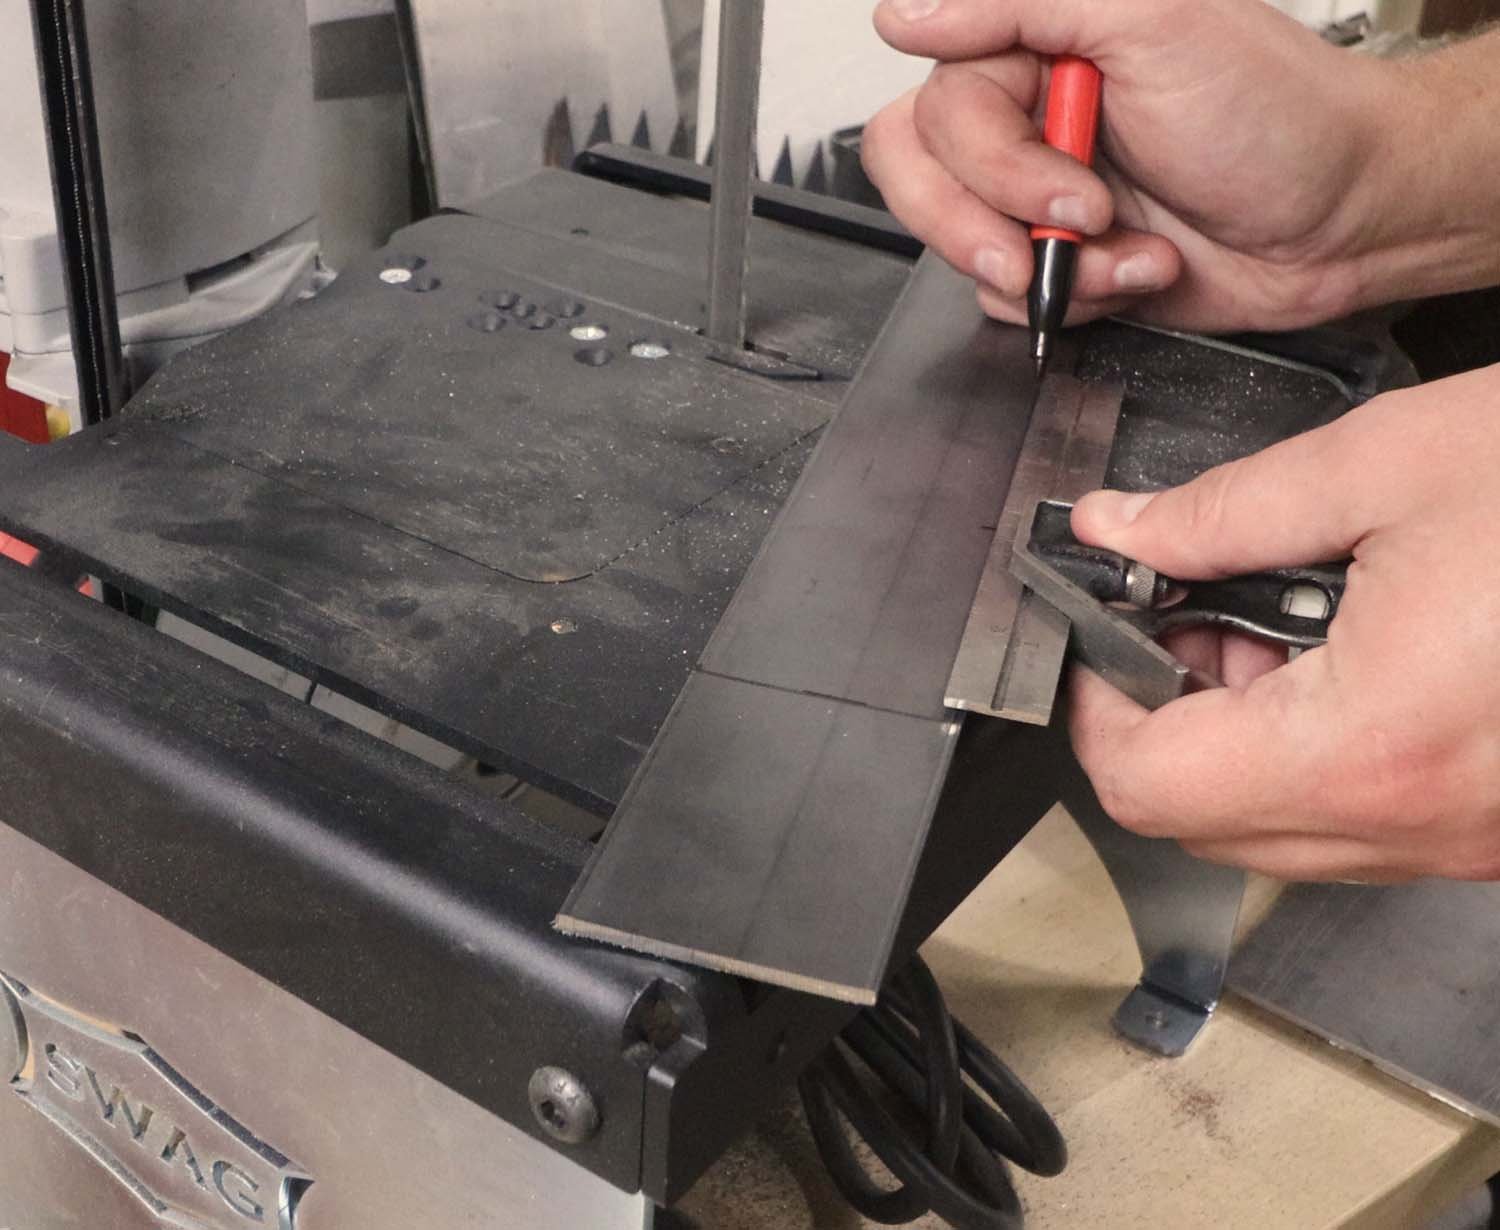
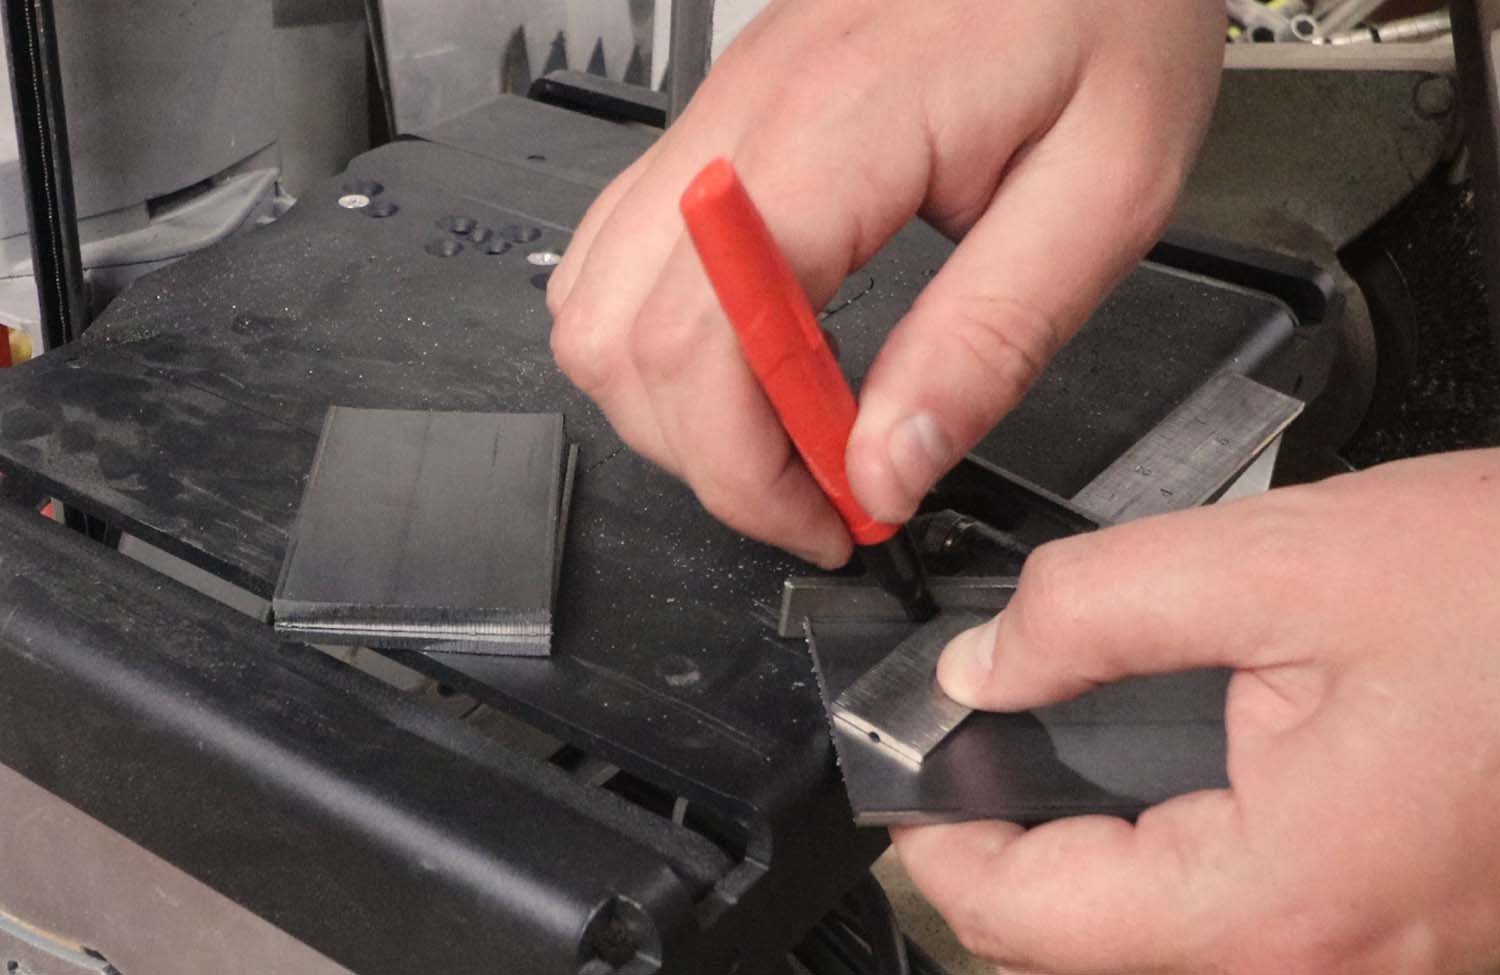
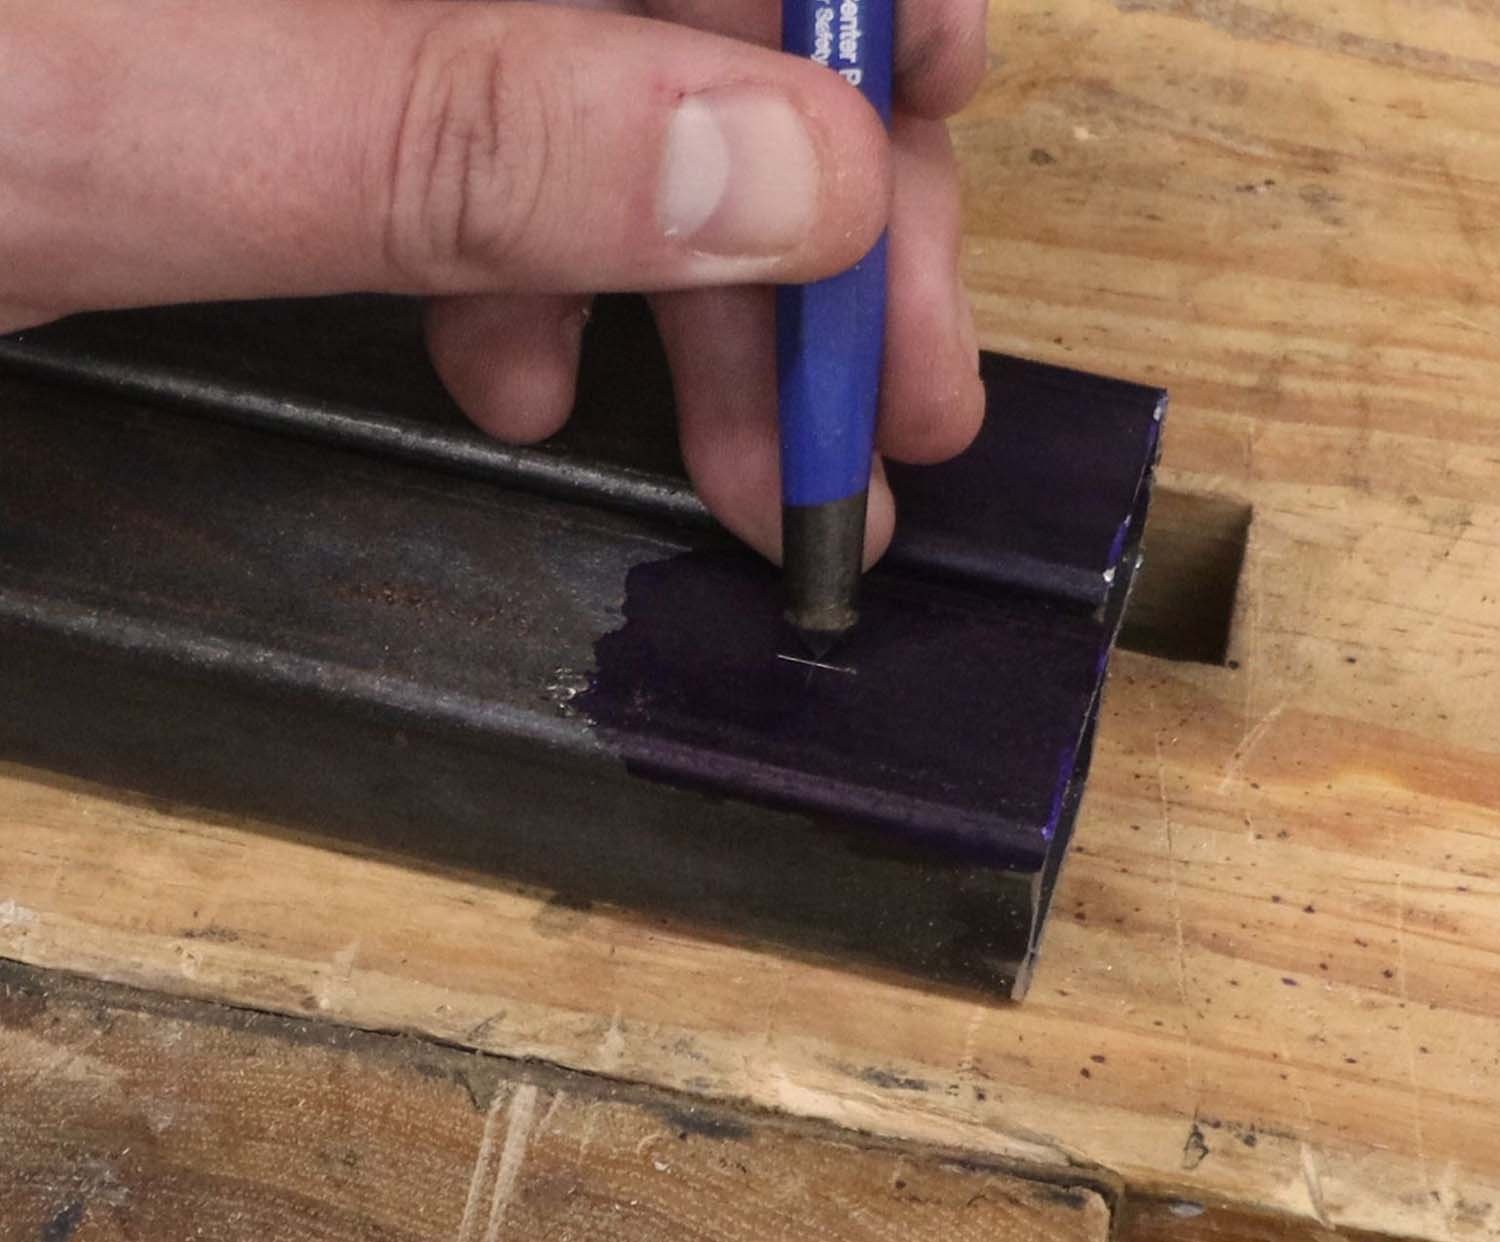
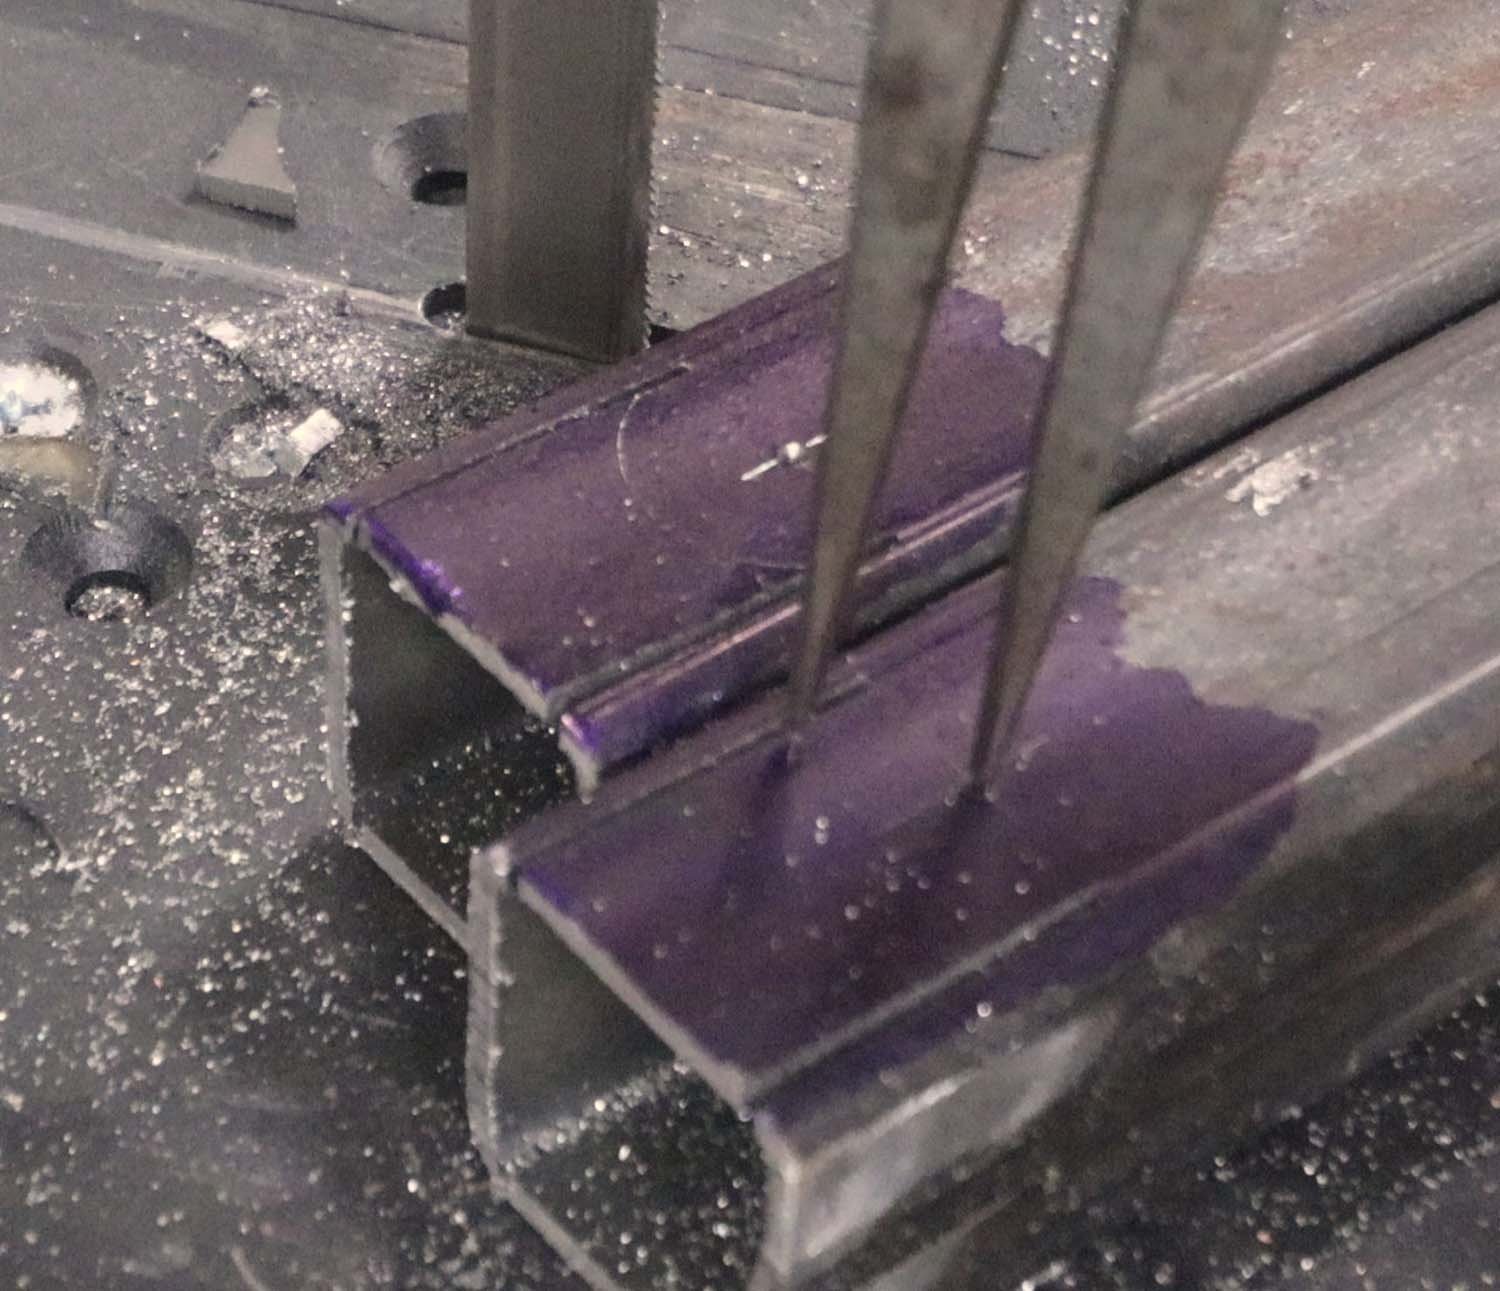
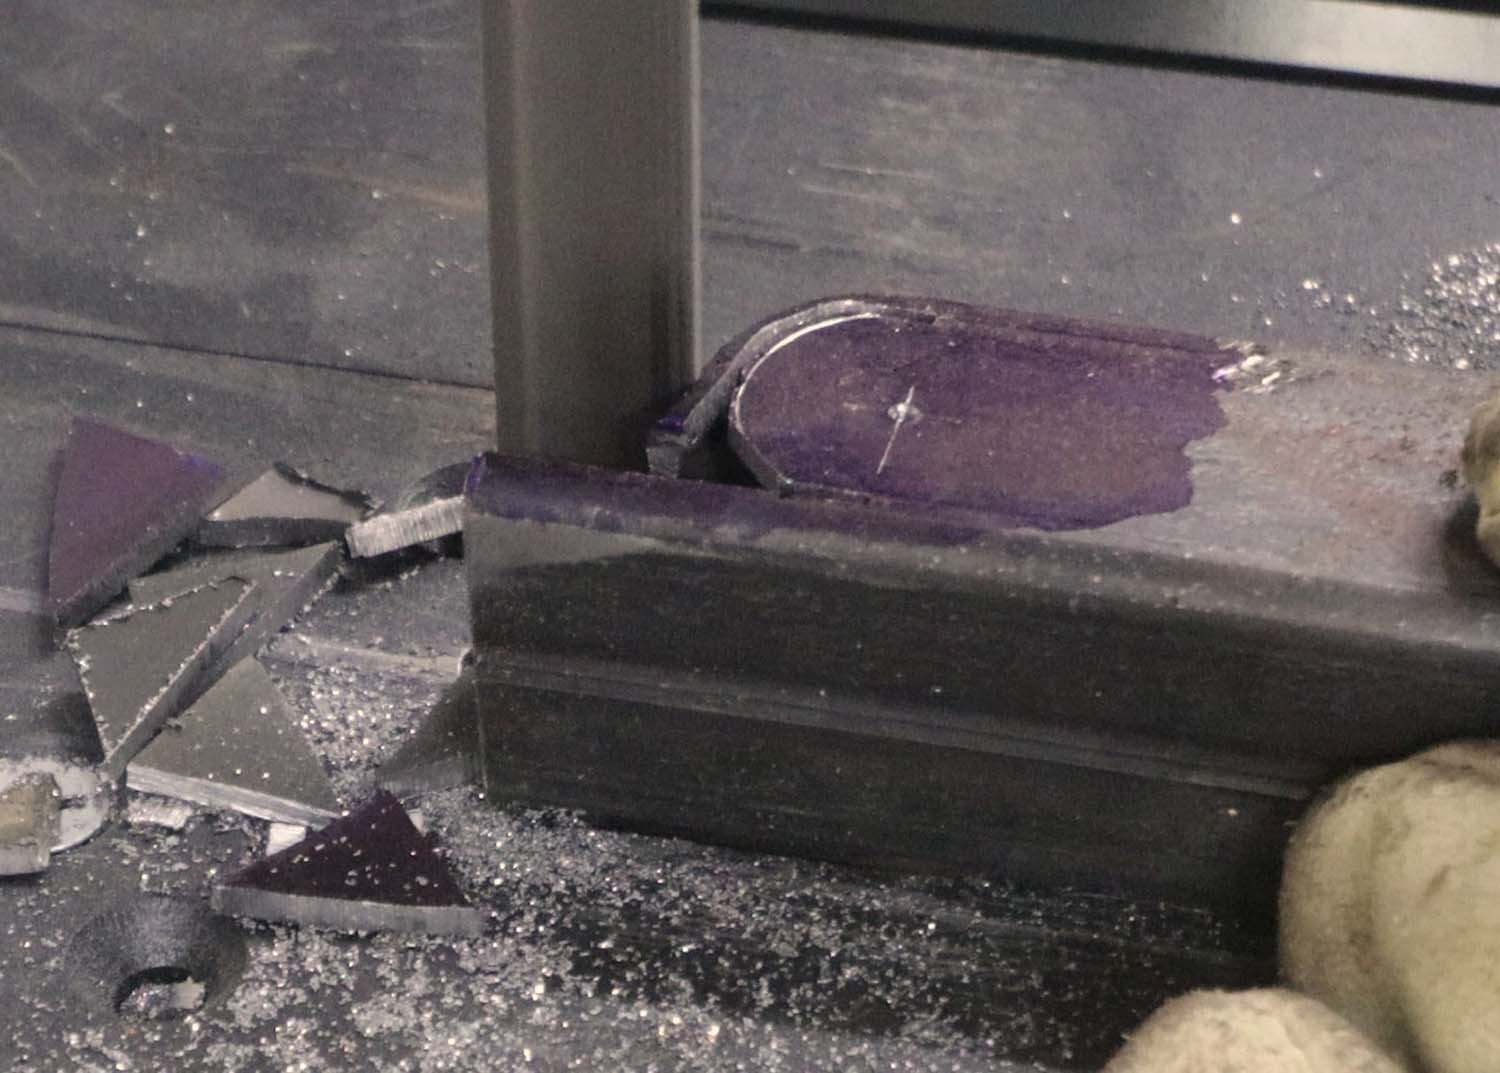
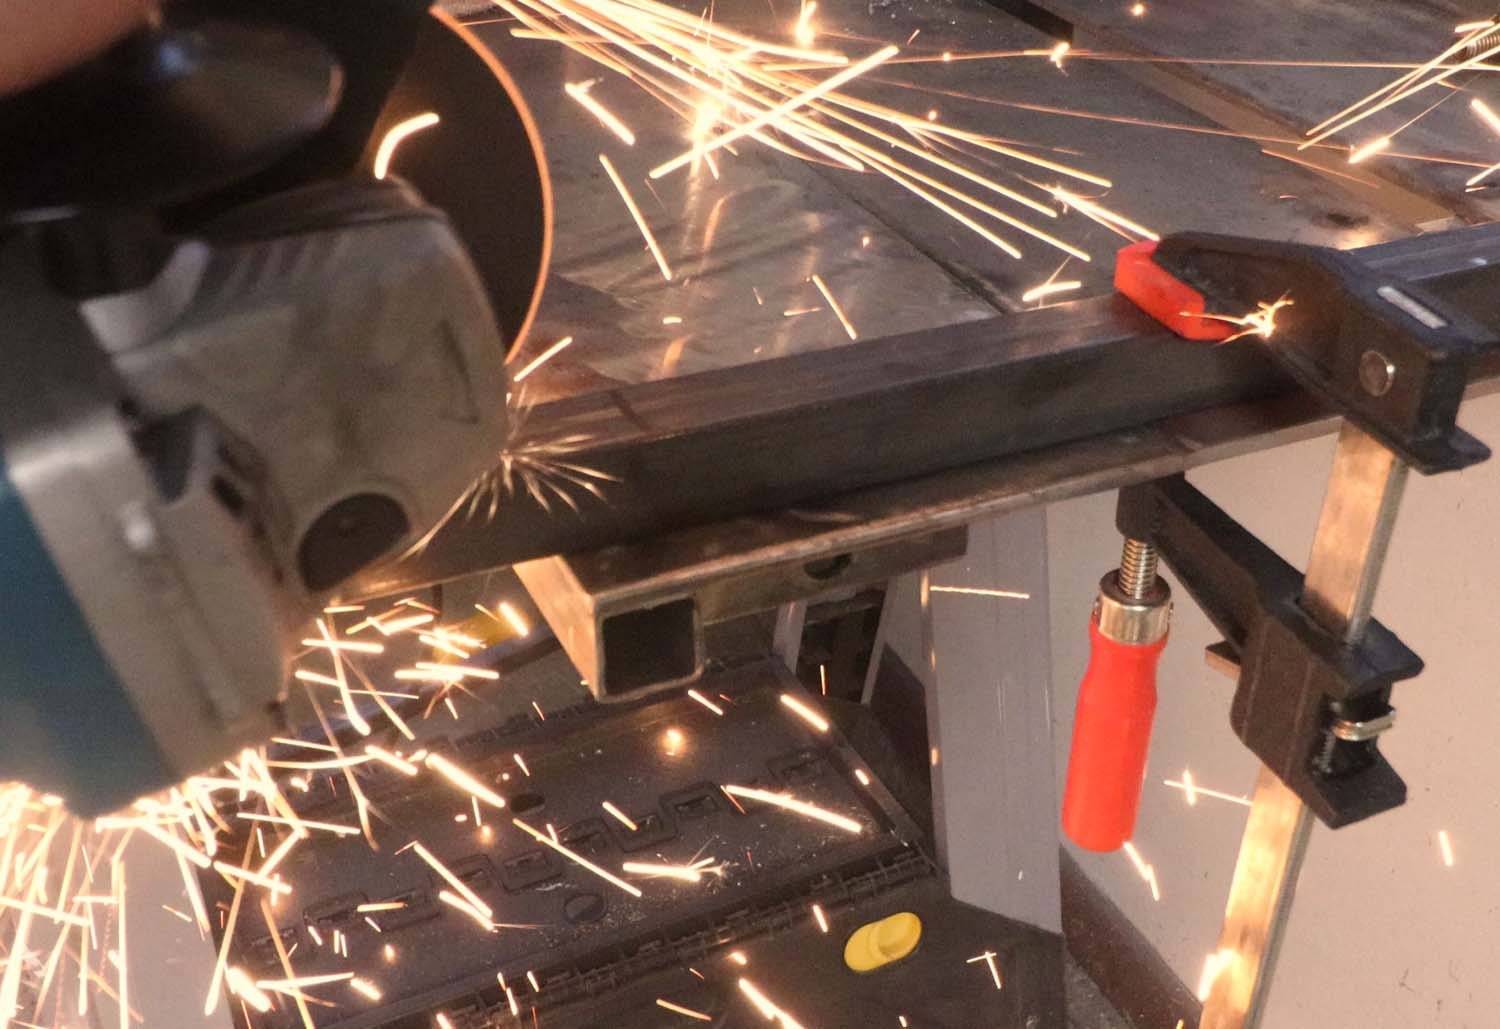
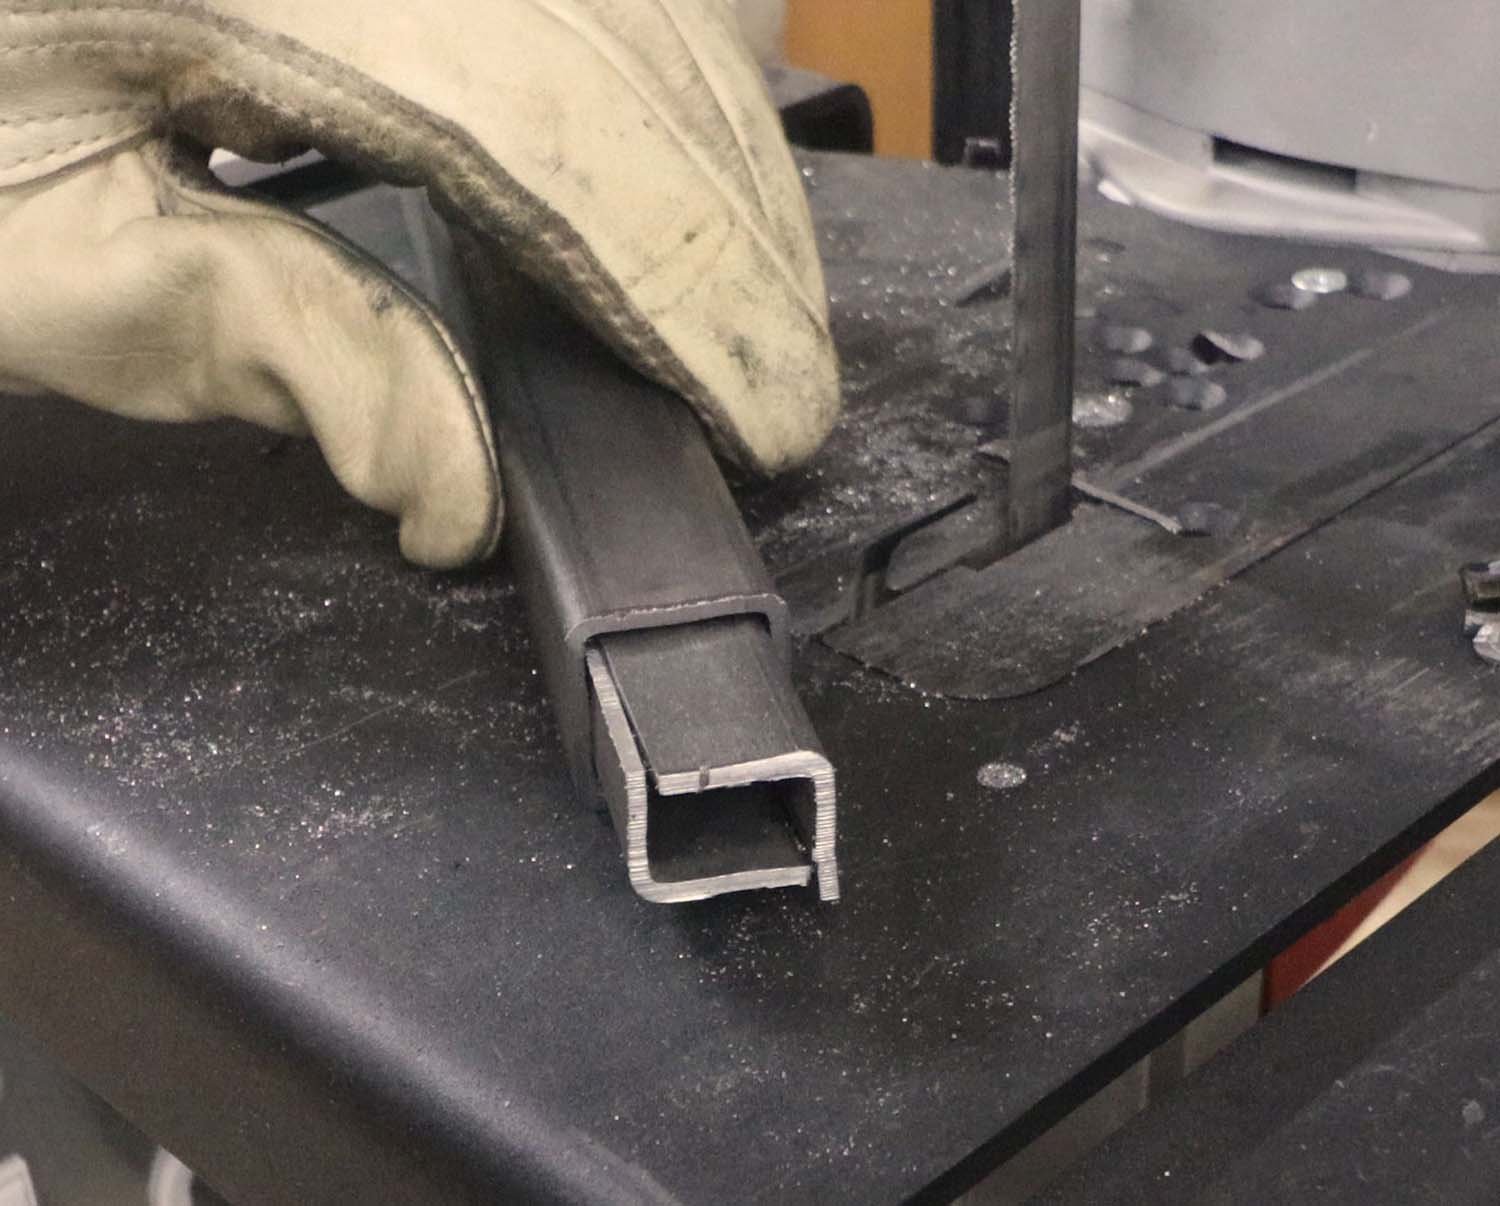
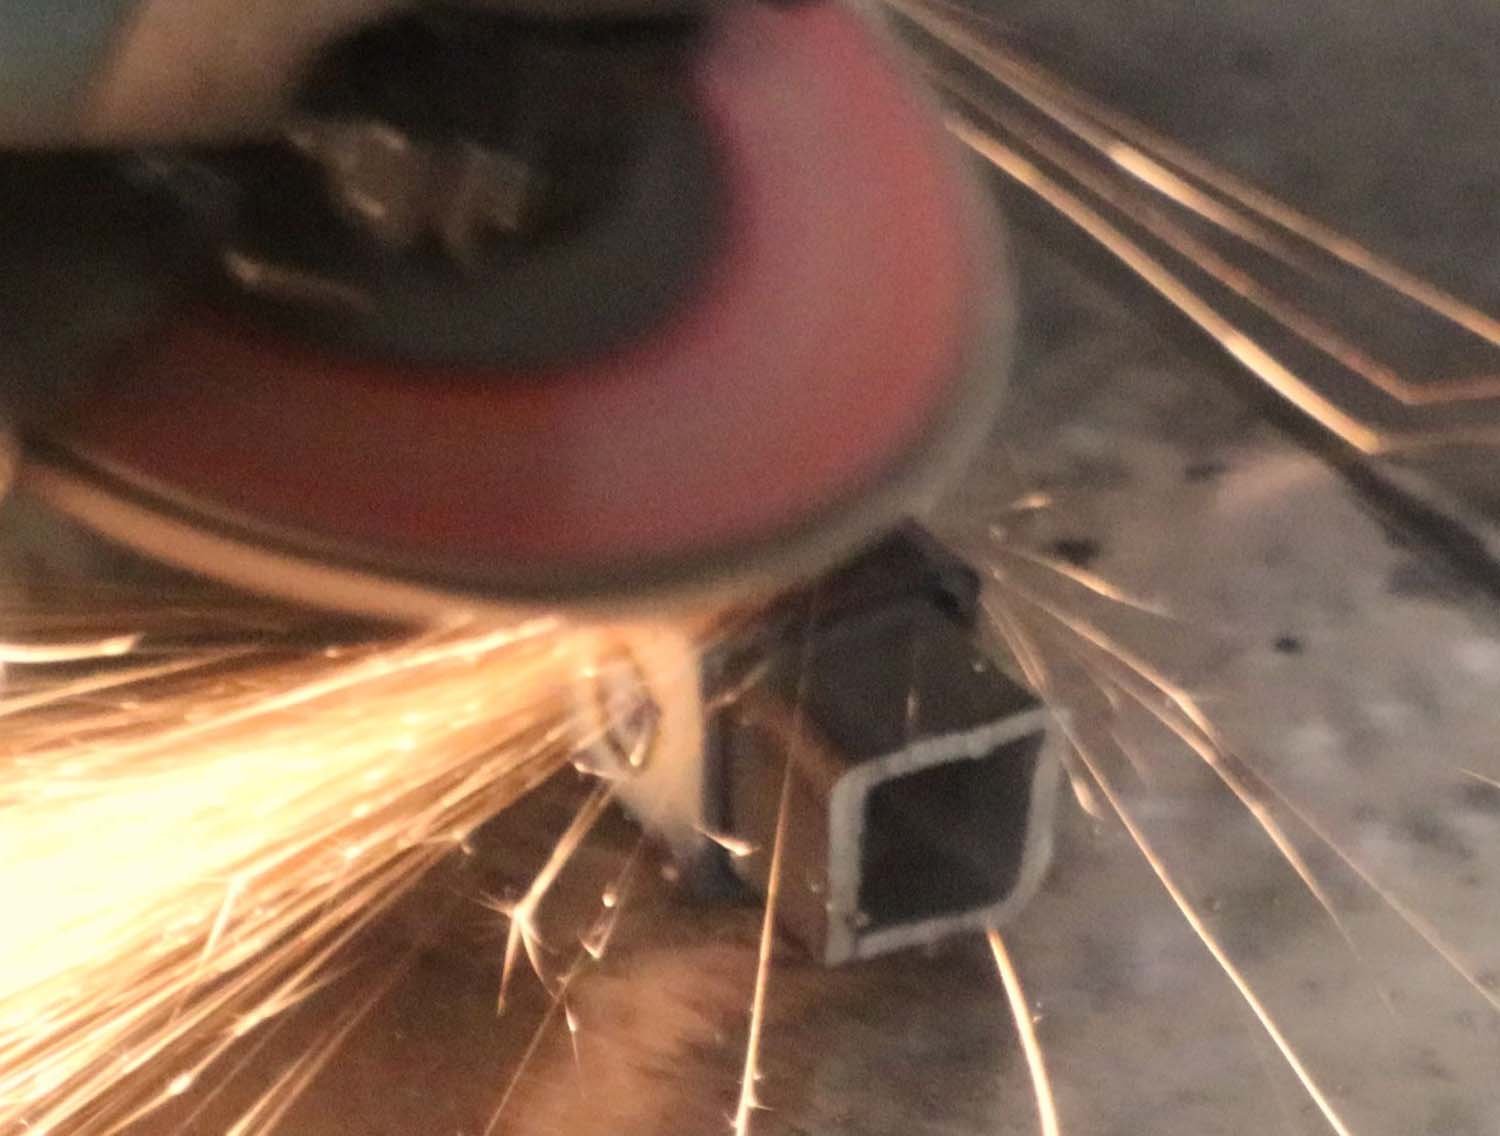
For the tops of the legs, I'm doing something a little fancy and wrapping the tube around a curved end. I used blue Dykem for marking out the cut lines. Off camera, I cut these tubes along the side walls, which you can see if you look closely. I then removed the rest of the waste with the band saw and cleaned the cut up with a file.
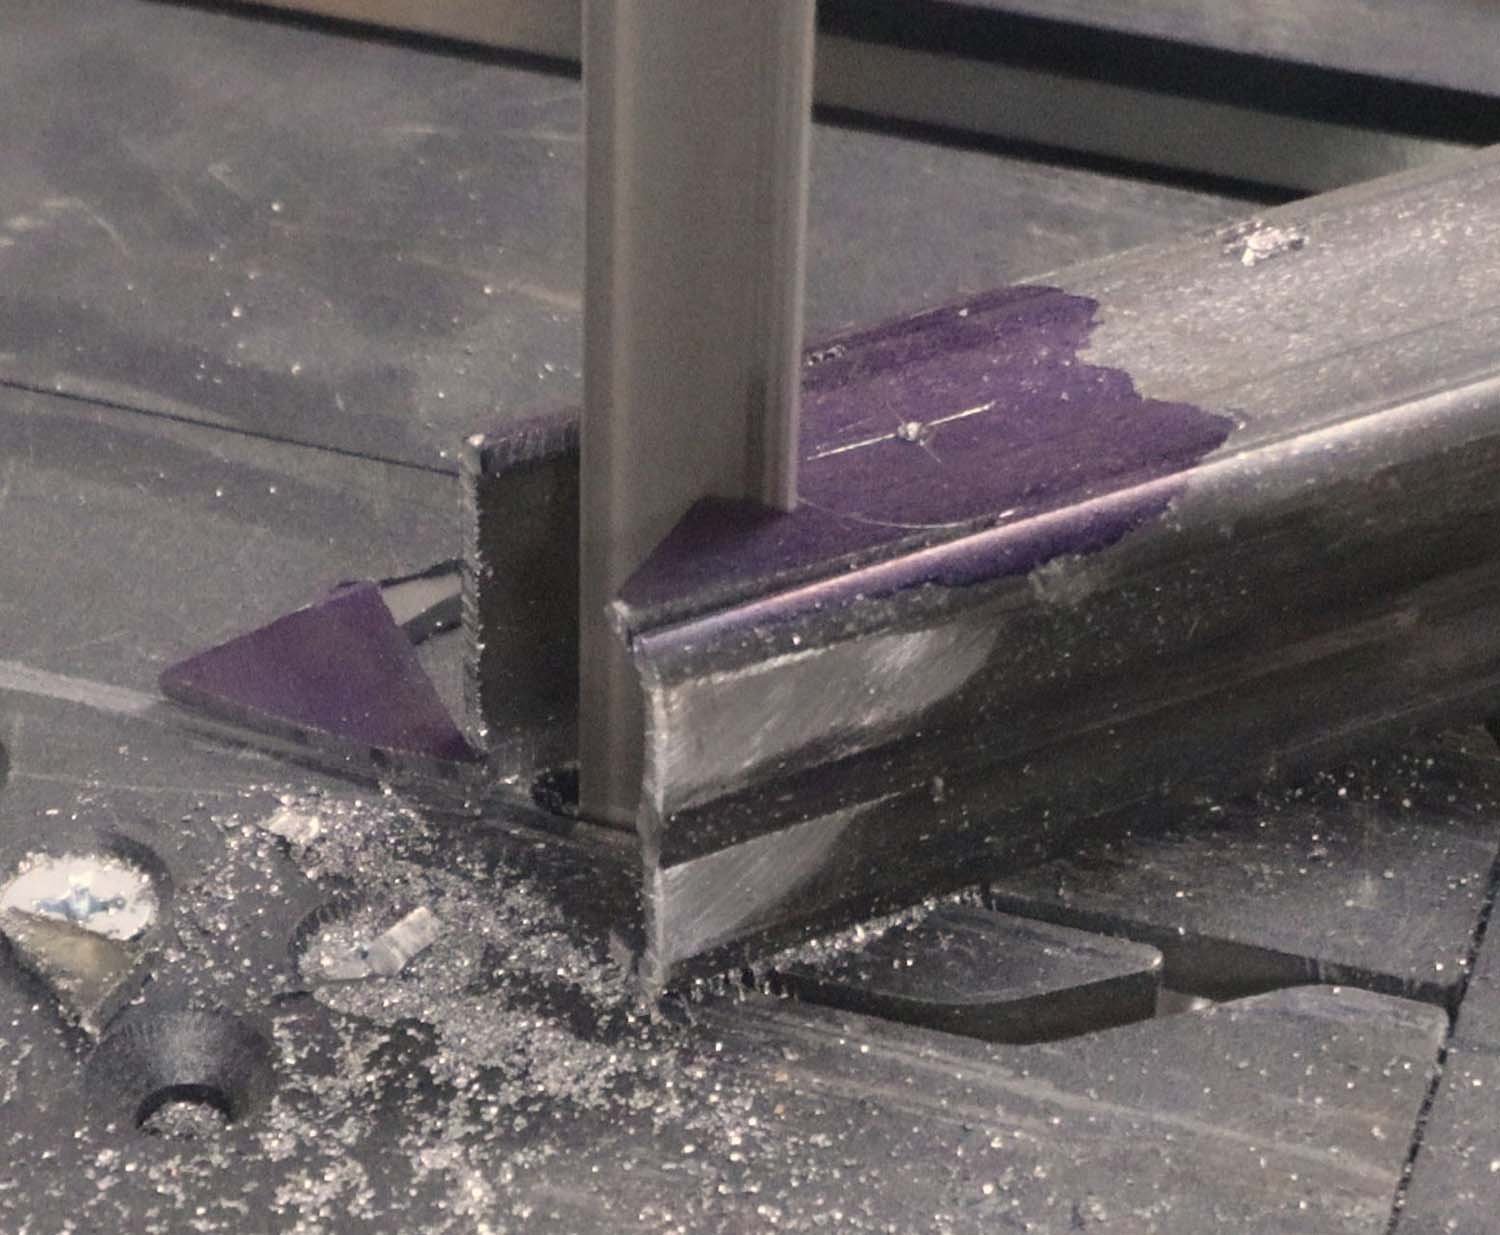
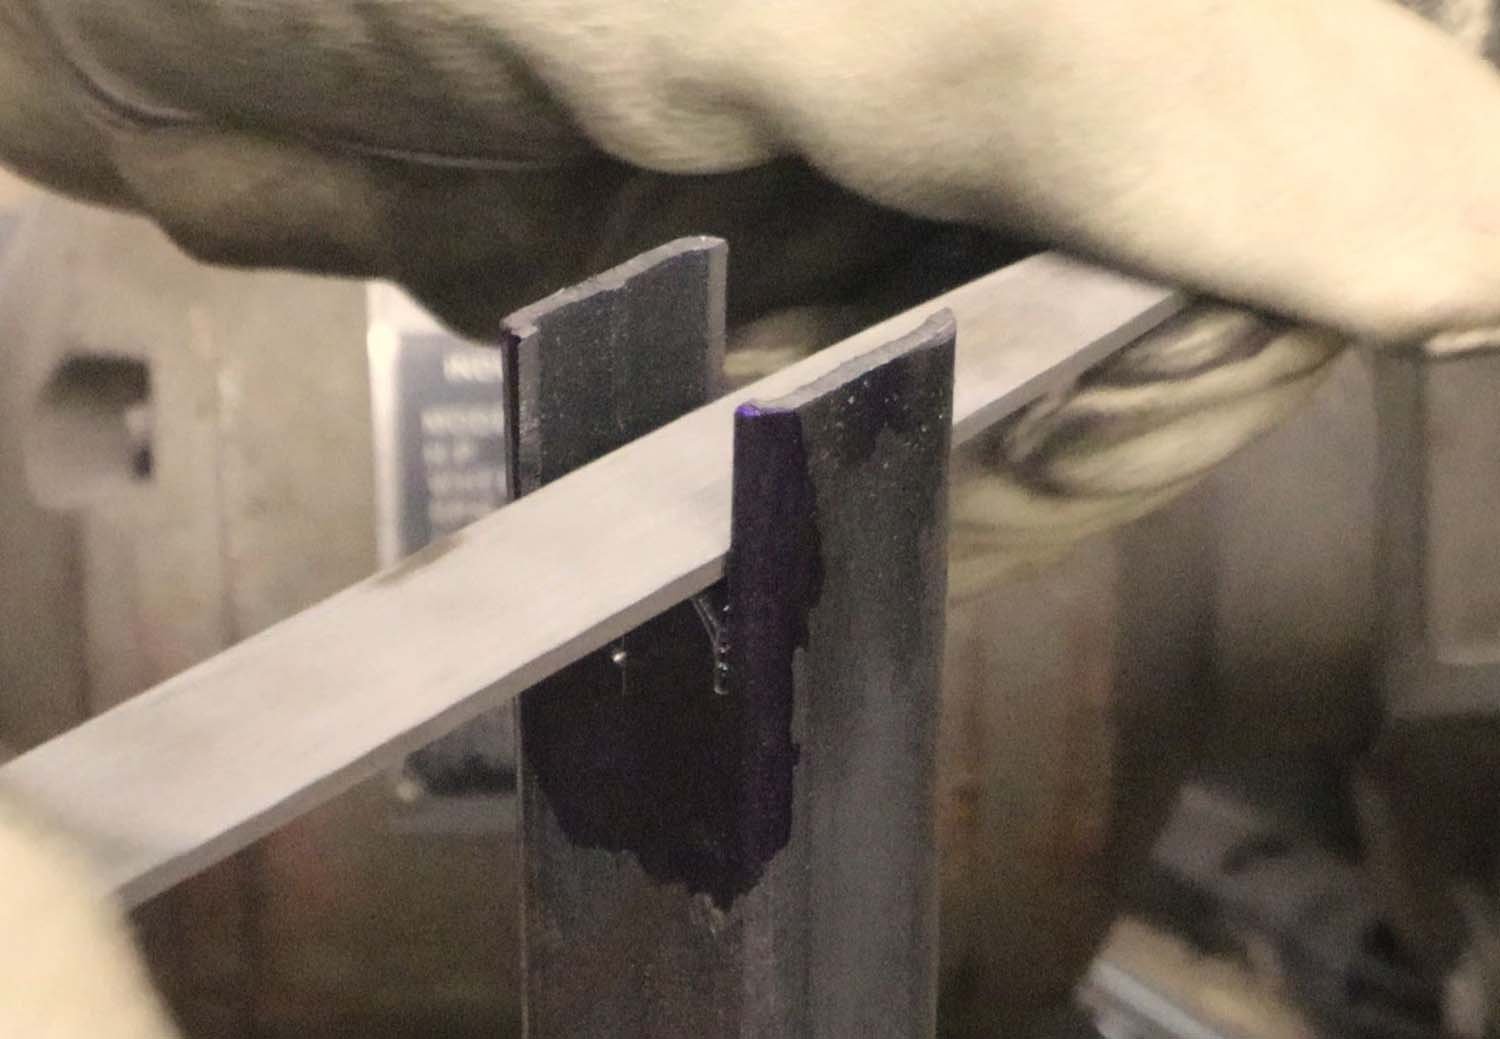
With the arc smooth, I proceeded to bend one side over with a mallet and trim off the excess. Then repeat with the other side until the top is entirely closed off. Some welds neaten everything up, strengthen it, and will keep it from coming apart.
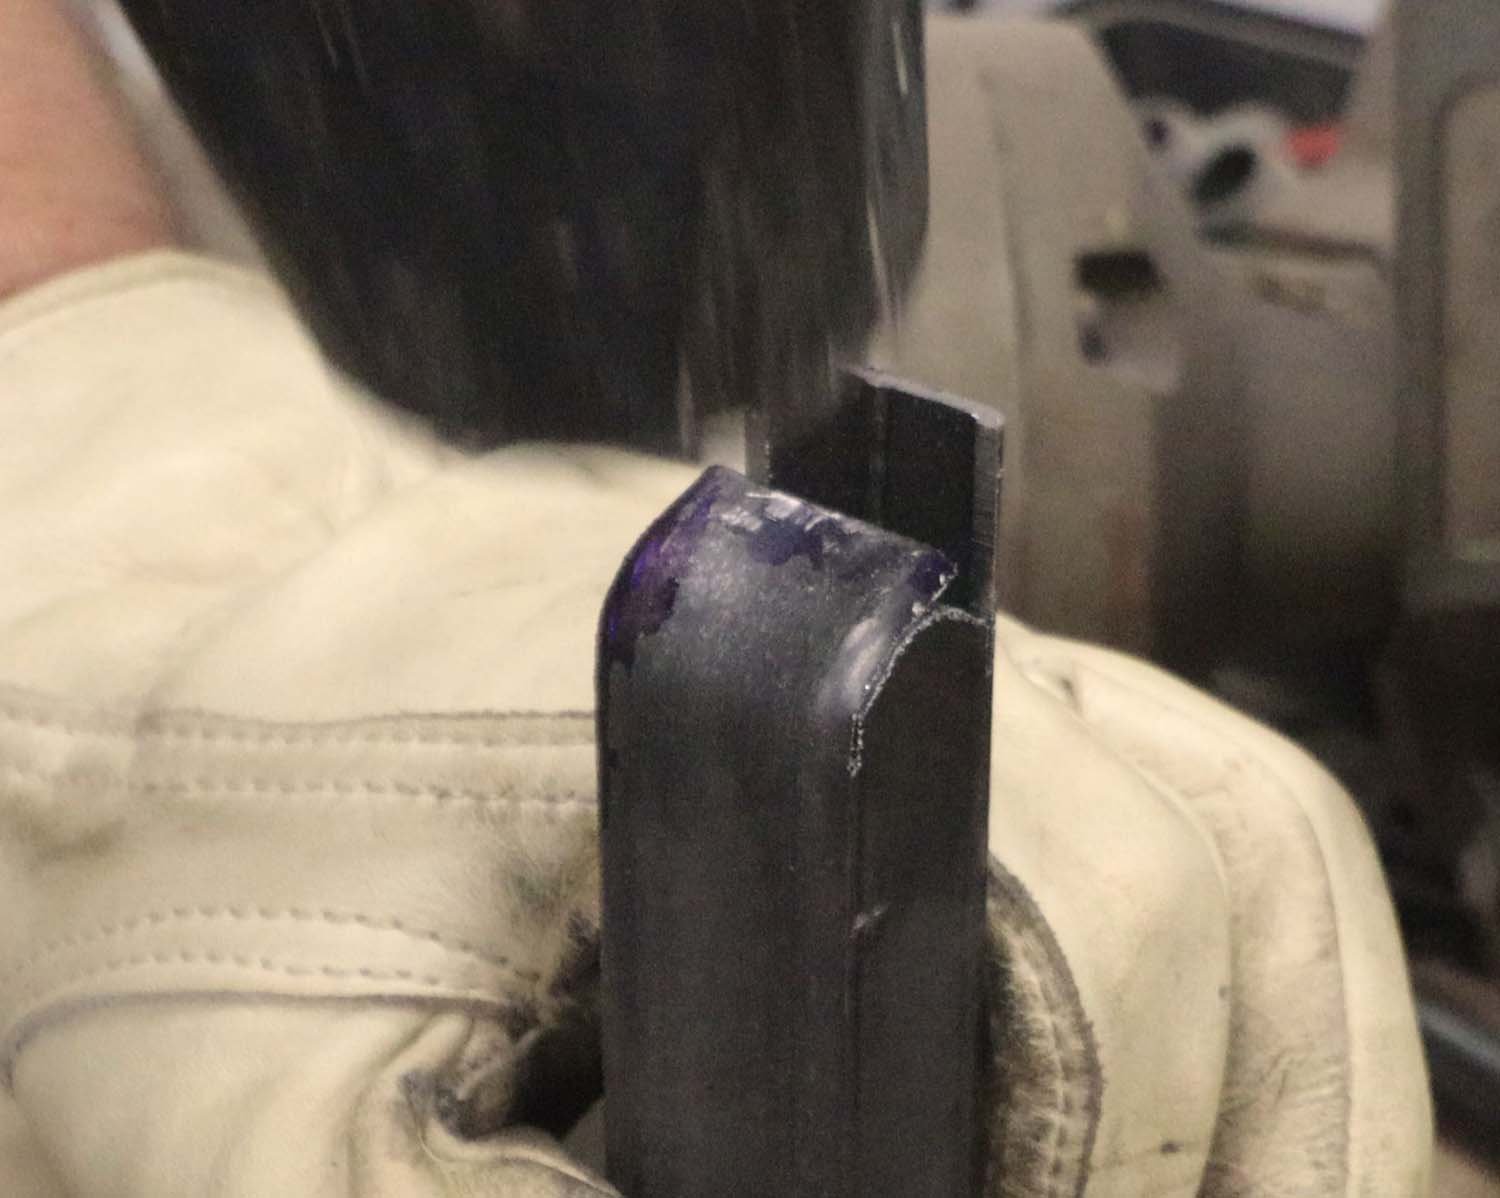
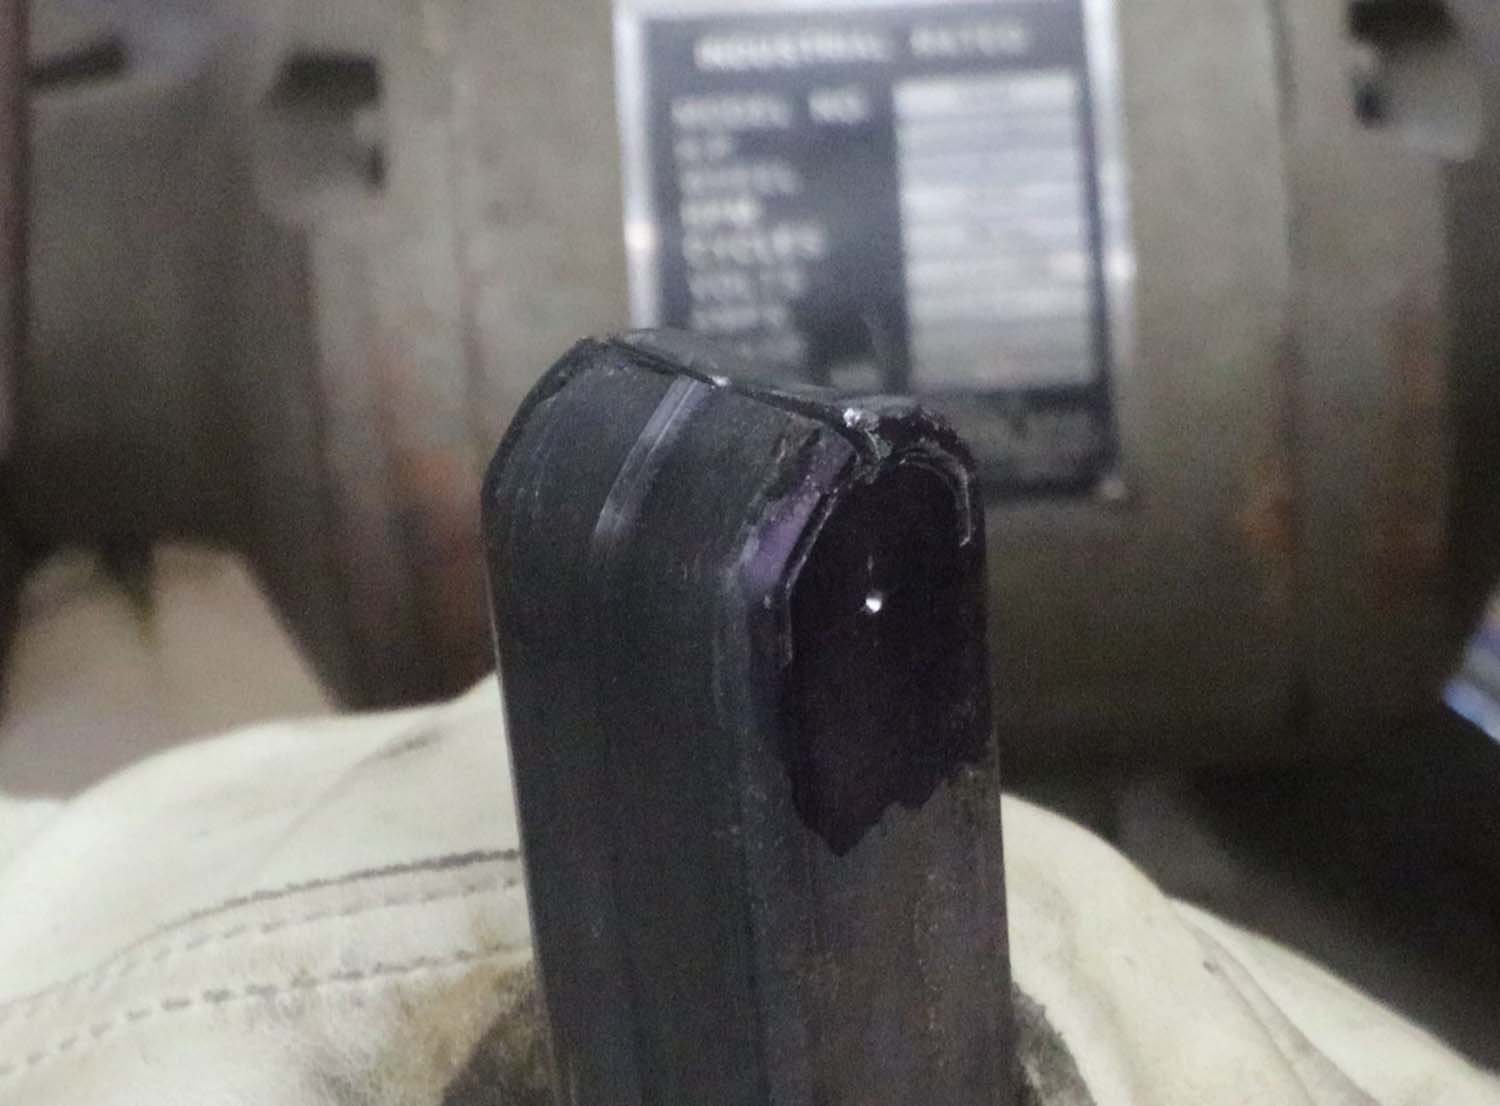
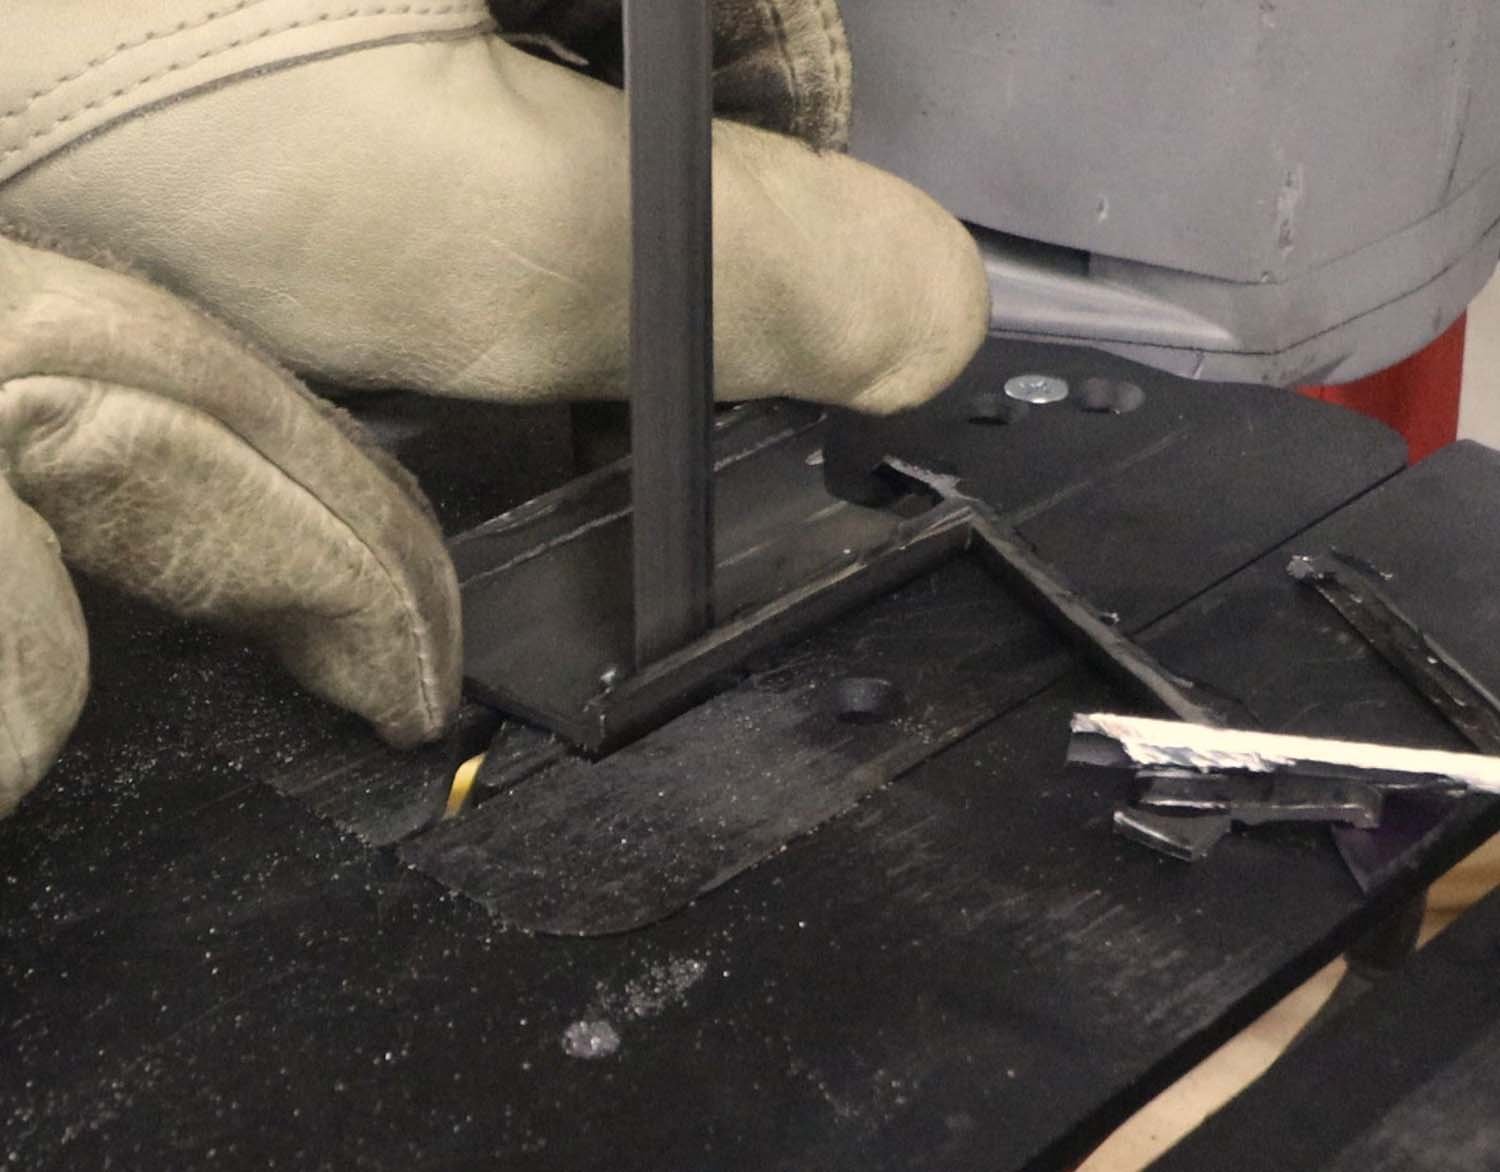
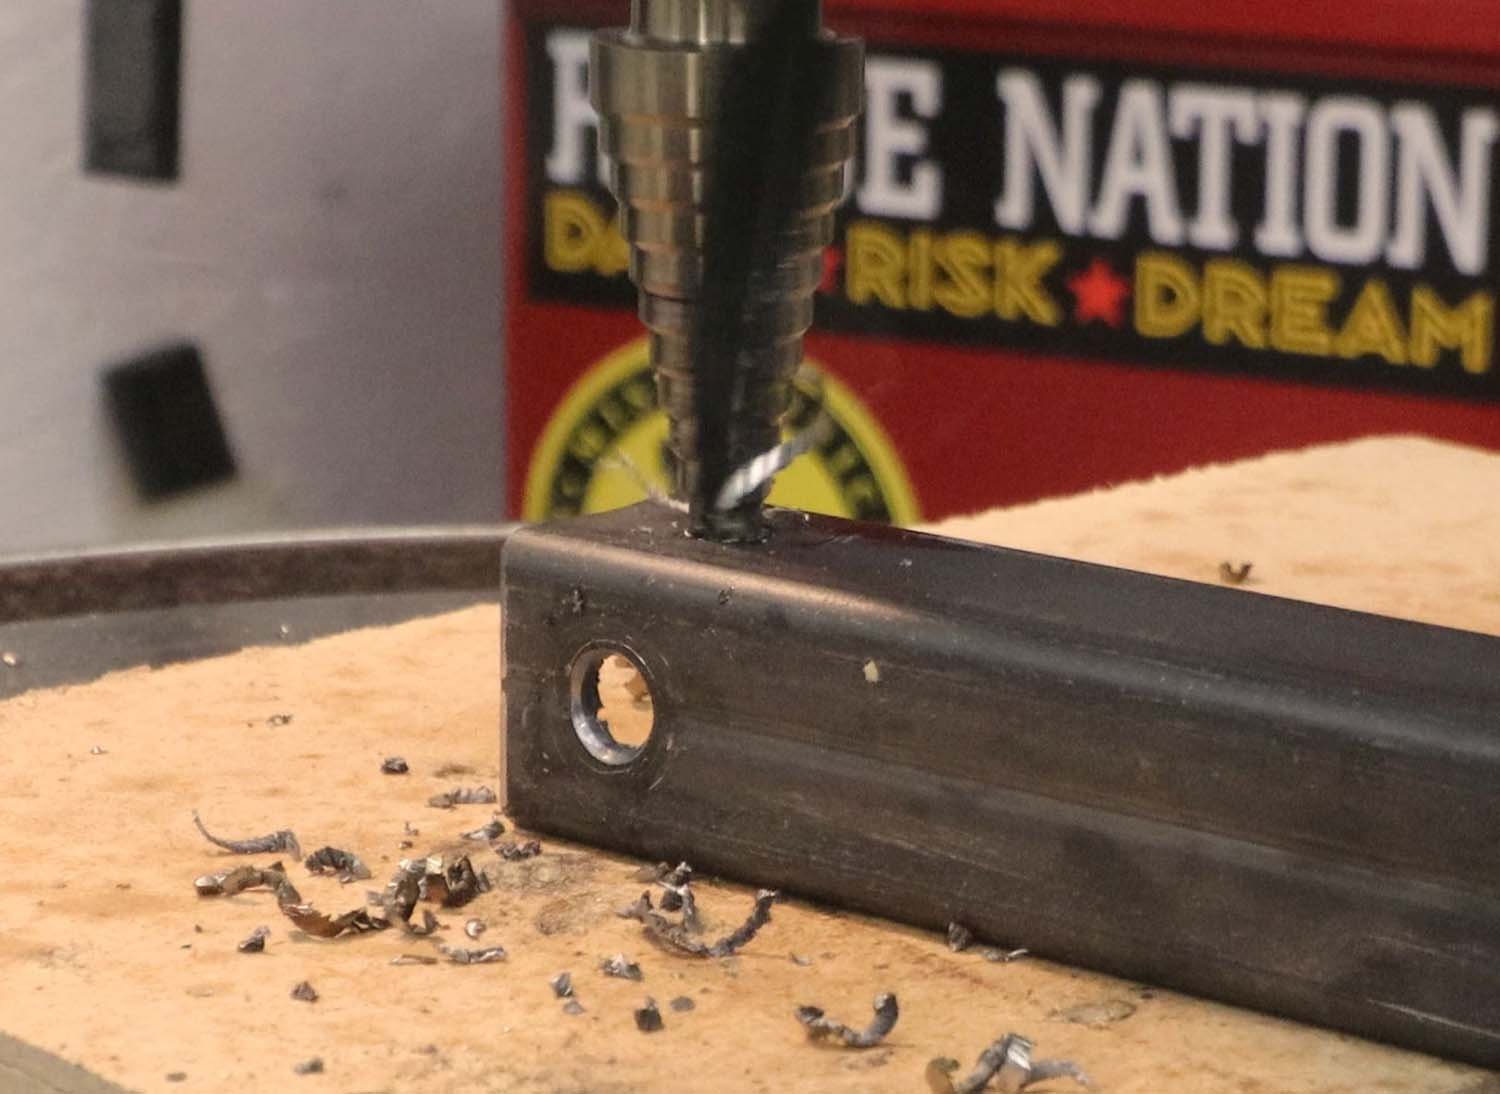
Next is to cut the pivot holes in the tops of the legs. These match the holes I drilled in the table top previously. This time I got smart and used a stepped drill.

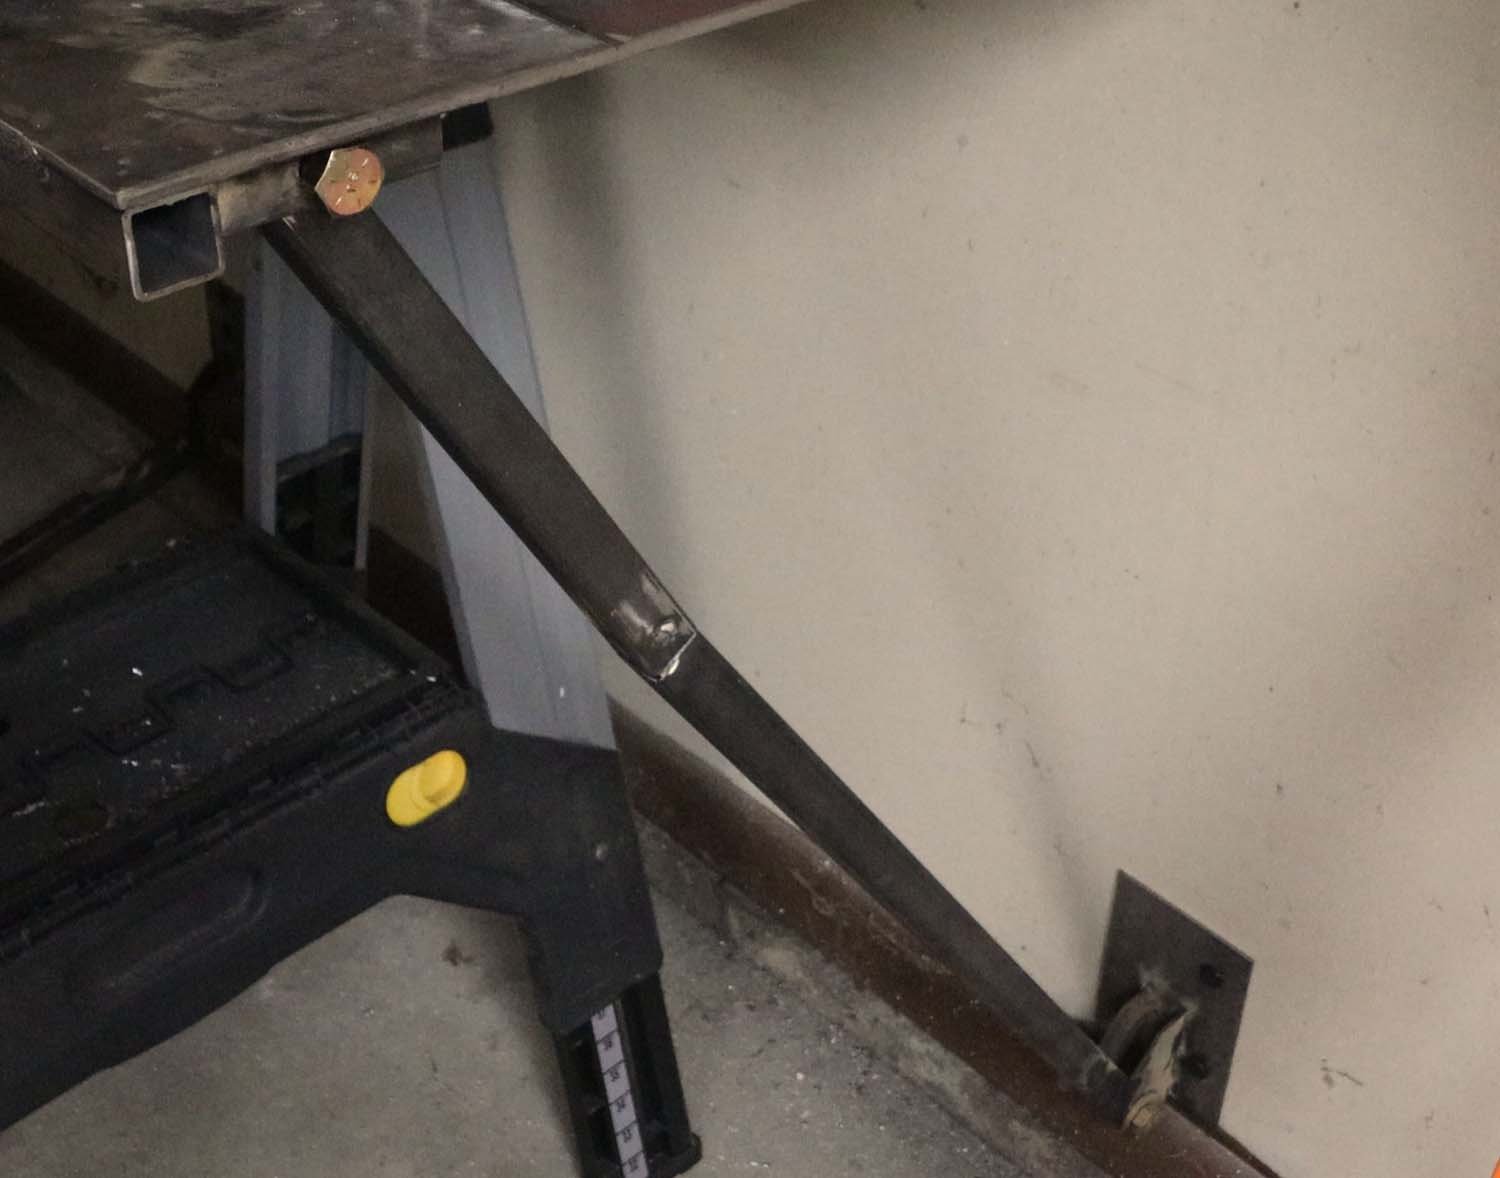
Using my level to find the edge of the table (and thereby the closest stud), I determined where the lower pivot assembly should go. I then drilled a couple holes in the base plate for some screws and fastened the base plate to the wall.
I set the table slightly off level, with the front edge a bit high, with the understanding that it will probably drop a bit when everything is put together. Then I marked the length of the top part of the leg to be cut to length.
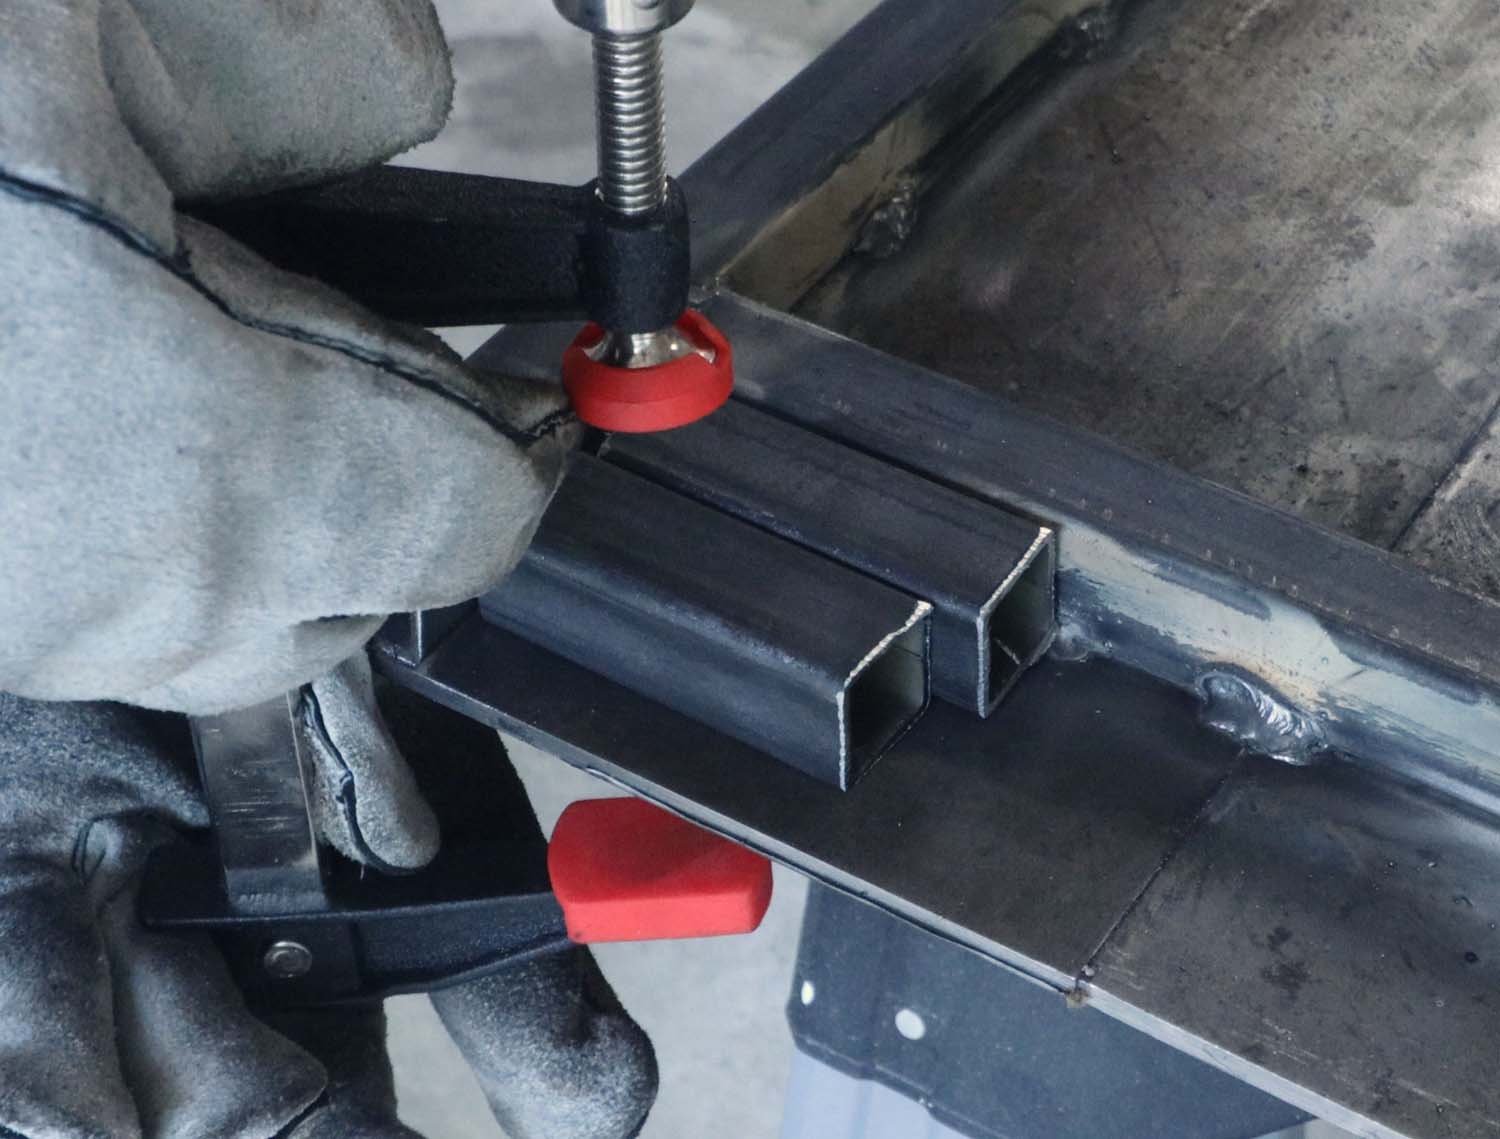
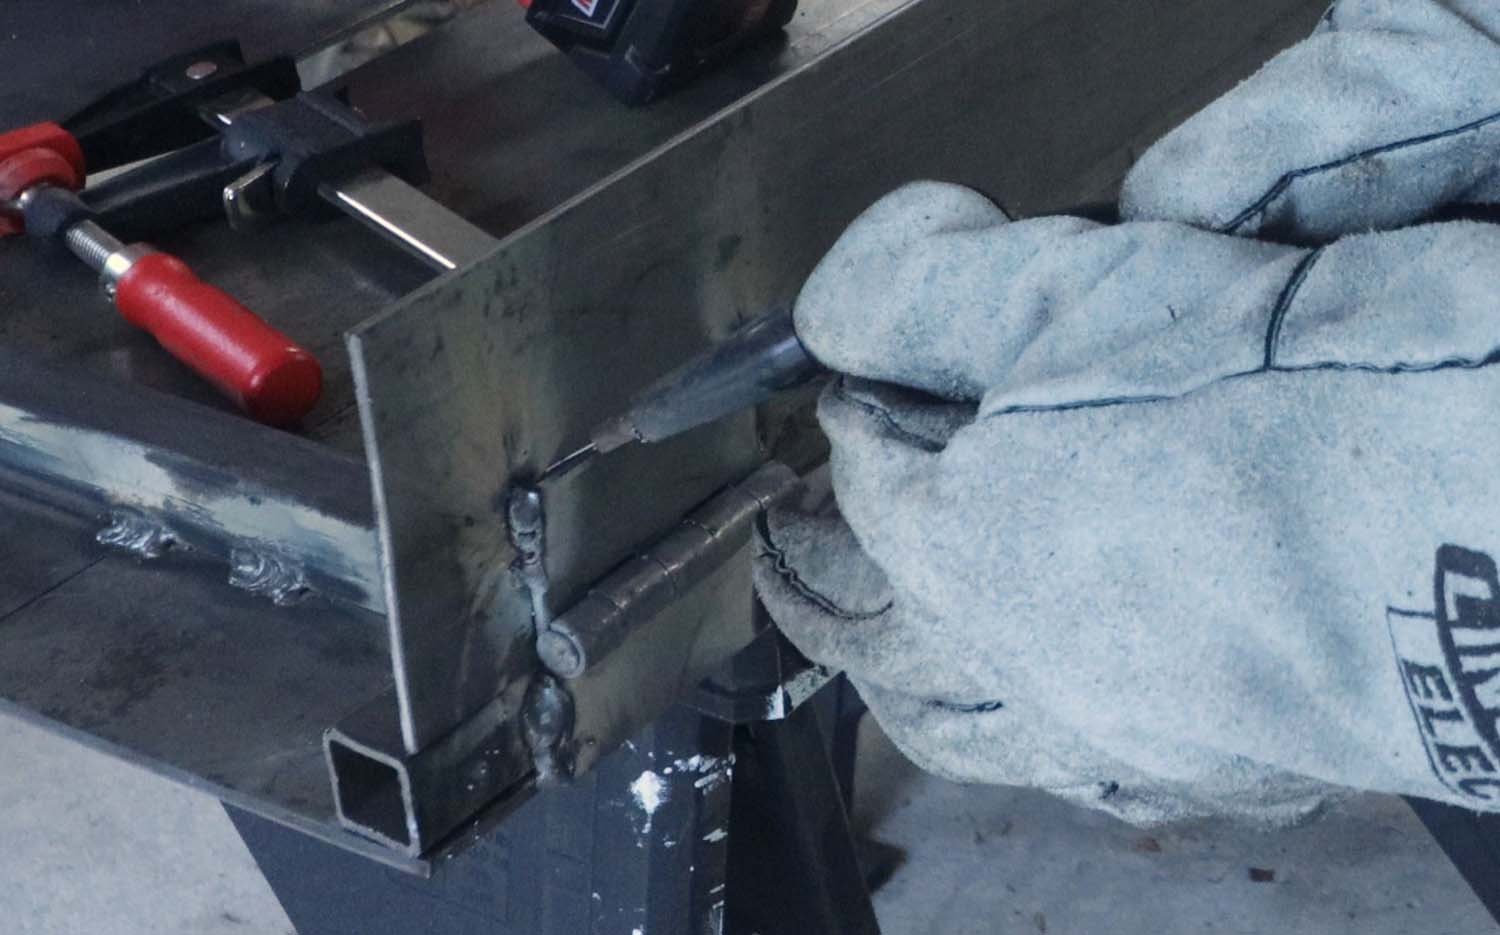
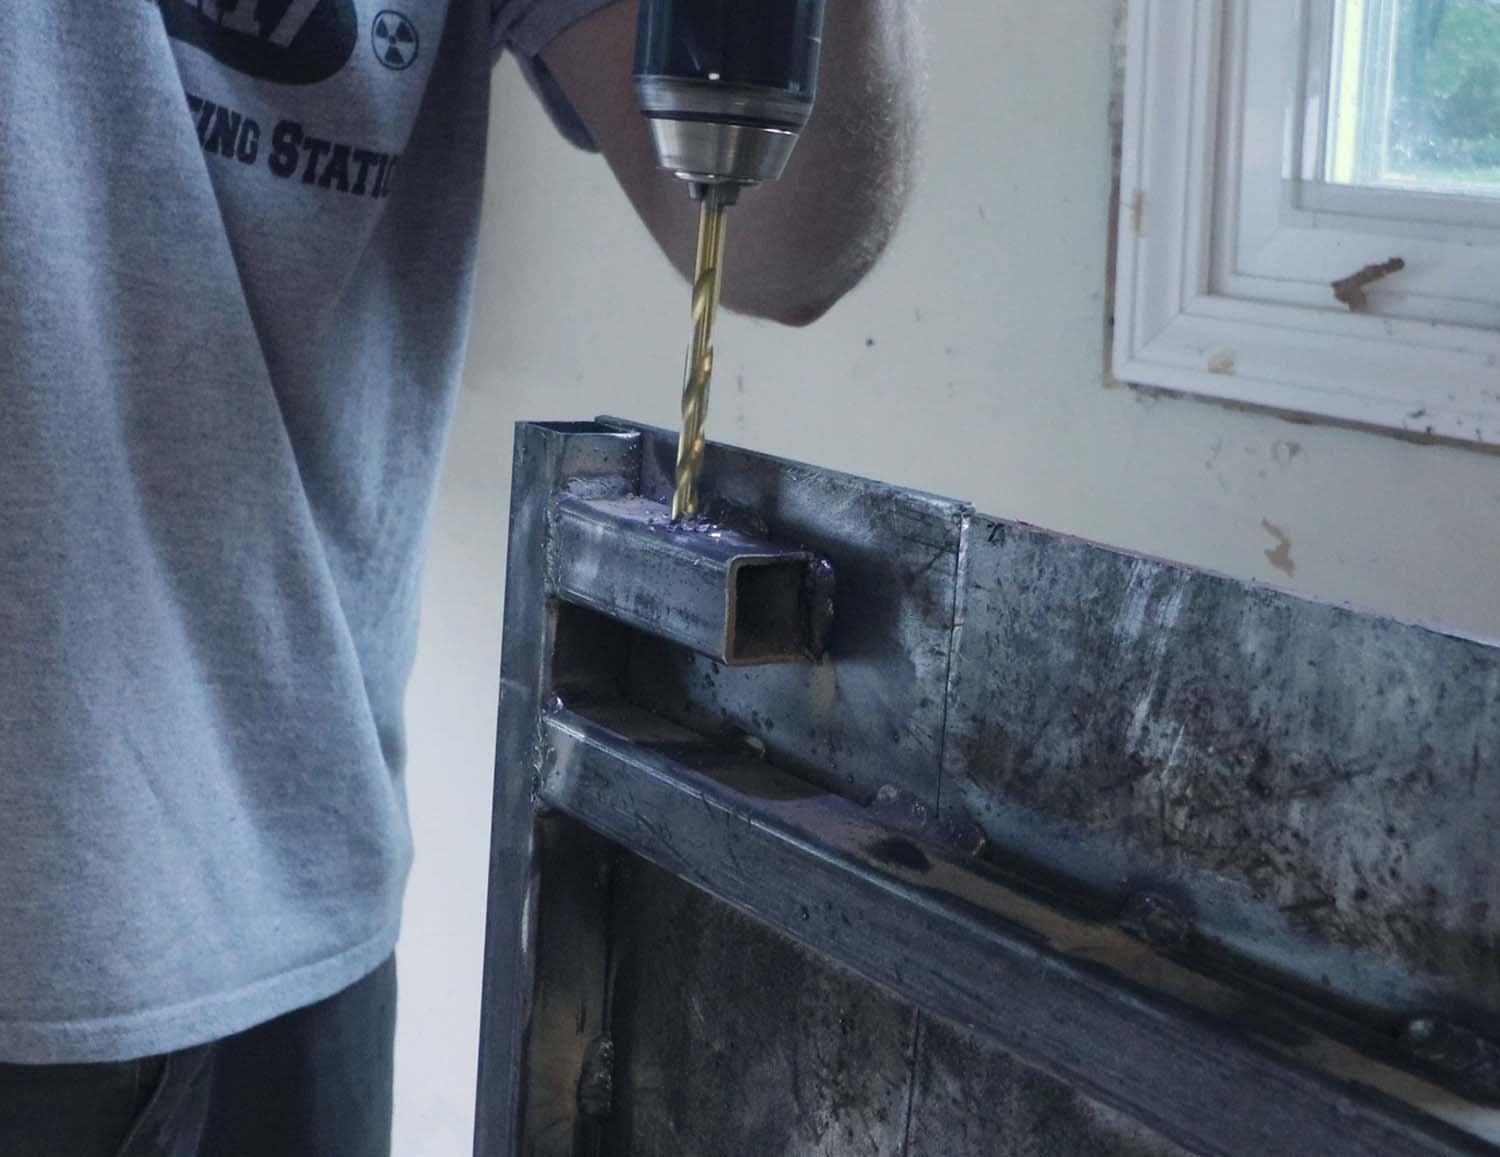
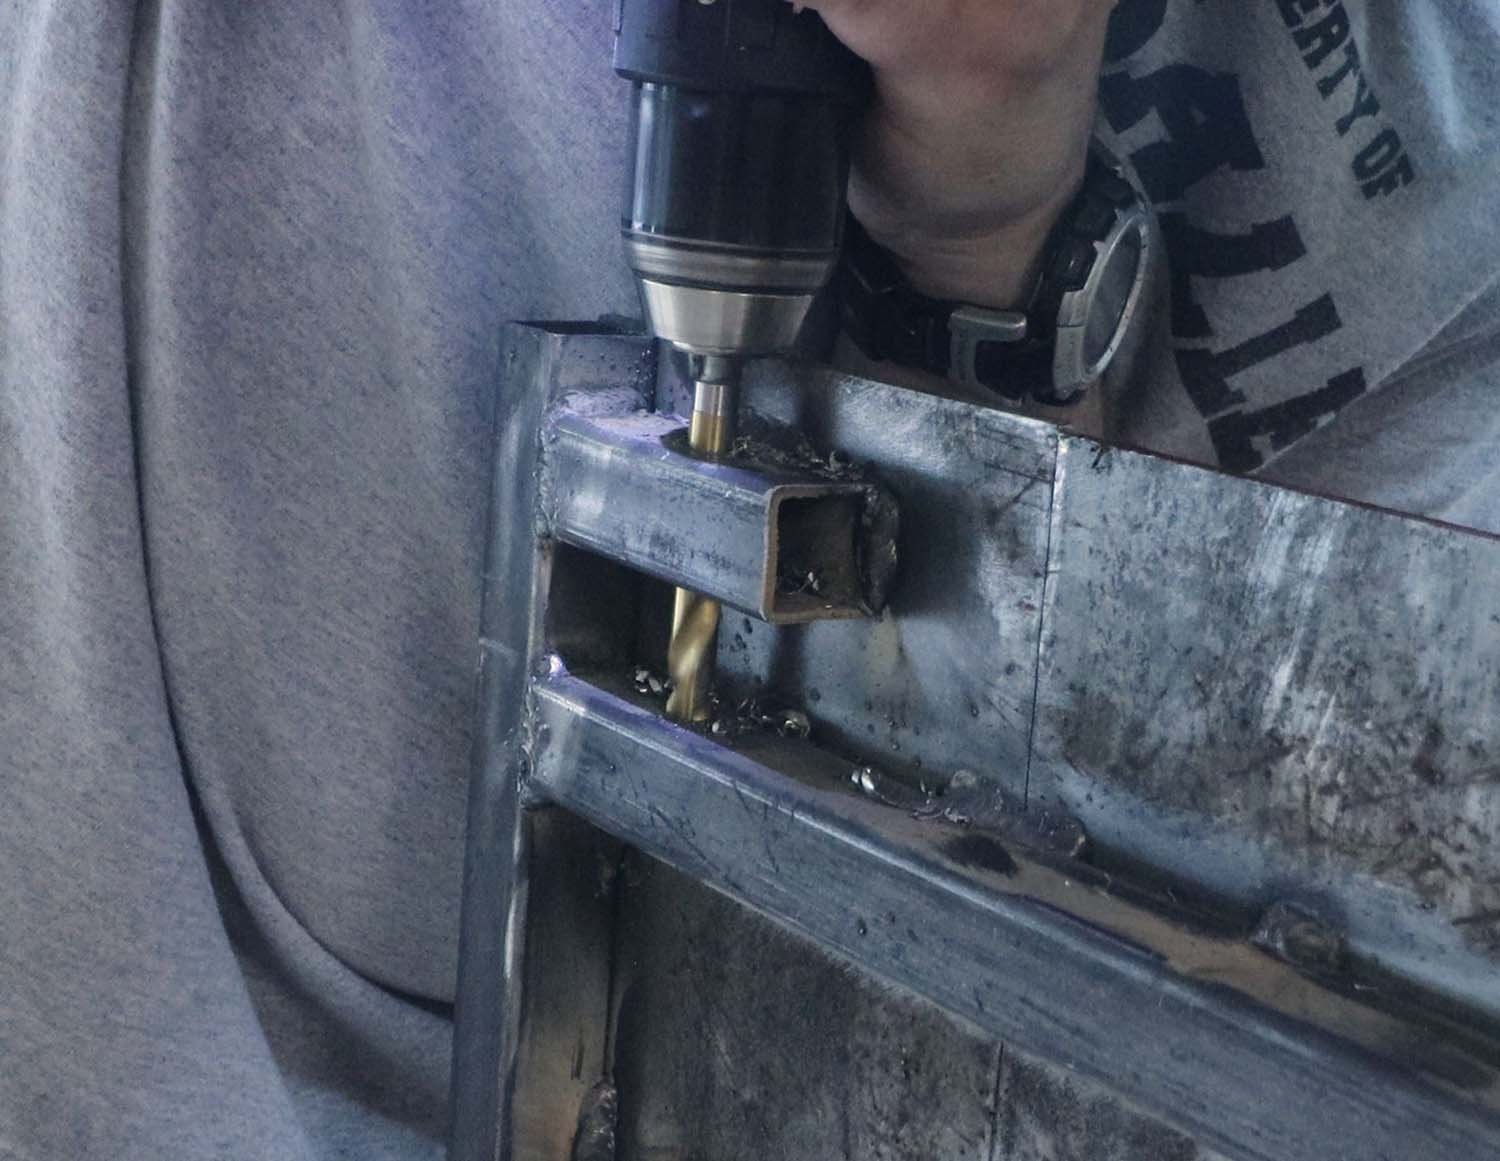
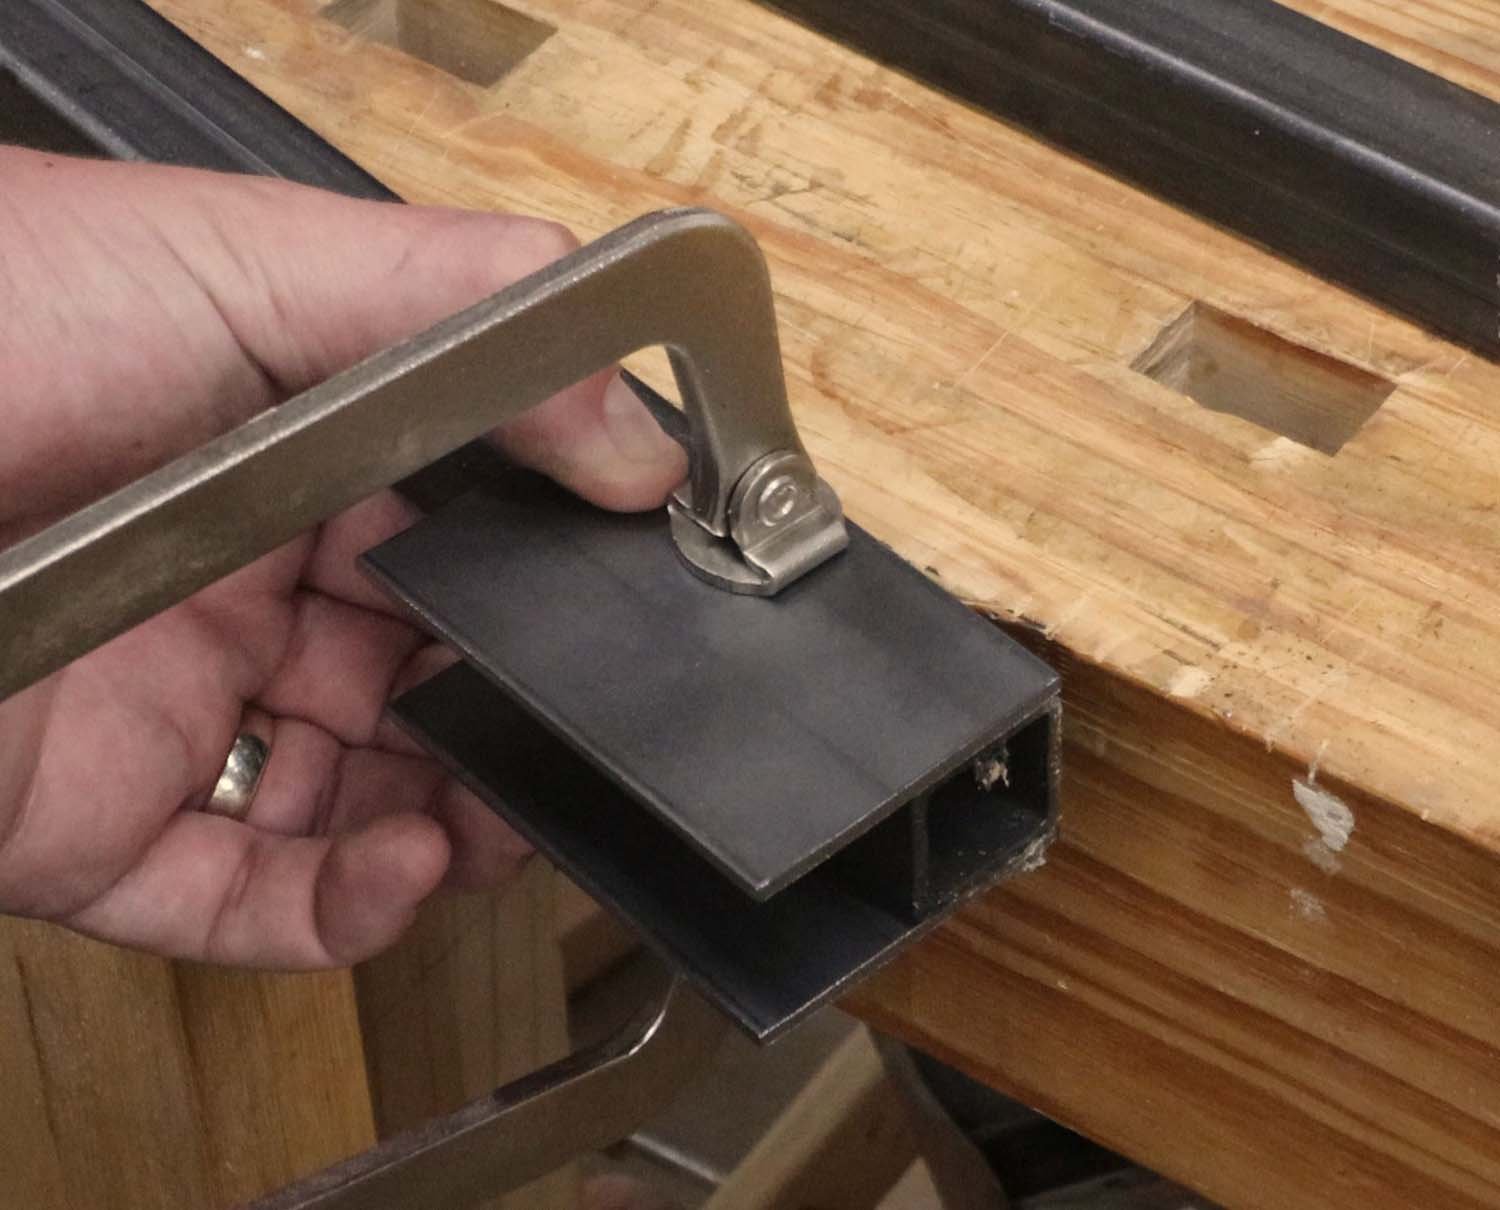
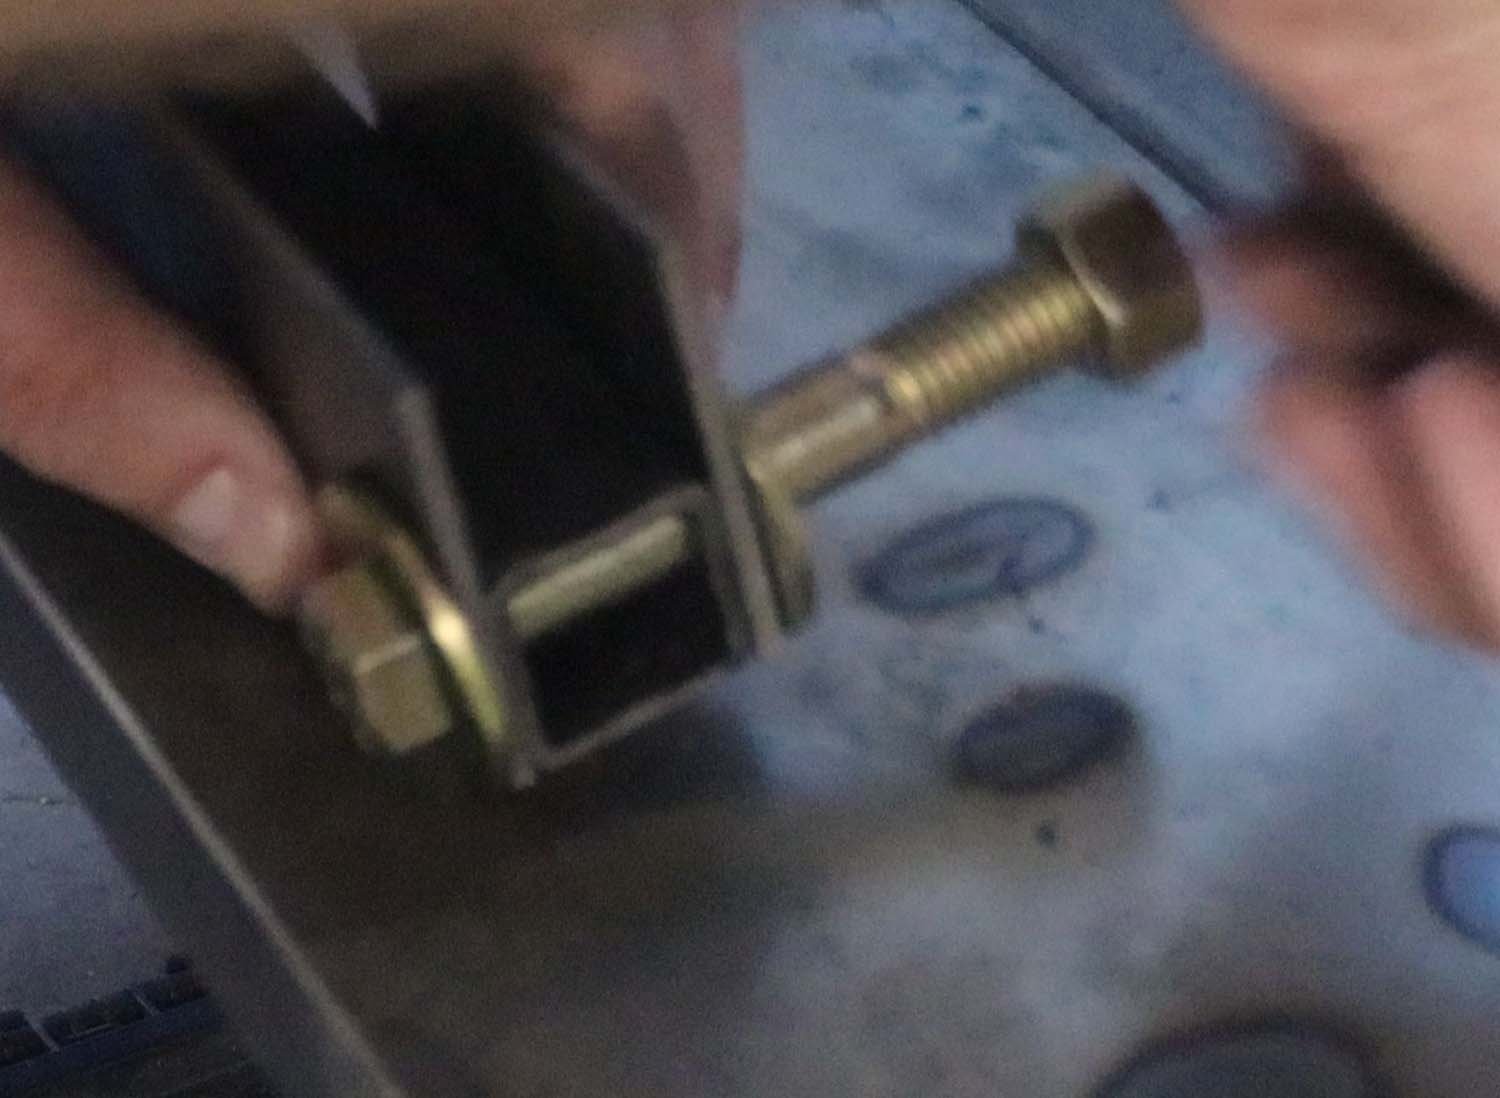
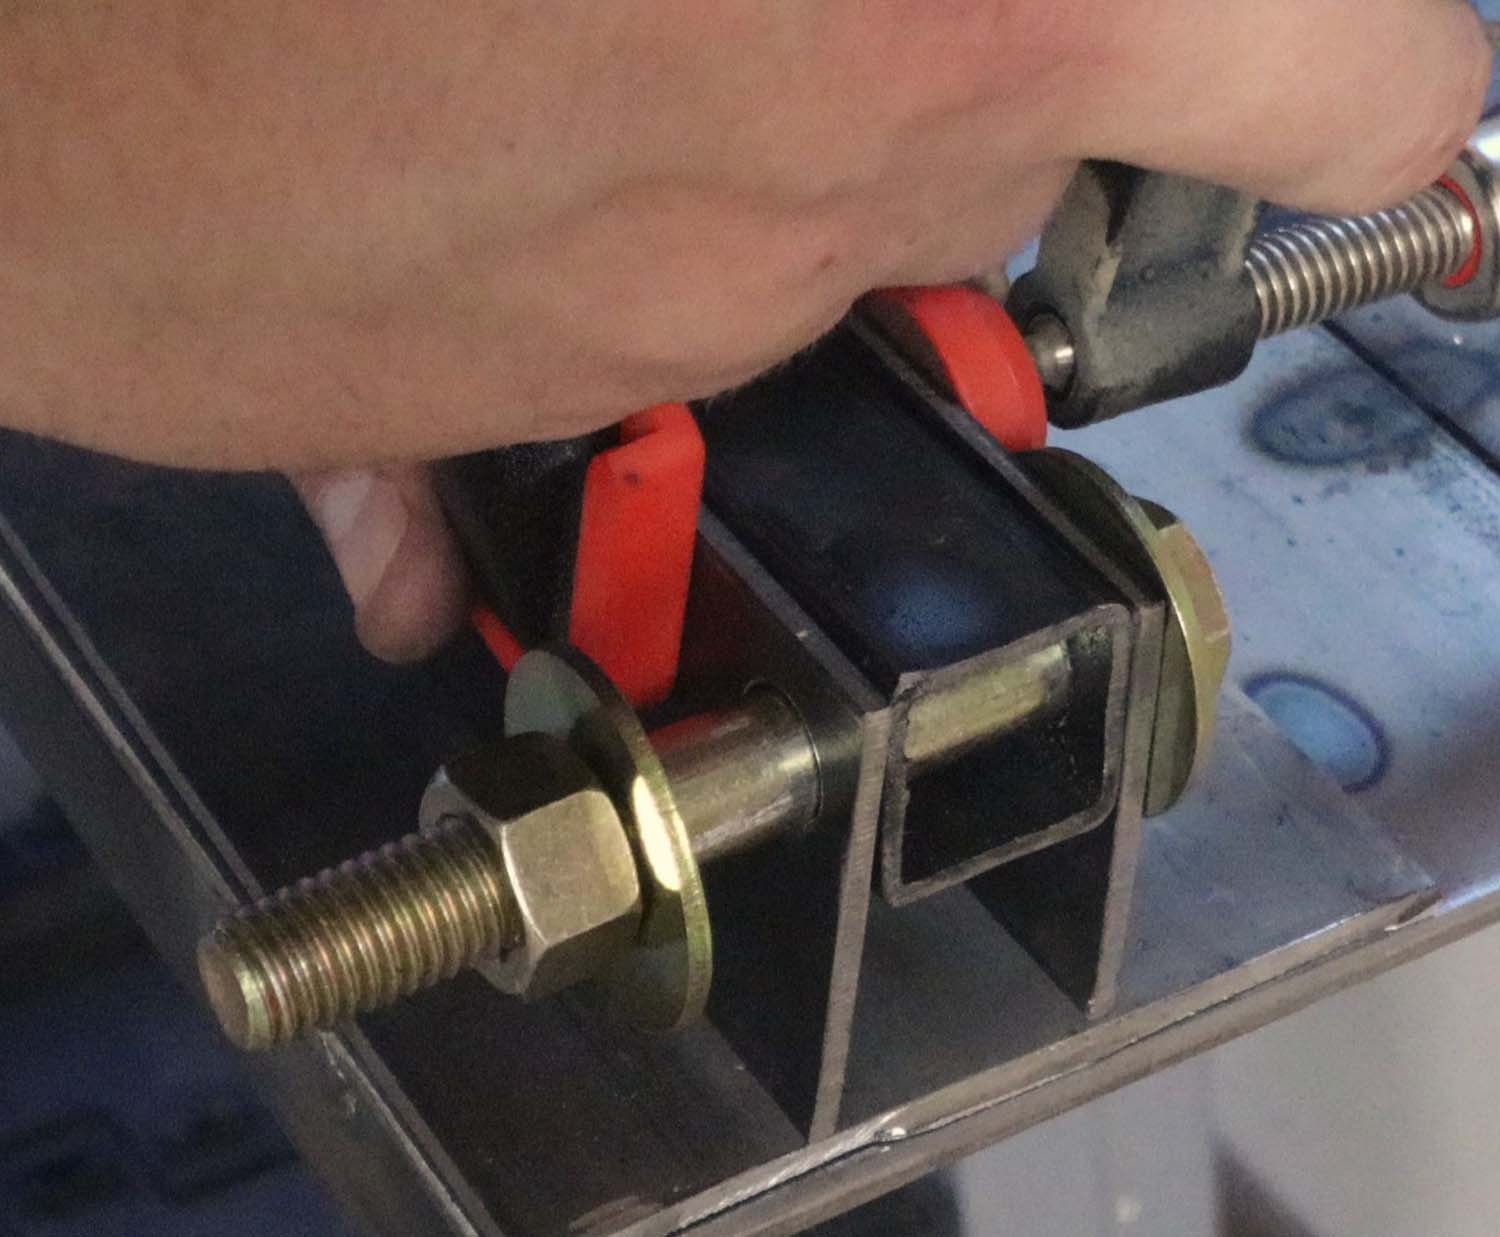
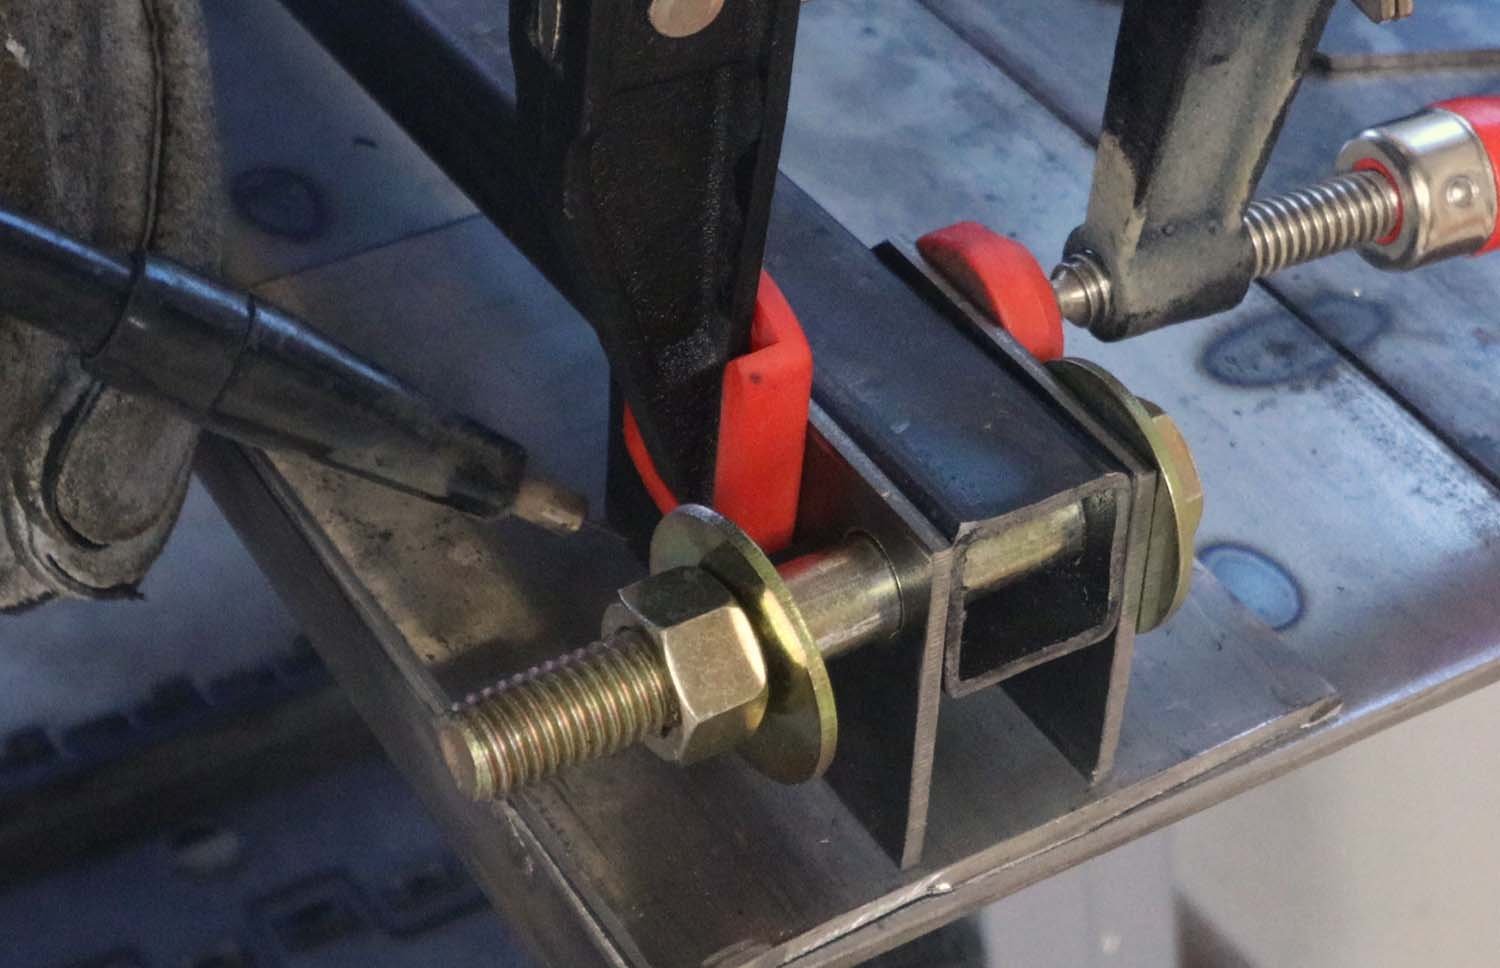
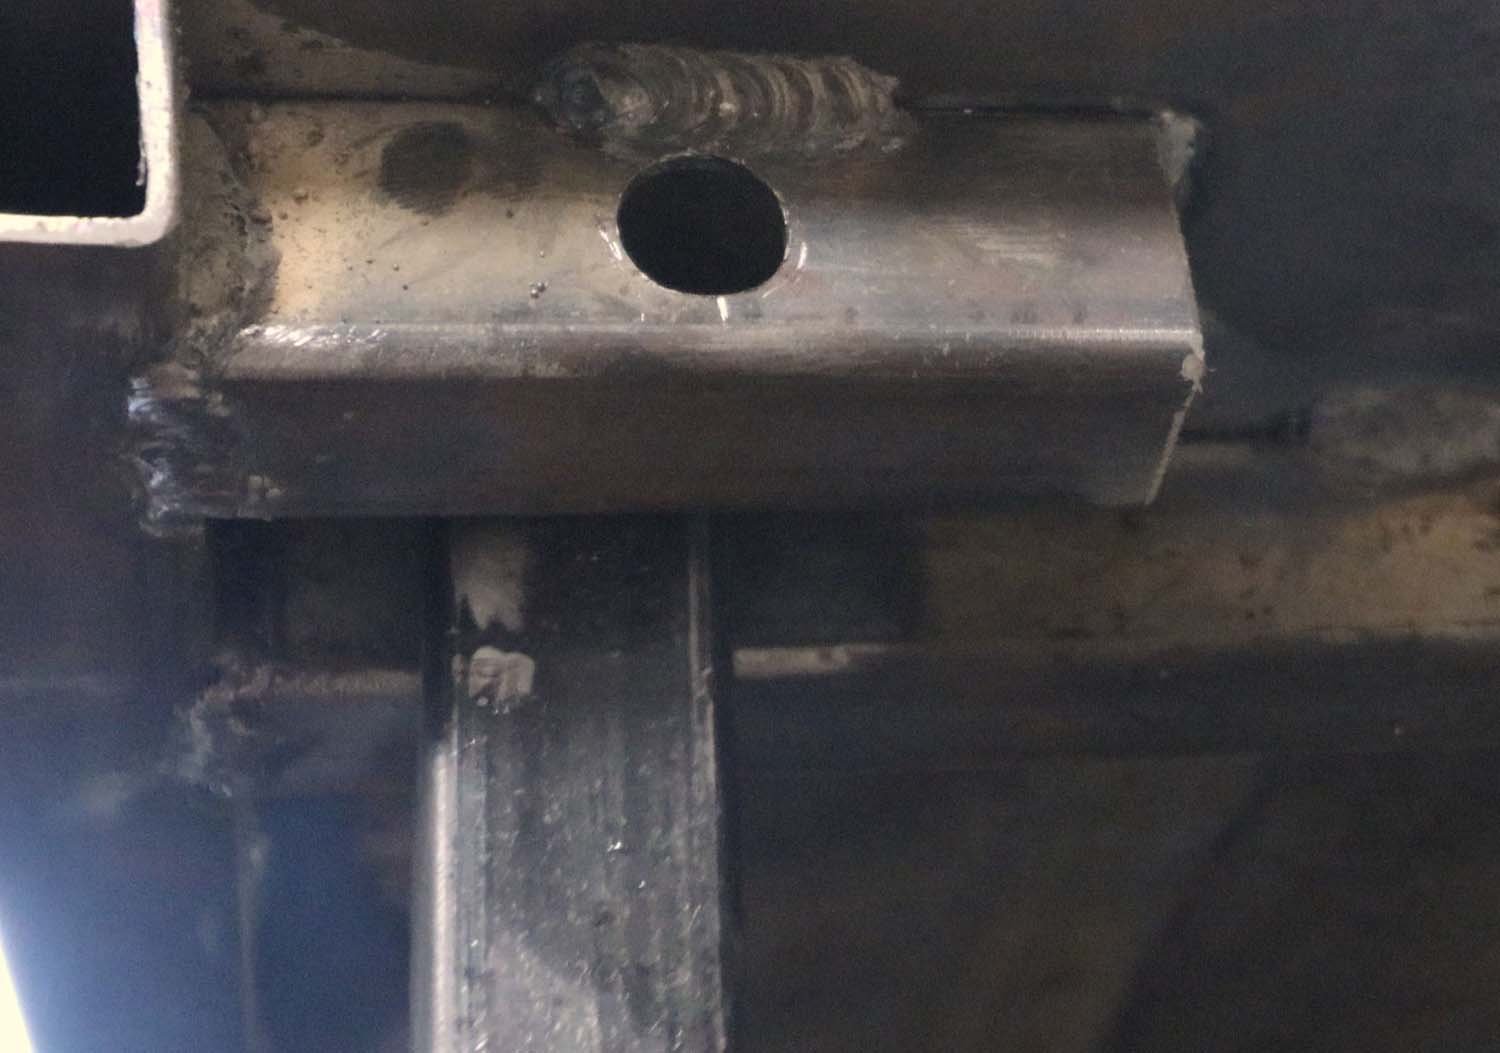
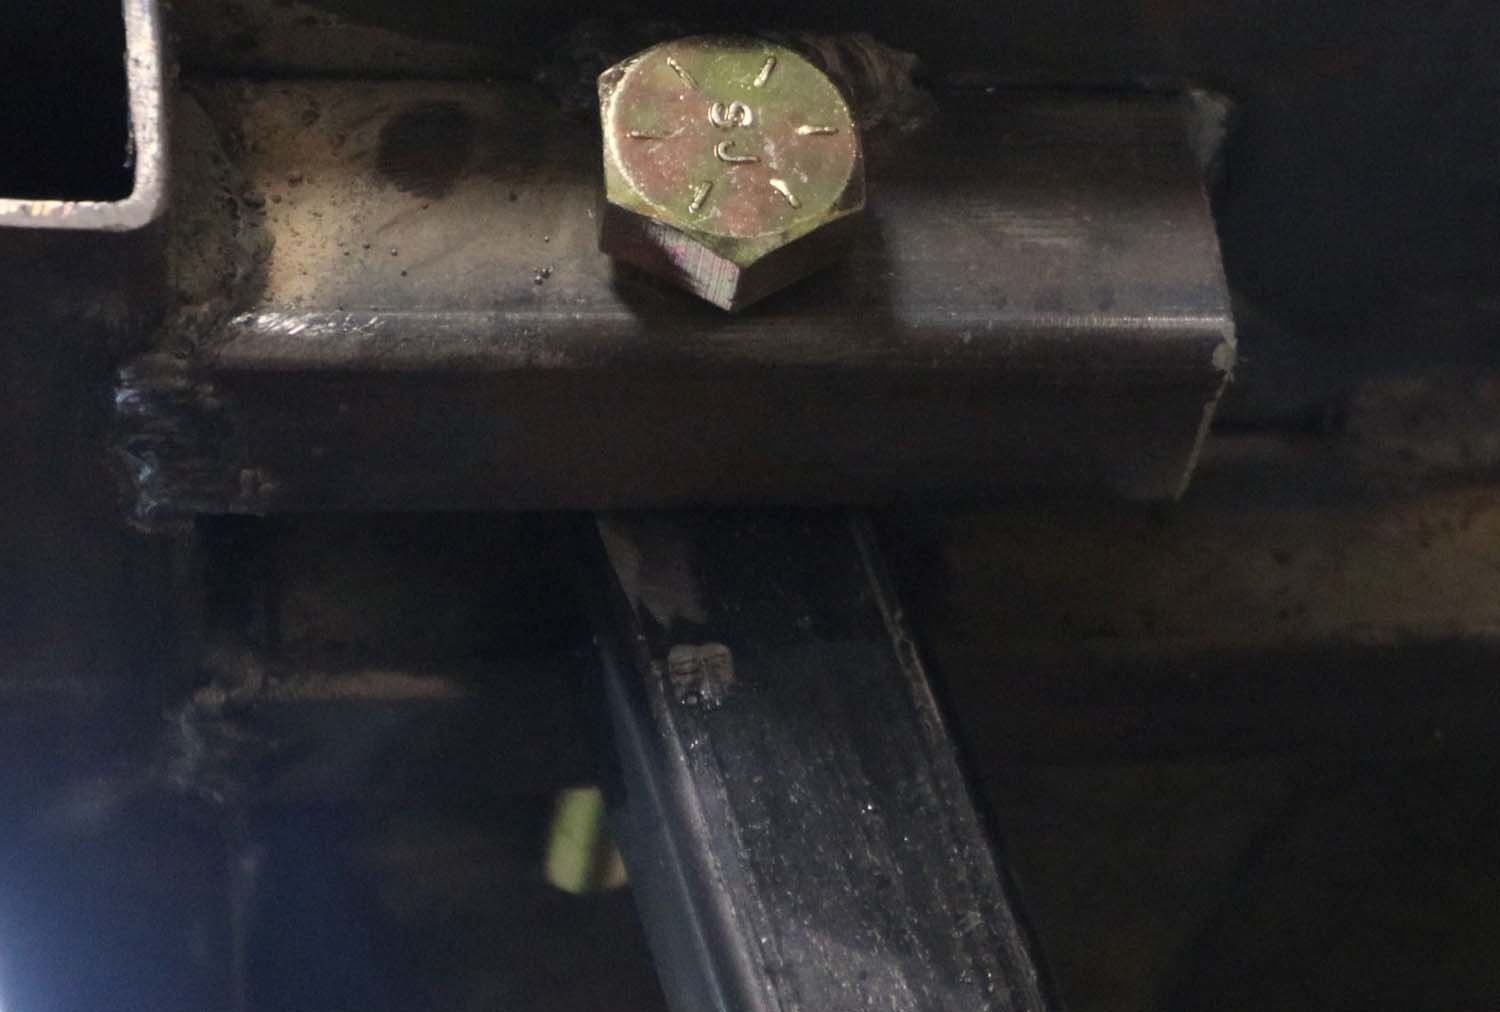
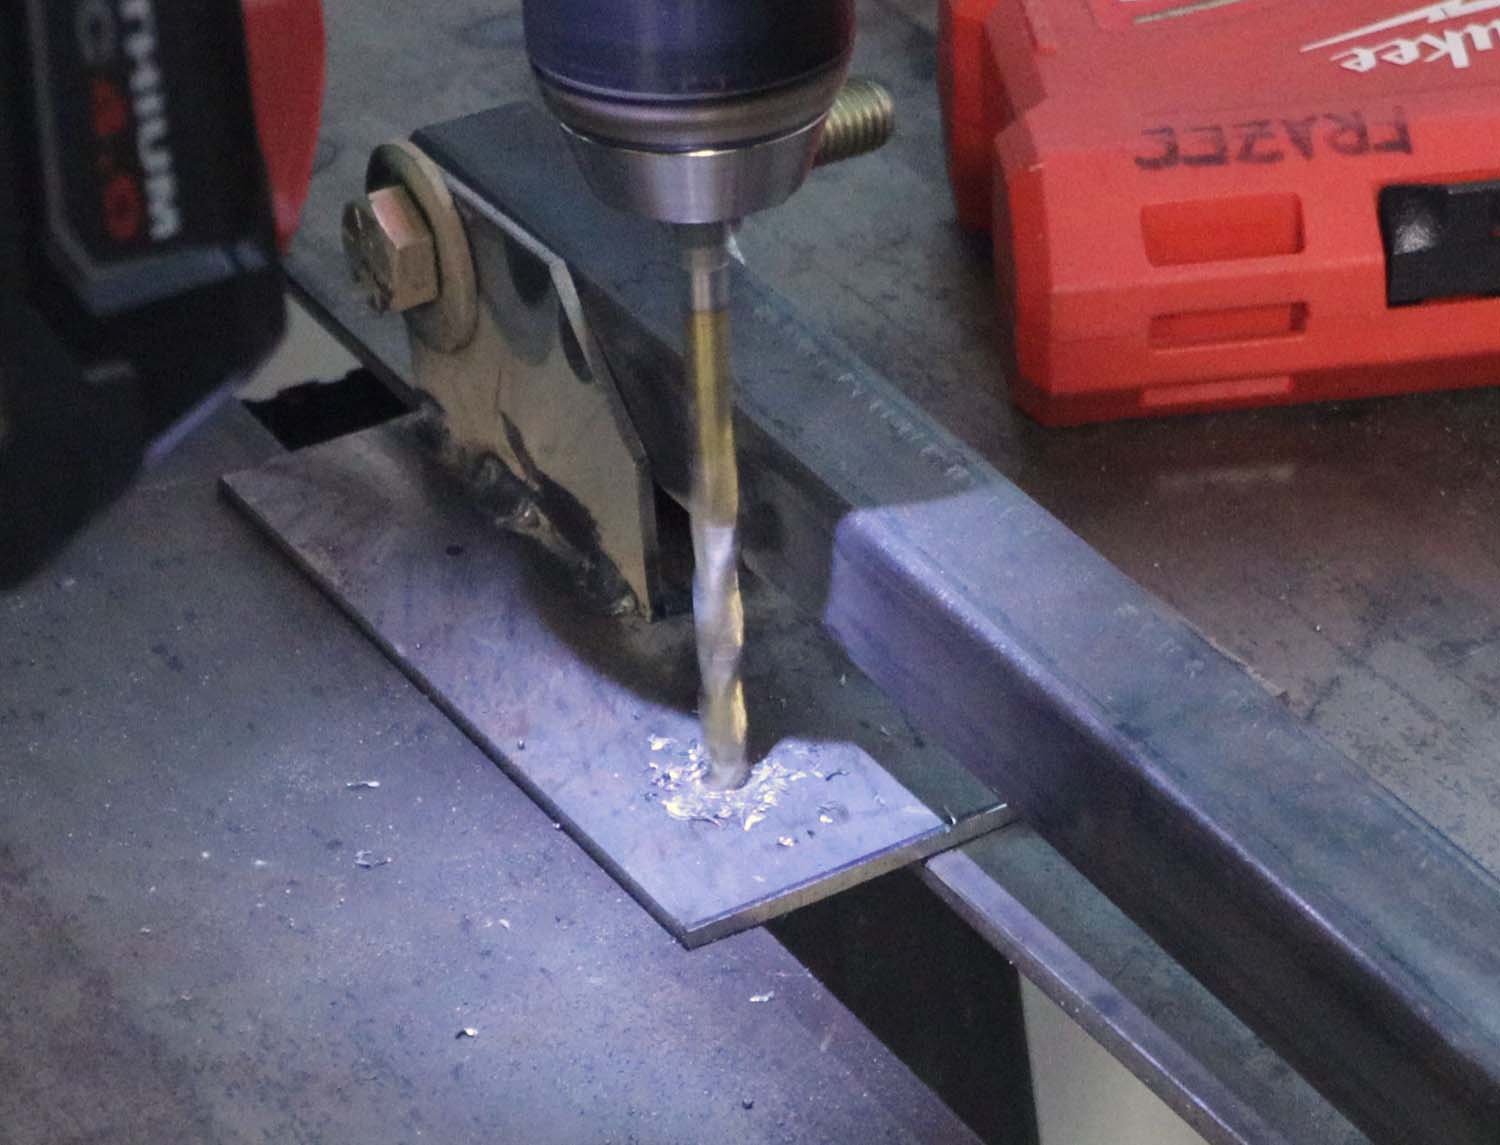
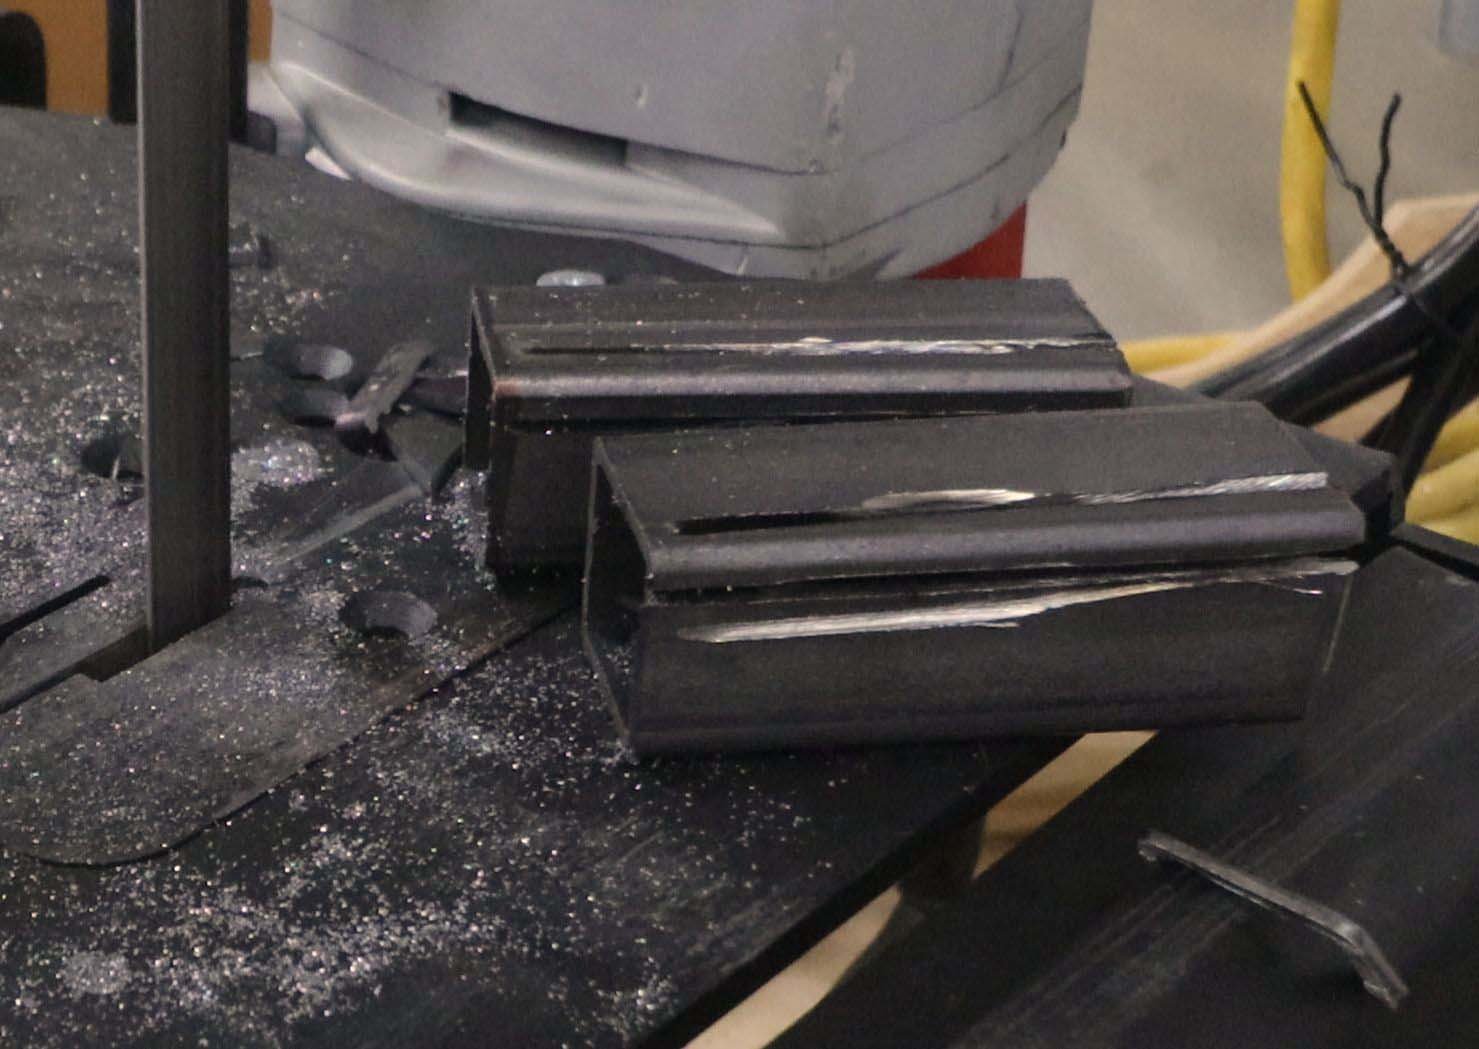
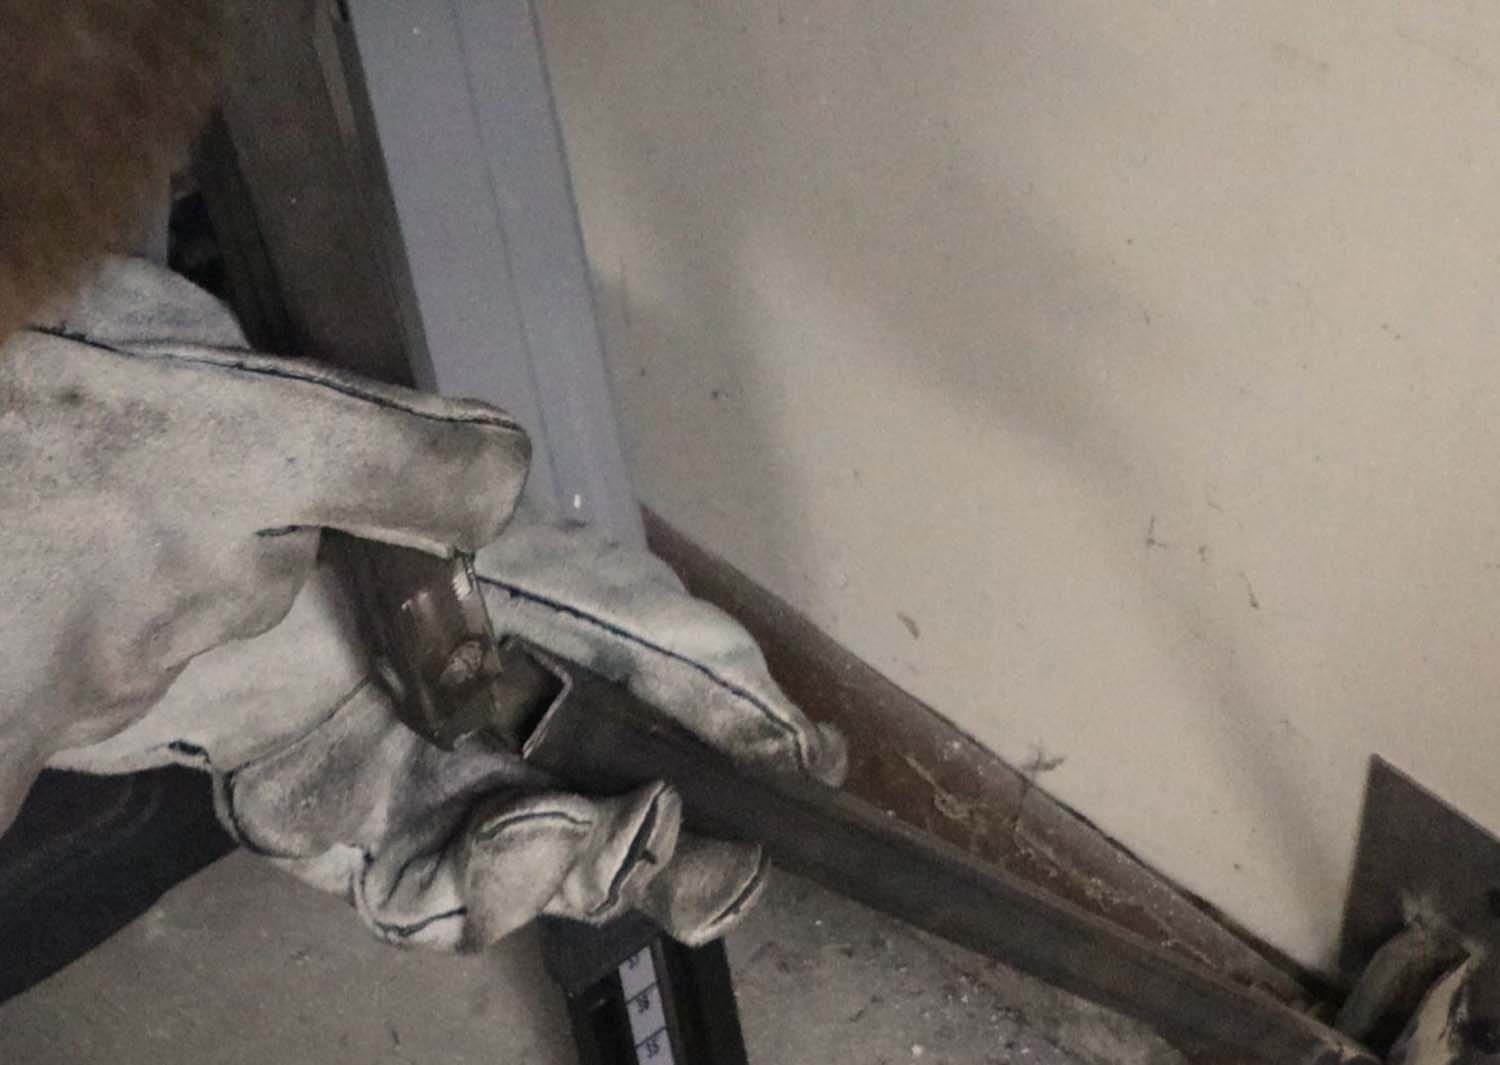
For this next part, I cut the tube steel down to make a couple pieces to sleeve into the legs, which may be easier seen in the photos. With two of the corners removed, the two remaining pieces fit inside the tube steel perfectly.
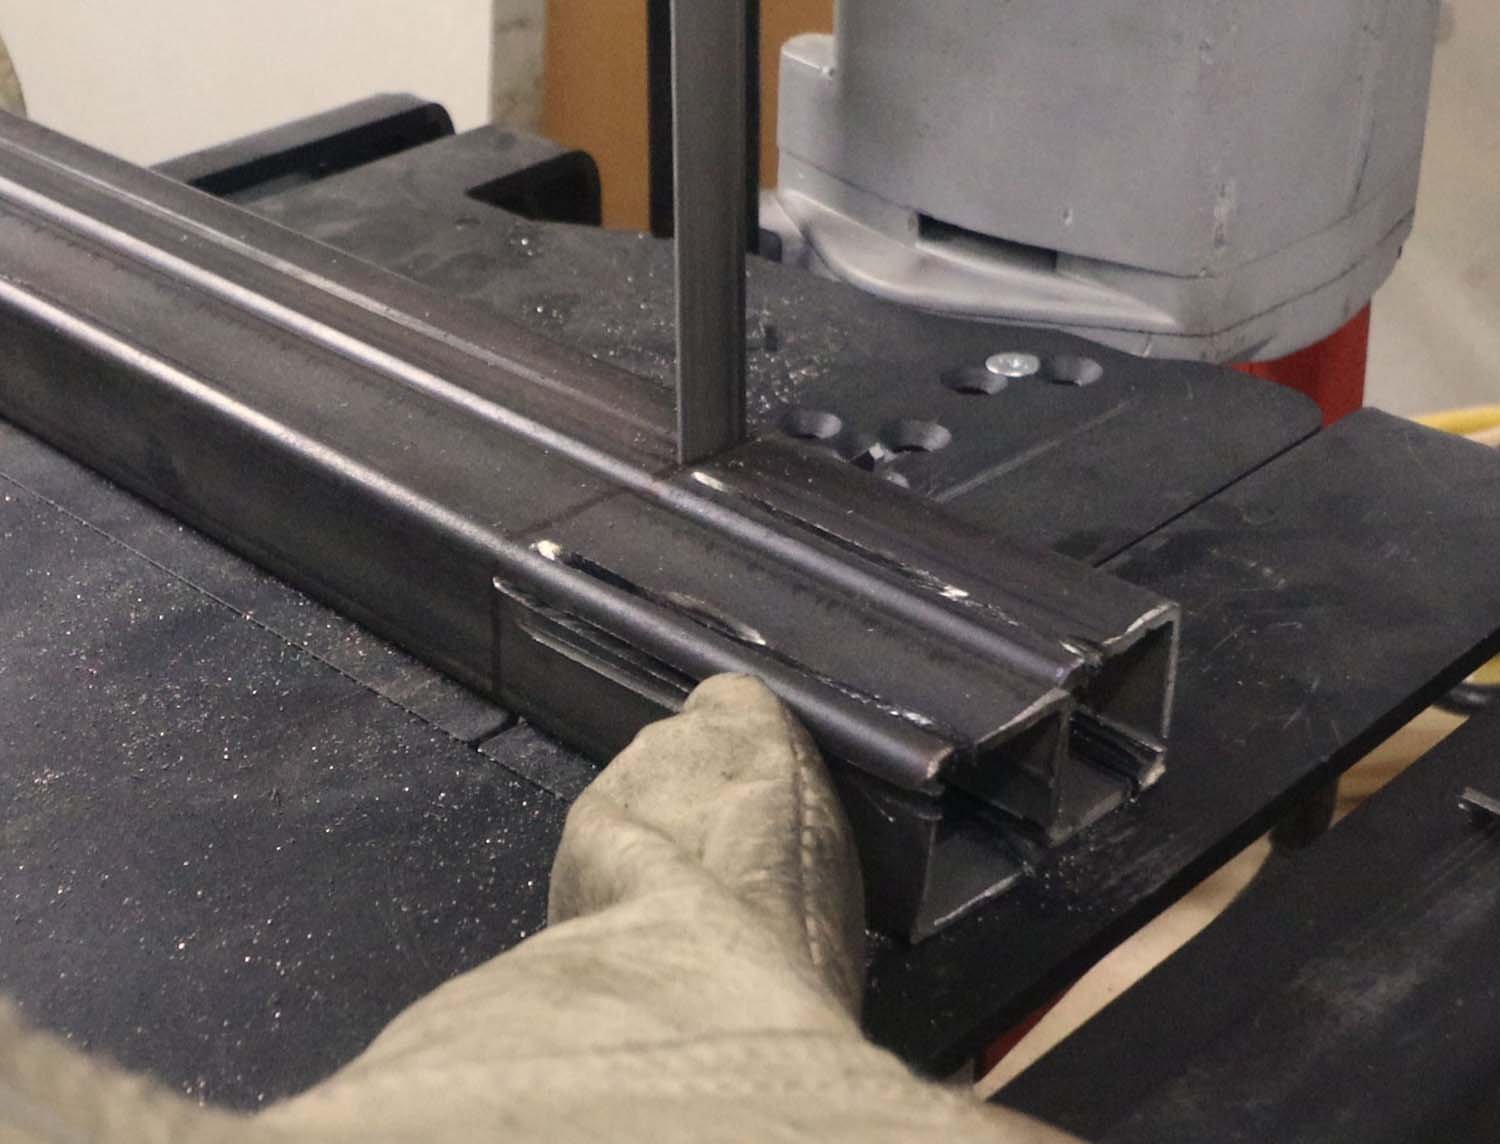
To attach these pieces to the legs, I ~3/8" dia. drilled holes in each of the tube walls for plug welds.
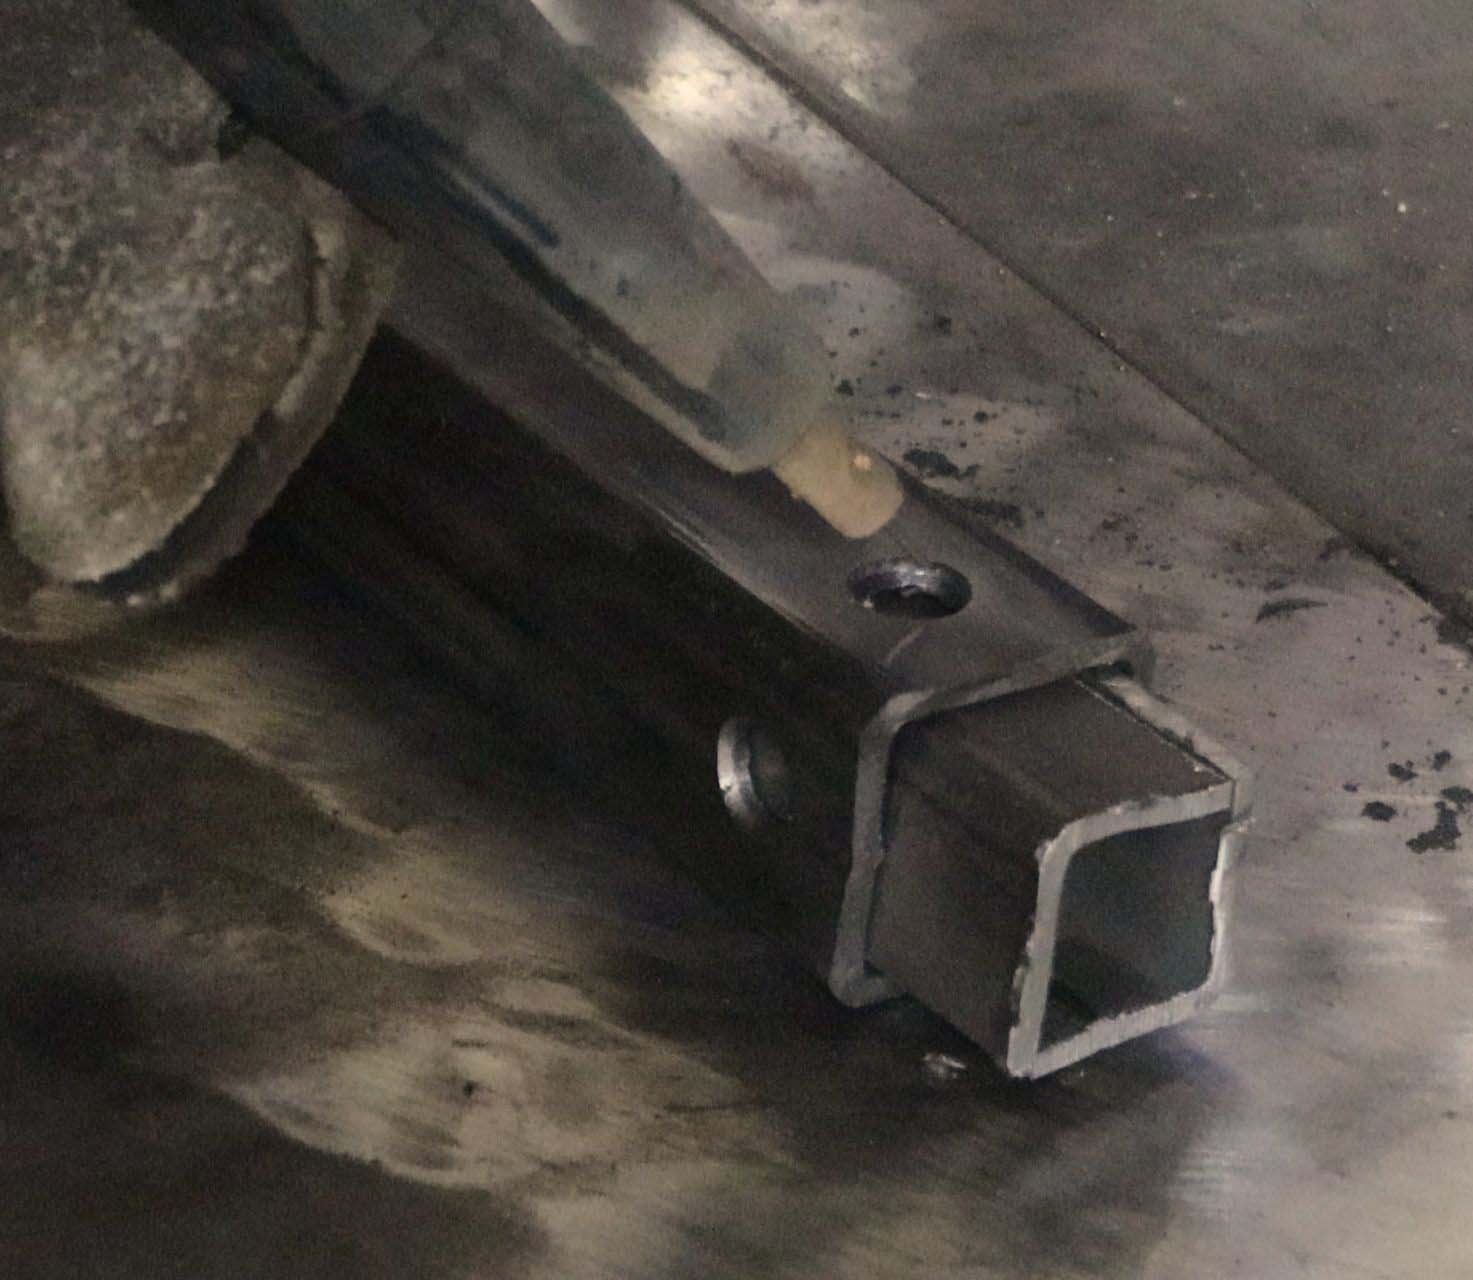
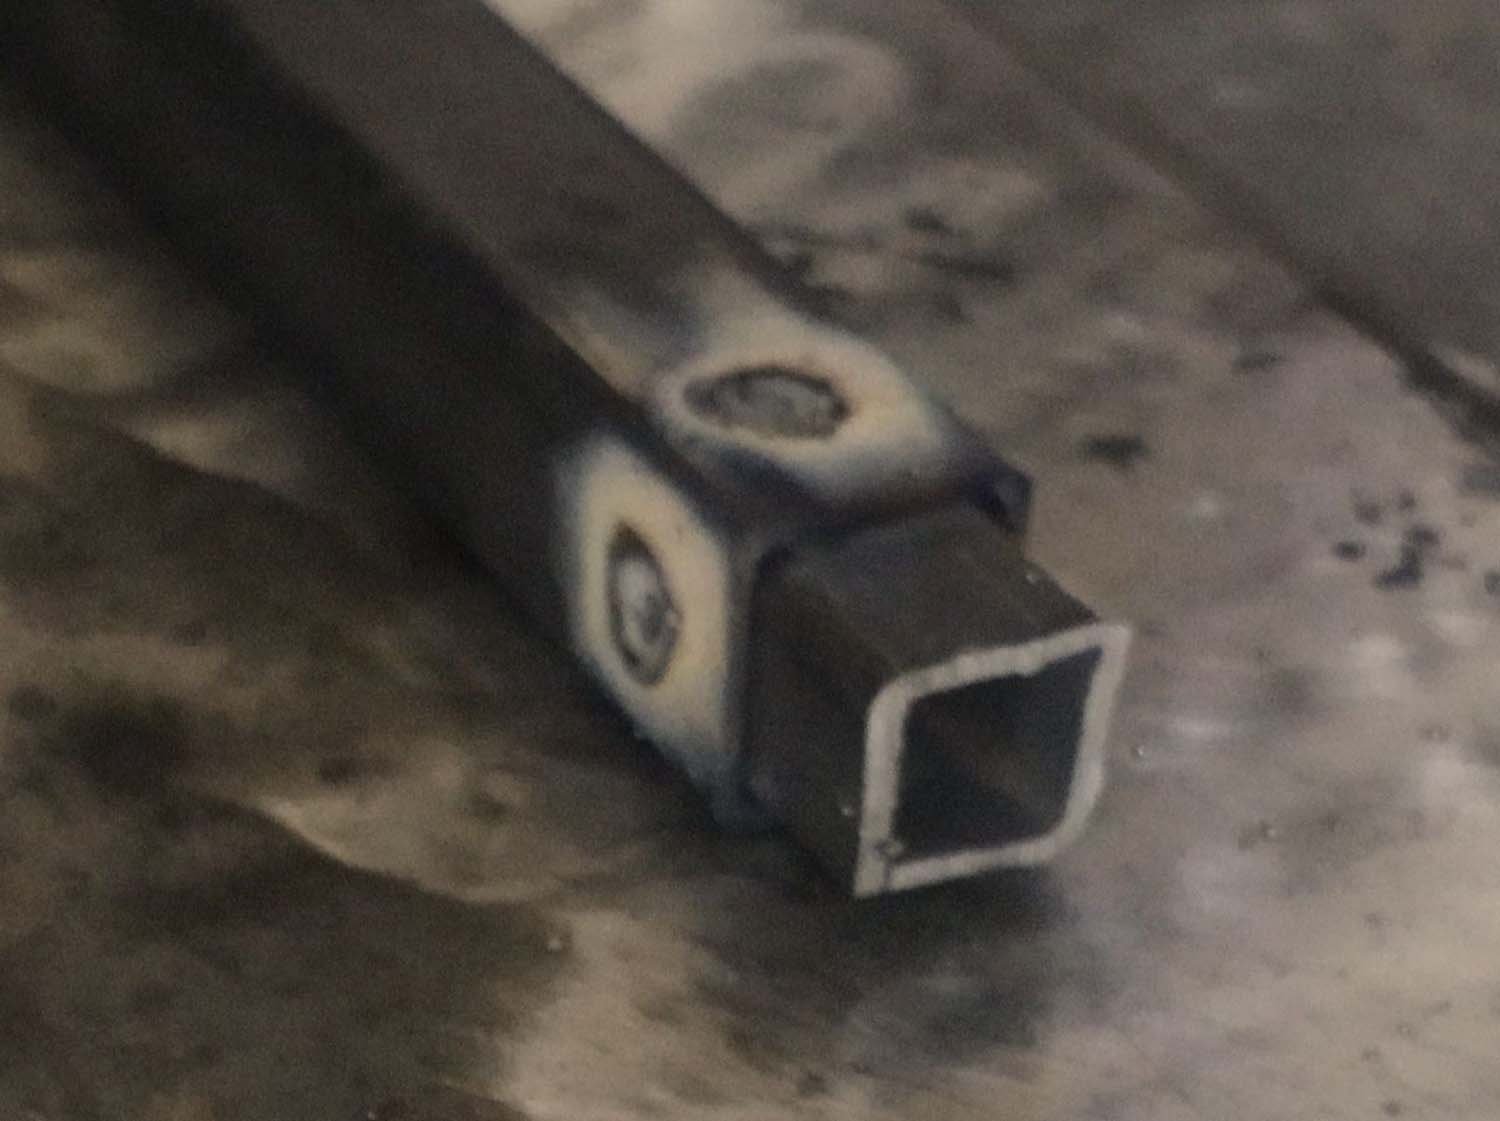
You can see that the top part of the leg sleeves into the lower with this detail.
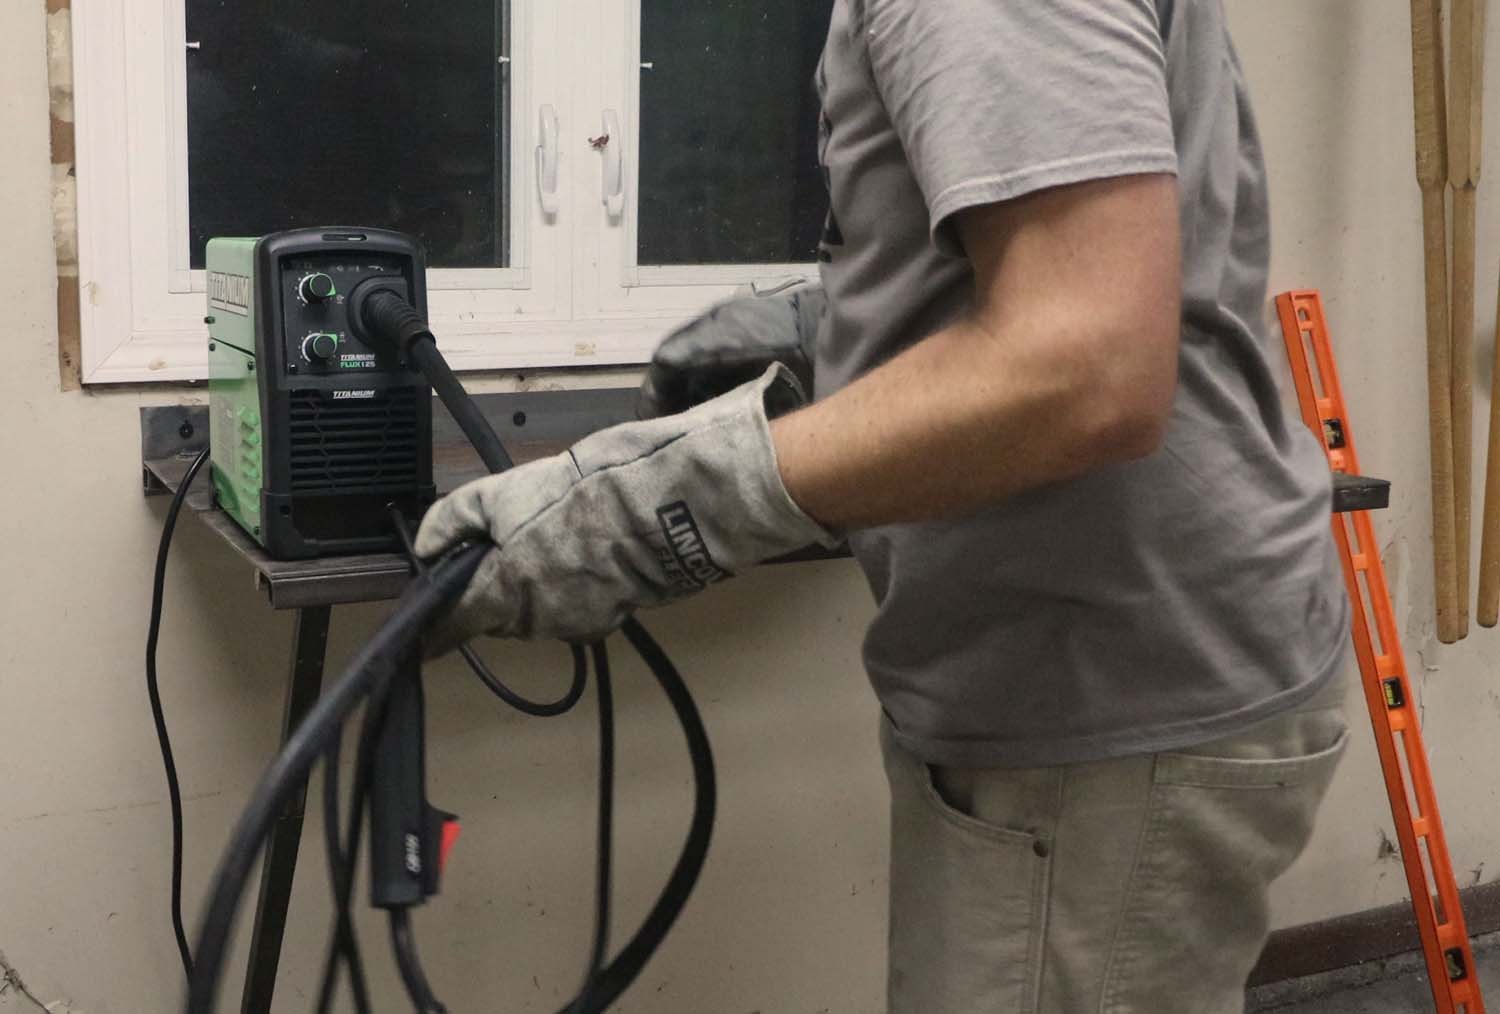
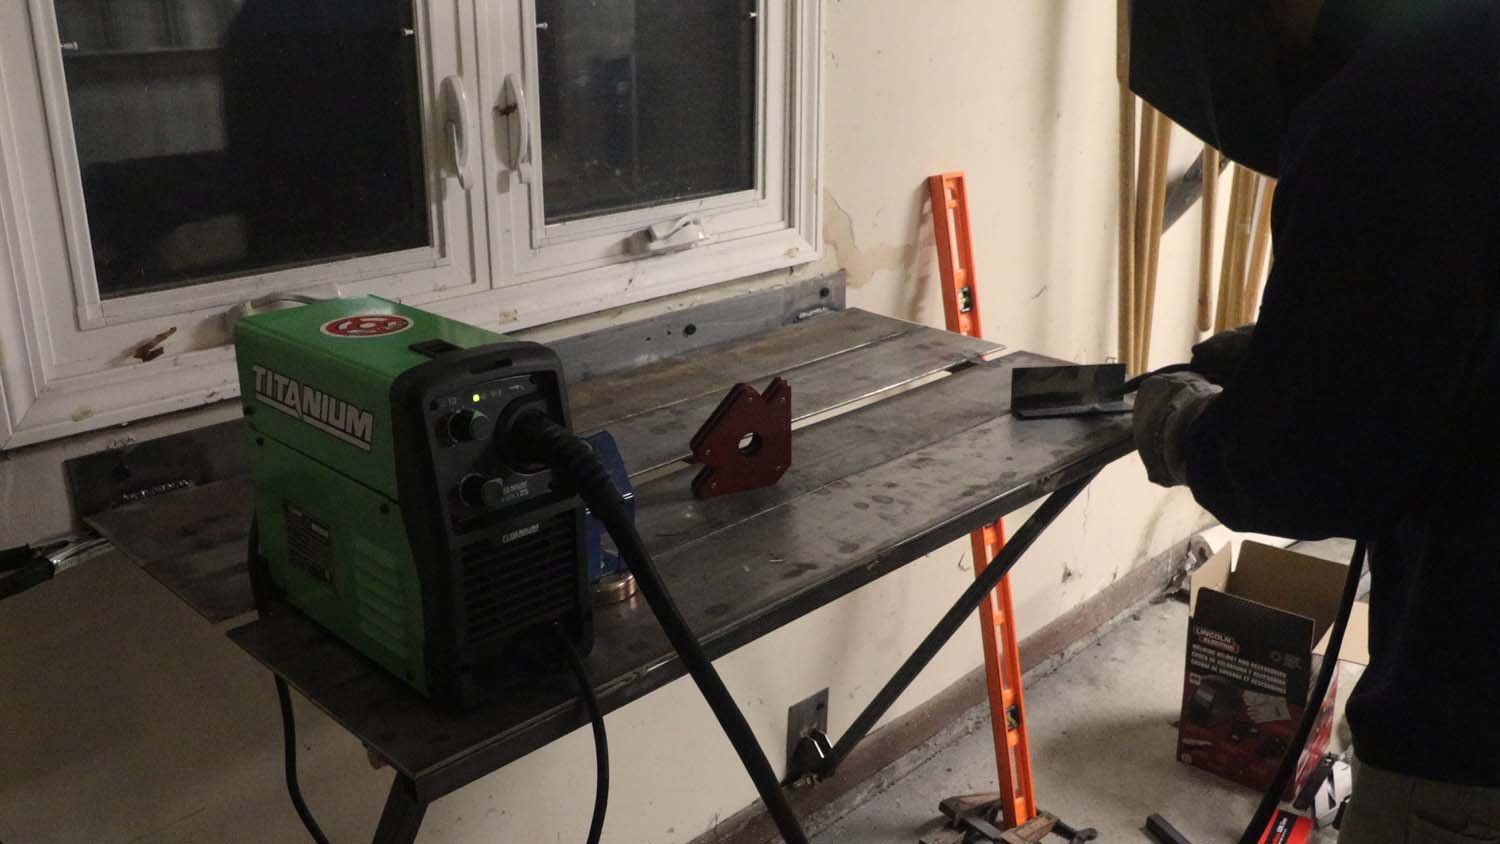
And now, the finished product! The table starts off folded against the wall, tucked away so that my car can fit next to it. When ready to work, all I have to do is pull it up and sleeve the upper and lower portions of the legs into each other.
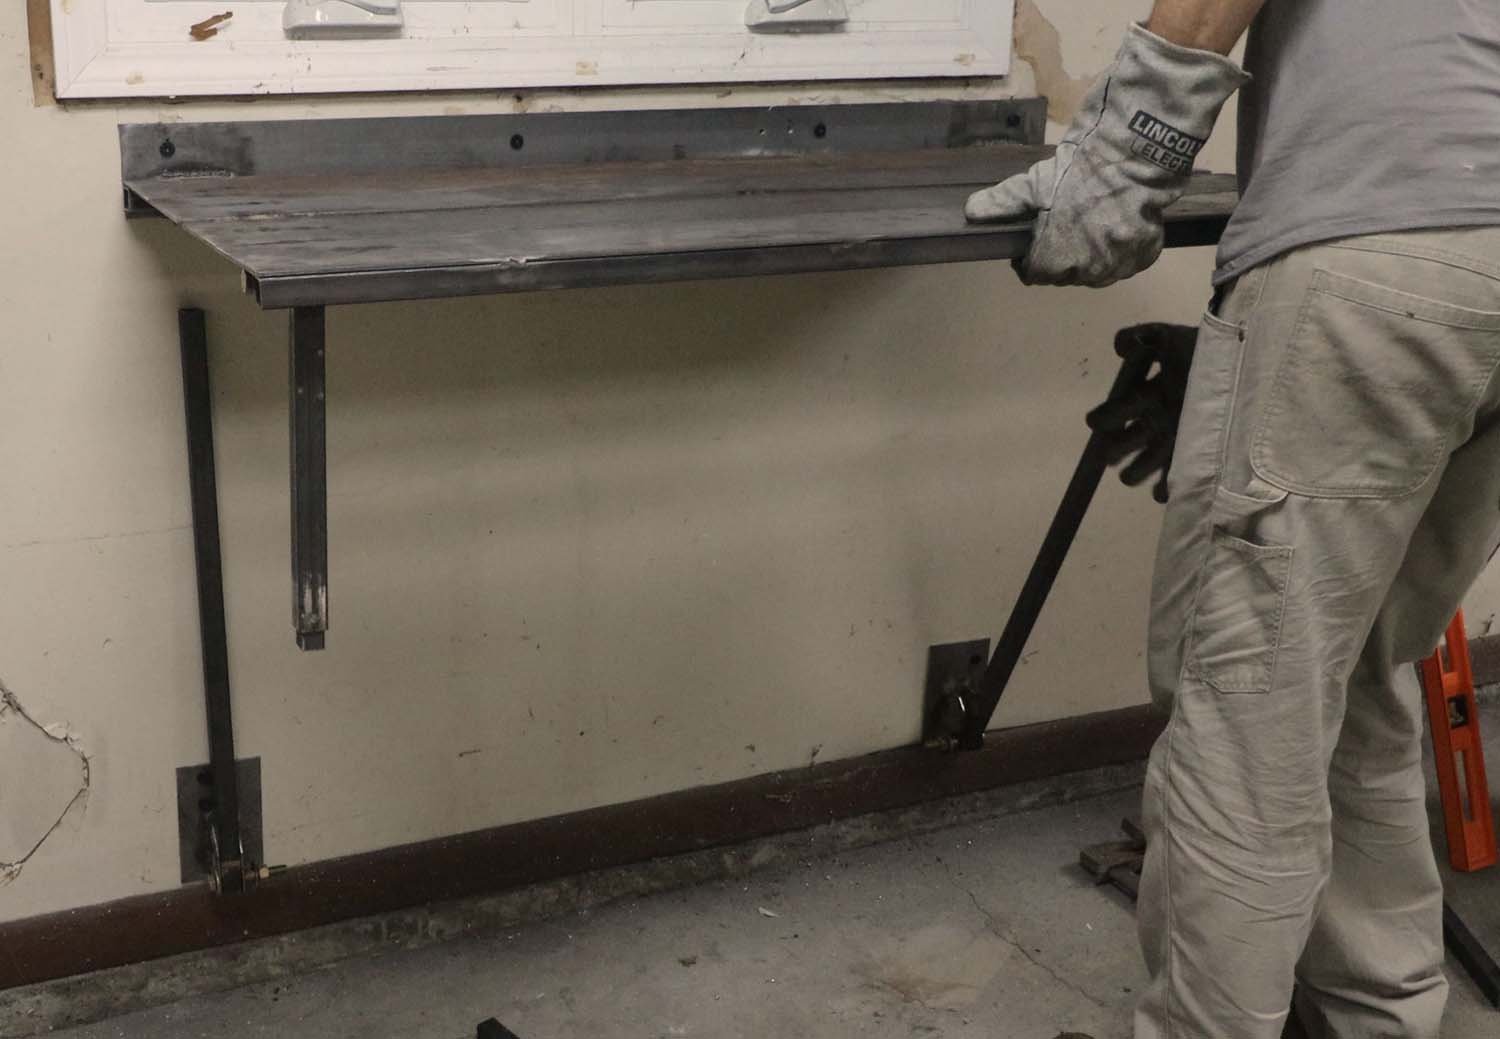
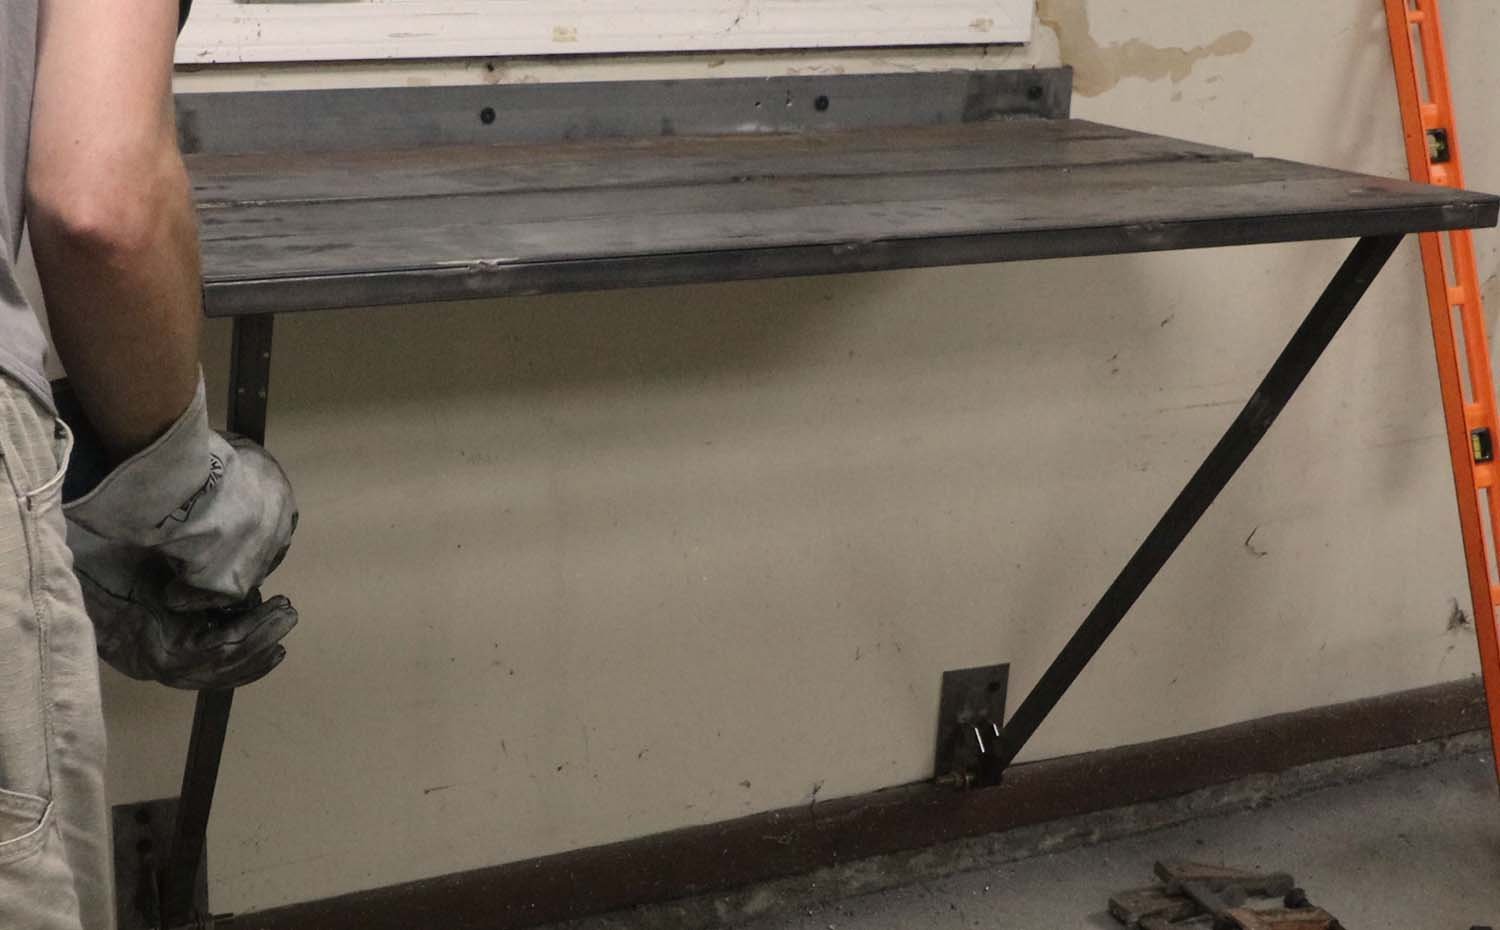
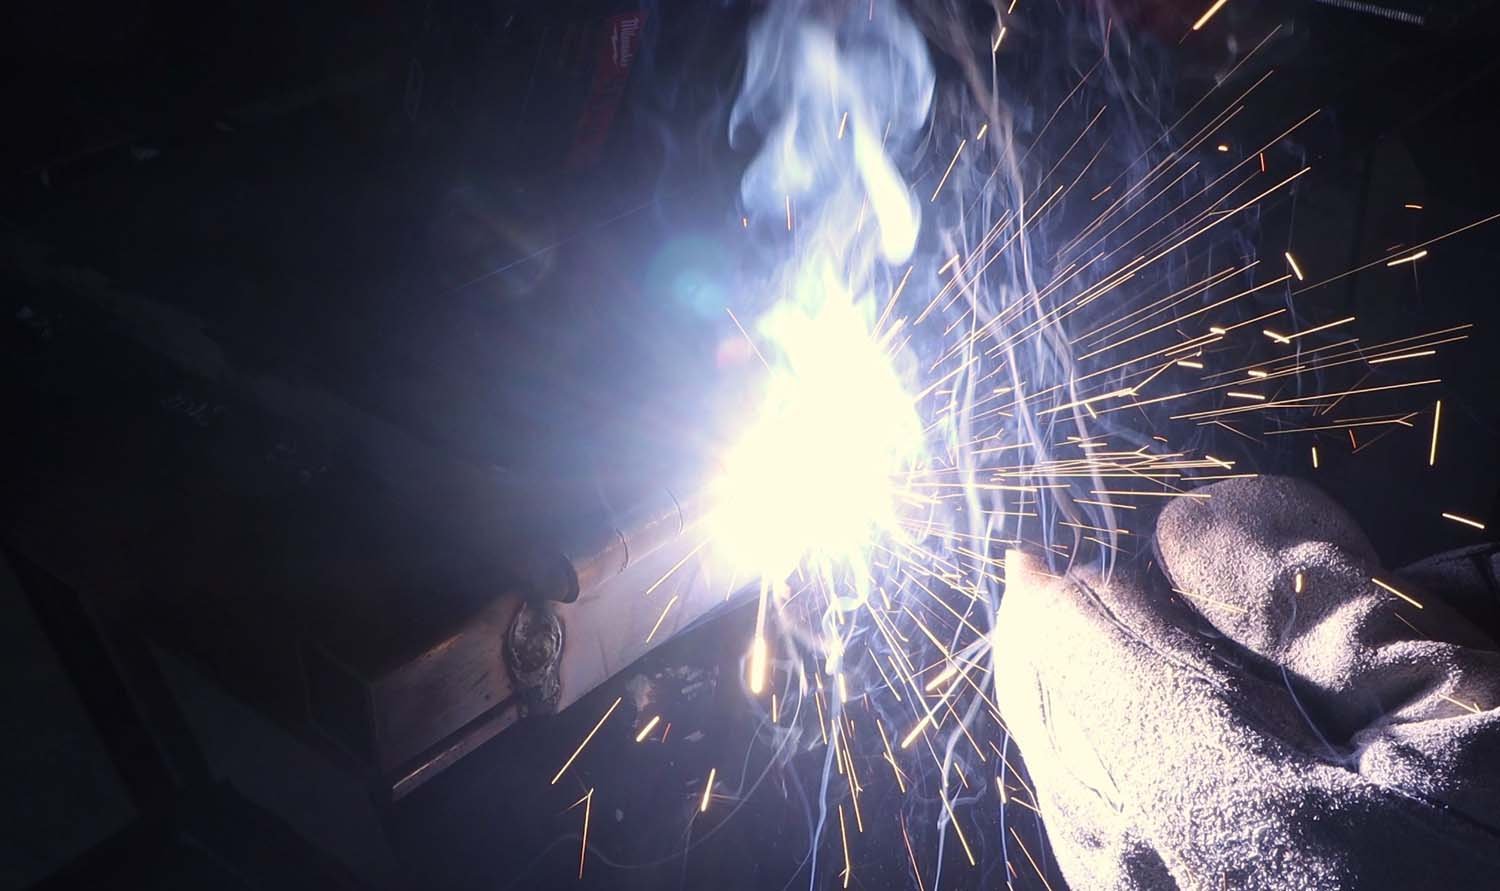
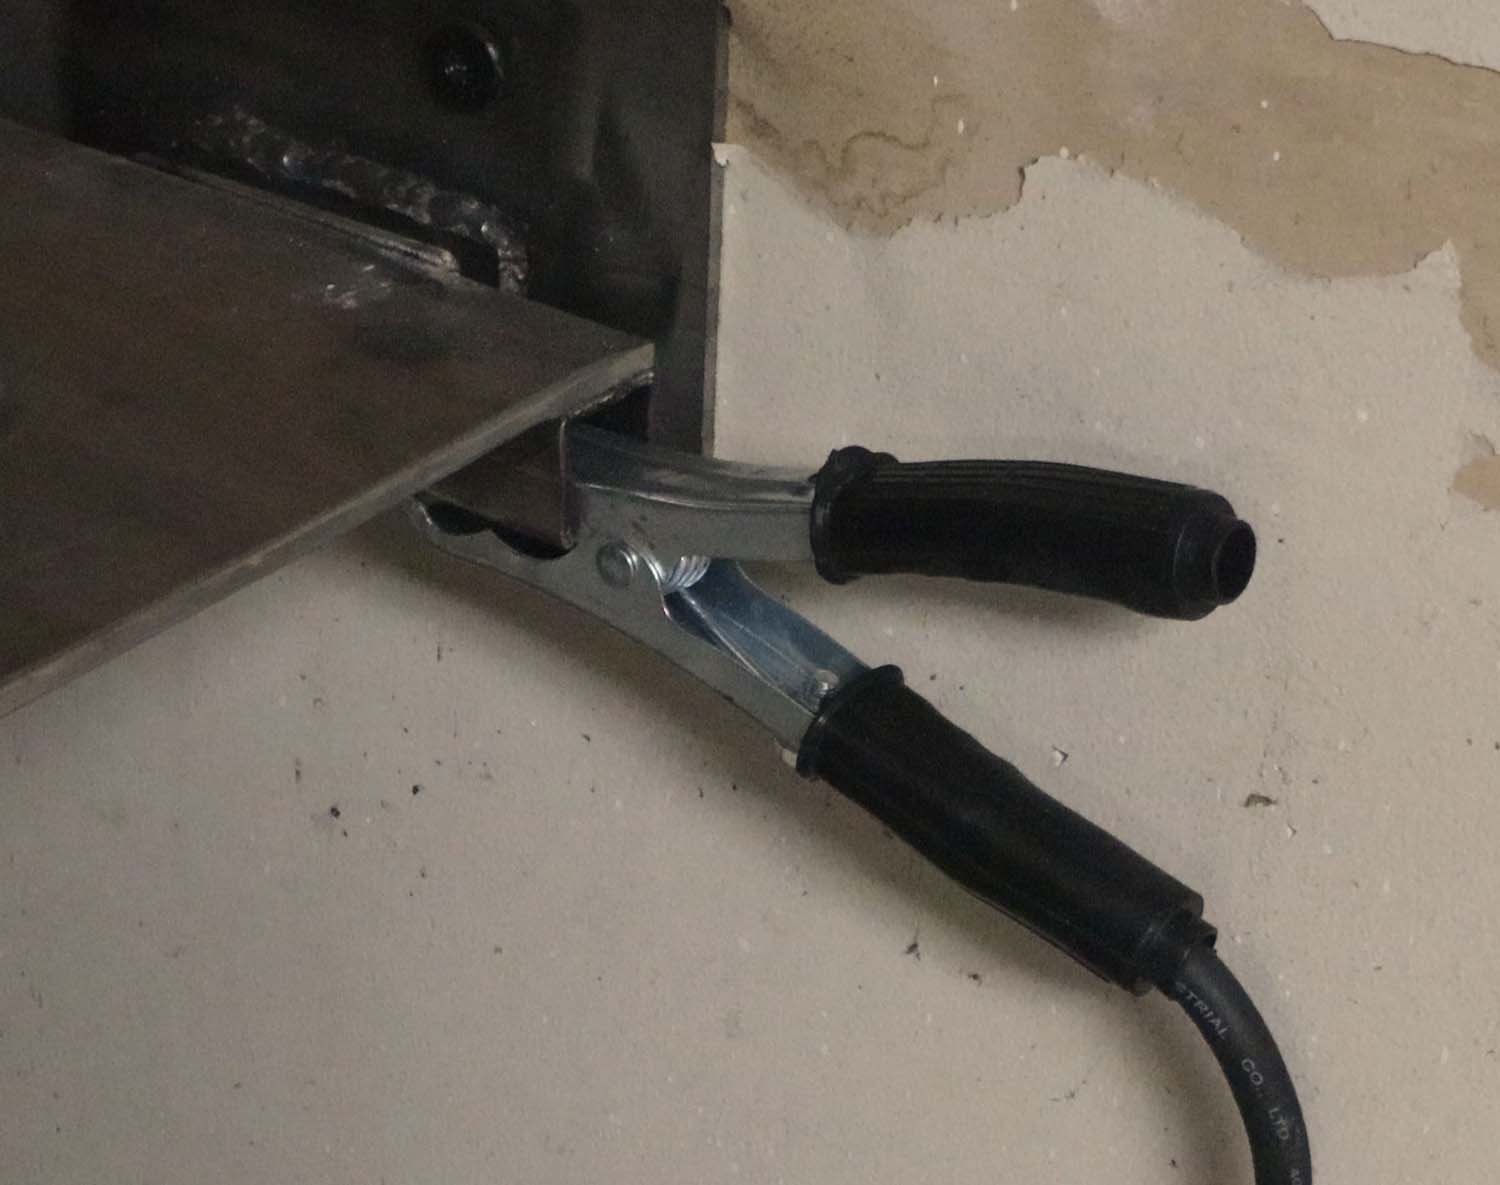
The open end of the tube serves as a convenient place for the grounding clamp. Once I'm done working, all I have to do is pull the legs apart and fold everything back against the wall.
I hope you enjoyed the build process, and that it motivated you to make yourself something similar. I have plans for this welding table available for those interested.
If you enjoyed this article, subscribe to my YouTube channel for more!