
Weld Repair on a DR Field and Brush Mower Deck
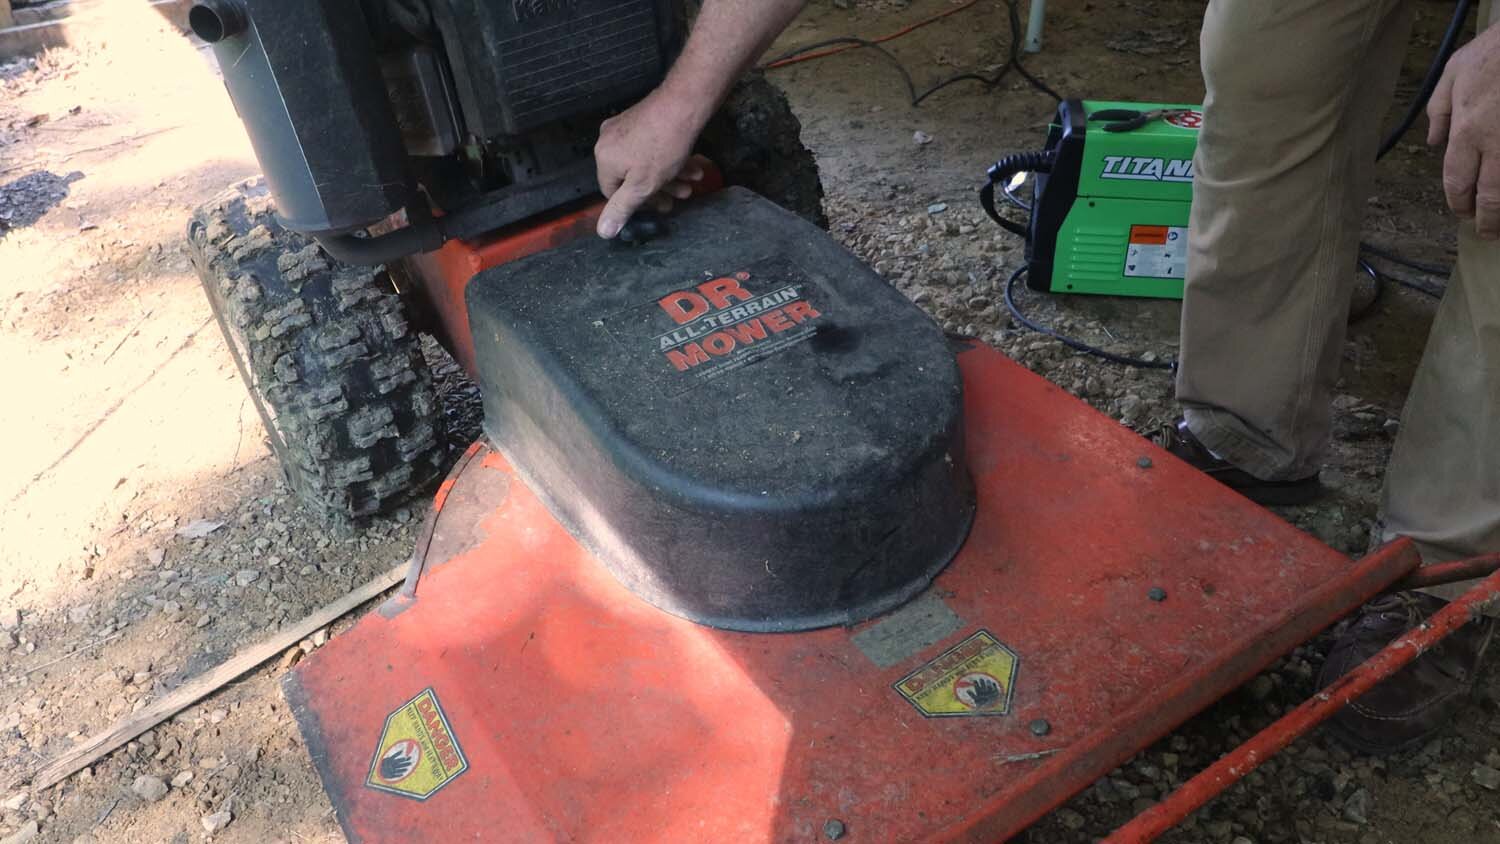
We've had a DR Field and Brush Mower up at the cabin for over twenty years now, and it's been a good workhorse for clearing out underbrush.

Of course, after two decades it's picked up its share of dents and scratches, and some of the creases in the metal brush deck have cracked apart. Since I recently picked up a little flux core welder, it's an easy enough process to reinforce these cracks in the metal and get things back into ship shape.
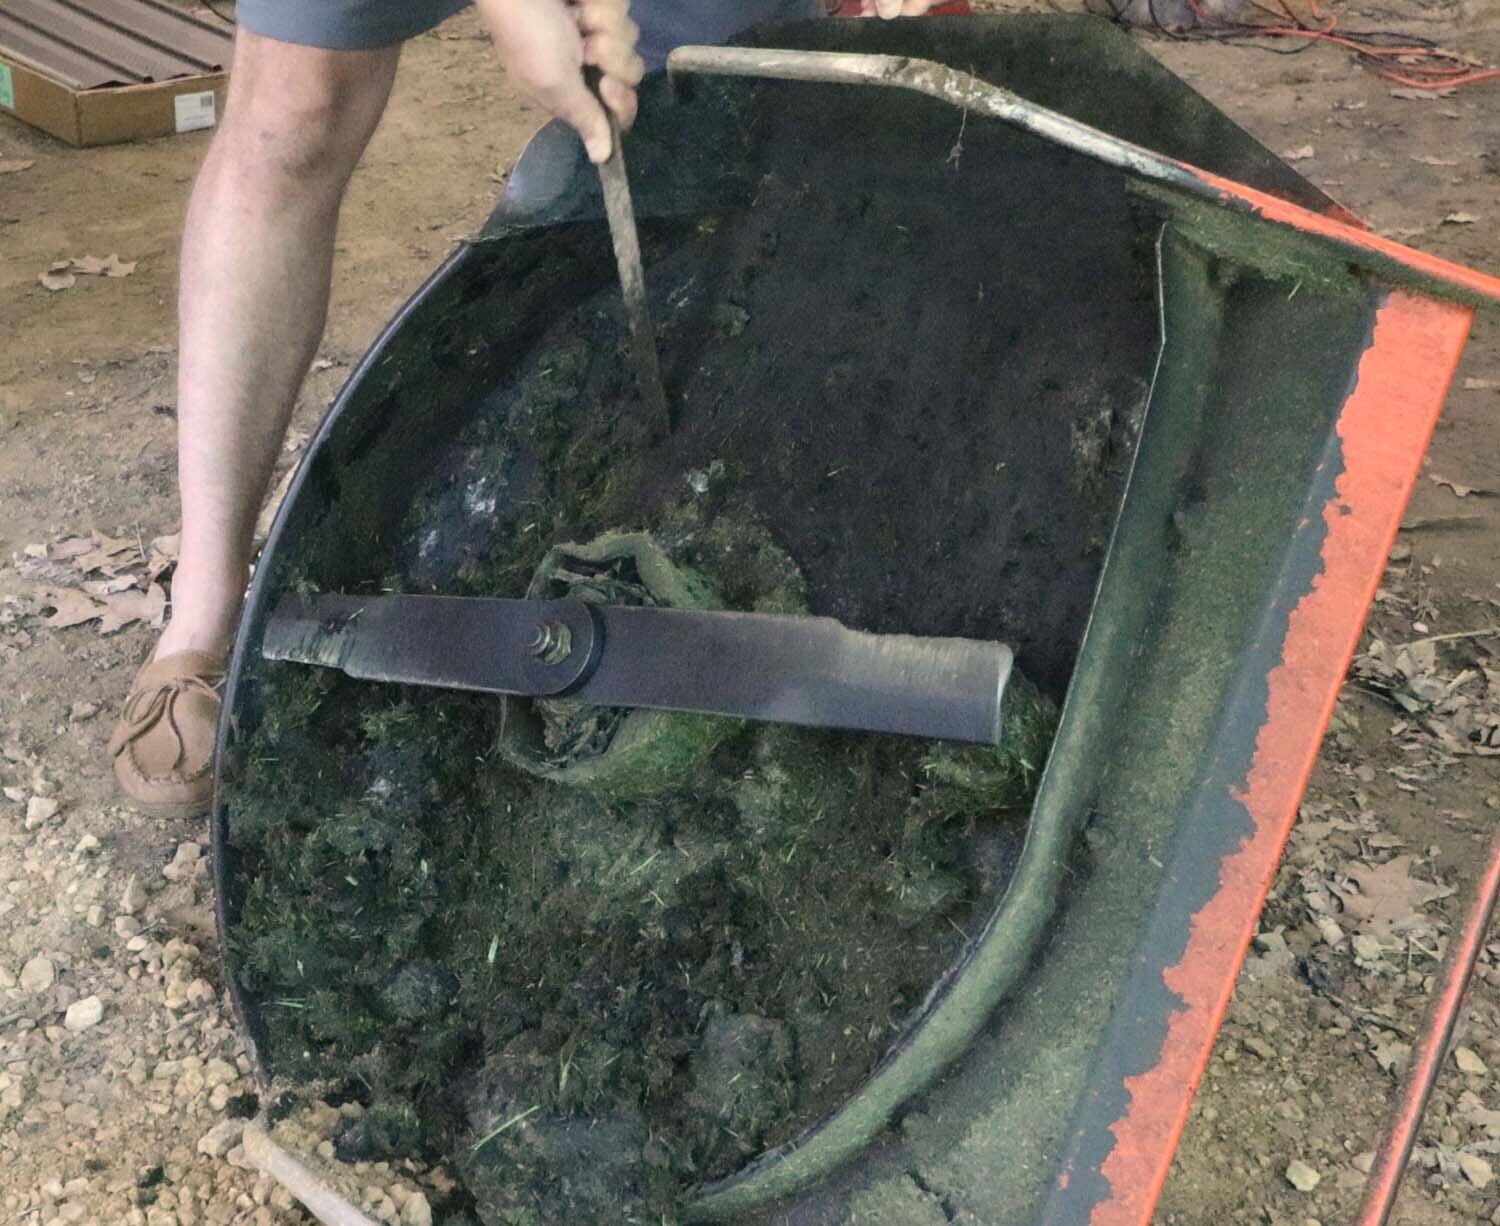
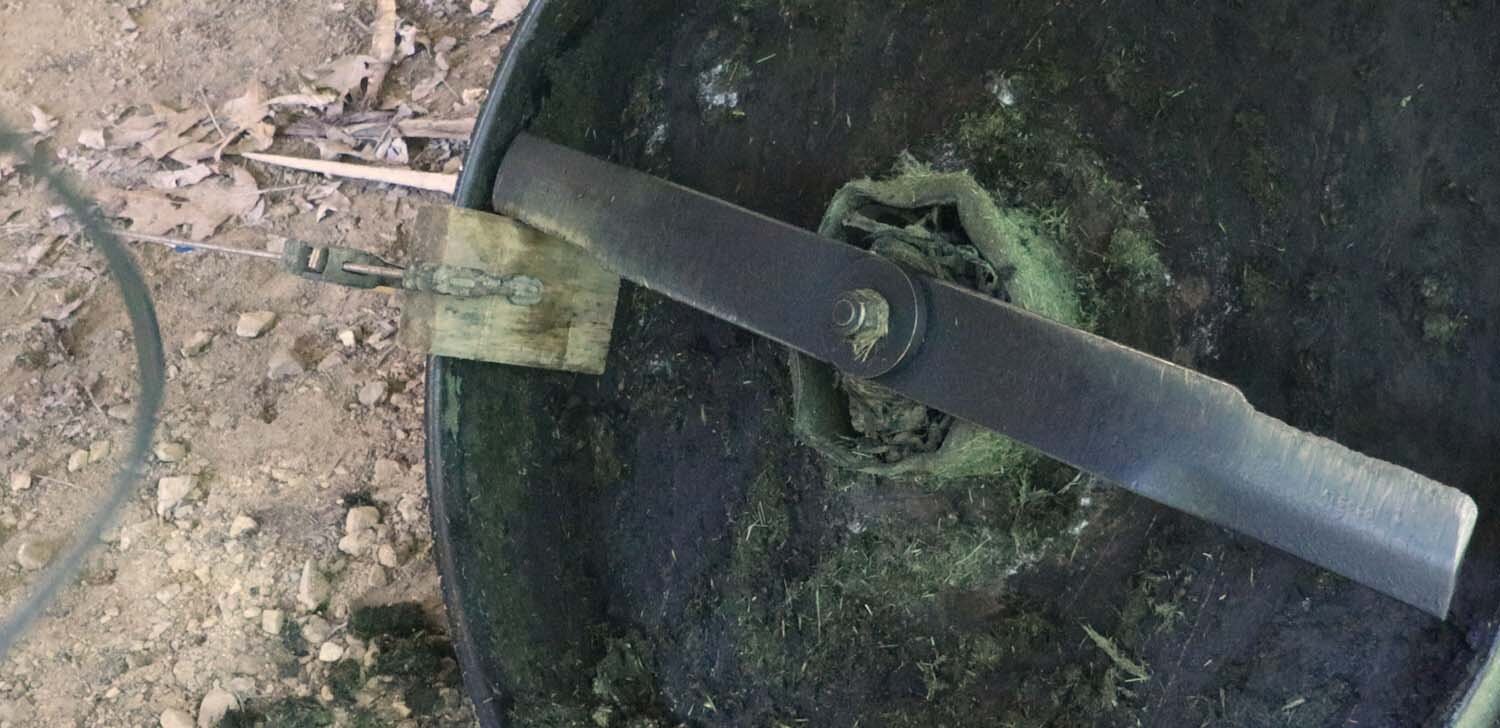
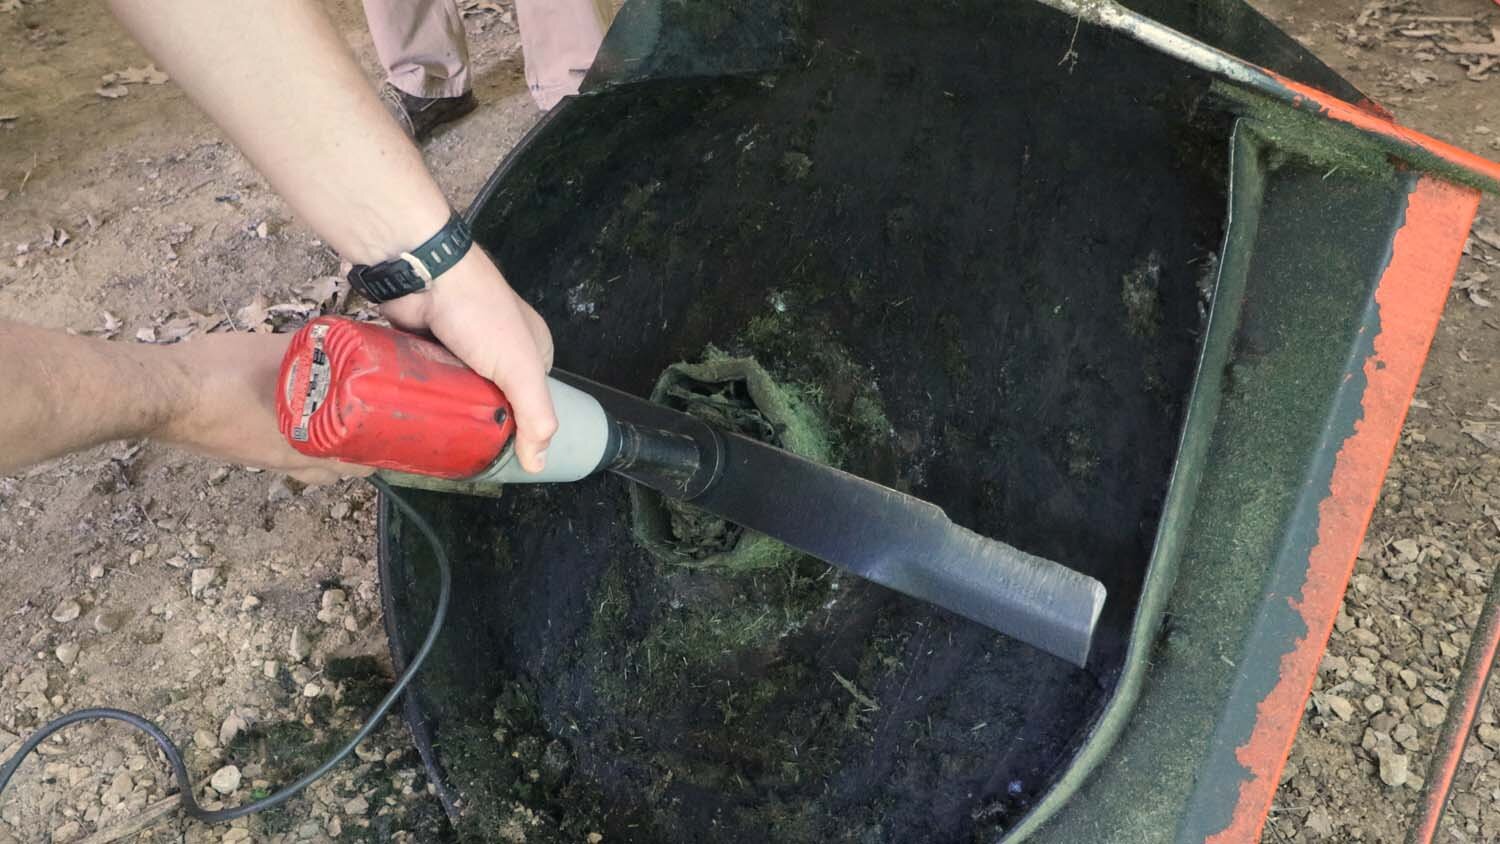
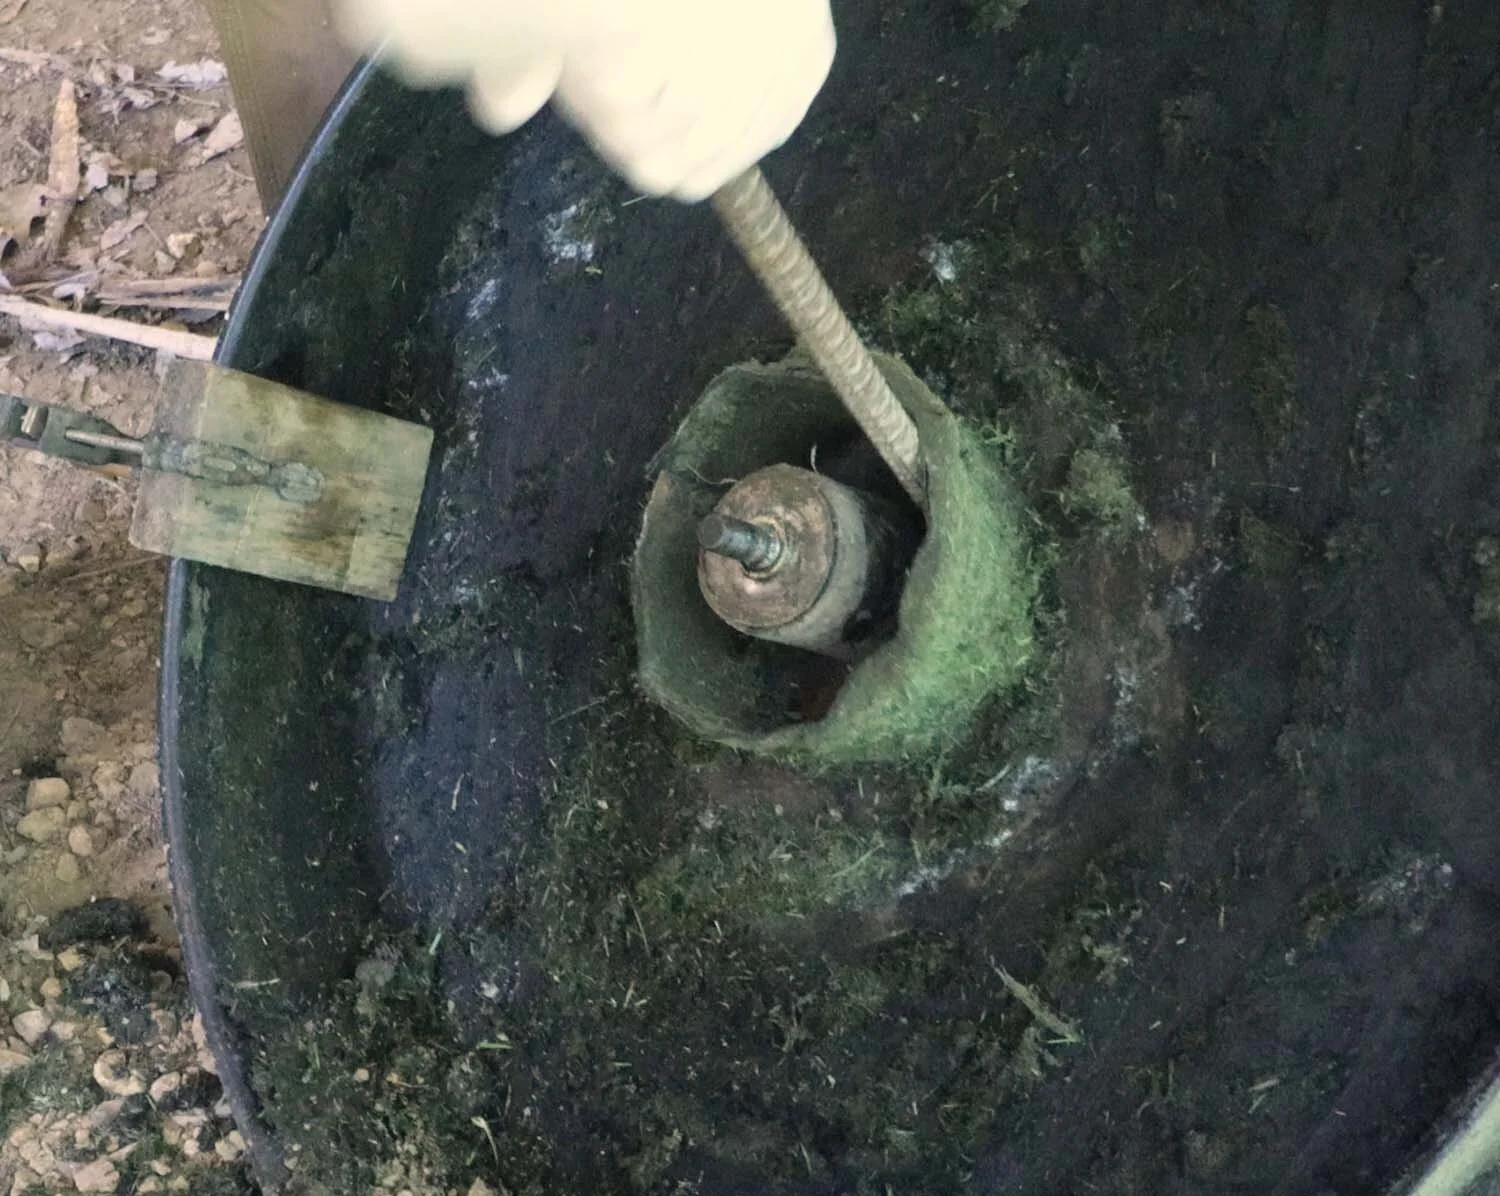
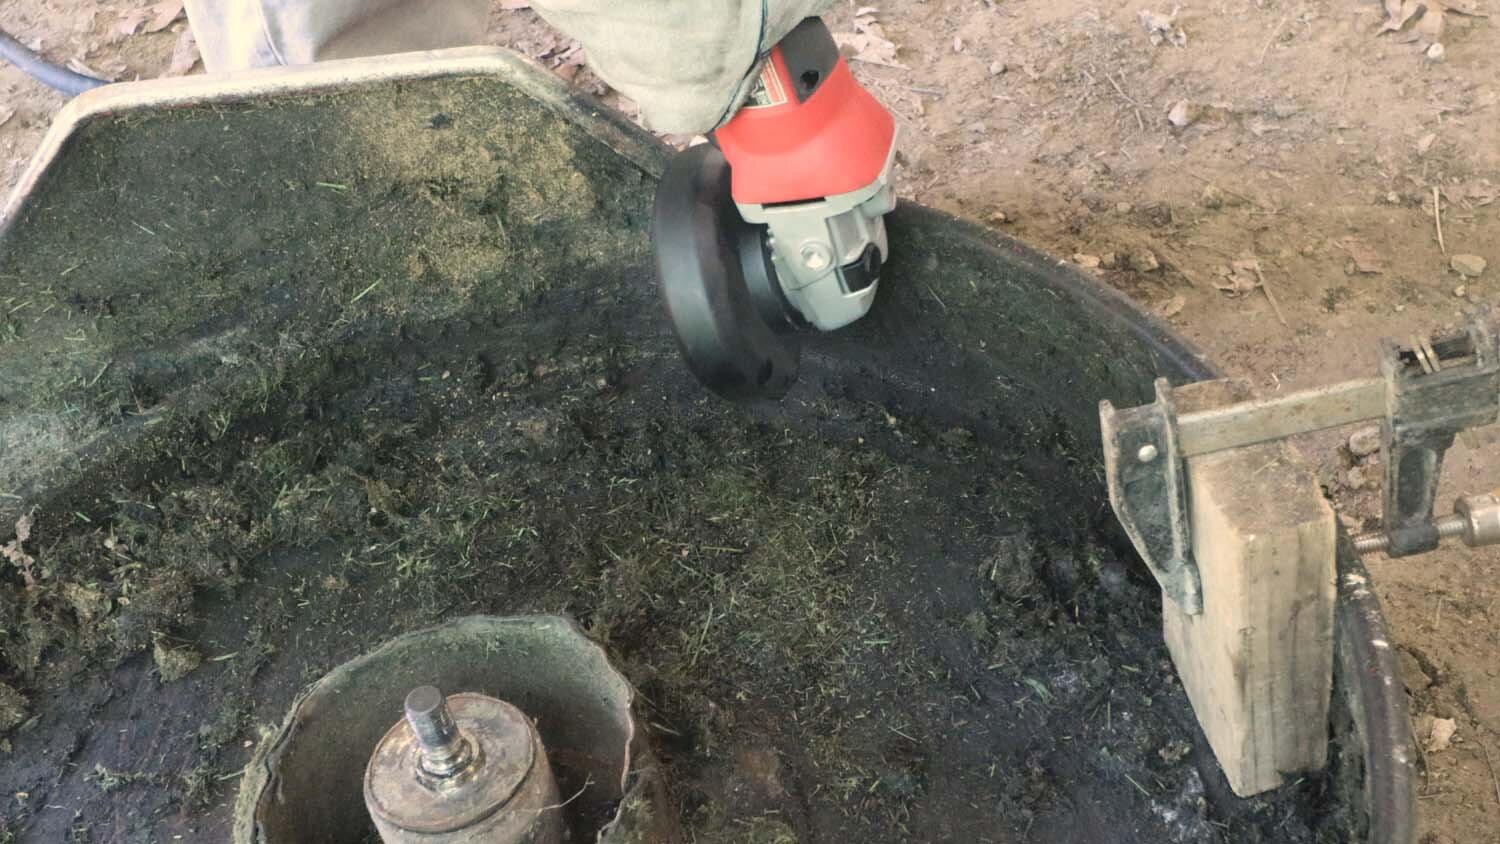
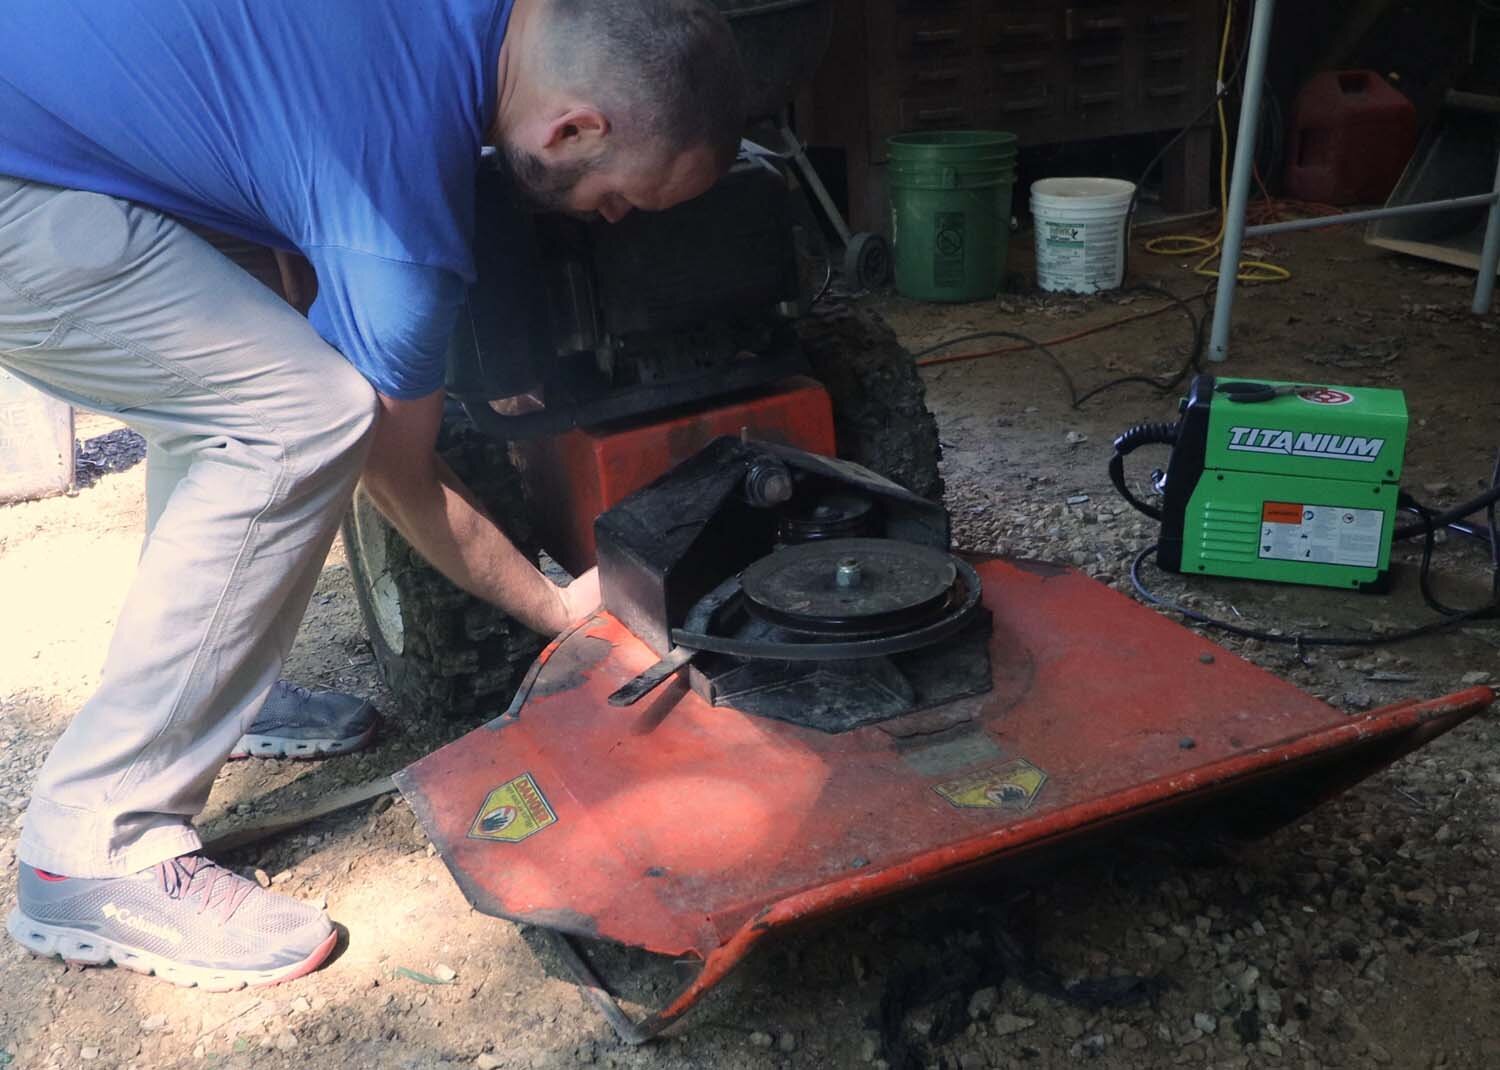
We have a lot of poison ivy around here, so the first task is scraping off all of the vegetable matter from the deck to reduce the risk of getting poison ivy. I won't scrape it squeaky clean as that's a better job for a pressure washer whenever we get around to it. After scraping all the crud out, I removed the blade with an impact gun. This is made easier by clamping a piece of wood against the deck to stop the blade from spinning as you do it. After that, we bent the housing around the blade shaft back into place.
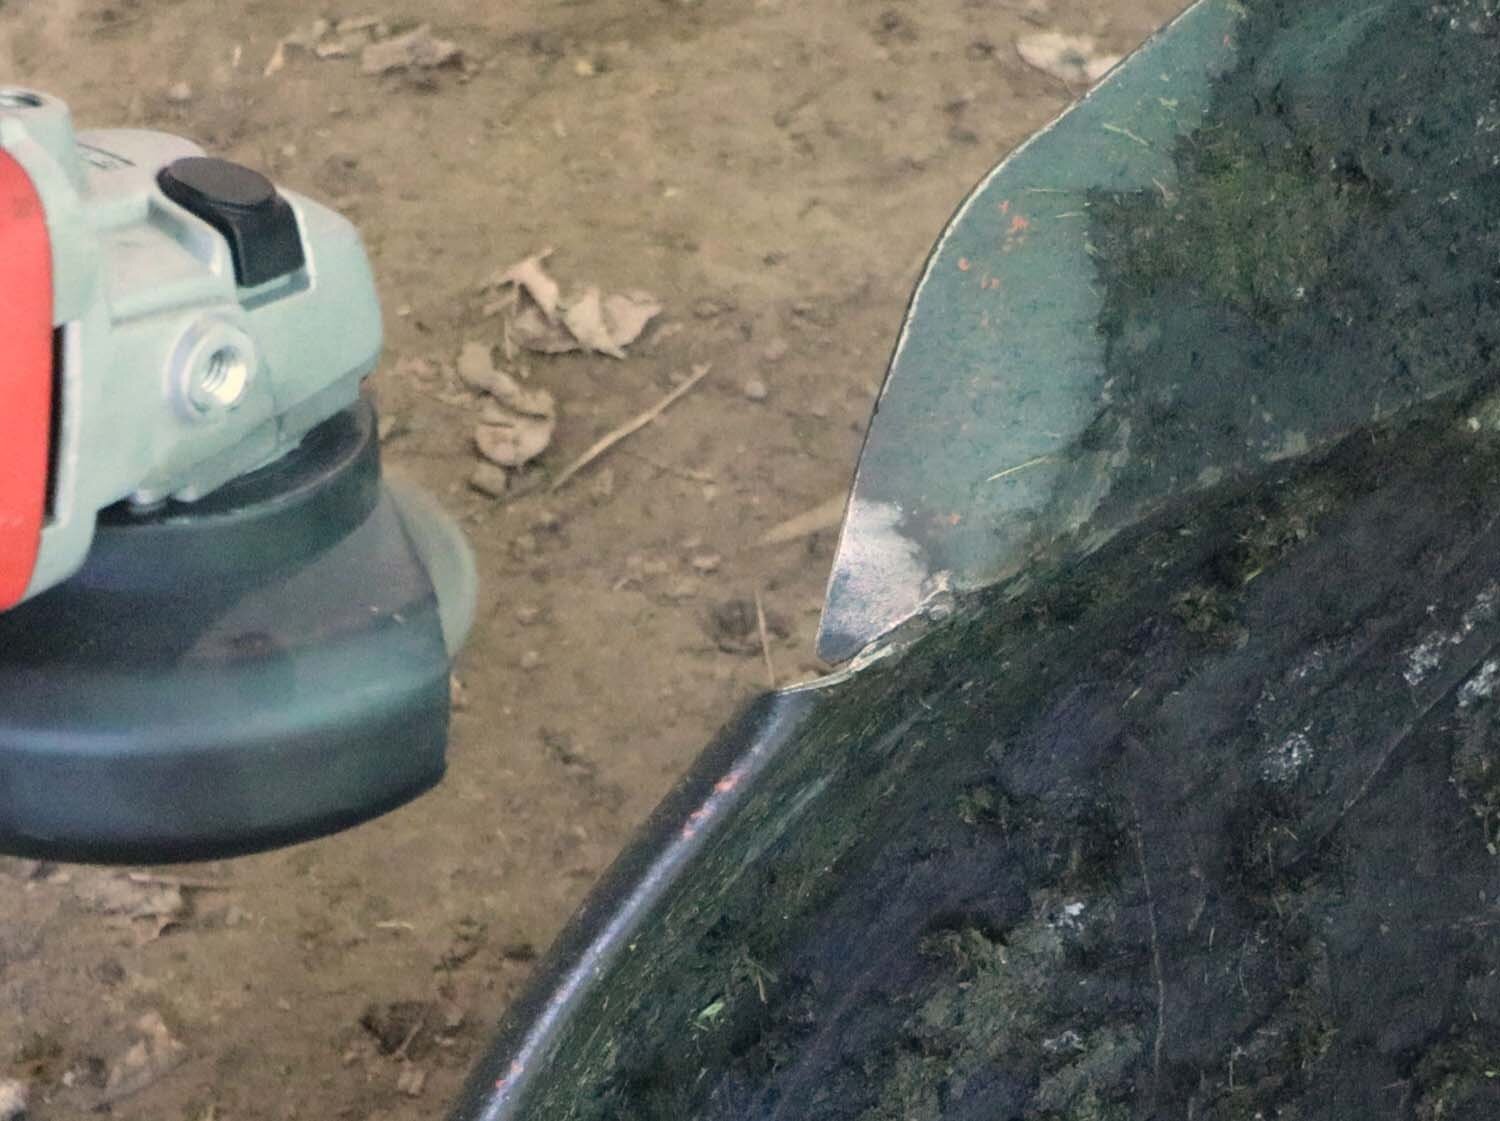
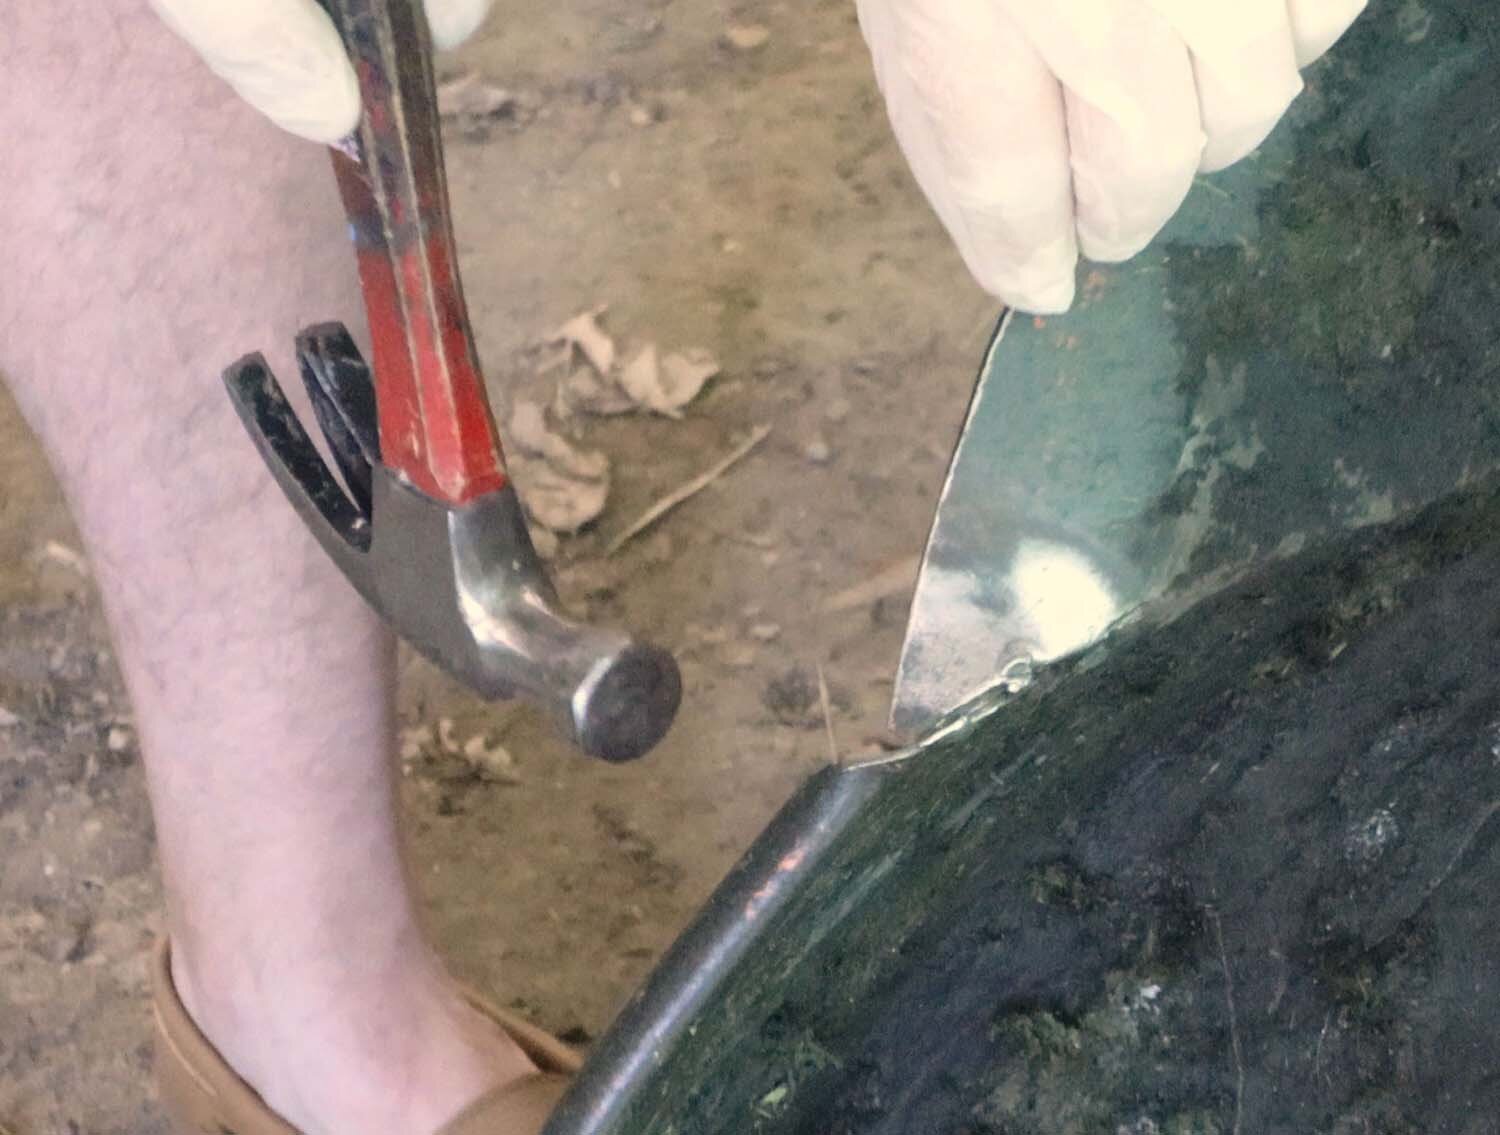
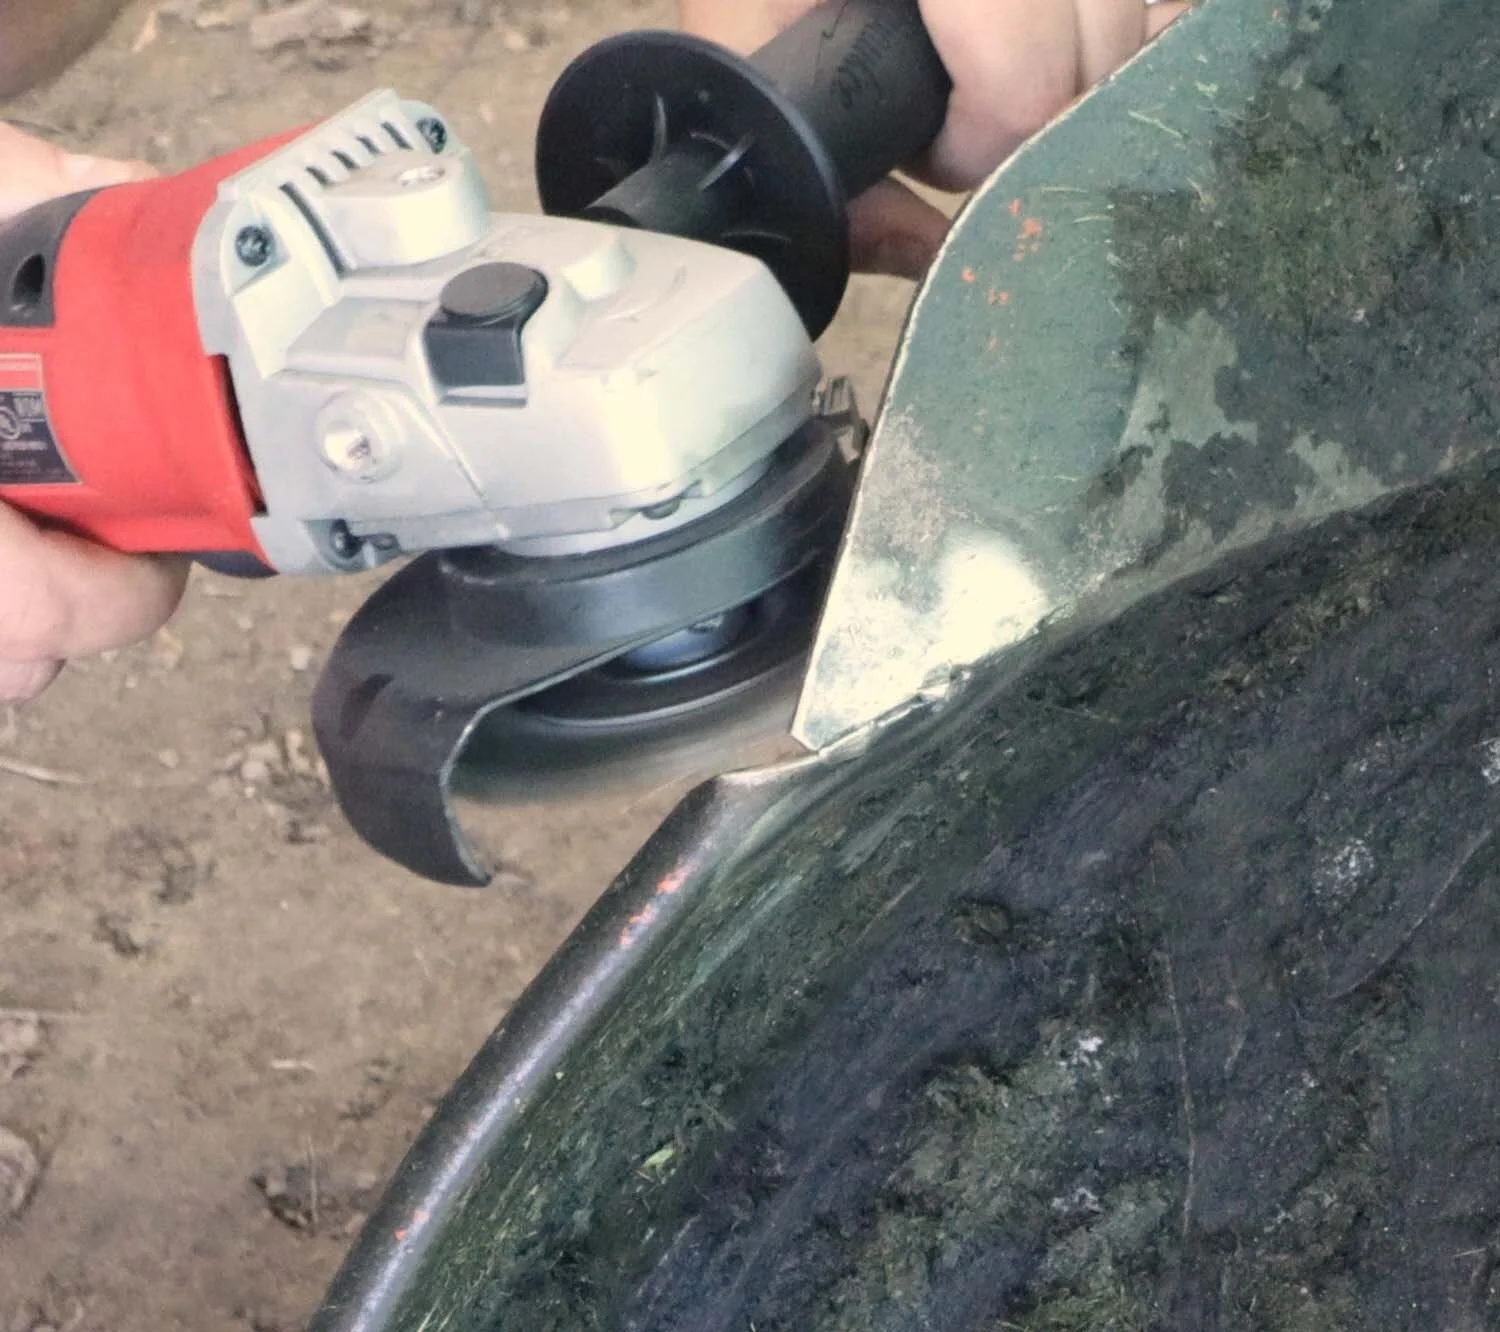
I start at the first crack in the deck by wire wheeling down to bare metal. Since I'm assuming this entire deck is covered in poison ivy oil, I'm wearing gloves and a face mask to avoid breathing any of it in. Using a combination of a hammer and a vice-grips, I bent this piece back in to the proper position prior to welding.

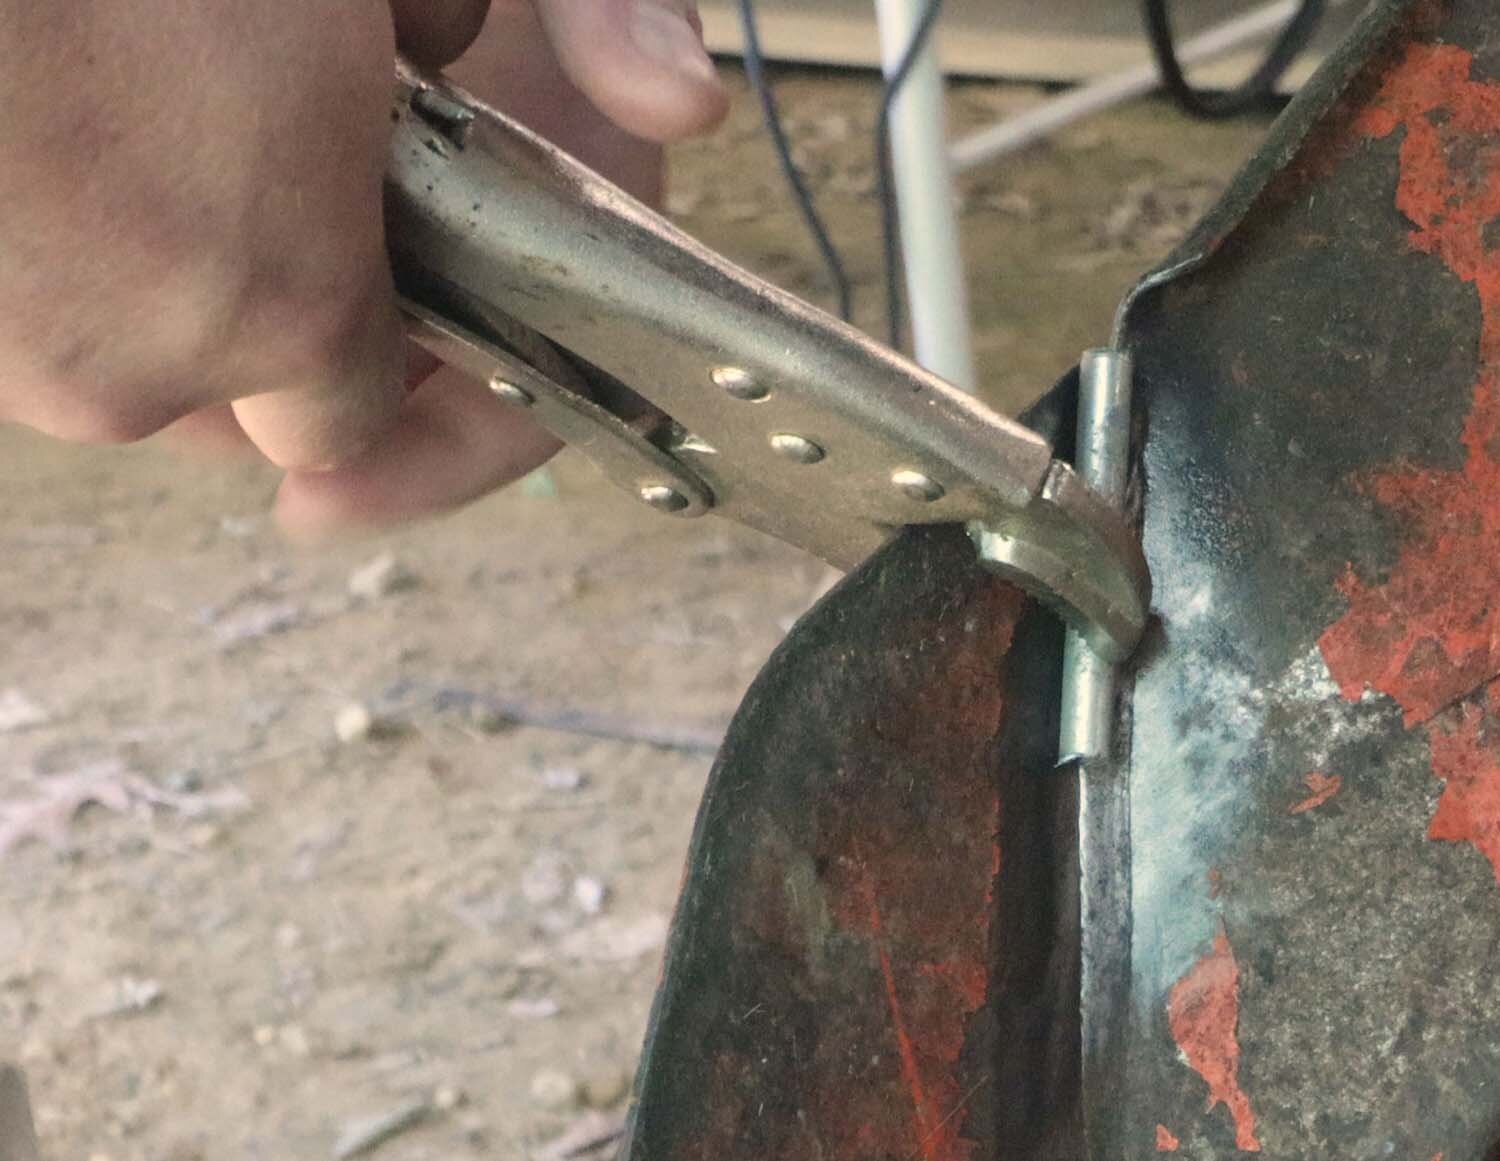
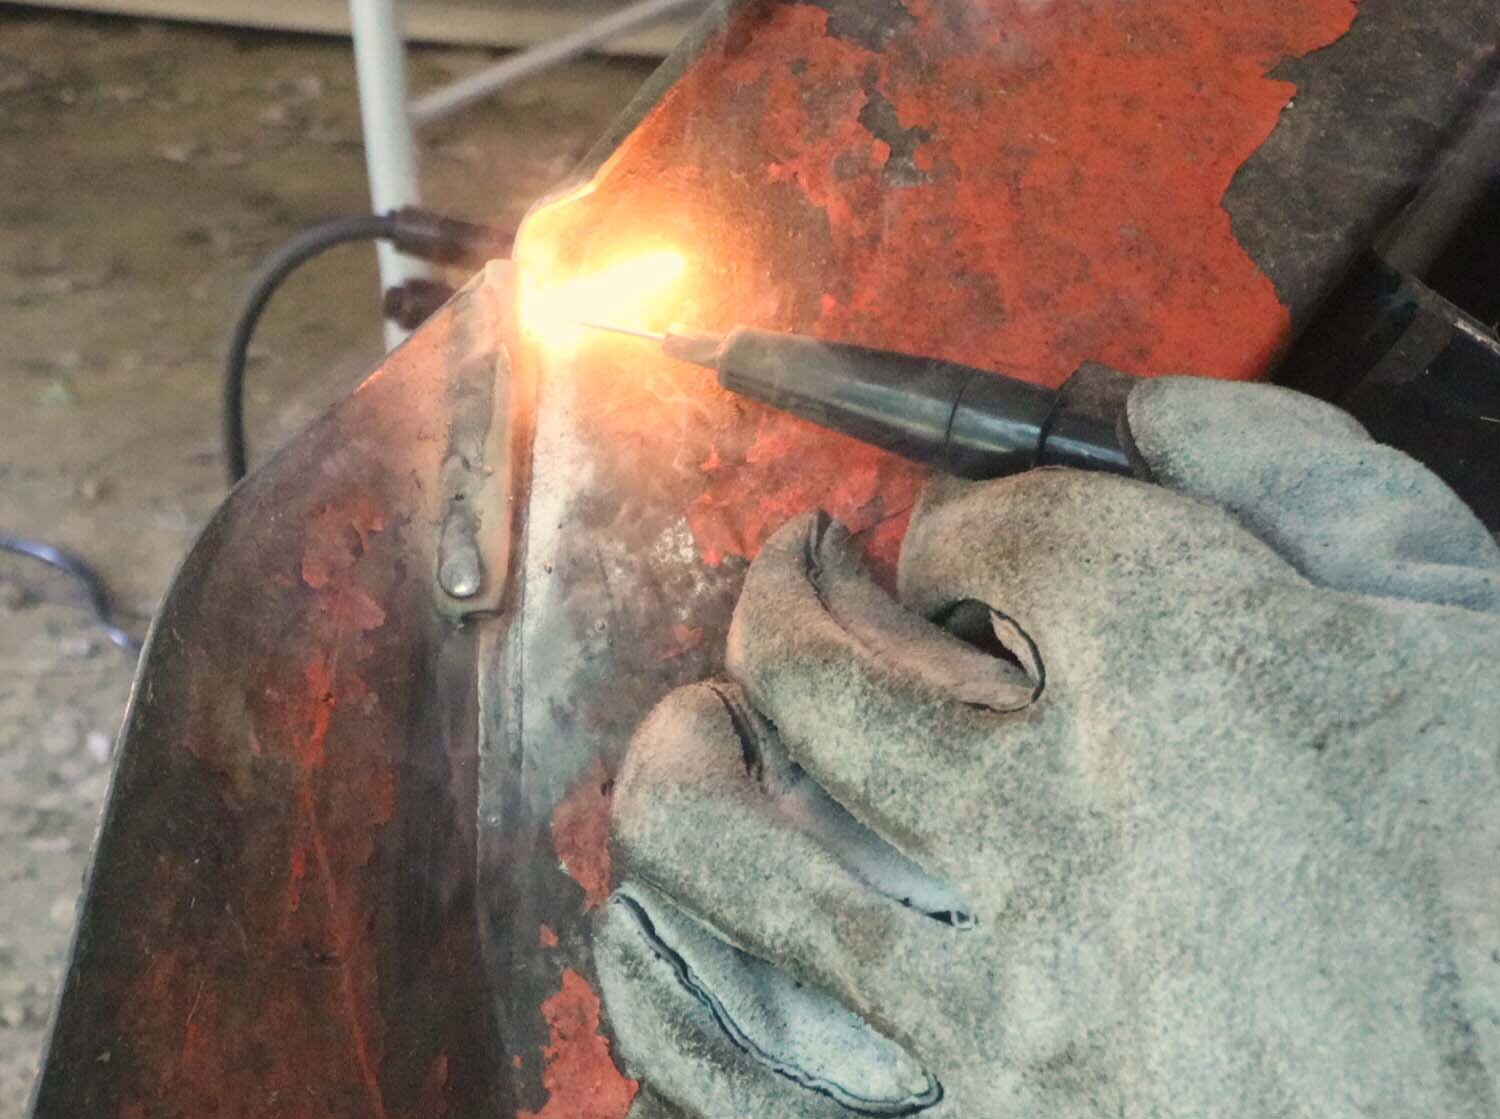
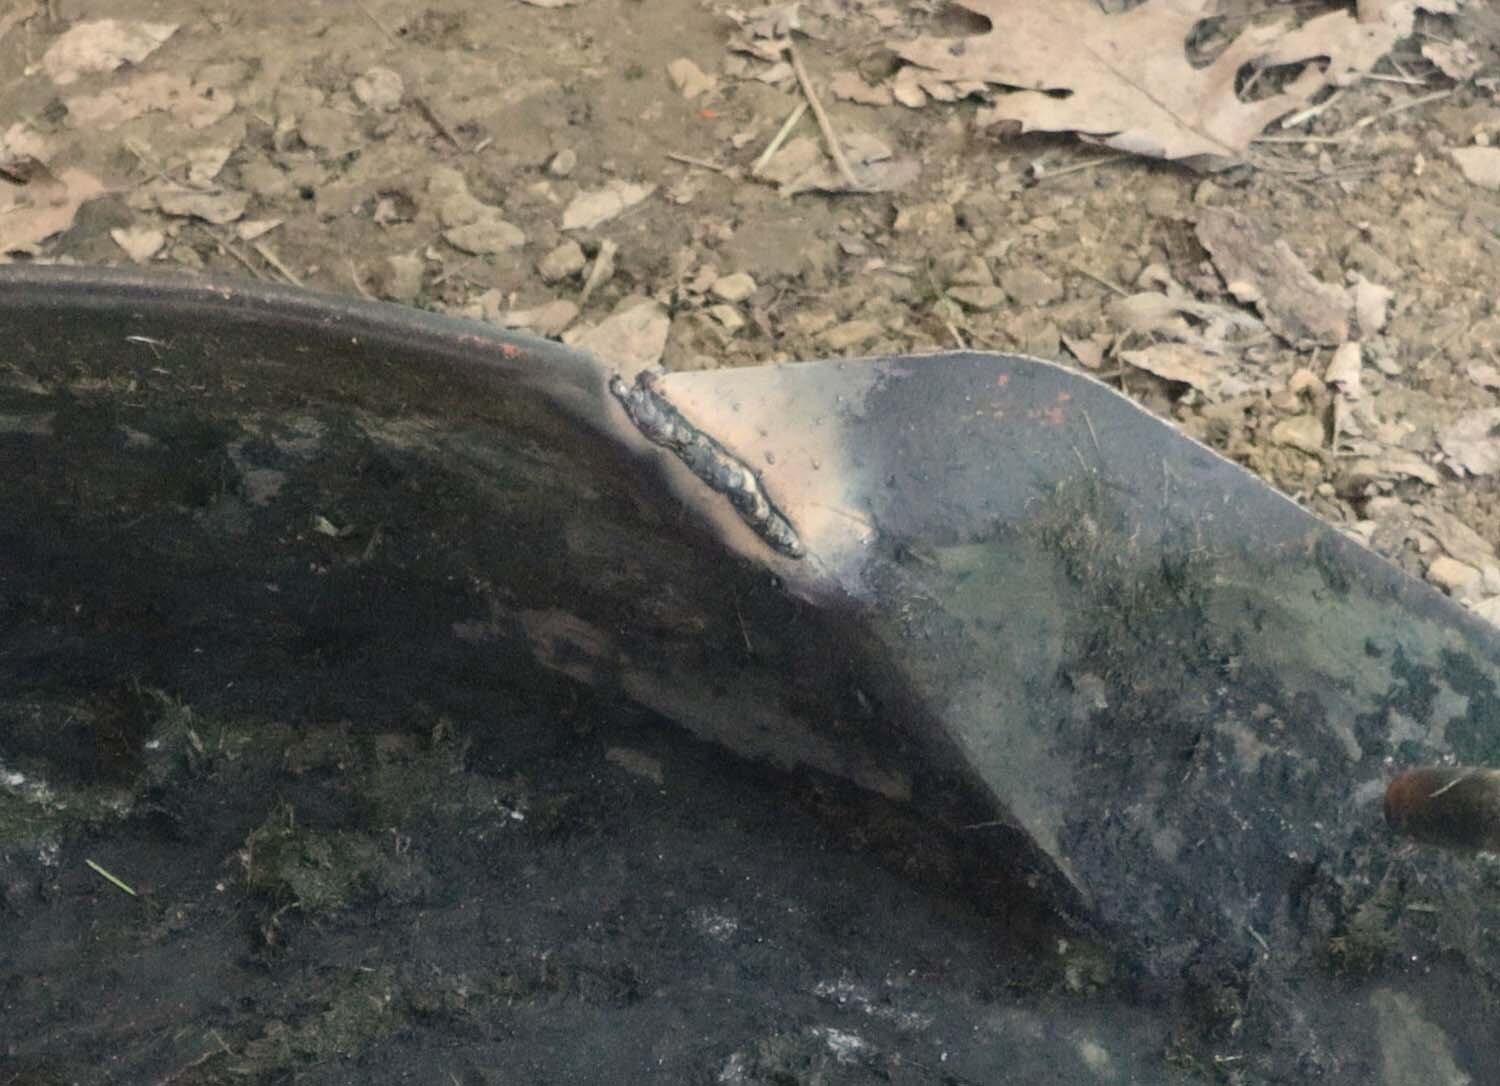
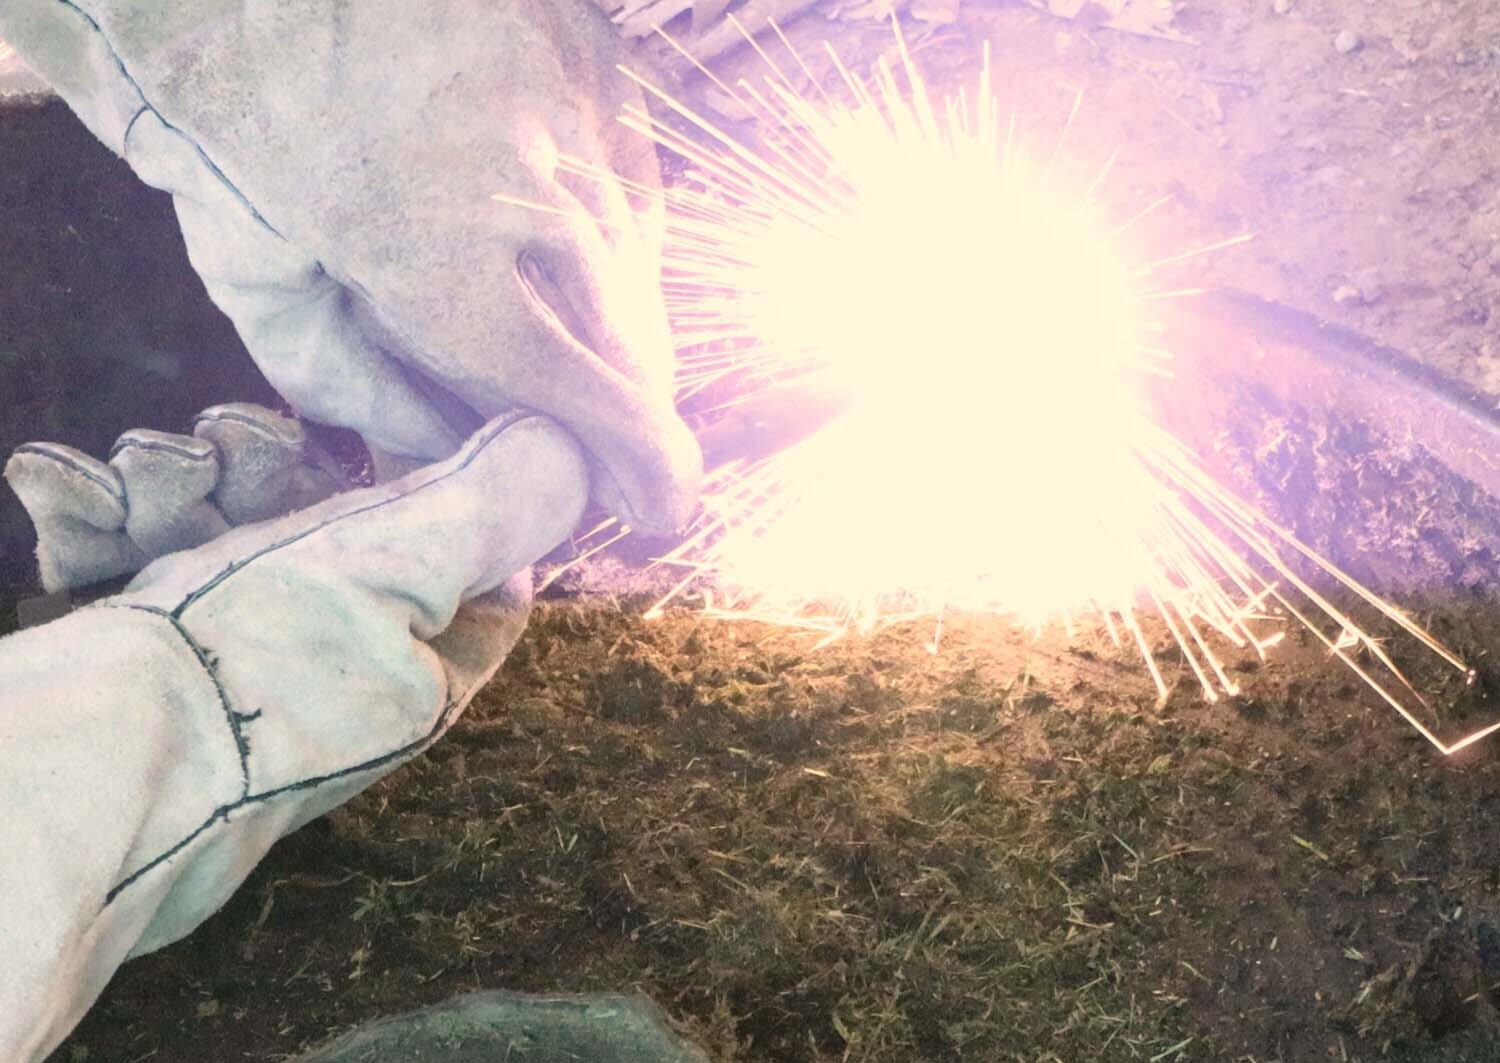
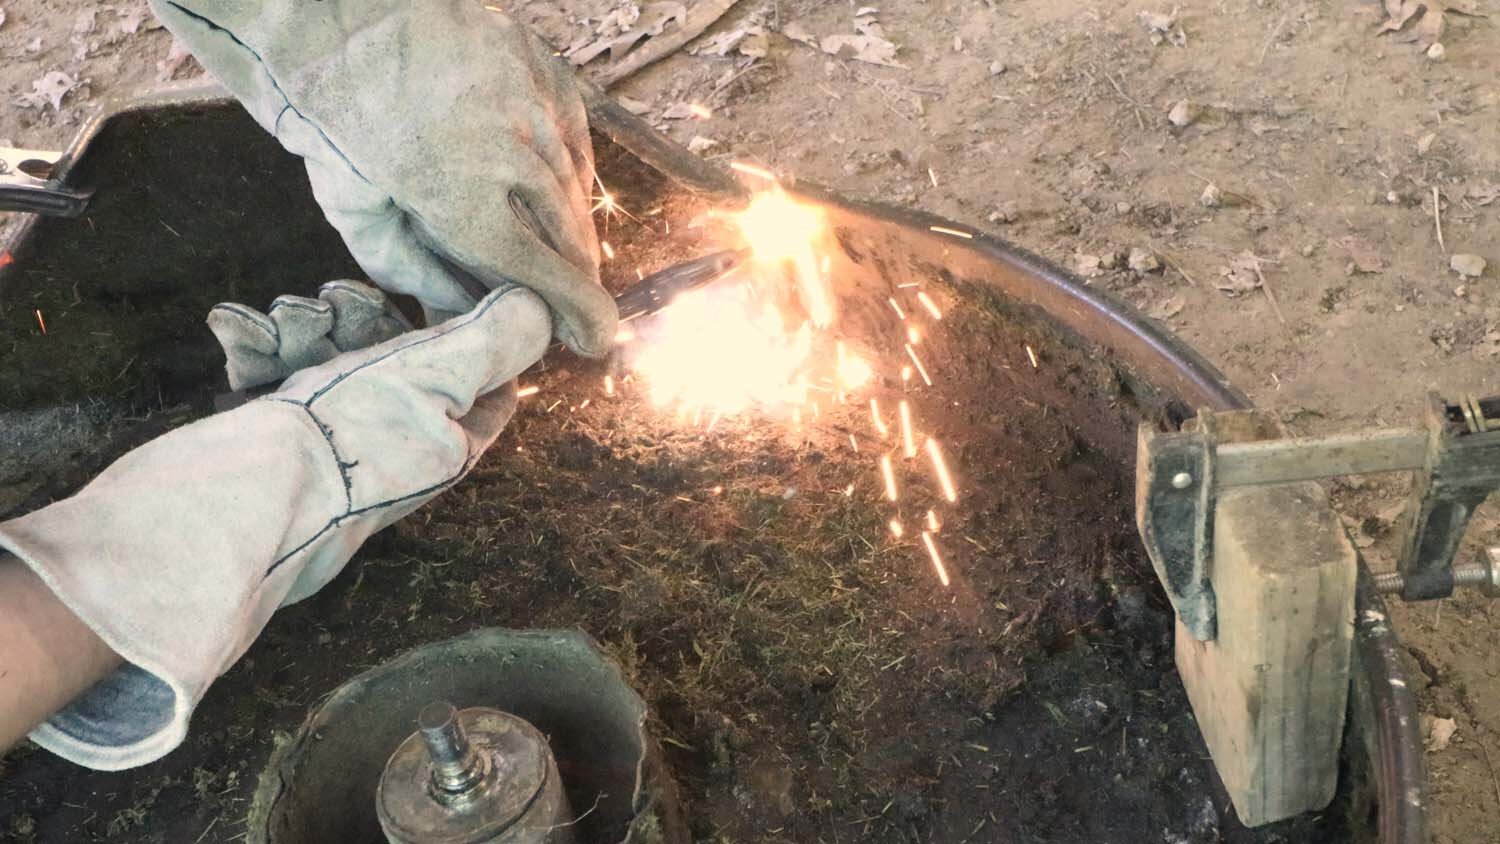
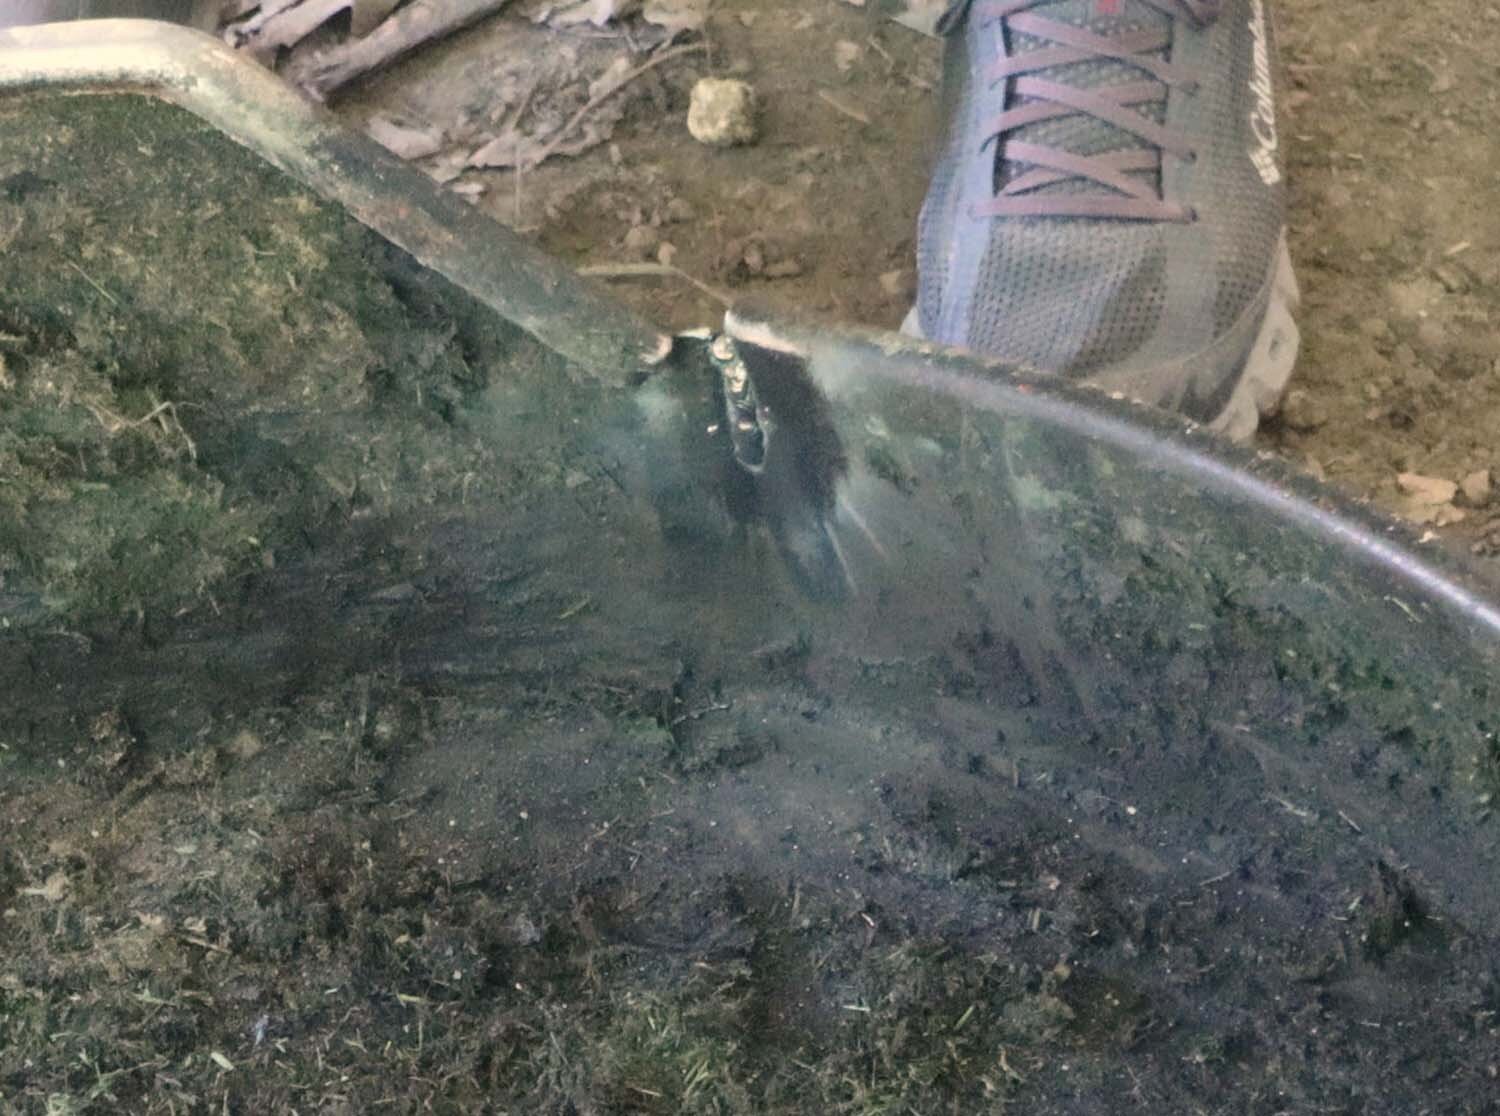
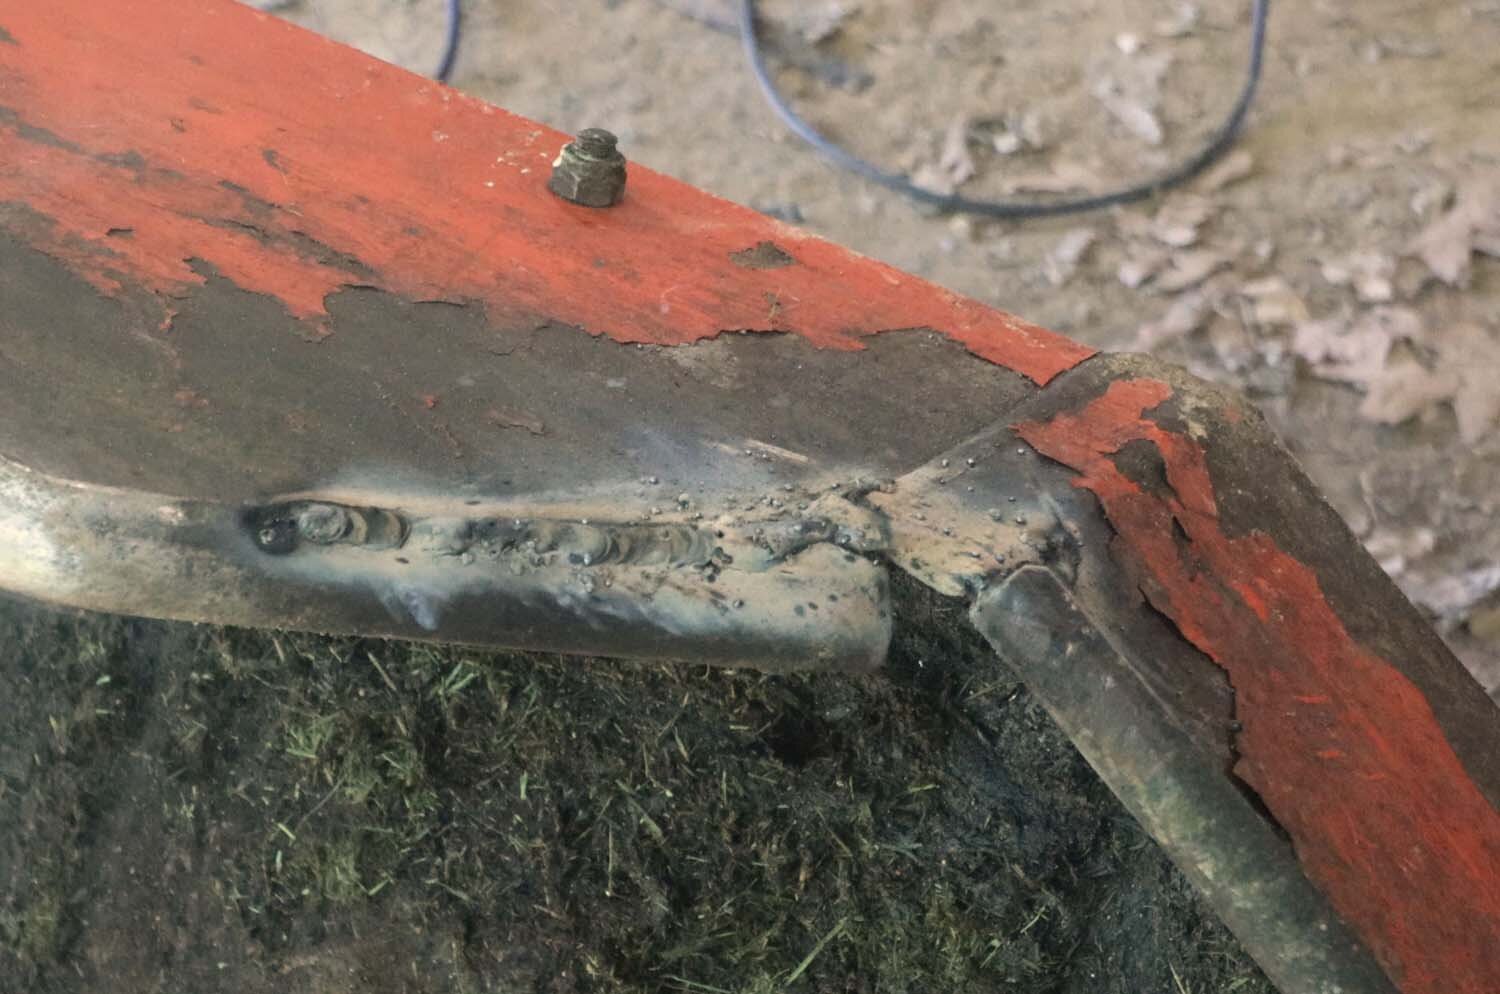
To reinforce this corner on the outside of the deck, I'm welding in a piece of a bolt to provide some added strength. Yes, I'm aware that you shouldn't weld galvanized metal. However, I'm doing this in a well-ventilated area and keeping my face far away from the fumes. If this isn't something you're comfortable doing, then don't. It's easy enough to grind off the zinc coating before welding if you're worried about it.
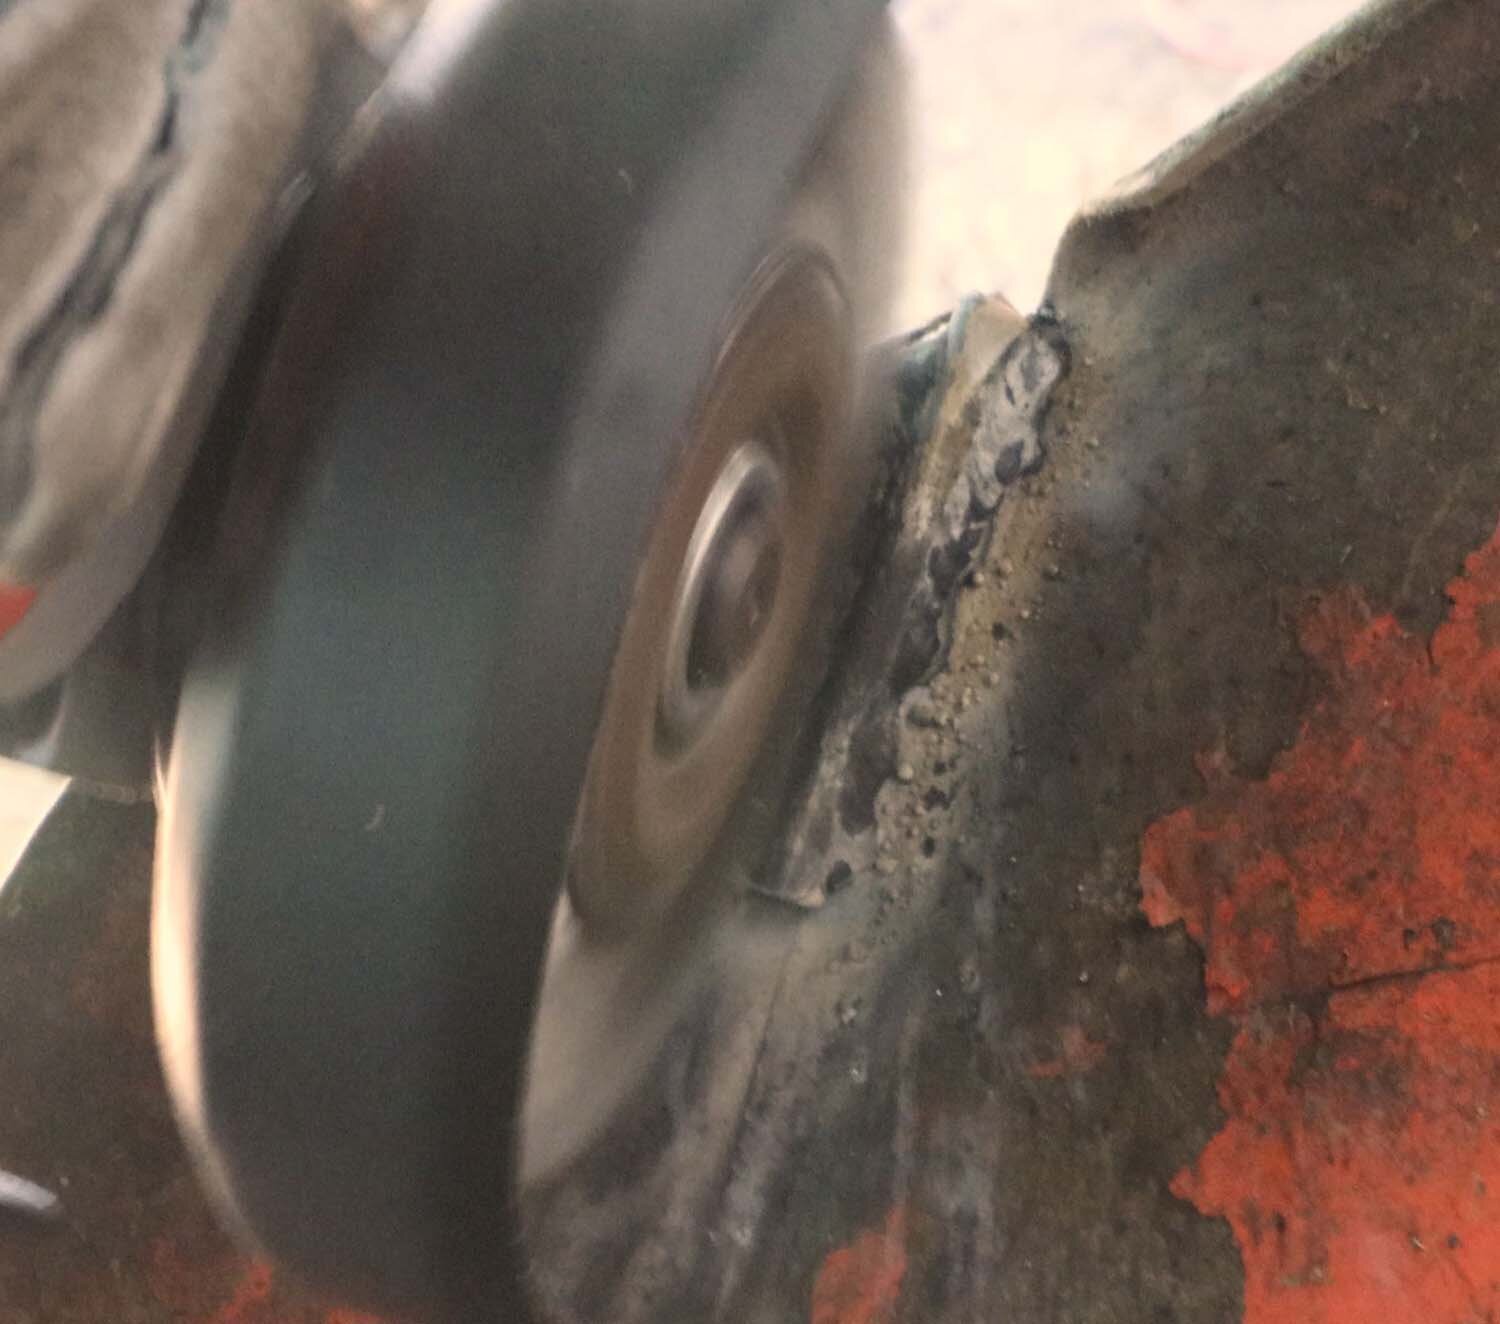
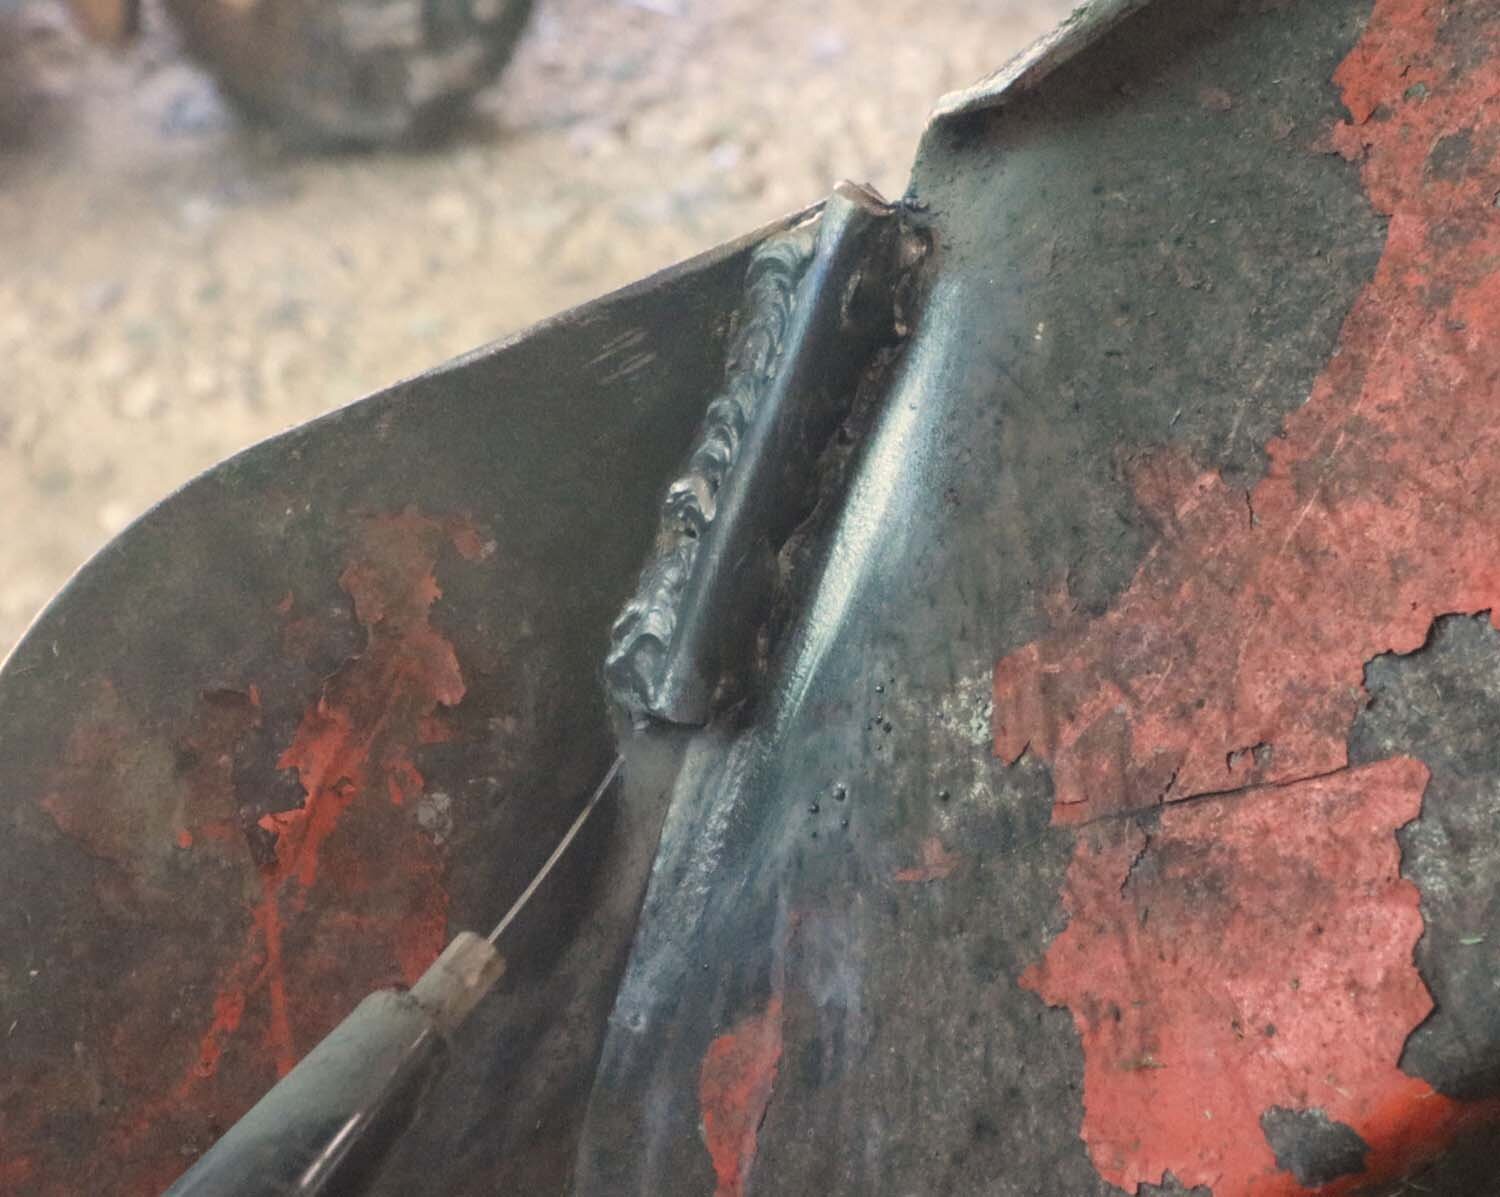
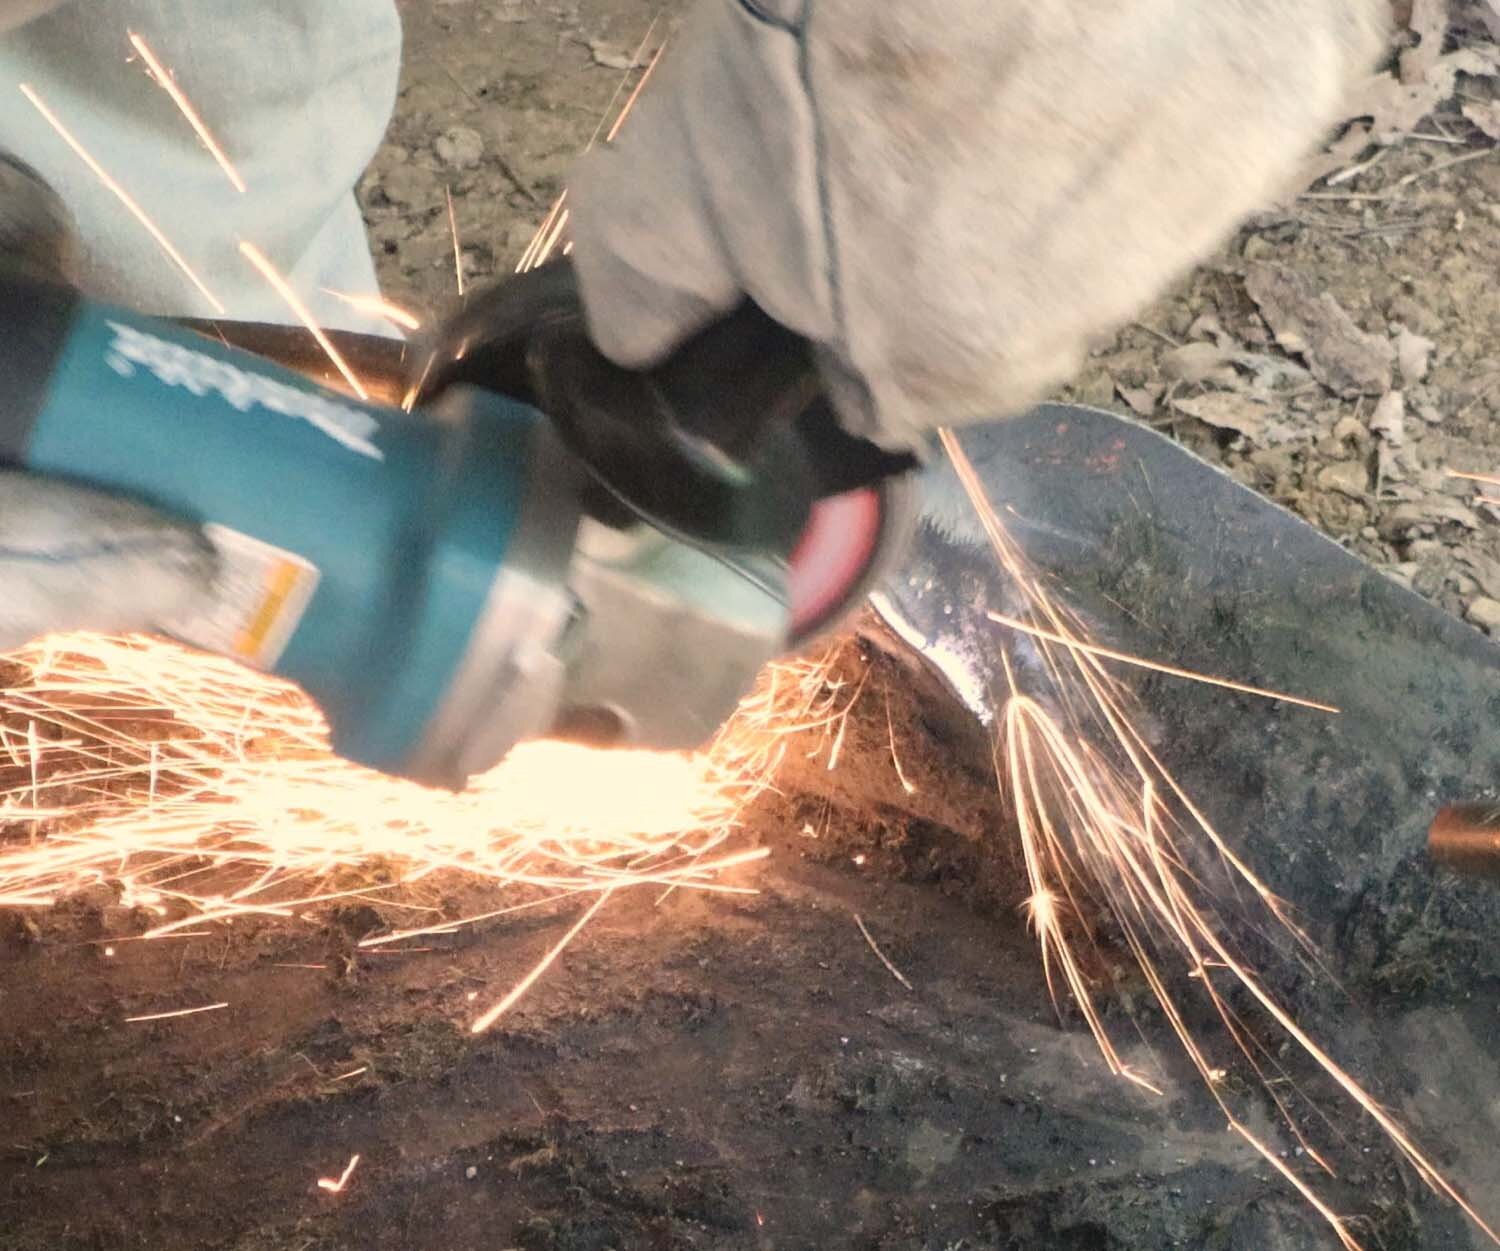
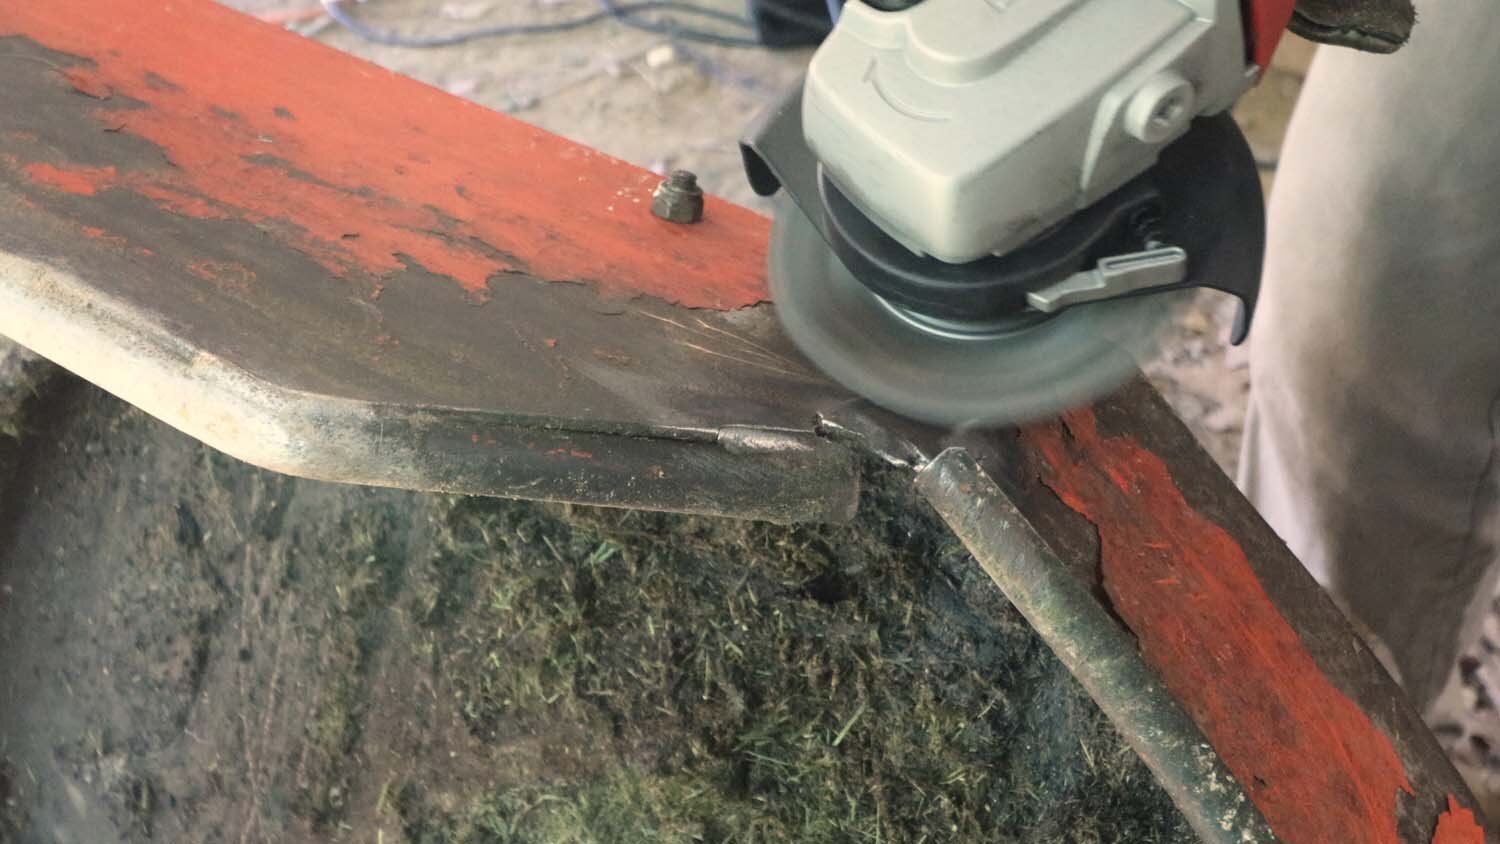
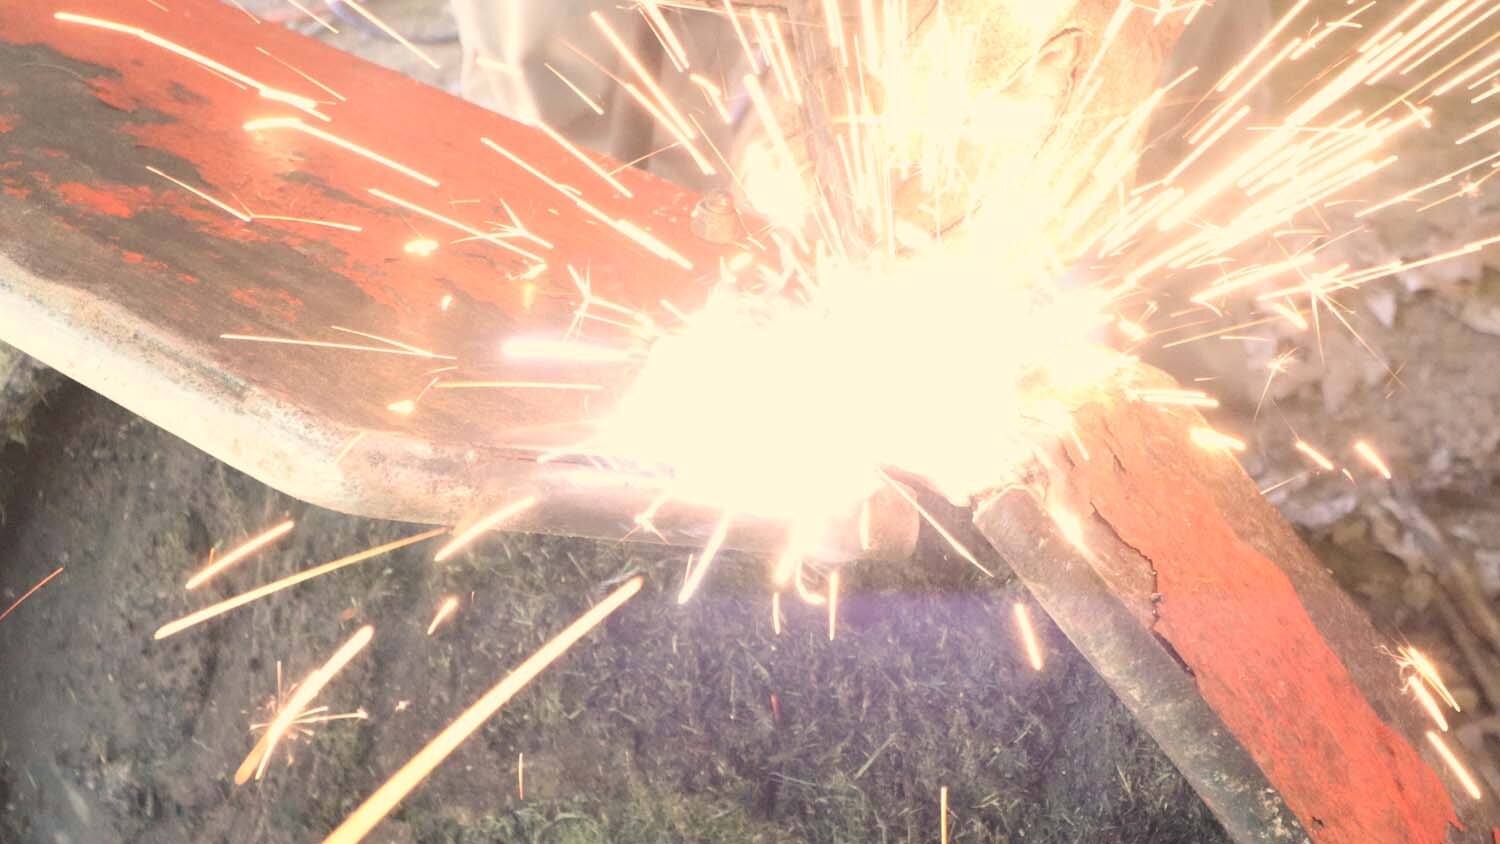
I then welded the seam on the interior of the brush deck to close it up, and then grind down the weld when I’m done.
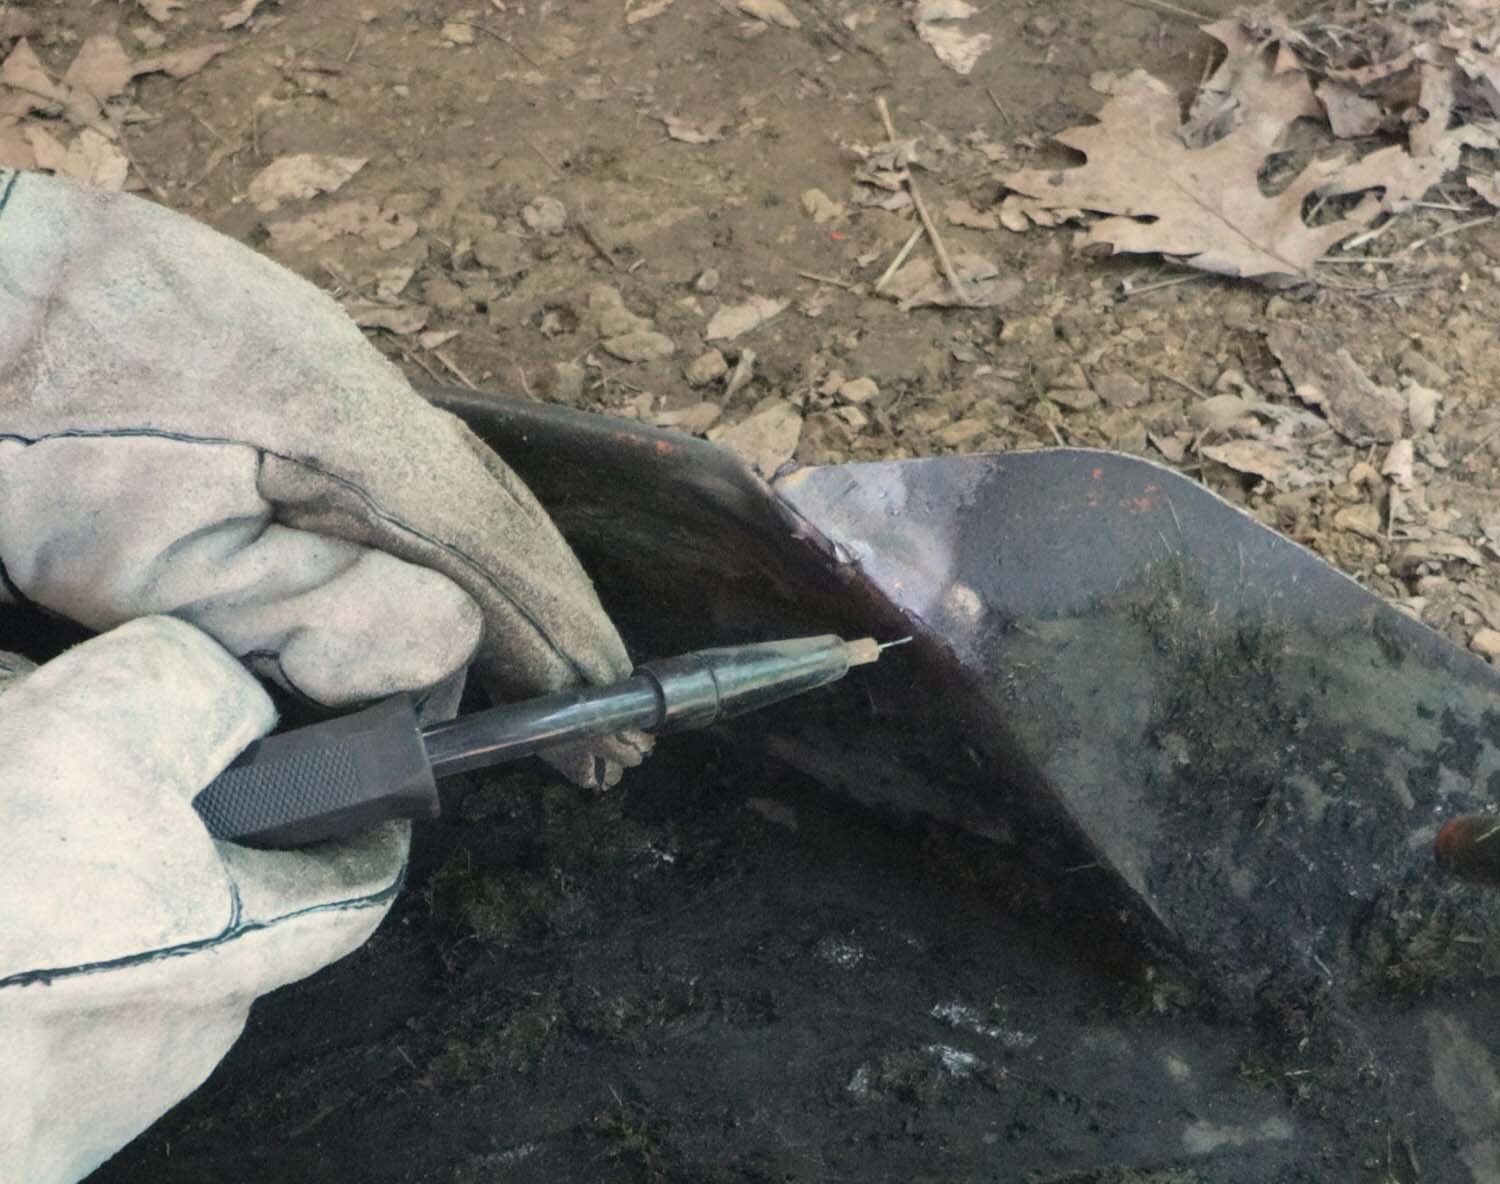
The next crack is on the other side of the brush deck, and I repeat the process again to clean it down to bare metal and then weld the inside.
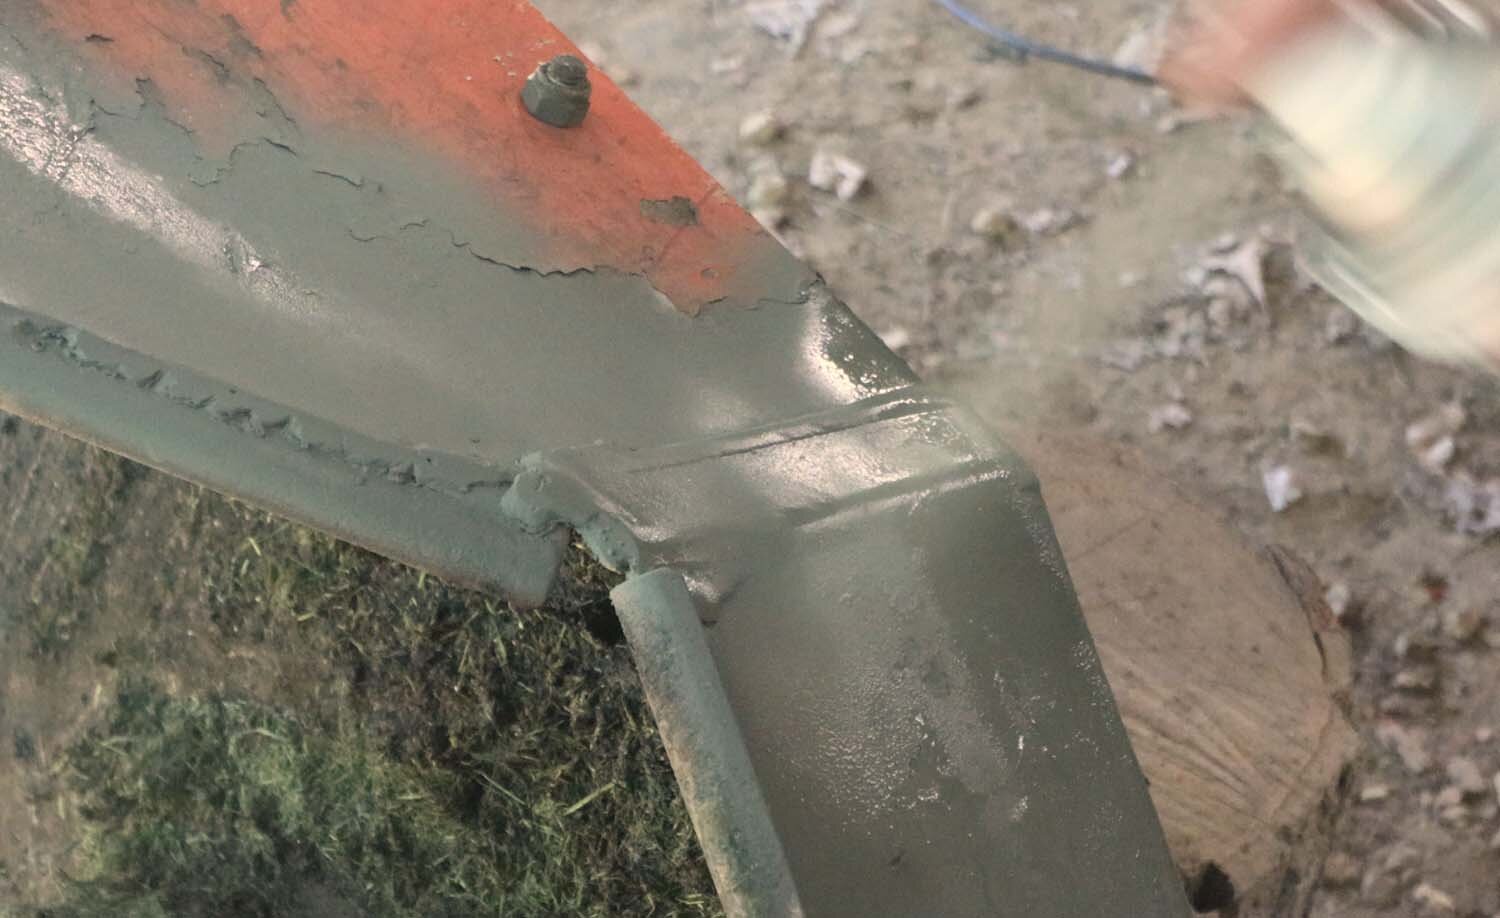
Then on to the outside of the deck. I didn’t use a reinforcing bar on this since it was more or less flat - I just went over all of the welded joints with more weld bead, and then ground it all back afterward.

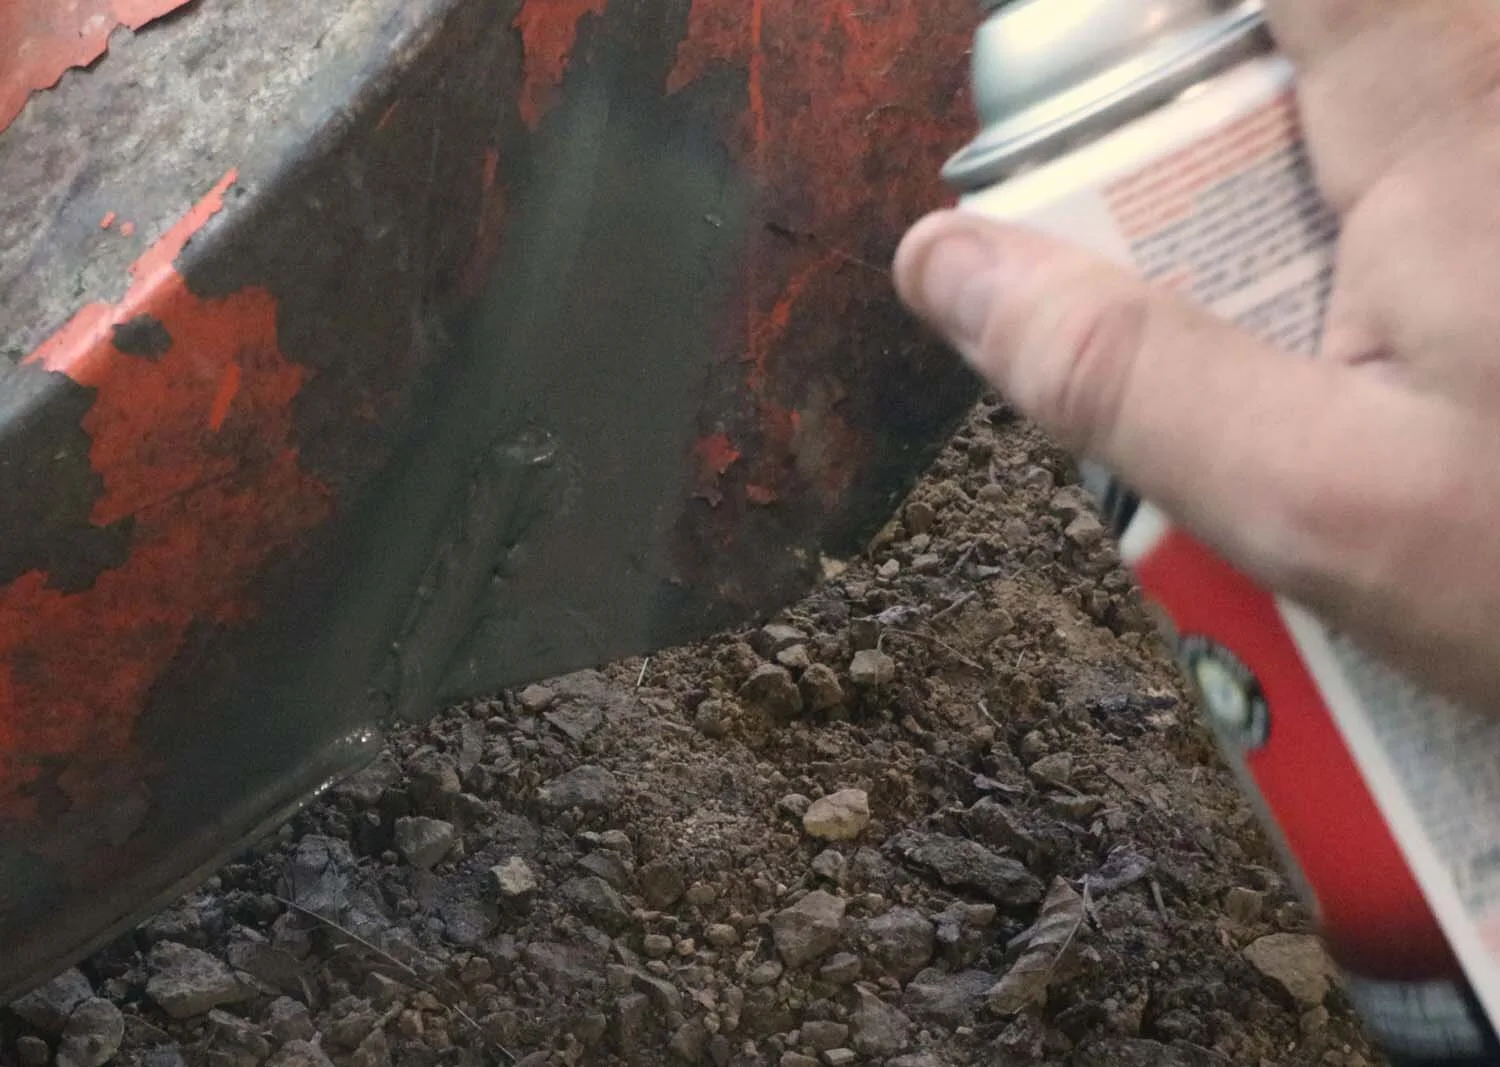
To help keep it from rusting, I'm spraying the welded areas with a self-etching primer. I'll follow this up later with a color-match paint, once I can find one.
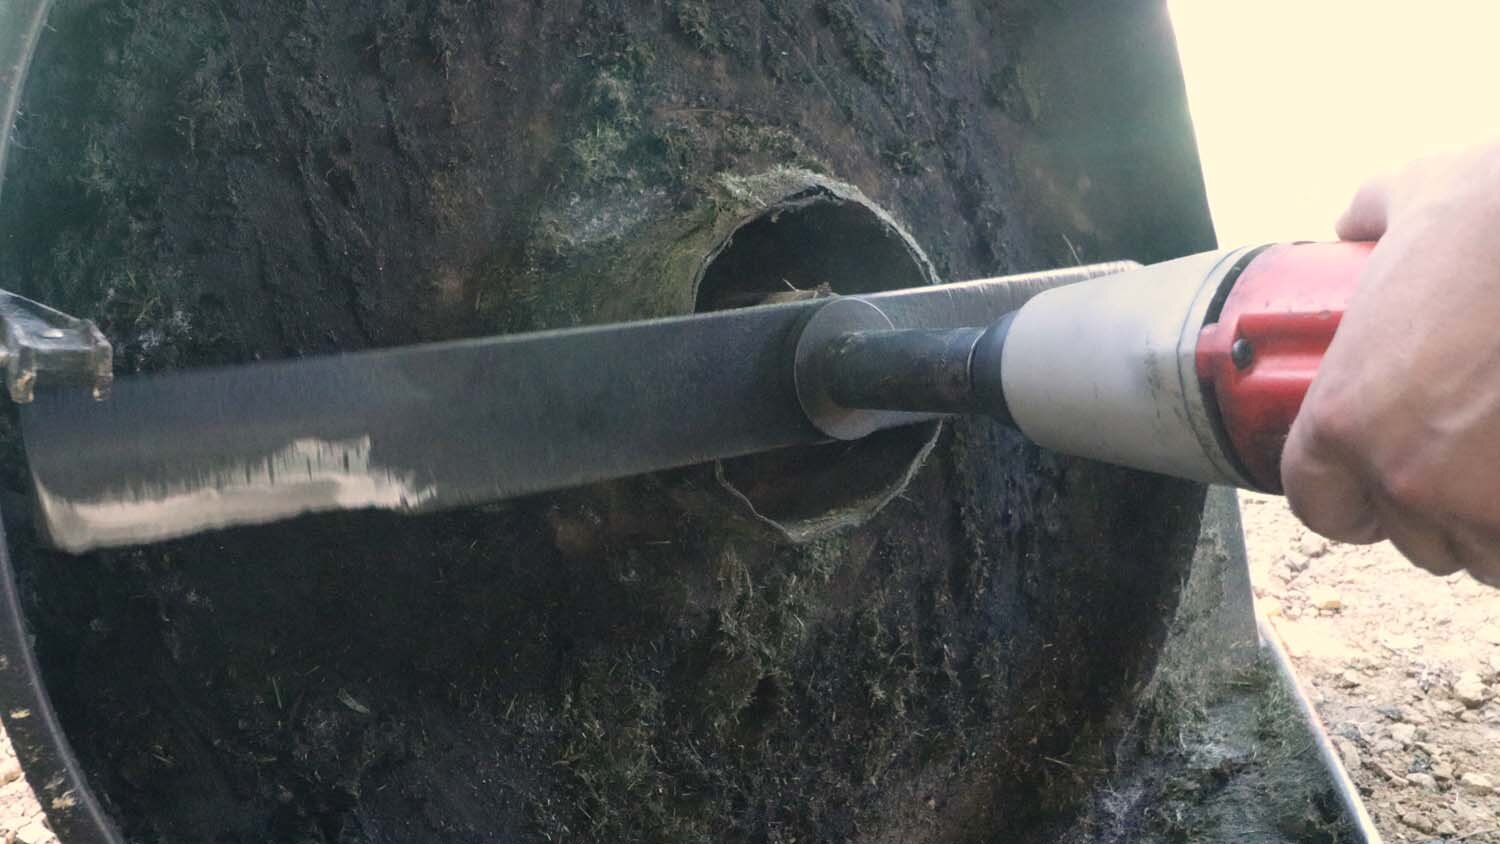
While we had the blade off, I gave it a quick sharpen with a flap wheel. For not having sharpened it in, well, ever, the blade was in surprisingly good shape. Reassembly consists of reattaching the brush deck to the motor and wrapping the belt back around the drive pulley. Replacing the belt guard completes the job, and it's ready for use again.
I hope this was instructive, and thanks for viewing!
If you enjoyed this article, subscribe to my YouTube channel for more!