
Christmas Light Storage Spool in Popcorn Tin
If you're anything like us, you have a bunch of Christmas lights in various states of tanglement due to poor storage options. In this article, I'm hoping to remedy this issue with a homemade solution, using items that would otherwise be thrown away.
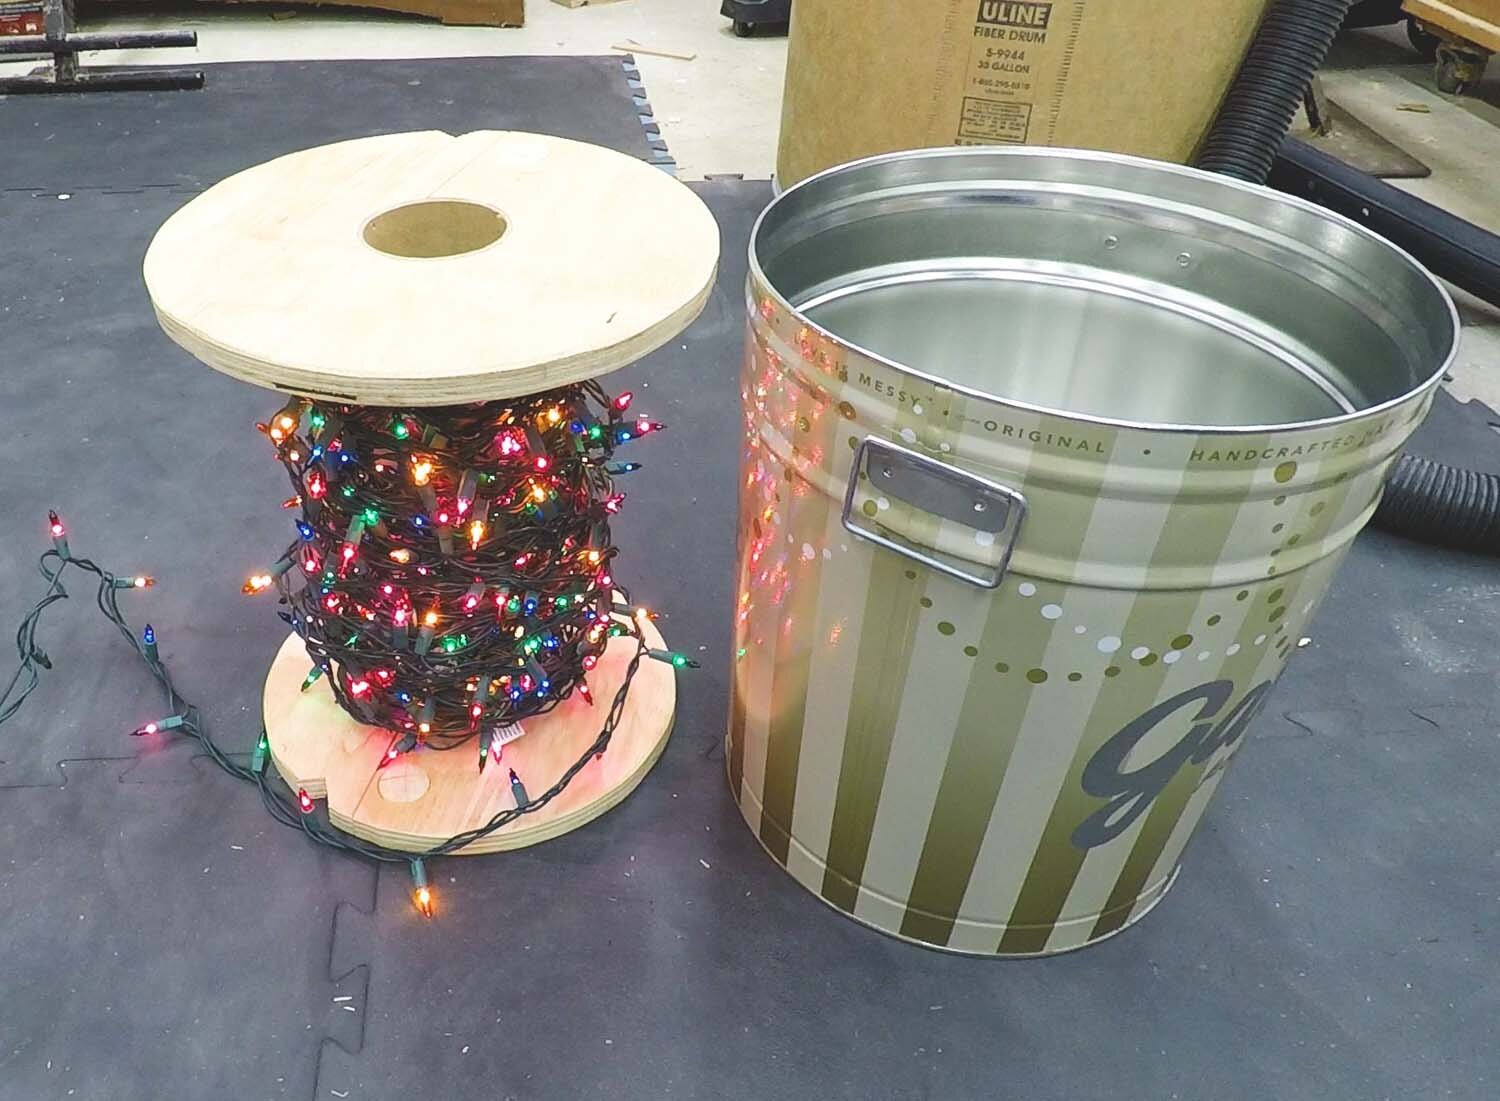
Every year around the holidays, my office buys nice, big tins of popcorn for the break room. We've stored lights in popcorn tins before, but the same issue with the strands getting tangled occurs. To solve this, I've come up with a light spool, which allows you to wind your lights neatly, and which dispenses them easily when needed.
To make this, all you really need is a suitable popcorn tin, a large cardboard tube, a 1" dowel, some 3/4" plywood, and a couple screws. The cardboard tube I got was from a large-format printer at my office. You can probably find them for free at print shops if you ask nicely.
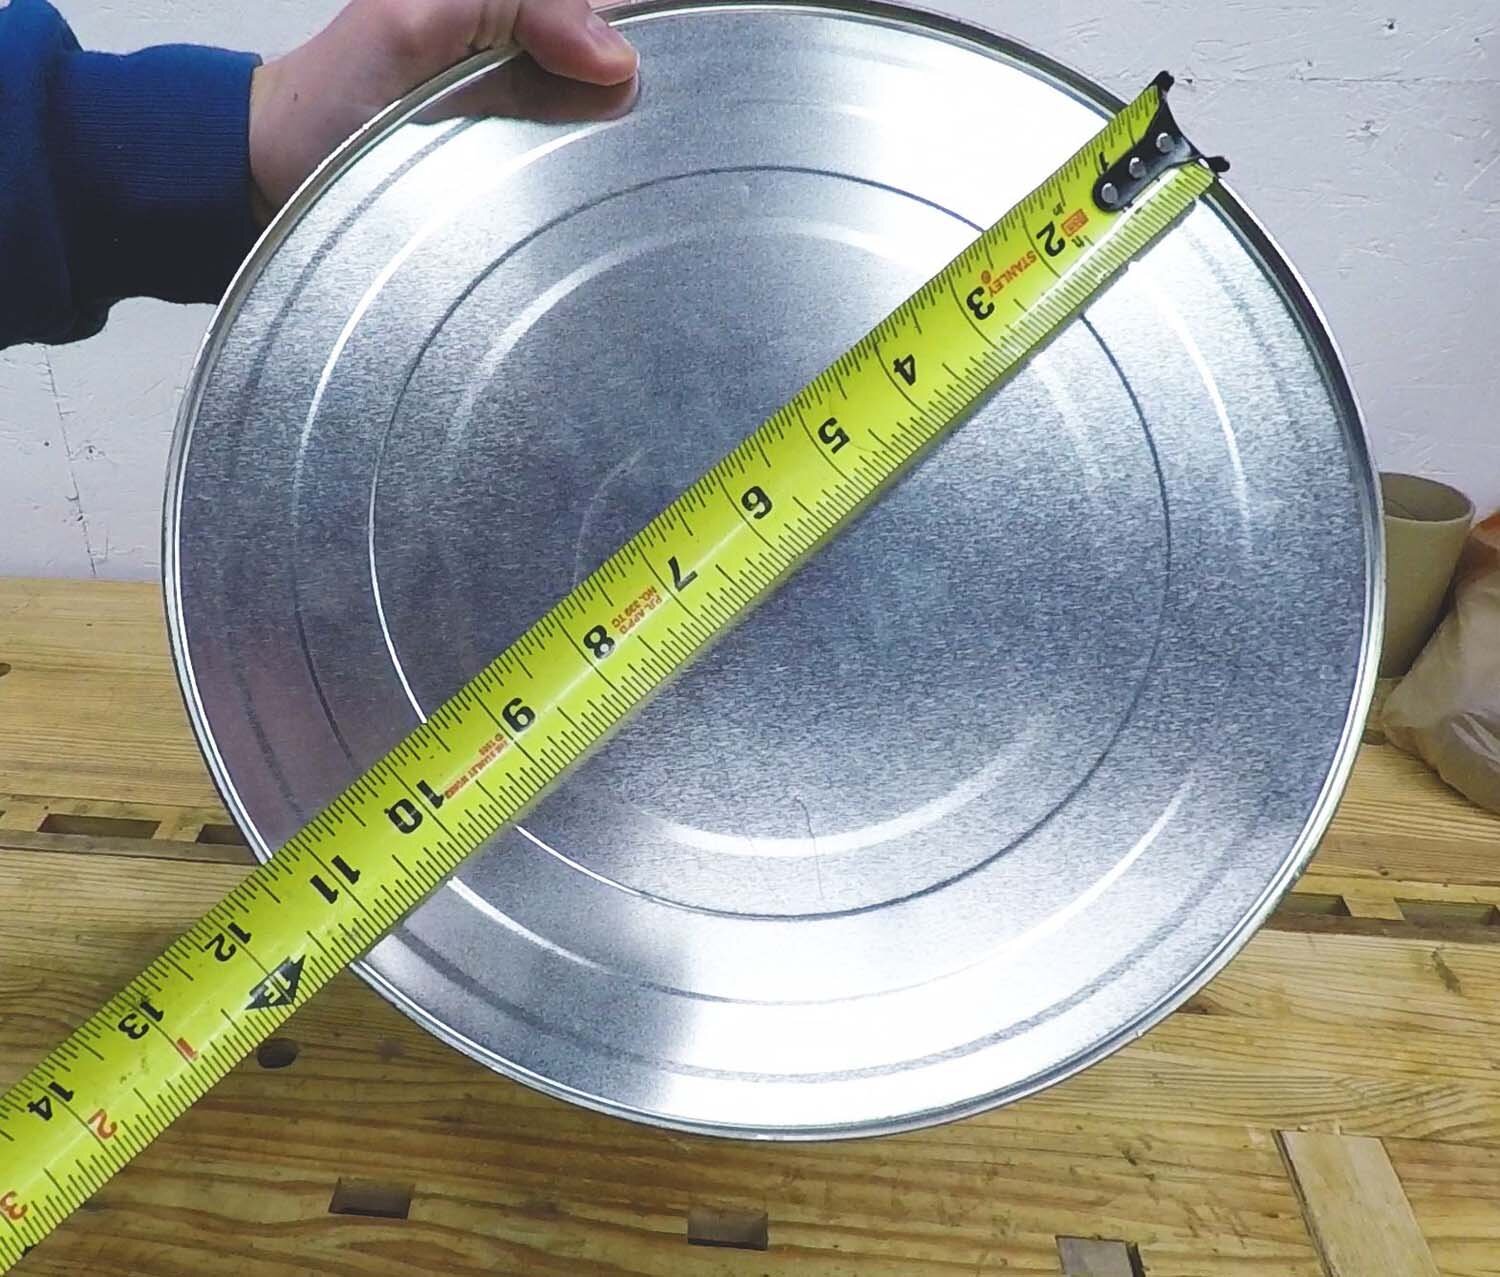
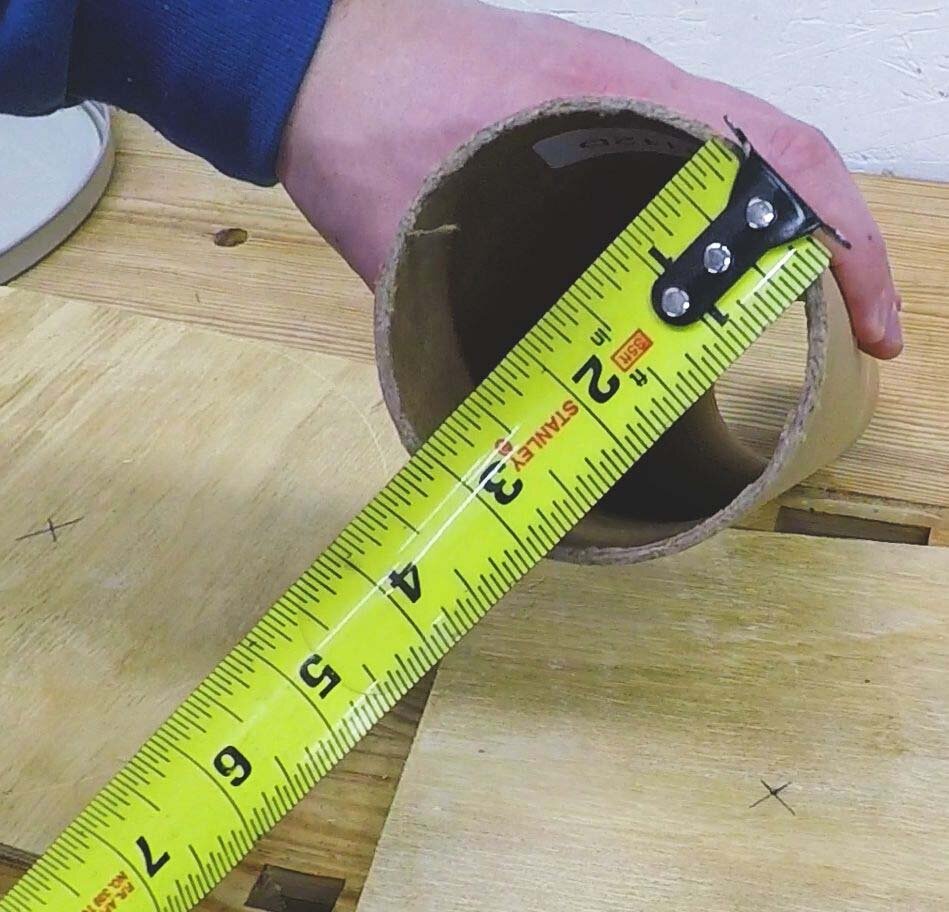
Start off by measuring the top and bottom diameters of the popcorn tin. Likely these will be different, as all the popcorn tins like this I've seen have a slight taper. Then cut your plywood into two squares of slightly smaller dimensions as these diameters. For example, if the bottom diameter is 11-1/2", cut the plywood at 11-1/4" square.
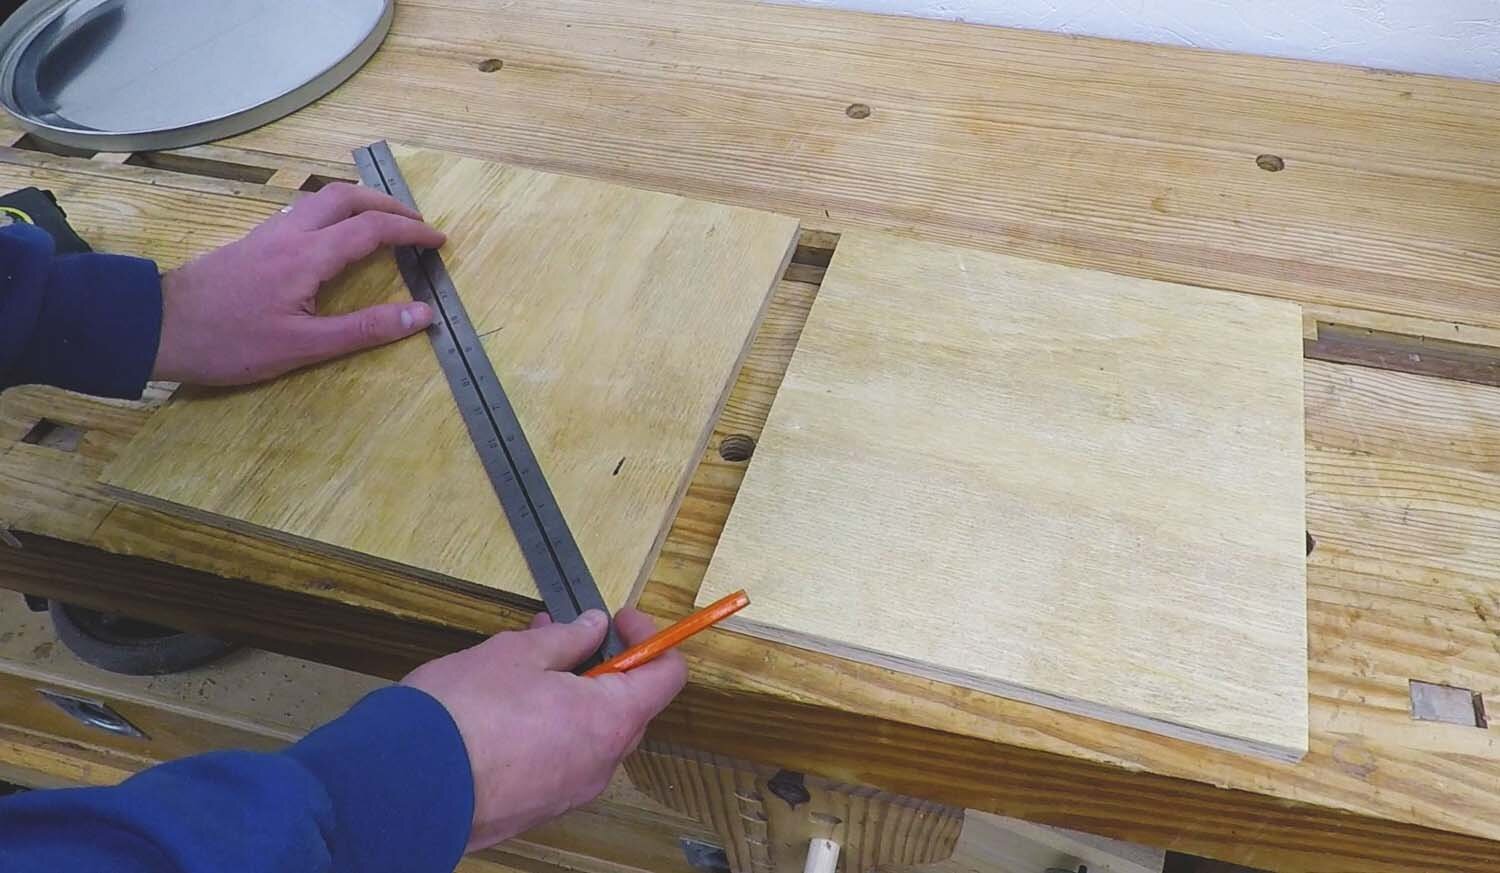
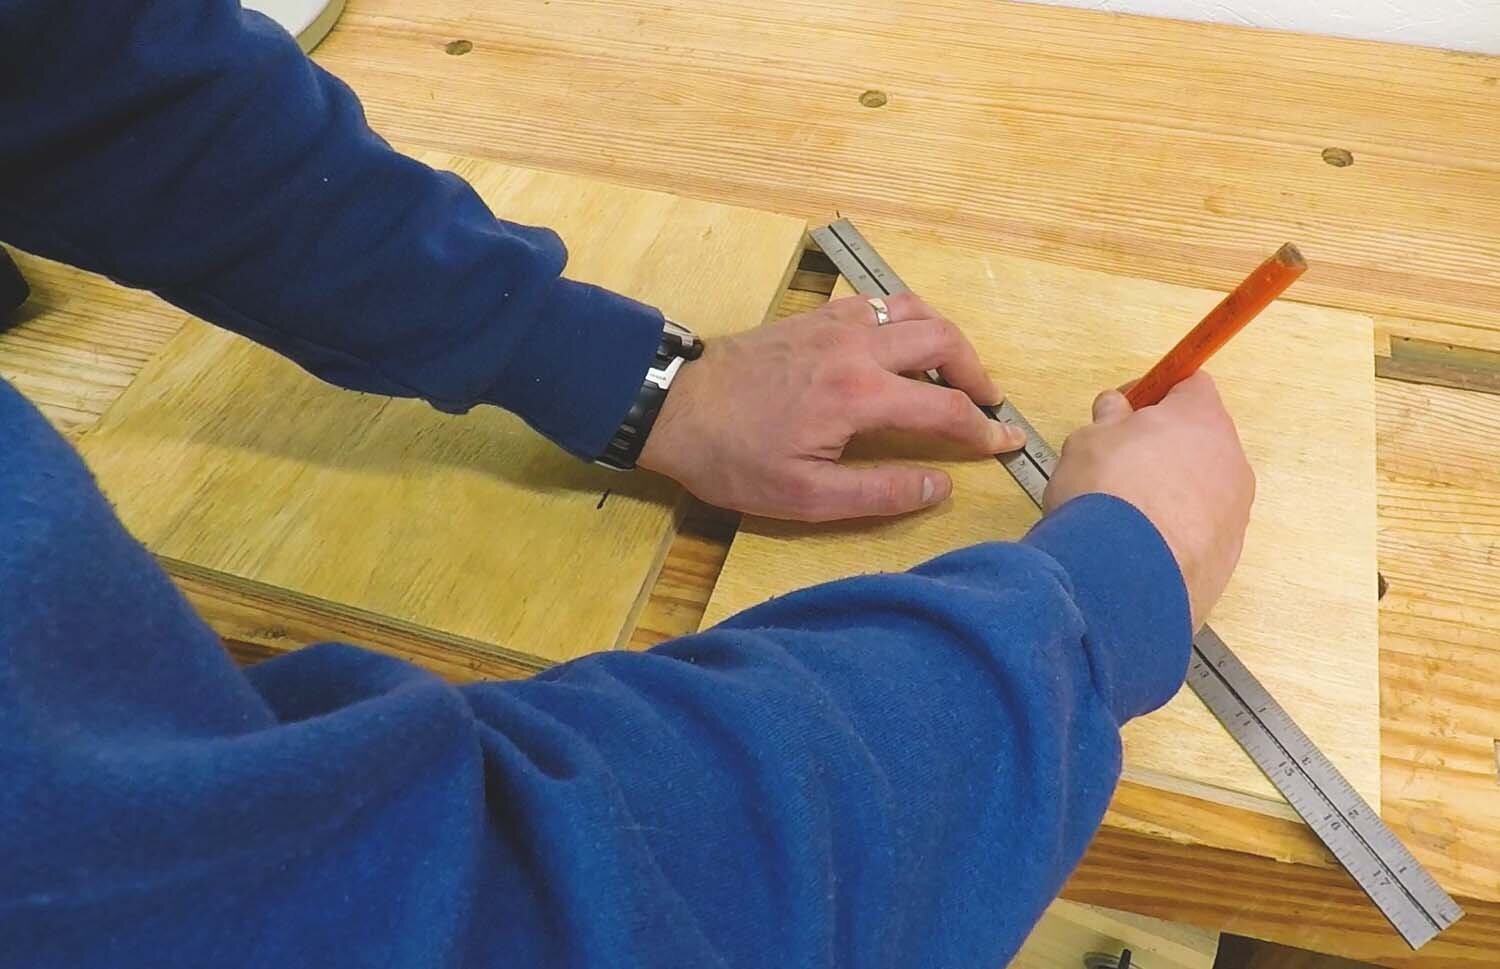
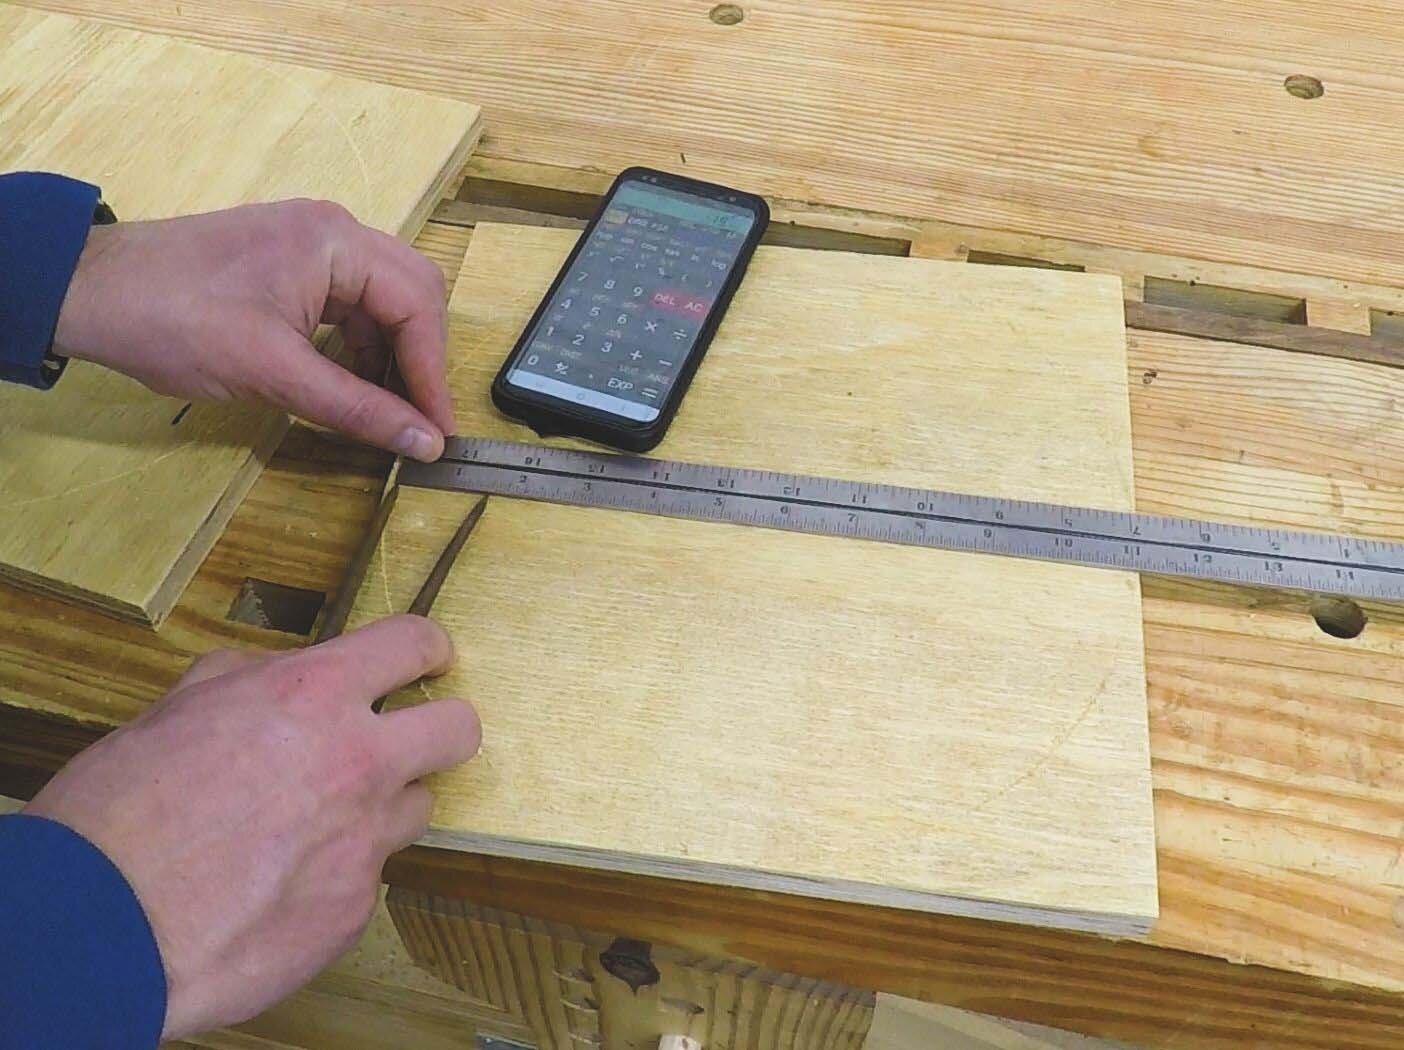
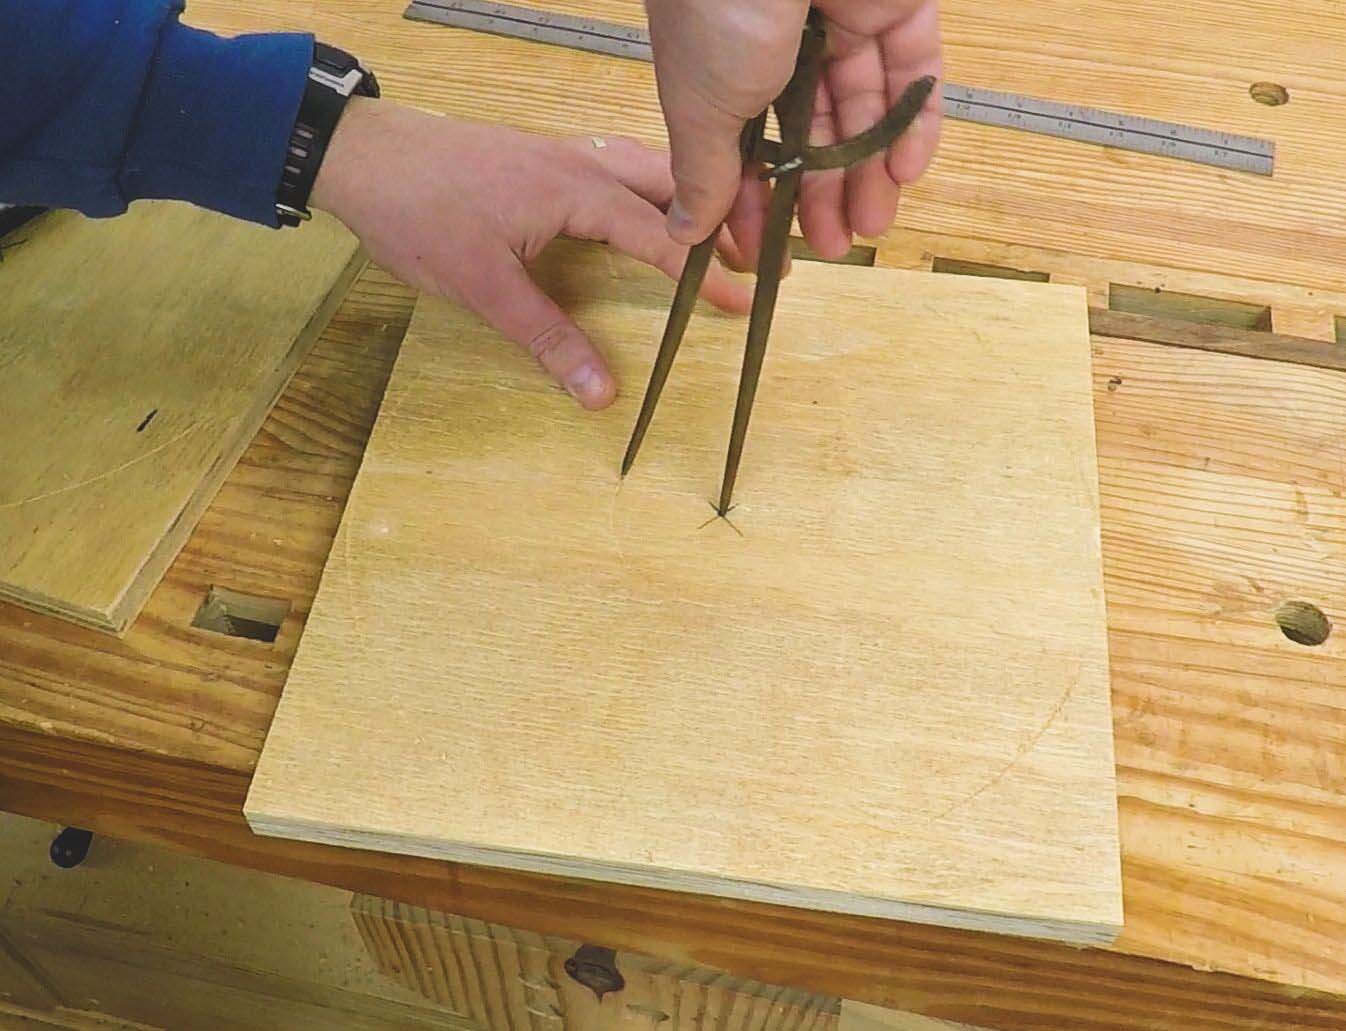
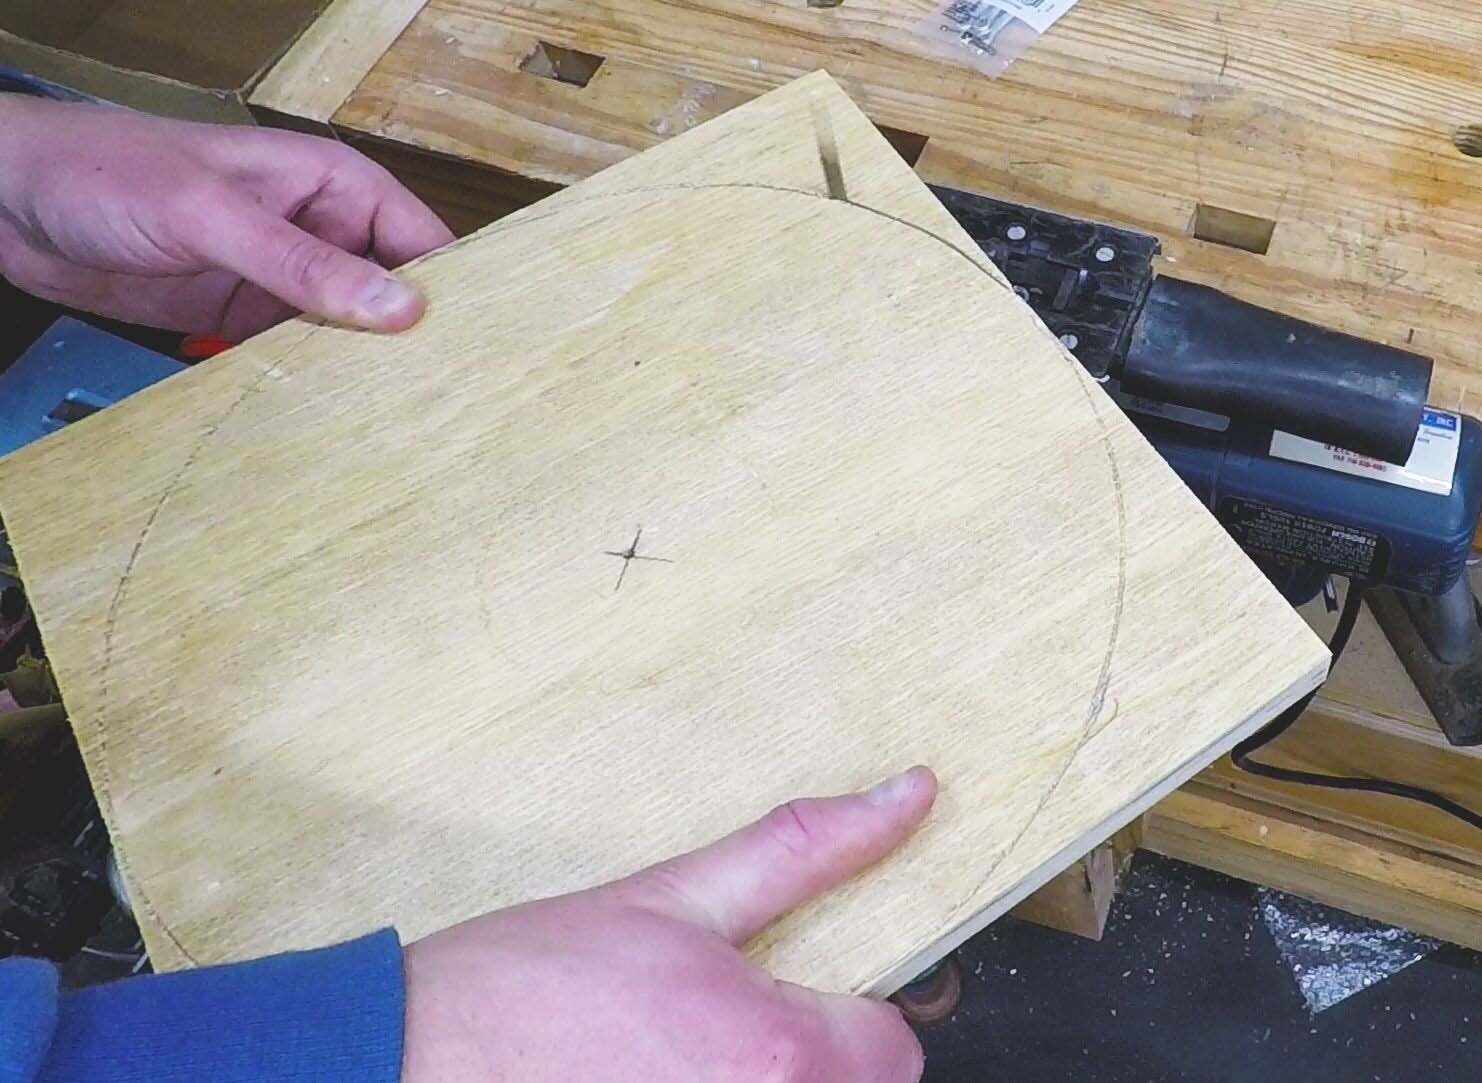
Next use a ruler to find the center of the pieces of plywood by spanning the ruler from corner to corner and drawing an X in the middle. Use a dividers or a compass to trace the circle around the plywood pieces. If you're using a dividers, which will only scratch the line in the wood, it might be a good idea to fill this in with a pencil so you can see it easier.
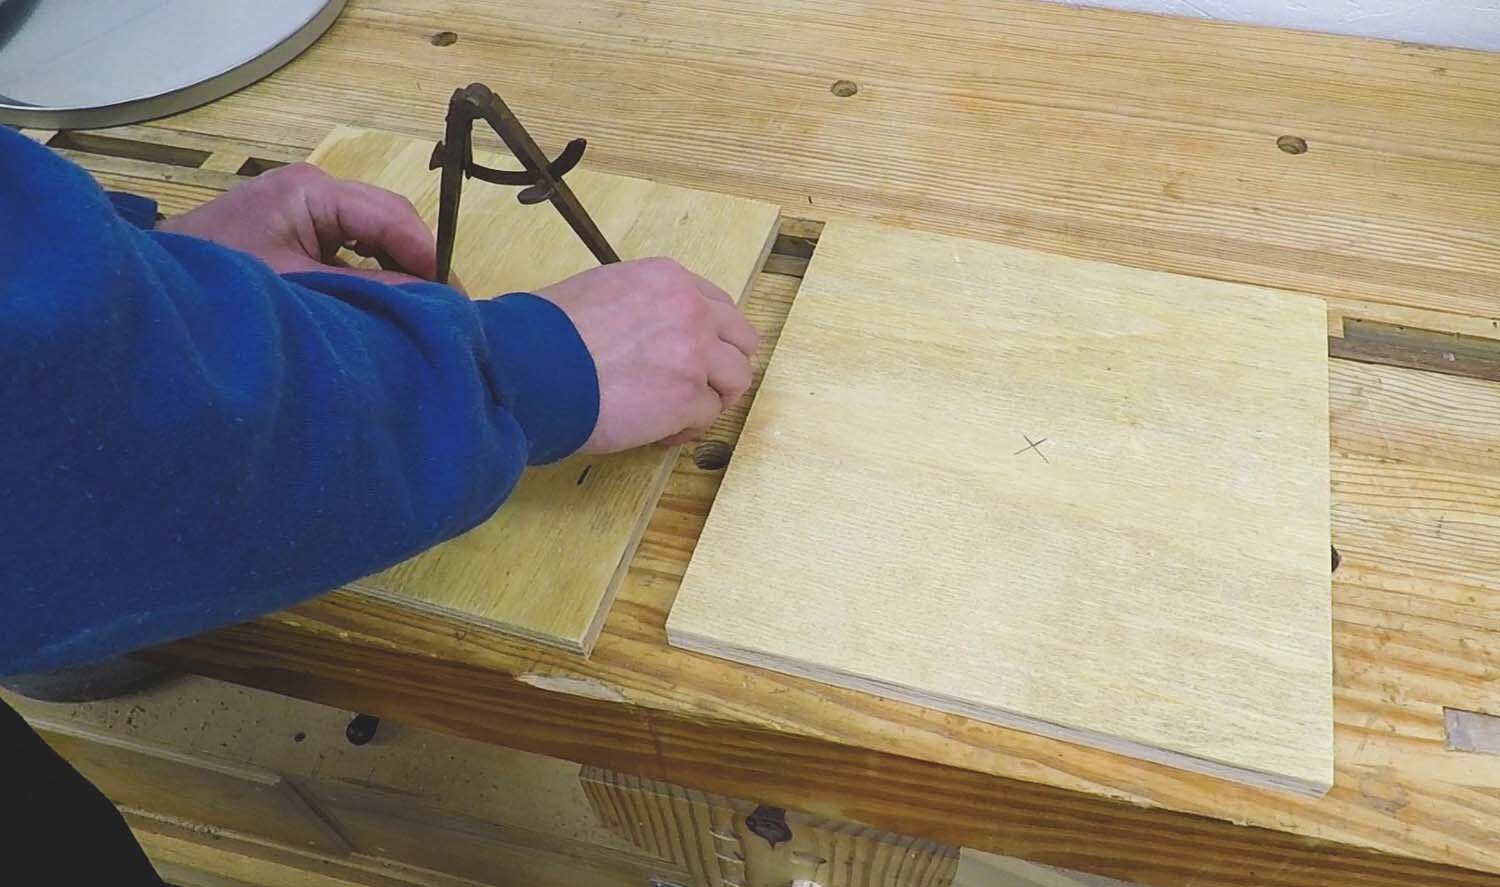
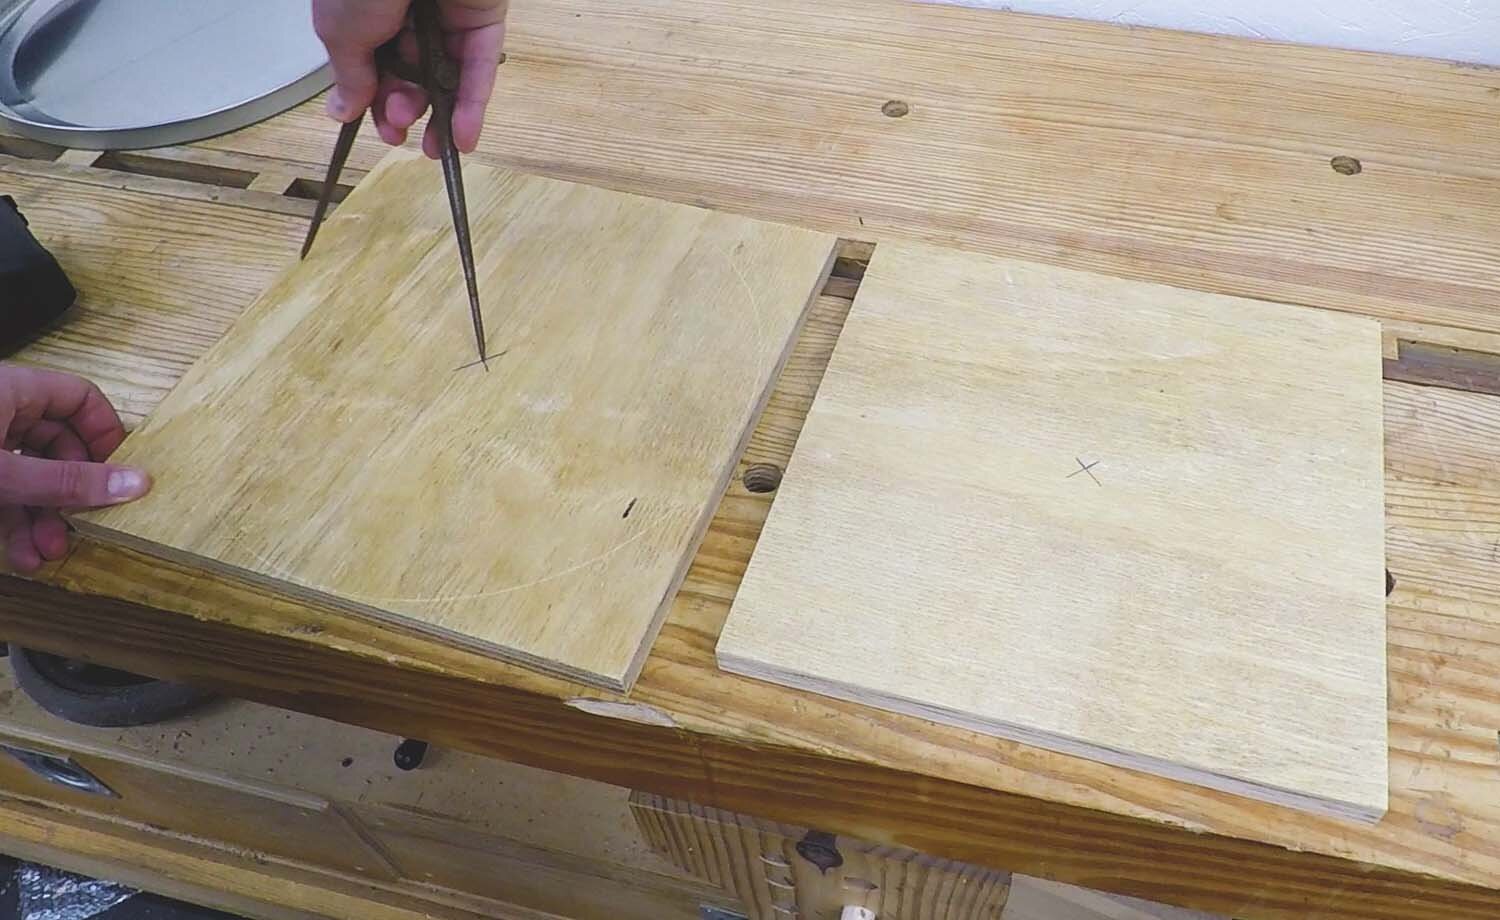
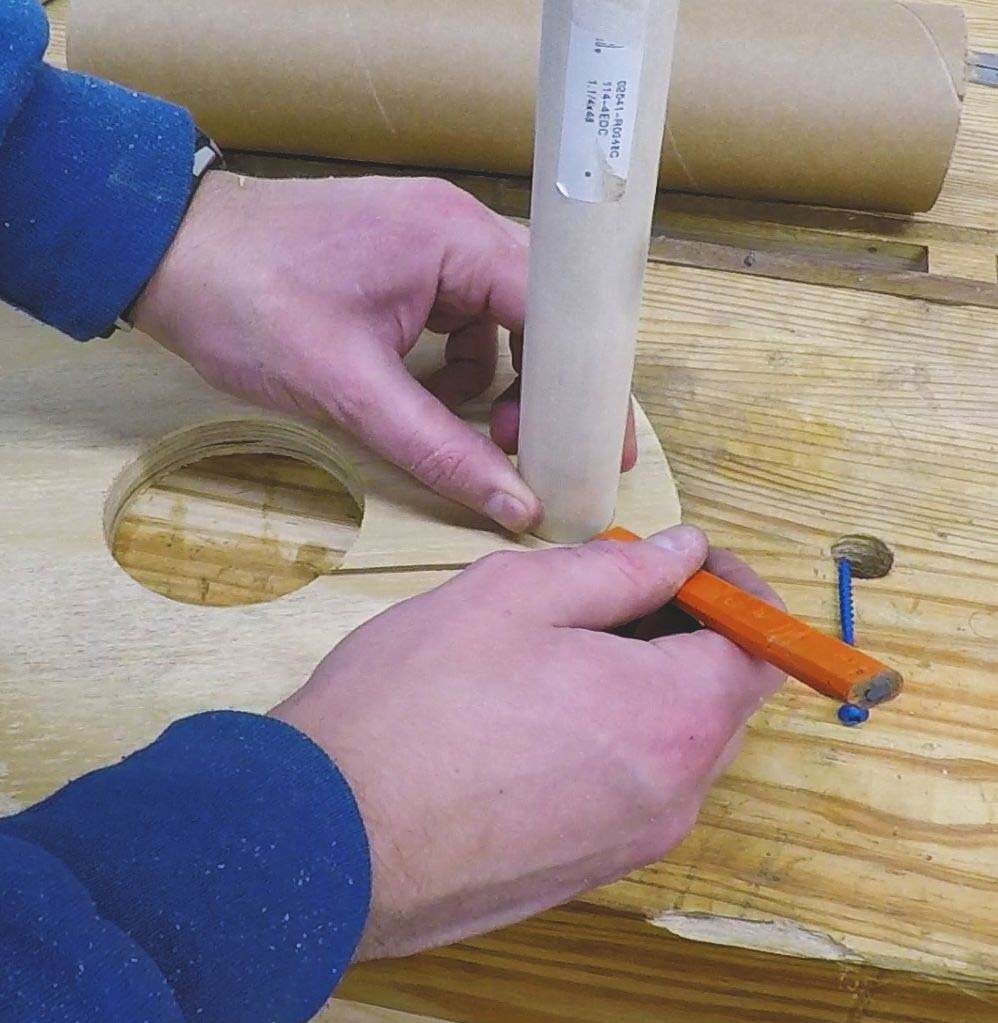
Now we'll lay out for the hole that accepts the cardboard tube. Measure the diameter of the tube, and use your dividers/compass to mark this on the plywood as well. You want this to have the same center as the larger circle, of course.
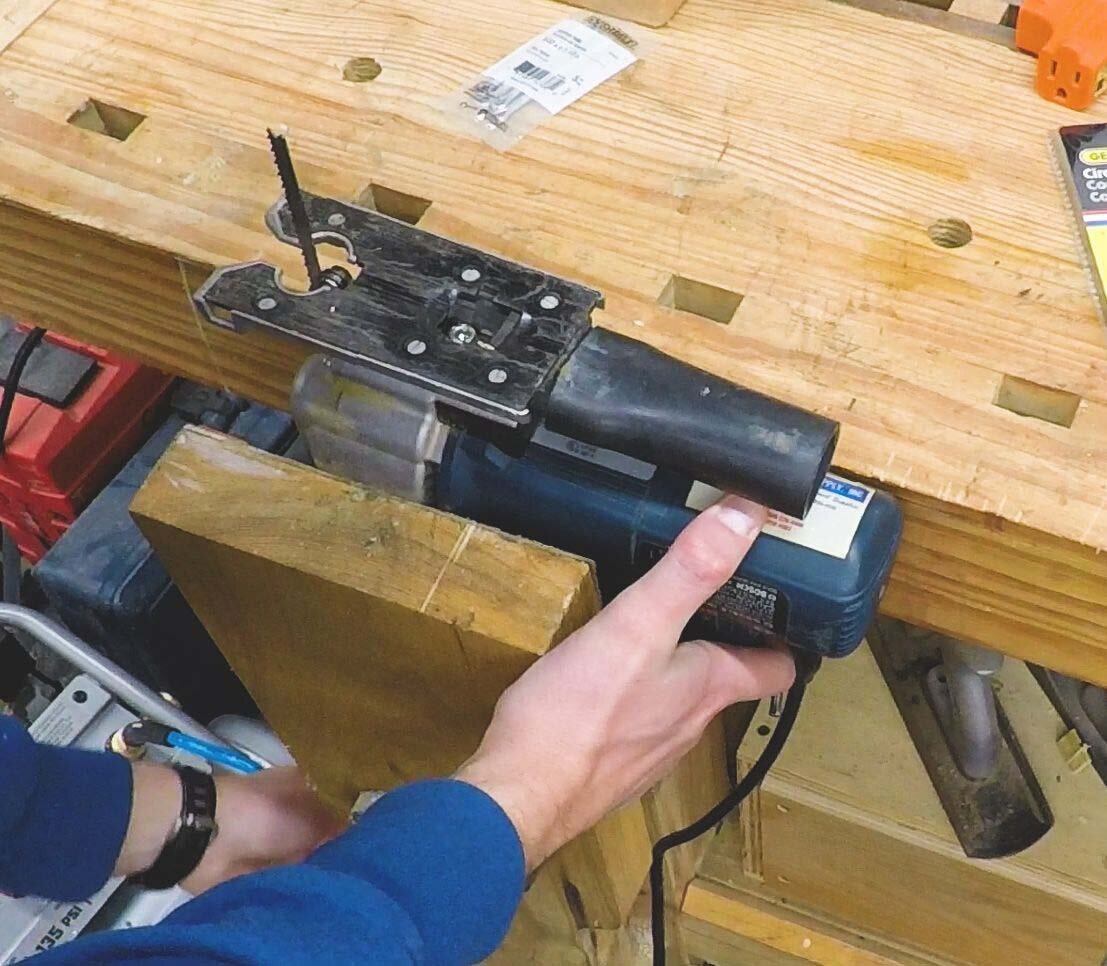
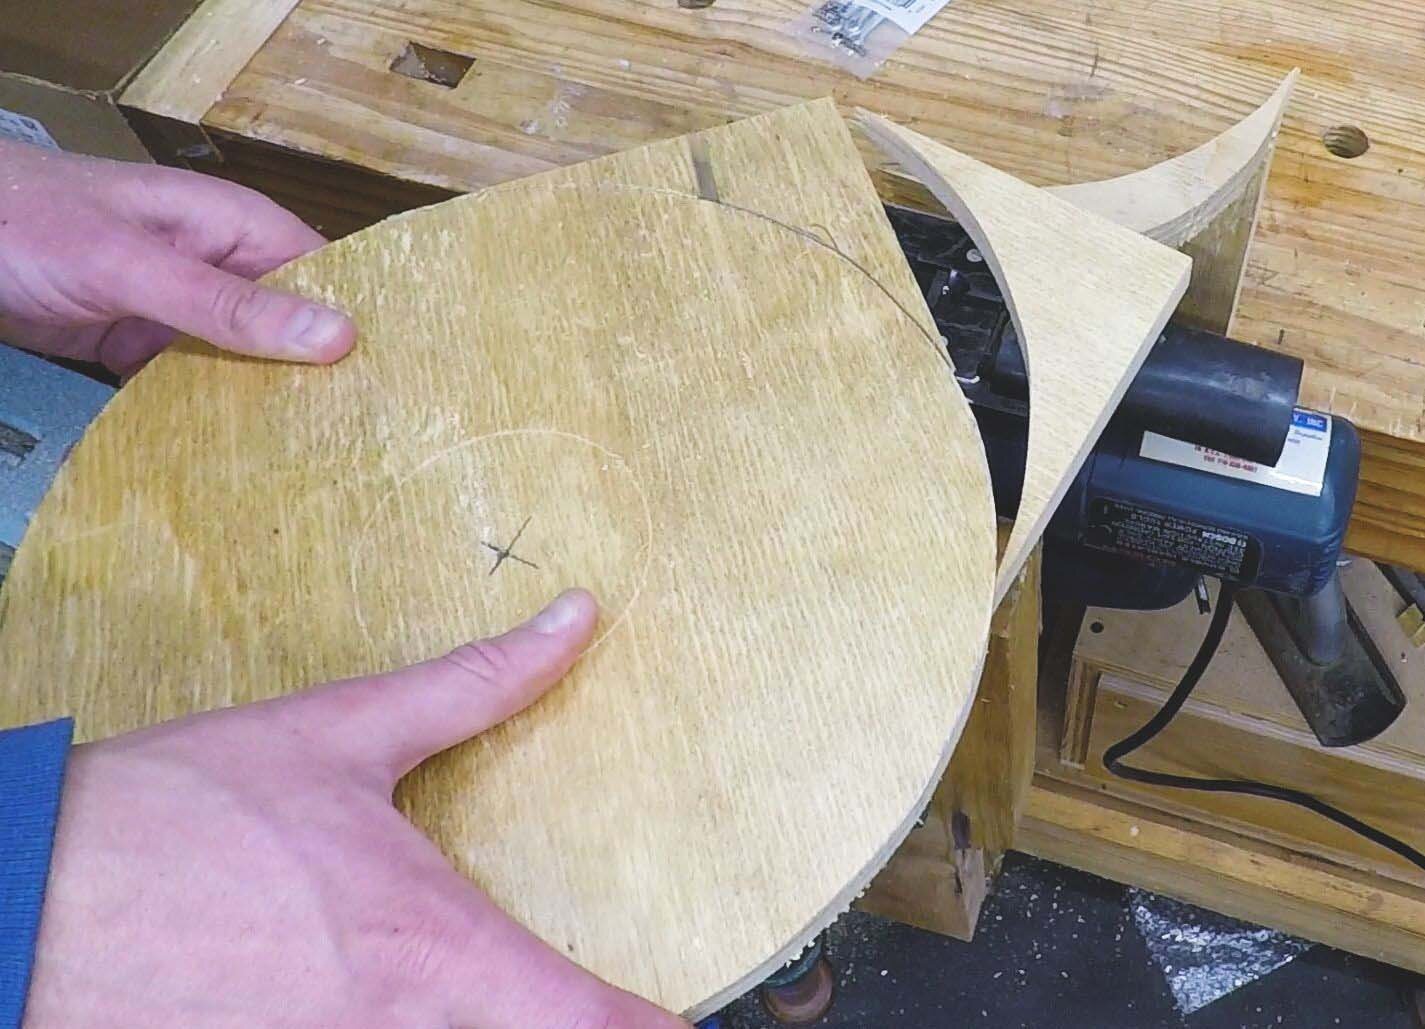
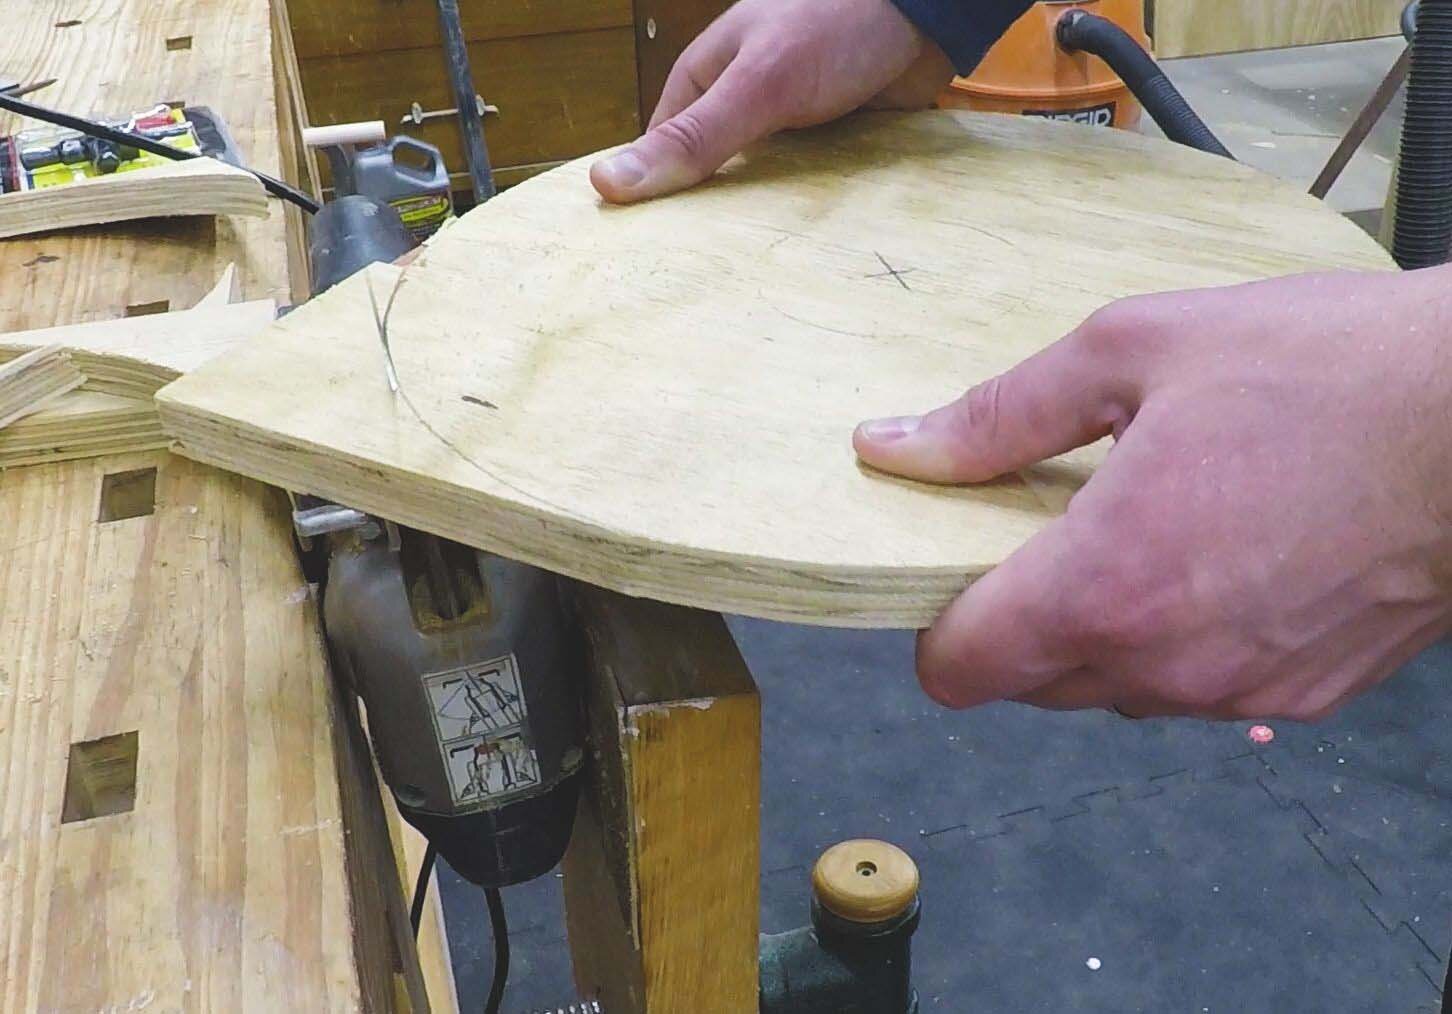
Cut the larger-diameter circle out of the plywood pieces. For this, I set my jigsaw upside-down in my vise, creating sort of a poor-man's bandsaw. An actual bandsaw will work better, and probably be a bit safer.
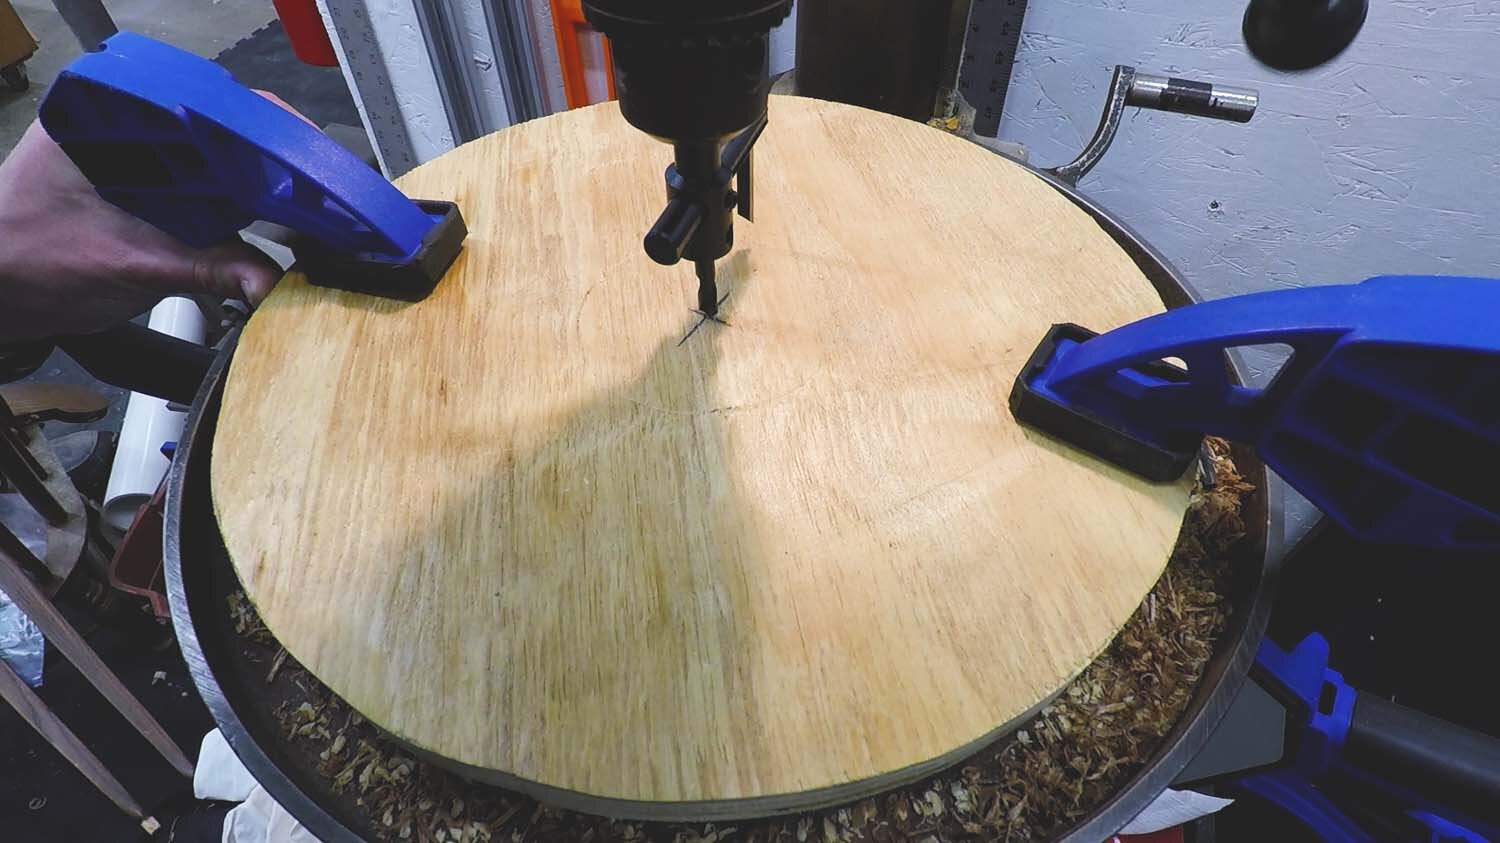
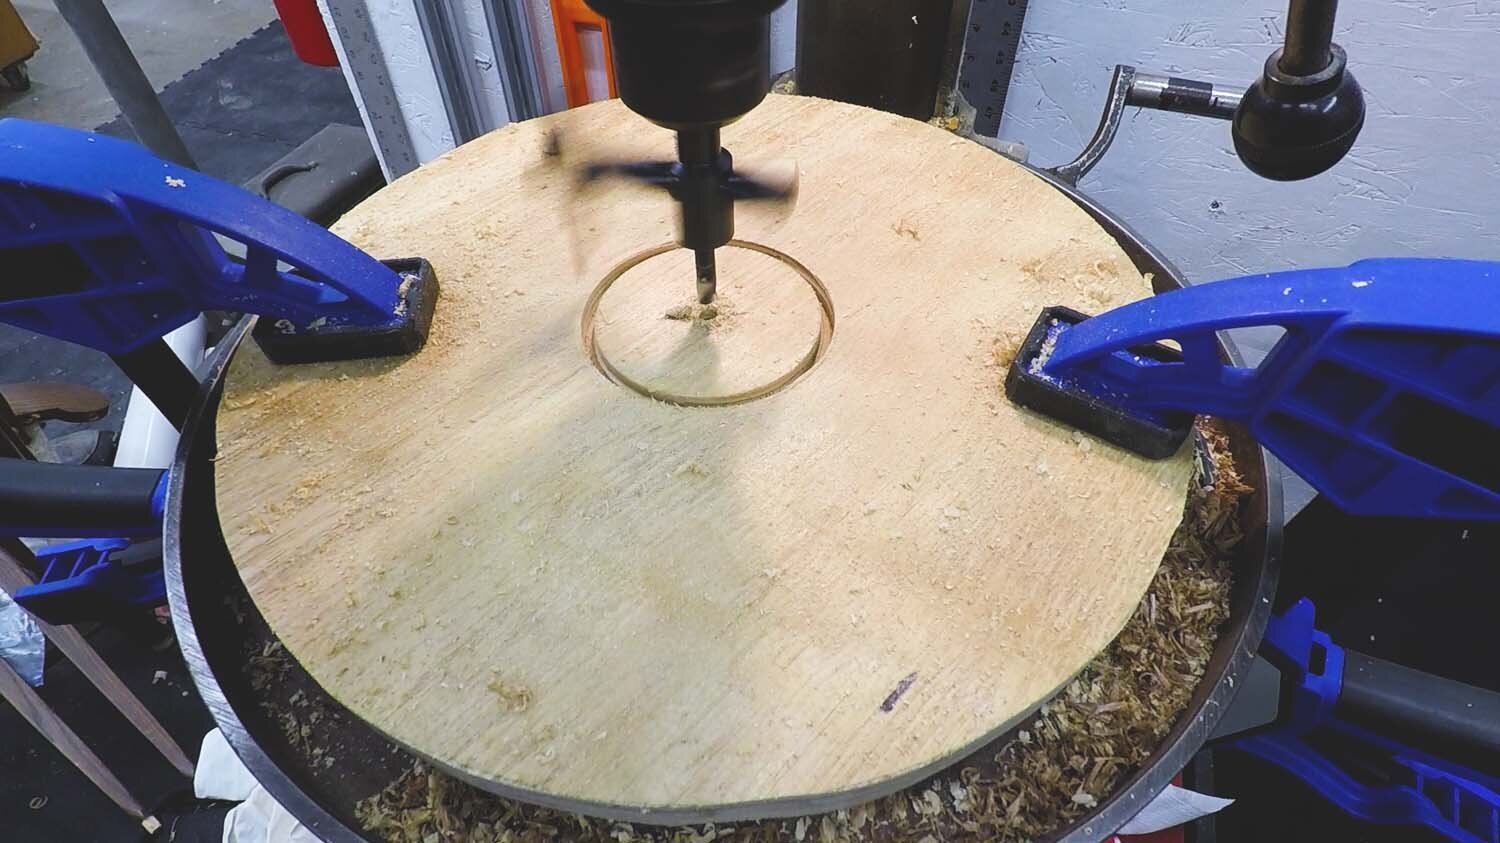
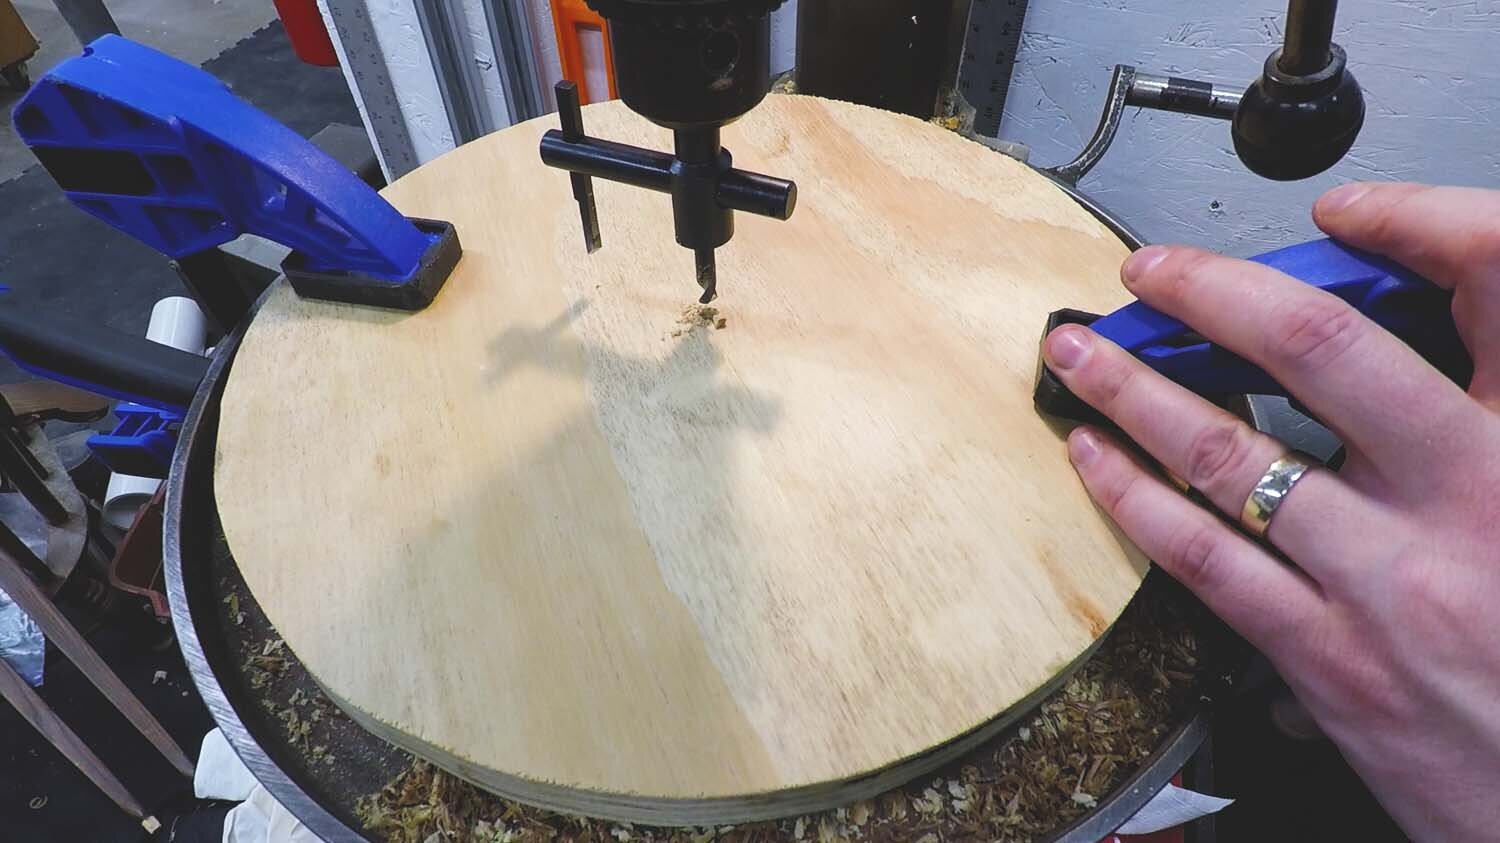
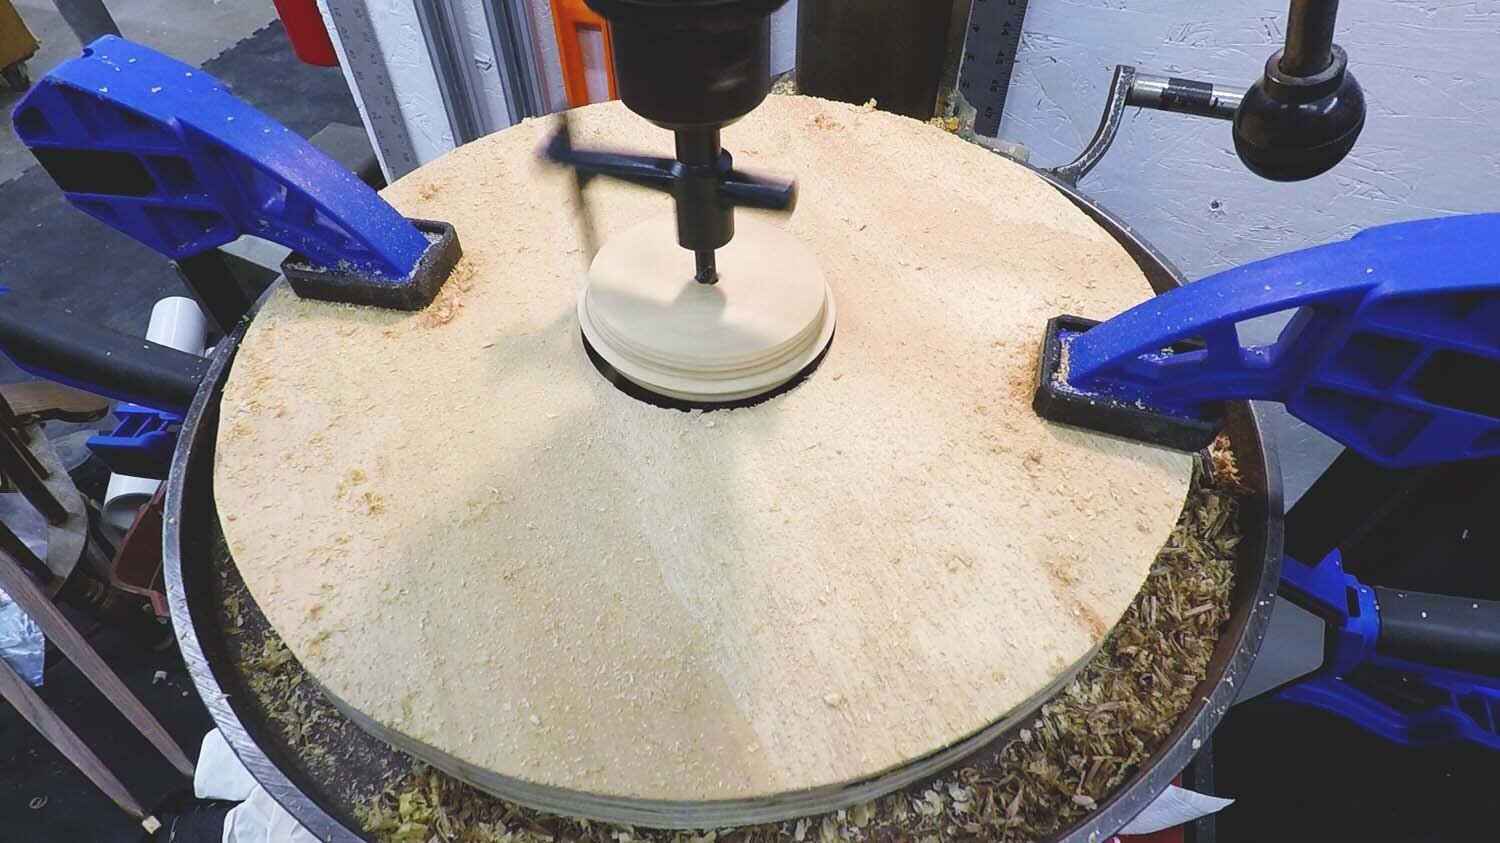
Since the cardboard tube most likely does not match any standard-dimension hole saw size, use a circle cutter to cut the hole for the tube. These bits are made to work from both sides of a piece, so cut halfway through the plywood from one side, then flip it over to finish the cut. I recommend clamping the piece down while you do this, because these circle cutters are quite grabby. Also, do not use a circle cutter like this in a handheld drill - they need to be fed very precisely into the work, which is basically impossible to do manually.
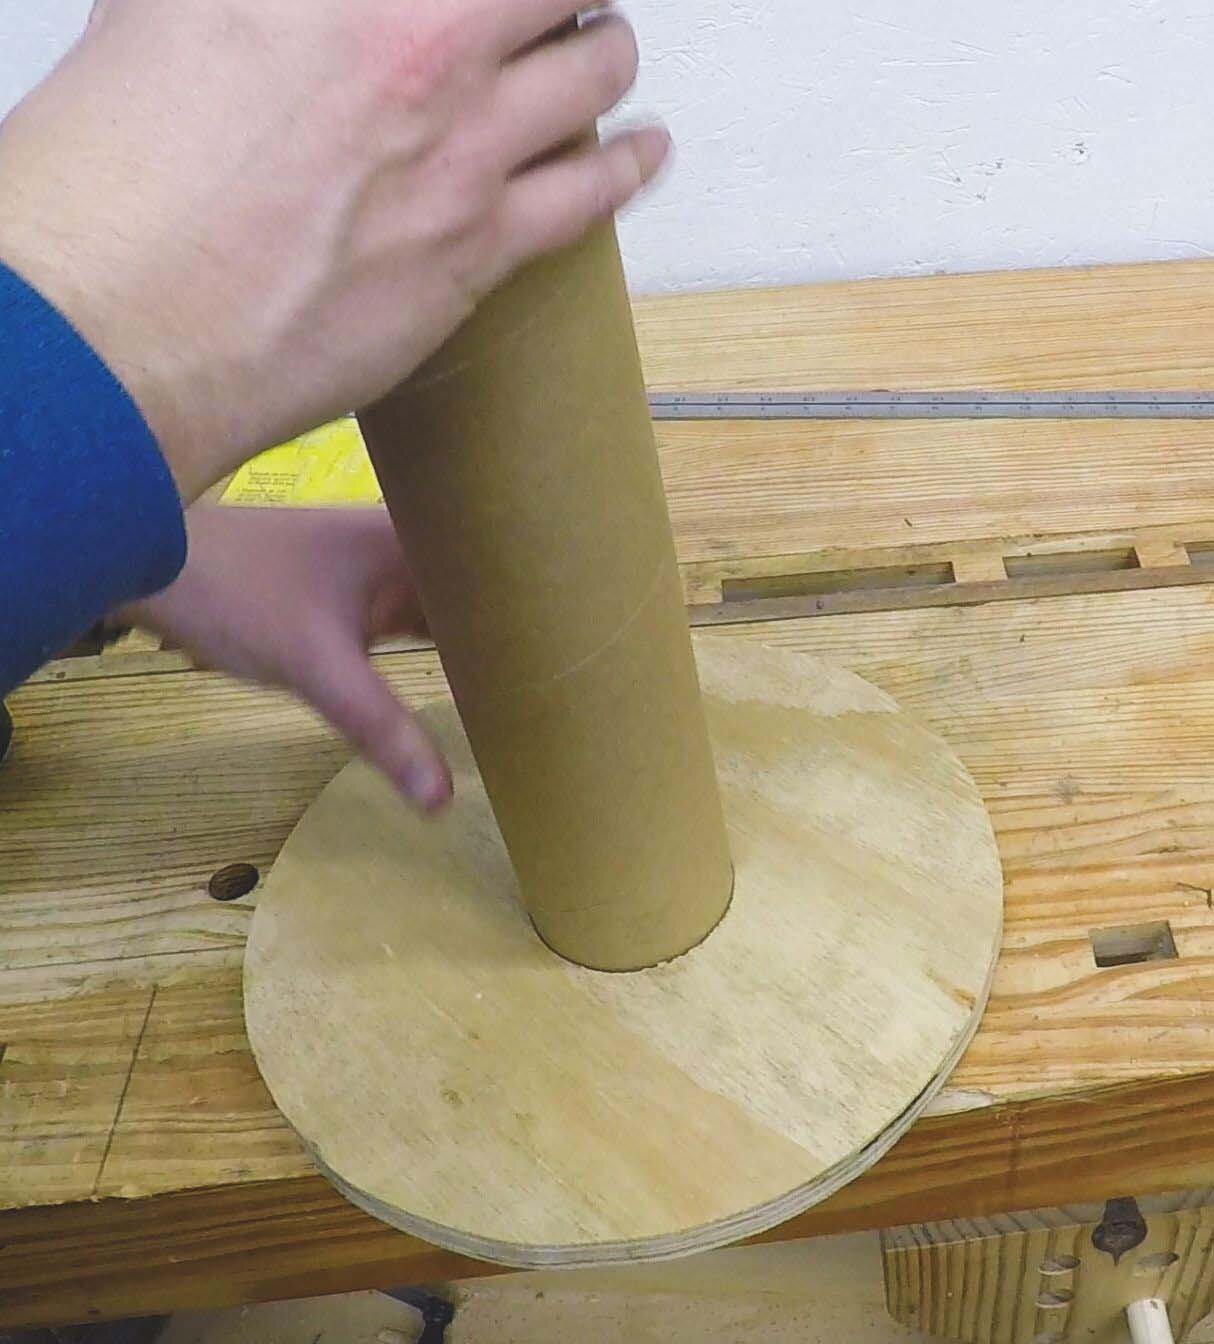
If you can manage it, this circle should be a piston fit to the cardboard tube, with no wiggle room. If it's just slightly too large, we can adjust later. If it's way too large, you'll have to start over on that plywood piece.
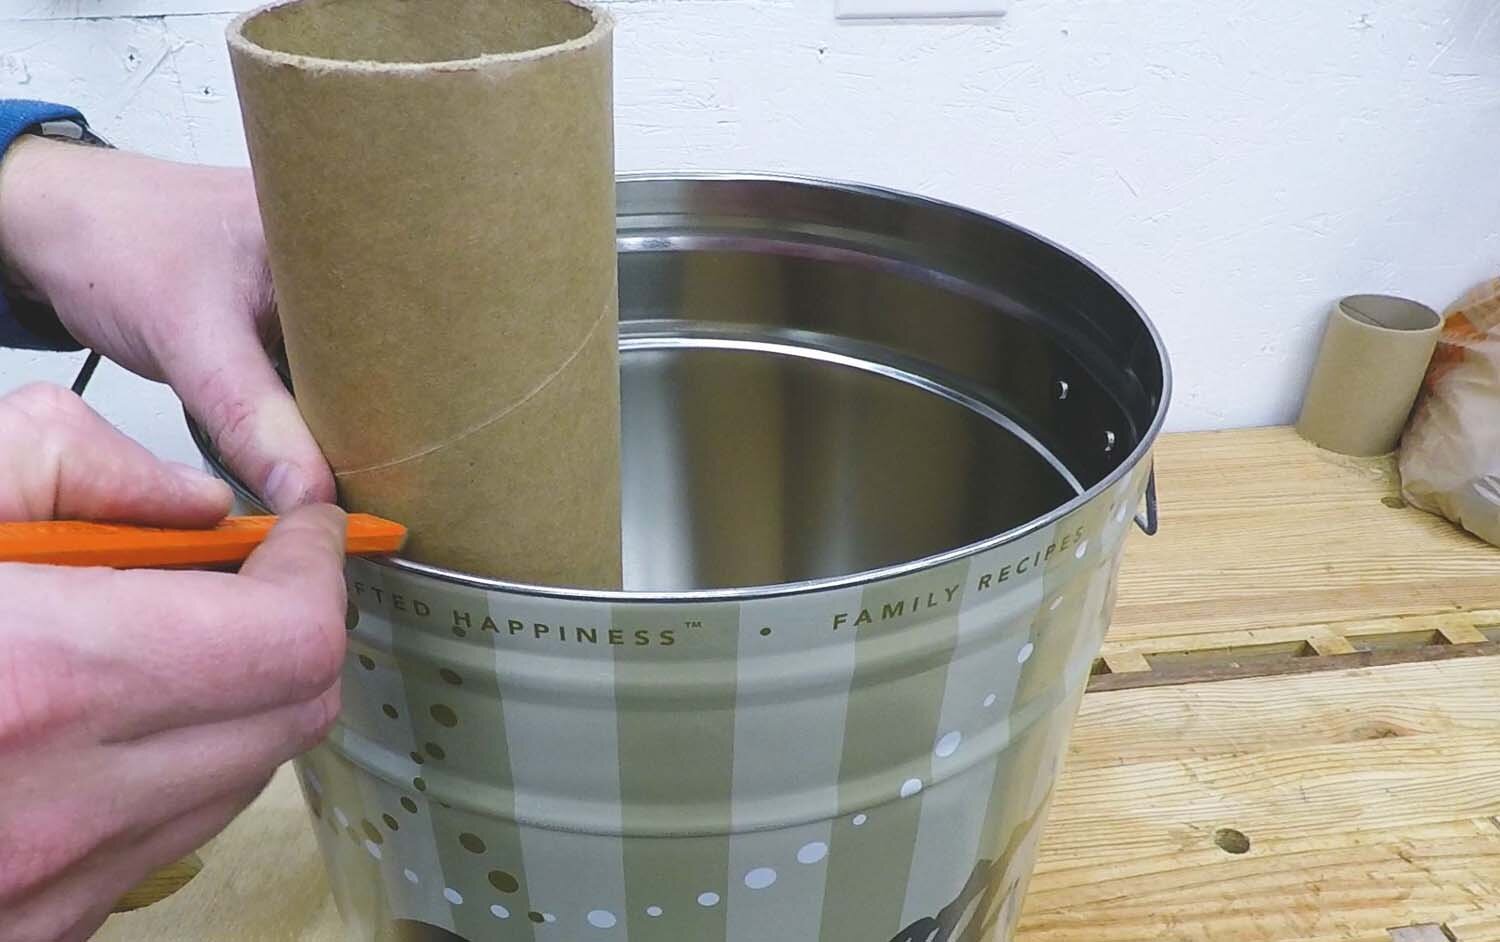
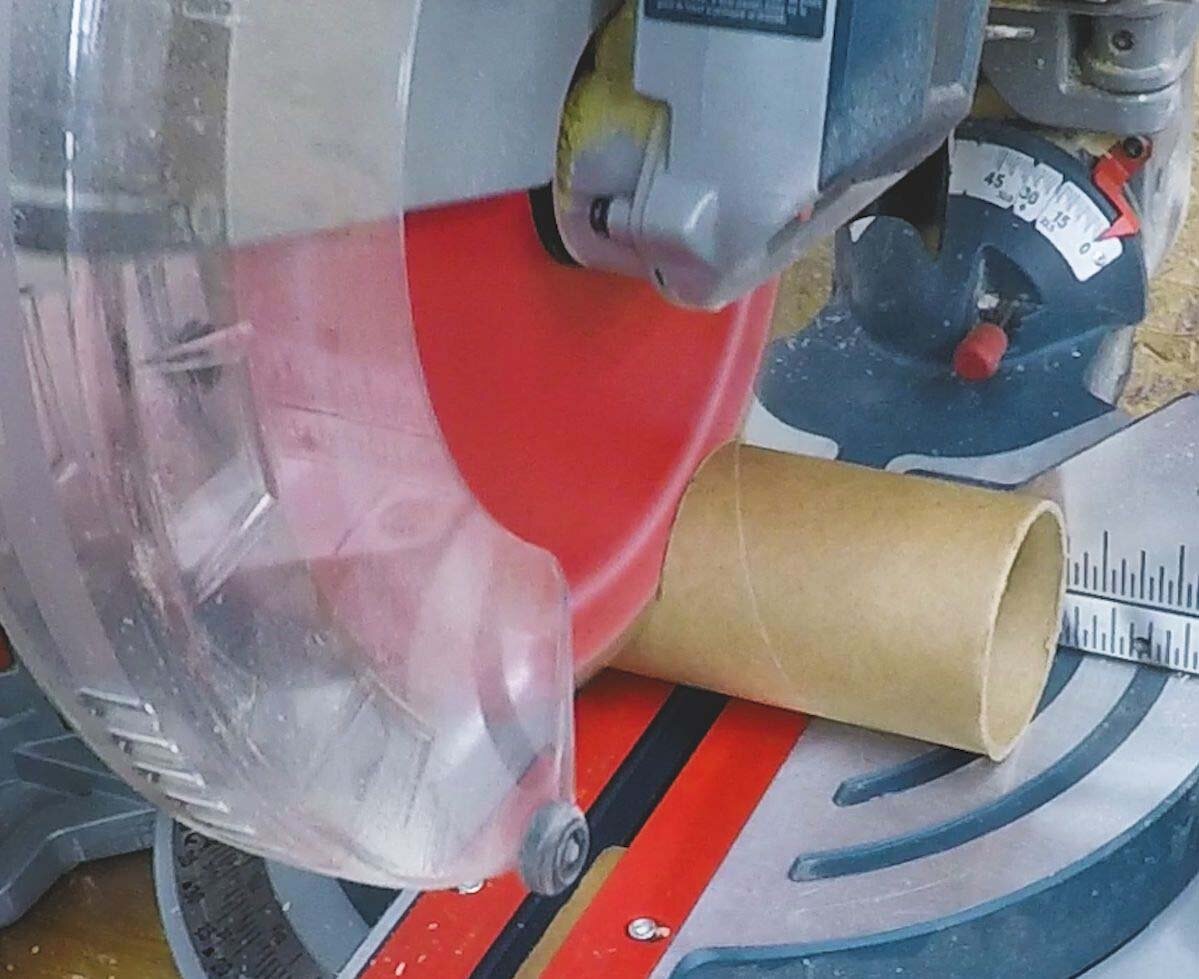
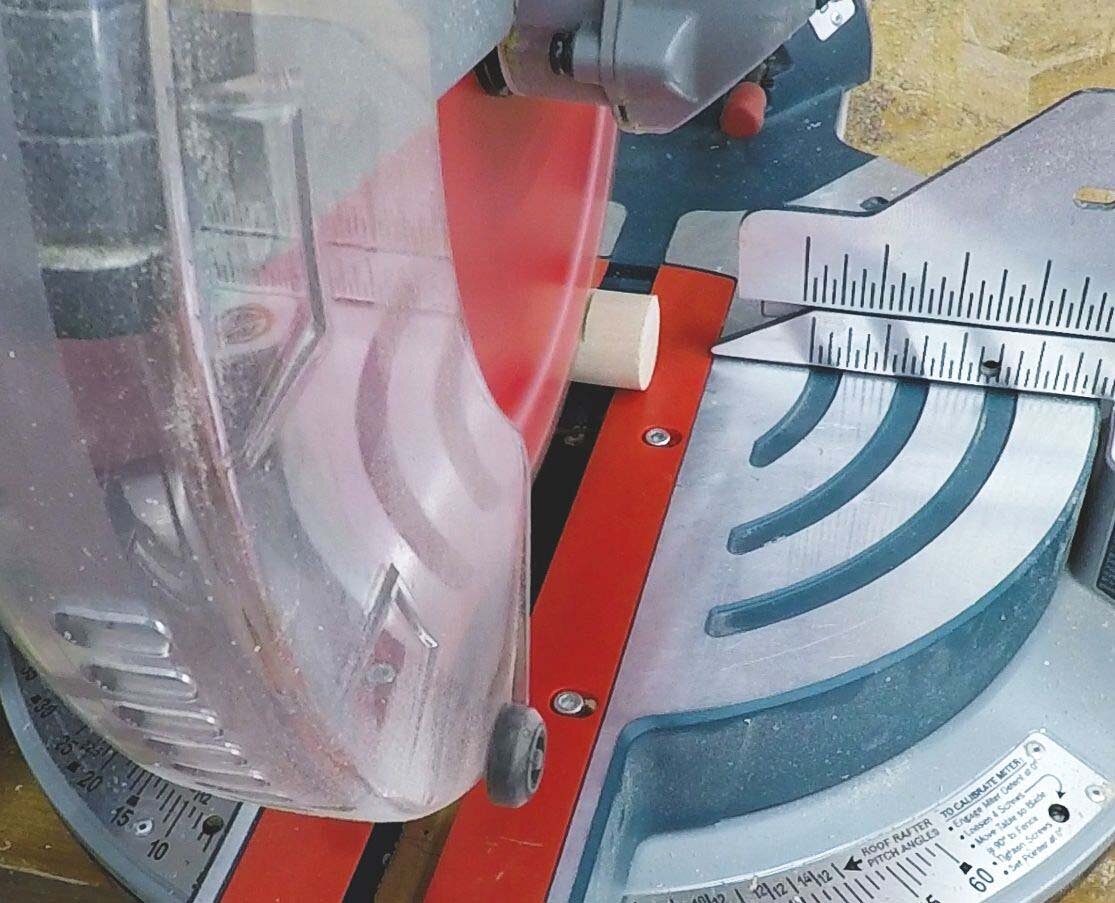
Using the cardboard tin as a measure, mark the carboard tube to cut it to length. You want it maybe 1/4" less in length than the tin to ensure it fits. I used a miter saw to cut the tube to length, though a handsaw will work fine.
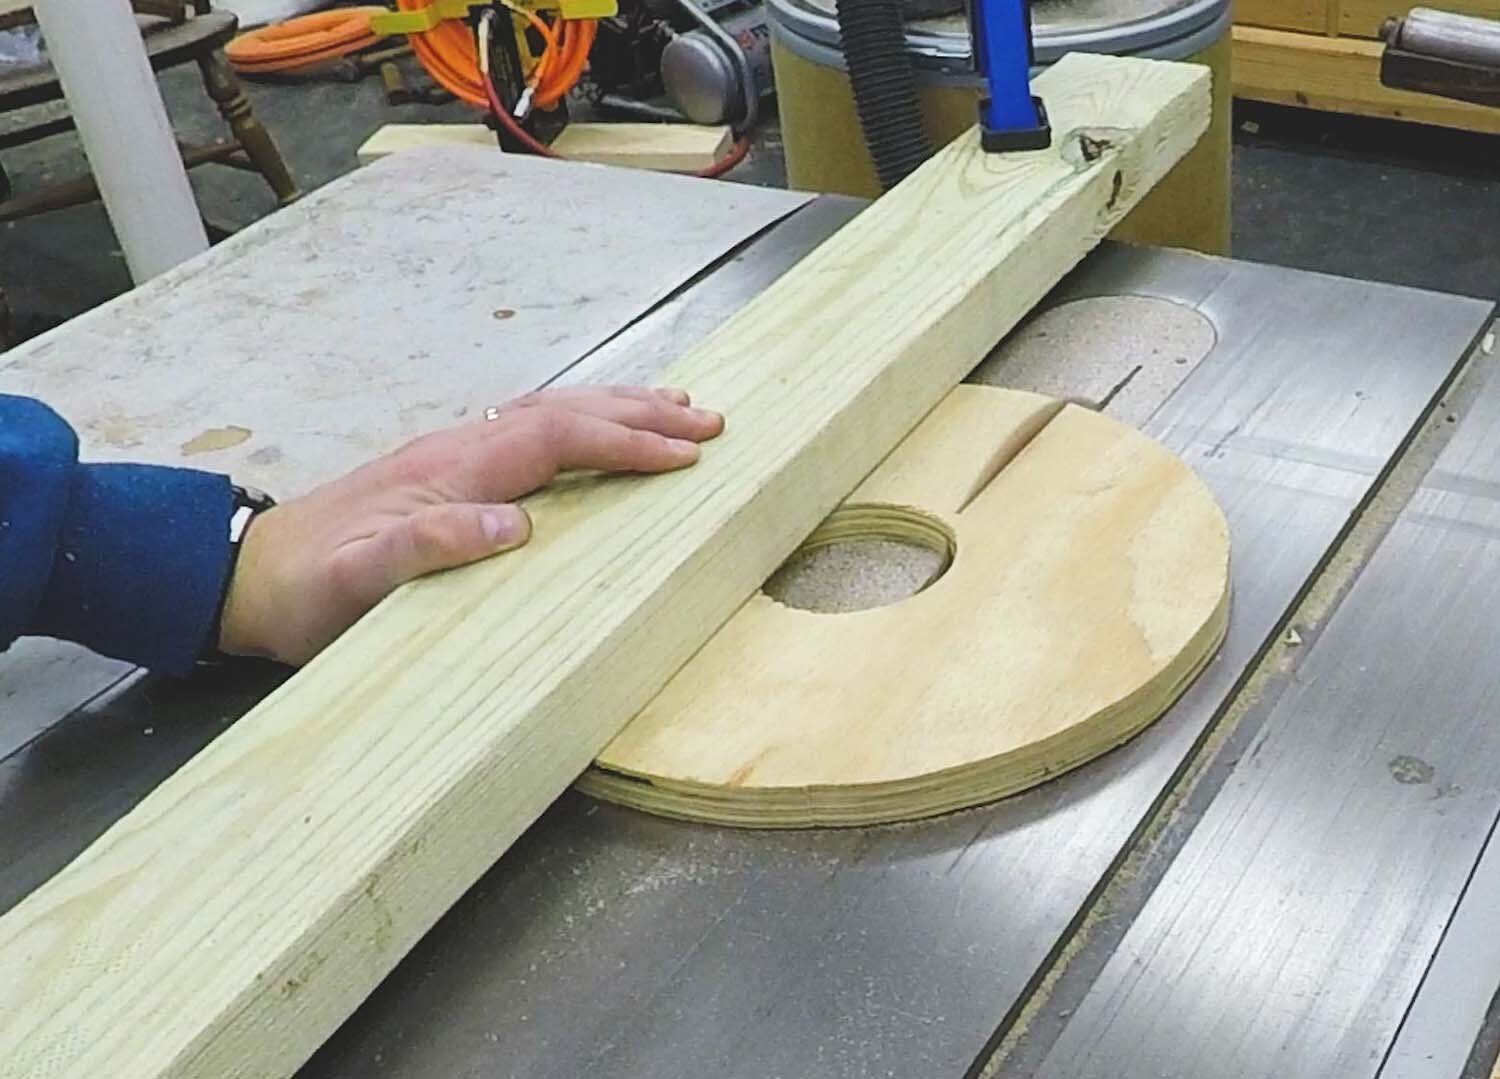
This next bit is tricky and requires good clamping. To help keep the plywood disks on the tube, we're going to cut a relief slot in the disk, which will allow a screw to pinch the disk tight over the tube.
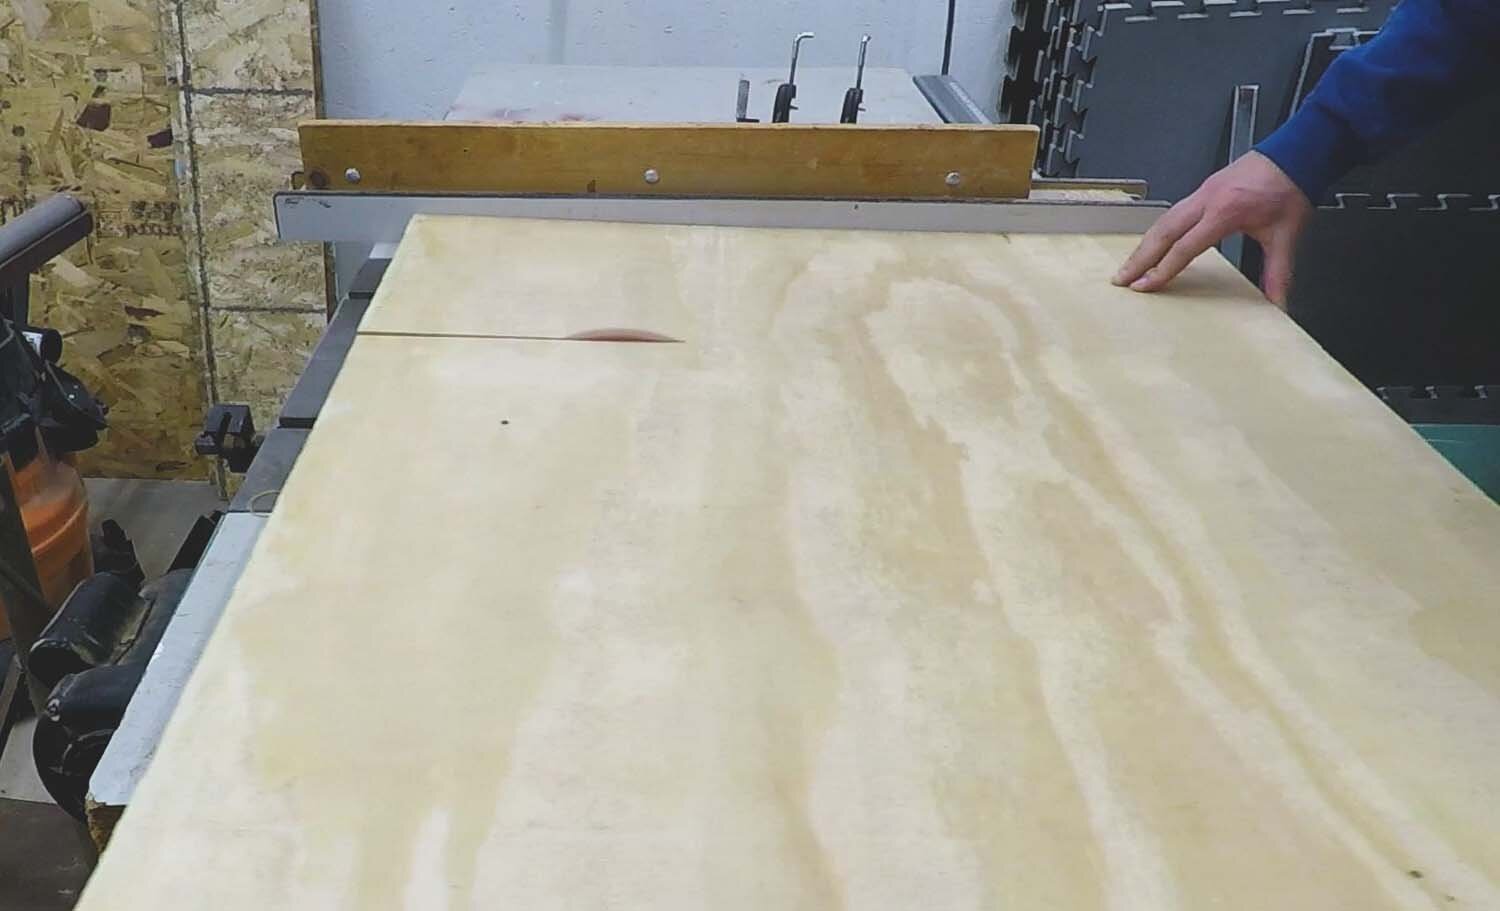
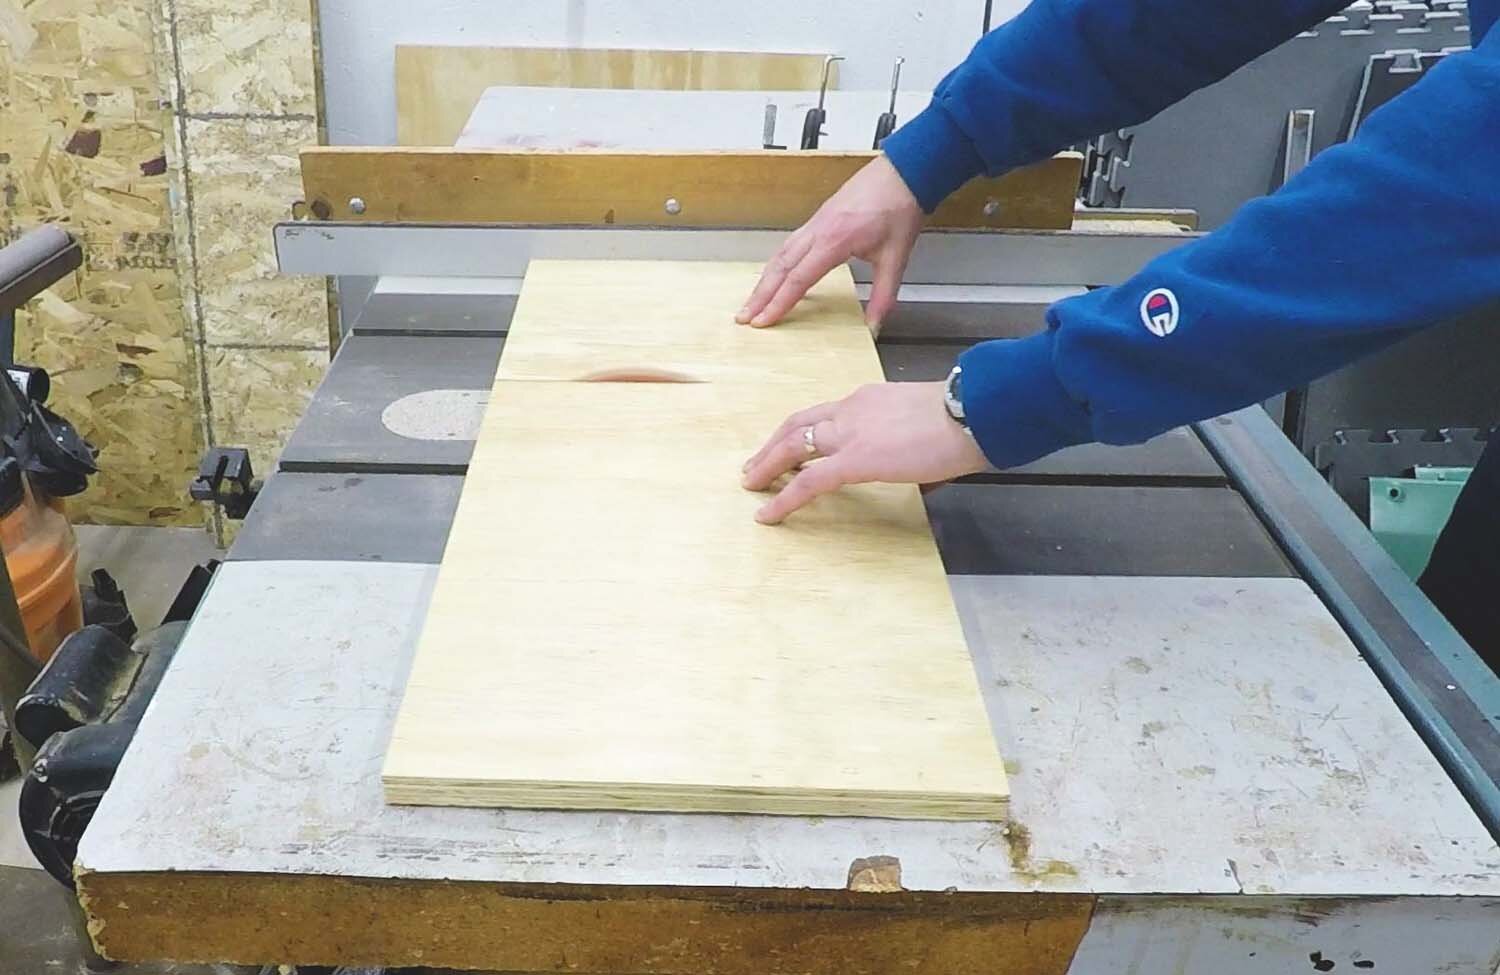
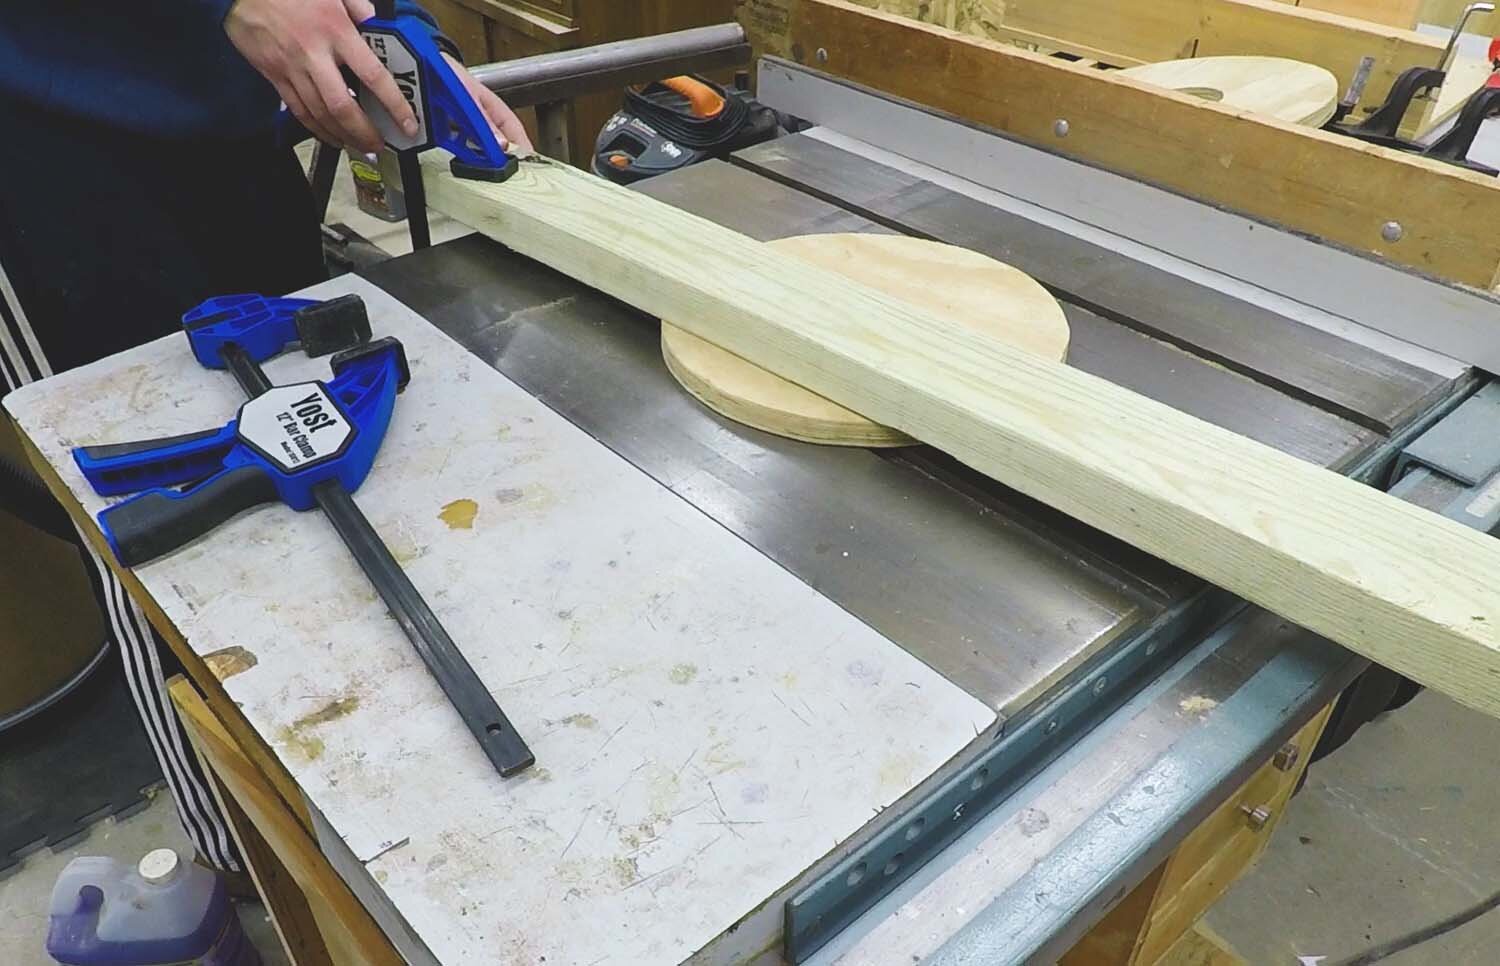
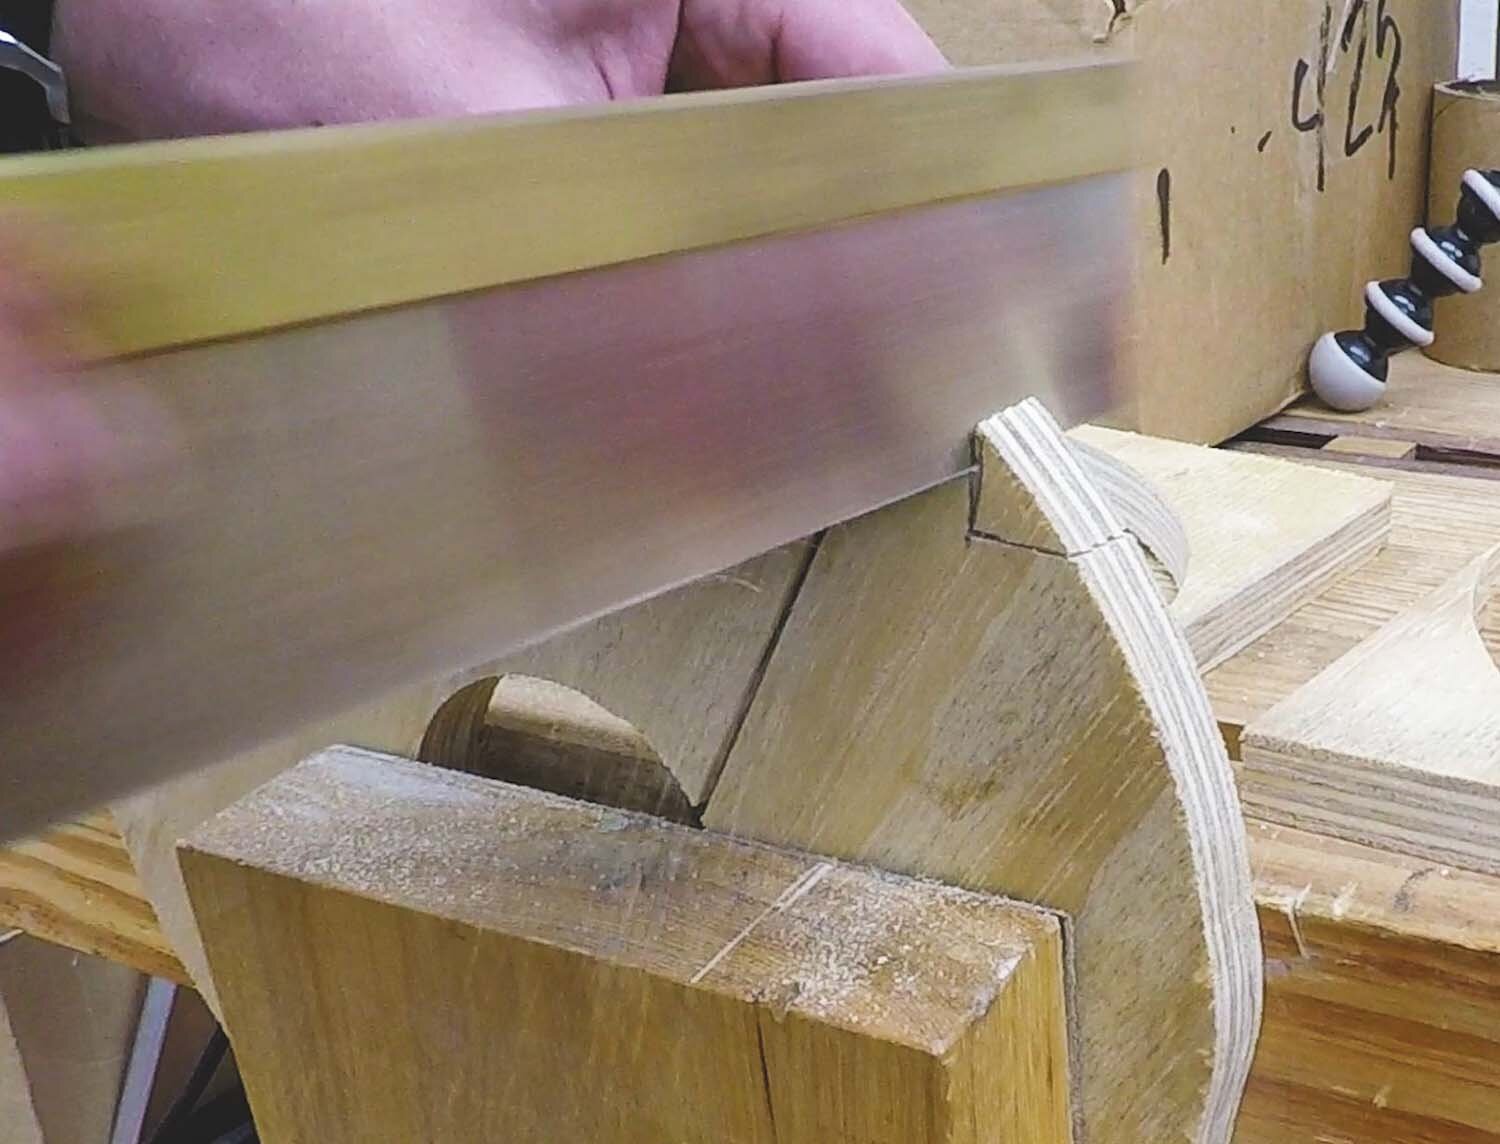
Using a board of sufficient length to span the bed of your table saw, clamp the disk down such that the table saw blade, once raised, will cut through one side of the disk, as in the picture. The kerf of the blade removes just enough material that we can pinch the inside opening closed some more, locking into the cardboard tube. You start this operation with your table saw blade fully below the table, then turn it on and raise the blade until it cuts through the disk.
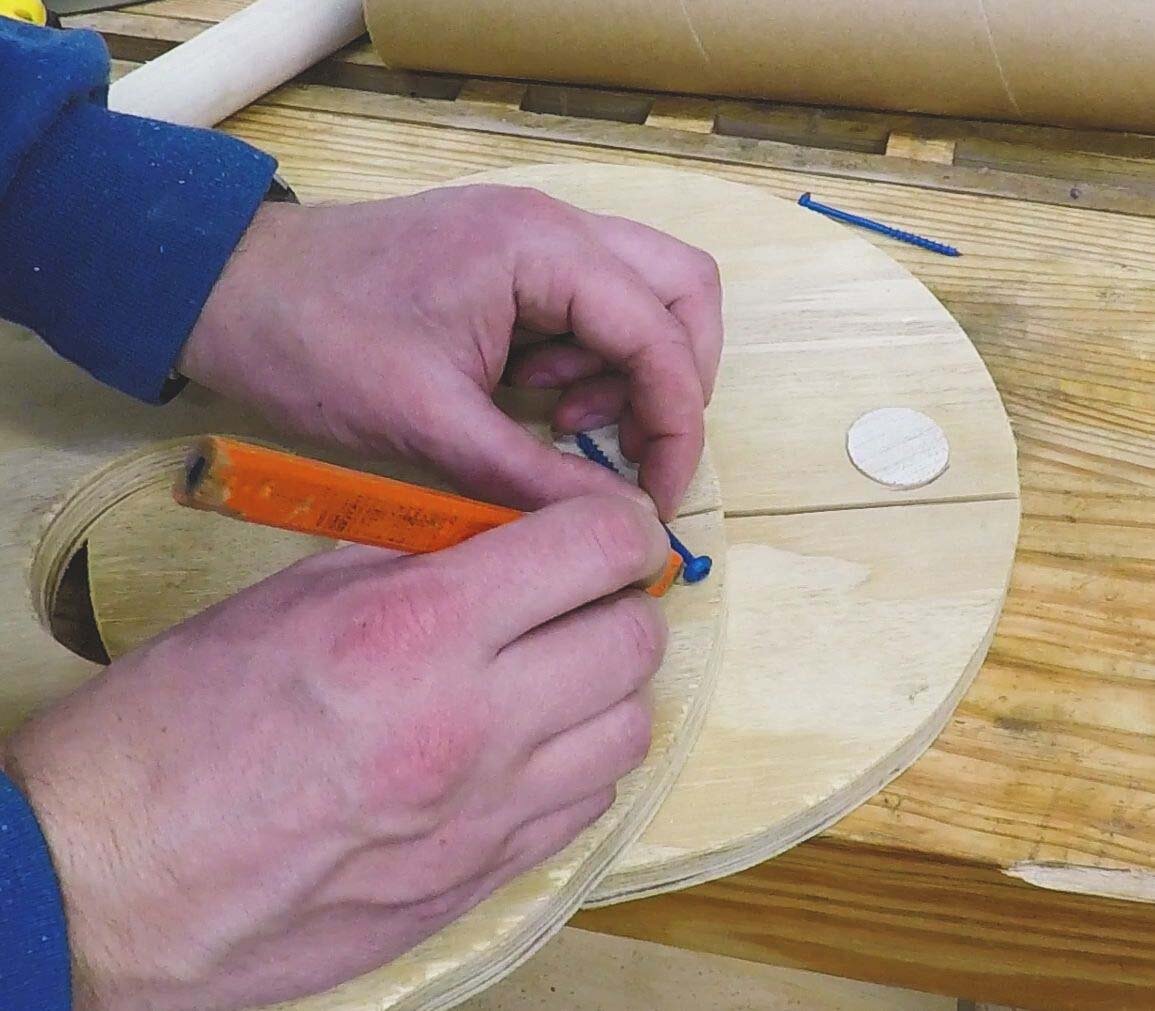
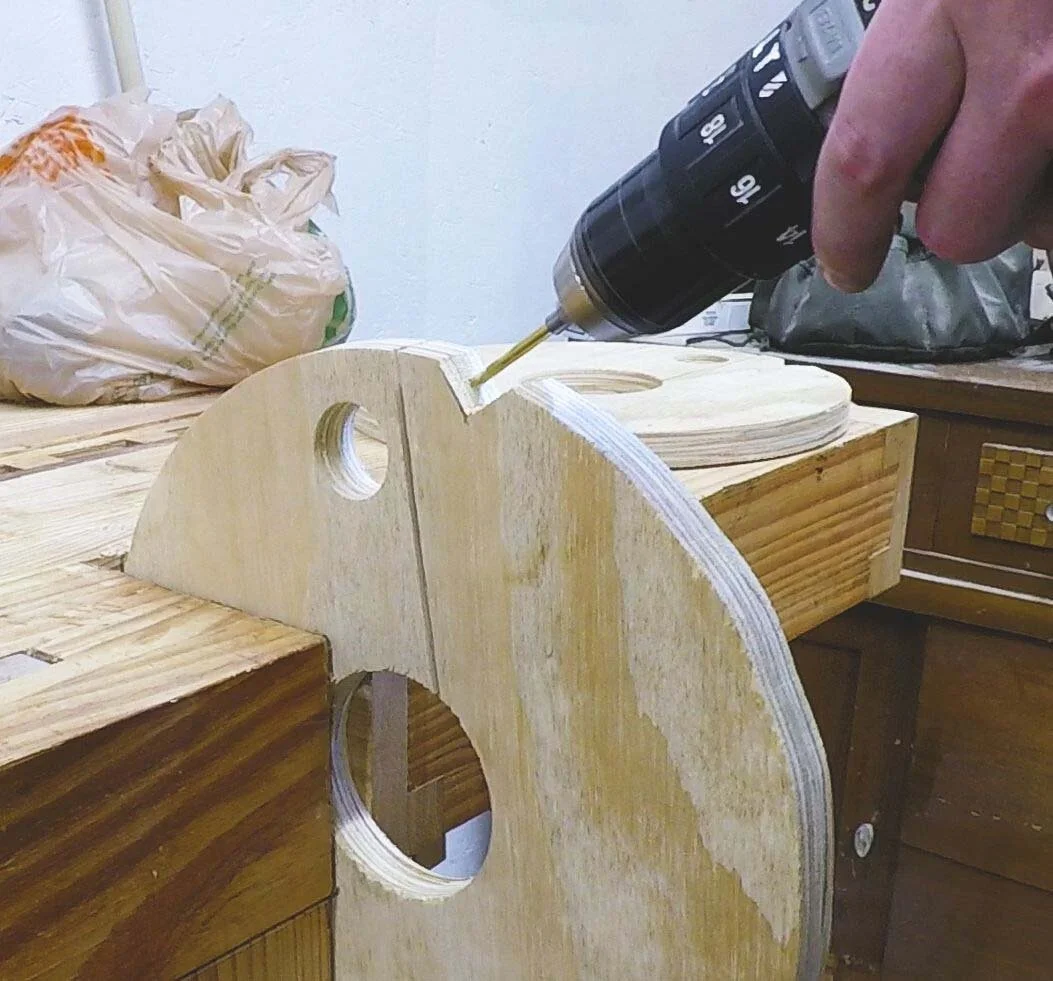
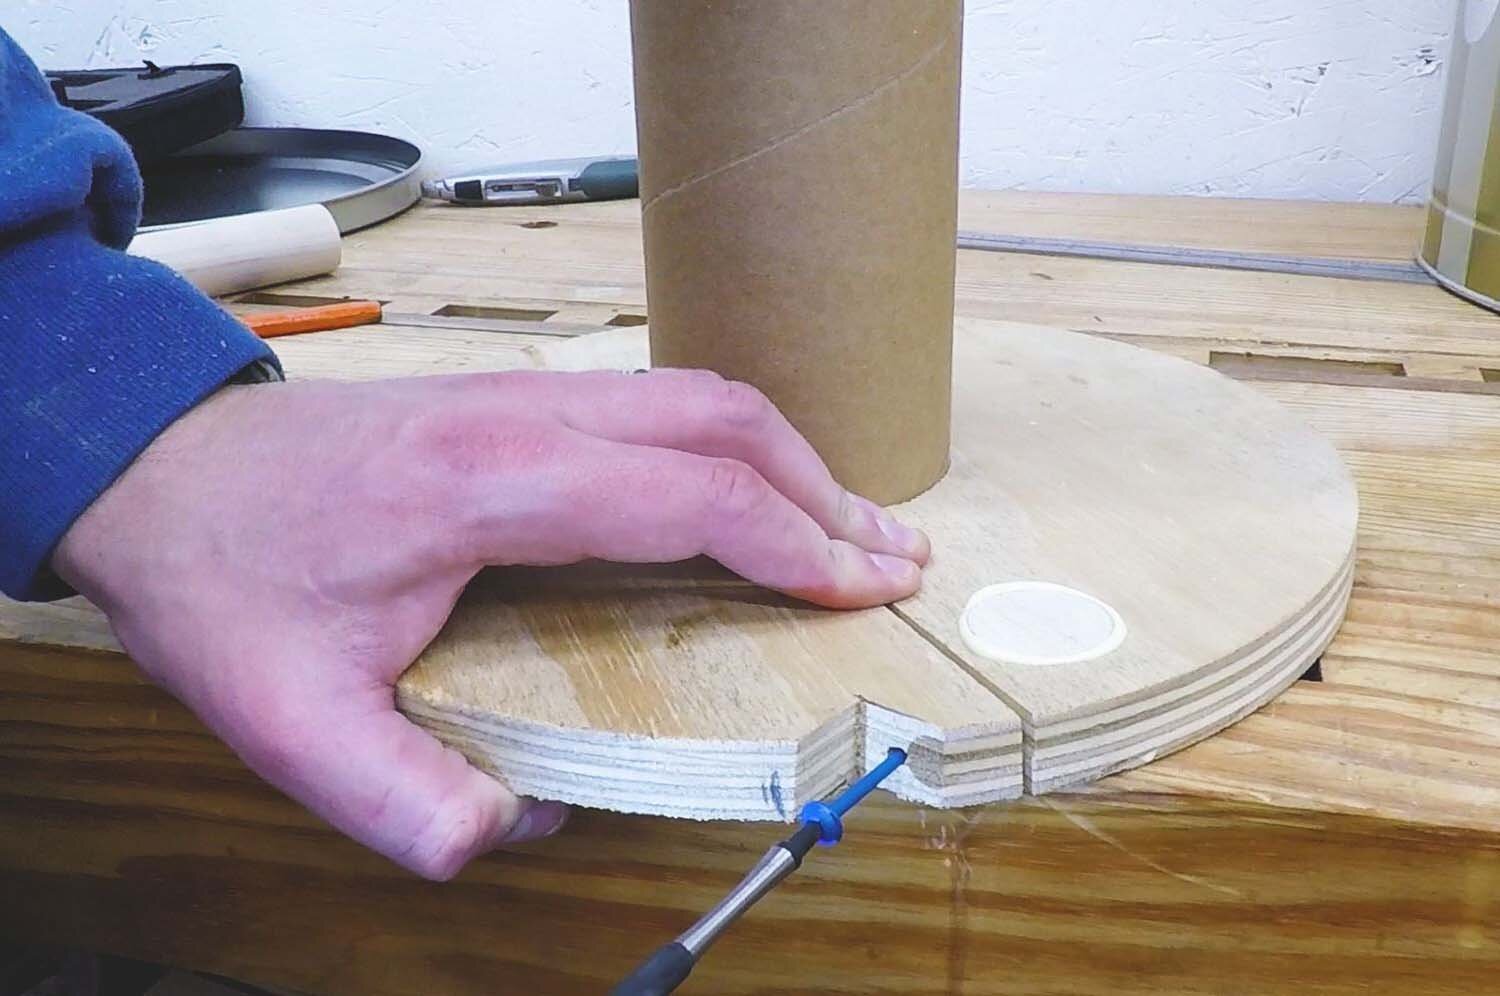
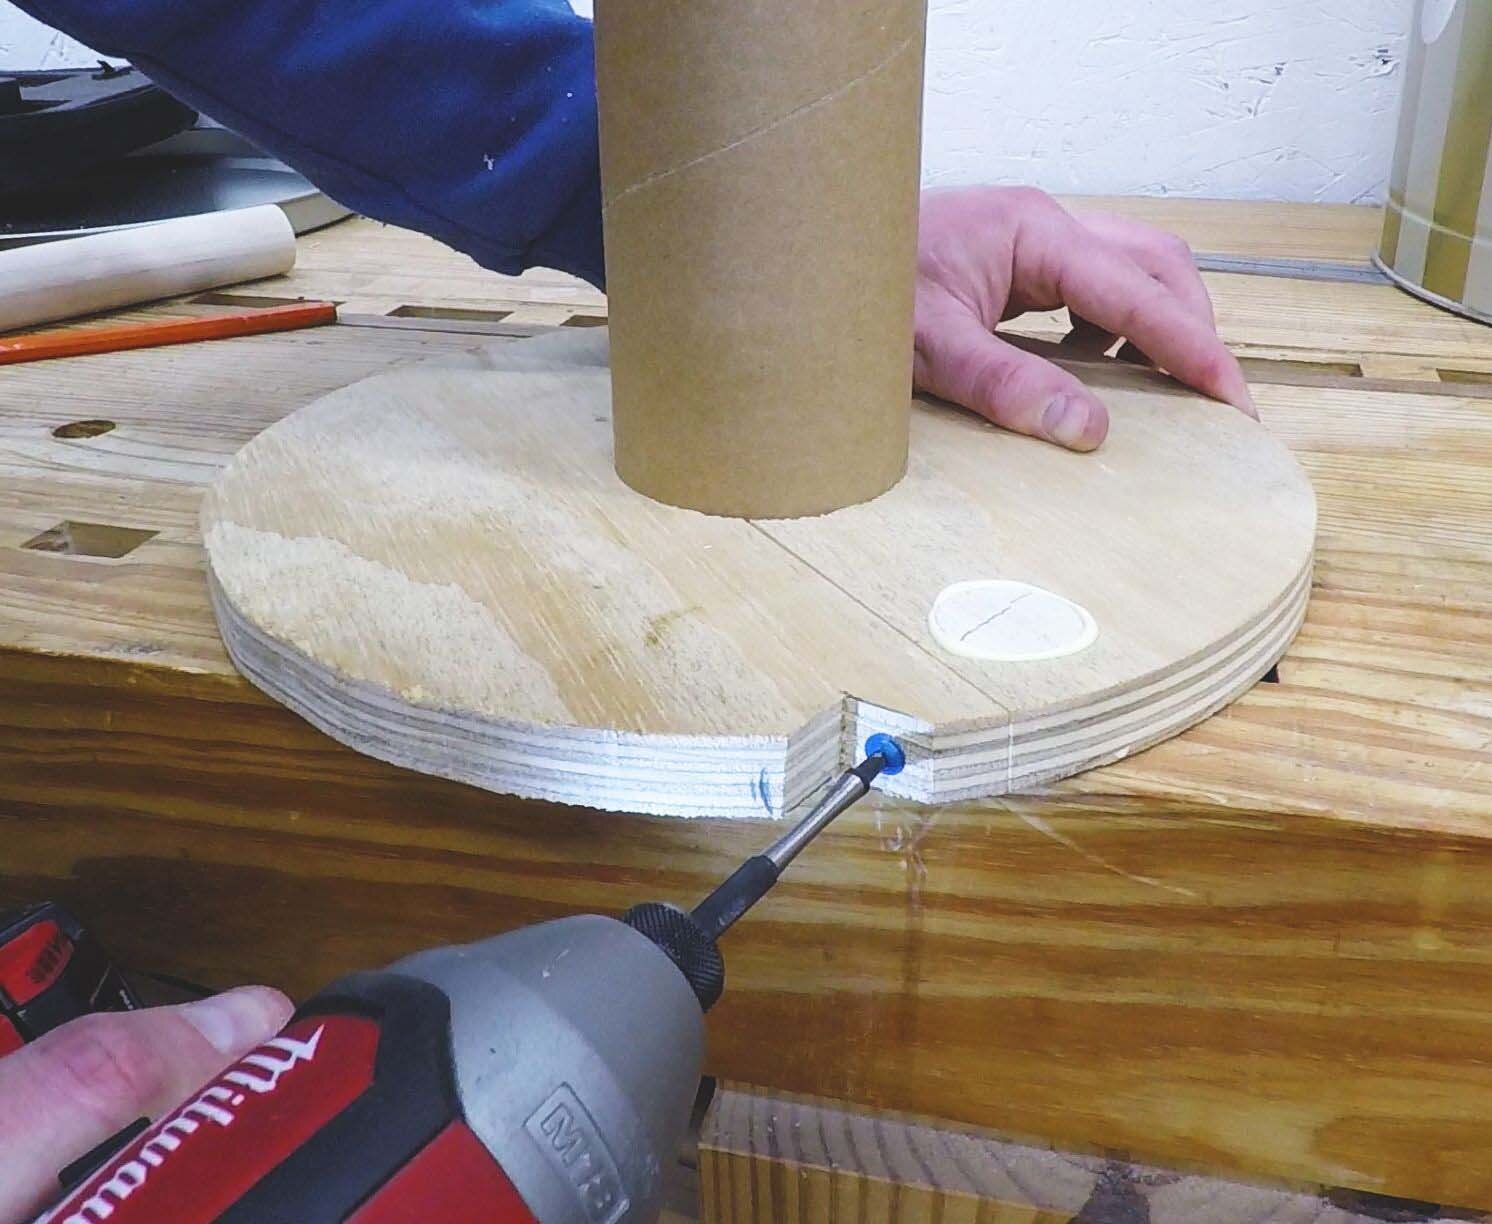
Next, lay out for the dowel and screw on the plywood disks. The dowel allows for the screw to anchor into the face grain of the dowel, which is much stronger than fastening between the plys of the plywood. This screw is what pinches the disk down around the cardboard disk. Drill a hole for the dowel of an appropriate size, then cut it to the same thickness as the plywood.
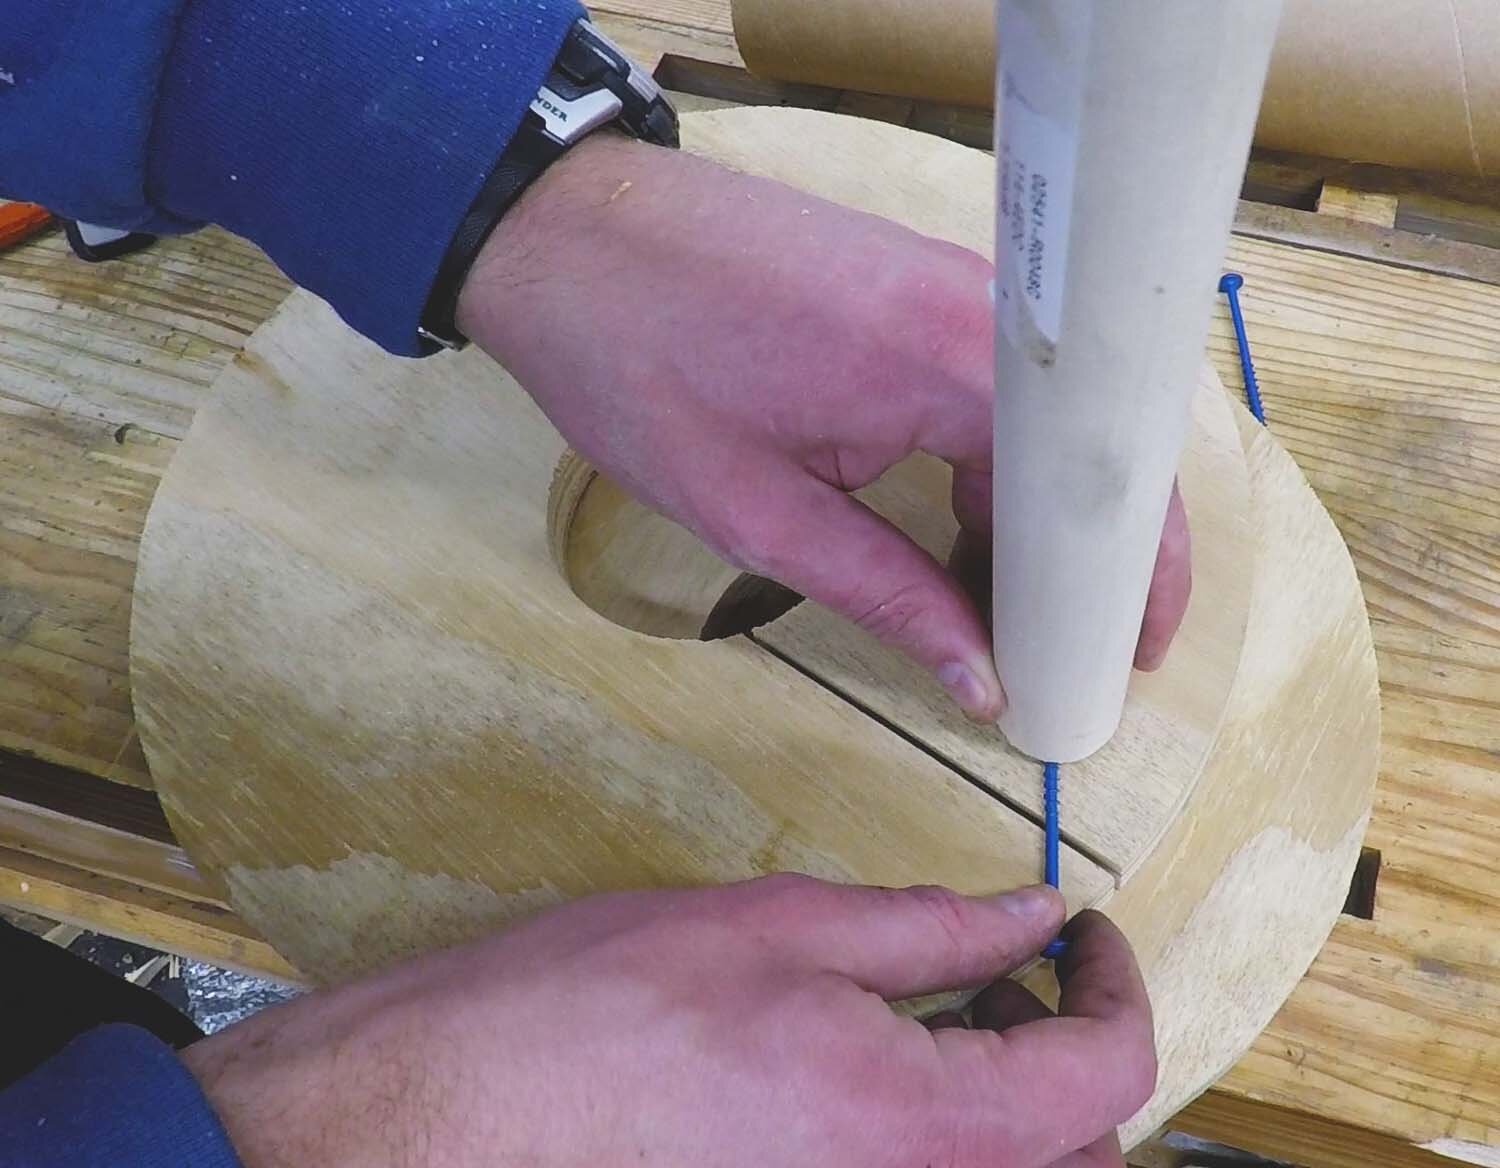
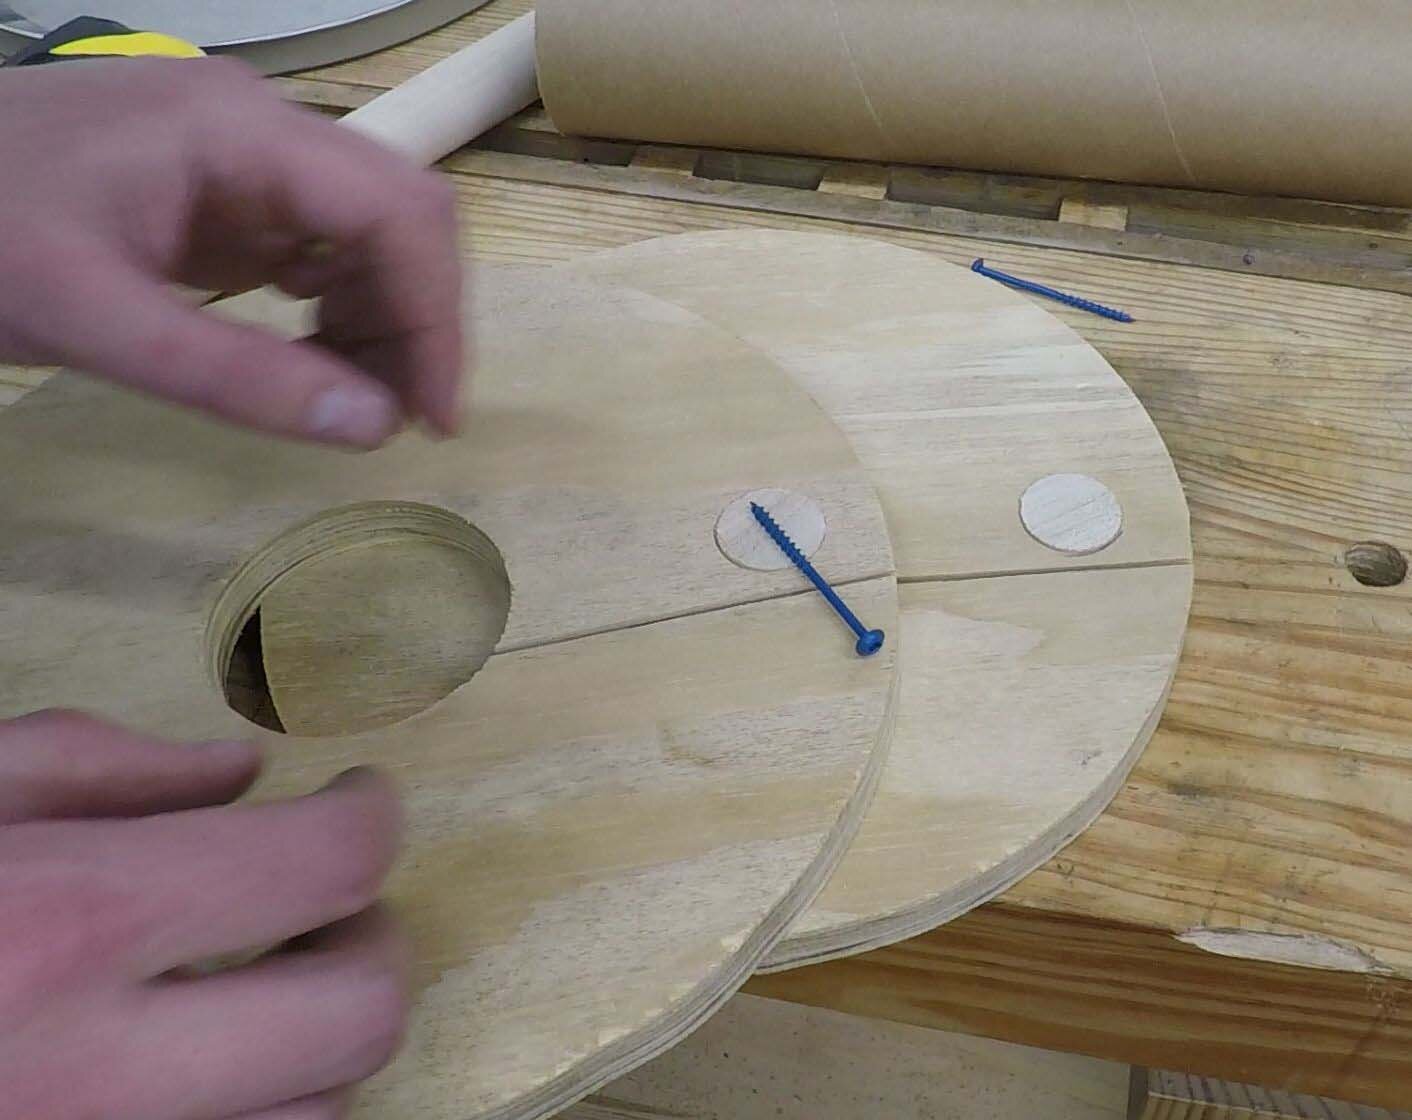
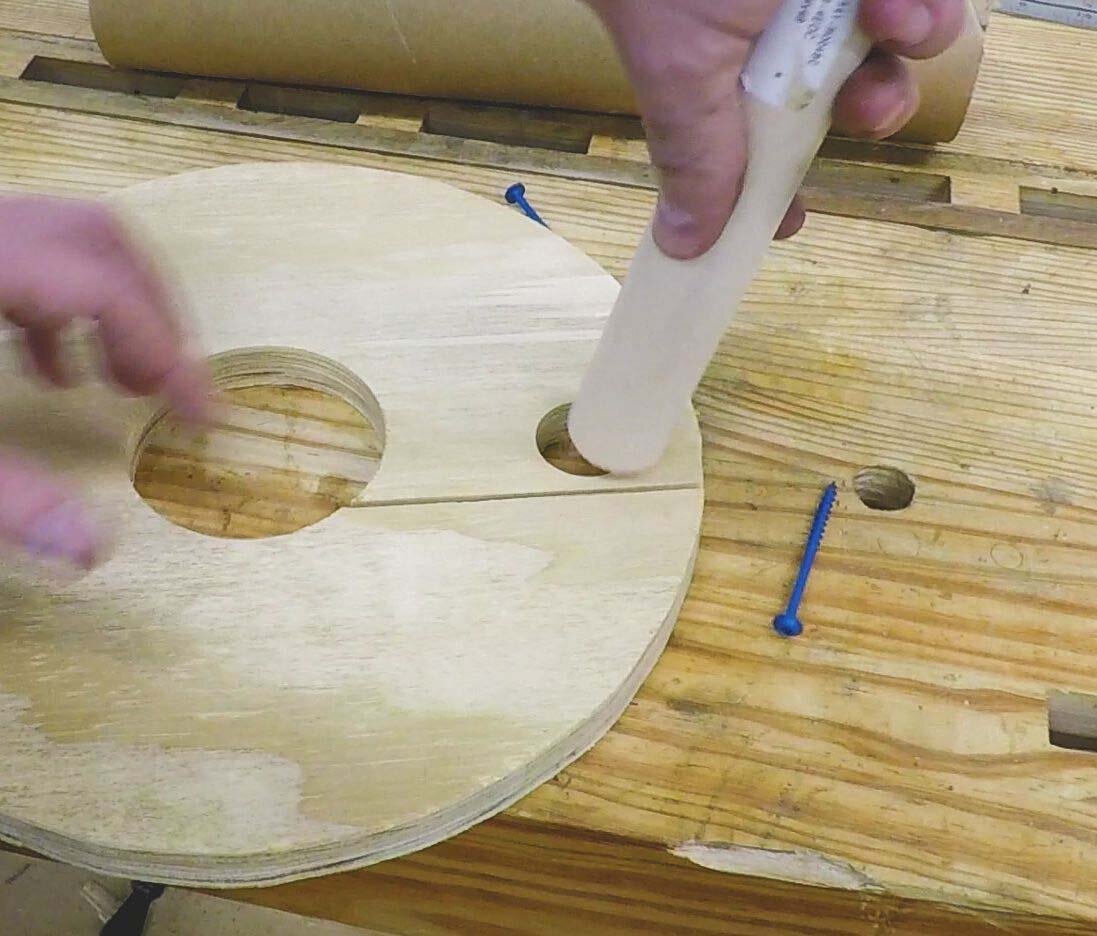
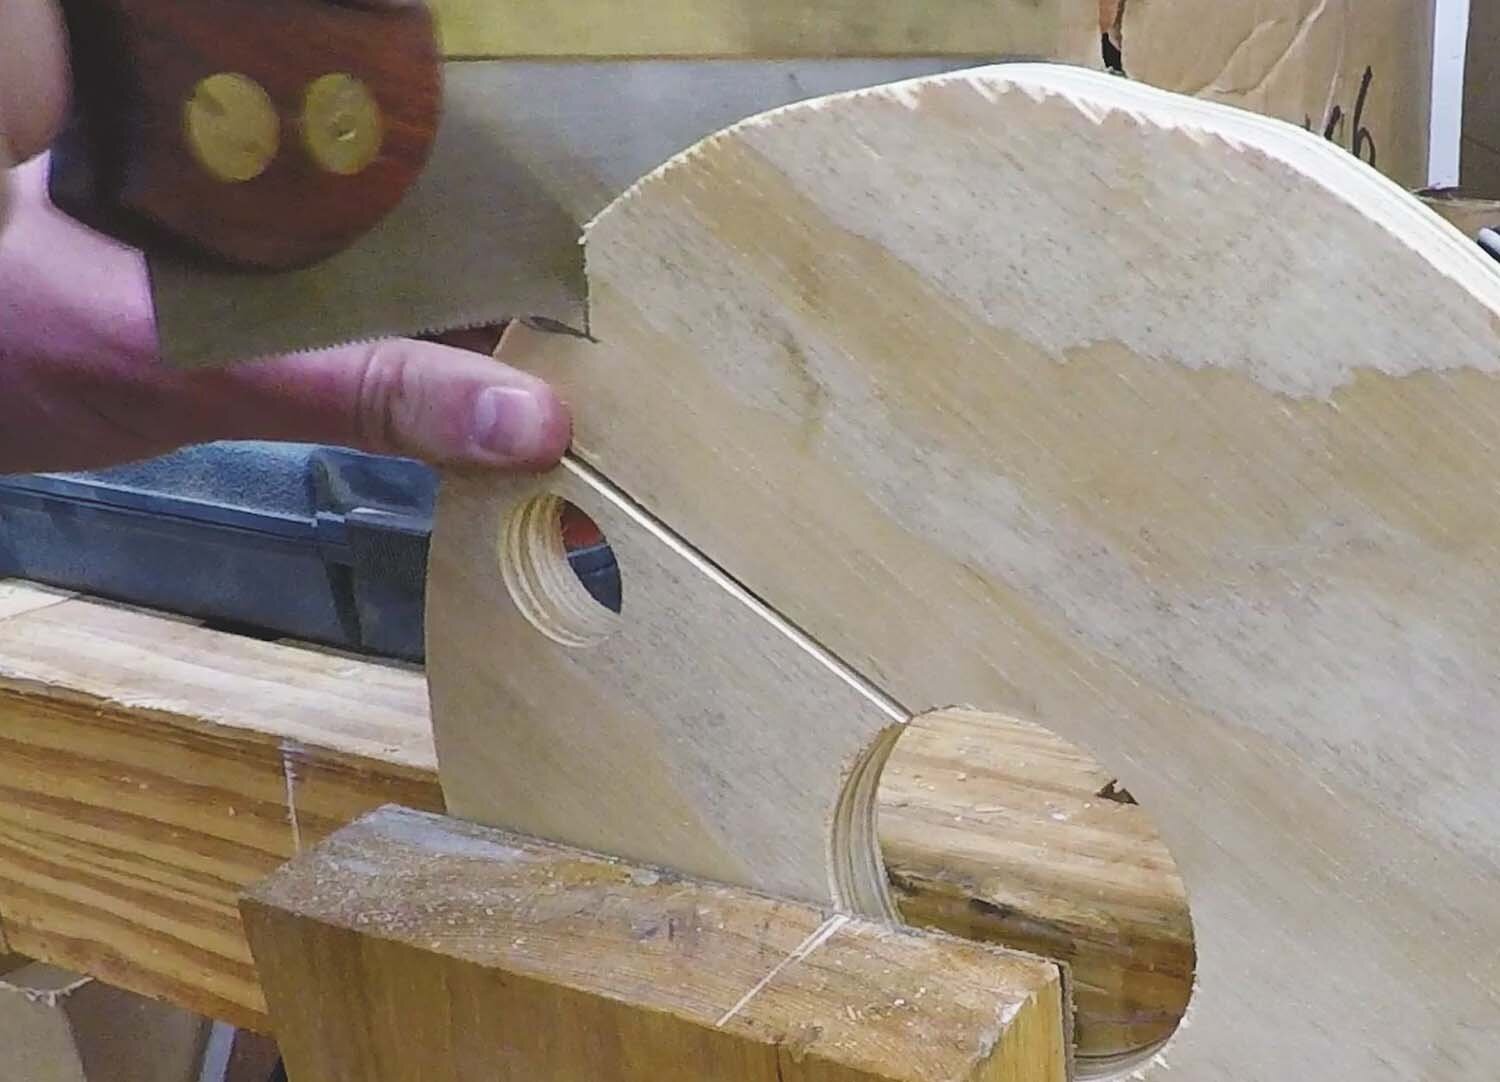
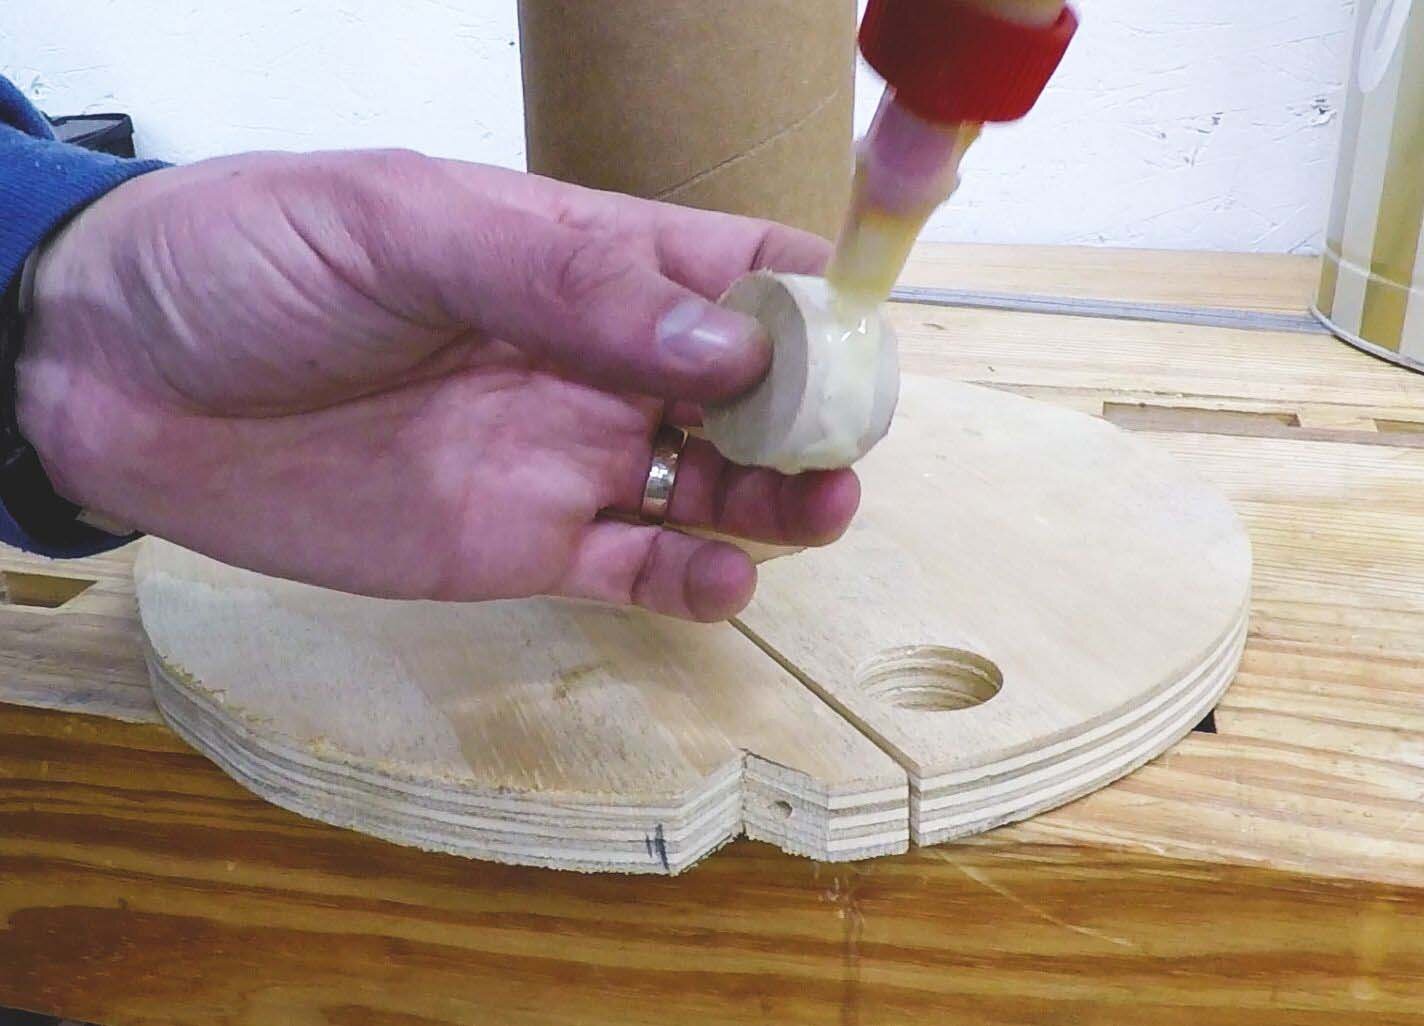
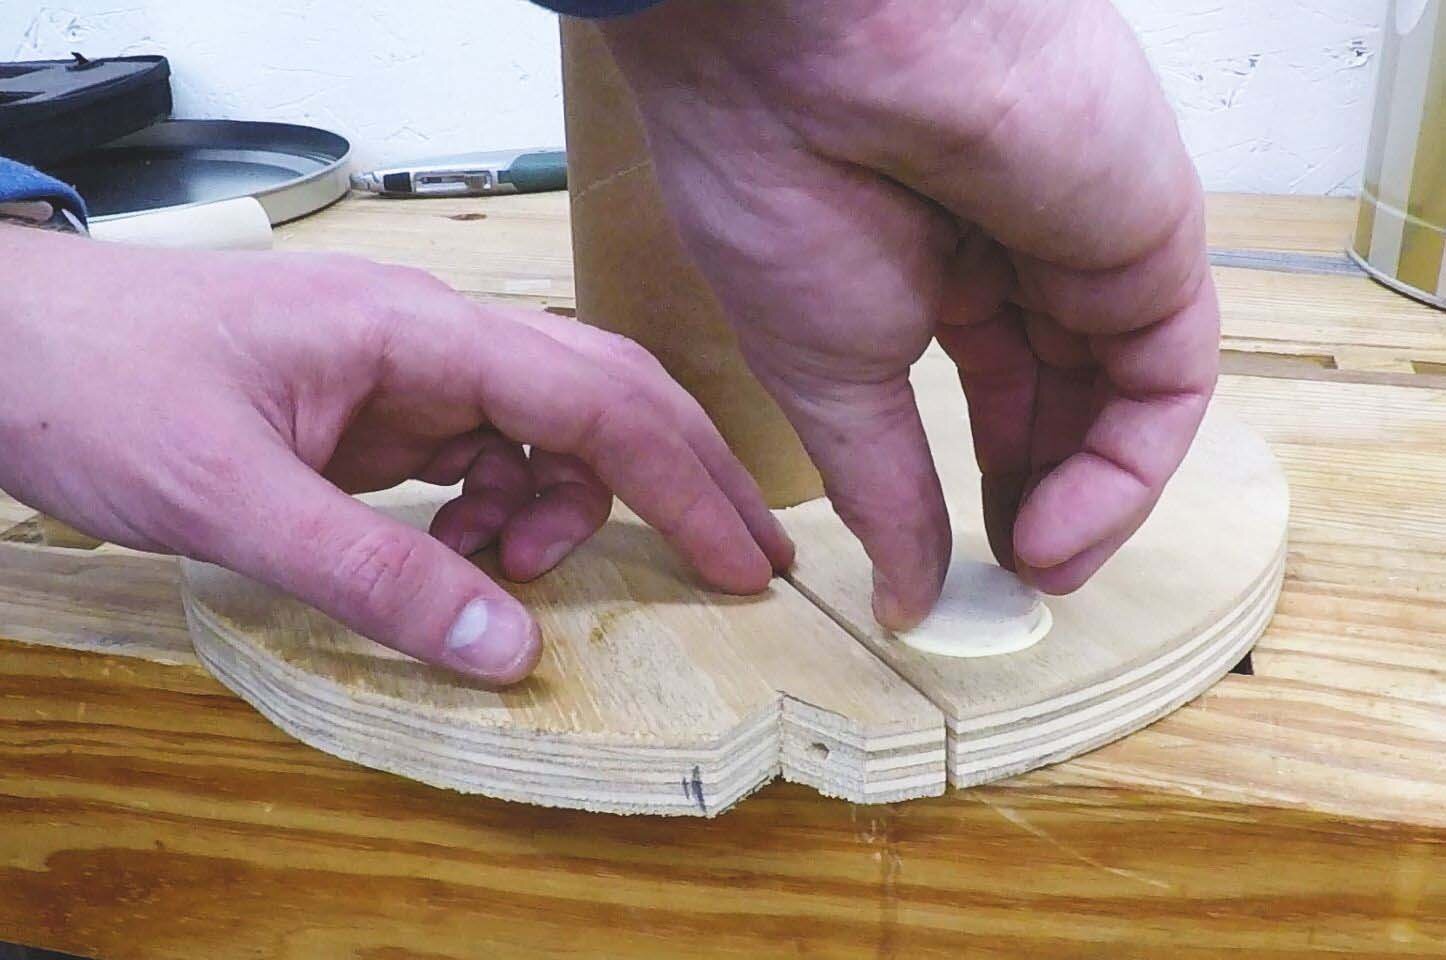
The screw gets a little recess in the plywood disk so that the head can sit flat on a bearing surface. I cut this recess out with a handsaw, then predrilled through the plywood through to the dowel hole. I then glued the dowel in the disk, and checked to see if the disk properly clamped to the cardboard tube.
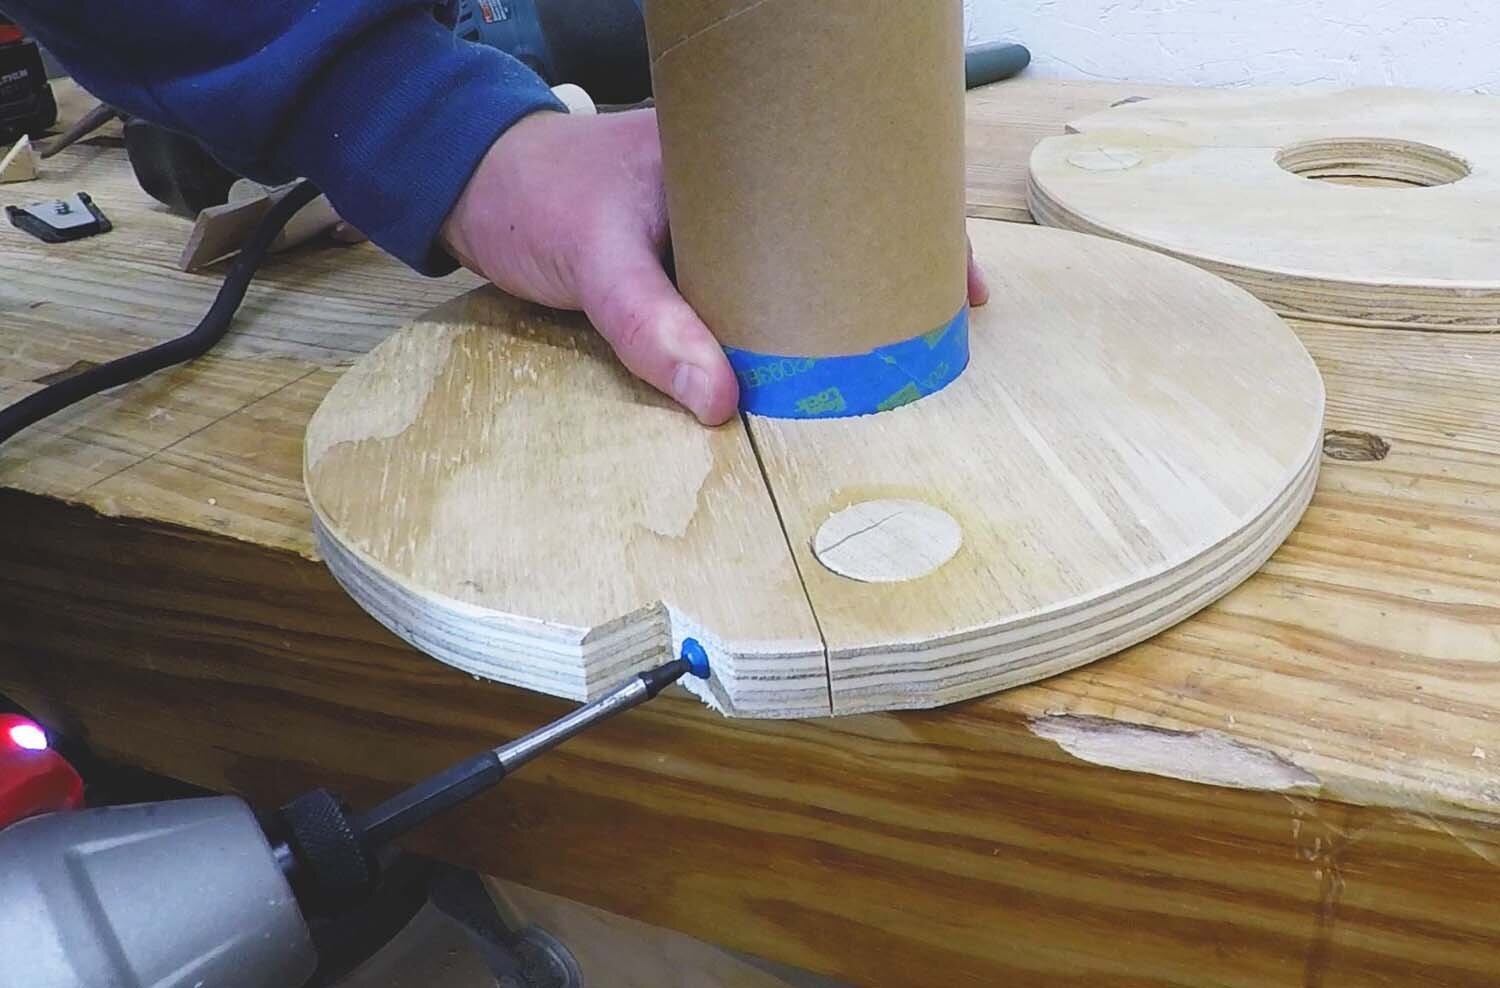
The fit of the disk around the tube was a little loose, so I wrapped the end of the tube a few times with some masking tape to shim it out. This gives it just enough thickness.

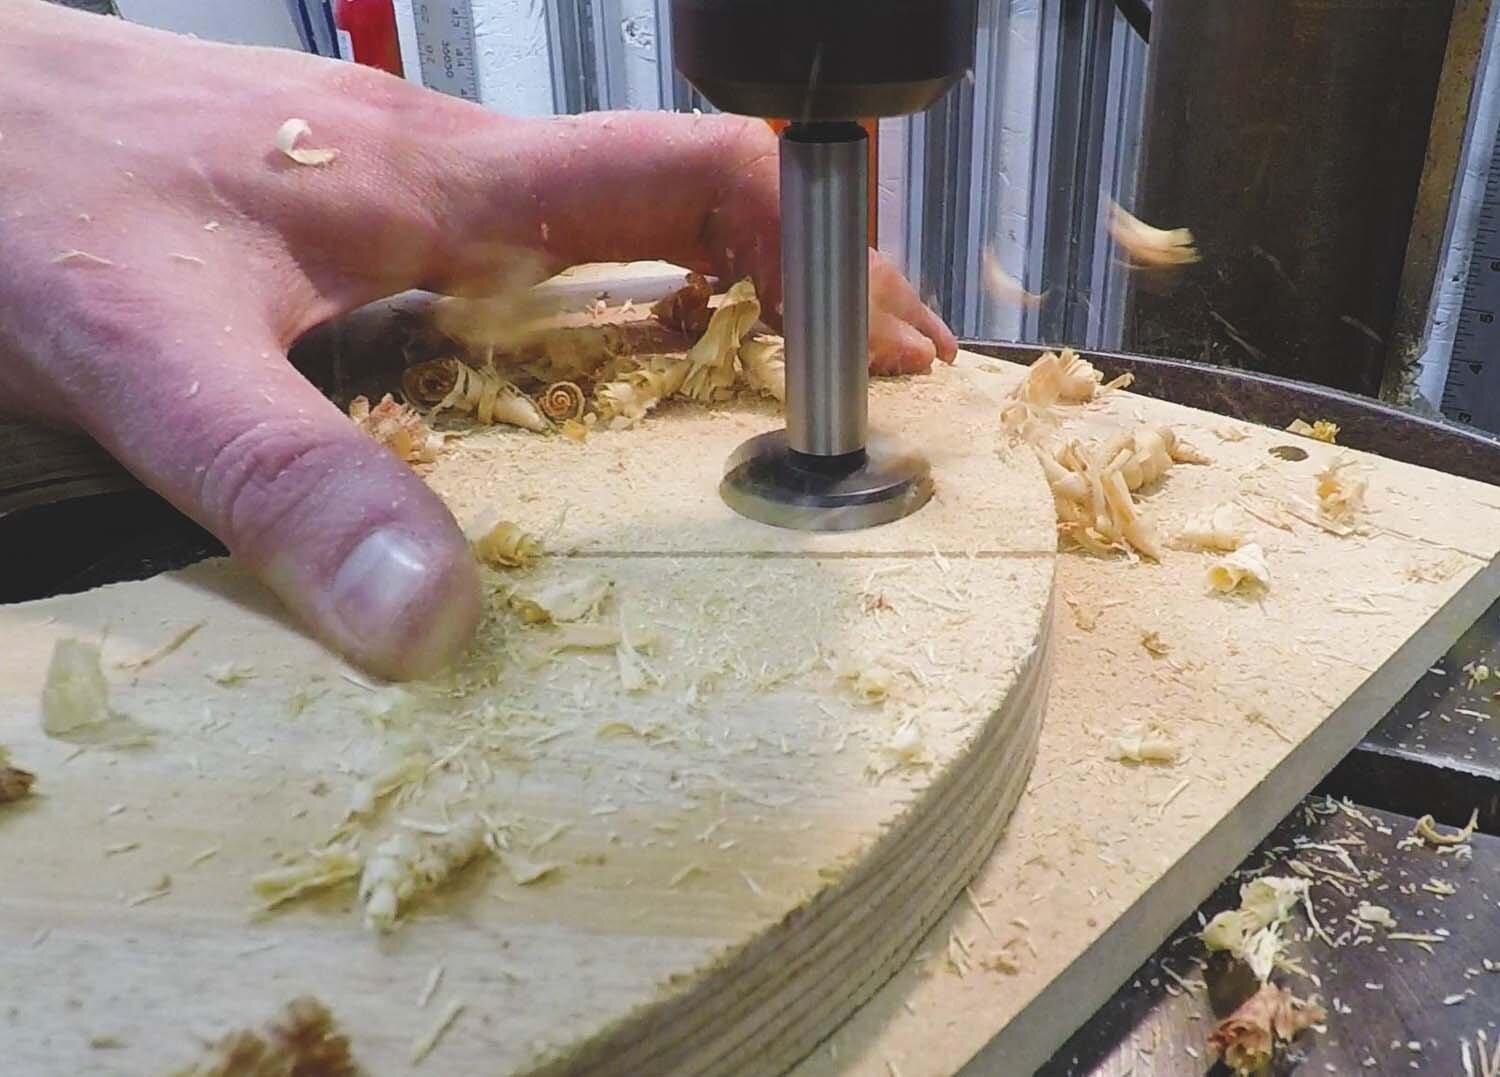
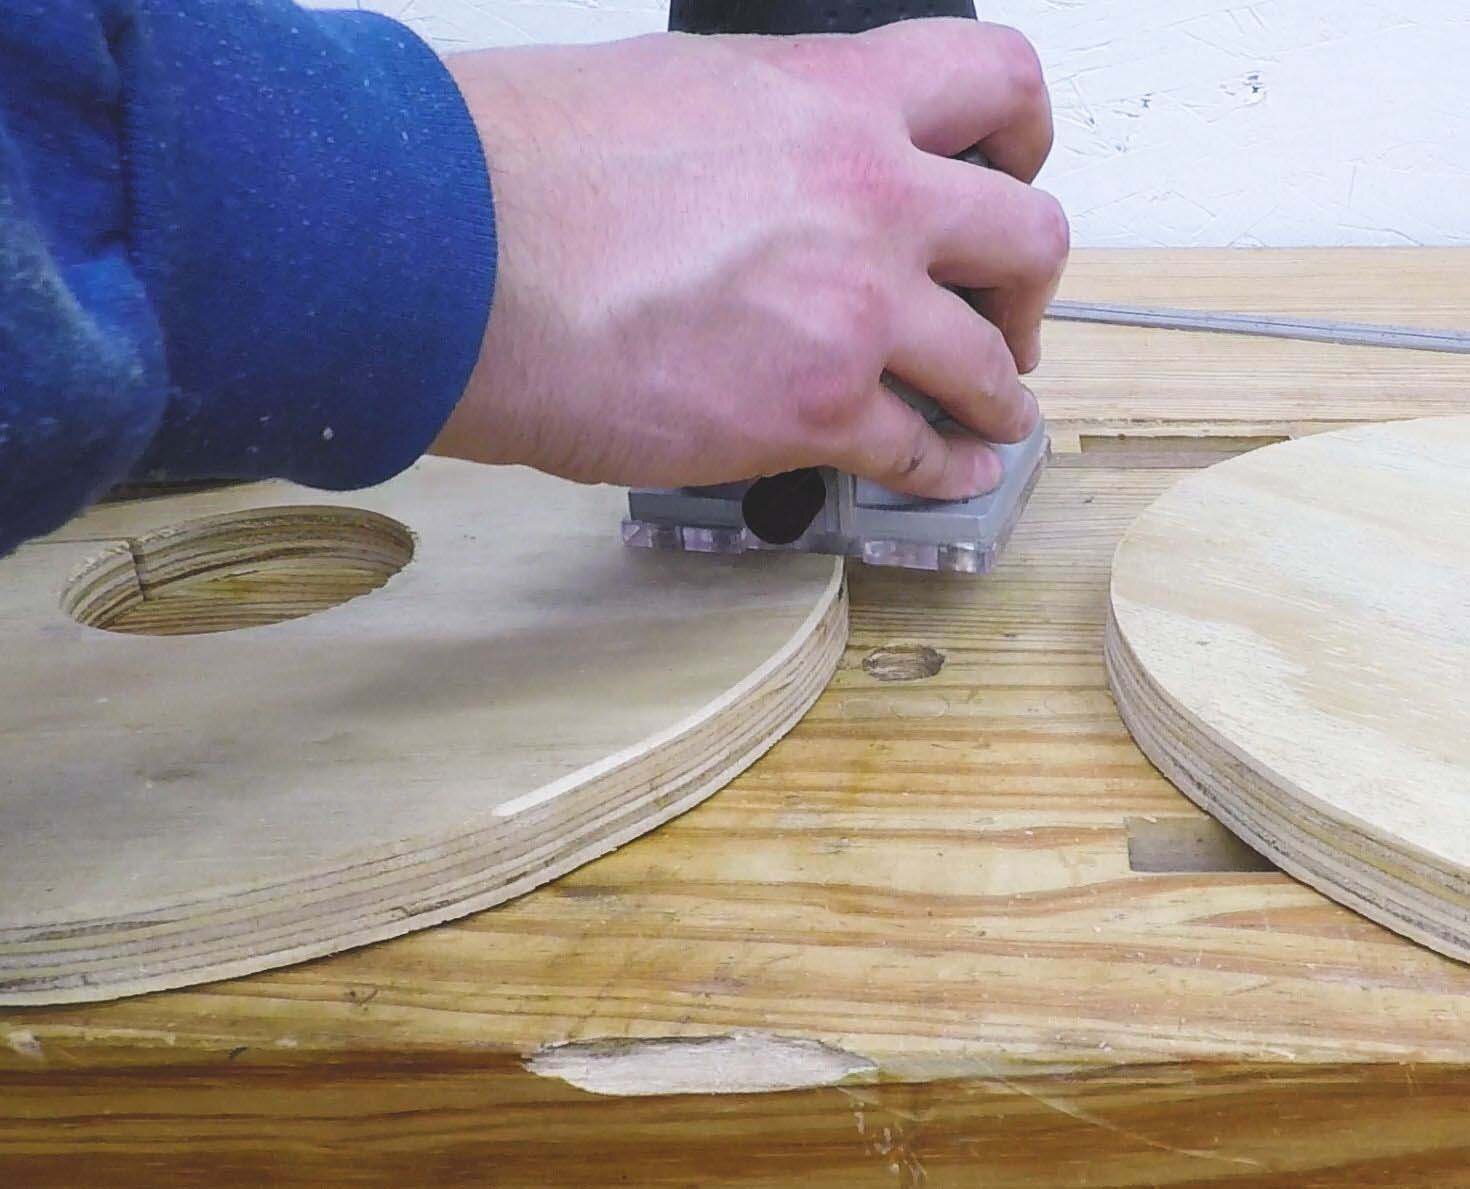
The final step (optional) is to use a roundover bit to ease the edges of the plywood. This isn't necessary, but it will stop your hands from getting scratched or cut when you're unspooling the lights.
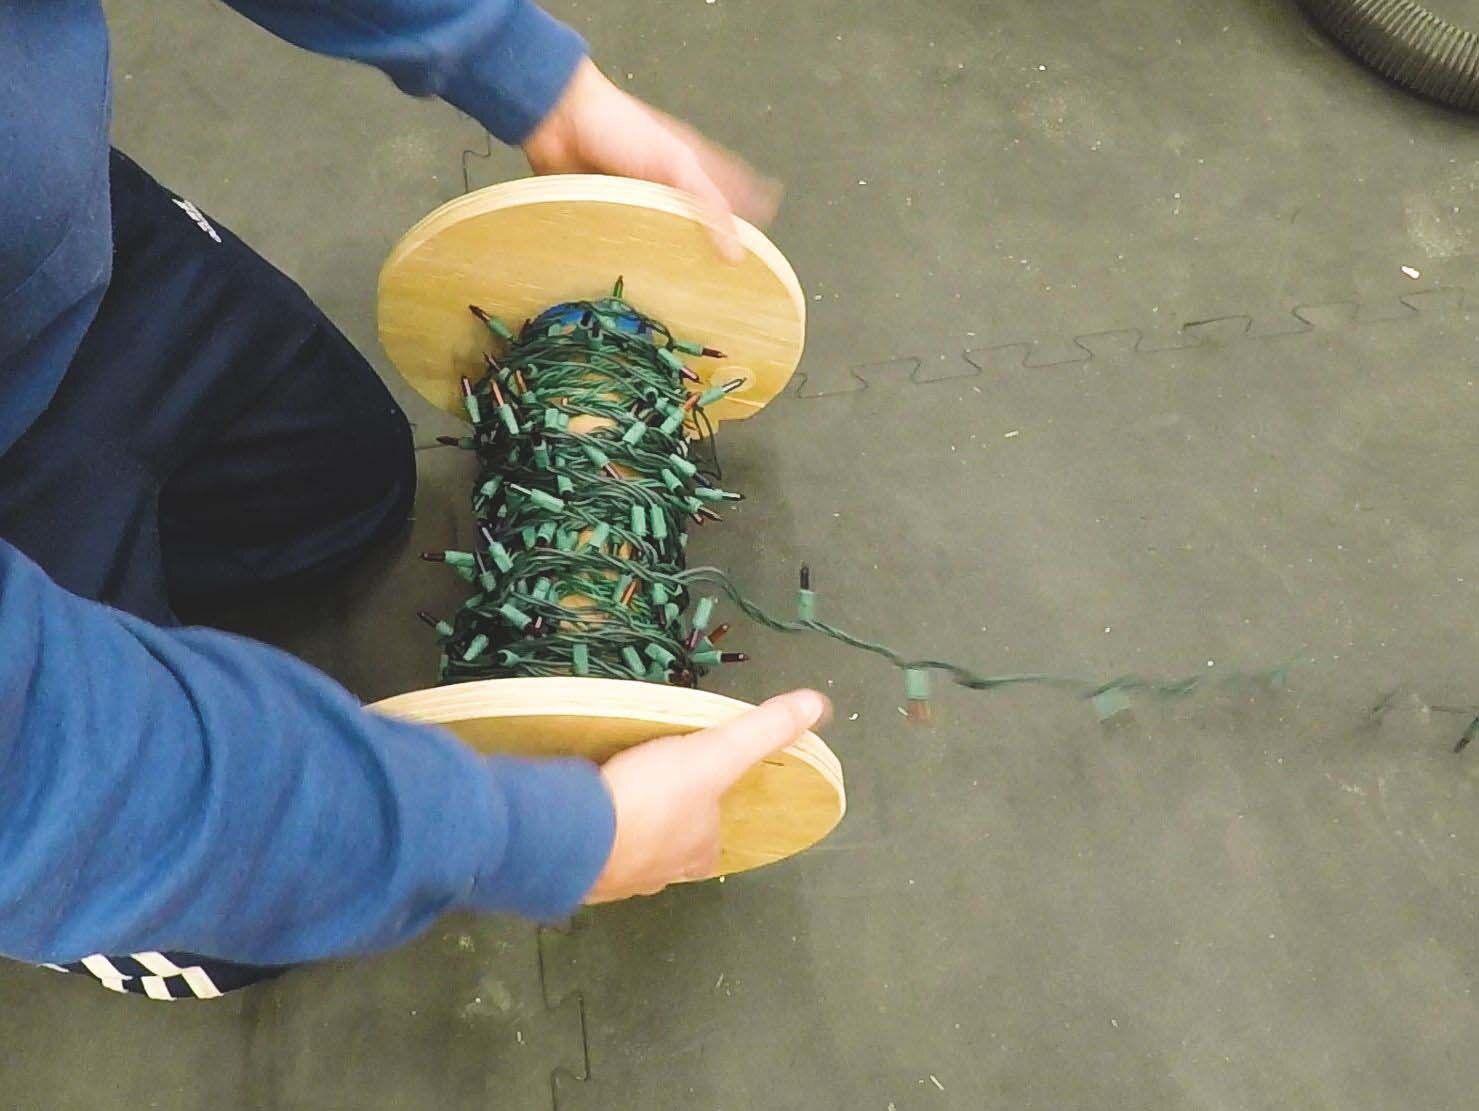
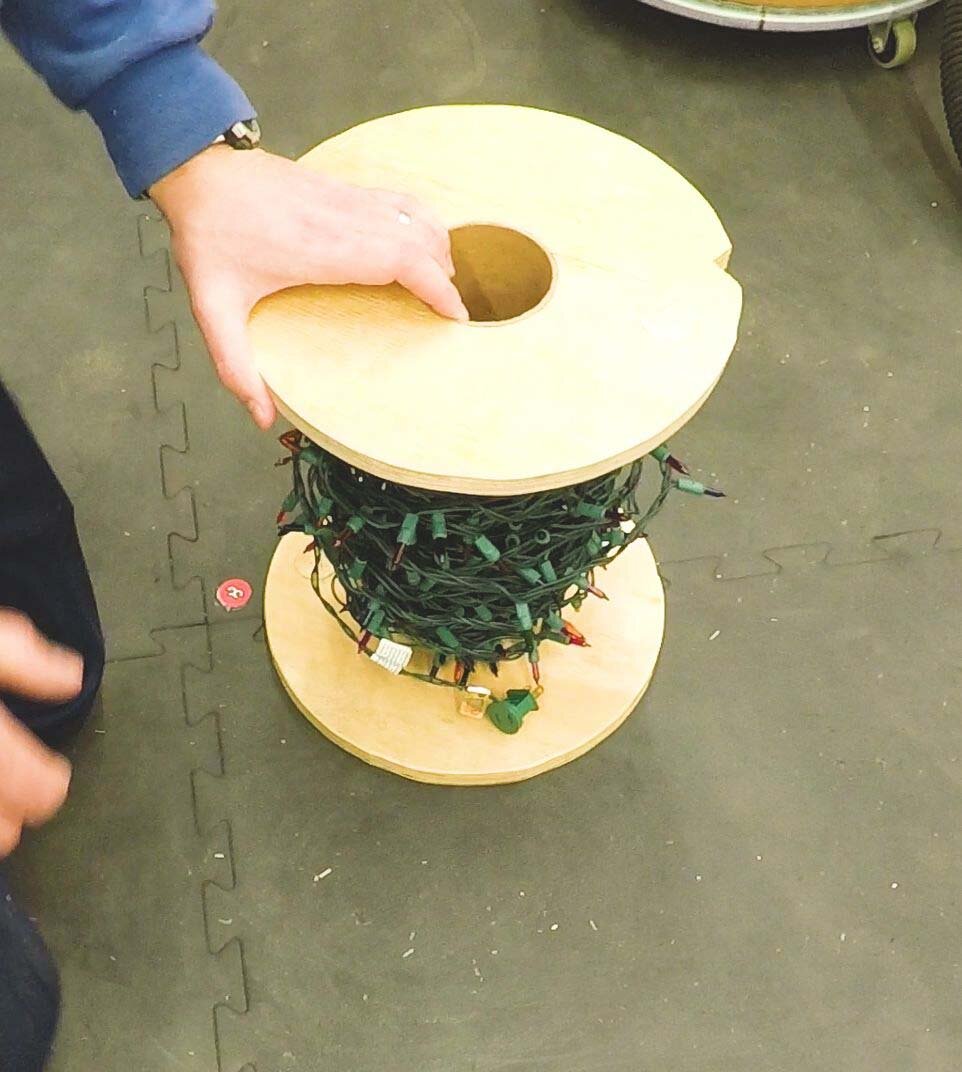
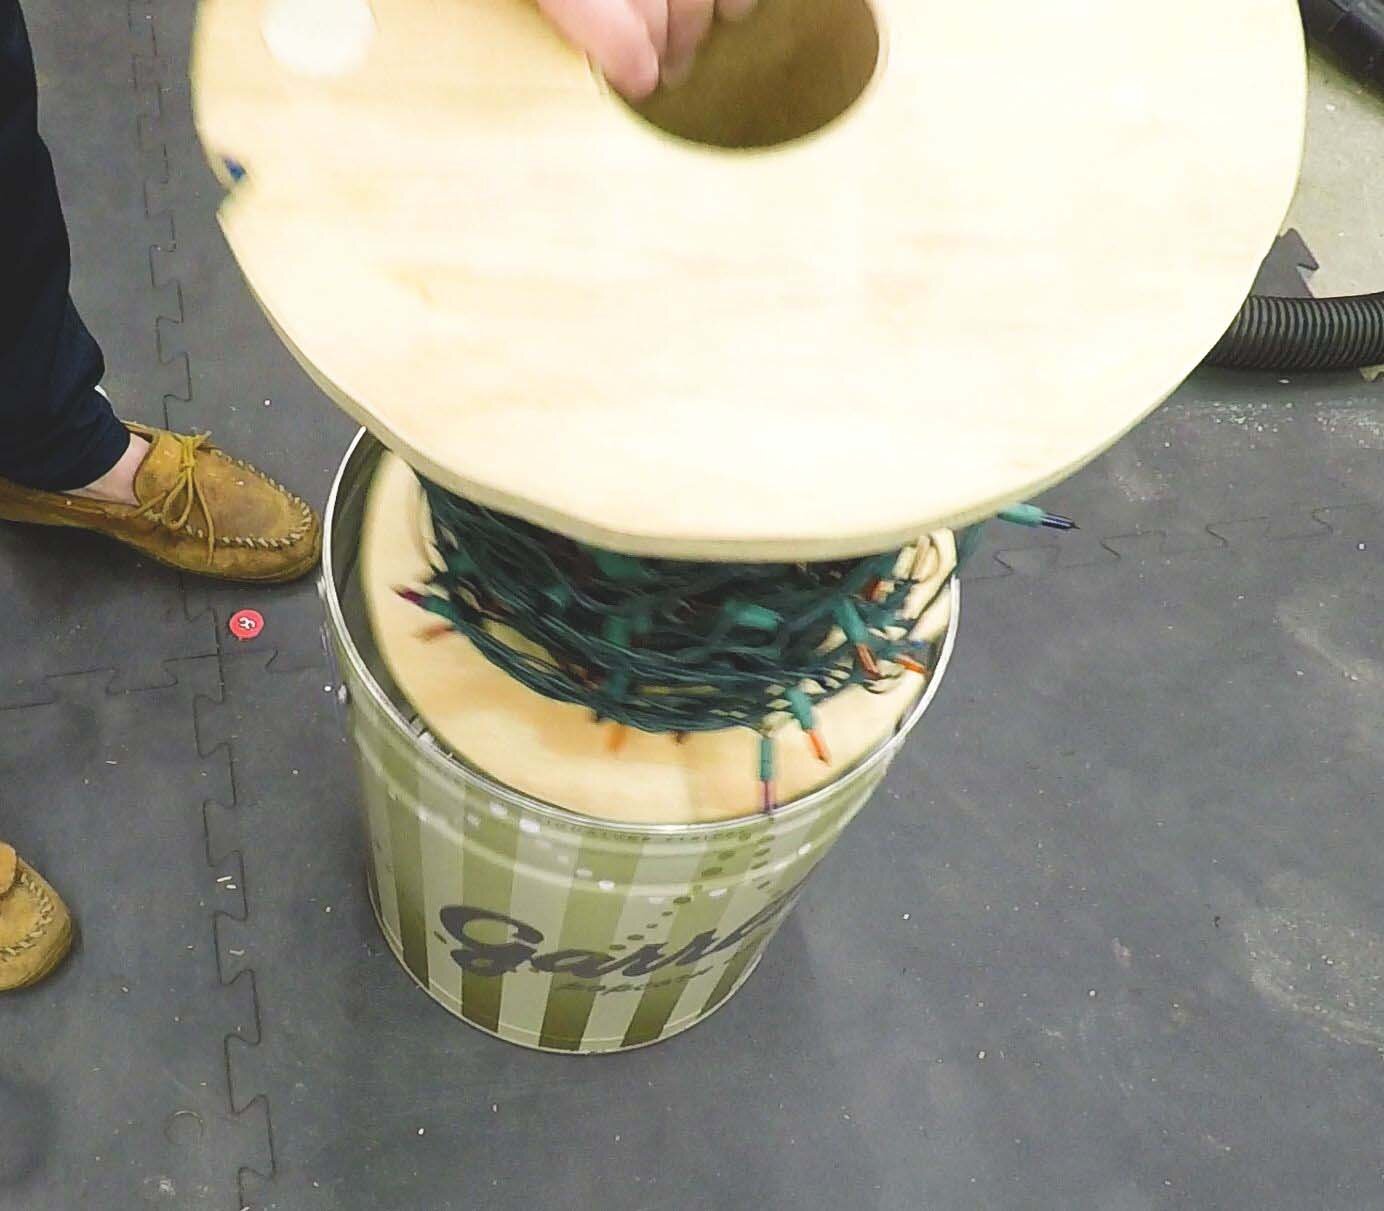
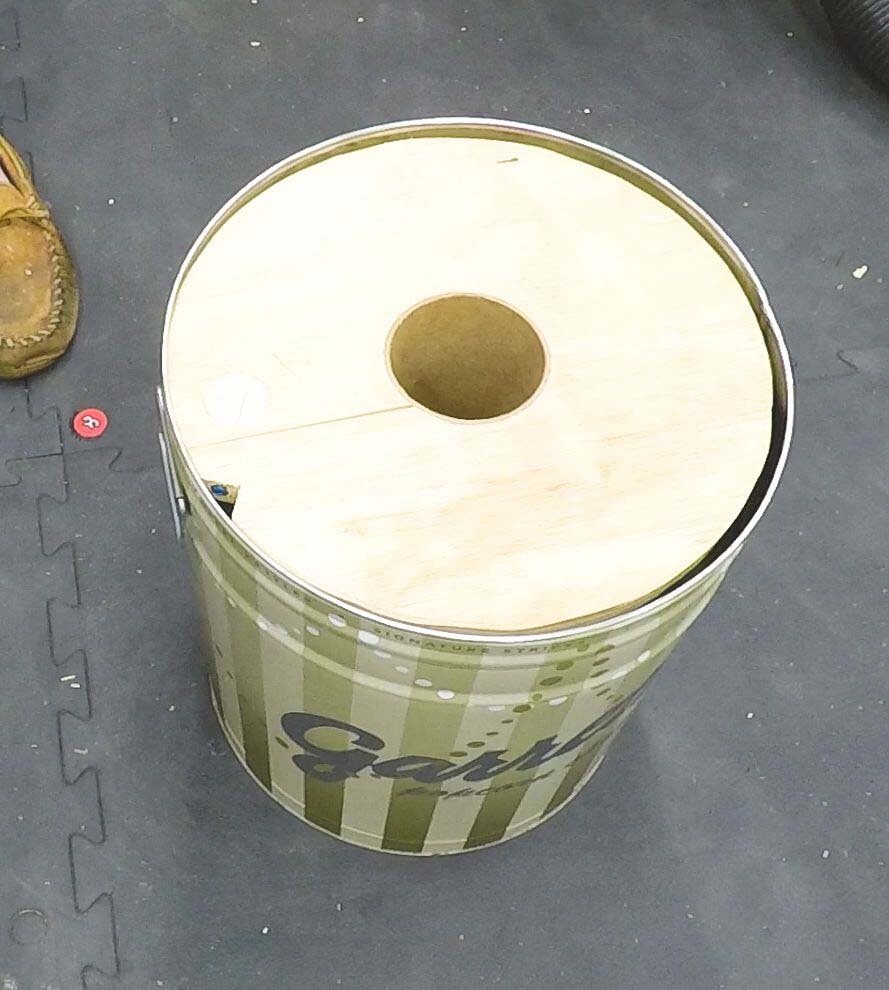
After attaching both plywood disks to the cardboard tube, the spool is complete! All that's left to do is wind your Christmas lights around the spool and tuck it in the popcorn tin for storage! Then, when it comes time to decorate again for the holidays, have one person hold the spool, and another pull the lights off, lickety-split.
I hope this was instructive, and thanks for viewing!
If you enjoyed this article, subscribe to my YouTube channel for more!