
DIY Mash/Lauter Tun From a Cooler
A mash/lauter tun (MLT) is a necessary piece of equipment for all-grain homebrewing. This is the vessel that extracts the sweet sugars from the grain and filters the wort from the grain bed, all in the same vessel. This design does away with the expensive stainless steel mesh false bottom and uses commonly-available copper plumbing parts to make a wort filter instead. This is a project that's been on my list for a while, and one that's great for extract brewers who are looking to save some money by going all-grain. I claim no originality for this design as it's all over the internet already. I'm just hoping to show the process in a clear, step-by-step manner.
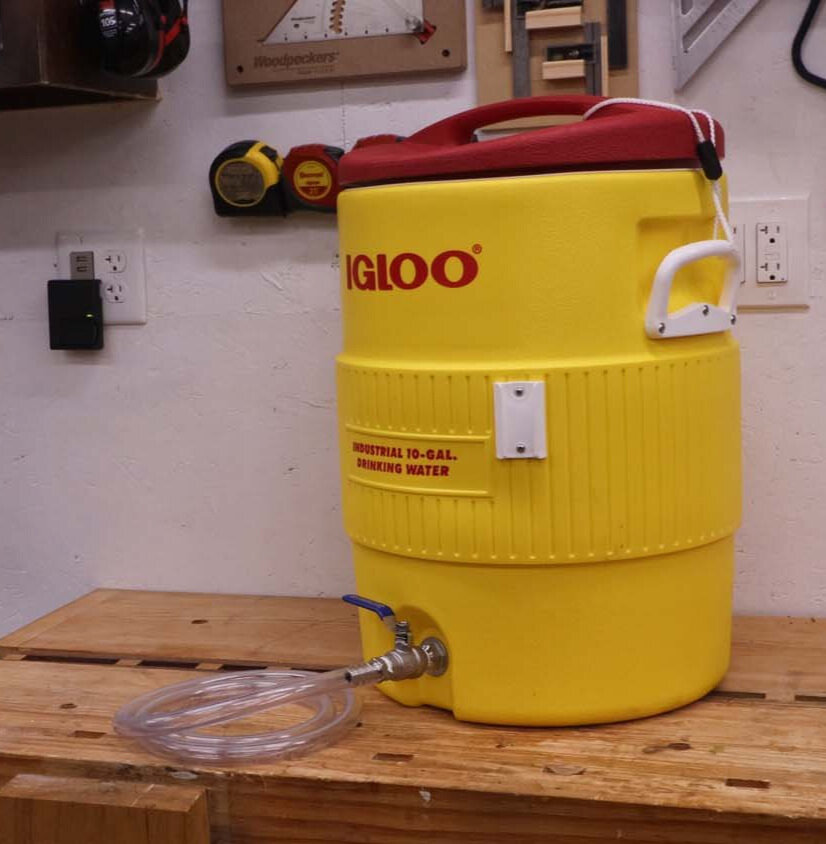
For this mash/lauter tun, I'm using a 10-gallon (40-liter) Igloo cooler, which is readily available at most hardware and grocery stores. I'm also using some stainless steel and copper fittings, the quantities of which are shown at the bottom of this page. The cut lengths of the pieces are fit to the standard 10-gallon Igloo cooler linked below, so the lengths may need to be adjusted to fit different coolers.
The video posted above shows the process I followed to build the MLT from scratch, before knowing what dimensions were needed. In this article, I’m going to describe the process assuming the dimensions are known from the start, which is more straightforward.
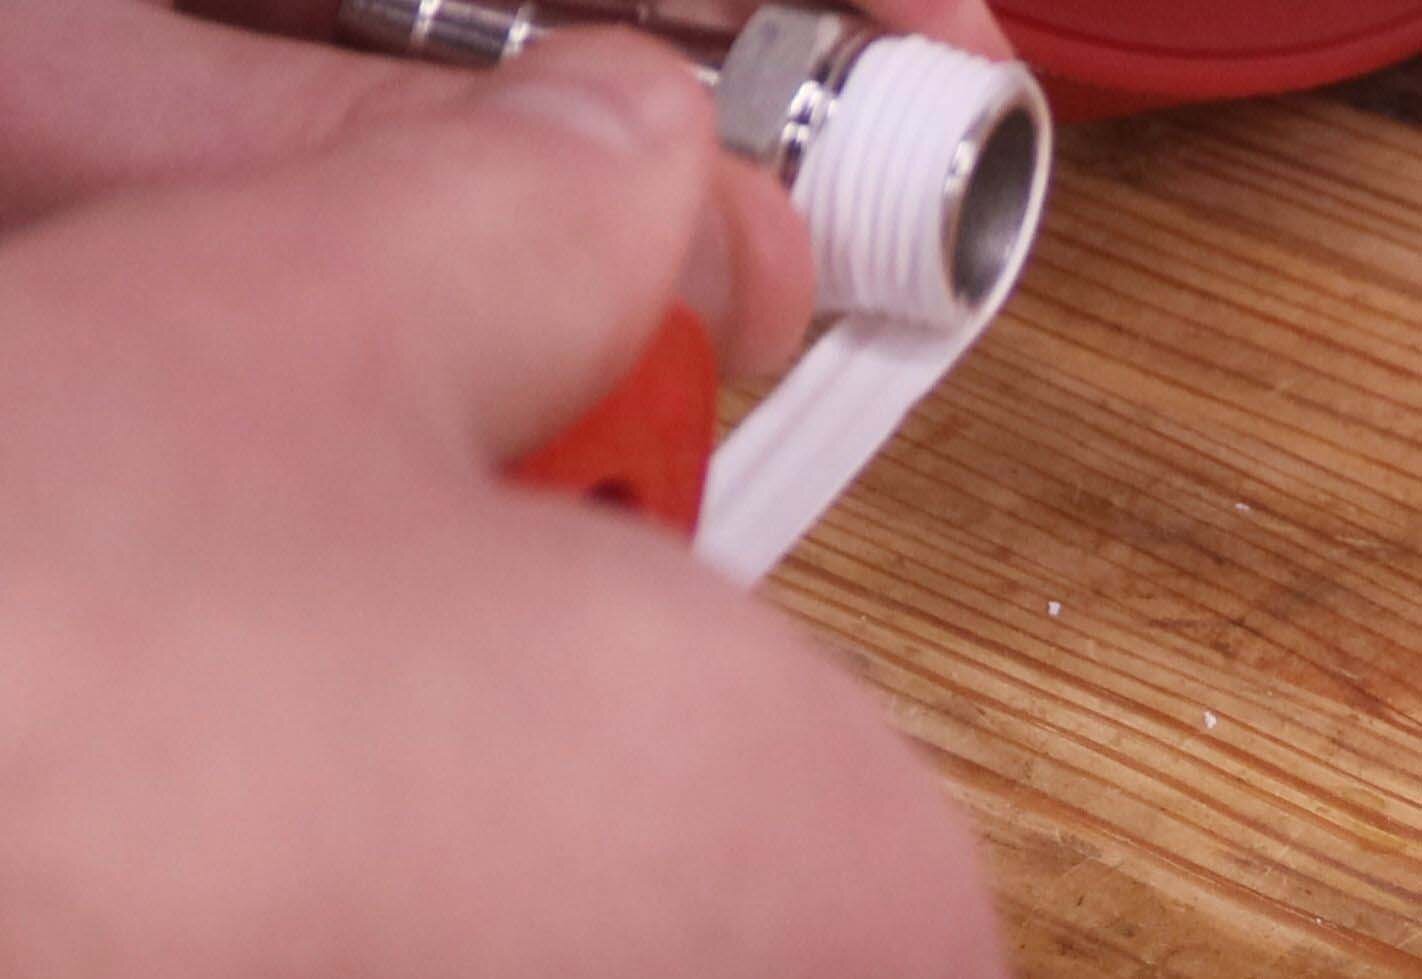
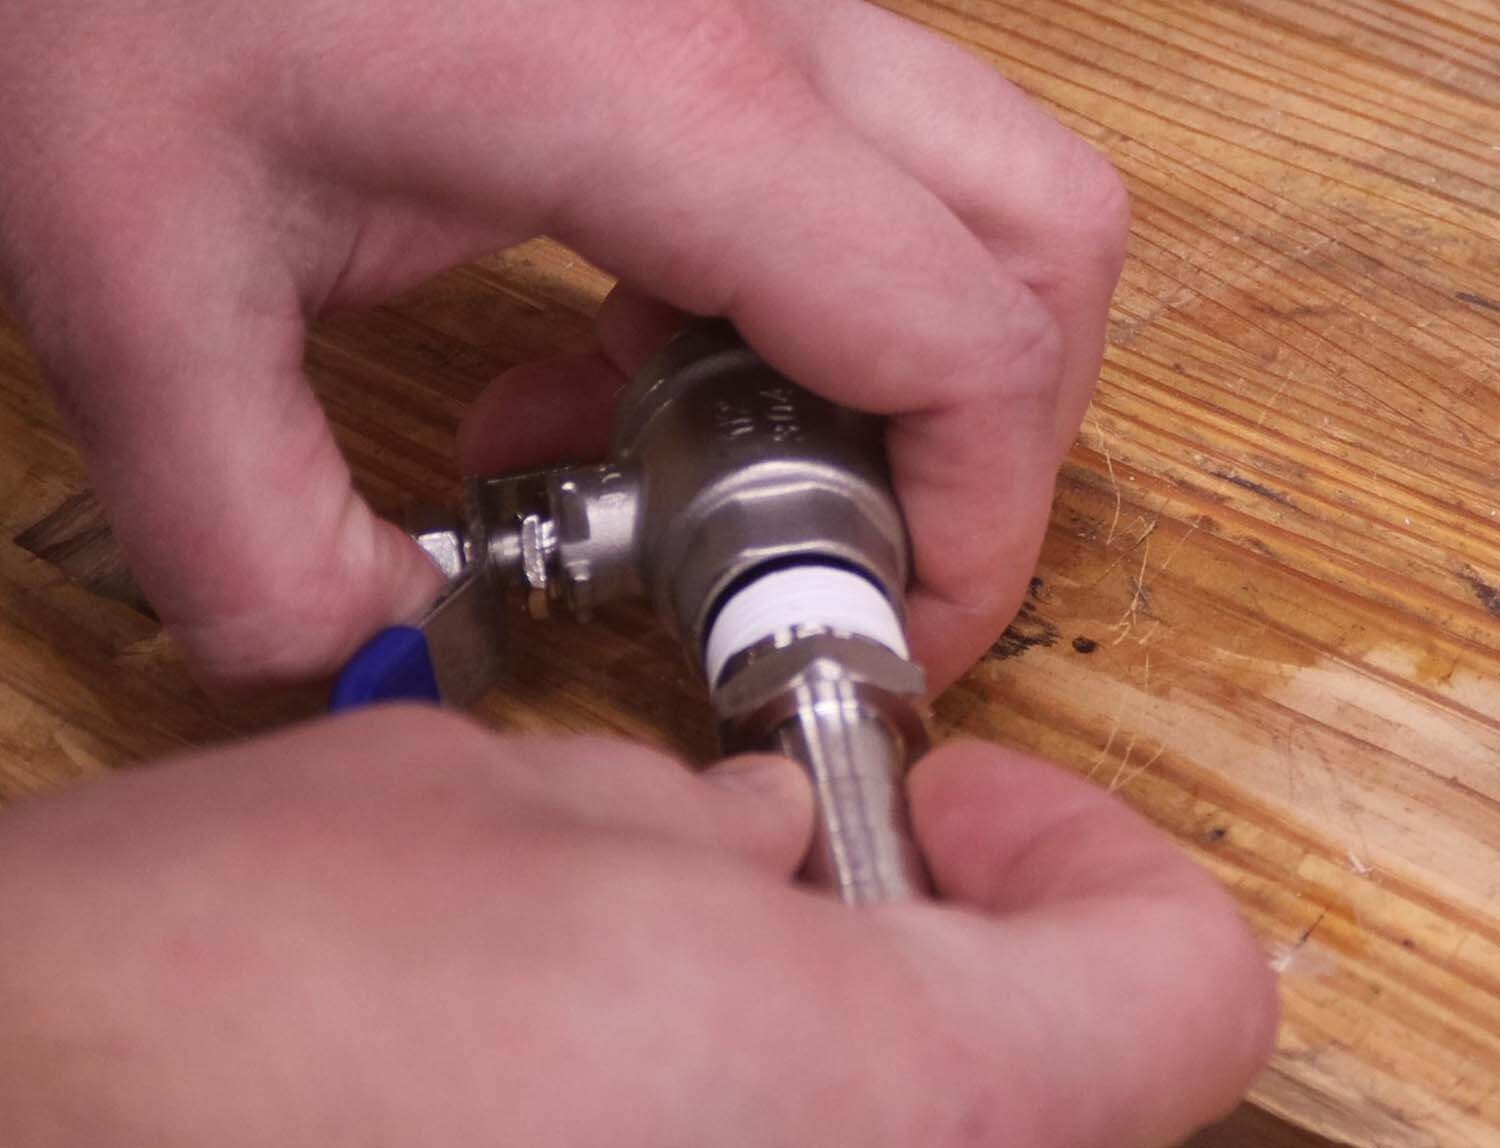
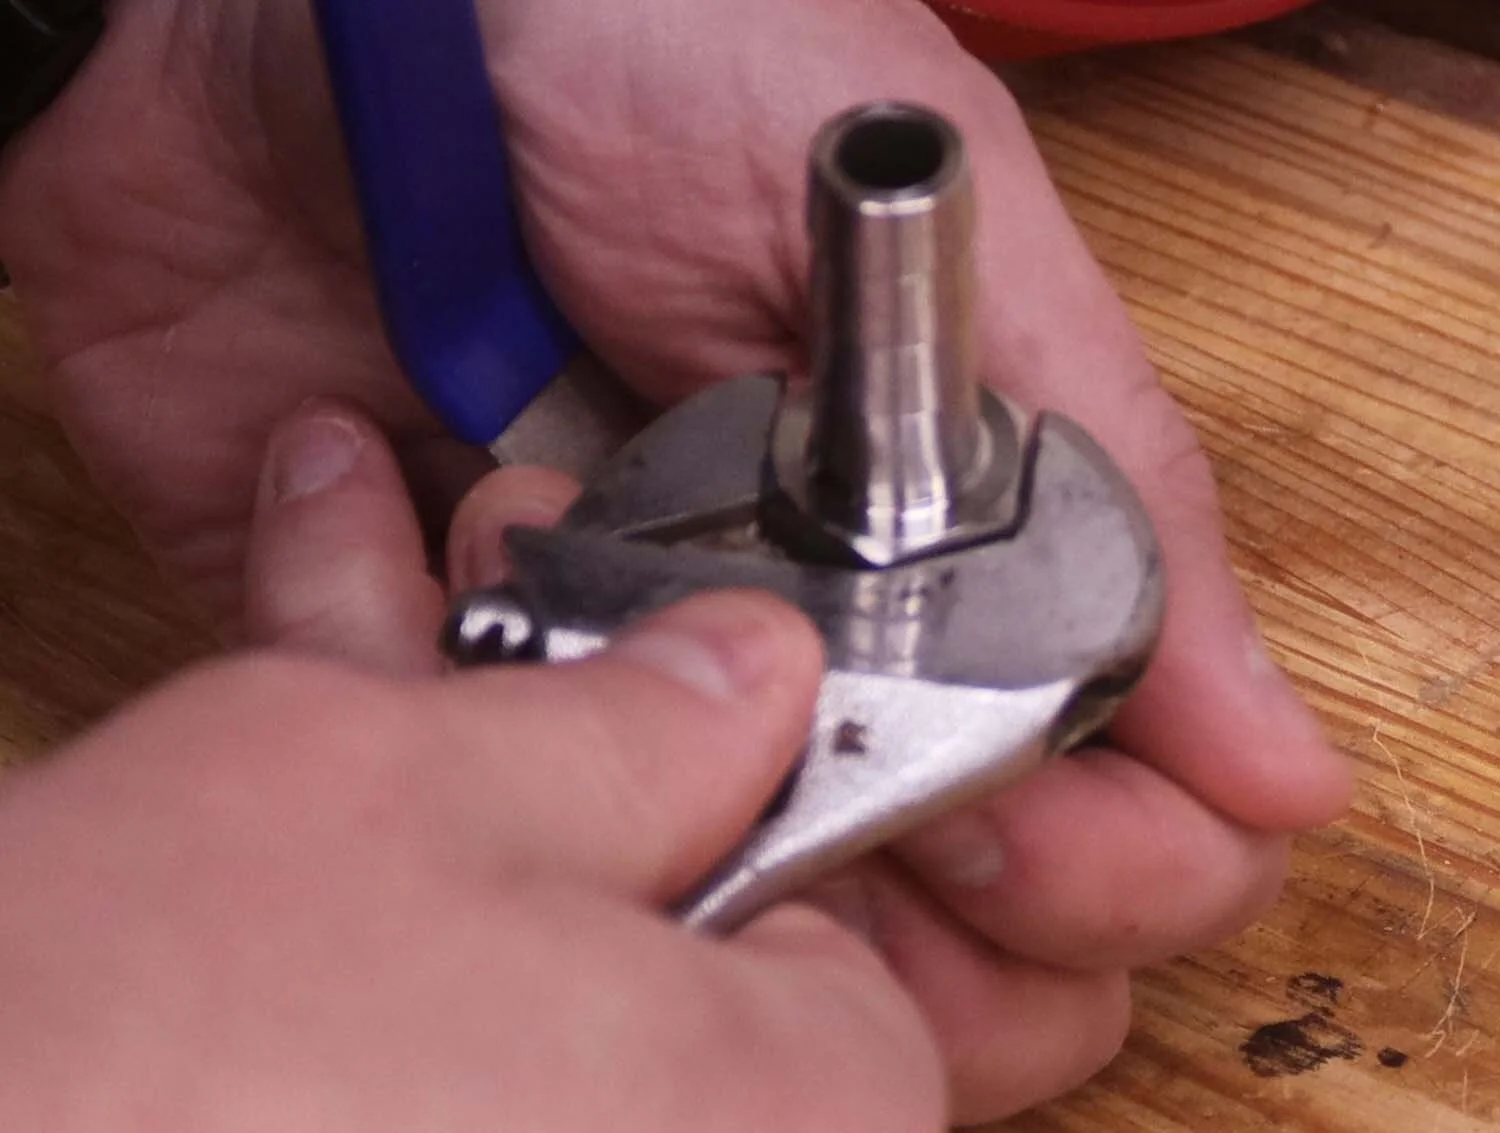
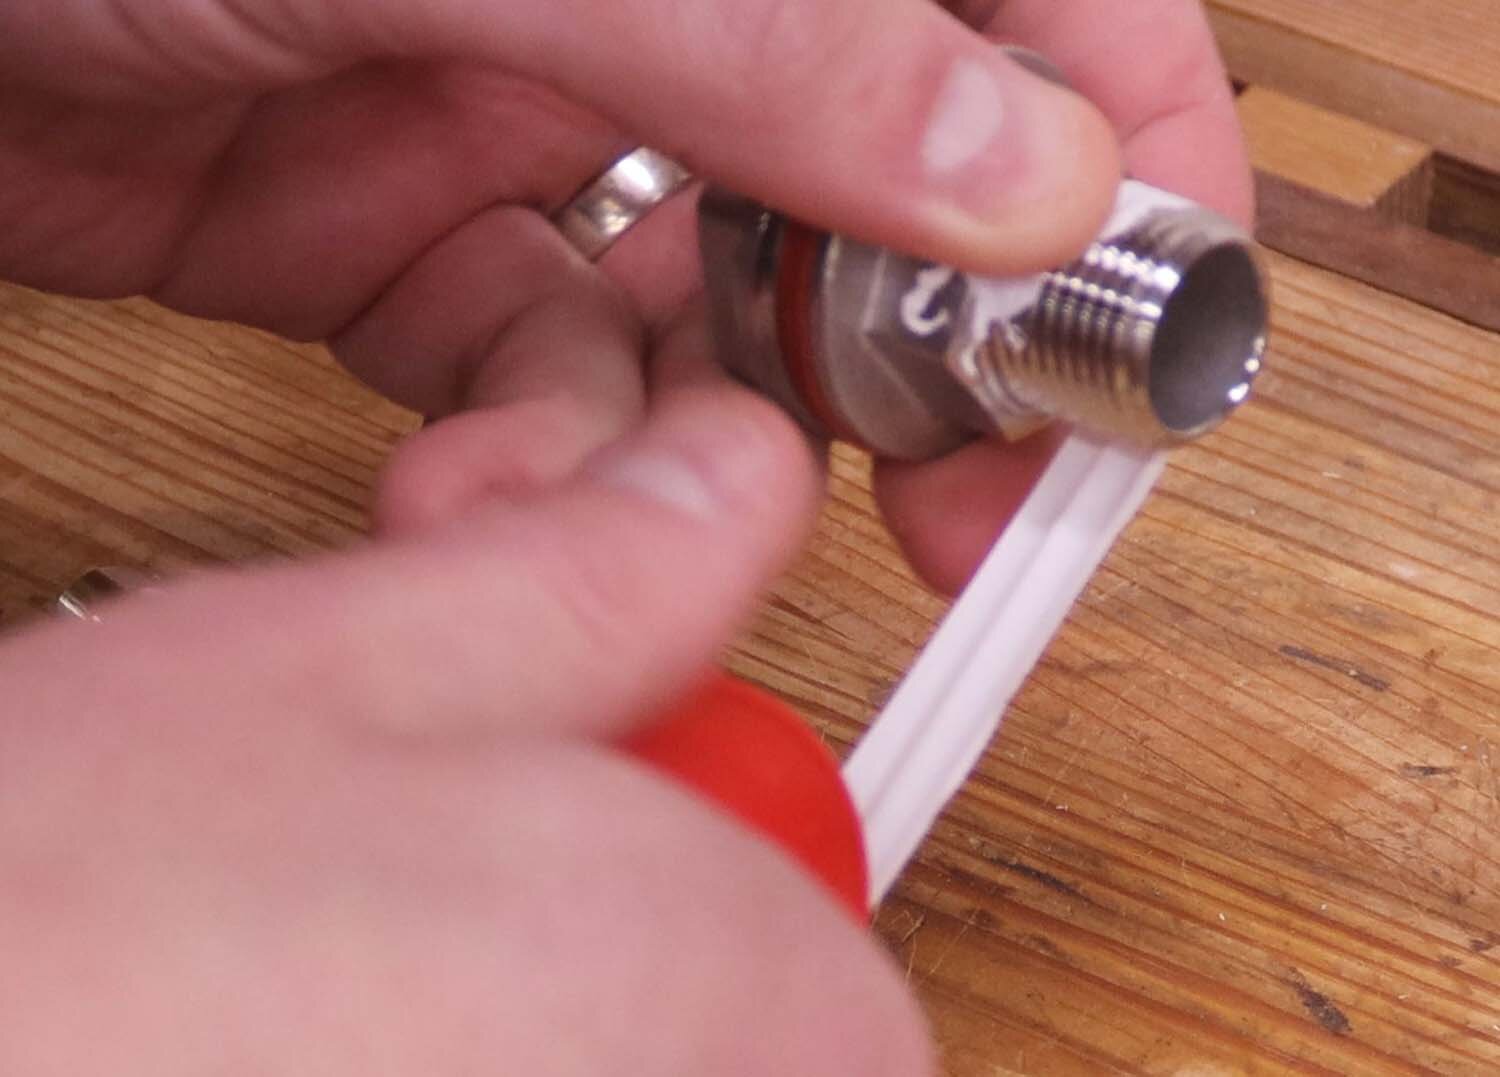
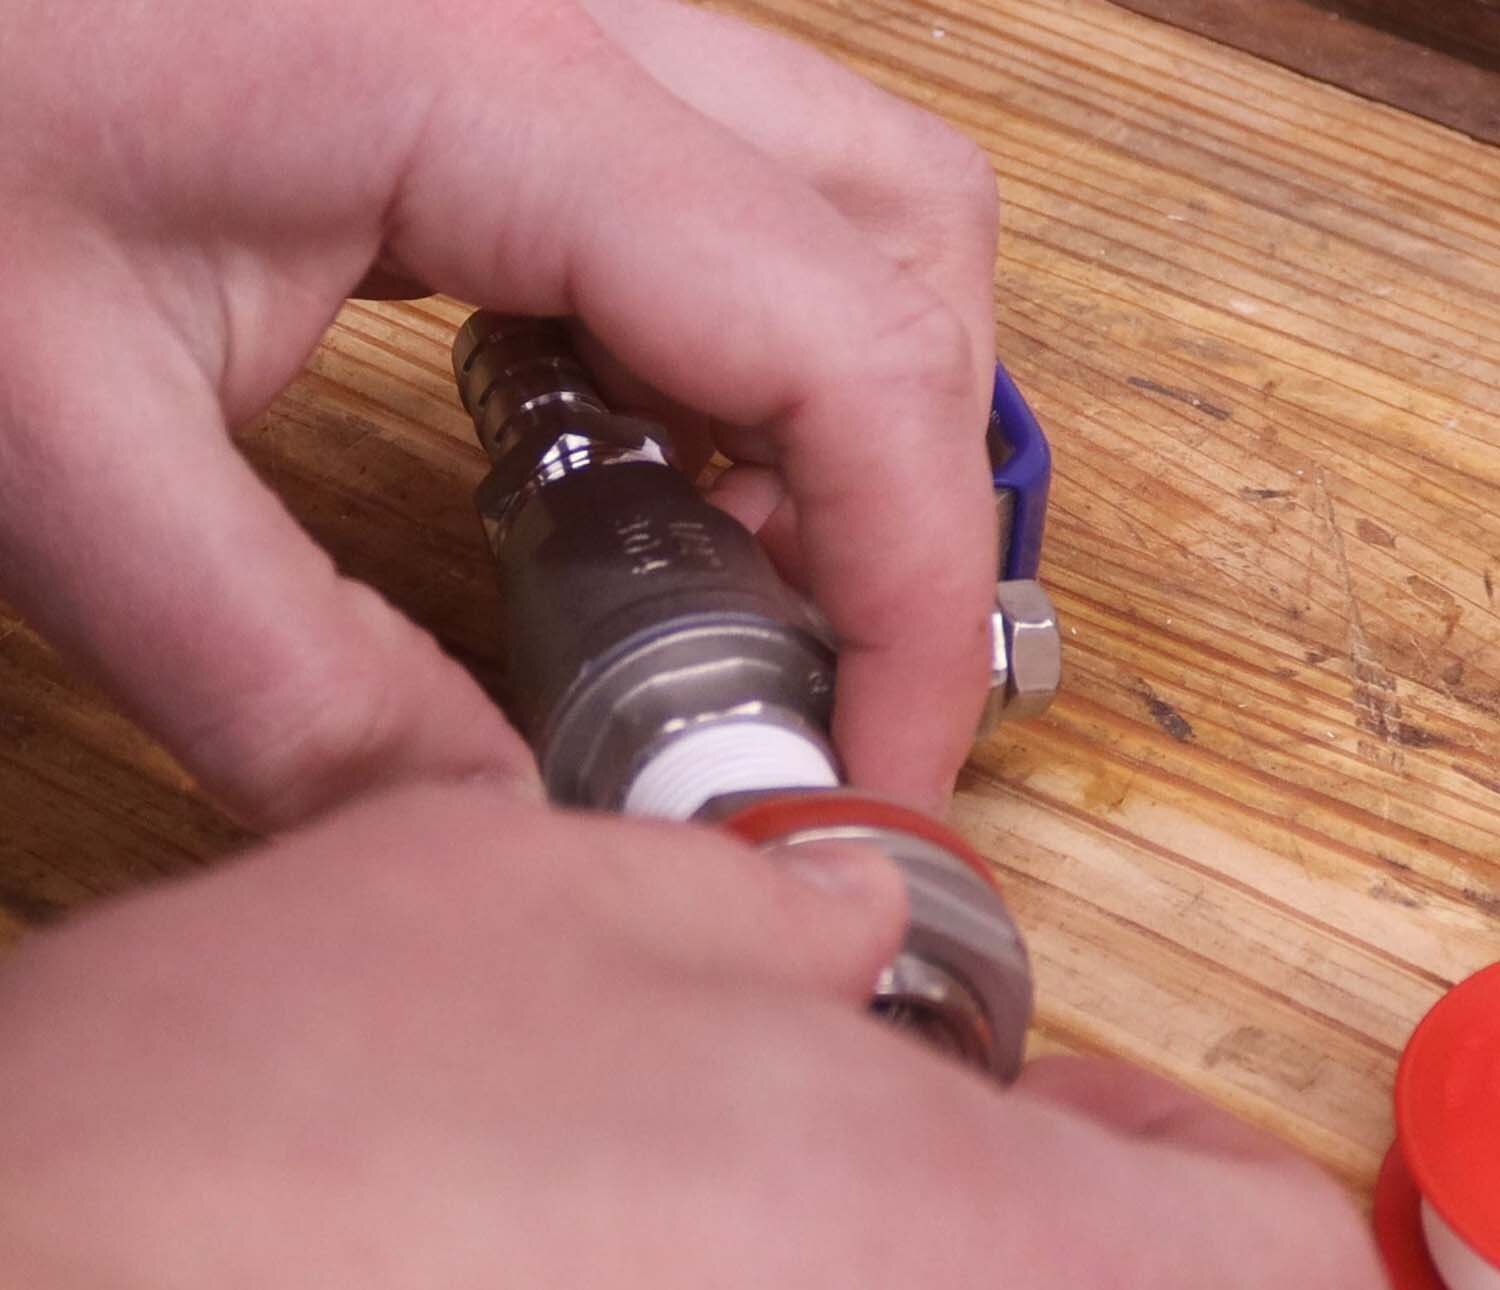
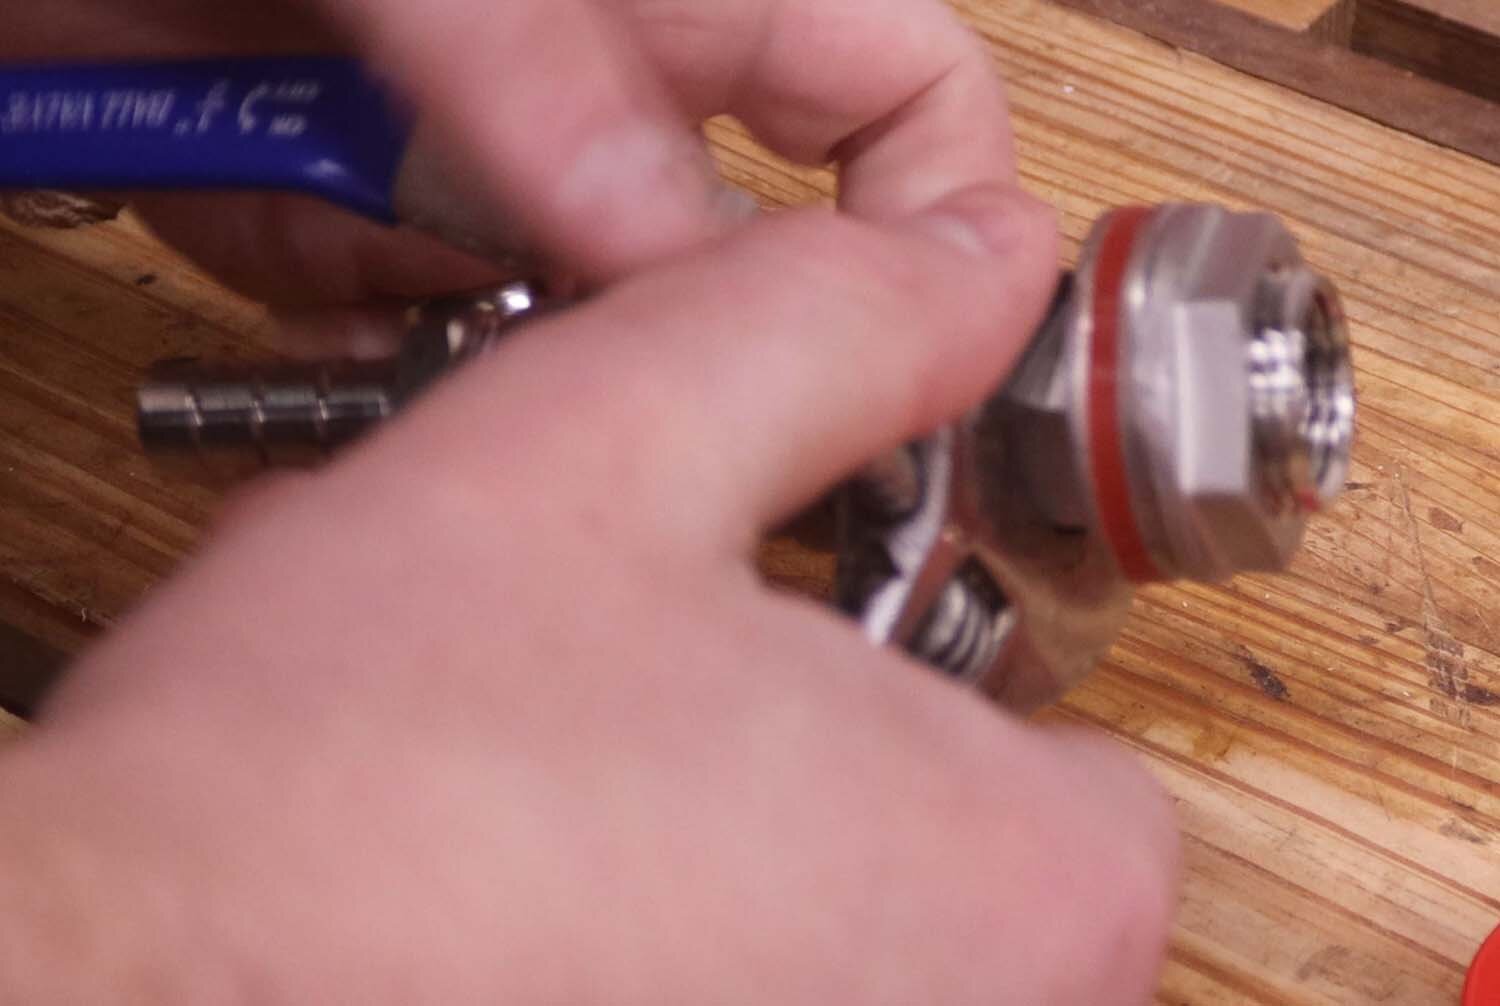
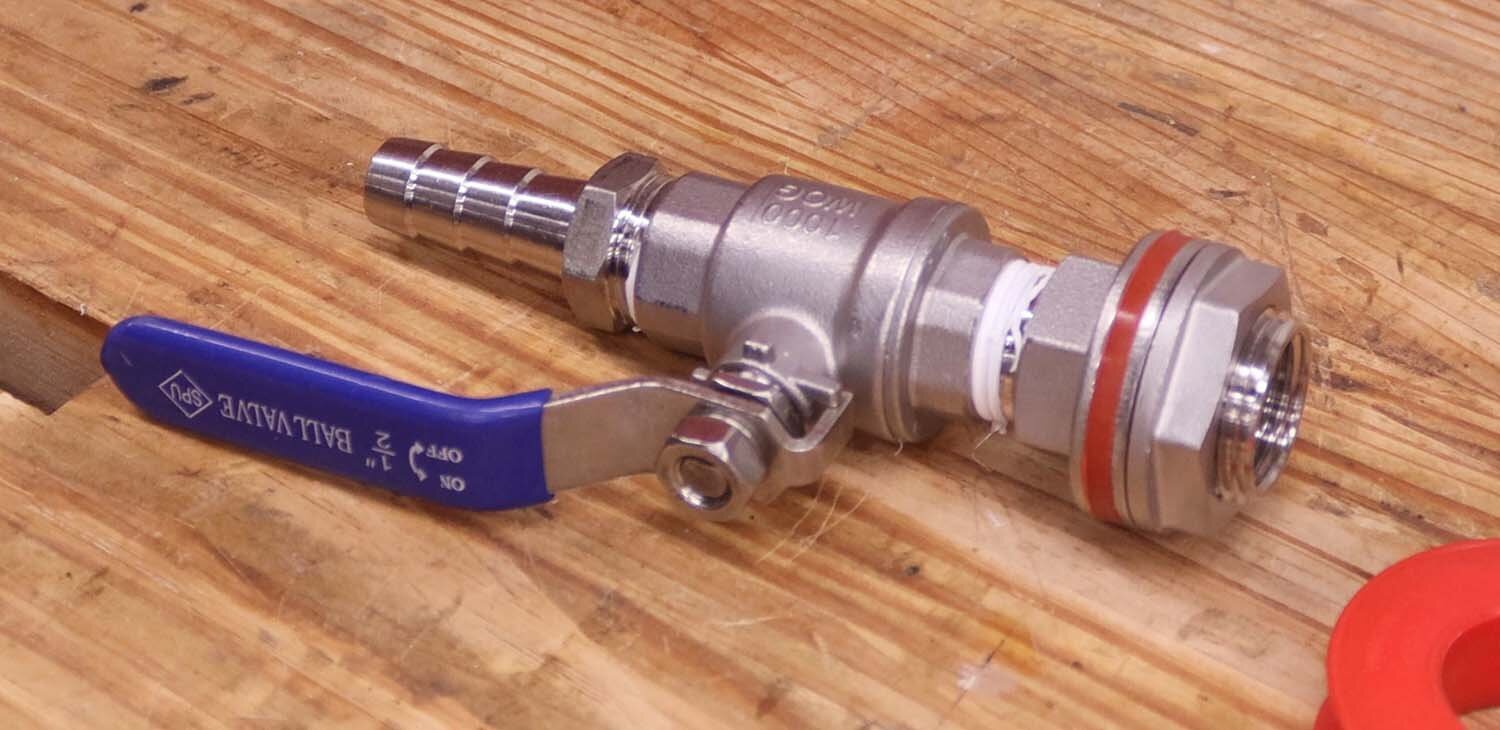
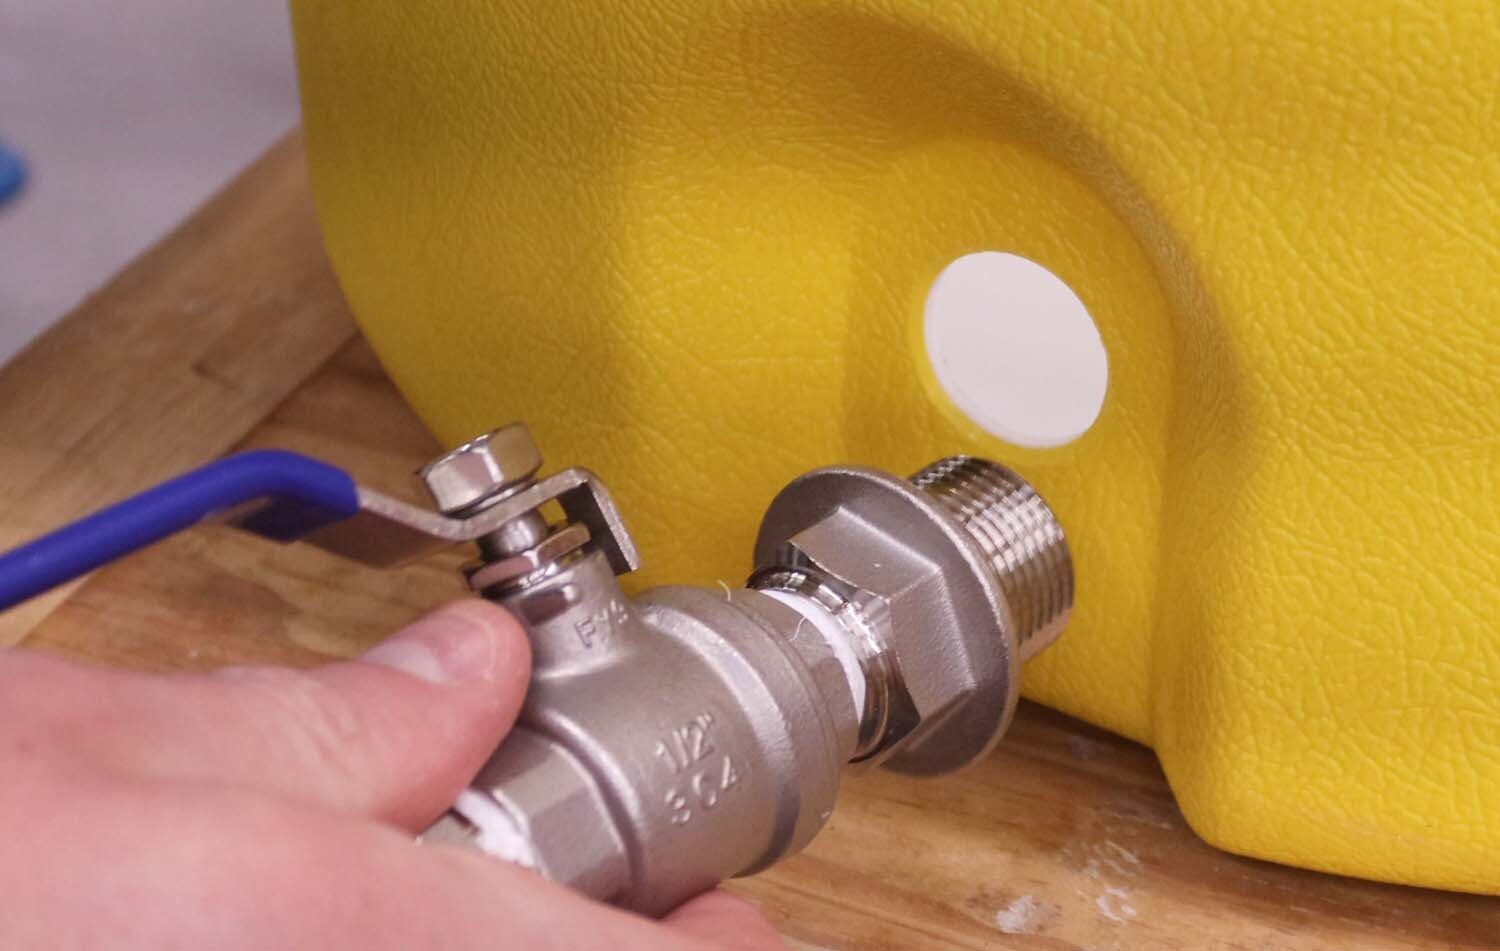
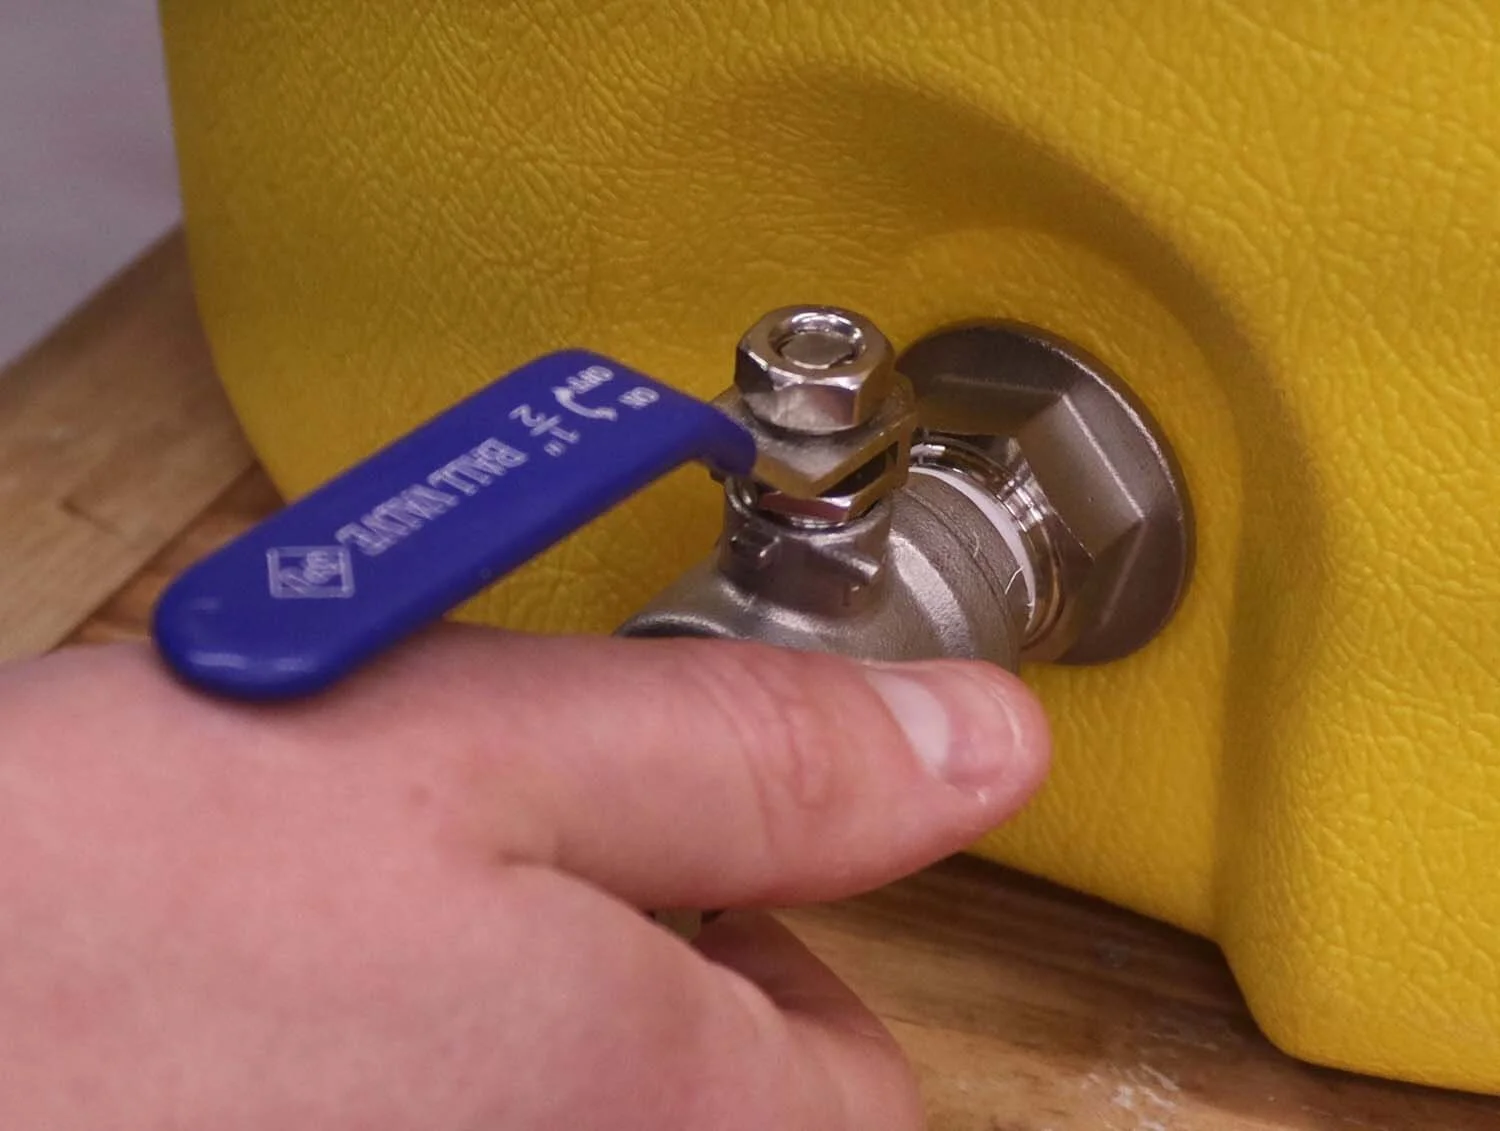
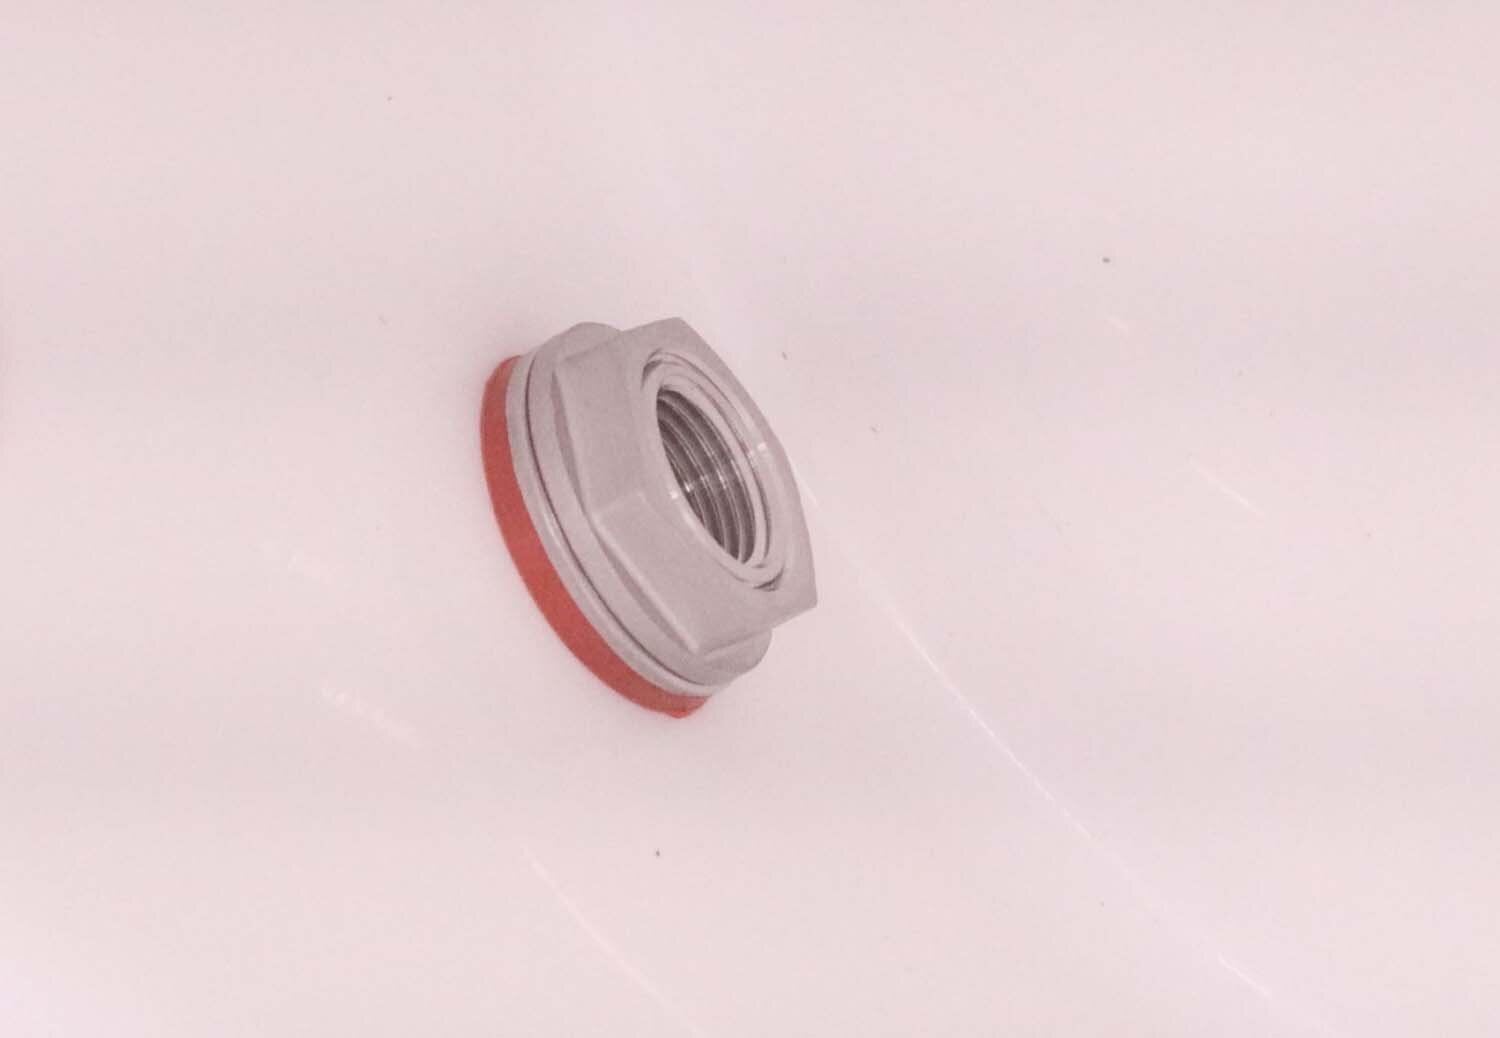
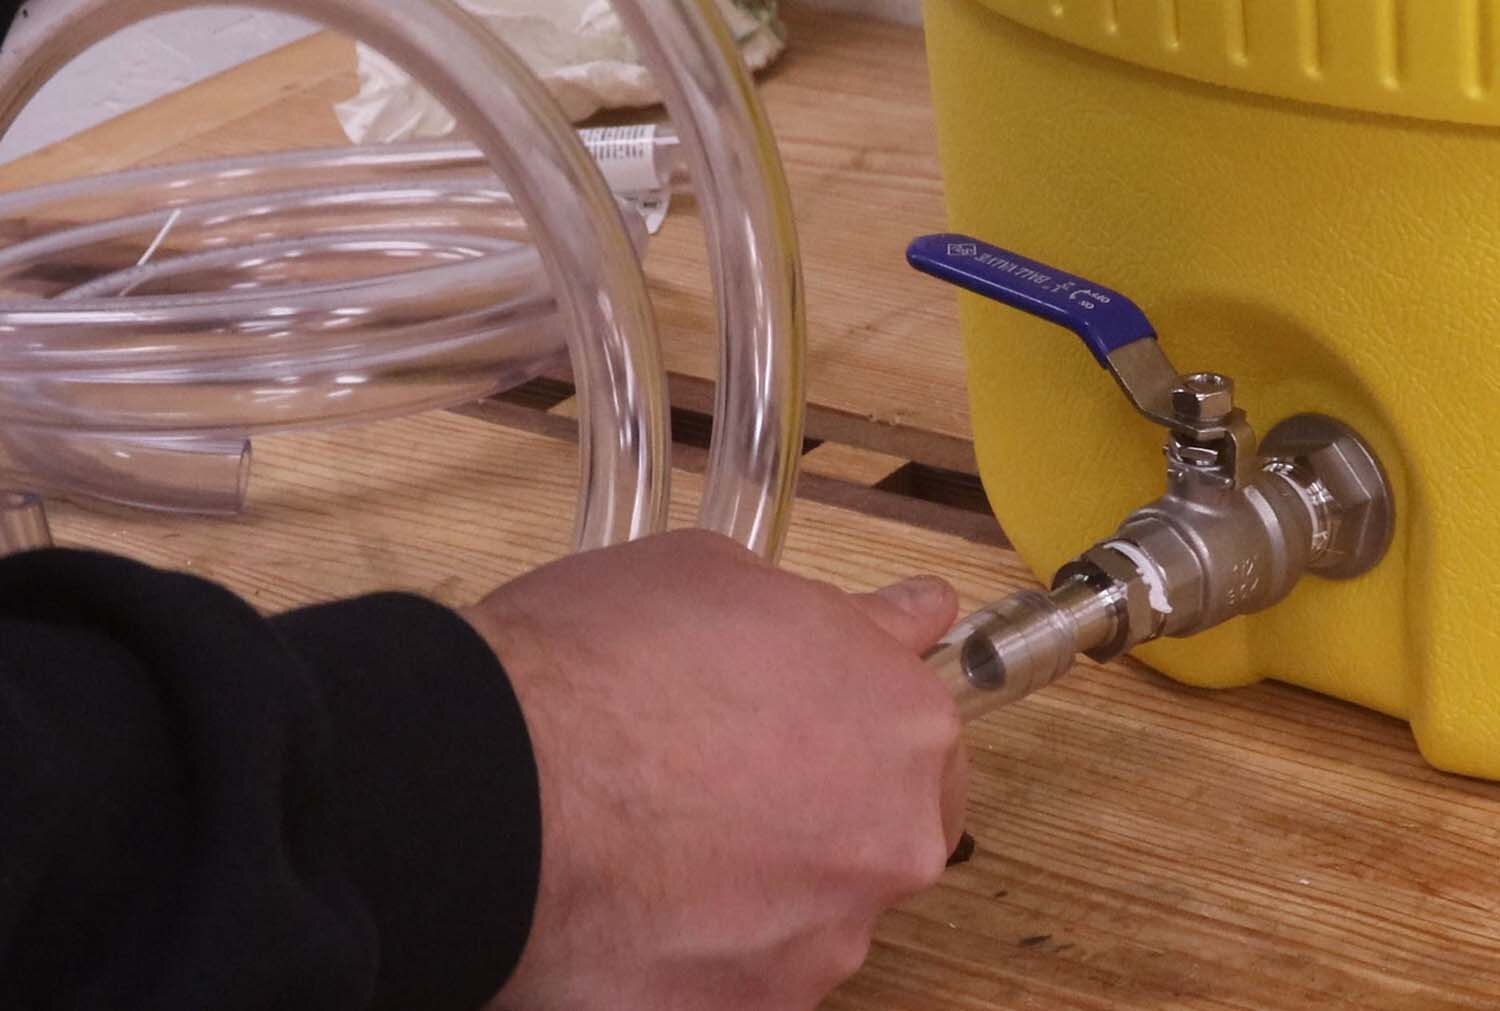
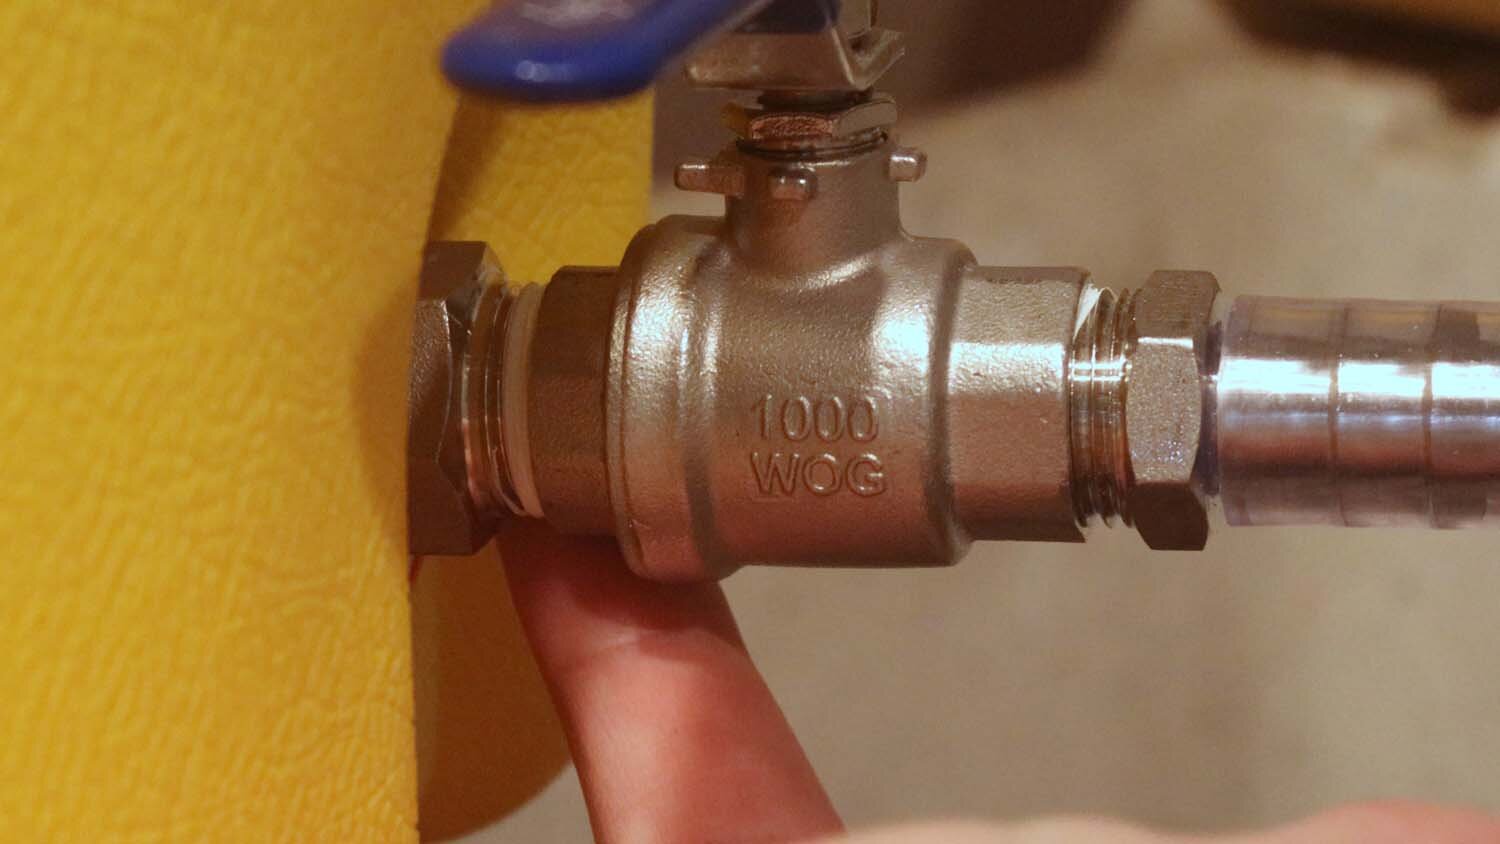
Start by assembling the ball valve, hose barb adapter, and bulkhead fittings together, first wrapping the threads in a few wraps of Teflon tape.
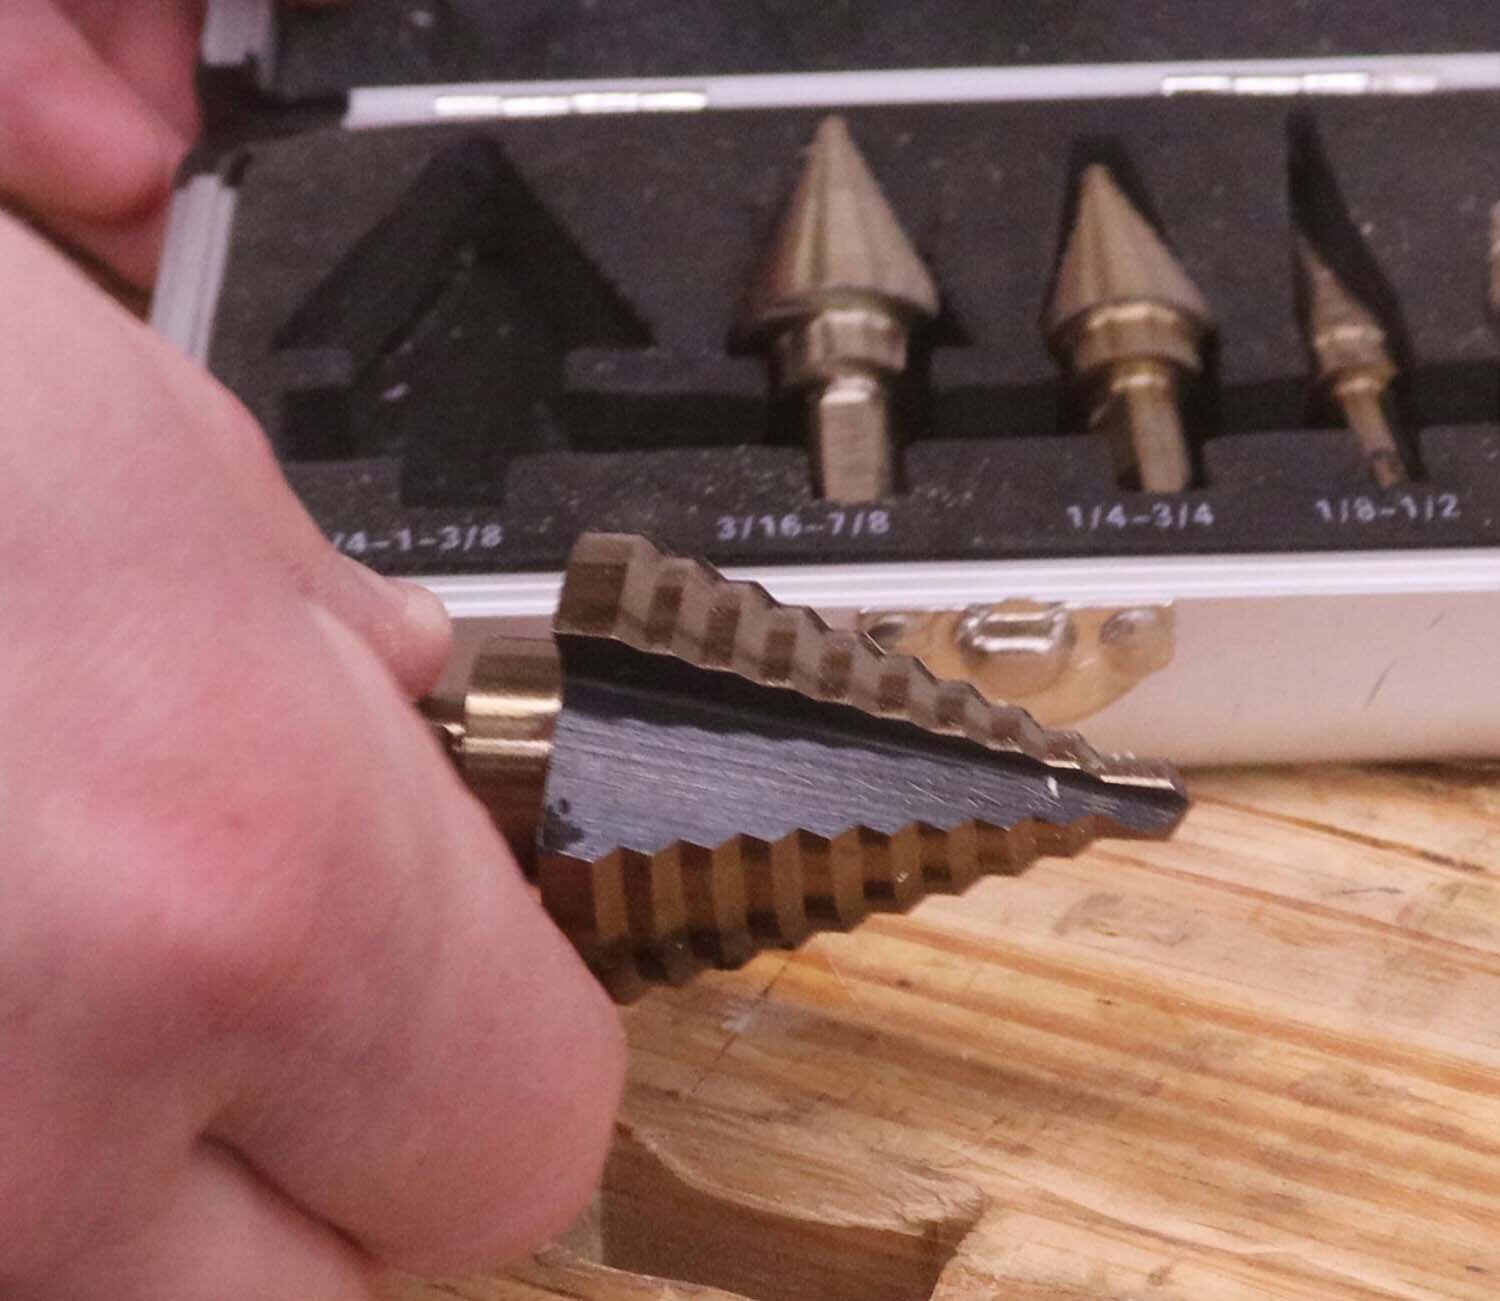
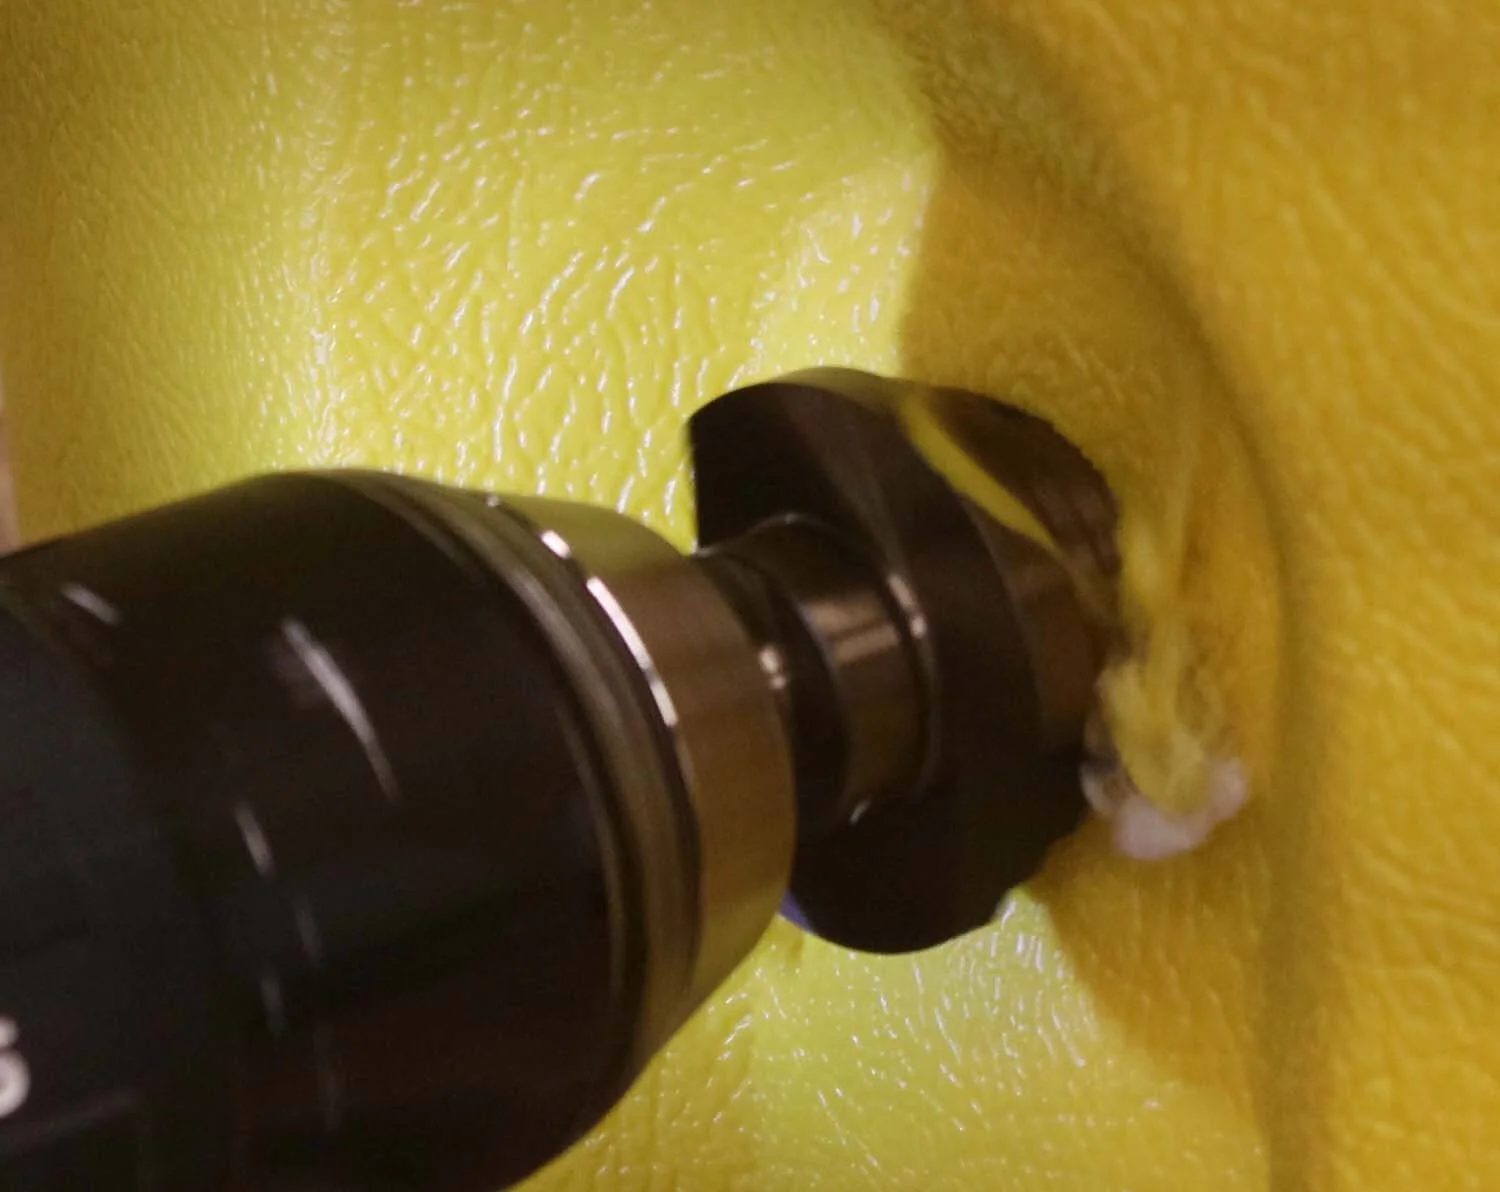
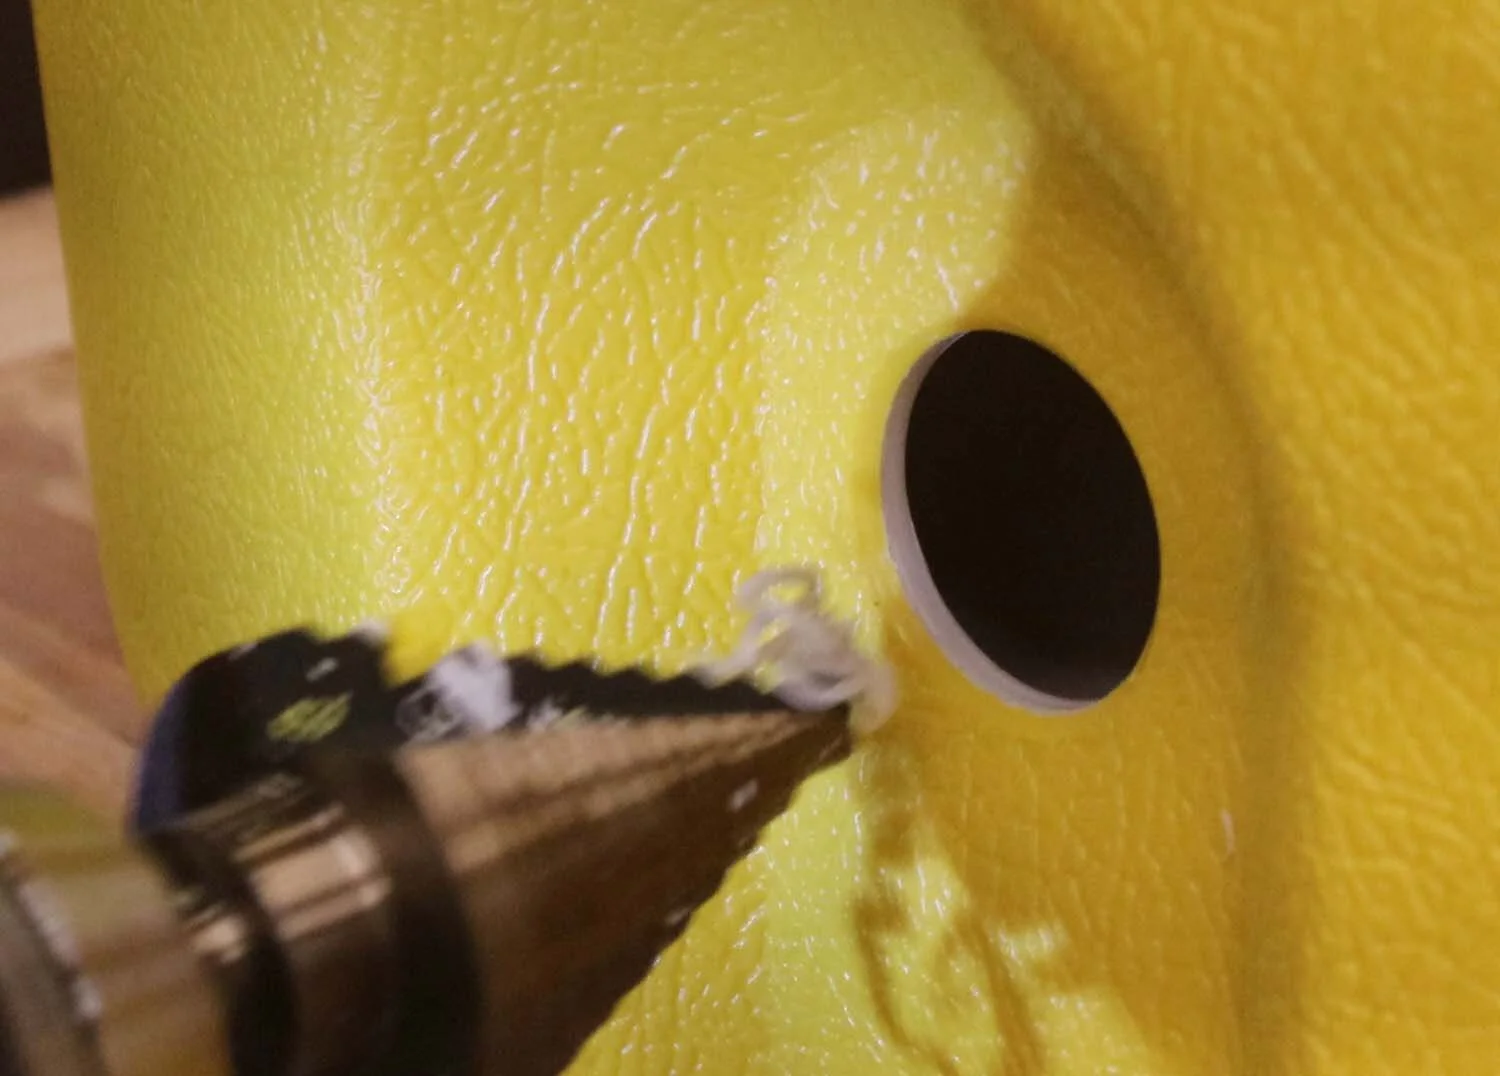
Remove the spigot that comes with the cooler, which has a plastic nut on the inside that twists off. The hole left over is slightly too small for the bulkhead fitting, so it needs to be enlarged. Use a step drill to slightly enlarge the hole so that the bulkhead fitting passes through.
Next is to insert the bulkhead through the hole. Please note that I have the gasket on the wrong side of the hole in these photos, as it should be on the outside of the cooler for a proper seal. I went back and fixed this later after leak testing. You'll want to tighten this up with a wrench as well for leak-tightness.
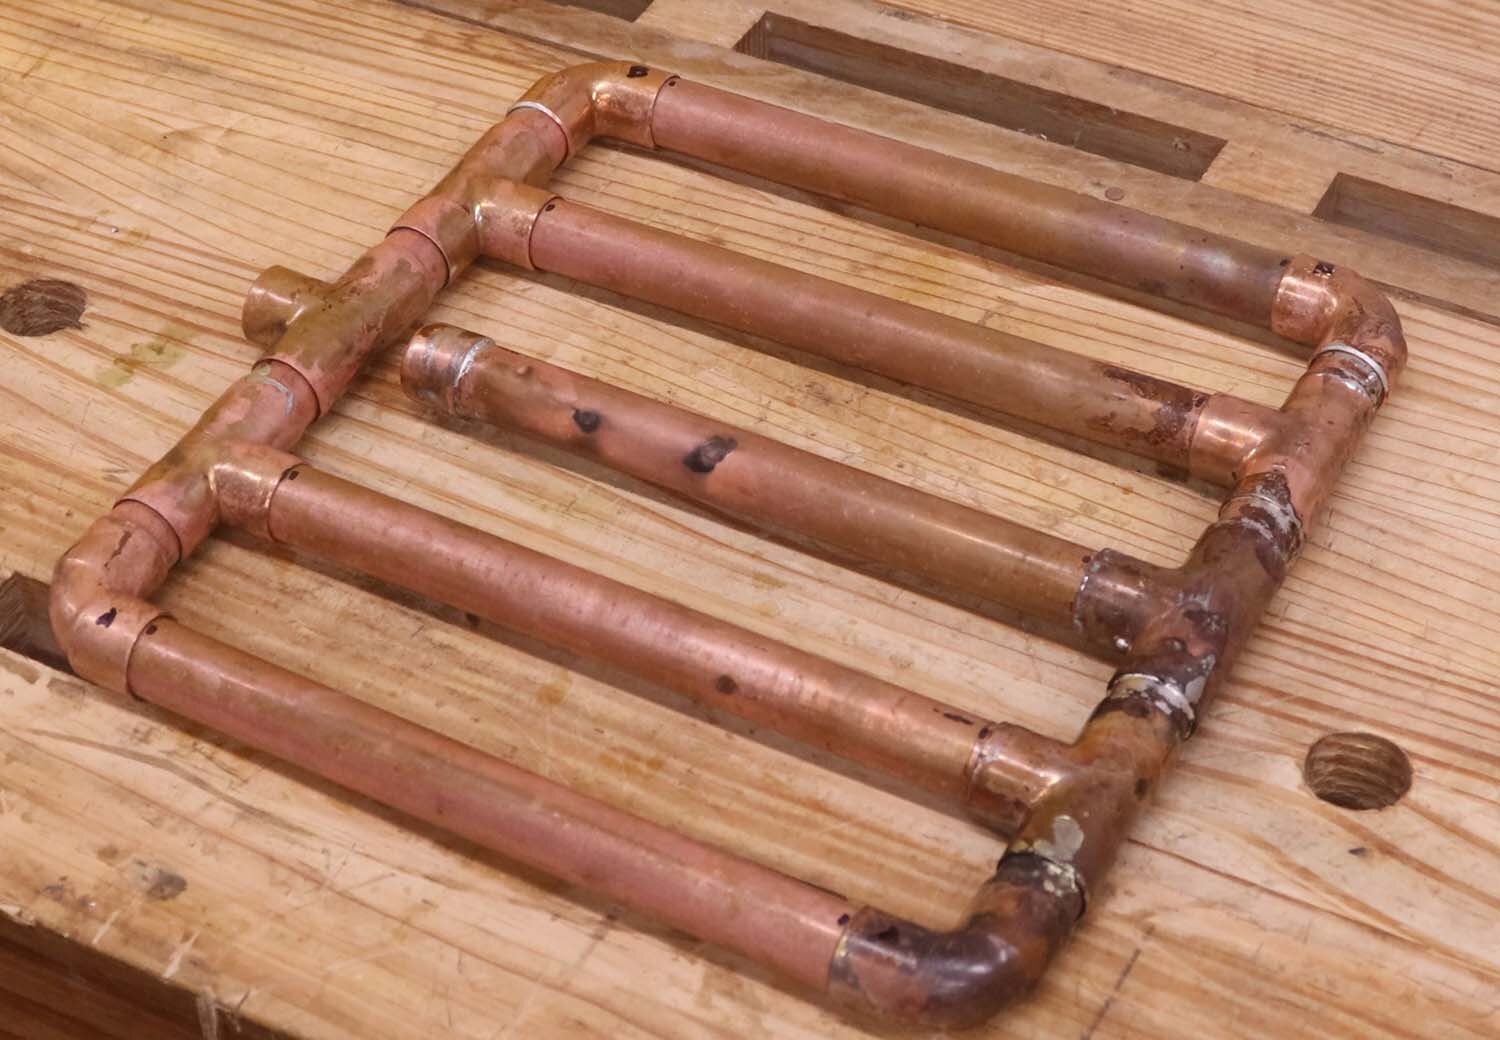
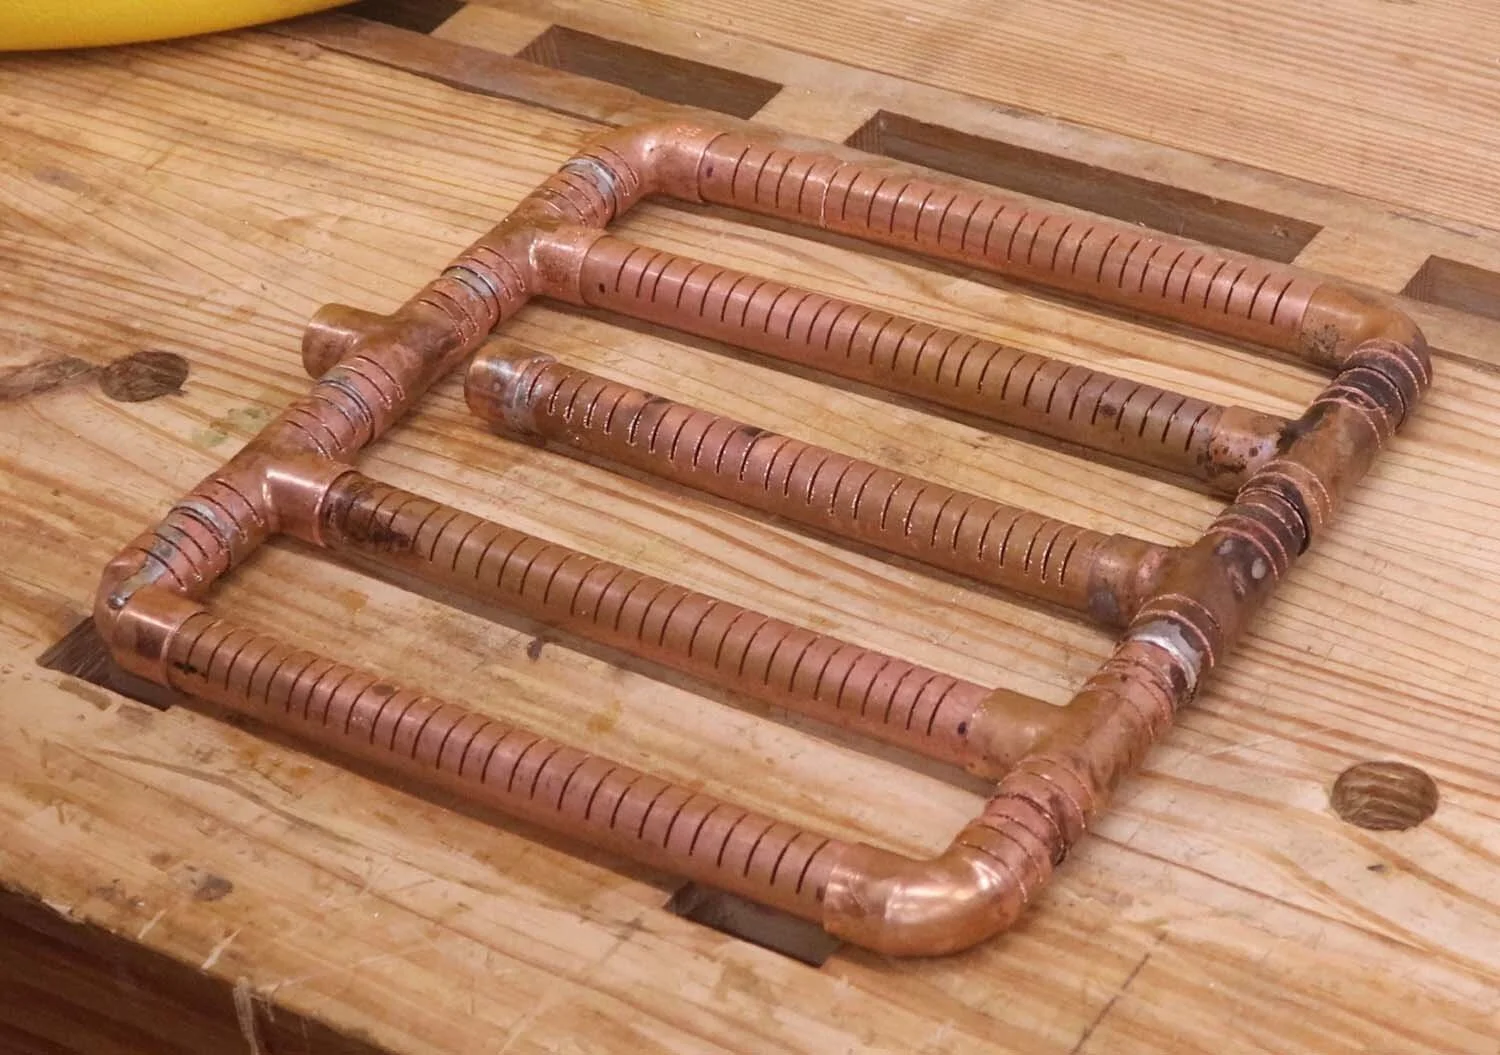
Now is time to cut out and assemble the wort filter that goes at the bottom of the MLT. This takes the place of the false bottom commonly seen in commercial products. Forgive the crude metaphor, but this works kind of like a septic field, only in reverse. For mine, I use copper tube and fittings to create the filter.
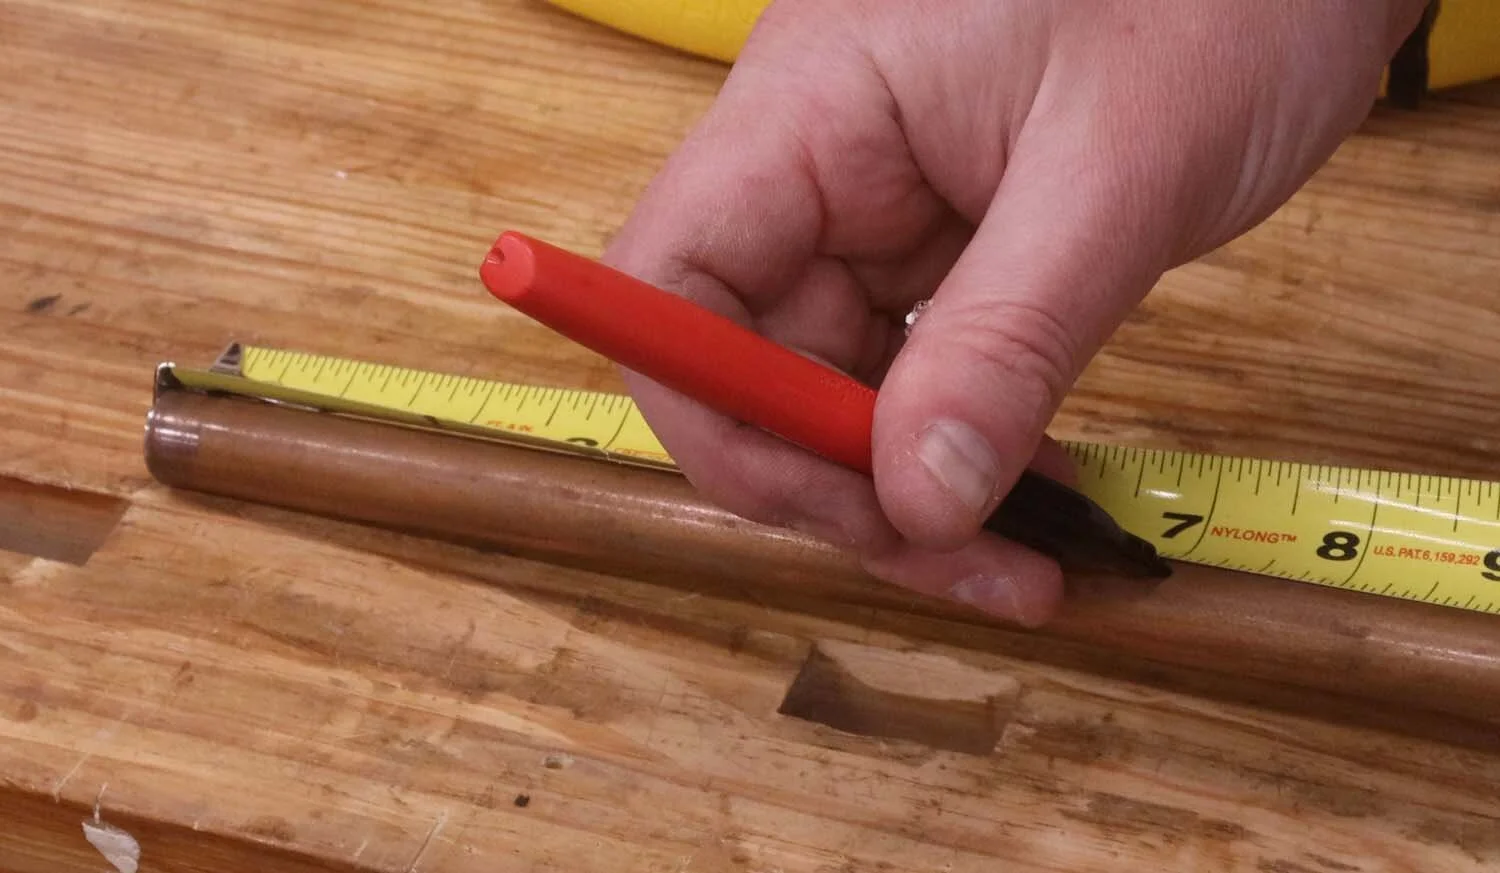
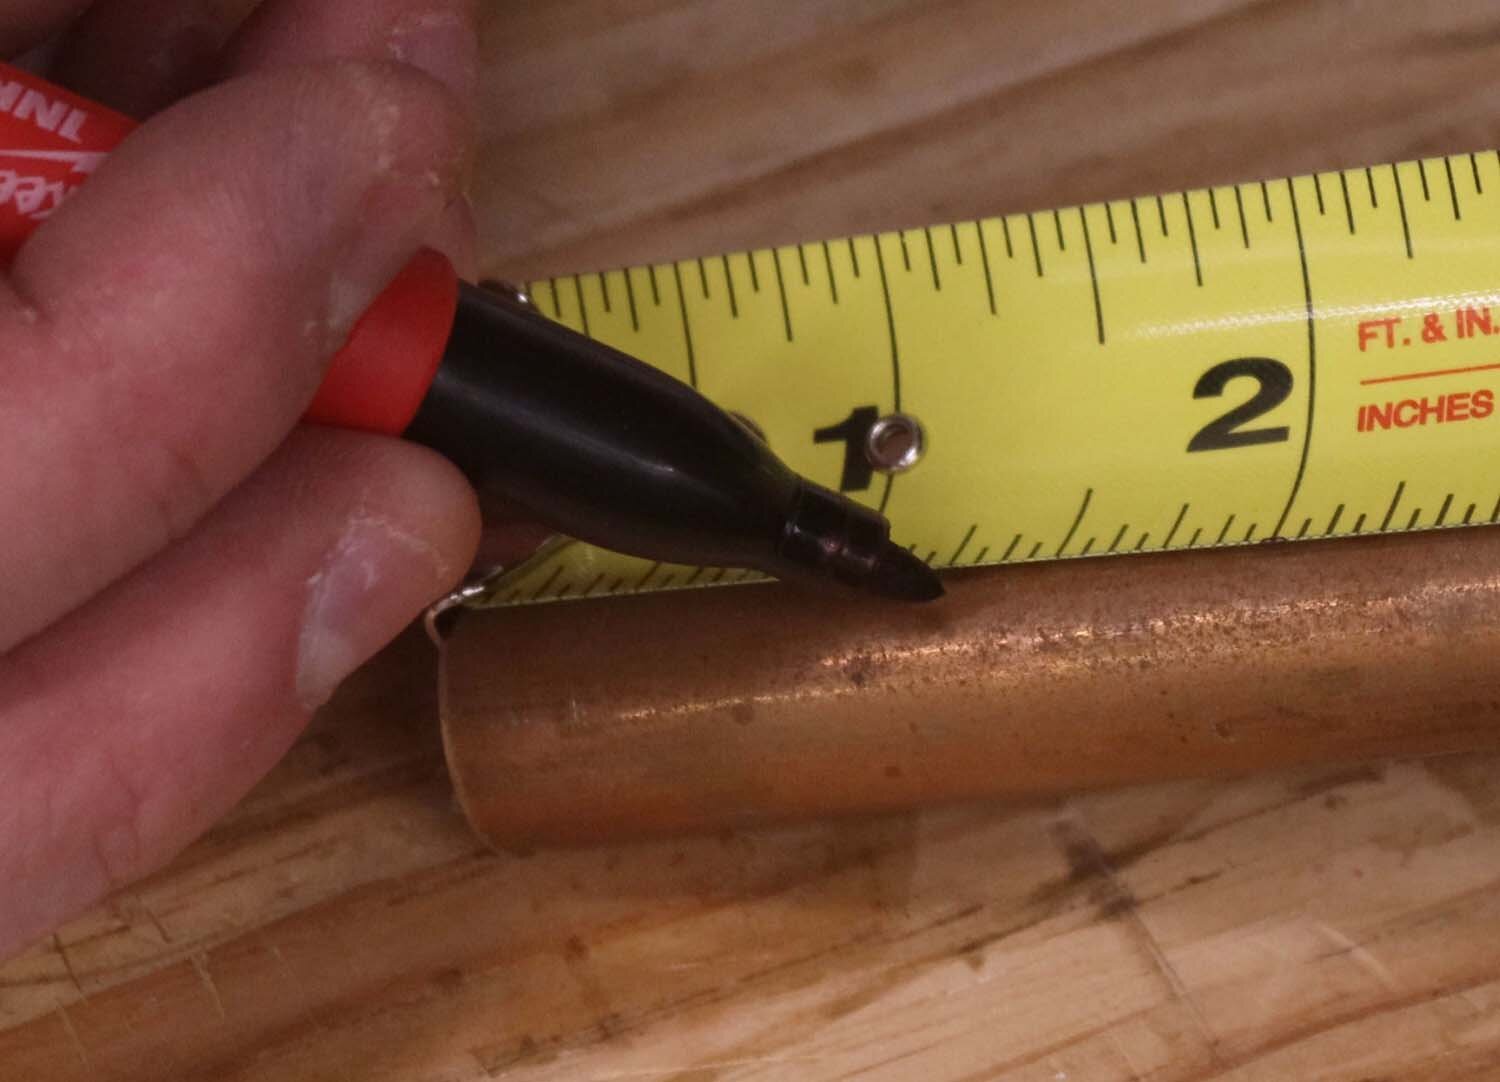
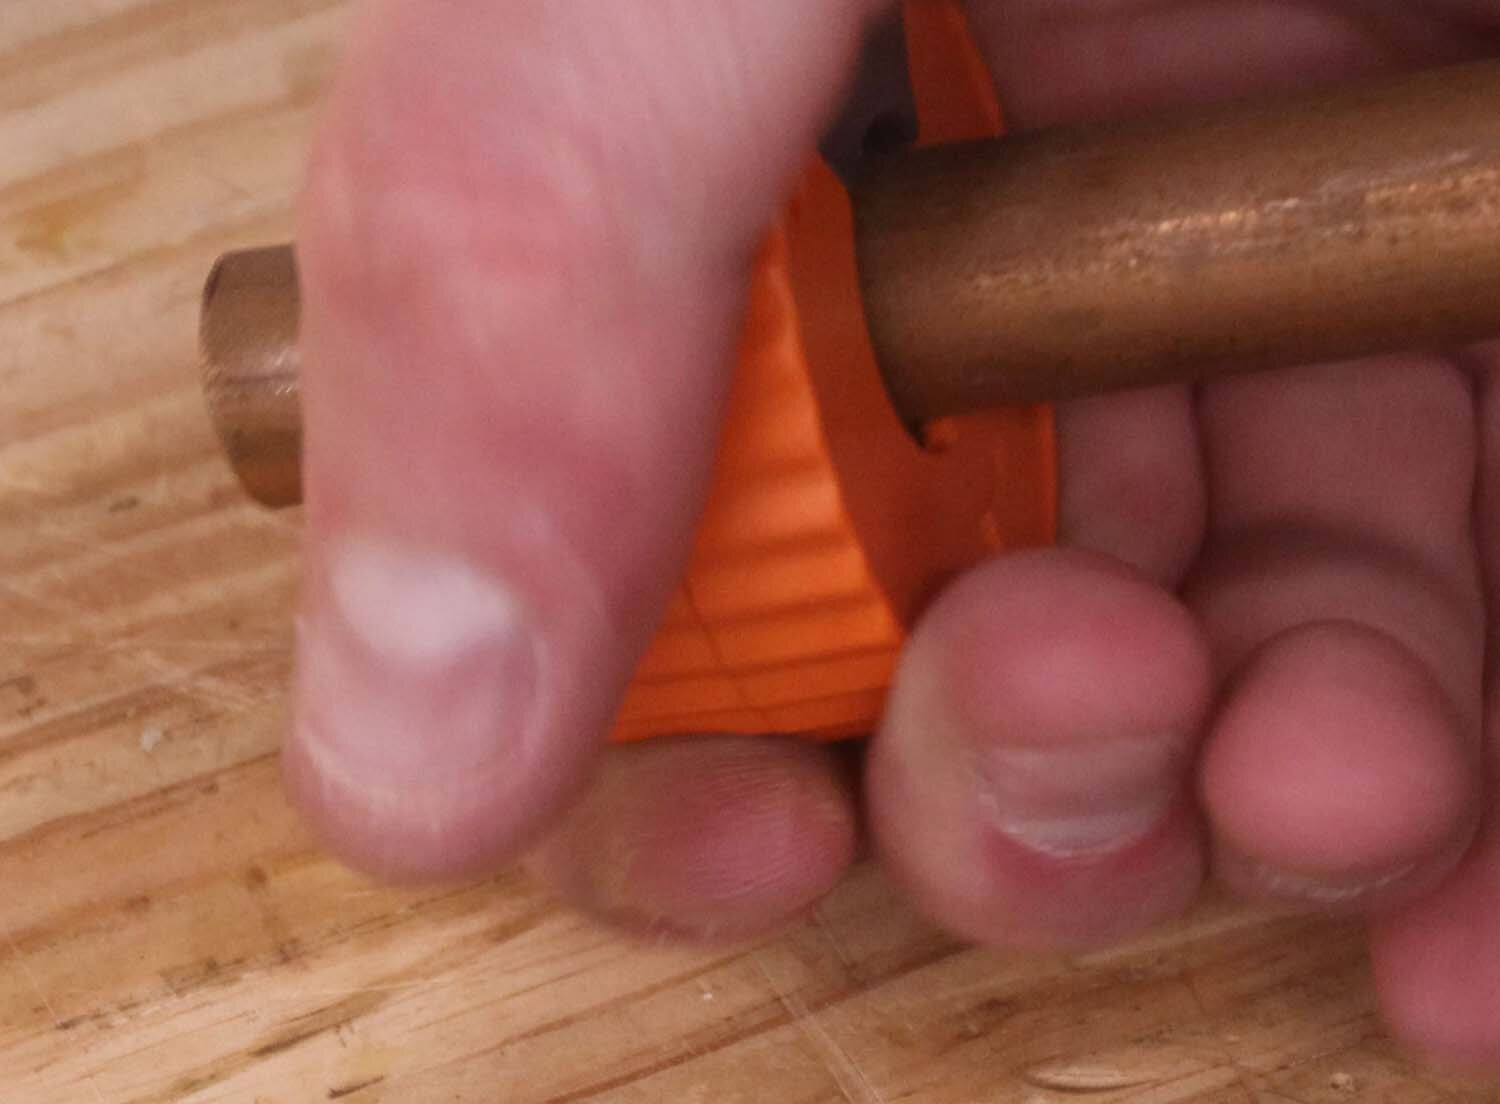
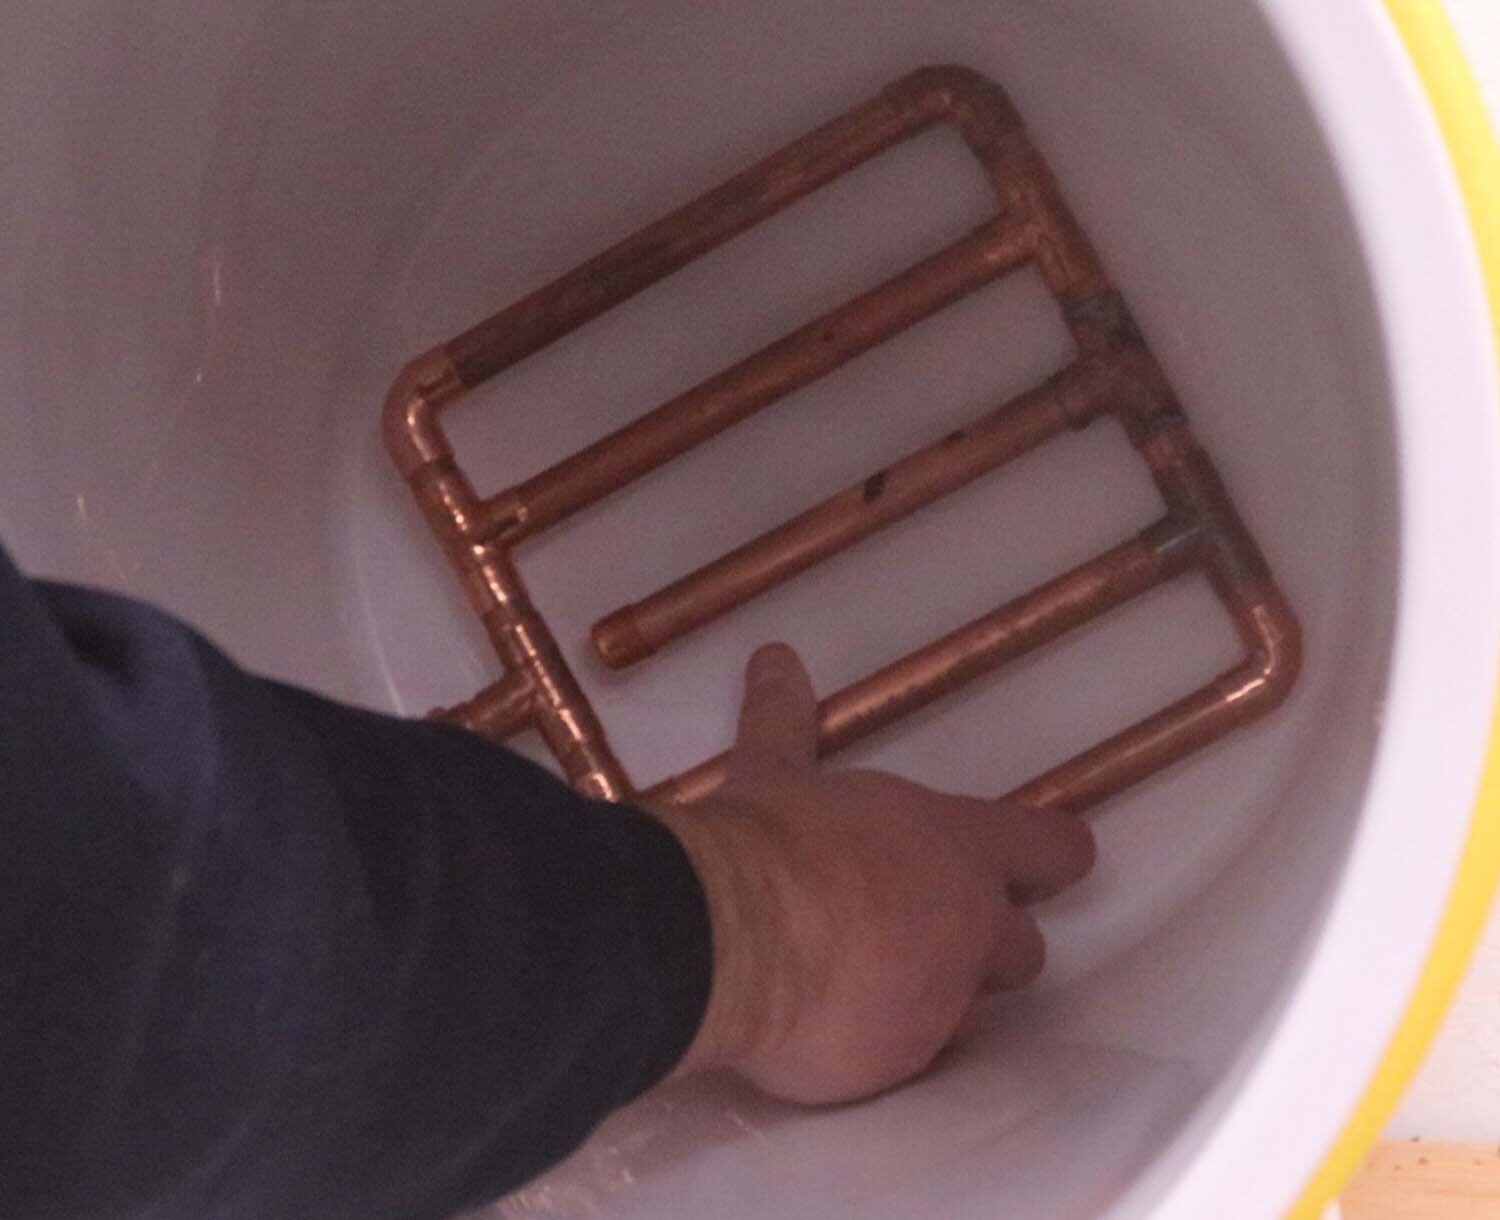
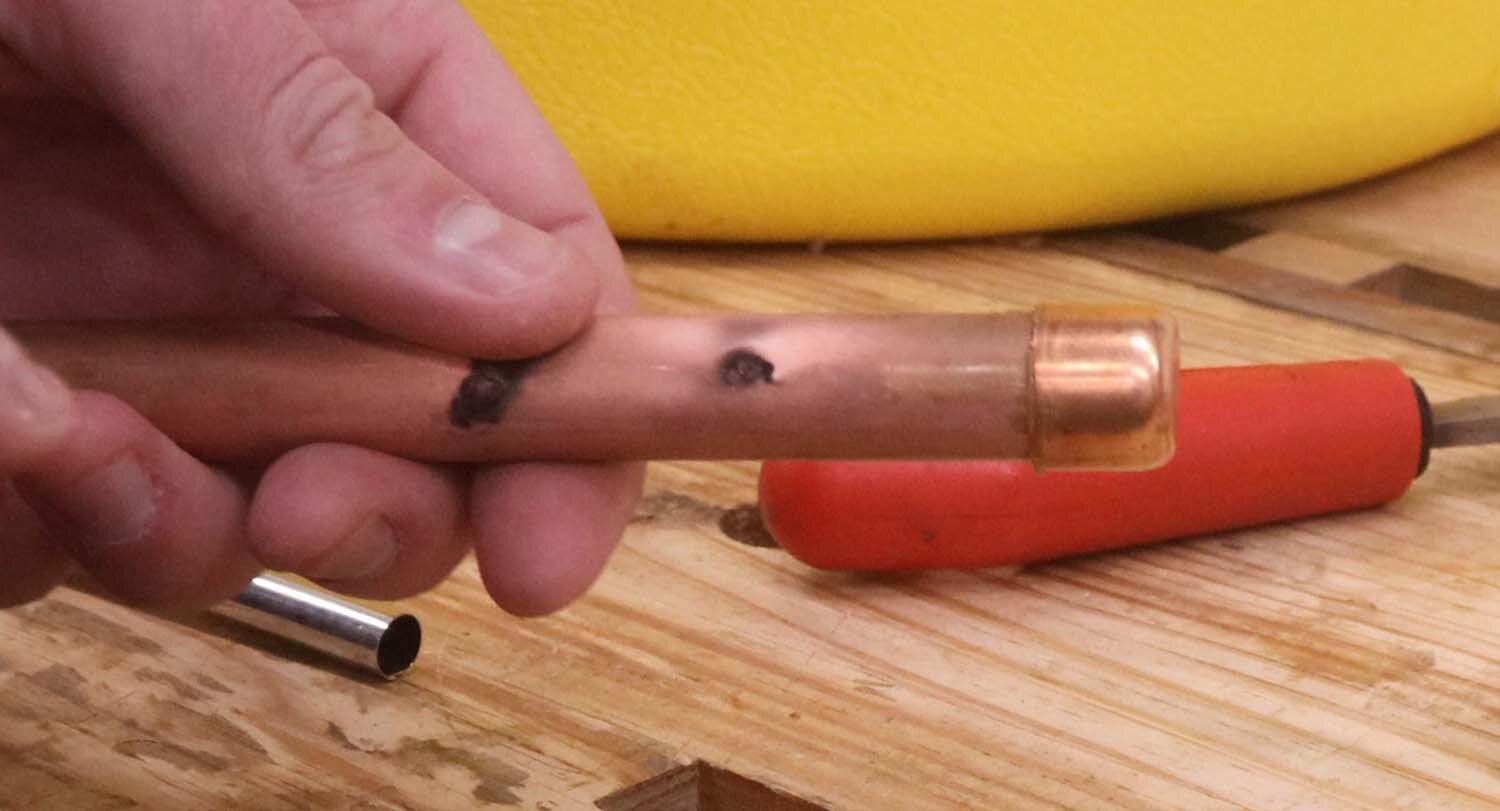
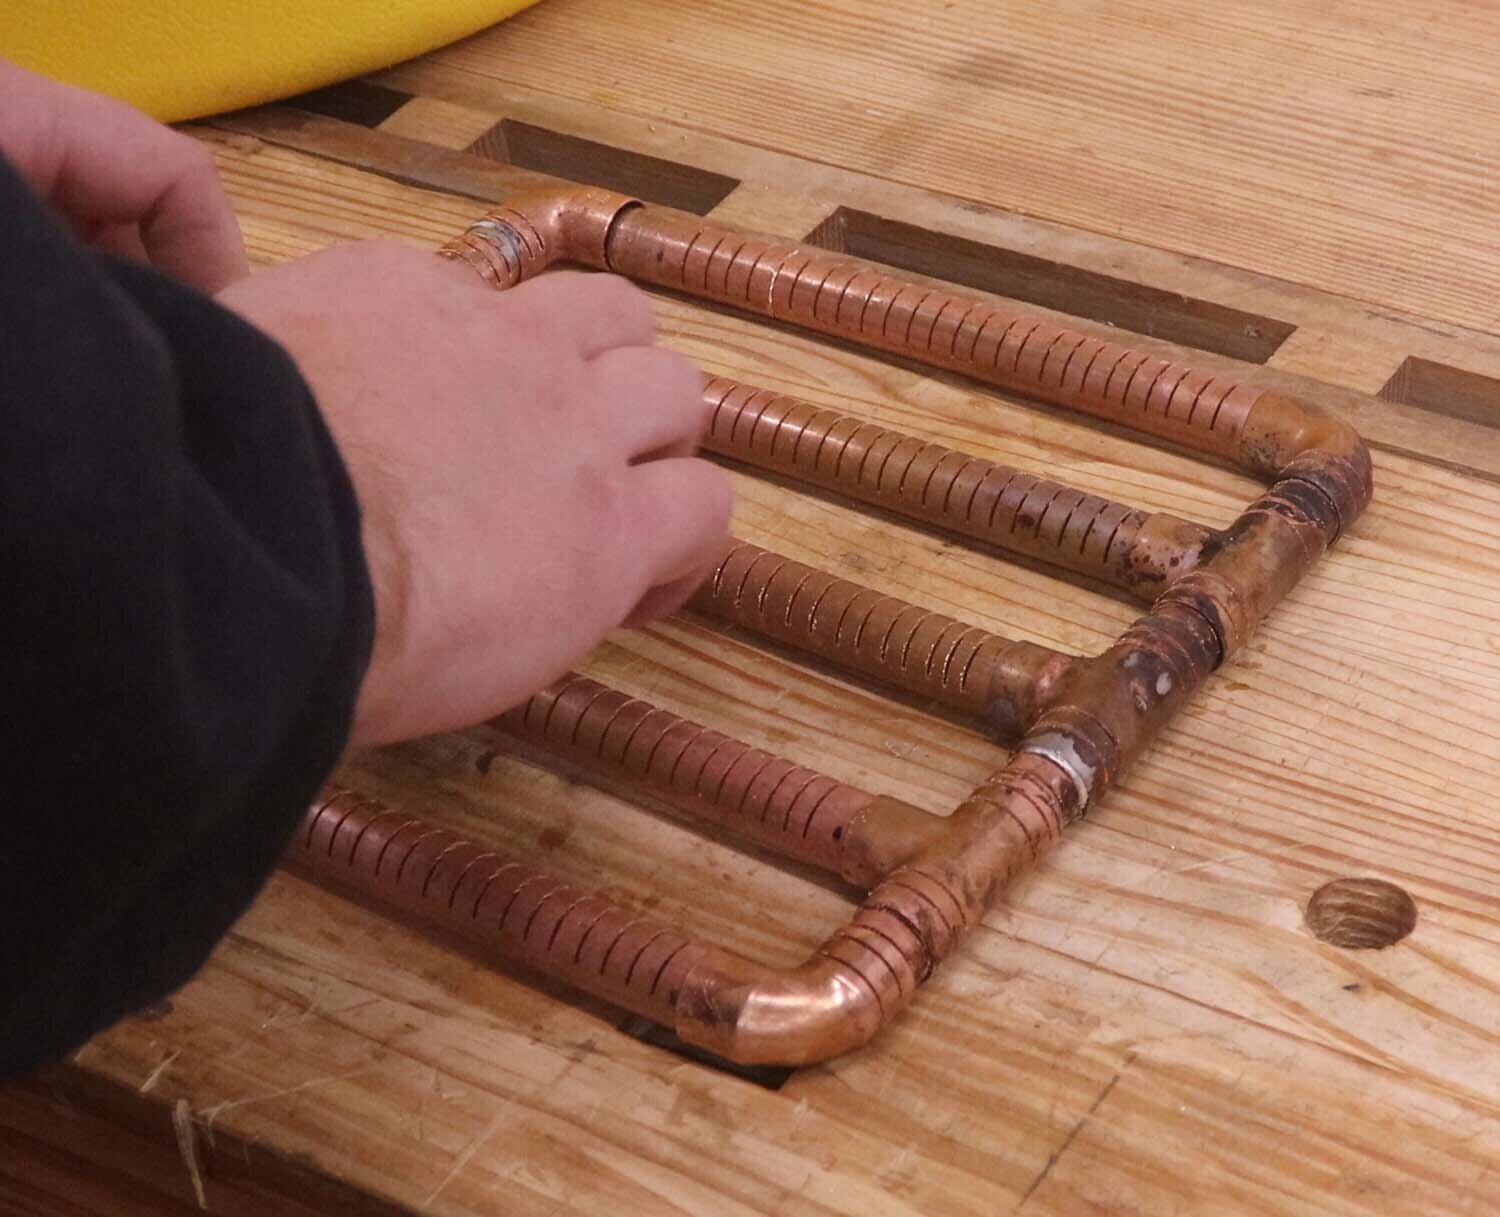
I used some old 1/2" (15mm) copper tubing that I took out when remodeling my kitchen for this. After cutting the pieces to length, debur and file a slight chamfer on the ends of the cut pipe. Then I dry fit everything together to check that it will fit. With everything put together, test the fit in the cooler.

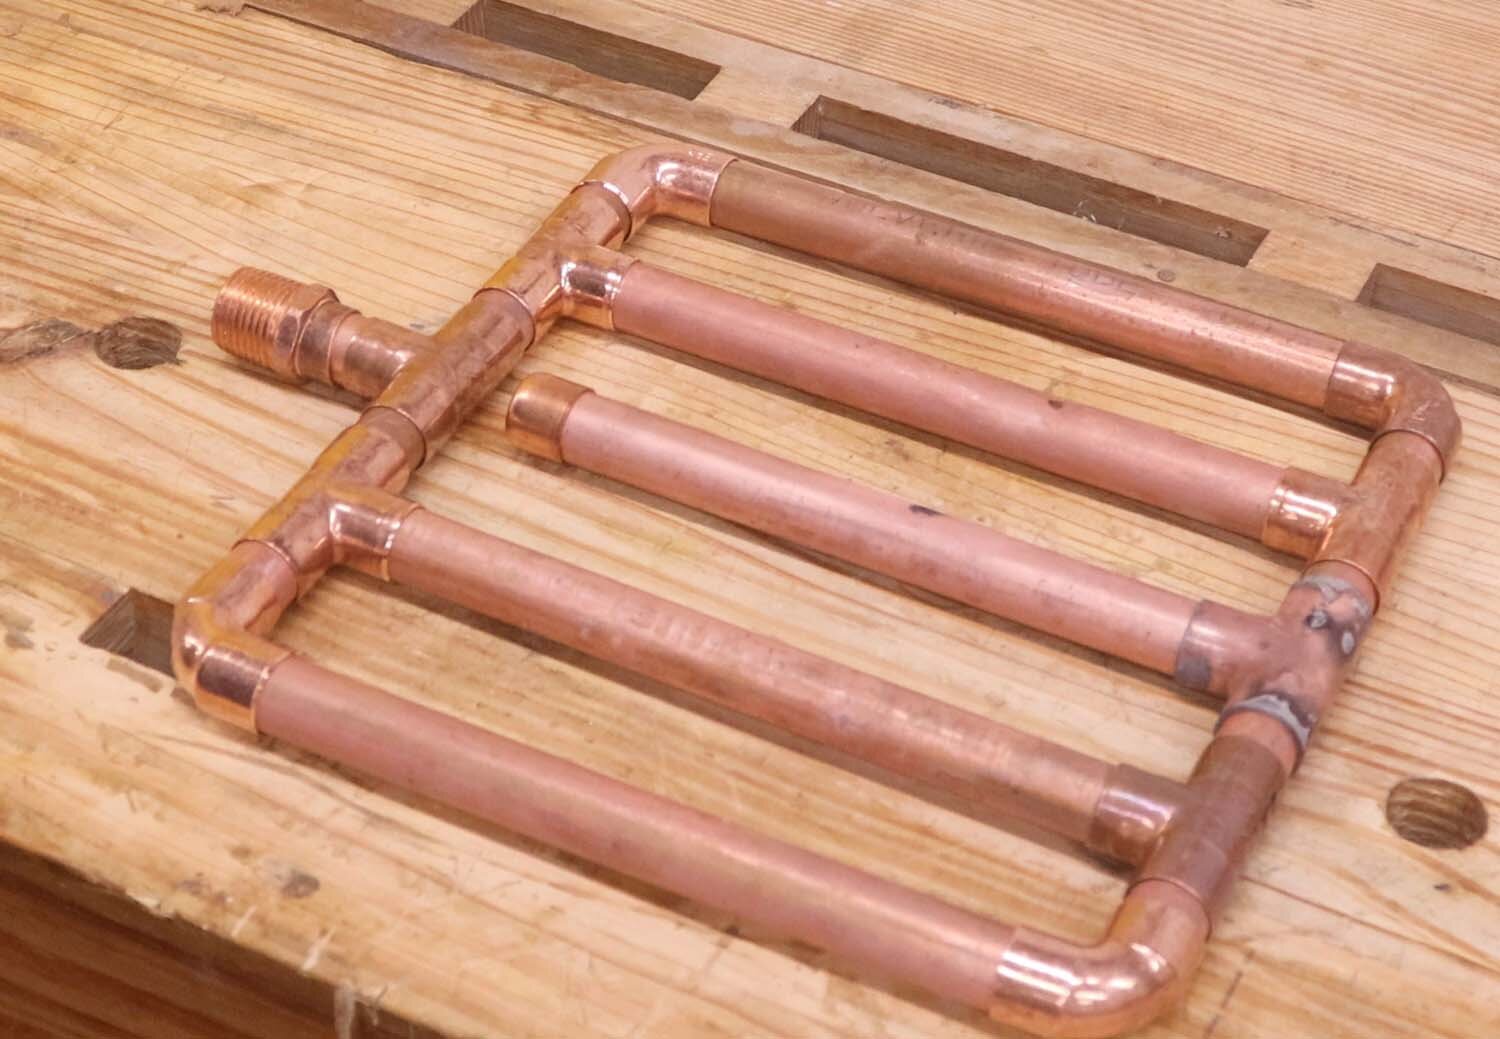
This next step is optional, but now is time to solder some of the fittings together. I don't recommend soldering everything, as that makes it harder to clean after use. Rather, solder together the ends with all the fittings into one piece to save the headache of keeping track of all the fittings, while leaving the long tubing pieces loose. Since the filter does not need to be water-tight, there is no need to do much joint preparation besides applying flux. All the solder has to do is hold the pieces together, which it'll do even in a poor solder joint that will see no real stress in use.
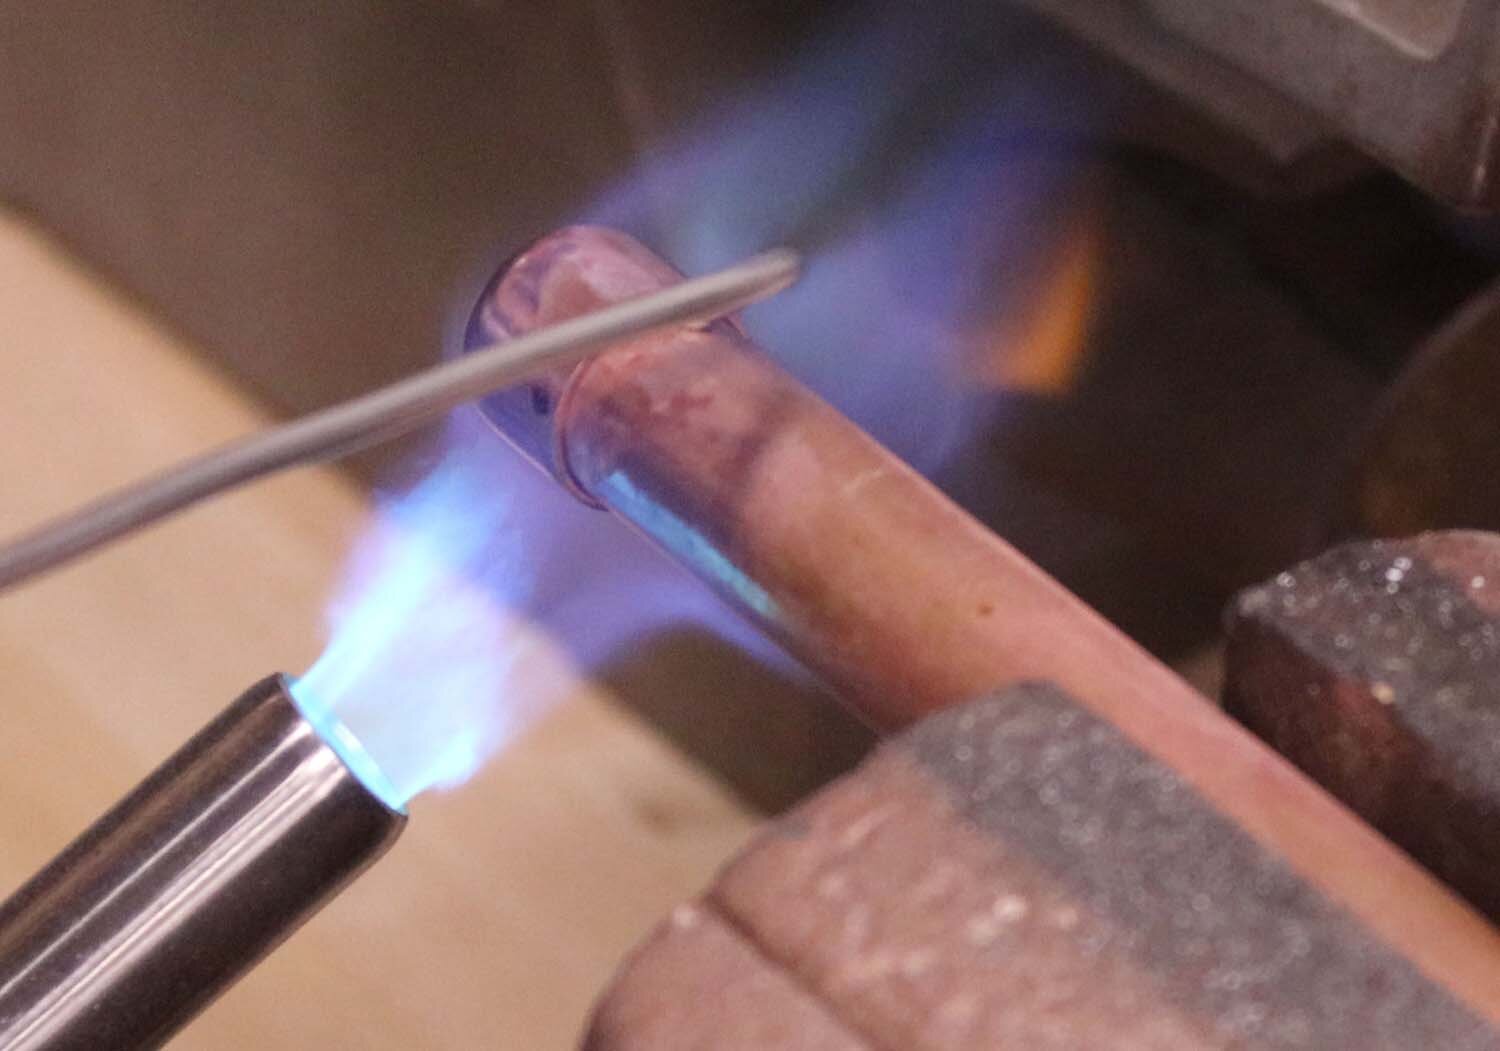
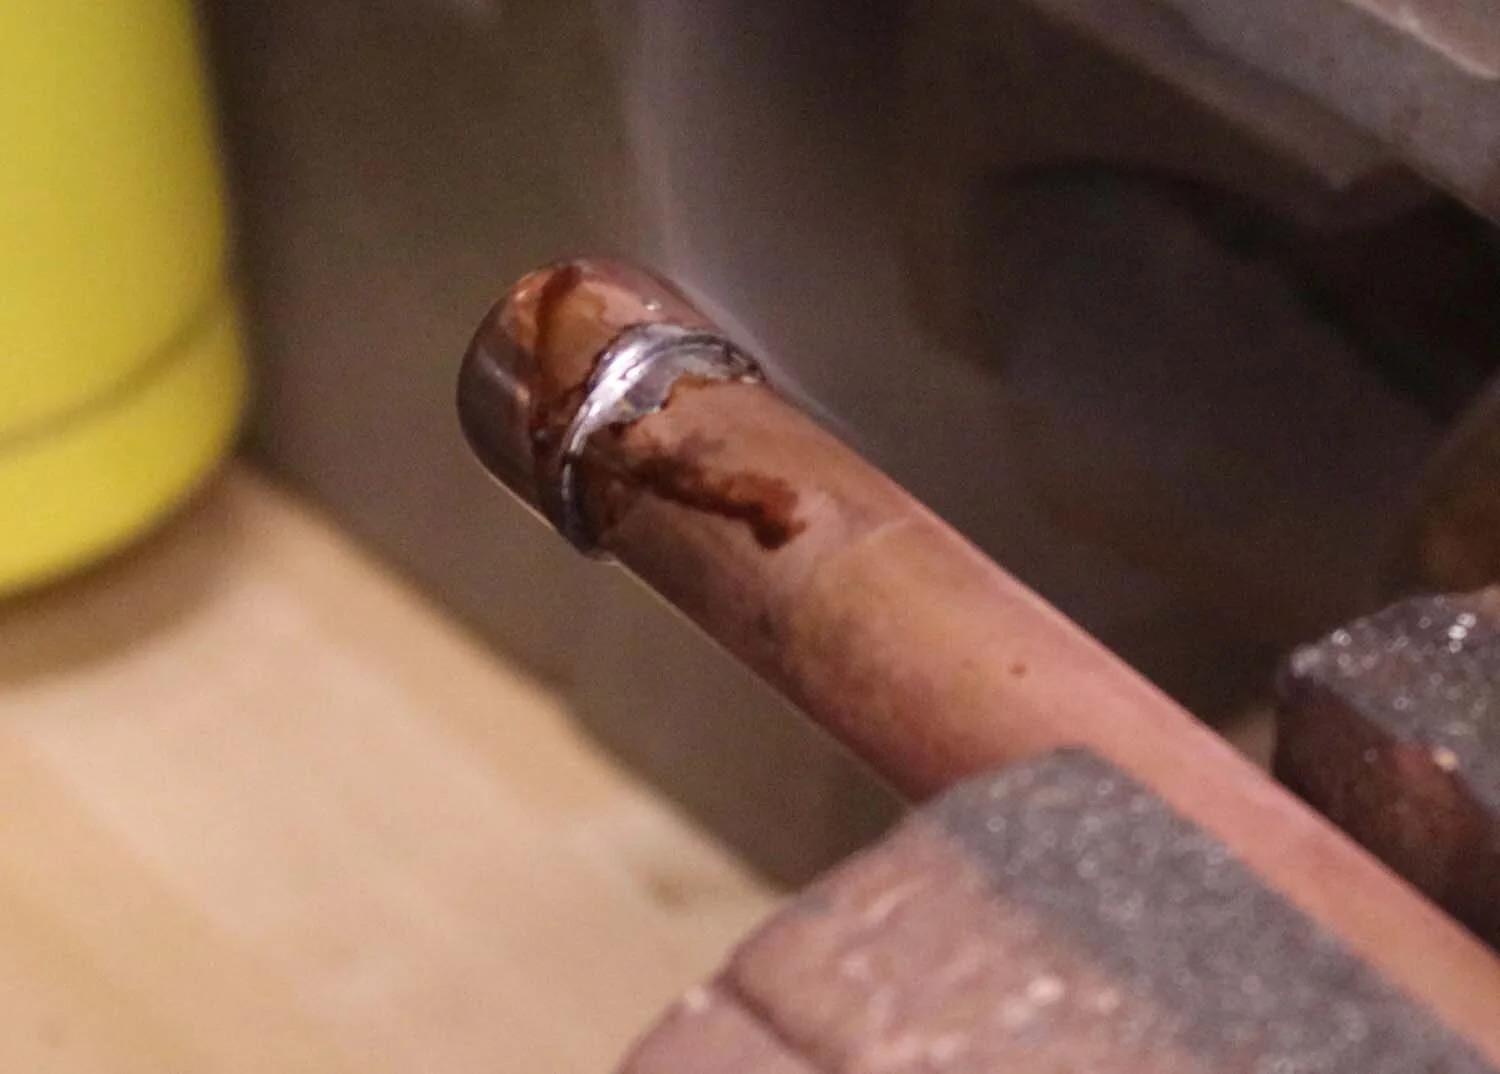

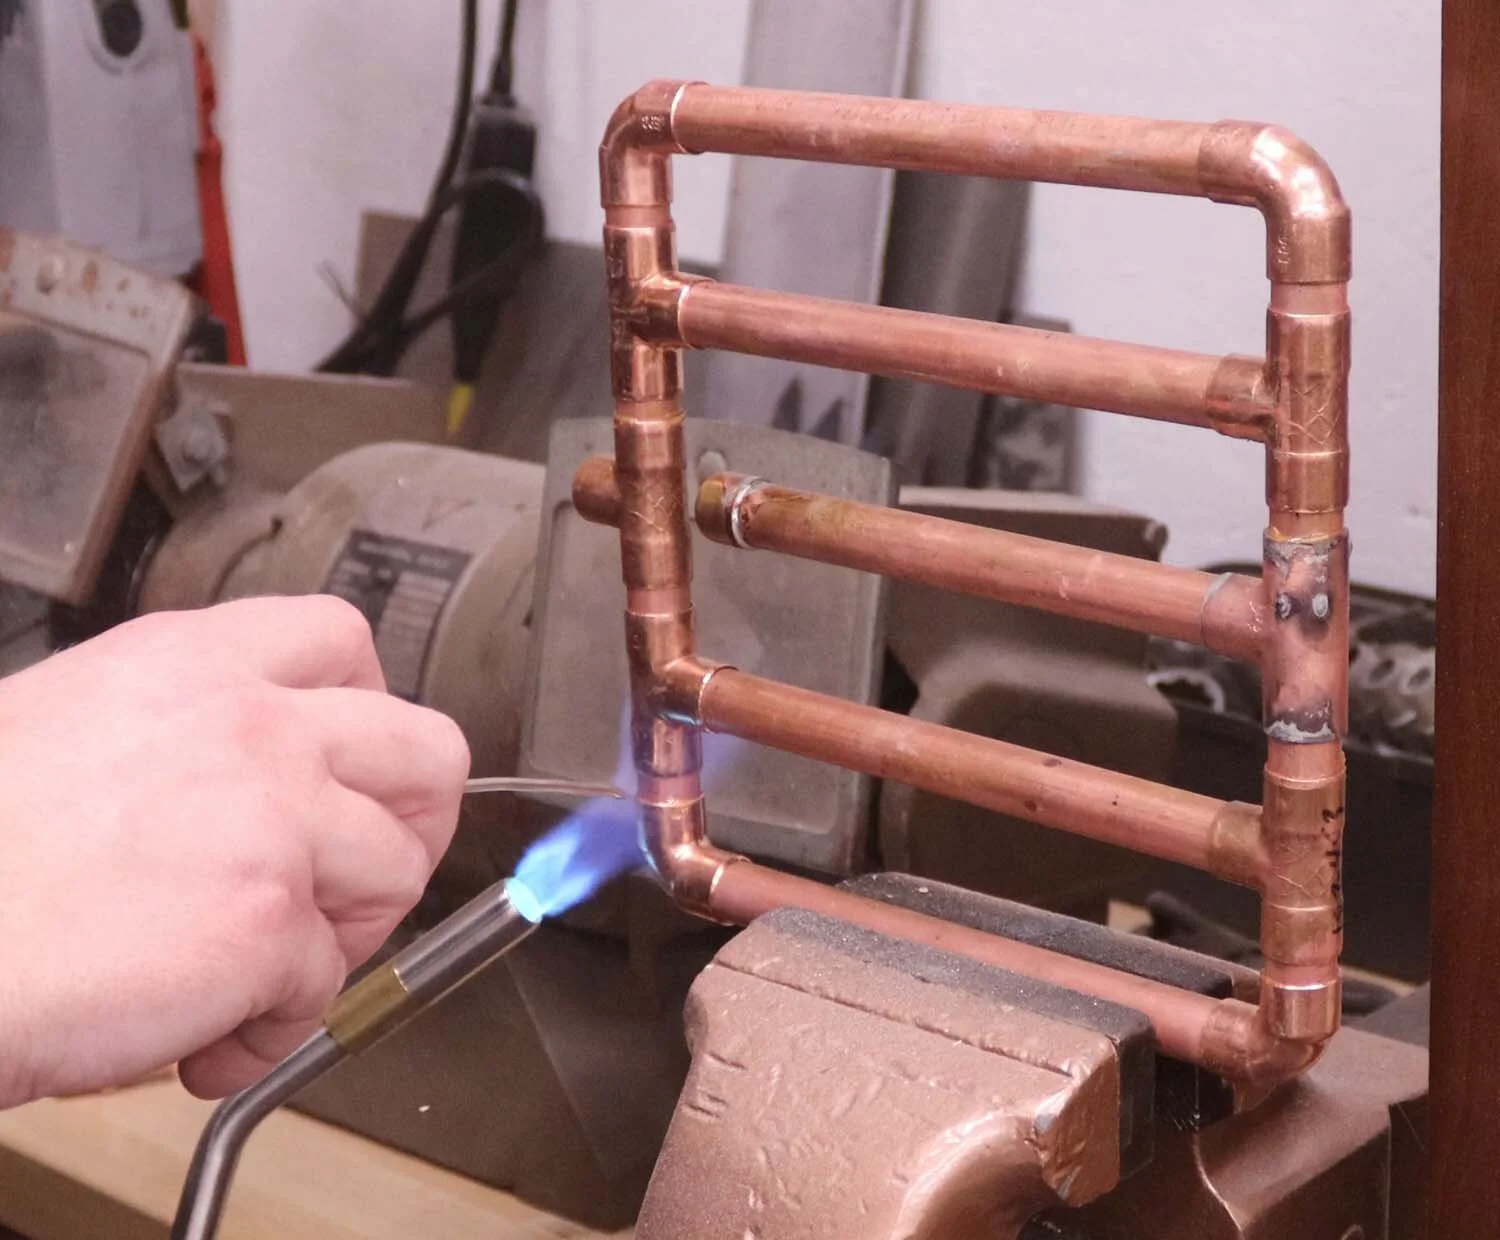
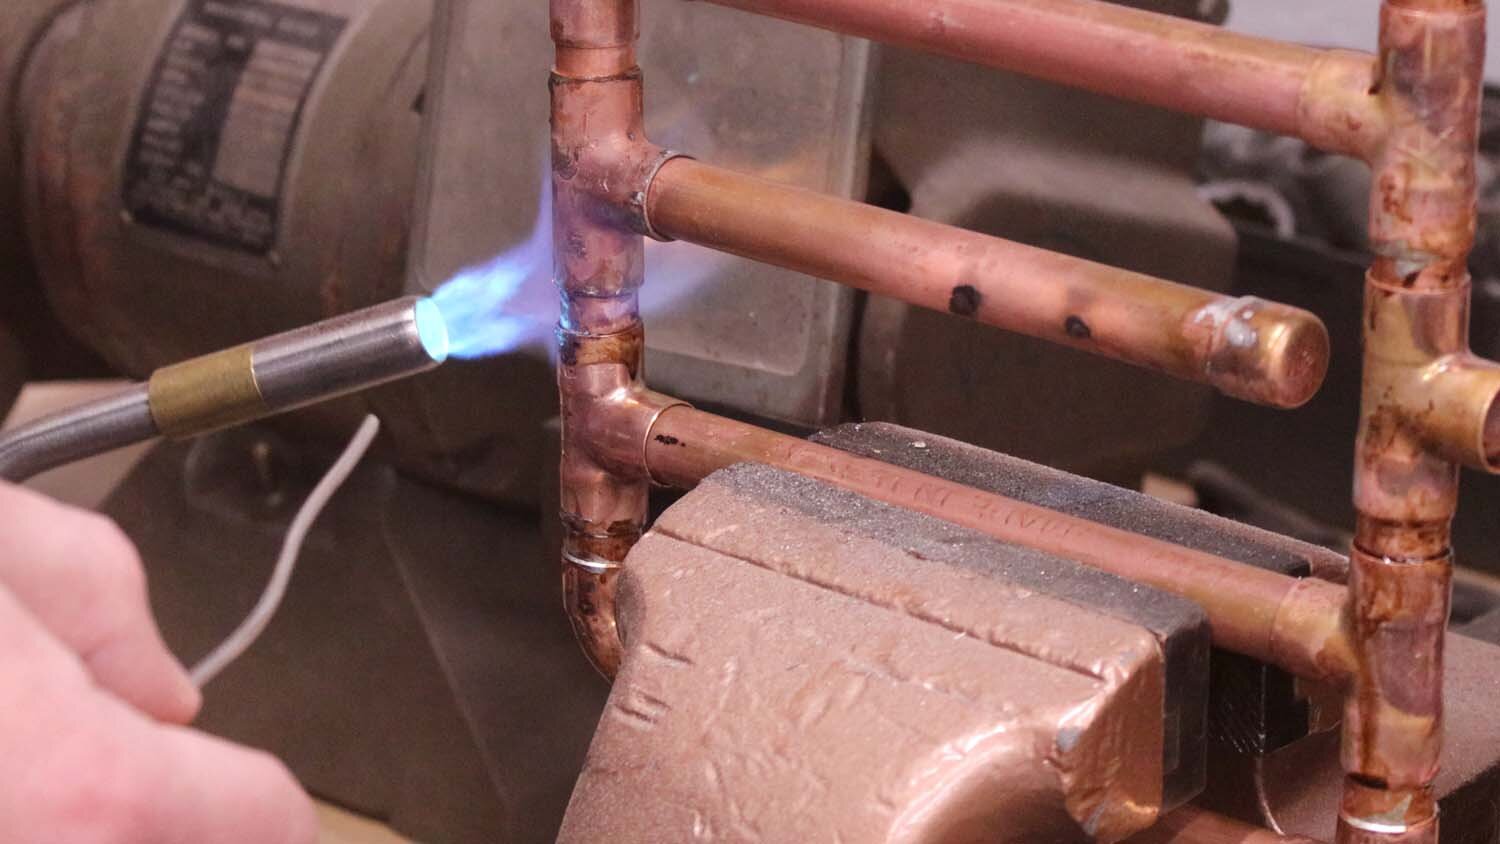
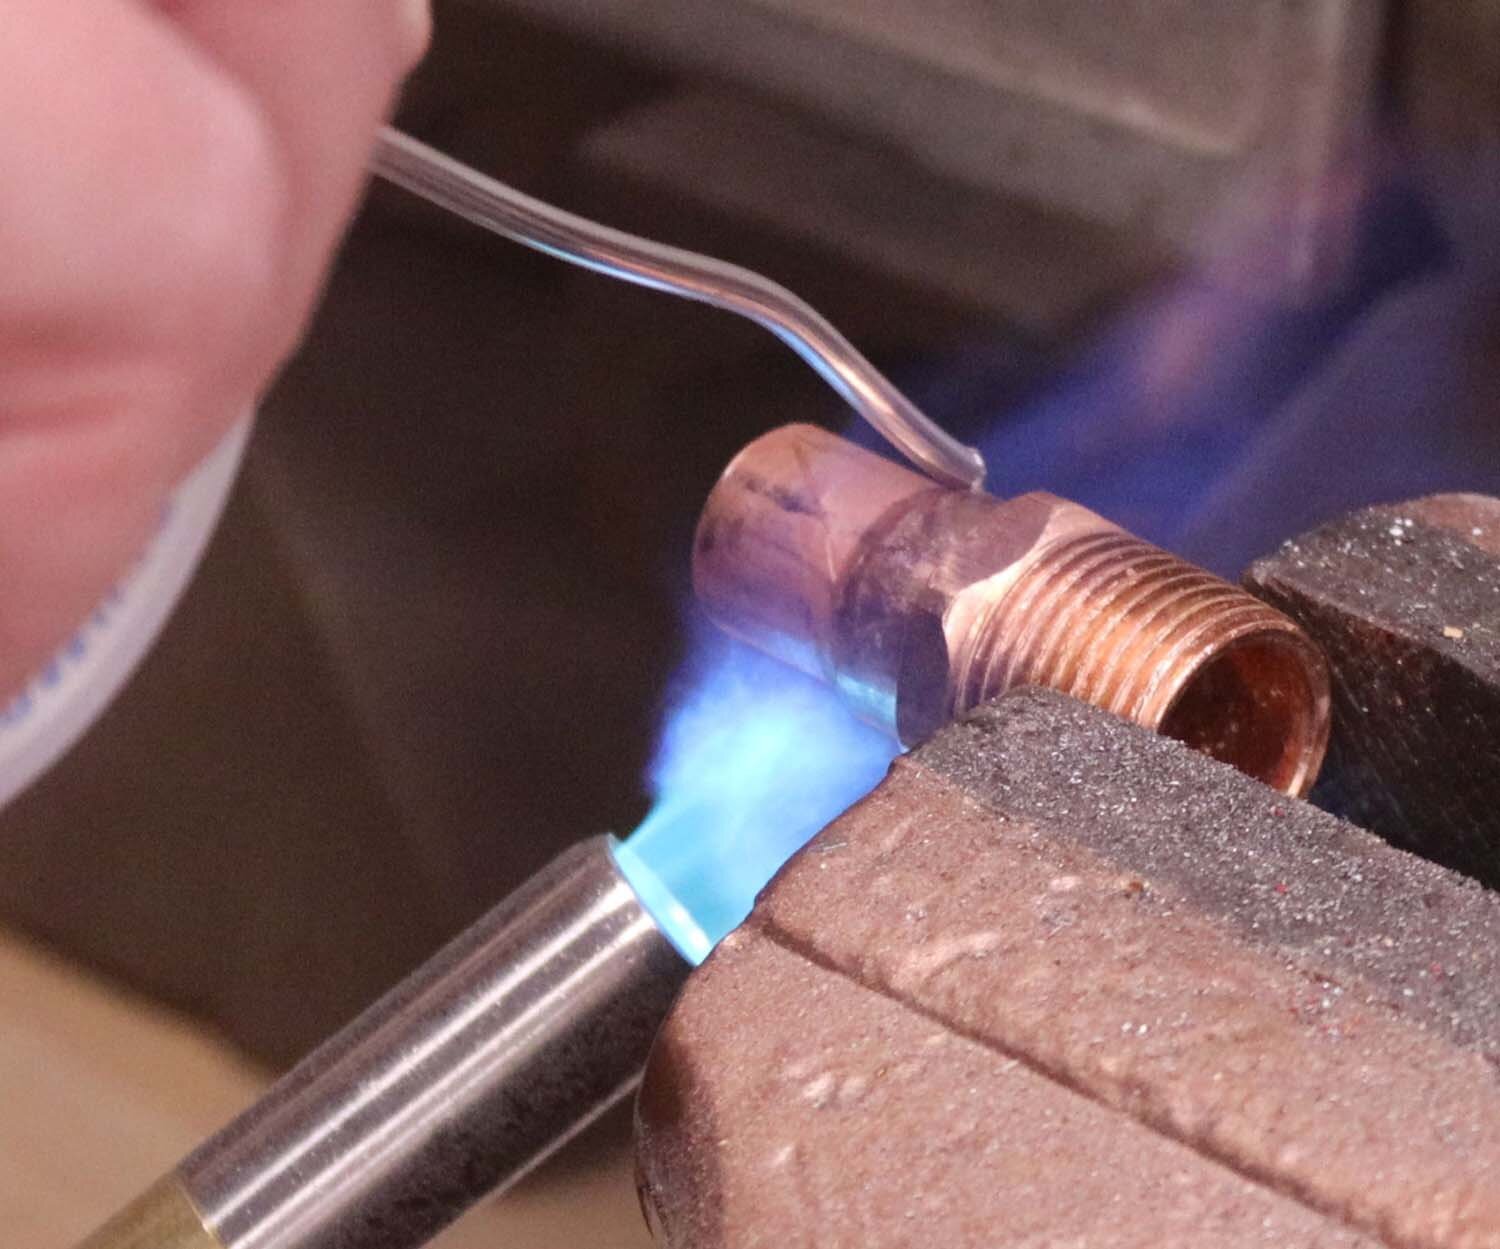
For this process, I recommend water-soluble flux, which will wash off the filter with simple warm water. It's important to solder the joints with the assembly all fit together since this will keep everything aligned in the end.
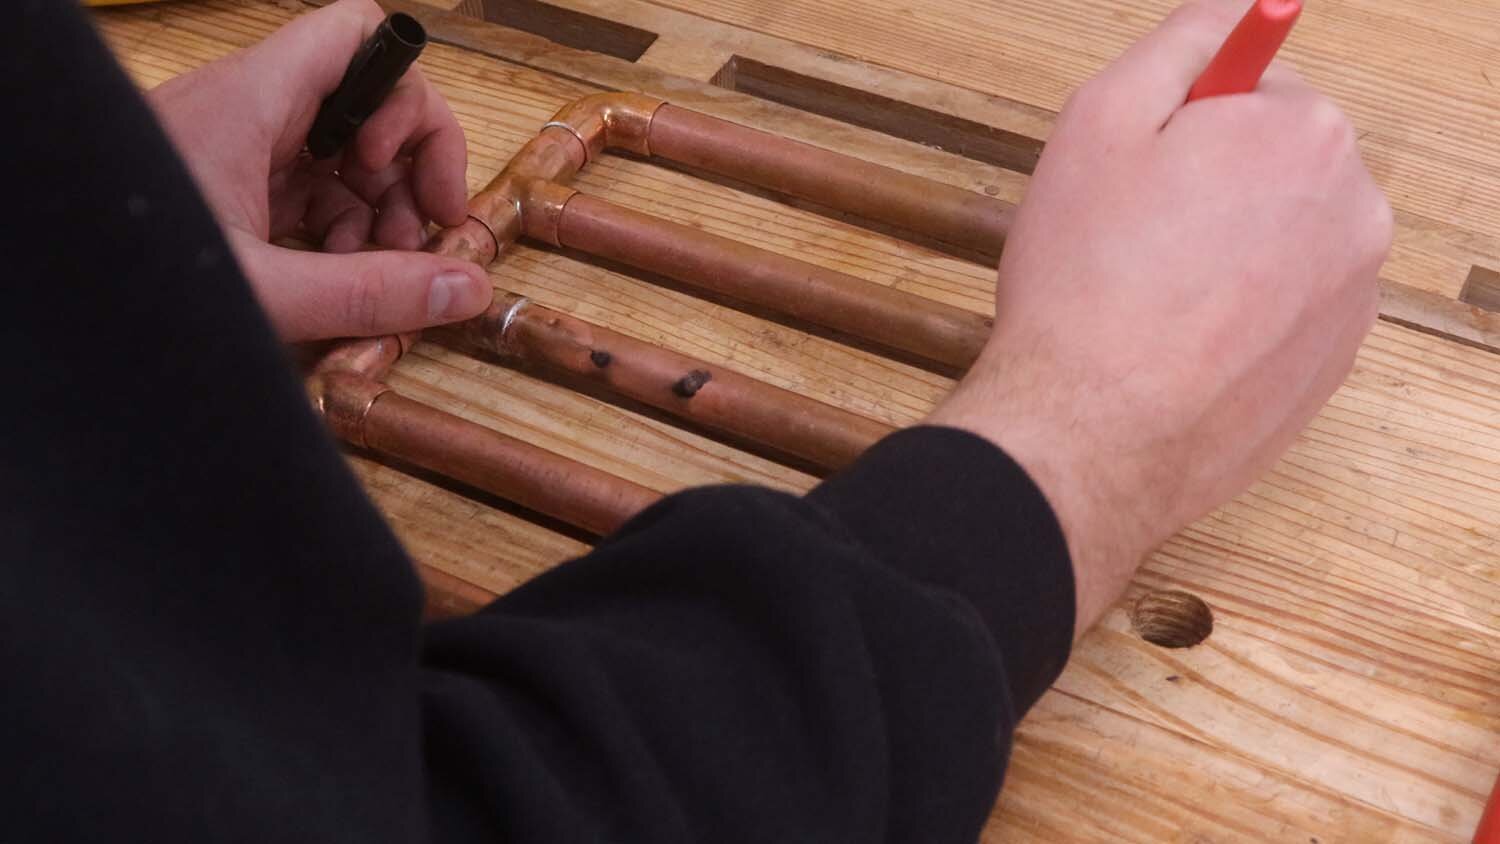
After allowing the filter to cool, mark where the tubes enter the fittings, as this will be the extent of the slots you cut. Also mark the up and down orientation of the filter itself so you know where to cut the ends with the fittings. The slots will be on the bottom of the filter when in use, so bear that in mind.
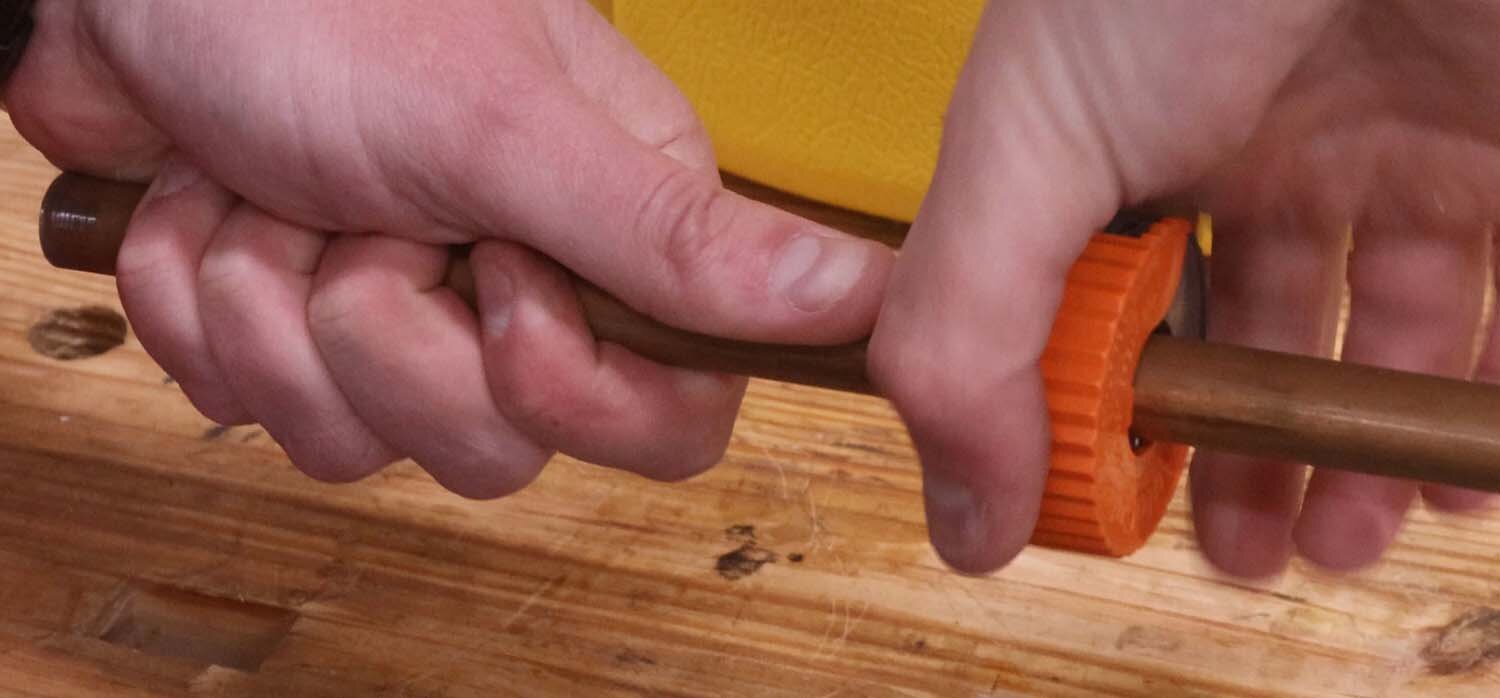
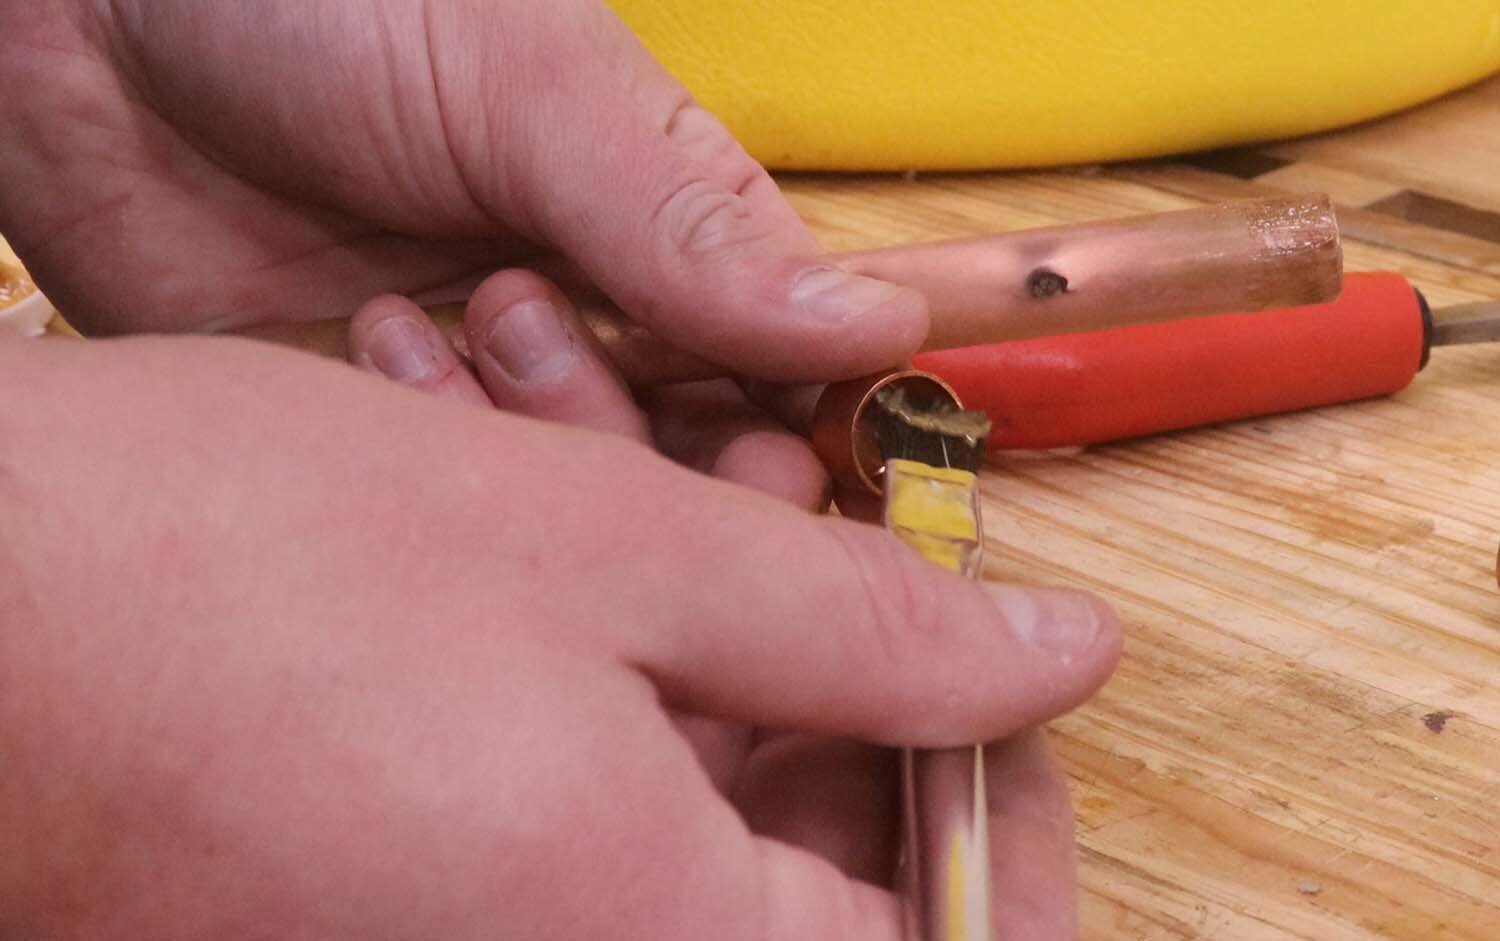
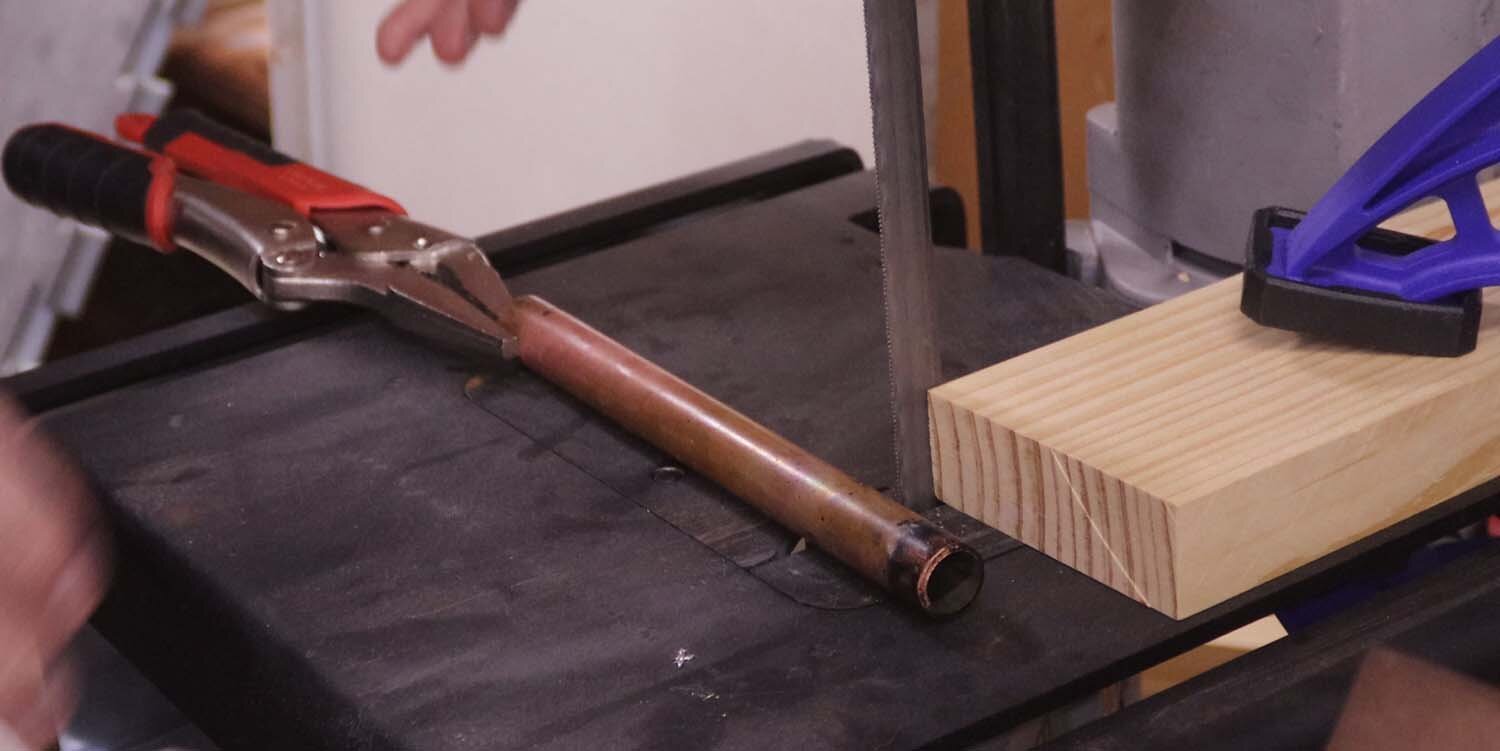
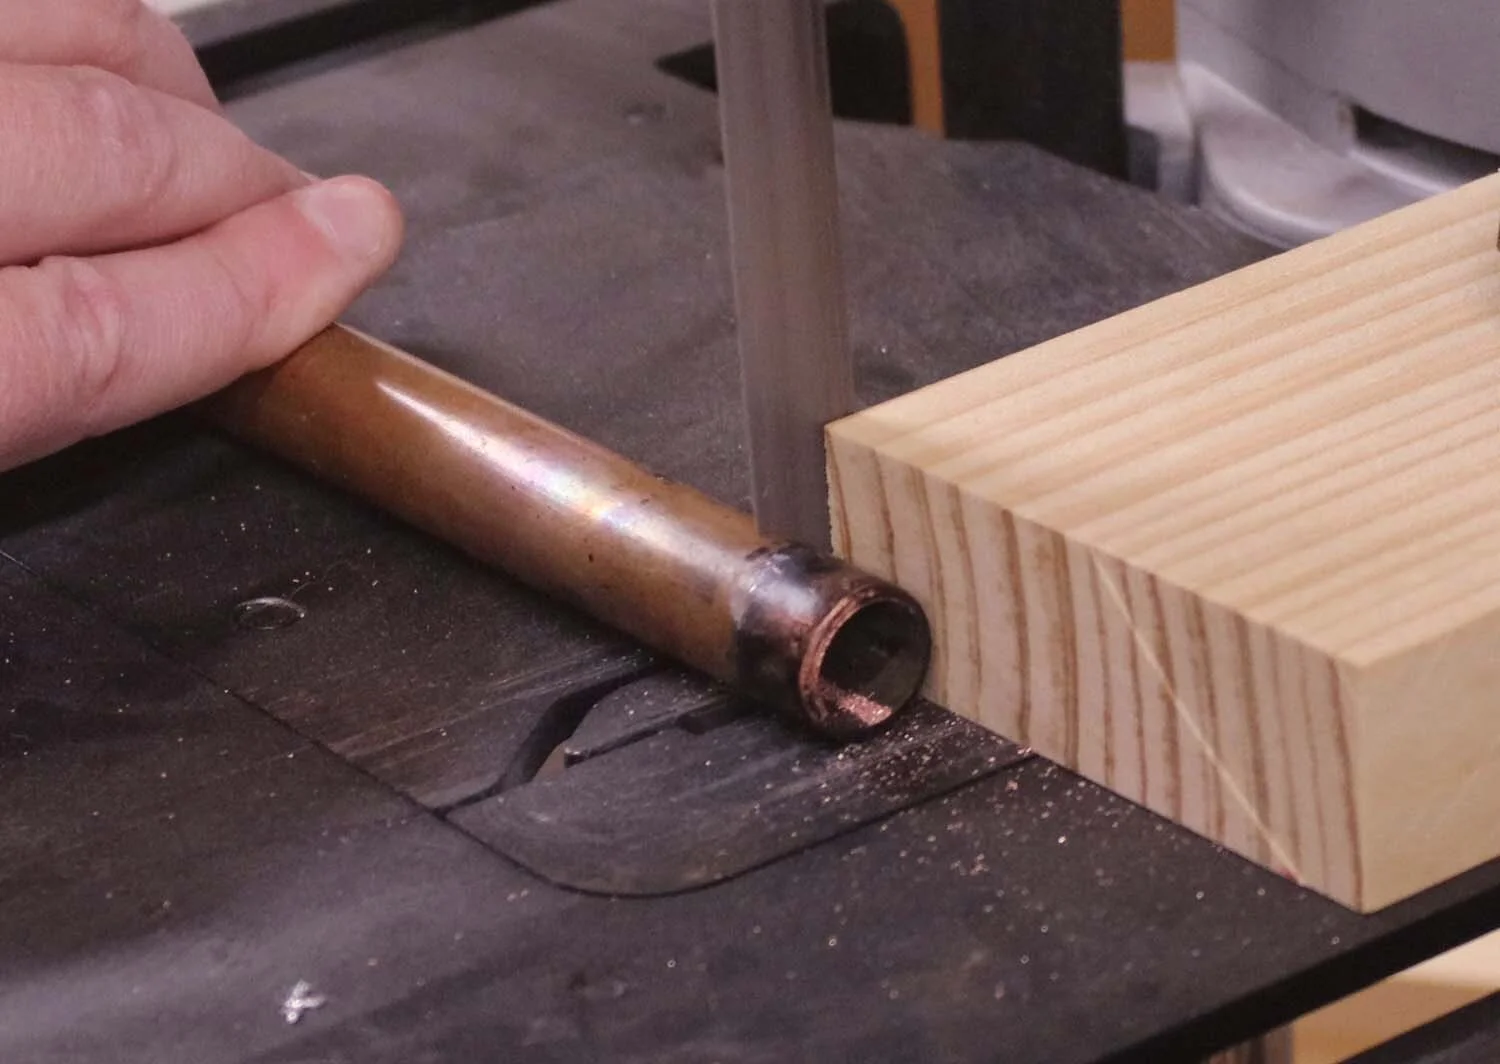
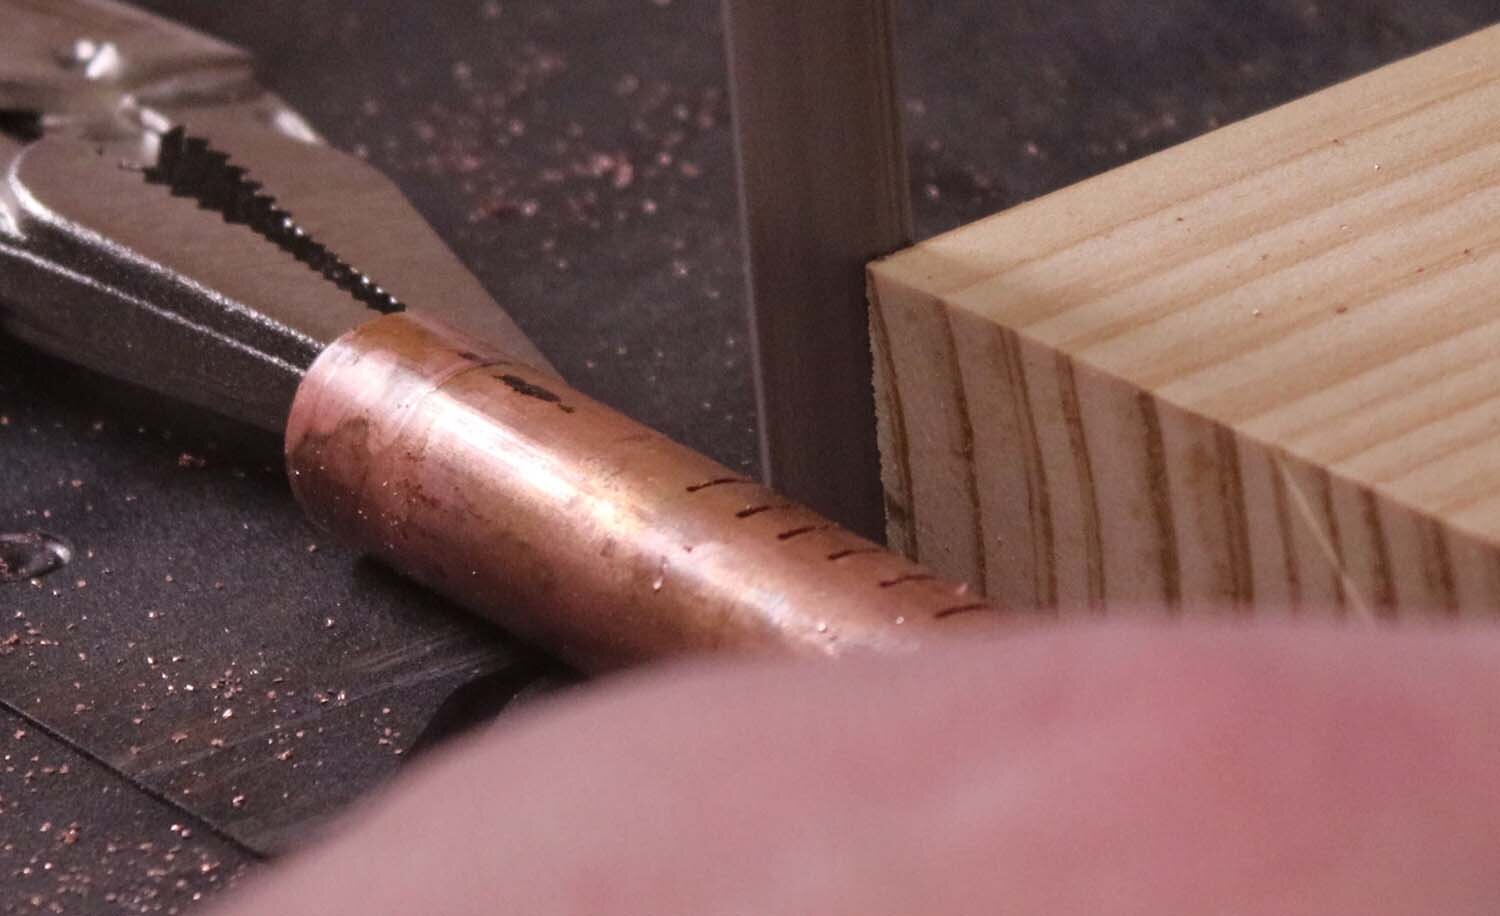
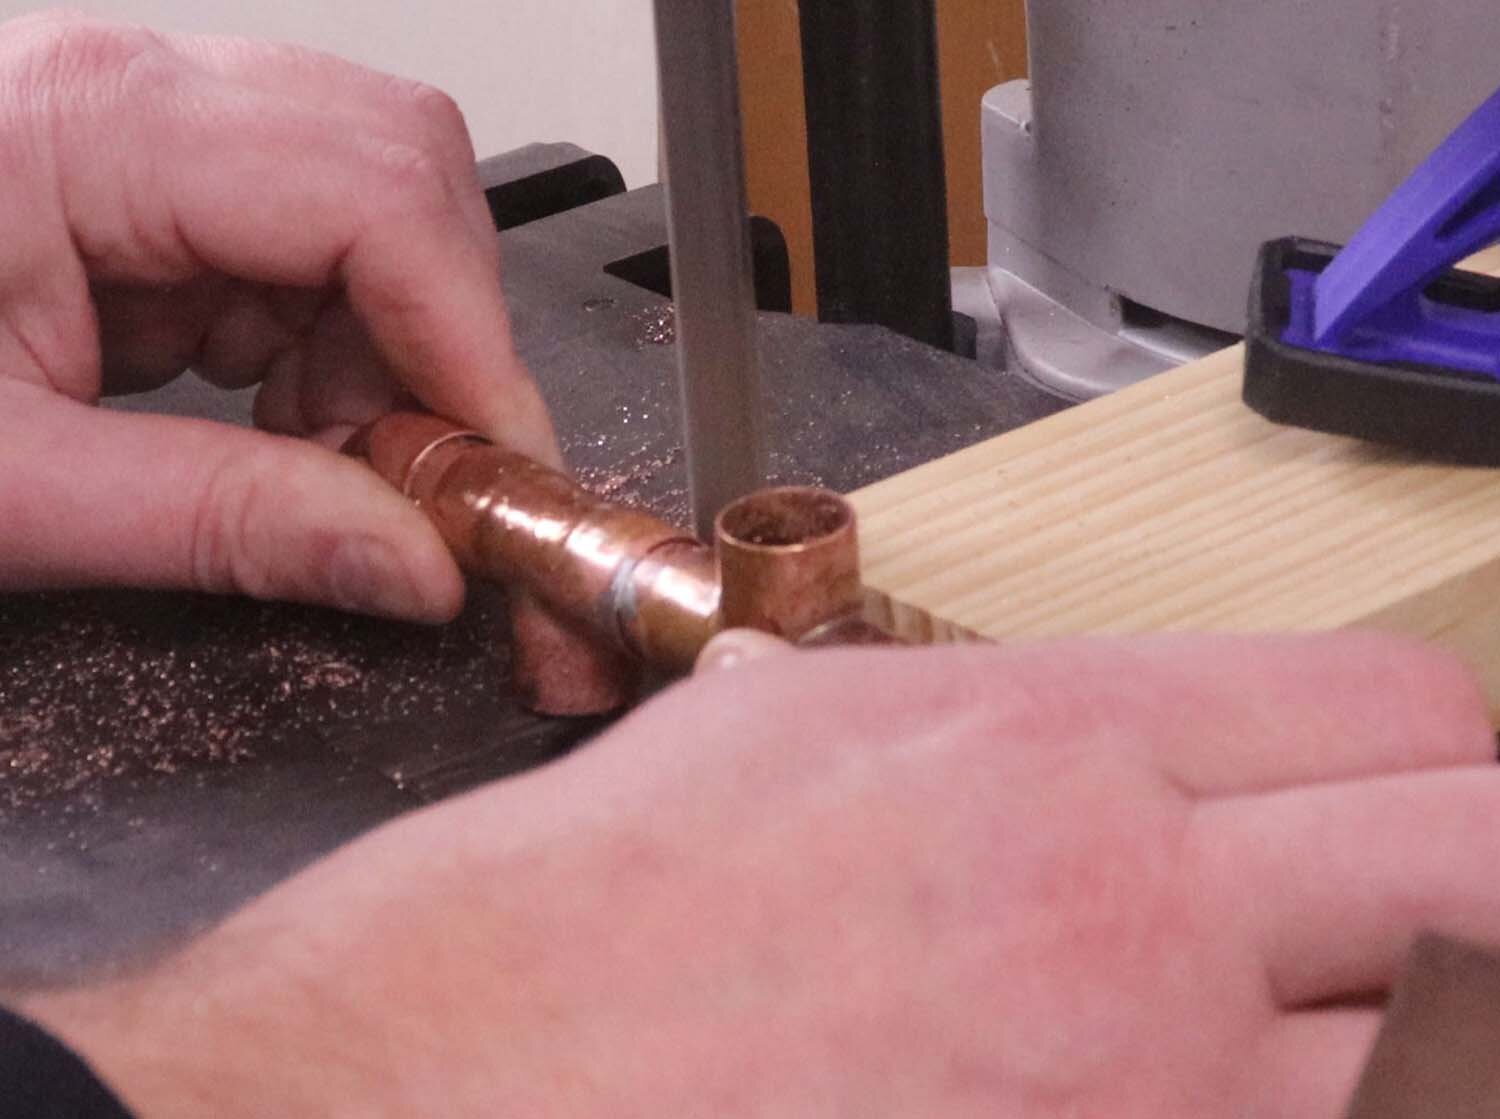
For cutting the slots, I used my table-mounted porta-bandsaw, which is a lot quicker than using a hacksaw. A hacksaw will definitely work, but it will take longer. I set up a stop block to make sure I only cut through half the pipe diameter. To keep the pipe in the same orientation, use a vise-grips pliers, which will register flat on the bed of the saw. Space the cuts every 1/8" to 1/4" (3mm to 6mm) or so; the spacing isn't very critical. For the soldered ends with the fittings, only cutting slots in the portions between the tee branches.

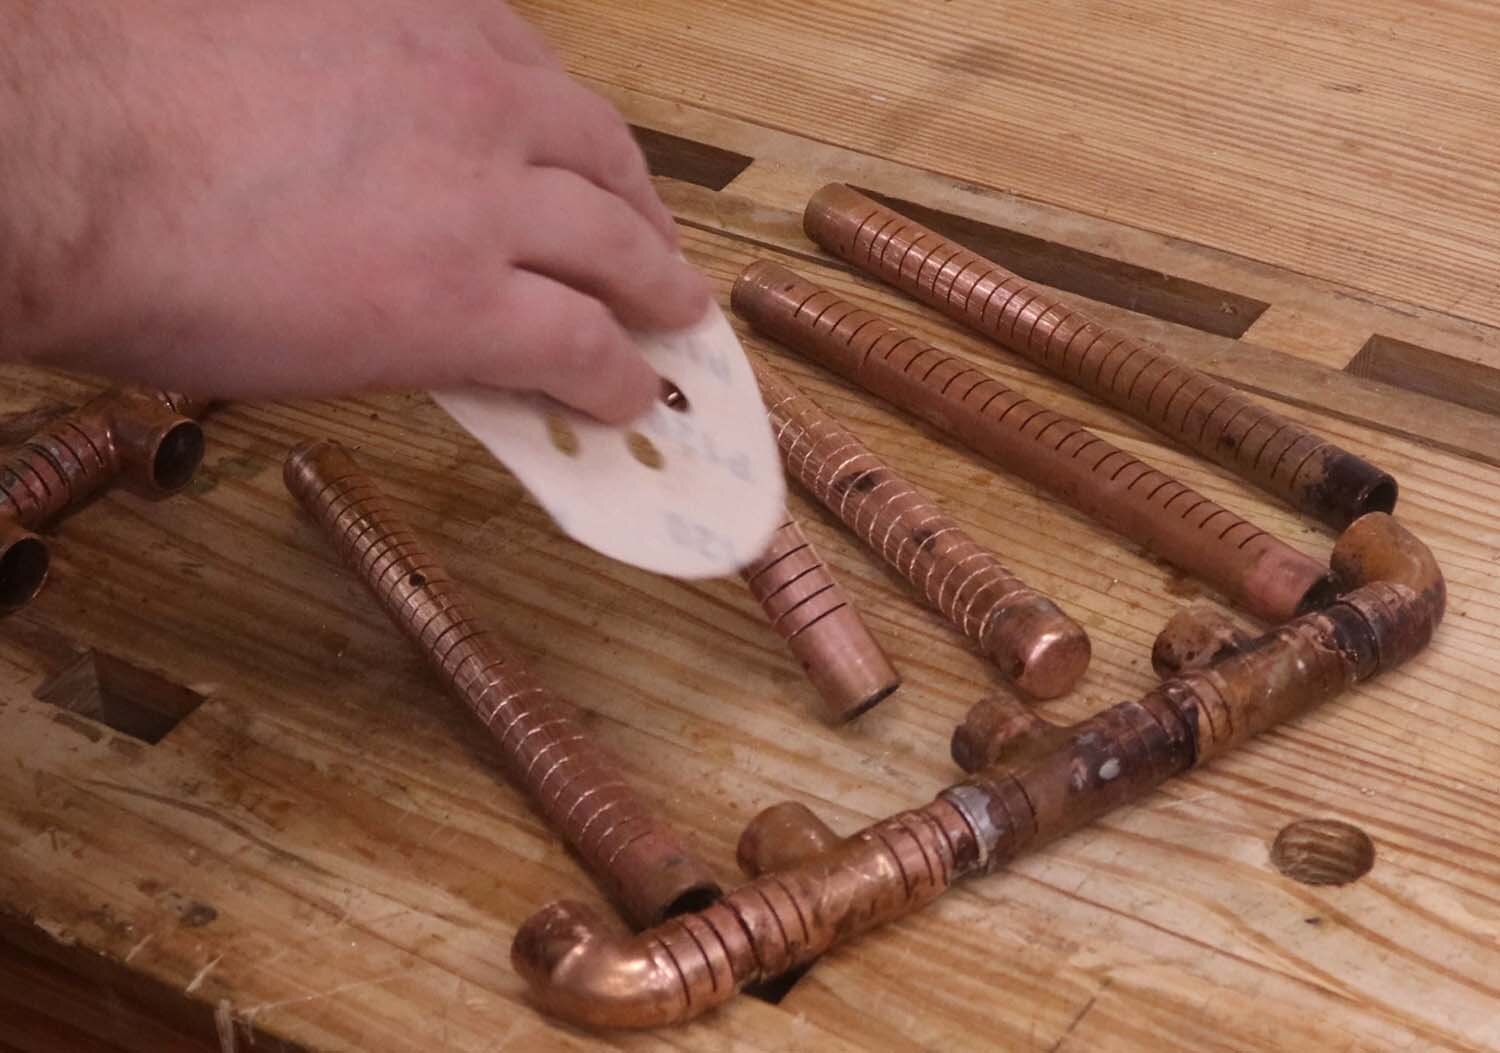
You will have some burrs on the tubing due to cutting the slots, so remove these on the outside of the tubes with sandpaper. Also add a 5-ft length of 1/2” vinyl tubing to the hose barb for emptying the MLT.
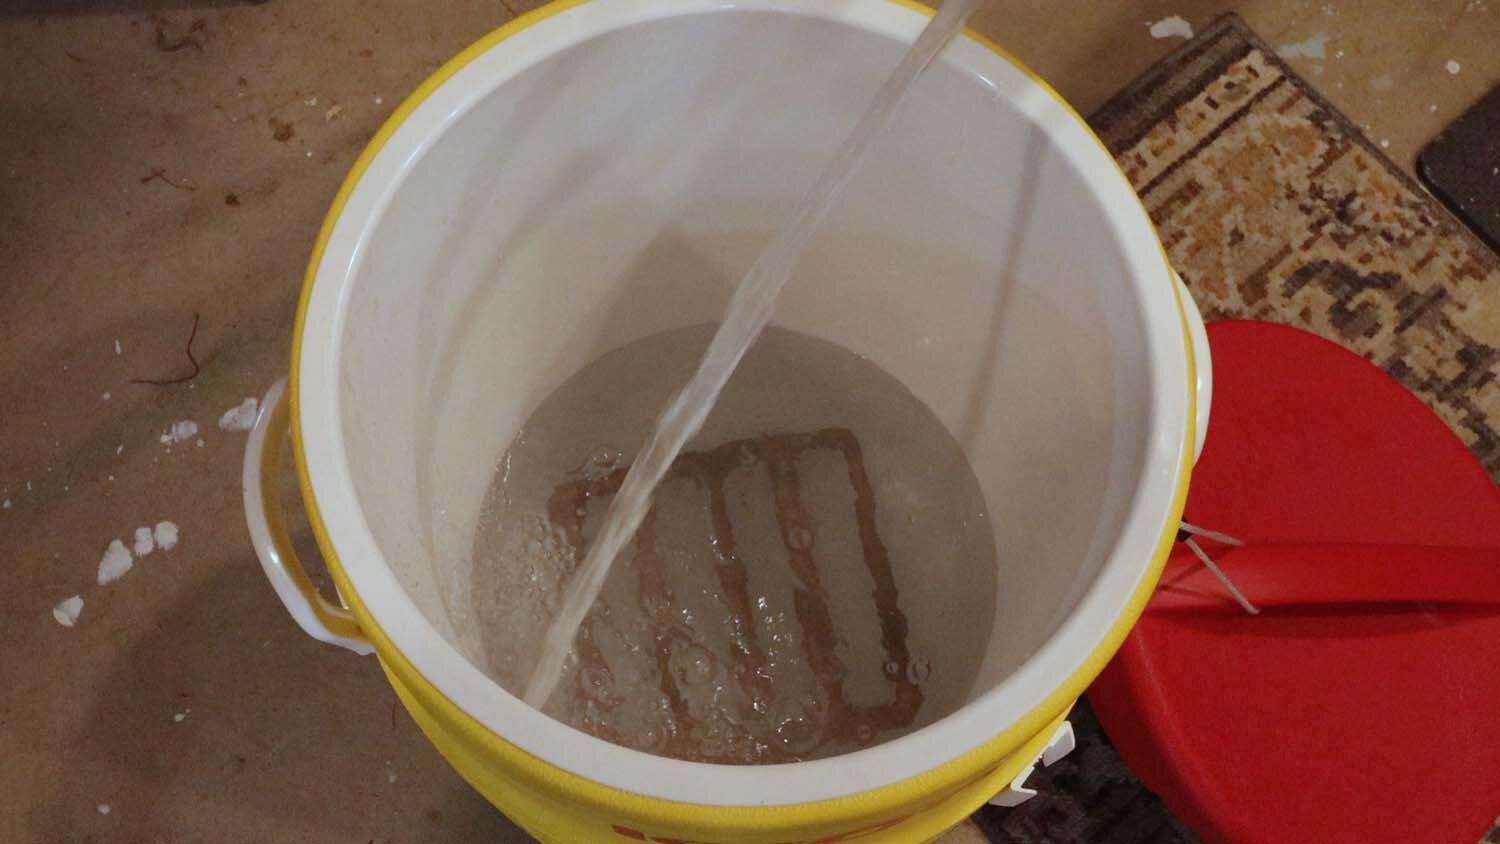
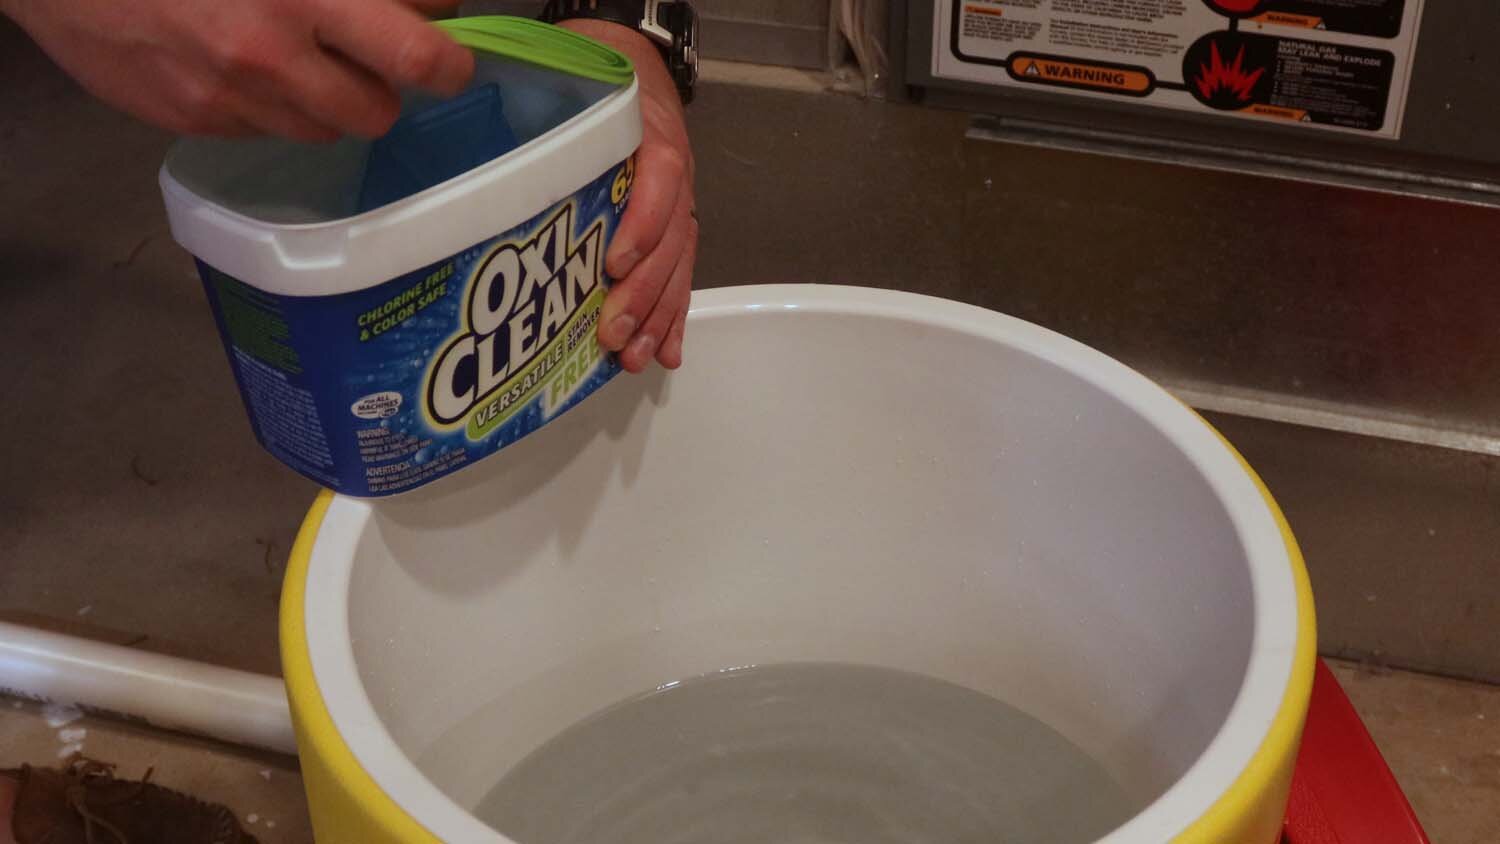
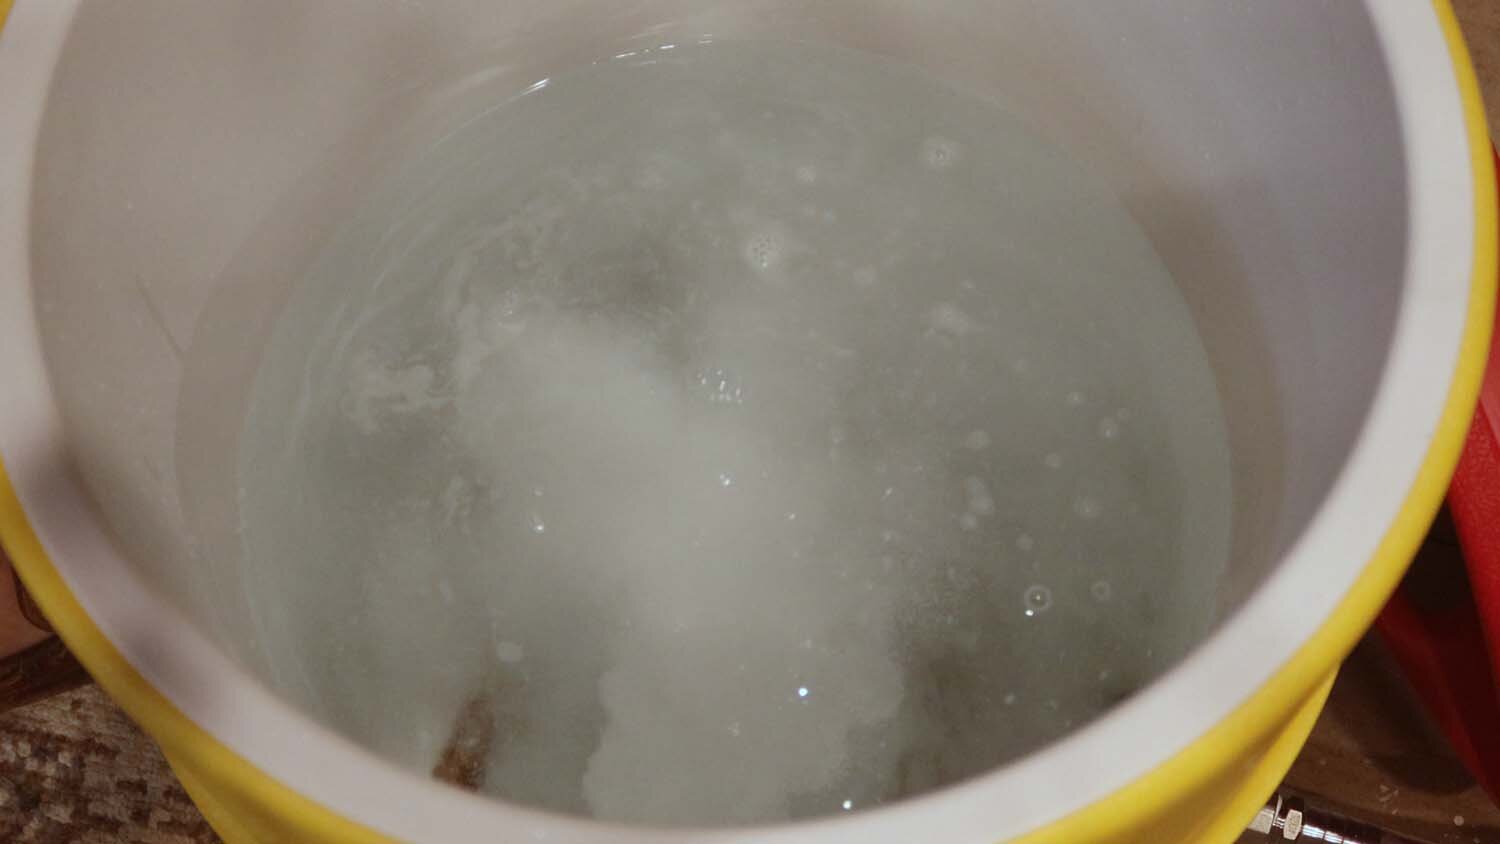
Now is time to assemble everything together and do a leak test. Fill the cooler up about halfway with hot water, and then use OxyClean to clean all the parts. I recommend doing this a few times to make sure you wash all the crud out. With the cooler filled with water, check the fittings for leaks.
After washing eveything out, the mash/lauter tun is now finished! I'm looking forward to doing all-grain beer batches from now on, which should cut down my beer costs quite a bit.

I hope this was instructive, and thanks for viewing!
If you enjoyed this article, subscribe to my YouTube channel for more!
—————————————————————————————
Below is a listing of the supplies you will need. I have supplied Amazon Affiliate links to the products I used. As an Amazon Associate I earn from qualifying purchases.
Supplies:
(6) 1/2" copper tees
4ft of 1/2” copper tube, cut to the following lengths:
(4) 7" long
(1) 6-1/2" long
(9) 1-1/4" long