
Making a Mash Paddle
Following the making of my mash/lauter tun, I need a mash paddle to stir the grains into the mash water for making beer. My brother and I previously made one years ago when he got into homebrewing, so I figured I'd document the process this time around for those interested.
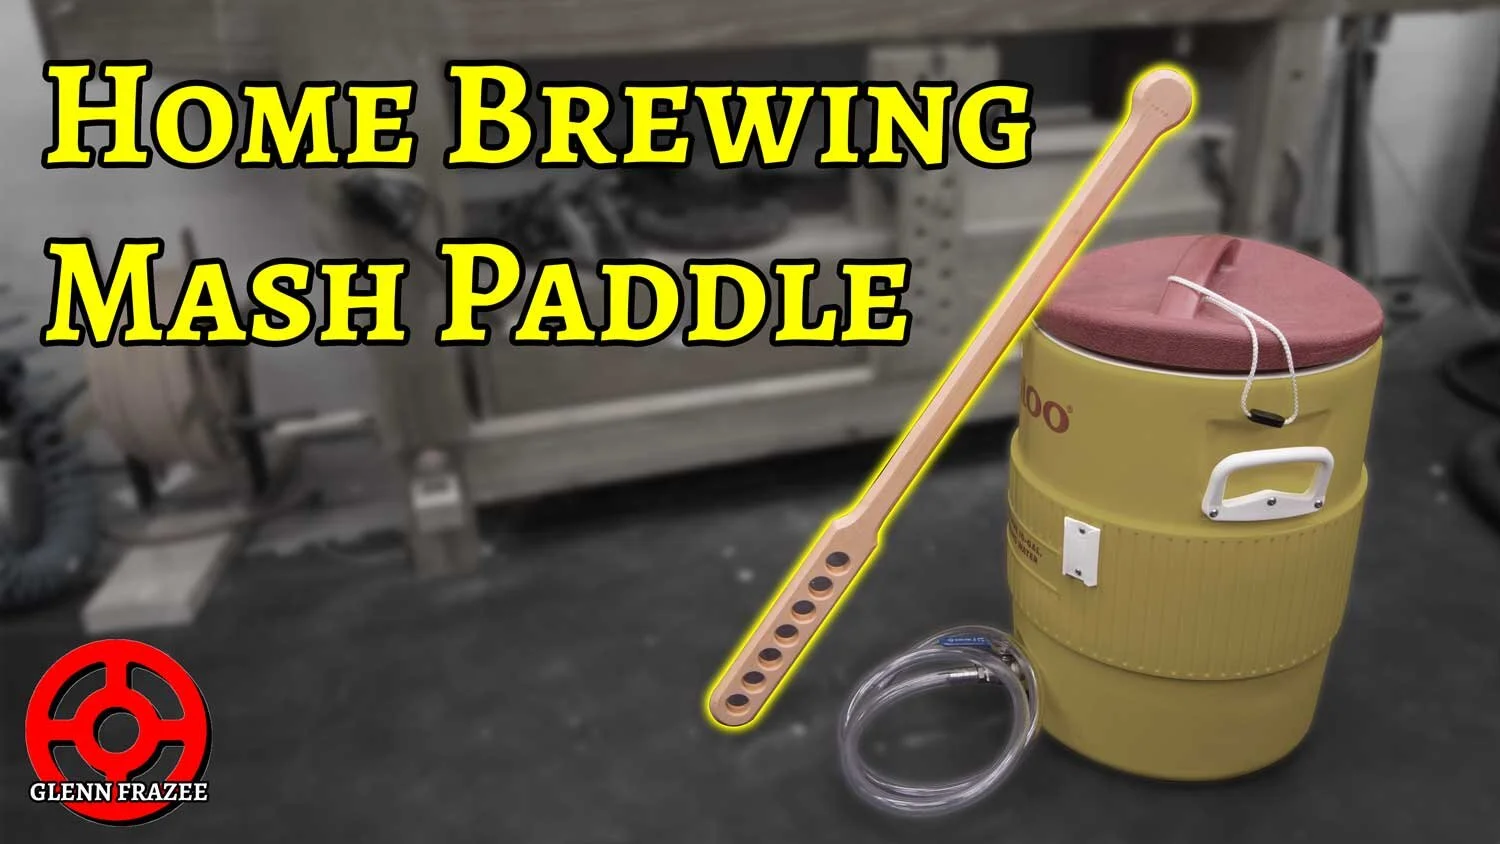
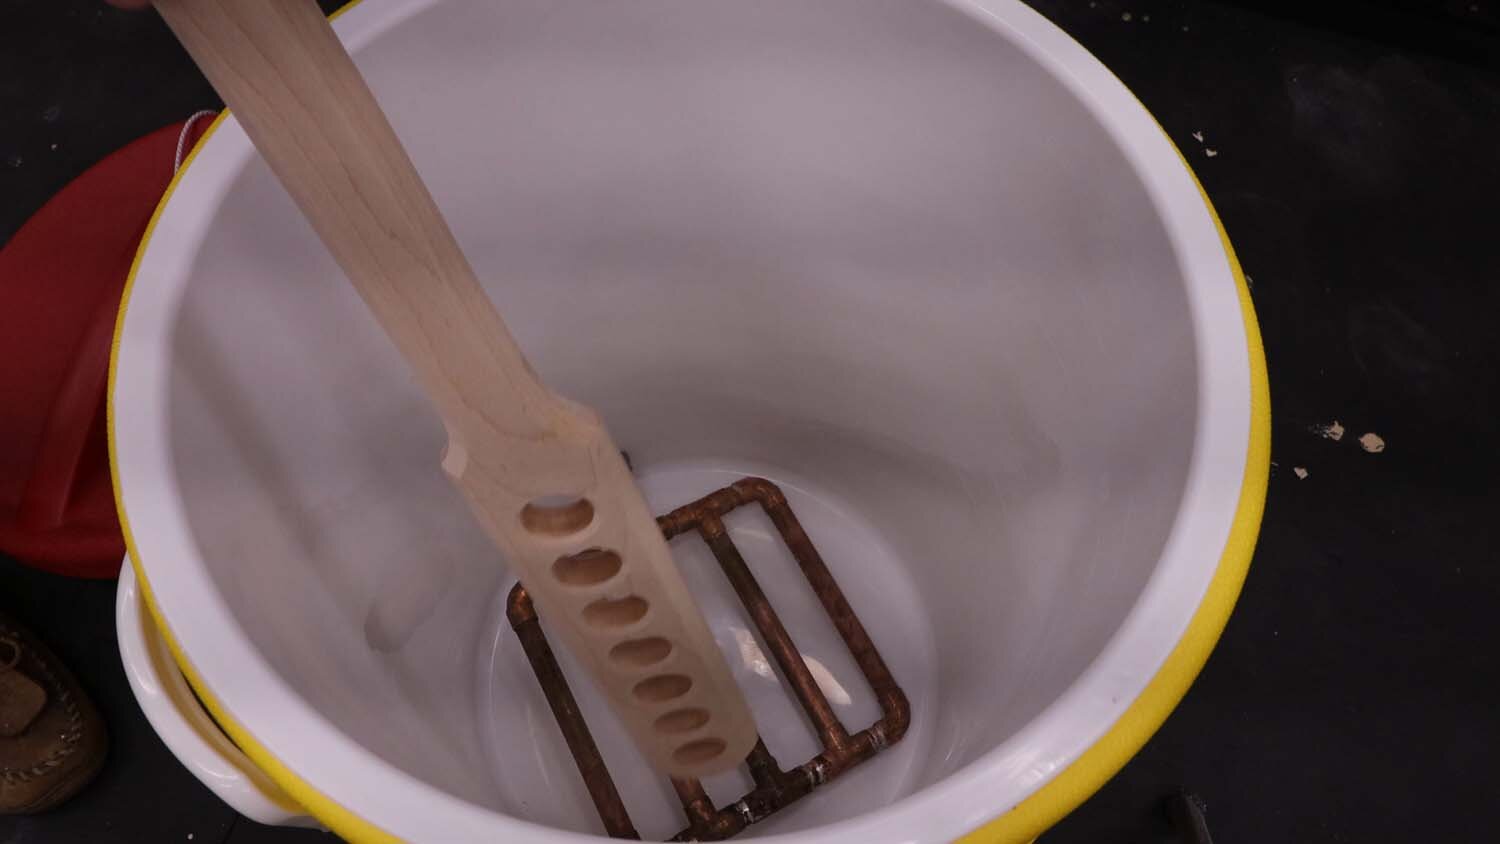
For all-grain brewing, one of the steps in the brewing process is to steep your crushed grain in hot water, which extracts the sugars from the grain to create wort. When mixing the grain with water, it has a tendency to form dough balls, where the interior of the ball does not get wet. This leads to poor efficiency of sugar extraction from the grain, so a mash paddle has a specific shape to avoid this pitfall. In addition to being essentially a large spatula, the holes in the paddle allow for better breakup of dough balls, for better incorporation of the grain into the water.
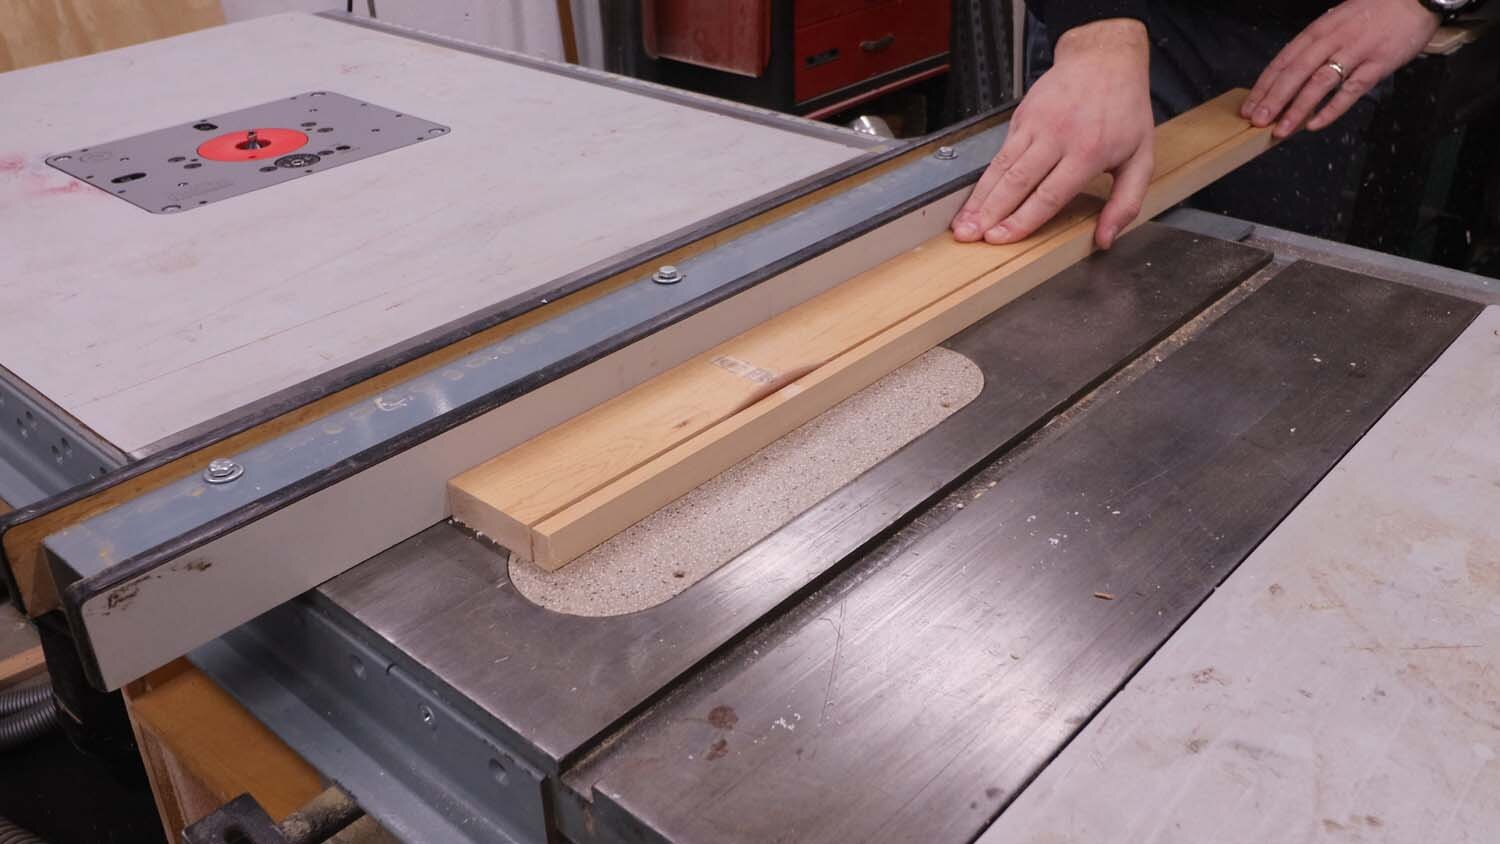
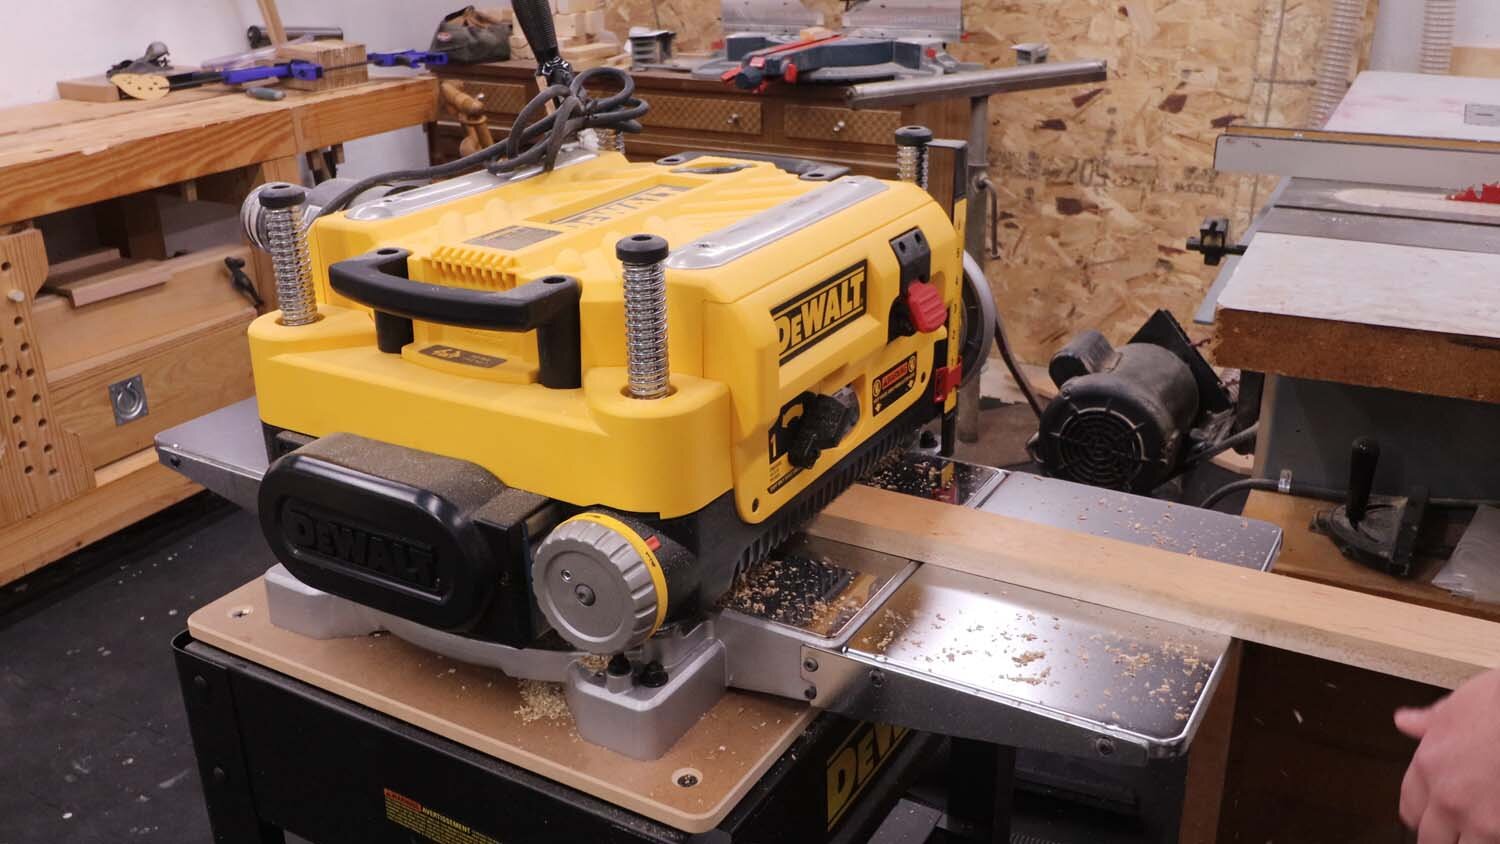
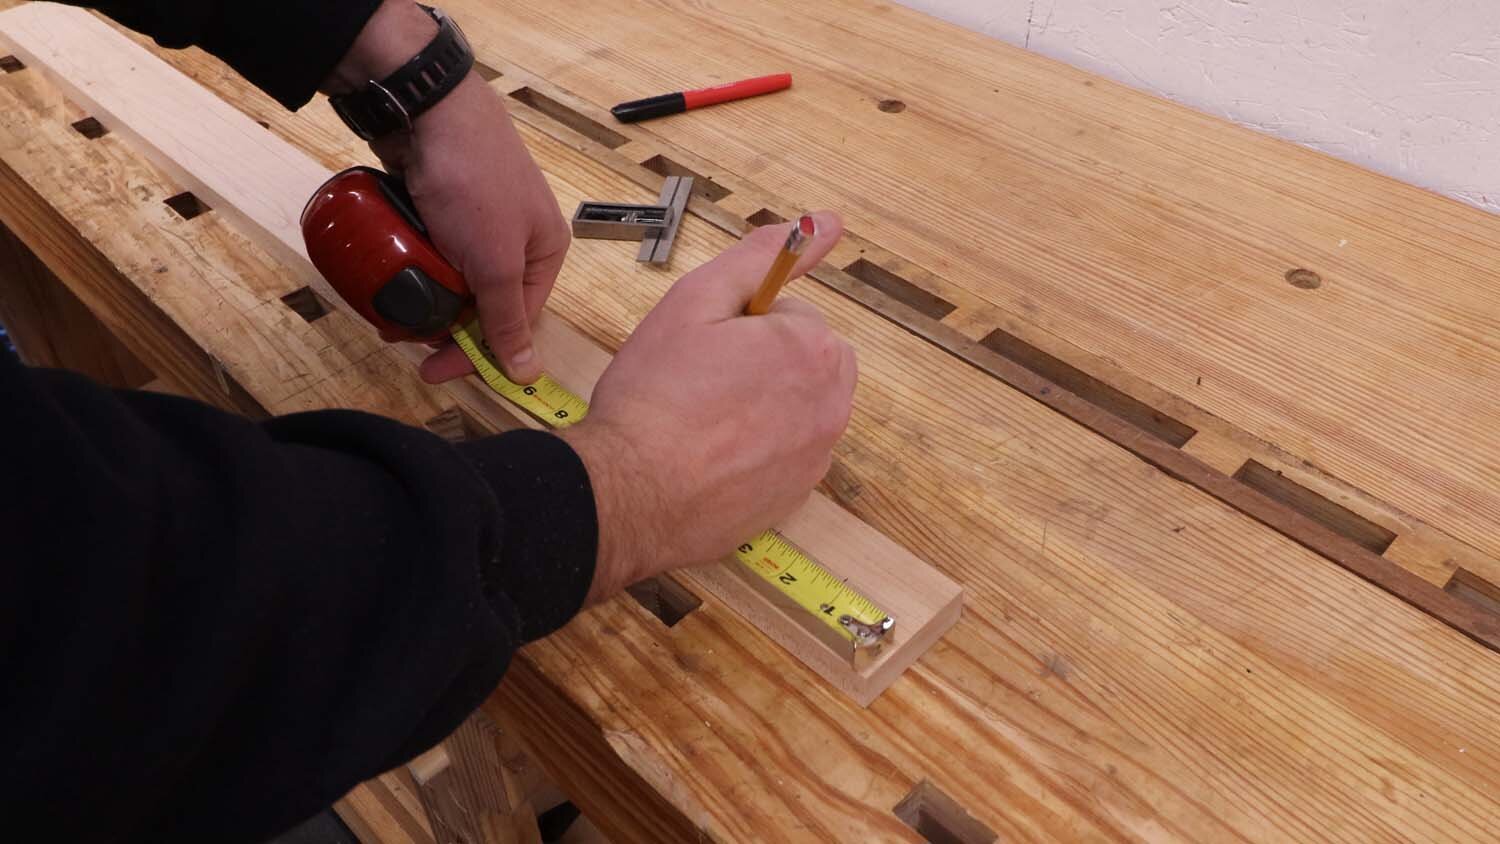
I started off milling down a piece of maple to about 3/4" x 2-1/2" x 36" (19mm x 65mm x 915mm) in dimensions. This is a piece I salvaged from an old dining table skirt, so in addition to cutting the board to length and width, I also had to skim off some old varnish with my planer.
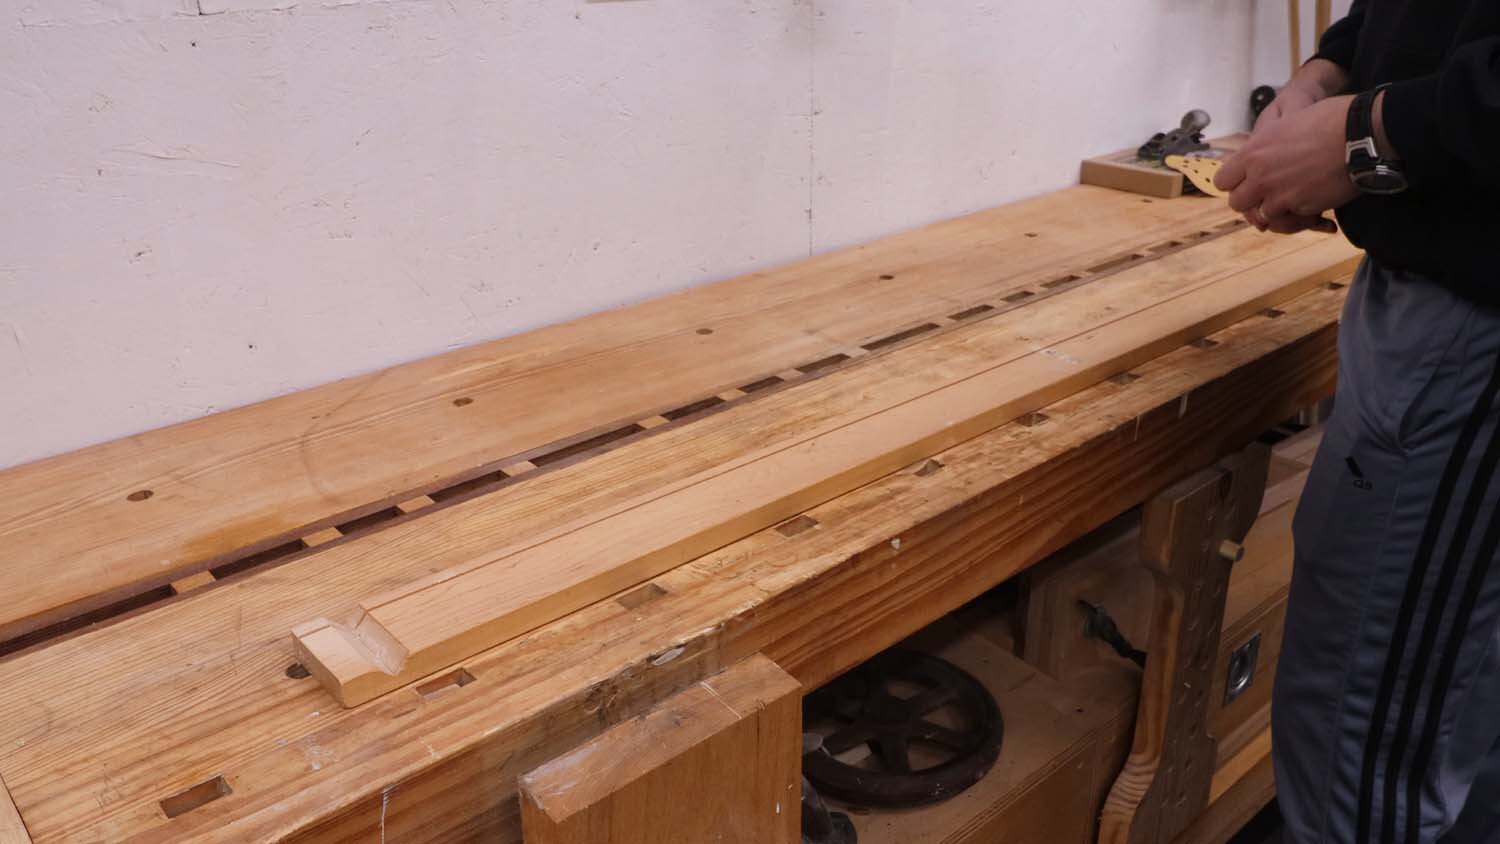
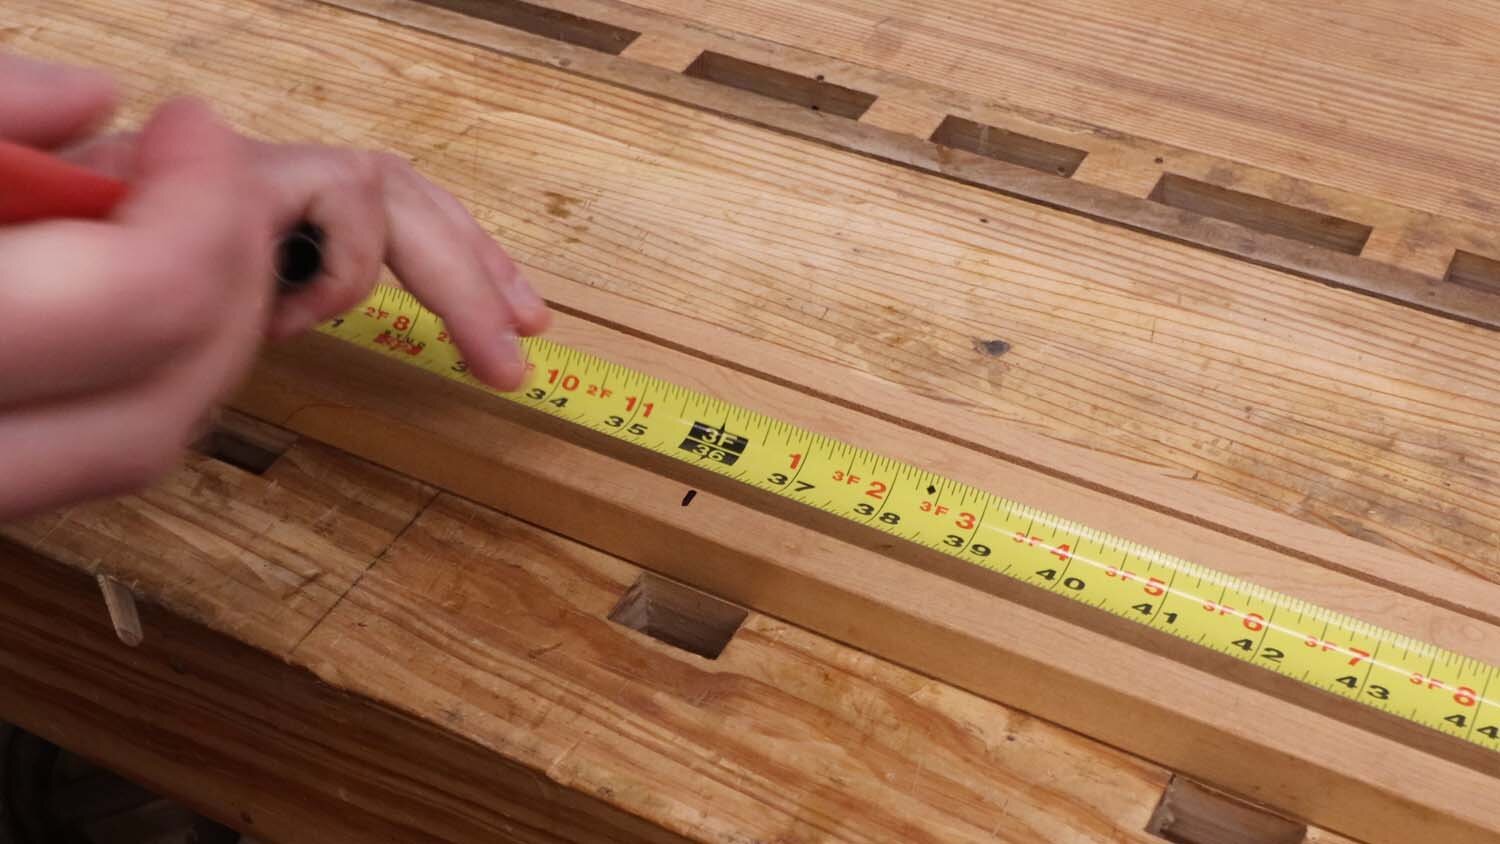
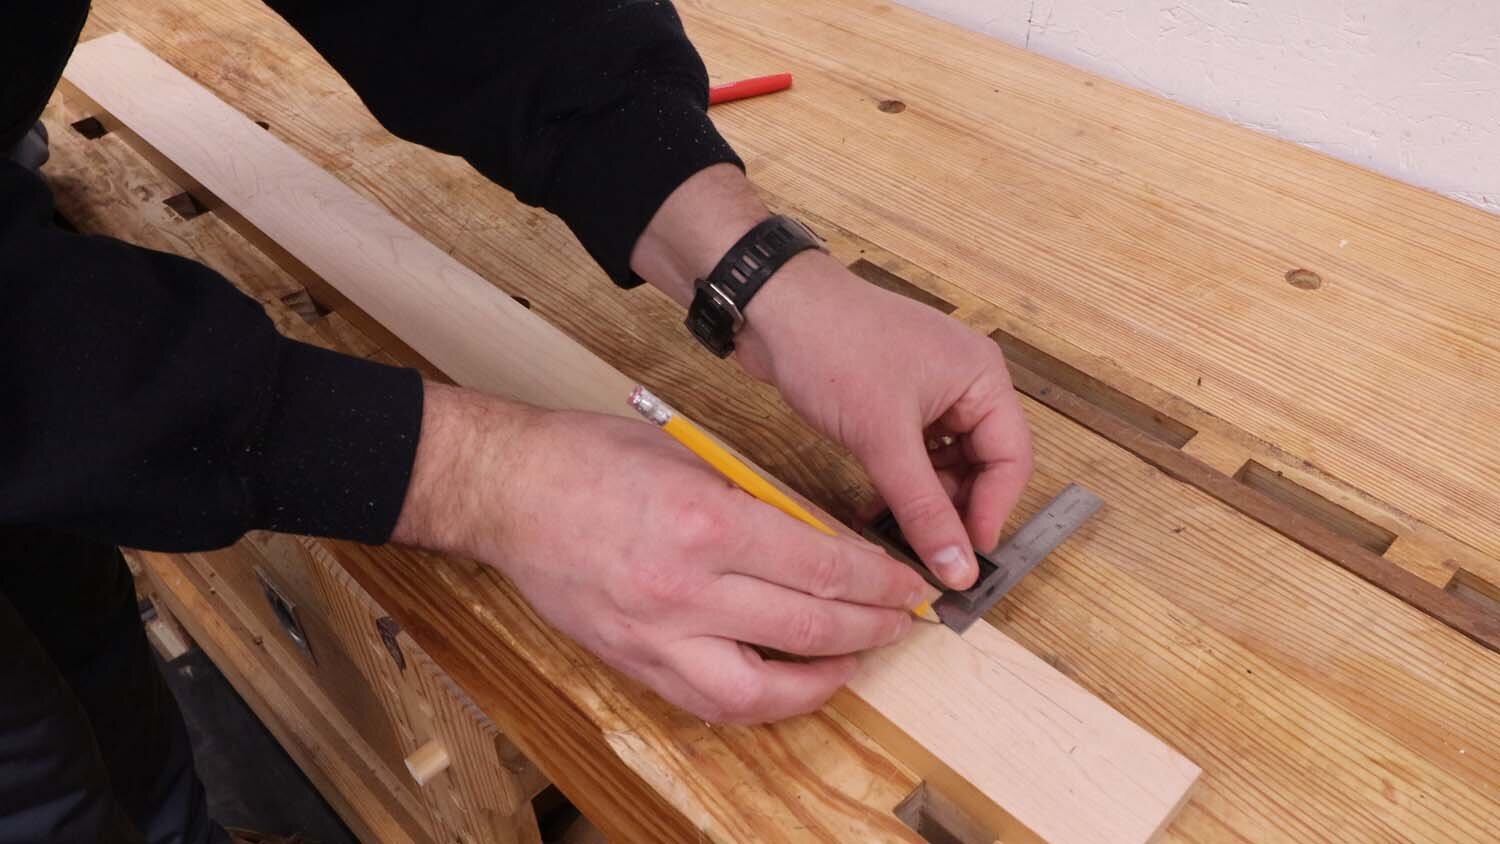
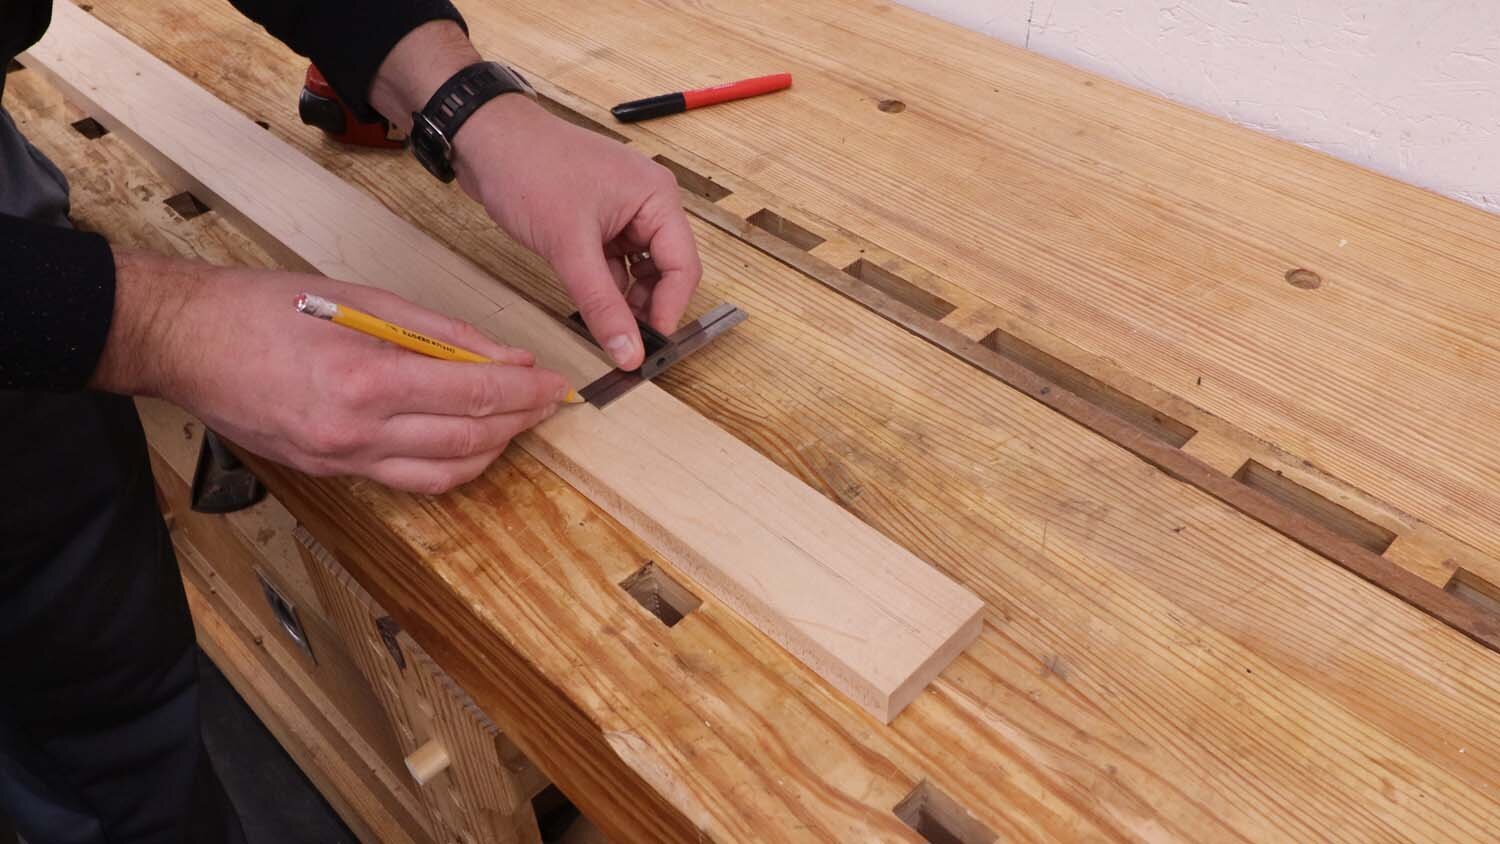
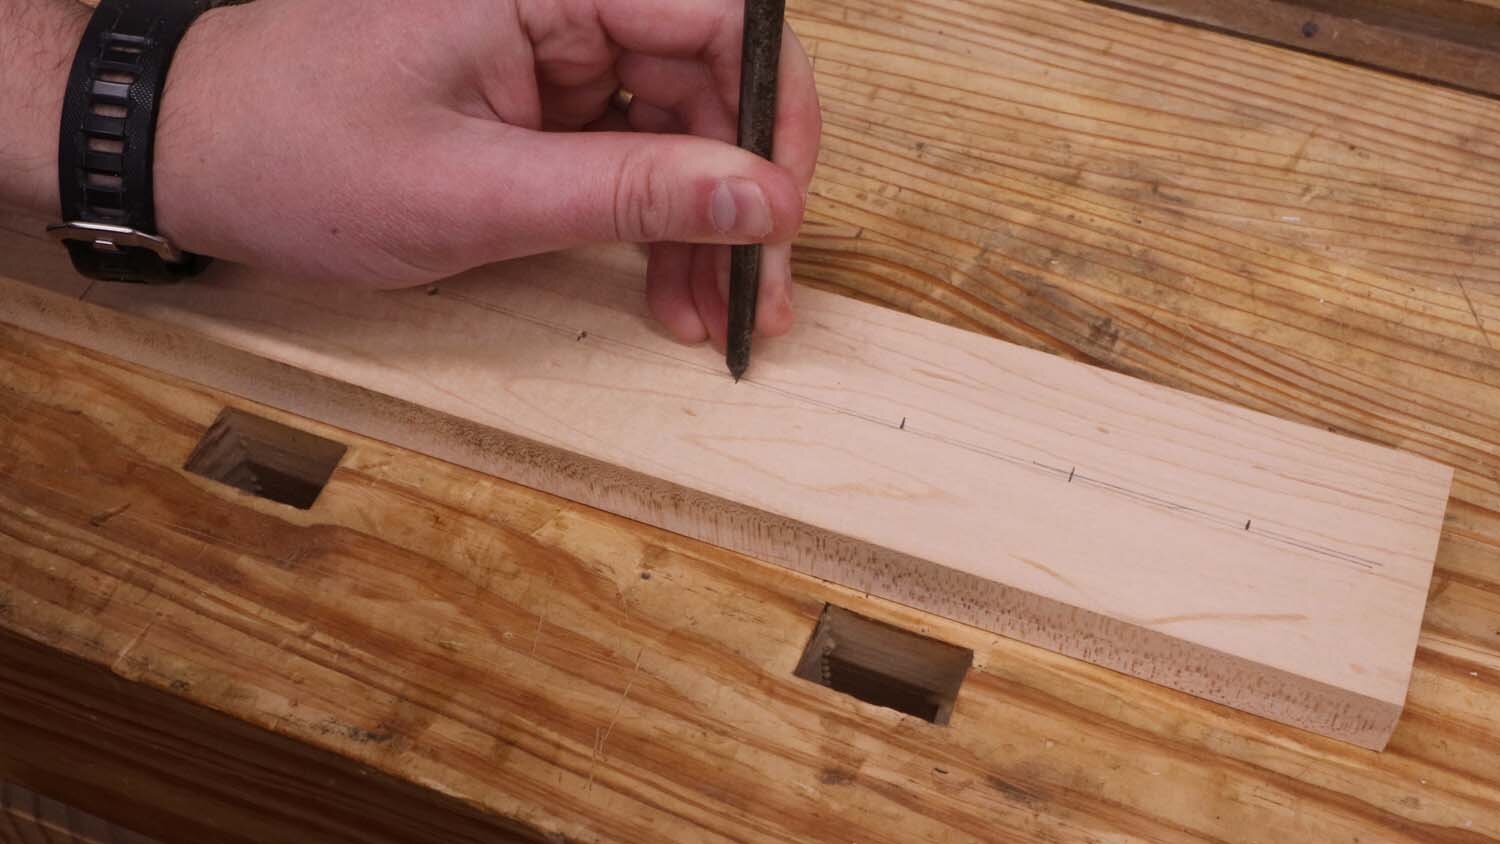
Next is layout. I went from scratch to lay out the shape of the paddle and locations of the holes. However, I have created a plan for this paddle that you can download to save this step. This can be printed full-size and pasted to the paddle, and then cut out like you're tracing a drawing.

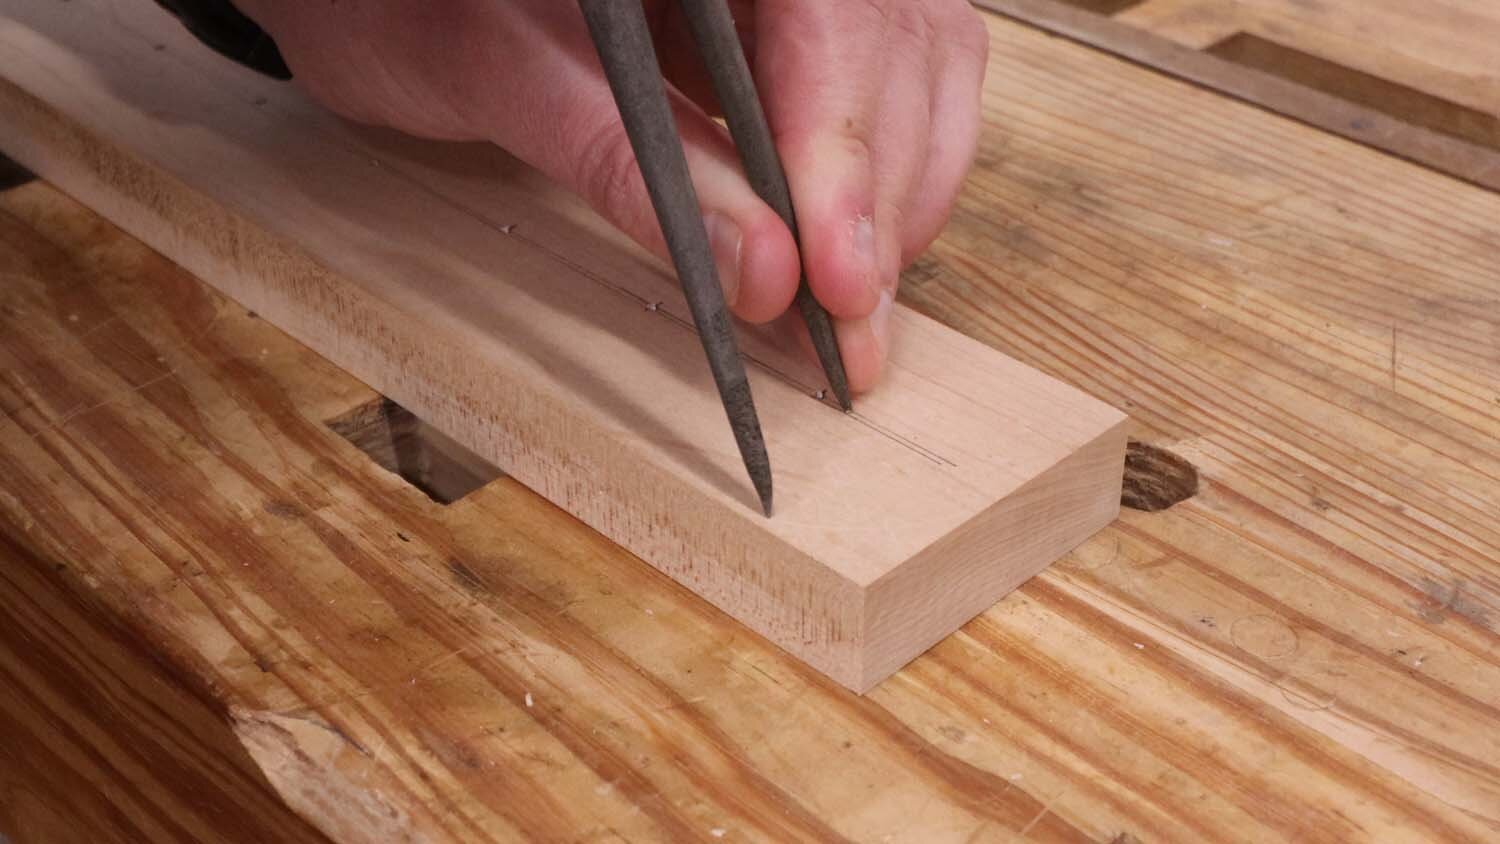

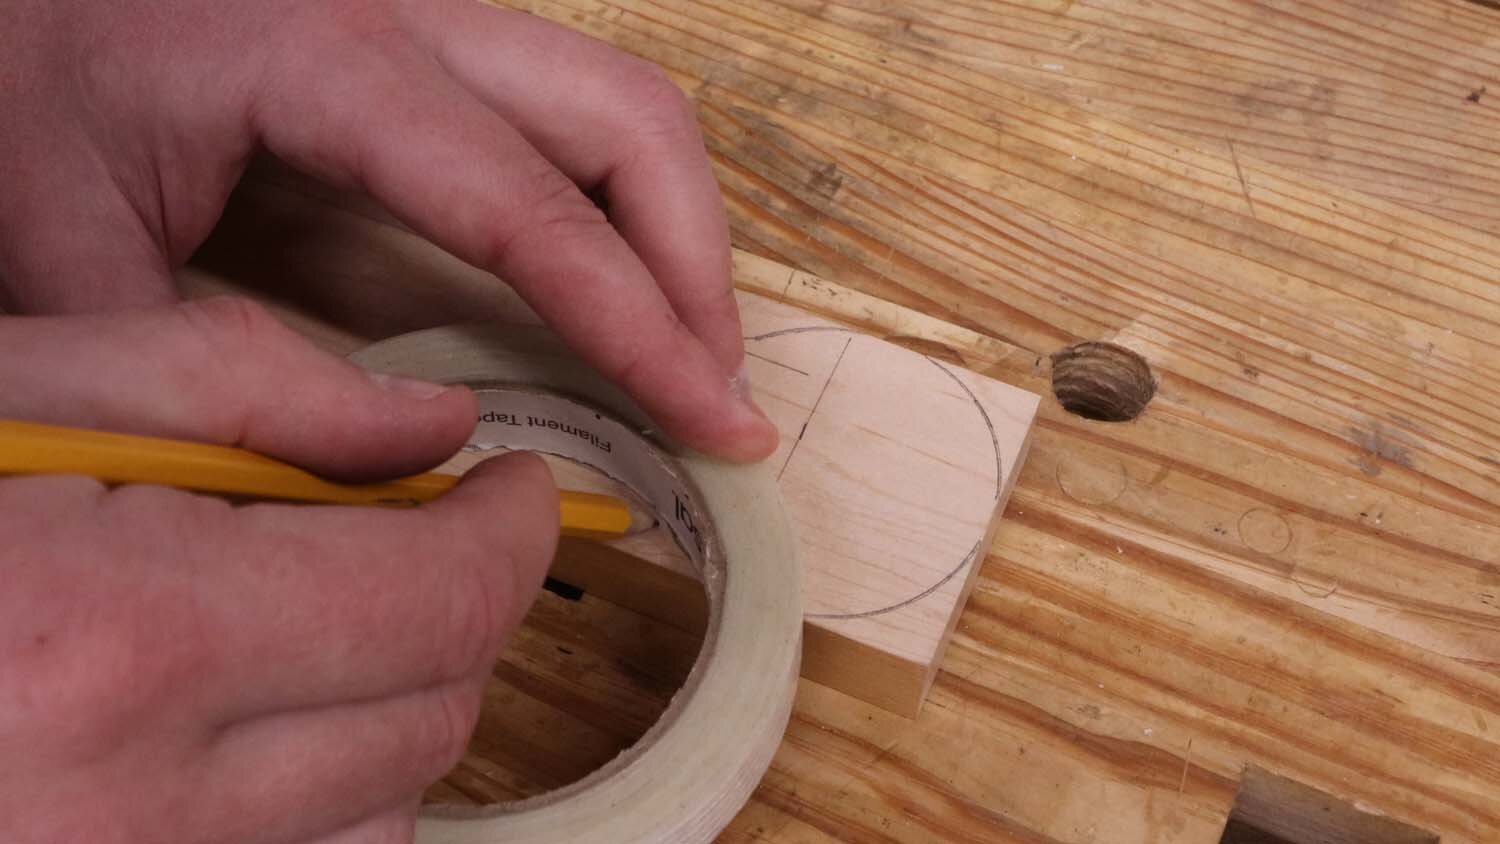
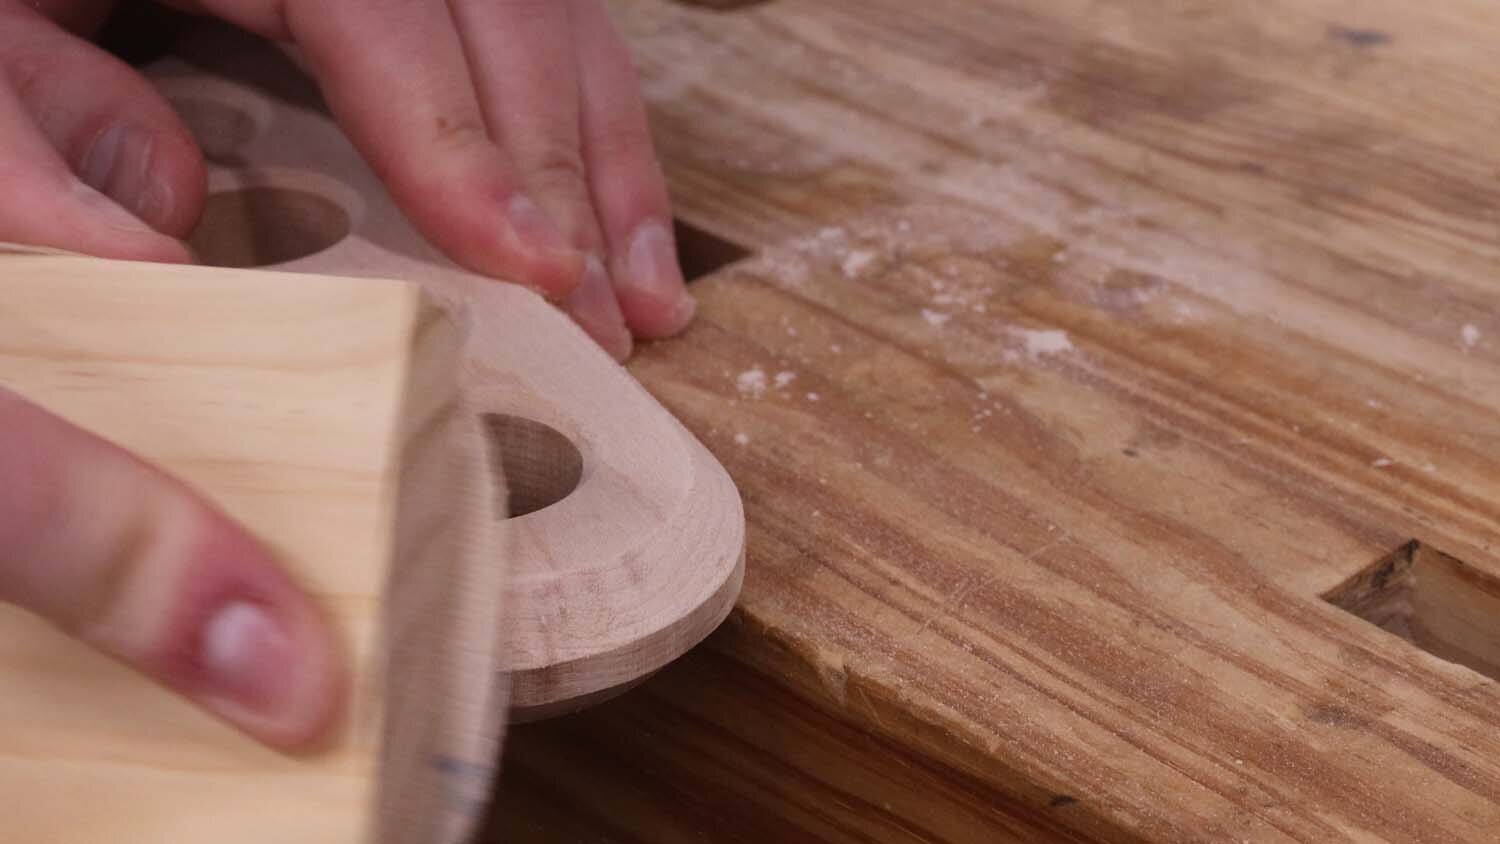
For the holes, I punch a starter dimple at the centers to help guide the point of my Forstner bit. This takes some of the slop out of using such a bit, since the point will natually center itself in this dimple. I drilled the holes with a 1-1/8" (28mm) Forstner bit. These bits leave very clean hole sides with very little tearout.
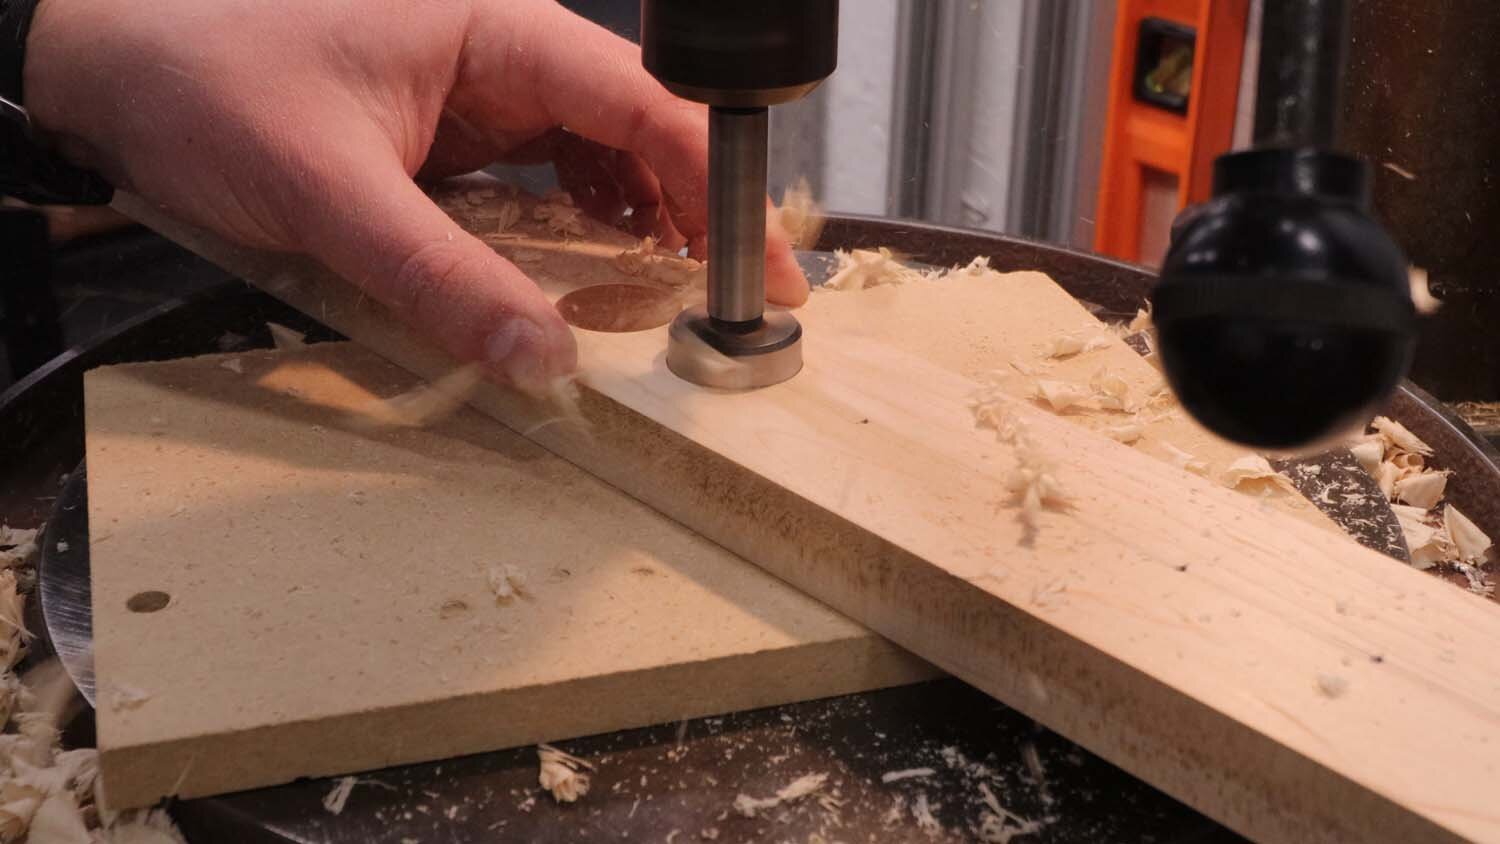
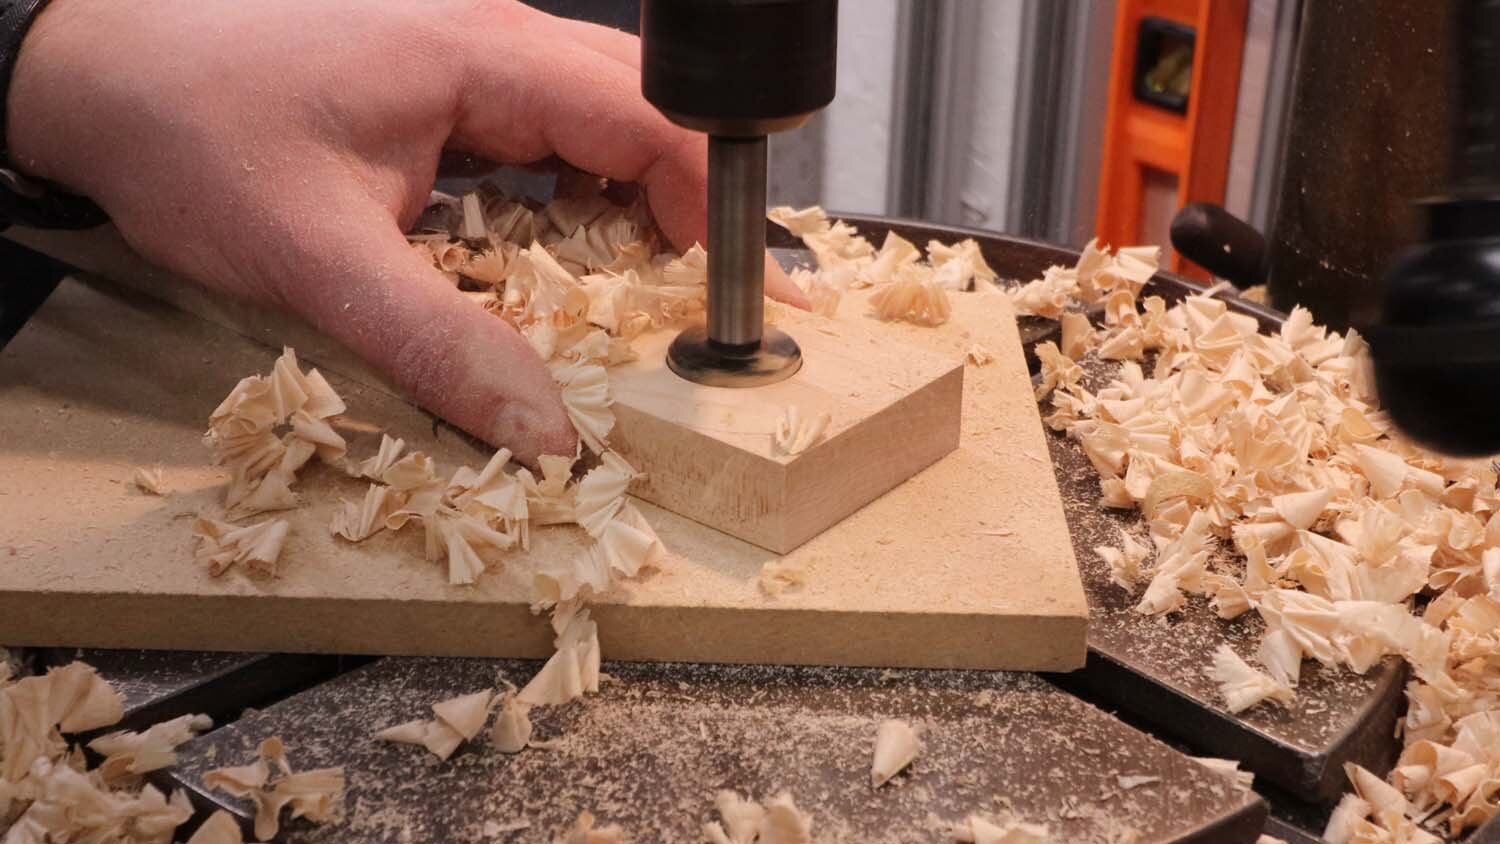
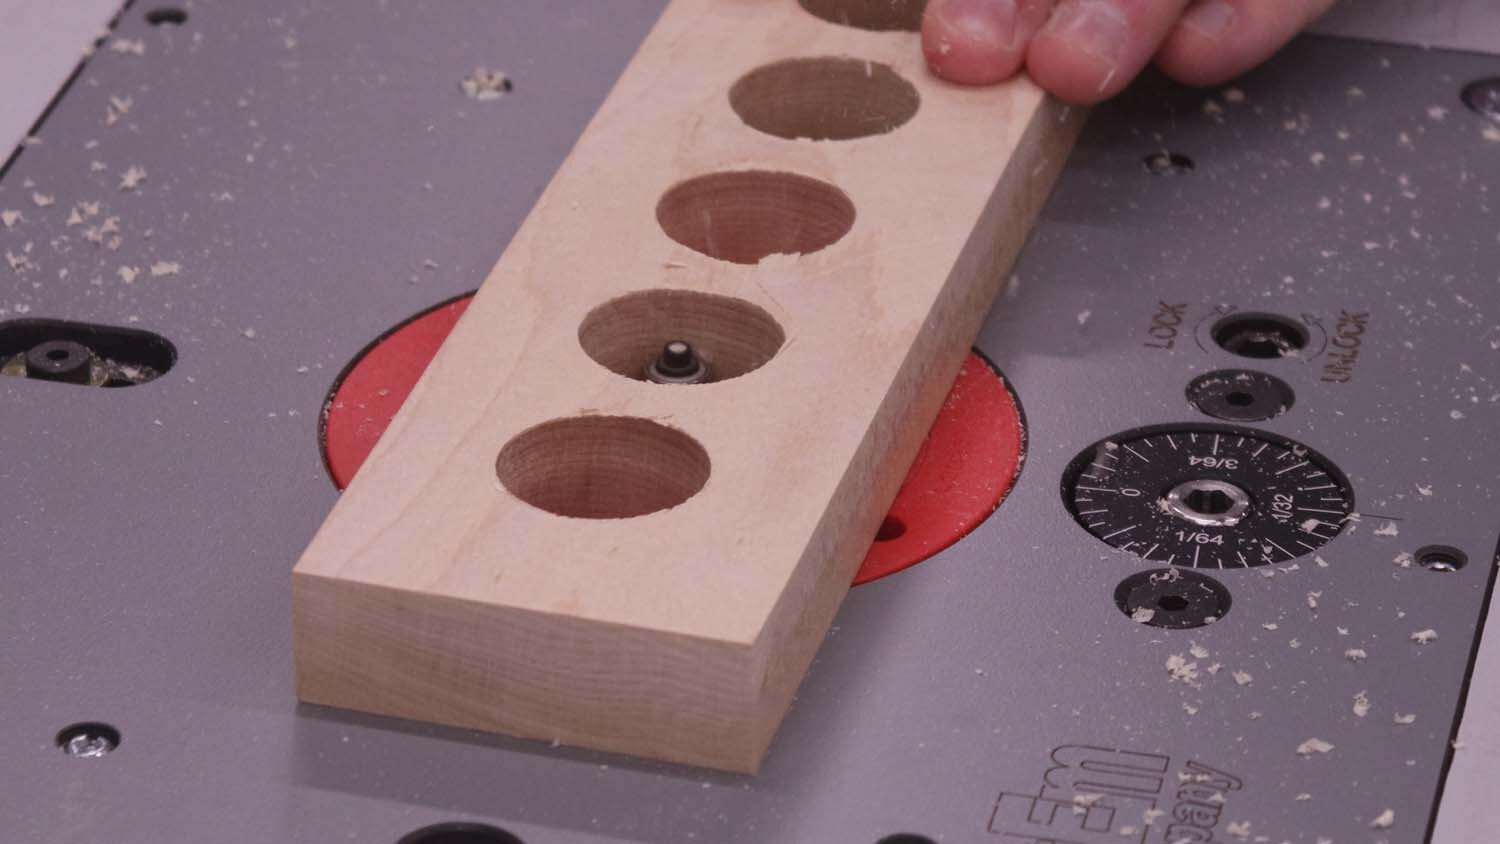
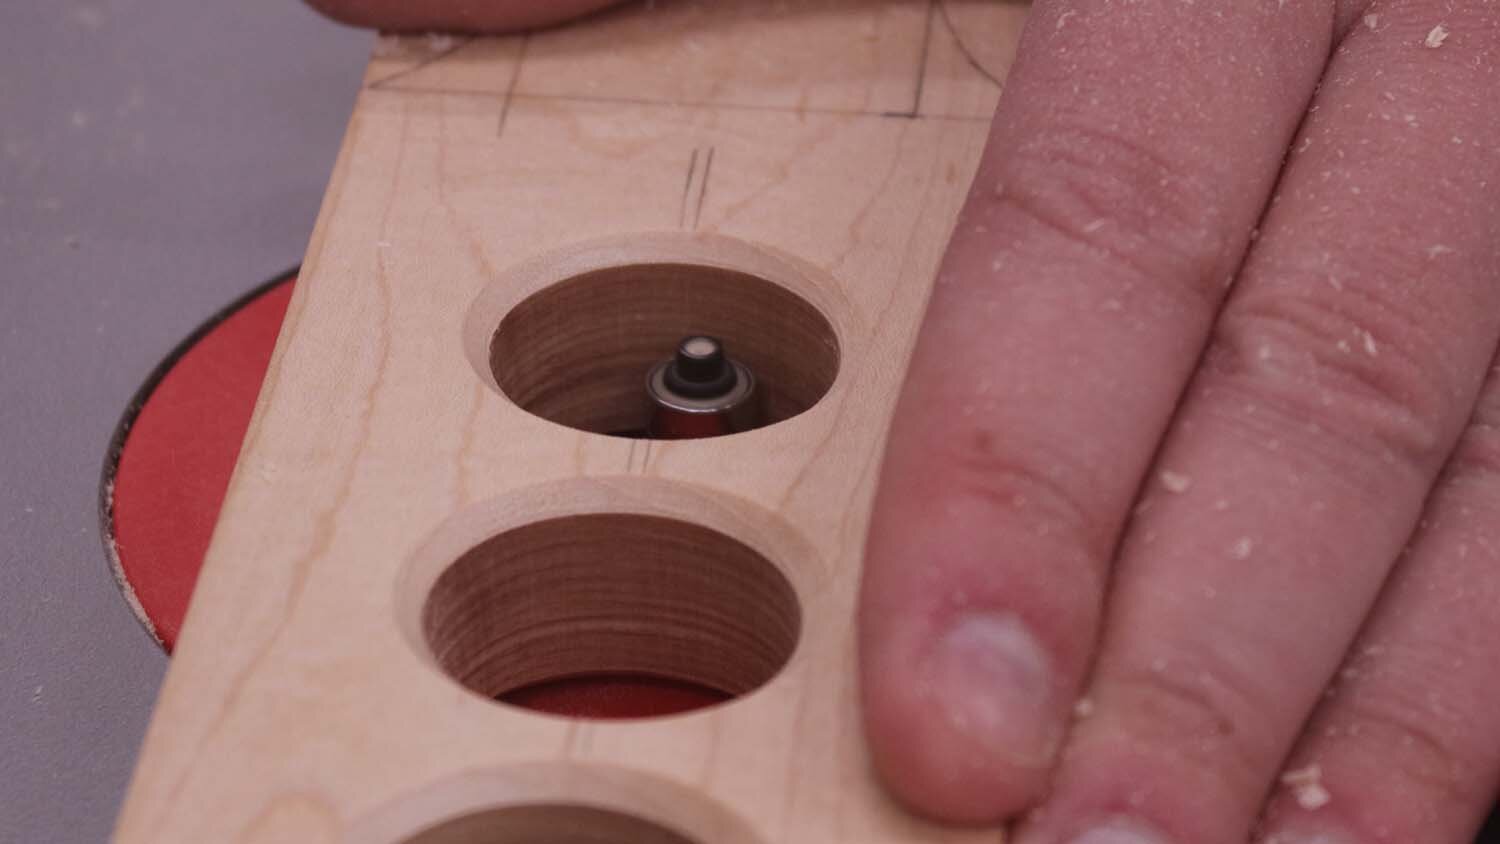
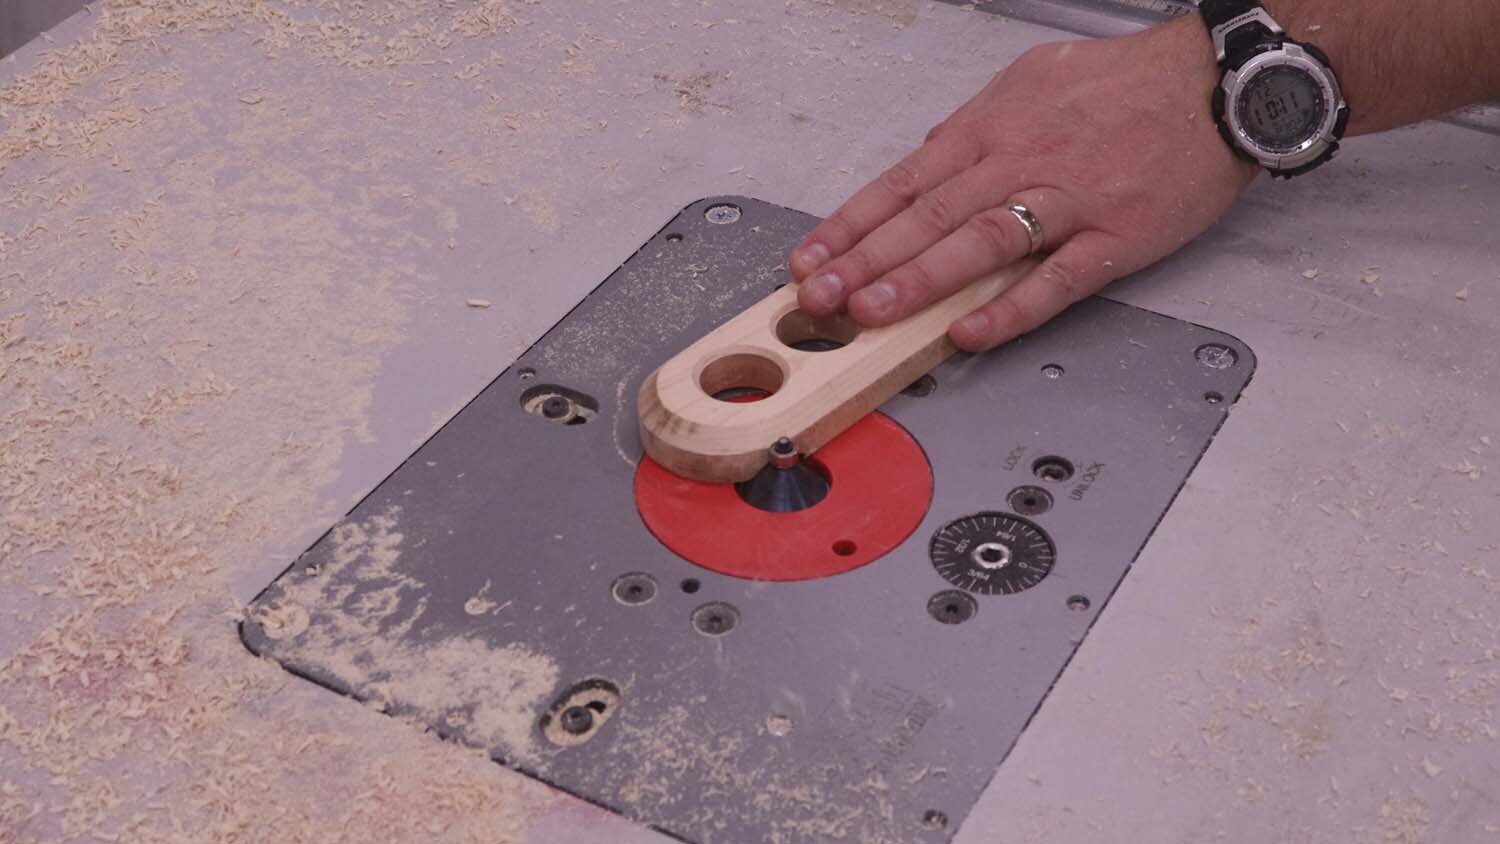
To help keep the wood edges from splintering, I use a 45-degree chamfer bit to add a 1/8" (3mm) countersink all around the holes in the paddle, on both faces.
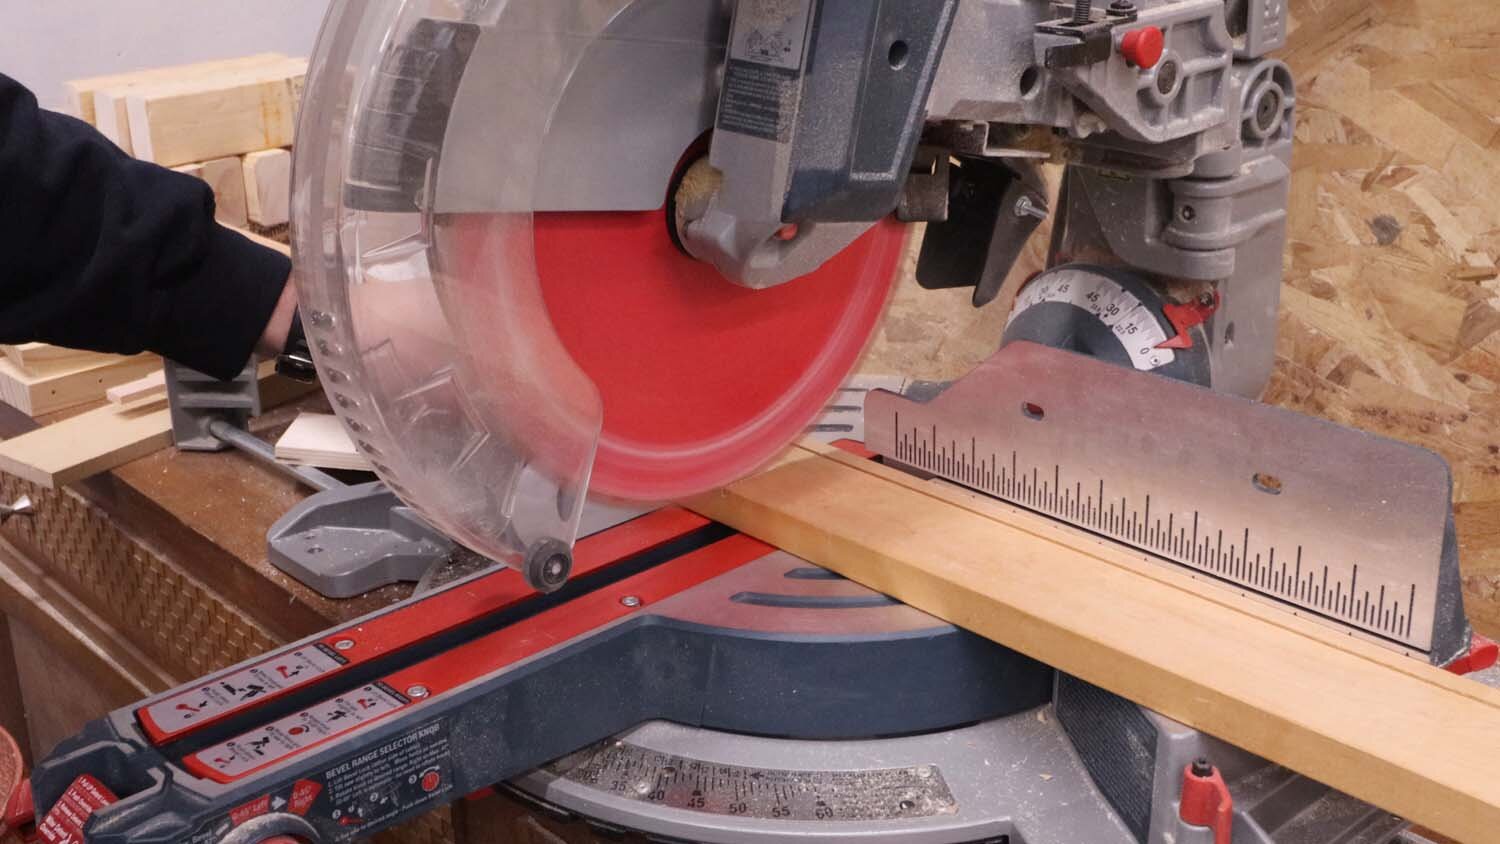
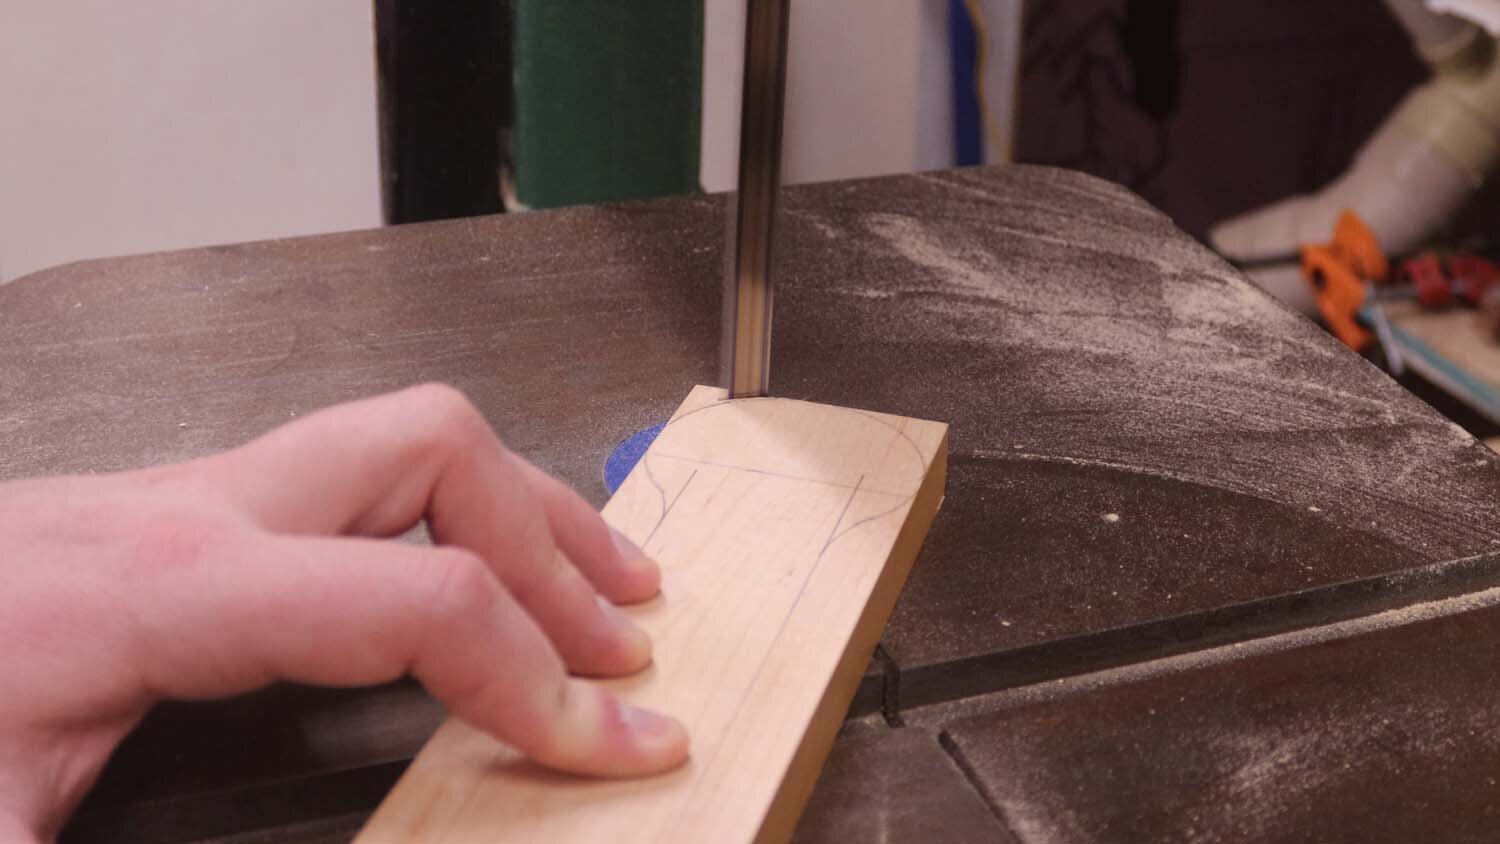
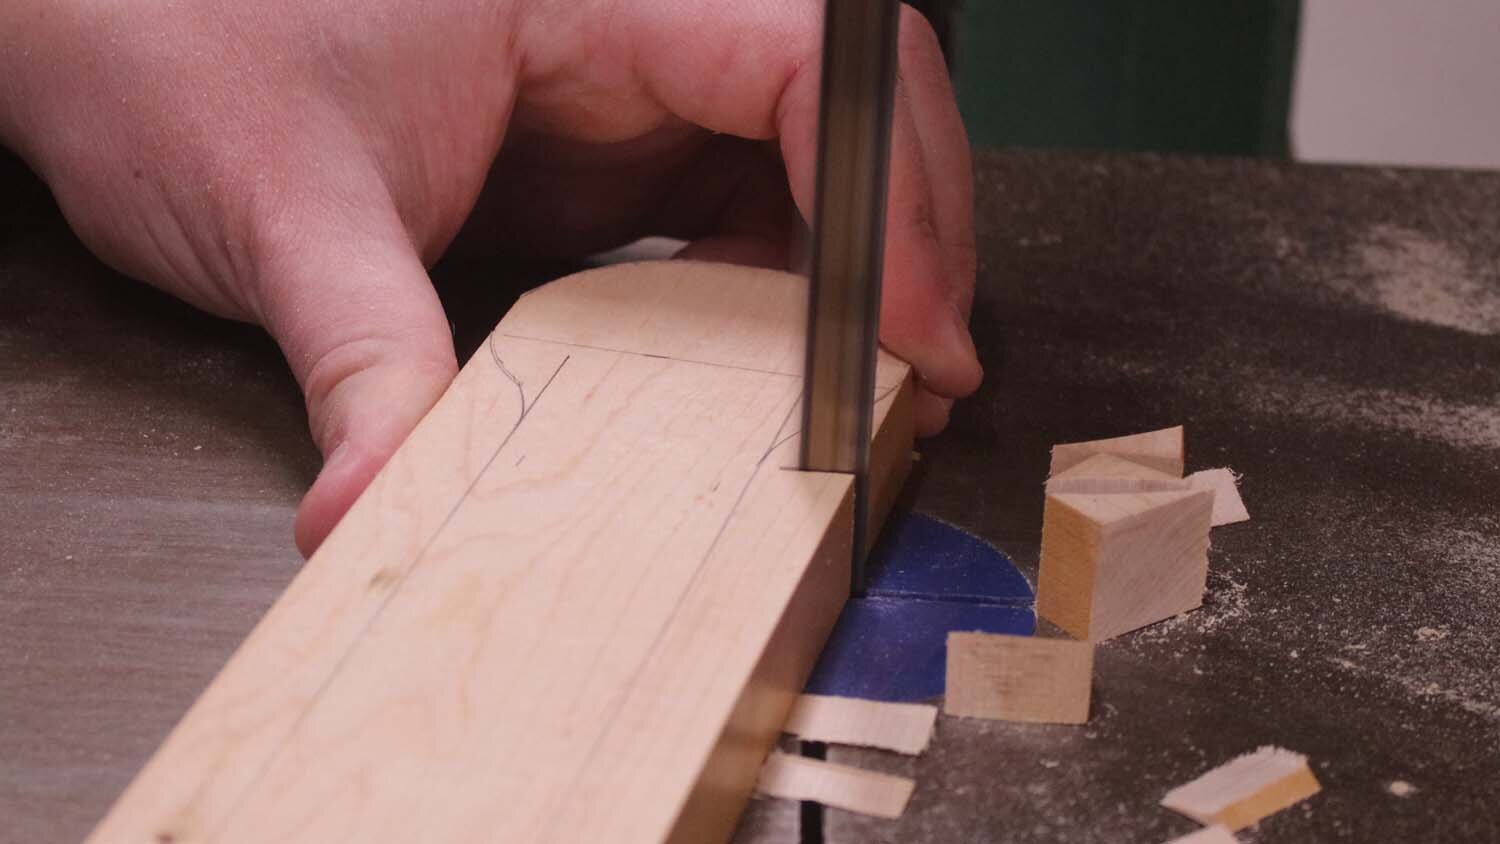
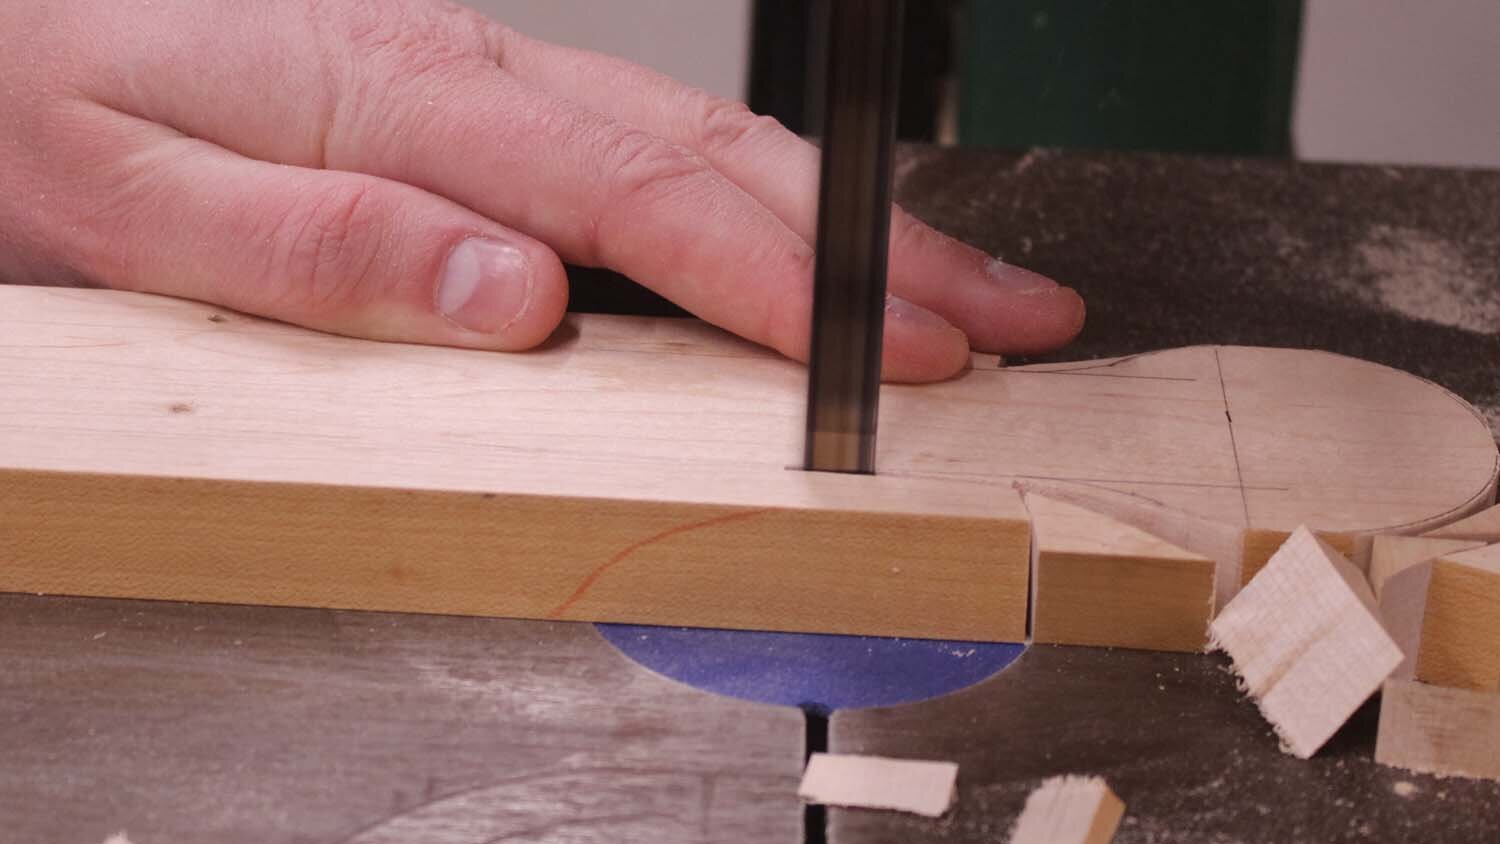
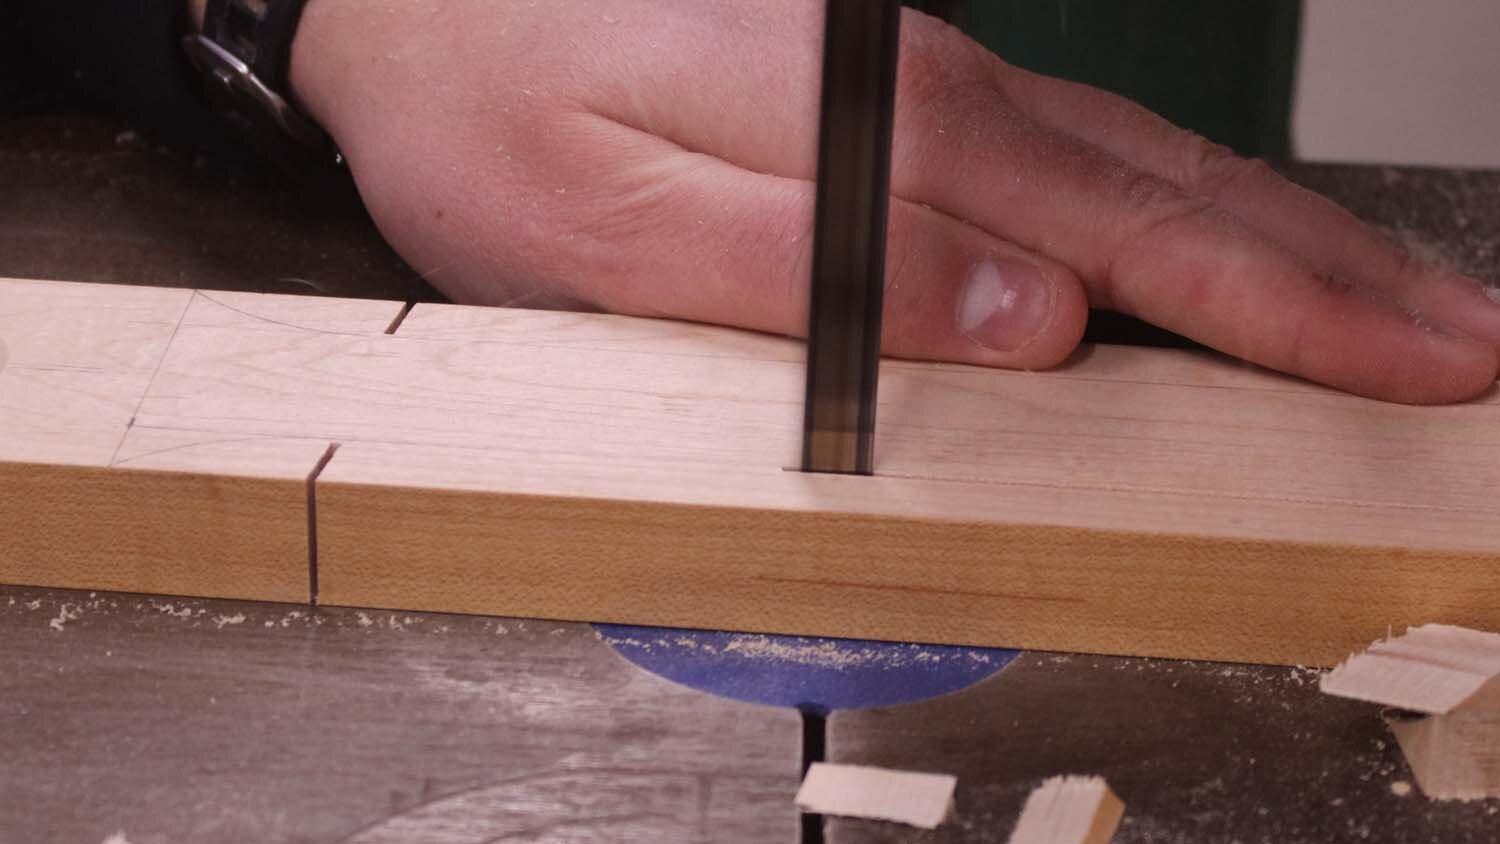
Next is to roughly cut out the shape of the paddle on the bandsaw. This is fairly straightforward, just following the cut lines I previously established when laying out, or directly from the pasted template if you go that route. I try to get as close to the cut line as possible without going over, as that leaves less to clean up at the end.
When cutting along the shaft of the paddle, it's a good idea to first make a couple relief cuts at both ends of the cut, which lets the waste drop off prior to making another curved cut.
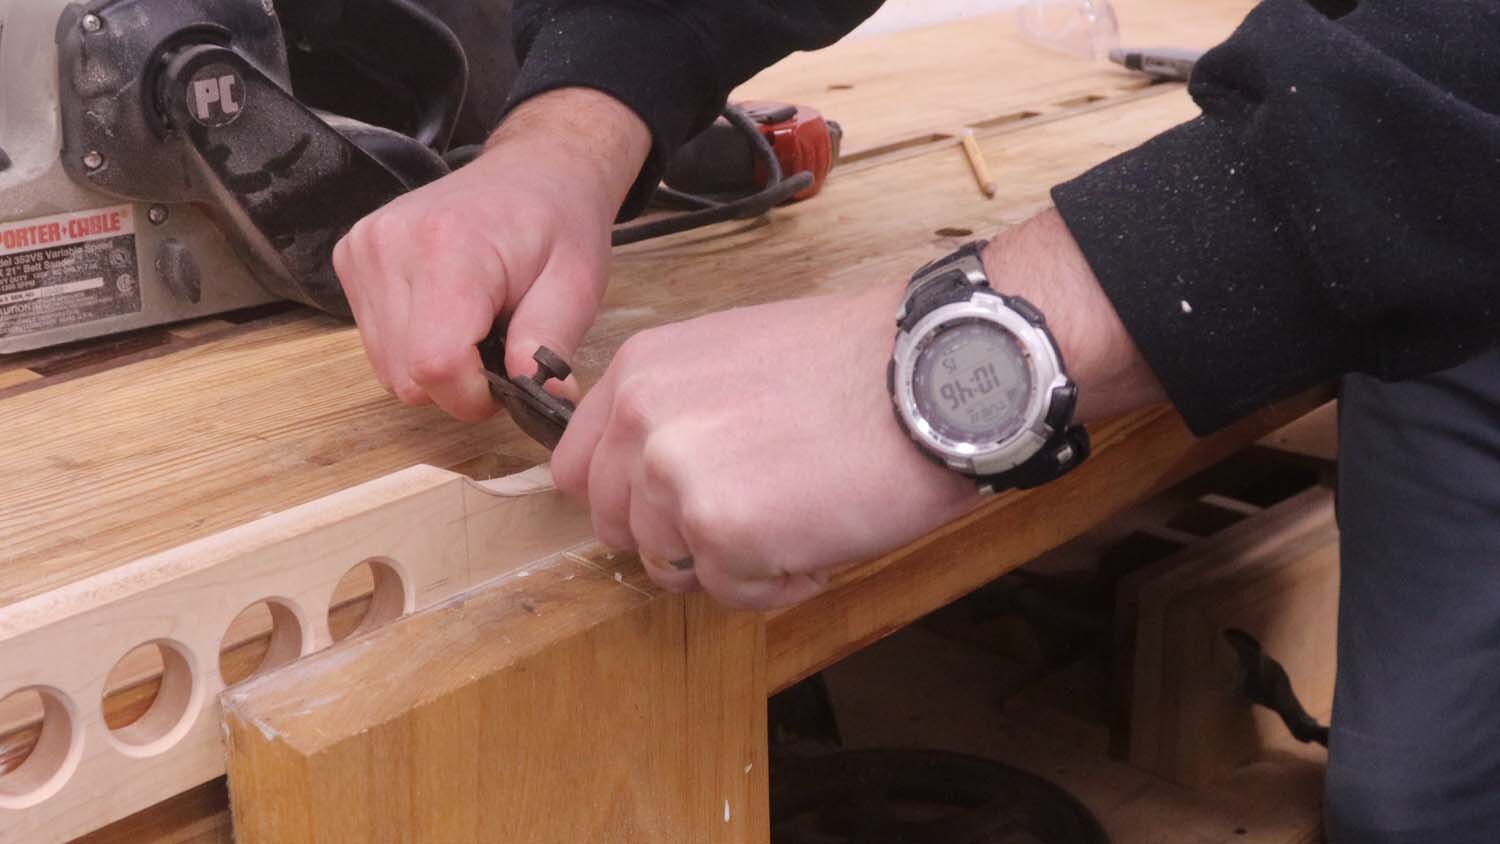
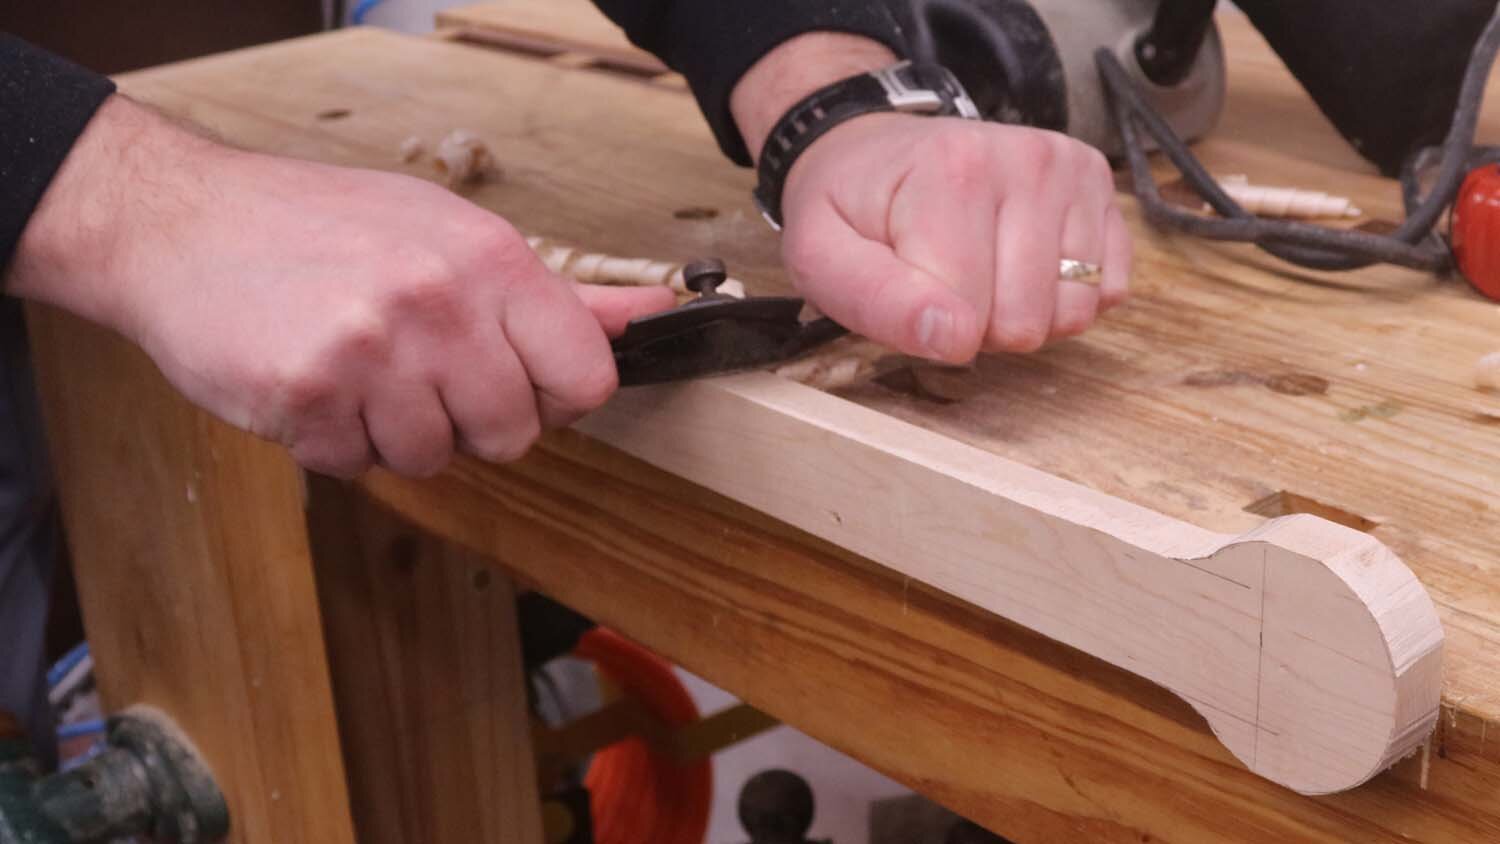
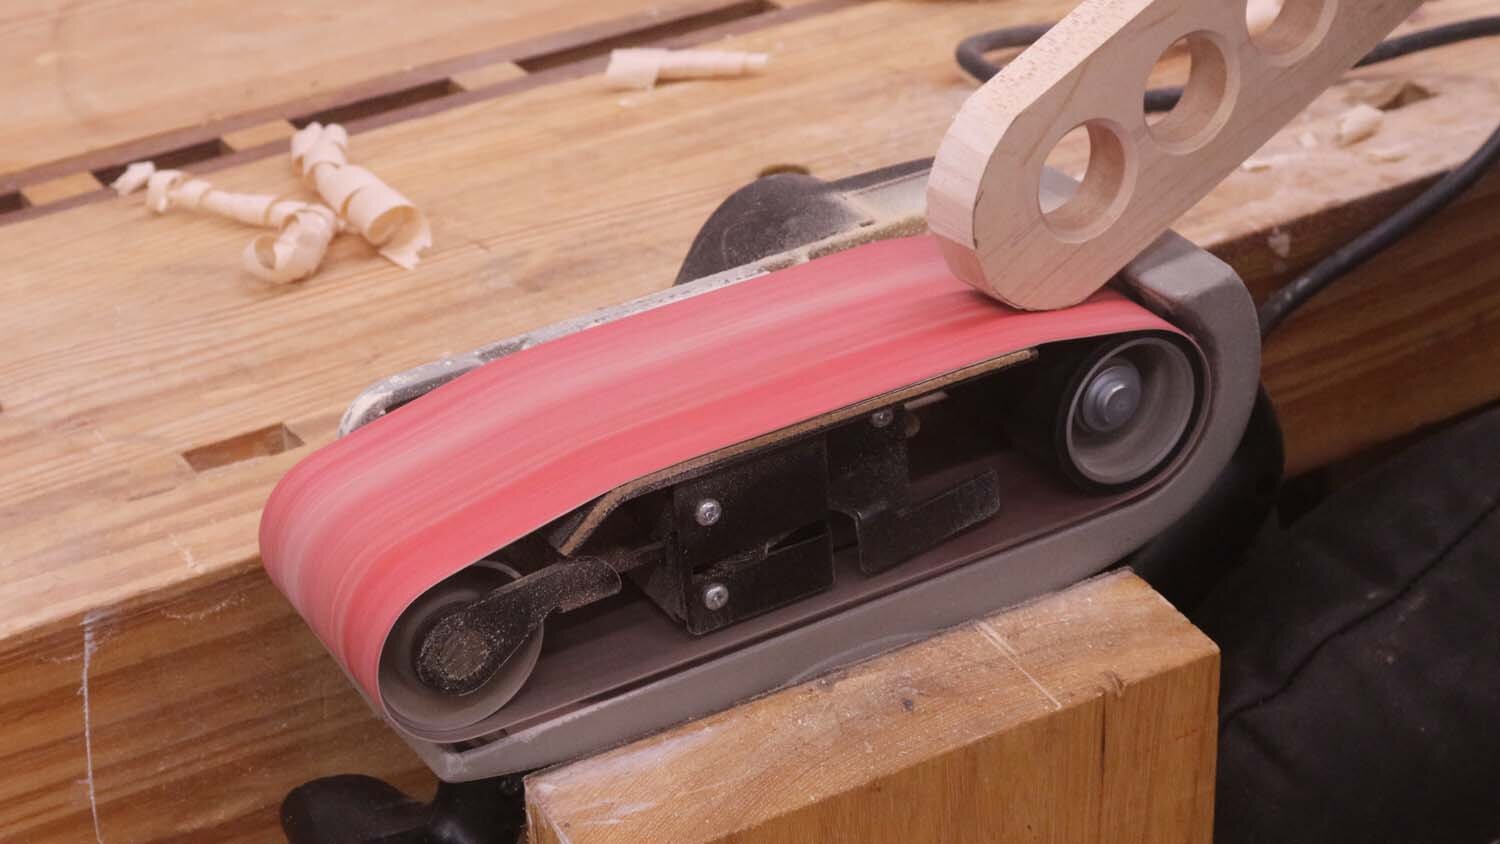
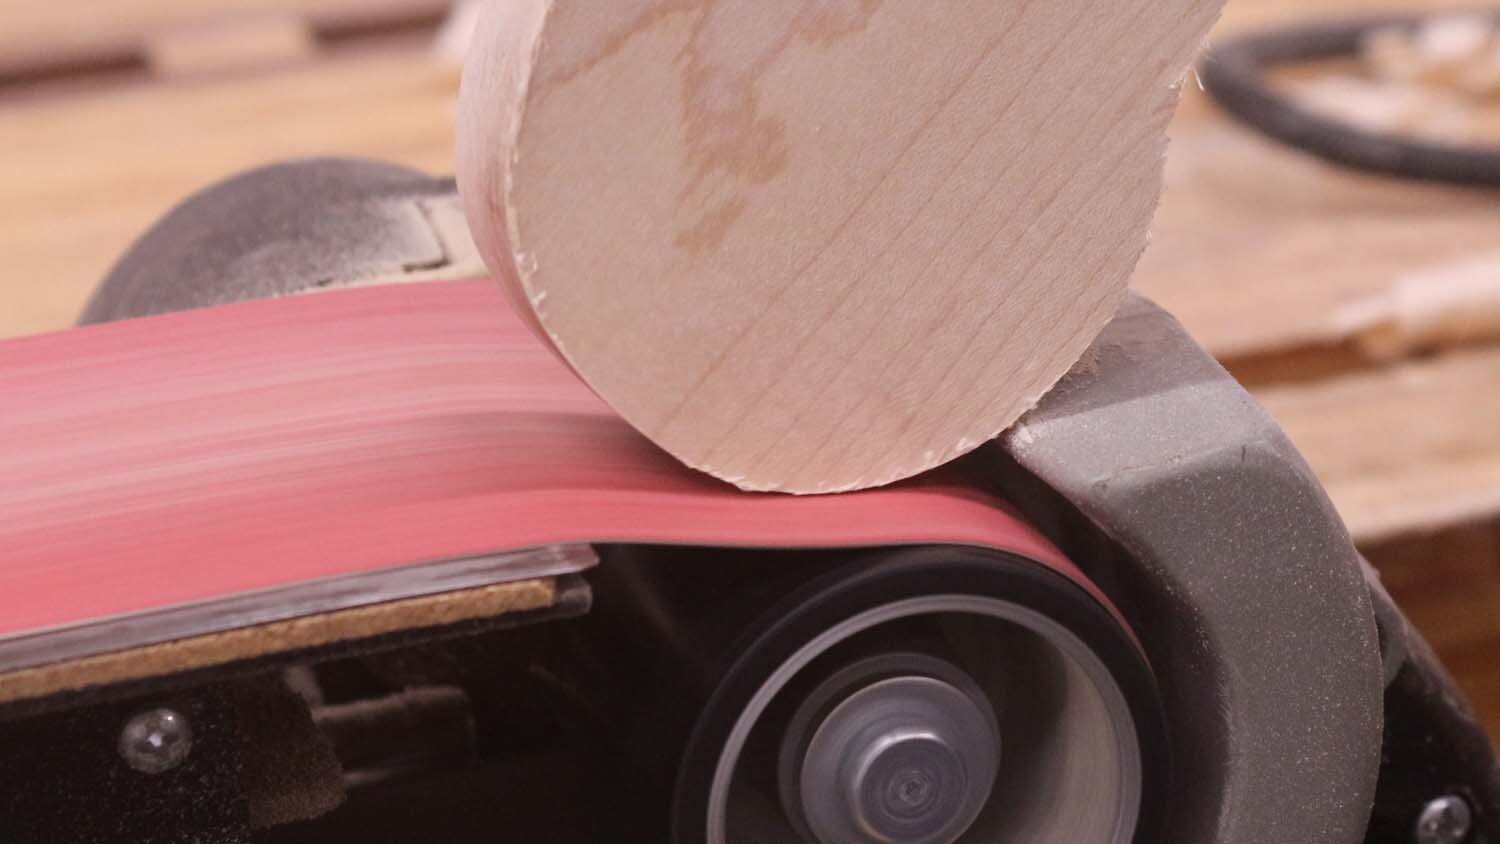
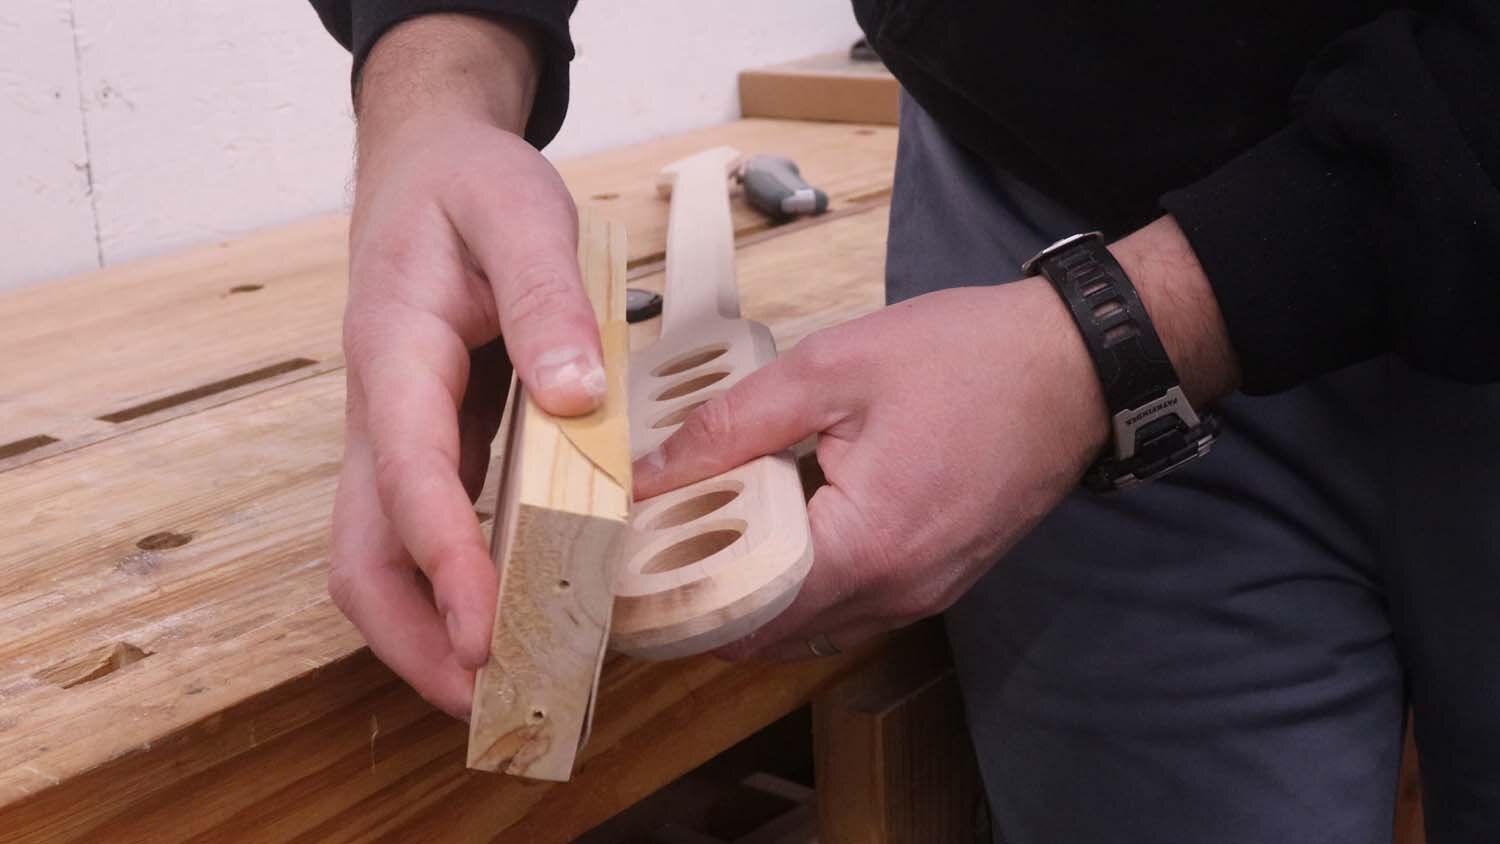
With the paddle cut to rough shape, next is to refine the curves and smooth everything out. I used a combination of a belt sander and a spokeshave to accomplish this. A spindle sander would be a great option here if you have one.
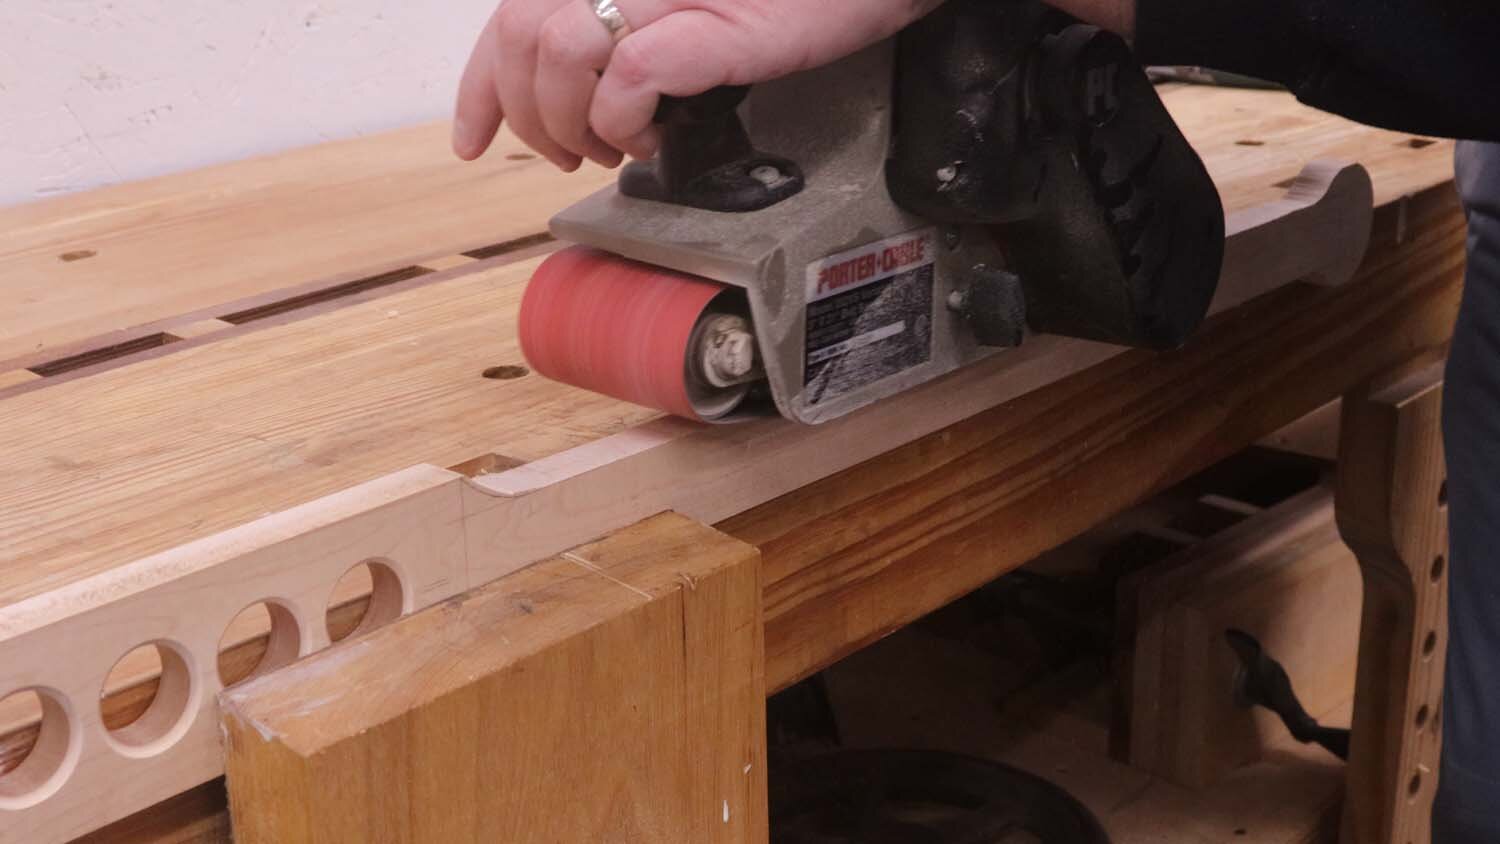
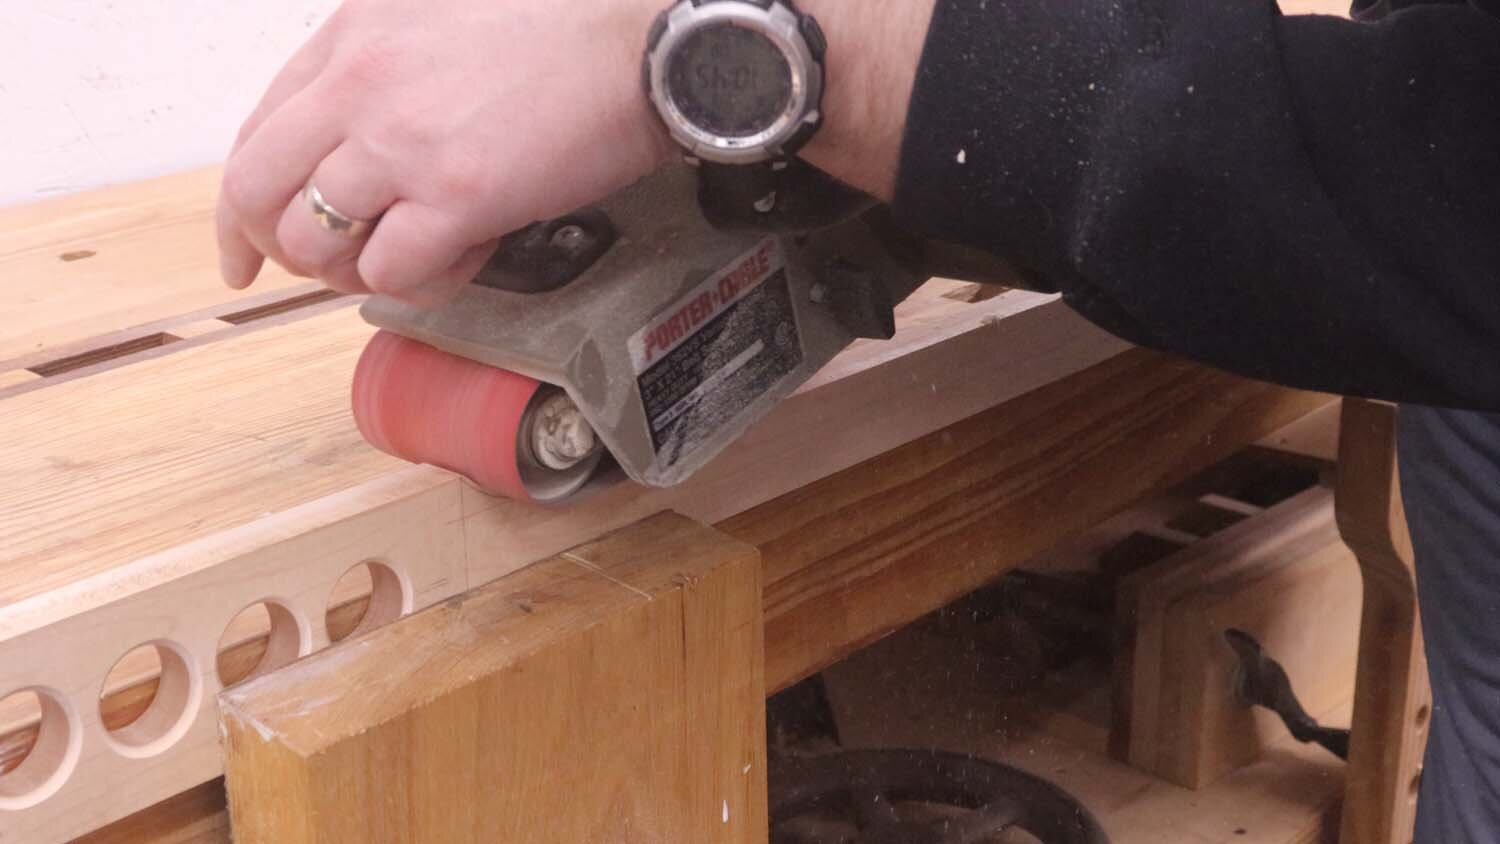
One nifty trick, you can mount your belt sander upside-down in your vise to have a makeshift stationary sander, which makes some operations a bit easier.

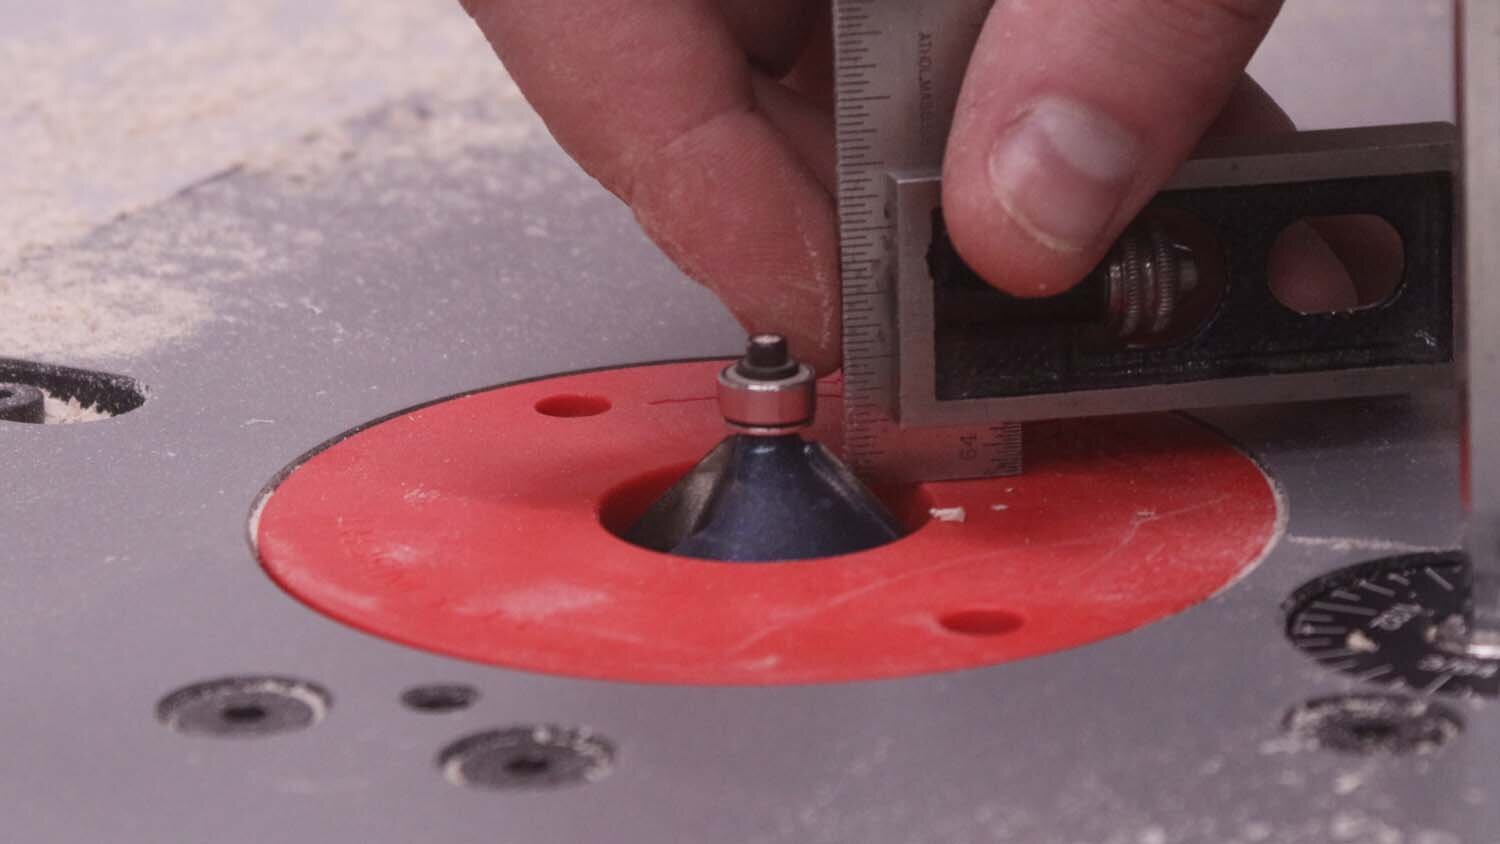
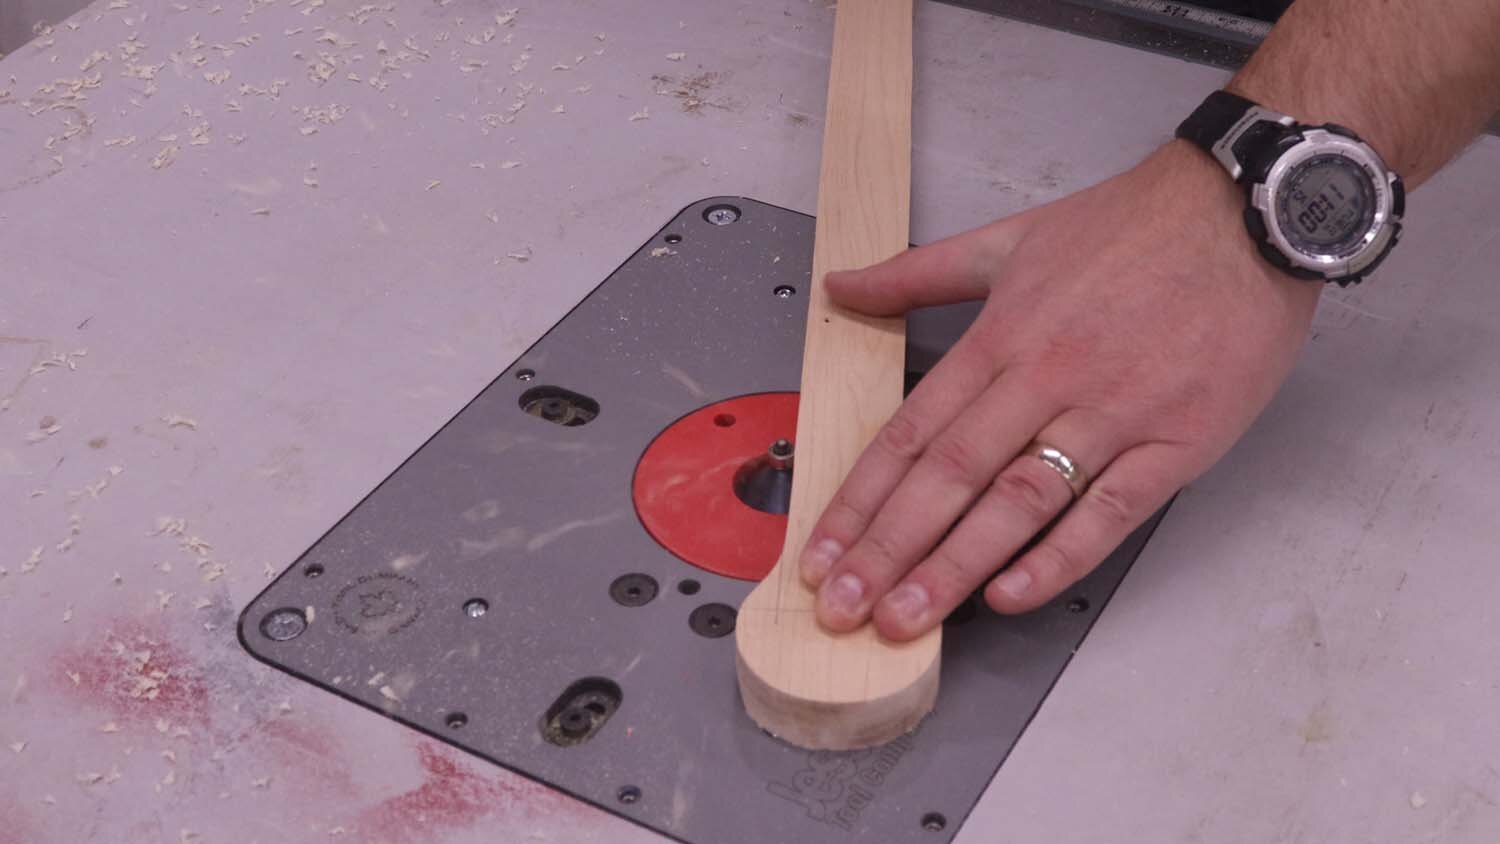
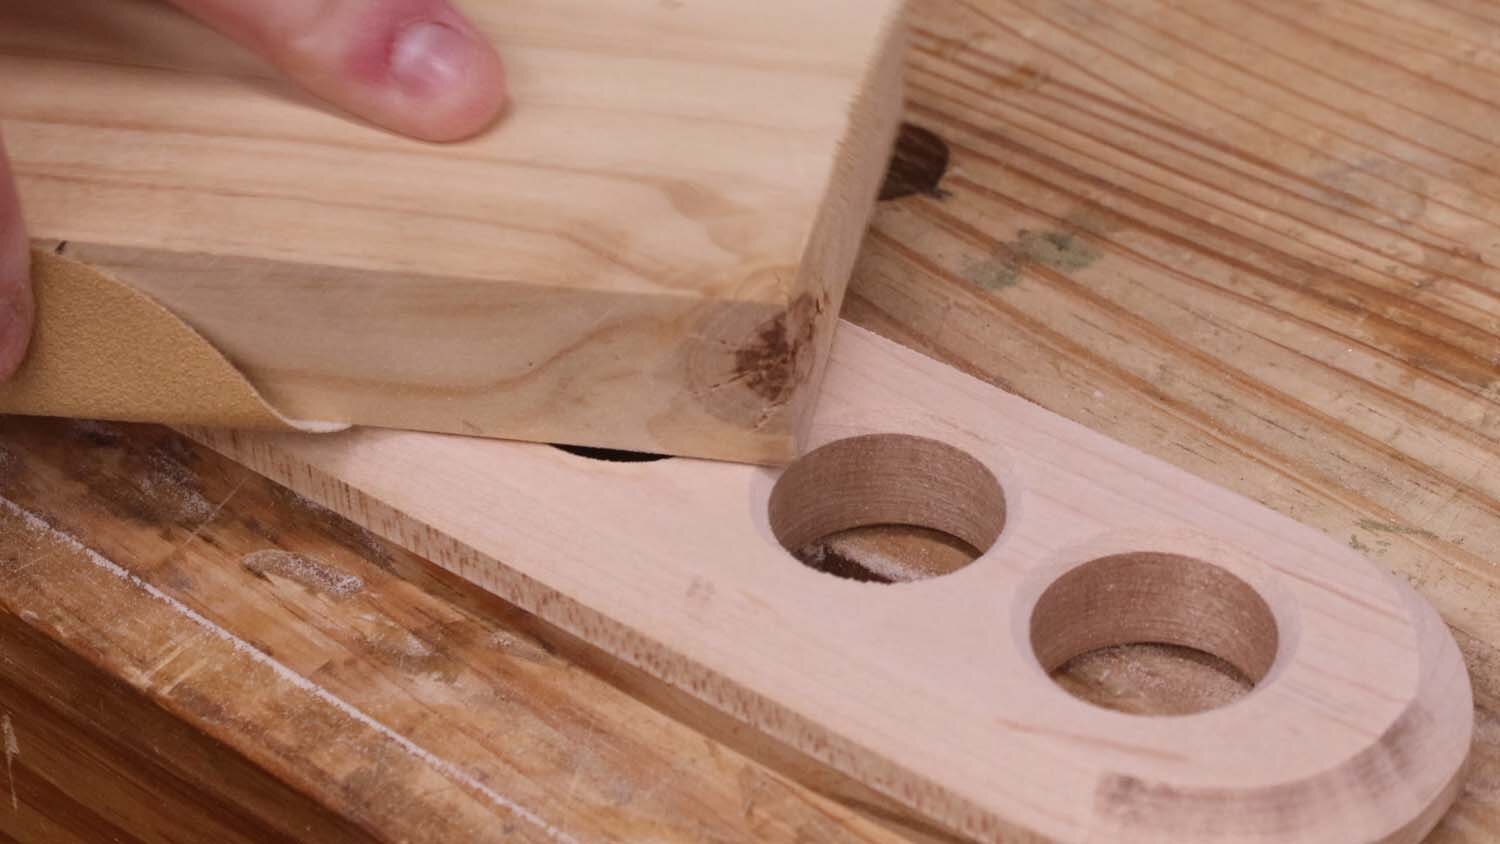
After all the curves are smoothed, I add a heavier chamfer all around the paddle. To make the facets of the edge the same dimension, the chamfer bit should be raised to about 7/32" (5.5mm). This can get a bit grabby on the top and bottom of the paddle, where the bit goes from cutting with to cutting against the grain, so be careful at these points. It would be prudent to make this cut in multiple passes.
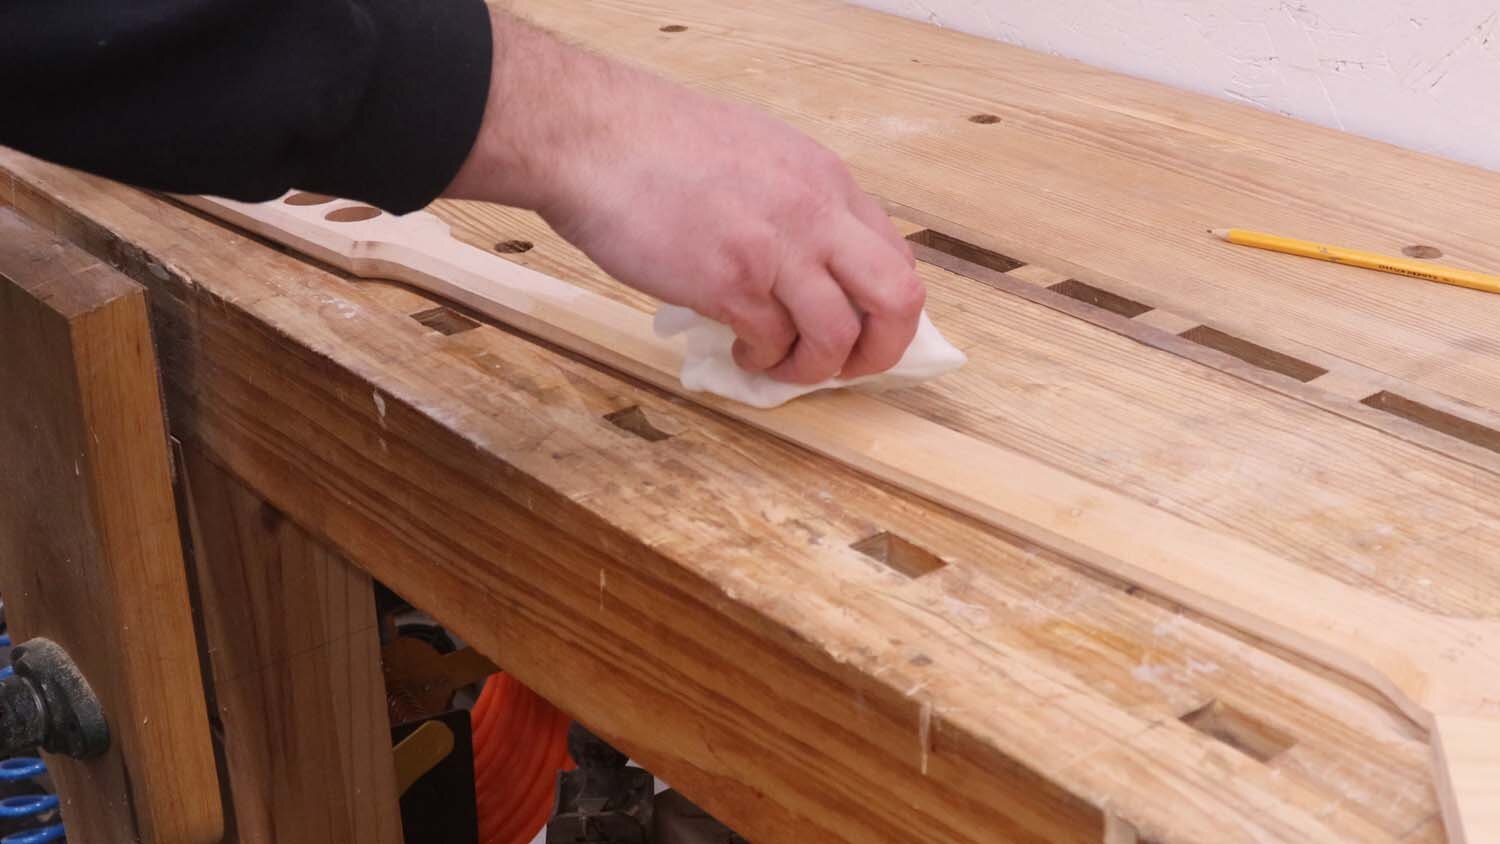
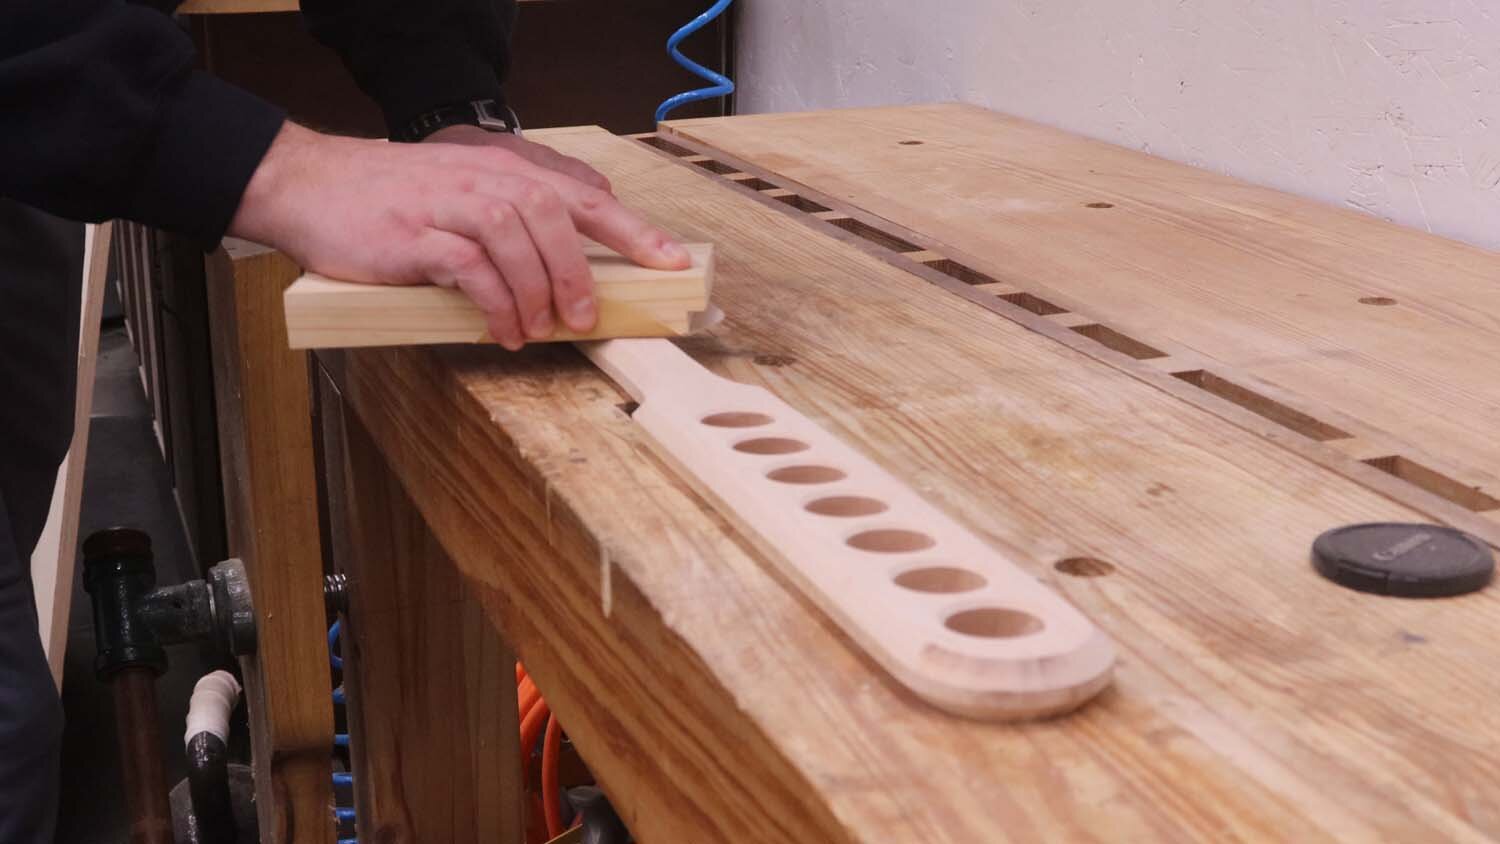
The paddle is now fully shaped, so all that's left to do is sand it. I sand in two passes - first with 150-grit sandpaper to remove any pencil marks or other roughness on the paddle, and make it smooth to the touch. I then wet the surface of the paddle thoroughly with water to make the grain raise. Since this paddle will be immersed in water, the water would cause the wood grain to raise if I stopped sanding here. By pre-wetting it, the wood fibers raise now, and then after the wood dries I sand it again to remove this fuzziness. That way, even after the paddle gets thoroughly wet, it should still be smooth to the touch, or at least more so than if I had skipped this step.
Since maple has a tendency to burn easily when machined, pay attention to transitions from cutting along the grain to cutting into the end grain, such as curves. These always end up having router bit burn, so need more thorough sanding.
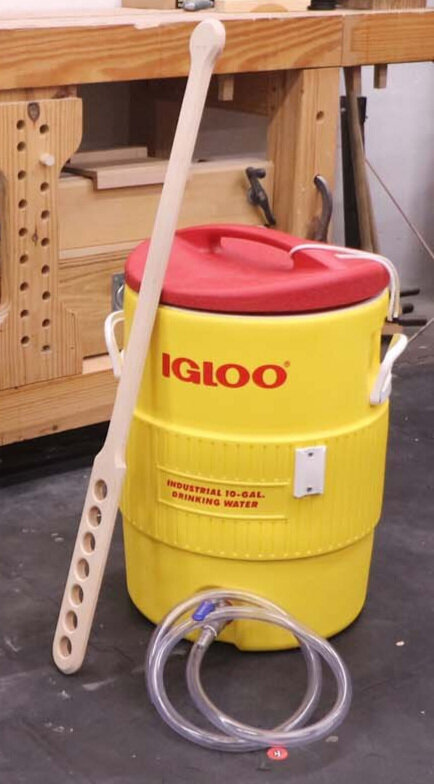
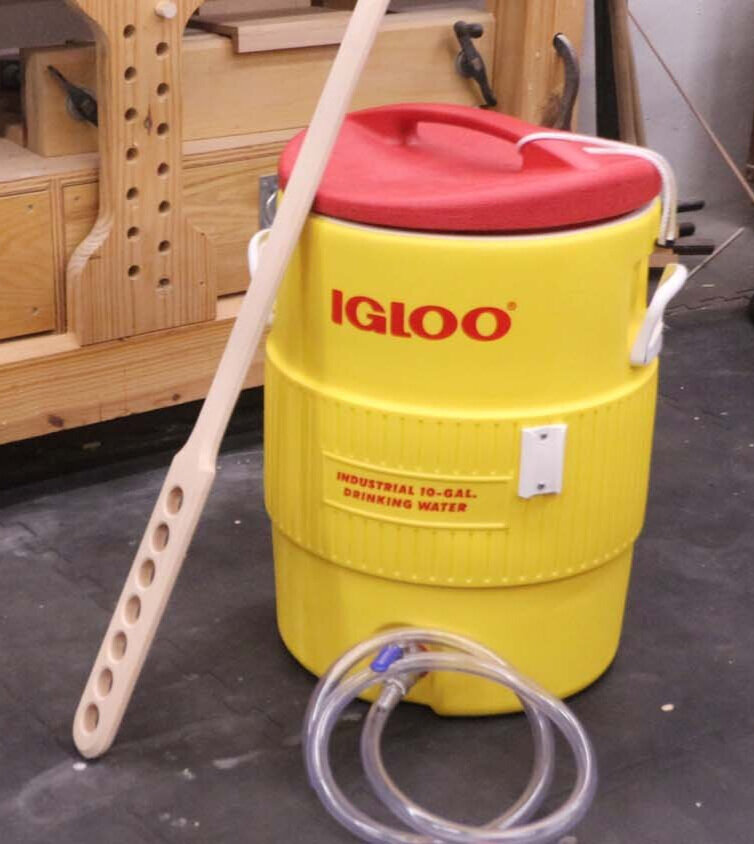
After sanding for a second time, the mash paddle is finished! Since this will be in contact with beer wort, I don't recommend applying any sort of finish, as this could result in a bad taste being transferred from the finish. I set the dimemsions of this paddle to work with my 10-gallon mash/lauter tun, but it should work fine with just about any mash/lauter tun that a homebrewer uses.
I hope this was instructive, and thanks for viewing!
If you enjoyed this article, subscribe to my YouTube channel for more!